chris watton
-
Posts
2,334 -
Joined
-
Last visited
Content Type
Profiles
Forums
Gallery
Events
Everything posted by chris watton
-
 Coils of rope or buckets sound like good solutions! I guess the binnacle could be used on Alert, I know Jim is going to see where it can fit on his Flirt build.
 -
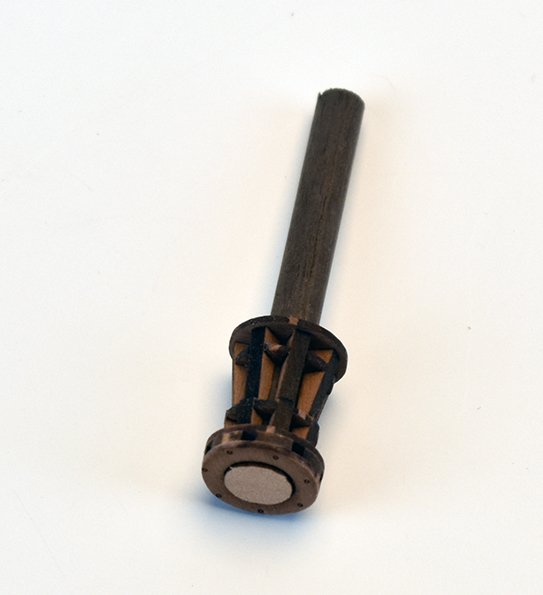
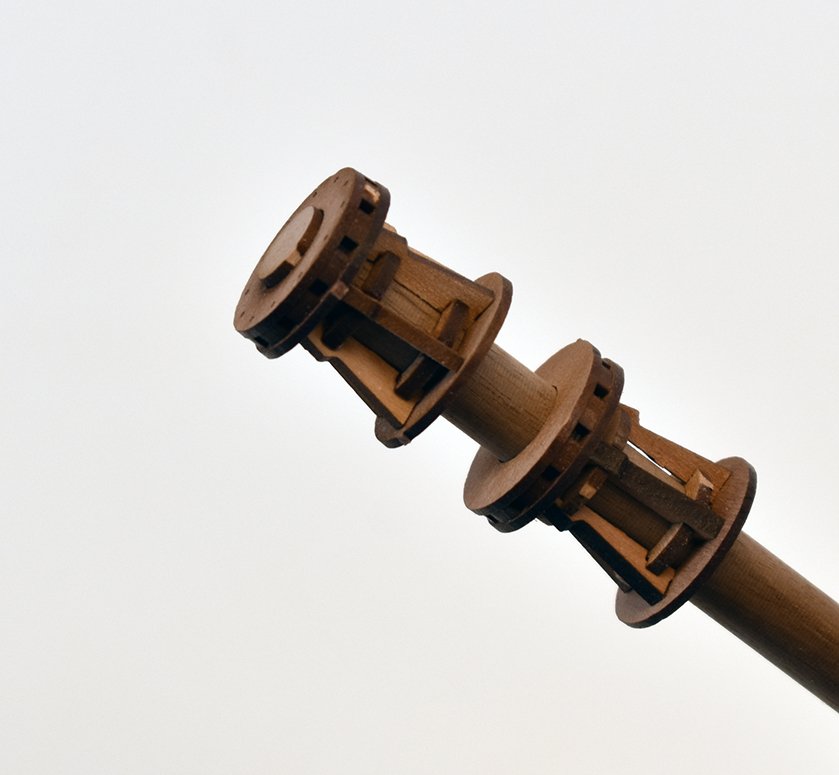
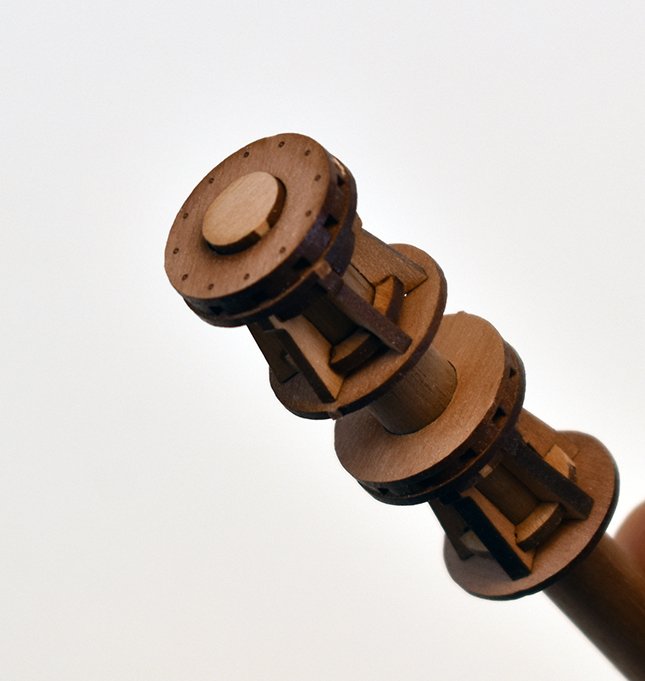
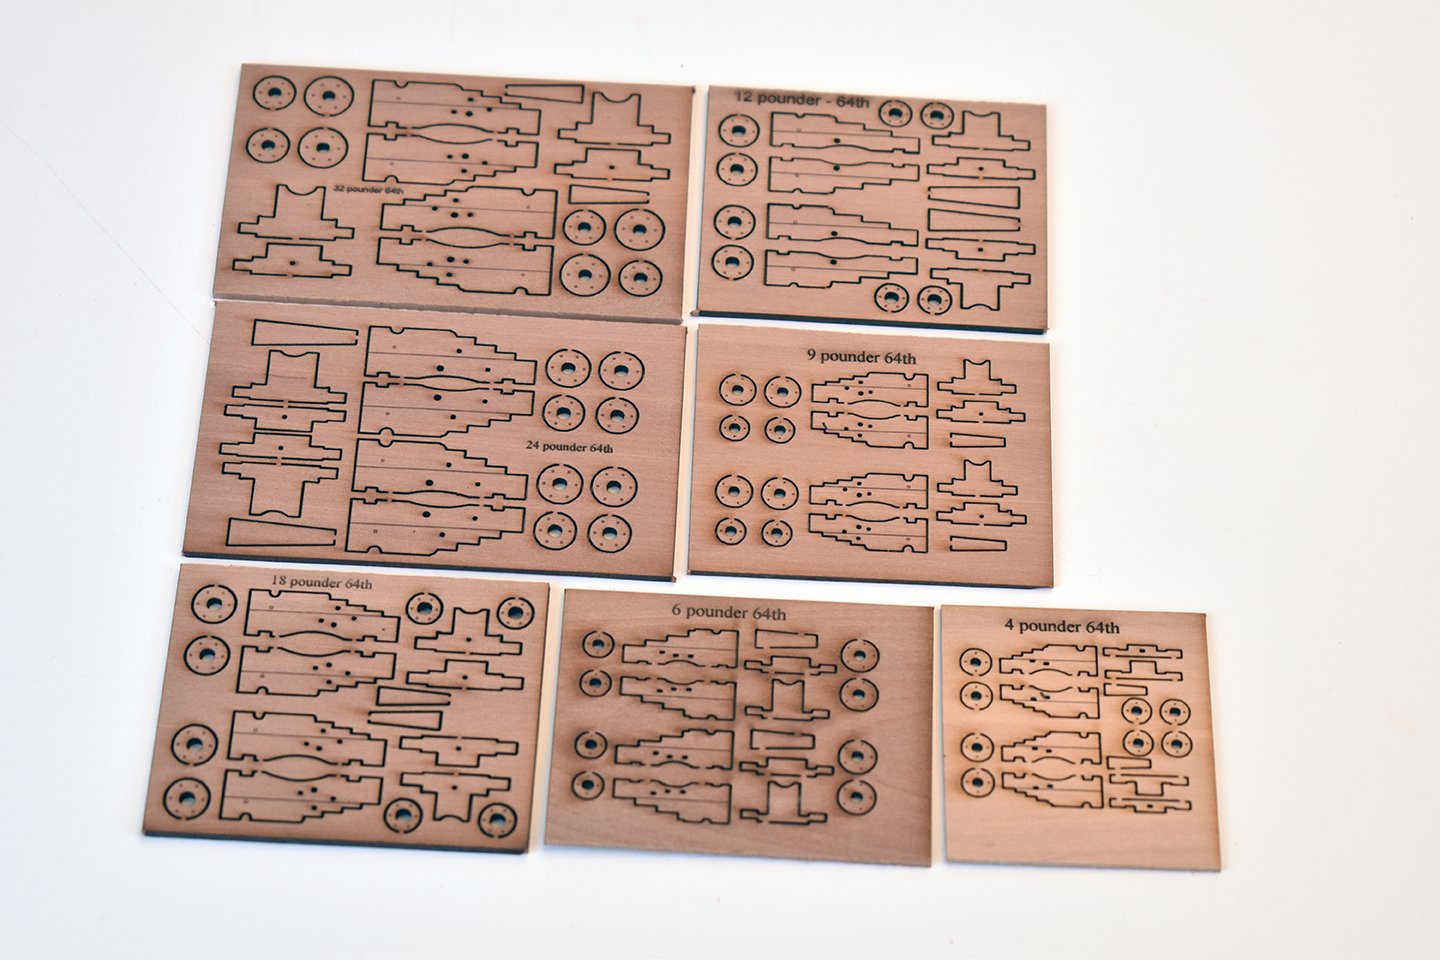
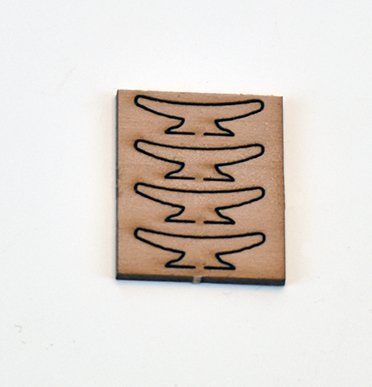
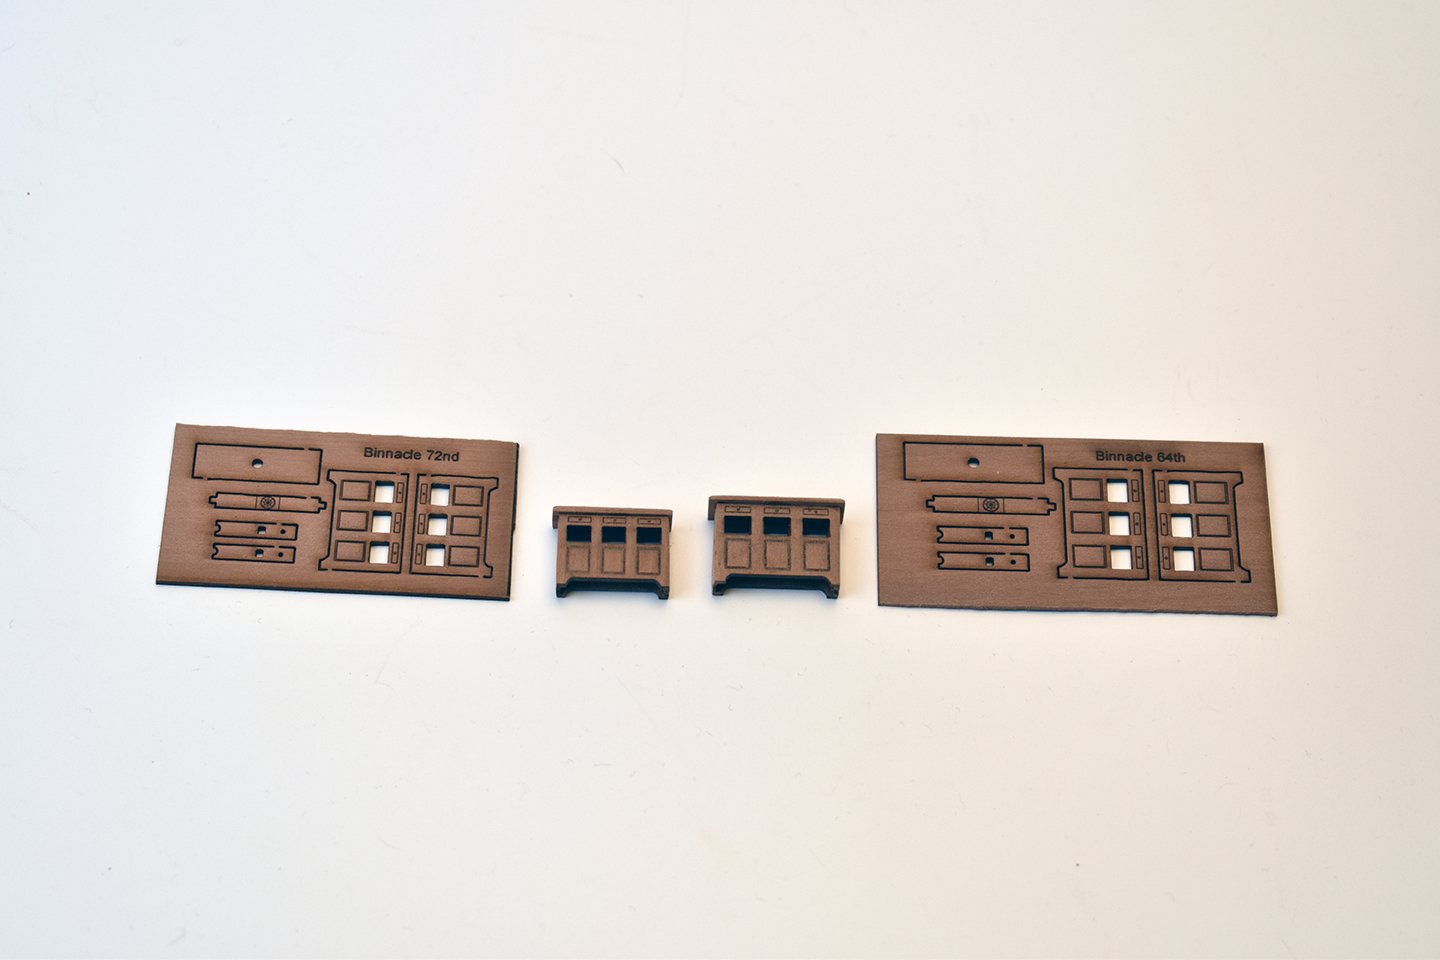
OK, lots of laser cutting today, plus re-designing the capstans for separate kits. The whelps are now slotted into place to the top and bottom discs, so will always be perfectly aligned. The single capstan is a standard 64th scale type (20mm high), and the double is a 72nd scale lower and upper deck capstan, suited to most mid-late 18th Century ships of the line. Lower pawls are 2mm pear (5) and upper pawls are 1.5mm (6). I will offer these as separate fittings once I have sorted a few minor things. They are shown pictured with no gluing, all dry-fitted immediately after being laser cut, so may look a little 'loose'... Also managed to laser cut the first sets of 64th scale cannon carriages (will do 72nd scale tomorrow), and sets of cleats from 6-14.5mm Oh, and at the last minute, I thought I'd do a couple of binnacles, in 64th and 72nd The binnacles are available right now: https://vanguardmodels.co.uk/product/binnacles/
-
I am happy with the 4 and 6 pounders for Speedy and Alert, no need to replace them as they're the same as what's in the kit!
-
I plan to start laser cutting them over this weekend. I have no PE parts to go with them (yet), so they will come as laser cut parts only, with the carriage sides, axles, wheels and quoin. I figured that most who may buy them may want them to replace what they have in their kits.
-
No problems with materials, blocks for the MS version however, may be a problem. Russia is in total lockdown for another month at least, as far as I can tell, and cannot sell the MS Flirt until I get the pear blocks.
-
OK, I have done all I can for Flirt right now, so the past couple of days I have been designing sets of two scales of cannon carriages, which will be laser cut in 1.5 pear (for 4-9 pounders) and 2mm pear for 12-32 pounders. Sizes will be (in both 72nd and 64th) 1.5mm Pear, (sold in pairs) 4-Pounder Carriage 6-Pounder Carriage 9-Pounder Carriage 2mm Pear, (sold in pairs) 12-Pounder Carriage 18-Pounder Carriage 24-Pounder Carriage 32-Pounder Carriage
-
The 2mm is 4-ply, and the 3mm for the MS Flirt is 6-ply, very strong, but not cheap - but worth it for peace of mind. I do listen, and endeavour to improve certain aspects as and when I can.. You have made a great start, Ernie. Just take your time, and prepping is half the battle.
-
It's really not that important, as long at the second planking is near enough the thickness of the rudder post, that's all that matters. It would be pointless first planking all the way down, as all you do is create more sanding for yourself, as it will be mostly removed.
- 109 replies
-
- 2
-

-
- Vanguard Models
- Flirt
- (and 1 more)
-
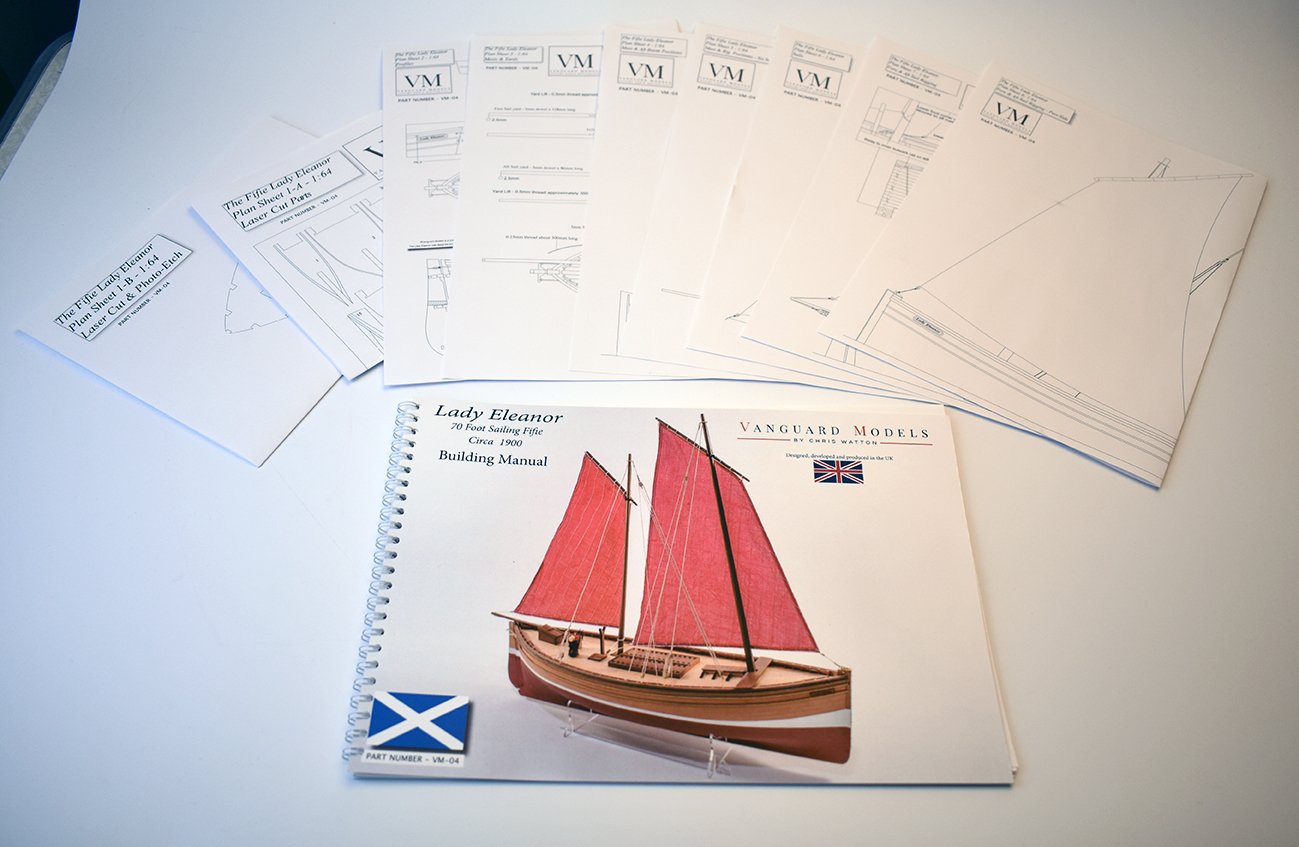
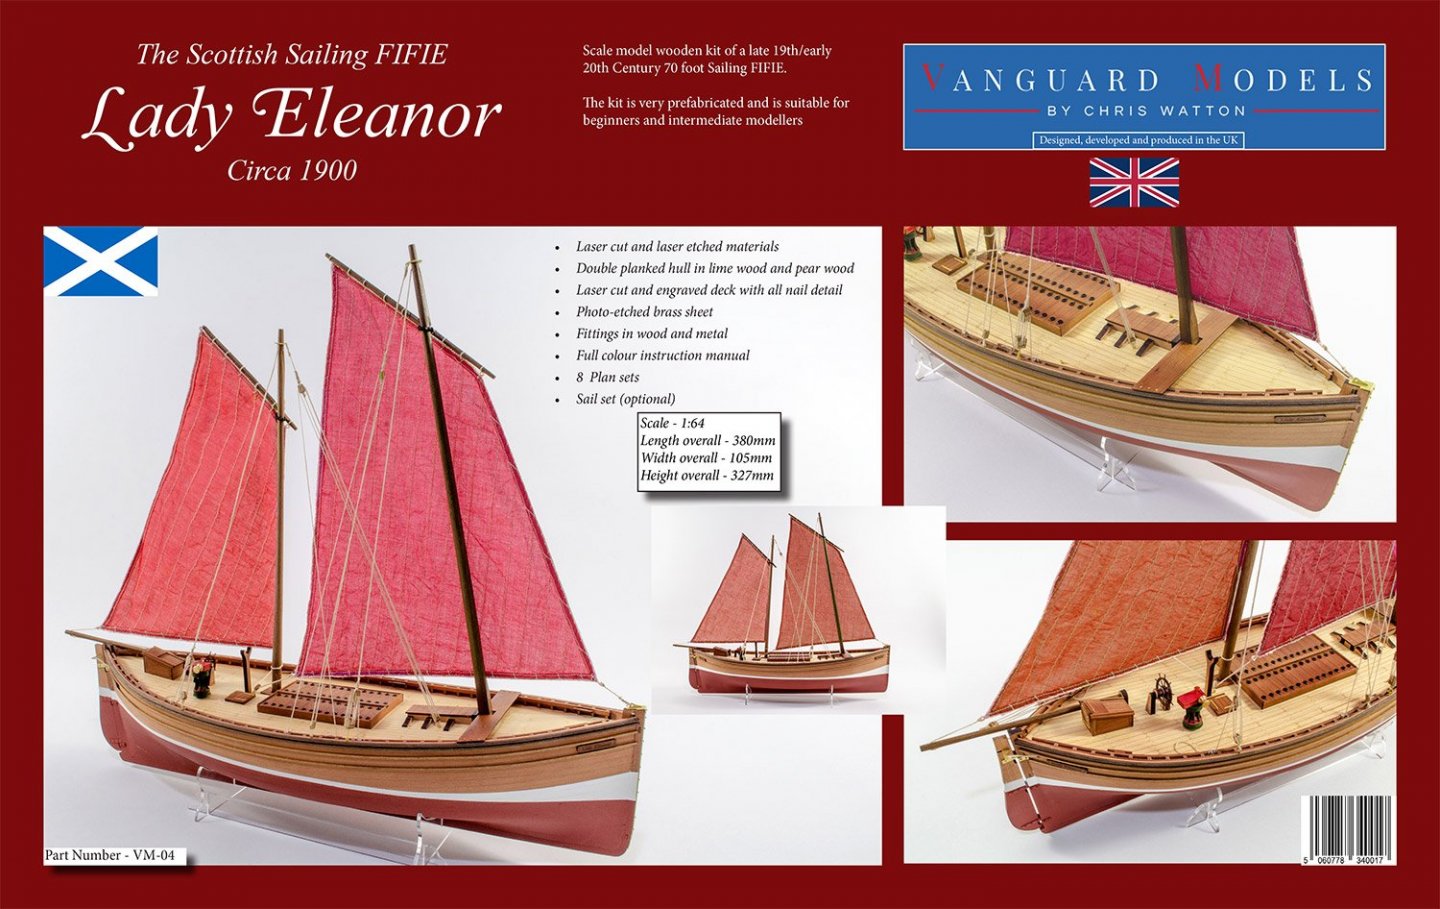
OK, the Fifie printed stuff arrived an hour ago, plans, manual and box label. It is now in stock, and now I concentrate on the main stuff...
-
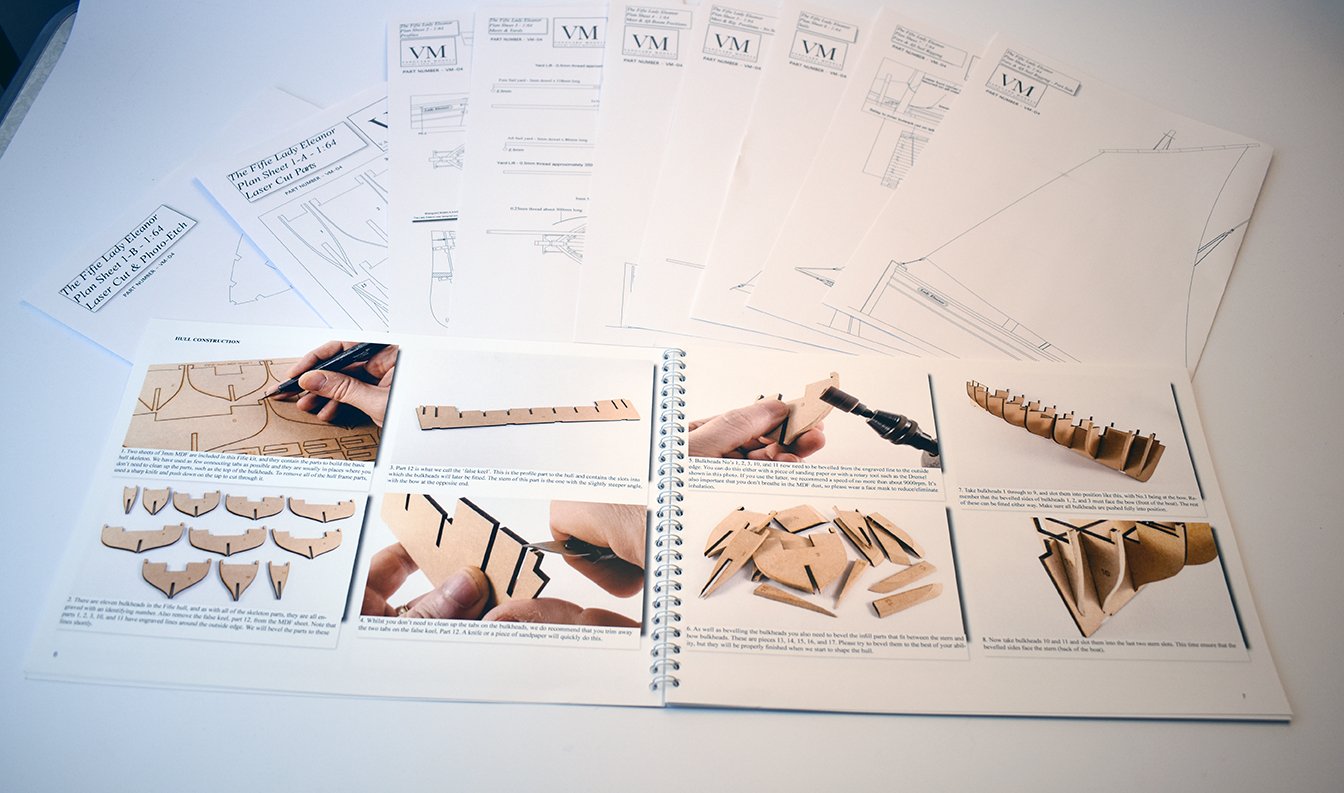
It really doesn't matter about the 'door' opening on bulkhead 10, it is only there in case anyone wanted to add detail to the lower deck. It cannot be seen once the main deck is in place, so don't worry about that.
-
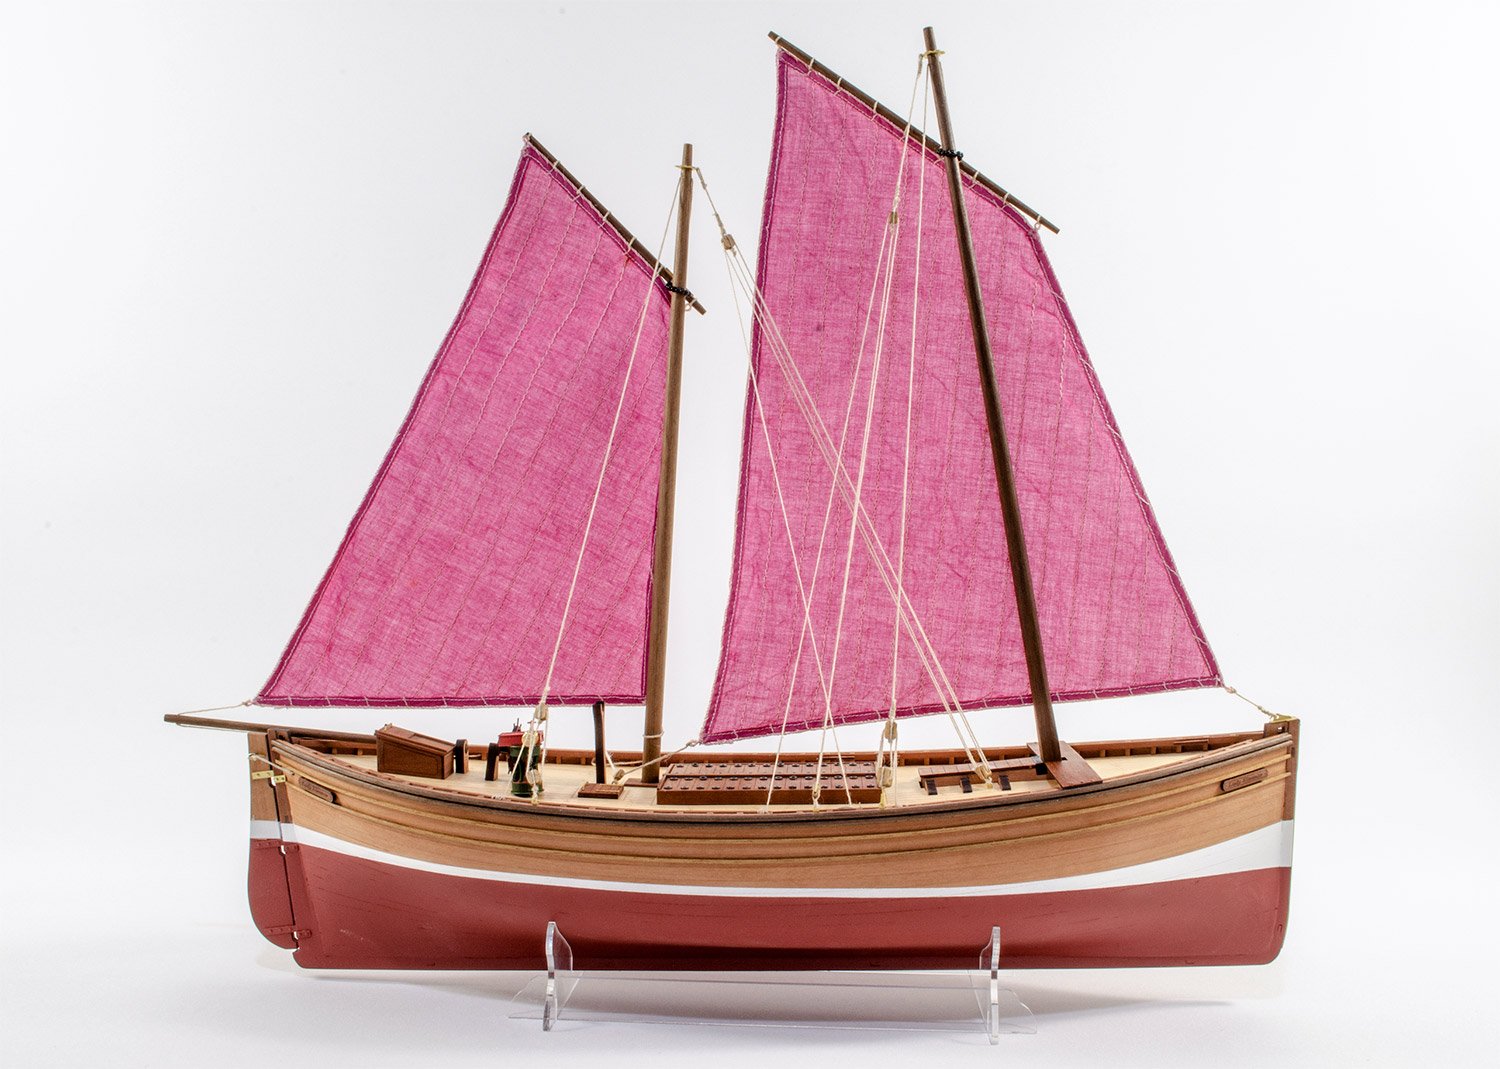
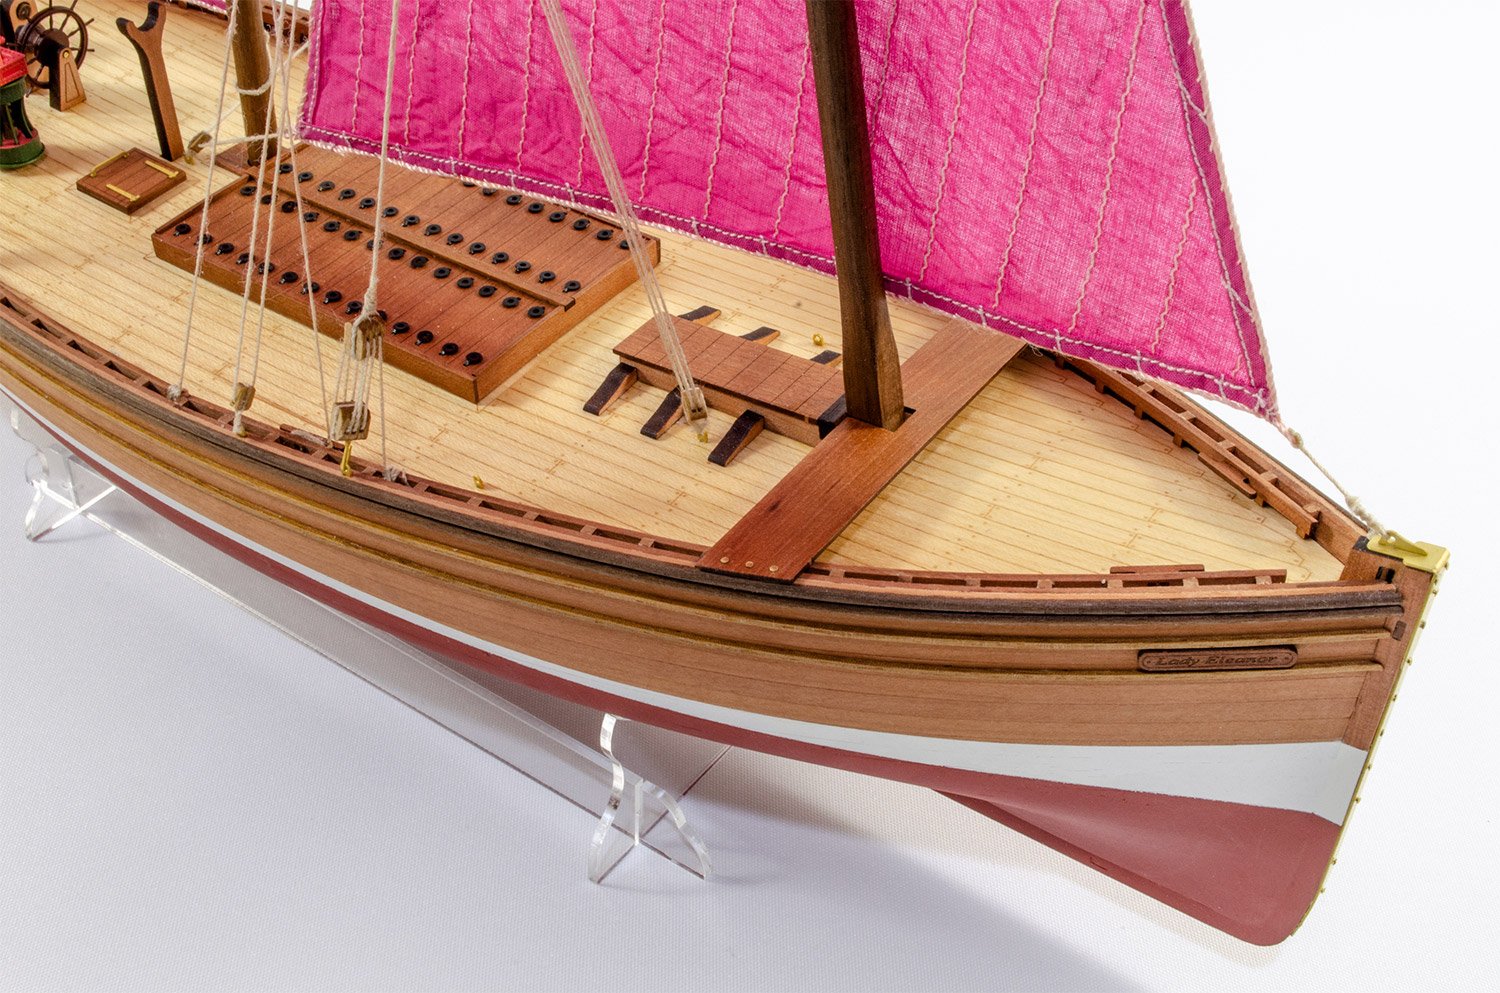
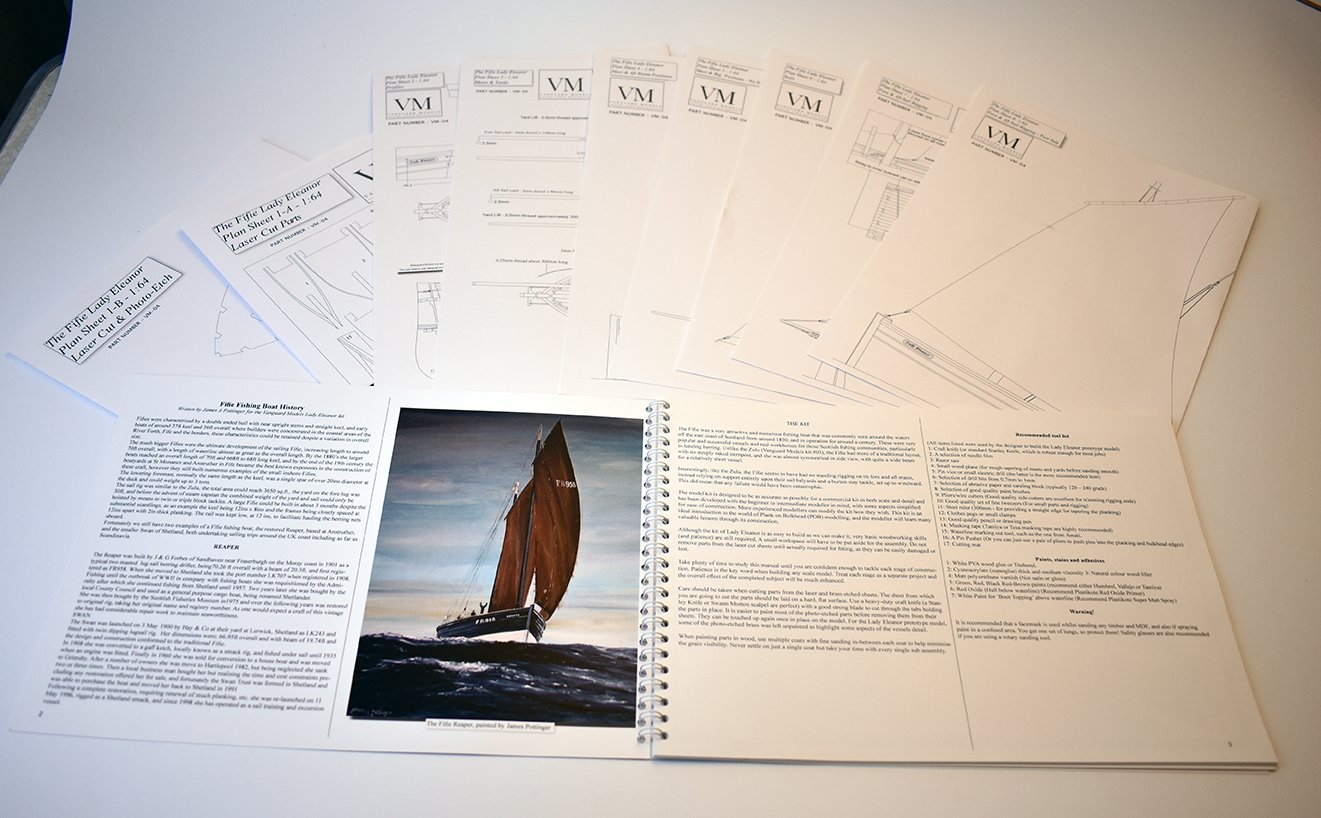
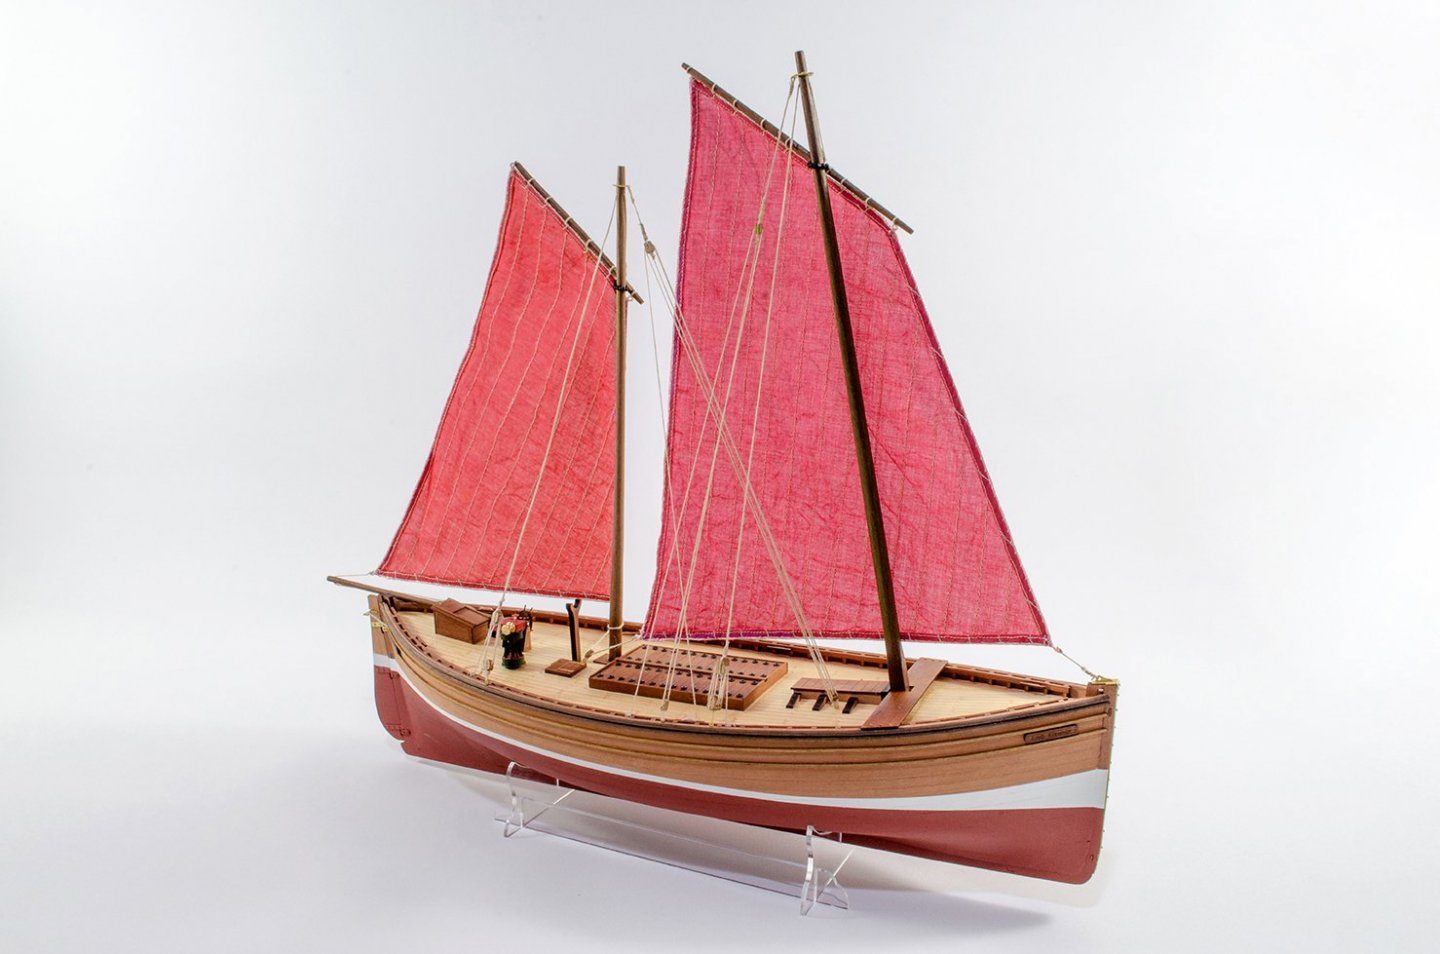
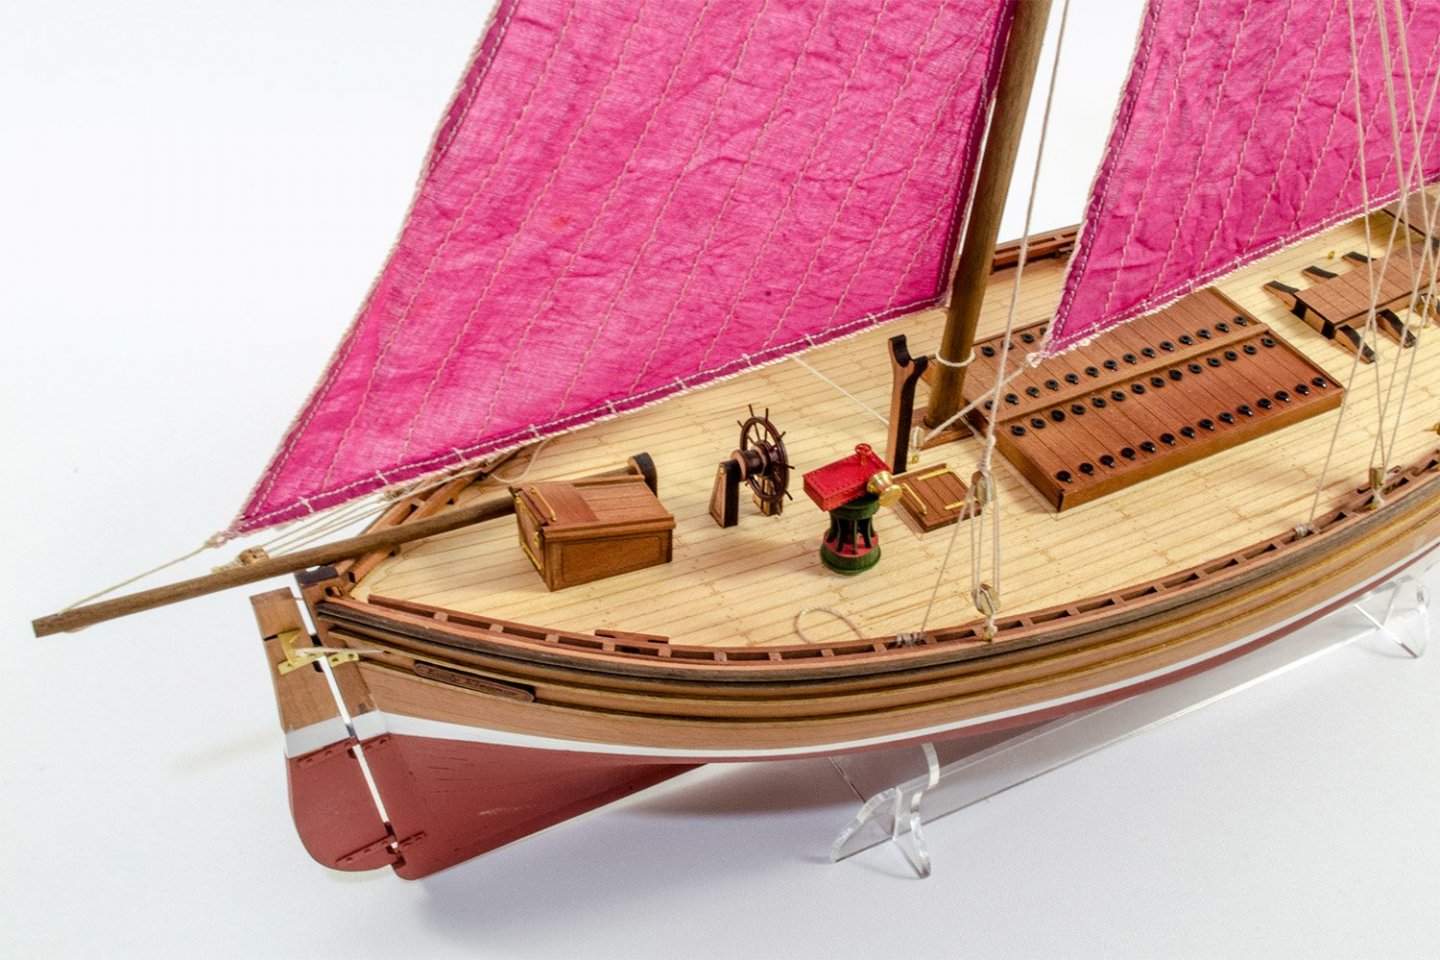
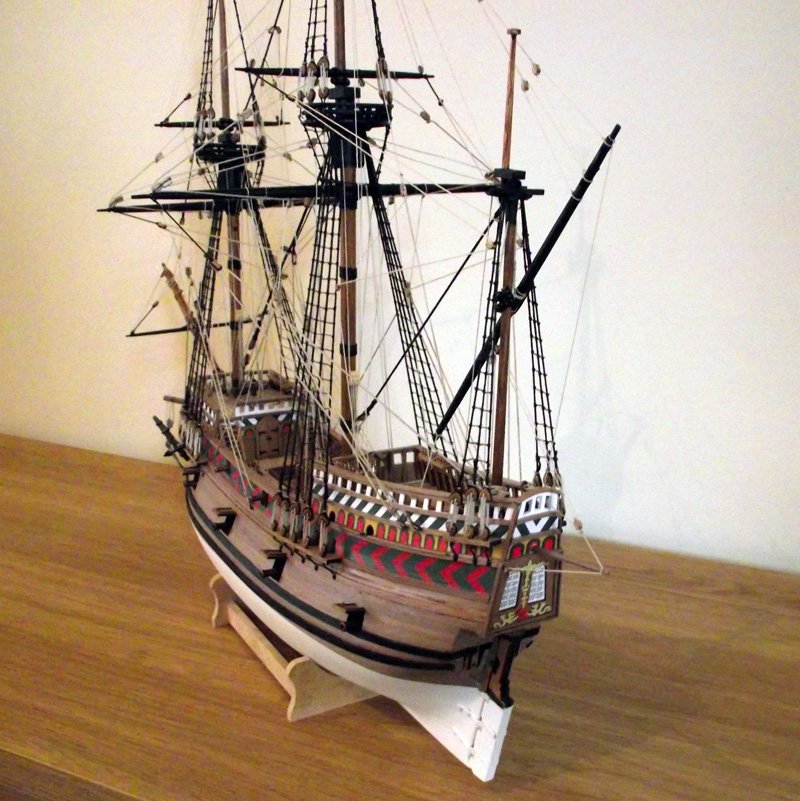
Thank you Ernie, and for your very kind words! The sails are actually this colour, not pink (thanks to Photoshop masks..). The sail set is sold un-dyed, so you can choose what colour - anything from brown to dark red is fine. I would advise using a cocoa brown dye for sails, or brown for one and dark red ('Brick Red') for another, shades seem to vary greatly. For Alert and Speedy, I have laser cut a new batch of parts, and because I now know my machine, they do look a lot better, presentation wise.
-
OK, have just put the Fifie Lady Eleanor on pre-sale. I expect the printed material next week, and all orders will be sent out as soon as I have the plans, manual and box label delivered. I have 14 kits in stock and 12 pre-stitched sail sets in stock. https://vanguardmodels.co.uk/product/order-fifie-lady-eleanor/


-
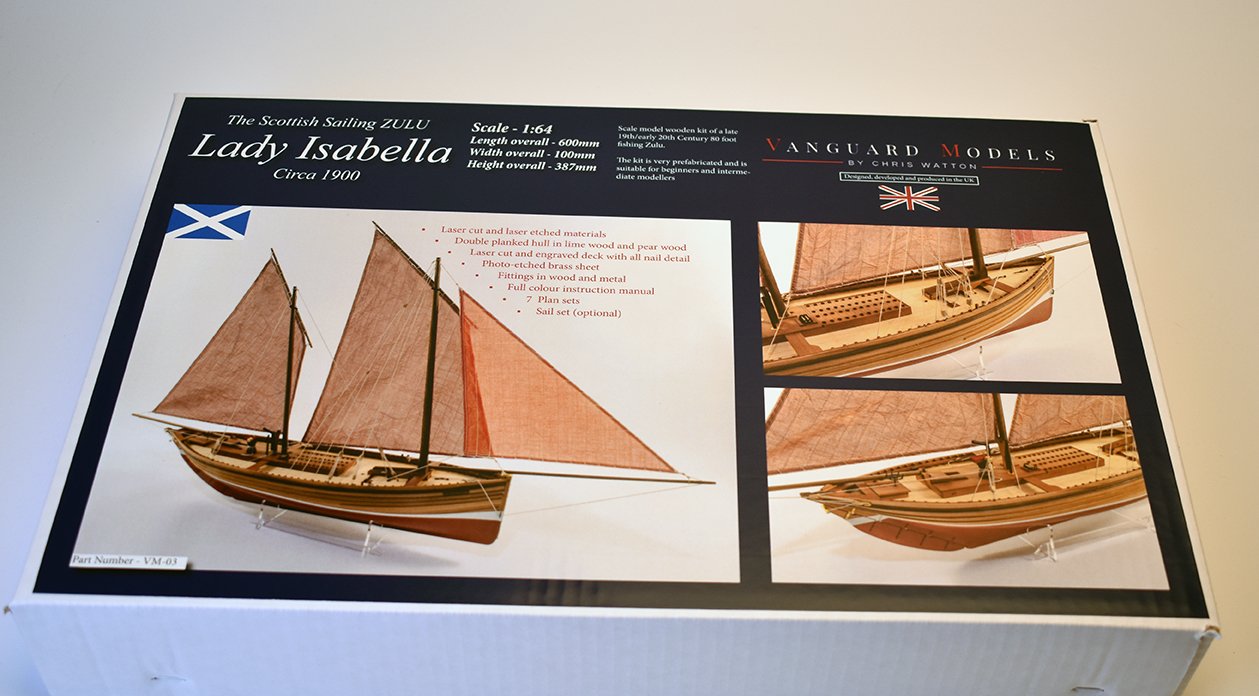
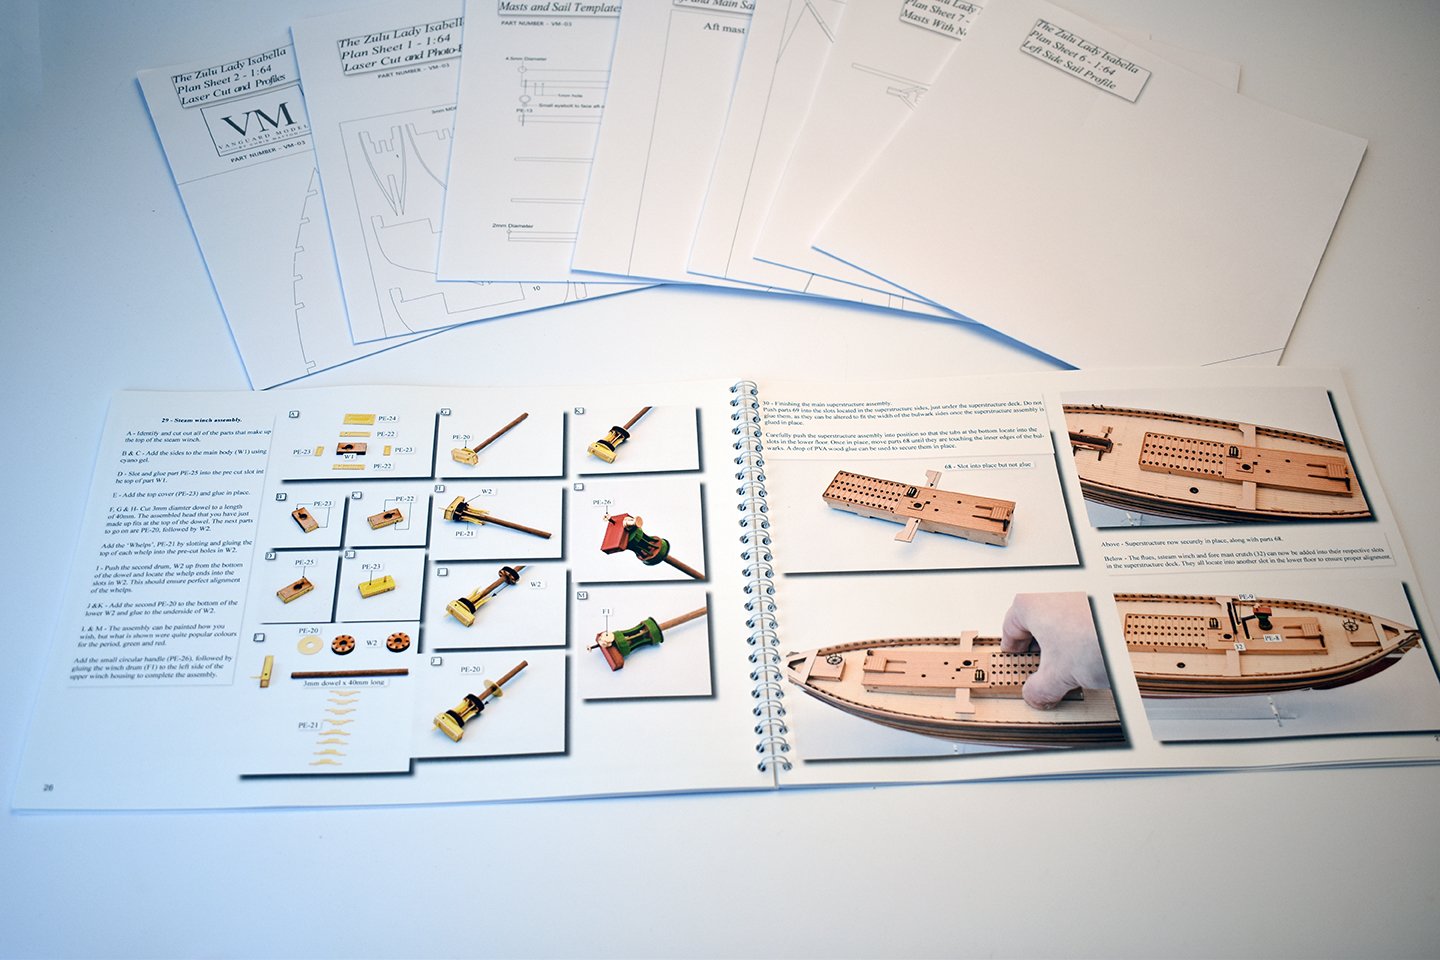
Cheers guys! OK, just taken delivery of the Zulu box label, plans and manual, so the kit is now in stock (apart from optional sails, still delayed due to lockdown restrictions..) There is a 36 page full colour manual and 7 50x70cm plan sheets.


-
Cheers guys, I know that some do not invest too much in manuals, but I know just how important a good step-by-step guide is, more so for beginners, who I fear have been more put off by cheap 'beginner' kits than enticed into buying more elaborate kits in the past - and/or inappropriate materials and assuming too much of the modeller, requiring them to bend, carve, shape parts that would have seasoned modellers struggling with! That is why for these kits, the instructions were as long as they needed to be, with no limit on page numbers or plan sets. More expensive, for sure, but I think a small price to pay if they entice more people into the hobby by being very happy with their end result, rather than giving up half way through and putting them off for good. I do feel Tanganyika may have been better for a complete novice, though, as pear wood is damned hard!
-
Today I completed the manual and box label art (no small thanks to Jim Hatch), and here is the box label art. I shall have this ready for release a week Friday (8th May), with the Zulu being ready to go this Friday! Right, back to the larger stuff....
-
Not a lot. As far as I can tell, they were virtually identical, being built in the same yard at more or less the same time. I have made a few minor changes to a lot of the parts, (gratings and ladders are standard laser cut parts for Flirt, and new anchor designs, so not a single white metal casting in this kit) and the masts and rig will be of early 1780's vintage, rather than early 1800's. There are enough changes to warrant a completely new manual and plan set - but it will be the Master Shipwright version that has the most changes, especially materials. Speedy was already a very sound design, this just expands on that a little more, and I can now included stuff as standard that I simply couldn't before. A few PE parts have migrated from their brass etched sheets onto the laser cut sheets, including all masts cleats. But most of all, and what I initially forgot to add, is that I wanted to do the earlier version with a white hull below the waterline, I think this will really show the fine hull lines.
- 109 replies
-
- 9
-
-
- Vanguard Models
- Flirt
- (and 1 more)
-
Airfix Revenge & Revell Golden Hind Accuracy
chris watton replied to Robert Taylor's topic in Nautical/Naval History
I love your model, and no one knows for sure how she really looked when fitted out as the Golden Hind. For this period, a lot is conjecture anyway, so most reasonable interpretations cannot really be criticised. -
Hiya! As all boxes have been populated with everything except the plans and instruction manual, which are arriving next Thursday, I have opened the Zulu, Lady Isabella for pre order, to be shipped on Friday 1st May and Monday 4th. I will have to wait a little longer for the sail sets, as they are stuck in Russia, they are all ready and all paid for, but they cannot be shipped until lockdown is lifted. https://vanguardmodels.co.uk/ Cheers, Chris
-
I often make mistakes (still)! when copper plating and always, and I do mean always, end up removing some I am not happy with. This is the reason there are more than enough spare plates for mistakes.
-
You will have more than enough tiles, don't worry about that (and if you don't, you know where I am). Because there are no 'dimples' like machine pressed variants, the tiles are flat, so it is no problem for some to overlap. I did the same for the Amati Cutty Sark and the 64th scale Victory.
-
Always dry fit the copper plates first, to get the general shape. Also, when you get near the ends, leave the plates connected. For example, the gaps at the bow would be better if the copper plate just short of the edge had another attached , which could be shaped to the bow profile (once dry-fitted and marked). There are very few individual plates that I glue in place, always at east two together, even if some overlap the ones below.
-
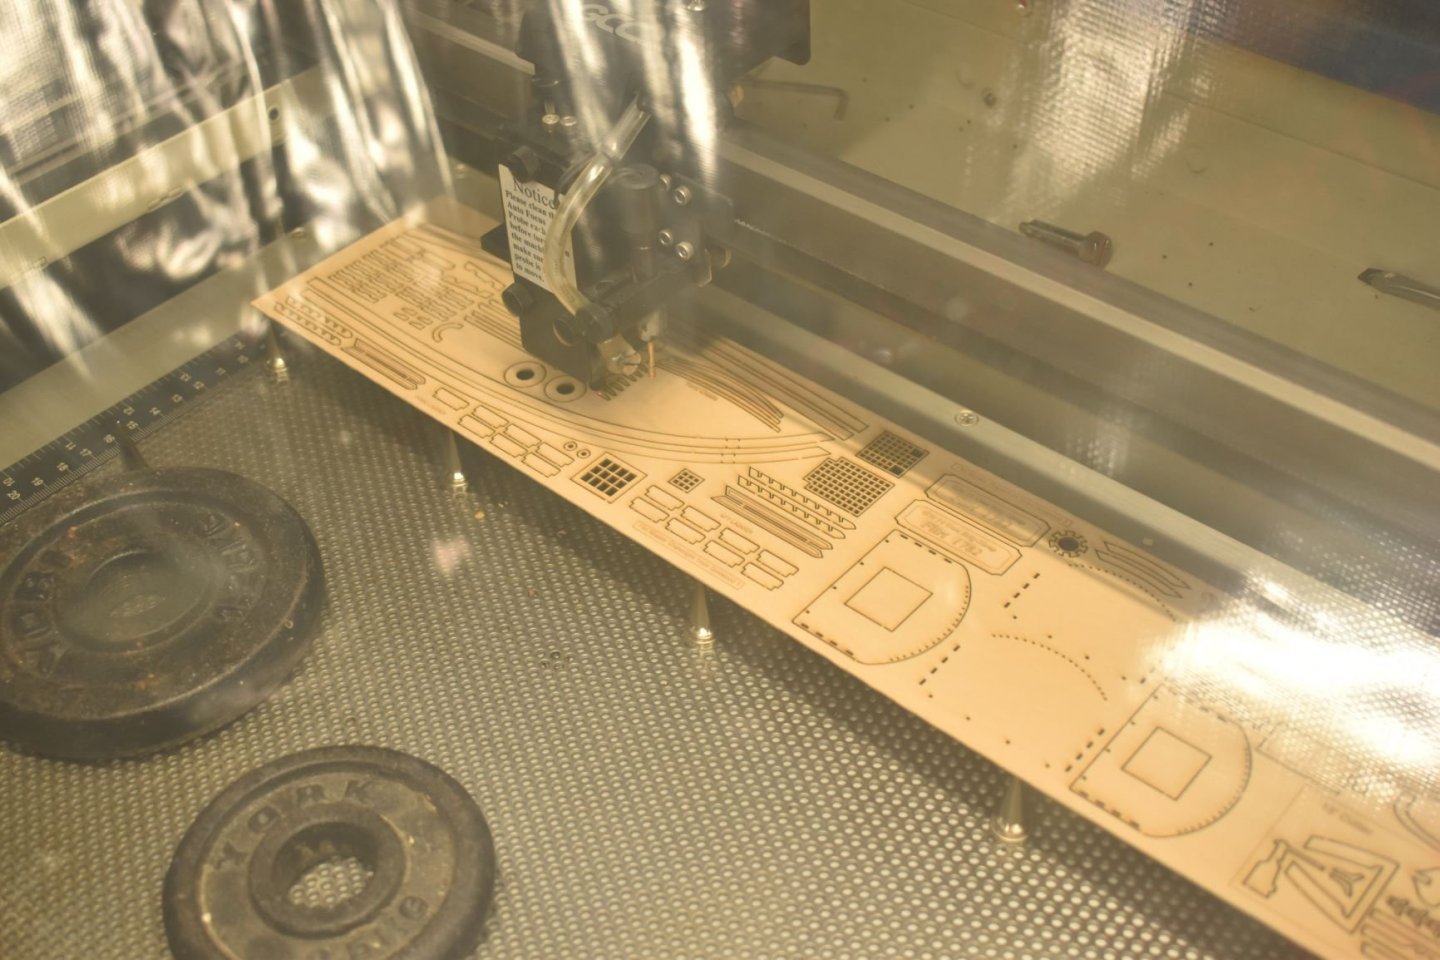
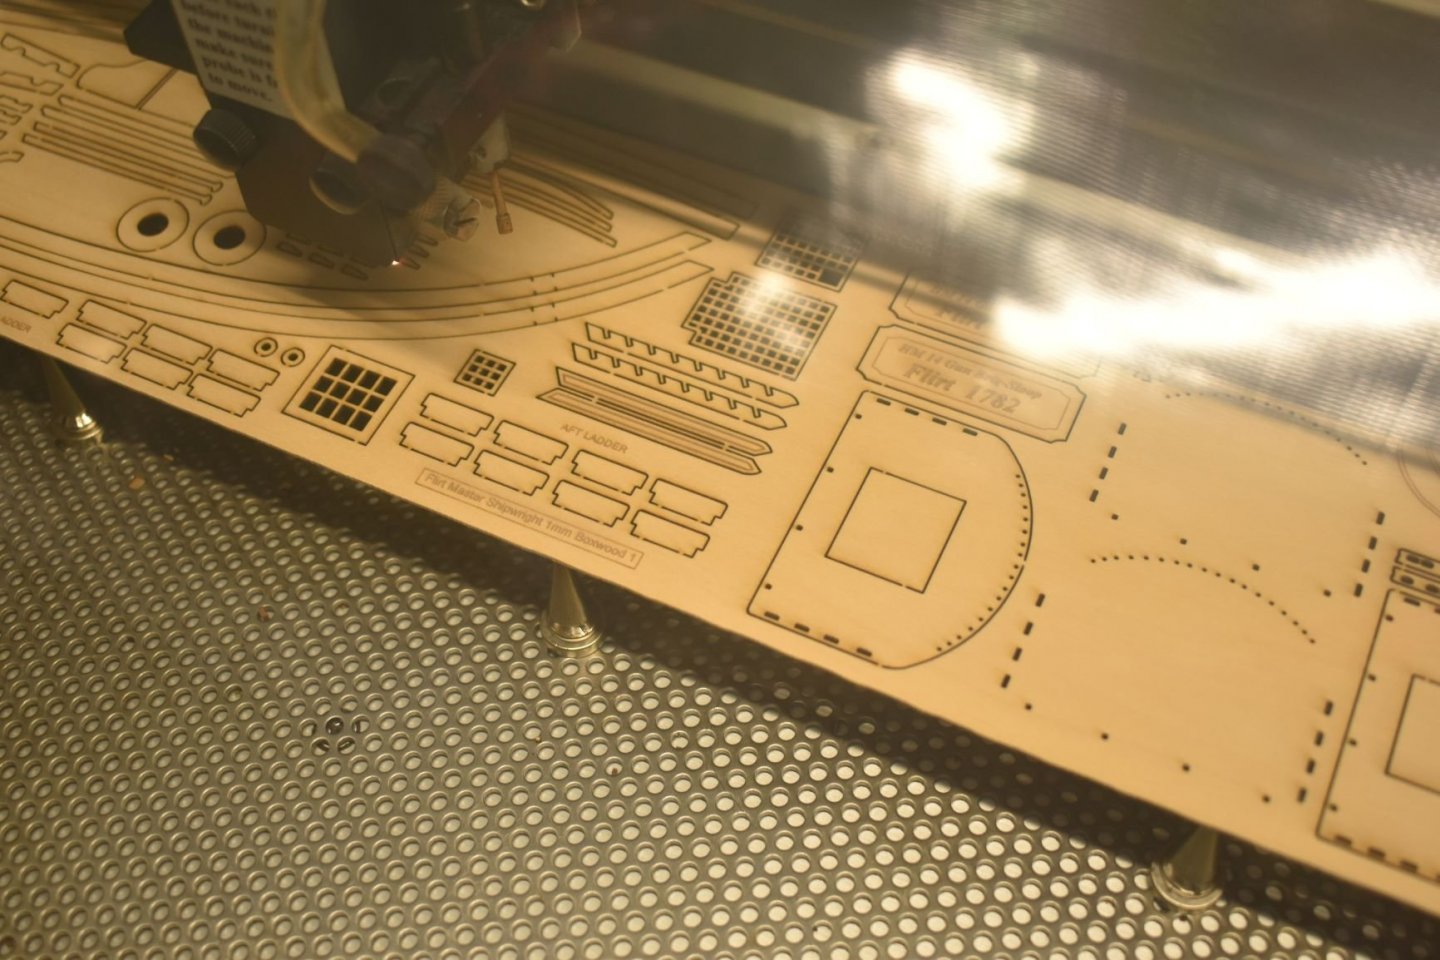
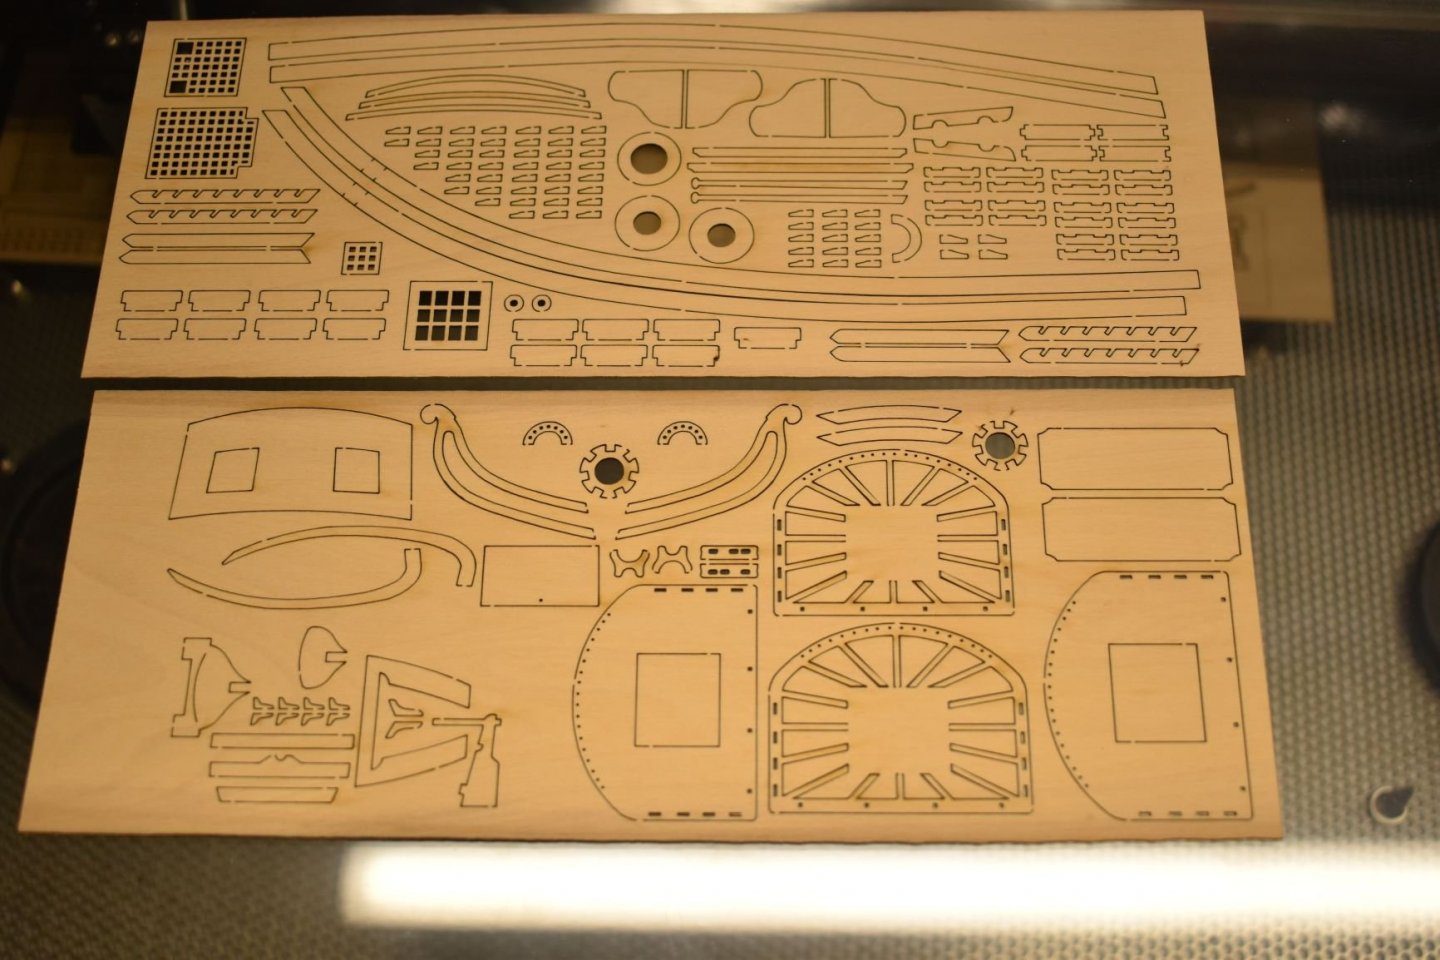
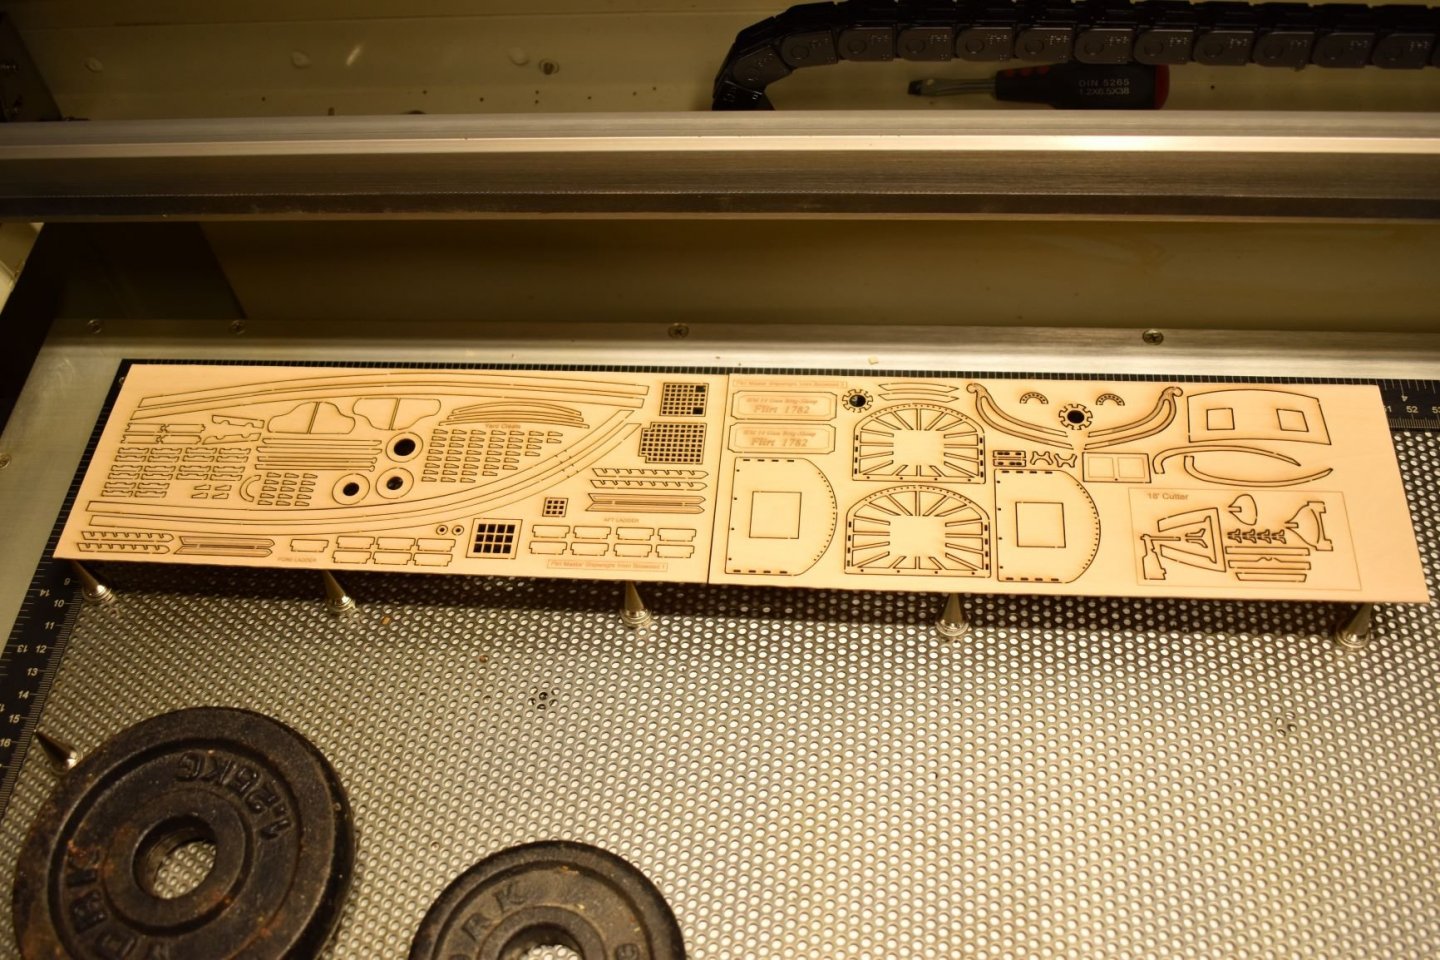
Hi Ron, The actual laser machine is remarkably quiet (unlike CNC routing machines). I bought a low noise air compressor with the machine, which blows a jet of air over the laser cut parts to minimise burning. The machine that makes the most noise is actually the fume extractor, but when running normally, even that isn't too bad, and can hear the radio just fine in the laser room. If the door is closed in the room, you wouldn't even know it was running. I will have a smell of the boxwood laser cut parts, and report back....
-
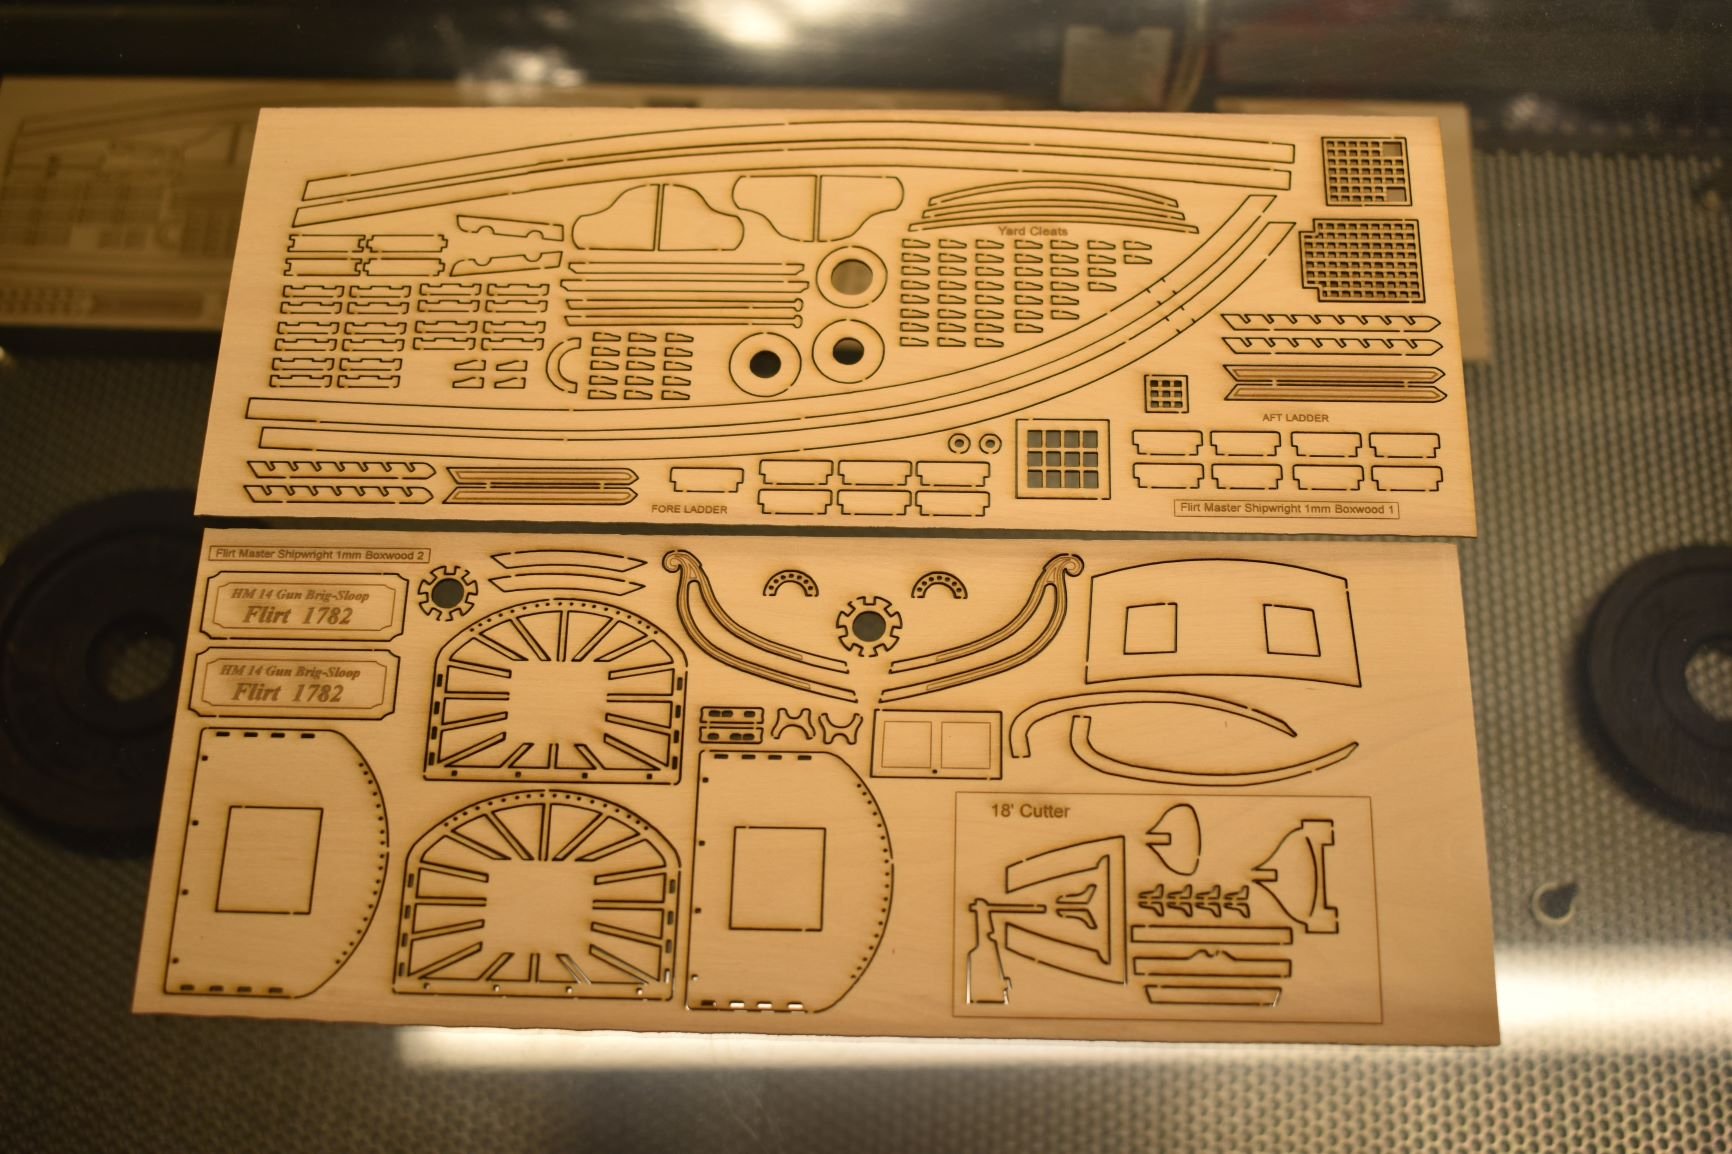
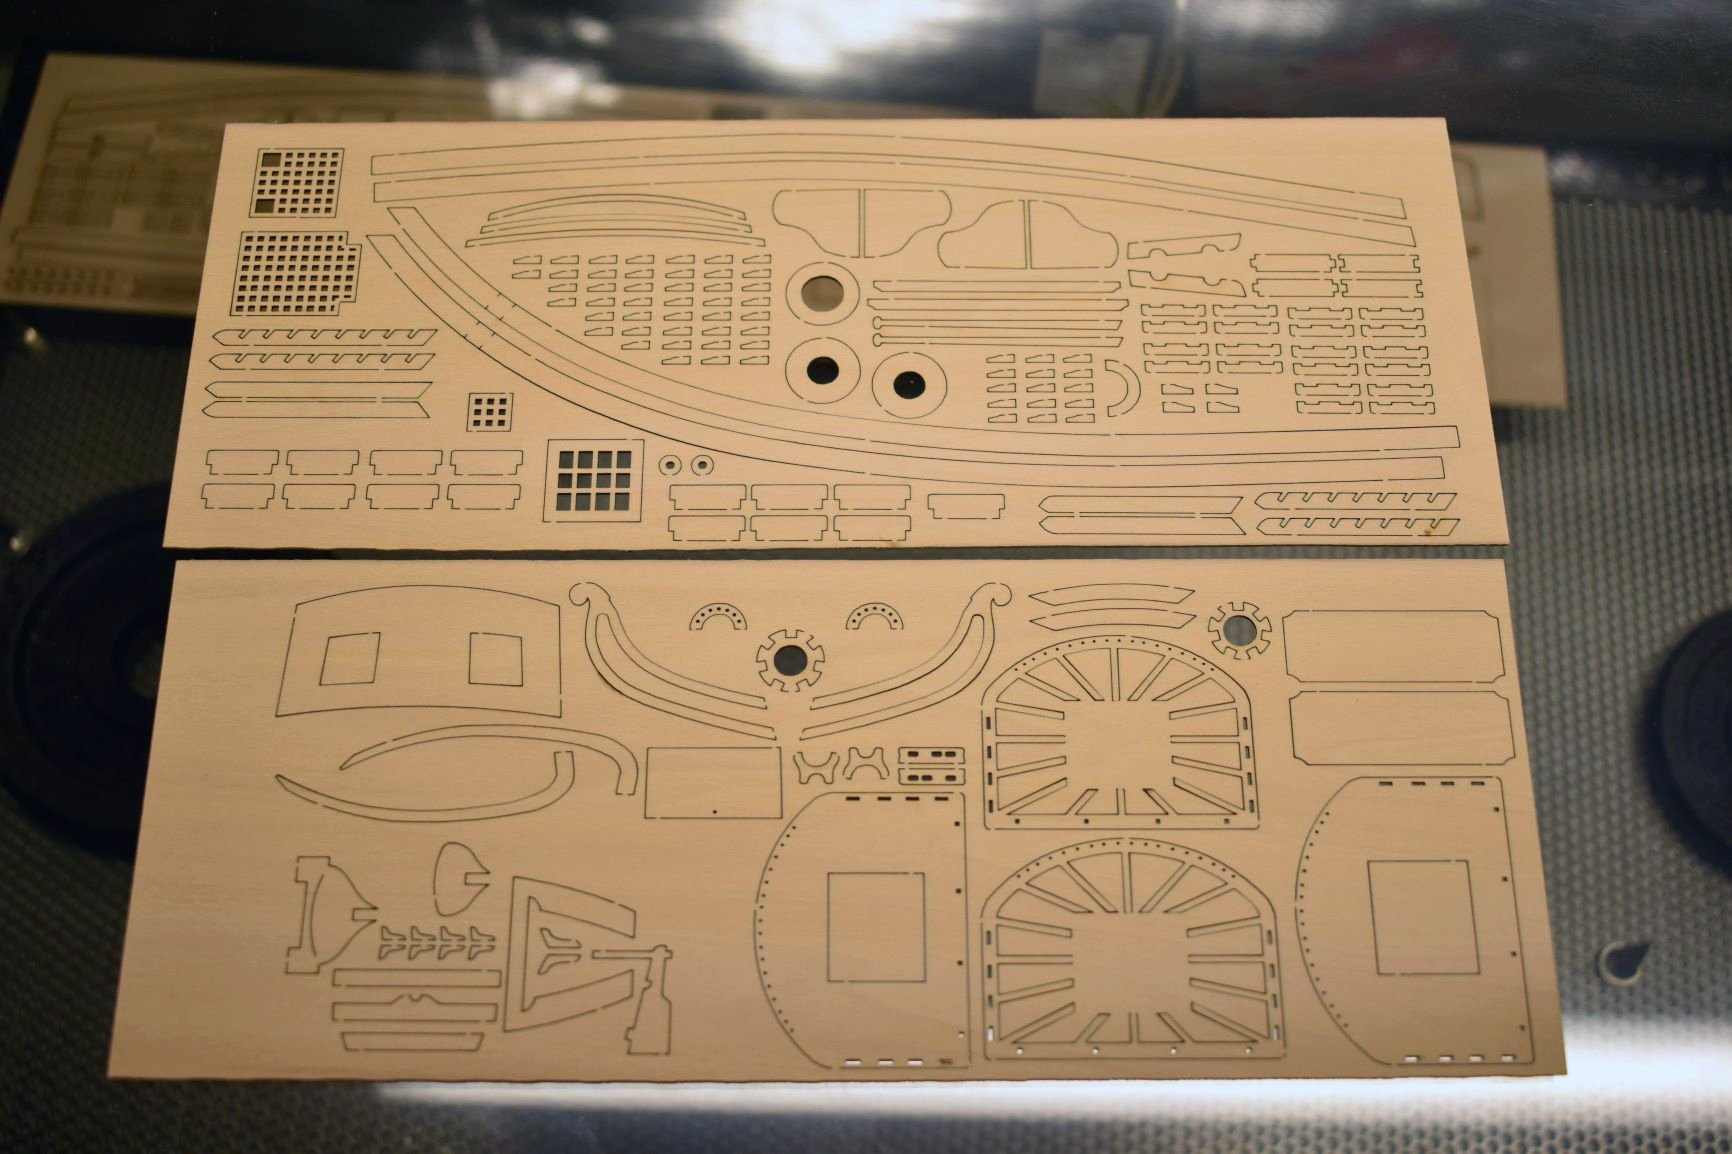
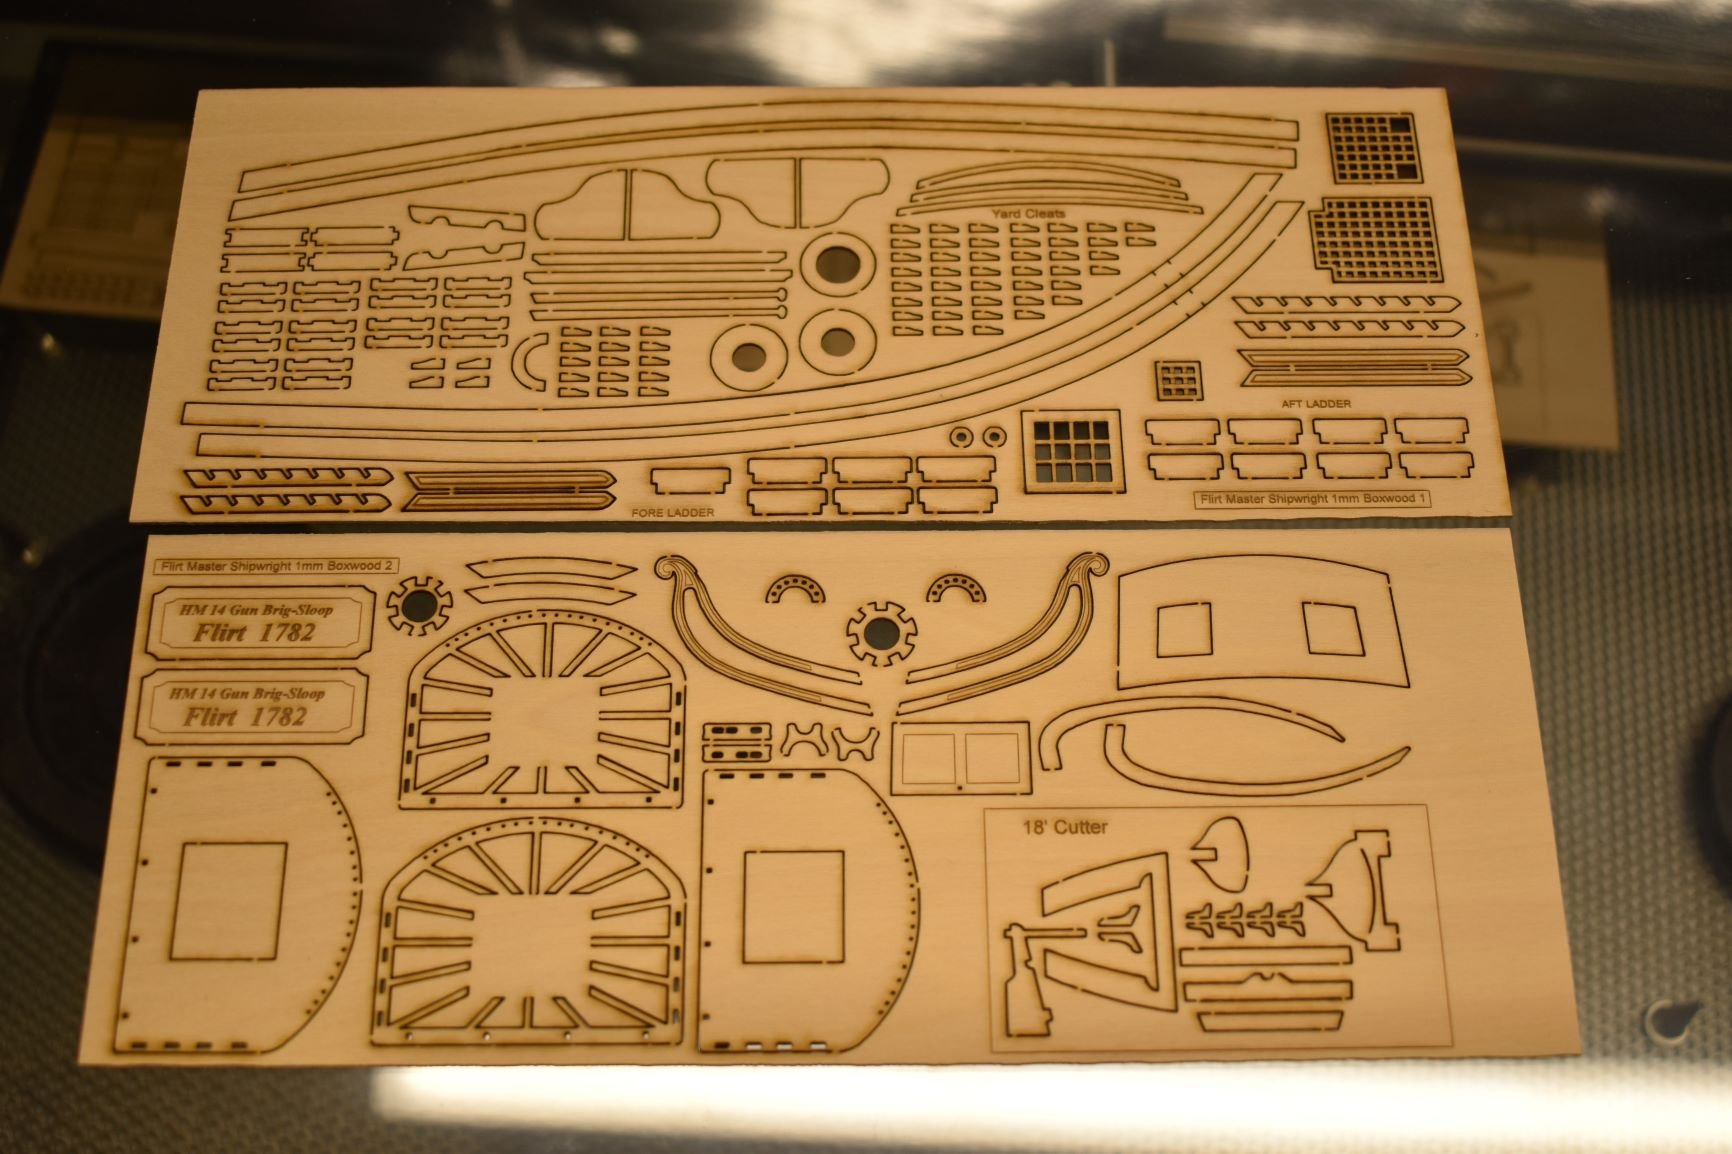
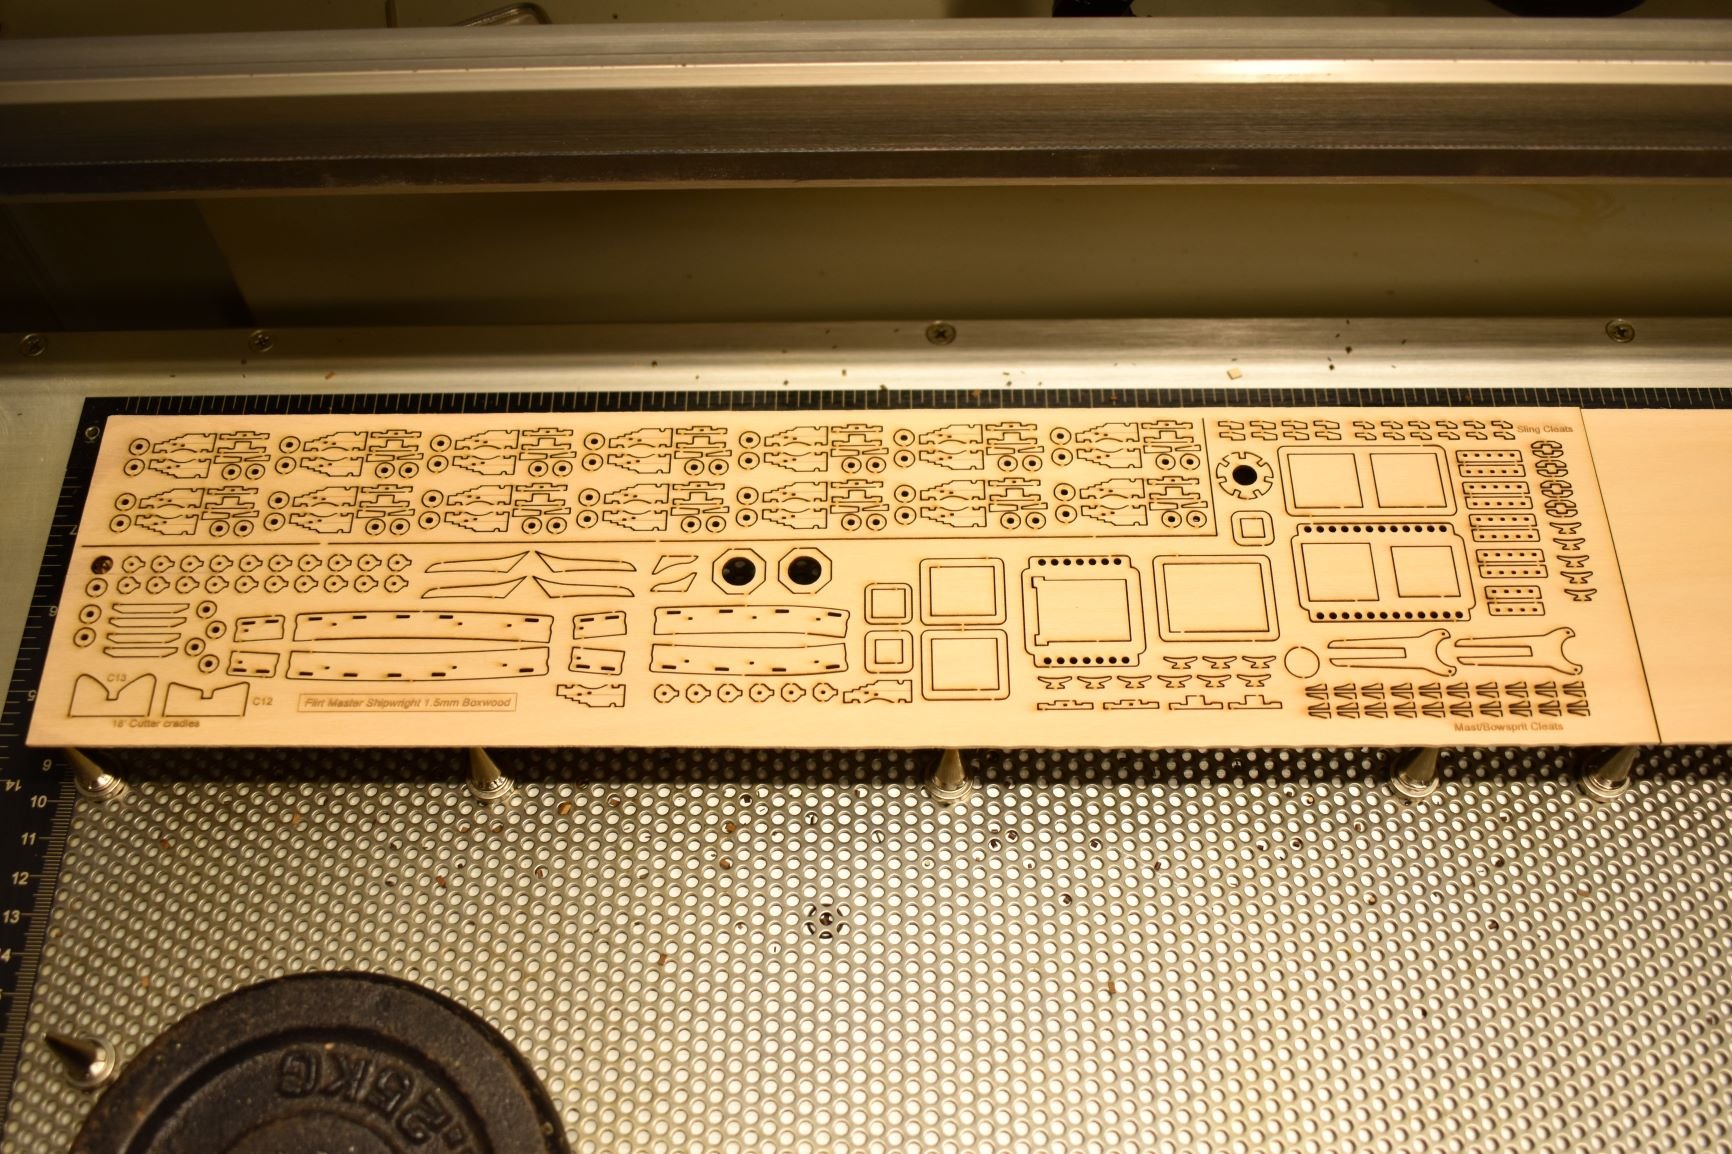
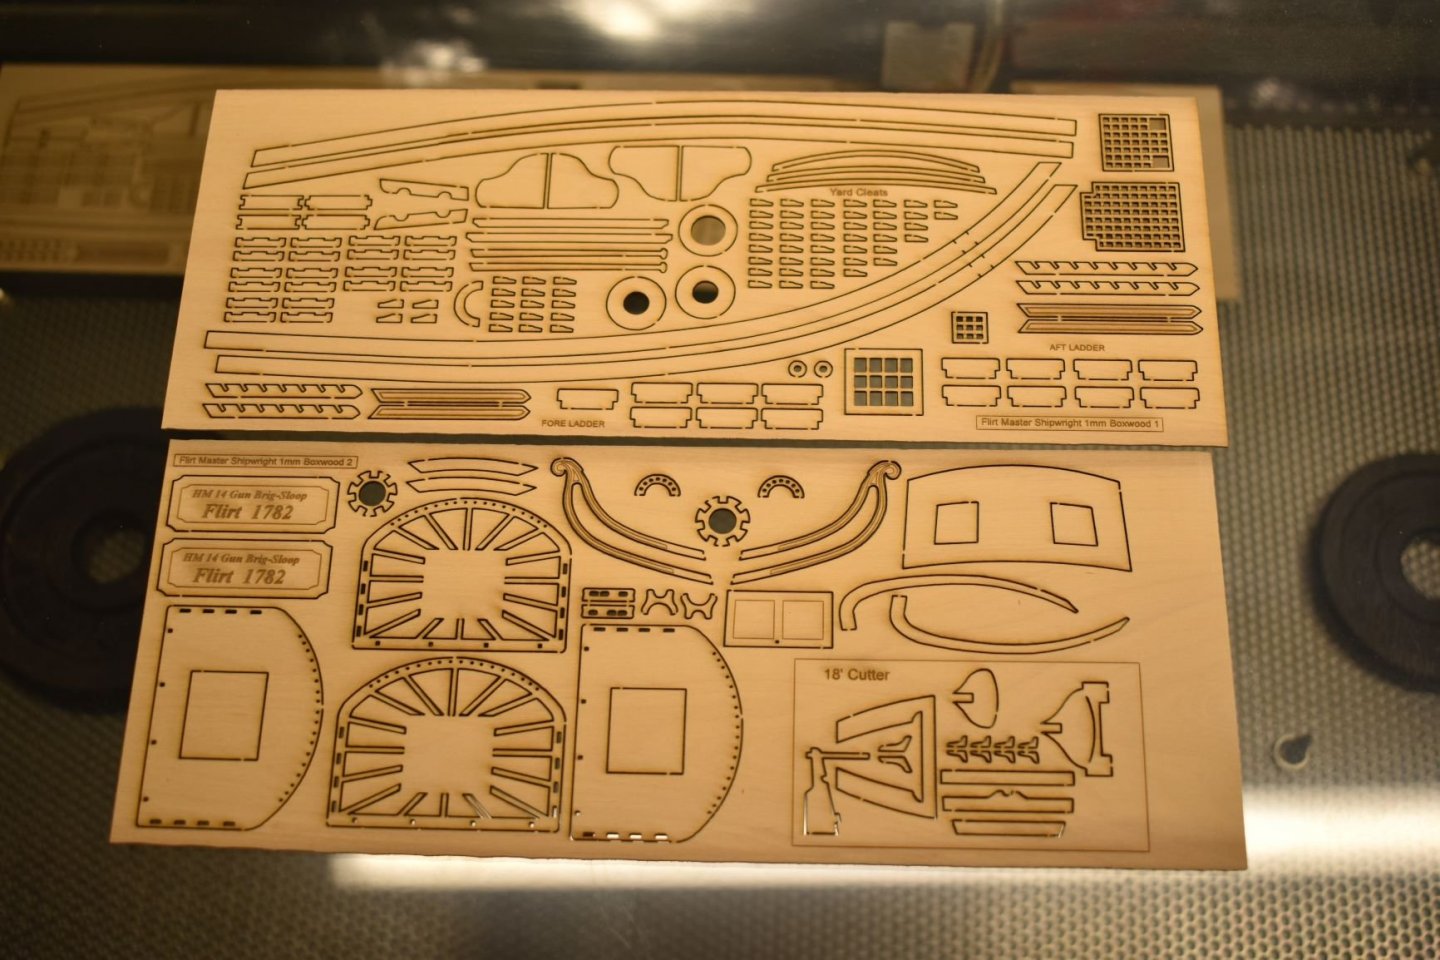
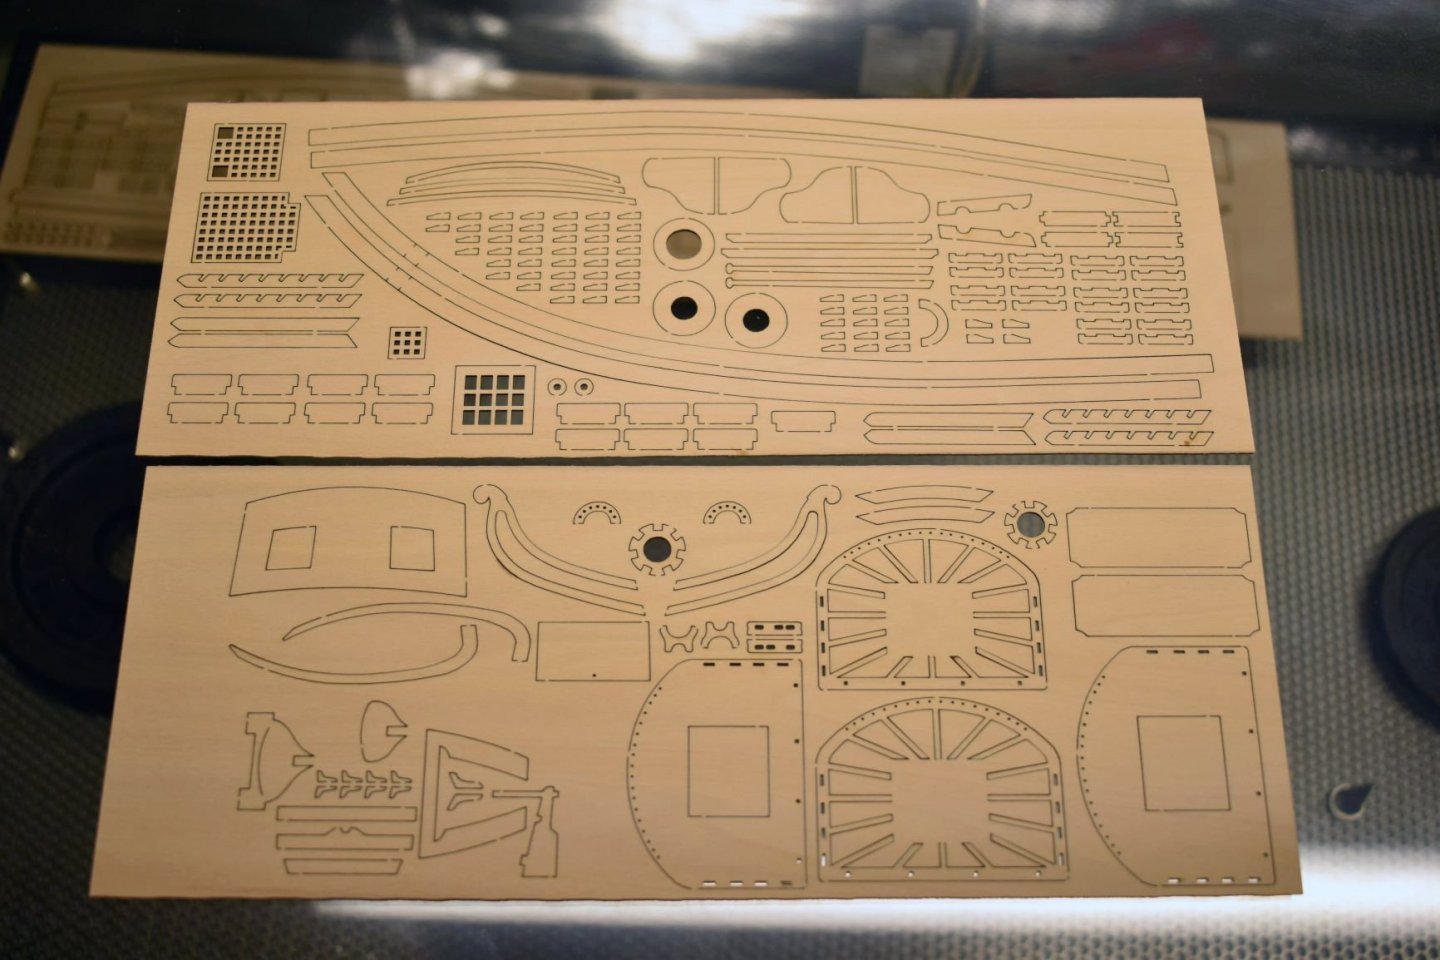
Here are some pics of the Flirt Master Shipwright boxwood 1 and 1.5mm being laser cut. For the 100x500mm sheets, I usually laser cut four at a time, but boxwood is much more expensive, so am doing one at a time to ensure they are set up correctly for each sheet. A lot more time consuming, but I know the sheets will be good.


-
Airfix Revenge & Revell Golden Hind Accuracy
chris watton replied to Robert Taylor's topic in Nautical/Naval History
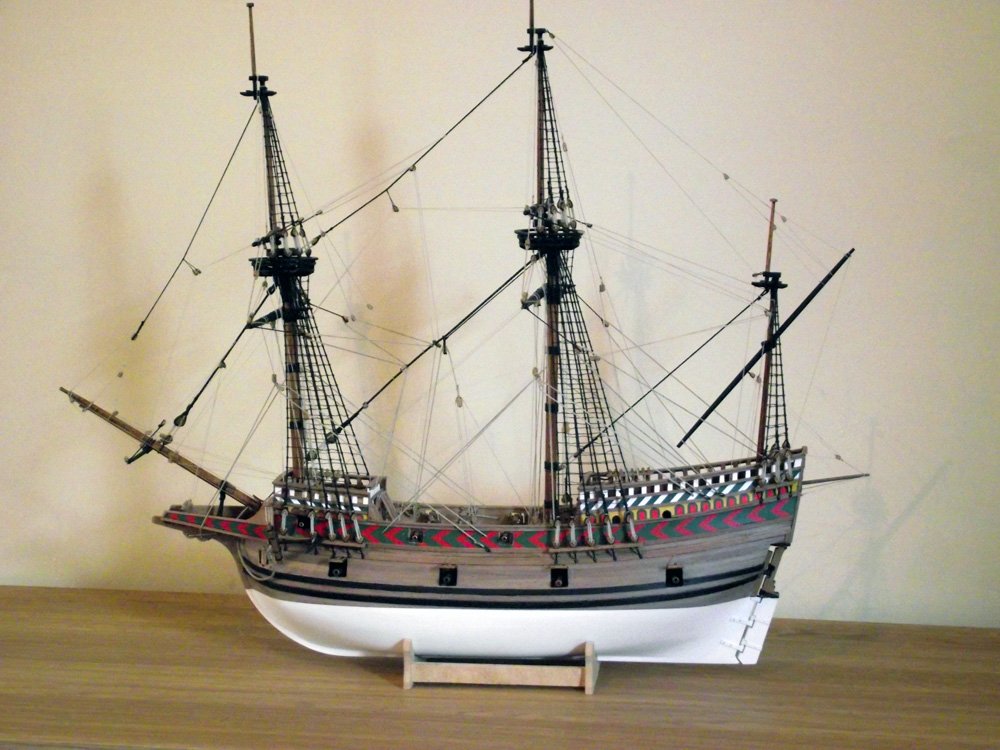
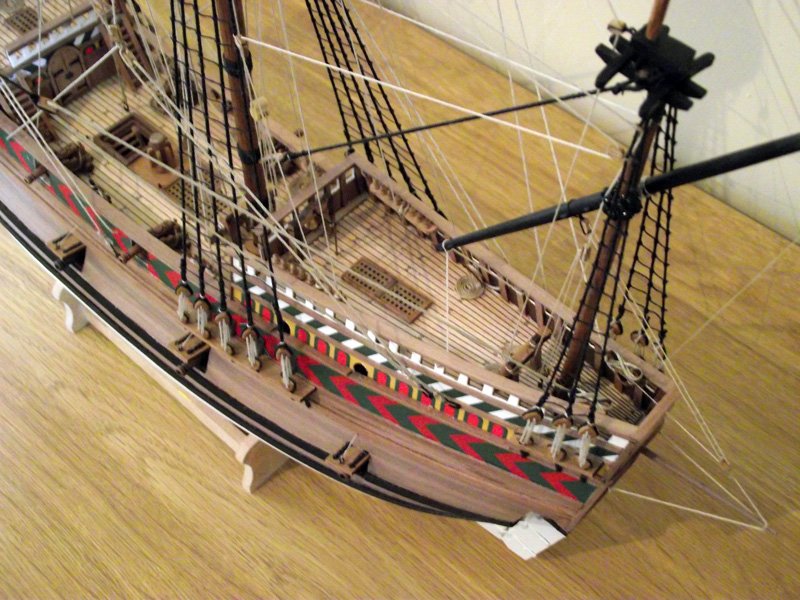
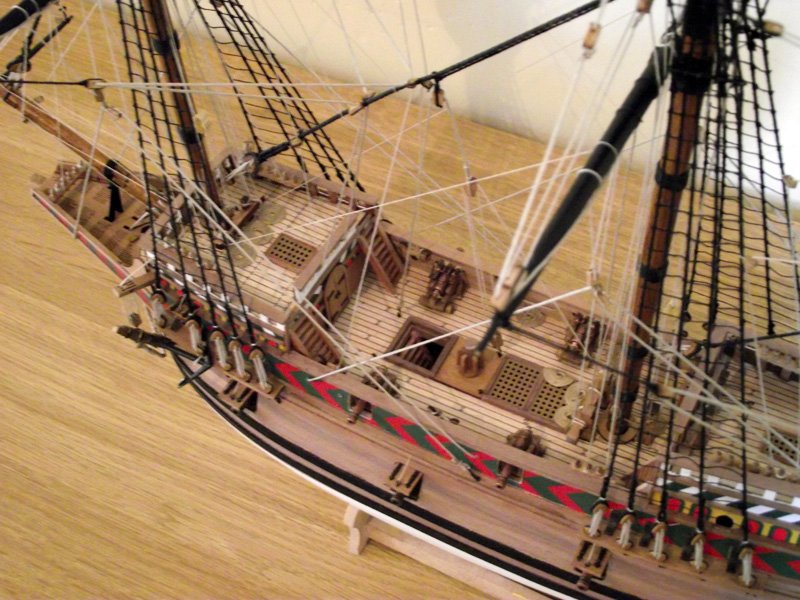
I did some designs for a 64th scale Golden Hind back in 2009, and liaised with an expert on this period throughout, who had studied and researched this period all his life. The pictures attached was the result from all available evidence and 'expert conjecture'. It looks a lot different to what we are all used to seeing. This ship really was tiny, too small for stacked multiple rear deck levels, and possibly too small for the often shown stern walkway.
- 12 replies
-
- 13
-