Bryan Woods
-
Posts
545 -
Joined
-
Last visited
Content Type
Profiles
Forums
Gallery
Events
Everything posted by Bryan Woods
-

The Mossy Shipyard by Bryan Woods - 1:1
Bryan Woods replied to Bryan Woods's topic in Non-ship/categorised builds
I thought I was at a stopping point, but when my wife volunteered her help to stain the porch. I was off to the hardware store:-) The local store didn’t have much of a selection, luckily they had one she approved of.
-
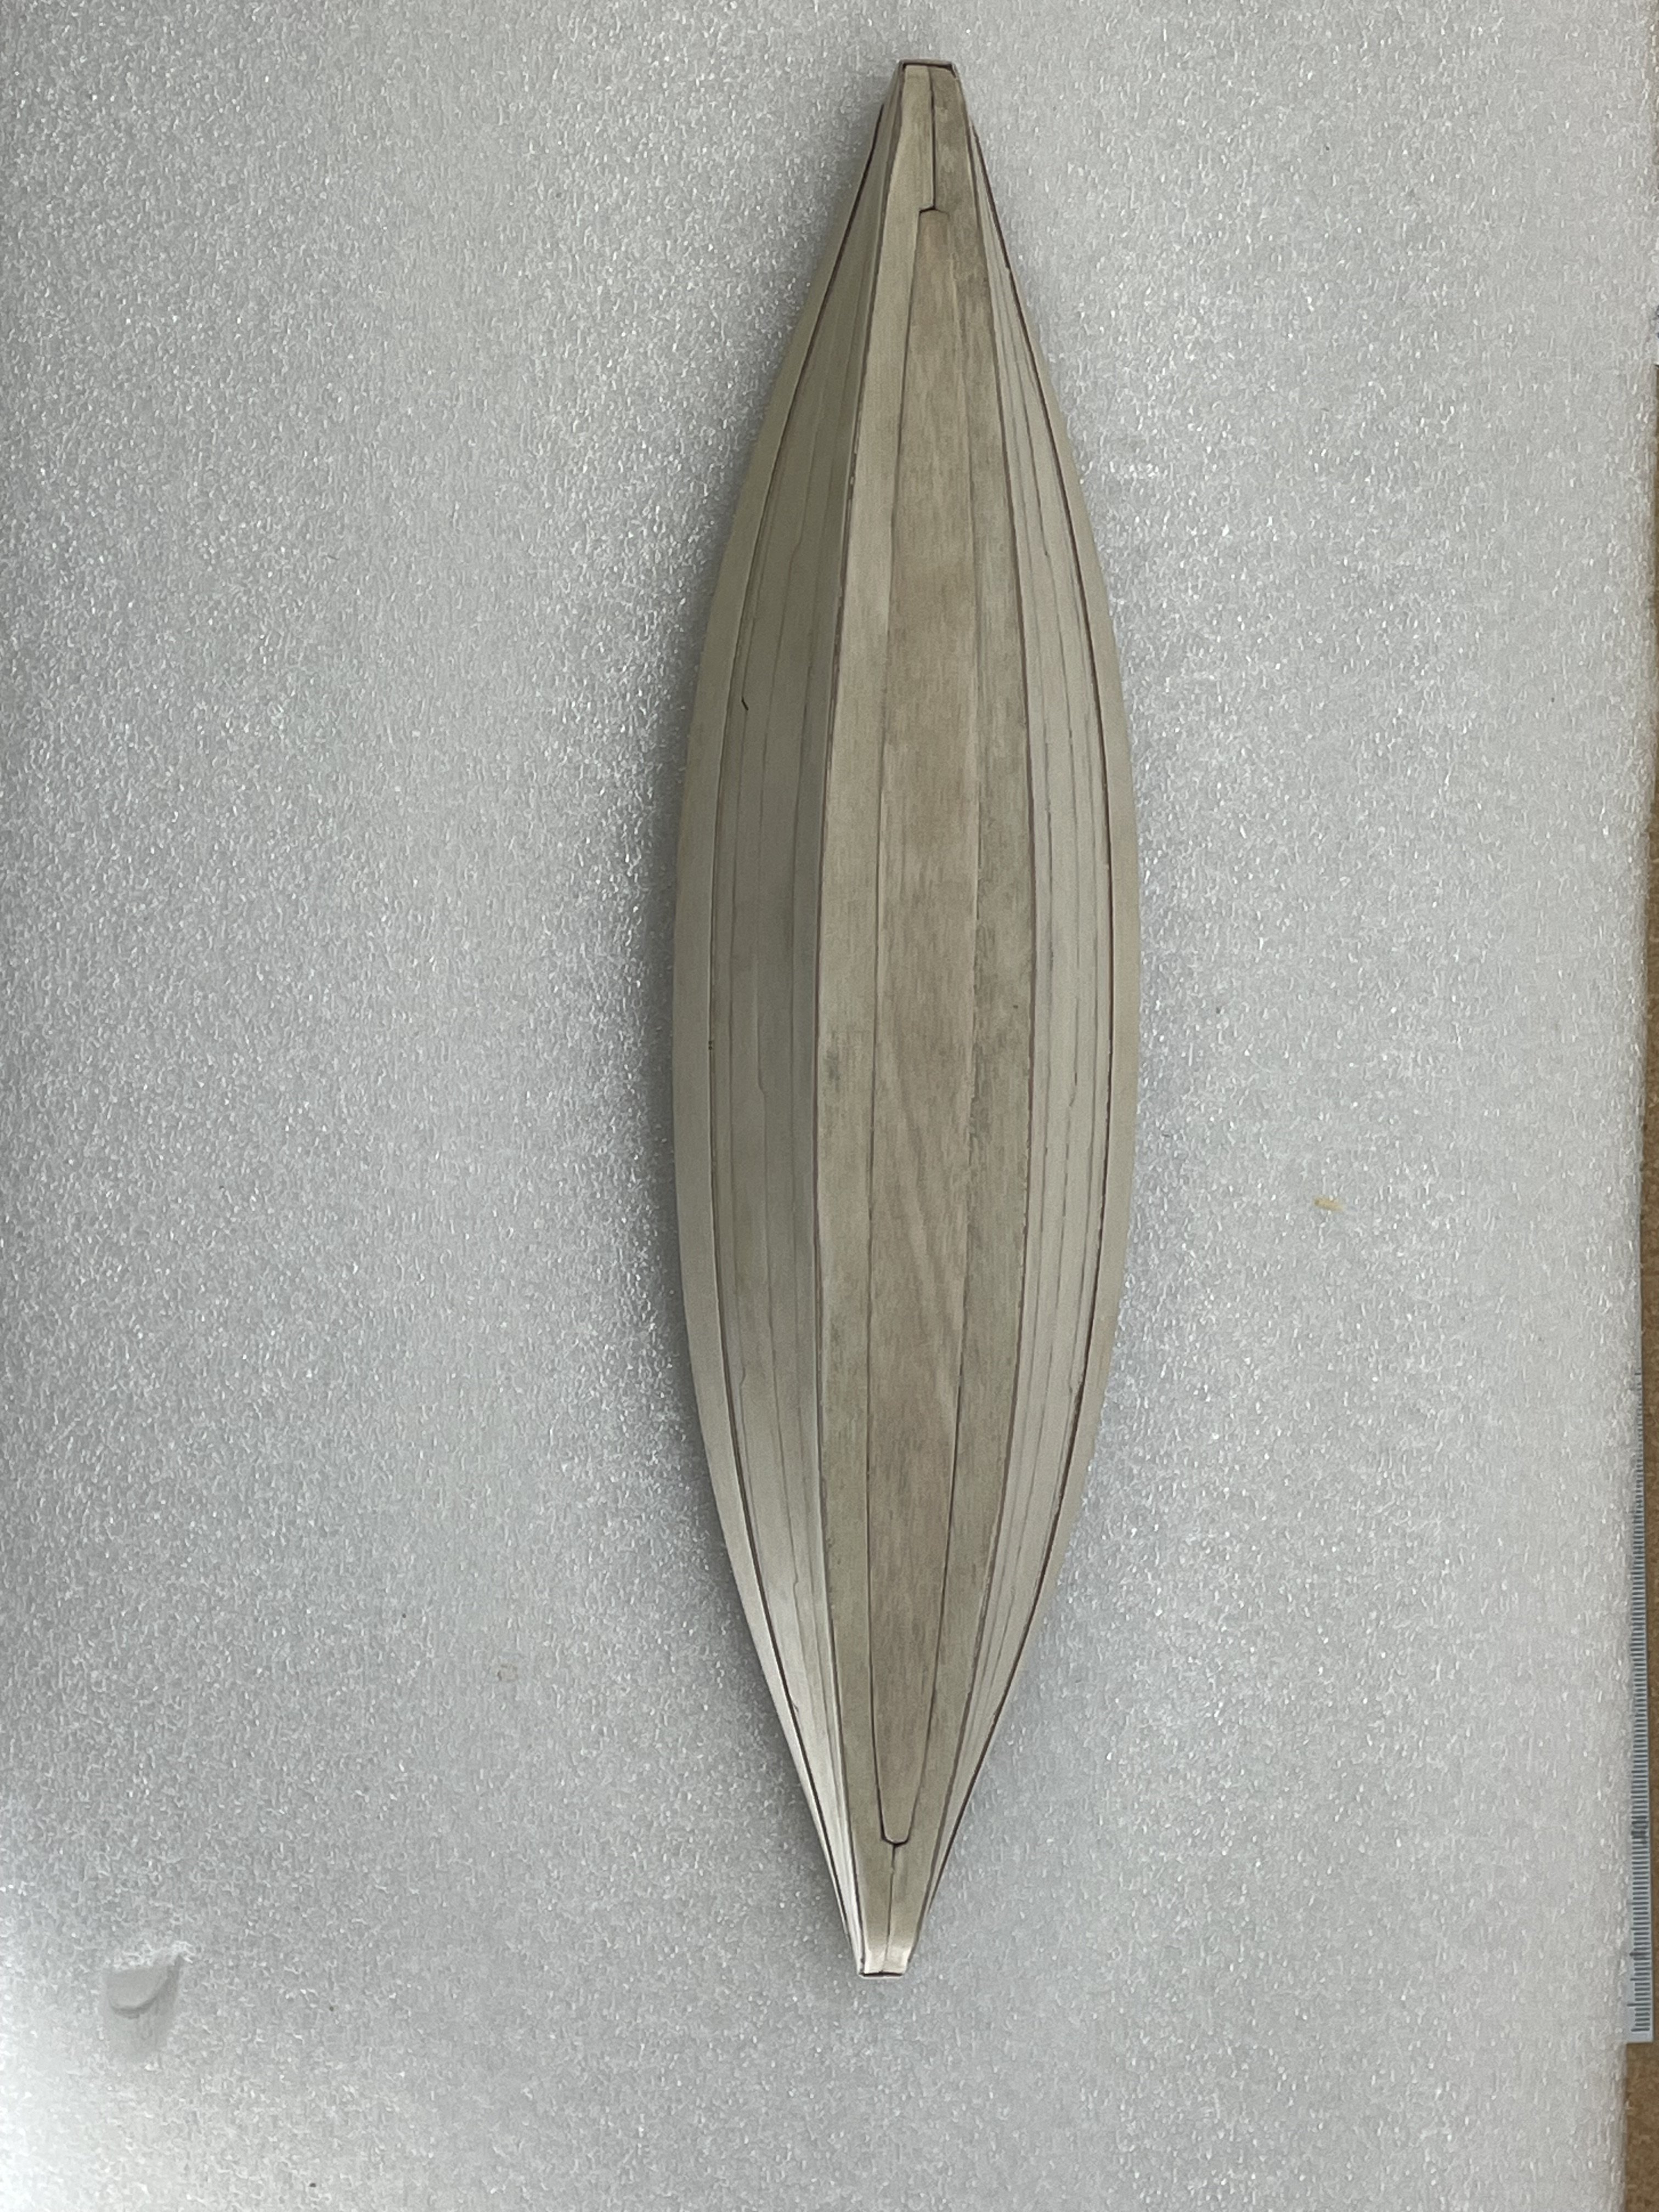
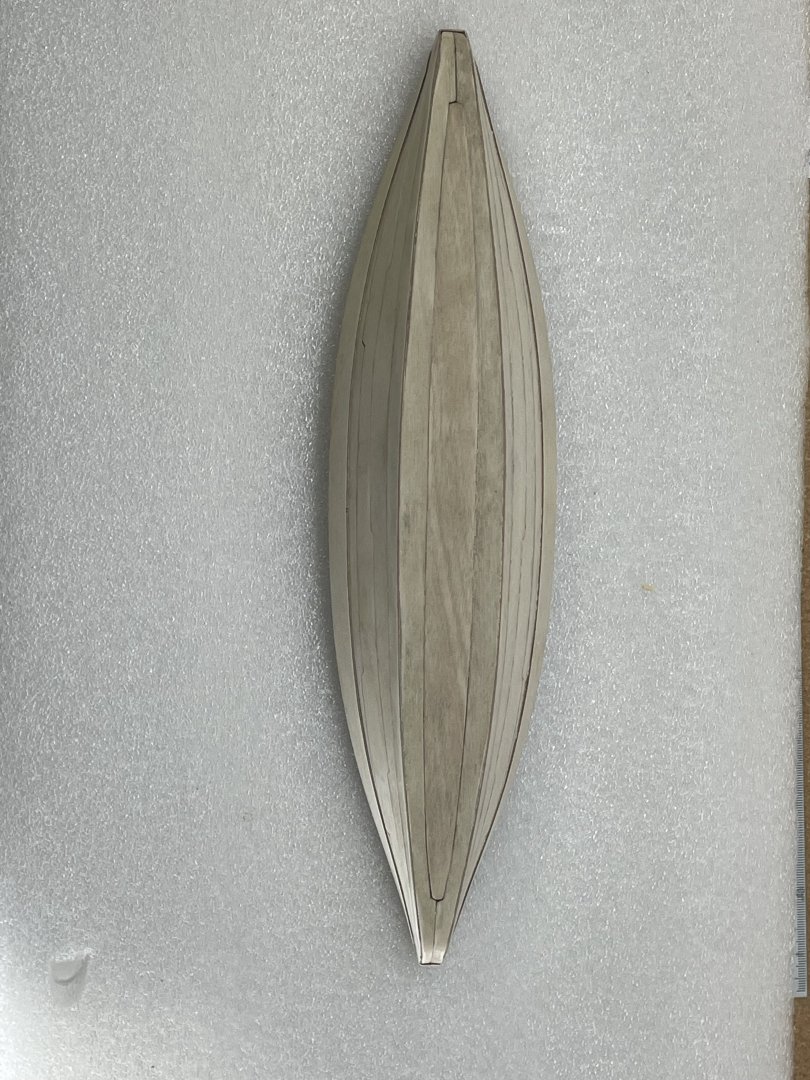
This morning I finished planking the hull. Bow stern I’m probably going to paint and finish the hull before I start drilling the holes in the hull for the ropes. It’s going to be very easy to cover myself up on this build, if I don’t look at everything that goes on the deck . All the way to the end of the build.

- 44 replies
-
- 4
-

-
- Nave Egizia
- Amati
- (and 1 more)
-
Great job Glen, and also a thank you for a great play by play log that helped me follow along on stuff I had no knowledge of:-)
- 301 replies
-
- 5
-
-

-
- Constitution
- Bluejacket Shipcrafters
- (and 1 more)
-
The Mossy Shipyard by Bryan Woods - 1:1
Bryan Woods replied to Bryan Woods's topic in Non-ship/categorised builds
Good morning Ron, The bird strikes have slowed. Mainly there is a male blue bird that just knocks up against all the windows around the shipyard and the garage. I think he’s just trying to run off his competition. I do have to install a ceiling under the porch. There’s already a nest with four eggs balanced on a joist:-) -
The Mossy Shipyard by Bryan Woods - 1:1
Bryan Woods replied to Bryan Woods's topic in Non-ship/categorised builds
Great idea tmj, I need to add that to the list:-) -
The Mossy Shipyard by Bryan Woods - 1:1
Bryan Woods replied to Bryan Woods's topic in Non-ship/categorised builds
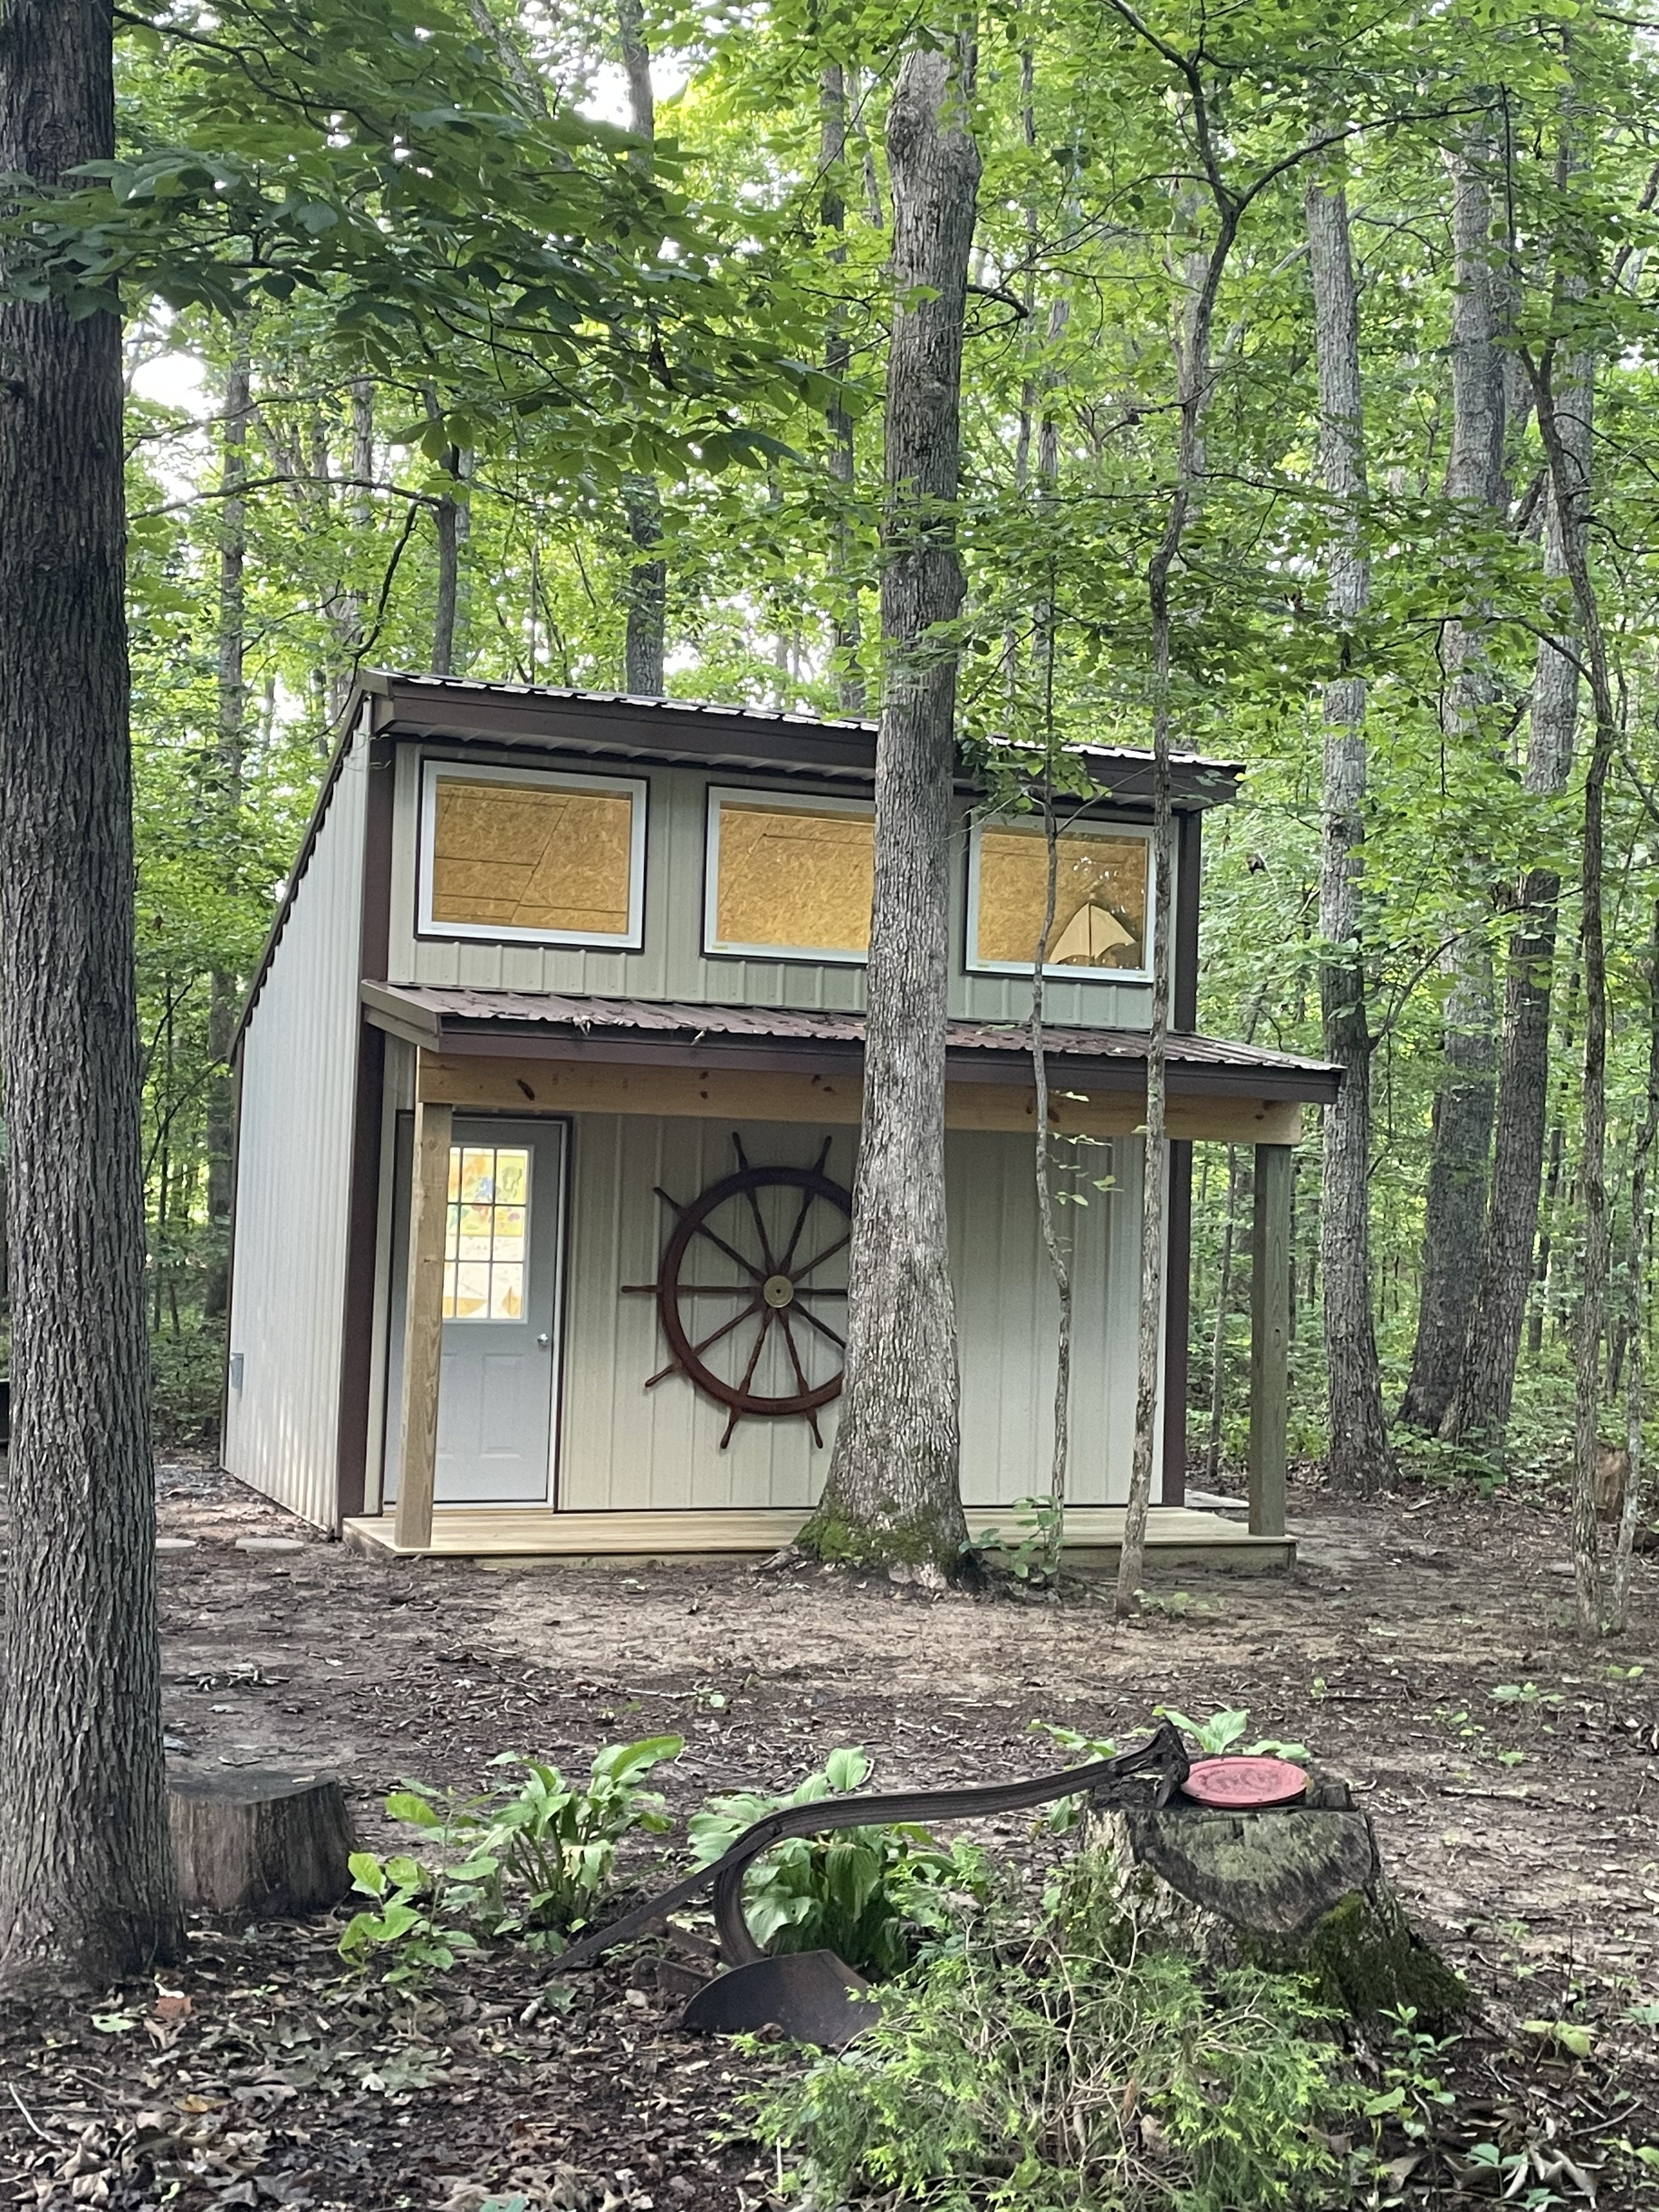
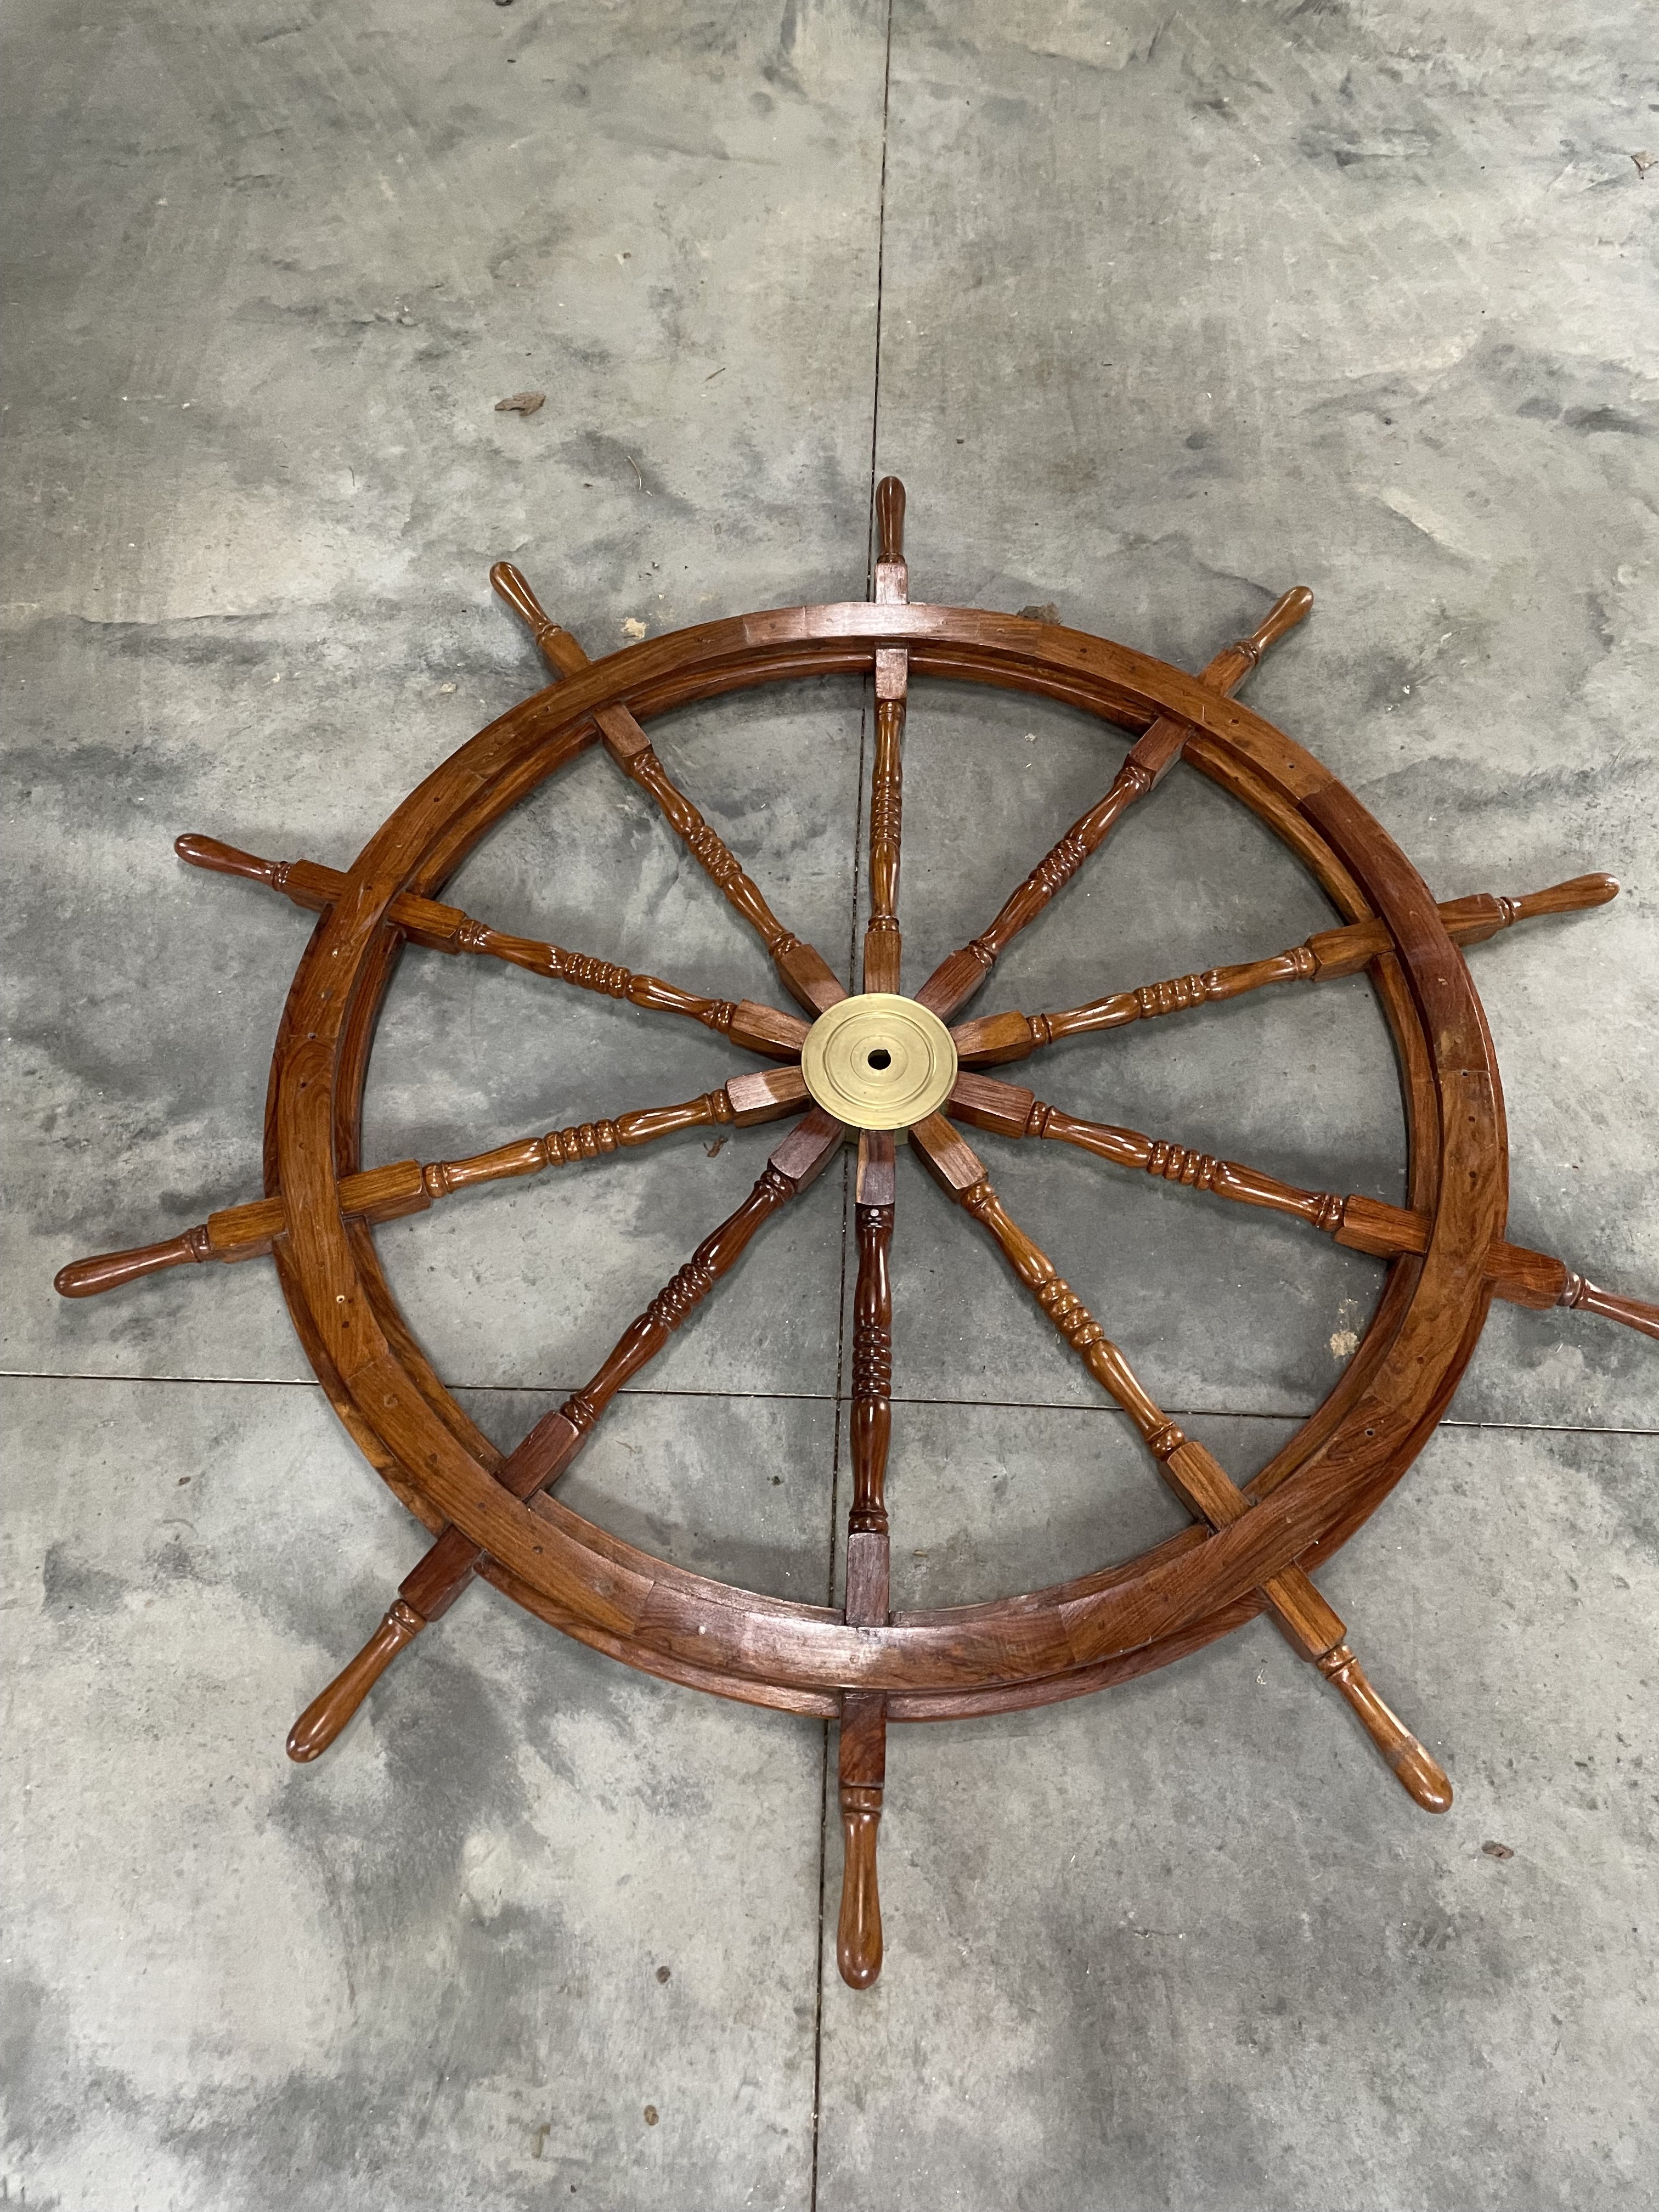
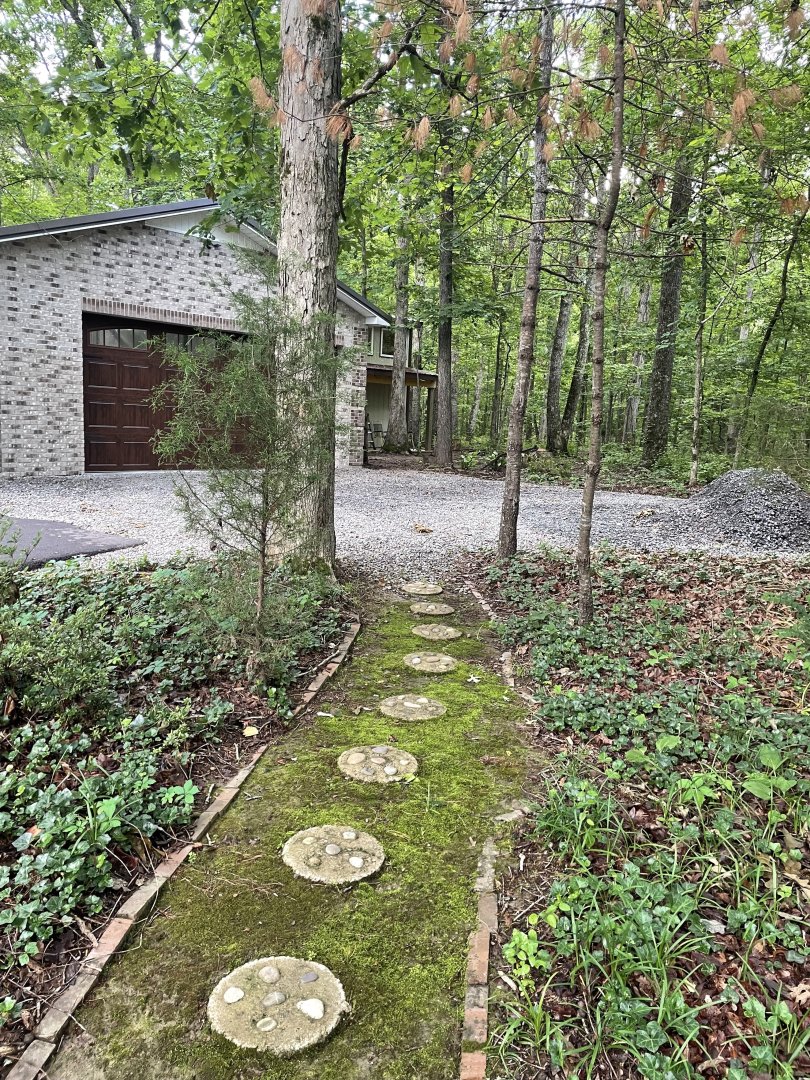
Thank you Mike for your thoughtful comments and suggestions. We plan putting cobble stones later. At this time we have stepping stones between the garage and the shipyard that we use if it is damp. It was my idea to get her moved in, so no backing out now:-) Down in the back woods of Tennessee a ship’s wheel isn’t common, or a shipyard either:-) -
The Mossy Shipyard by Bryan Woods - 1:1
Bryan Woods replied to Bryan Woods's topic in Non-ship/categorised builds
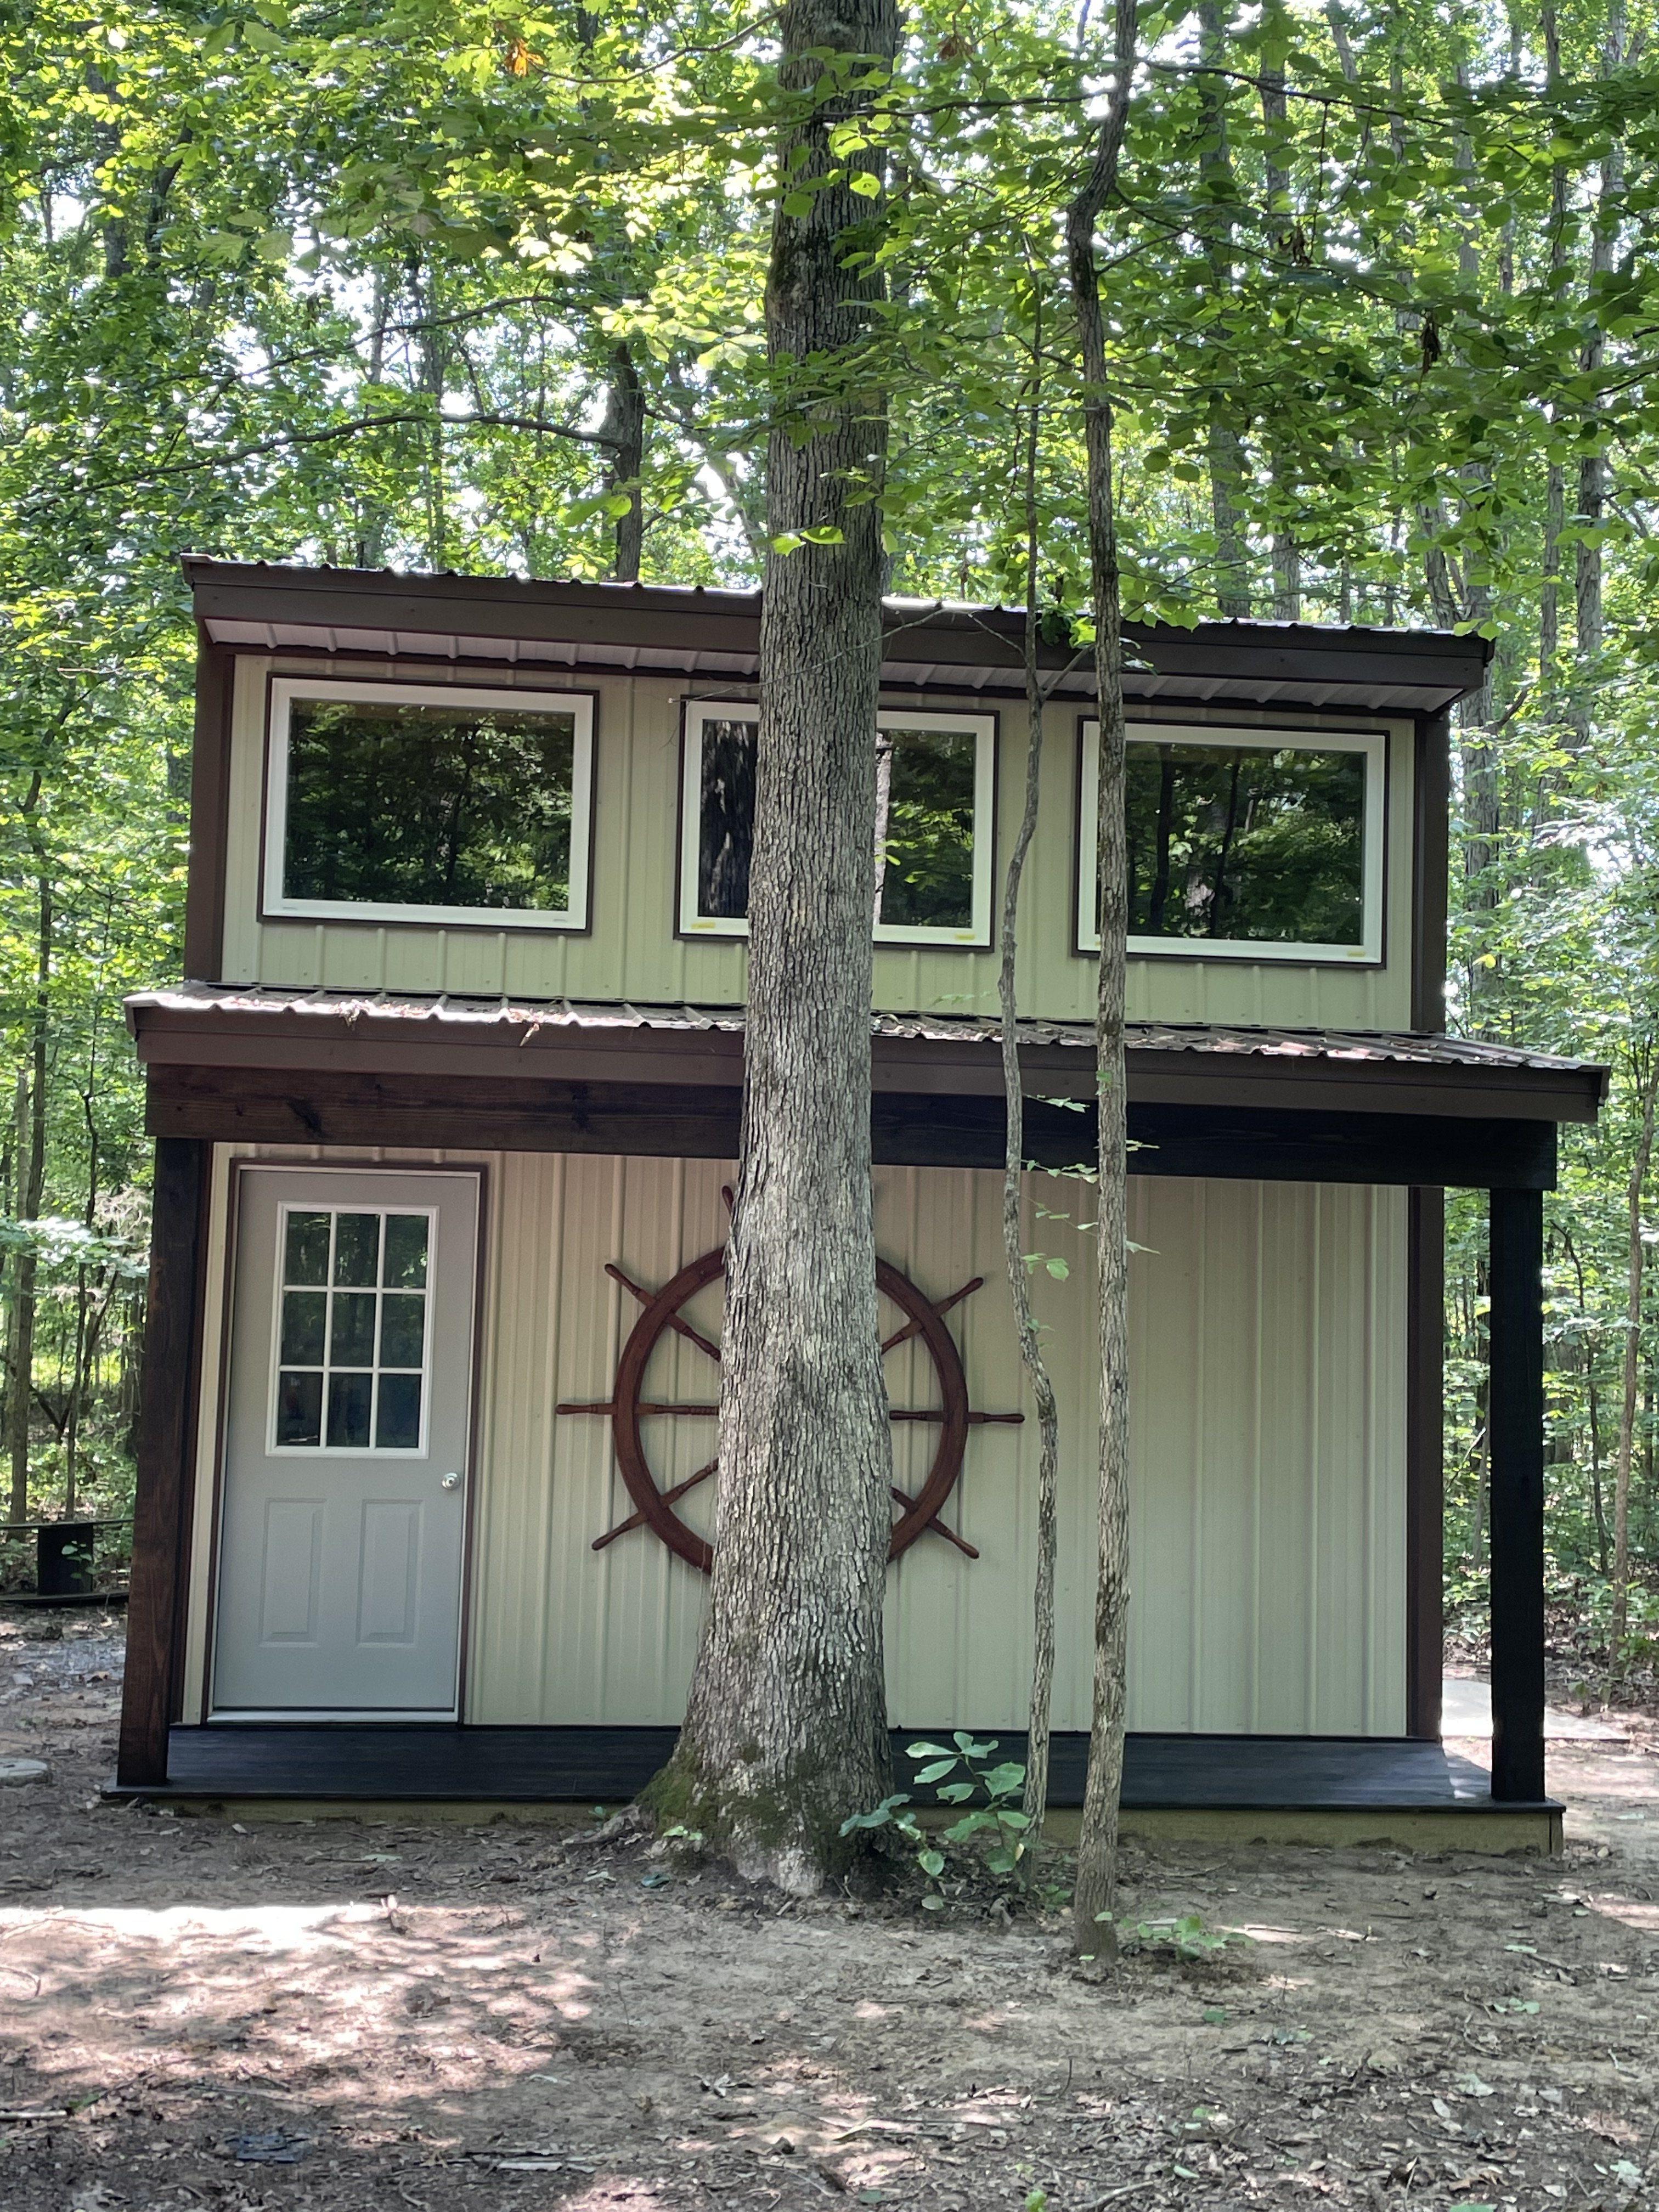
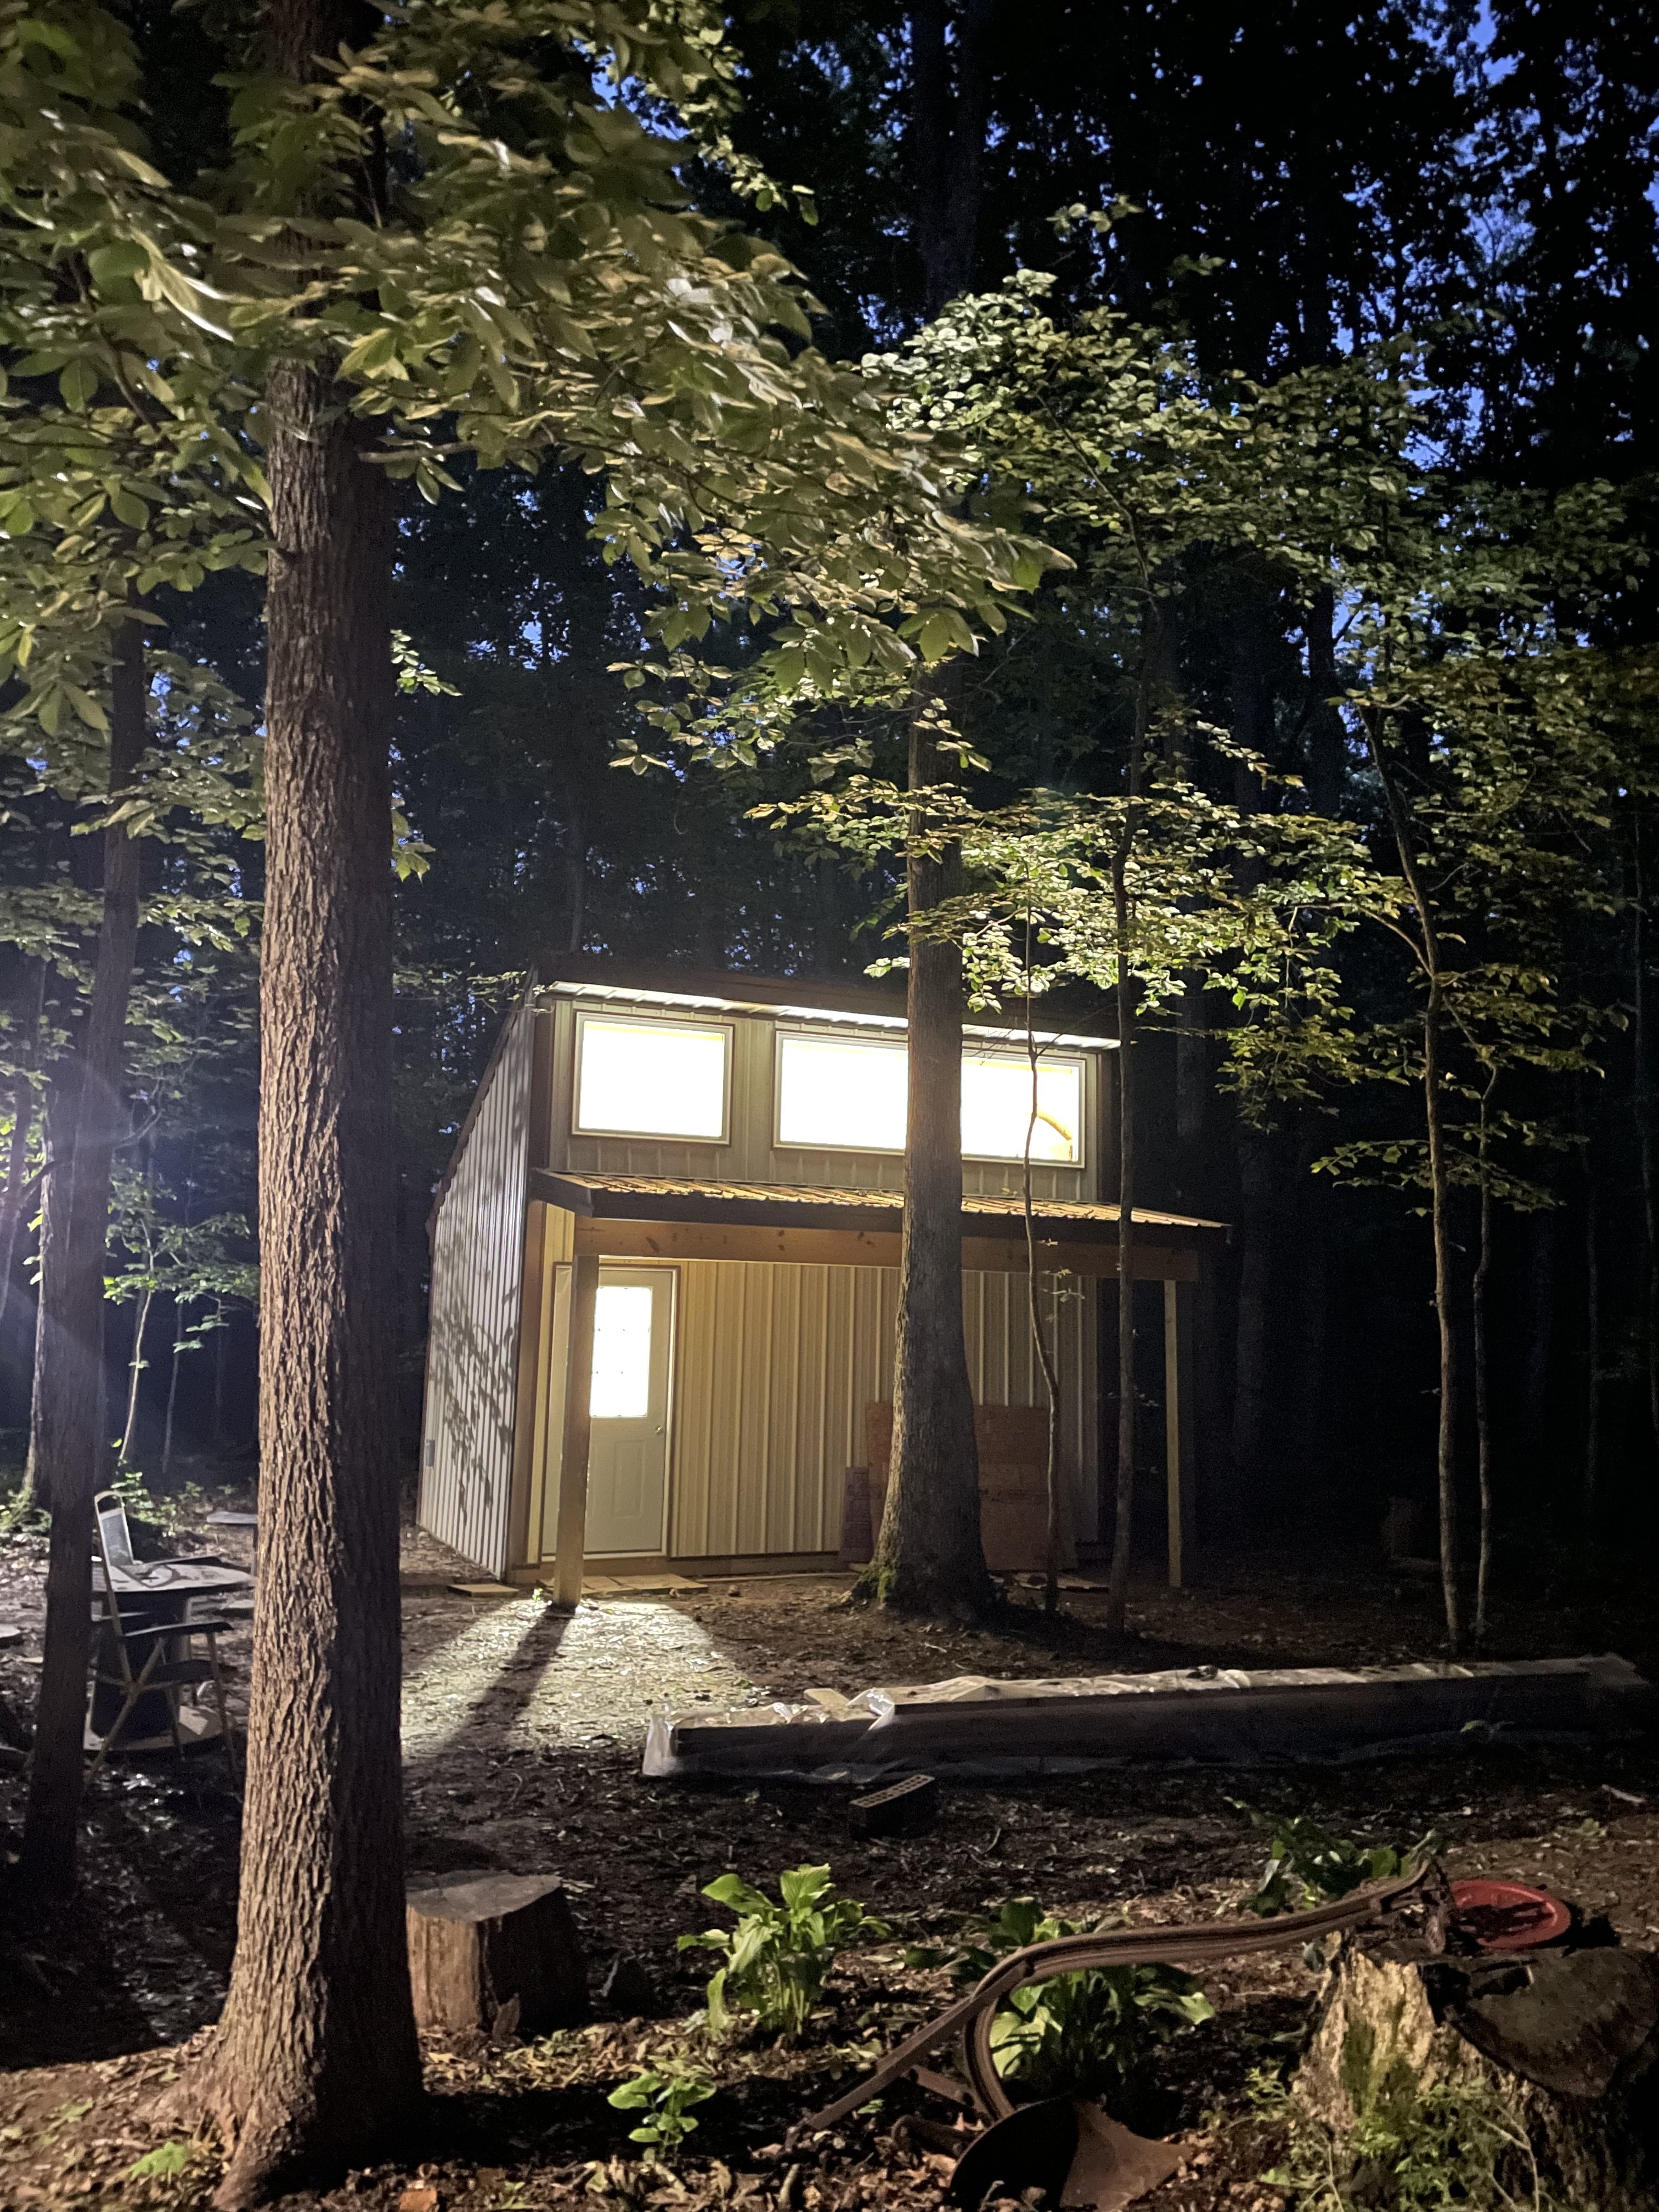
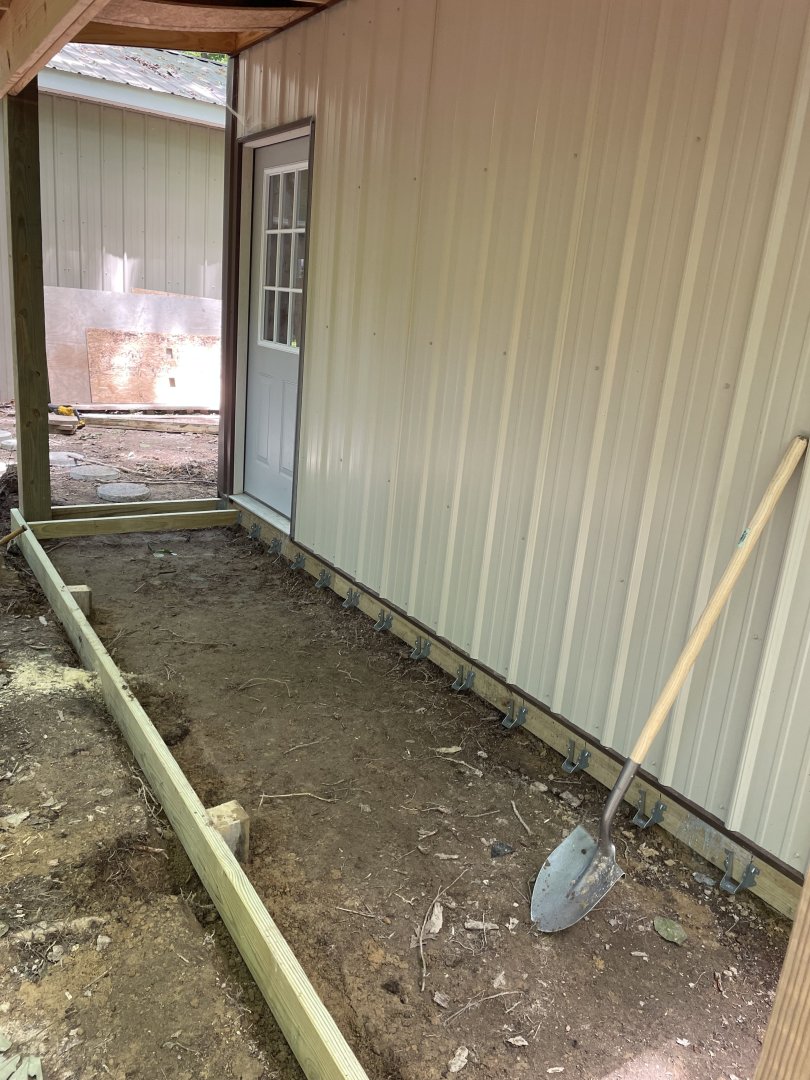
I finished the porch earlier this week and hung the ship’s wheel this morning:-) We will probably stain the porch, post and header later this summer. But for now it’s modeling time! I’m hoping if I can keep to ground clear of aggressive vegetation, The Lord will bless me with his very own carpet. Here is a walk that’s took about 3 years.
- 42 replies
-
- 10
-
-
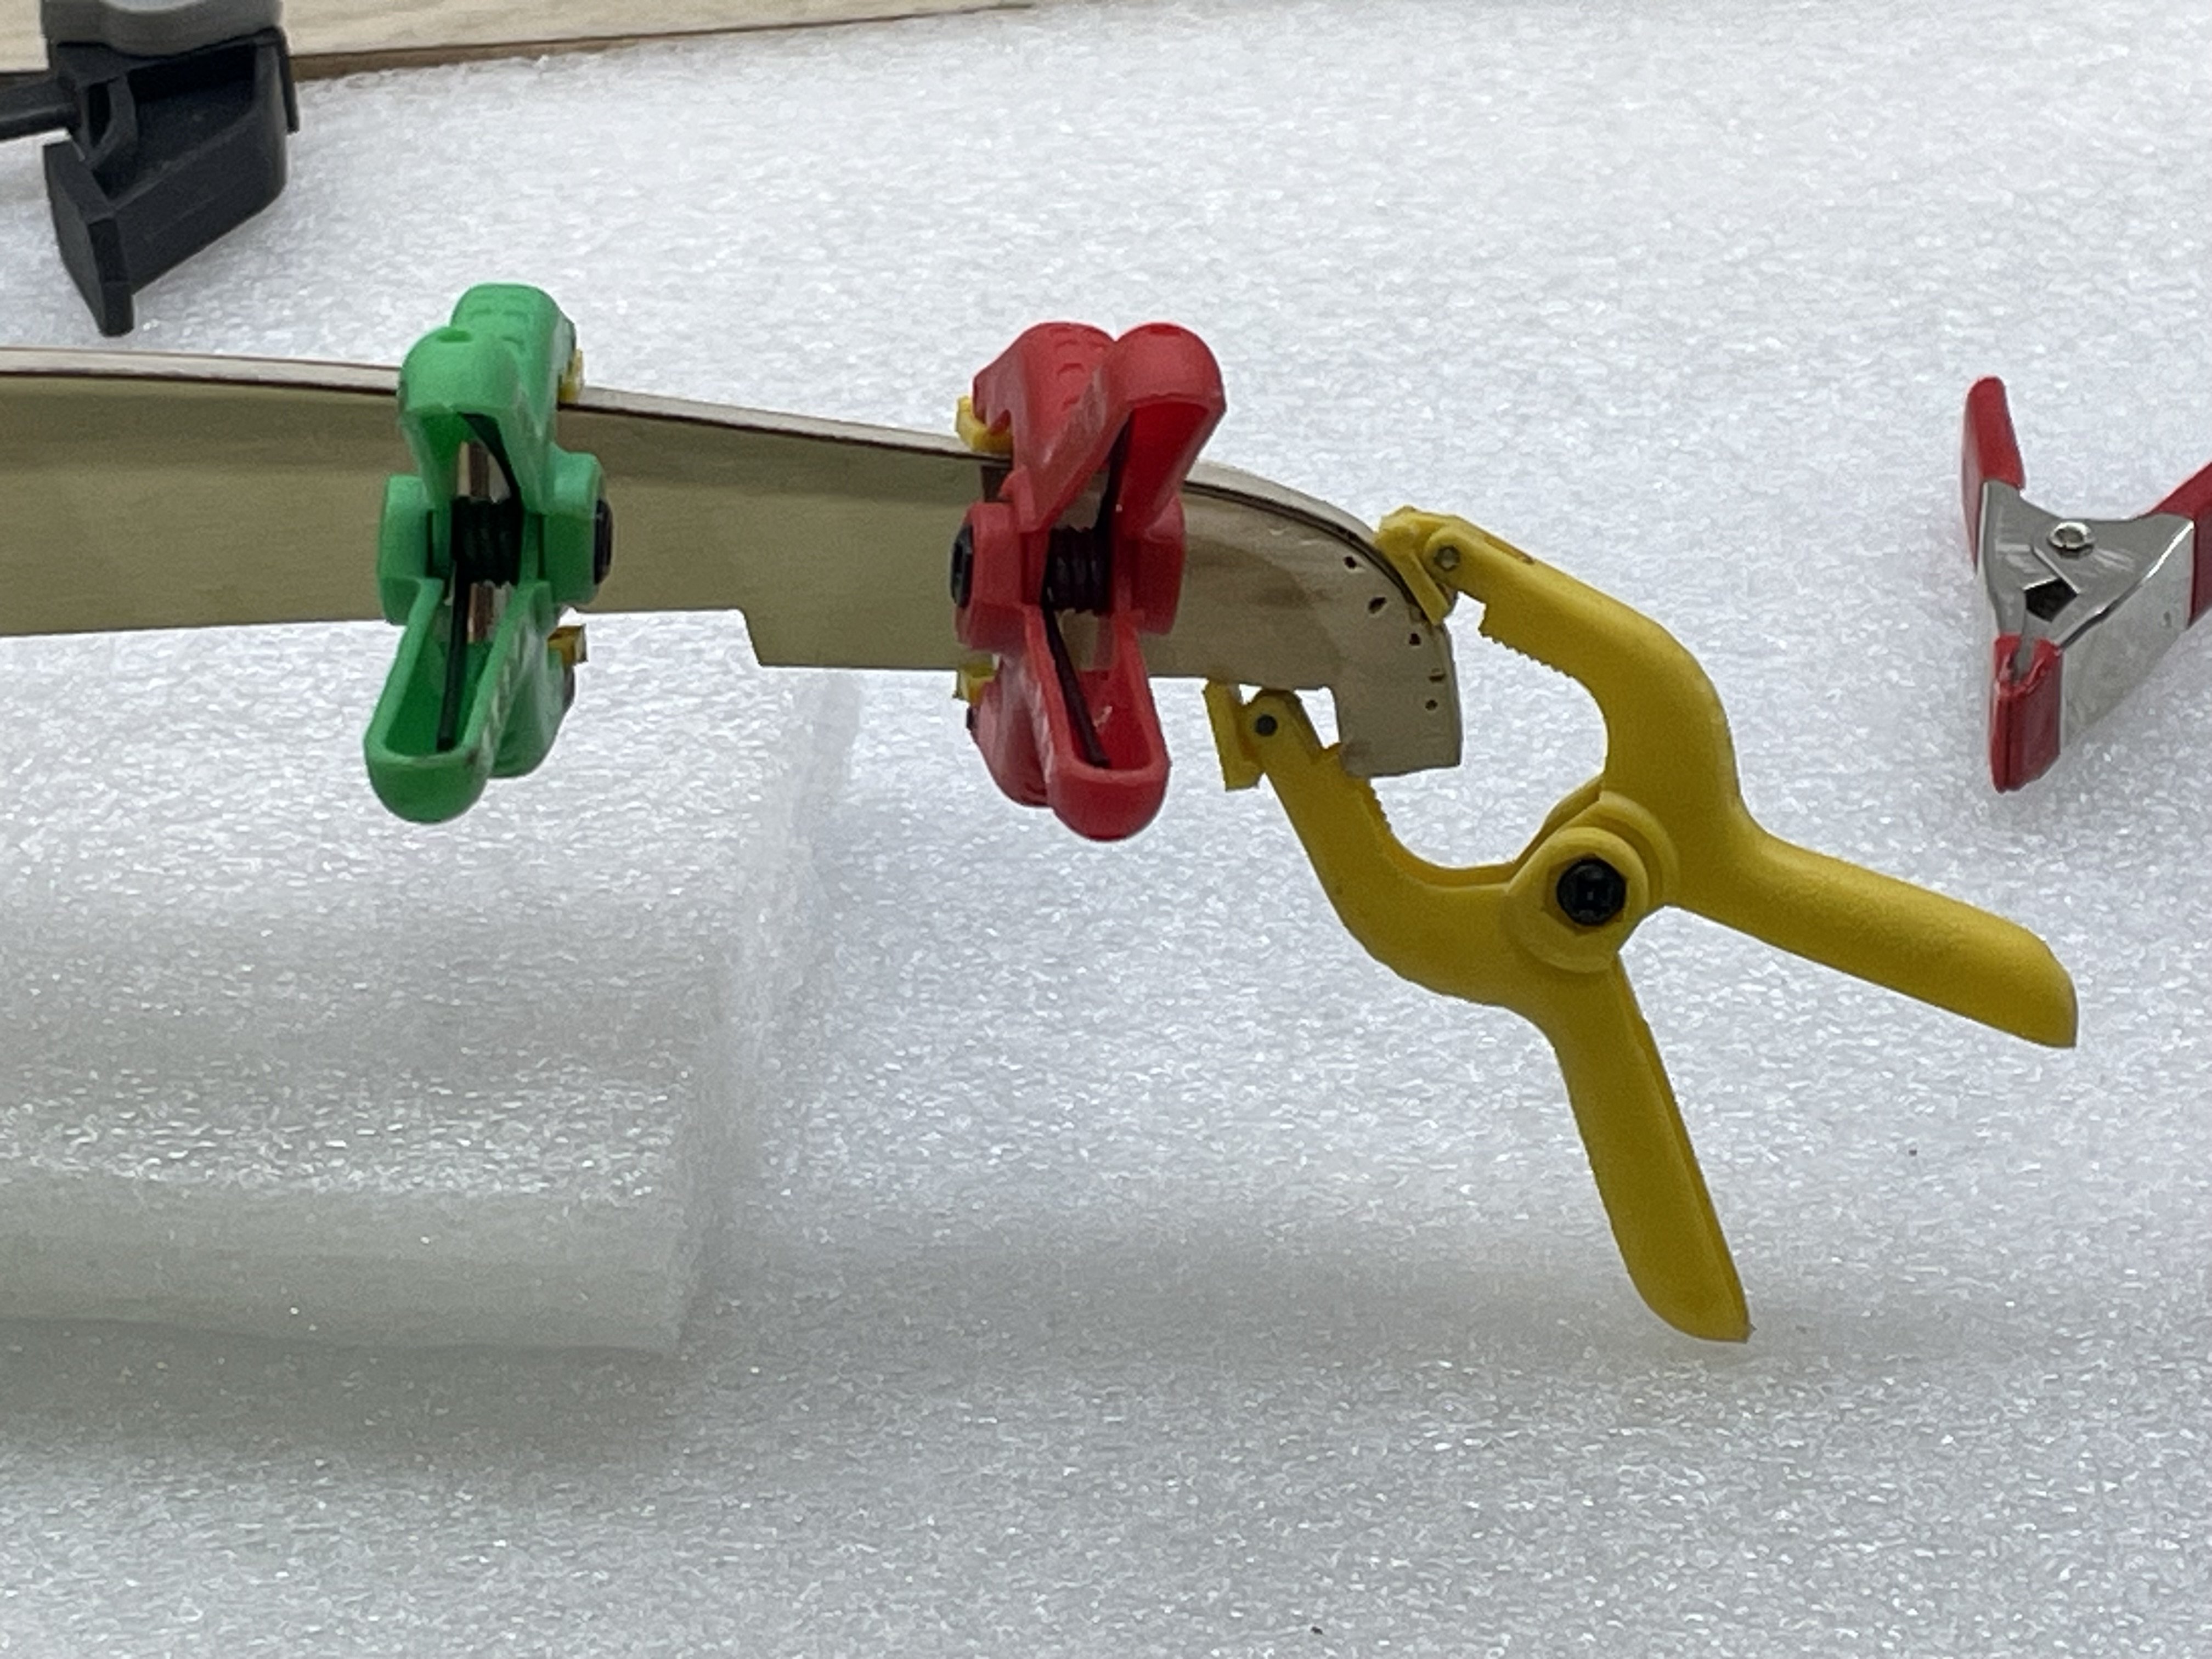
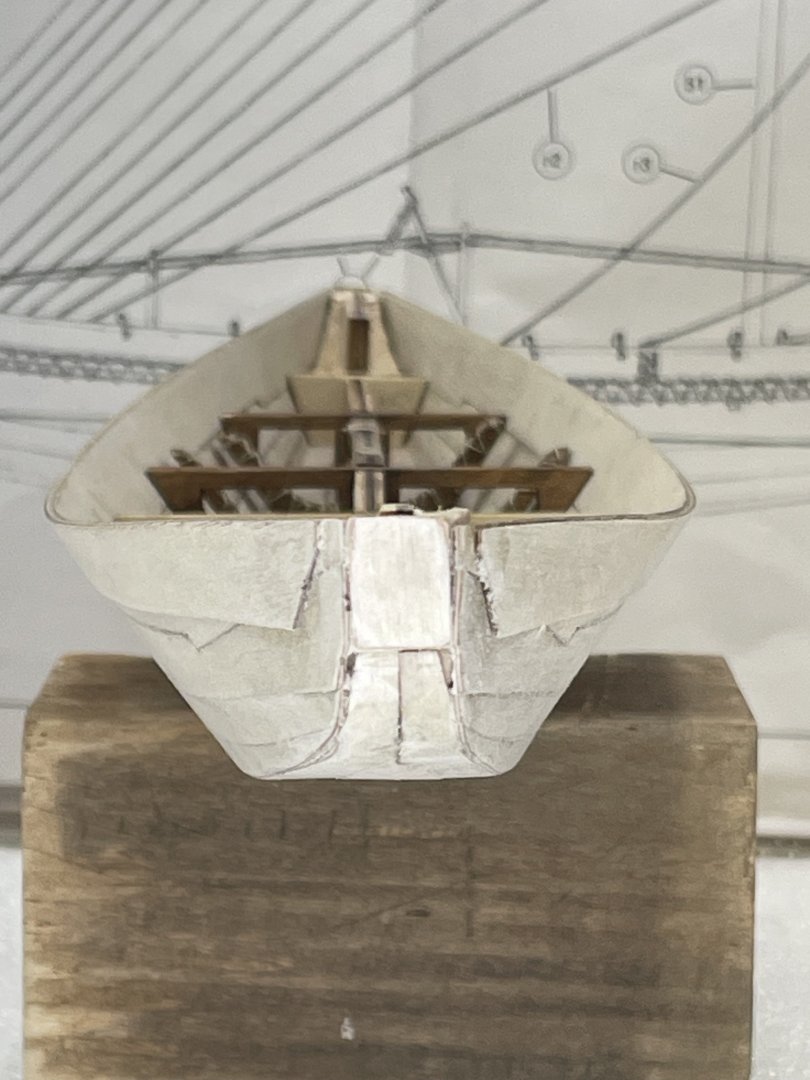
Putting the blocks on the stern and bow made the planks go smoothly. I used PVA glue and clamps, moving a few frames at a time. The instructions has you glue both sides first and the middle last. All three planks are wider than bottom of the hull. I chose to fit the middle tight against the side I glued first. Then the other side. Now I’ll need to sand the edges down even with the frames and I’ll be ready to install the rest of the planks.

- 44 replies
-
- 3
-
-
- Nave Egizia
- Amati
- (and 1 more)
-
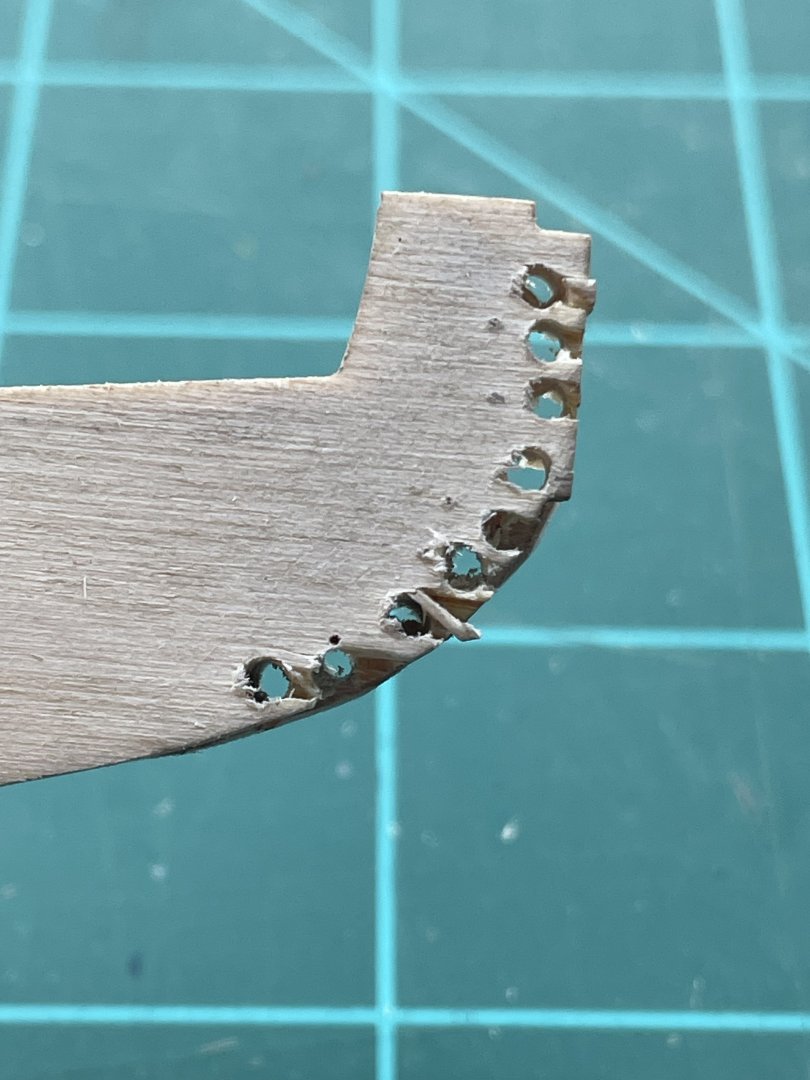
Thanks Joshua, actually I did use a pin vice. But I’m still lacking on the control and accuracy:-)
-
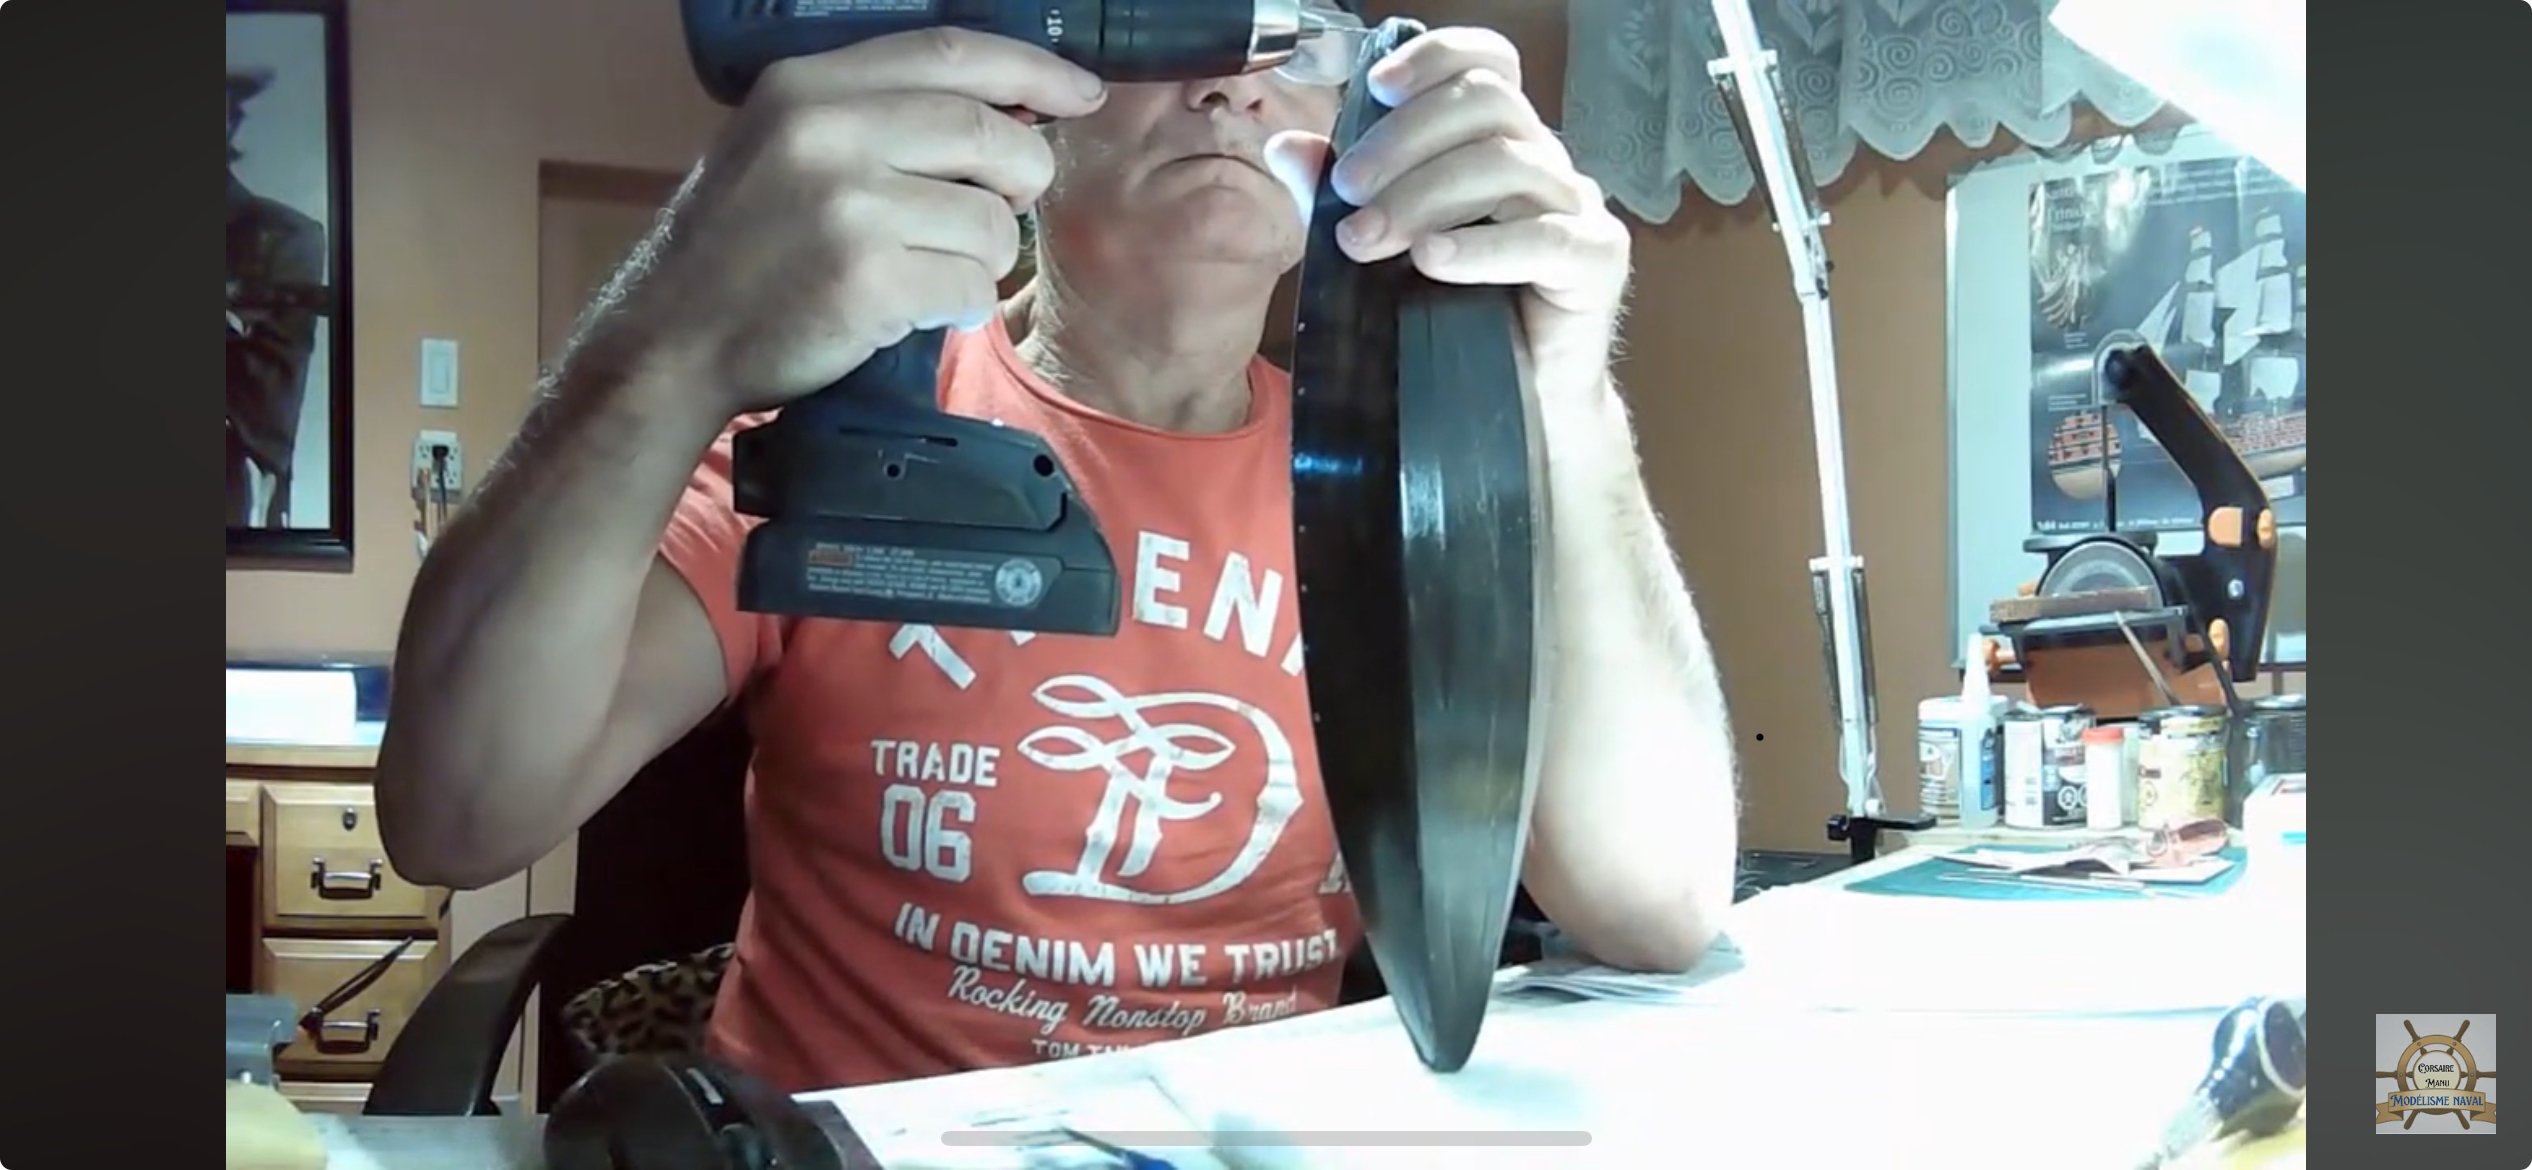
This build is definitely a thinker. I’ve tried to stay several steps ahead. It seems every time I set down and think I discover more obstacles. Looking ahead at the holes to be drilled in both ends of the hull. They are supposed to get two 1mm ropes. That’s big holes. I tried the stern end starting with a .5mm bit and went up to 1.7 mm. It wasn’t pretty. I found a YouTube build that was French. He did a good job, even though I couldn’t understand what he was saying he used he’s hands enough I followed along. Well with part of it, there’s a bunch of hours to still be seen. He waited till the hull was completed then just drilled it while holding it with one hand, cordless drill in the other. The bottom planks share the 2mm spine. I was looking forward to sticking them on. That caused me to make blocks at either end. Here’s the stern that I drilled the plywood. It’s probably going to haunt me later. I’m going to wait and follow my leader on the bow. The blocks may impede with the ropes that run down the sides, they may stop short, we’ll have to see. It’s going to make the planks easier and I probably can use PVA instead of CA.


- 44 replies
-
- 4
-
-
- Nave Egizia
- Amati
- (and 1 more)
-
The Mossy Shipyard by Bryan Woods - 1:1
Bryan Woods replied to Bryan Woods's topic in Non-ship/categorised builds
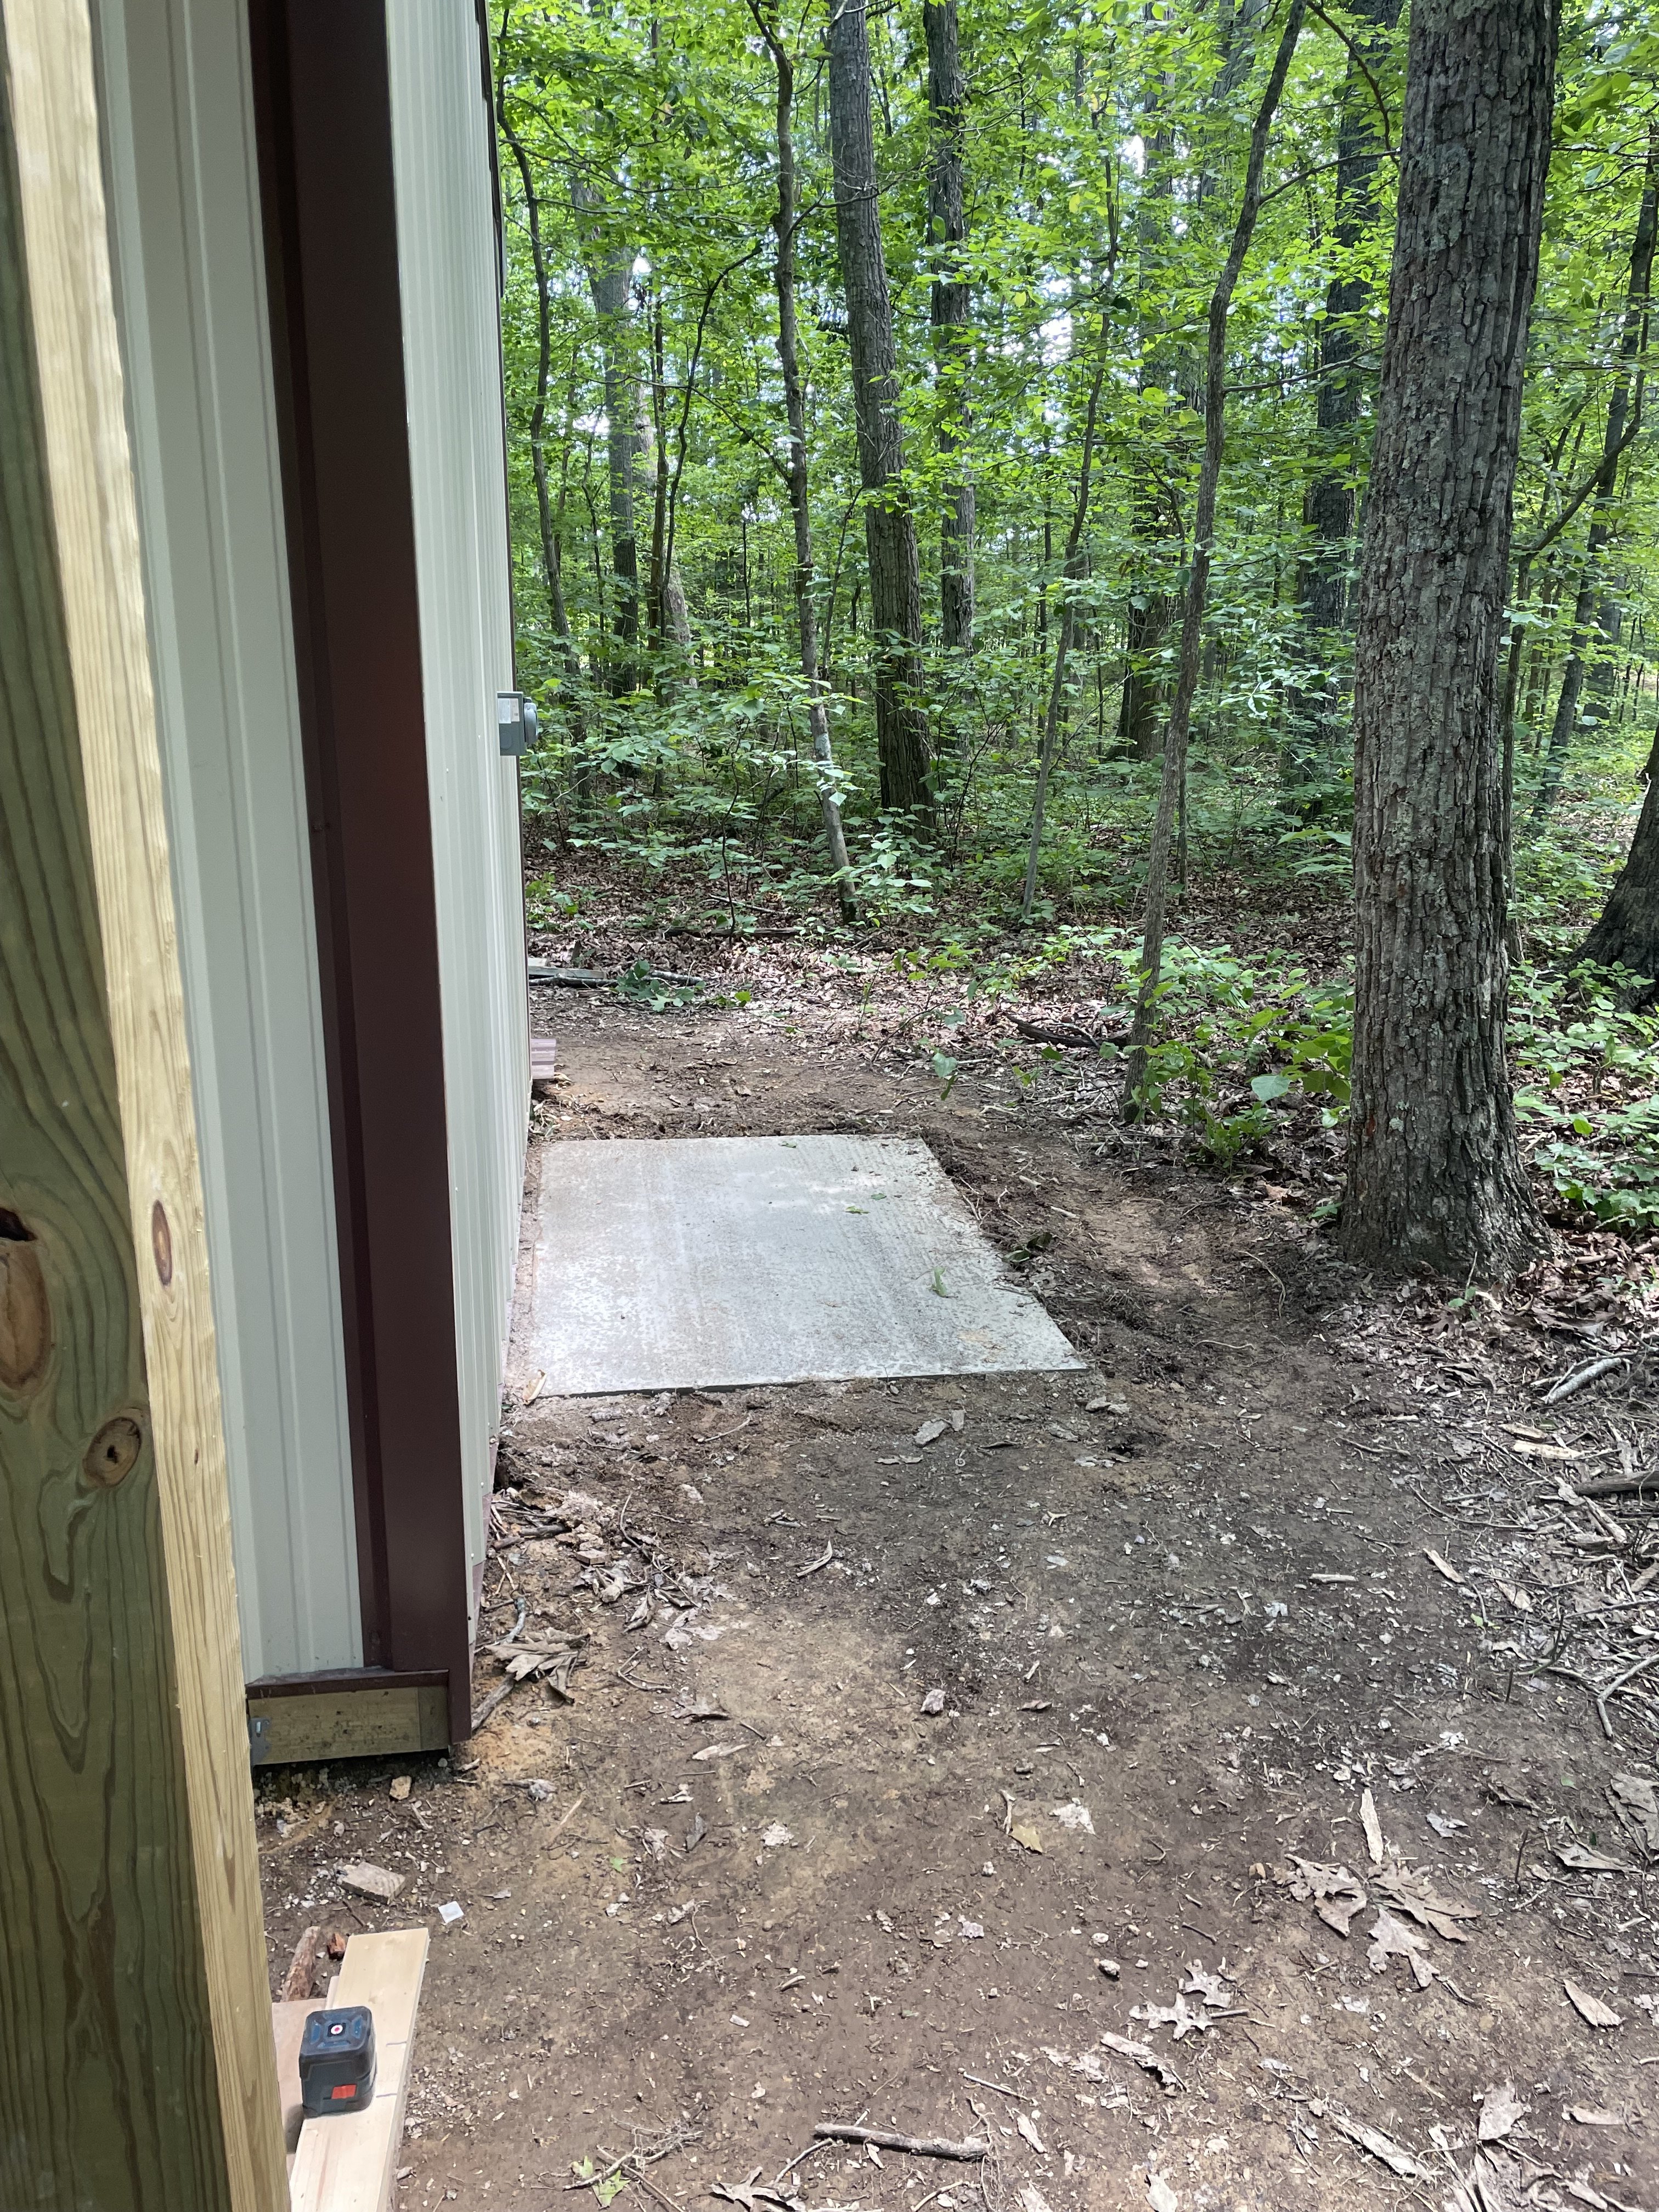
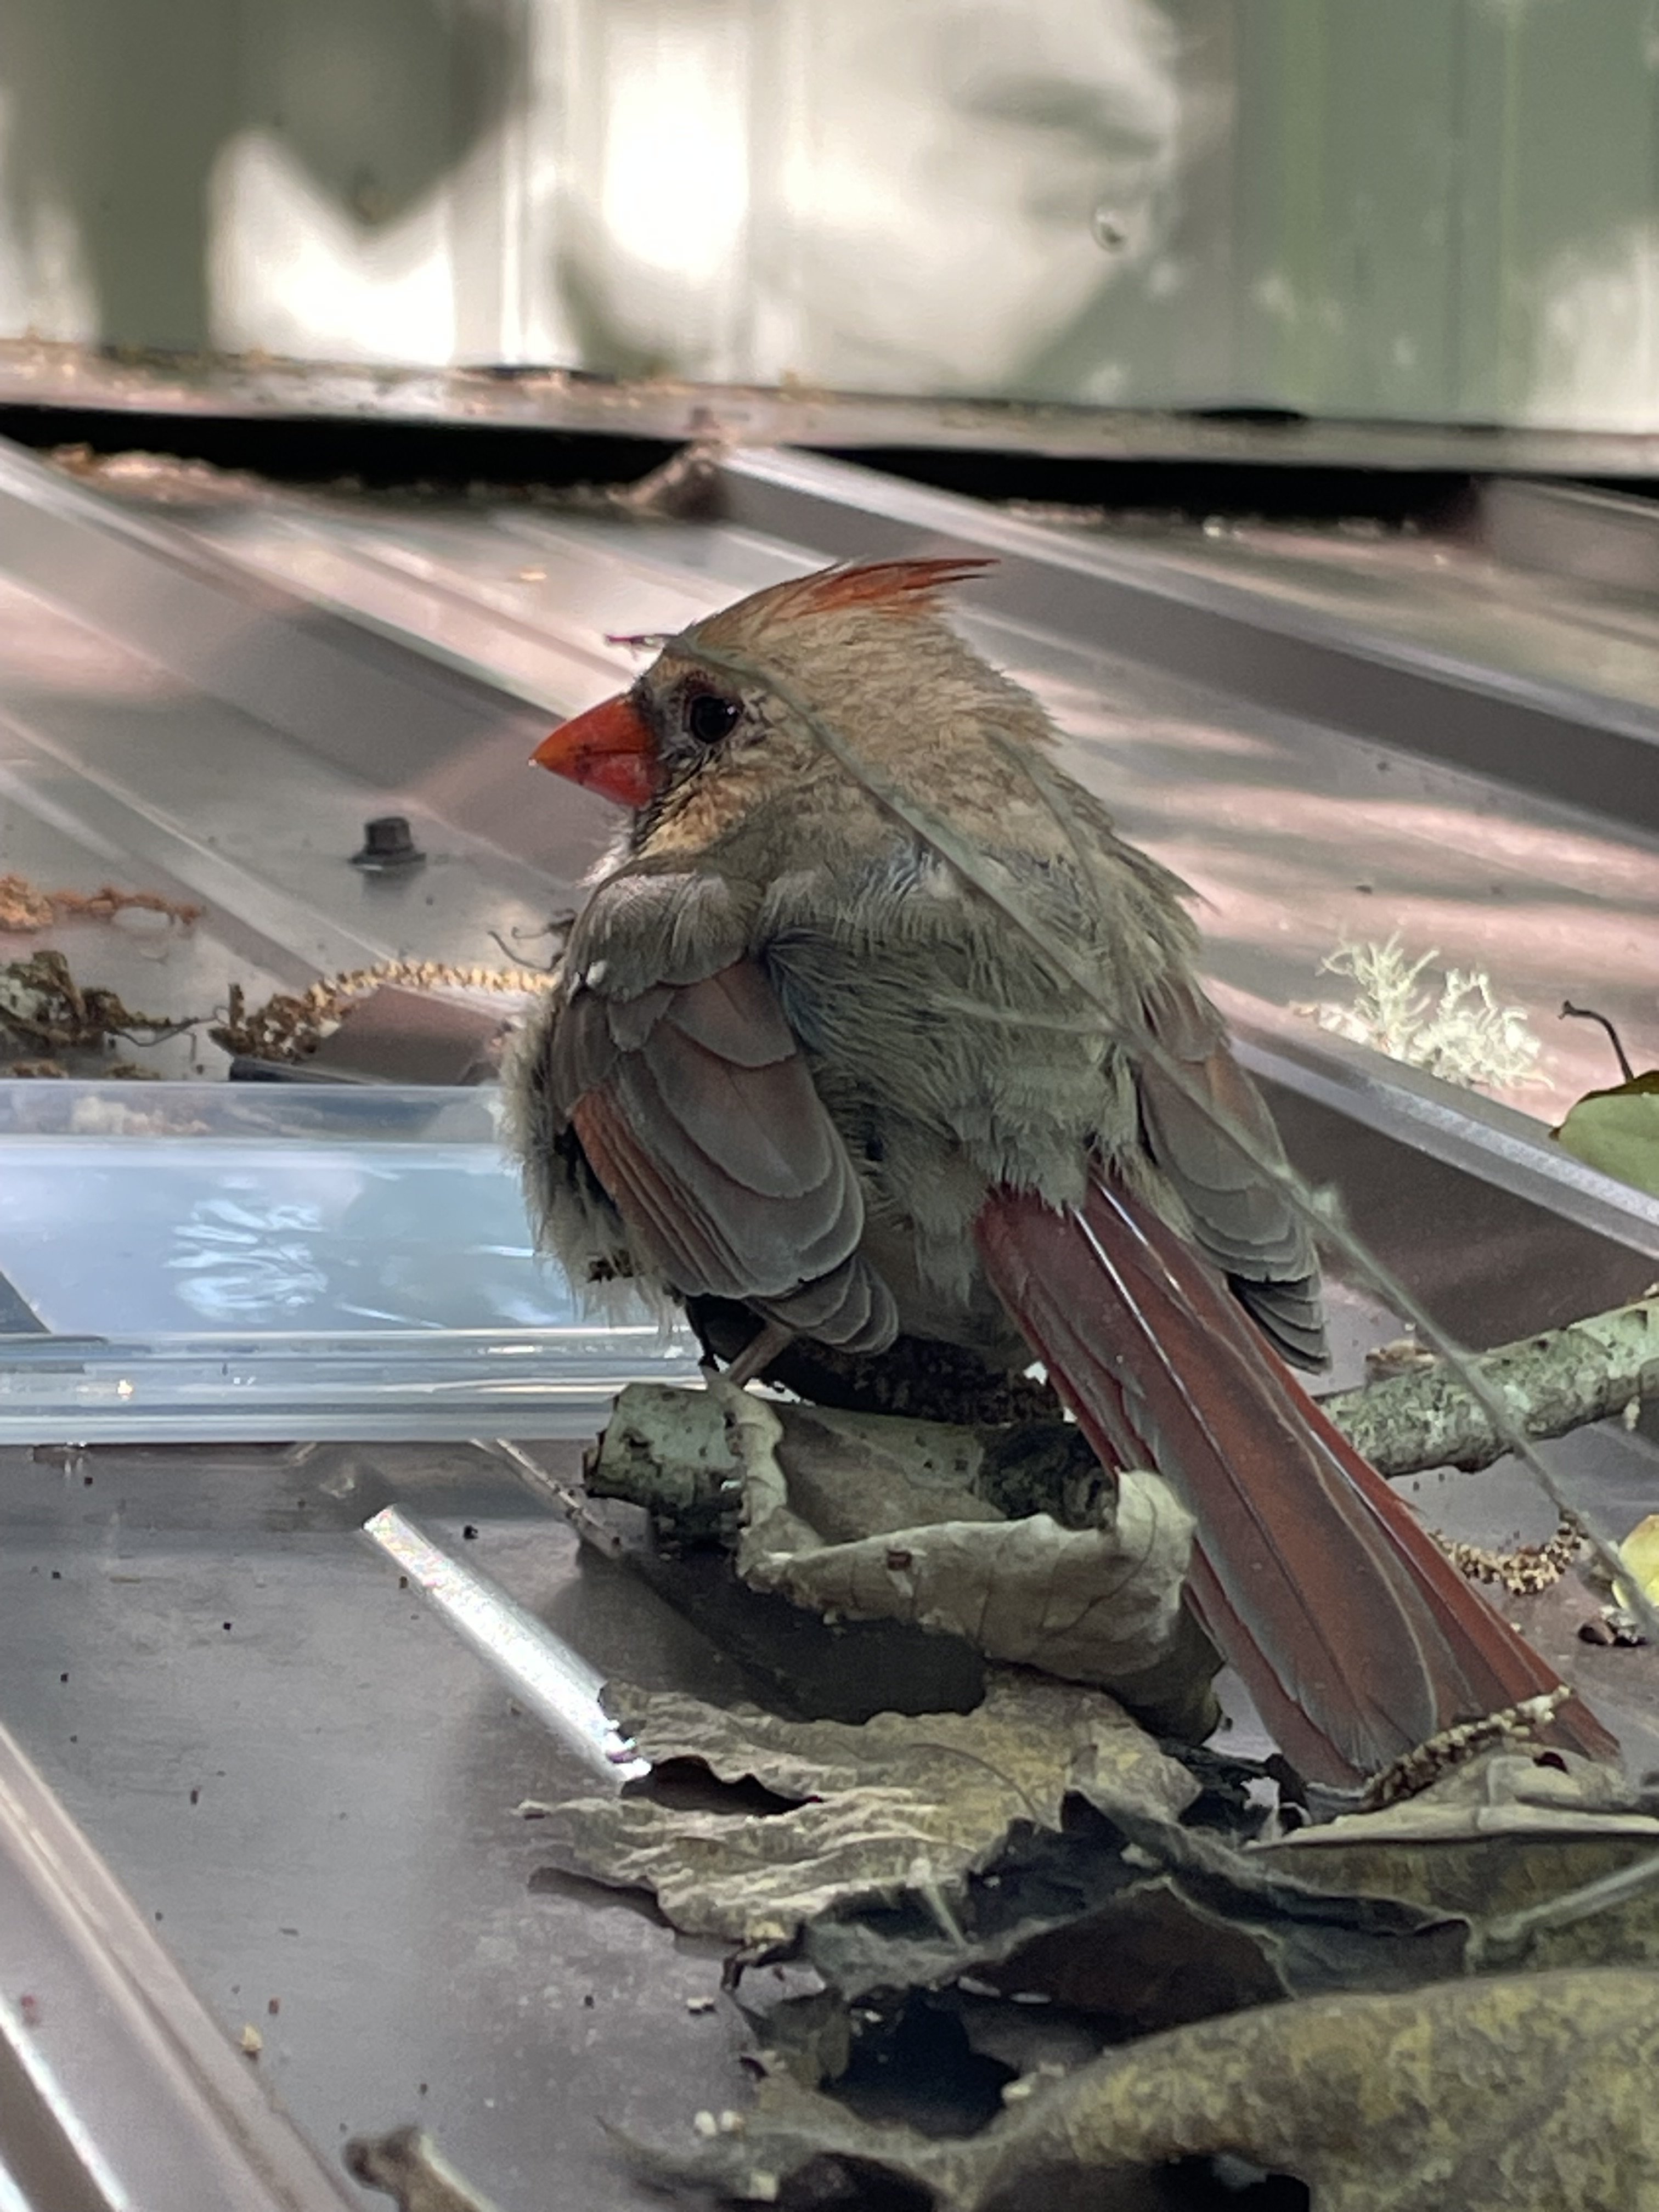
The Mossy Shipyard is gradually filling up. We got my wife moved in with all her scrapbook supplies. She covers her stuff up when she’s not working on it. On the outside we used the last remaining bags of concrete to pour an equipment pad on the south end. I’m still working on the porch. Hopefully get it finished this weekend. The birds are constantly trying to run off their reflection in the windows. This female cardinal must have seen the reflection of the woods and flew straight into one. She landed on the roof of the porch. I got a ladder to check her condition. Stunned but still alive. I carefully held her to see if anything might be broken. Piled some sticks and leaves under her so she didn’t slide off the roof. After about 30-40 minutes of sitting there, not bothered by me stepping up the laddder and checking on her, she flew off:-) After I finish the porch’s get to rest for a month or so, she unless the temperature gets to warm. Then I’ll have to install the mini split.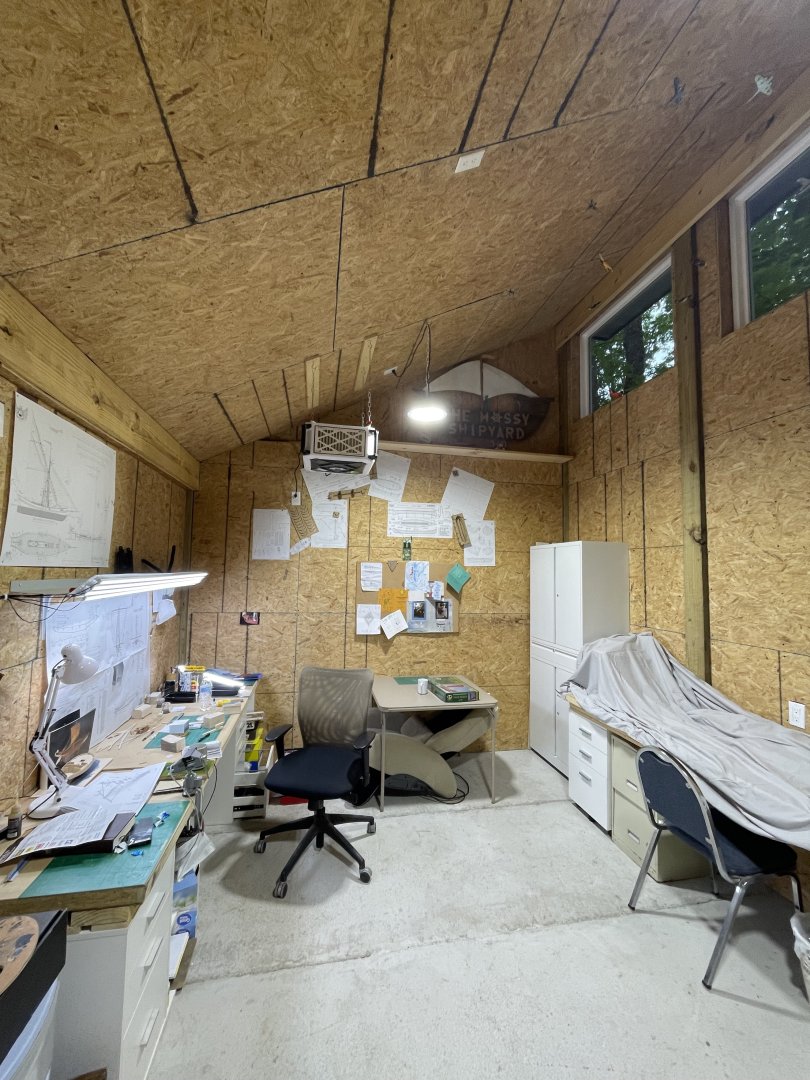


- 42 replies
-
- 10
-
-
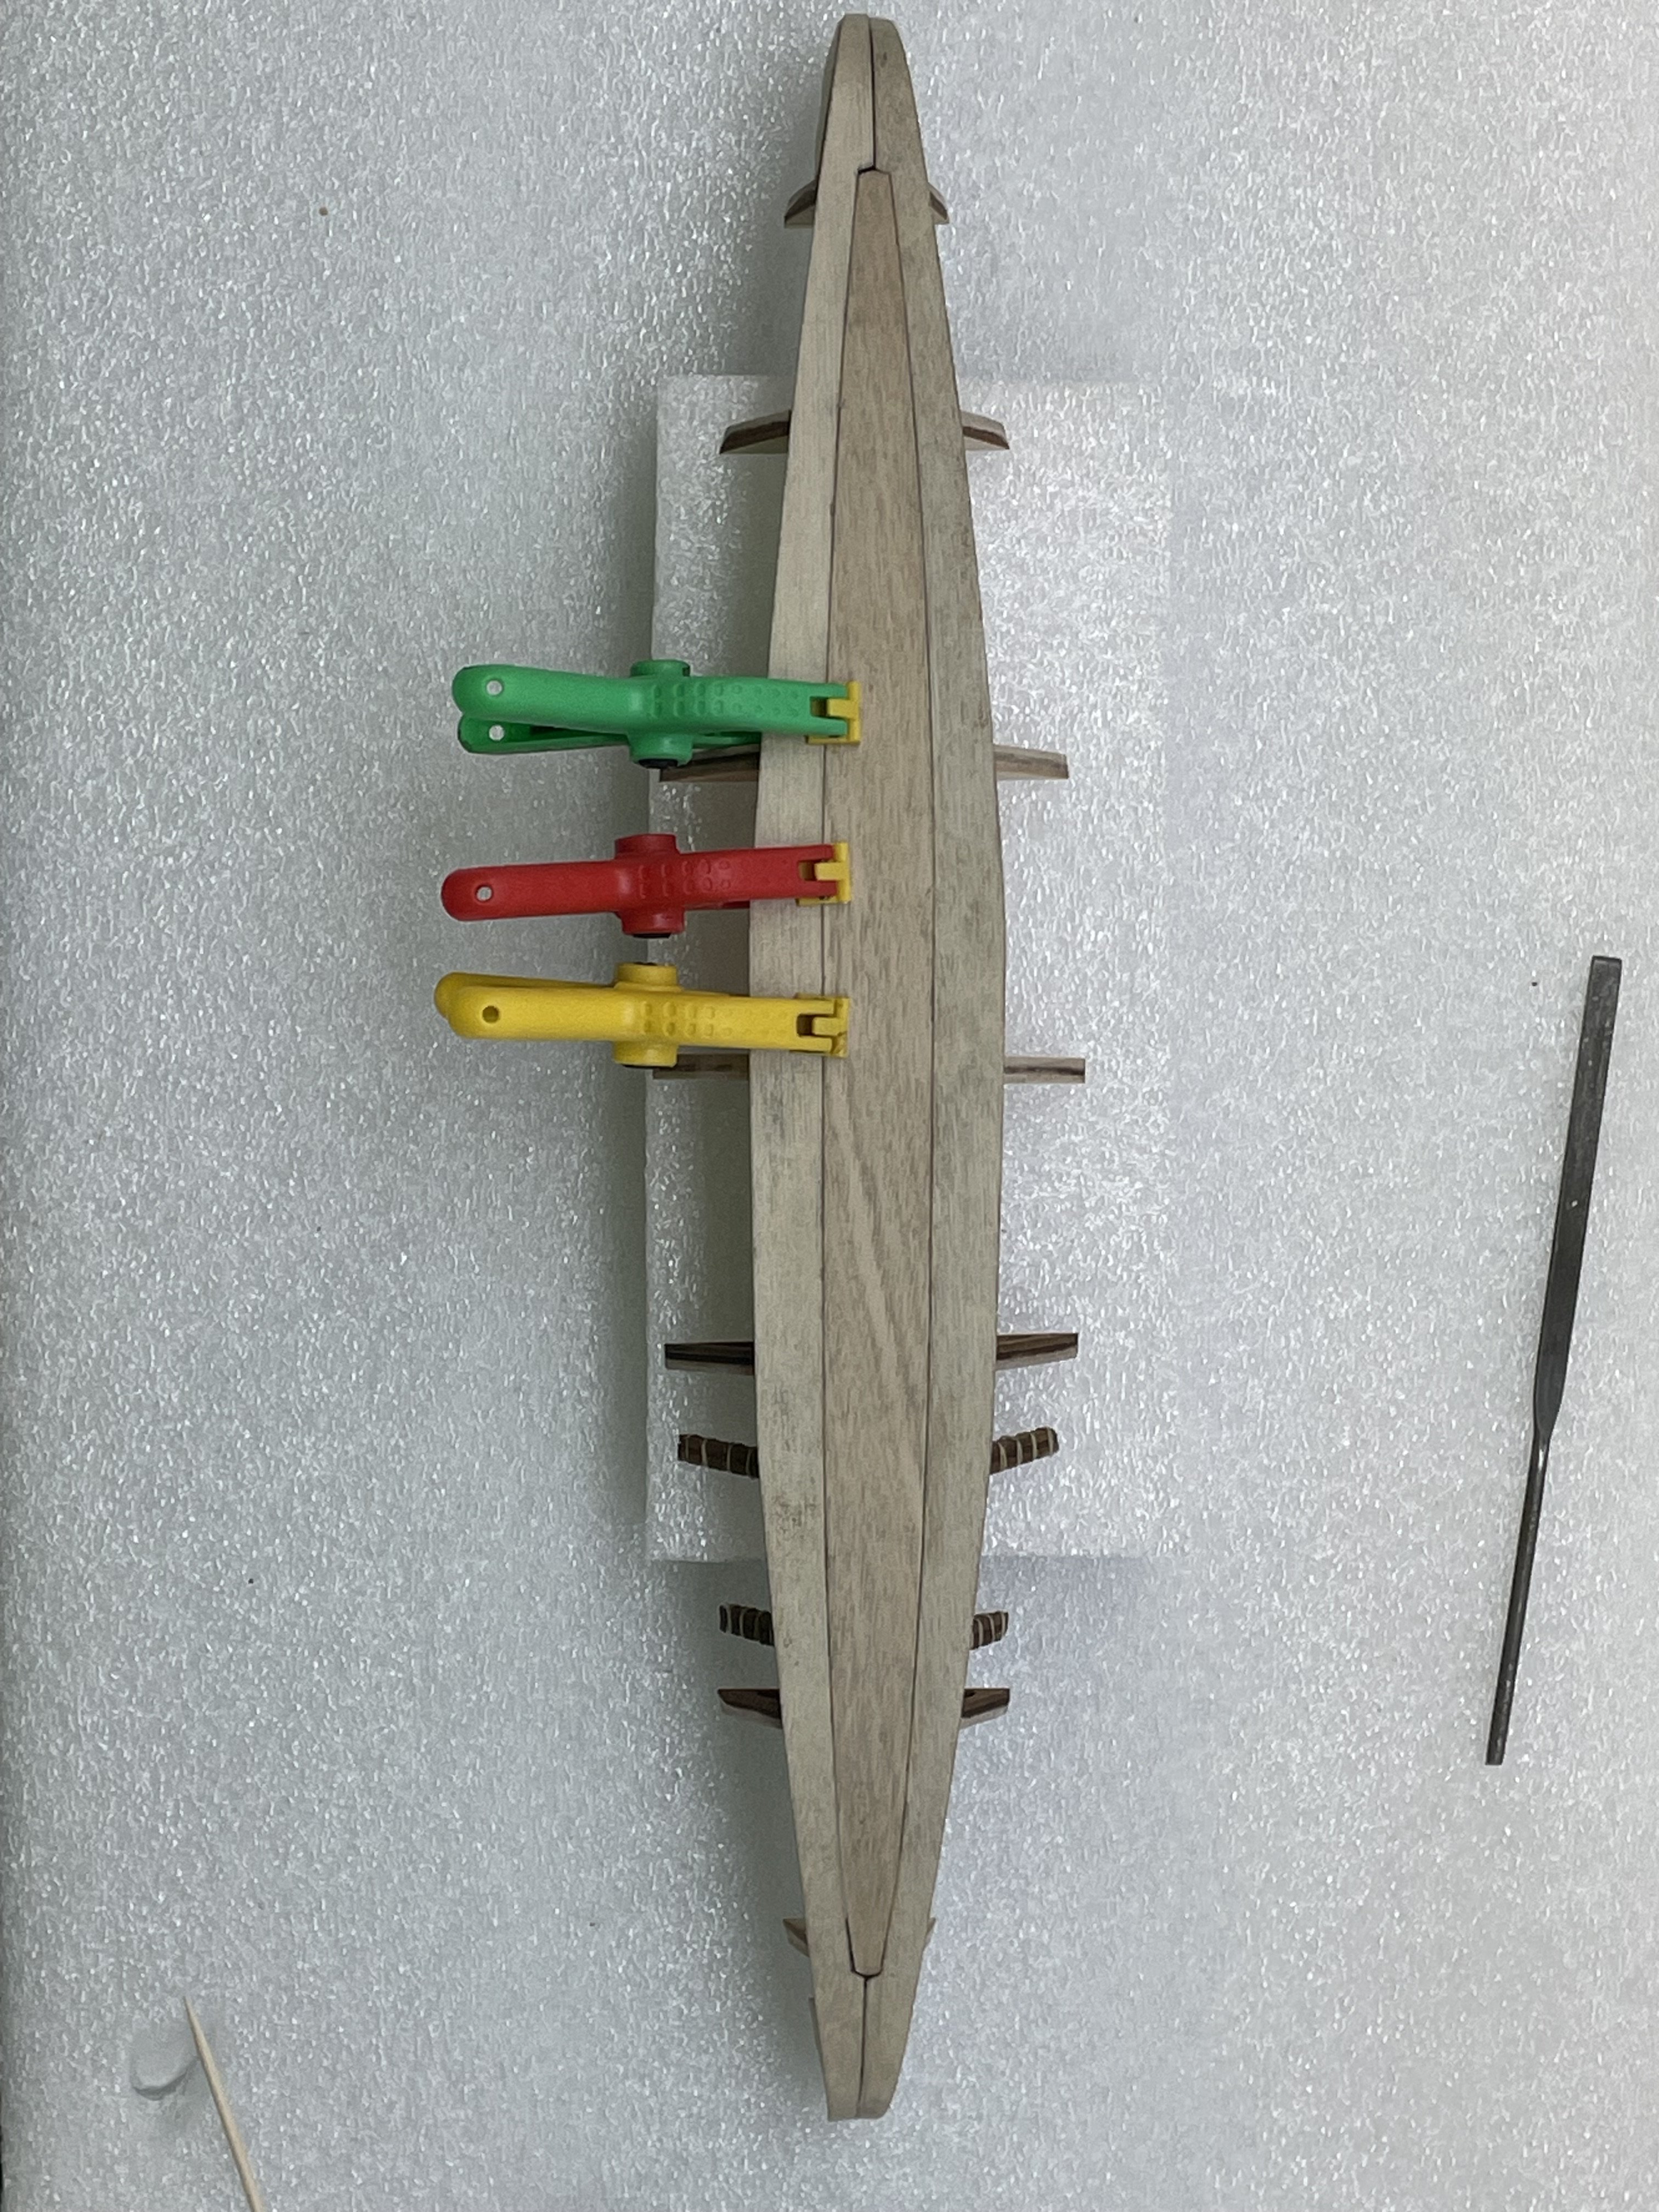
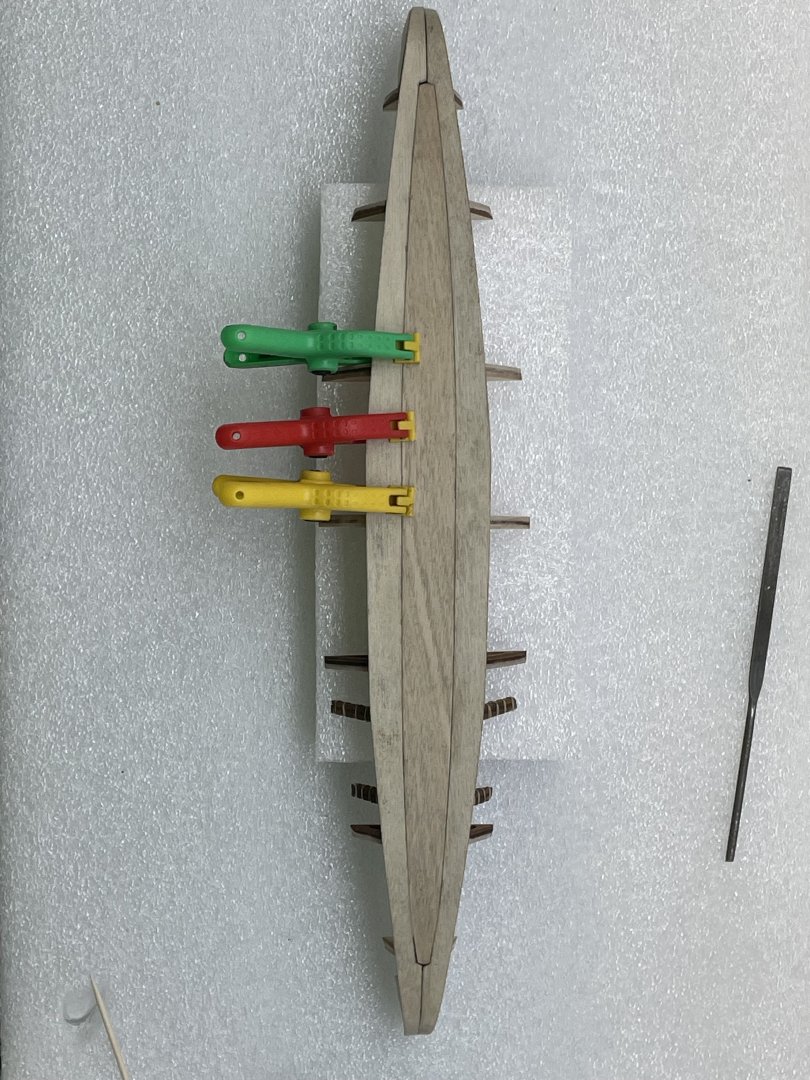
While I was seeing if those bottom planks fit before I install those other two frames:-/ I realized they may have wanted me to install them so that the spline won’t snap into while checking the planks. I quickly jumped into first response mode and dabbed glue between the three breaks before they came apart. Then grabbed clamps and all the excitement ended with relief:-) About 30 mins later I followed the instructions:-) I’m pretty gun shy now, and I still have some fairing to do. I can safely say there won’t be tons of dust flying:-)


- 44 replies
-
- 3
-
-

-
- Nave Egizia
- Amati
- (and 1 more)
-
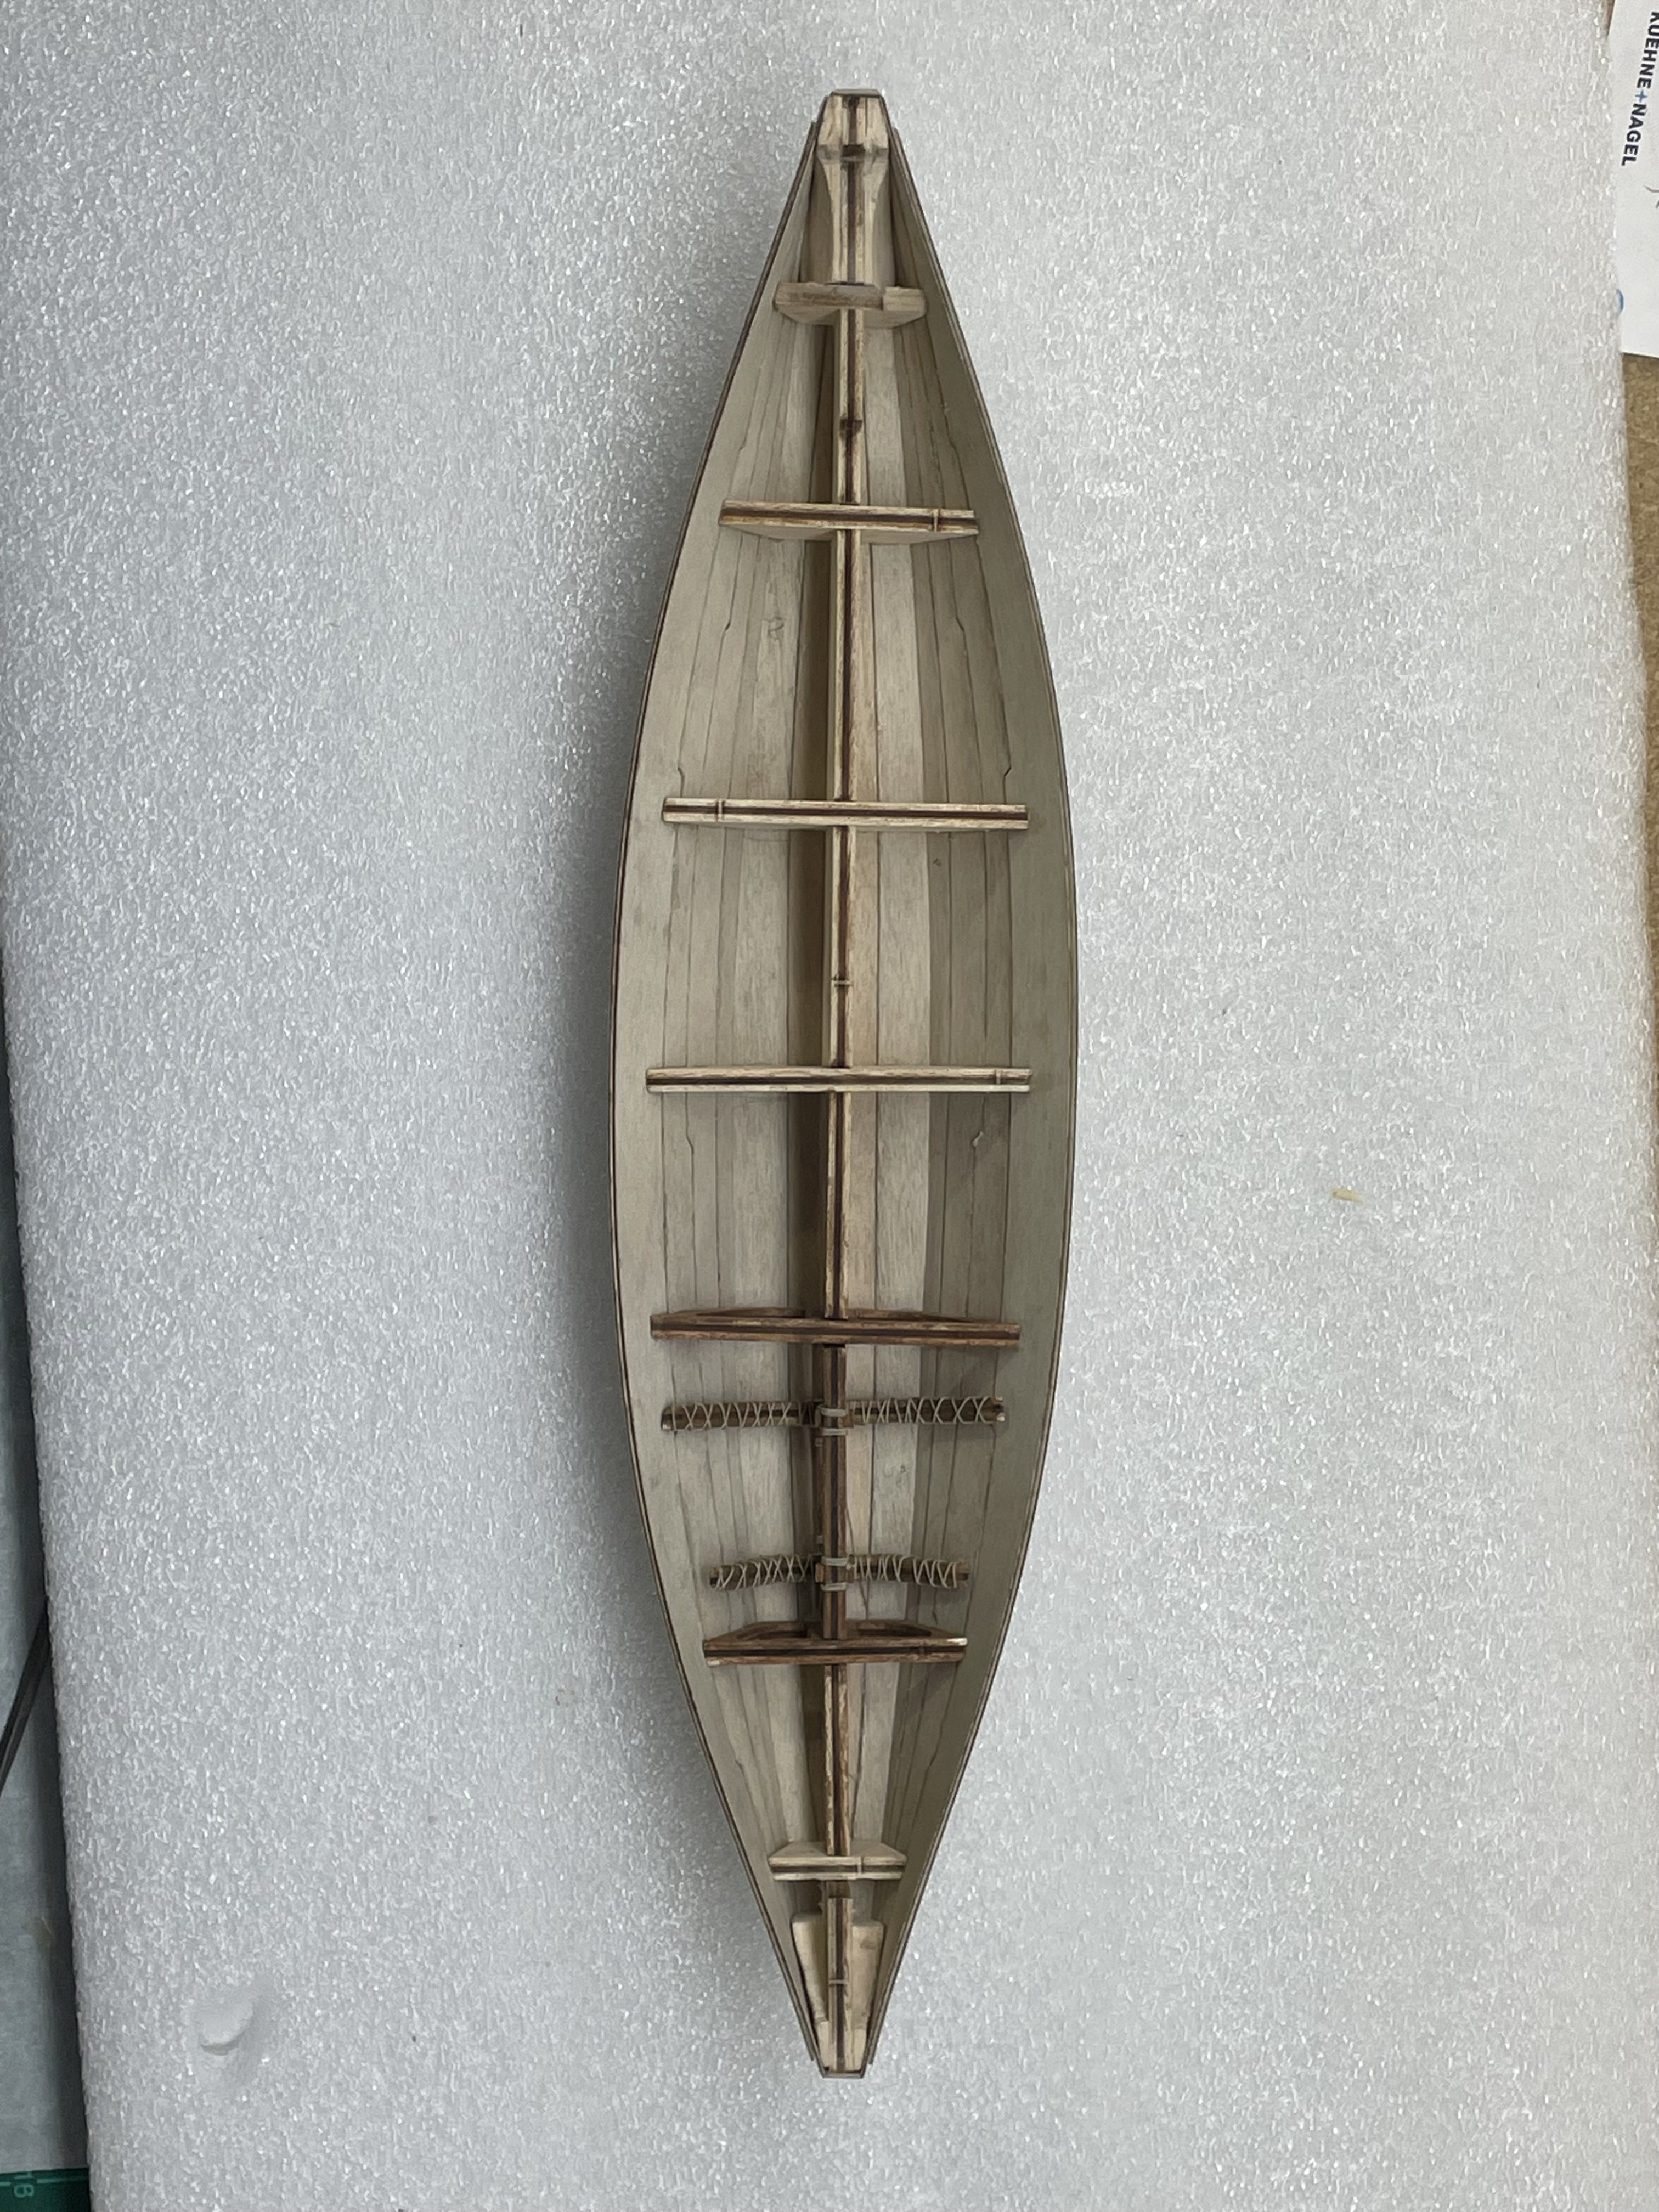
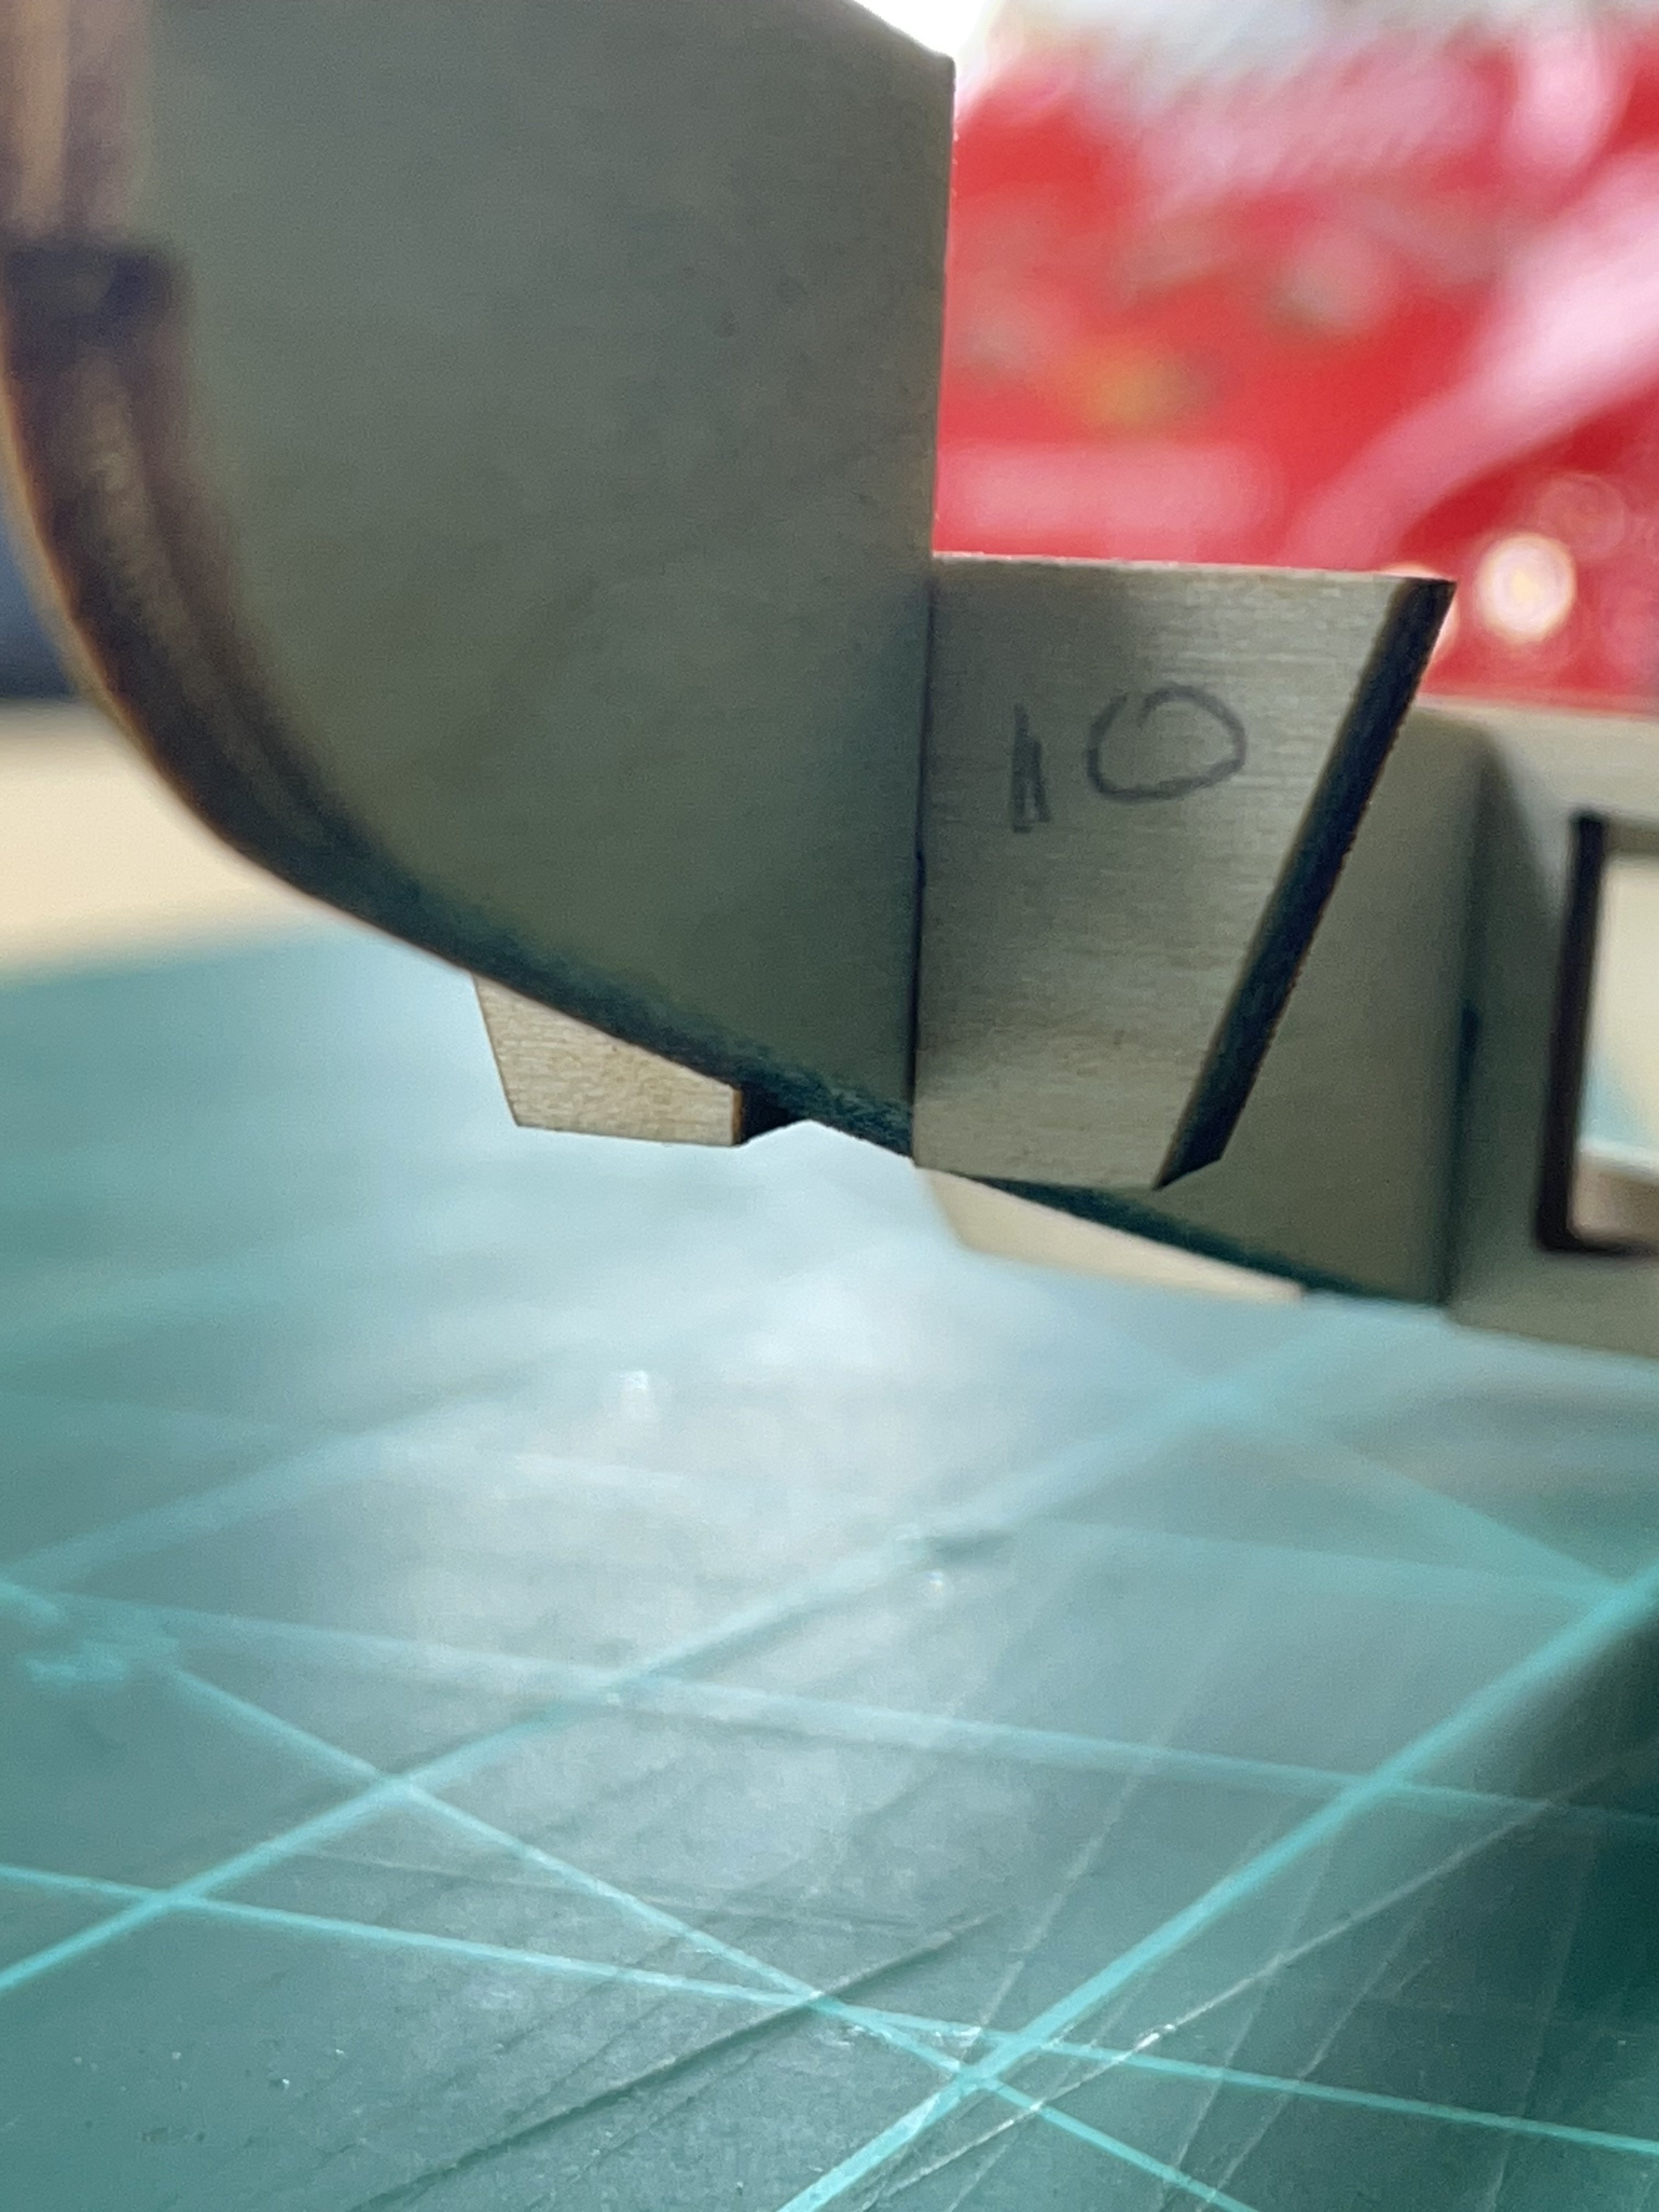
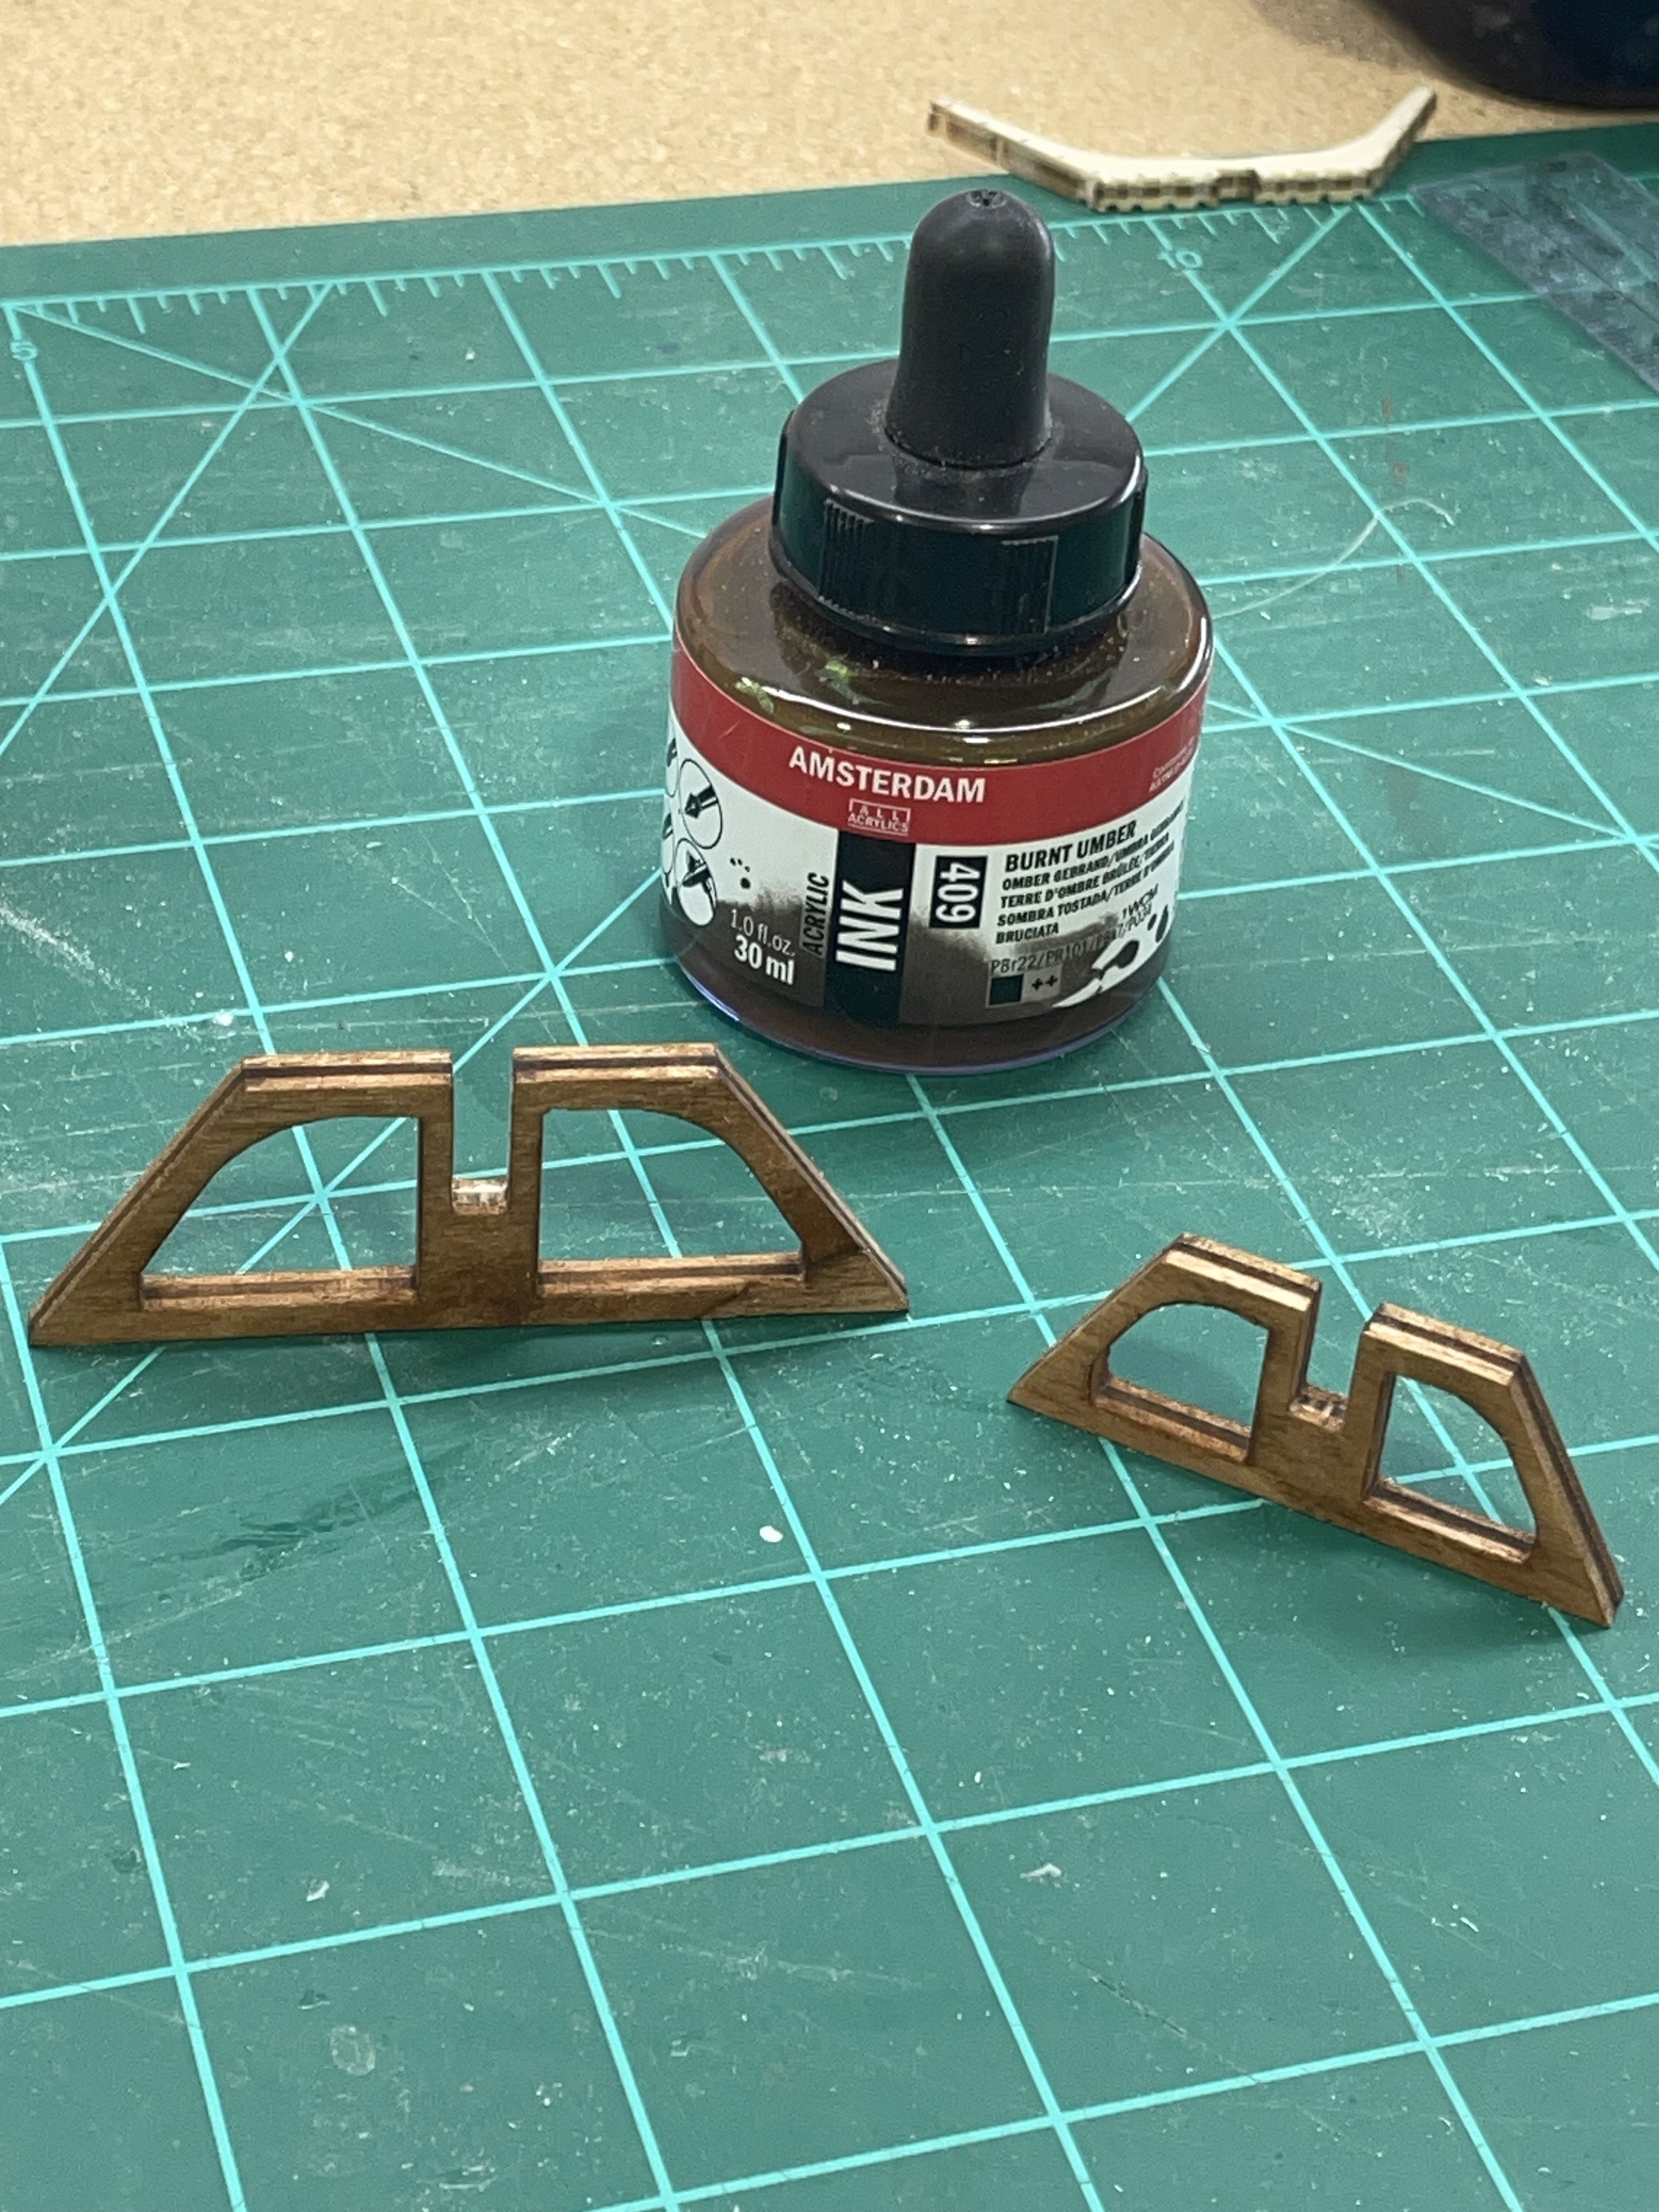
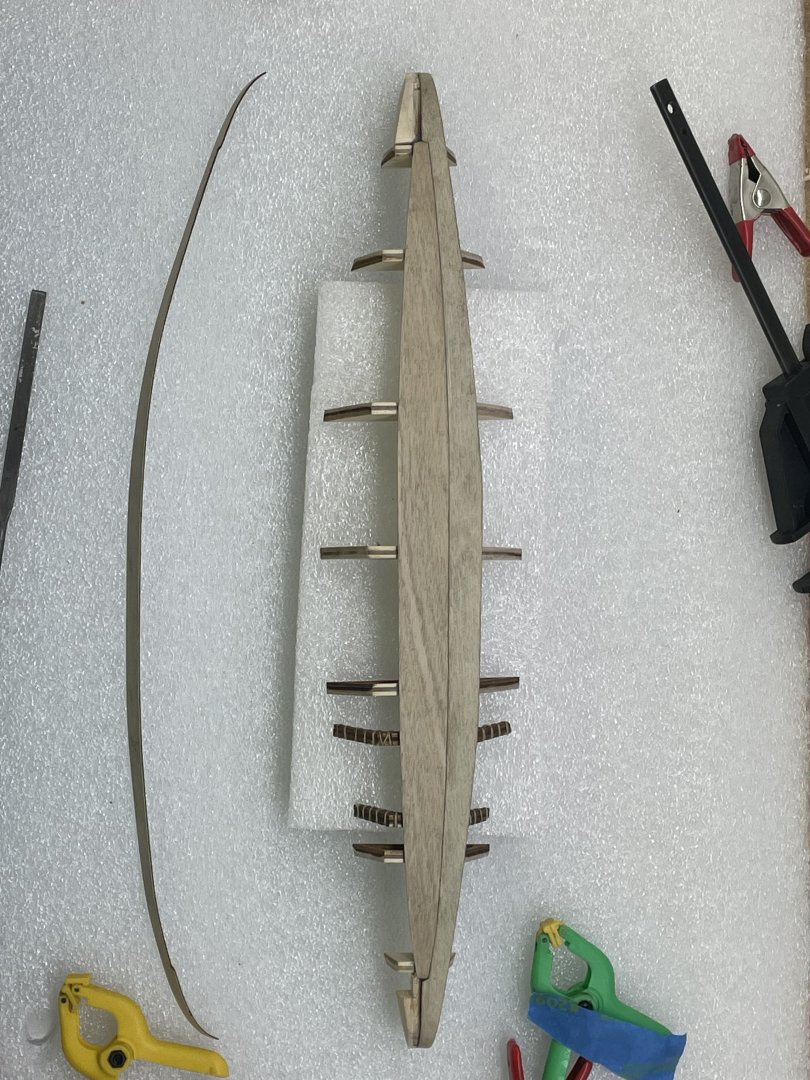
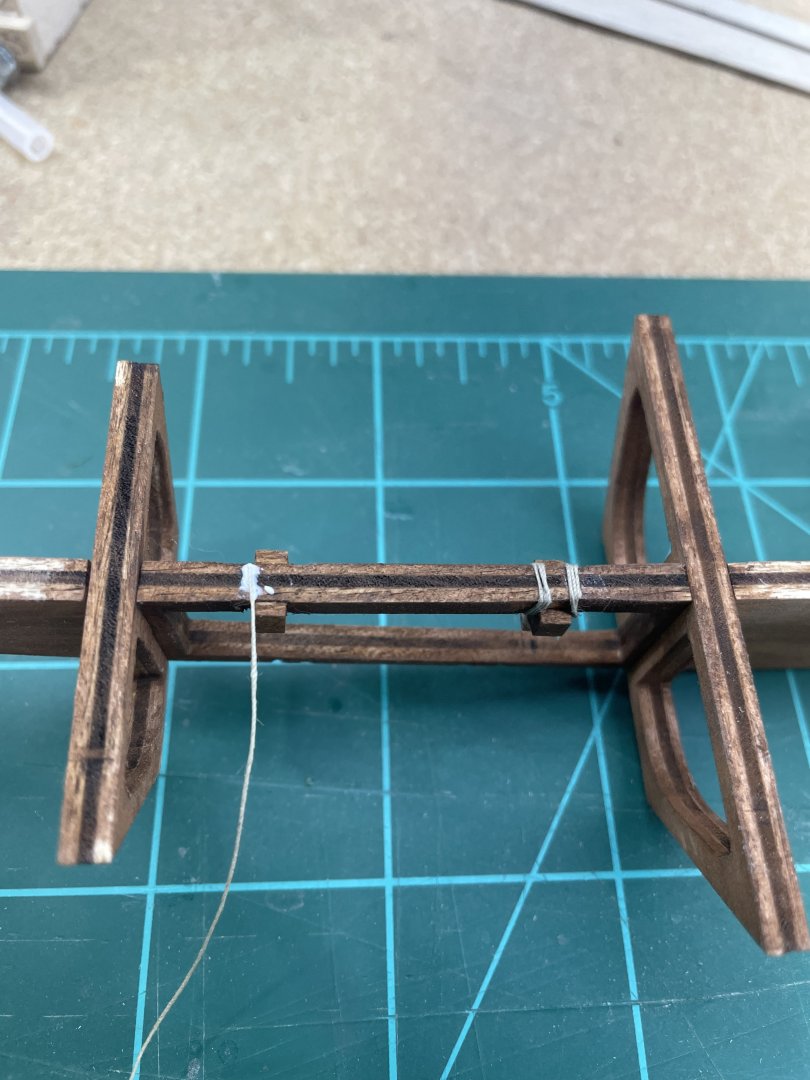
I got the two exposed frames ready and the other two halves of the stachions glued to the spine. Next I need to fair the bottom of the hull. I’ll see how those planks fit before I install these two frames. I’m thinking I may break them off with it upside down.

- 44 replies
-
- 2
-
-
- Nave Egizia
- Amati
- (and 1 more)
-
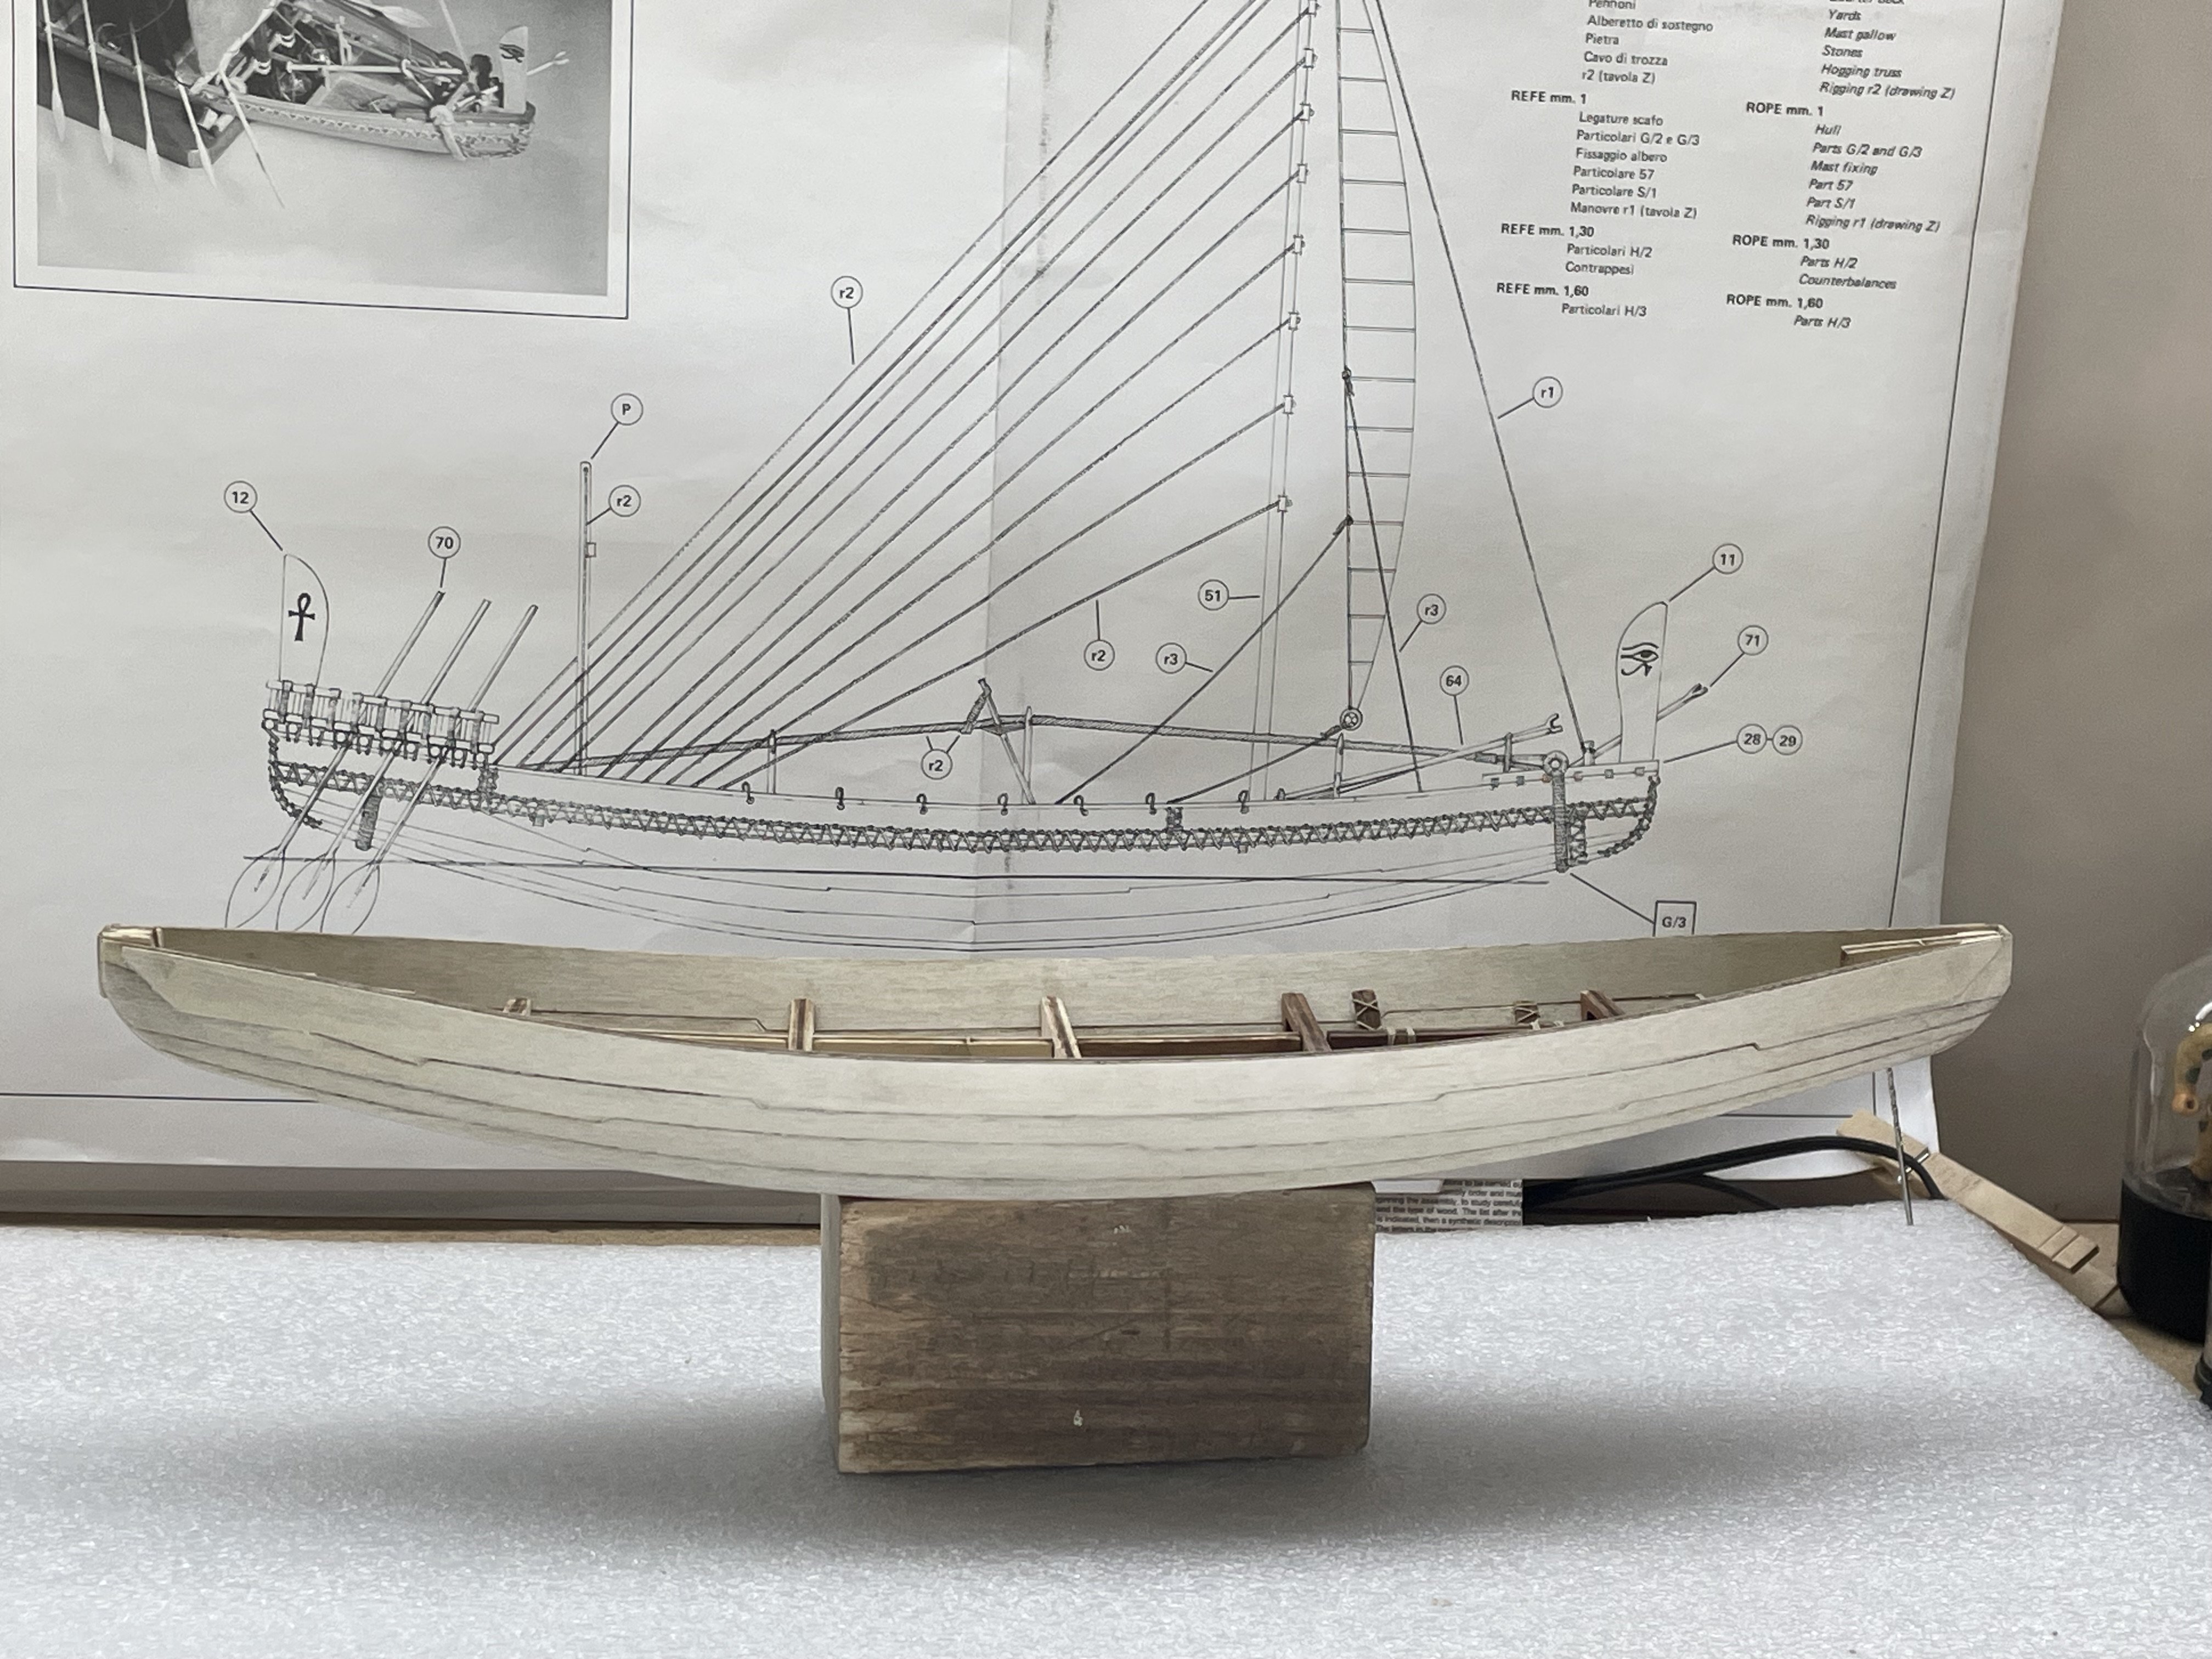
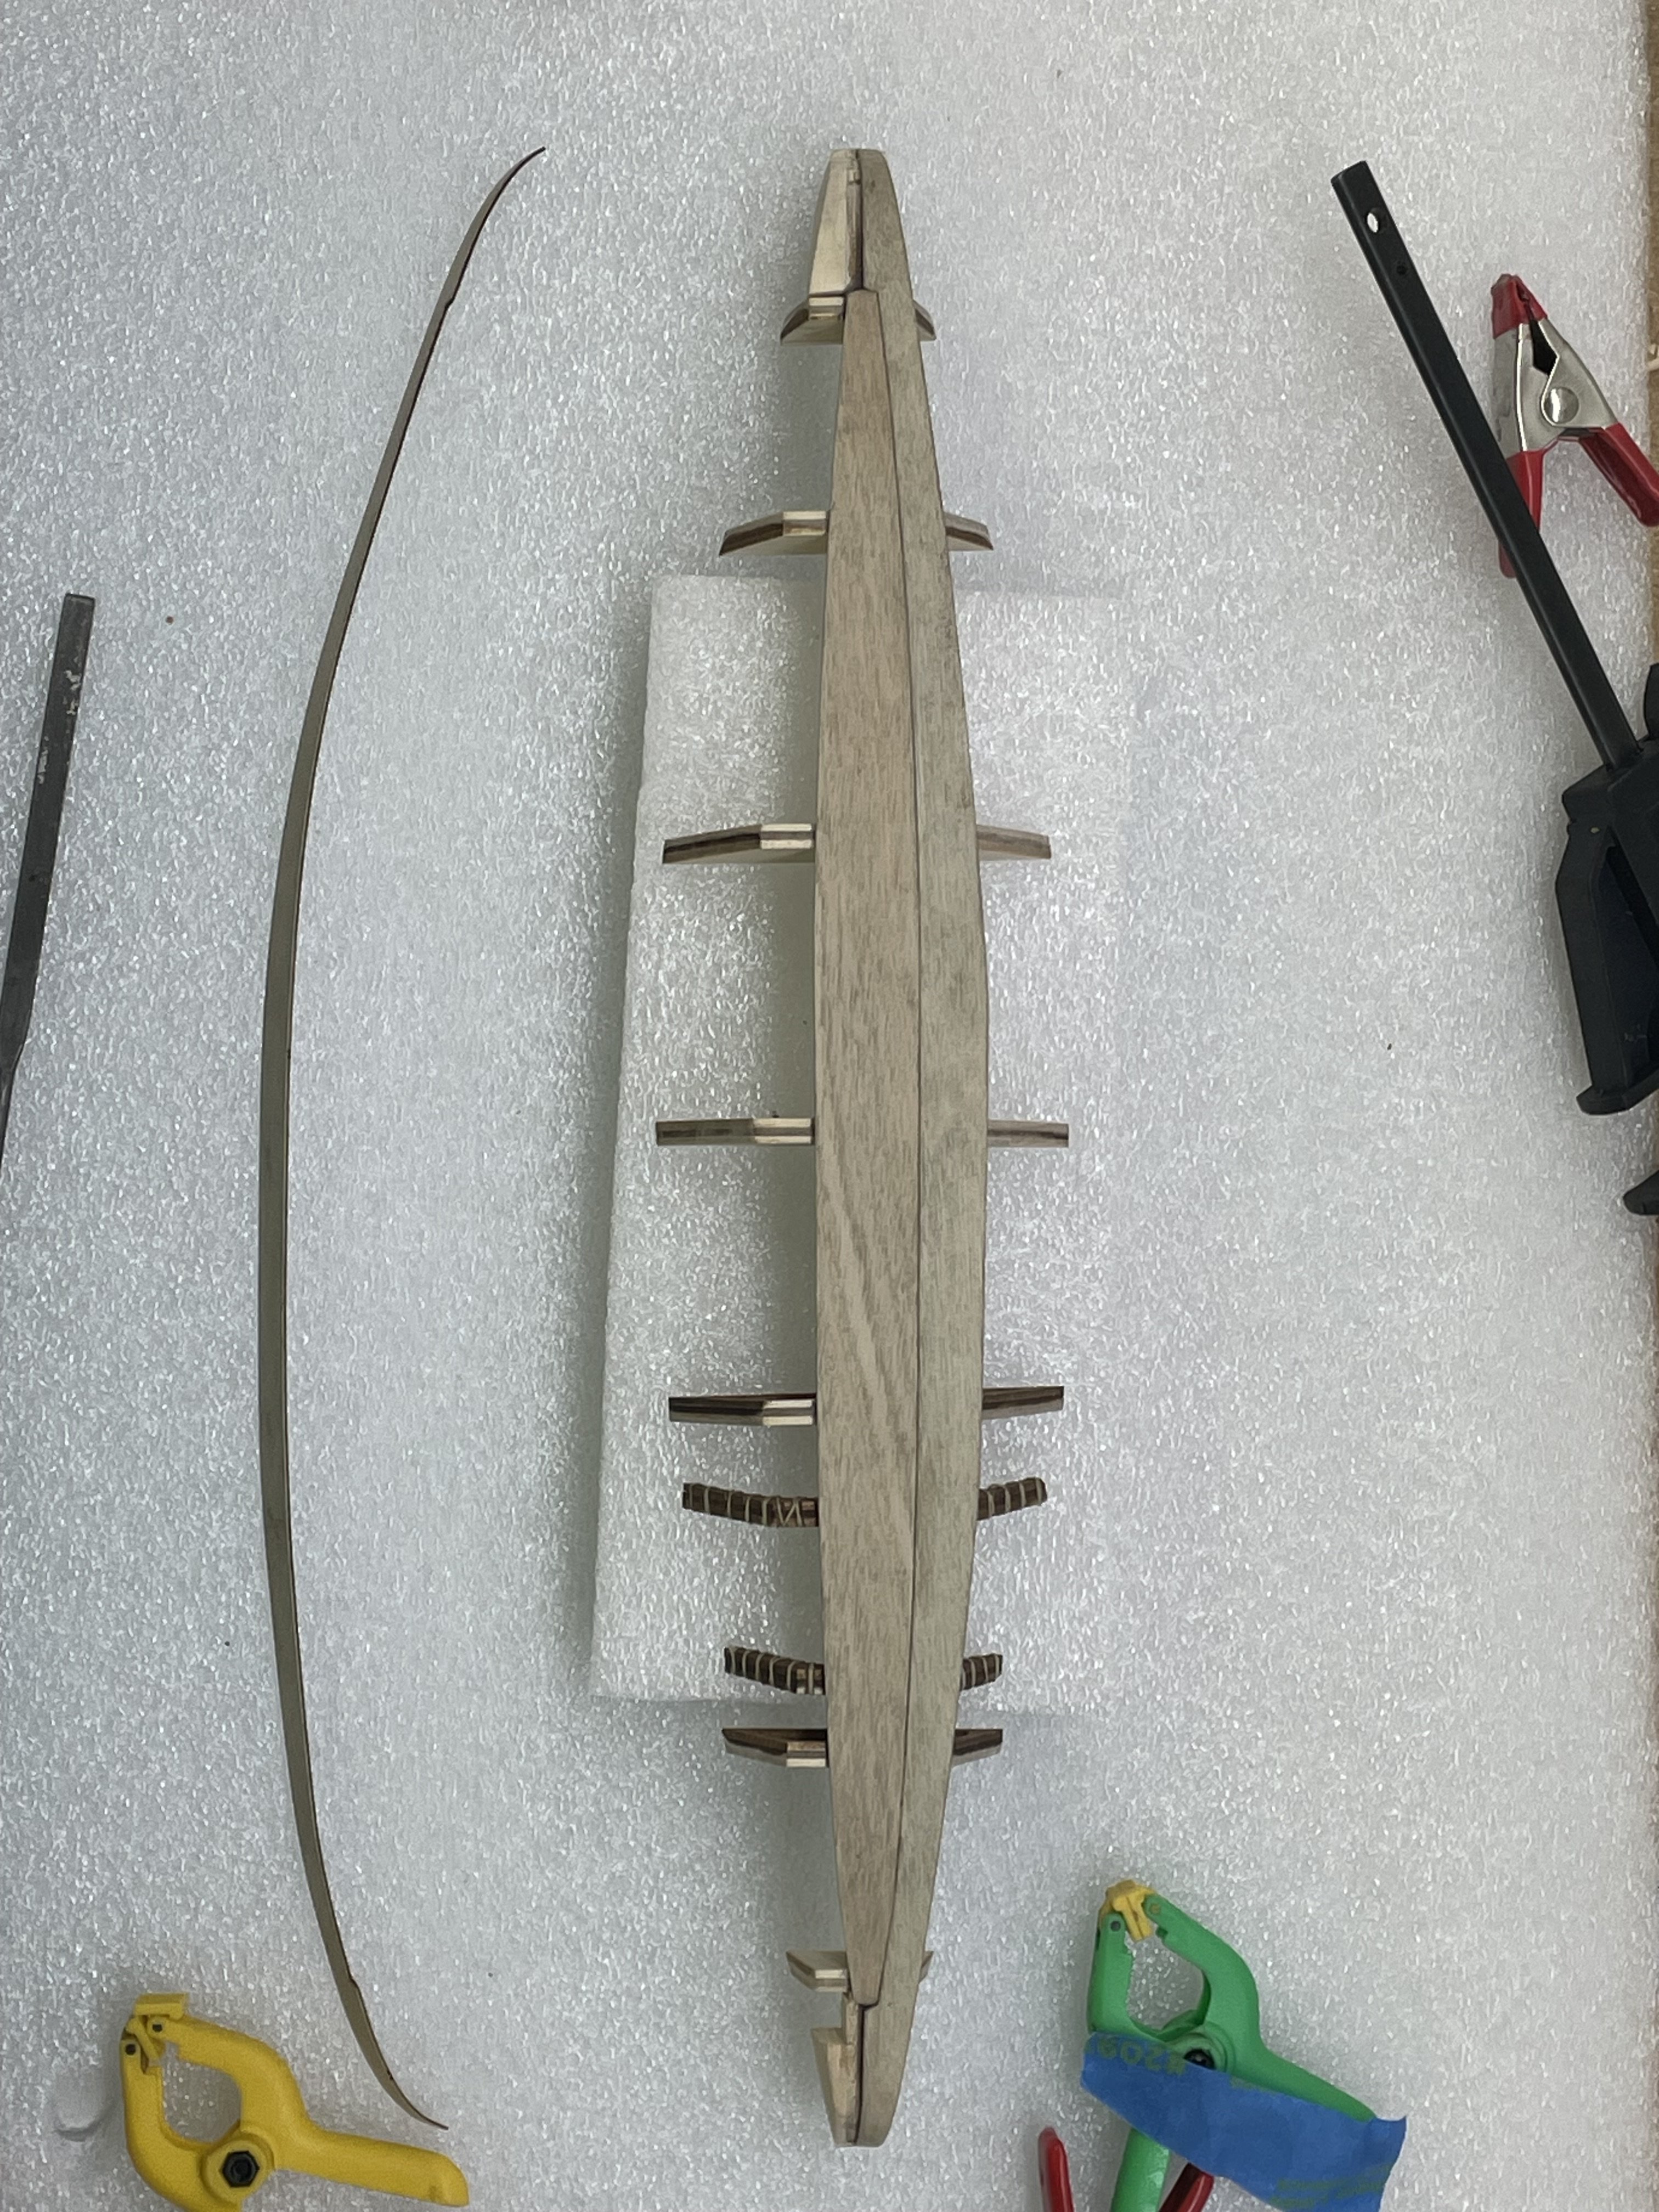
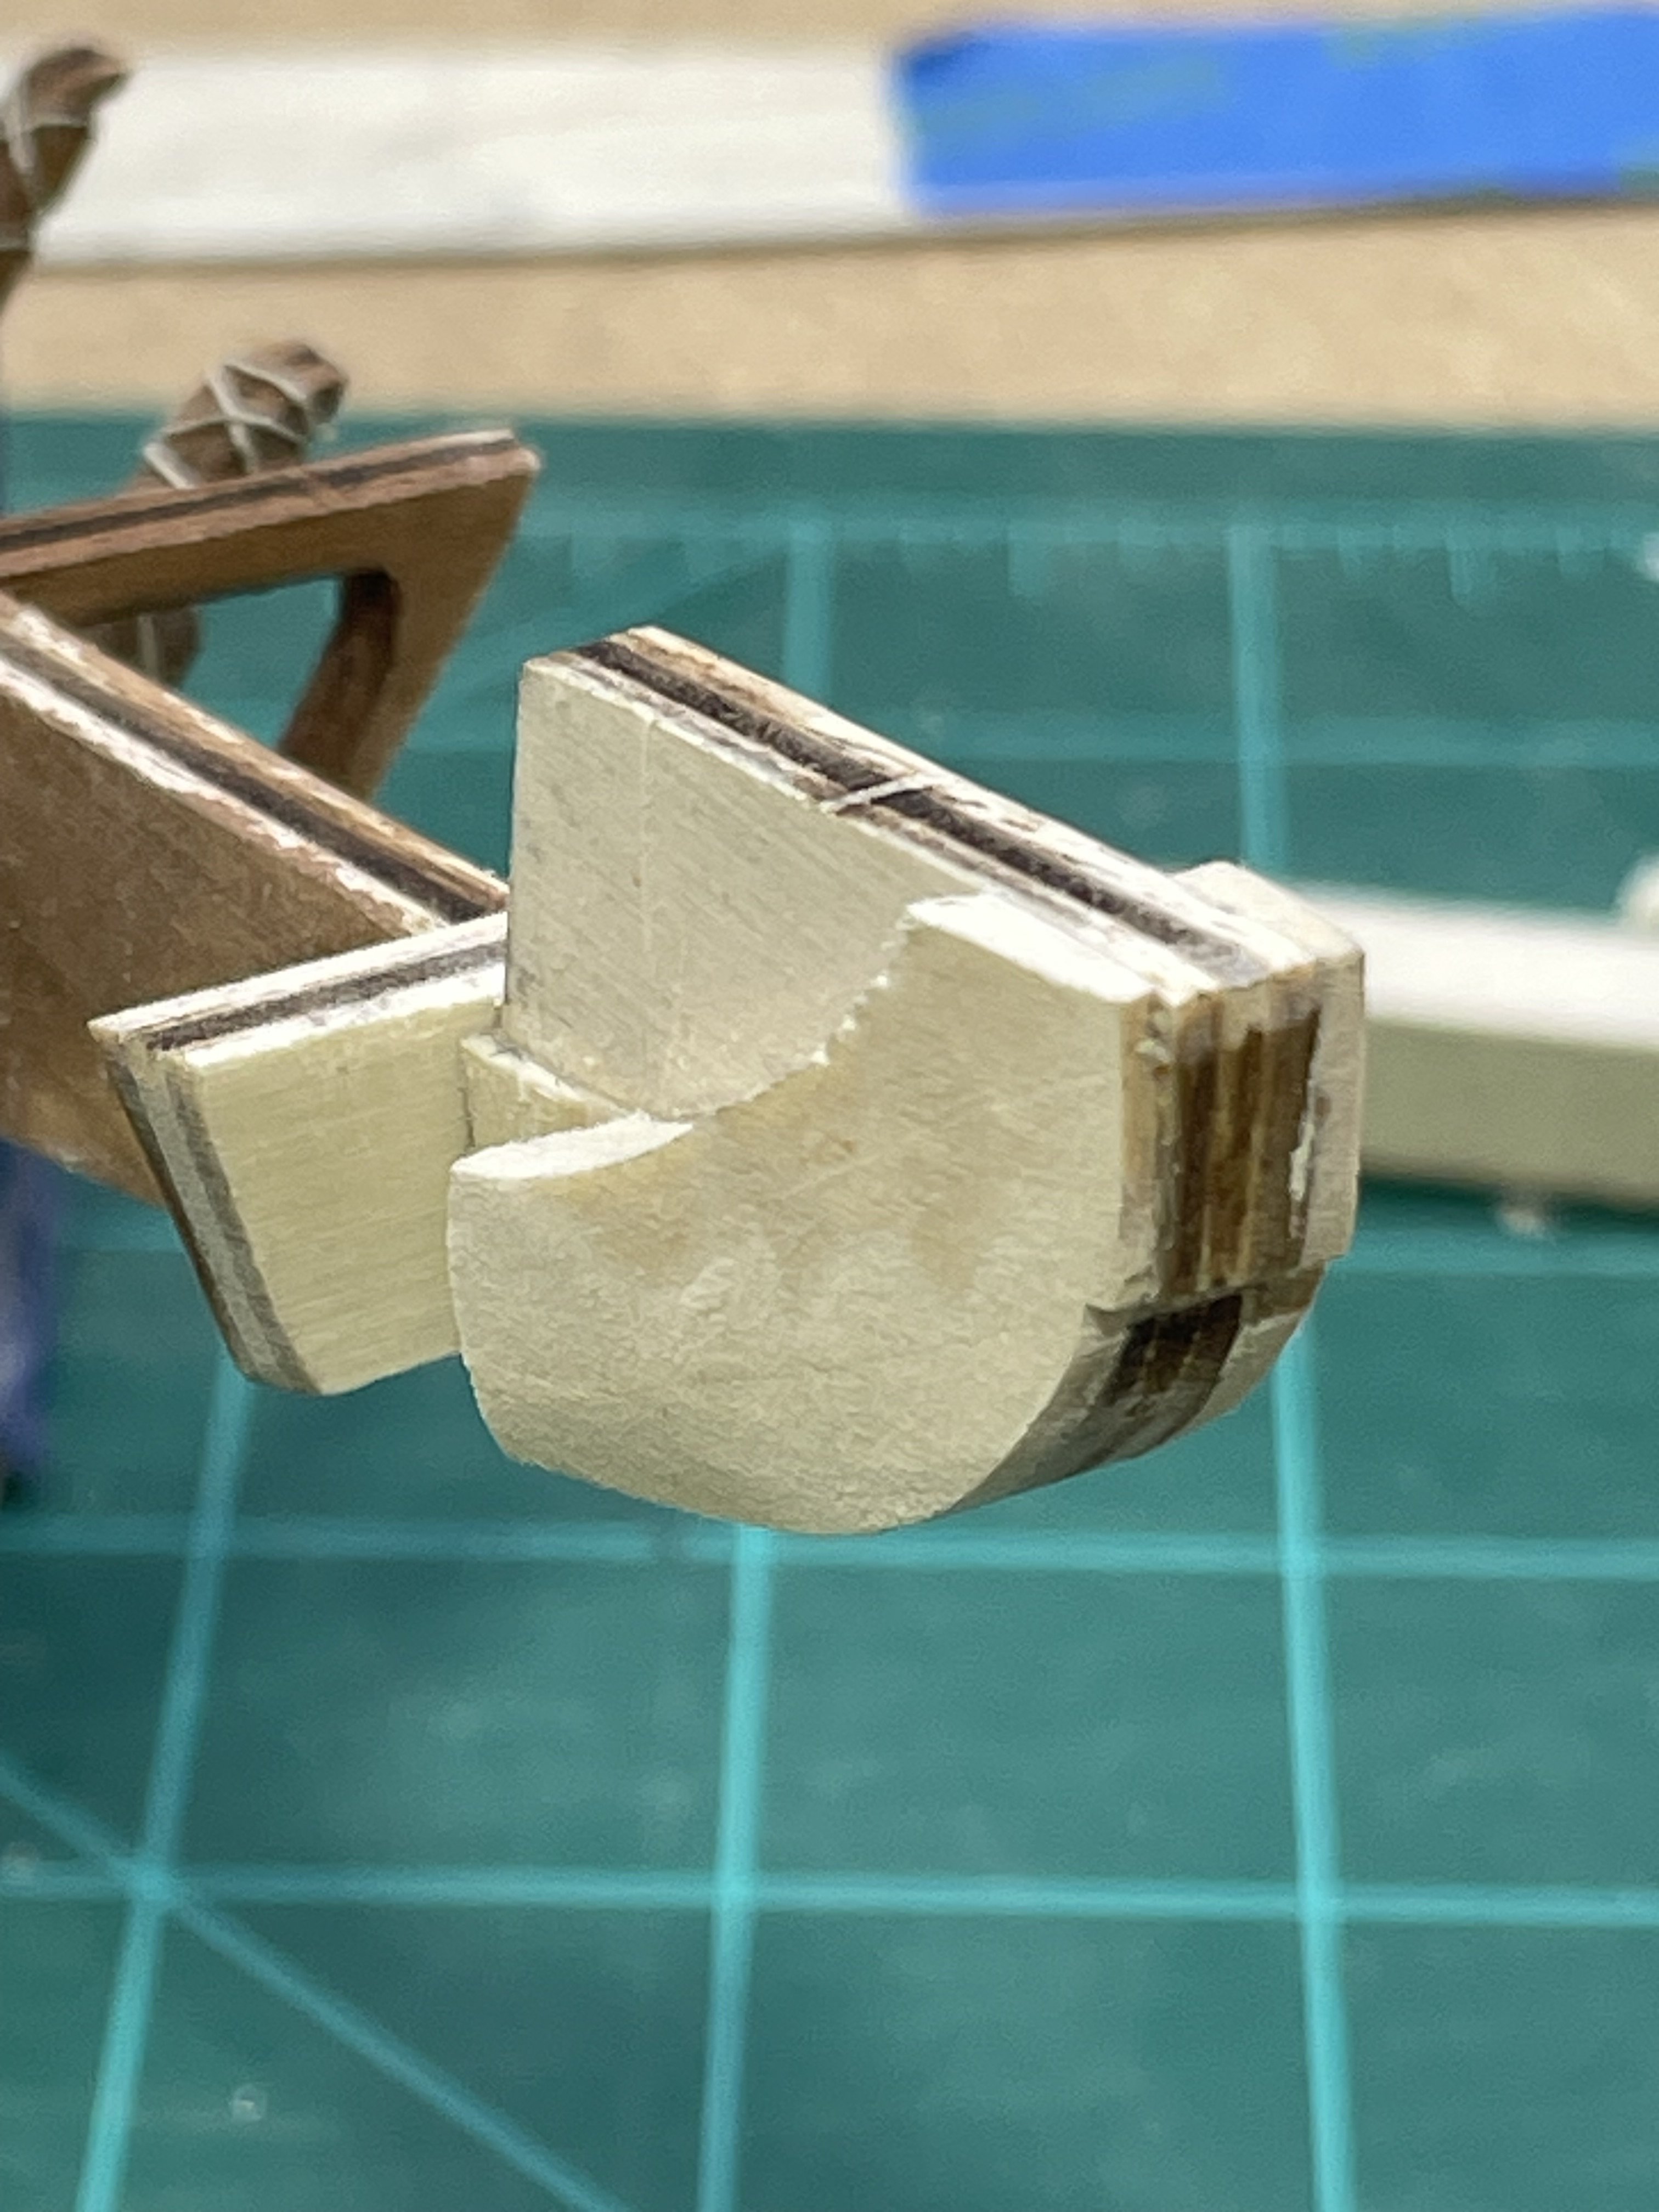
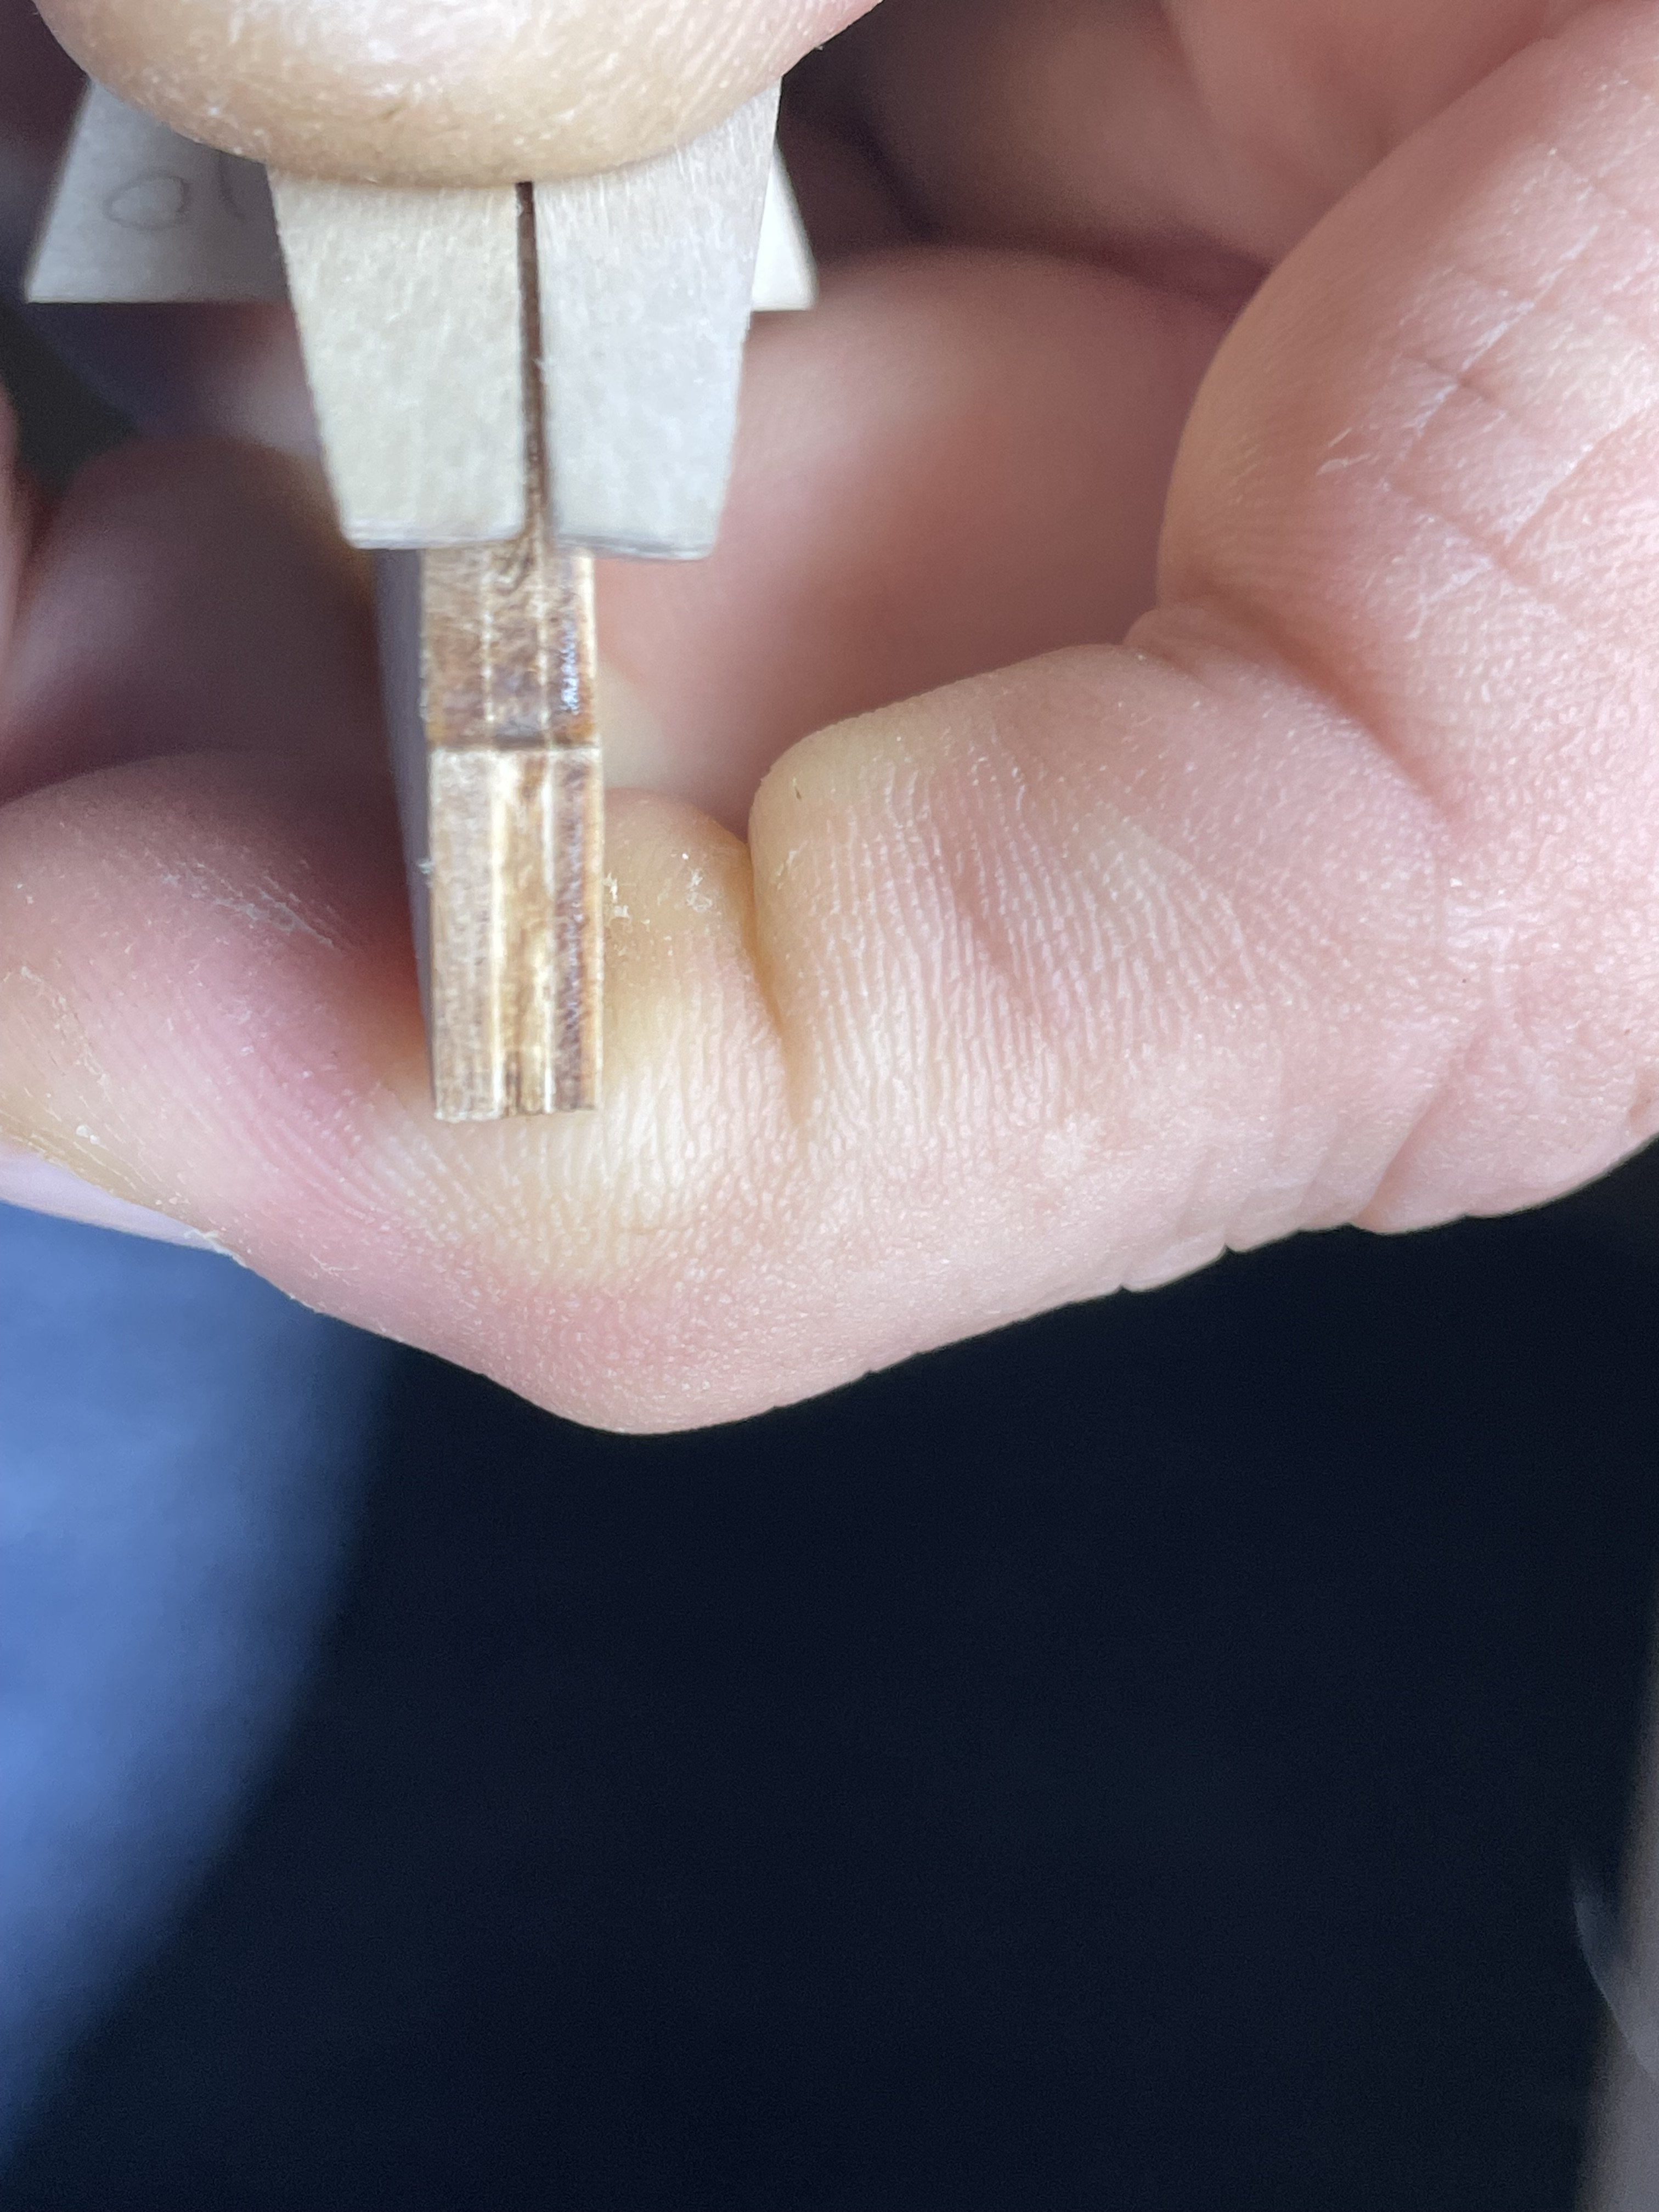
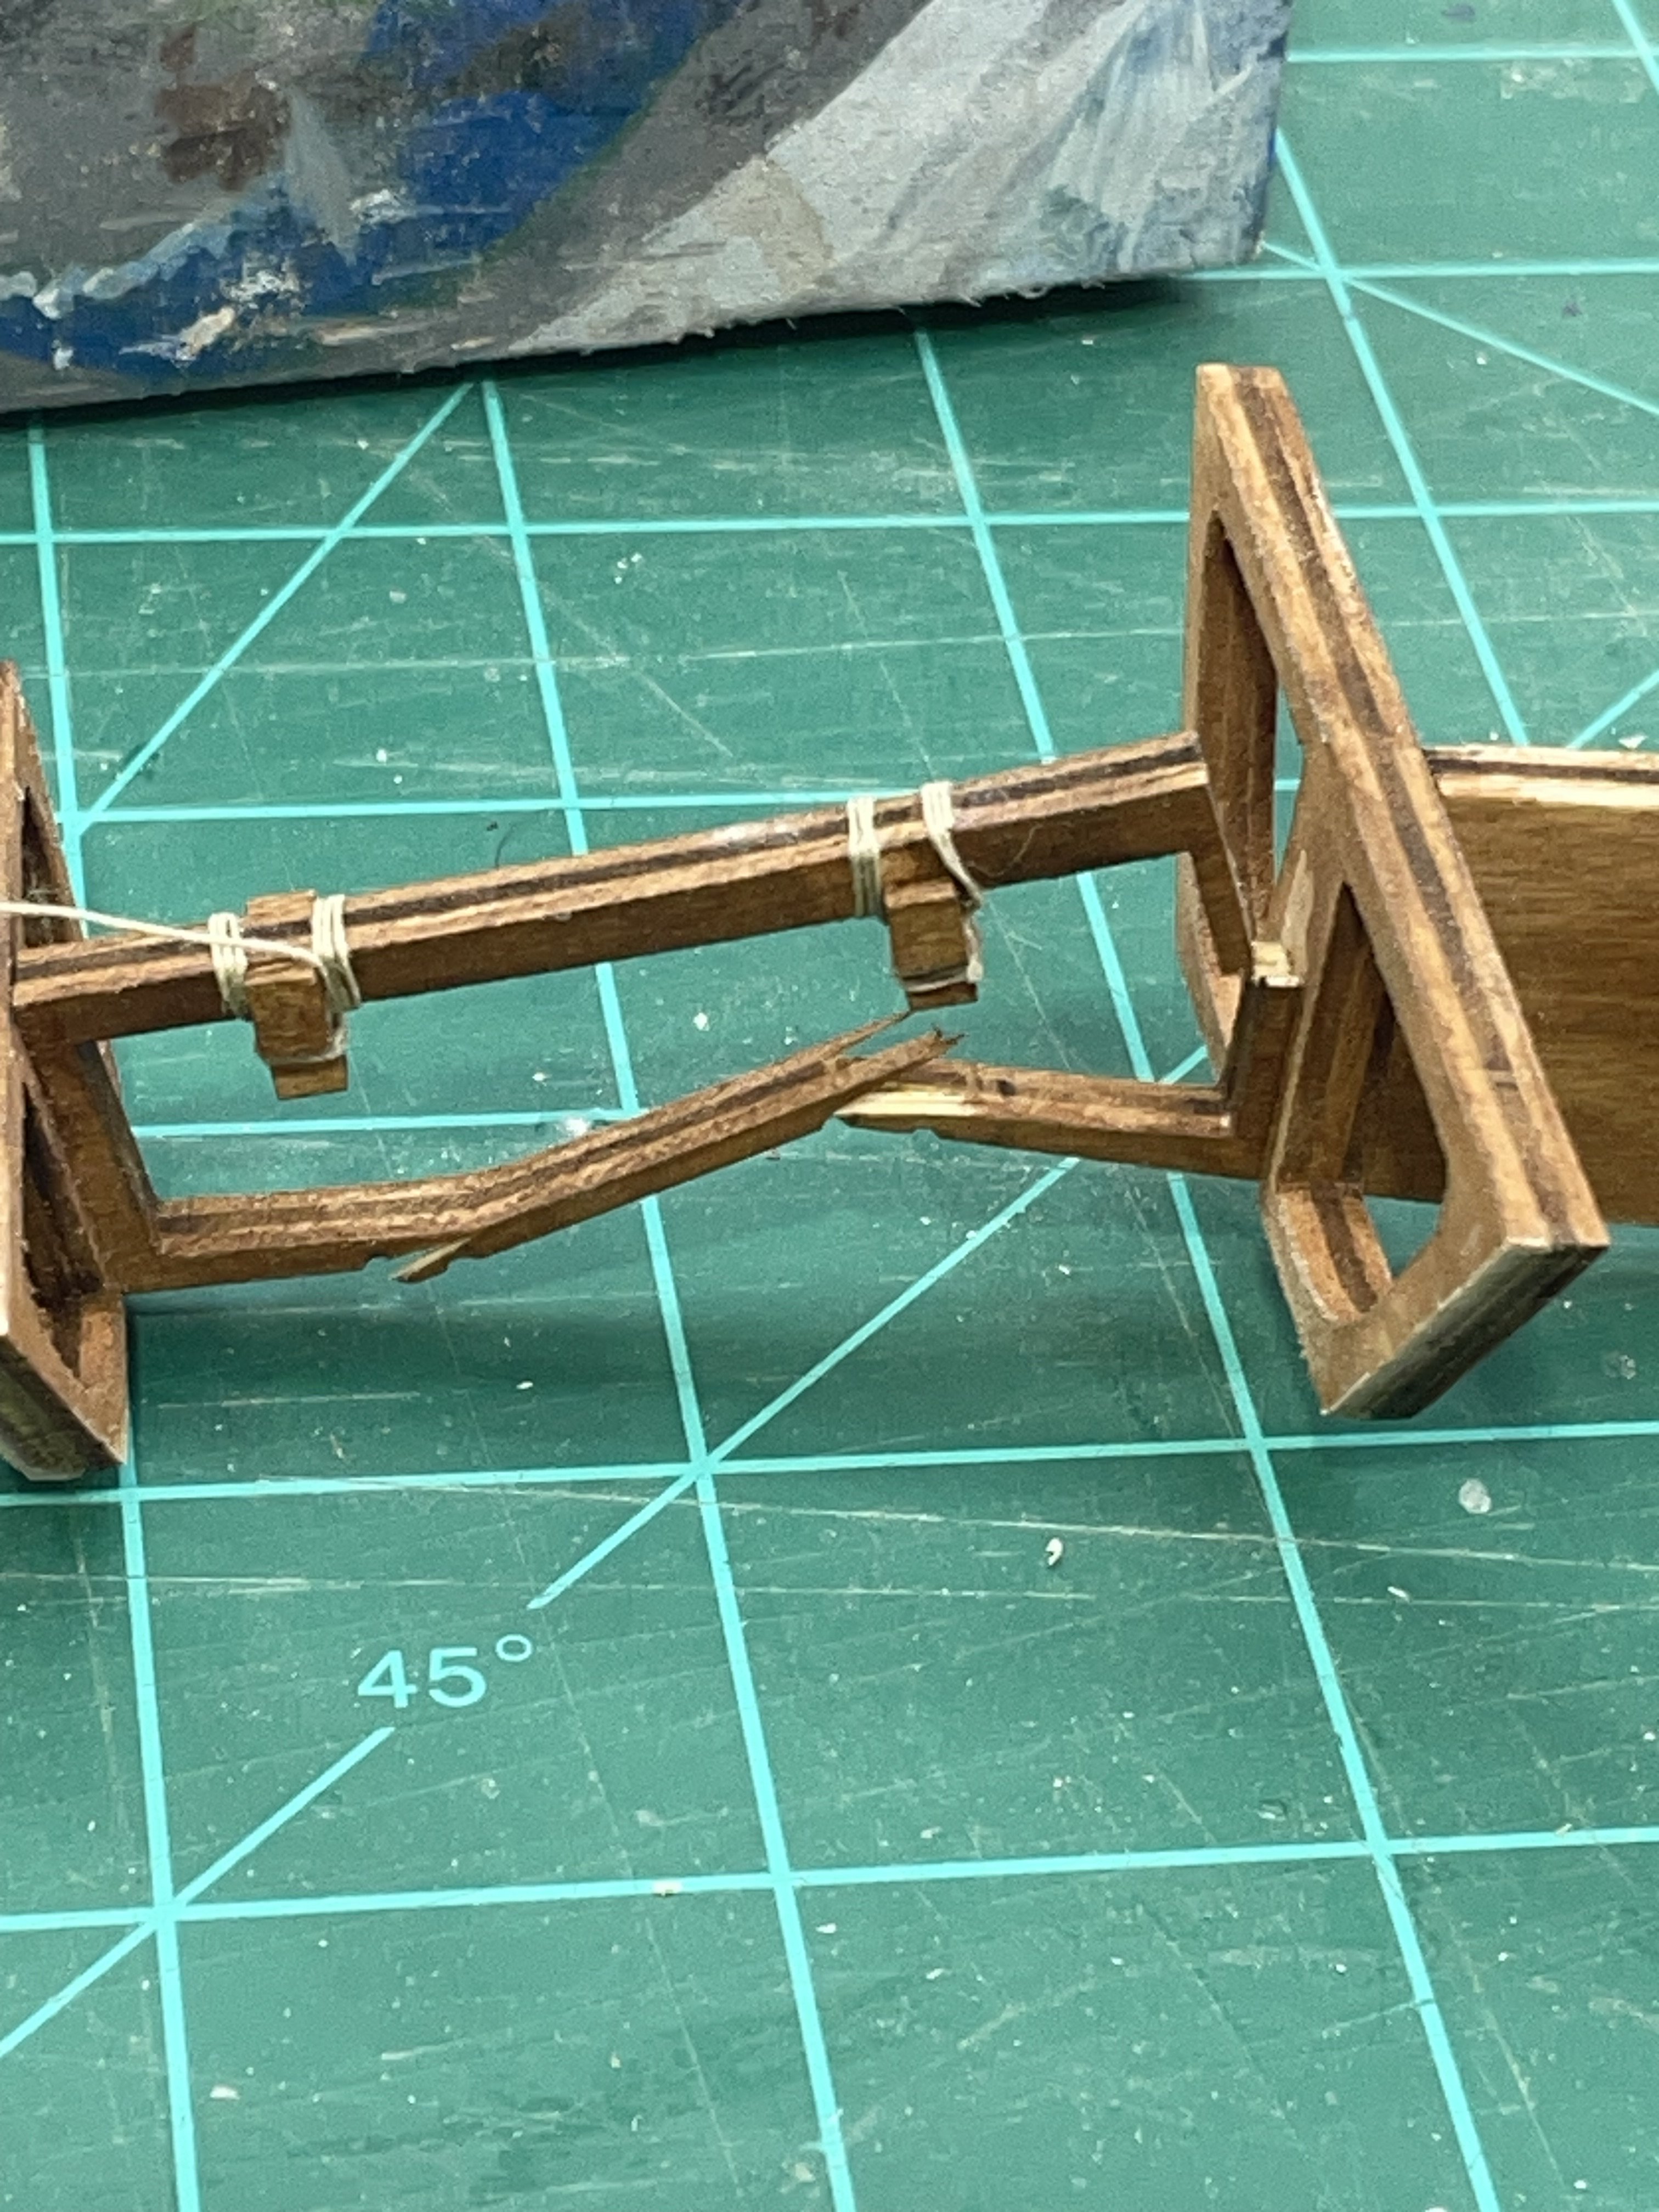
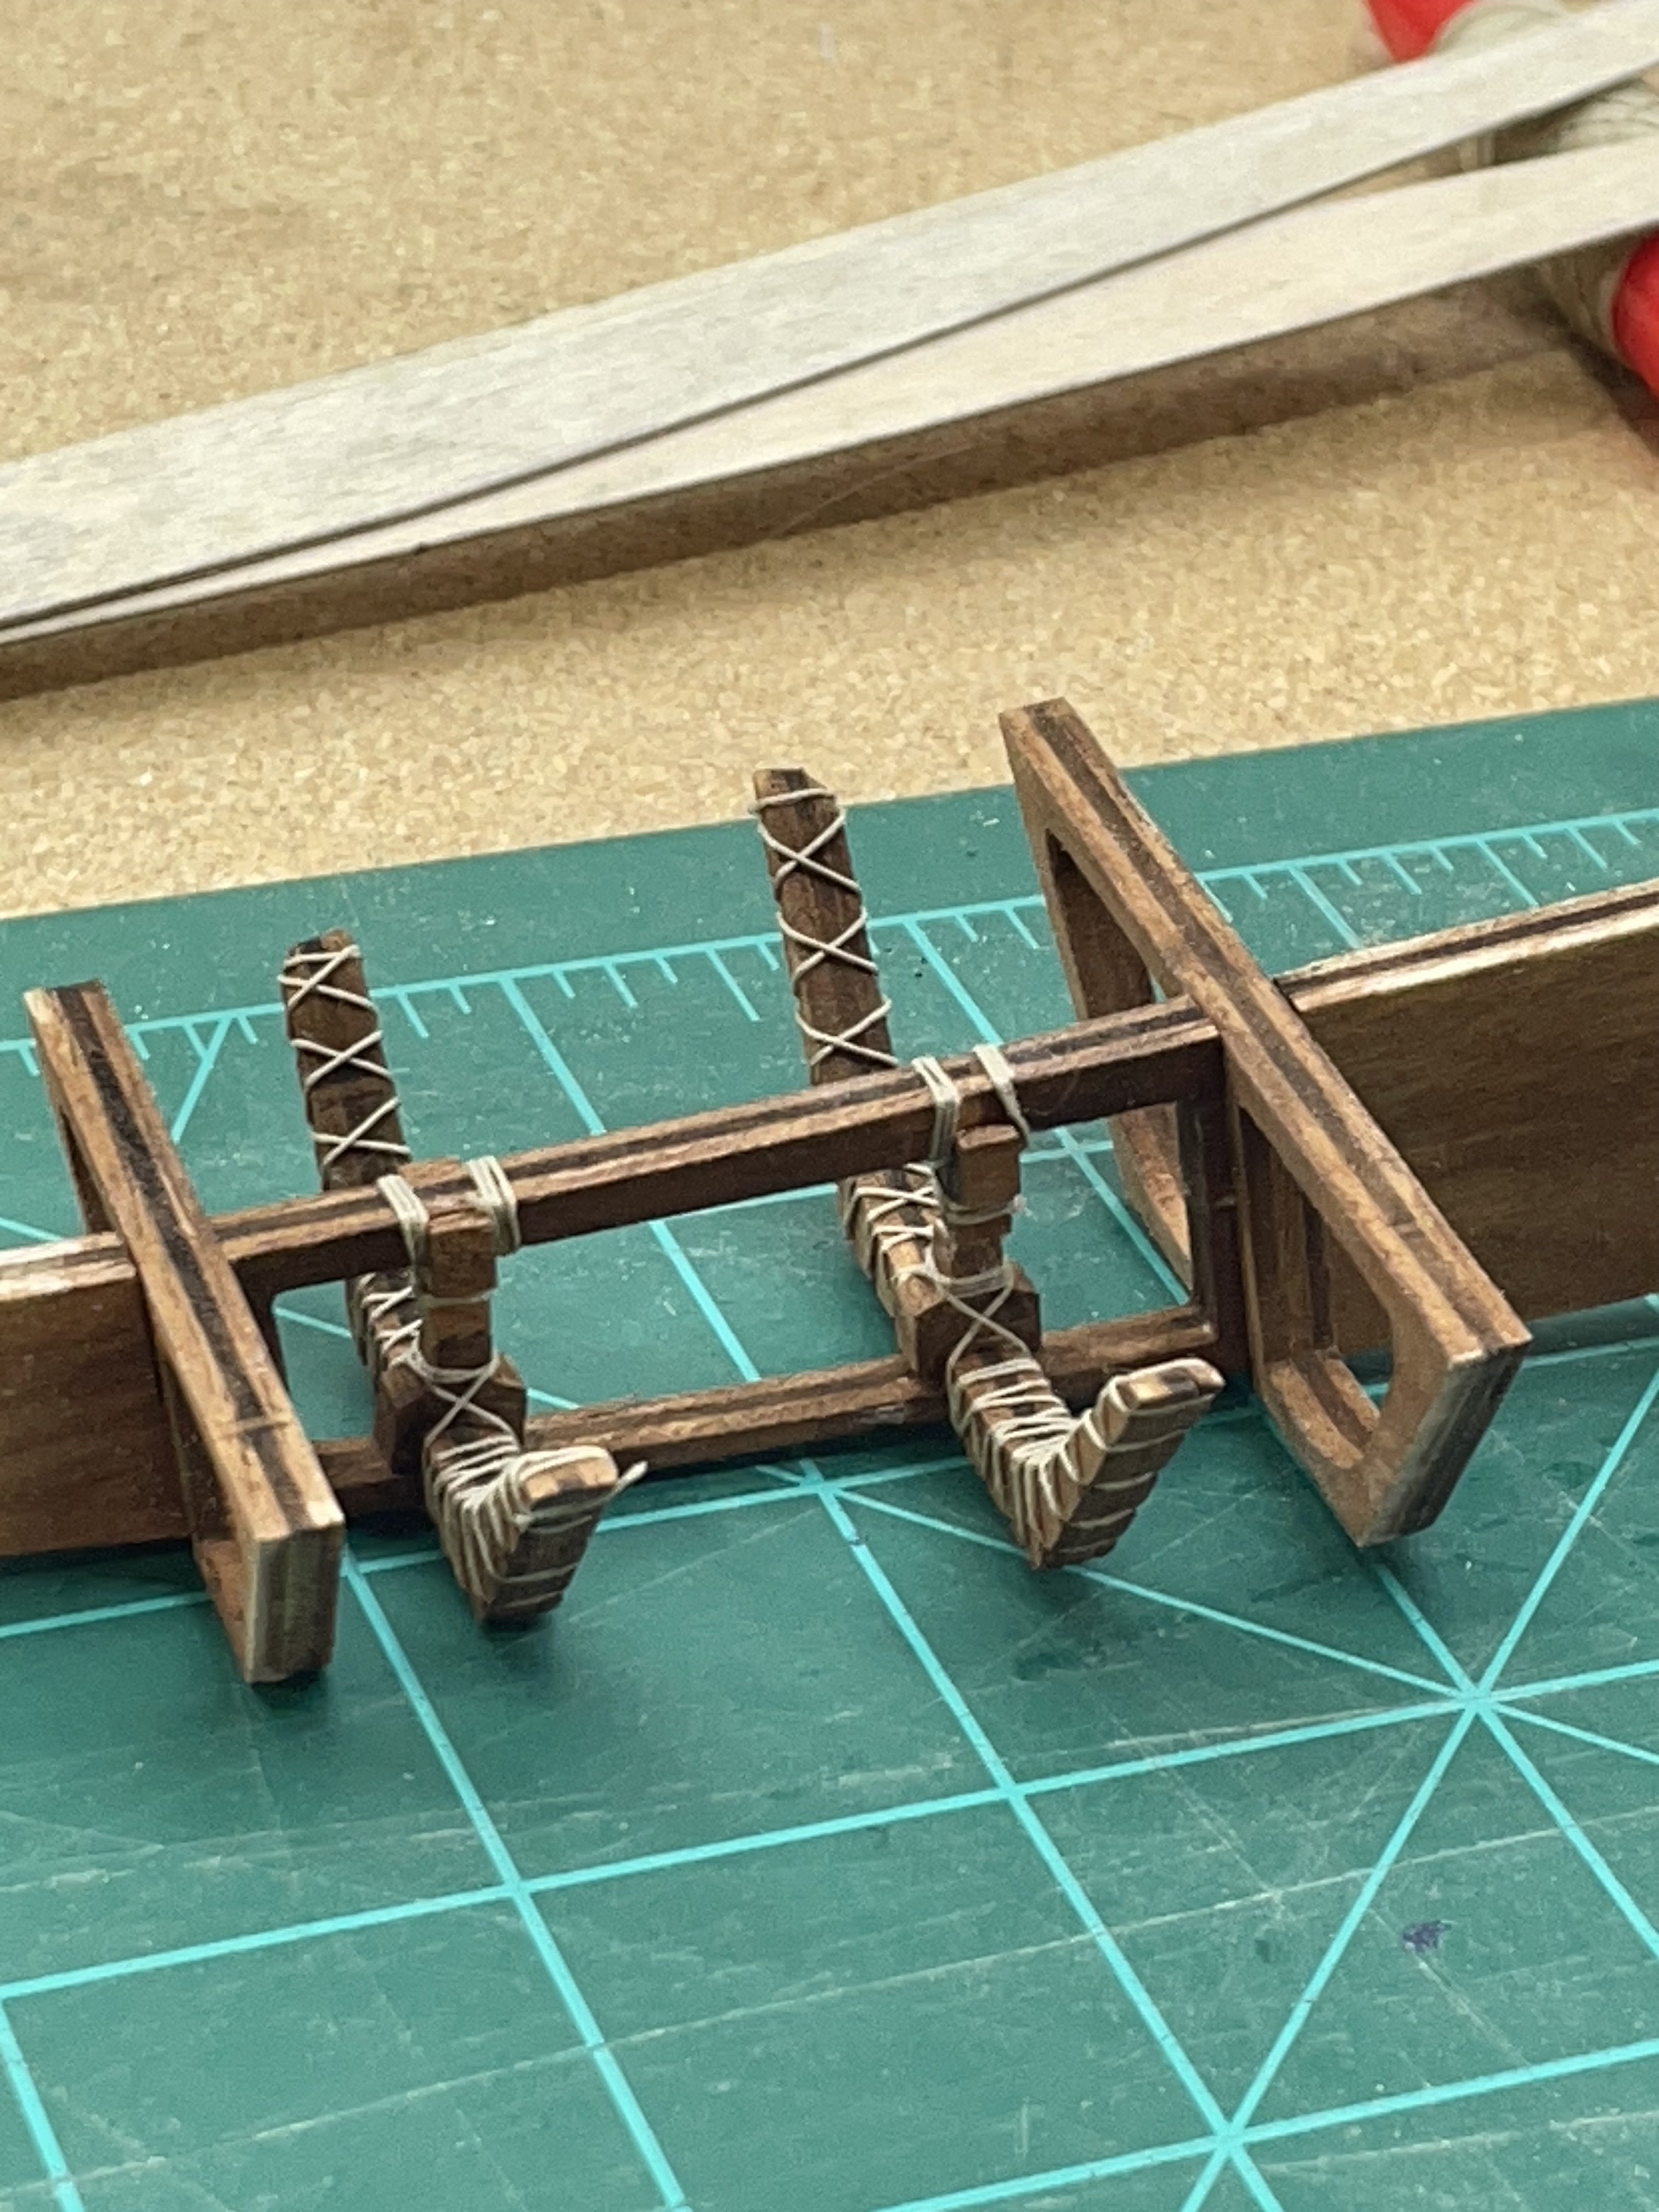
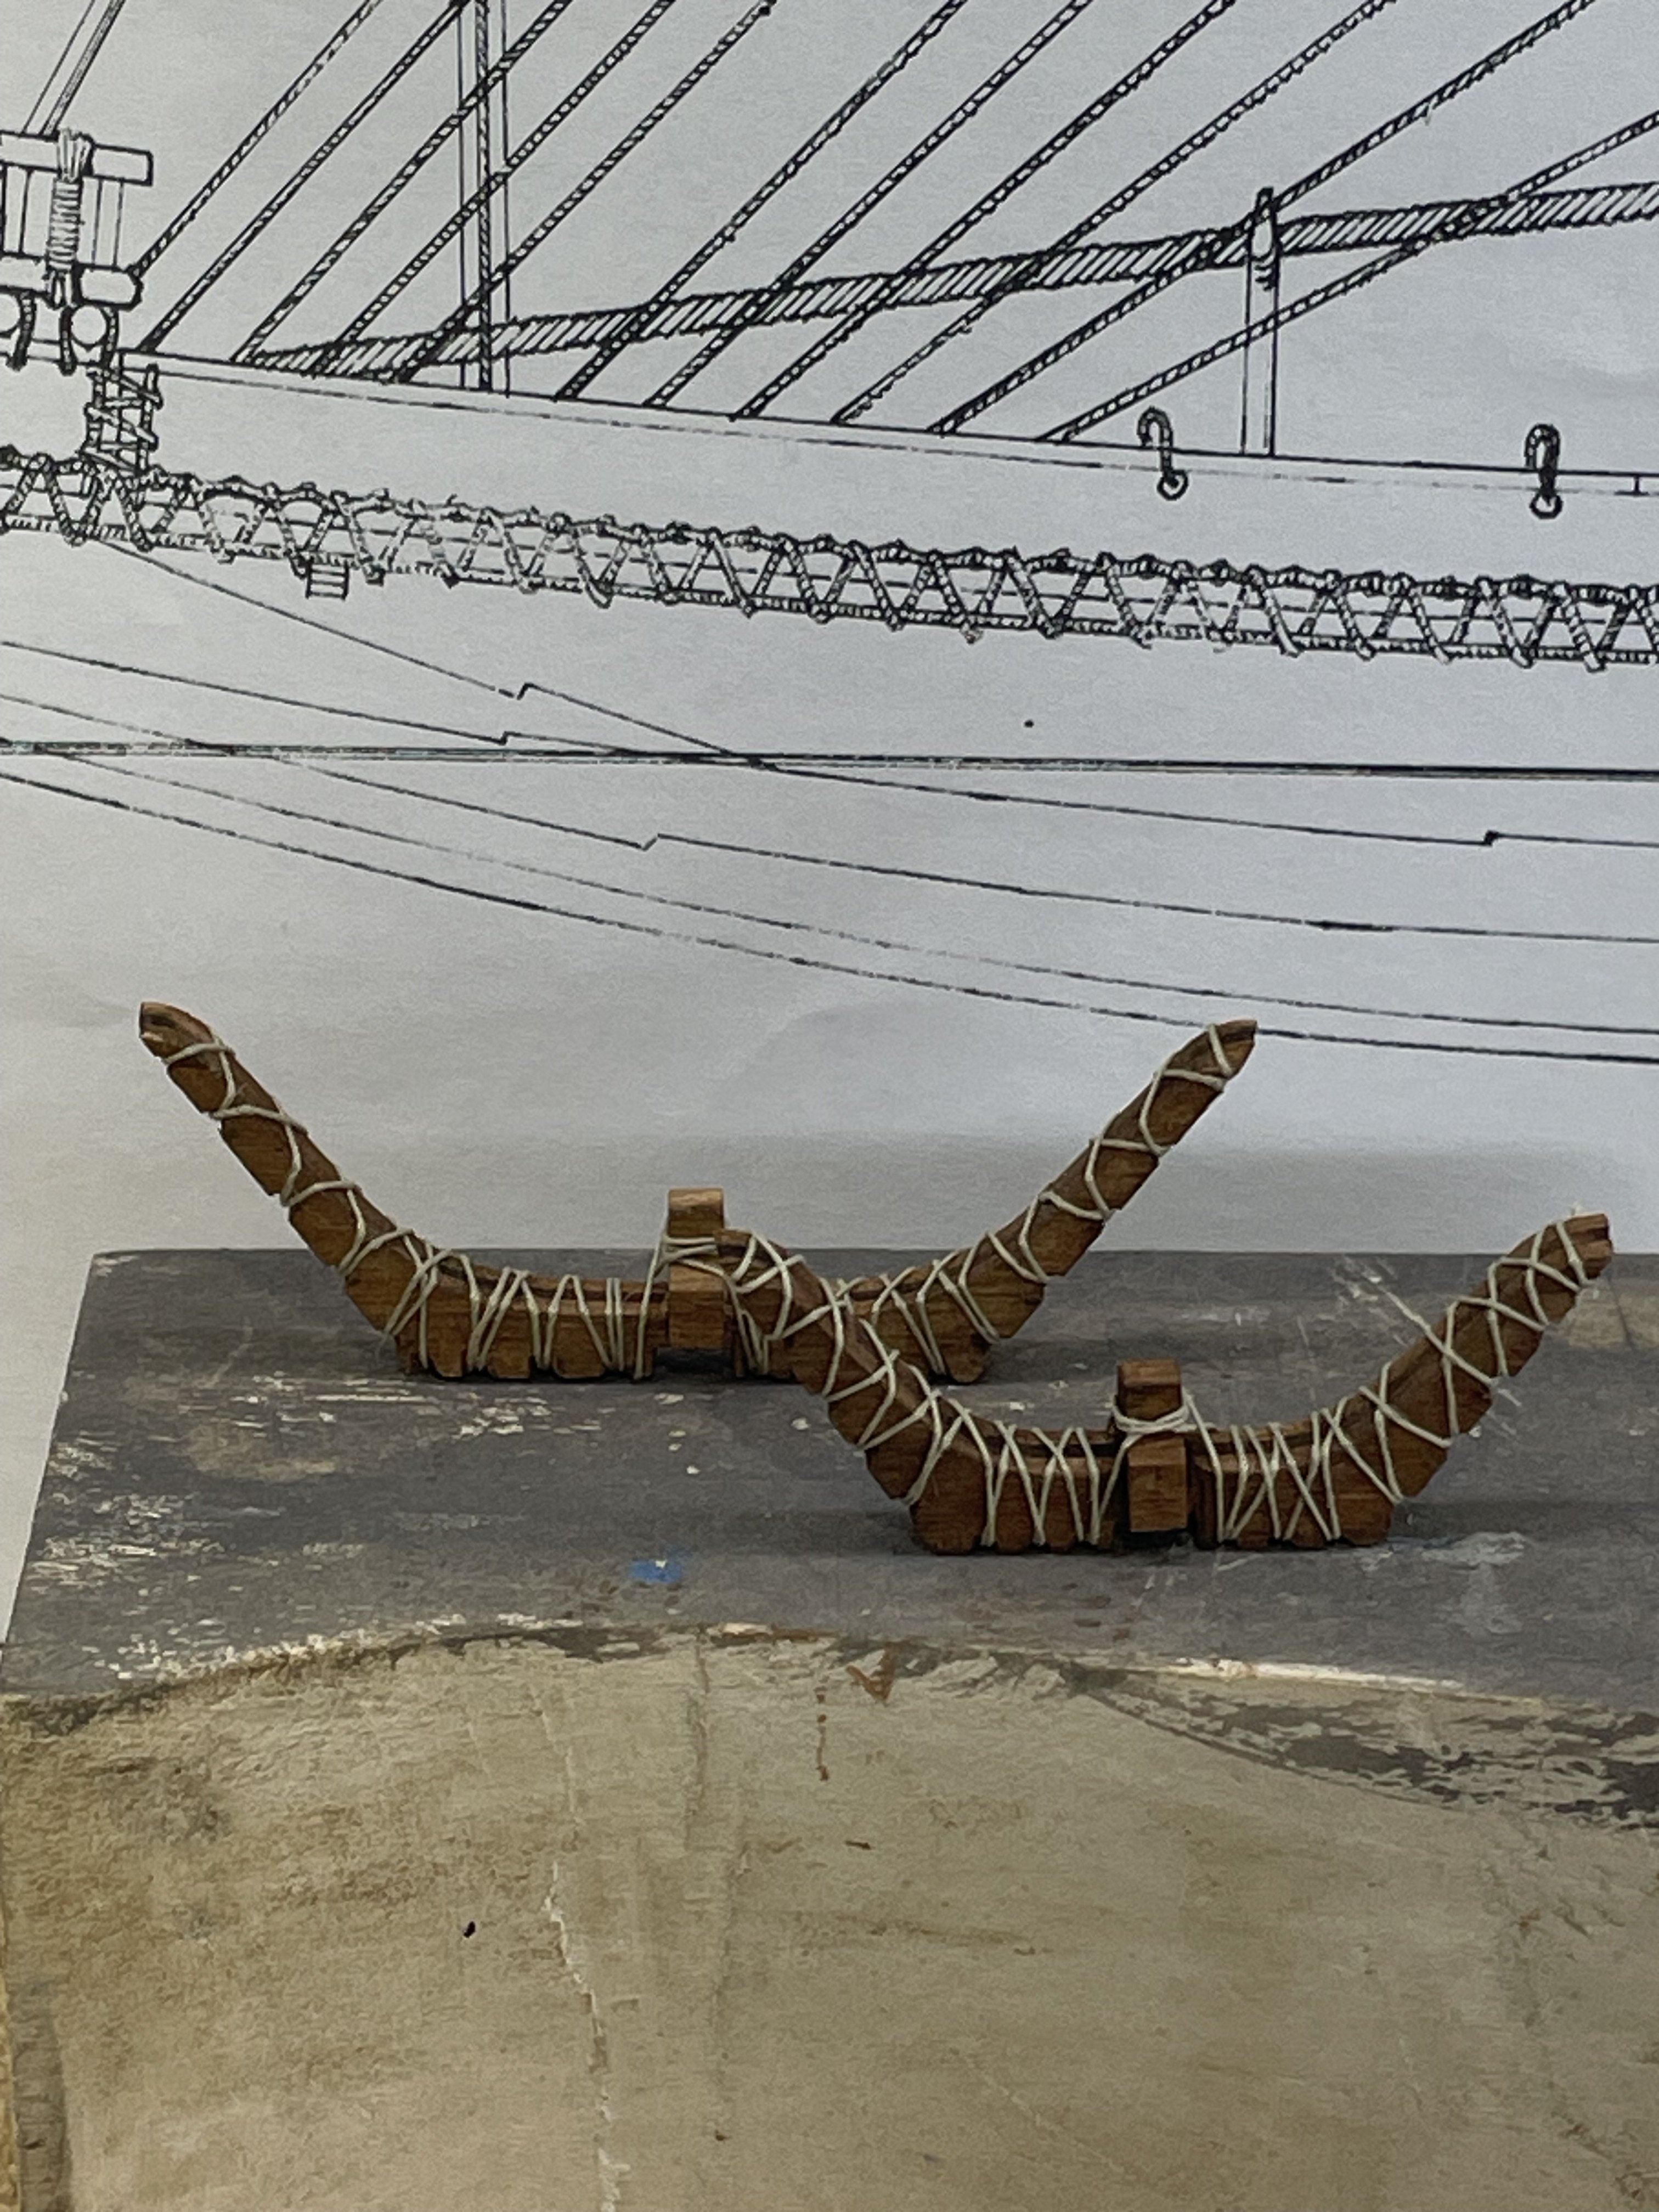
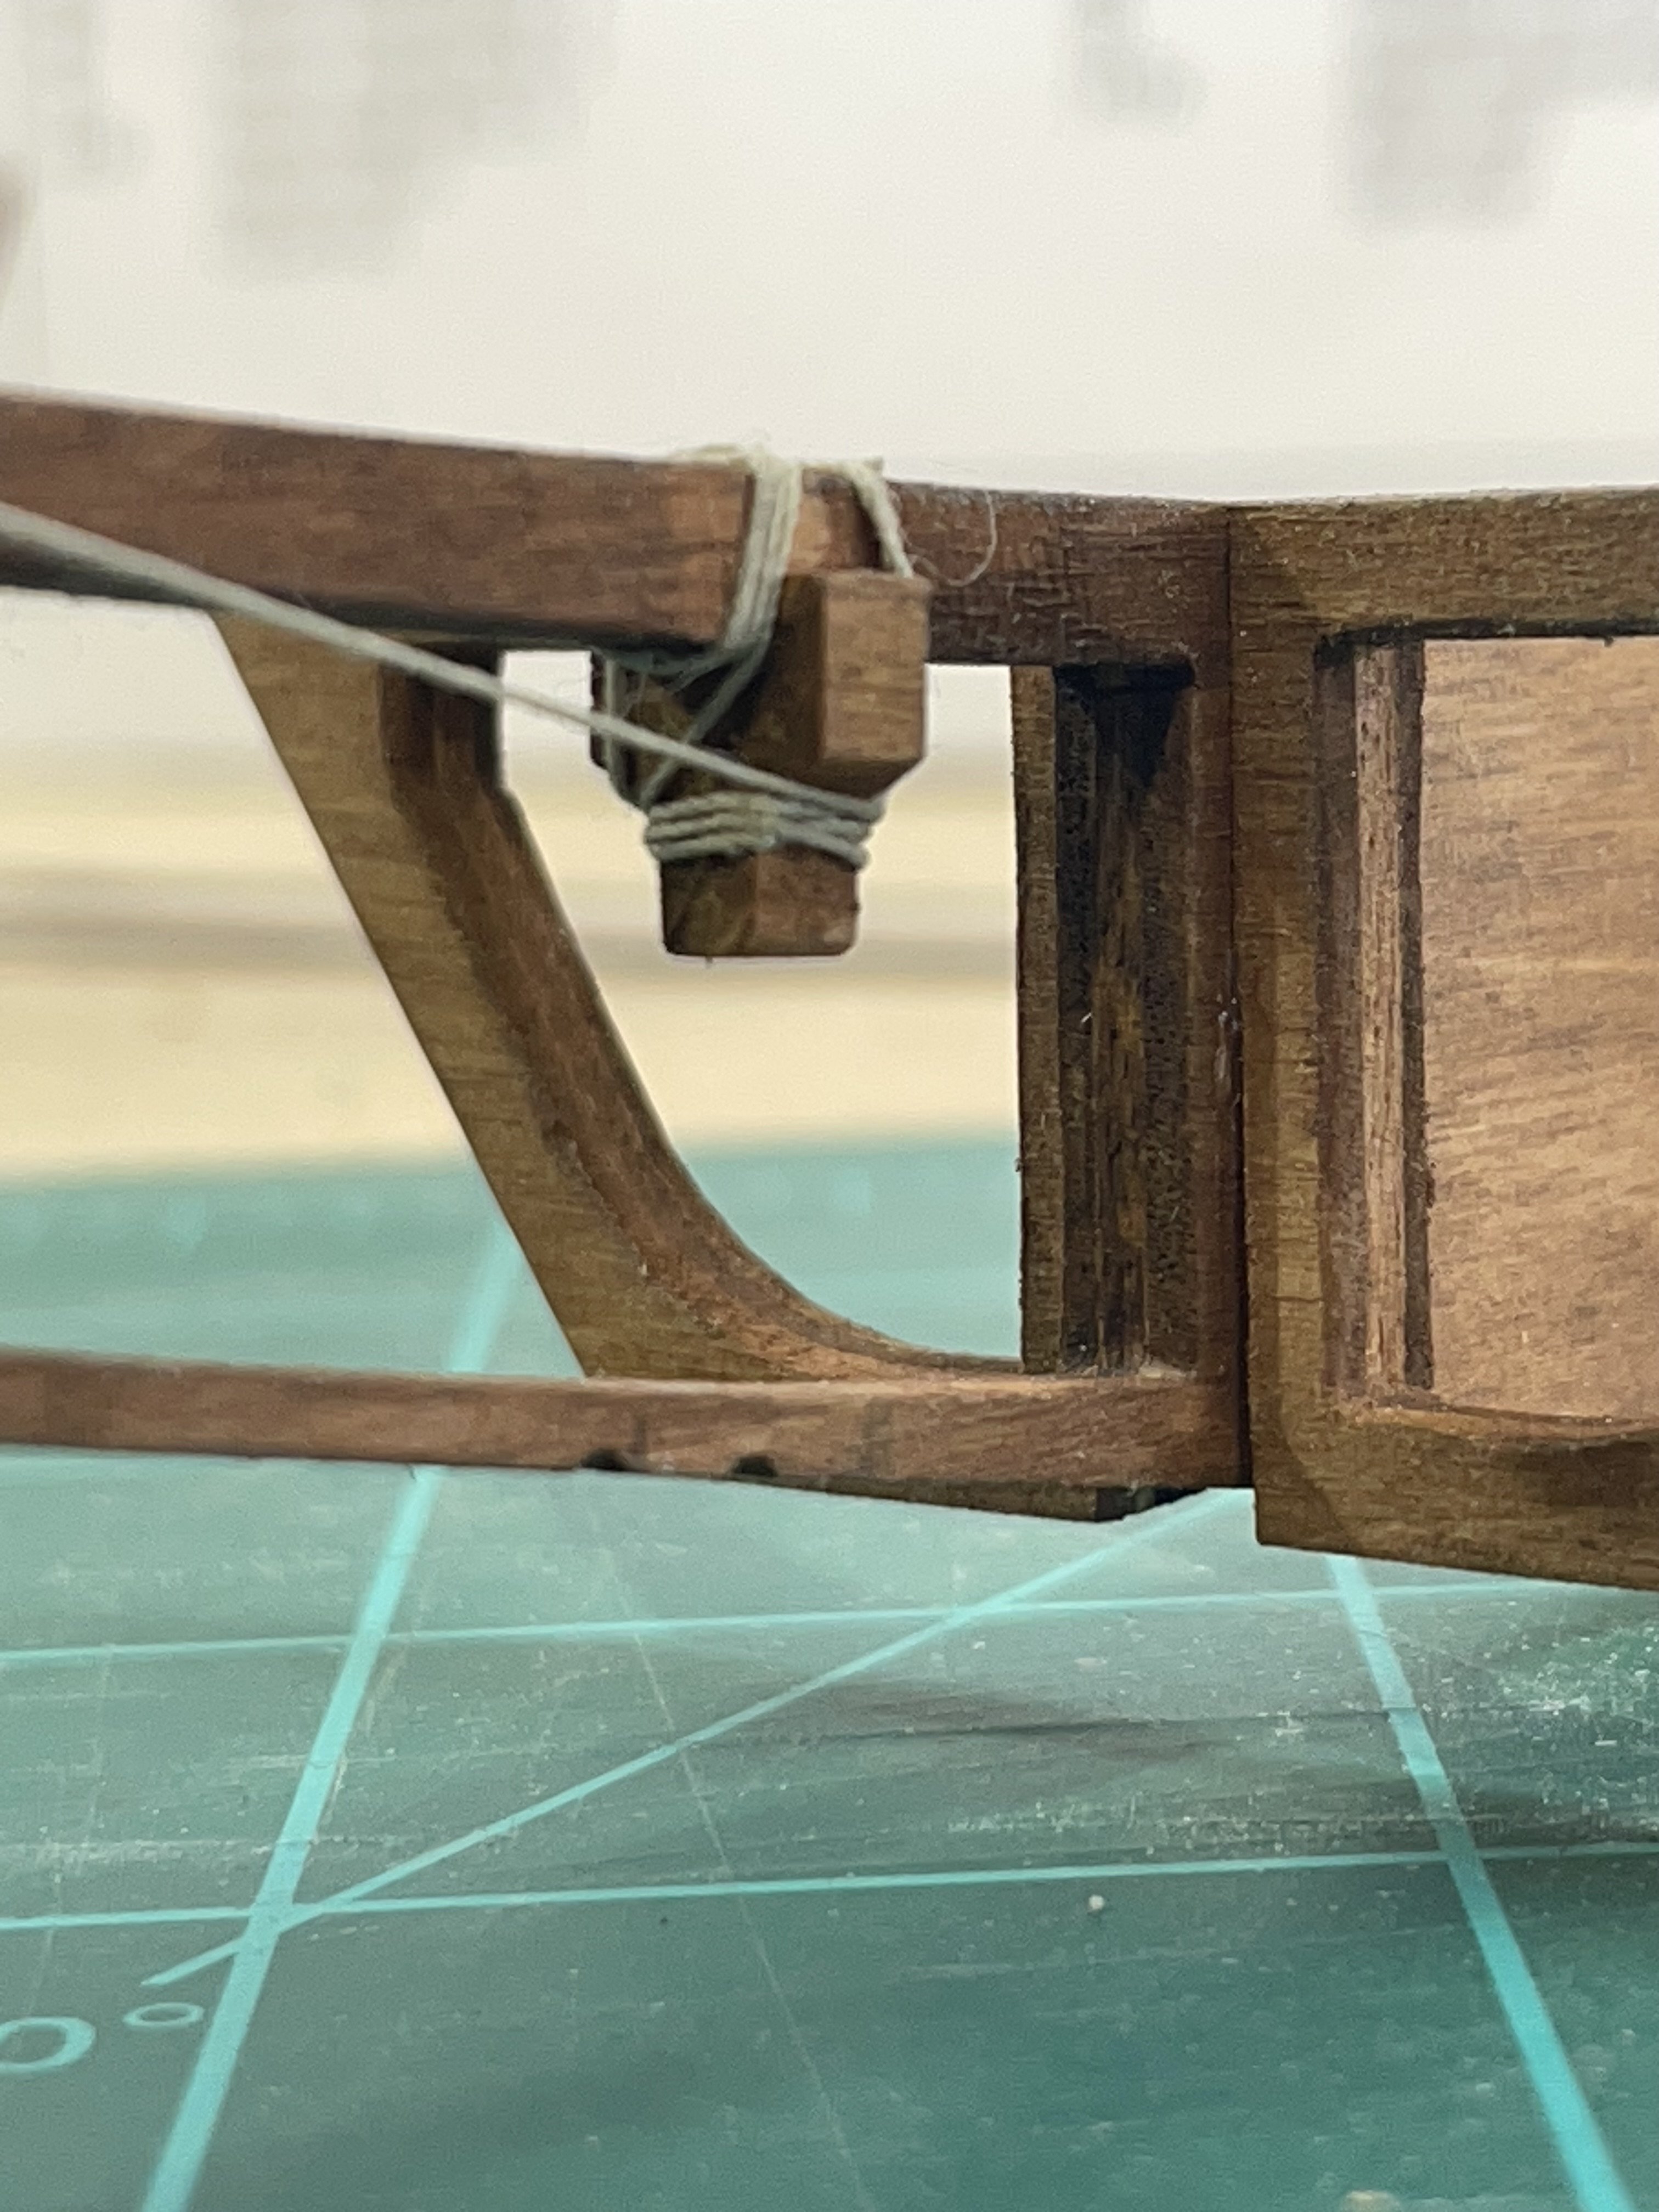
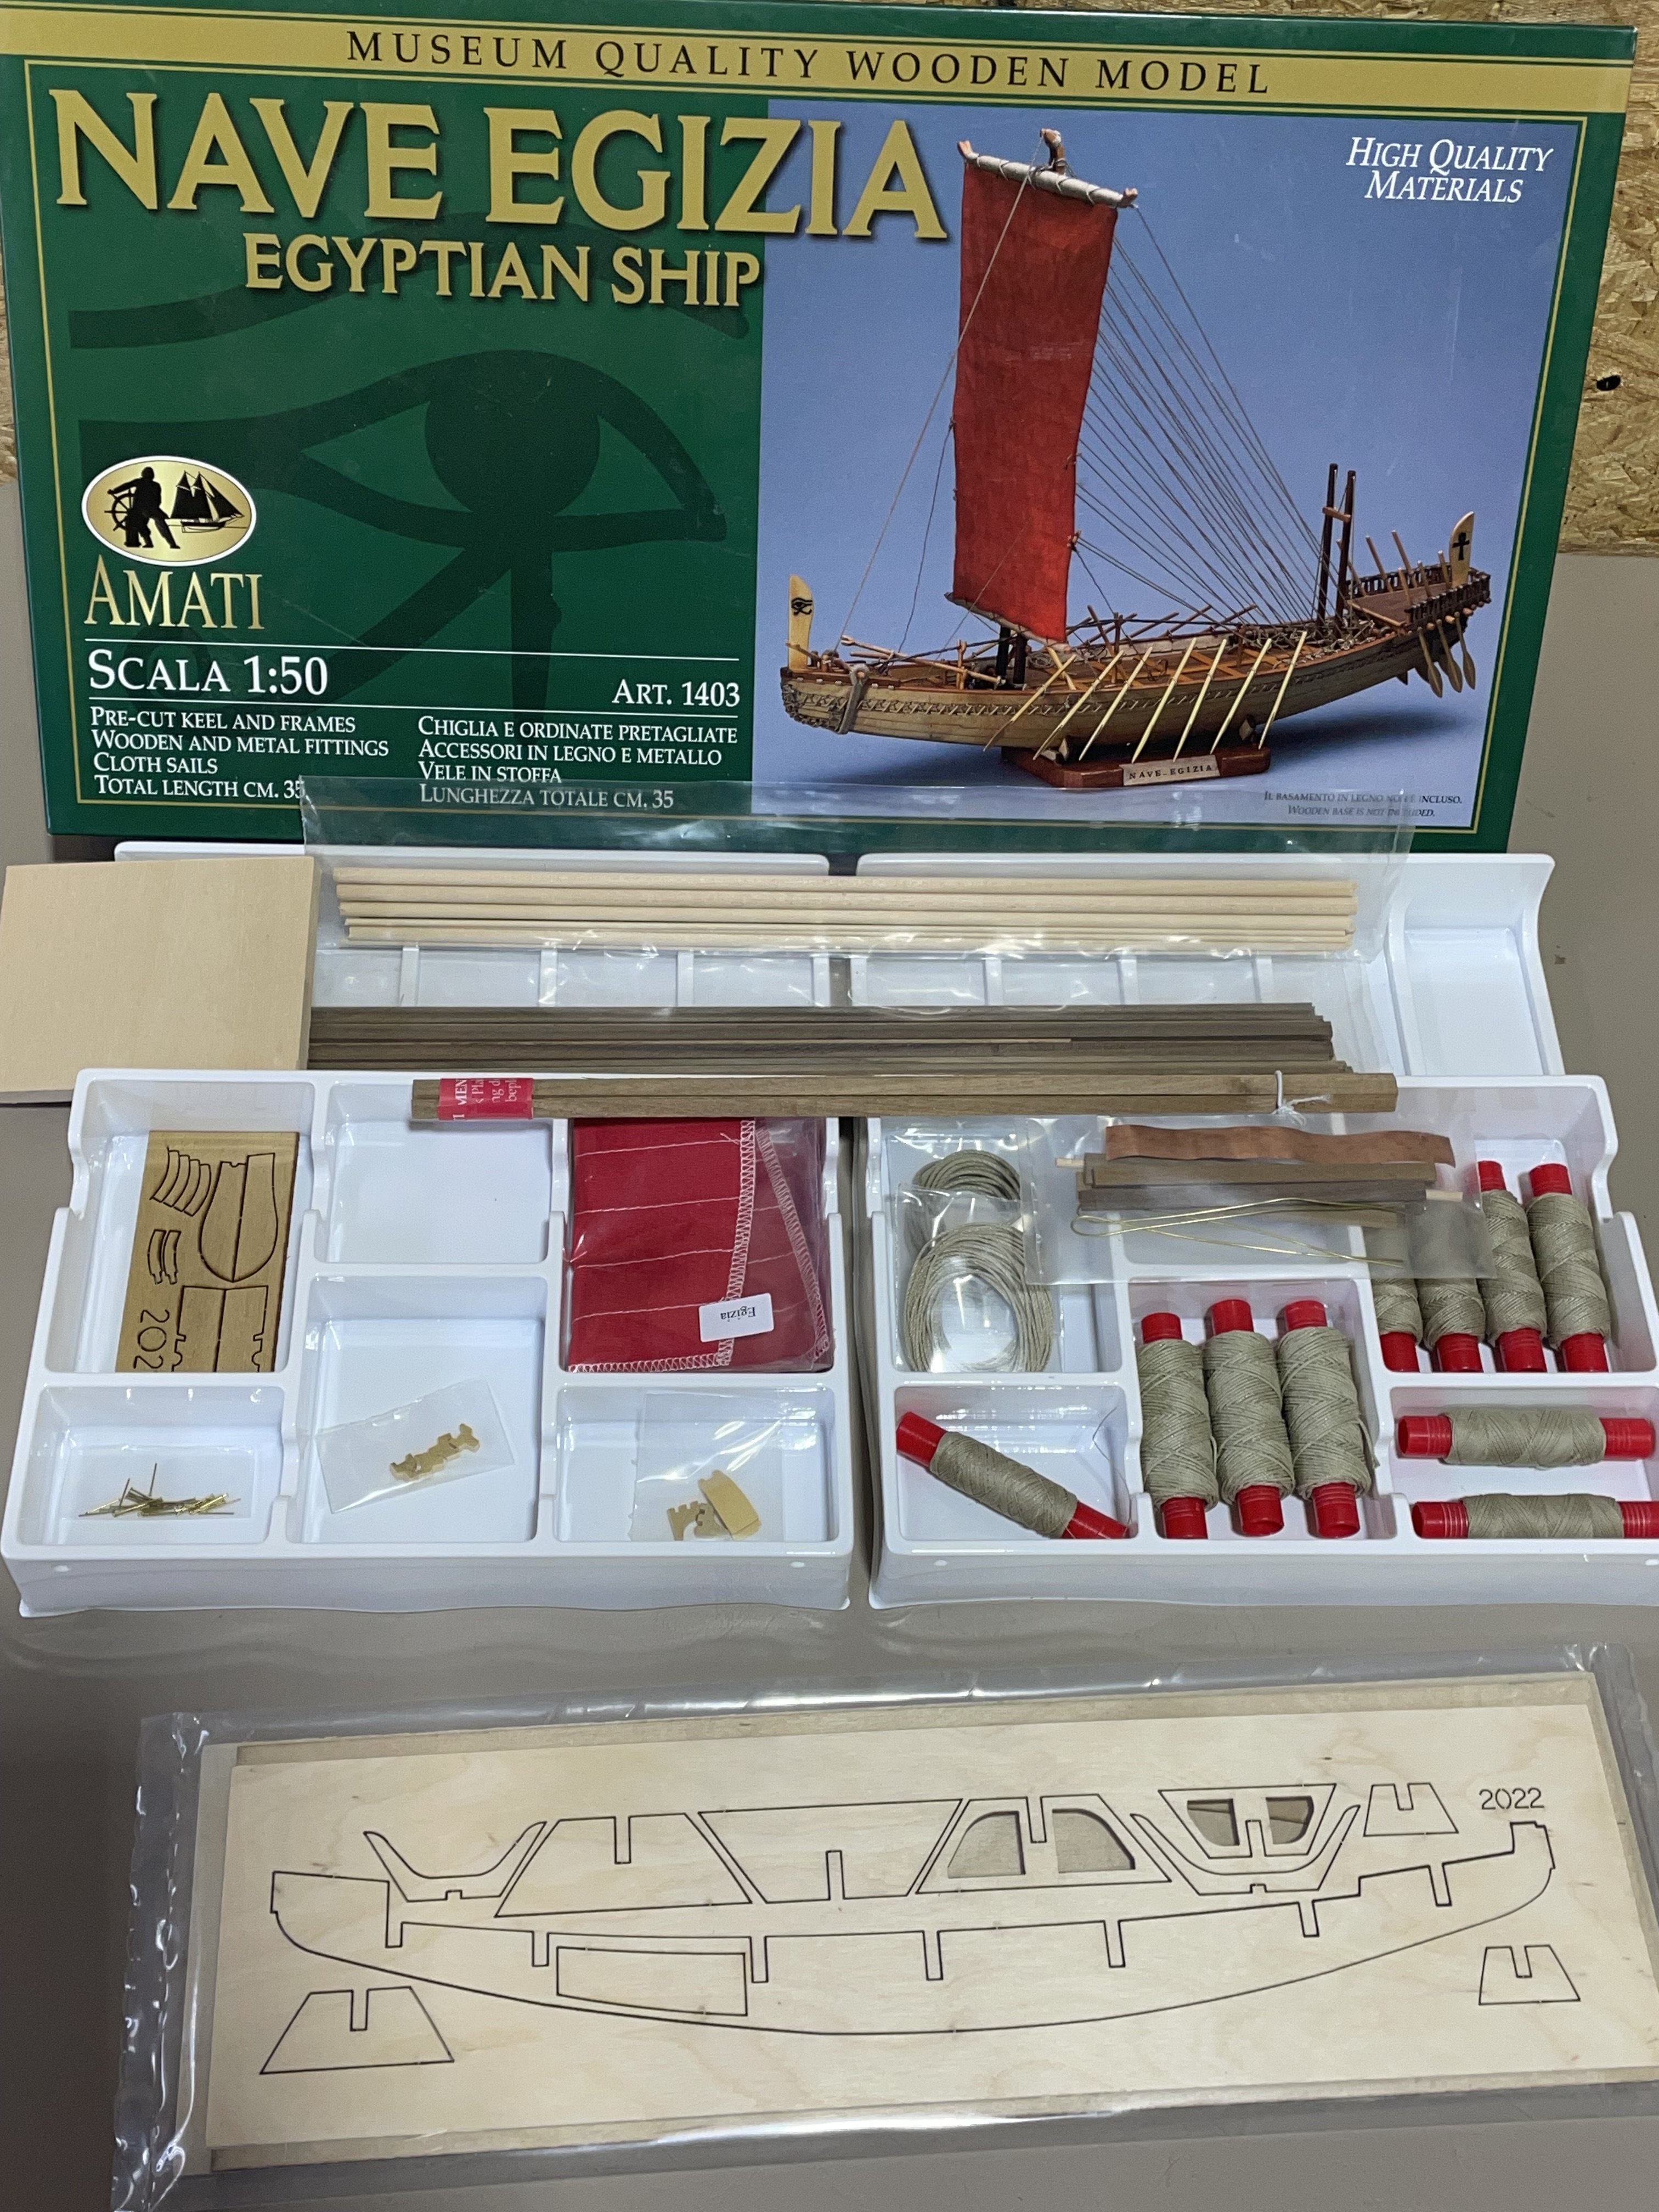
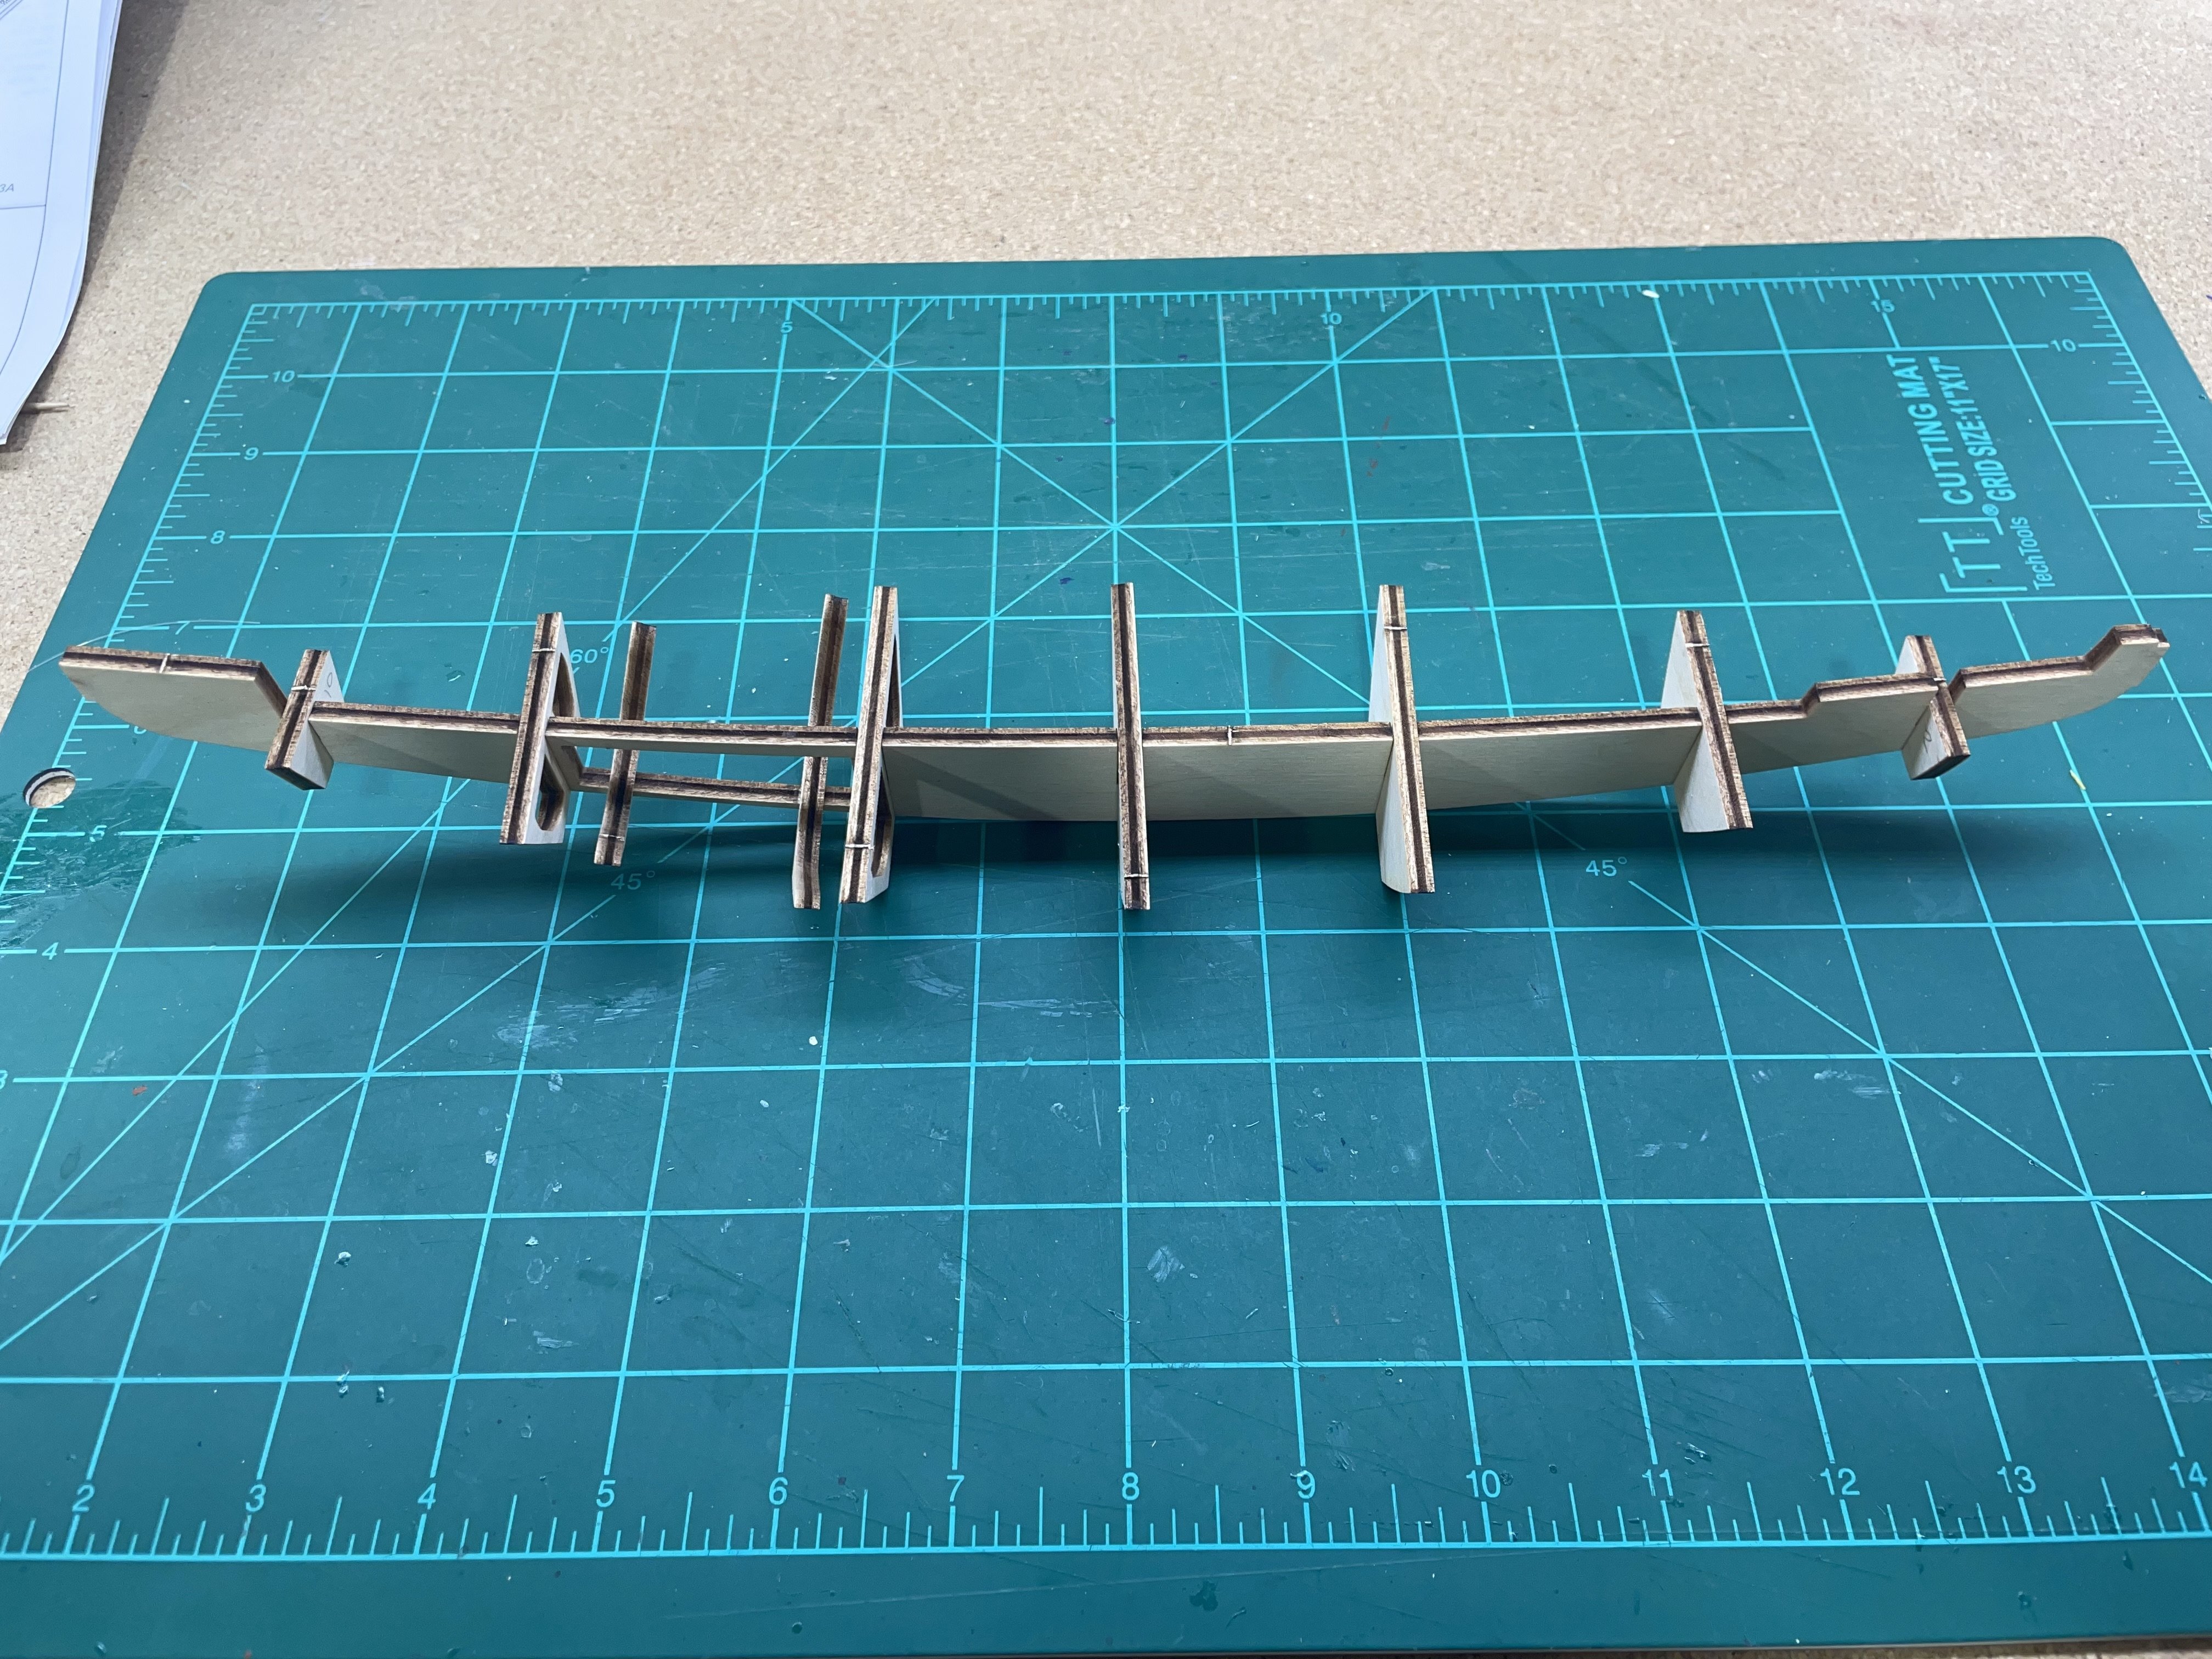
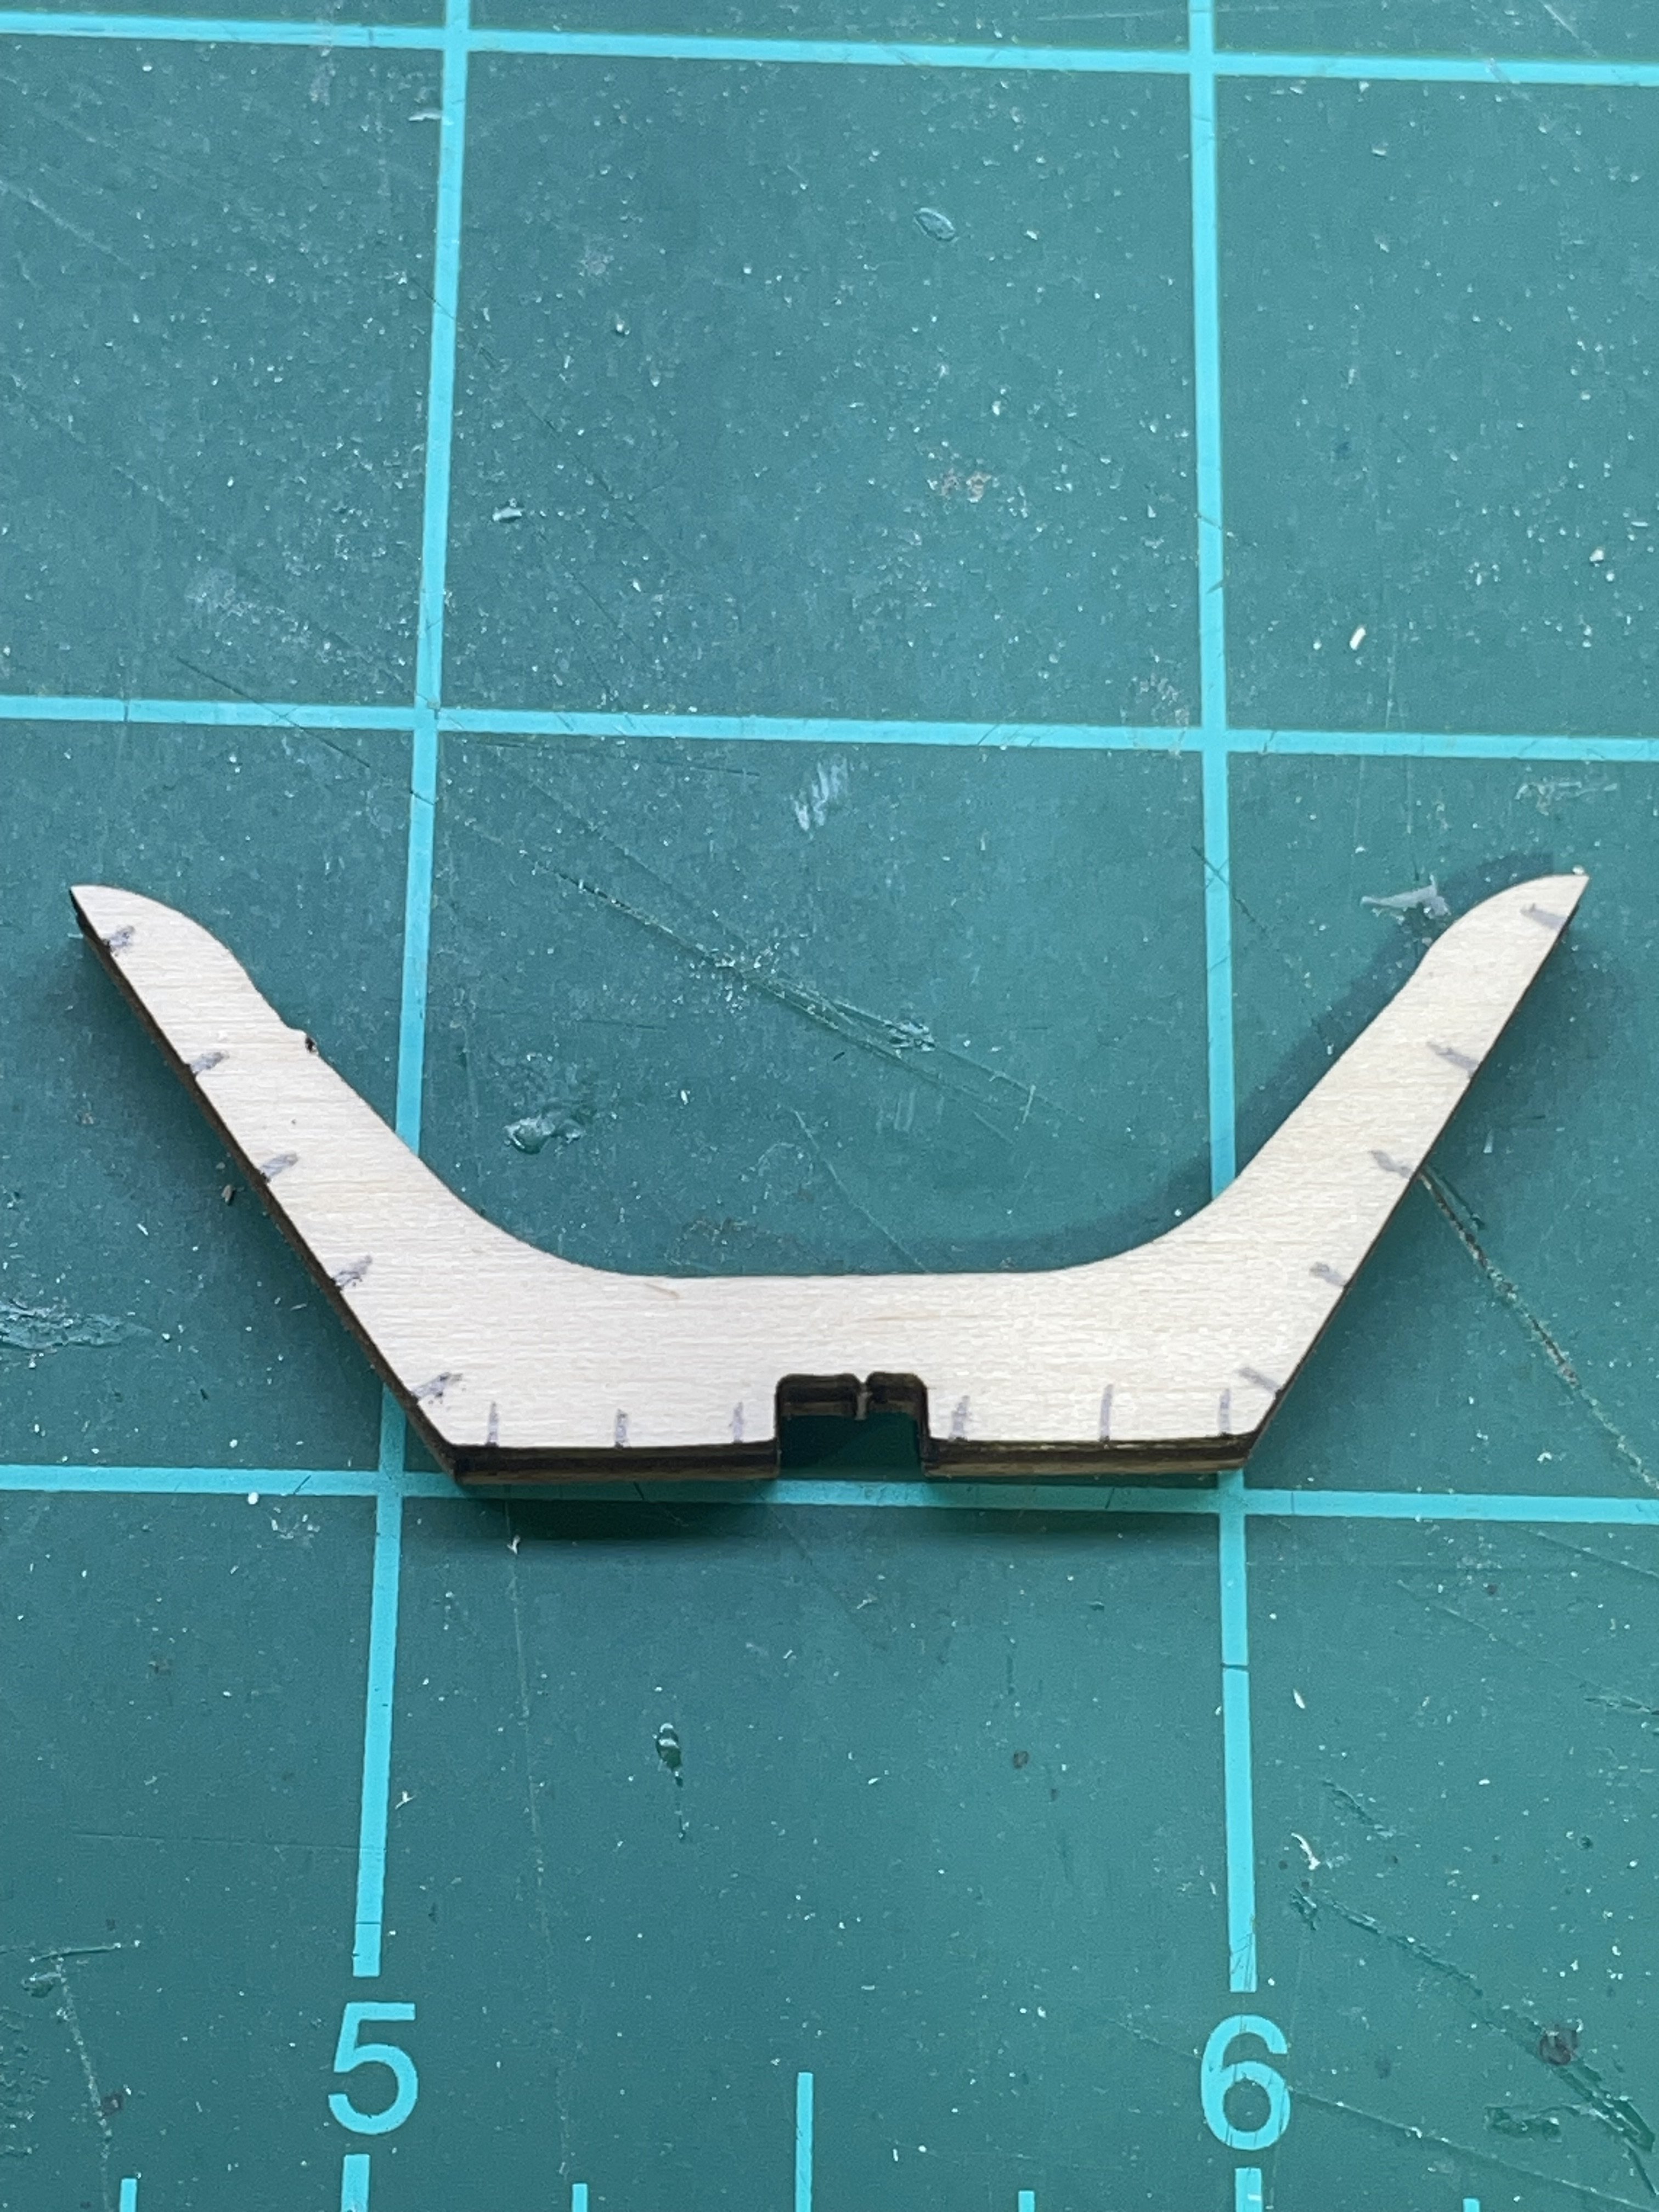
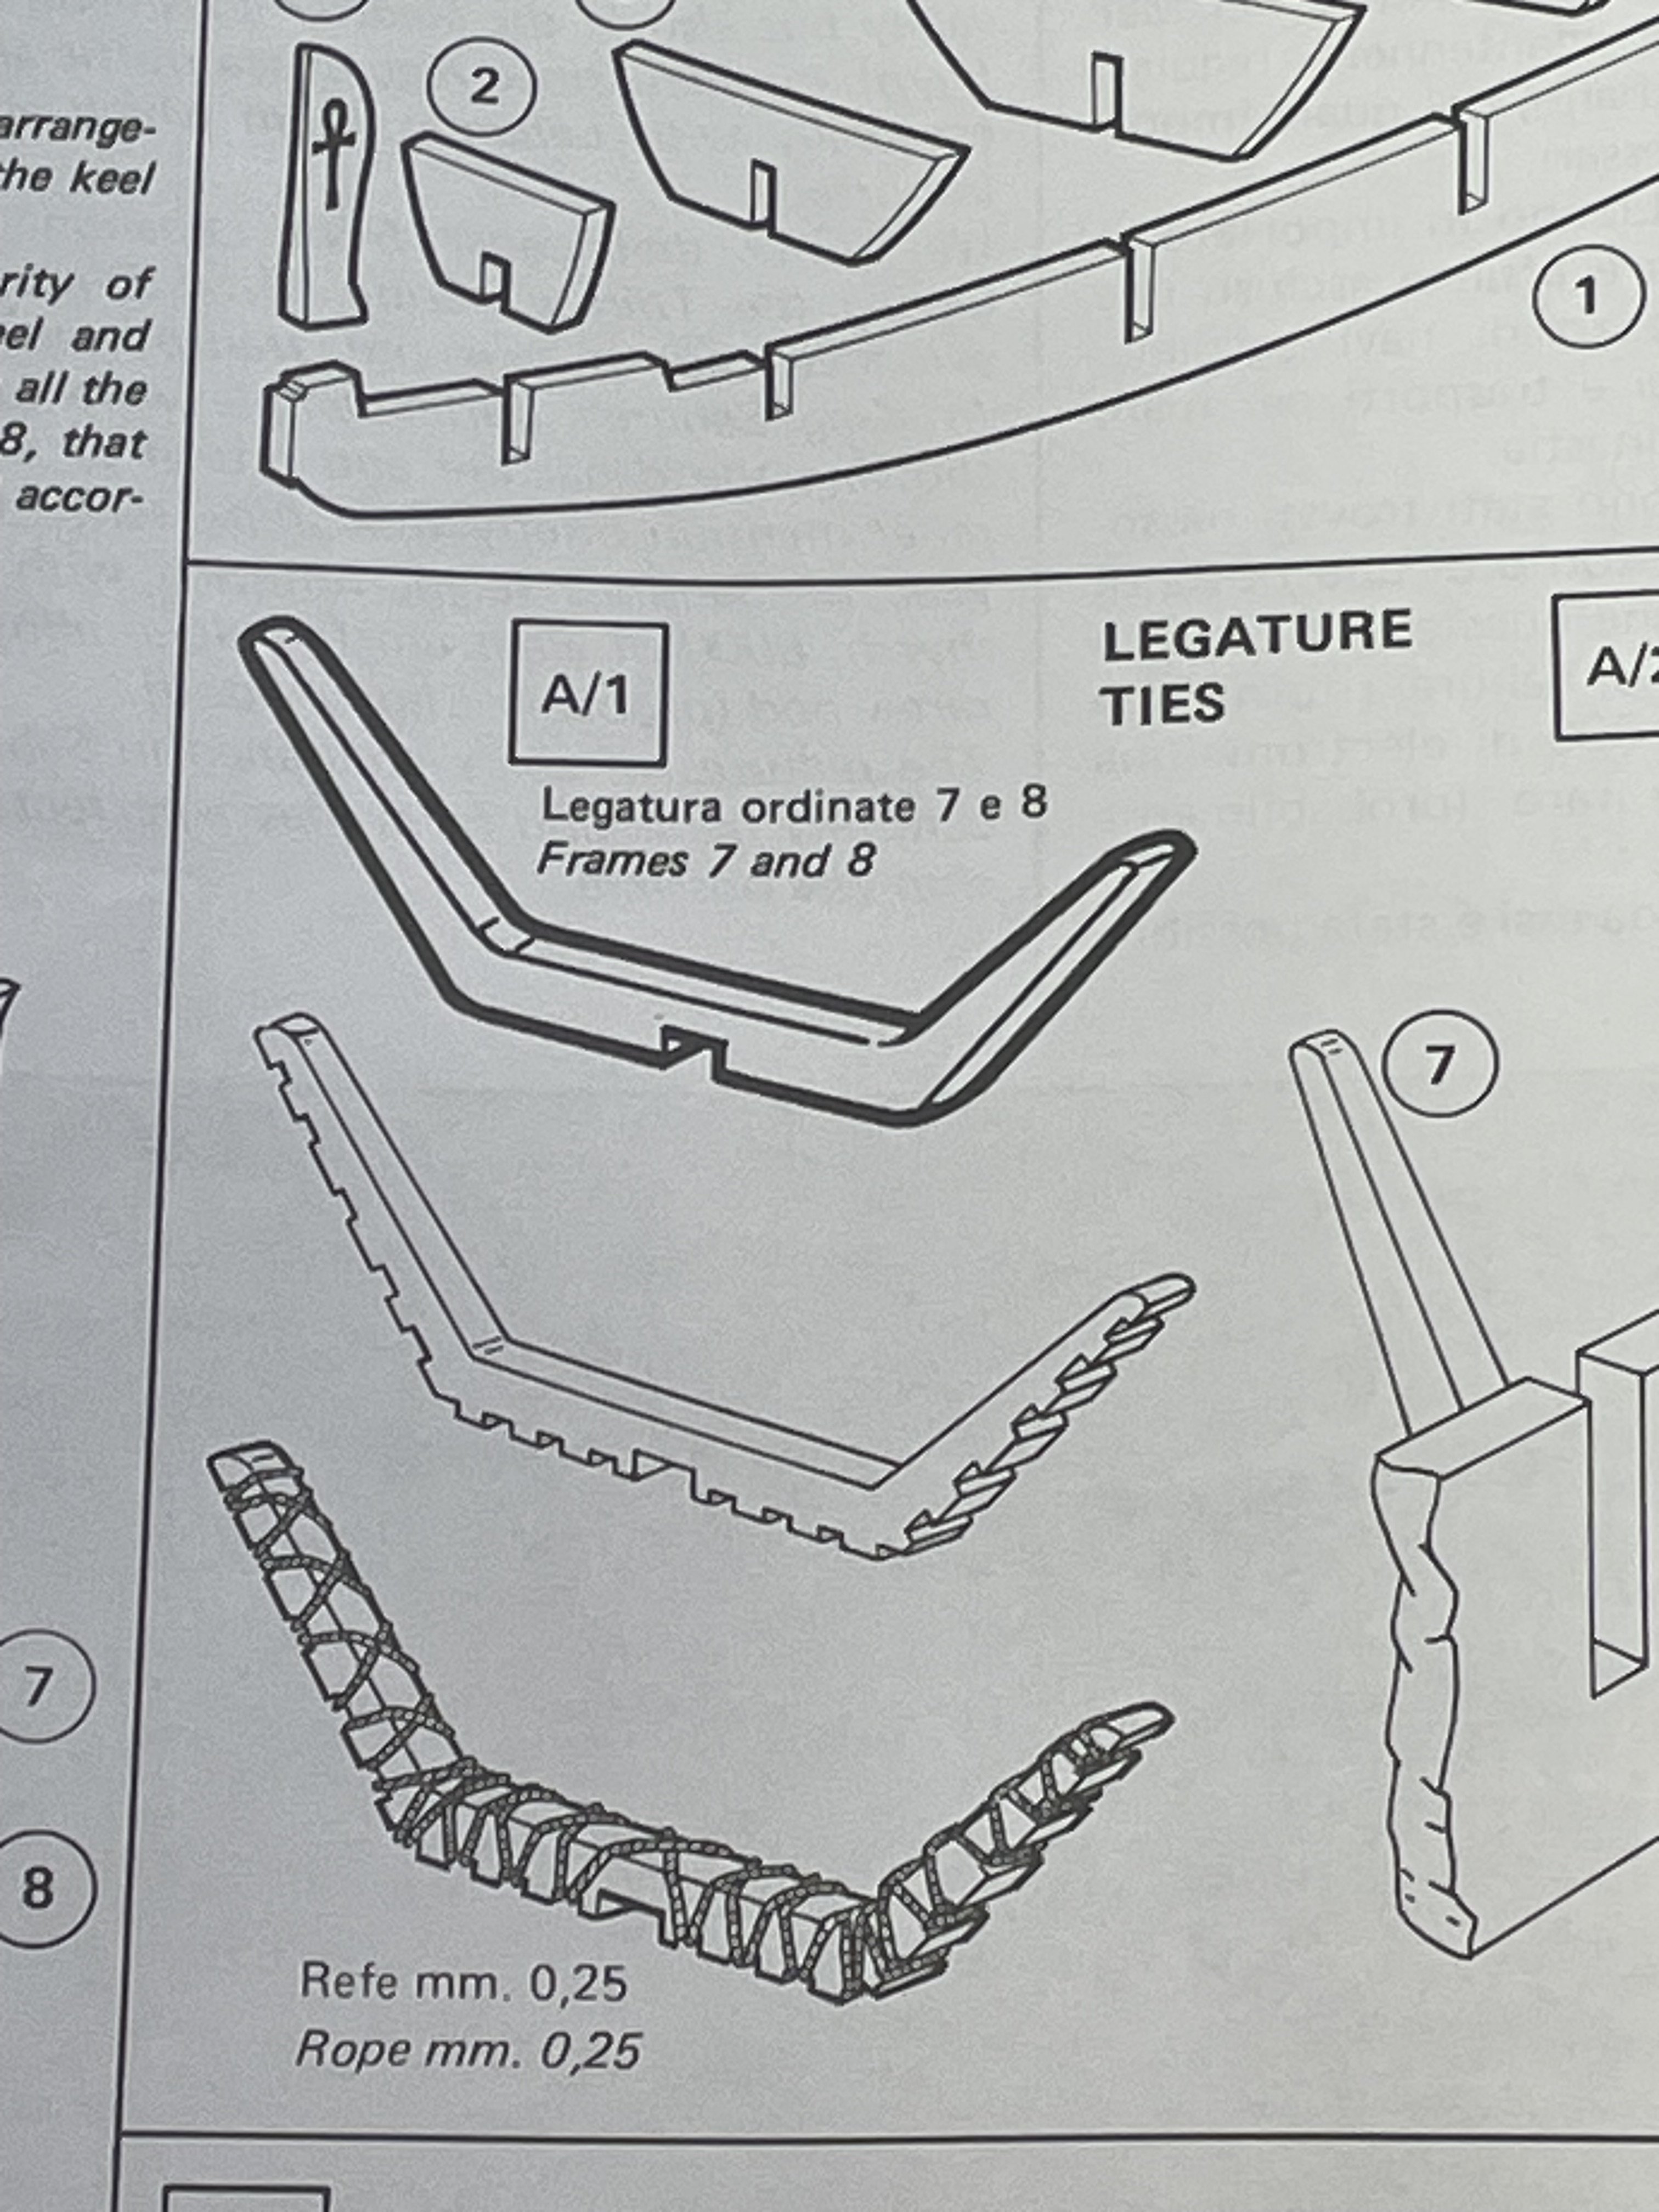
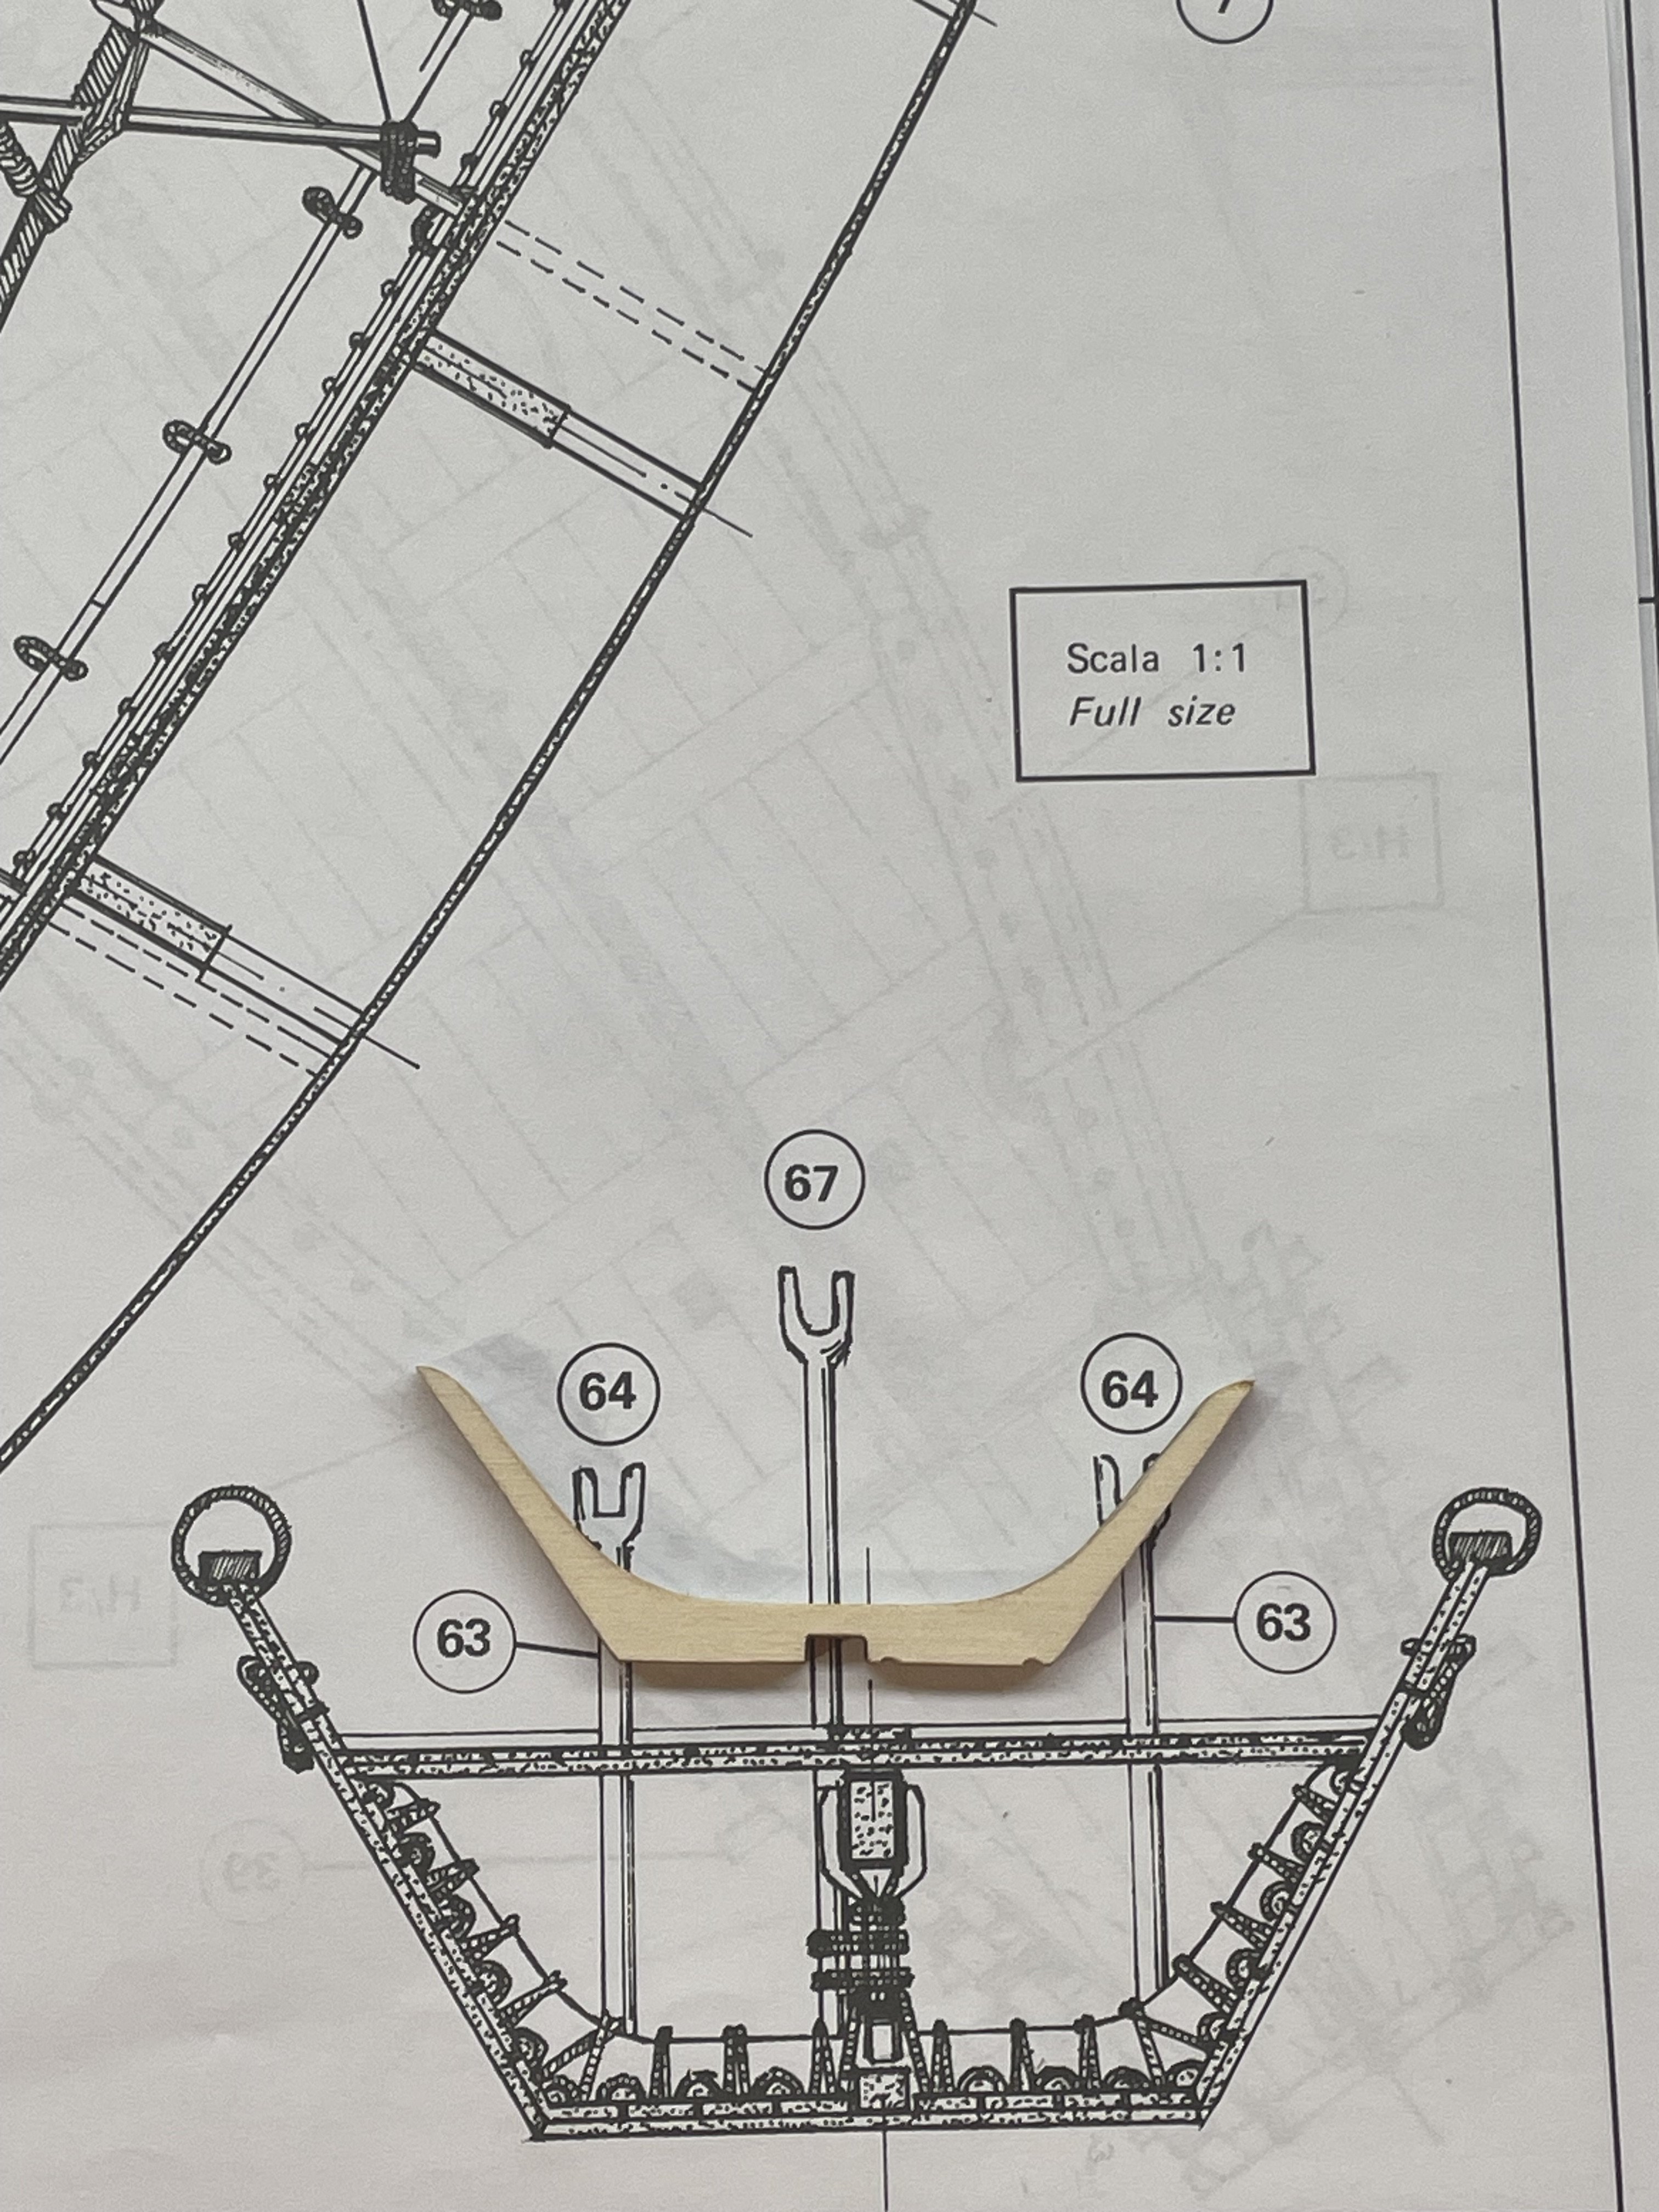
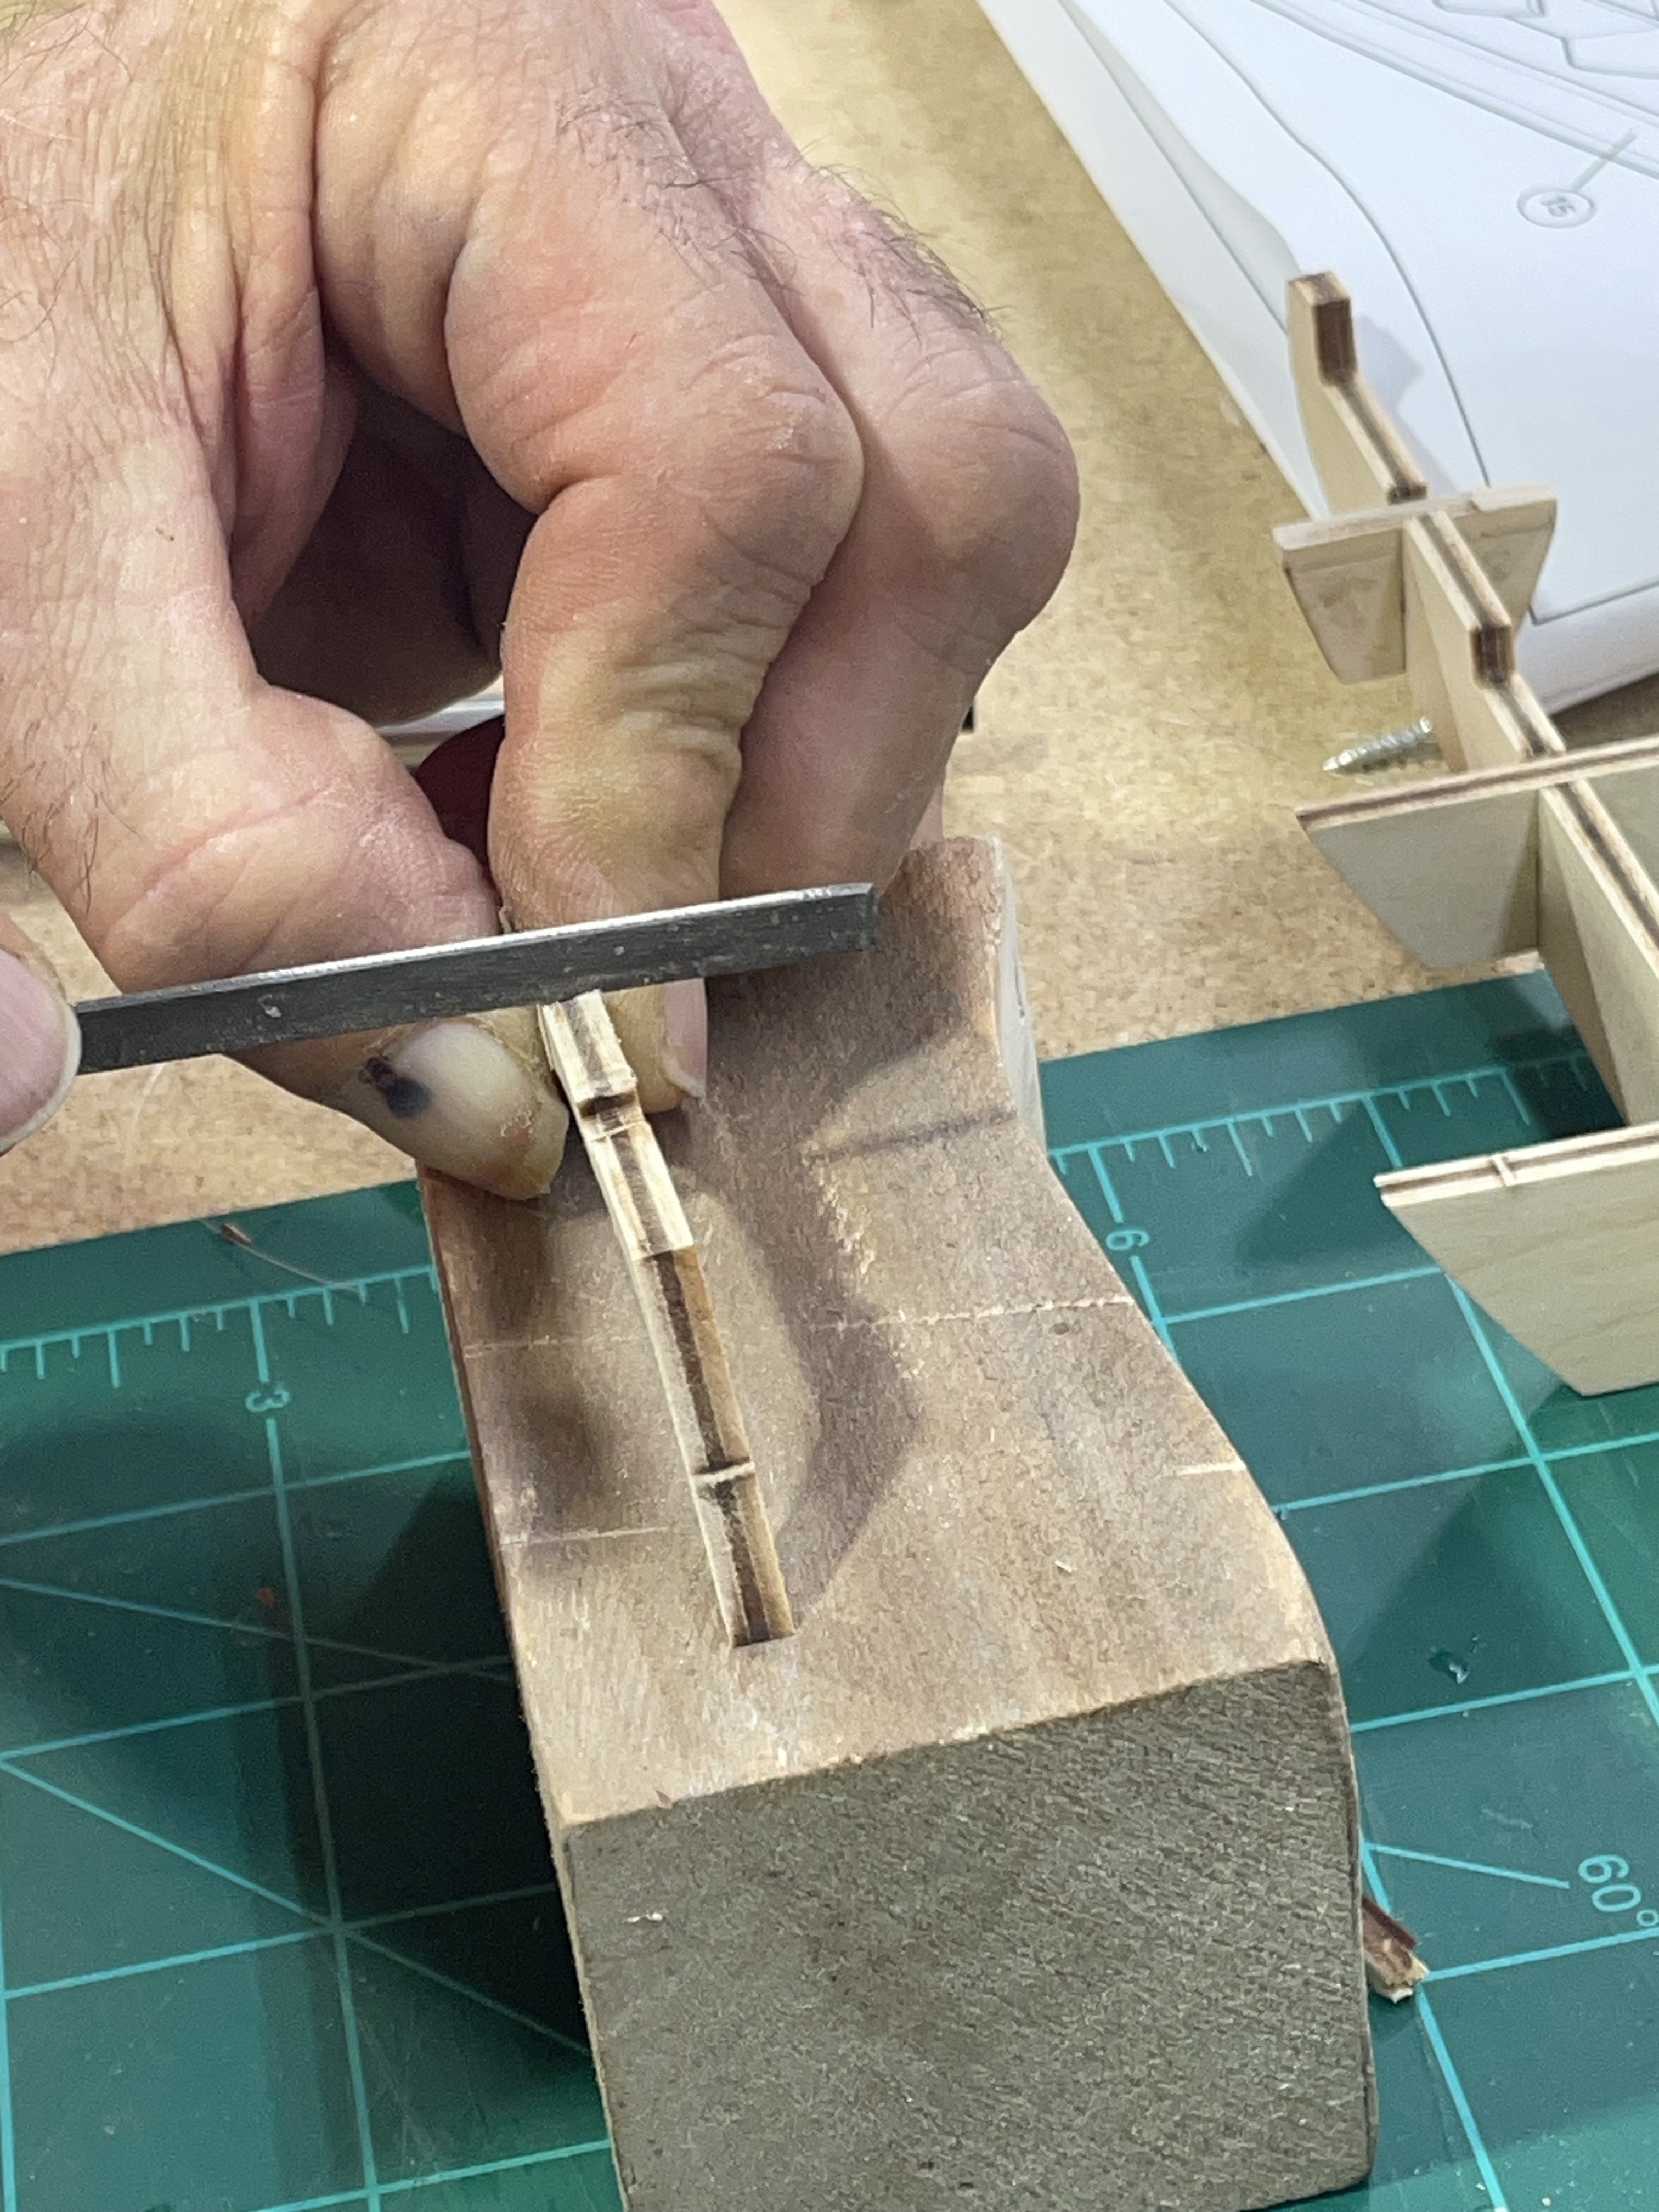
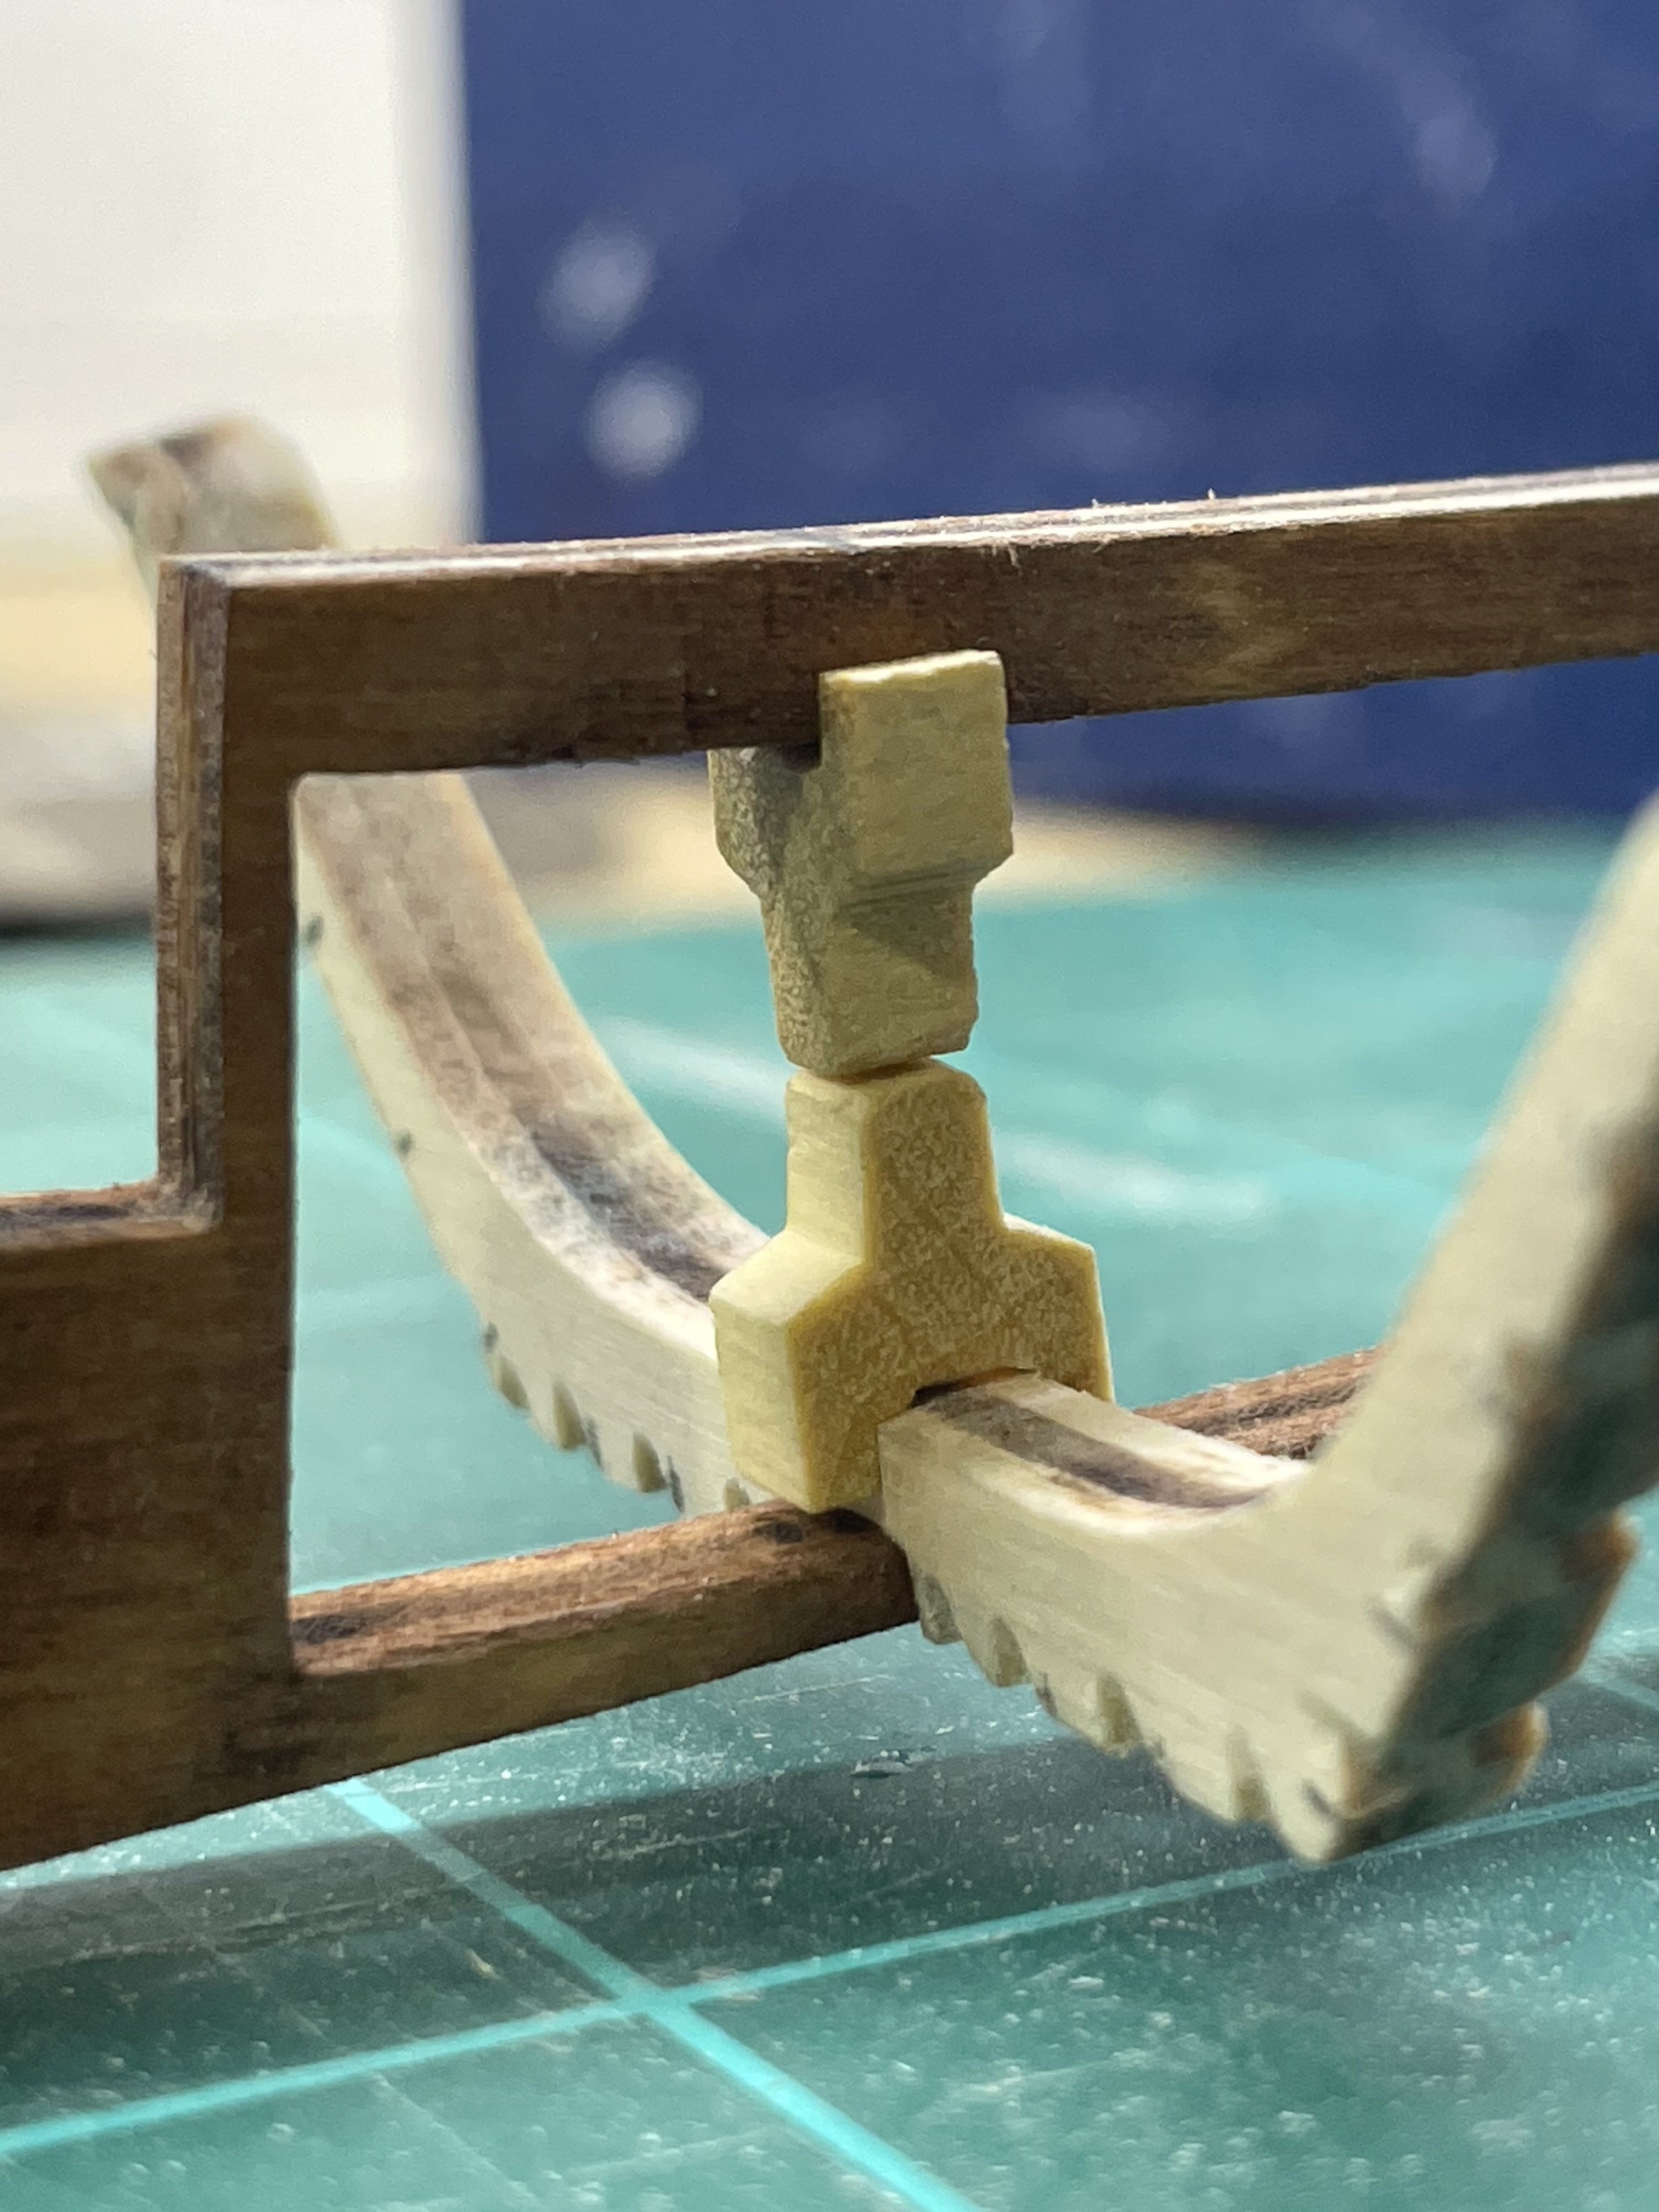
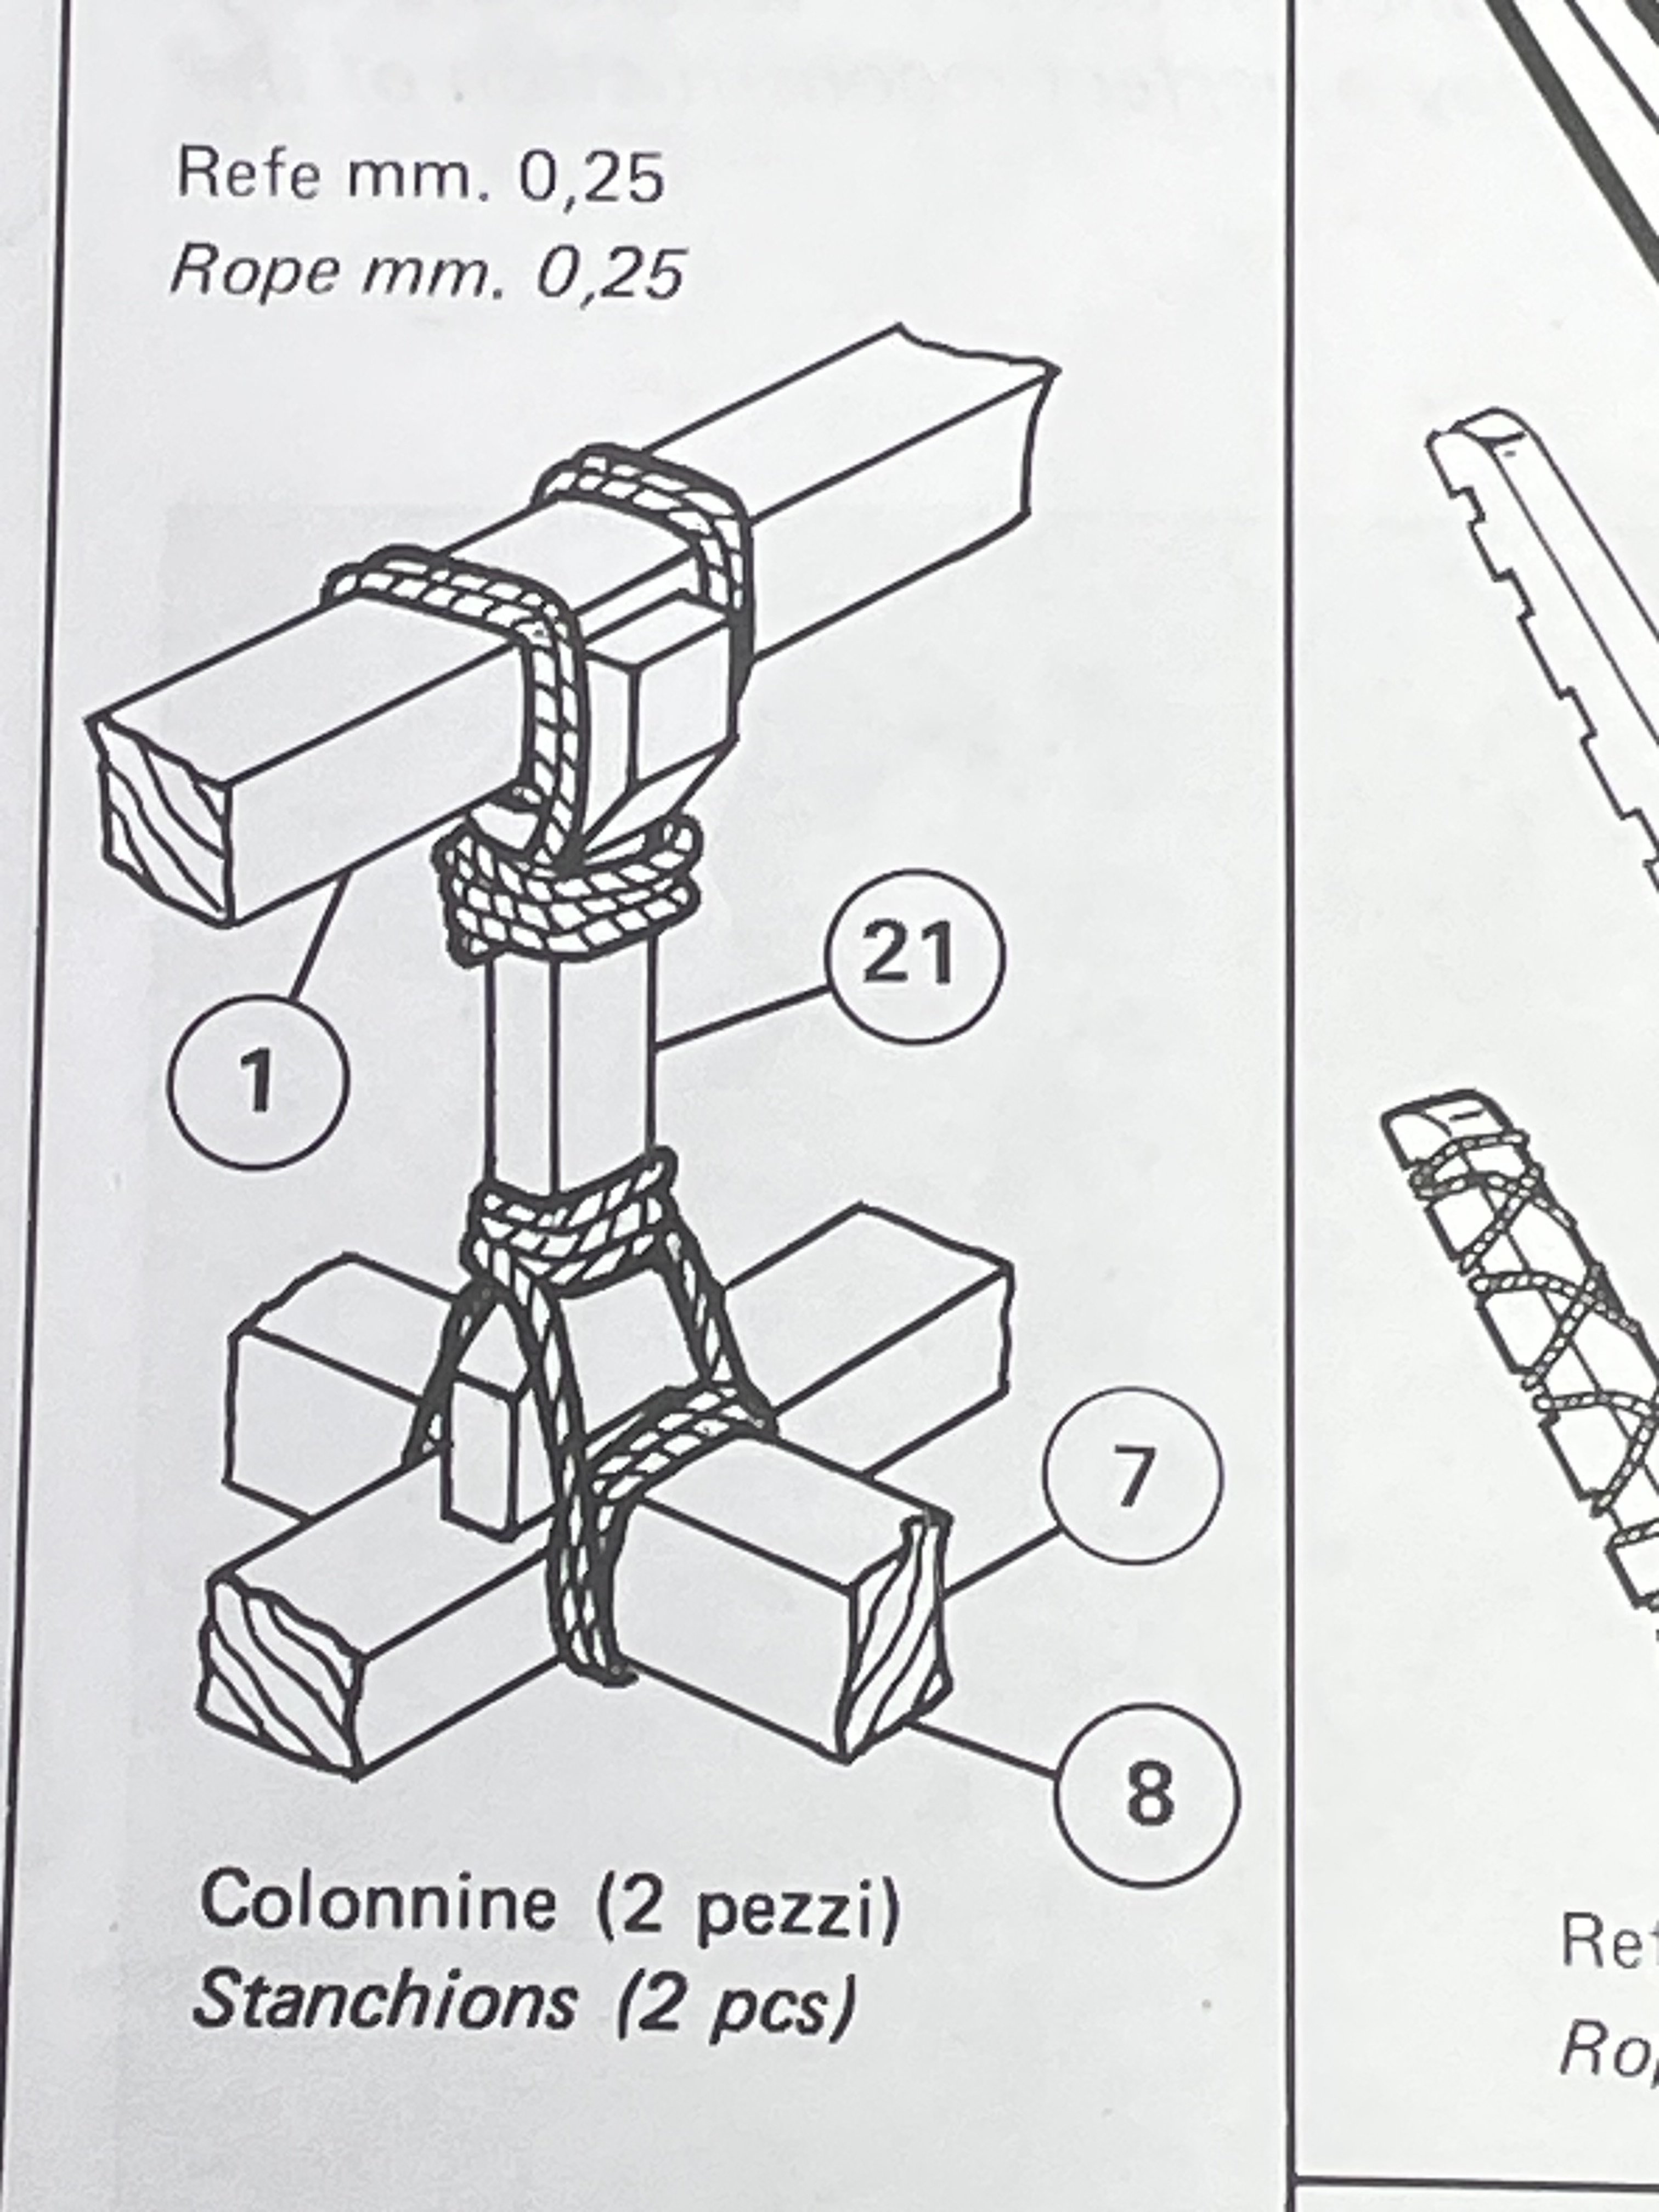
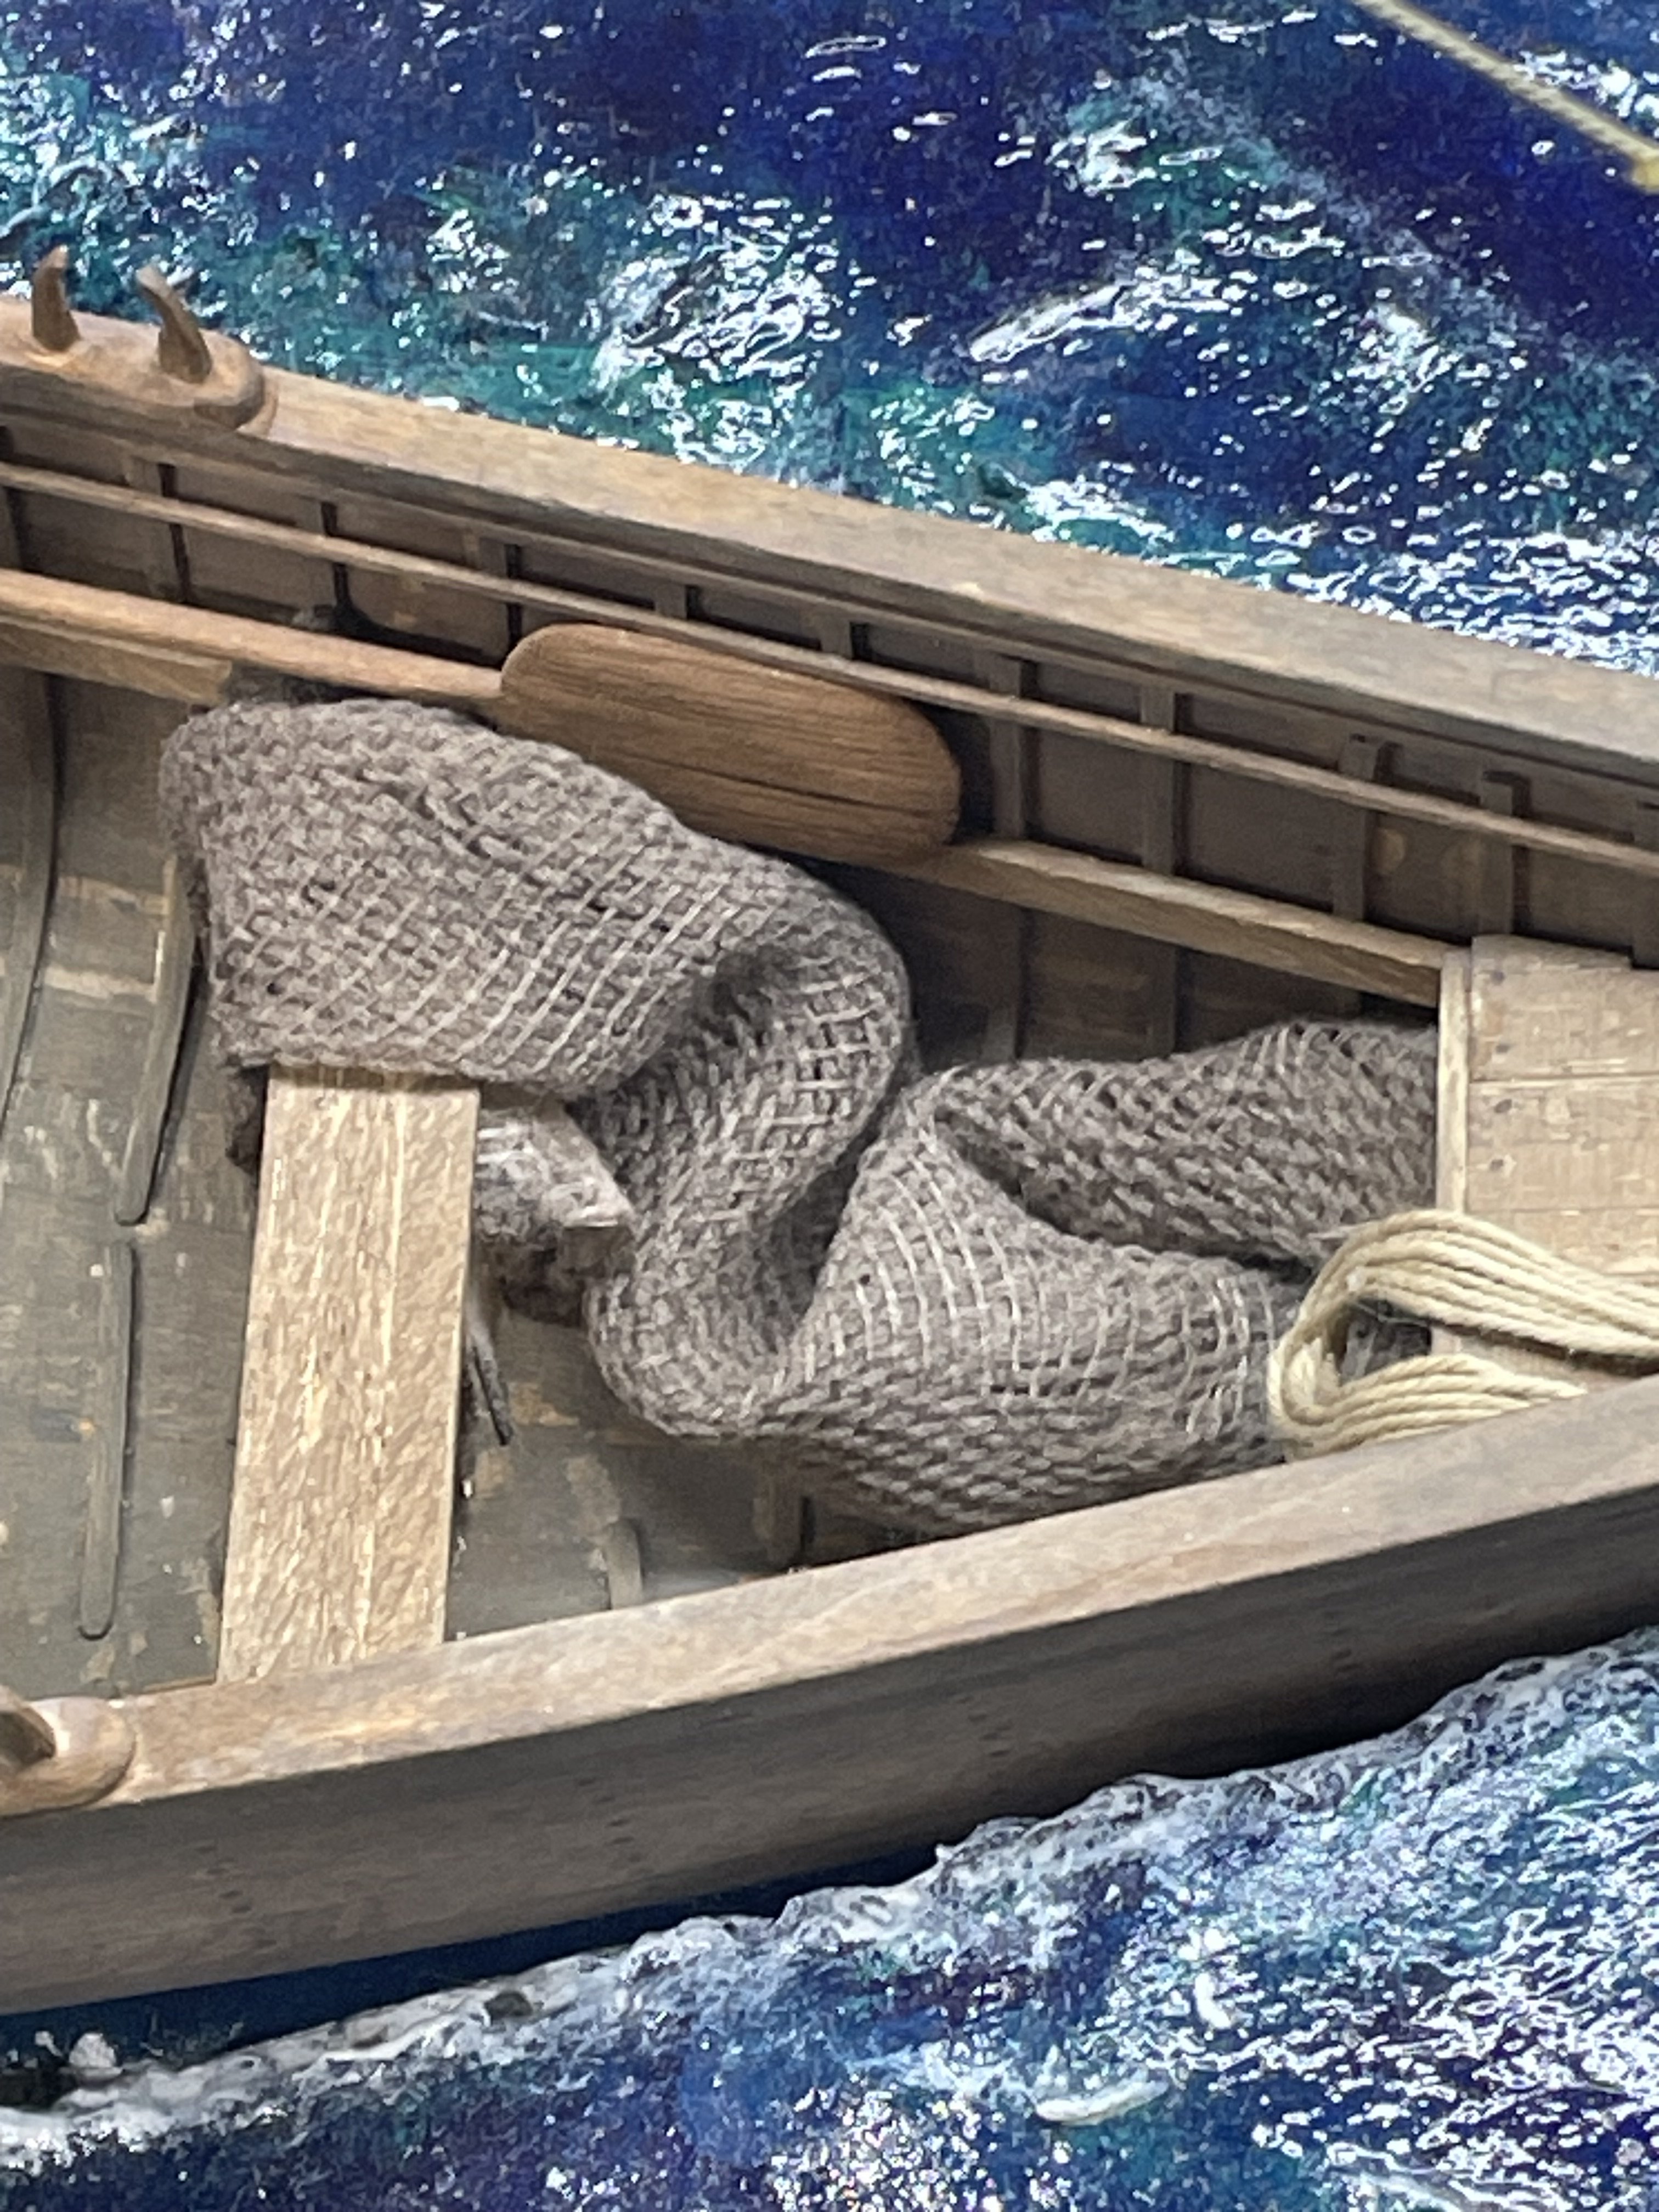
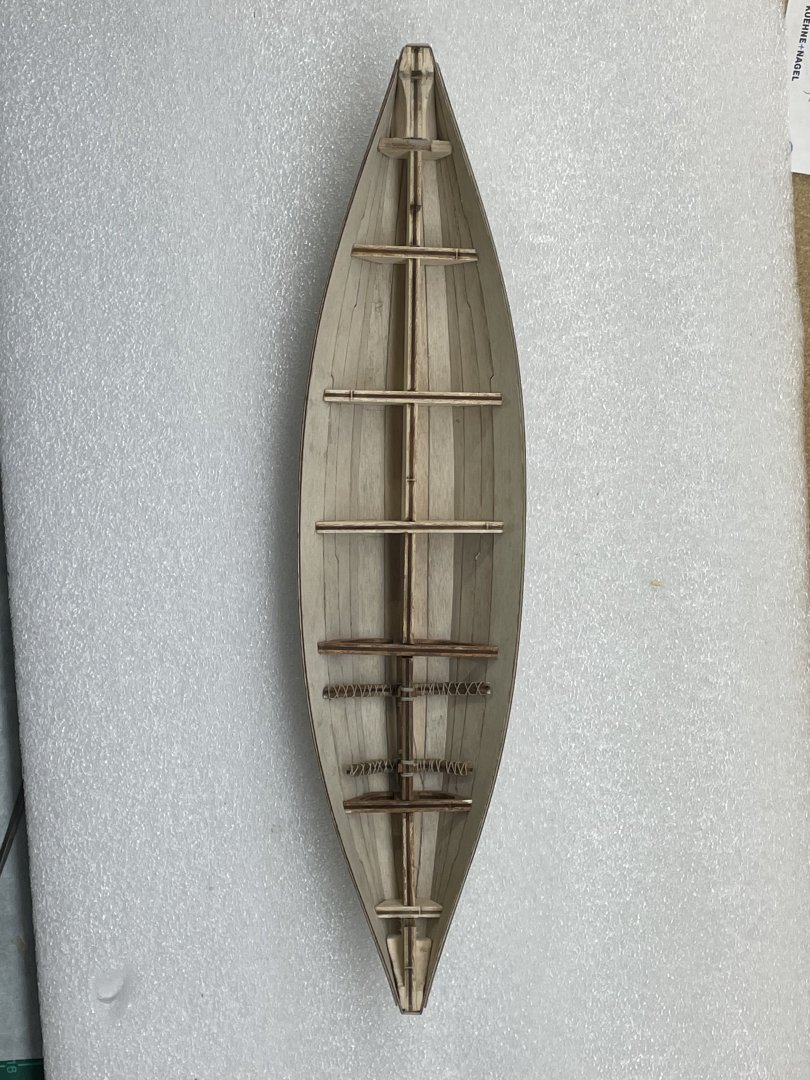
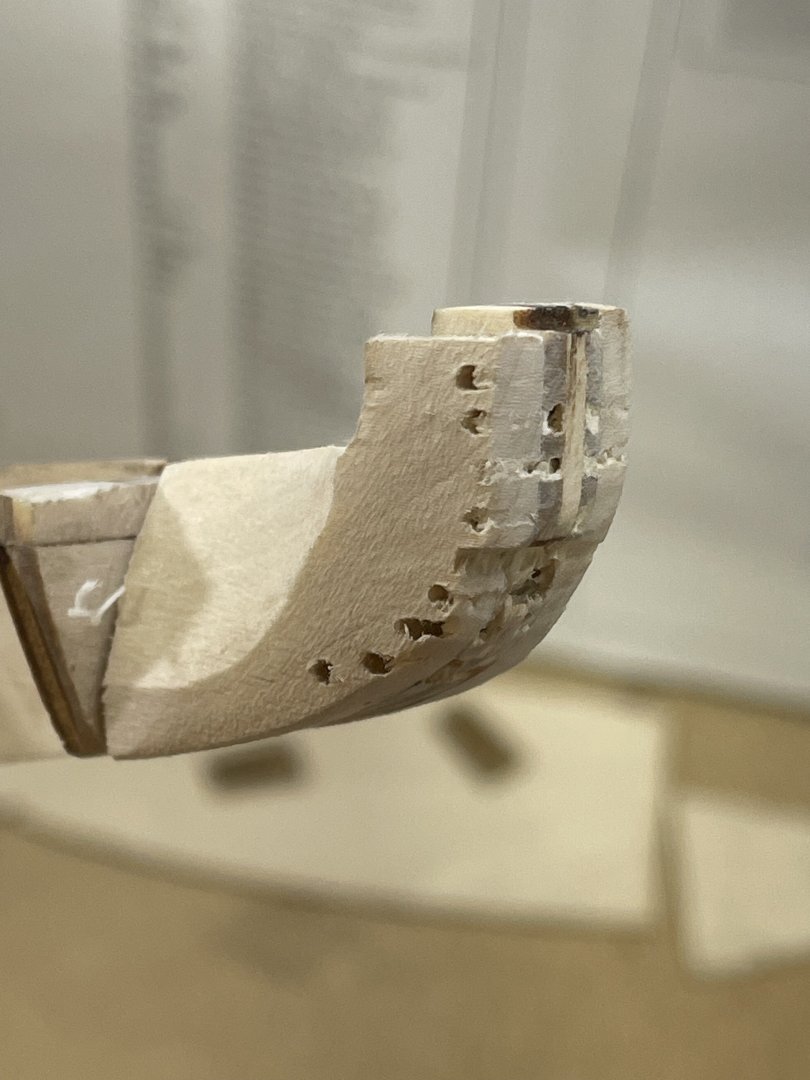
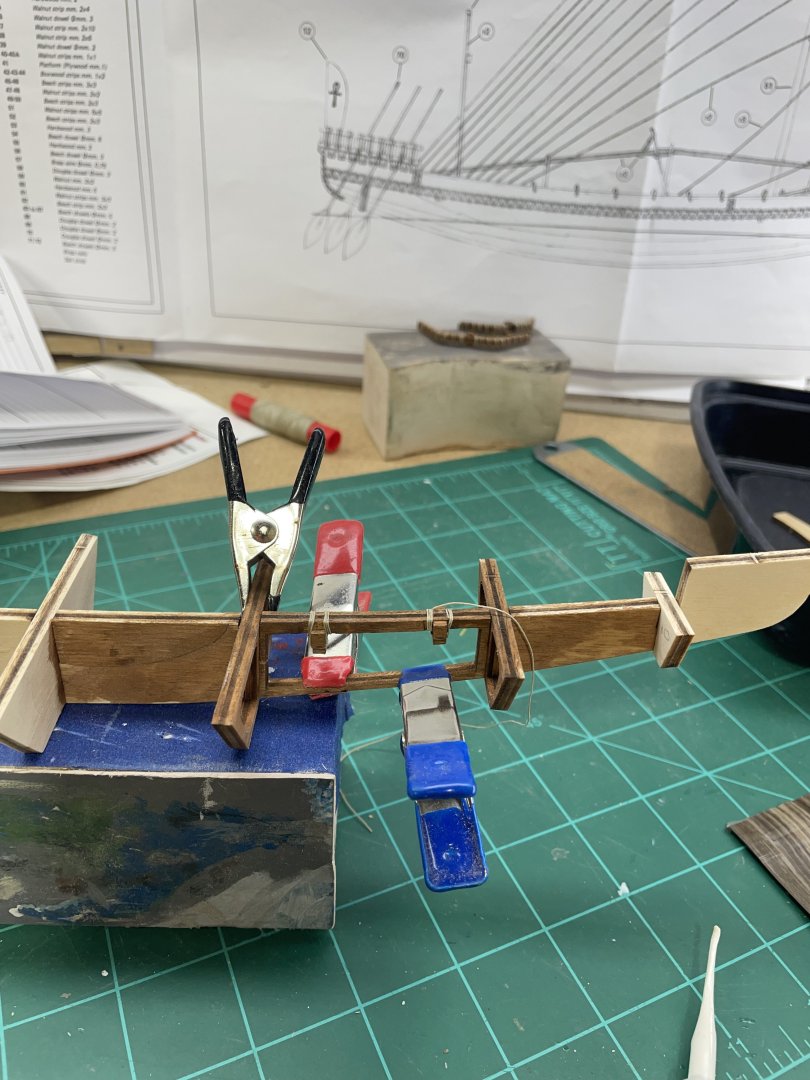
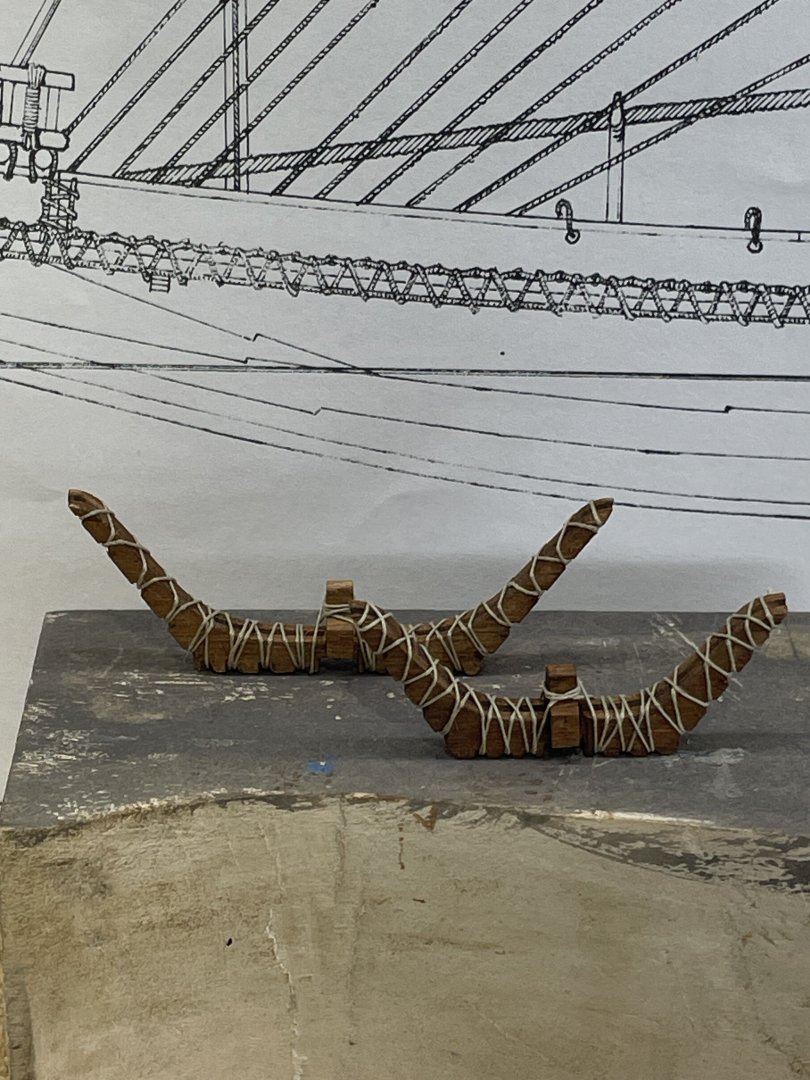
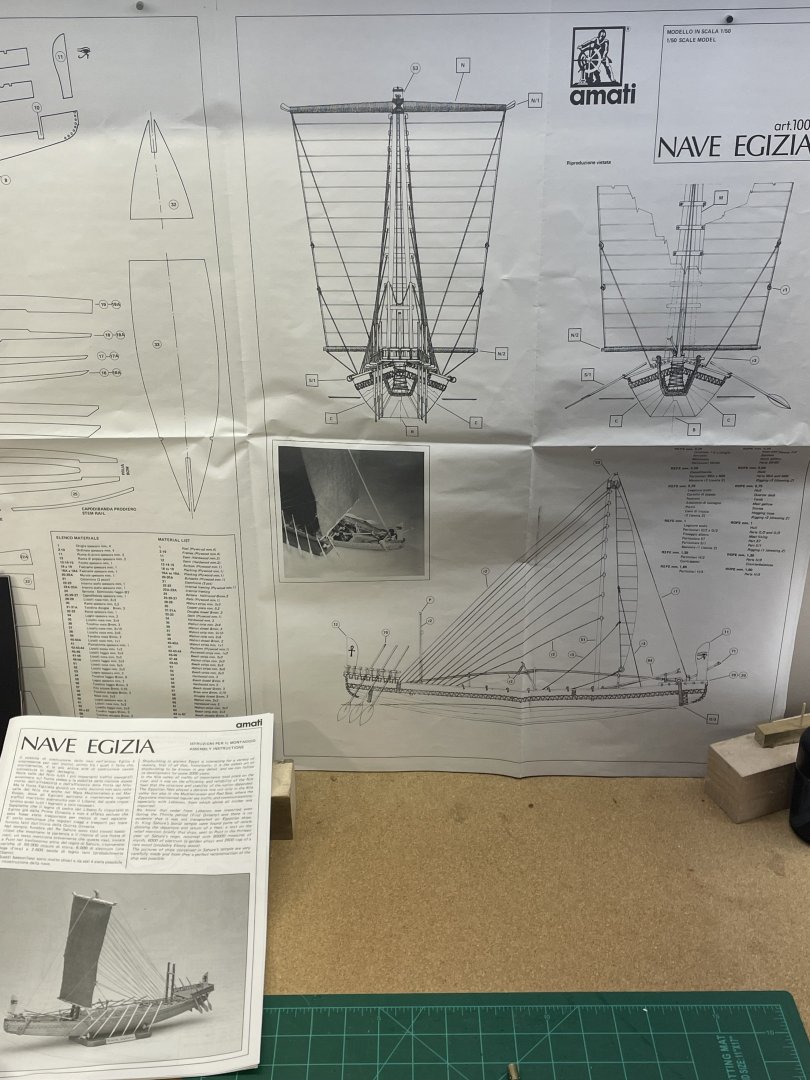
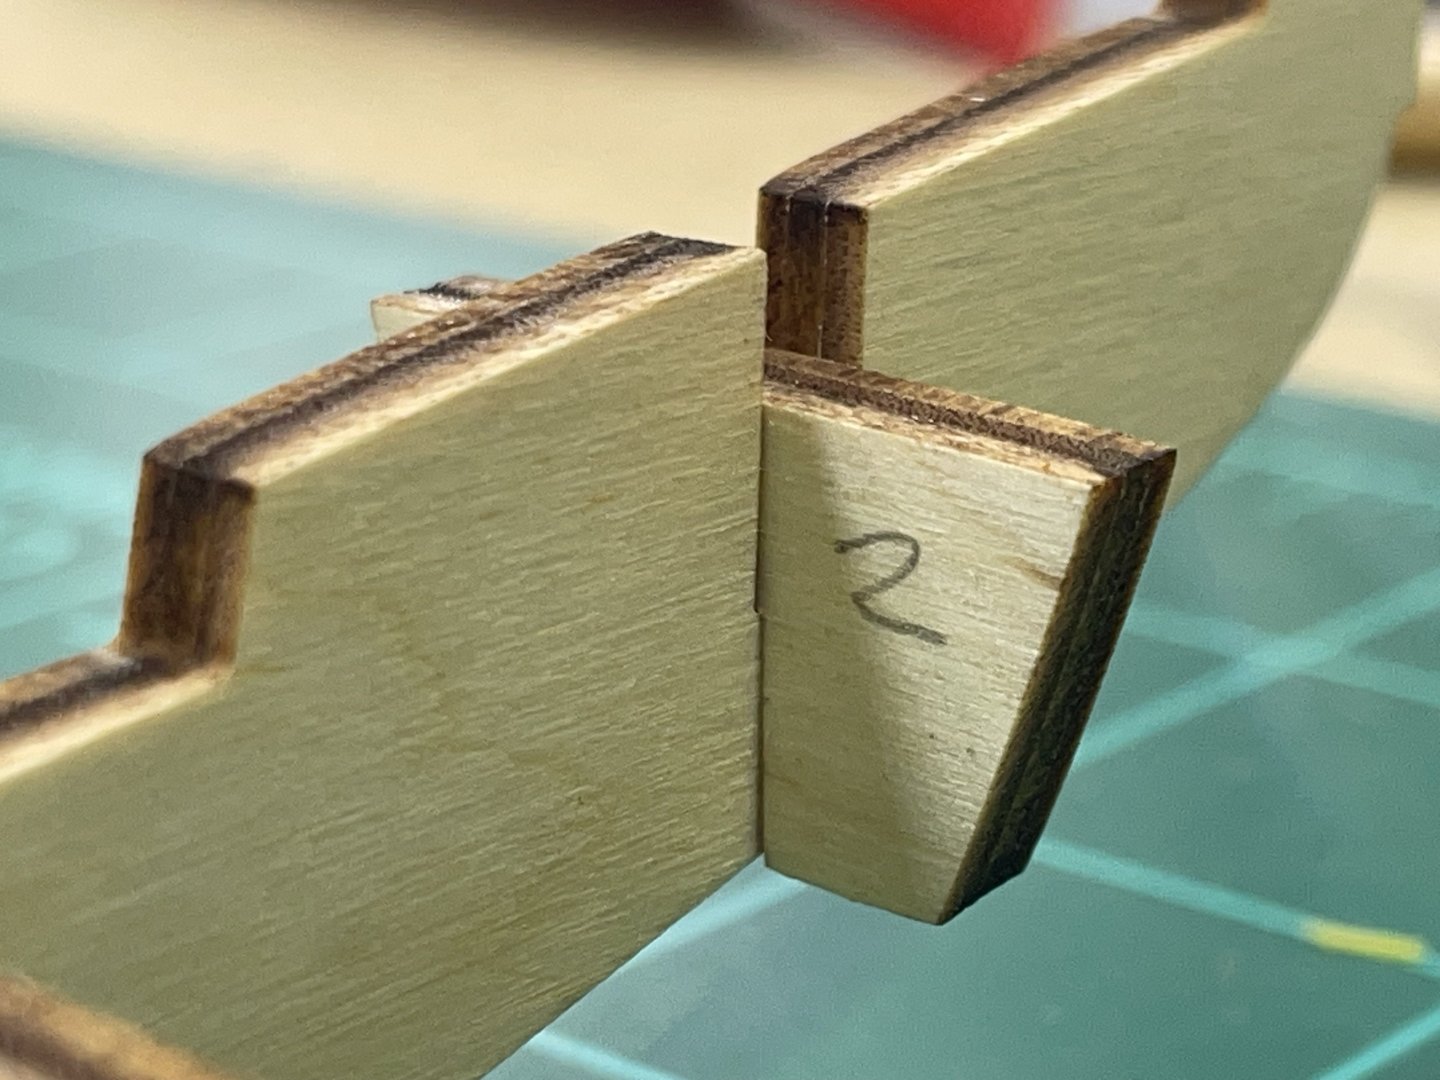
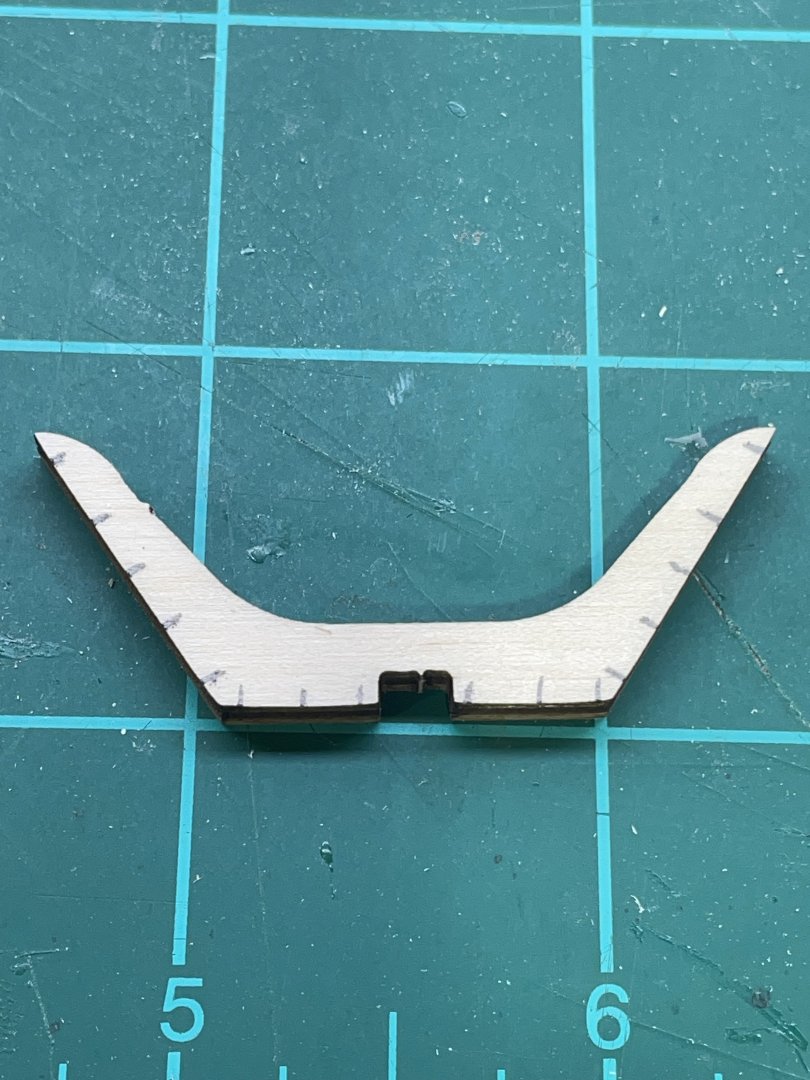
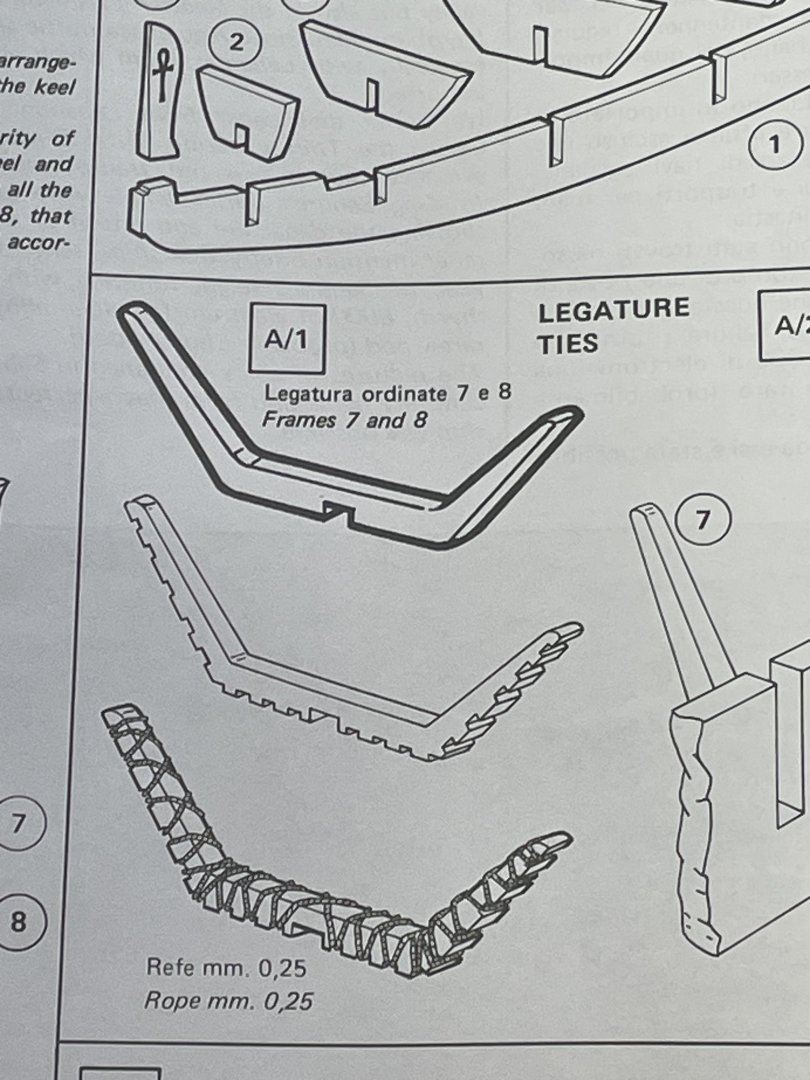
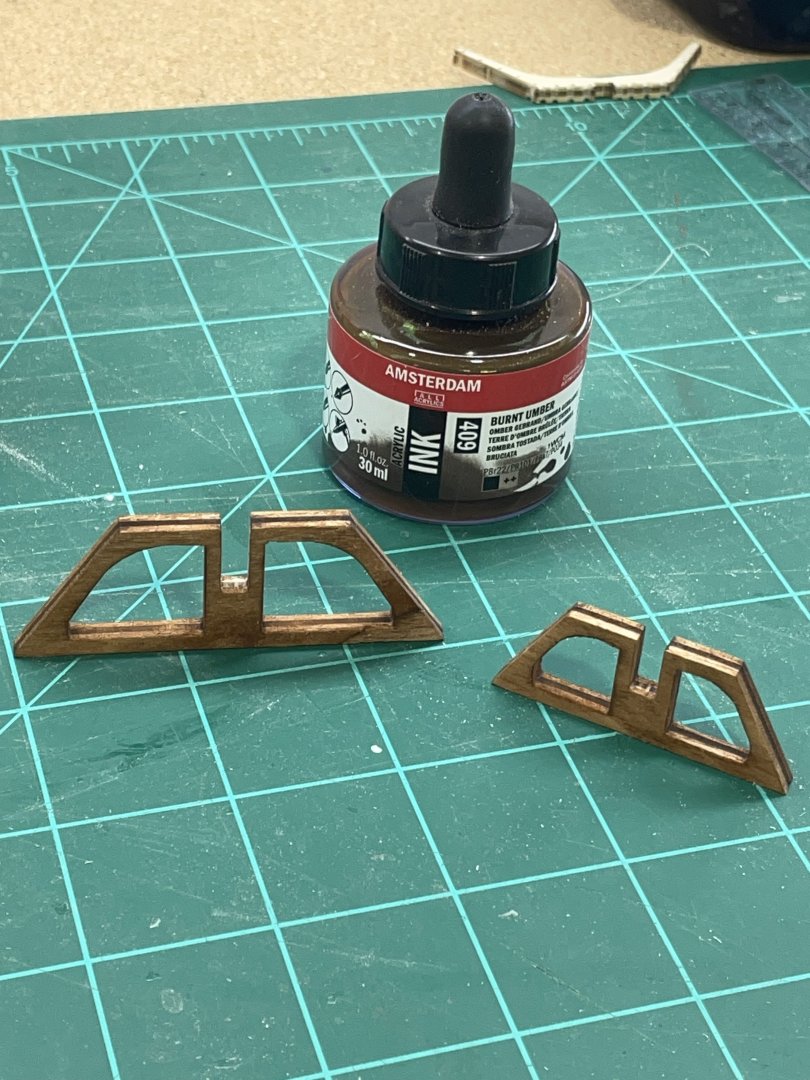
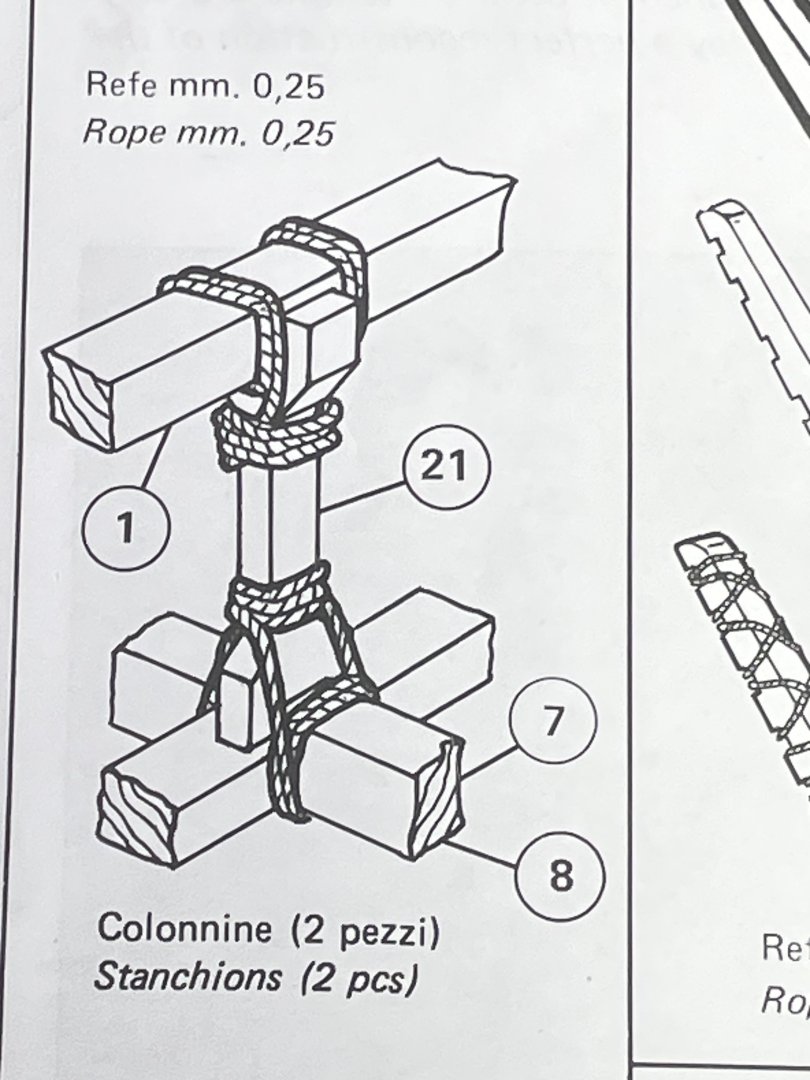
This will be the first boat built in the Mossy Shipyard. Here’s the kit. It started out pretty simple. I cut loose the spine and frames and dry fitted them. Frames #2 & #10 are close to the same size. The parts are not numbered. You must compare them by the plan. #2 was found lacking at the stern. #10 fit better at the bow. I cut off a piece of the carrier and glued it to the top of frame 2. It’s still lacking but I’ll be able to build it up before the deck goes on. I started gluing the frames at the stern moving towards the bow until I got to #6. The next bay between the frames is exposed and shows the ropes that tie the hull together:-) There is quite a bit of things going on in this part and reading steps ahead I’ve decided to do some of them in a different order than what I have understand the instructions are telling me. First there are two frames that ropes wrap around. I first marked where the grooves are needed. Then cut them with the edge of a flat file. I want to paint as I go to keep from painting the ropes. The next challenge comes several steps later but I’m going to deal with it much earlier. It has to exposed stanchions that are also wrapped with rope and are tiny and still to big. Plus they set on top of the wrapped frames. The plans only show them wrapped separately. One of the frames is considerably smaller than the other. but the stanchions are the same size:-) I had to file a groove in the top of the smaller frame to hopefully make it small enough. Here is the larger one dry fitted. I’m thinking I’m going to glue the bottom part on the frame first. Then paint it then wrap it as a whole. I hope I can figure the symmetrical pattern they used when wrapping’’em up.


- 44 replies
-
- 6
-
-
- Nave Egizia
- Amati
- (and 1 more)
-
The Mossy Shipyard by Bryan Woods - 1:1
Bryan Woods replied to Bryan Woods's topic in Non-ship/categorised builds
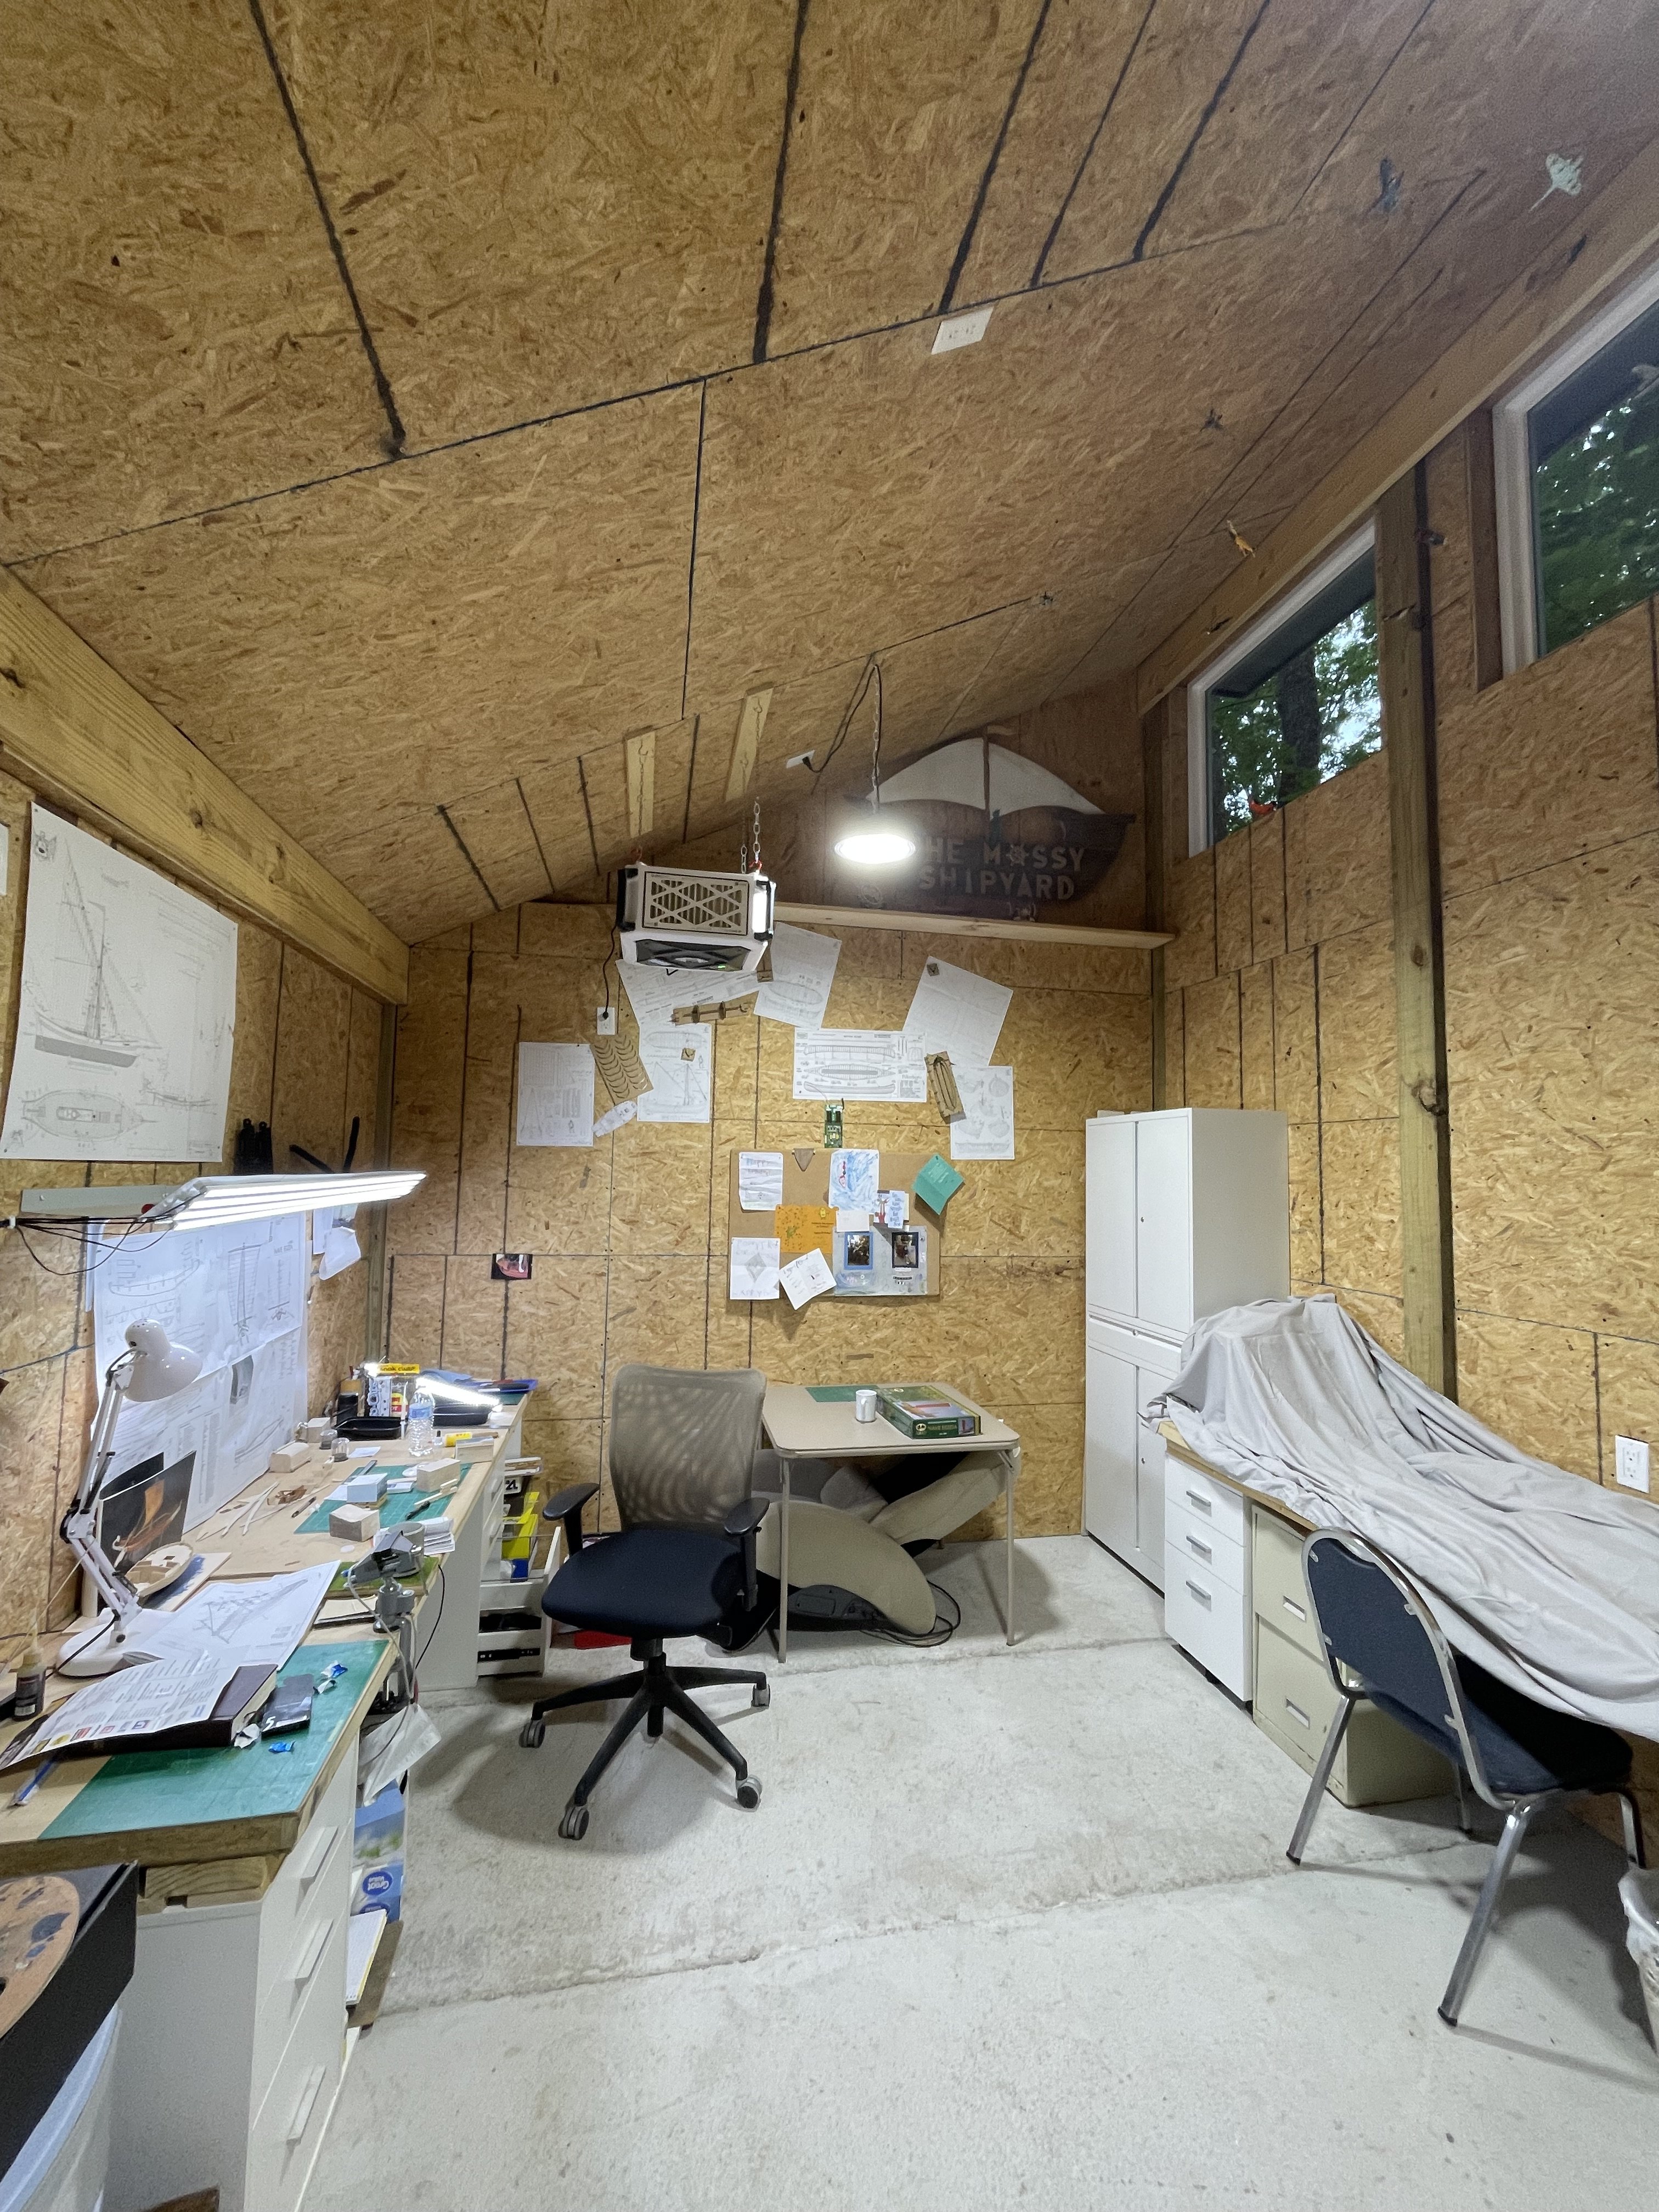
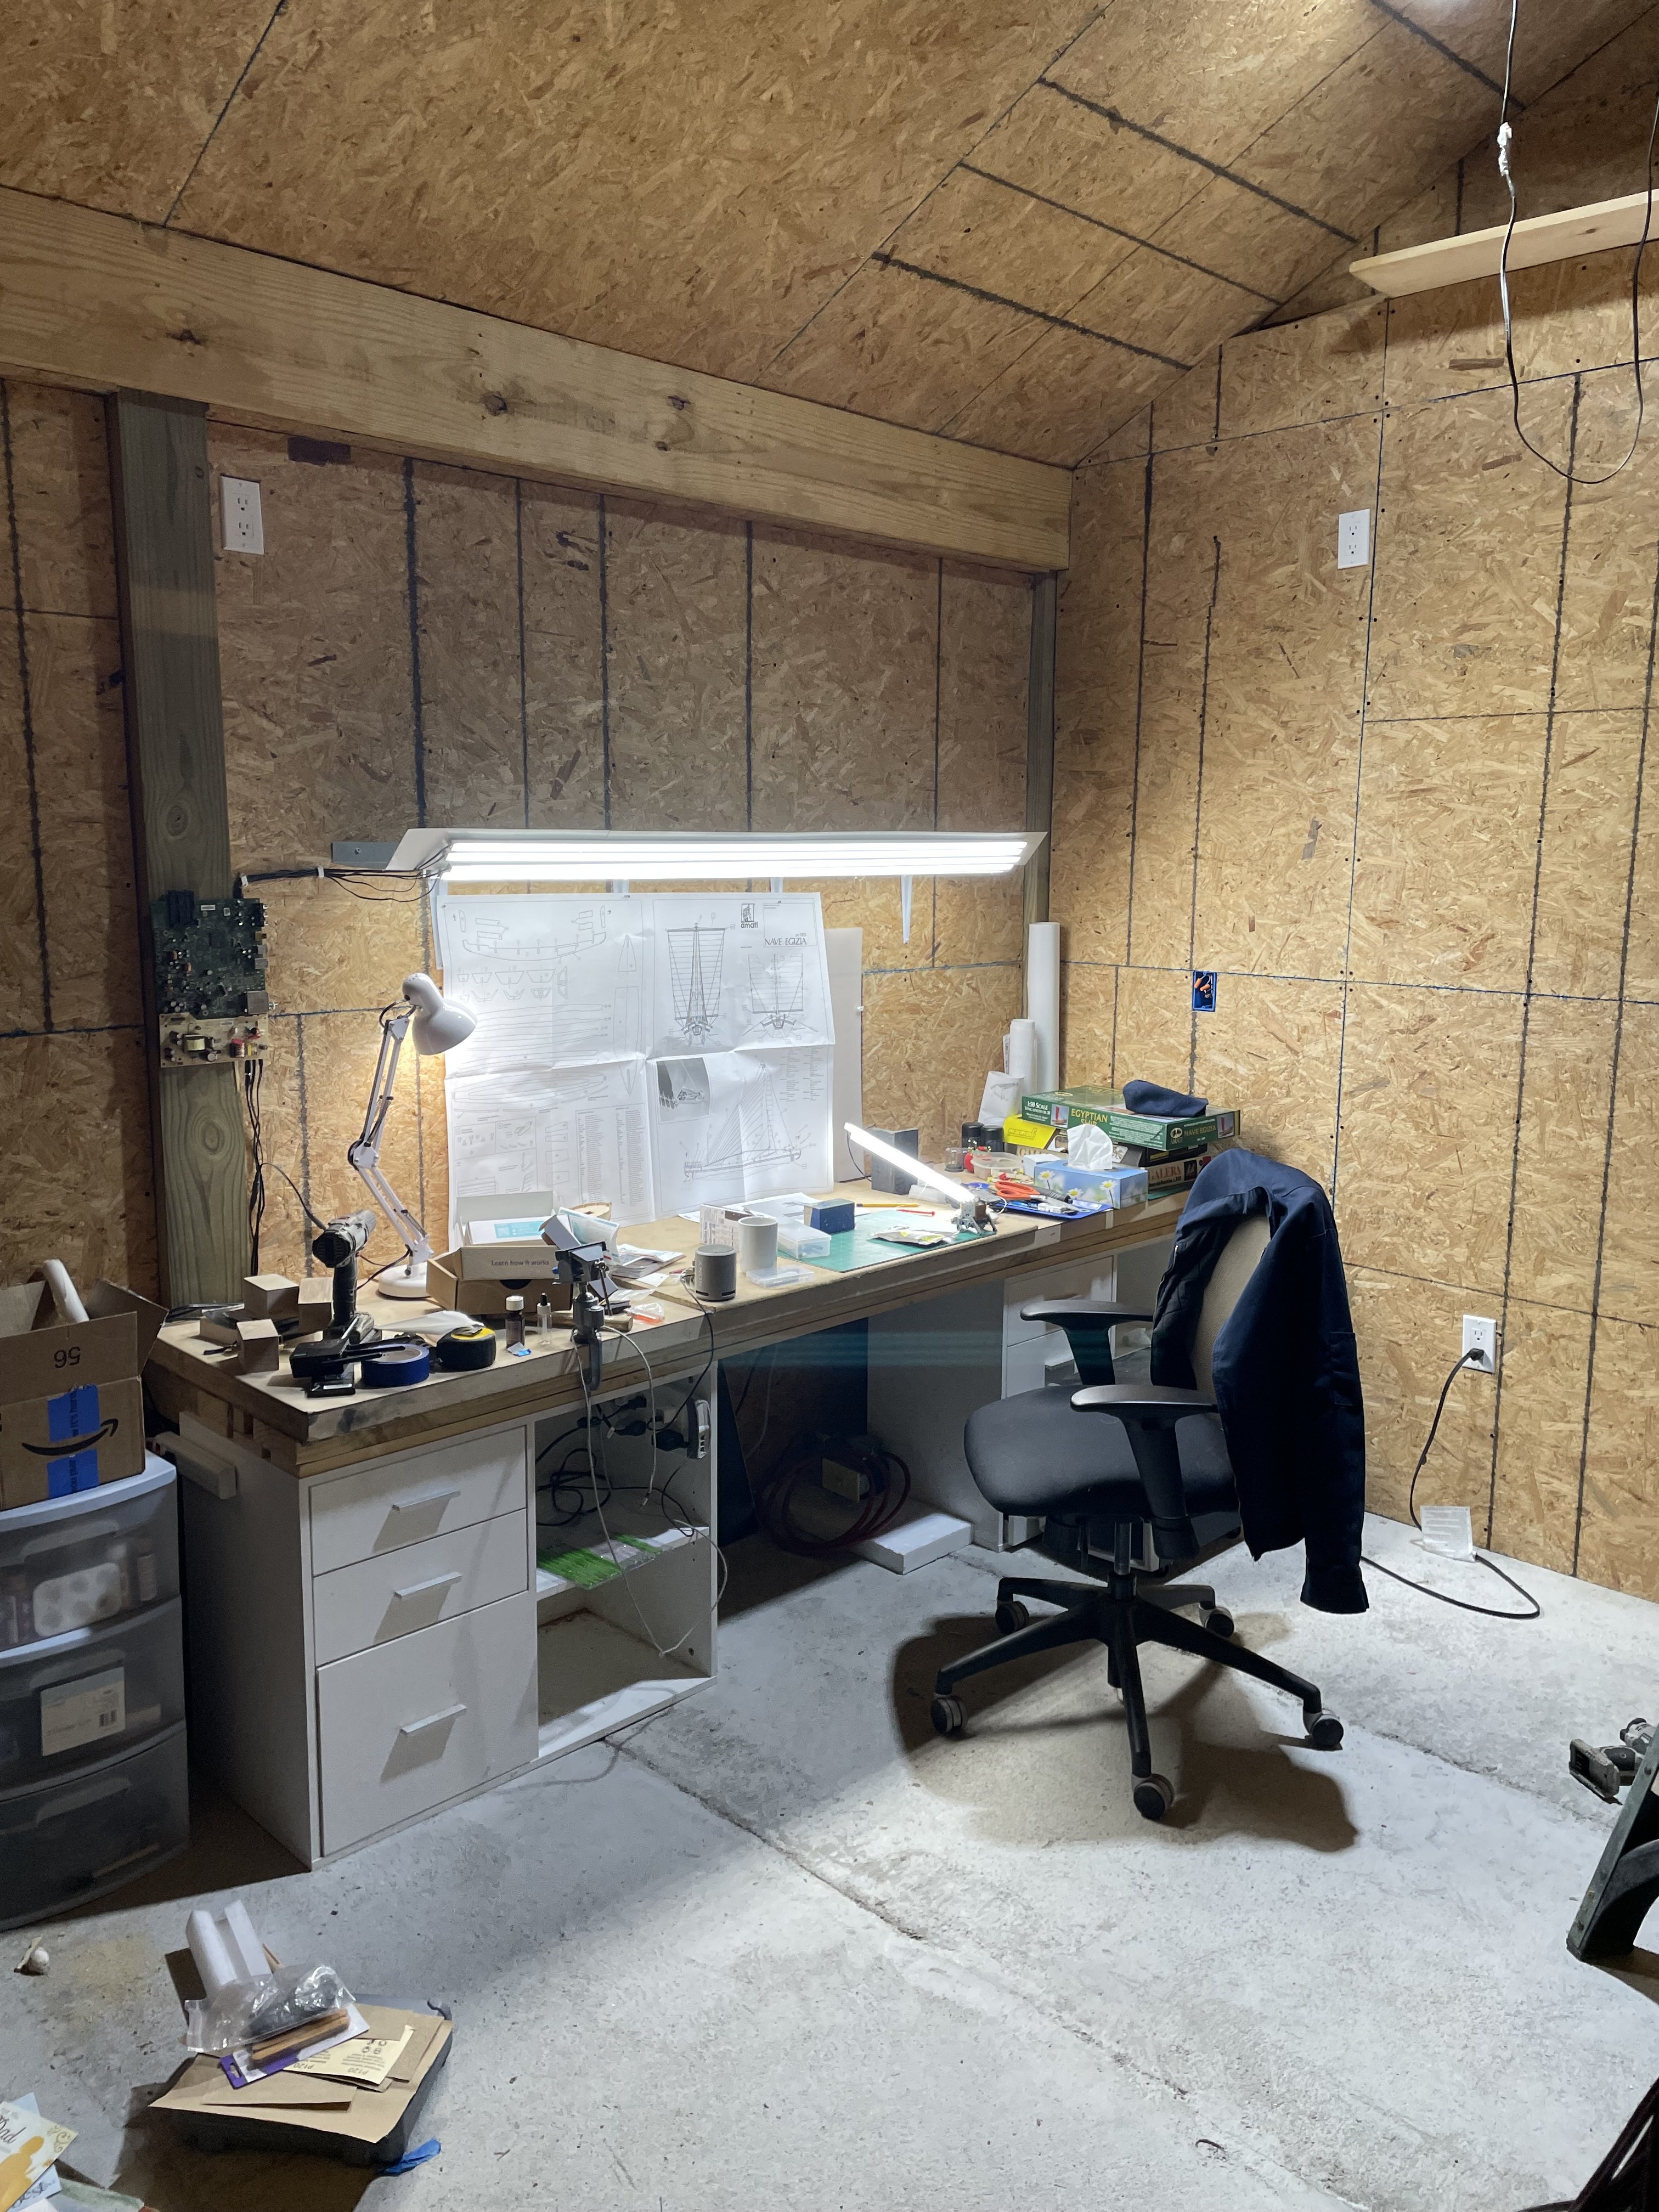
I’ve spent the last few days cleaning up the old sight and moving some storage racks in, to give my wife more room for her decor. I have found a little time to staple some prints and old memorabilia on the walls. I may wait till that’s further along, before I show it:-) The lights came in. Lots of lumens:-)
-
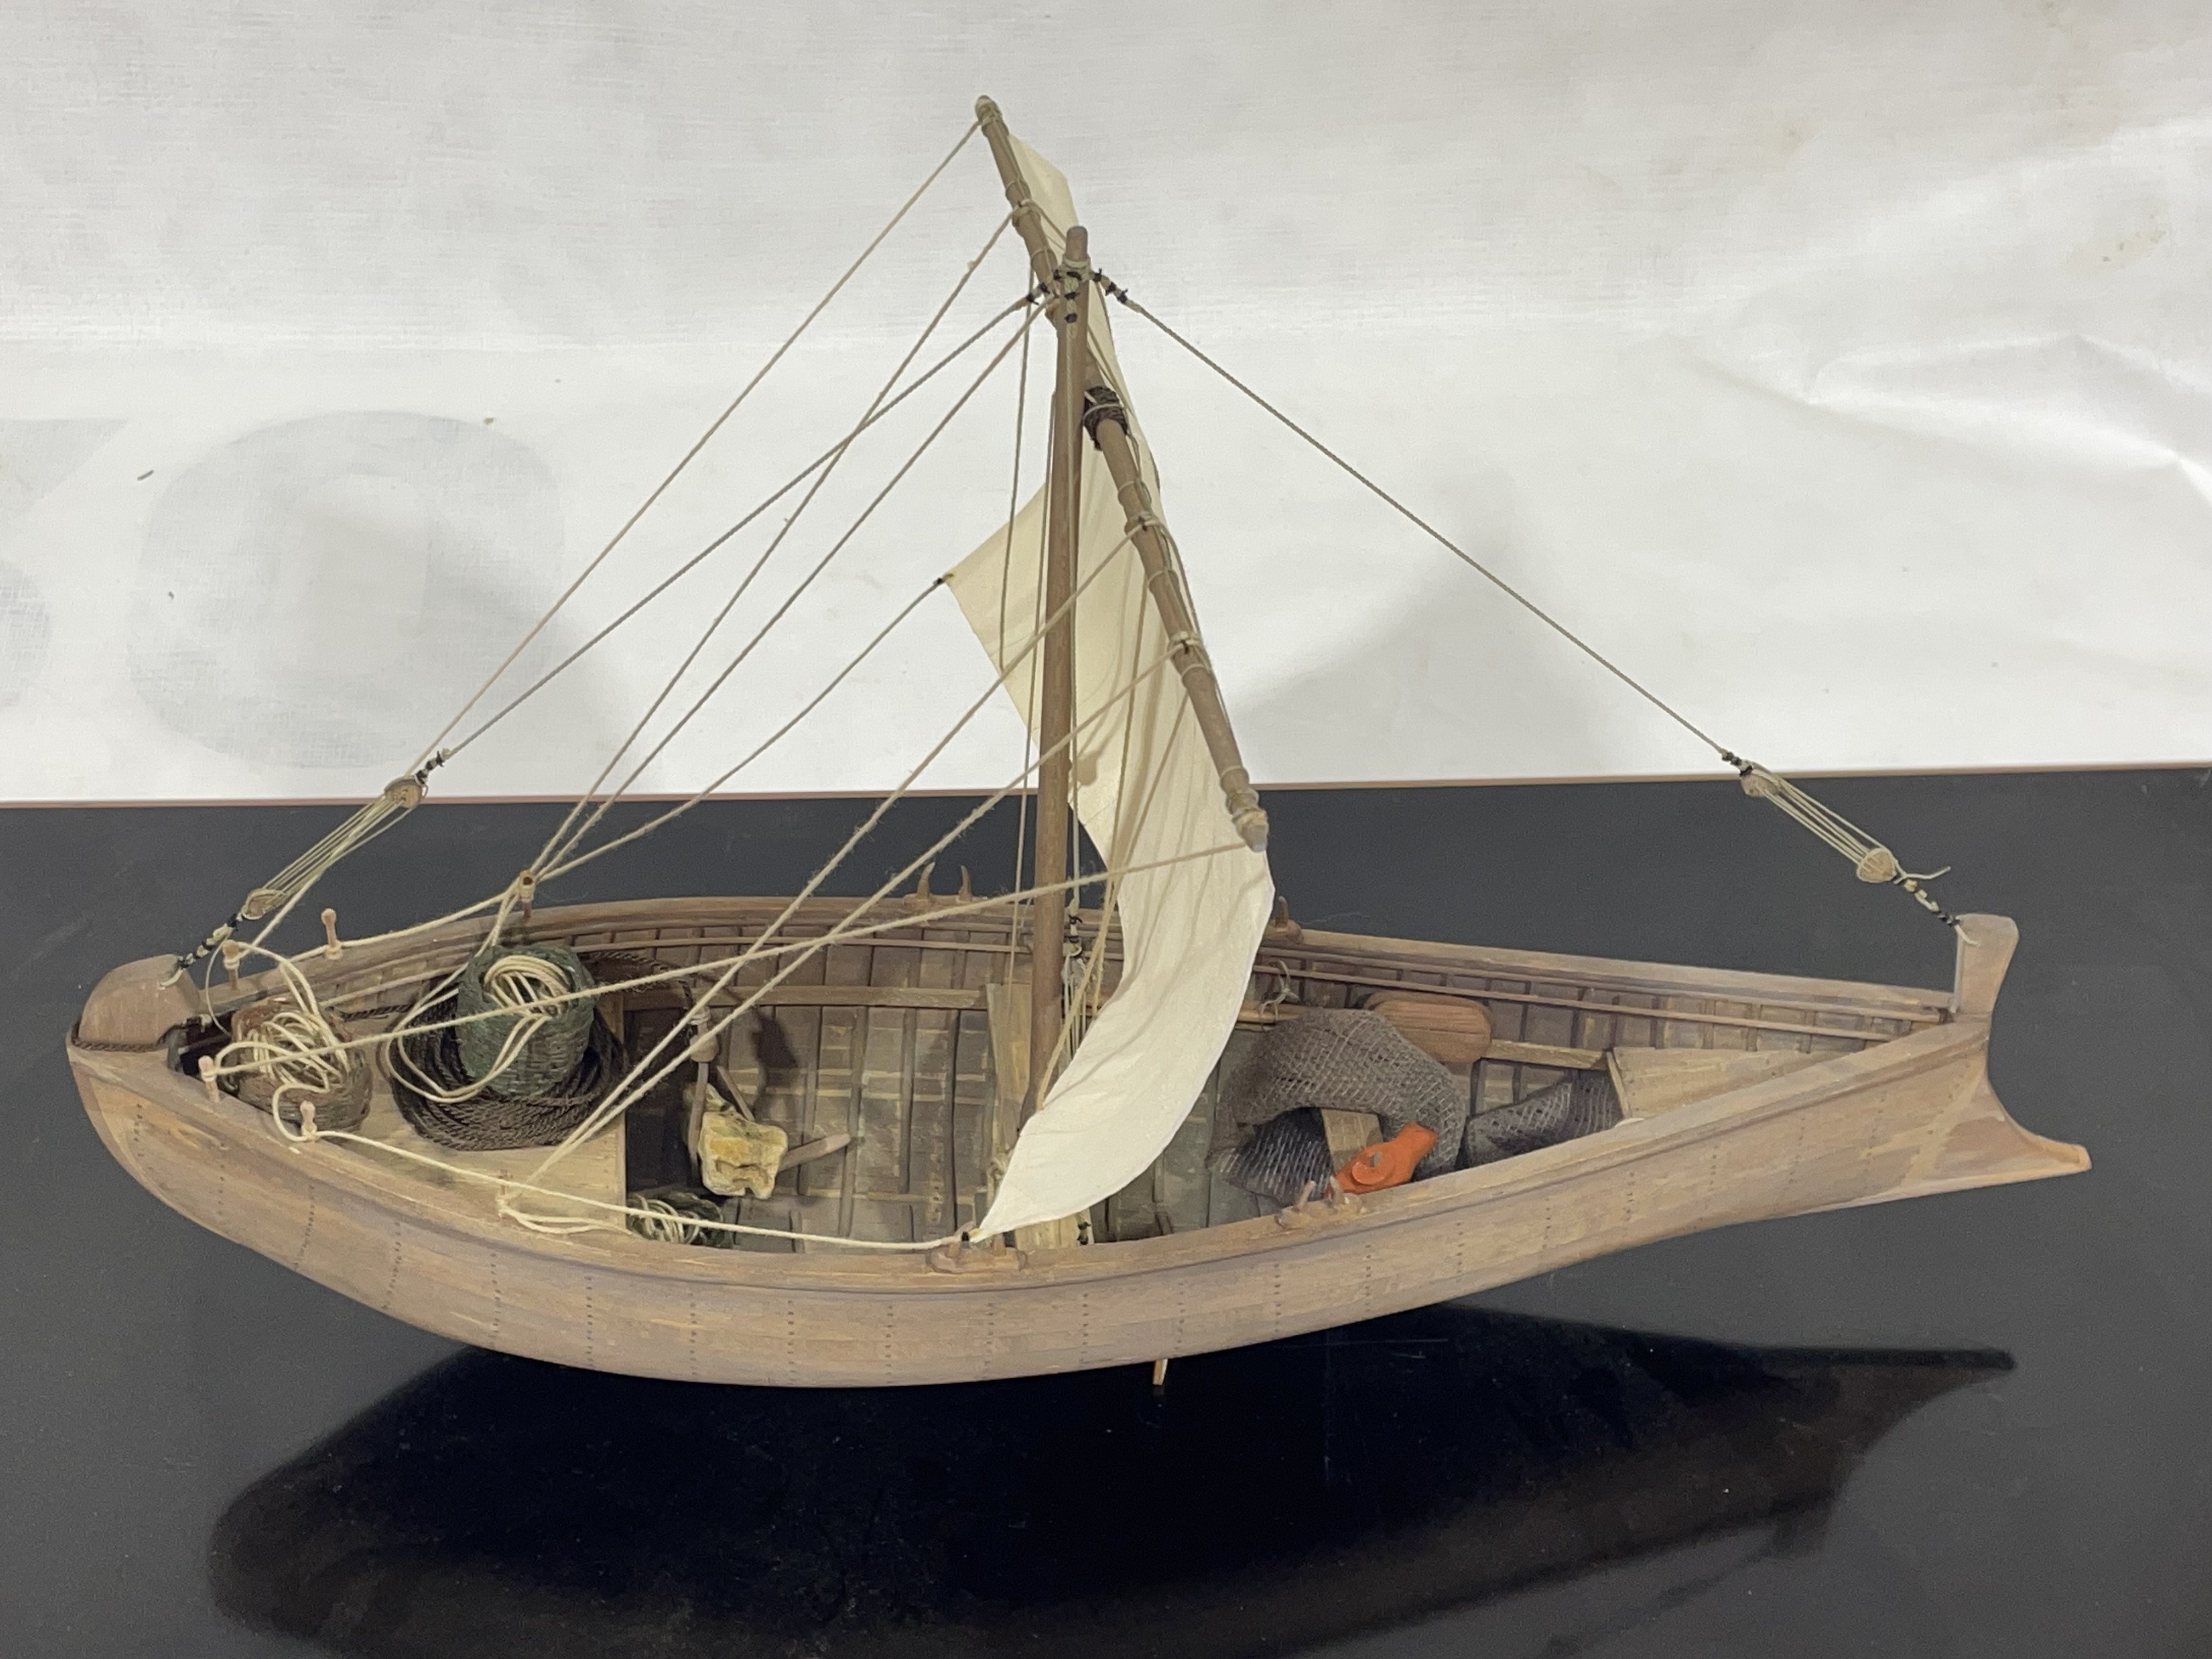
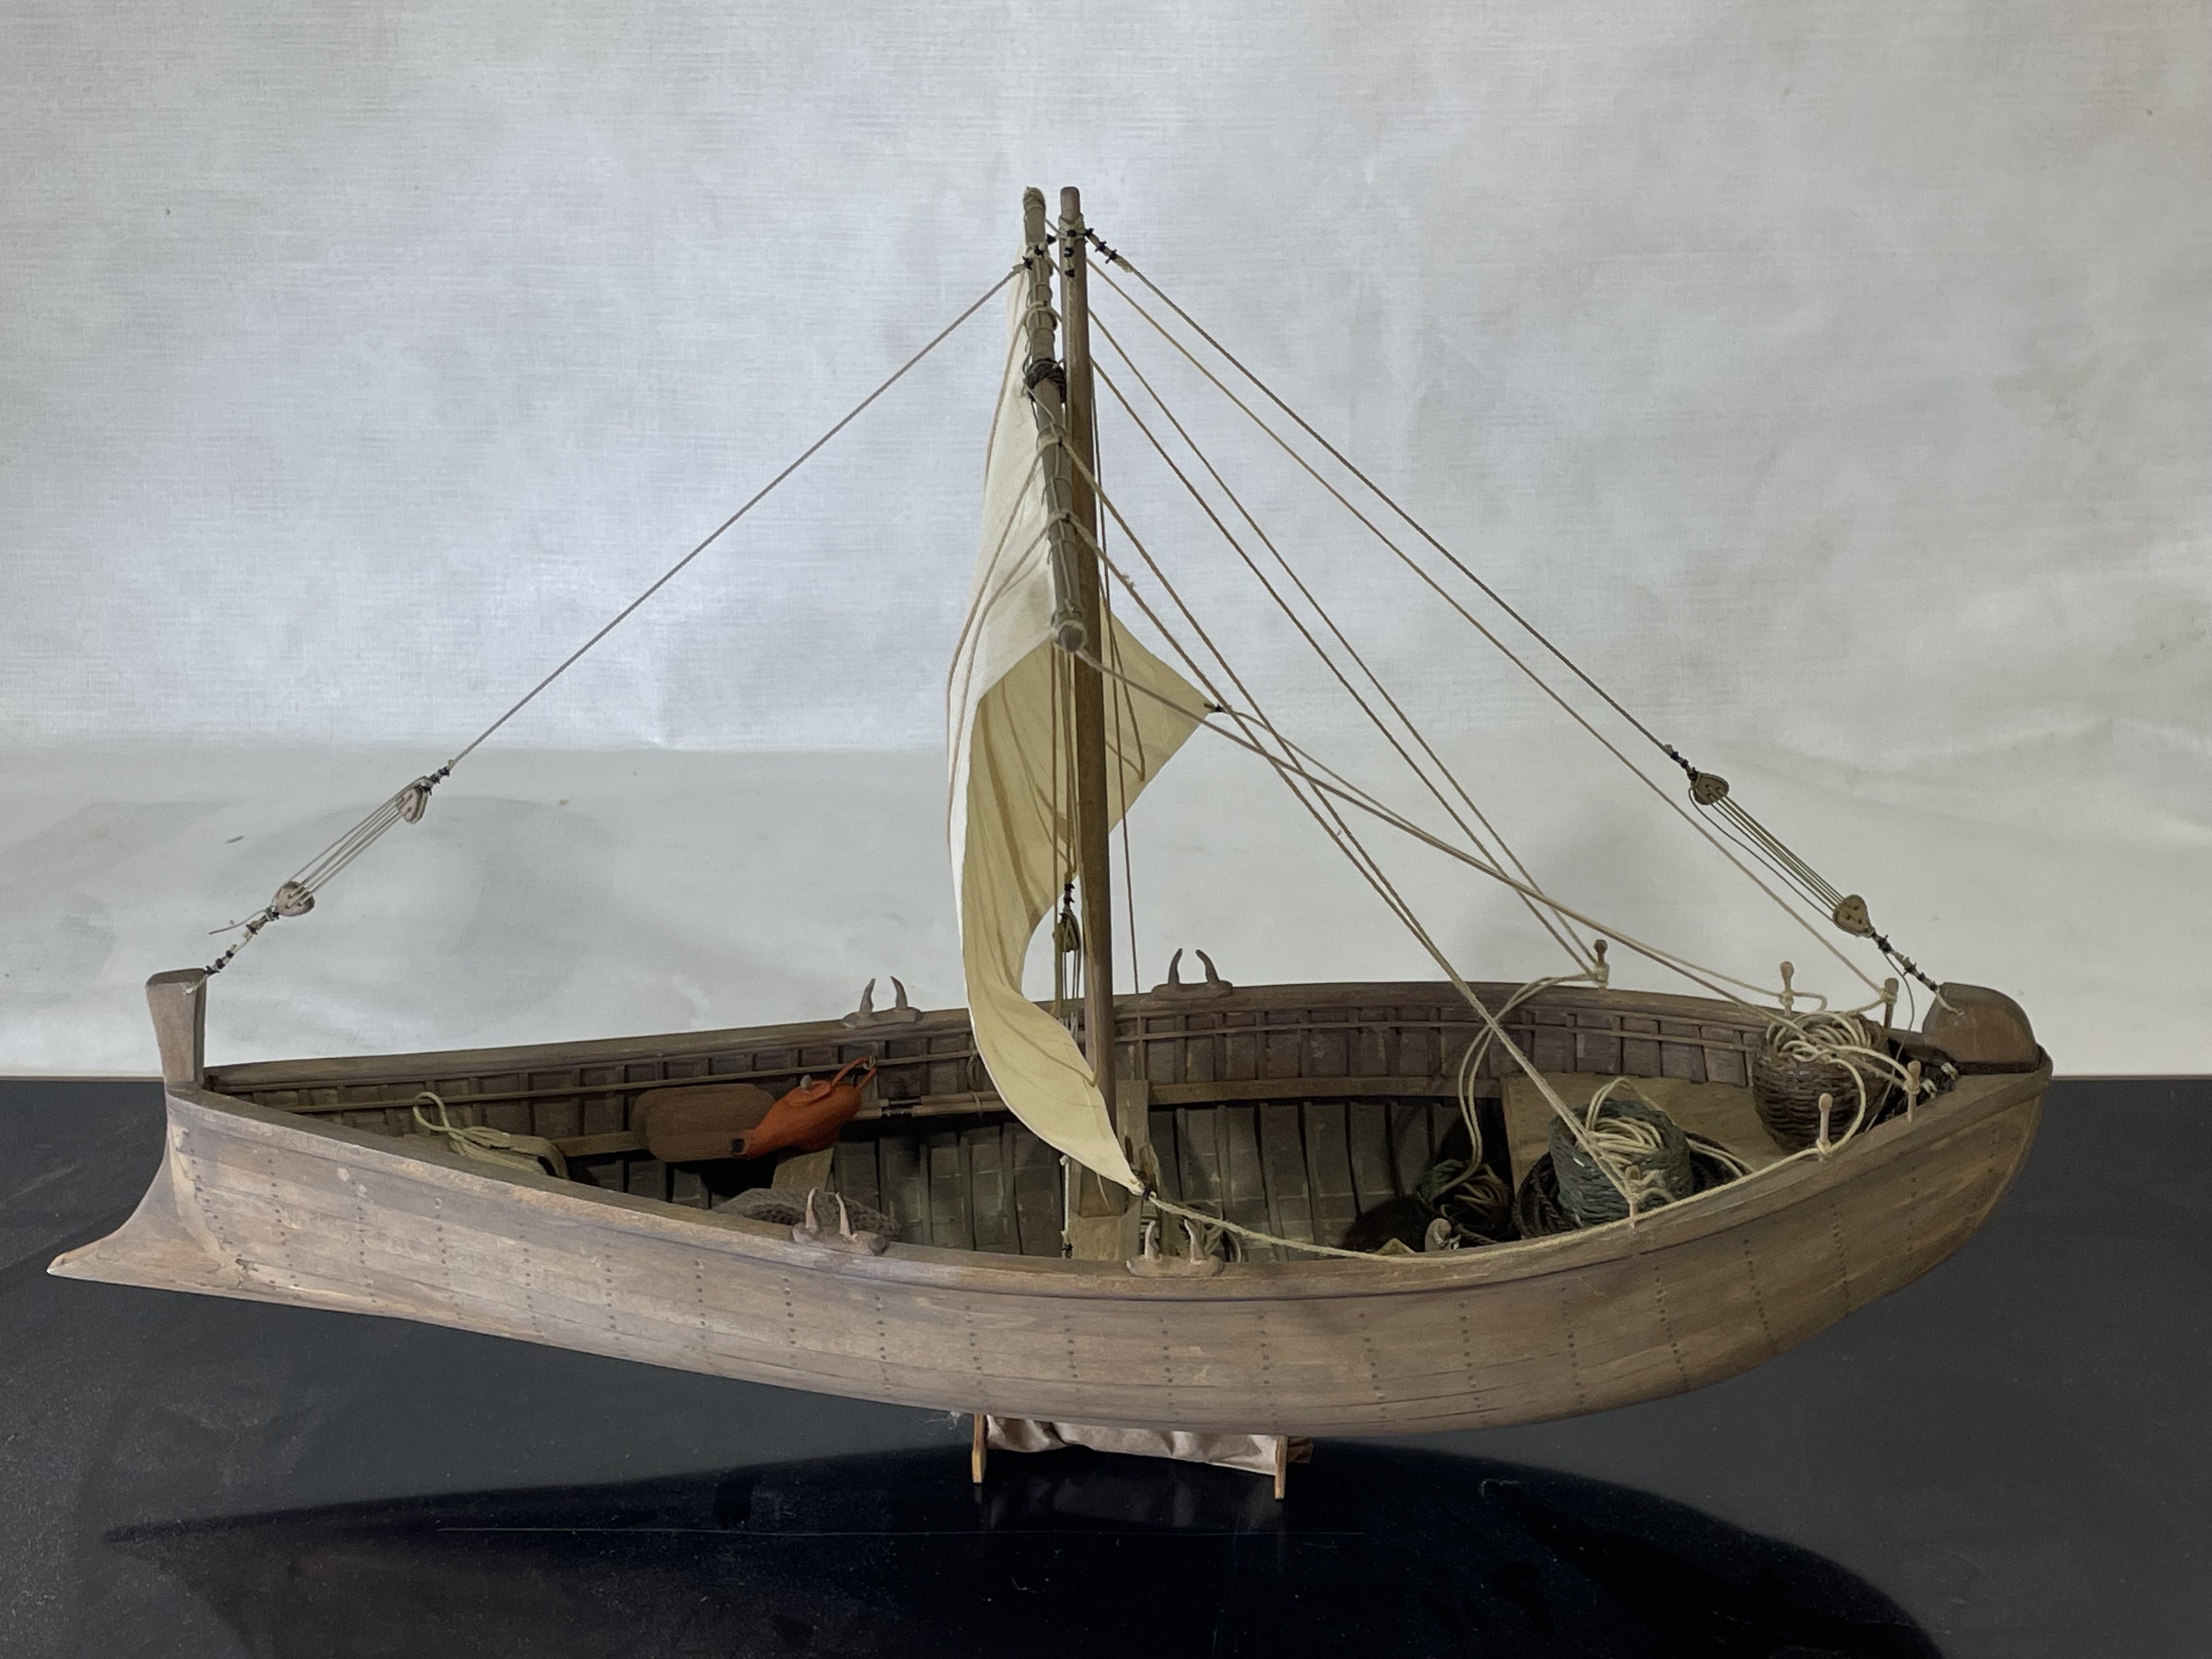
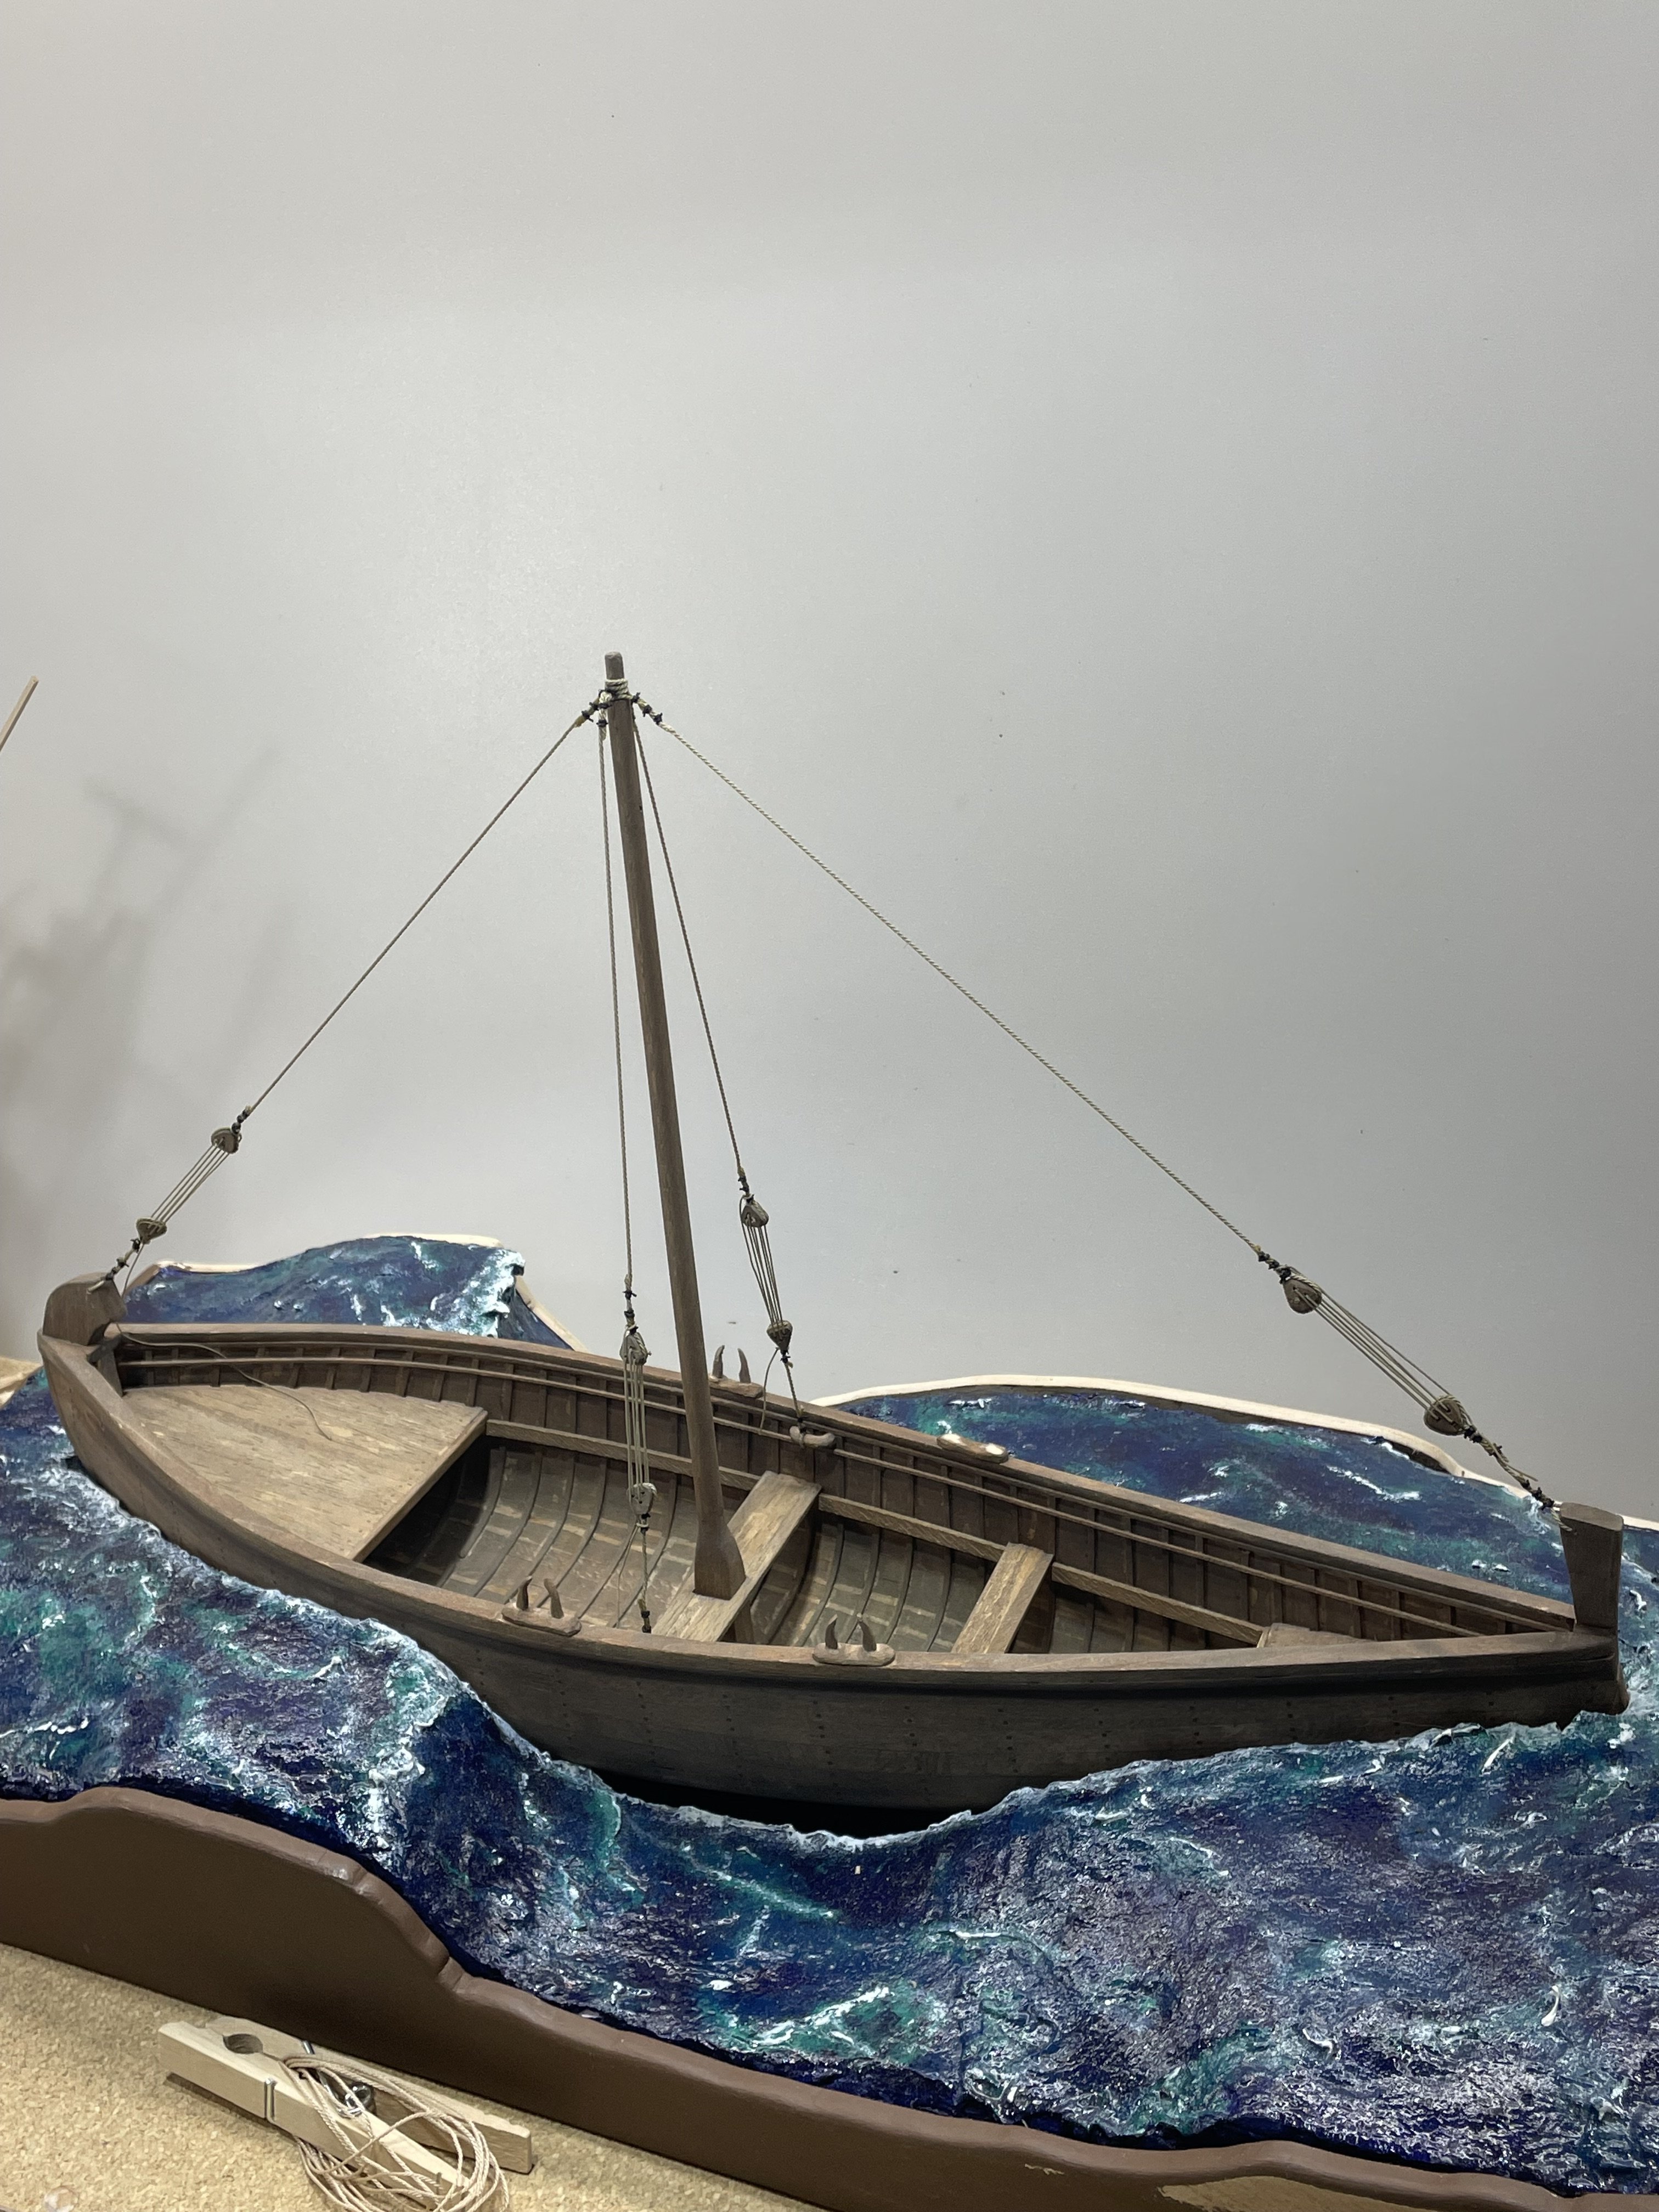
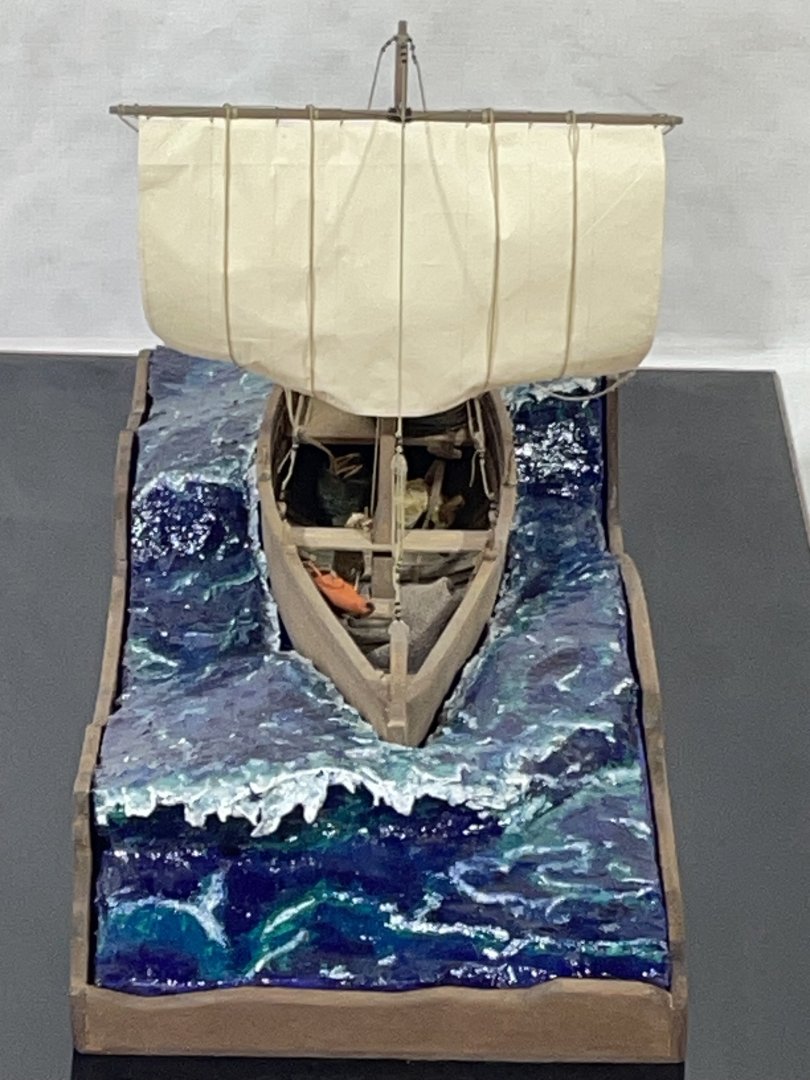
All good times must come to an end. The Kinneret is completed and sailing out of the shipyard this week. Here’s how she looked. Thanks for all the looks,likes and comments:-) My next build is going to be a kit:-)


-
The Mossy Shipyard by Bryan Woods - 1:1
Bryan Woods replied to Bryan Woods's topic in Non-ship/categorised builds
I made the move yesterday into the Mossy Shipyard. Junk everywhere! I pulled a new kit out just looking at the instructions for now. I need to get things cleared away before I start laying wood down or it may not ever reappear. It’s going to take some time for me to figure out where things need to go and mostly things that need to be gone. I feel this build will never be finished.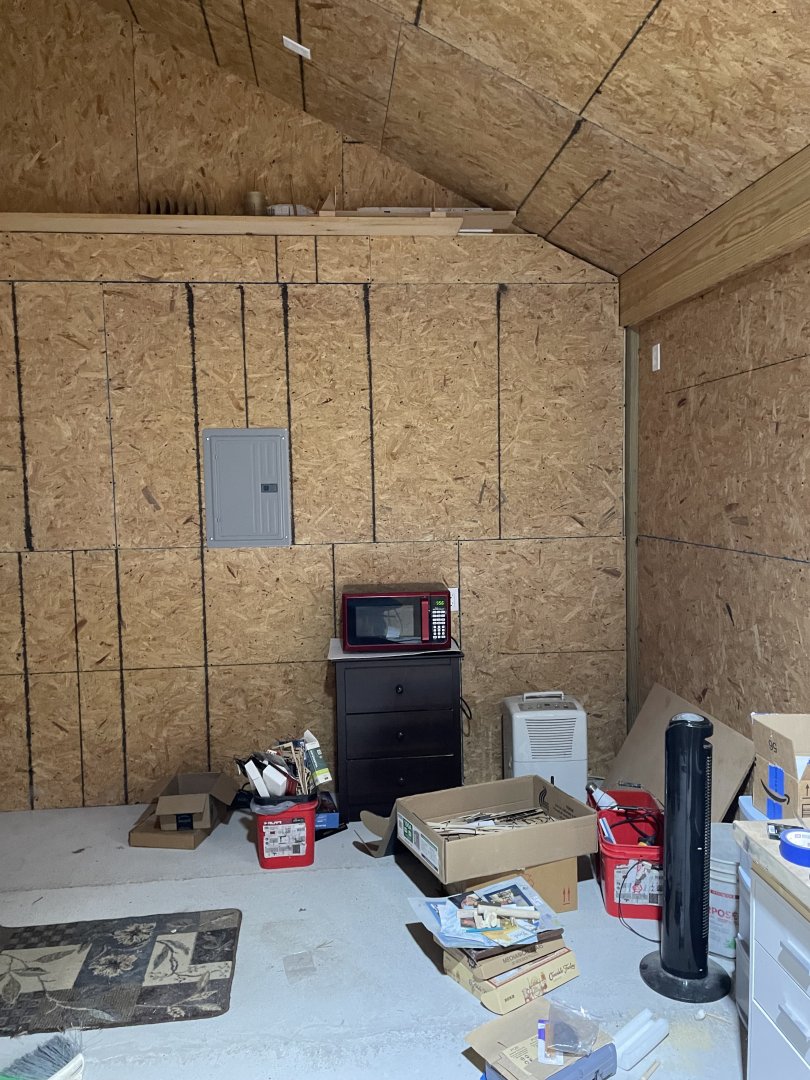

-
I wish it would be that easy. It’s hard to move a time made mess. Plus the budget says no new inside furnishes for the time being:-)
-
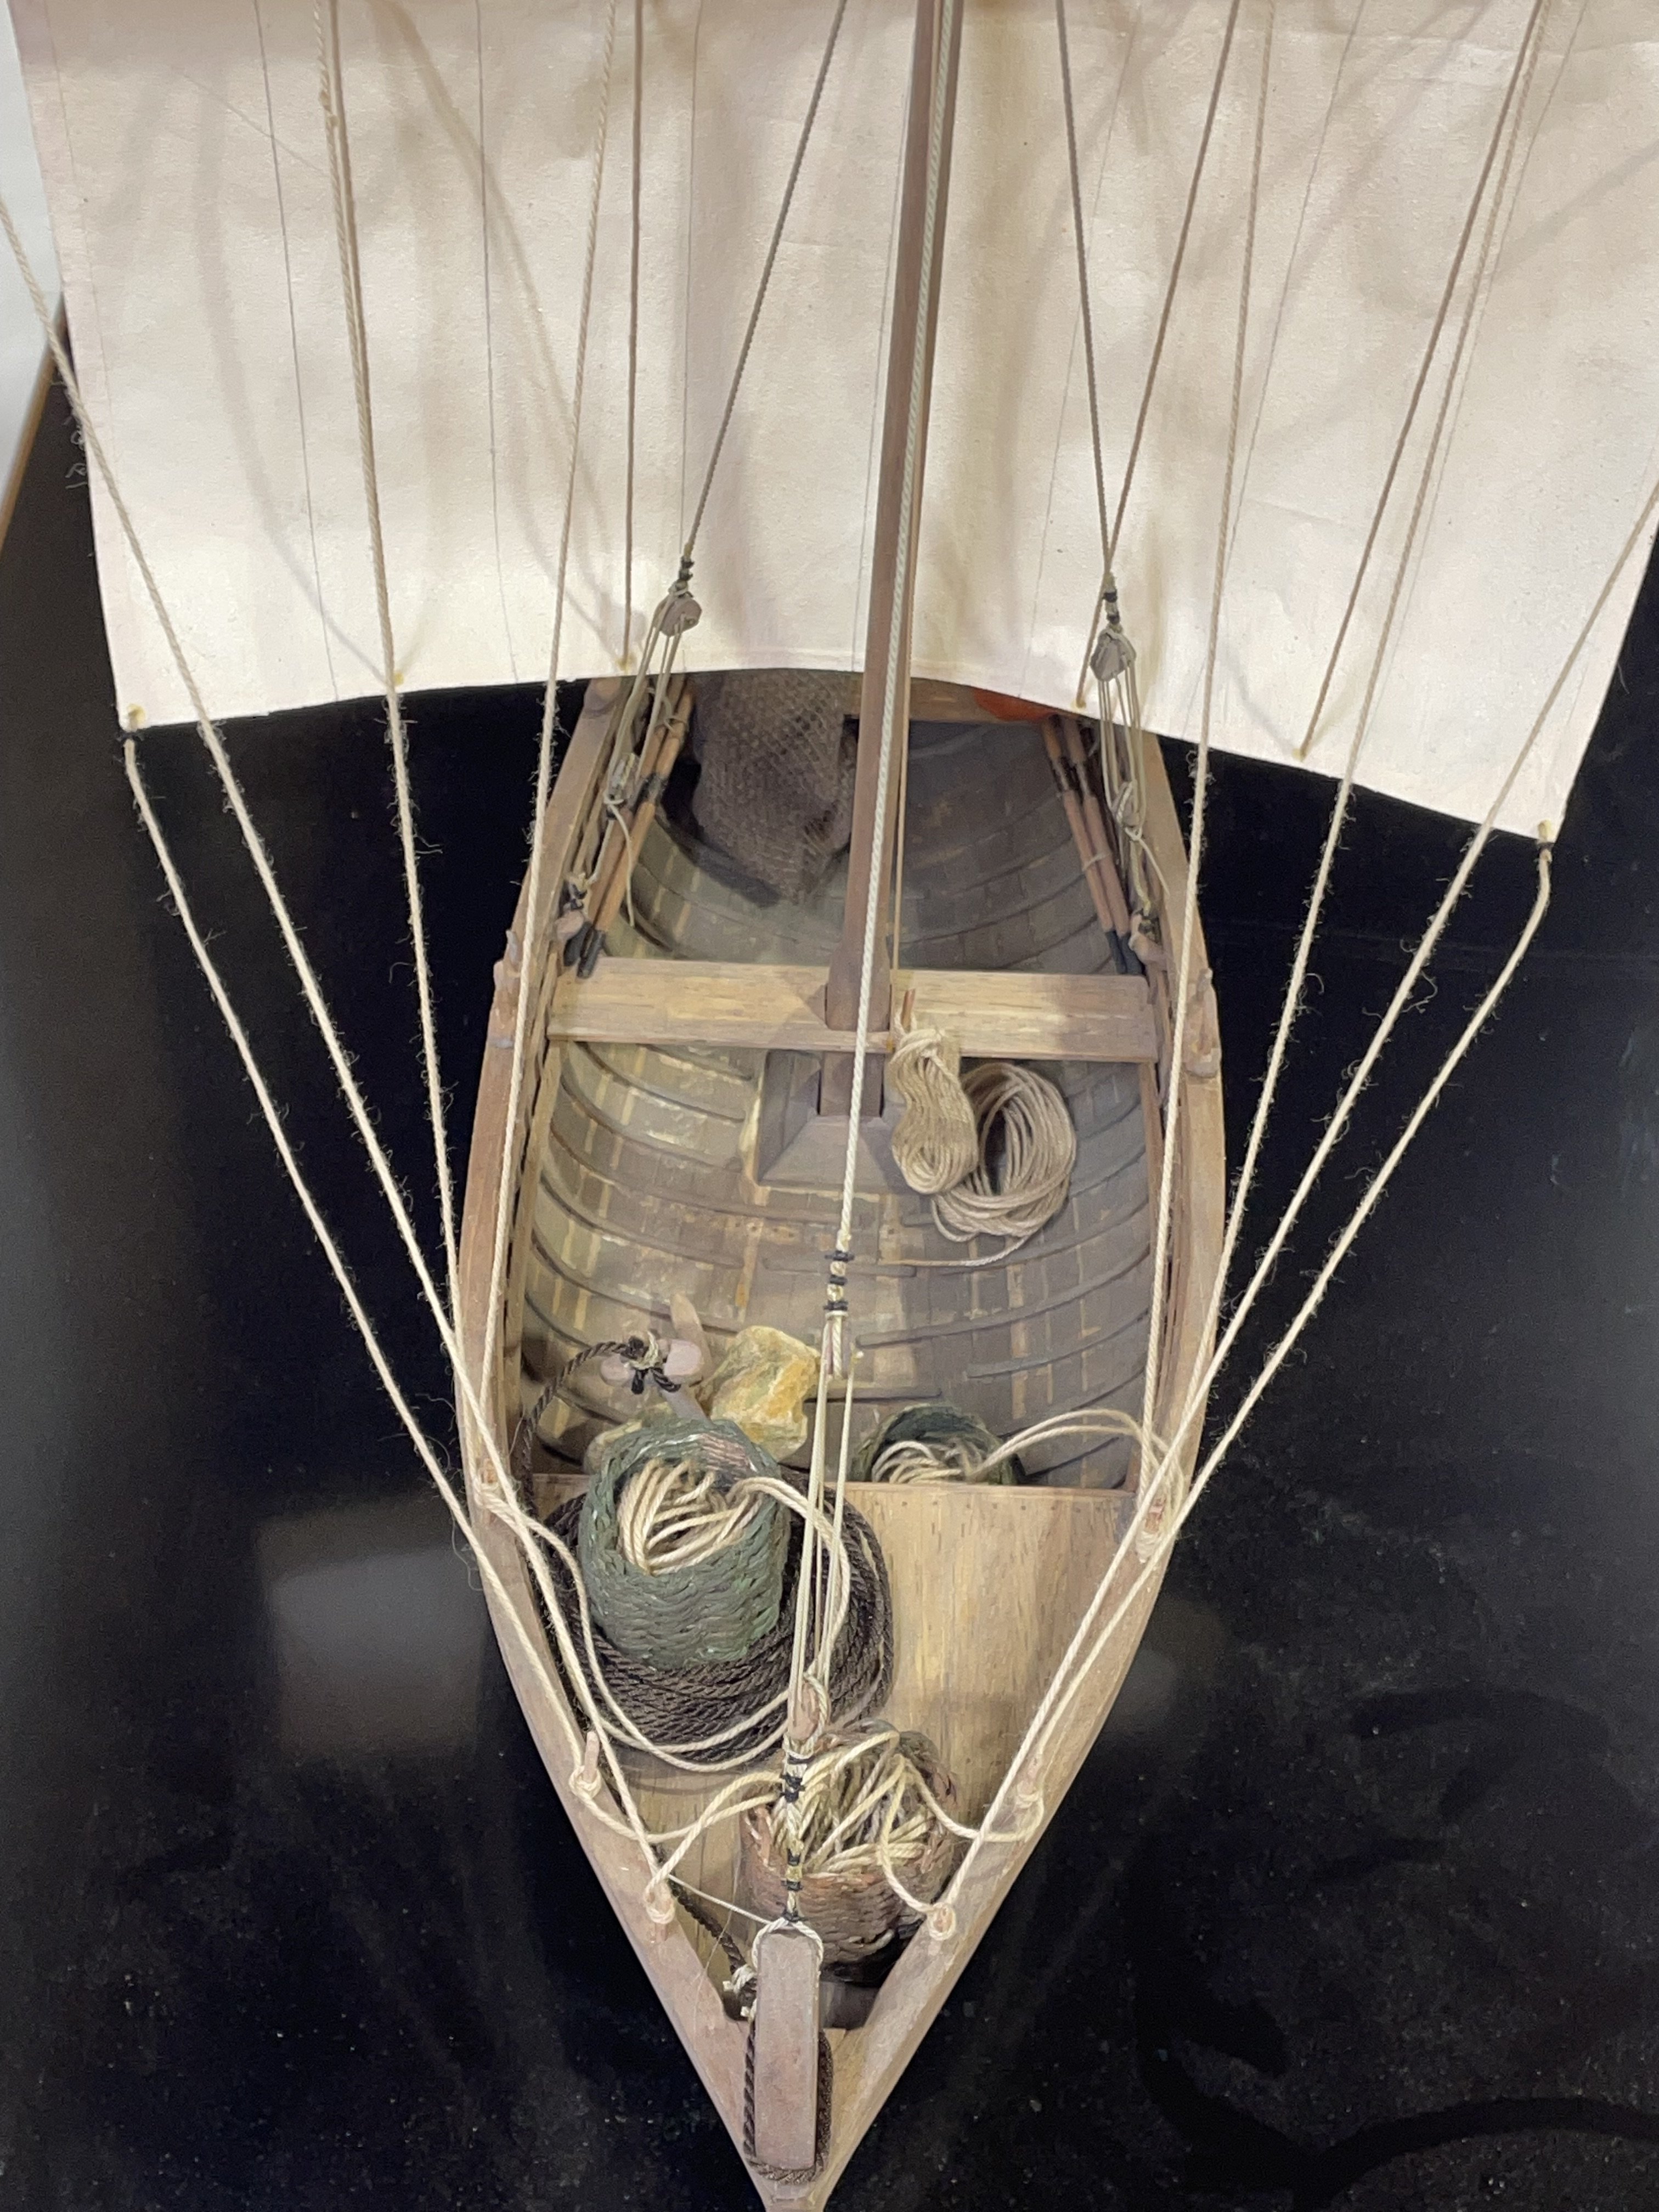
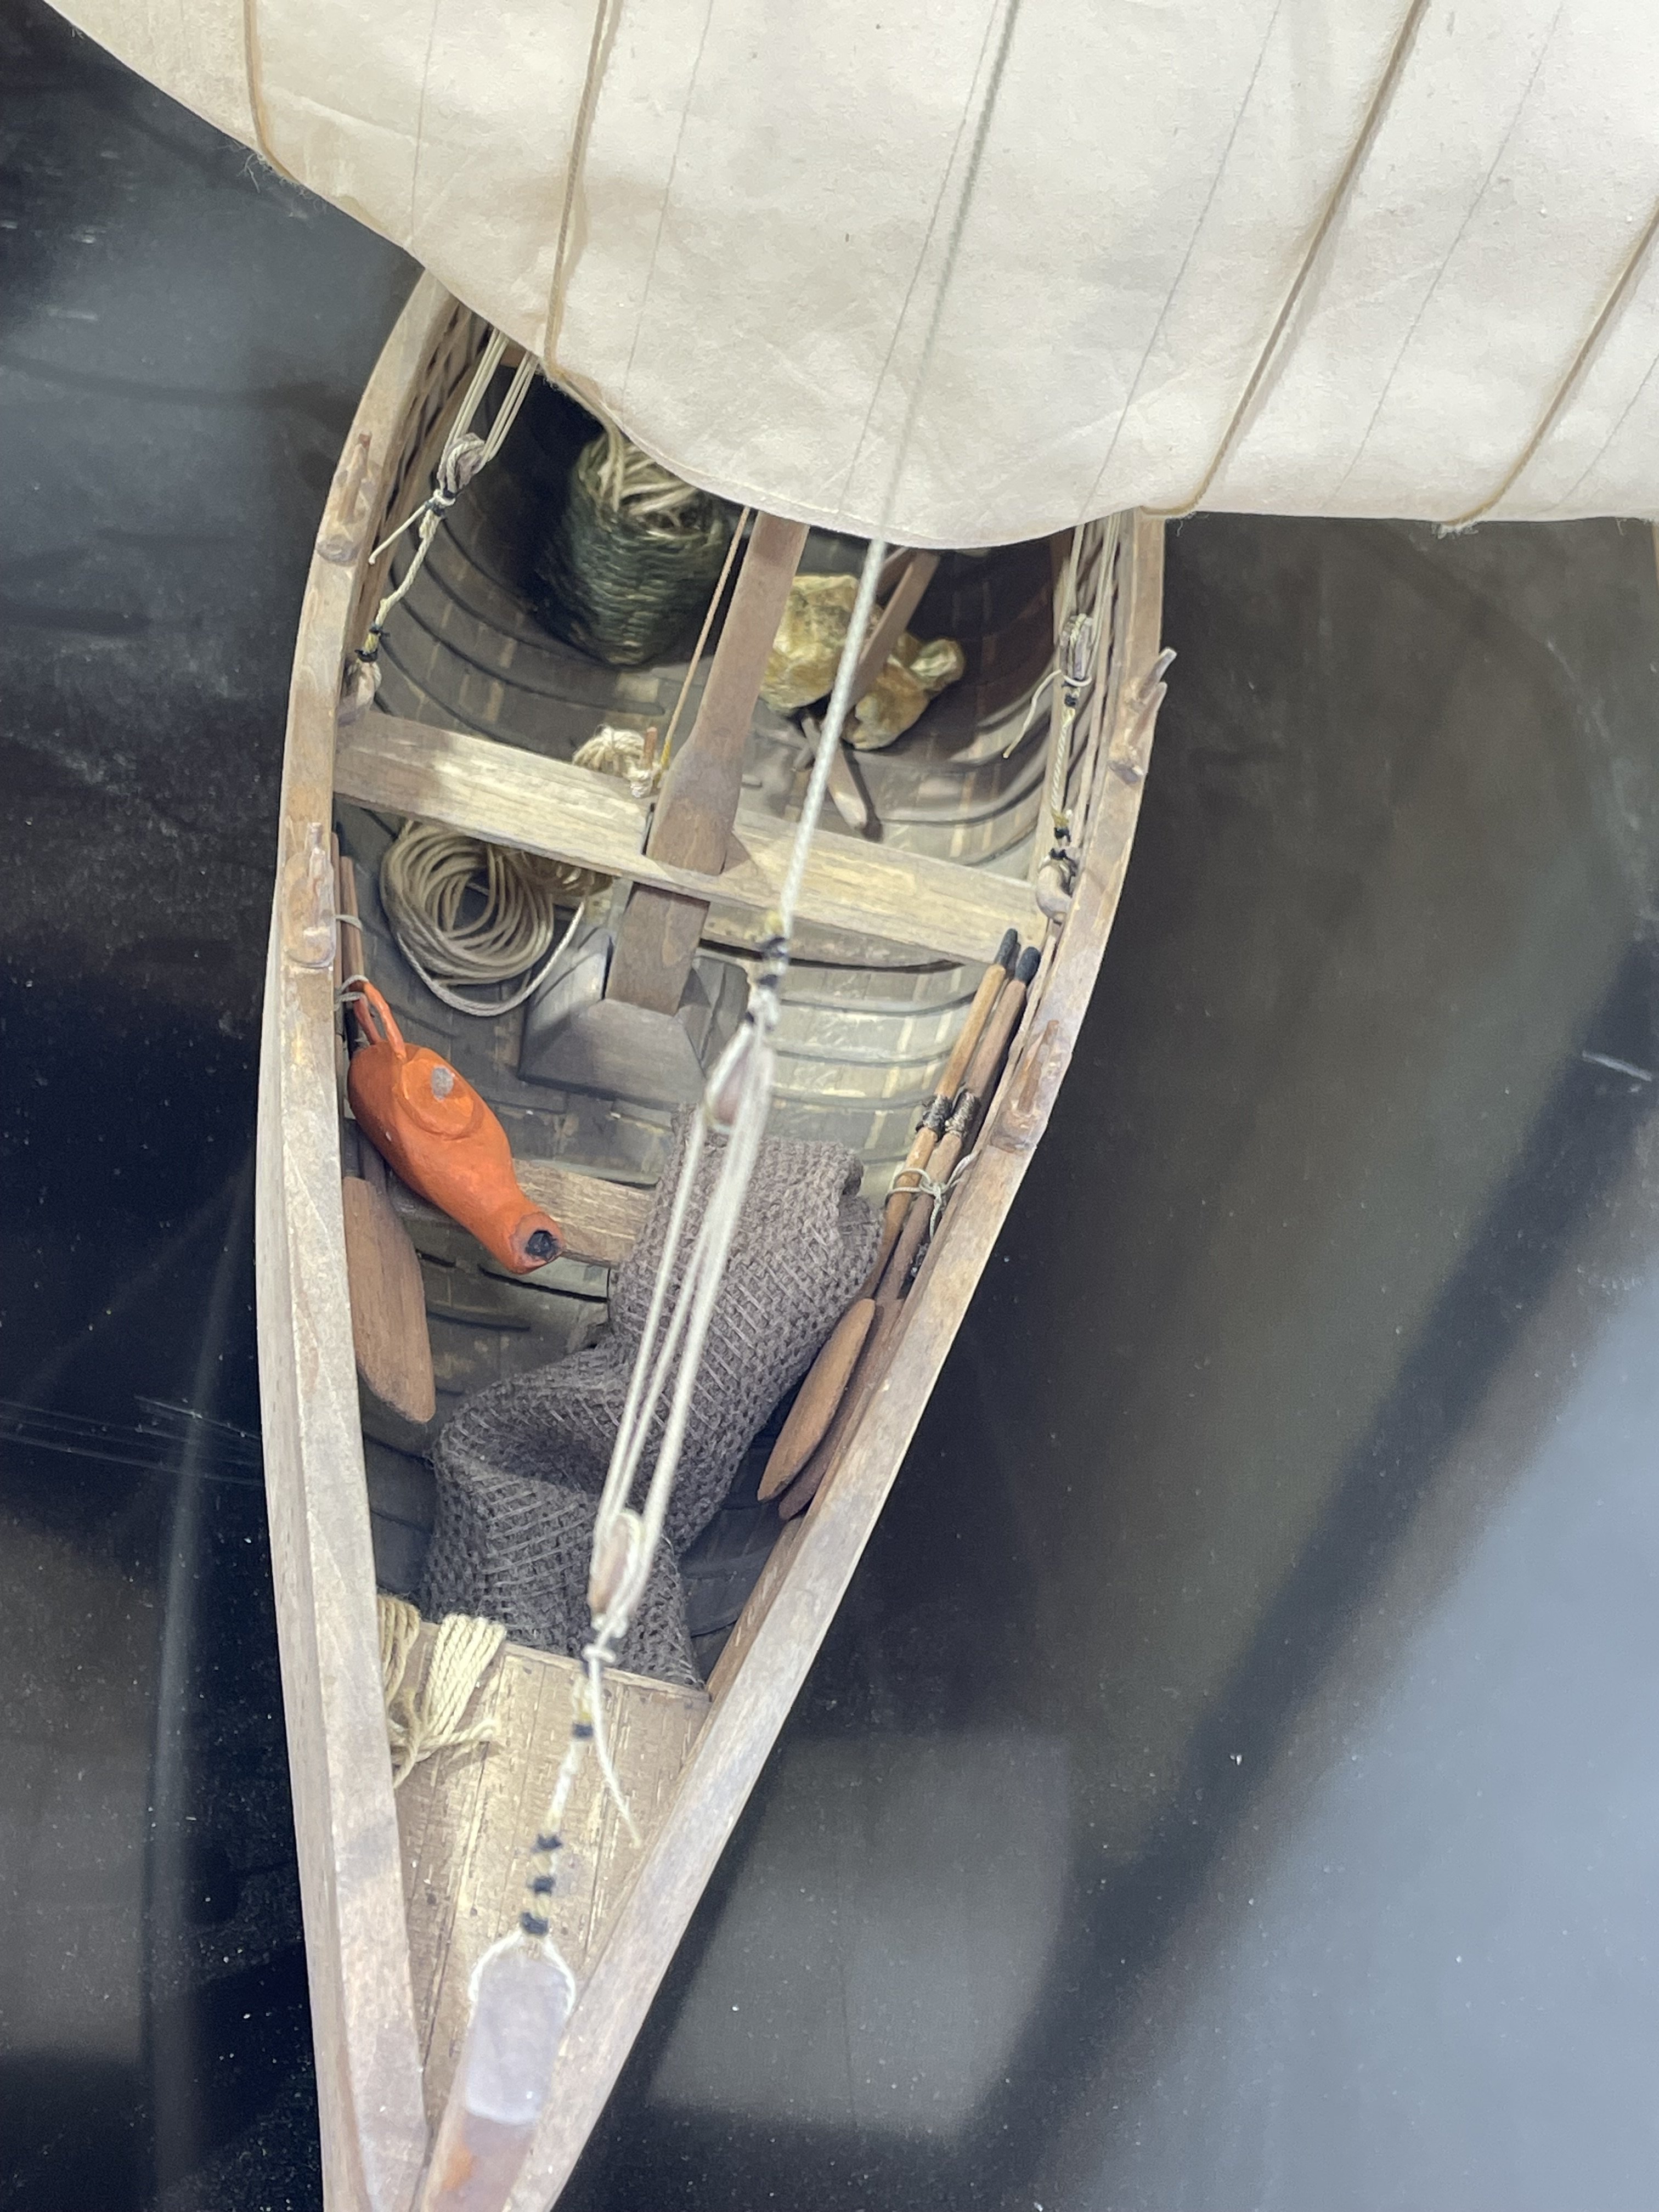
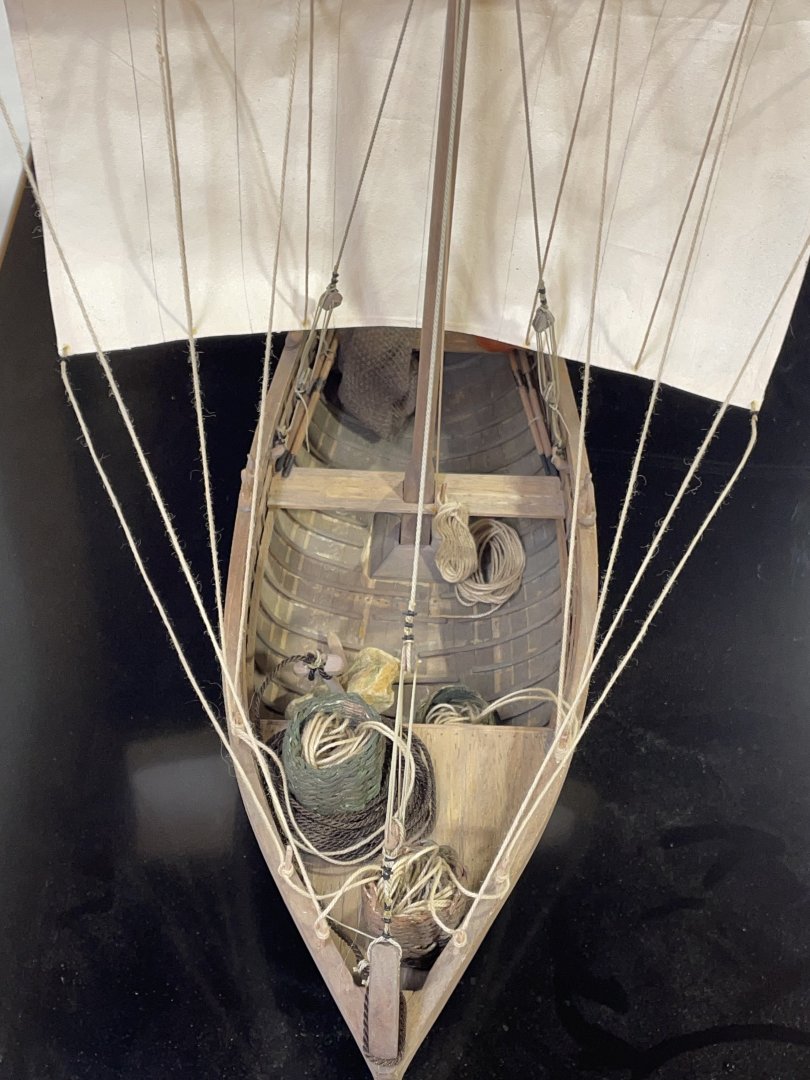
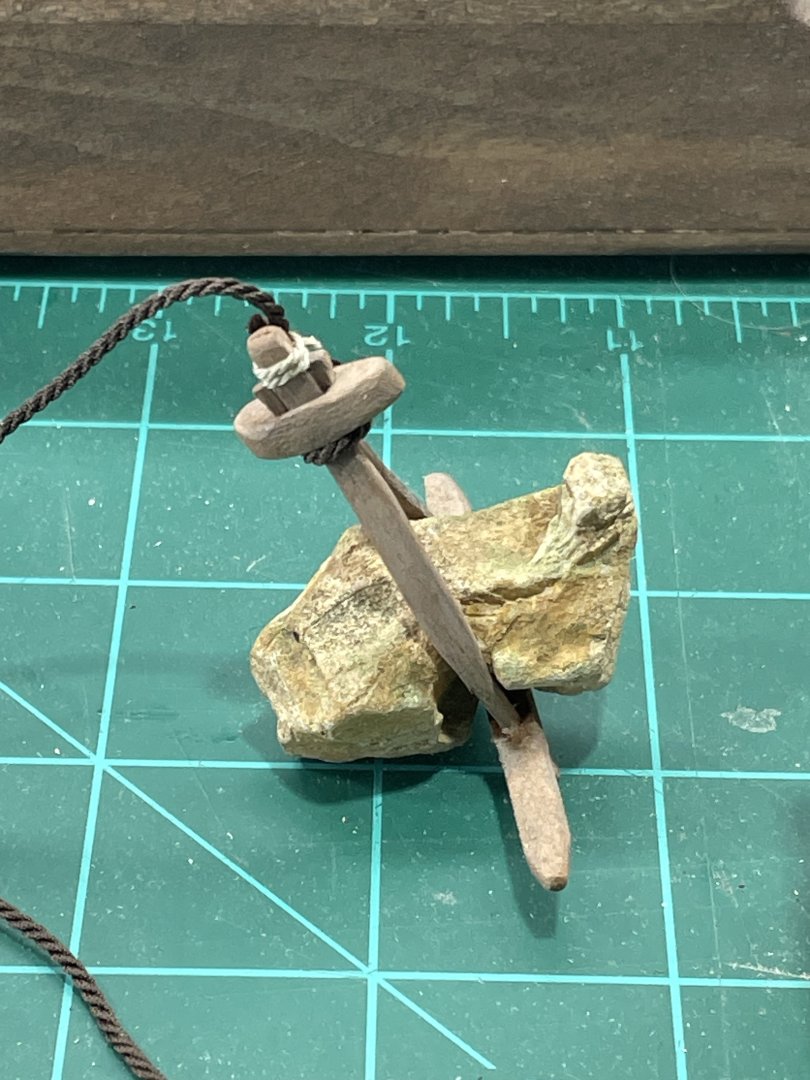
I’ve managed to find time enough to make a couple more extras. A fishing net I made from cotton gauze. Although it did have spongy threads going one way that makes the holes smaller. An anchor. I want to make an oil lamp, just not mounted on the bow like I thought about earlier:-) The mossy shipyard is about ready for me to disassemble my work area and move it out there. I’m trying to finish this up before that happens, because I won’t be able to find anything I need:-)

-
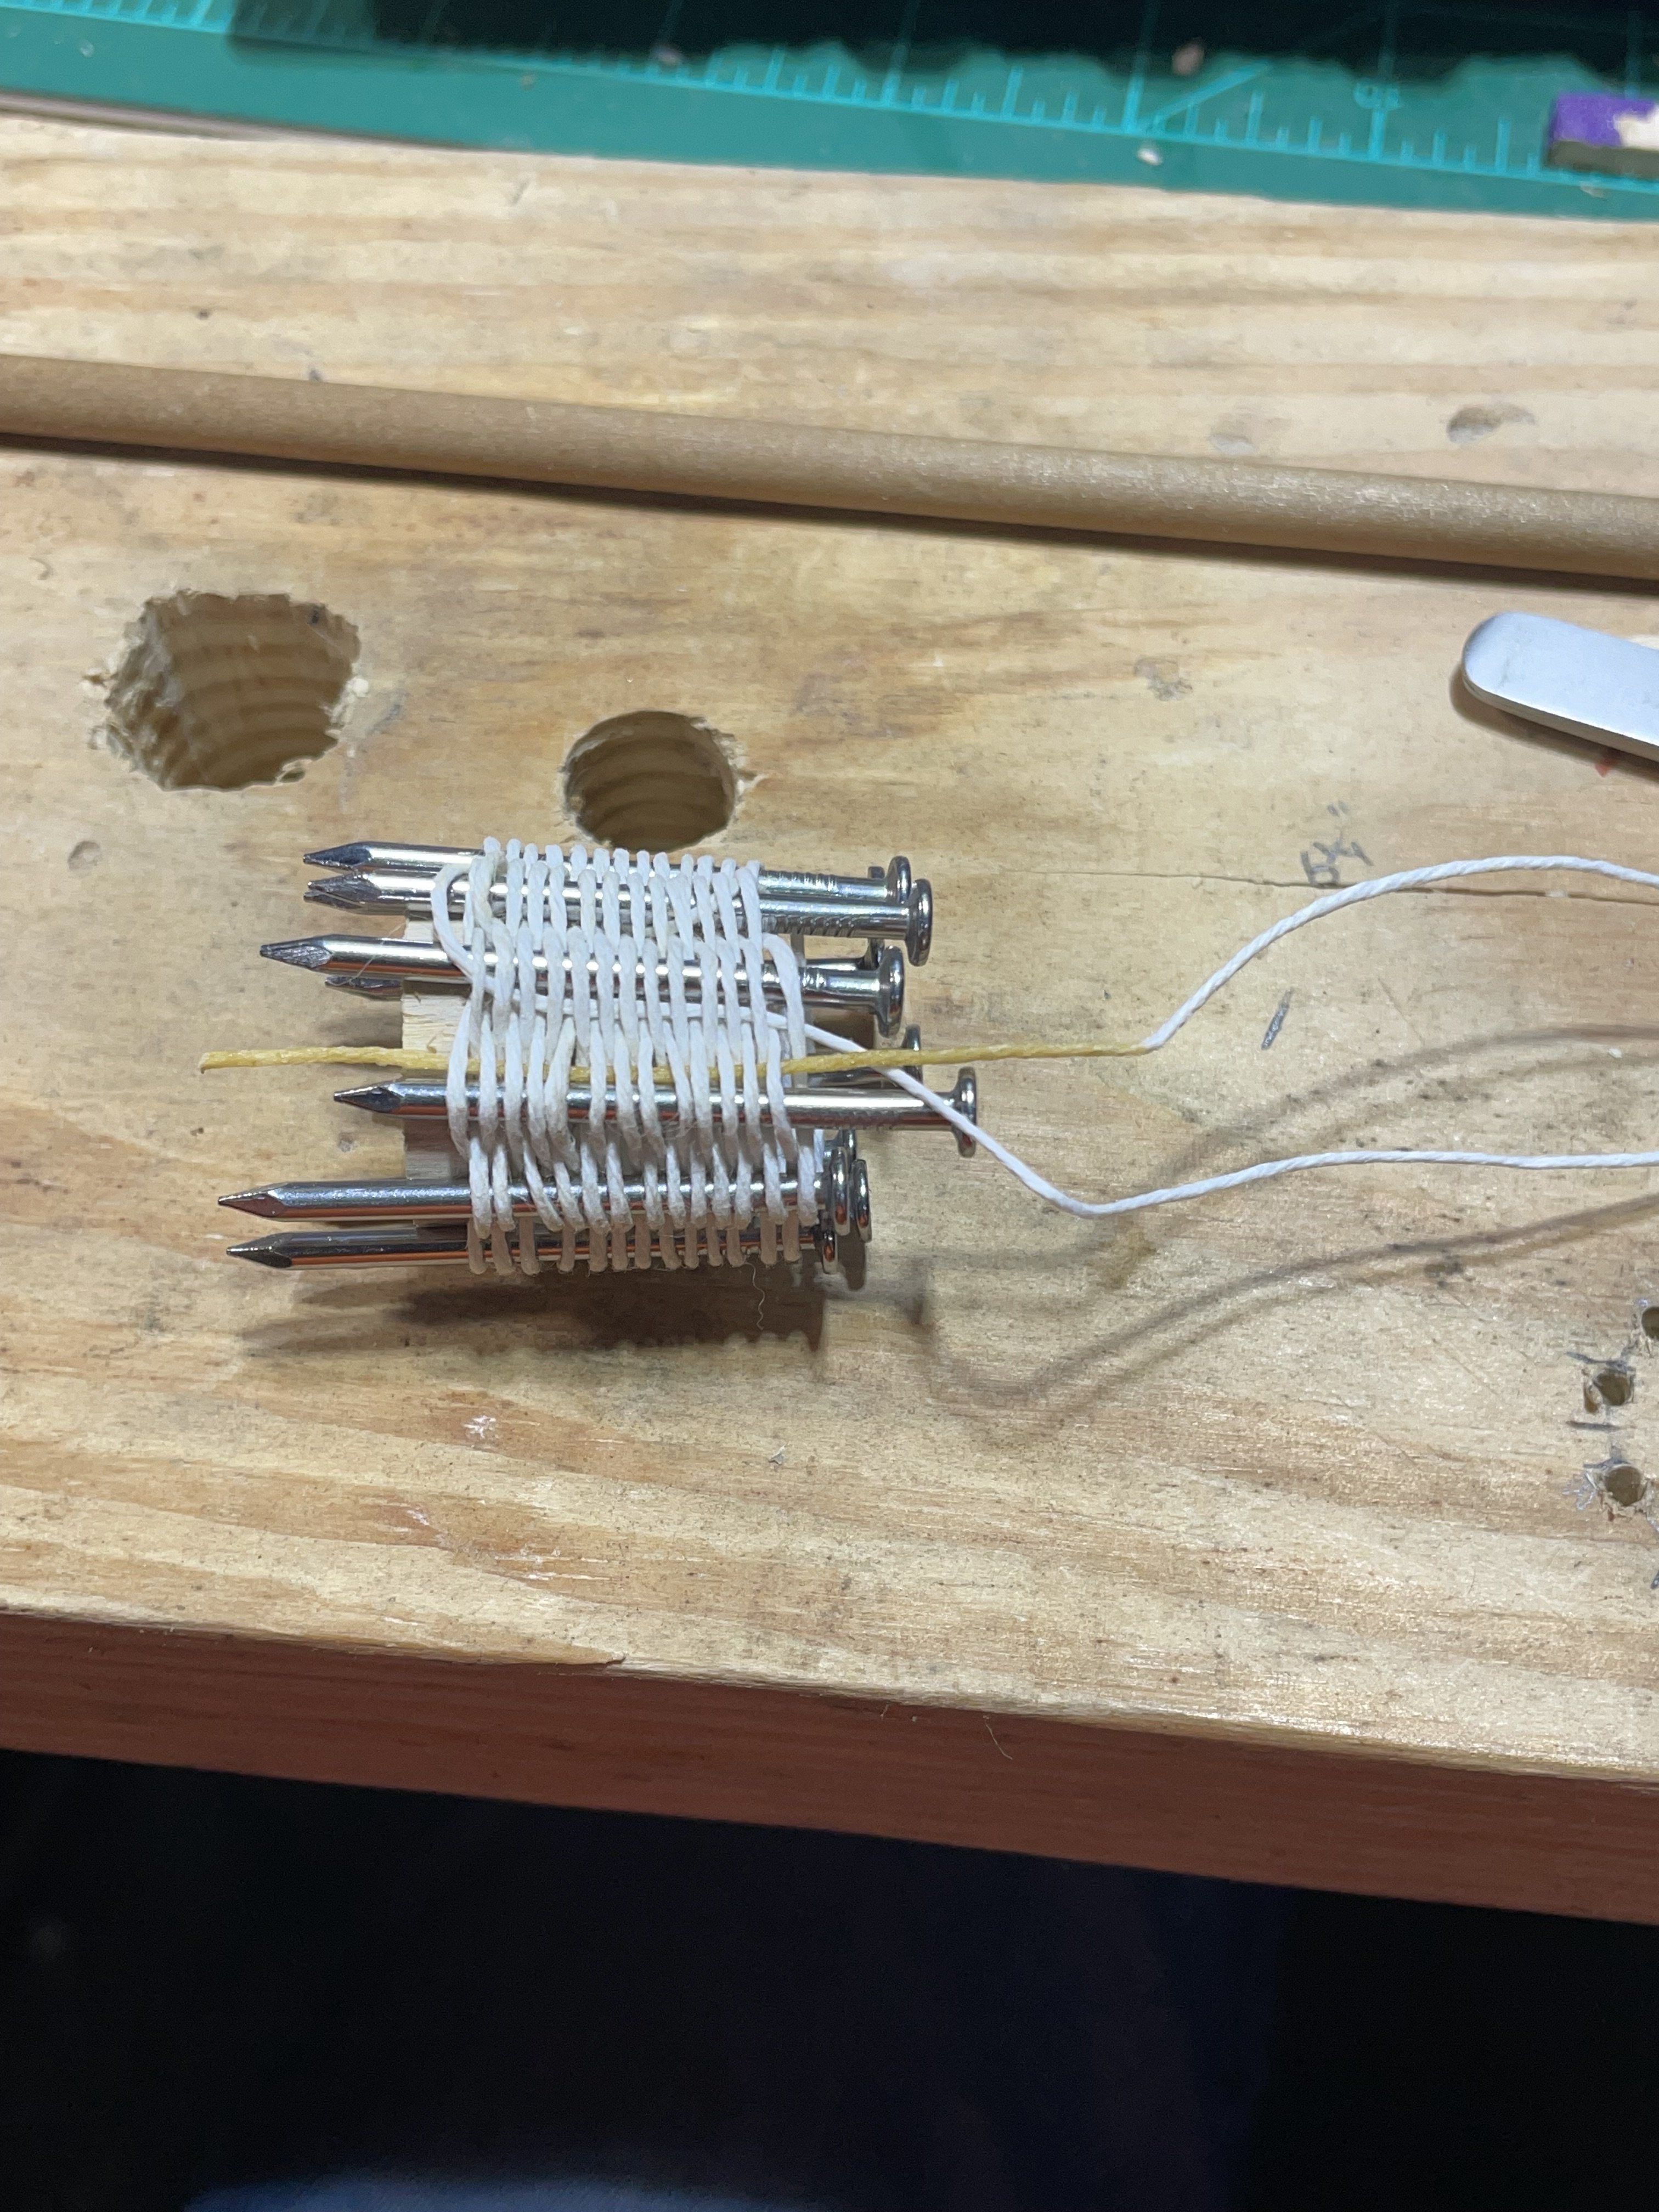
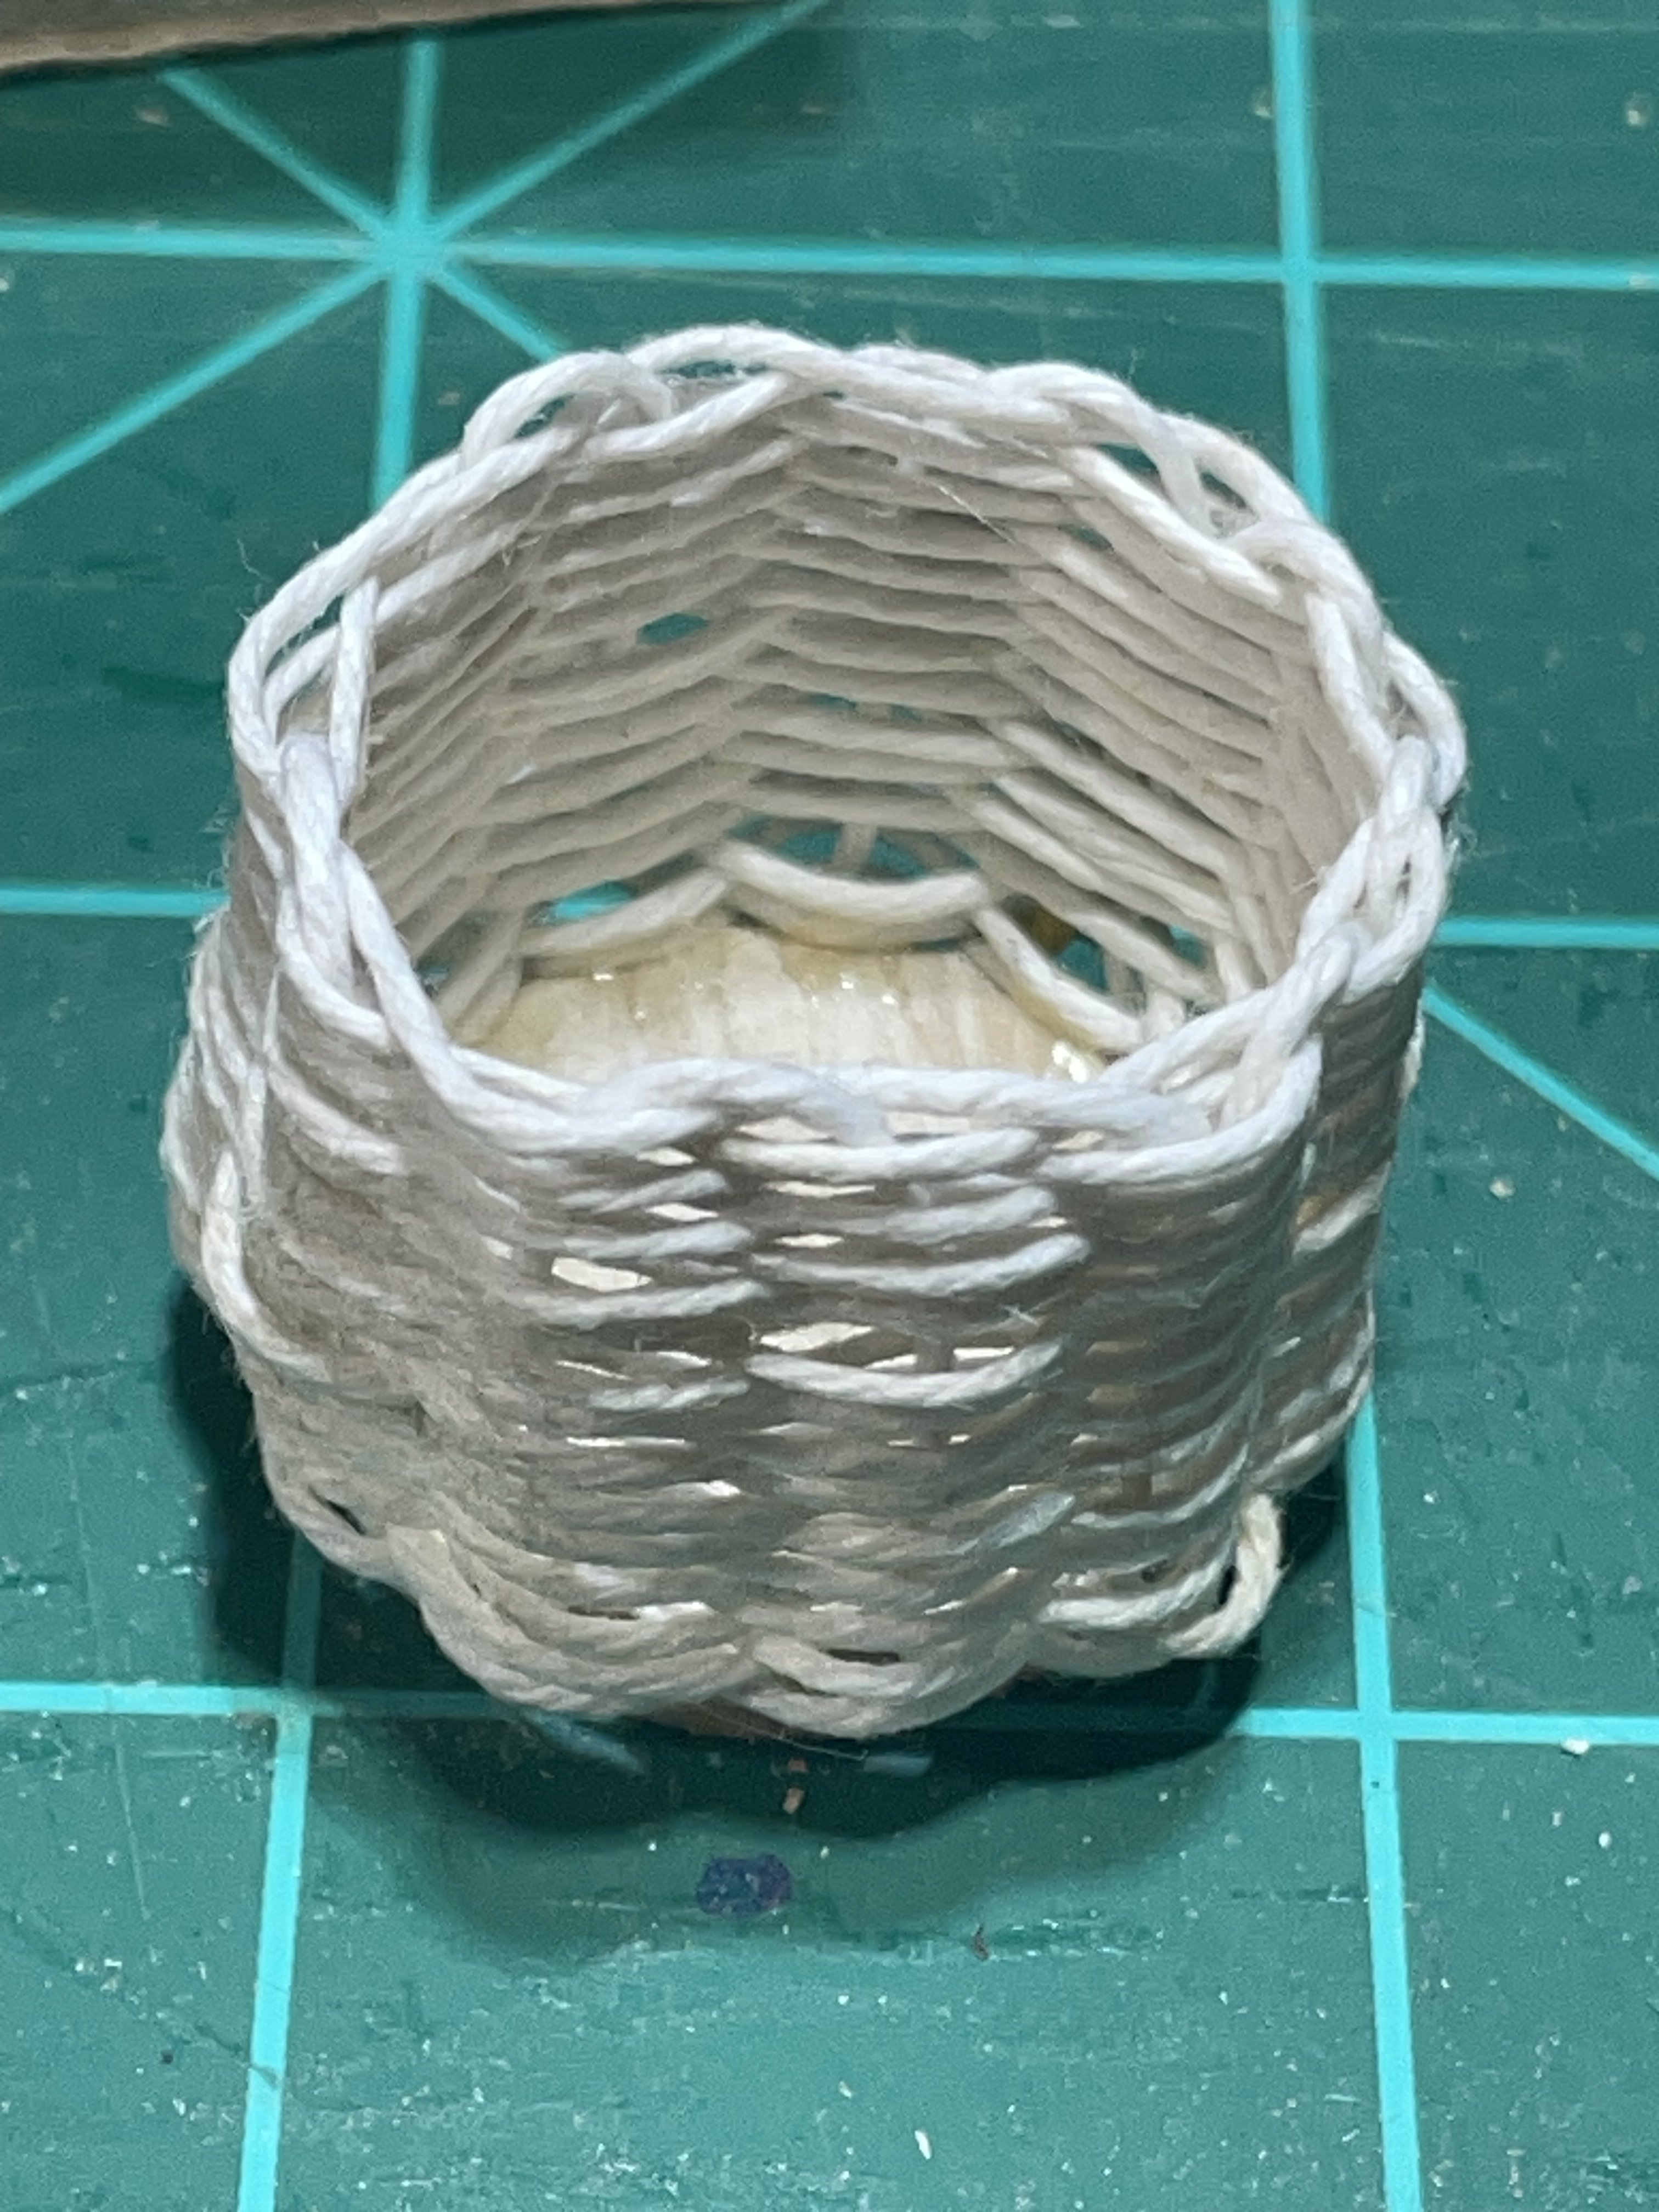
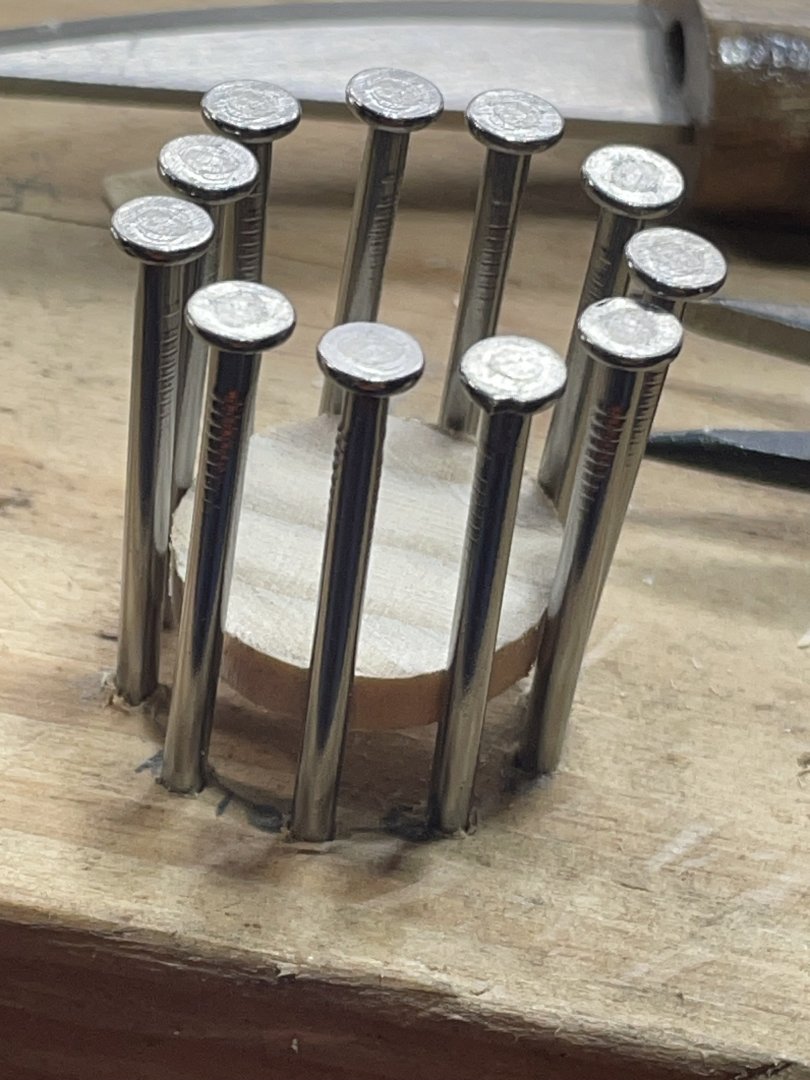
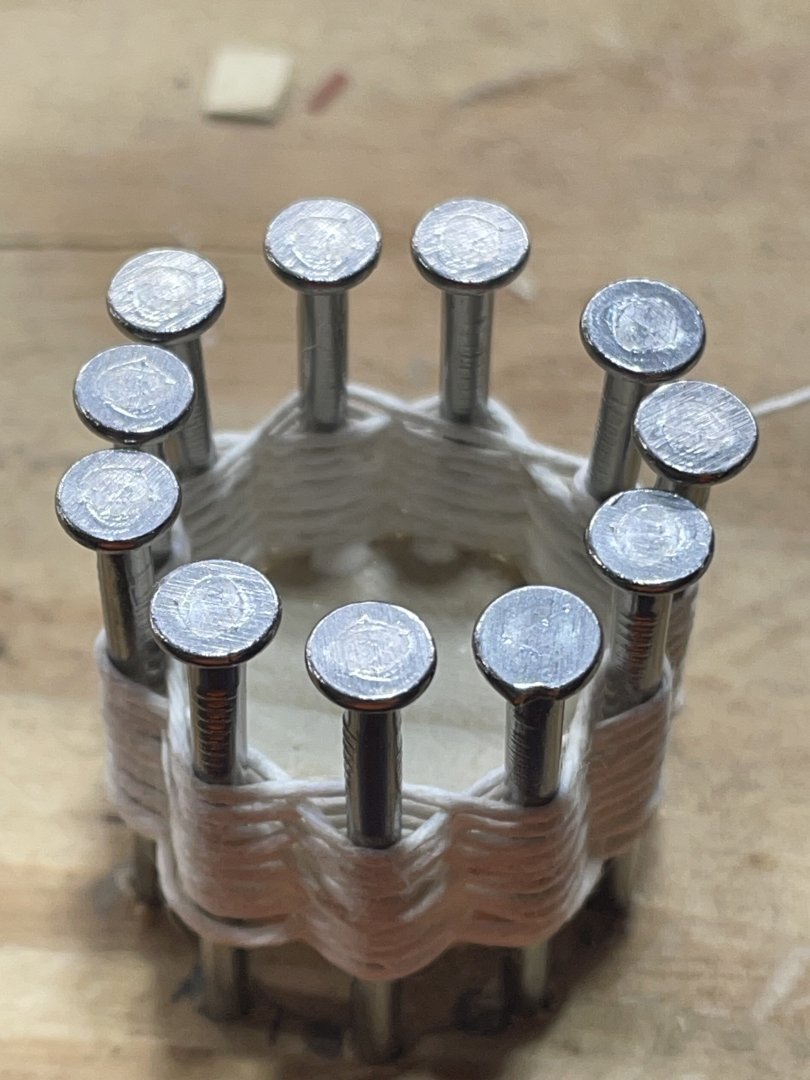
I haven’t had much time to progress to build lately. When I do get to it , I’ve been making extras to add to it. One of the items I made with the Scott Miller Sea of Galilee boat was a basket. Here’s the simple steps I used. Place an odd number of nails in a board, just enough to hold them. You will need to remove them later with the thread attached. I cut a thin dowel for the bottom, and it also held the nails straight, making it easier to work with. Then just alternate in and out to the desired height. I used a syringe to pipe small amounts of PVA inside to attach the bottom threads to the wooden bottom. Next you must remove all the nails, being careful not to disturb your weaving. This basket is the diameter of a US quarter. You will need about a foot or more of thread to finish it. I coated about two inches of the end to stiffen it. Then pass it between the threads beside the nail back and forth, up and down until you make it all the way around. I just keep going until I run out of thread and end at the bottom where I glue it off. it just needs painted now.


-
The Mossy Shipyard by Bryan Woods - 1:1
Bryan Woods replied to Bryan Woods's topic in Non-ship/categorised builds
Work is slowly being done on insulating and wall board. I’m still waiting to receive two electrical components that will be in the wall. We did get the first of the wall board up:-)
-
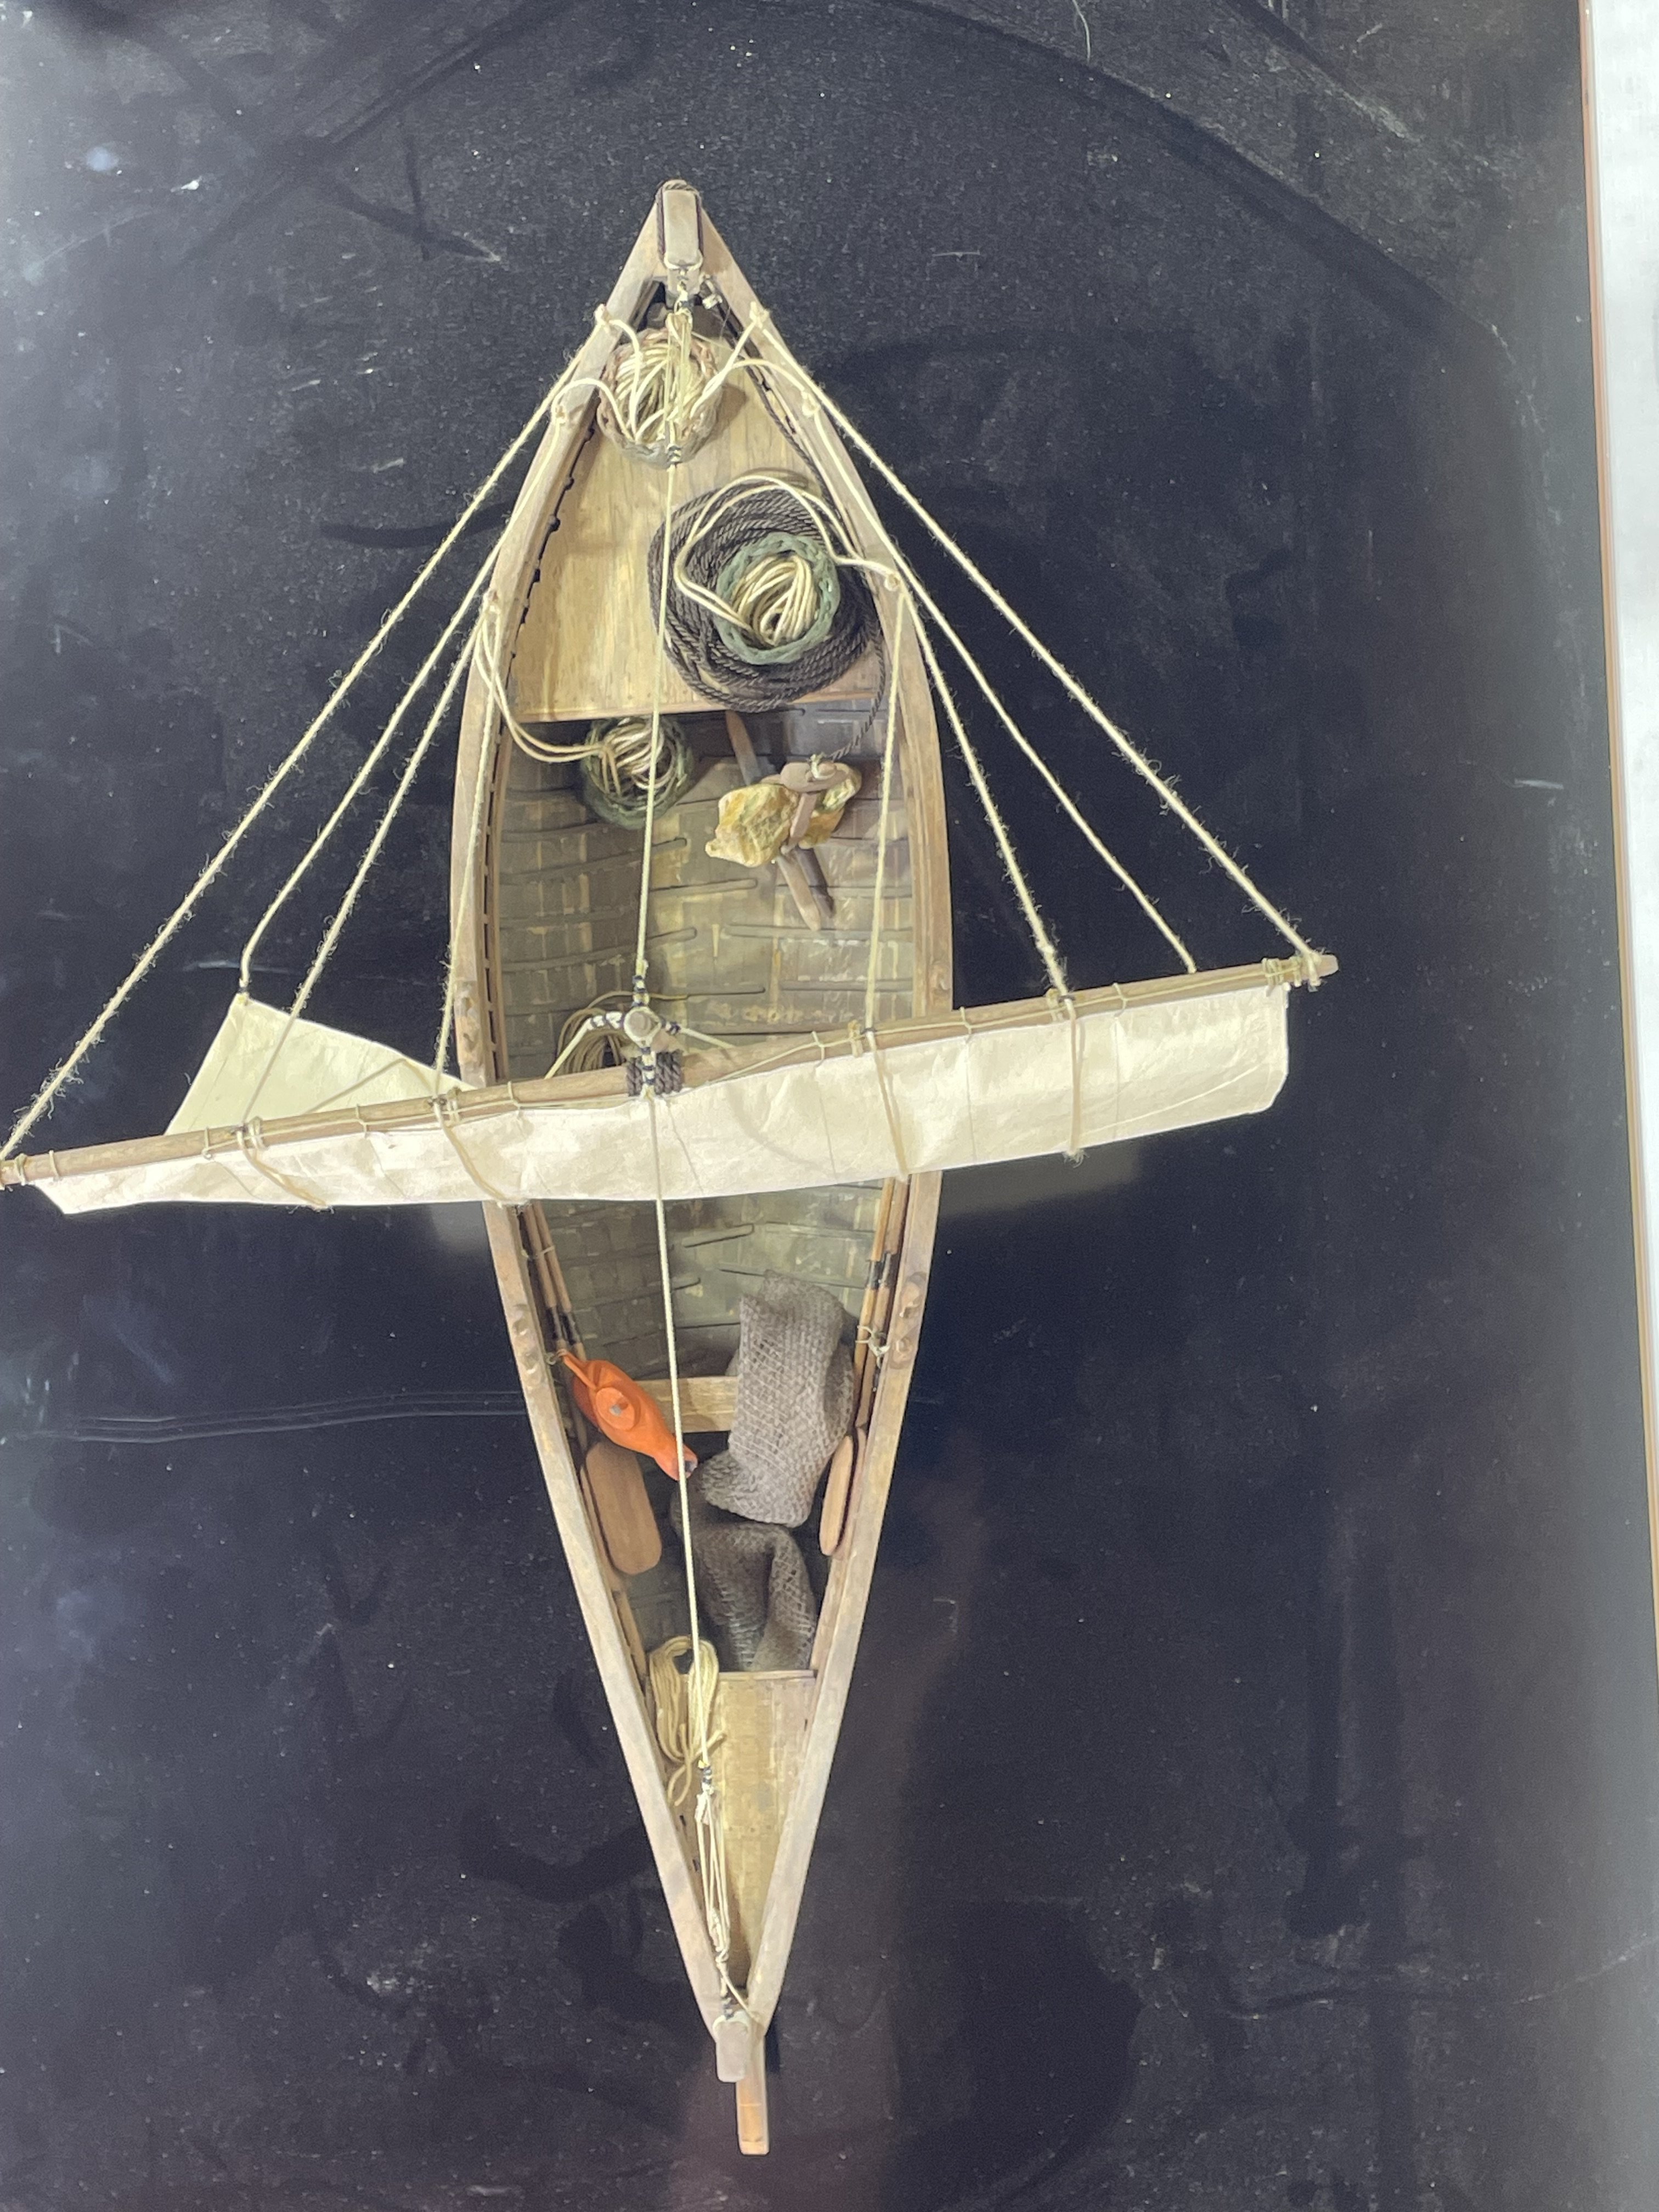
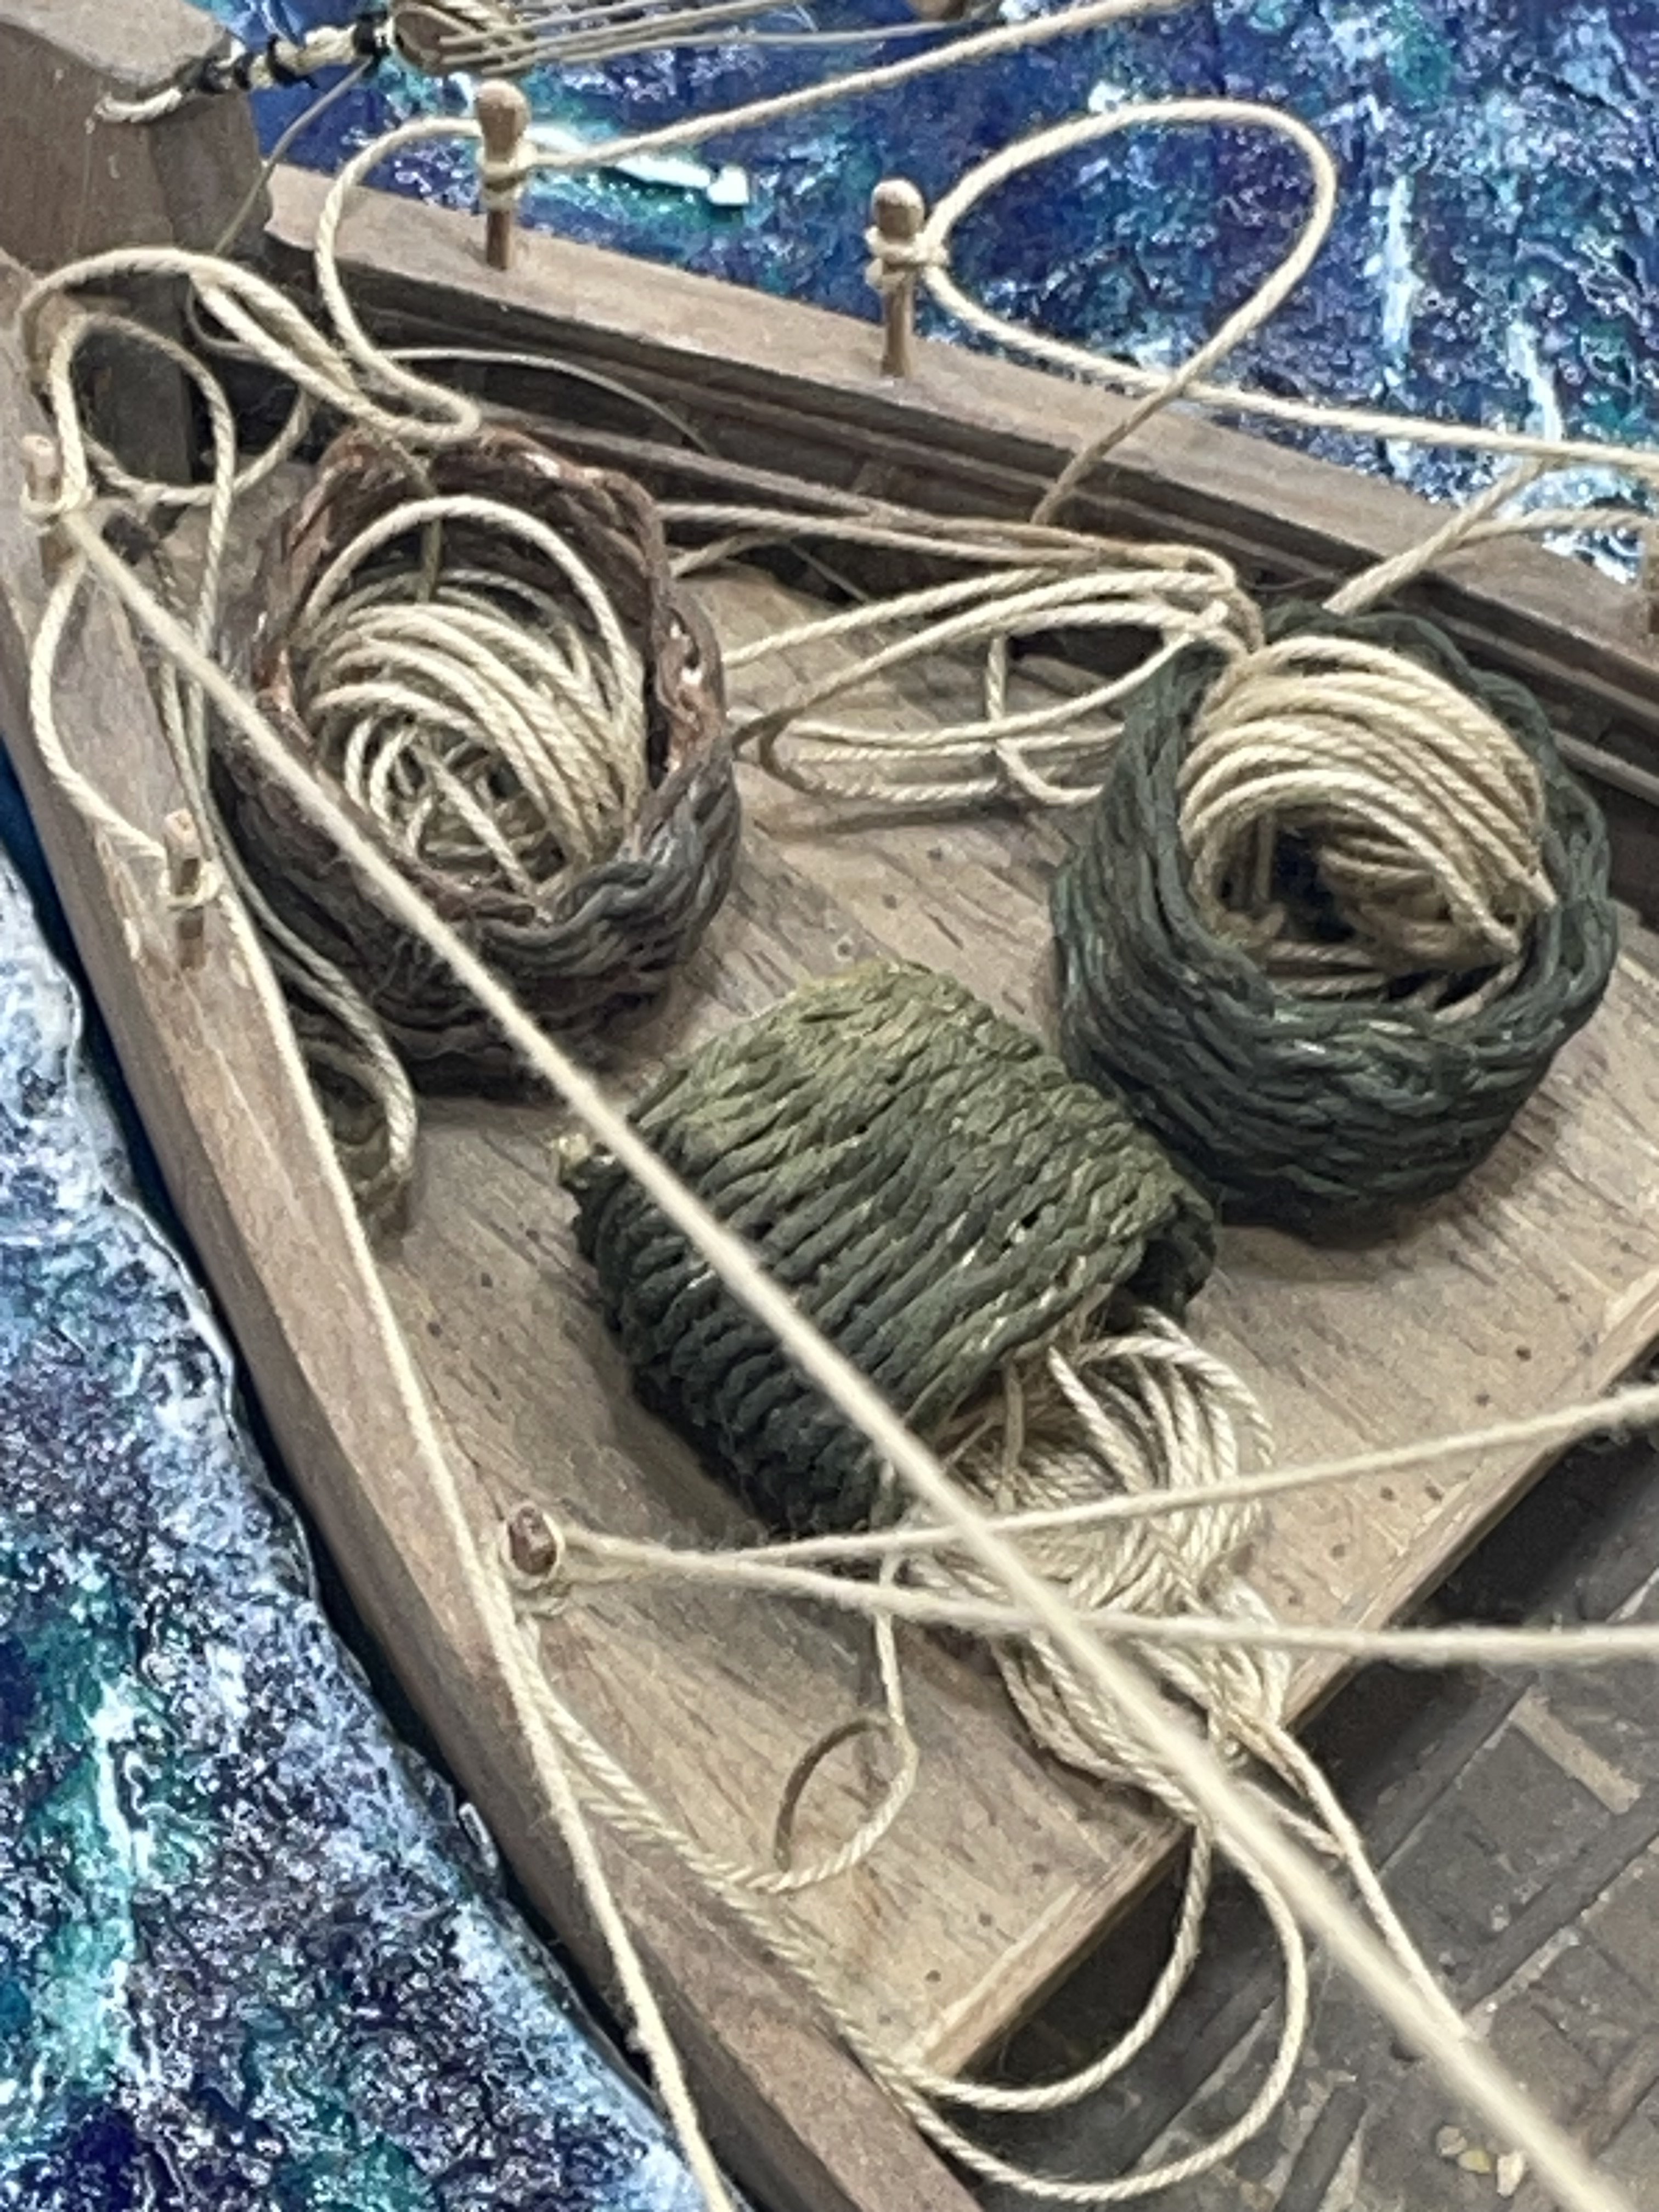
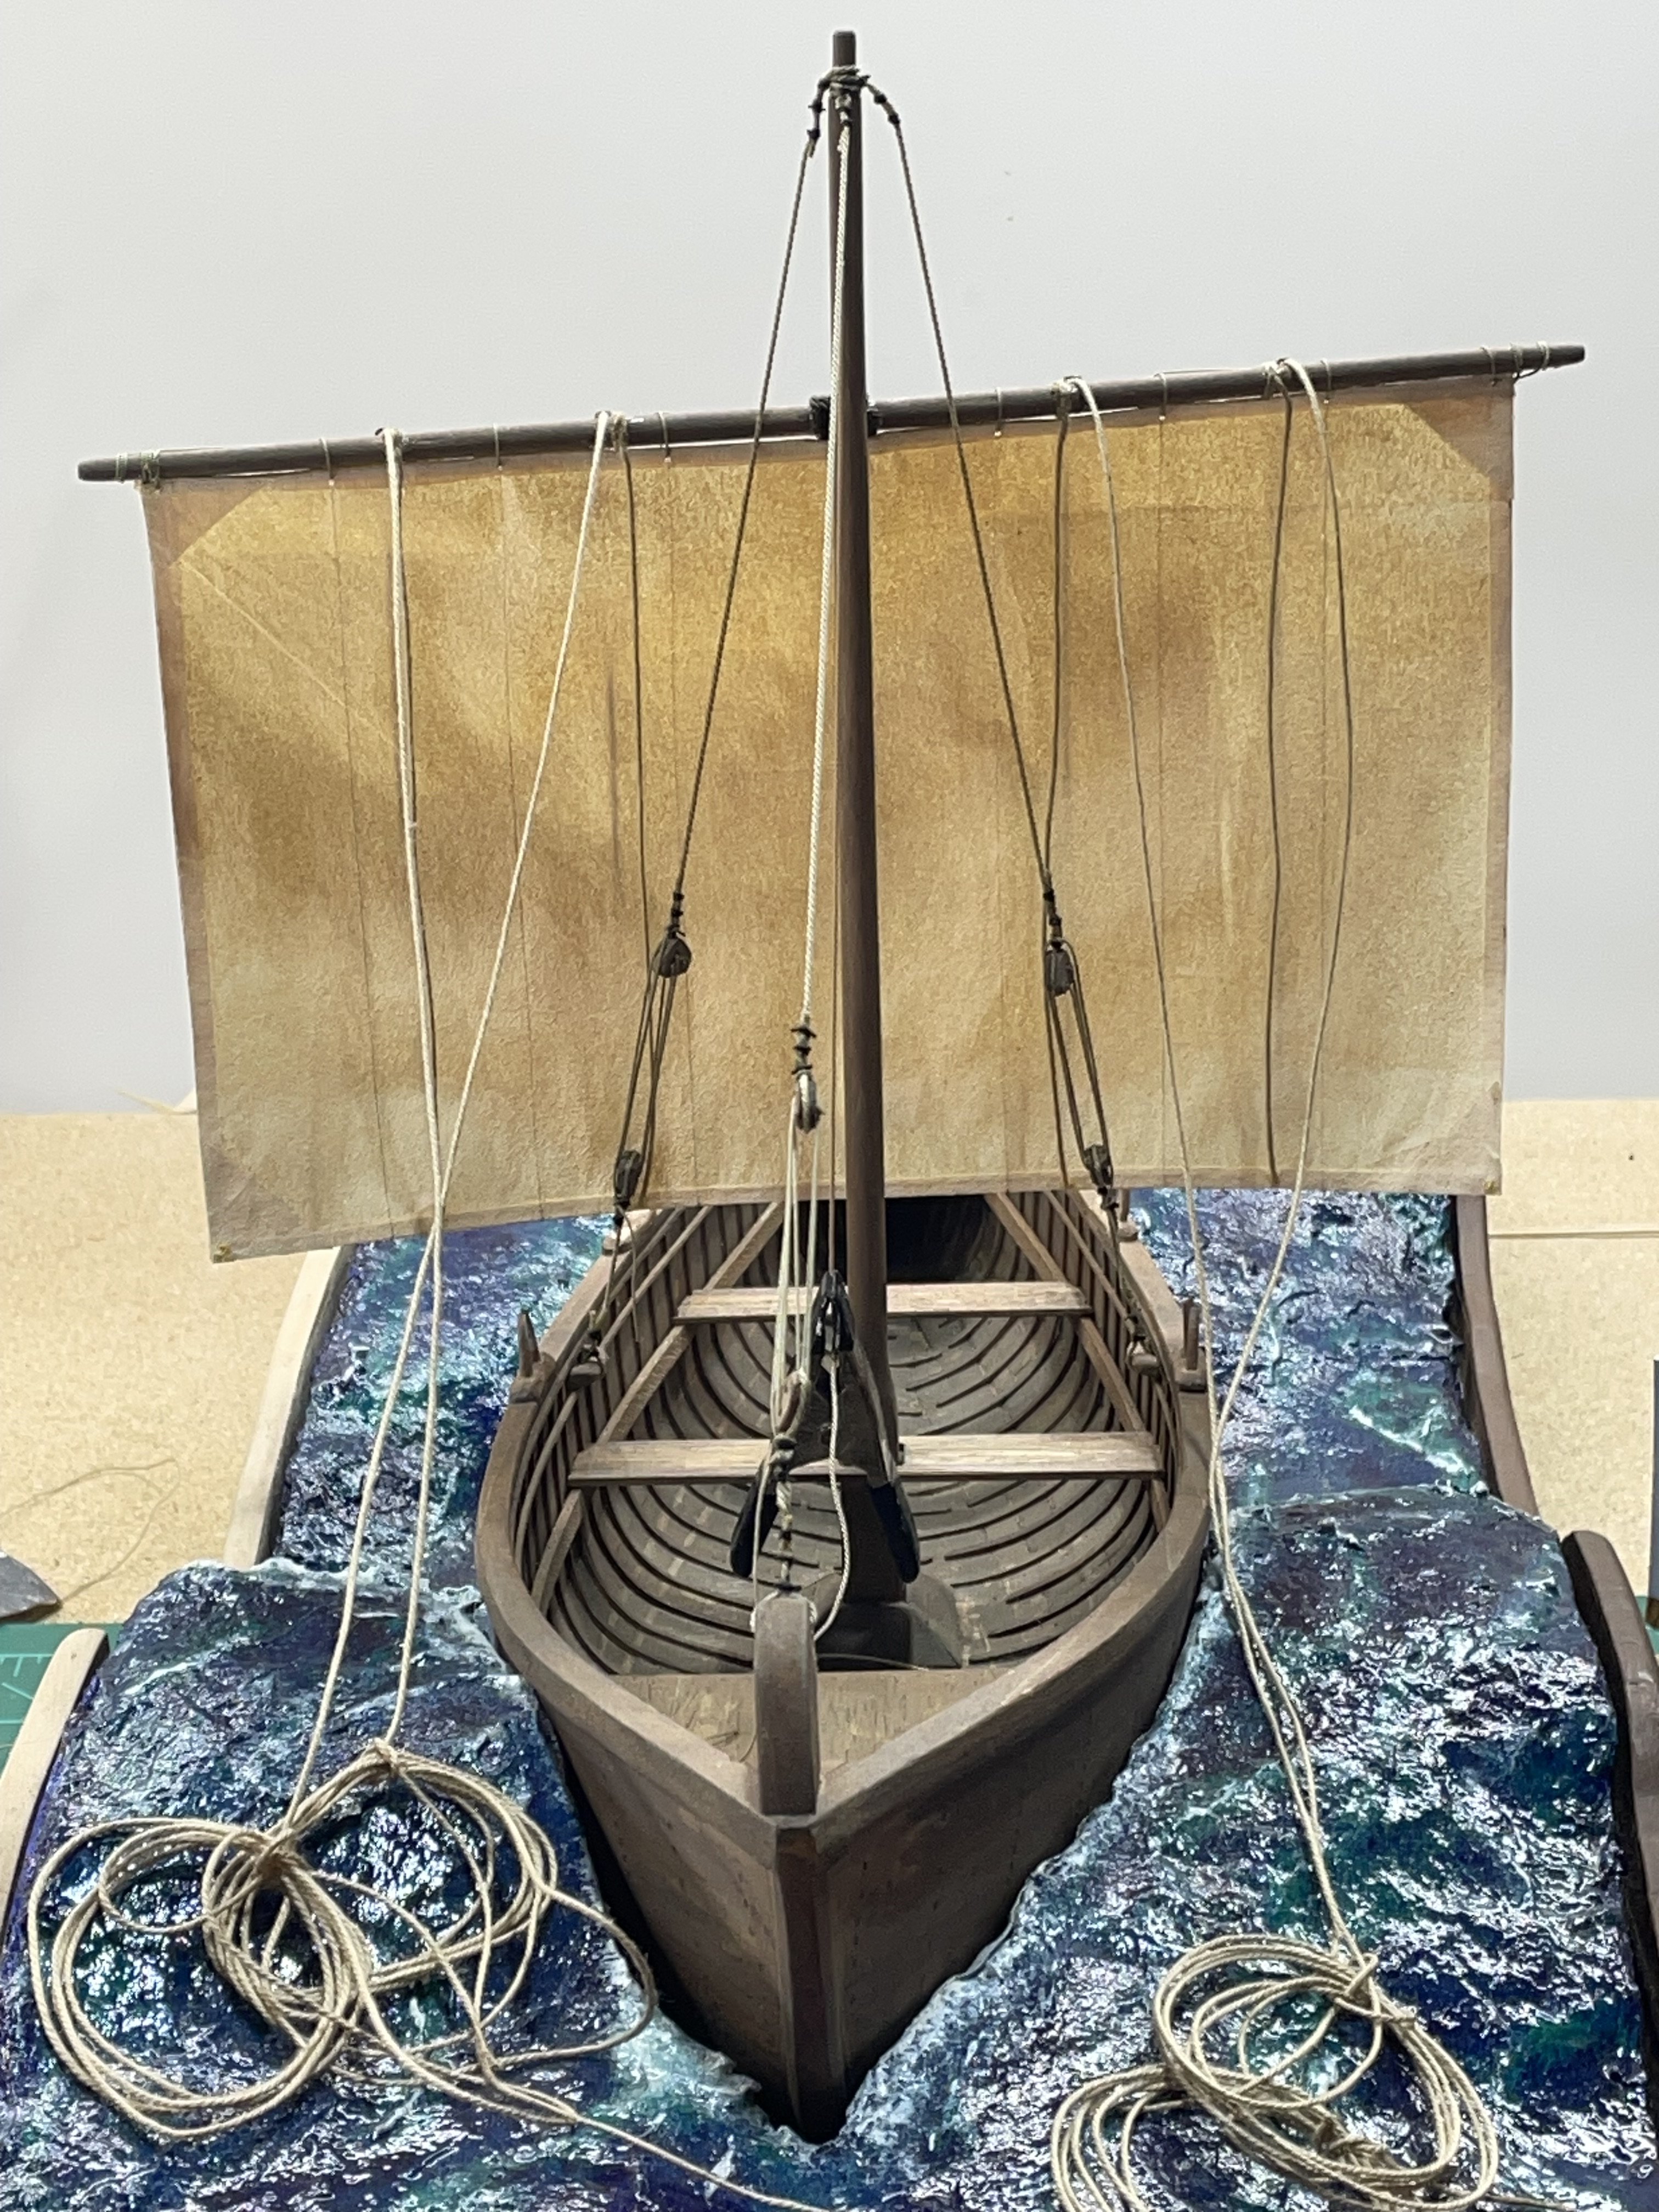
I still have a few more lines on the running rigging left to do. I have depleted my stock of ropes so for all the running rigging I’ll be using a supply of Levi’s button hole thread I got after the factory closed years ago, here in town. It’s a little big, but it’s what I got. Here’s from the bow. From the stern.

-
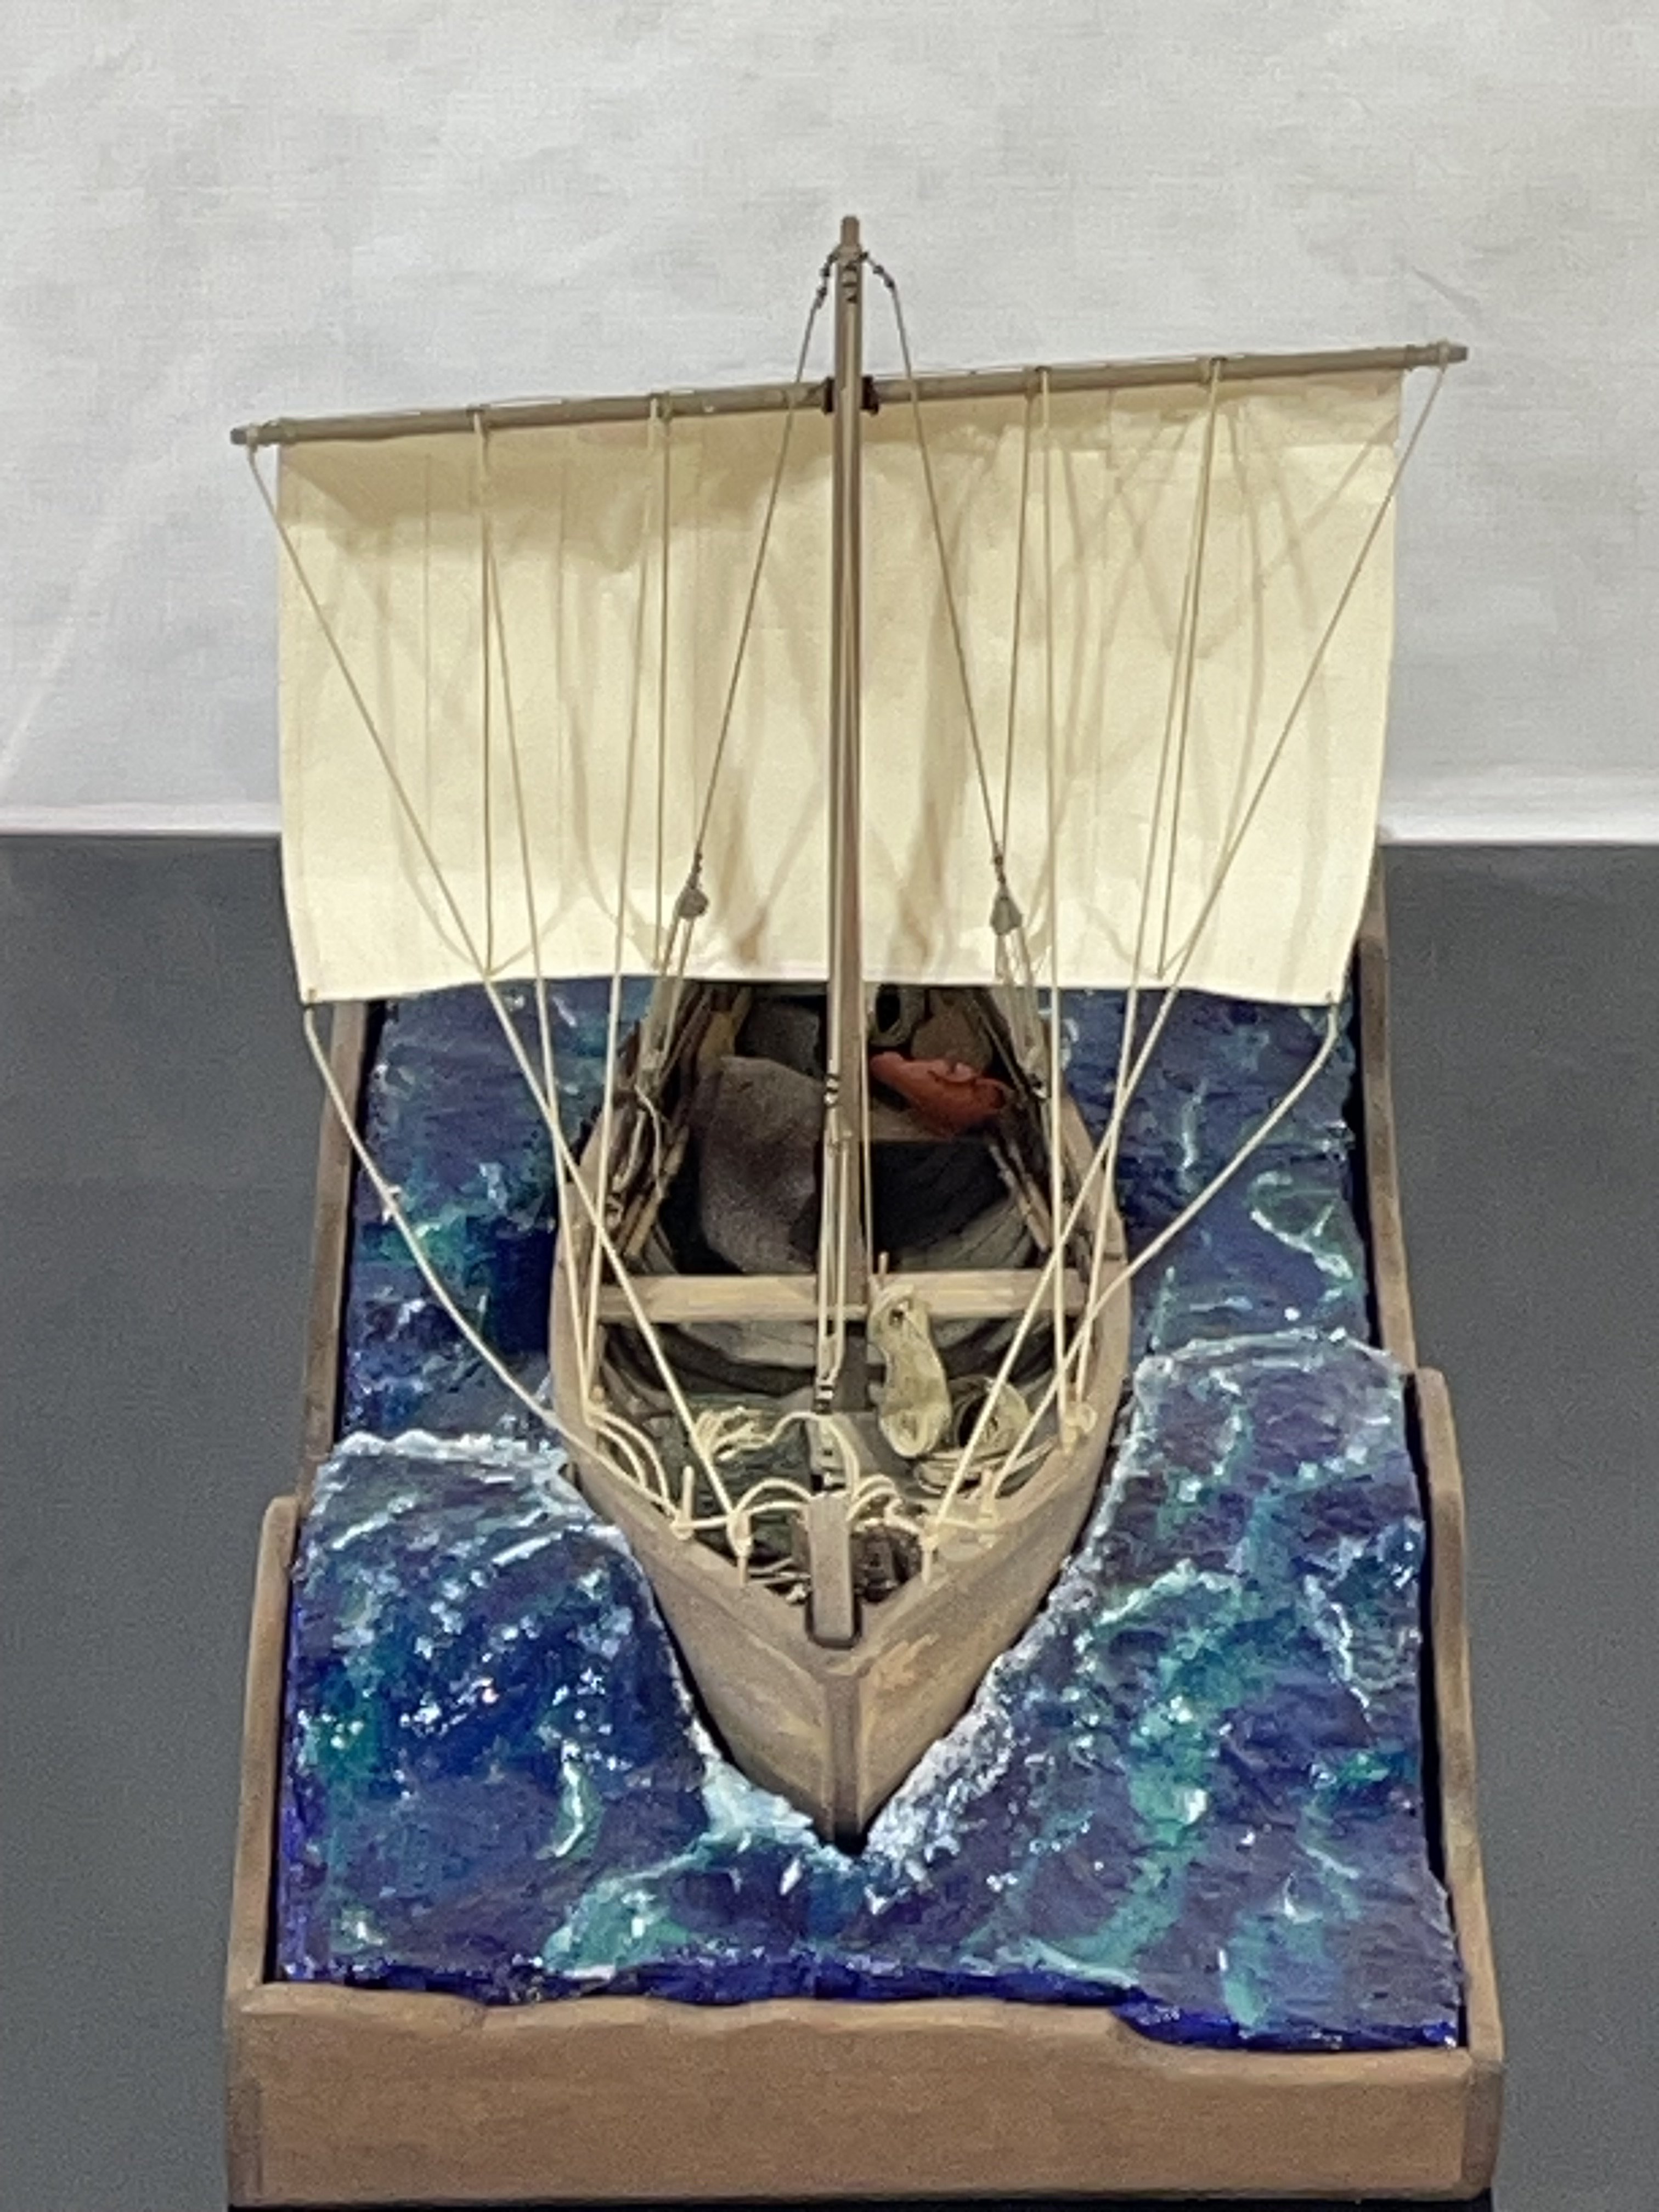
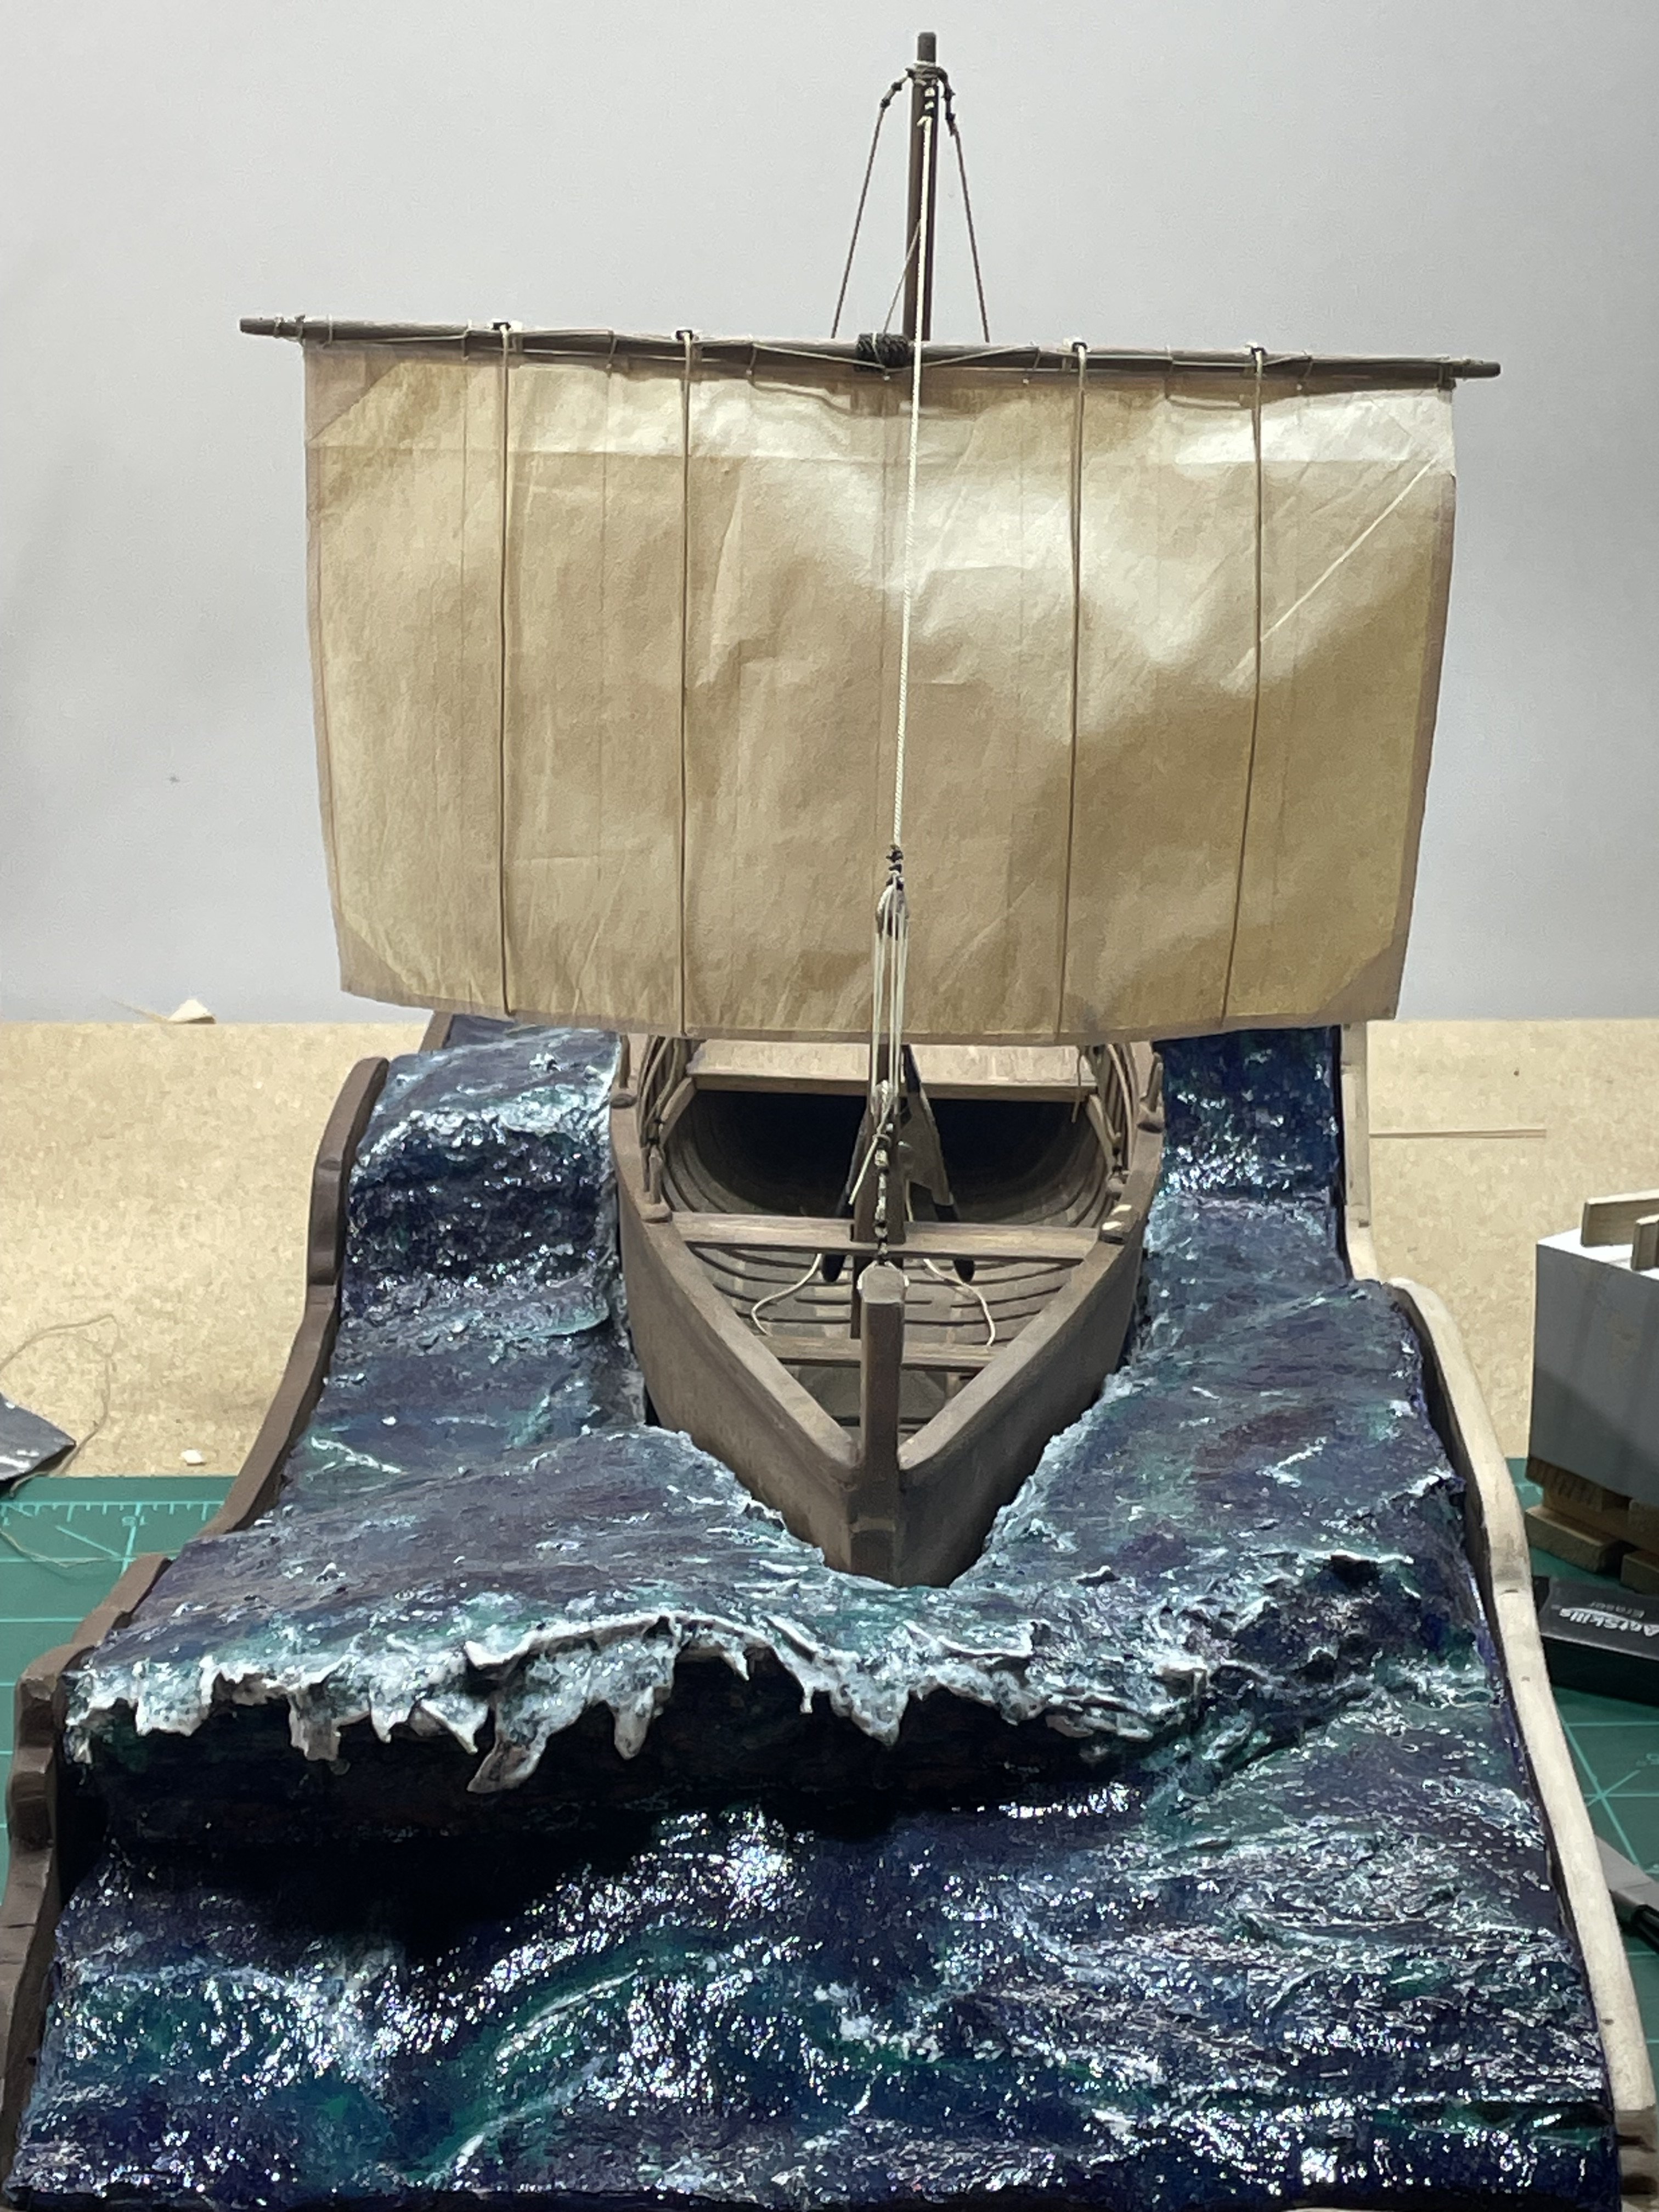
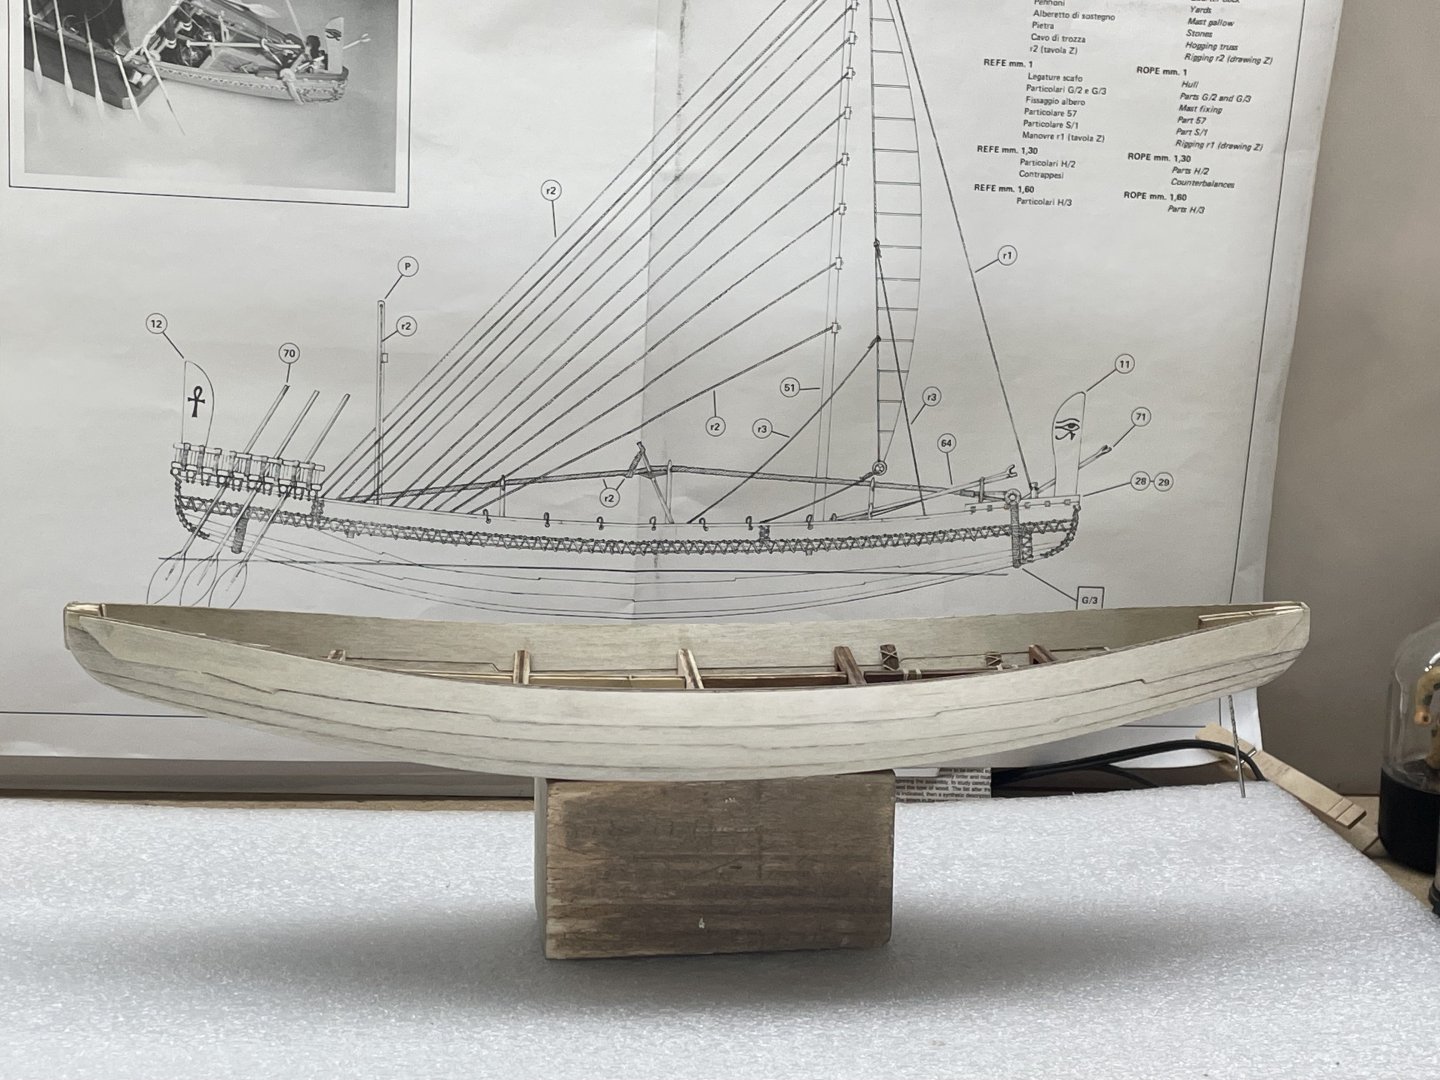
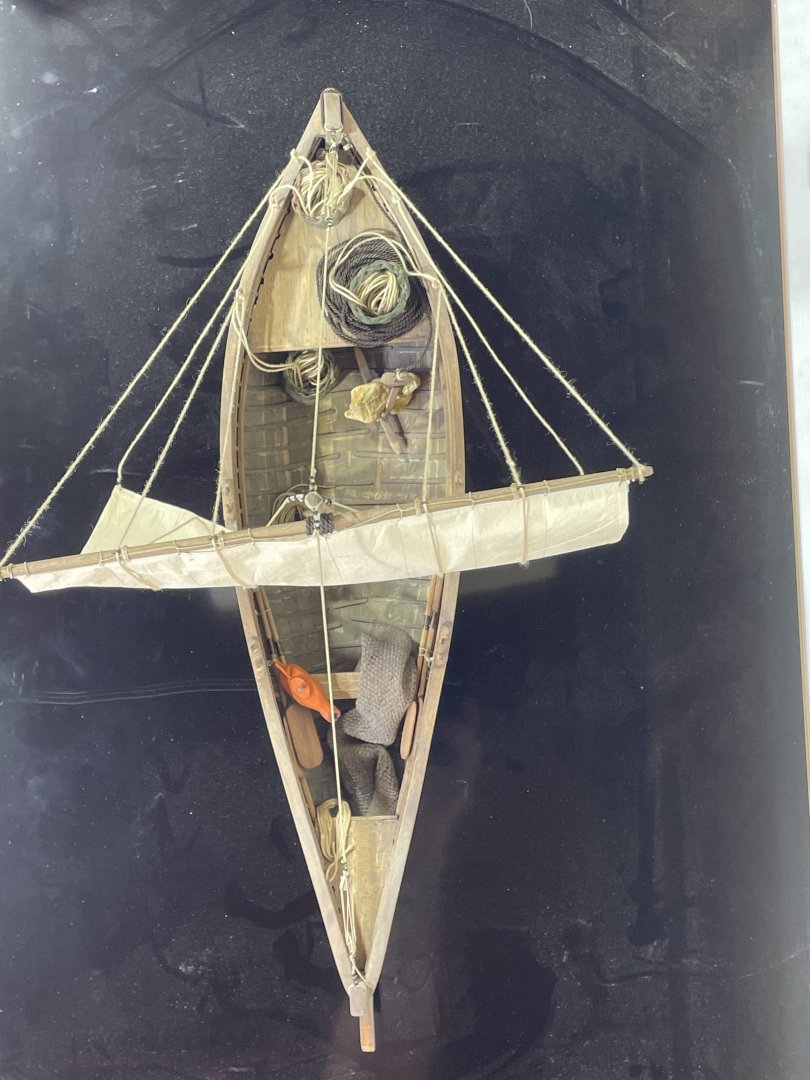
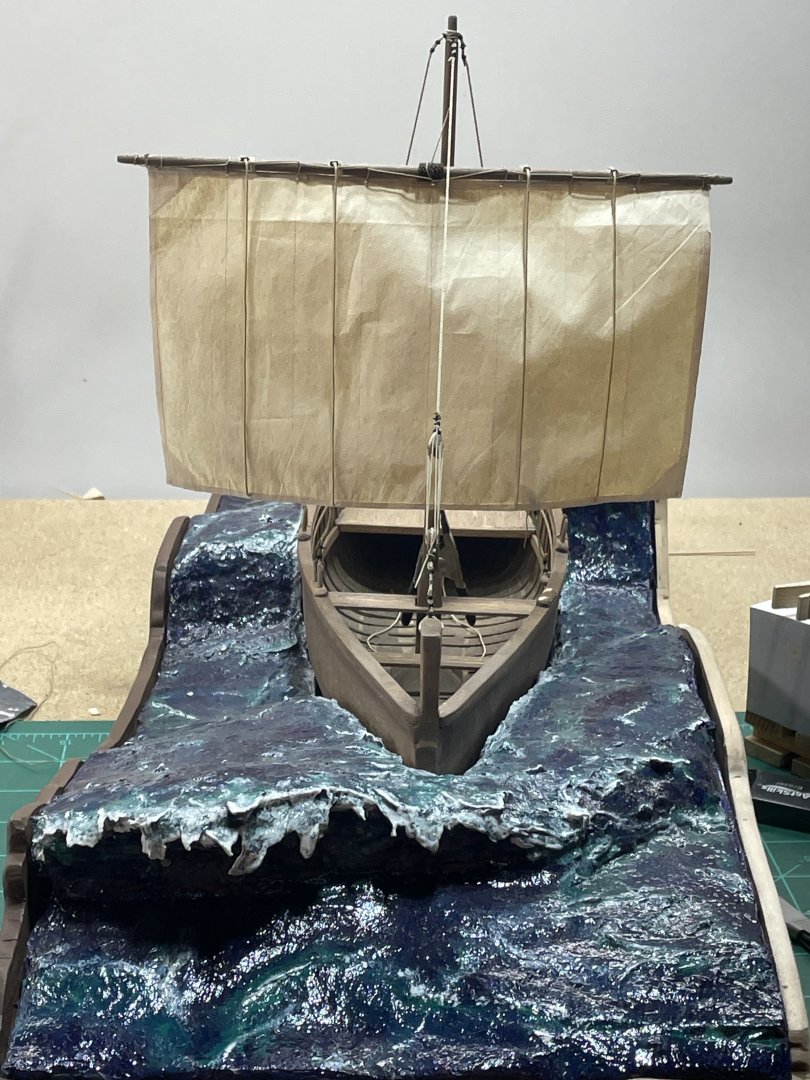
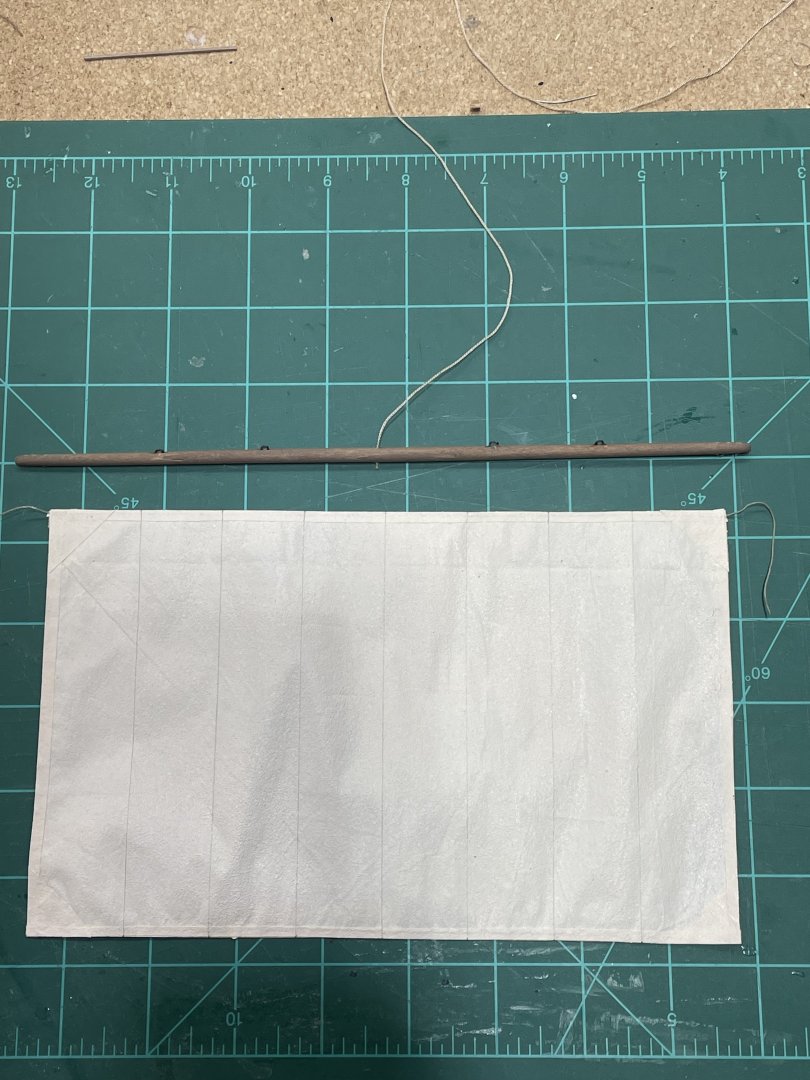
Over the last week I was able to finish the stays and started on making the sail and yard. Just looking at the boat in the sea, while working on the sail. I’m wondering if not enough boat shows. I have to leave off the quarter rudders if it stays in the sea. Plus you don’t see the breakwater. I may make a stand before it all finished. Here’s where I’m at on the sail. I used artist tea paper, I’ve found it to be thin, light and durable once a thin coat of acrylic paint is rolled on.

-
The Mossy Shipyard by Bryan Woods - 1:1
Bryan Woods replied to Bryan Woods's topic in Non-ship/categorised builds
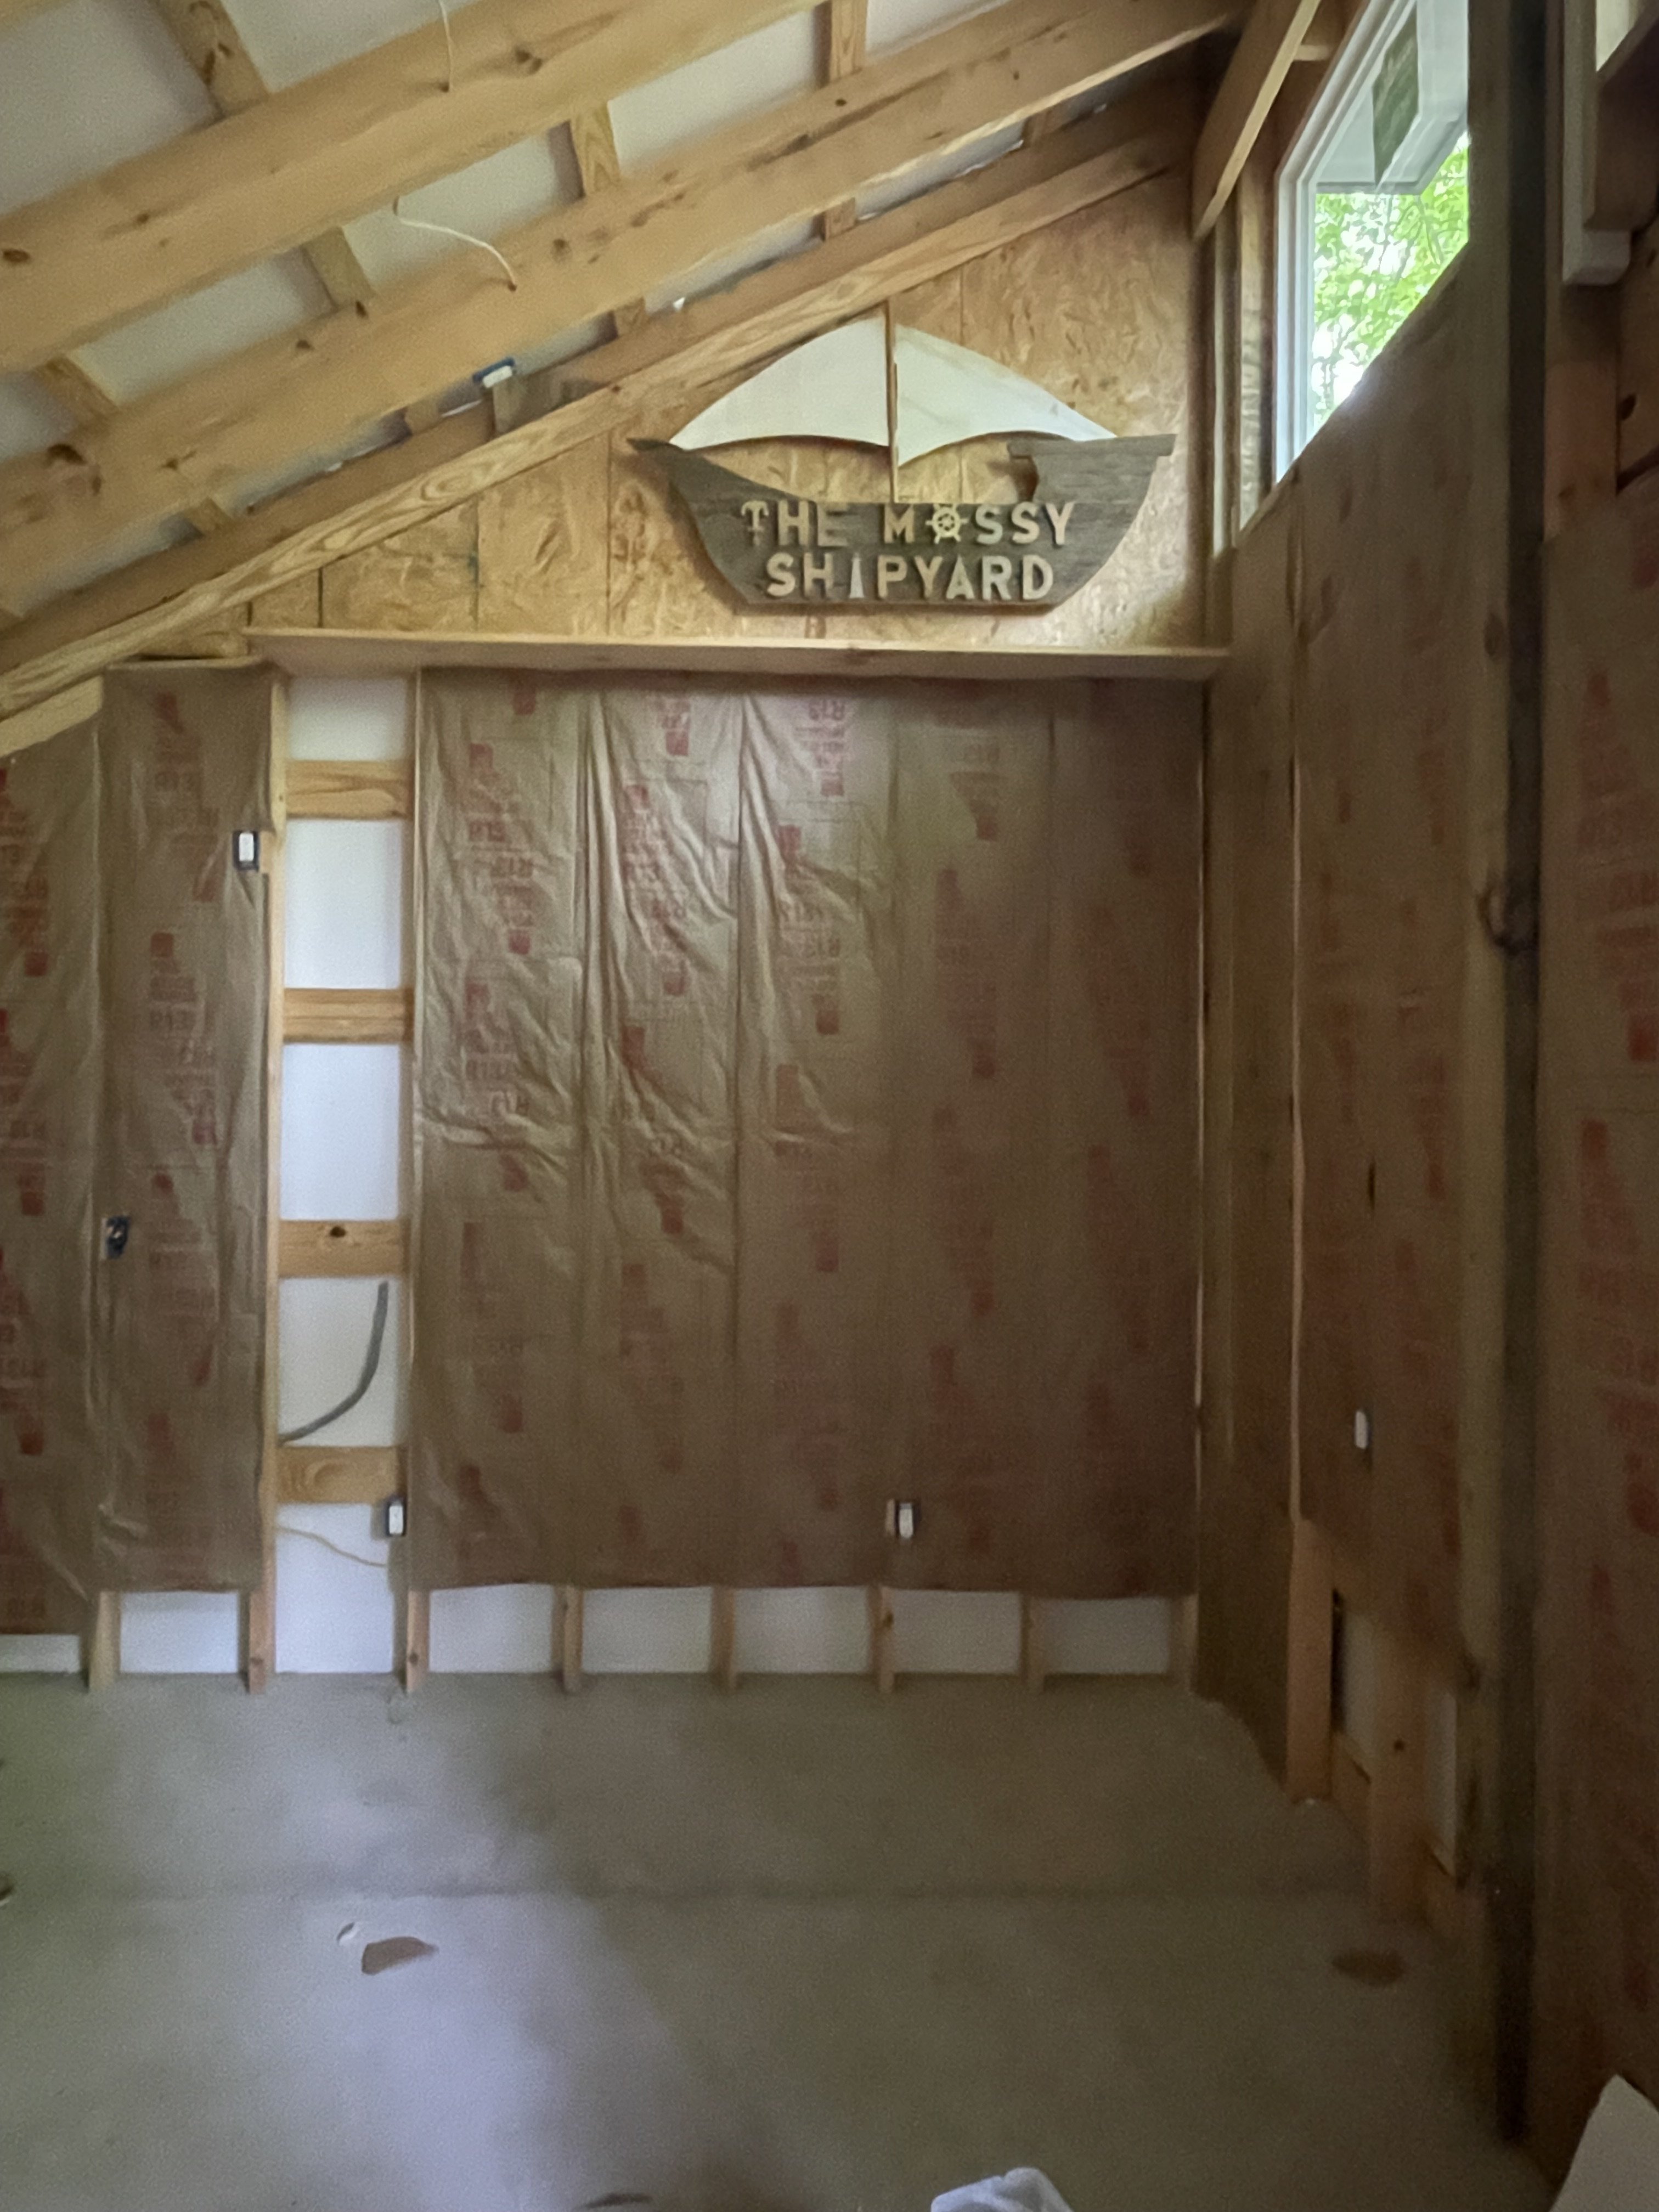
Yesterday, I had a visit from a friend that’s a retired teacher. He had made me a sign for my shipyard. He clams he has no knowledge of ships at all, but I think he did a great job. I know it took some time to cut out the letters. I’ll hang this one on the inside wall at the height of the windows. I’m still trying to finish the inside framing and a few electrical loose ends. Then we should be ready for insulation and OSB wall board. Thanks for stopping in:-)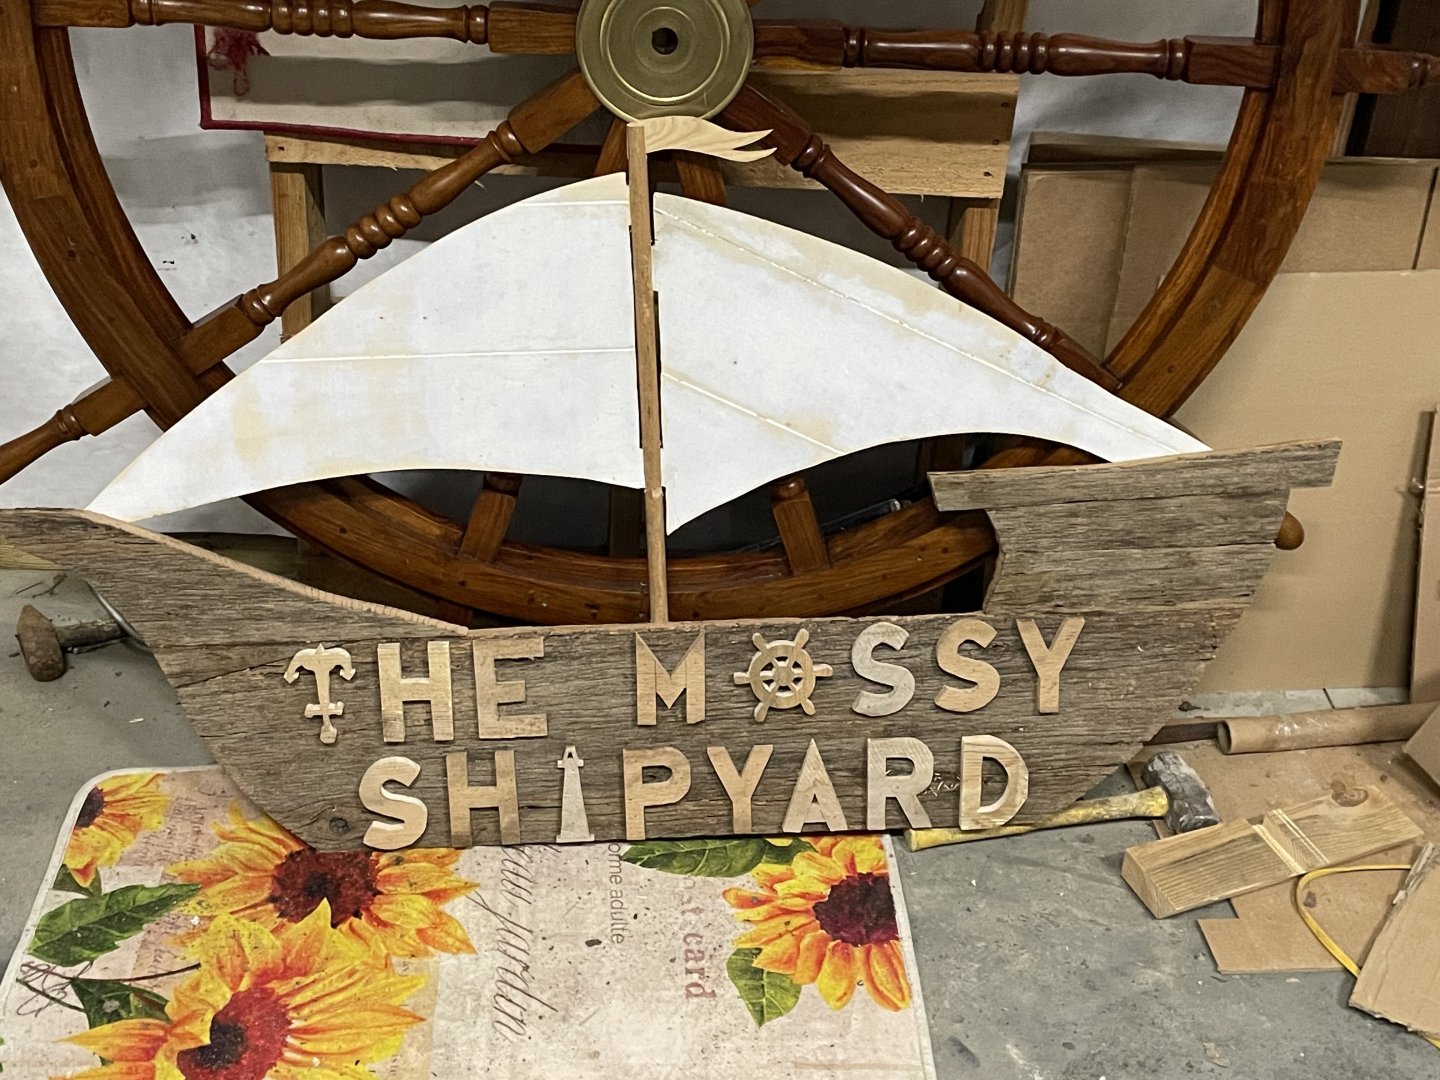
- 42 replies
-
- 10
-
-
The Mossy Shipyard by Bryan Woods - 1:1
Bryan Woods replied to Bryan Woods's topic in Non-ship/categorised builds
Standing back looking at the front of the shipyard, I thought it needed something on that blank wall. Would you believe in the hills of middle Tennessee I would find the perfect art that would identify my shipyard at first sight! This wheel is 6’ diameter. We picked it up this morning on a short drive for less that the cost of a nice kit:-) Now I have to decide what I need to use to weather proof it. It was decor not the real thing I believe. Then comes the “how to hang it on the wall” 🙂