MORE HANDBOOKS ARE ON THEIR WAY! We will let you know when they get here.
×


The Sailor
-
Posts
298 -
Joined
-
Last visited
Content Type
Profiles
Forums
Gallery
Events
Everything posted by The Sailor
-
 Very nice boat, Shawn.
 -
Thanks for the tip Floyd.
-
Thanks for stopping by, Børge, Q A's Revenge and Jeff. Jeff The filler blocks are part of the kit. Well, this is my first modern sailingship. I have no idea what's the best way planking her but I think I'll follow the instruction. That means planking from deck to keel.
-
Thank you very much Hamilton, Pete and Keith. Hamilton The kit provided stripes for the deck are not in full length. I must use small stripes. Keith You are absolutely right she is a monster. But it's a fantastic kit.
-
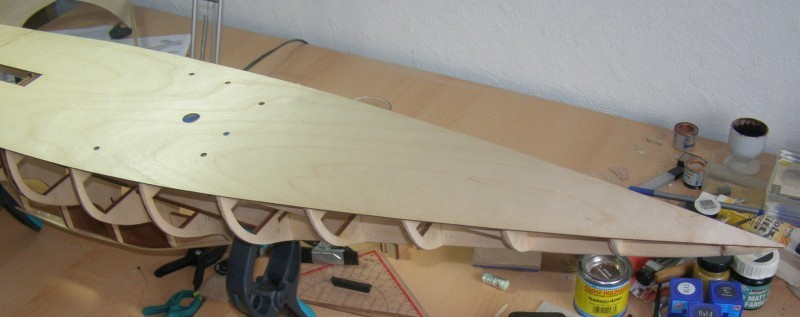
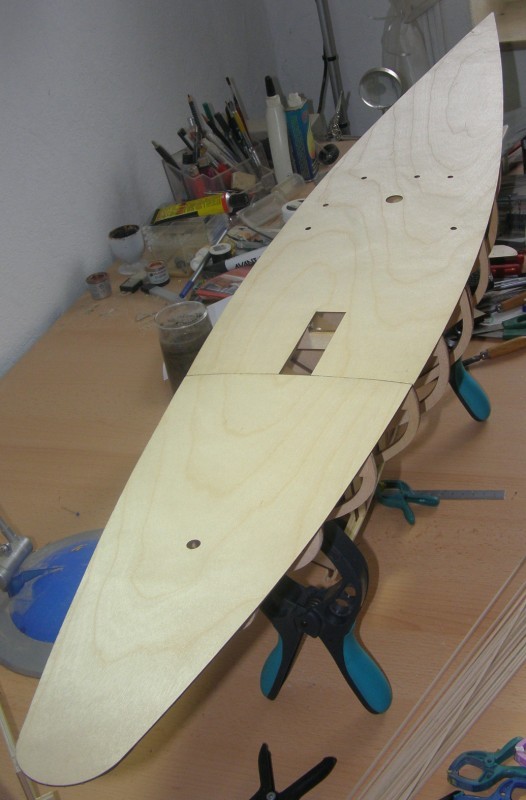
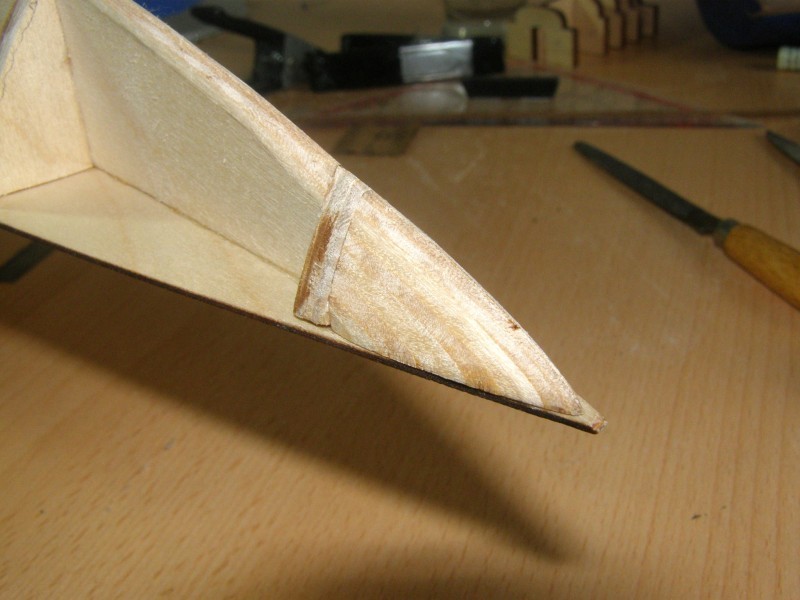
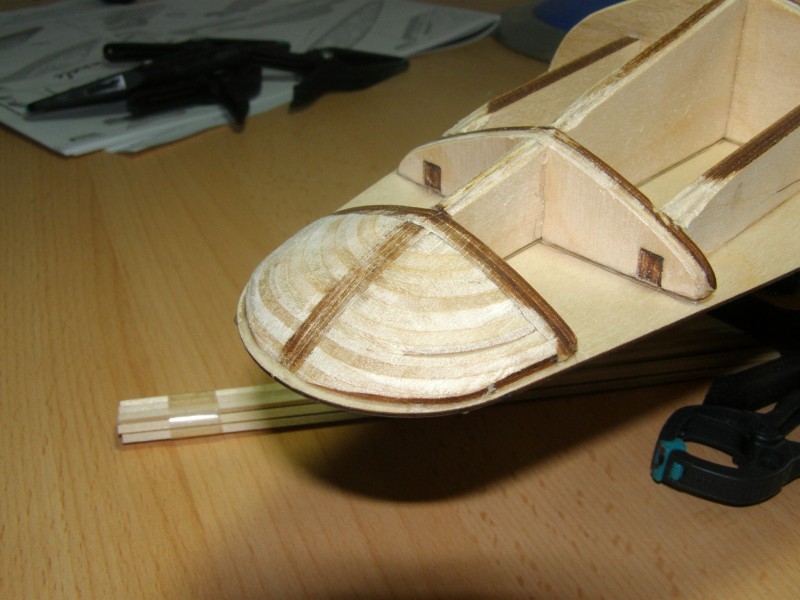
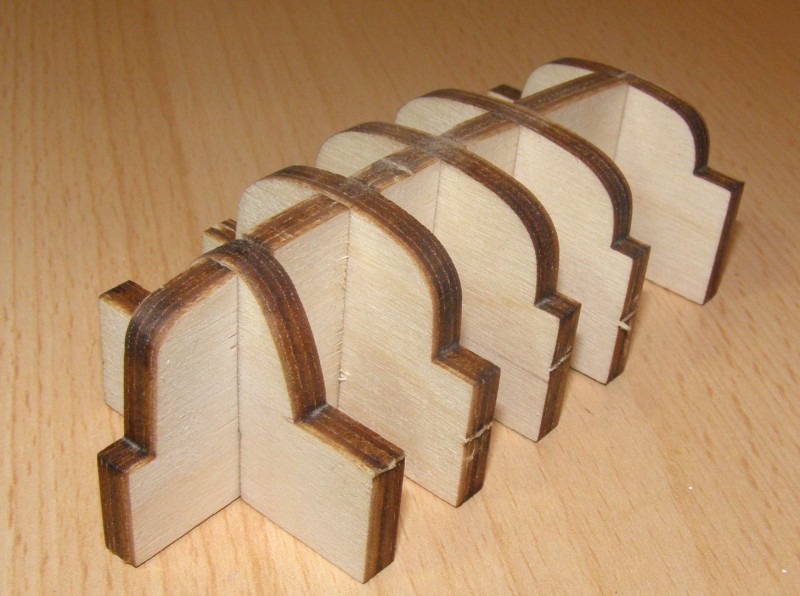
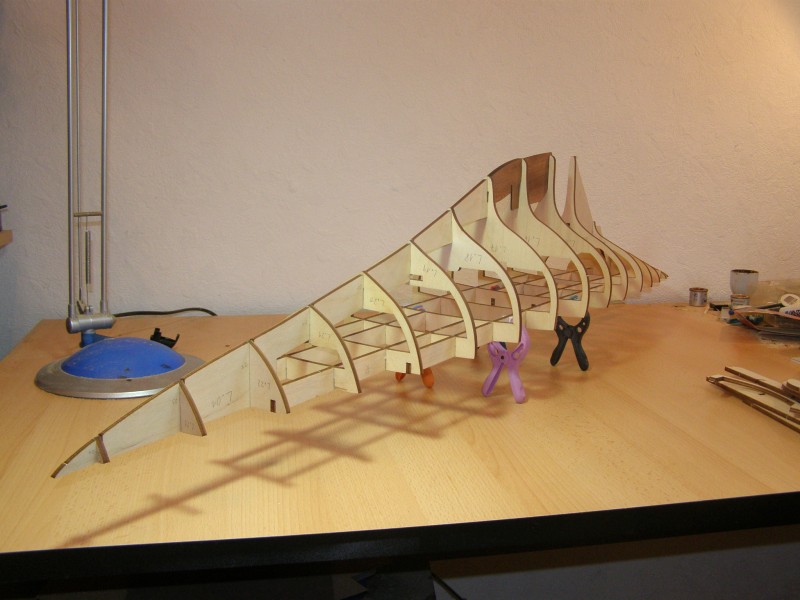
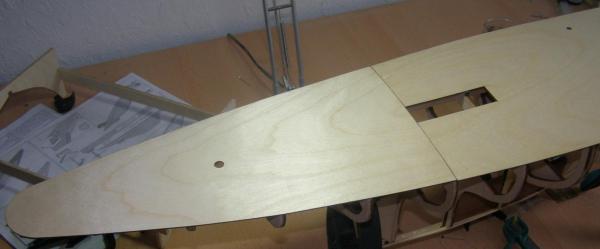
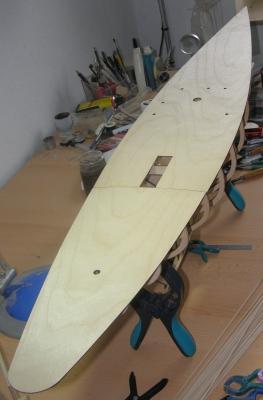
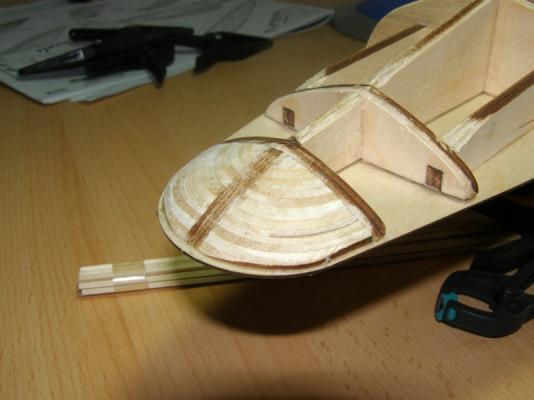
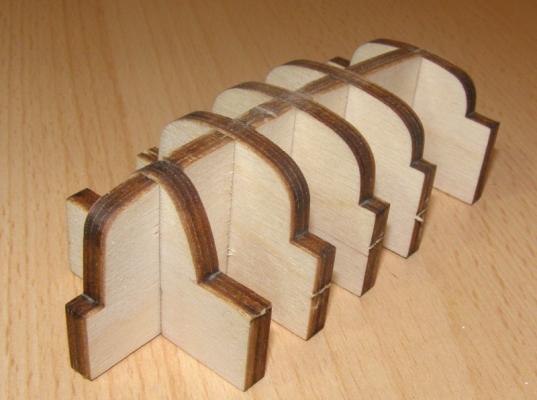
Good afternoon. Everything is prepared for the first planking. I‘ve glued the two parts of the false deck to the hull. Here are the filler blocks at the bow and the stern: And here are the first planks using 2x2 mm stripes: Those stripes are only for the lower keel section. Although there were no problems at all the model is quite bulky because of it‘s length.


-
Good morning, Jason. The idea to simulate the bowsprit's end is very smart. Thanks for showing.
- 800 replies
-
- 1
-

-
- snake
- caldercraft
- (and 1 more)
-
Thank you very much for your kind words, guys. Pete Just have a look here: http://pkboatplans.com The plans are made for the ultimate scratch build in 1/1 Scale and they are free. I think you also can build a model using this plans.
-
That's a very nice start, Adam. Keep on the good work.
-
Thank you very much Floyd, Tim, Q A‘s Revenge, Hamilton and Jeff. This can get you in trouble, Floyd. Don‘t mess with the Admiral. I‘m not sure about an exposed drop keel. I think, it looks strange. But the drop keel is free to move. Well, the length is a minor problem. The real problem is the height of the mast. For all I know, Amati‘s Endeavour is available in three different sizes: 1:80, 1:50 and 1:35.

-
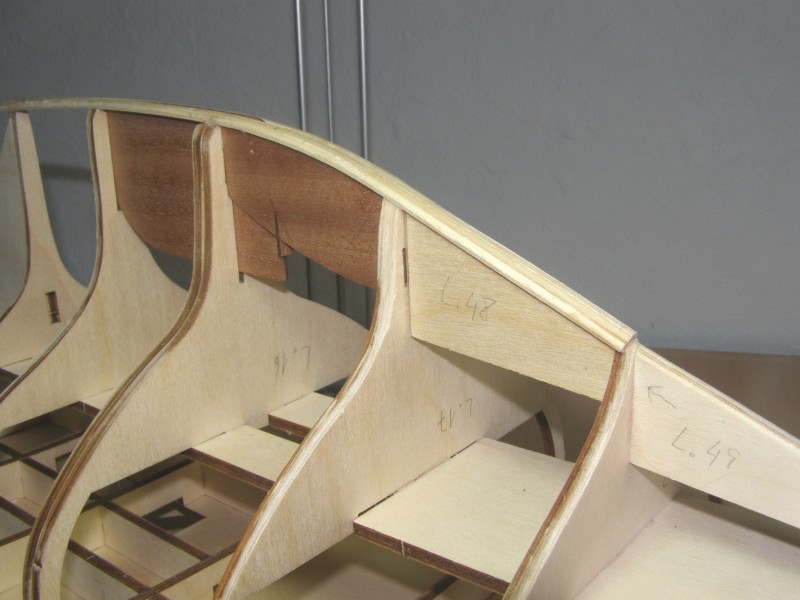
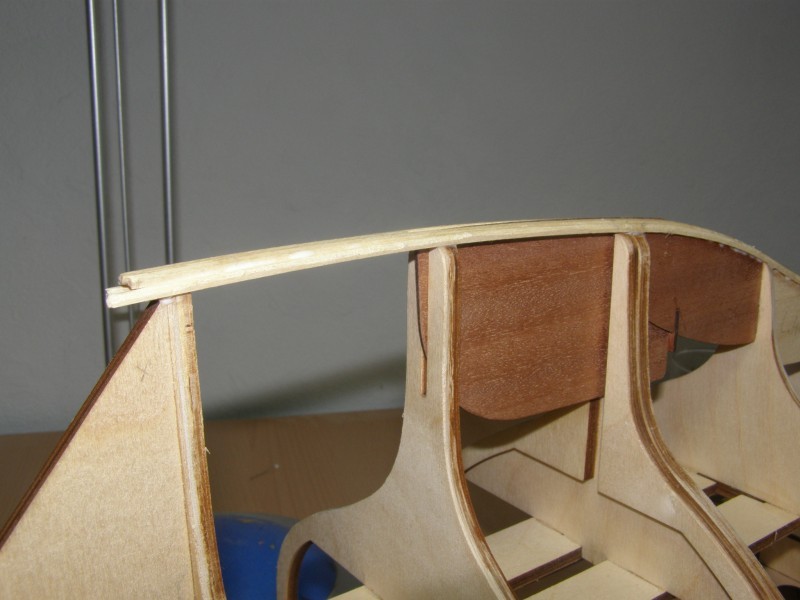
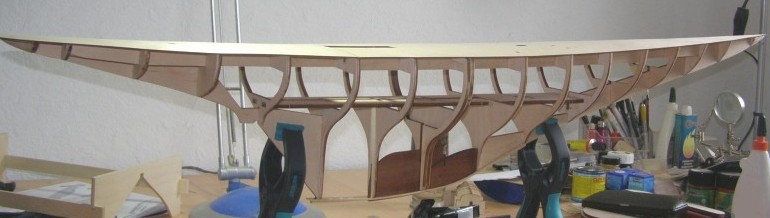
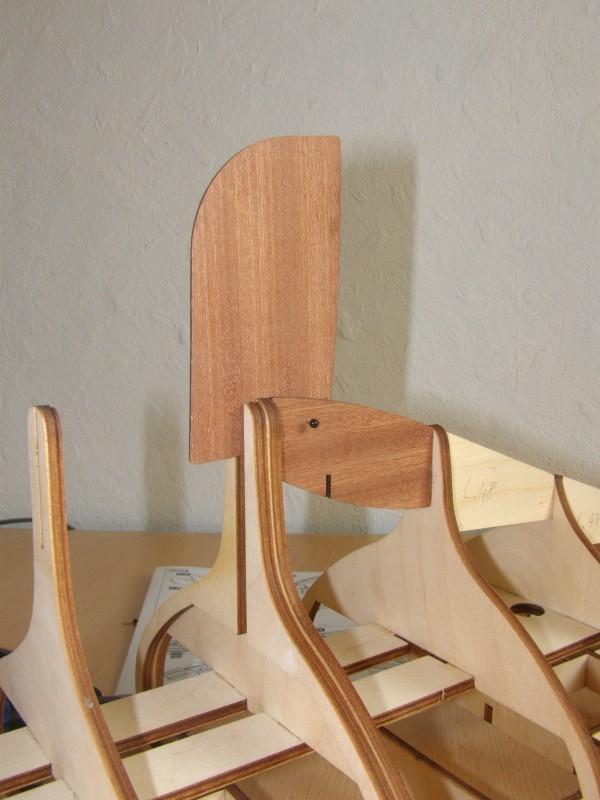
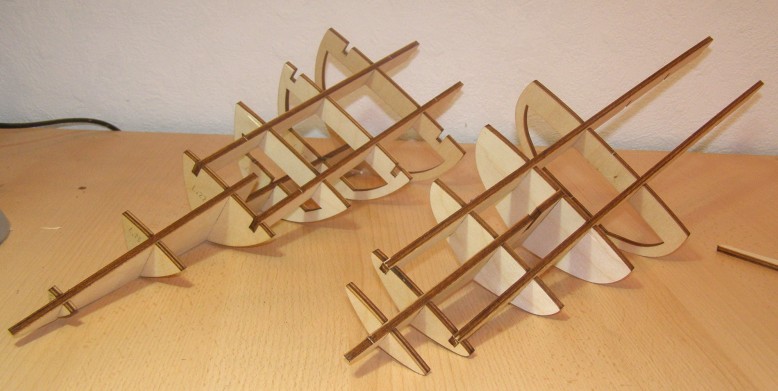
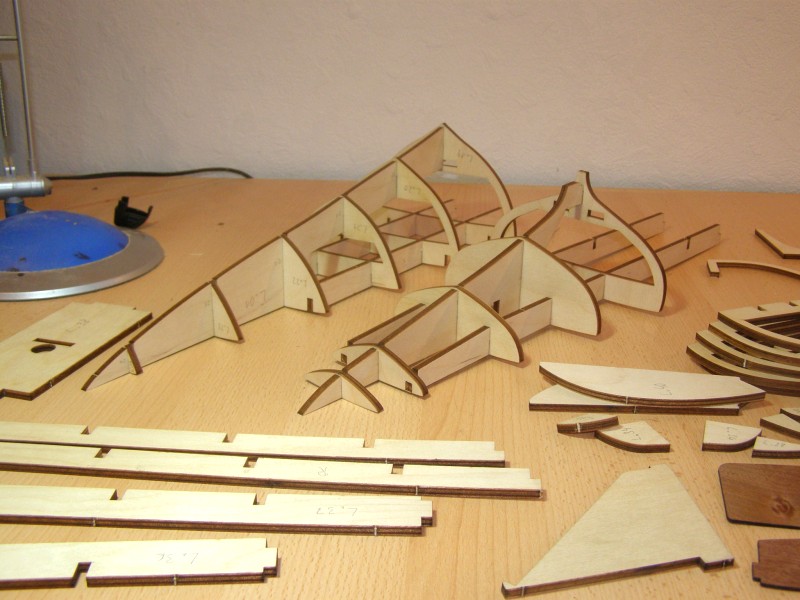
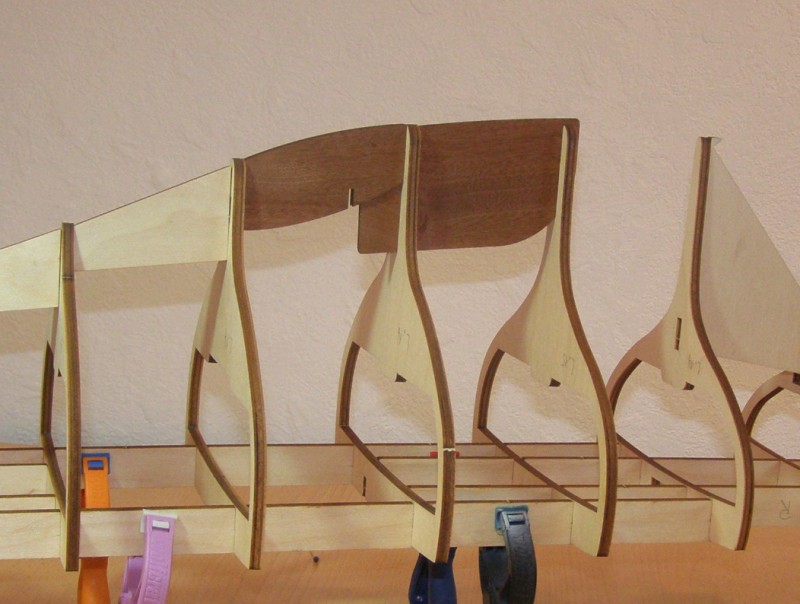
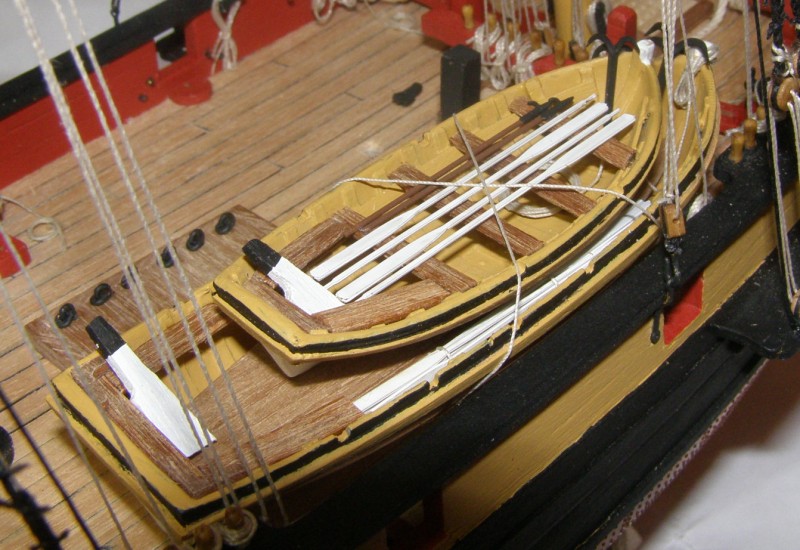
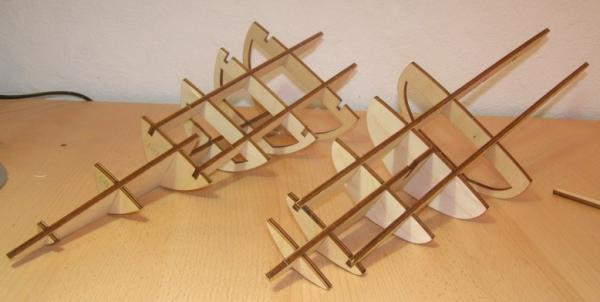
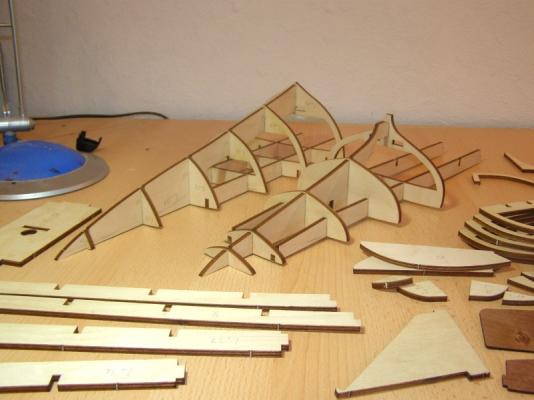
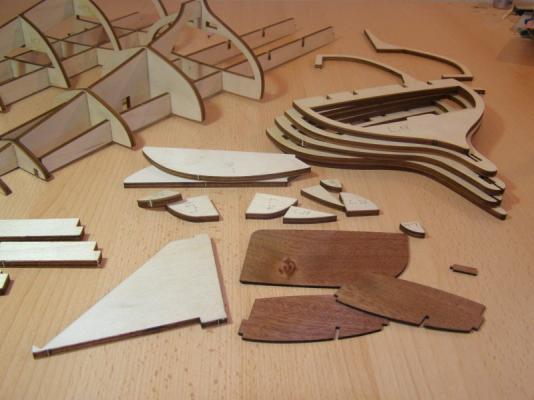
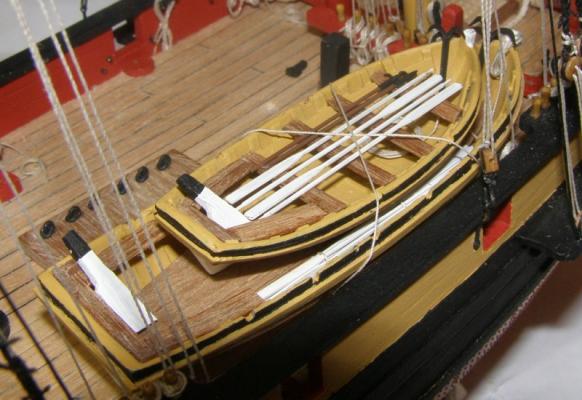
Ladies and gentlemen, ... ... and this is the official start of my build log. Oh my God! In 1/35 scale Endeavour‘s parts are only big! Anyway, let‘s have a look at the first pictures. At this time all the parts are dry-fitted. Here are the bow and the stern: The midship frames and some more parts: The building slip for the ship‘s boat: And the dry-fitted hull:


-
Just WOW!! Awesome work!
-
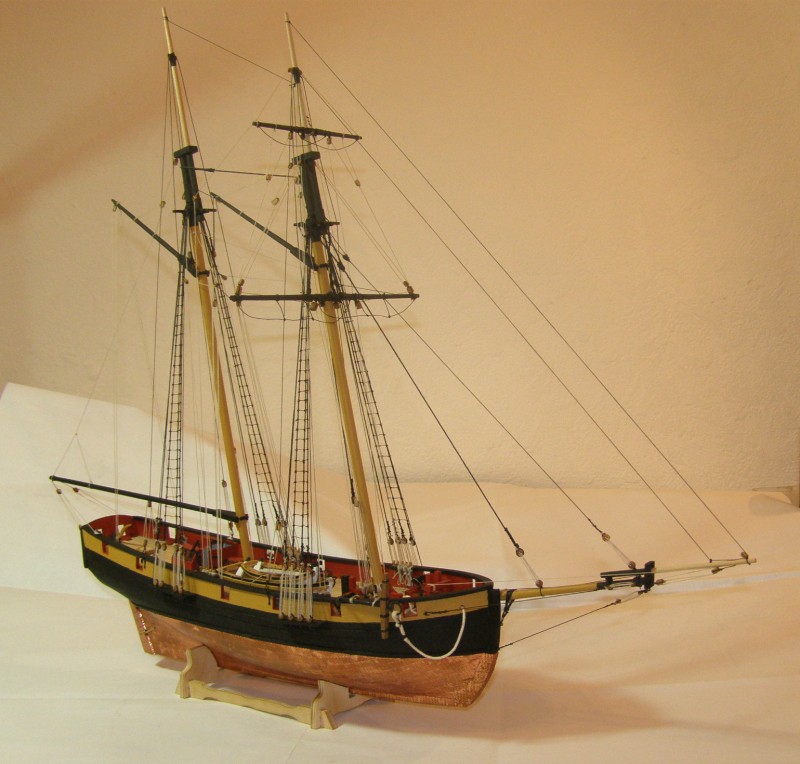
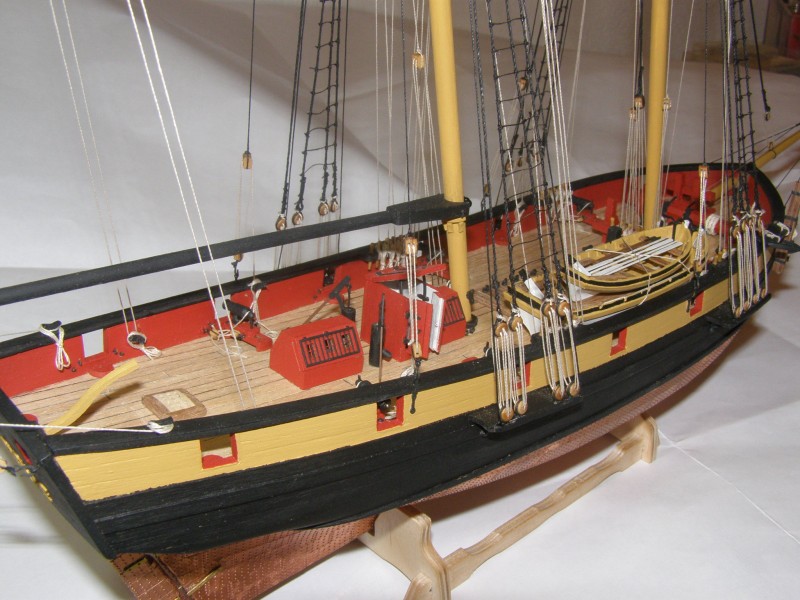
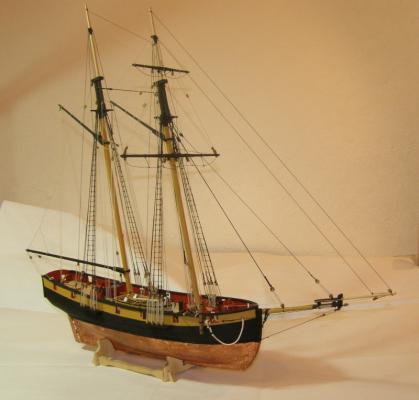
I‘m ready!! Well, not everything looks perfect, but I‘m very happy with the result. Next weekend I‘ll try to make some better photos for the gallery. I‘m satisfied with the kit and for this price the quallity of the kit supplied materials is good. It was always a great pleasure building this little schooner. Again thank you all for your kind words, all your ‚Like it‘ or even looking.


- 121 replies
-
- 10
-
-
Hi Adam, very nice work. As a young boy I've build the Revell Mayflower.
-
Hello ZyXuz, that seems to be a nice kit. The white metal parts are indeed the big problem of some kits, because you can't bend them.
-
Thank you very much, Bill.
-
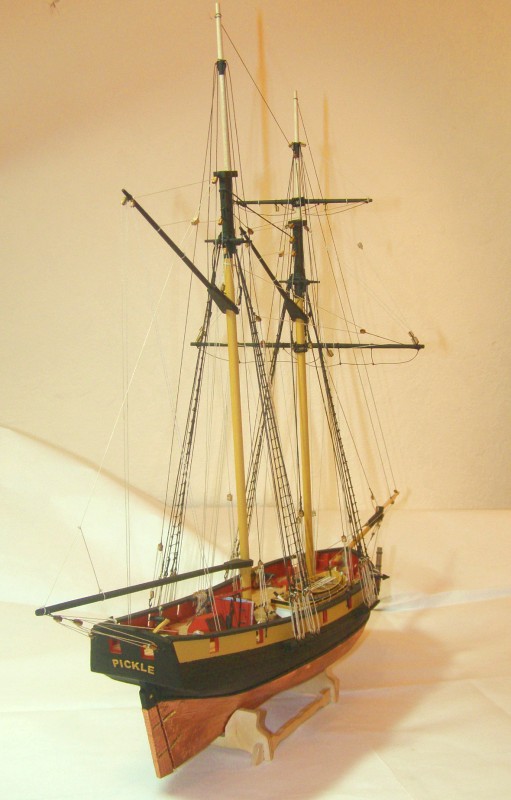
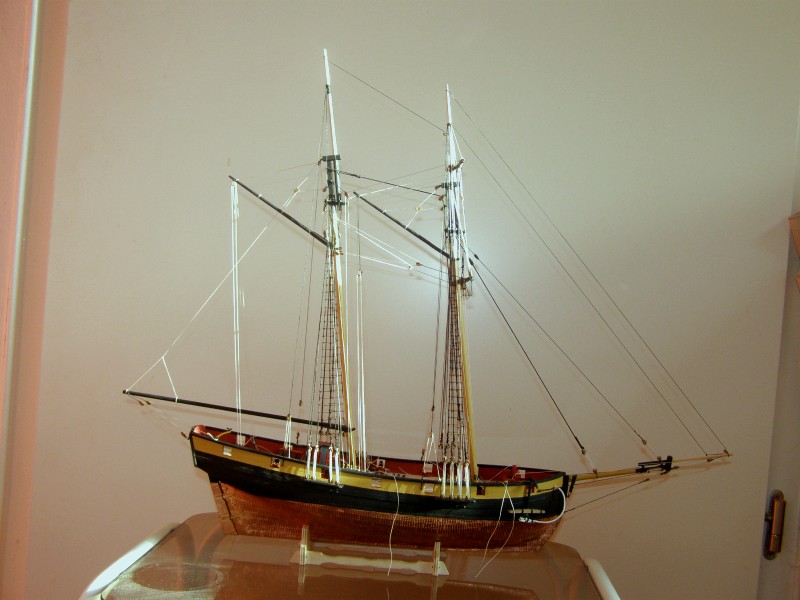
Thanks for the nice words, Eamonn and Adam. The work is practically completed and I hope, I can finish my Pickle next week. Fortunately a schooner's rig is quite simple.
-
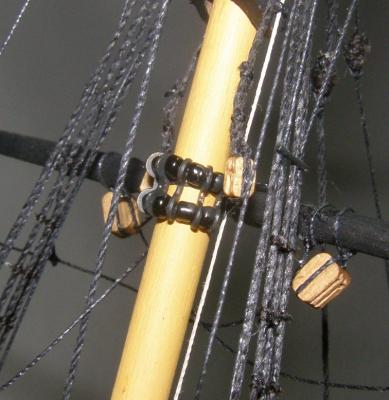
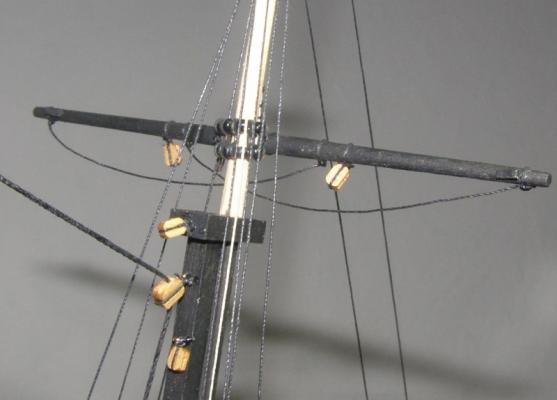
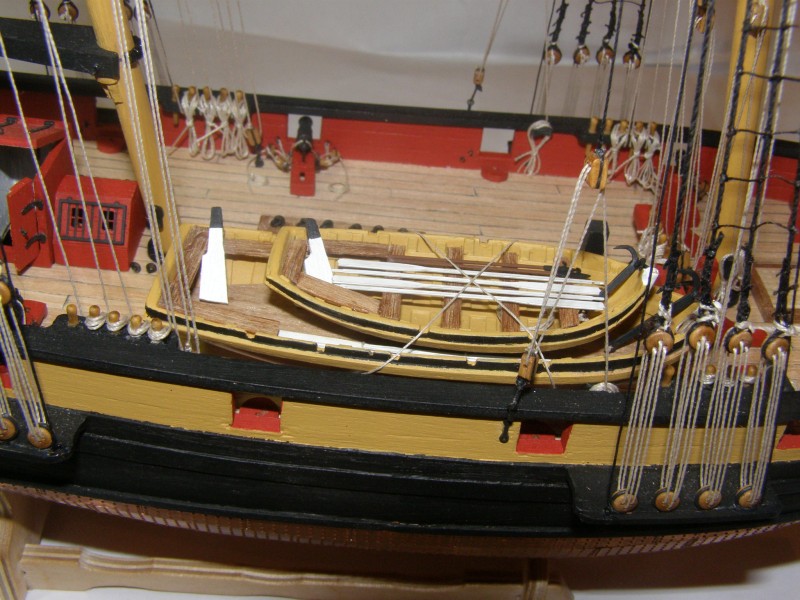
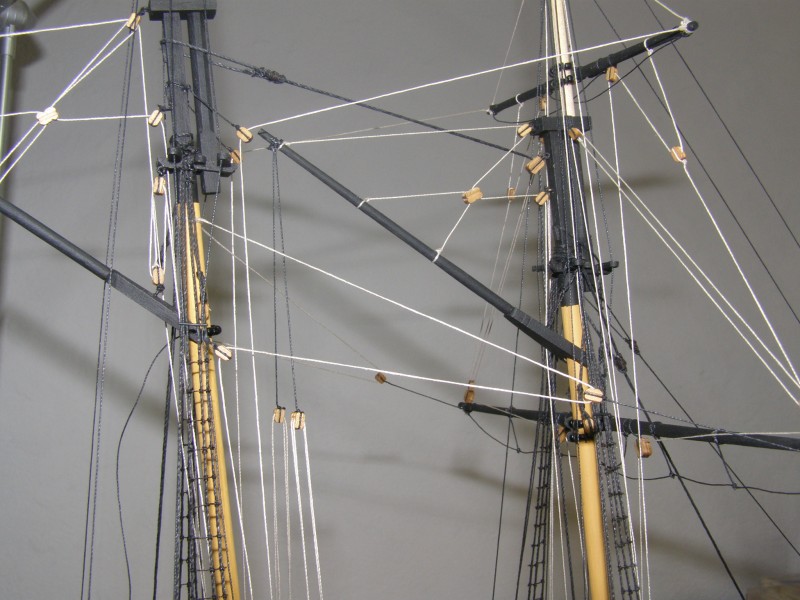
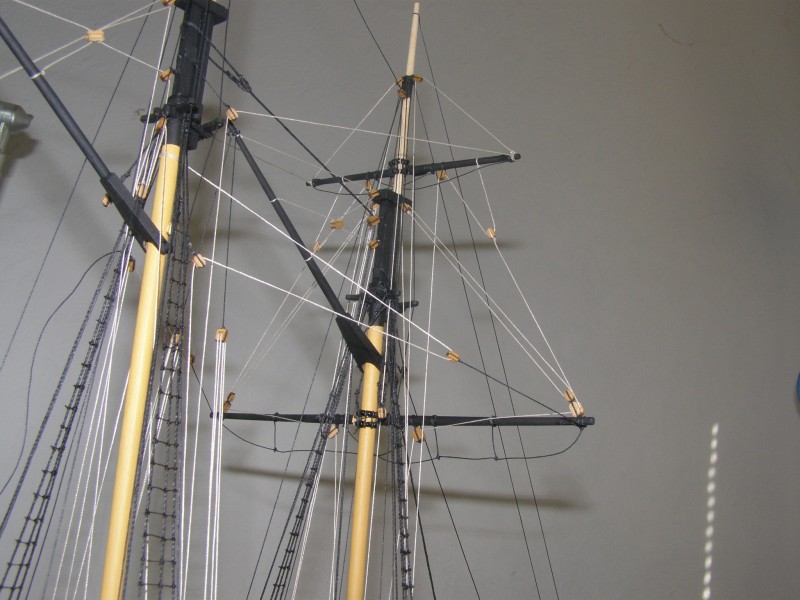
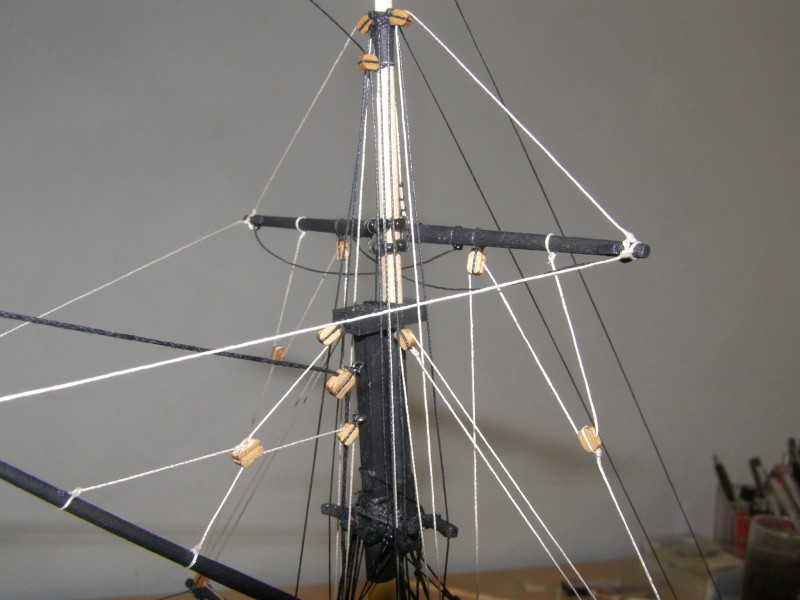
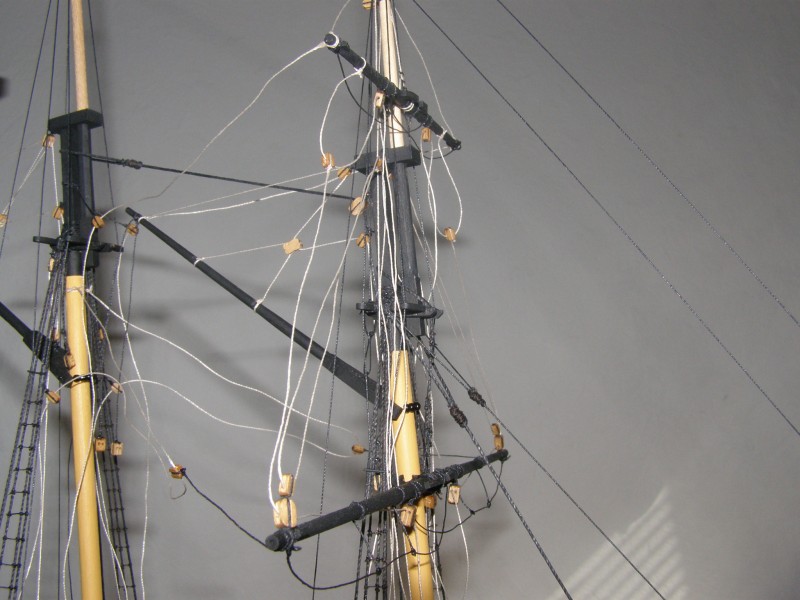
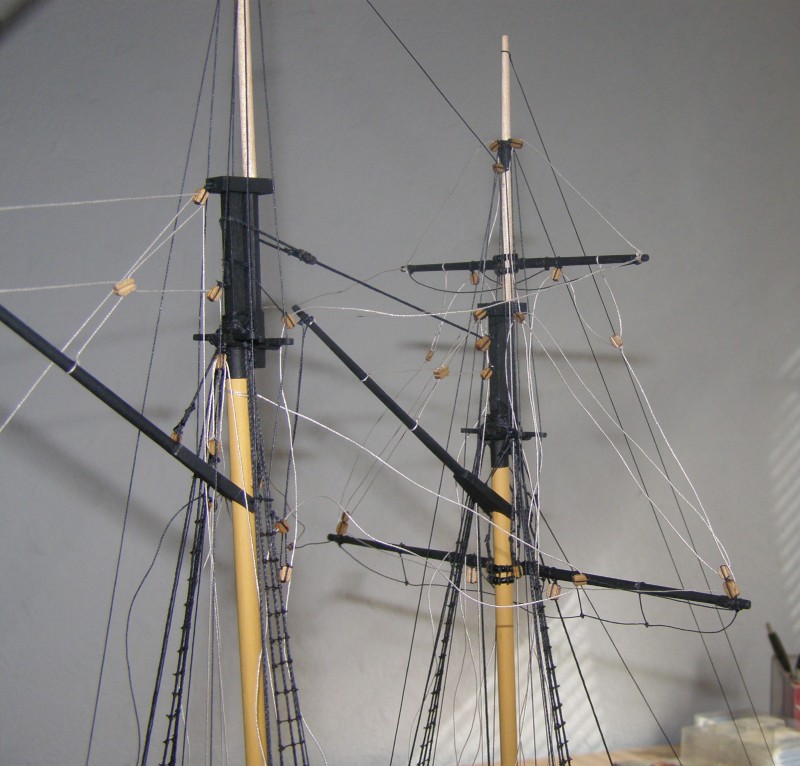
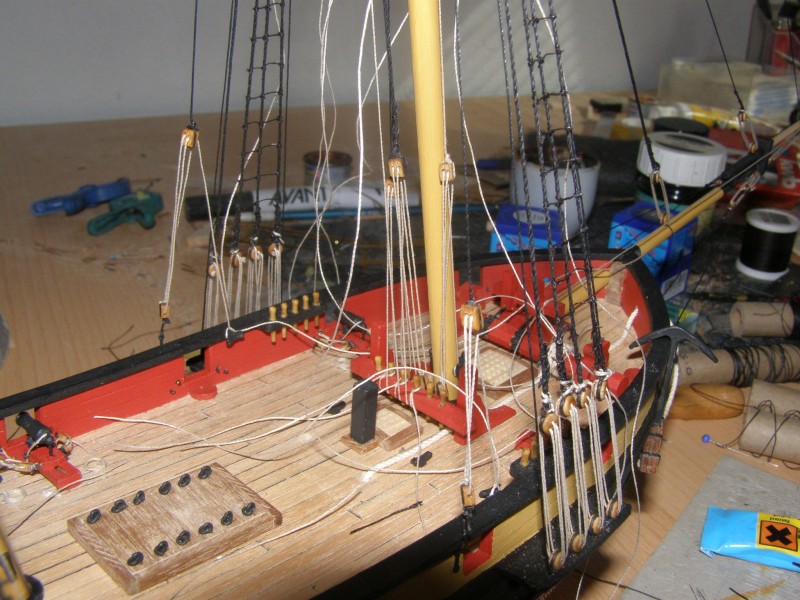
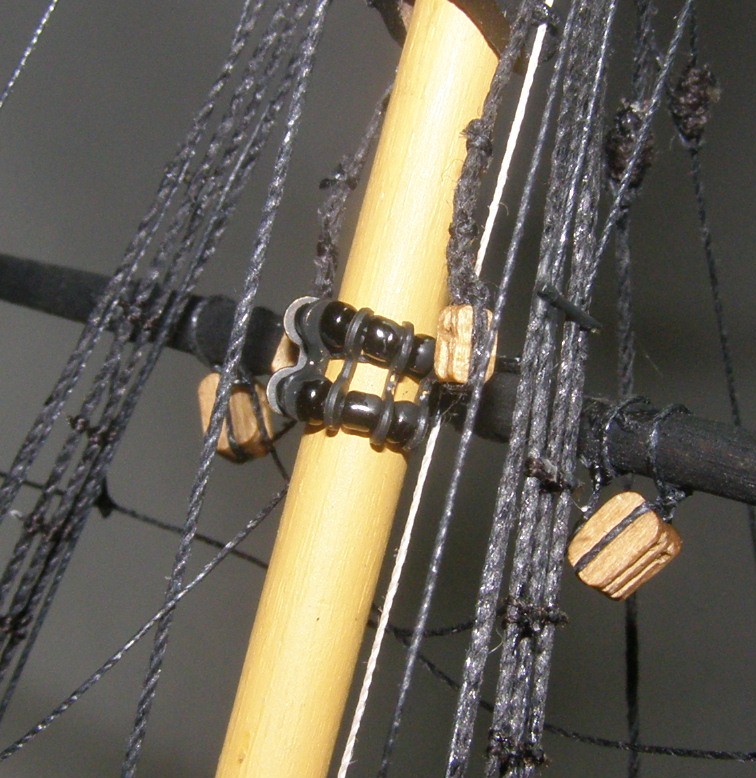
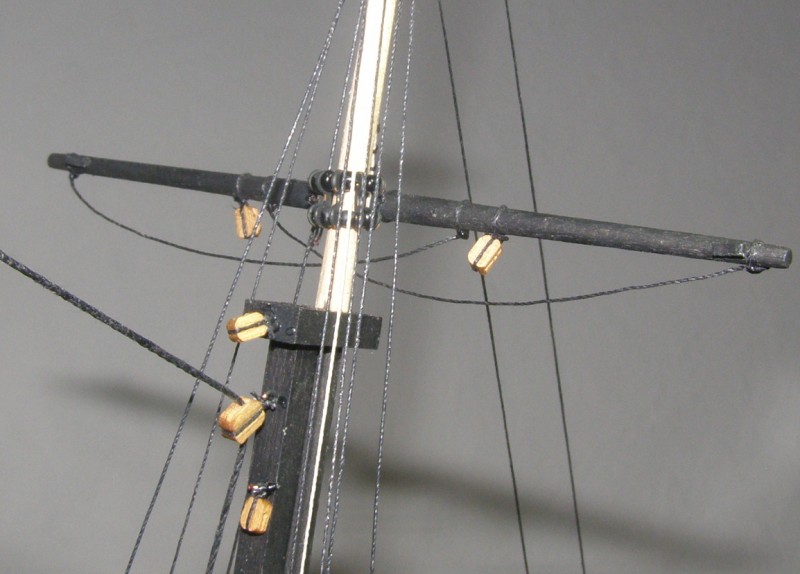
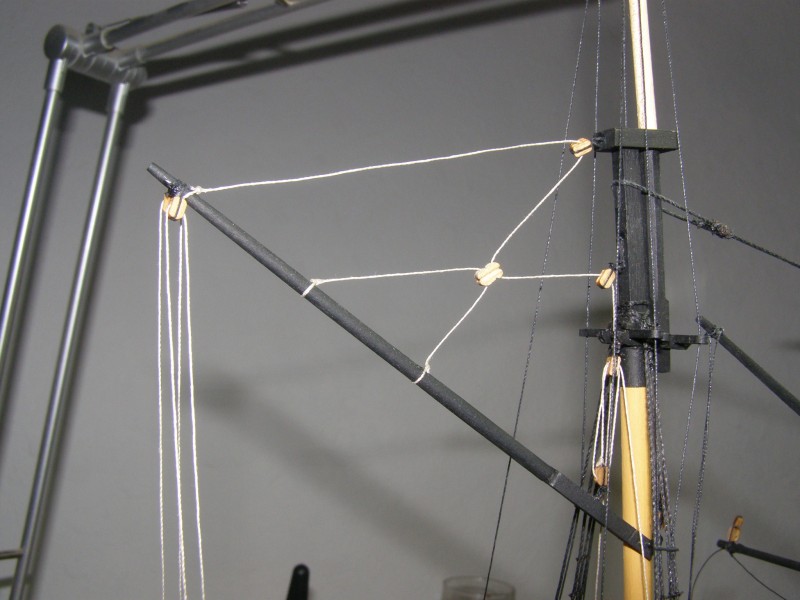
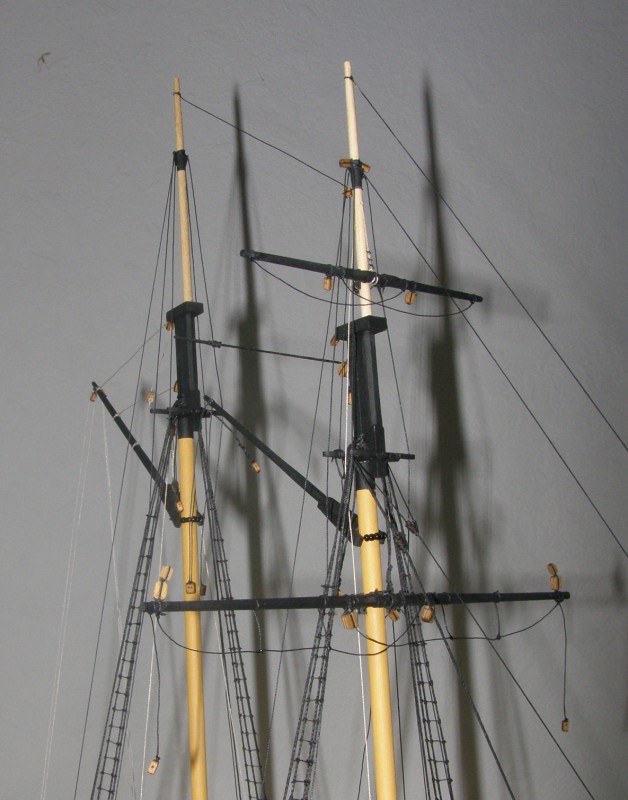
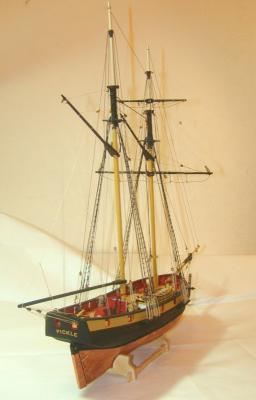
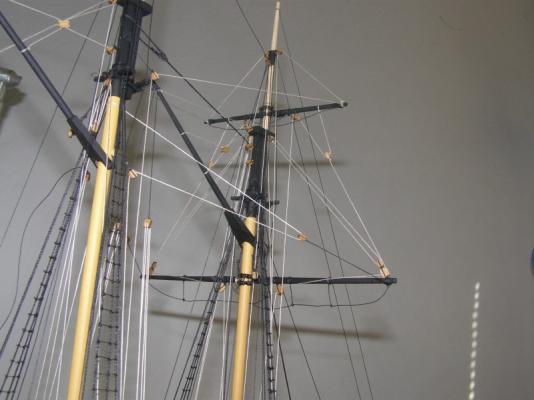
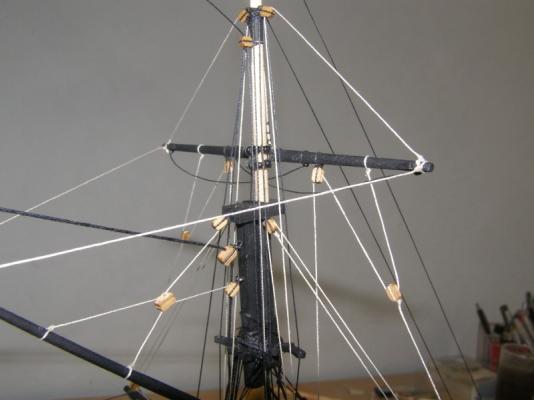
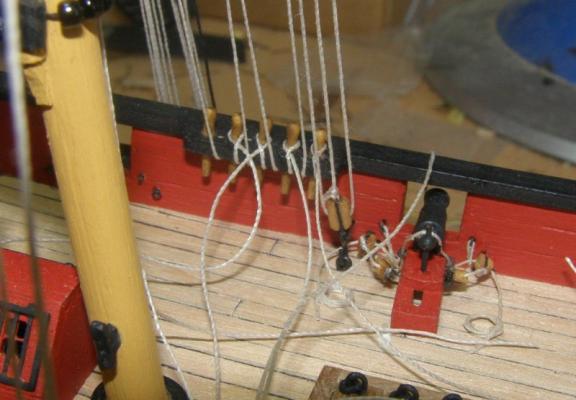
Thank you very much, Hamilton. Now here are some more pictures of the rig: The rig is done now. At last there are some finishing touches in order. As you can see, all the belaying pins still need some rope coils.

-
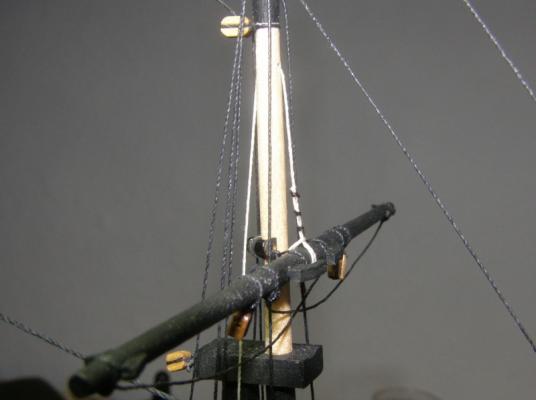
Many thanks for your kind comments, Bob, Bill and B.E. She is rigged so far. Now I have to adjust the complete rig. It's only a short progress for today, but I'm still busy.

-
Hello marsalv, you did an awesome job. The boat is just a masterpiece!
-
Hello Frederica, that's a very nice start. I really like the RC.
-
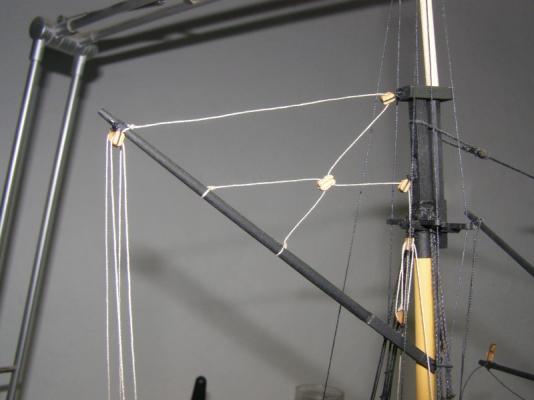
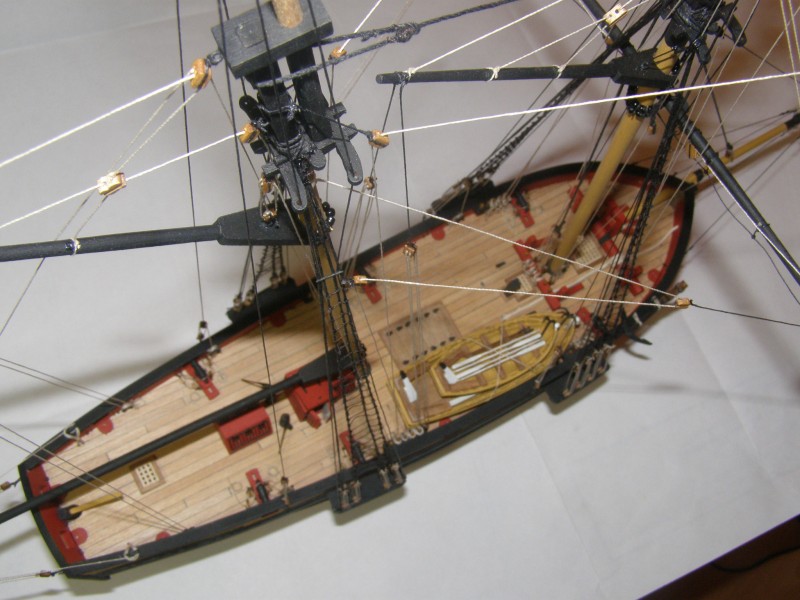
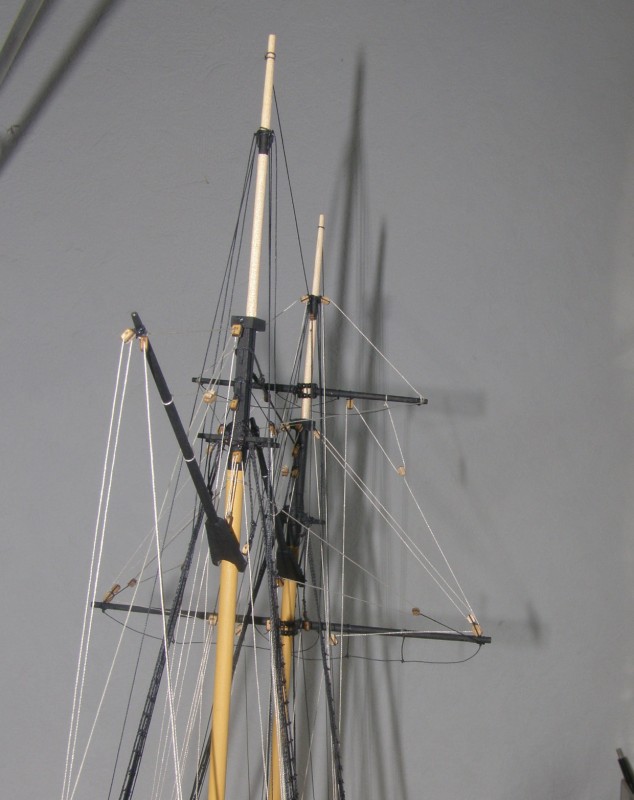
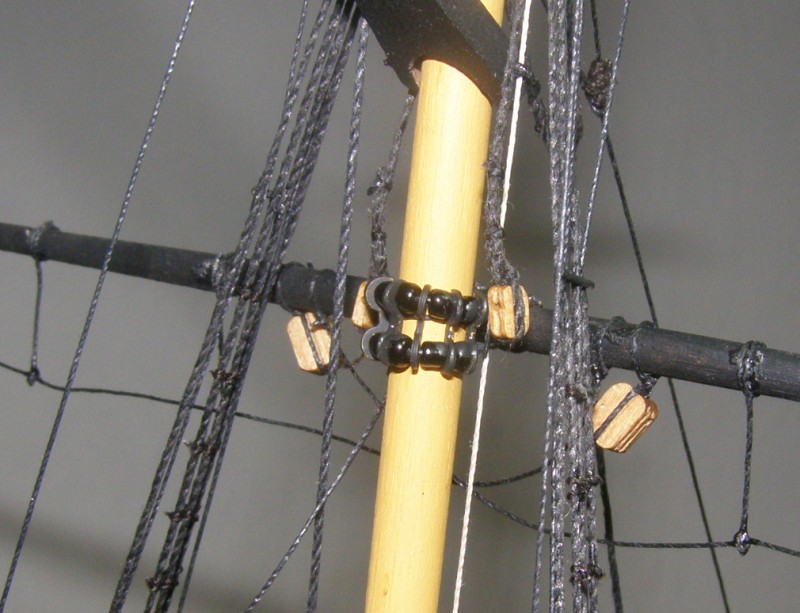
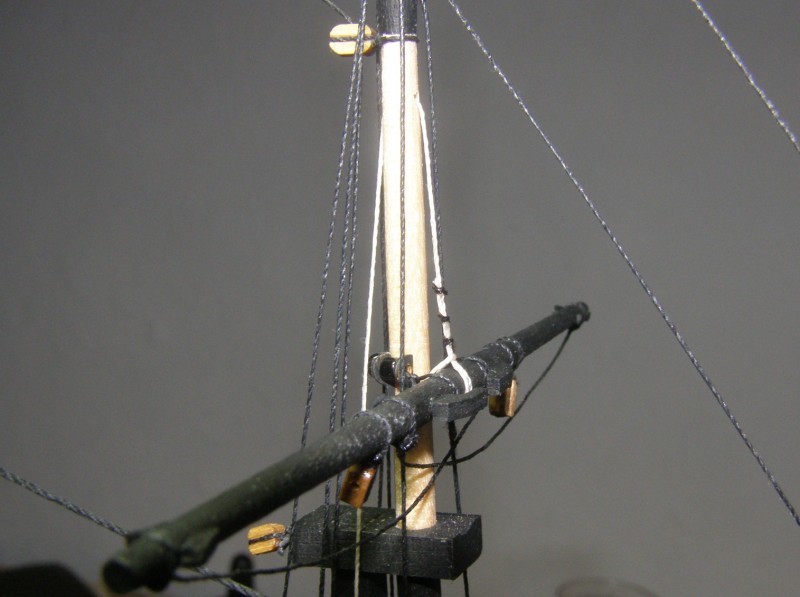
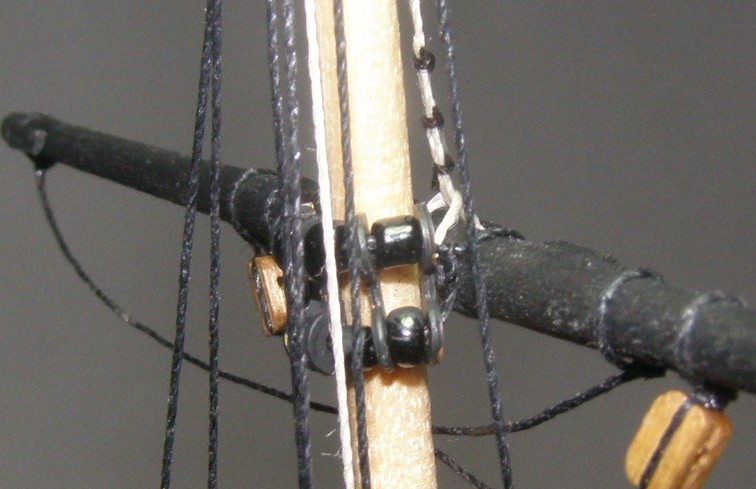
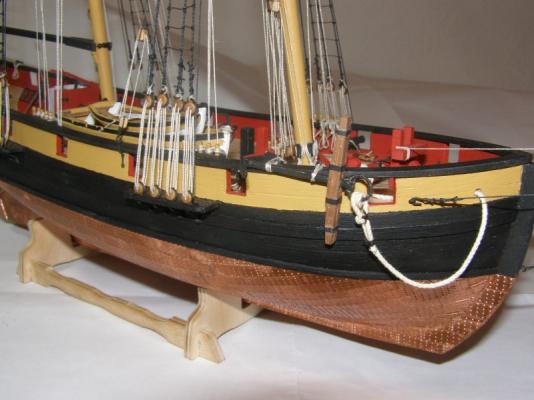
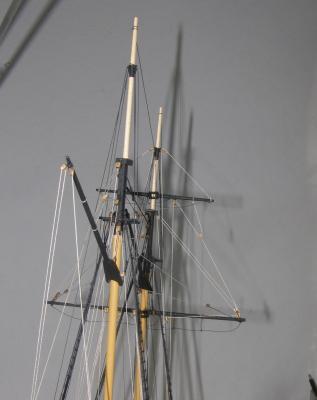
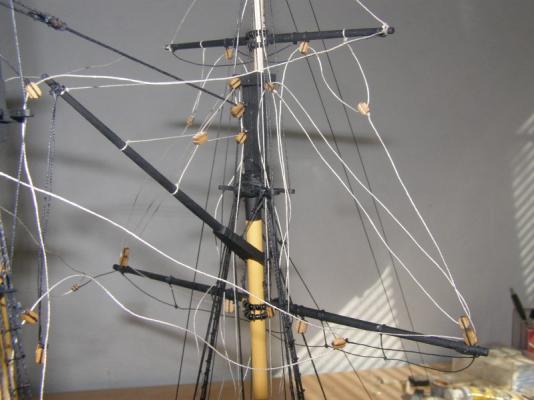
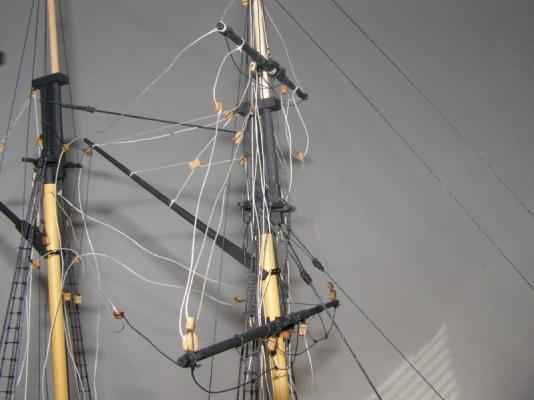
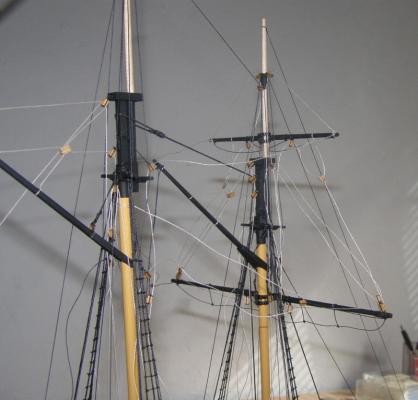
Thanks a lot, Ferit and Bill. The yards are in place now. And here is the first picture of the running rigging: