Der Alte Rentner
-
Posts
266 -
Joined
-
Last visited
Content Type
Profiles
Forums
Gallery
Events
Posts posted by Der Alte Rentner
-
-
6 minutes ago, SUBaron said:
why not work on the ship's boats next? Those look like a lot of fun. Some folks actually started with those.
Frankly, those boats have always looked like they're painful to construct. Now that I've gotten some experience working with gouges (including the sharpening thereof), I might revisit the topic - sooner rather than later.
.. having reviewed the Hunt videos on this just now, I'm leaning towards later rather than sooner.
In the (very) short term, I'll enjoy a respite from the shipyard, poring over build logs, gathering information, ideas and inspiration.
-
24 minutes ago, rlwhitt said:
If I could plank that good I'd be loathe to cover it in paint or copper.
If I knew I could achieve the results you did with the Essex, I'd be loathe NOT to paint and copper! Thanks.
-
1 hour ago, mtbediz said:
.. if I were you I wouldn't paint it.
Thanks for the vote of confidence, Mustafa. One thought I have it to stain the bulk of the hull to be darker than the section along the gun ports. But in general, is there anything I should know about applying stains, poly, polyacrylic, and subsequent gluing? There will be many parts to affix to the hull in the coming months, and I'm concerned about how will these will adhere. I would not want to sand away then, any finish I painstakingly apply now.
-
-
At last!
Planking is done. The last row was a royal PITA! but all's well that ends well.
Next steps? Decide whether or not to paint. If not, figure out a staining scheme, but experiment mightily first! To buy time, and not derail construction, I may divert to other aspects of the build - maybe start constructing masts and spars? Or, as seems very popular amongst others here at MSW, start on the cannons.
But, First things first. Tonight I celebrate this milestone with a double Manhattan and a fine meal out! Tomorrow can wait.
-
On 4/26/2024 at 4:53 PM, SUBaron said:
I know a lot of planking issues can be covered with sanding, wood filler and even paint -
I plan to retroactively update one of my posts from where I began the planking process with notes from my 'future self'. One thought I'll share now is this: If you plan to paint and add copper plating, you can probably spare yourself a lot of grief up front. As you pointed out, wood filler, sand paper and then paint, should correct any mistakes made in planking - up to a point.
Looking back at the 'guide', Mr. Hunt said, "I have sanded the hull with 100, 150 and 220 grit sandpaper and given it 4 coats of Polycyclic. I sanded with 400 grit sandpaper between coats and gave the hull a good rub down with #0000 steel wool after the last coat was applied. The hull is smooth as glass and will take the paint and copper plating well."
I'm surprised that, after all that prep work, one can still discern the gaps between the planks. Had he gone over the dips in the hull he mentioned with wood filler, those sections would probably look odd without the gaps on the neighboring planking.
-
On 4/24/2024 at 5:51 PM, GGibson said:
If you find that it may be easier to order some additional wood of very good quality, I highly recommend Joe at Modeler's Sawmill. I have ordered from him a few times for additional strips that I cannot create or alter myself. Milled wood lumber strips for the model ship builder - Modelers Sawmill
I have the same issue with the material that came with the kit. I tried three approaches to deal with the problem.
1. I asked Model Shipways to provide replacement strips. (No response since their acknowledgement email on December 1, 2023.)
2. I ordered replacement strips from Modeler's Sawmill. Unfortunately the strips were significantly darker than the basswood that came with the kit. Because I was/am still hoping to keep a natural finish, these were not usable. (They were also significantly shorter - I'd say 2/3 the length of the stock in the kit, so ask about that when you order).
3. I went to Ace Hardware and purchased material that was a tad thicker than the kit's stock, and used my thickness drum sander to get make my own replacement strips. The color was an exact match, and the strips were spot on in their dimensions.
- GGibson, mtbediz, Scottish Guy and 1 other
-
 4
4
-
I couldn't resist posting this pic. Five more strakes on the port side and the hull will be fully planked. (I did fit the garboard strake there yesterday, so I'm close to being done.)
One lesson I learned was that the fairing process at the onset - as well as that of carving of the rabbets at the bearding line, needed more attention to detail. I'm paying the price now. It took two days to lay in the garboard and remaining 4 strakes in zone 8, mostly because I had to fiddle with the rabbets and bulkheads at the bearding line. Really sharp gouges of varying sizes made this doable. And had I waited to do the garboard strake last, I would have been in deep doodoo💩! The good news was that I could use just one plank there.
For all the attention to planking in the "guide" (Andre's term) there's no mention of handling the garboard strake. Several resources I've consulted handle that particular strake differently than the rest and install it earlier in the process.
- chris watton, schooner, SUBaron and 2 others
-
 5
5
-
-
Just now, Professor said:
No further progress on this marvelous build? I'm certain we would all love to see more of your excellent craftsmanship. I hope all is well with you, Kmart.
Likewise here.
-
13 hours ago, GGibson said:
Awesome pictures, Jon! Maybe 1:48 based on this website, Peter? Mark Antczak (1949 – ) – American Marine Models (shipmodel.com)
Very Interesting. When I googled the name, I got a hit for someone associated with Anxiety Canada - a much younger fellow than this Mark who would be in his mid 70s today.
Thank you for providing the link Gregg. The blurb on Mark there did say he built a 1/4" (1:48) scale version of the Constitution in 1990. The piece goes on to say where it was displayed for a time in its history, ending with - it "was subsequently put on loan to the Maine Maritime Academy in Castine, Maine where it was displayed for a several years."
I will pursue that lead to see if I can find where it is today. I would love to see it up close.
Thanks again.
best
Peter
-
-
1 hour ago, GGibson said:
if the pictures are formatted/cropped small enough, they will then appear next to one another.
Aha! That is the just nugget I was prospecting for.
I'm fairly technologically apt, using photoshop and word to produce my own pdf version of the build log. You'll see what that looked like in my earliest posts. Because I wasn't seeing the resolution I desired posting pdf log pages, I switched to using the site's photo upload features. I generally prefer high resolution photographs - so I can zoom in for more detail. Hence I haven't really needed to post pairs of photos side by side, but thought about doing so today.
Thanks for sharing Gregg!
and, the Blue Nose may be my next build, if I ever finish Conny! 😉
-
-
Okay,
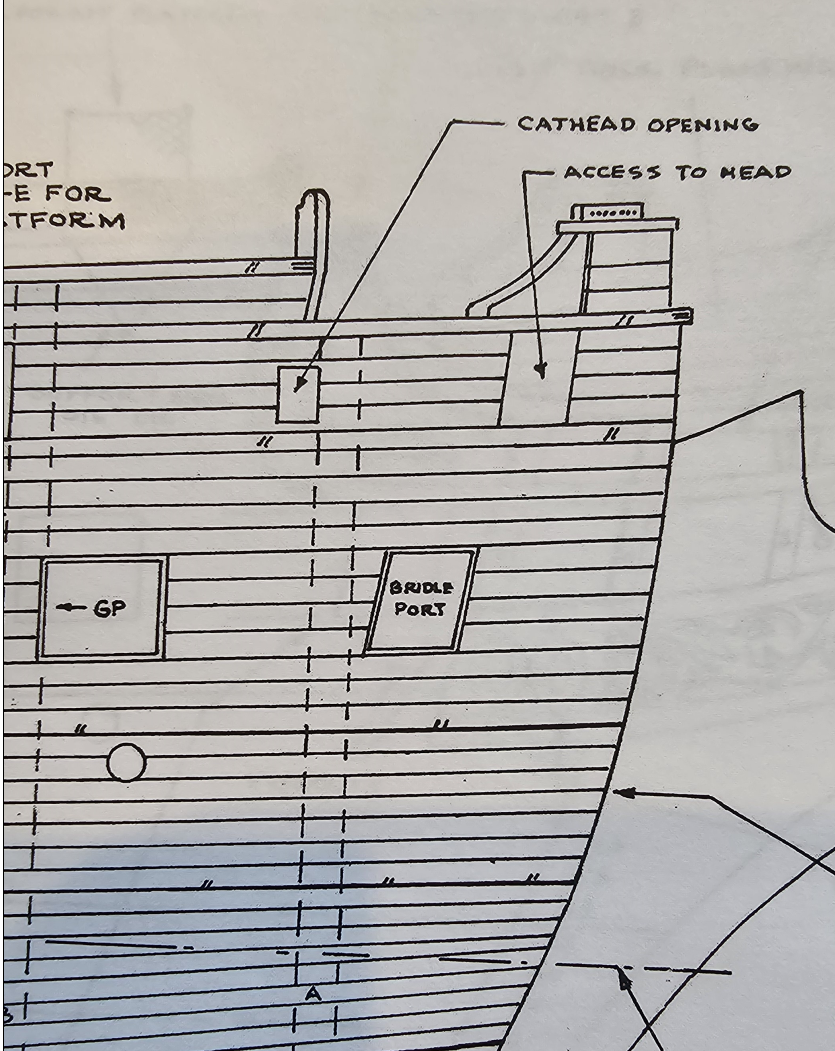
I just took a snapshot of the plans. The access to the head seems is between timbers 2 and 3, while the bridle port resided between timbers 3 and 5, which is where the "guide" says to put the filler. However, it's now obvious to me that the planksheer is well above the bridle port. Therefore, I too have no idea what Hunt was talking about in this case.
In general, I've learned that wherever you have planking (or in this case, planksheer) going over a curved span, it's not a bad idea to have filler material underneath to aid in maintaining the curve. Is it necessary here? Not sure, but as you can see, I did the exact same thing that you did.
Also, you too got to my first response before I changed my original reply to your question.
-
On 12/21/2023 at 8:48 AM, JSGerson said:
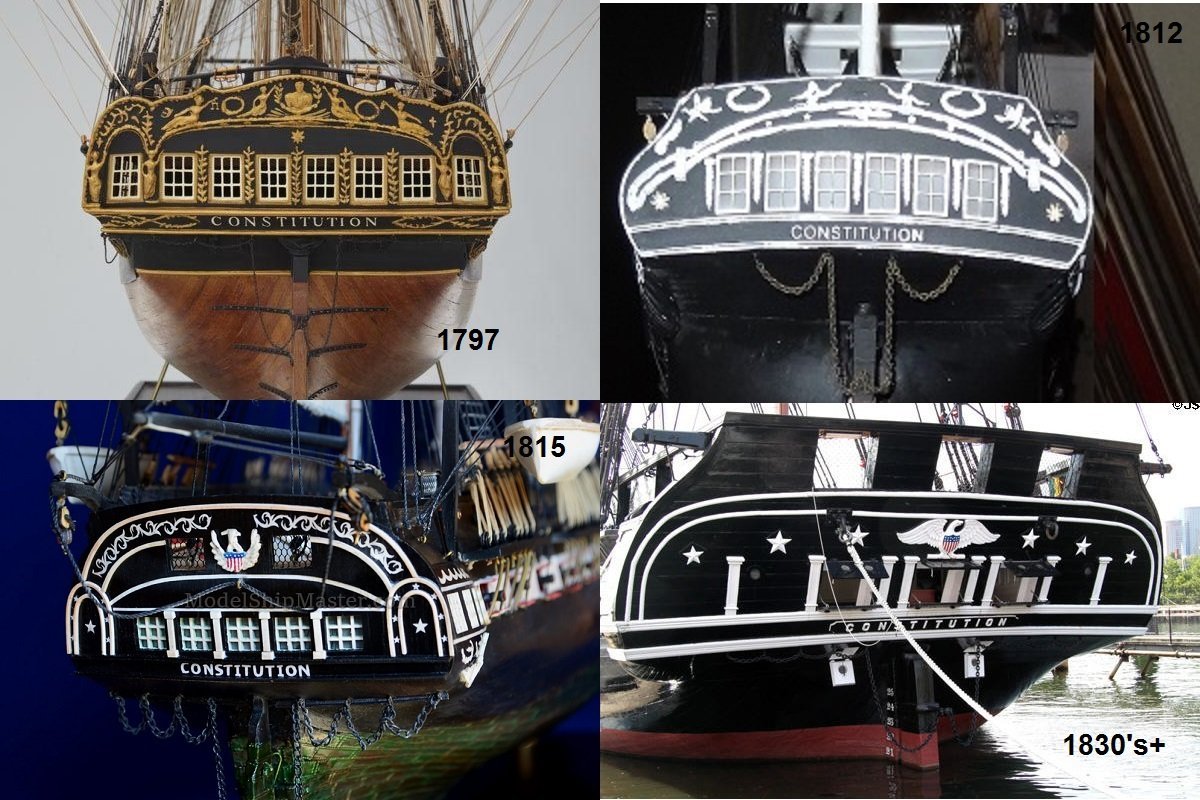
The transom like other parts of the ship changed over the years, so I hope these images help. The close-up image is present day, The image with windows sashes was 1914. I believe the sashes were removed after the 1927 renovation as seen in the 1934 image with two guys in a row boat. I also gave you a historic montage as to some of the changes that took place.
Jon
Jon,
Where did you get the photo with the 1797 version below? I'd love to see more photos of the hull. I like the contrast between the painted uppers, and the natural finish on the bottom.
Thanks
Peter
I apologize in advance to Mustafa for bogarting in on his build log. These photos came from an earlier post in his build. Feel free to delete.
- mtbediz, mort stoll and GrandpaPhil
-
 3
3
-
-
On 4/19/2024 at 3:19 PM, SUBaron said:
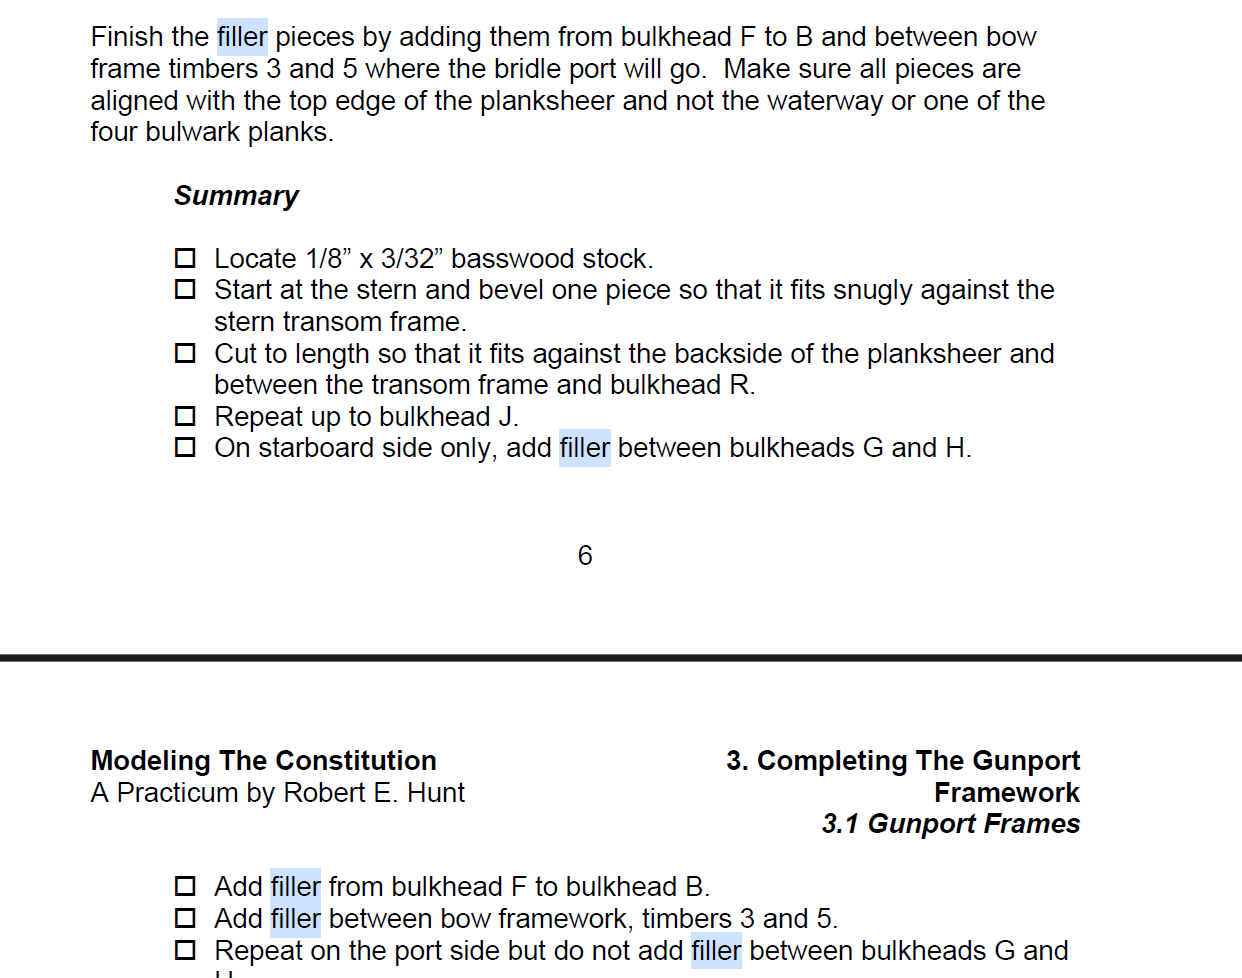
Practicum question - Hunt’s guide states to add an outer Planksheer (filler) between bow framework timbers 3&5. Shouldn’t that be 2&3?
(P.S. to Scottish Guy, I just edited my reply because, in the first go-aroung, I answered the wrong question. I though Andre was asking about the support for timber 4)..
No, Bob's right. The bridle port is between timbers 3 and 5, if I read the plans correctly just now.
-
Greg,
How are you formatting your photos in these posts? Or asked another way, how are you getting photos to appear side by side?
Thanks
Peter
-
- chris watton, mtbediz, Stevenleehills and 5 others
-
 7
7
-
 1
1
-
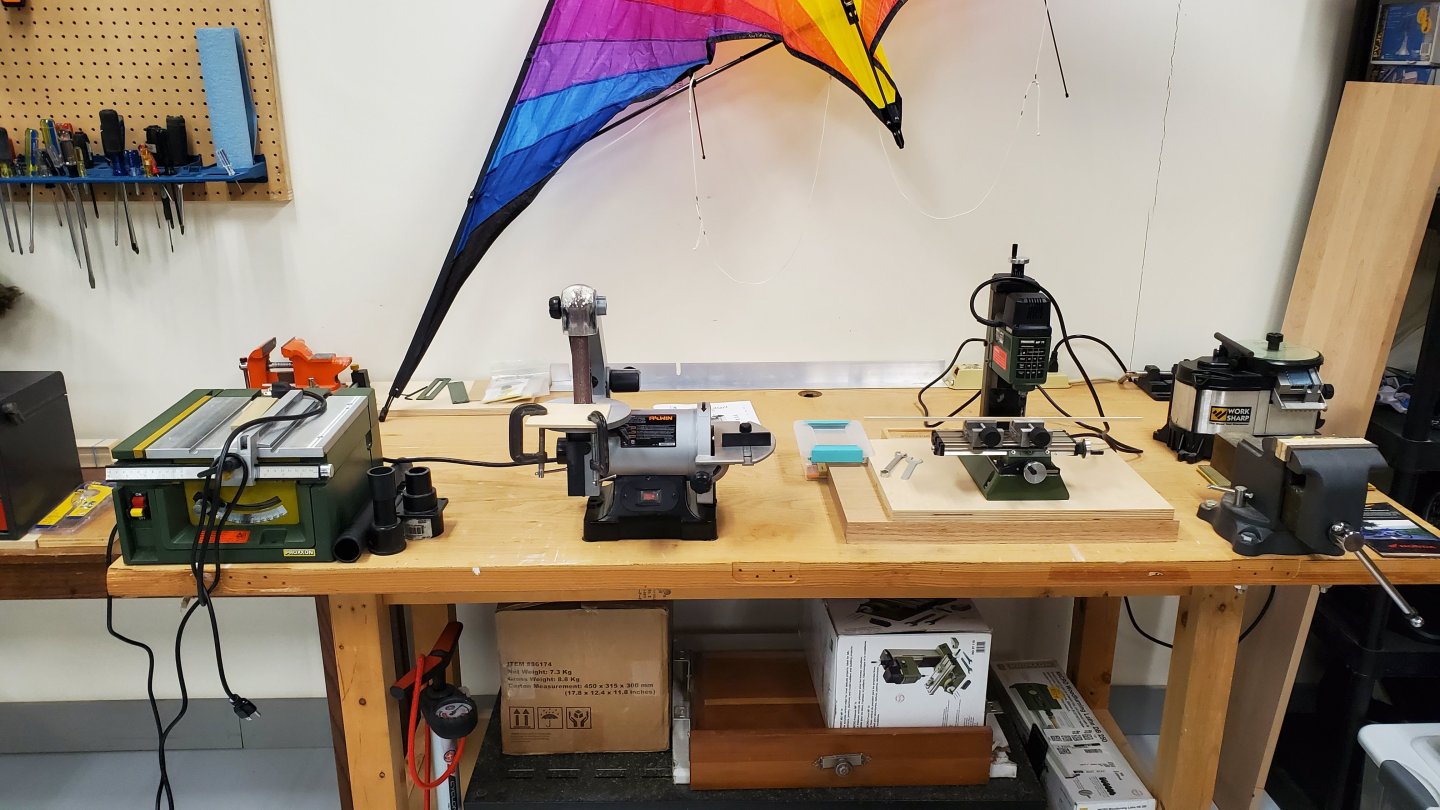
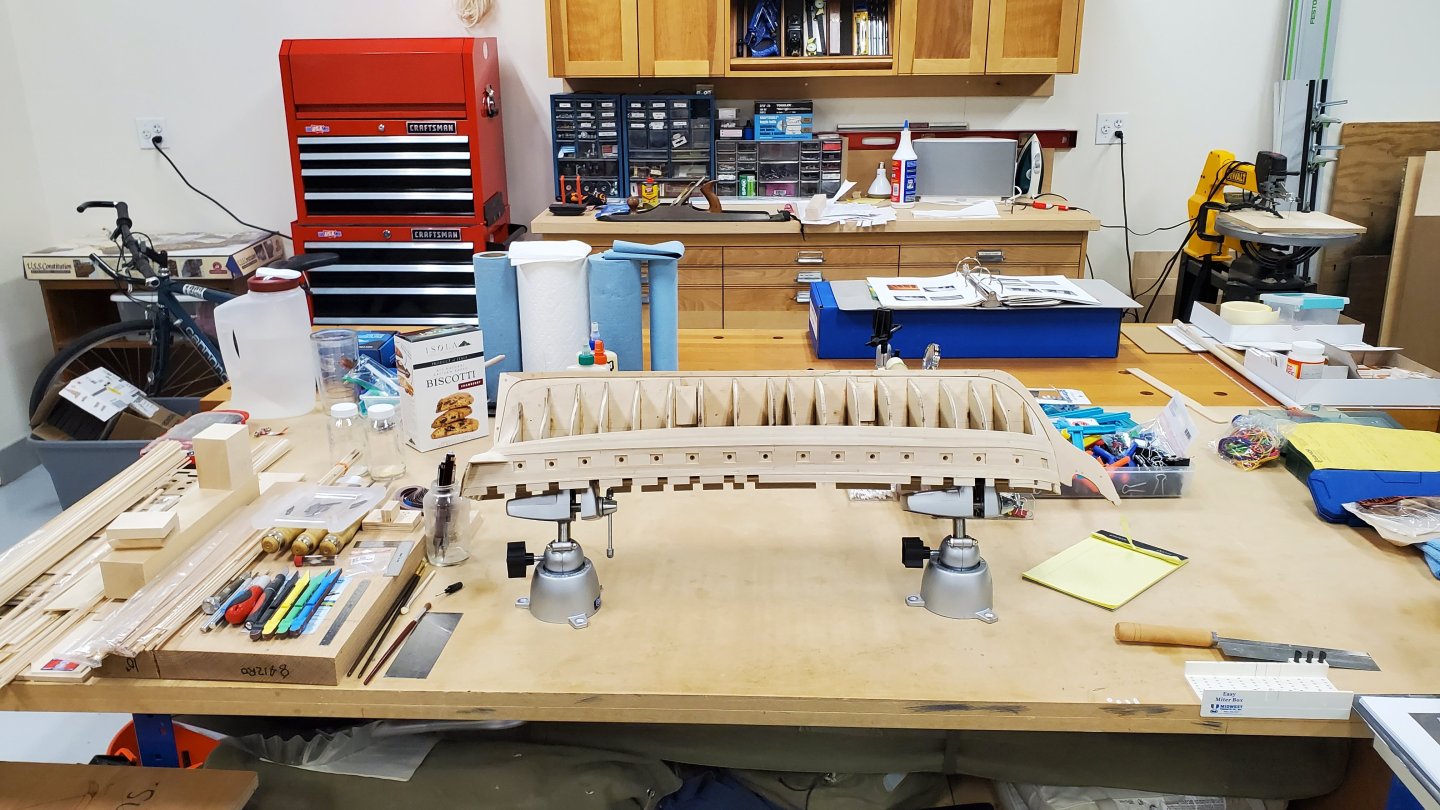
I actually have my own shop in a light industrial mall that is my home away from home. This is the work area in the back where I've been doing my woodworking projects these last 14 years. Before I had the shop, my gear was in the basement of our home. When we moved, and I saw the dust everywhere in the house, I decided to move the shop to another building. While I have no views, I can open the man door in the front and the garage door in the back and enjoy the weather inside when it's pleasant.
Not visible in these views are bulk of my power tools. Table saw, band saw, sliding miter saw, router table, spindle drum sander, belt drum sander, drill press and two dust collectors - one on each side of the shop. I will be getting rid of most of that stuff as I transform the shop into a garage-o-minium in the next couple of years.
-
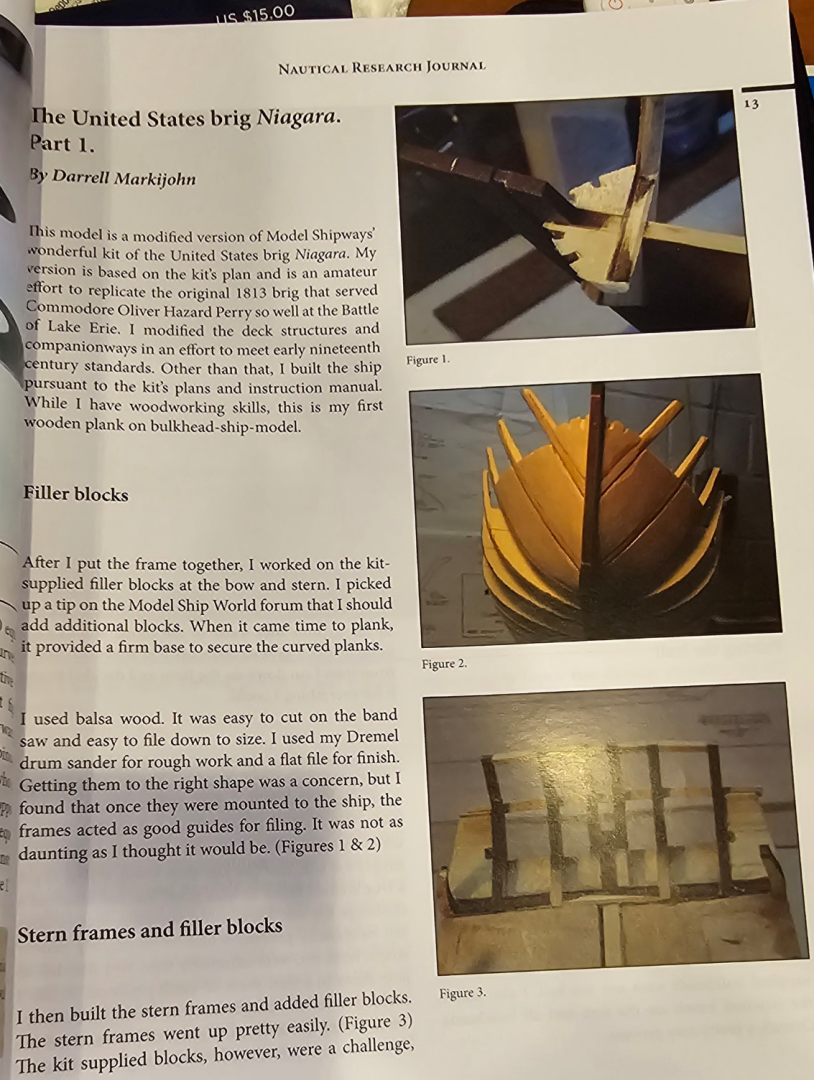
5 hours ago, SUBaron said:
Peter - Thanks for your suggestion regarding the filler blocks. What's the reason behind your suggestion? And from your experience, would it make a difference if I made them out of hardwood or balsa? Do you feel that a full block is needed to fill the bulwark space? Would just an inch or two thick work? Making these things mostly with hand tools is a bit of a PIA, so I'm hesitant to do it, especially with no plans to work off of. But I know if you suggested it, it's likely worth the time! My guess is that without them, the planks began to buckle a bit at the bend and/or the markings for the planks was more difficult?
Regards,
Andre
It's hard to put into words, but those gaps are hard to get planks to lay right. Material hardly matters. Use balsa or basswood - something easy to shape. You only need enough to span the space between the bulkheads where ever the planks would lay.
Funny, I could not find this build at Model Ship World, neither did a search of Niagara or filler blocks. The idea is simply to have something to hold the shape of the planks at the bow and stern. Extra surface area is a plus for gluing too!
It doesn't need to be pretty, just to be flush at the bulkheads. If you use really soft wood, balsa e.g. shaping with hand tools and coarse sandpaper should not be much of a chore. Because balsa is even softer than the basswood that came with the kit, this should be easier to do than the filler blocks you already installed at the bow.
- Scottish Guy and SUBaron
-
 1
1
-
 1
1
-
-
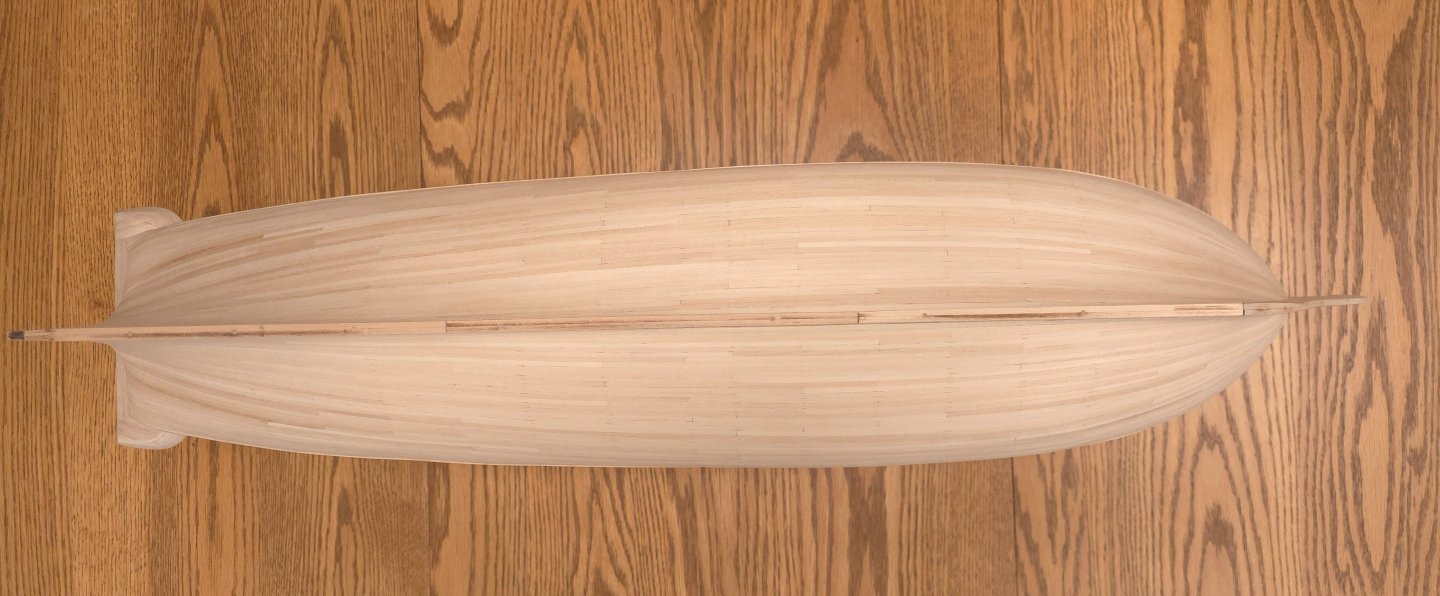
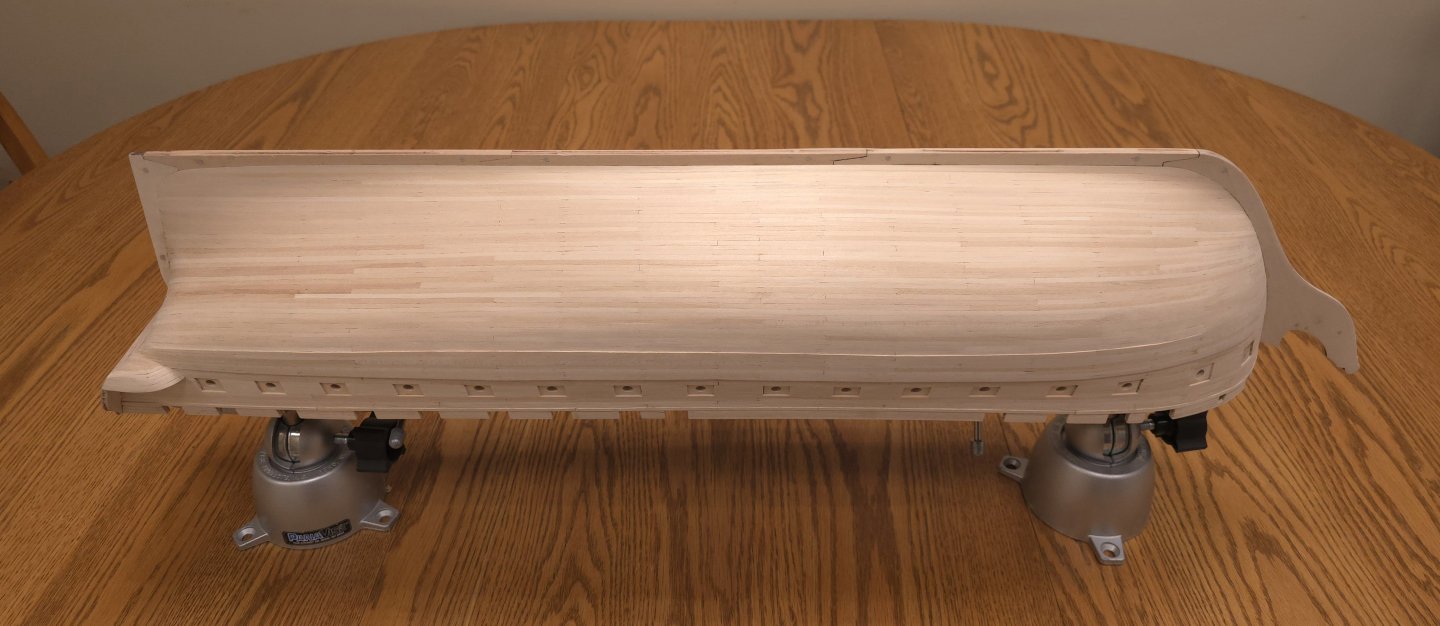
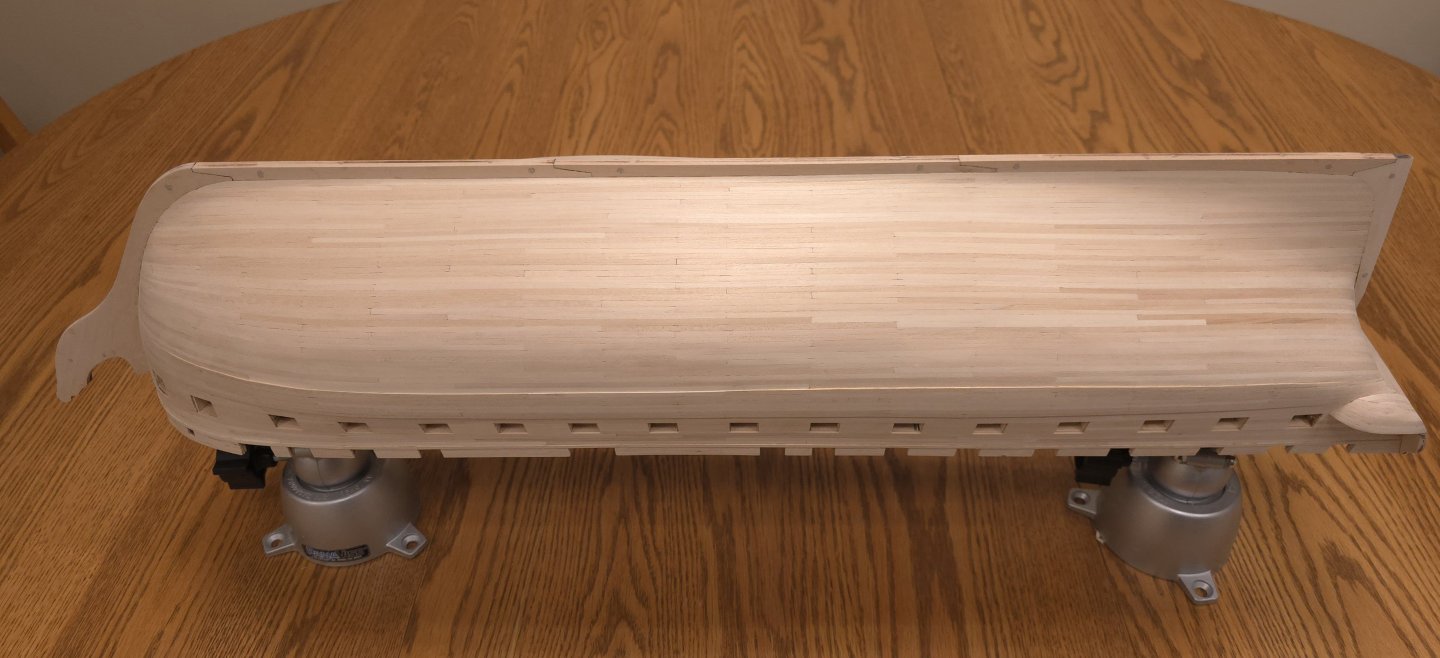
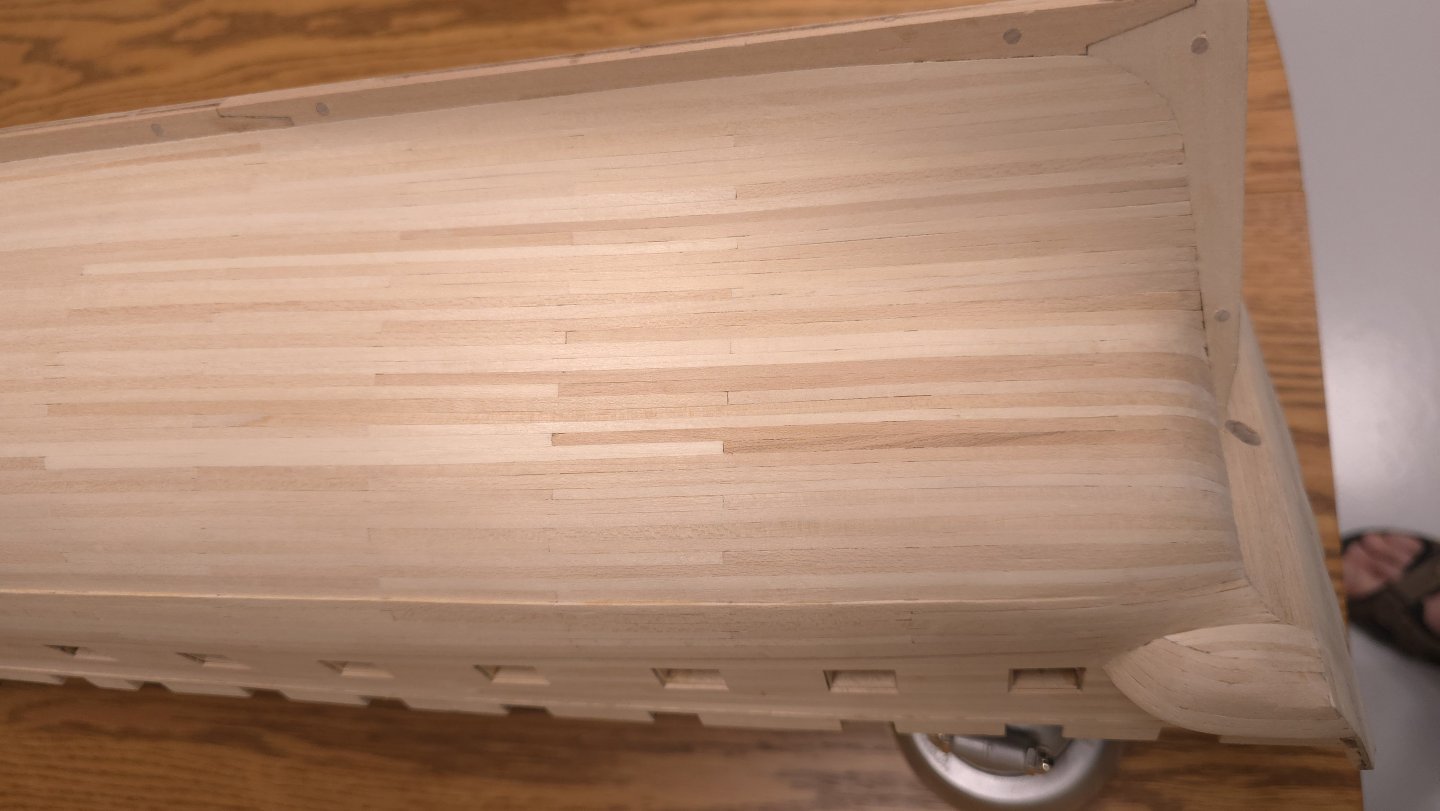
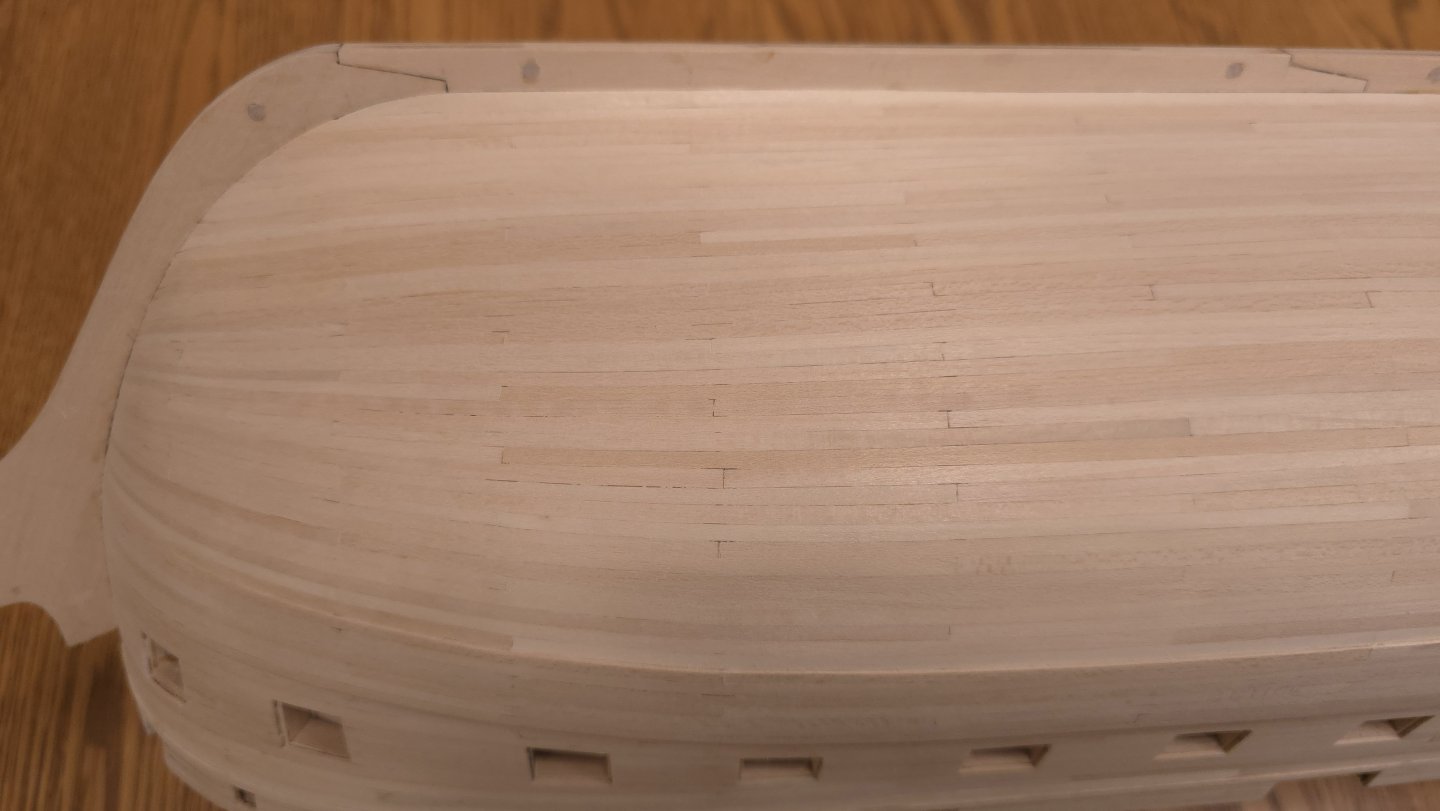
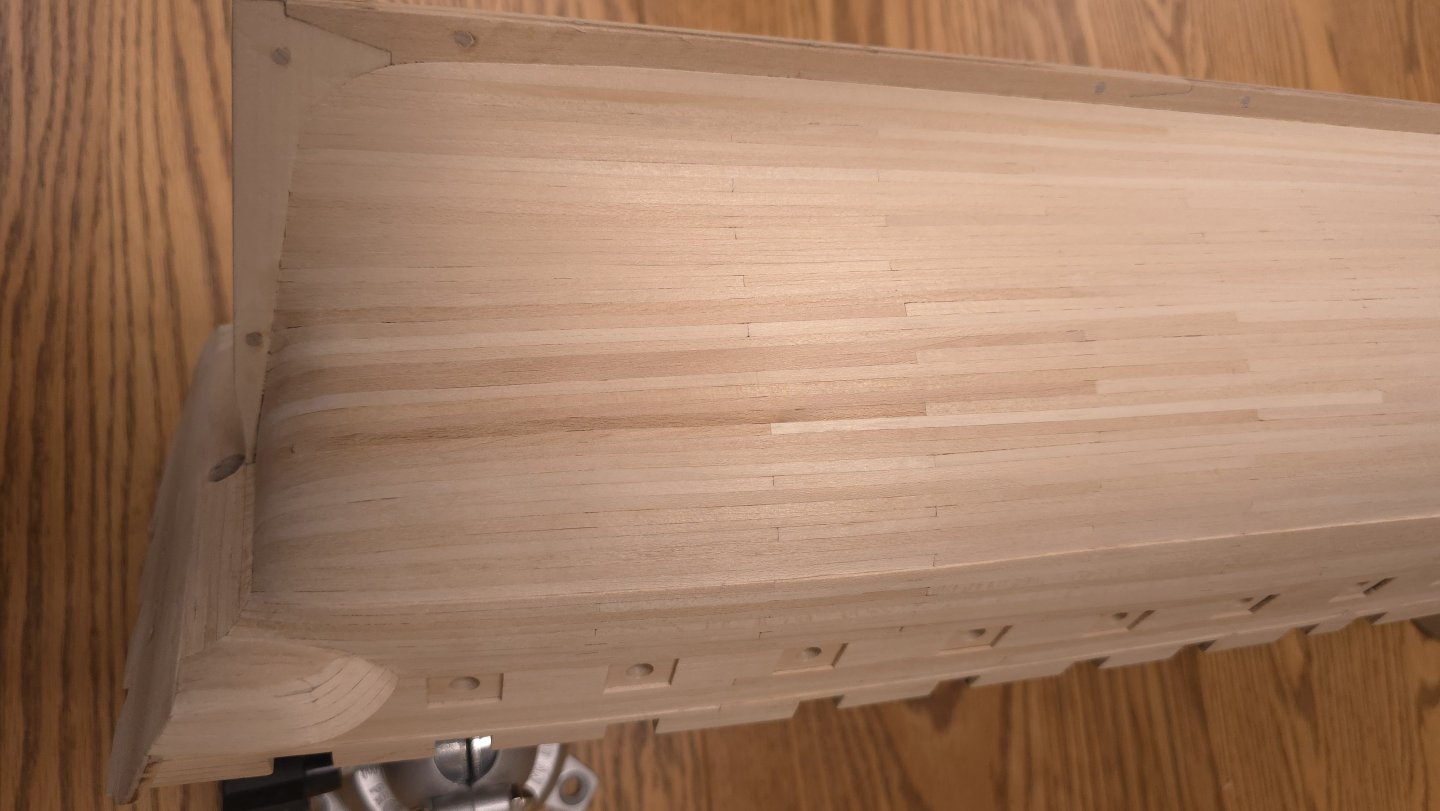
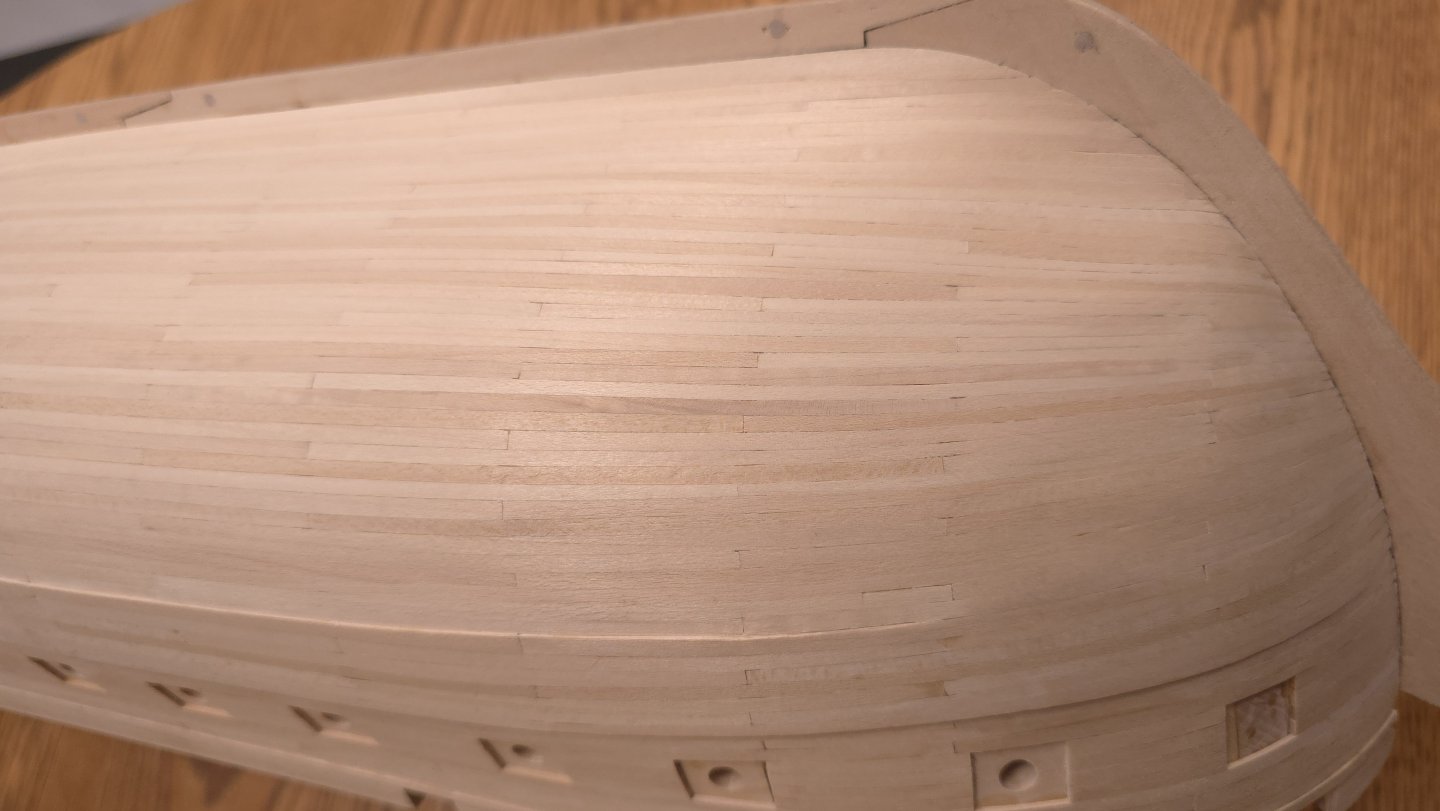
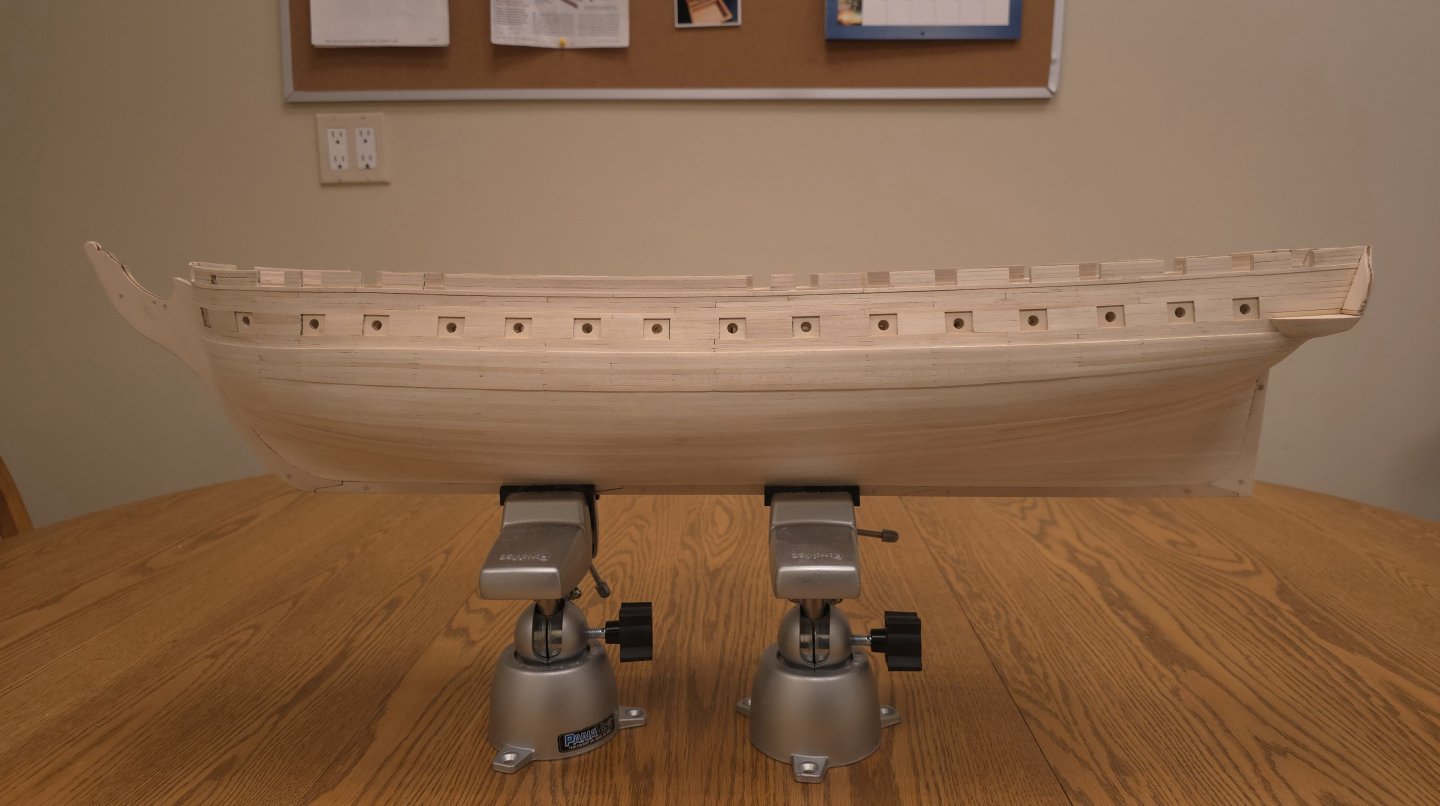
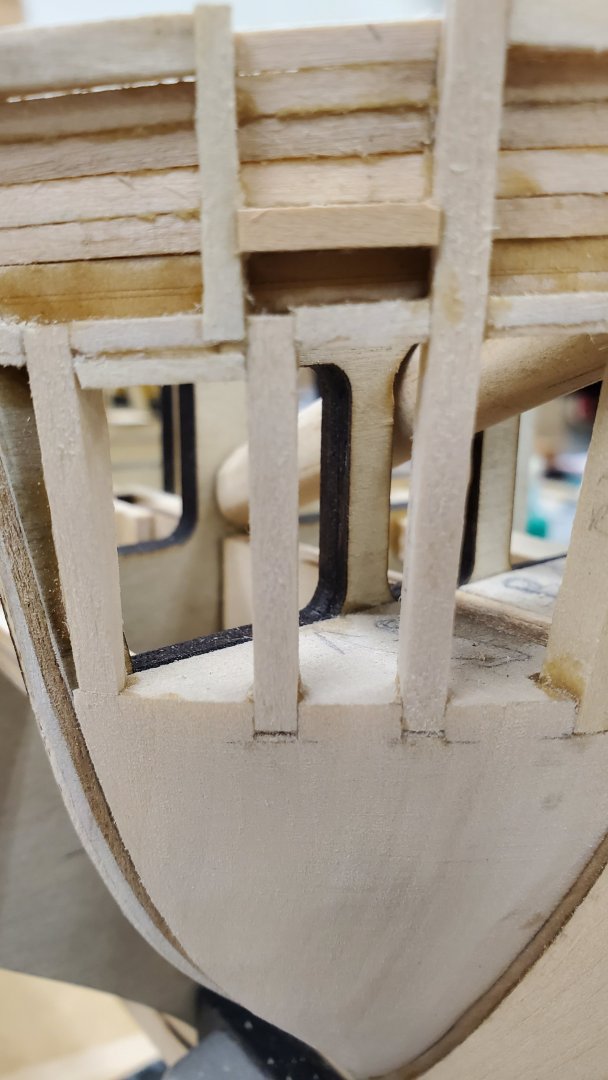
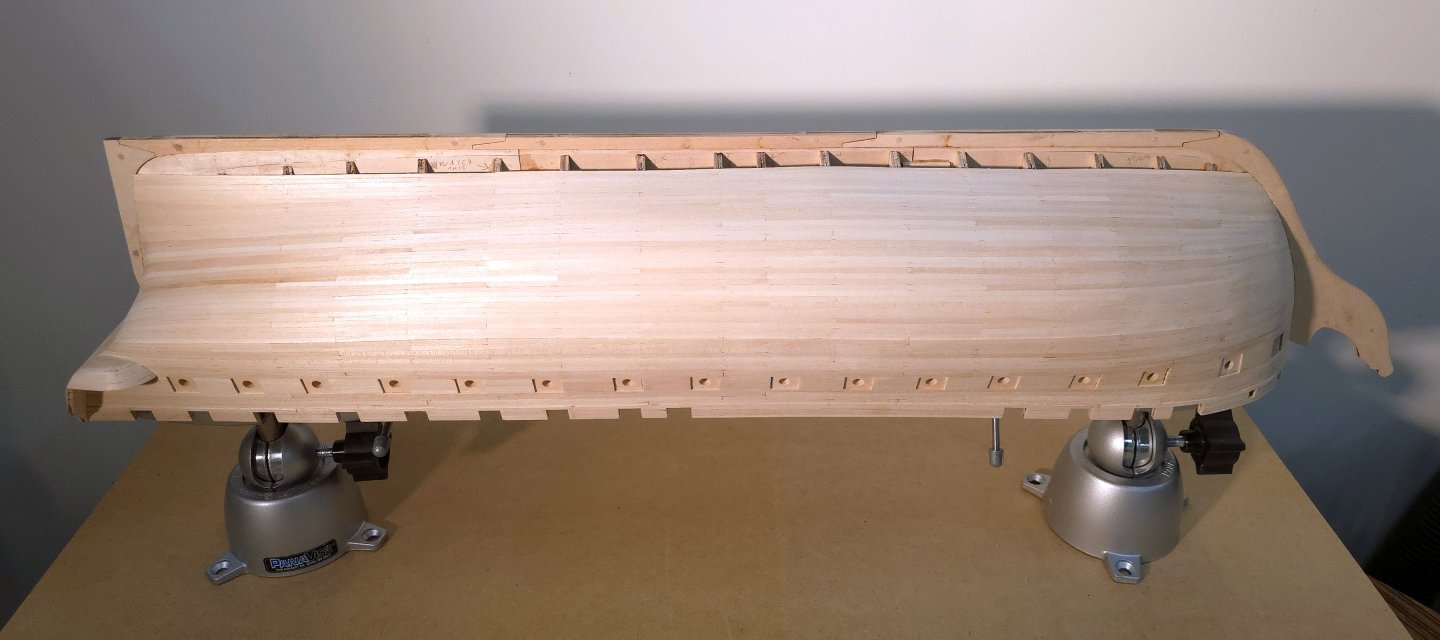
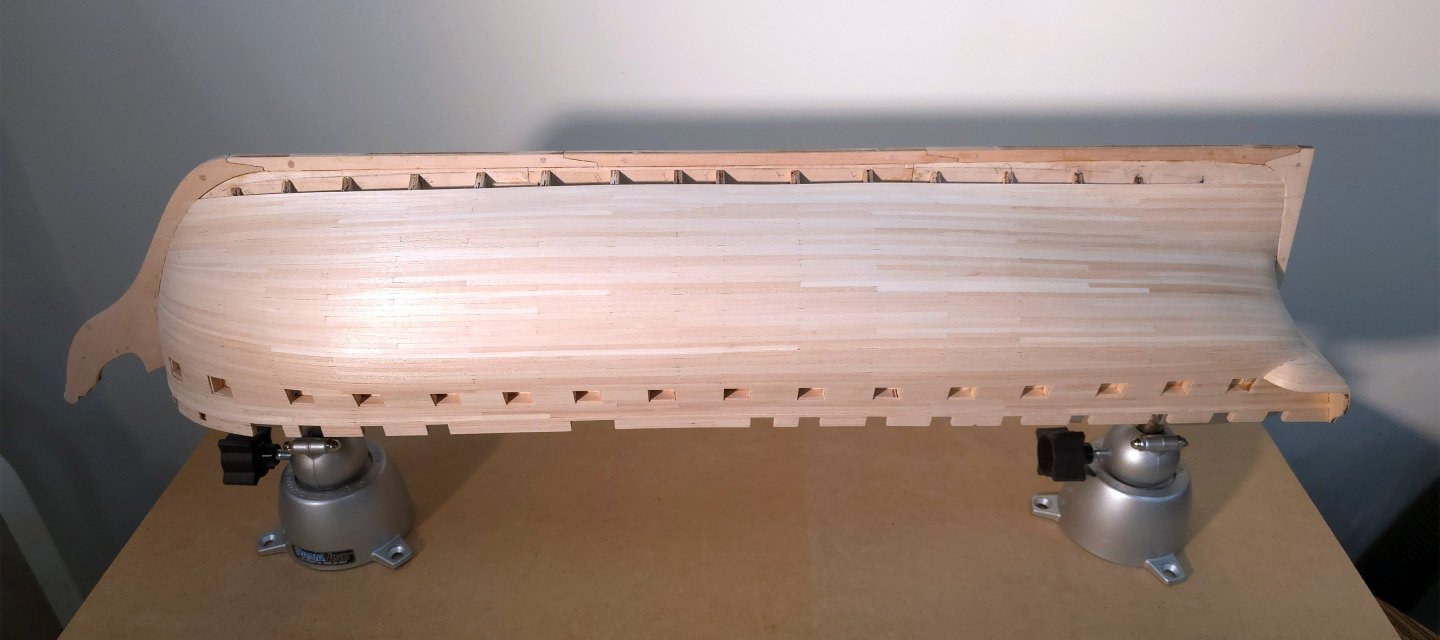
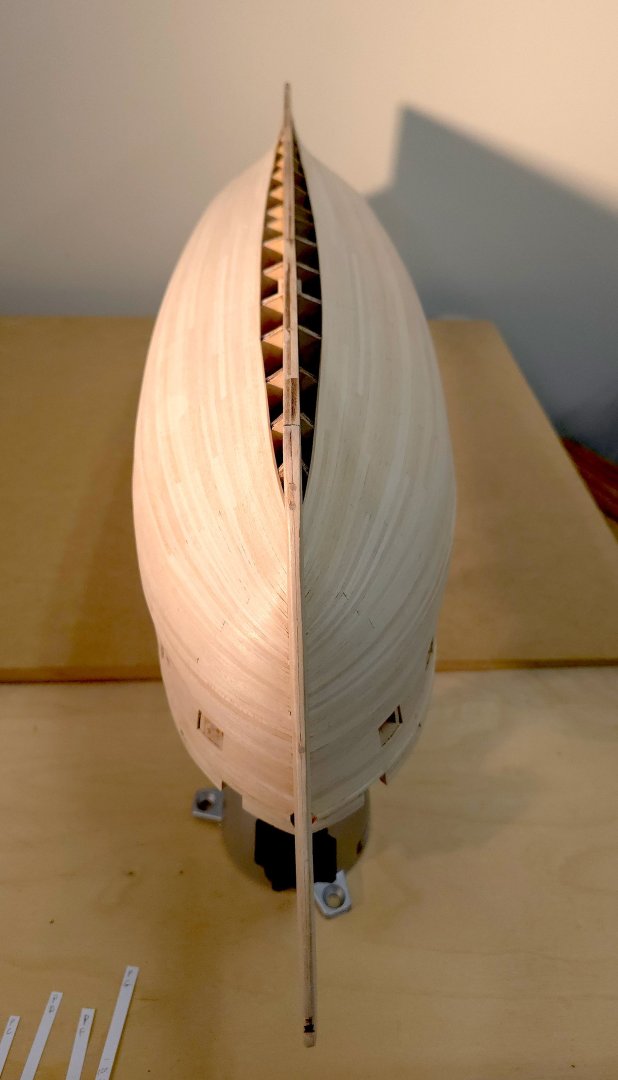
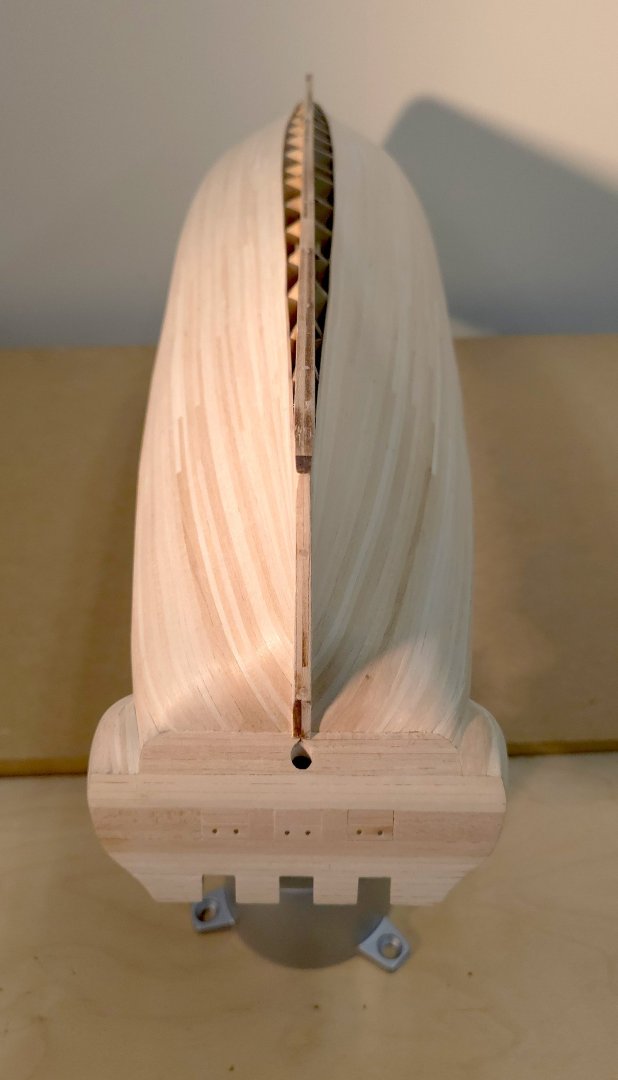
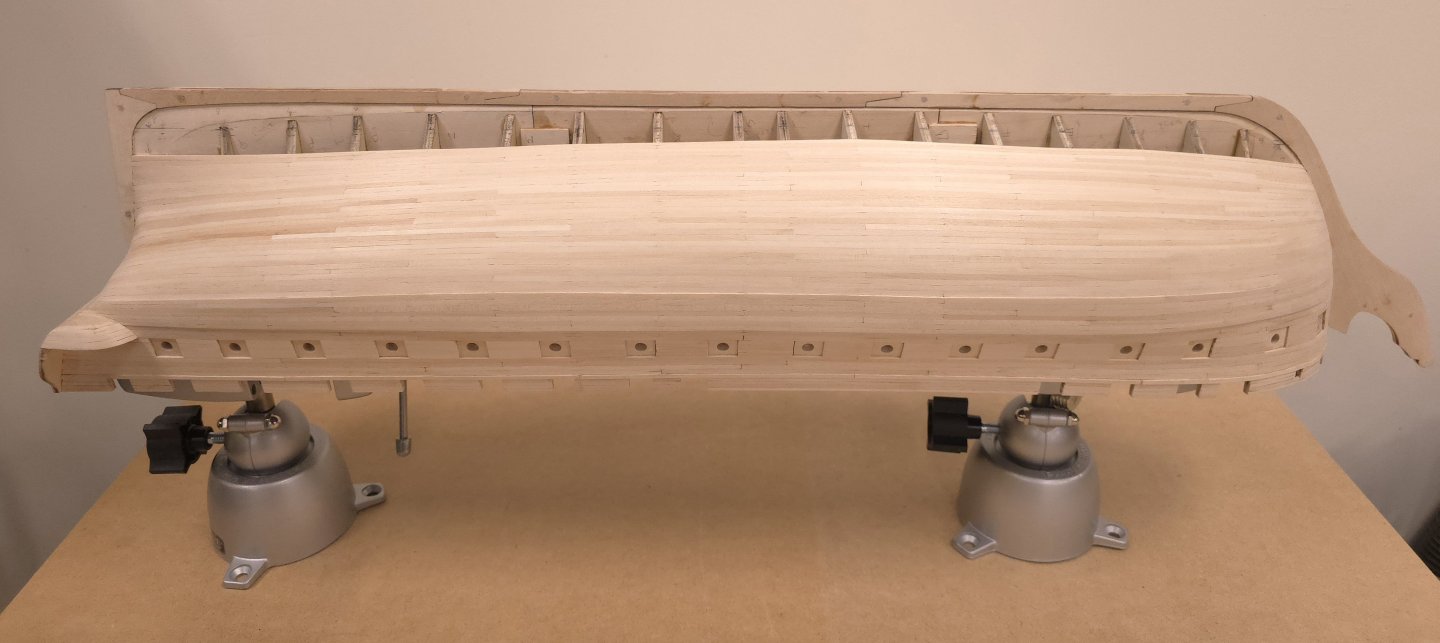
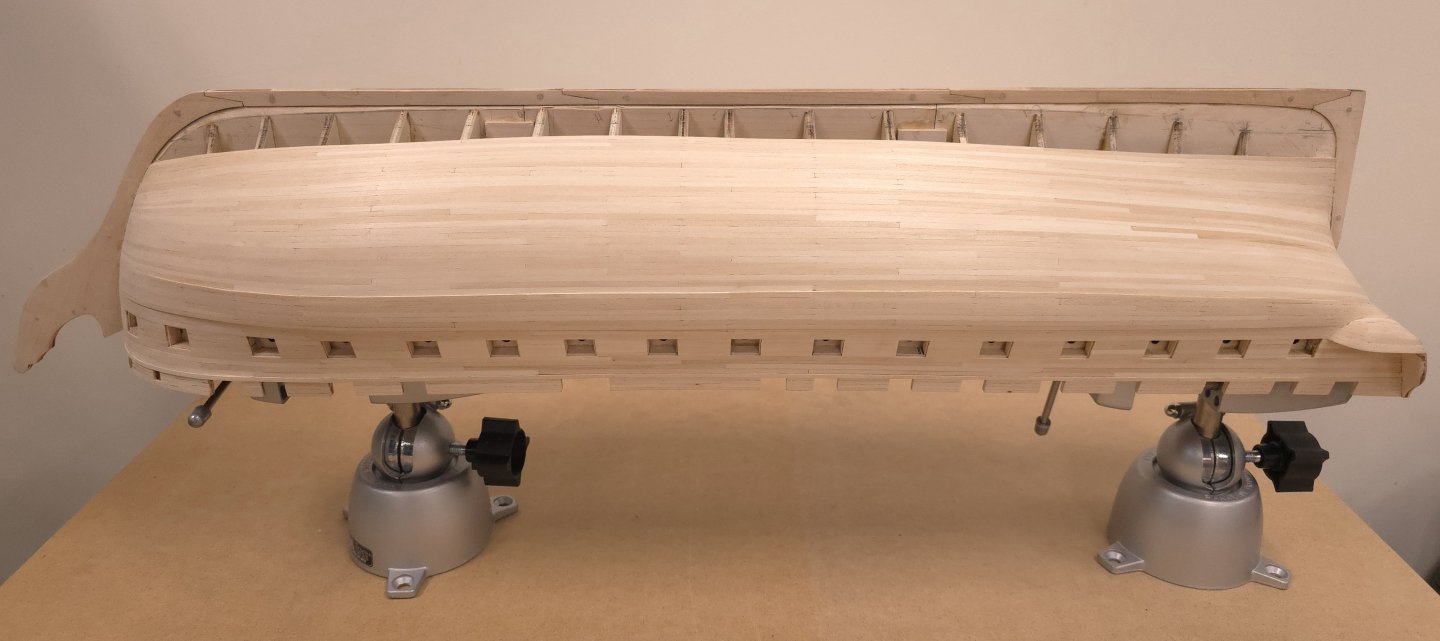
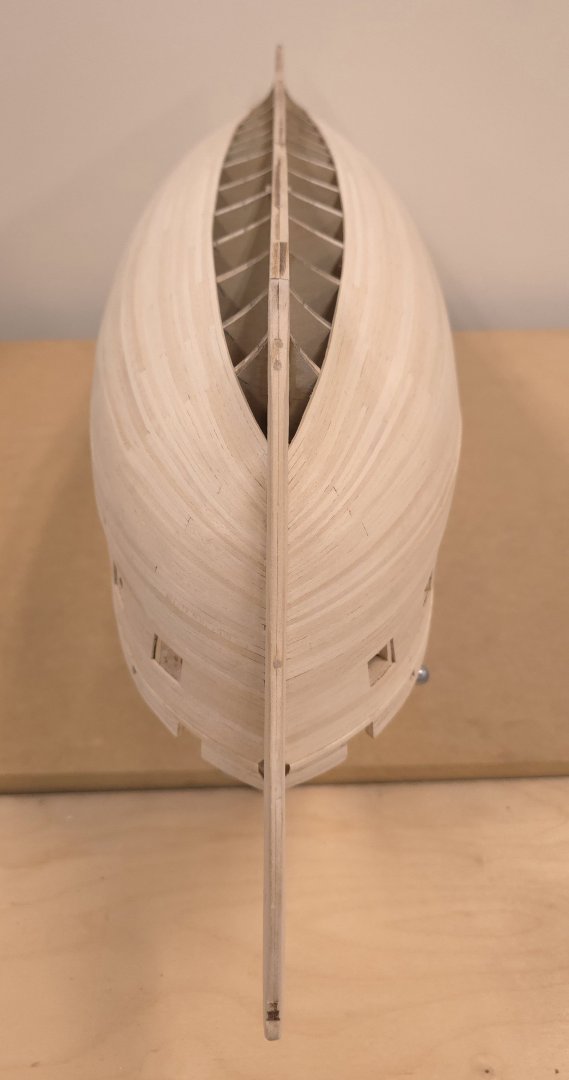
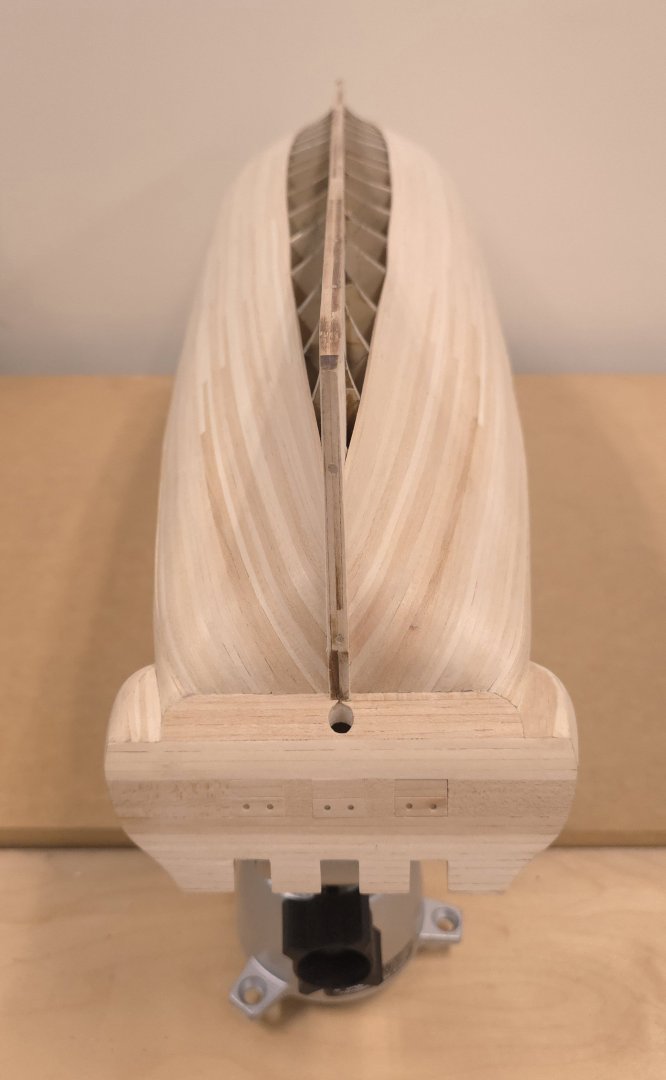
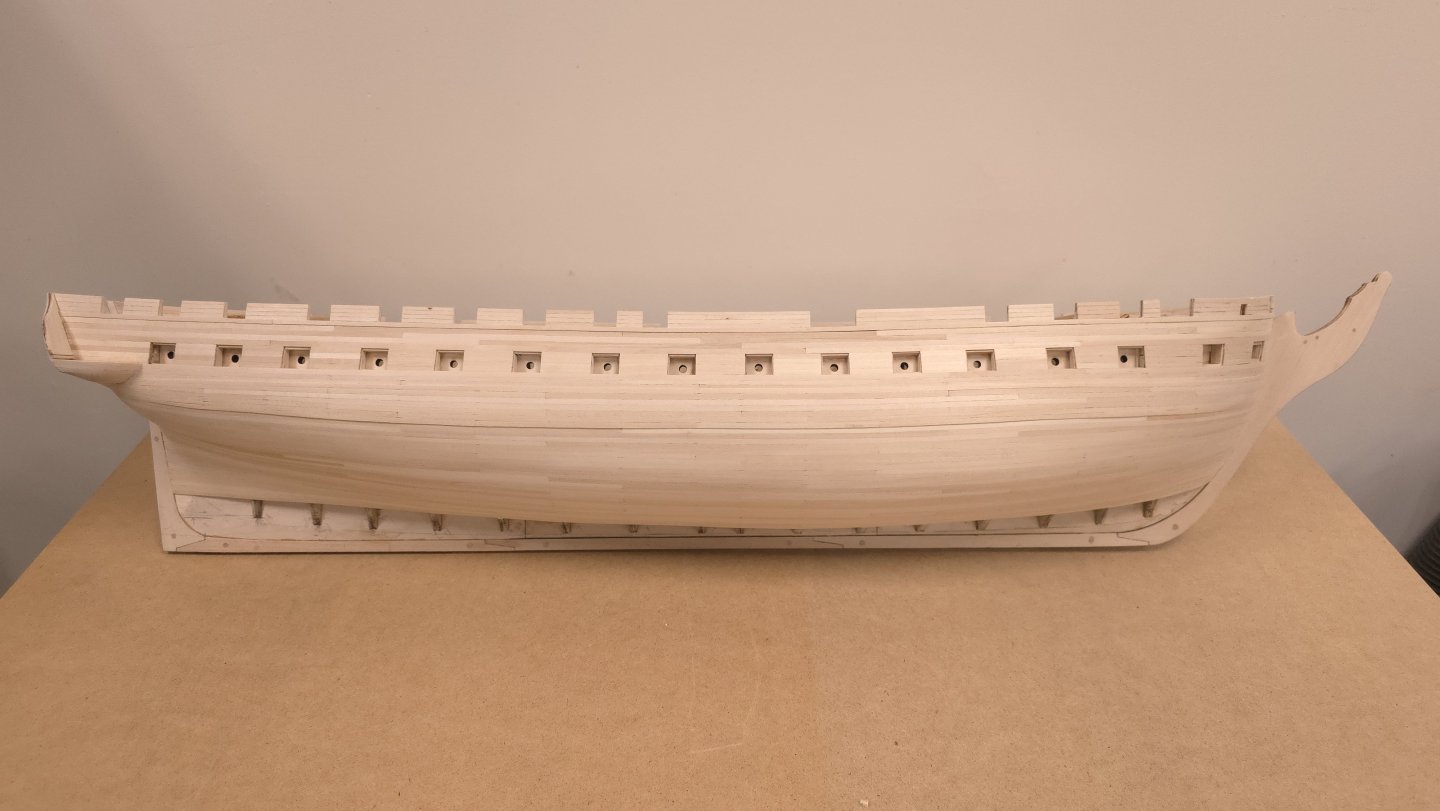
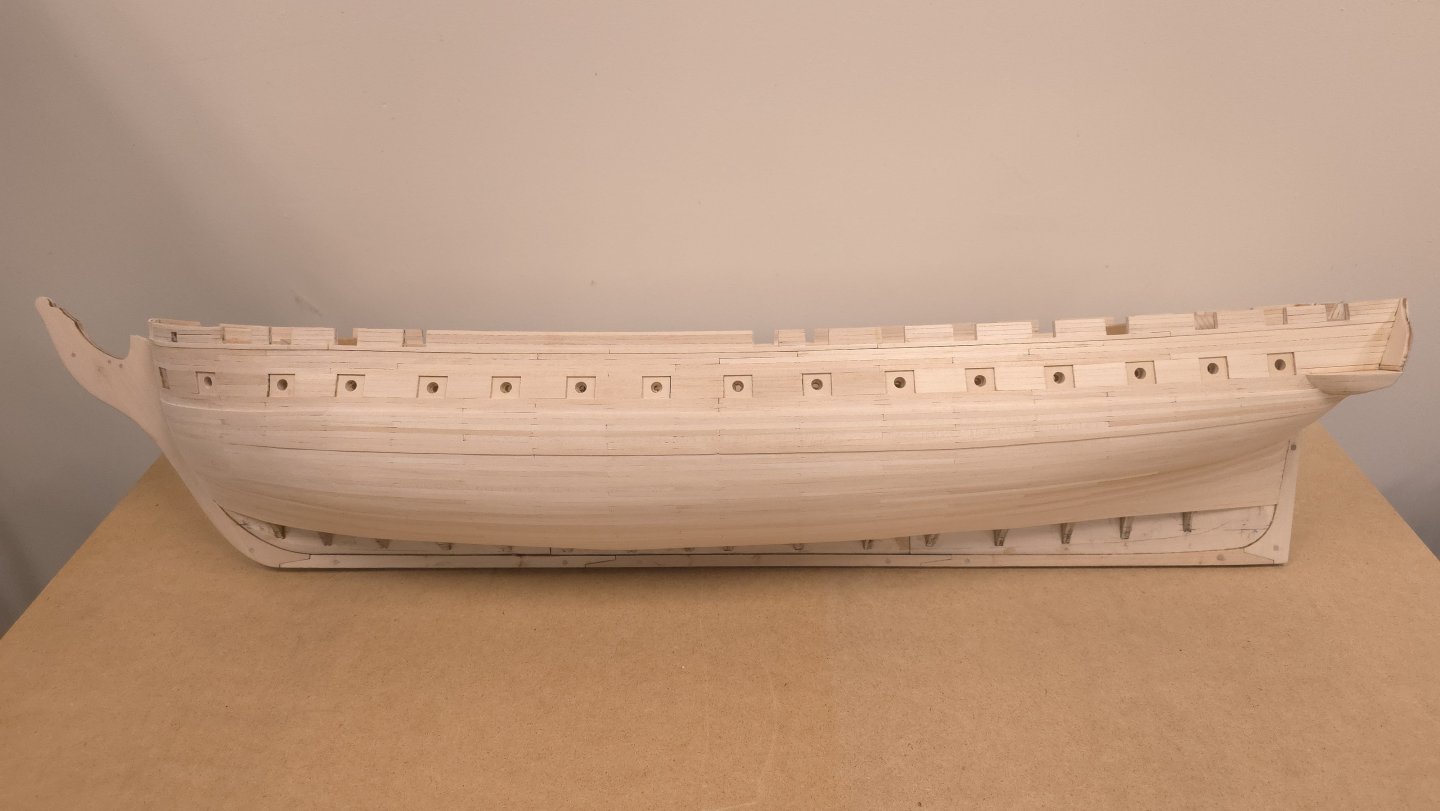
Six down, three zones (or 10 strakes) to go. Man-oh-man, am I ever ready for this stage of the build to be over!
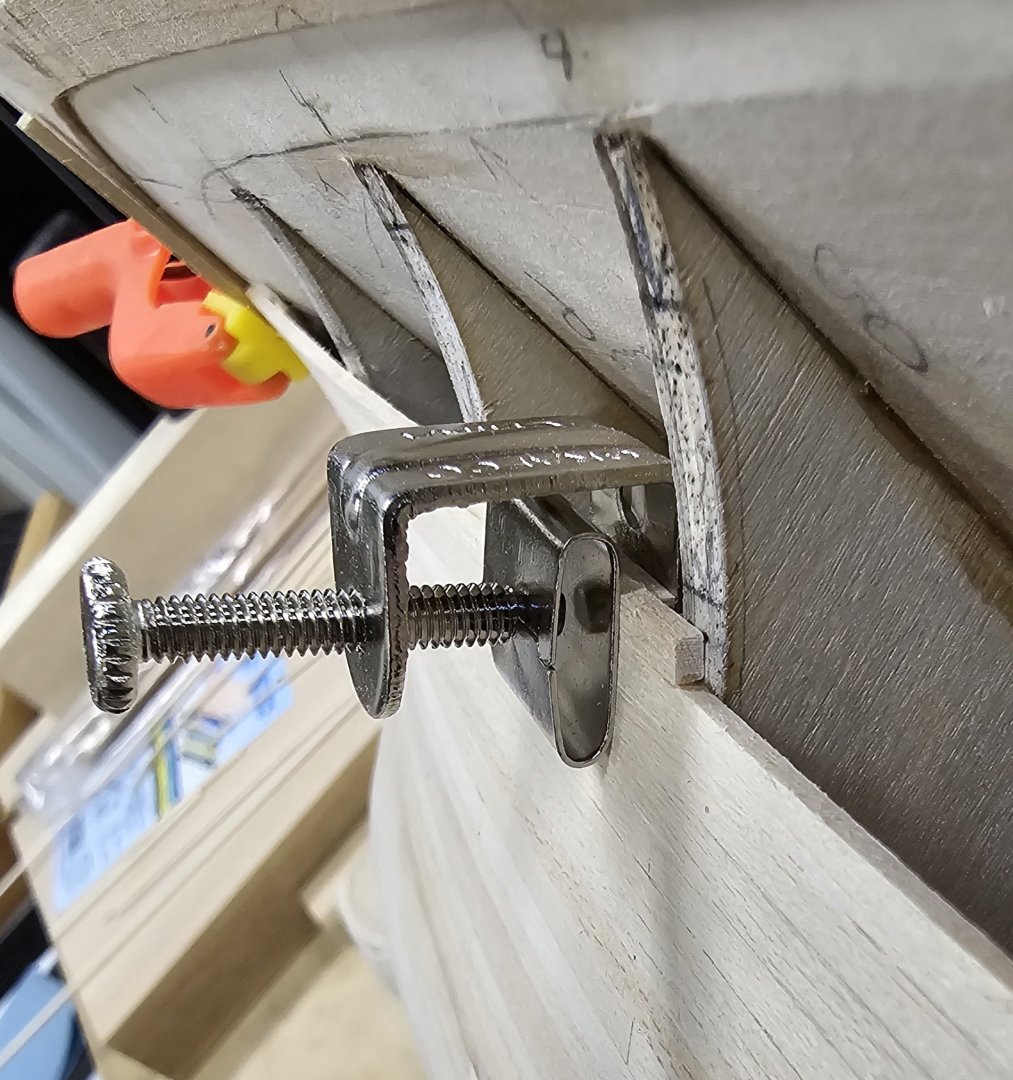
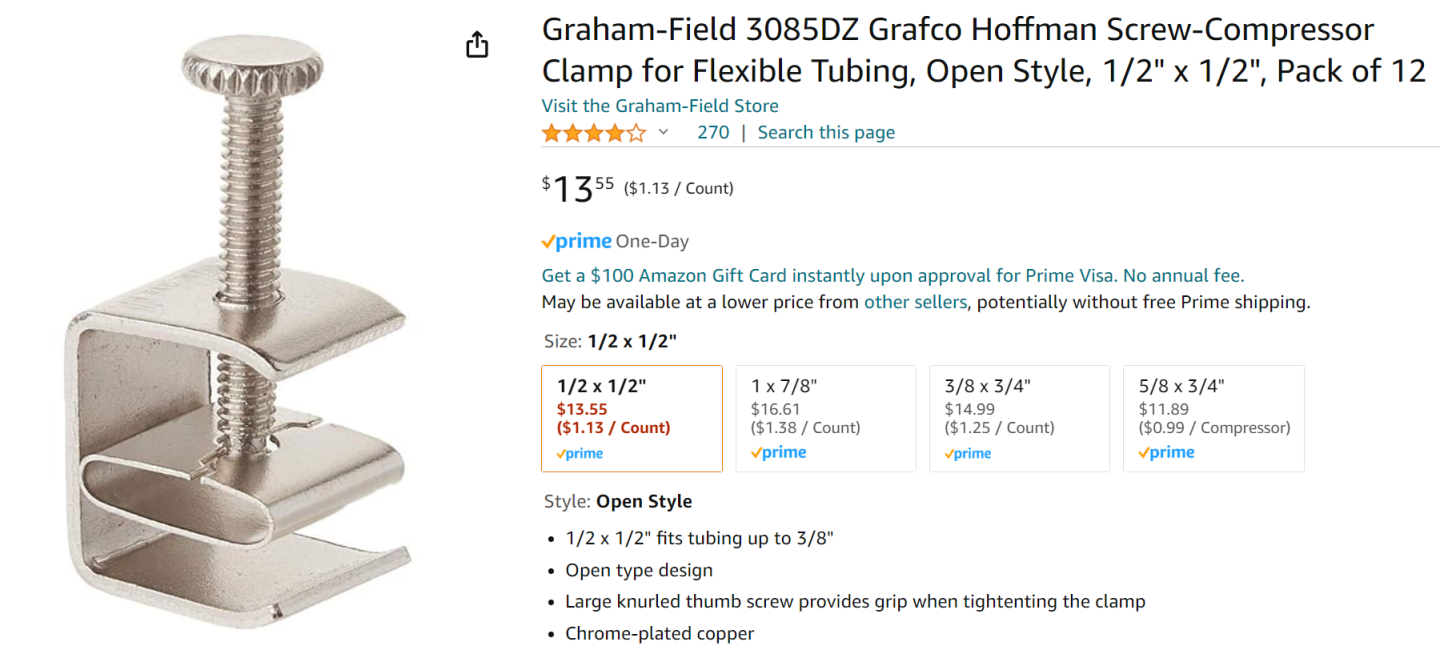
I found some clamps at Amazon that, with a small modification (grinding flat the curved portion that is not visible in the photograph below), works well in the tight spaces I have left. (See last photo in today's batch)
1. That clamp in action:
On to the build.
First, work-side up:
Then for a change of pace, right side up.
The clamp ad at Amazon: Note, I tried gluing a wooden shim on the inside face at the bottom of the clamp as pictured below, but it didn't stick very well. In the end I simply ground off that lip using my belt sander, which made short work of it.
- Geoff Matson, SUBaron, jwvolz and 6 others
-
 9
9

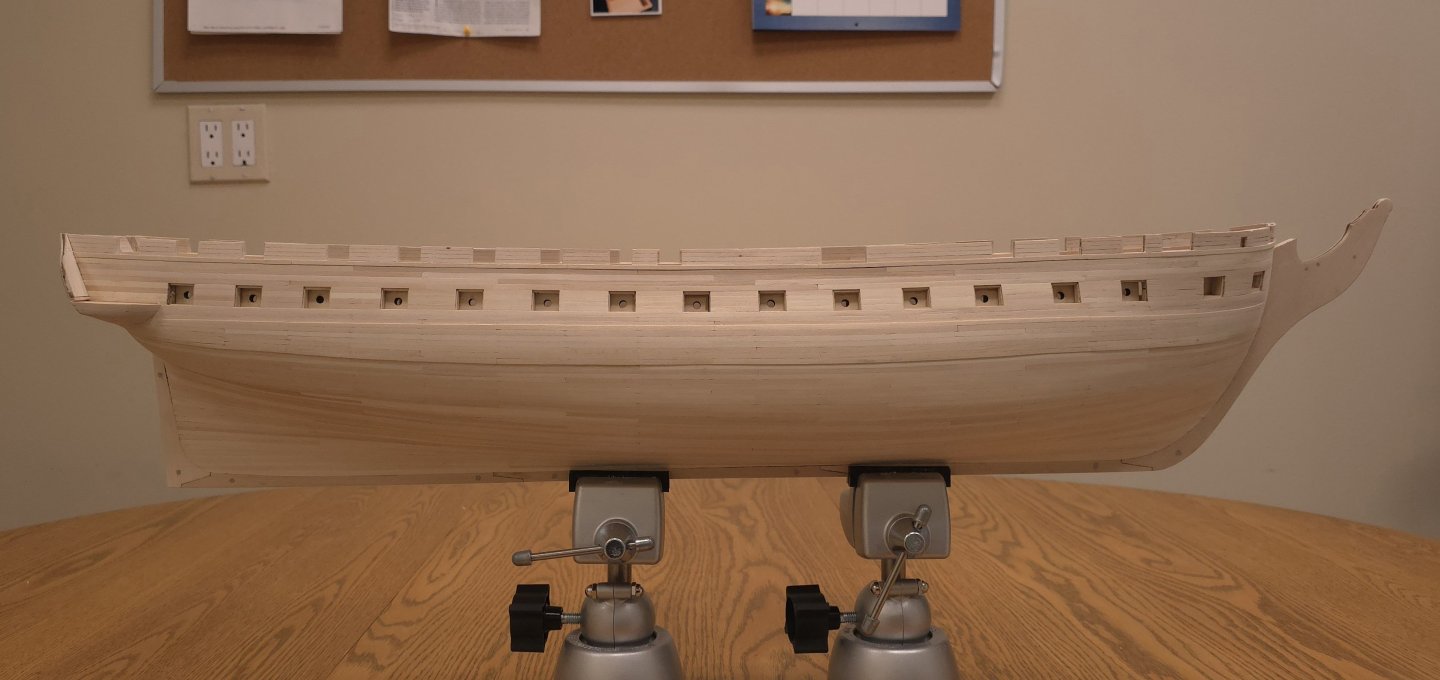
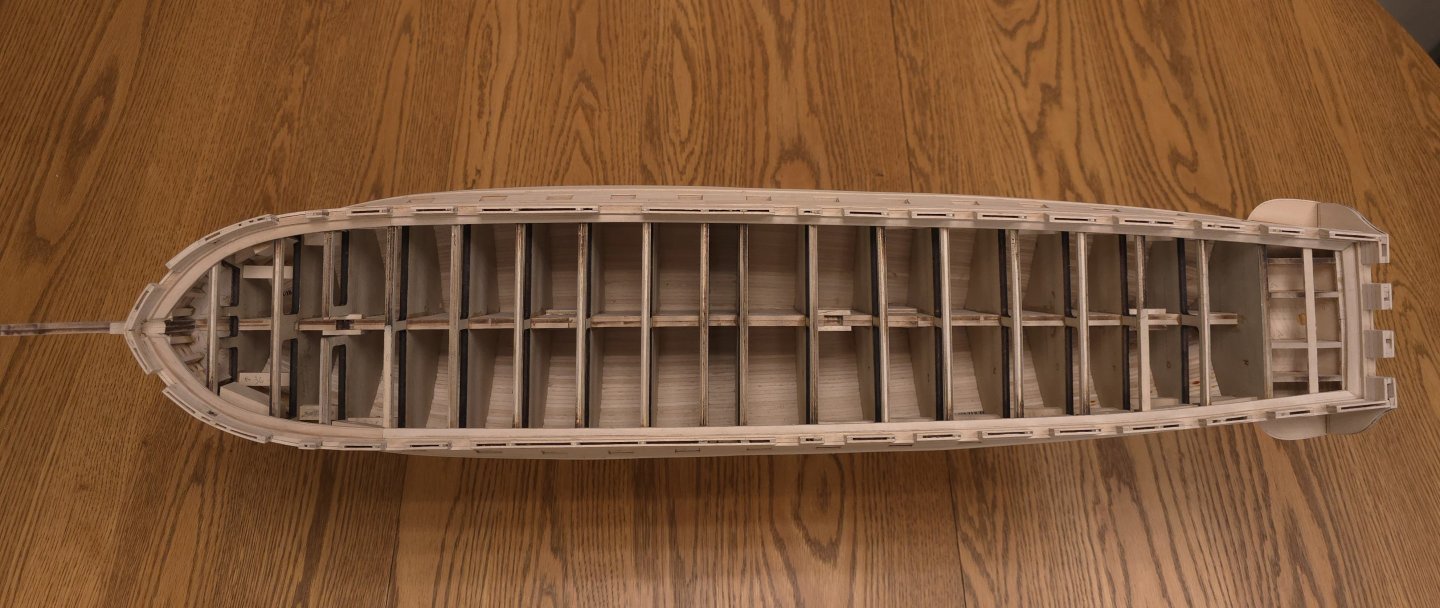
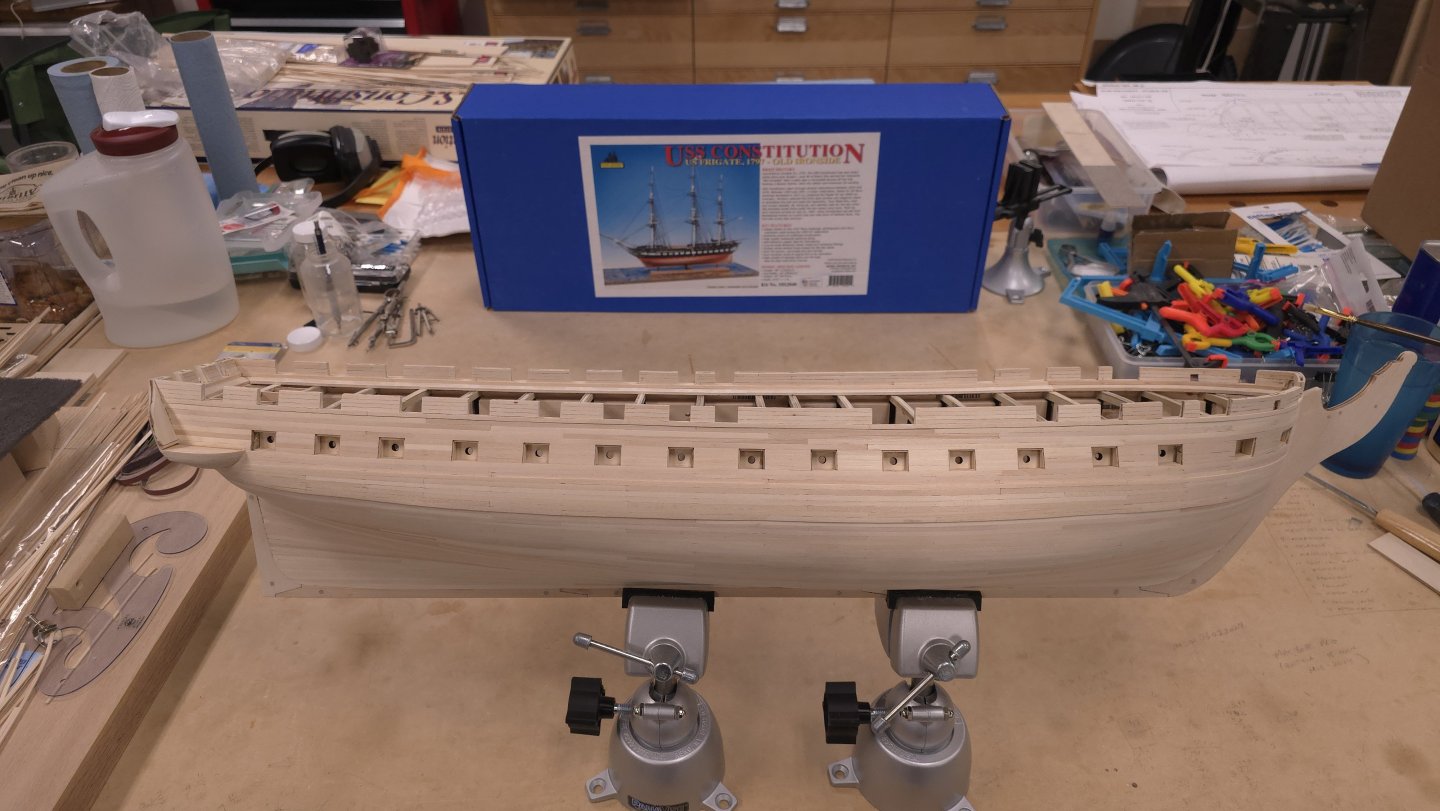
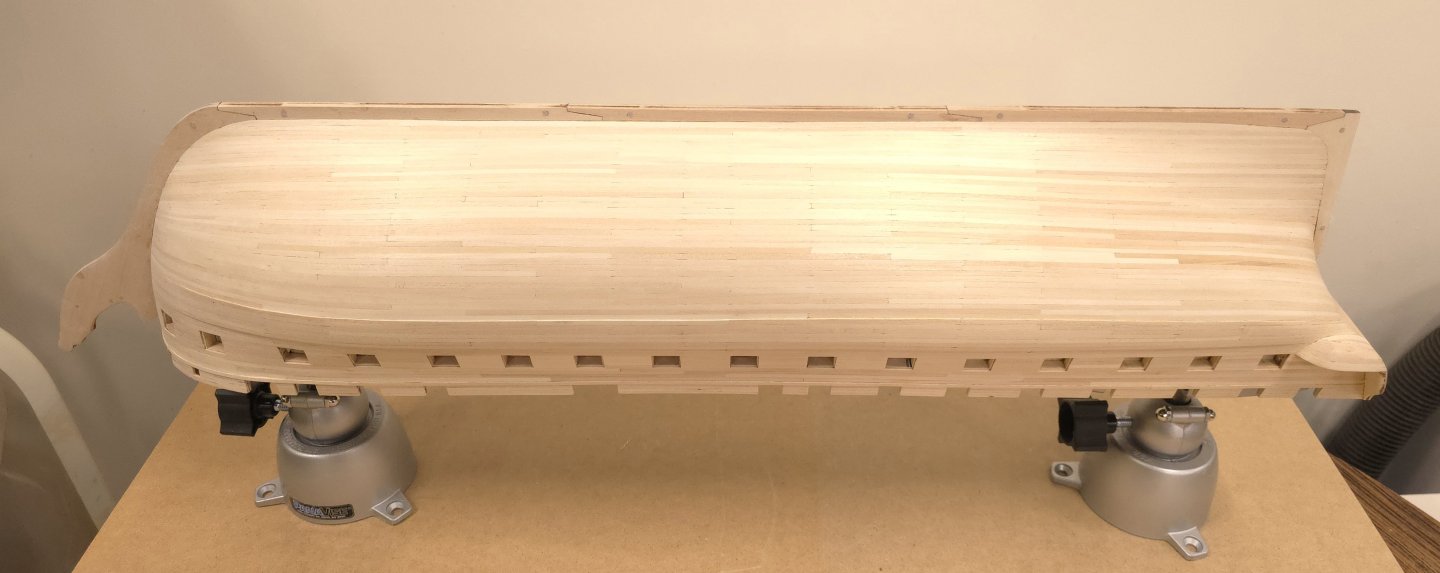
USS Constitution by Der Alte Rentner - Model Shipways - 1/76
in - Kit build logs for subjects built from 1751 - 1800
Posted · Edited by Der Alte Rentner
added content - and, yes, once again corrected typos.
Experimenting with stains and finishes begins. This will take some time because I'm trying oil based gel stain, which I've grown to love using on larger refinishing projects. According to information gleaned from the internet, the curing time needs to be between 24 hours and 3 days before covering with polyacrylic varnish. Why polyacrylic? Because that's what the Hunt practicum advises. He applies no less than four coats of this to the hull after planking but before painting. (why? oh why? Mr. Hunt does your practicum not address painting the hull below the gunports? and why would you need four coats of polyacrylic before you apply three coats of black paint? - but I digress..)
Since I'm still hoping to stick with a natural finish, I want a better/darker color than the kit's basswood hull planking provides.
My first experiment is the plank section on the left. Tried a combination stain/finish in walnut, with the plank in the middle unstained surrounded by one and two coats of the walnut. Next up are three samples using Old Master's gel stain and one Old Master's wipe on stain. The gel is easier to work with, but since I did have one open can of the American walnut, I threw it into the mix. The other three colors are maple, cherry and pecan. The last piece in the mix has only one coat of polyacrylic - so far. After the stains cure, I plan to apply four coats of polyacrylic to those samples as well. Lastly, I'm going to experiment with gluing various parts to these samples to see how well Super Glue holds.
While I wait, time to finish the last step in chapter 3 of the practicum - build a base for Conny. I had a nice slab of oak left over from another project and reacquainted myself with my router table. Oh Gee! is that an ogee? Pedestal fabrication is next. I may unbox my Proxon lathe and try turning the pedestals myself.
Another option: Black dye. I used this with fantastic results on another project years ago where I wanted to simulate ebony. Now, to use this, I'd either have to apply it to the wood before doing anything else (besides sanding), or I'd have to mix it with clear polyacrylic. Here, I applied the dye directly to unfinished basswood sample. I wasn't happy to see the warping, but think this won't be a problem on the hull, given everything seems to be solidly affixed. If I decide to paint, then this option would give me a solid black color in one pass.
When I return to the ship yard, I'm going to try mixing the dye with polyacrylic. Most likely I will still try one of the stains above first. If I'm unhappy with the result, back to plan B, which is to cover with polyacrylic, then to paint. I have experimented with the paint before and learned that multiple coats would be required to cover properly. Hopefully with a dye/poly I can get by with one?