HOLIDAY DONATION DRIVE - SUPPORT MSW - DO YOUR PART TO KEEP THIS GREAT FORUM GOING! (Only 20 donations so far - C'mon guys!)
×


Patrick Haw
-
Posts
416 -
Joined
-
Last visited
Content Type
Profiles
Forums
Gallery
Events
Everything posted by Patrick Haw
-
Hi Sjors. That work room looks way too neat and organized. I'd be embarassed to show you the state of mine right now! Patrick
- 1,616 replies
-
- 1
-

-
- caldercraft
- agamemnon
- (and 1 more)
-
Thanks Glenn, Daniel, Grant, Sjors, and Lawrence. Thanks for your confidence in my ability to scratch build new ladders, and I tried, I really did. Spent a lot of time yesterday cutting out blank ladder sides and trying to cut the grooves for the steps, but I just couldn't get them lined up and all at the proper angle. I found that Cornwall Model Boats has some 1:72 scale wood companionway ladder kits (not Caldercraft, but any port in a storm right?). So I ordered some and will do a bit of bashing on them to make them fit right. I have plenty of other things to work on while I wait for them to arrive, so will be posting some new pics soon. Patrick
-
Very nice, neat job on your first planking Sjors. She's going to be very special. Looking forward to seeing more. Patrick
- 1,616 replies
-
- 1
-
-
- caldercraft
- agamemnon
- (and 1 more)
-
Thanks Daniel, Maybe I'll give scratch ladder making a try. Like you said, what do I have to lose? And your efforts give me inspiration! Let's see what happens. Patrick
-
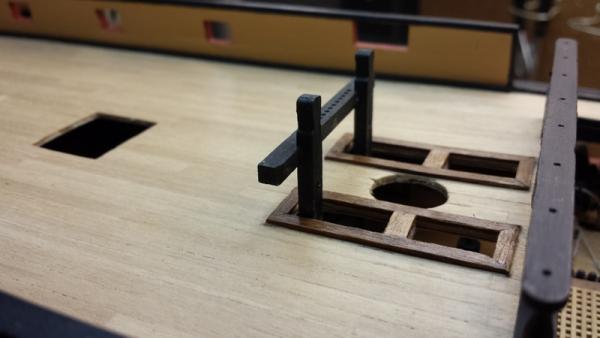
I decided to go the route of using the ladder sides from the admiral's dining cabin companionway to make a new main companionway ladder, and then do the 'faux' companionway for the dining cabin with no actual ladder in it. I figure it will be invisible once the poop deck, mizzen mast, wheel and binnacle are in place. Maybe I could put a fireman's pole in that companionway and have the admiral slide down it to dinner!! Patrick
-
Nice work Glenn. Nice, tight joints between the planks. And where they aren't tight enough...filler and sand, sand, sand! You're going to have no problem getting a very smooth hull. Patrick
-
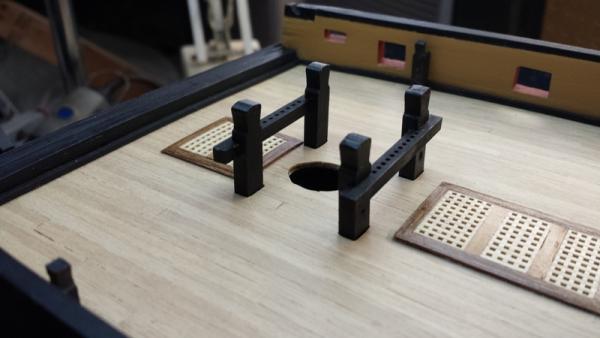
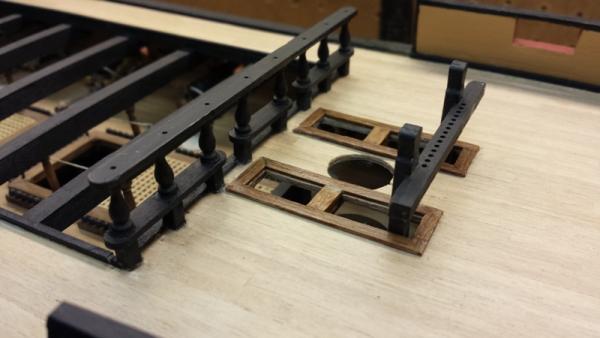
Well, a minor disaster has struck. While dry fitting the main companion way ladder it fell through to the upper gundeck and then, incredibly, went straight down the companionway ladder from the upper gun deck to the middle gun deck. I couldn't have made it do that if I'd tried! But it's lost forever! Now what to do? I don't trust my skills to make new ladder sides with the grooves cut in properly, and it seems a bit ridiculous to try to order two new ladder sides and ship them across the Atlantic. One option is to cut the ladder sides from the companionway down to the Admiral's dining cabin to the right size and use them for the main companionway, then just build the companionway to the Admiral's dining cabin with the coaming and hand rails, etc, but without any actual steps. This companionway is so hidden under the poop deck and behind the binnacle, wheel, and mizzen mast that no one would know there's no actual ladder there I think. Maybe I'll work on the binnacle and wheel while I ponder this one. Patrick
-
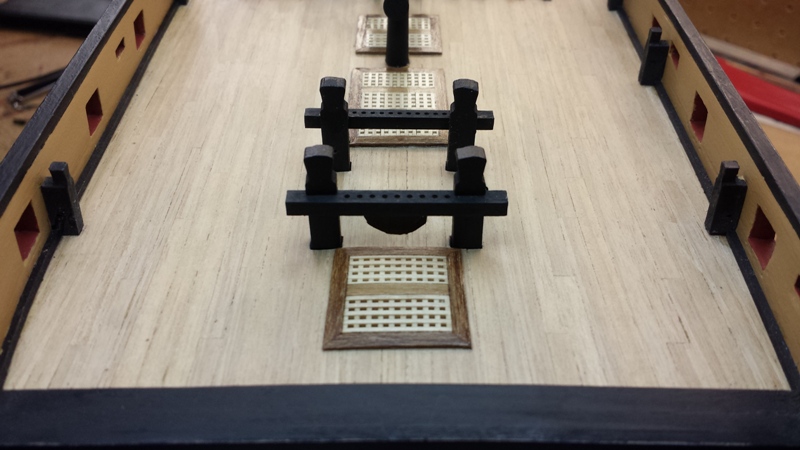
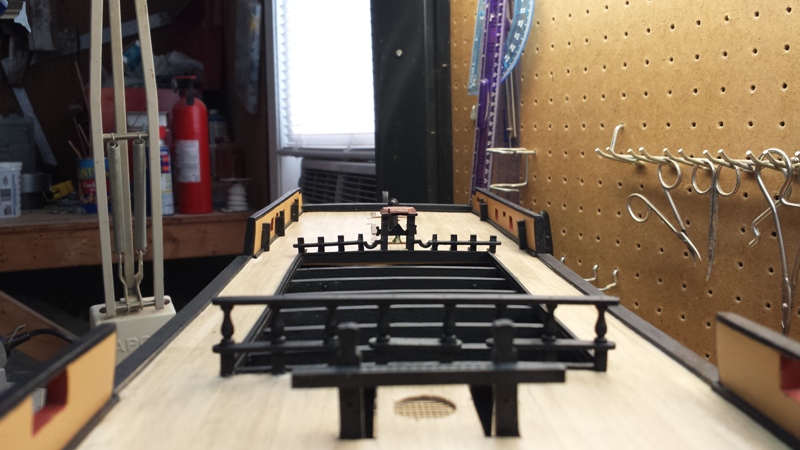
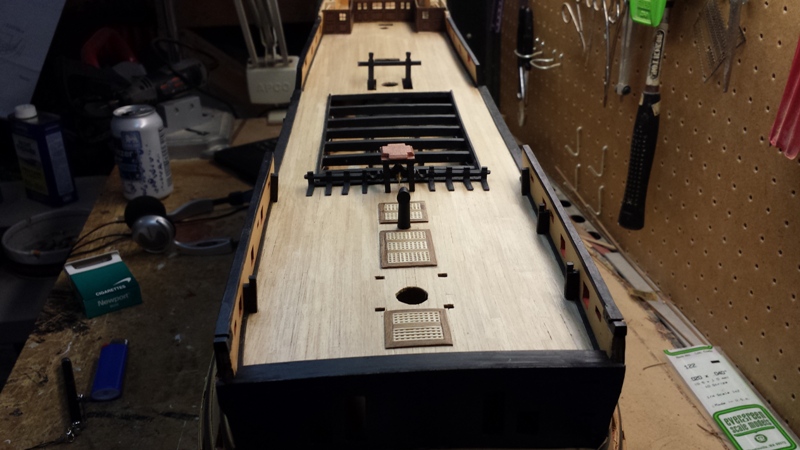
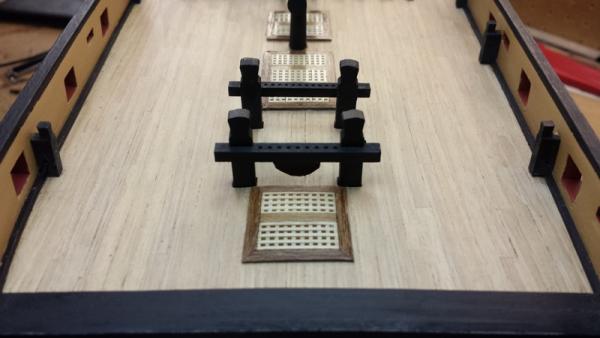
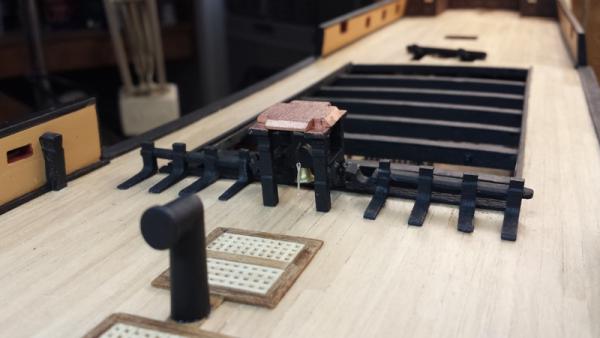
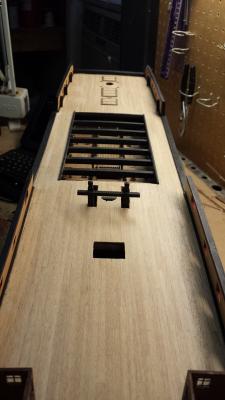
Work continues on the quarter deck. I must say I'm enjoying these one-off assemblies like the quarter deck barricade, belfry, etc. It'll be back to repetitive tasks soon enough. Got the main top bowline and fore topsail sheet bitts installed and lined the main mast rigging opening, and finally epoxied the fore brace bitt in place. It's pretty solid now and shouldn't knock over any more. Then the first lieutenant decided it was time to spiff things up a bit so I put a couple of coats of satin finish clear varnish on the hatchways and gratings and the main mast rigging opening linings. I think it gives it a bit of pizzazz! On to the main companionway today...it's probably easier than it looks but the instructions in the manual are quite confusing and badly written...what else is new? Patrick
-
Very nice work Kevin. I admire your dedication to getting it right, even though it means going back and re-doing some very tedious work. The results speak for themselves and your gun ports look fantastic! Well done! Patrick
- 1,319 replies
-
- 1
-
-
- caldercraft
- Victory
- (and 1 more)
-
Thanks Sjors. Whenever possible I assemble the components of each assembly and then paint the completed assembly off the ship. For all the quarter deck pieces (barricade, belfry, etc) I've been using regular household flat black spray paint. I find it gives more consistent and smoother coverage than brush painting. After installig the piece I then do any needed touch up with a brush. Patrick
-
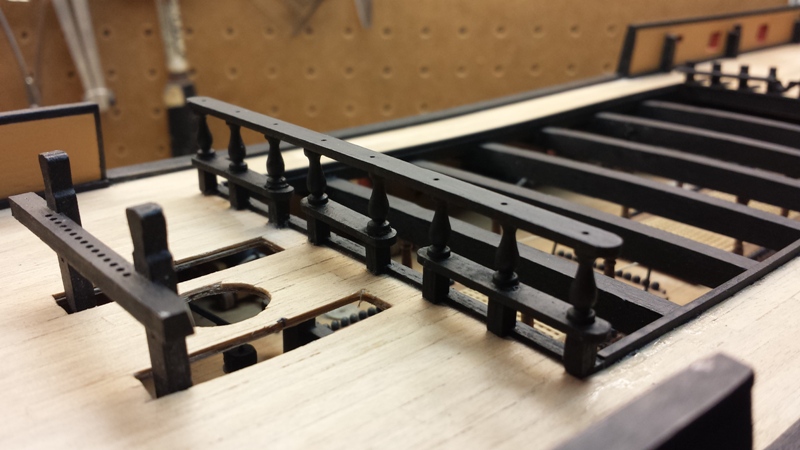
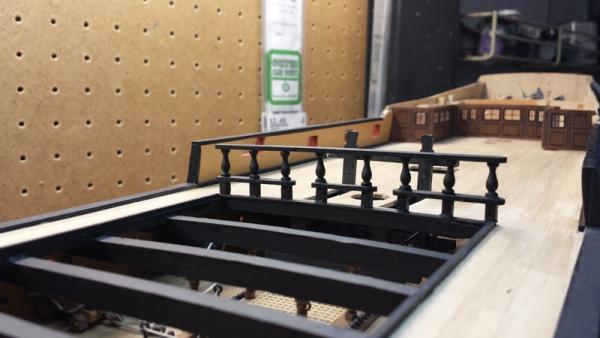
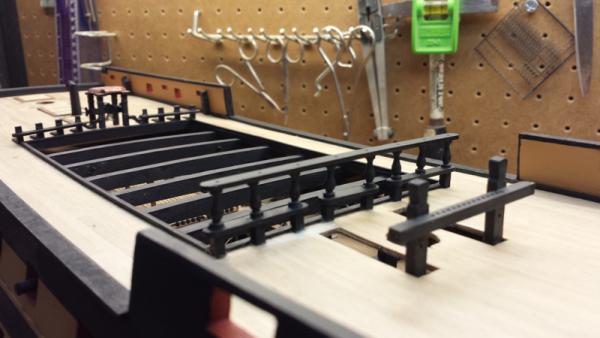
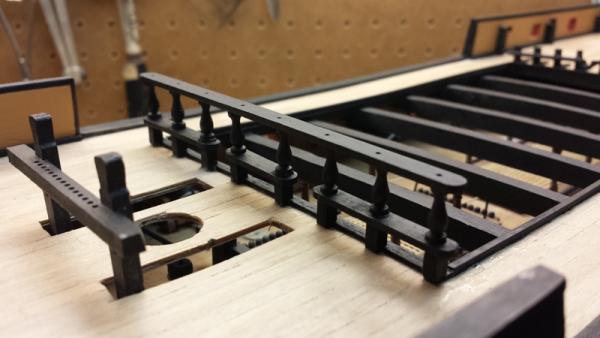
Today's project was the quarter deck barricade. 21 separate pieces to this. With the exception of the 1 x 3mm base piece and the top cap rail, I built the three sections off the ship and then installed them. Pleased with the result. As suggested in the manual, installing the hammock cranes at this point is inadvisable due to the potential for damage. And if there's anything that can be knocked down or broken, I'm just the guy to do it! Patrick

-
Hi Glenn, Thanks for the compliment. It looks like you should have no problems with planking up from the hull to the waterline. And don't forget, if it all goes sideways on you it's all covered with copper and paint! Just work on getting the second planking as smooth as you can (lots of filler between planks) and you will have a great surface to copper and paint. Patrick
-
Hi Jerry, Just catching up on your build and you continue at your usual break-neck pace! You're turning into quite the master rigger and filing away your tips and techniques for future reference. Lovely work and I will keep watching your progress. Patrick
-
Hello David. Just catching up with your build and, wow you've made fantastic progress! Beautiful work on the very intricate rigging. It's fascinating to watch the progress of the various Victory builds at different stages and watching my own build develop as all the others have done. I'm many, many months (years?) behind you but logs like yours give me the inspiration to keep pressing on. Good luck with the hospital treatment, nothing too serious I hope. Patrick
-
Simply stunning work Gil, an inspiration to all of us Victory builders. I just completed installation of my belfry yesterday...glad I remembered to install the cleats on the forward legs! Patrick
- 755 replies
-
- 1
-
-
- finished
- caldercraft
- (and 1 more)
-
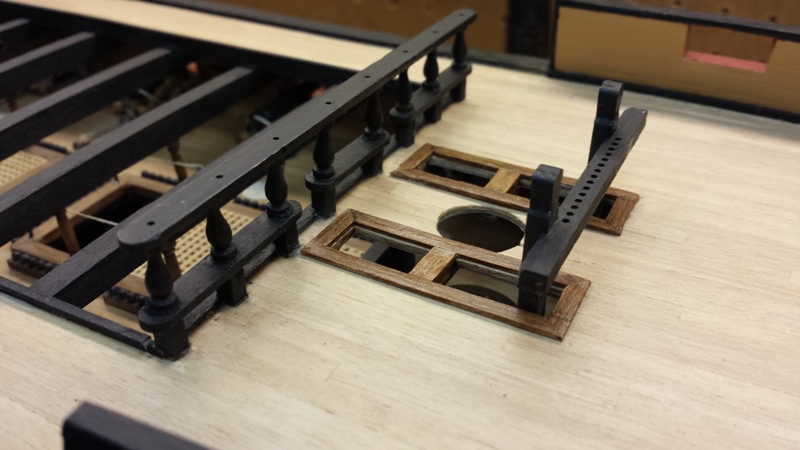
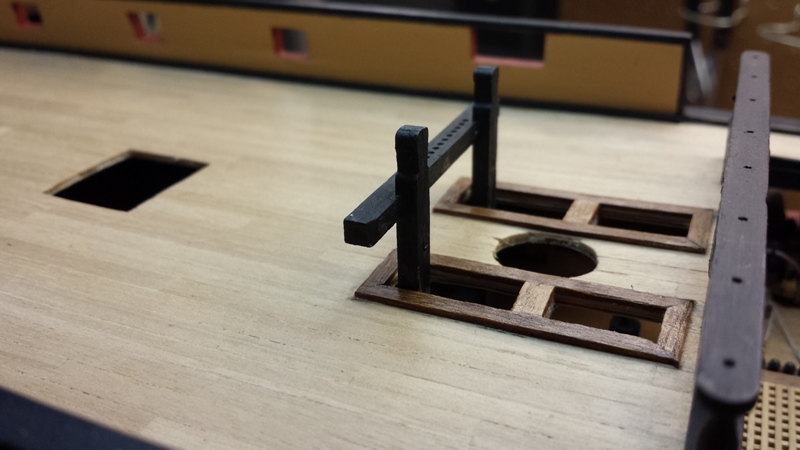
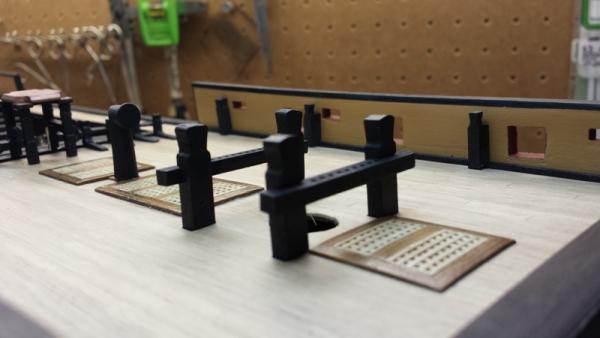
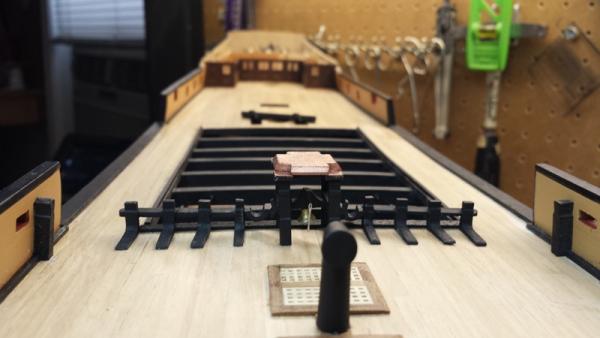
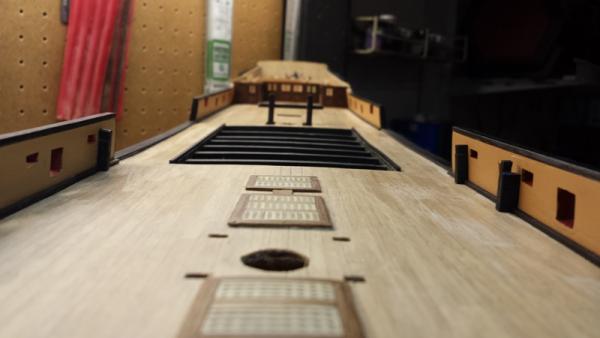
Belfry and forecastle breast beam assembly completed today. Needs paint touch up but overall I'm pleased with it. You might notice that the bitts by the mainmast have fallen over...I knocked them over so many times while planking the quarterdeck I figured I'd just leave them loose until I'm not doing things that are likely to make me knock them over again! Patrick

-
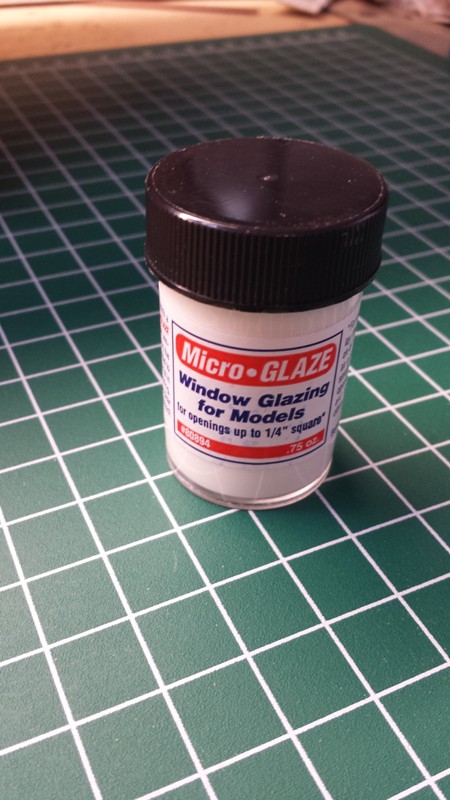
Thanks Glenn, Grant, and Sjors. Glenn, I hope you placed a big order from MicroMark just to make the shipping costs worthwhile. I know that even here in the US the cost of shipping the Micro Glaze was about the same price as the bottle itself! In this age of Amazon and free shipping MicroMark's shipping prices are ridiculously high! Hope to get the belfry and the forecastle breast beam assembly done today. More pics when I do. Patrick
-
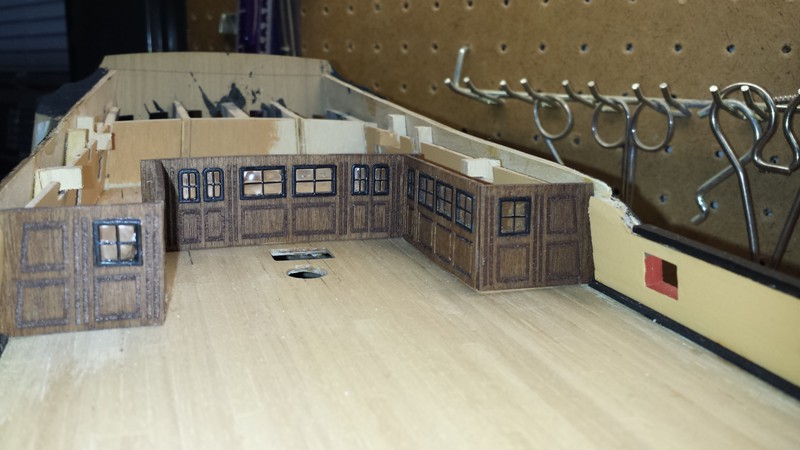
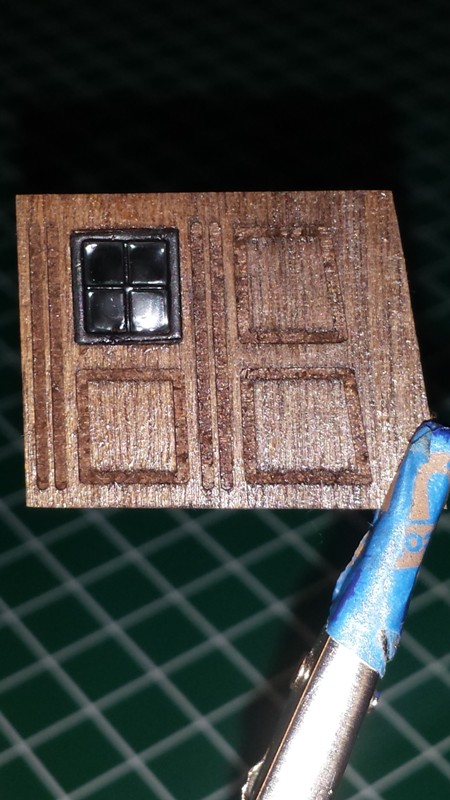
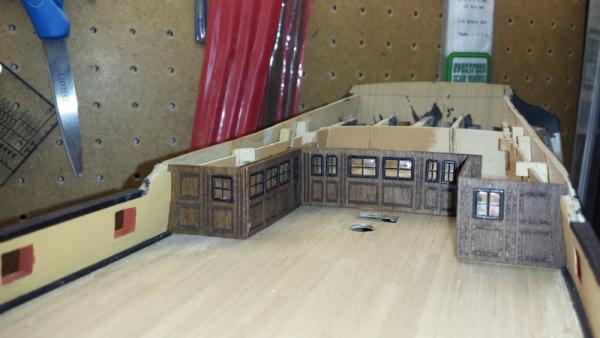
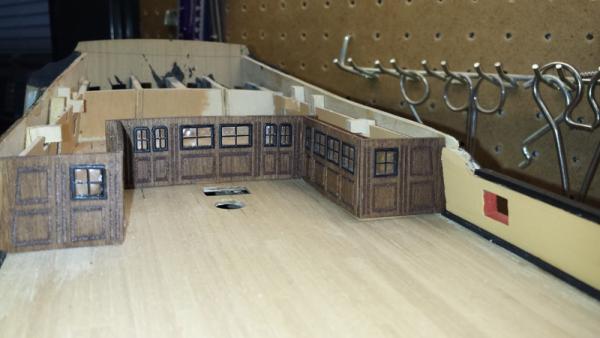
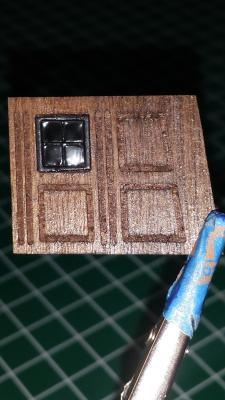
The quarter deck screen, dry-fitted, with the MicroMark Micro Glaze for the windows. I'm liking that stuff! Patrick
-
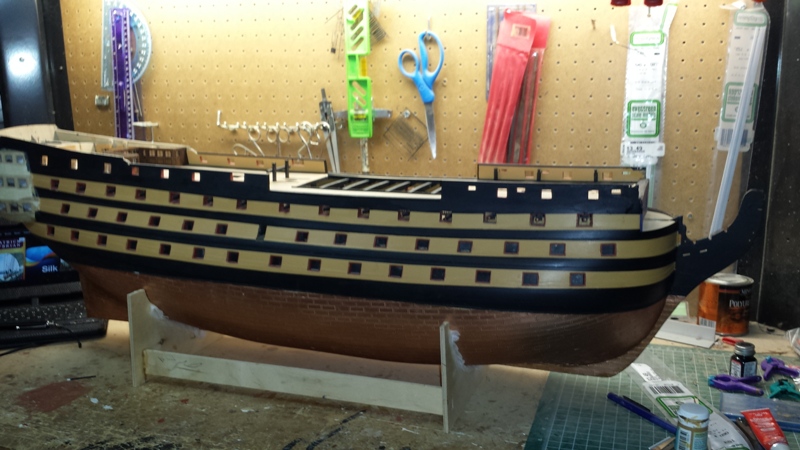
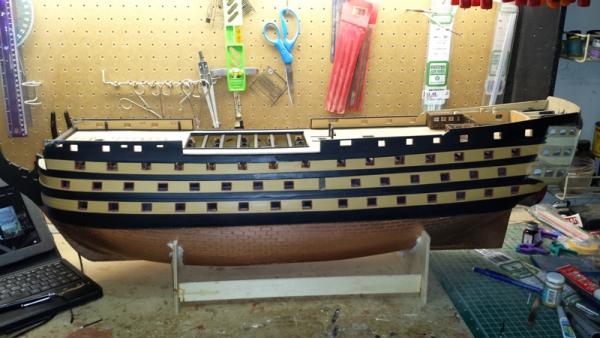
I haven't posted anything for a month but I haven't been completely idle. A nasty bout with pneumonia slowed me down a little, still not fully over it but back in the shipyard. Quarter deck planking is completed as are the inner bulwarks and the continuation of the second planking up to the cap rails. Still some pait tidying up to do but I'm pleased with the results. Patrick

-
Wow Sjors! Very nice little tool bench you got there. I'm quite jealous! Looking forward to more of the Aggy. Patrick
- 1,616 replies
-
- 1
-
-
- caldercraft
- agamemnon
- (and 1 more)
-
Hello Glenn, To follow up on what David suggested about glazing the windows. I initially used the plastic sheet supplied in the kit to glaze the quarter gallery windows but later on I found MIcro Glaze by MicroMark here in the USA. I used it to glaze the quarter deck screen windows and like the effect, so I cut out the plastic glazing from the quarter galleries and will glaze each indicidual window frame for the galleries and stern windows with Micro Glaze when I get to that stage. Patrick

-
Glenn, You're doing great and your planking looks great. Caulking is a matter of taste and I went without marking any caulking on my Victory and I'm happy with it. My personal preference. It's your ship, you get to decide what works for you. Just to clear up any misunderstanding, what you have with your deck planking is actually a perfect four butt shift system, done according to Page 10 of the instruction manual. A four butt shift means that the end of every fifth plank is aligned athwartships, separated by a four plank shift. So you have: plank end - plank - plank - plank - plank - plank end. The picture that Jerry sent you shows that he actually used a three butt shift system for his decks, but as everyone here says, every builder gets to decide what works for them and I don't think Jerry's choice of a three butt system takes anything away from his build. Keep up the good work! Patrick
-
Hello Keith and welcome to the Victory builders community here at MSW. Looks like you're off to a great start. I will follow along with interest. Enjoy your build! Patrick
-
Hi Glenn, Looks like you're doing just fine and you're absolutely correct, this first planking is to give you the correct hull shape and form a foundation for the second planking which needs to be perfectly smooth. Wood filler and sanding, sanding, sanding are your friends once you've finished the first planking. Take your time, get it right, and your second planking will go on beautifully. Patrick
-
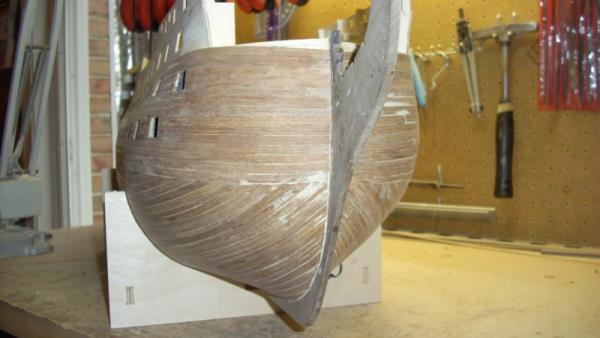
Hi Glenn, I don't think there's any advantage to starting to plank up from the keel at some point in your first planking. You may want to consider doing it with your second planking depending on the effect you want to create, keeping in mind that it's all going to be covered with copper plates and paint anyway! If you'll pardon me posting a picture on your log, here's the effect I created with my second planking by planking down from the gunports to about the waterline and then up from the keel. Not that it makes any difference, it's all copper and paint now! Patrick