HOLIDAY DONATION DRIVE - SUPPORT MSW - DO YOUR PART TO KEEP THIS GREAT FORUM GOING! (Only 20 donations so far - C'mon guys!)
×


Patrick Haw
-
Posts
416 -
Joined
-
Last visited
Content Type
Profiles
Forums
Gallery
Events
Everything posted by Patrick Haw
-
Interesting. I agree that 0.1 mm line for the tackles does seem to be very thin, and also think 0.5 mm seems a bit thin for the breech ropes too. I checked with Gil Middleton and he used 1.0 mm for the breech ropes and 0.25 for the tackles. I had put a 1.0 mm breech rope on my prototype and think it looks fine, so I'll go with it. Patrick
-
David, I hadn't noticed your companion way ladder was on backwards. I just noticed mine was yesterday when I was rigging the hand rails. Mind you, once the ship's boats are on the skid beams hardly anything will be visible on the upper gun deck, so nobody is going to notice anyway! I think I'm going to rig seven guns on each side, but not sure if the two at each end just under the quarterdeck will be visible so I may end up just doing five a side like you. I've made up the prototype of the first gun but ran out of the matte black spray paint I'm using for the barrels, so that's on hold and I'll just be doing gun carriages until Monday. The ones that won't be visible will be completely bare-bones...carriage, wheels and barrel, the others will have all the ring bolts and rigging. Photos coming soon. Patrick
-
Thank you David. I completely missed it on Page 14 of the manual. Silly me was looking on Page 15 under Upper Gun Deck 12 pounder long gun. This manual will drive you to distraction. I also completely missed the fact that my central companionway going down to the middle gun deck was installed backwards, going down from forward to aft instead of aft to forward. Turned out to be an easy fix and the ladder came out very easily and popped right into the other end of the companionway opening, so no harm, no foul! Patrick
-
A question for my fellow Caldercraft Victory builders. I'm starting on the upper gundeck cannons and would like to know what size thread you all used to a) rig the side and train tackles, and the recoil ropes? Thanks Patrick
-
Hi Gil, I'm starting to make my upper gun deck guns and have a question. What size thread did you use for rigging the side tackles and for the recoil ropes? Thanks Patrick
-
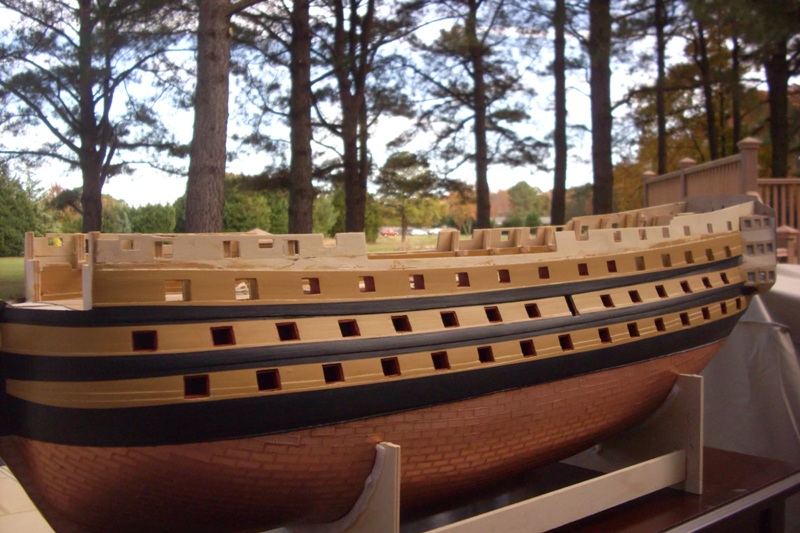
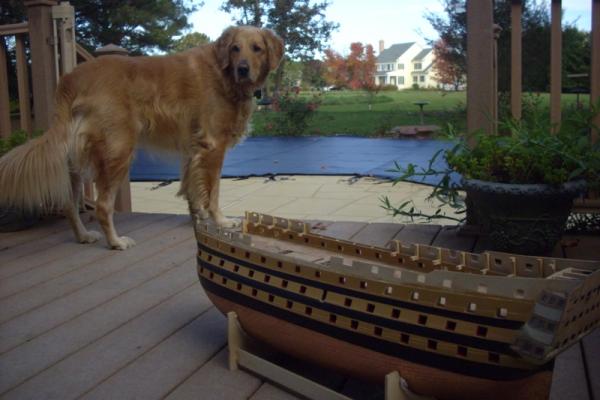
Thanks Dan, Lawrence, Edwin and Sjors. I really like how the outdoor pictures come out. The natural light is so much better I think. The ship is getting heavy though and pretty soon there'll be enough fiddly bits on it to make carrying it around a bit dodgy. Mind you, plenty of others have posted their outdoor pics without breaking everything, so there's a way! Patrick
-
Hi Derek, Good to see a new post from you. Well done on the getting your shrouds and ratlines finished. She looks fantastic. Patrick
-
Also glad to see I'm not the only one to spill red paint on My workbench/cutting board! Patrick
-
Wow David! She looks amazing! You must be so thrilled with how she's coming along and I'm sure that just a little bit of you is starting to envision the finish line over the horizon. Have you decided how she's going to be mounted in the final display? In terms of how she'll be fitted to a base board? Fantastic work! Patrick
- 439 replies
-
- 1
-

-
- victory
- caldercraft
- (and 1 more)
-
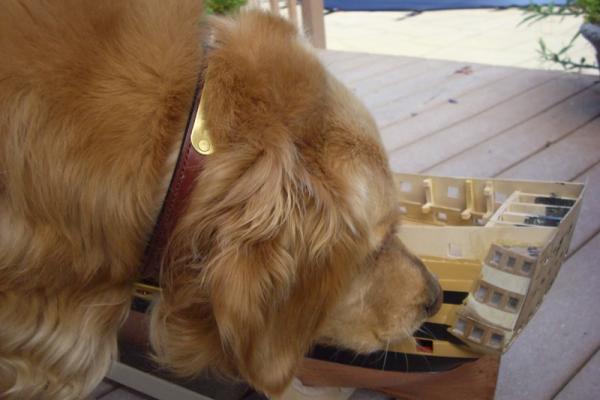
The ship's dog wasn't much interested. Except for trying to figure out which cabin the treats are kept in!
-
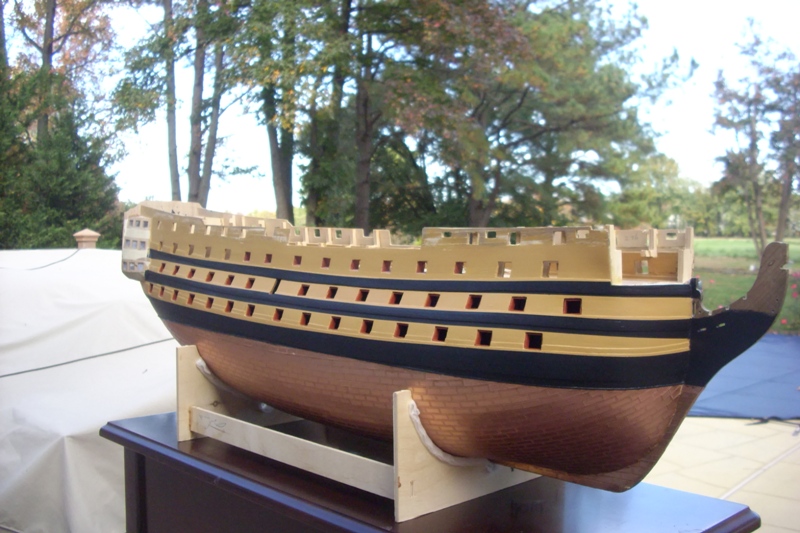
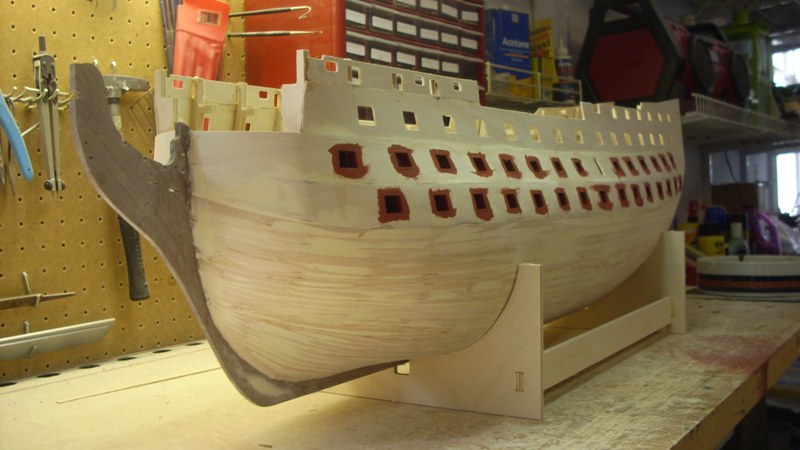
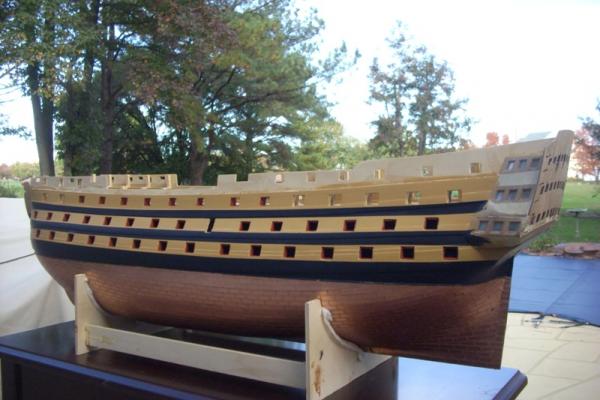
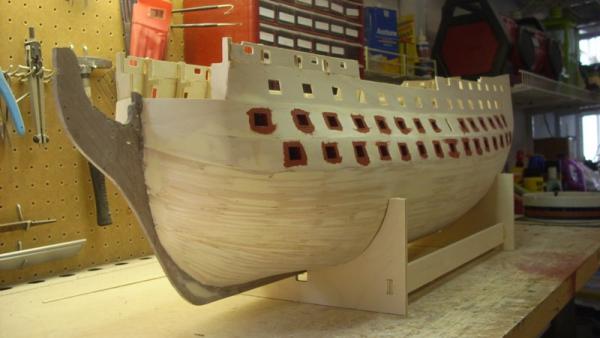
A quick update on this week's progress. The lower and middle deck gun ports are all lined. Not a pleasant job, even though the blasa "shelves" inside the gun ports were a big help and absolutely necessary. The gun port linings aren't perfect and wouldn't withstand scrutiny uner a magnifying glass, but I think I got the "set back" into the hull about right so everything should be alright when I get to putting the port lids on. Patrick


-
Spencer, I think what you're seeing in your first picture is a signal cannon, just used for signalling and salutes, not for actual combat firing. Wayne, I love the drawing but don't think the man would be piercing the powder cartidge and holding the slow match while the loader still has the rammer down the barrel and no ball in the cannon. He's likely to be impaled on that rammer if the weapon goes off! Patrick
-
Green Graphed/scaled work bench mat
Patrick Haw replied to Bill Hime's topic in Modeling tools and Workshop Equipment
Now you tell me! Just replaced mine after the great acetone mishap of 2013!! Patrick -
Just My two cents worth. Finish your hull just how you feel. For my part, I am a Trafalgar buff and am building my Victory as she appeared to the French and Spanish fleet on that day. She was painted Patrick
-
Daniel, Of course I just went onto the HMS Victory Ship Modellers Forum site and there you are with posts on the guns...and many other topics. So I'm telling you stuff you already know way more about than me! Patrick
-
Help with question regarding HMS Victory at Trafalgar
Patrick Haw replied to AllanP's topic in Nautical/Naval History
I just went to HMS Victory Modellers Forum site and registered. It went very easily, very smoothly. No problems at all. Thank you Pete for your instructions here. Patrick -
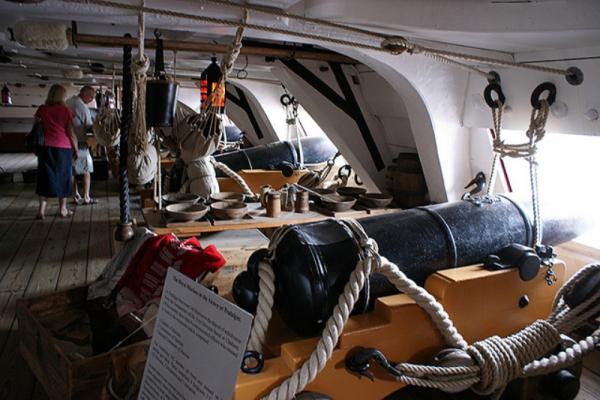
Daniel, As always, fantastic detail work. Your passion for getting things right shows through! Attached picture shows one of Victory's guns secured and you can see how the falls of the side tackles are secured. When at sea and not cleared for action the guns were very tightly secured to prevent them rolling around. In your fantastic depiction of the guns, they are cleared for action with all tackles and breech ropes in place. The train tackles were removed when the guns were secured. Hope this helps. Patrick
-
Gil, Thank you so much for your comment. Coming from the person most people consider to have set the standard for Victory builders on MSW, that is very high praise indeed! If my finished product turns out just half as well as yours I will be very happy! Patrick
-
Welcome back Gil. Now our Victory tutorial can continue! Patrick
-
Wow Jerry, your stern fascia looks absolutely fantastic, really makes the whole model just "pop". You must be very pleased with her and your progress. Are you going to put the hinges on the ventilation ports below the stern? Wish I was still wearing shorts and t-shirts. Been out in my garage worshop in a sweat shirt with a kerosene heater going. Fall is well underway here in rainy Maryland. Patrick
-
Eric, I posted a response and some pictures in your log. I ran into similar problems and the advice offered by others on your build log is correct. And don't forget that sandpaper and wood filler are your friends underneath the second planking! Patrick
-
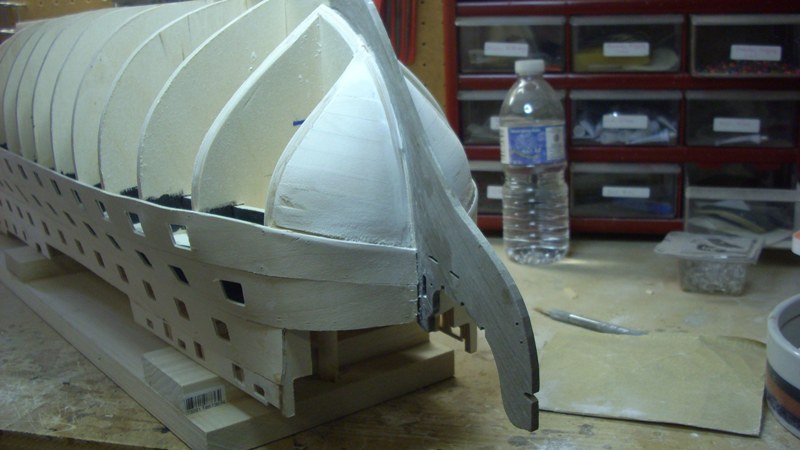
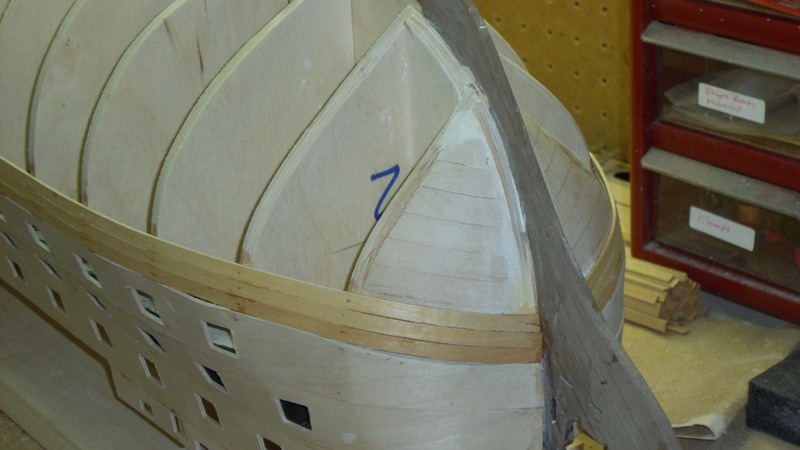
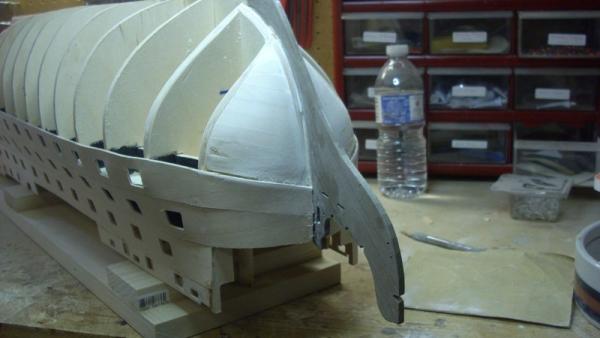
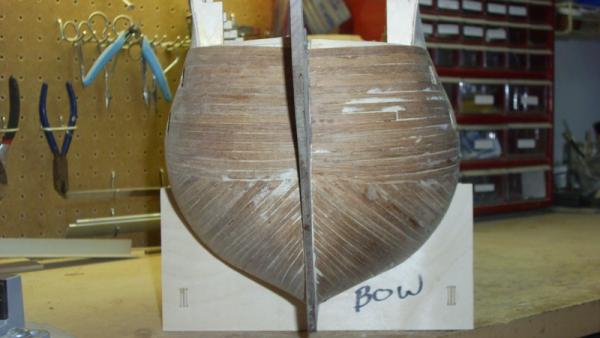
Hi Eric, This is a common problem and, as others have pointed out, it's mostly a matter of fairing the bulkheads. I ran into the same issue as you can see from the attached pictures. I never did manage to get the port side gun port pattern to lie absolutely flat as it curved around toward the bow, but found that once I'd done the first planking a lot of sanding and wood filler fixed the problem. Once you have it smooth it's all going to be covered up ny the second planking and nobody but you will know how much wood filler is under there! Patrick


-
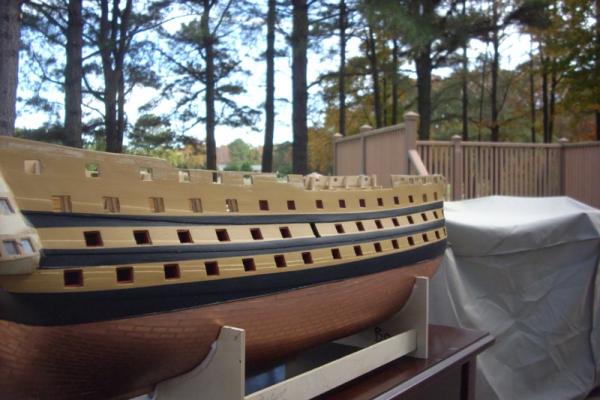
Thanks everybody for your comments and compliments. If it wasn't for so many of your build logs and inspiration I wouldn't have a clue, so pat yourselves on the back. Grant, you're right, the band's don't exactly follow the lines of the gun ports. It's quite subtle, but the lines do vary in their relationship to the gun ports and the wales. Thanks for your comments and continuing support. Patrick
-
Hello Eric, I just found your build log and it looks like you are off to a great start. Plenty of Caldercraft Victory builders here to help you sort through problems you run into...and believe me there will be plenty! I find I rely much more on other Victory builders' logs than I do on JoTiKa's instruction manual. Enjoy your build and welcom to the Victory builders' club! Patrick
-
Good job on very intricate work. It's always great to file away other people's approaches for handling specific jobs on the ship, for when I get around to those pieces myself. Patrick