Patrick Haw
-
Posts
416 -
Joined
-
Last visited
Content Type
Profiles
Forums
Gallery
Events
Everything posted by Patrick Haw
-
Grant, The blocks look fantastic and I know I will definitely not be using the Caldercraft-supplied blocks on my Victory when I get around to rigging her...years from now! Well done! Patrick
-
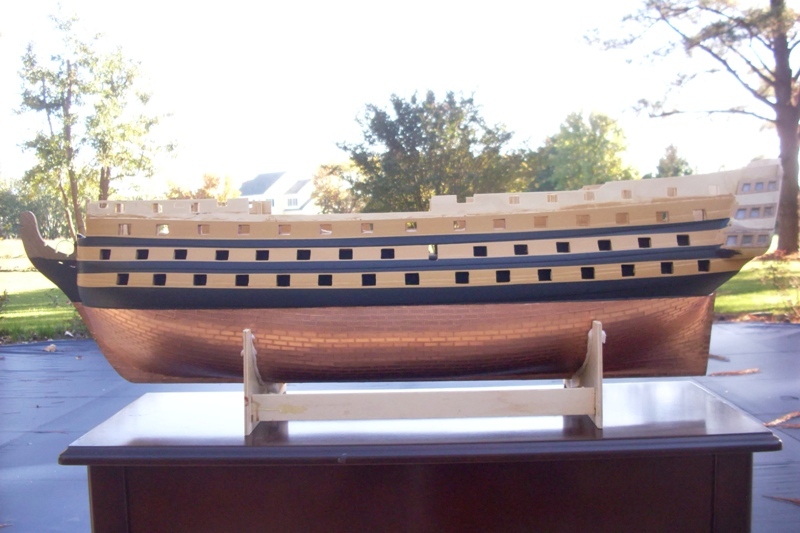
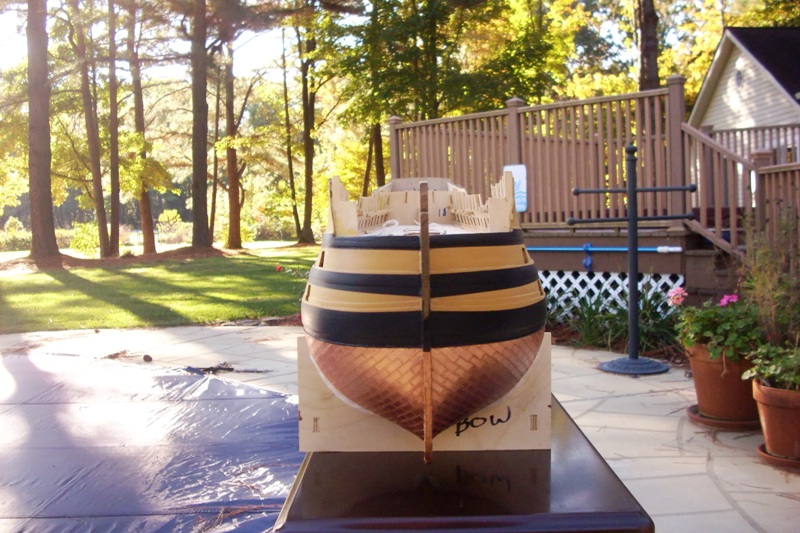
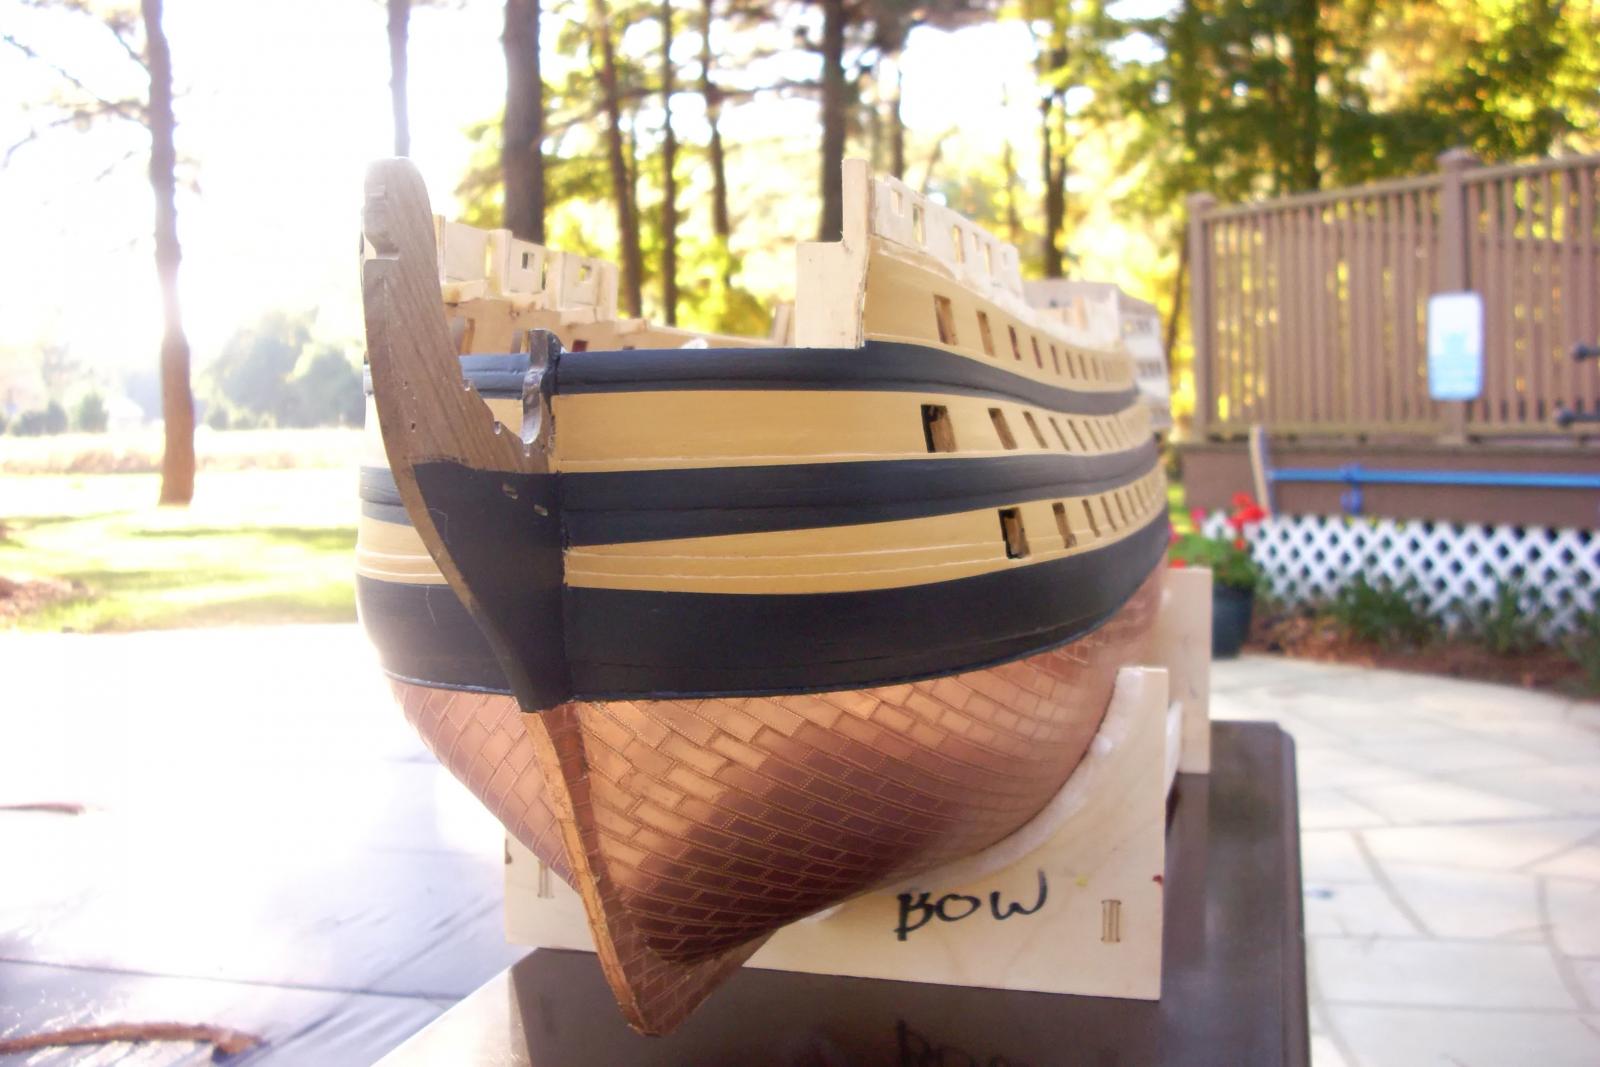
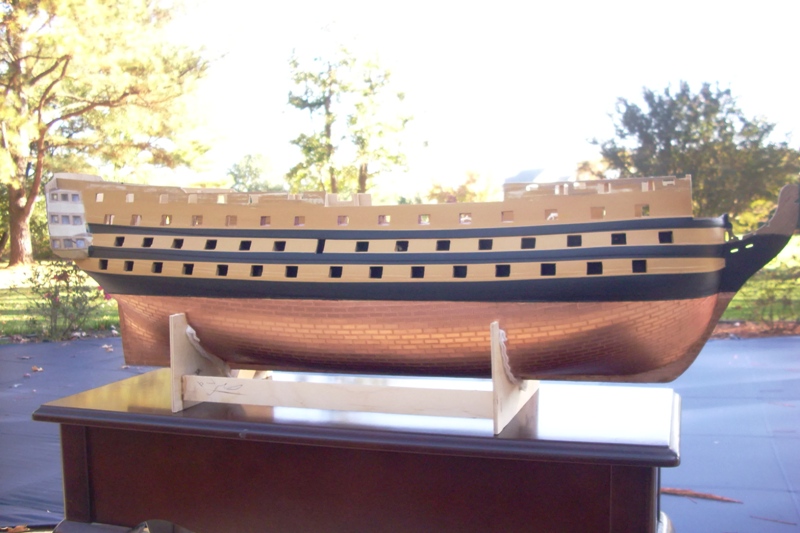
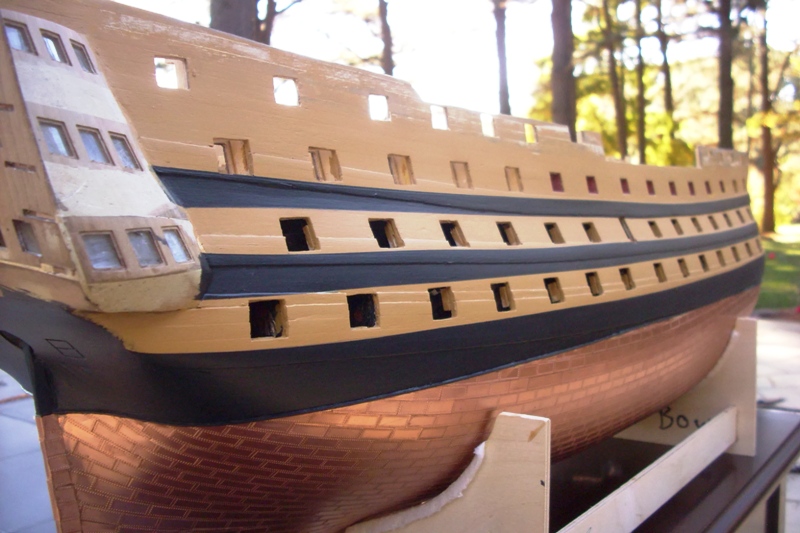
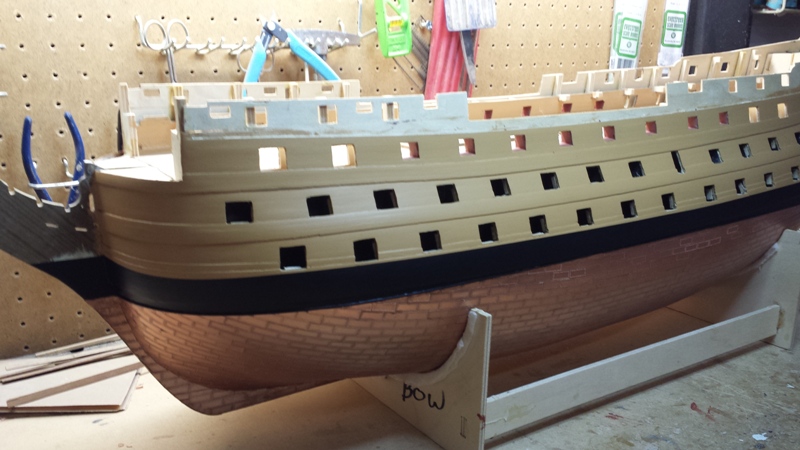
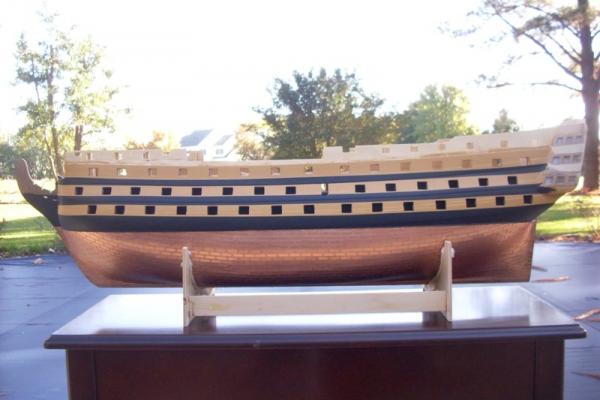
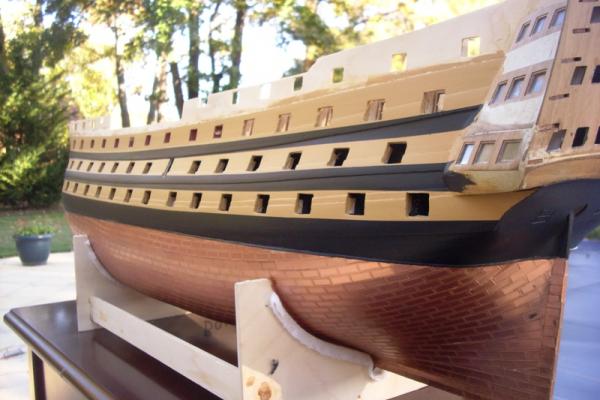
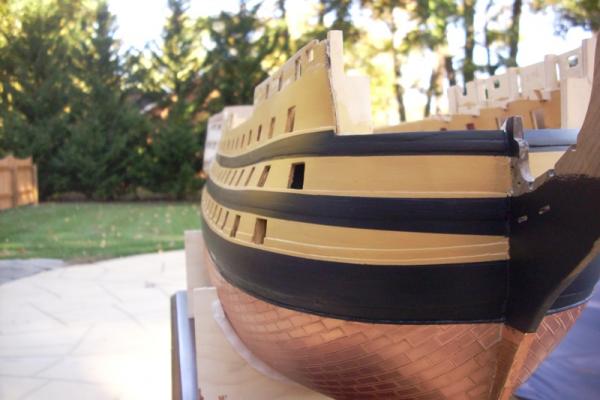
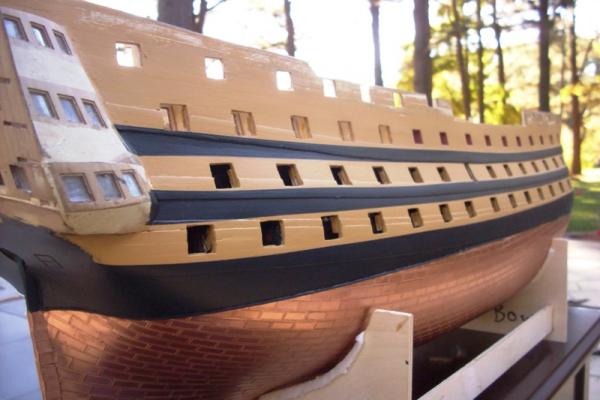
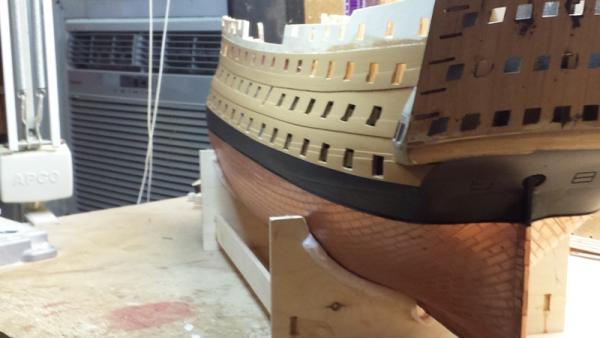
As I mentioned in a previous post. it's amazing that Caldercraft doesn't include in the plan sheets a drawing showing the exact placement of the yellow/black bands, you just get four very poor quality and disjointed photographs in the manual. And those potos were taken of the completed model with much of the detail of the paintwork obscured by head rails, gun port lids, chains, etc. I spent a lot of time poring over photos of the actual ship as well of many of the other fine Victory builds in here to make my best shot at replicating the "Nelson chequer". Again, much of the detail on pictures of the actual ship are obscured, especially at the bows, so being able to look at other Victory builders' work in progress before the addition of head rails, etc. was invaluable. Even then, everybody has their own slight differences on the exact location of the yellow/black bands. One thing that helped me is realizing that the ship is actually black with yellow bands, not yellow with black bands. Of course we all start off with a yellow hull because it's easier to paint the black on over the yellow, but once I focused on the location of the yellow bands, it became a bit easier for me. I used Admiralty Paints Matt (Metal) Black (AP9106W) rather than the recommended Dull Black (AP9105W) because I don't like the sheen on the Dull Black, and it's my ship! So, here is my version of the Nelson chequer. I'm happy with the result and even happier that she's now starting to look like Victory, rather than a mess of wood, glue and filler! Next up, lining the gun ports. Patrick


-
Still looks good anyway Jerry! Patrick
-
Ouch David! Well that's the life of a ship modeller...do it, rip it out, do it again until you get it right. The biggest source of satisfaction is not accepting mediocre and pushing yourself to get it as perfect as you can. Your bowsprit and marines walk look great! Keep up the good work! Patrick
- 439 replies
-
- 1
-

-
- victory
- caldercraft
- (and 1 more)
-
David, Congratulations on your shrouds and ratlines...everything looks fantastic. Really, really good work. 2,800 clove hitches? You keep giving me all kinds of fun things to look forward to! Patrick
-
Hi Jerry, I still can't believe the pace you're keeping up with your build, I'm lagging so far behind you now, but still having fun. I understand your frustration with covering up so much of your hard work and I for one am not going to spend hour after hour rigging the upper gun deck guns which will be covered over by the quarter deck, just the ones that can be seen at the waist. Keep pressing on! Patrick
-
Was just looking at your latest outdoor pics to get a sense of the yellow/black bands location, and your work is just stunning. I hope mine turns out half as well as yours! Patrick
-
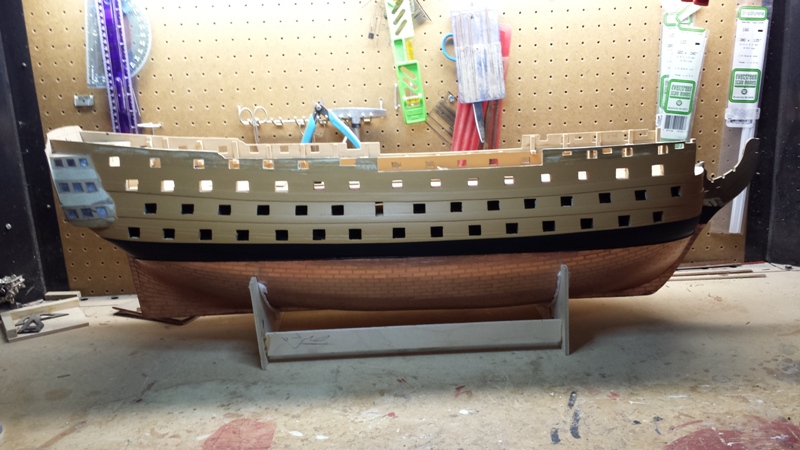
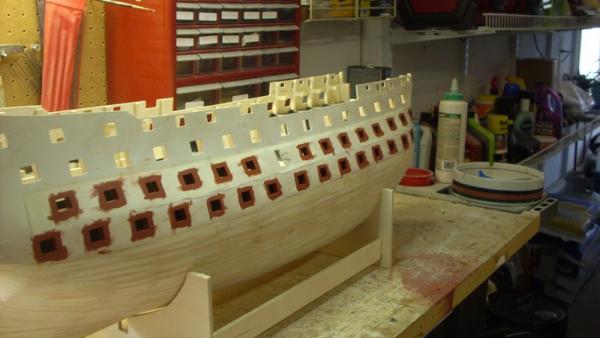
Well that took forever! The waterline rehabilitation and recoppering is complete. A lot of time spent removing old glue and prepping the surface for re-coppering up to the new waterline. Then I had to remove all the polyuethane coating I'd sprayed onto the original copper, polish the bottom to get a consistent finish, and then re-spray with polyurethane. All wales are on now too. Amazing to me that nowhere in the plan sheets is there anywhere that shows the positioning of the yellow/black bands. All they give you is four crappy photos in the manual to work from. Thanks to studying photos of the real ship and everybody else's build logs, I think I've got it pretty close. More pics to come soon. Patrick


-
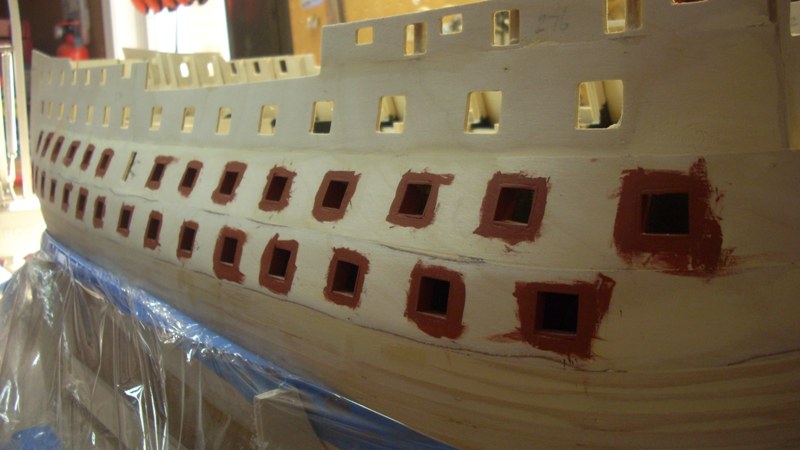
I tried putting in the linings flush with the first planking before doing the second planking too. Looked fantastic until I realised it was just about impossible to make the cuts accurately in the second planking and ripped all the linings out! I would be well on the way to completing my hull if it wasn't for ripping things out and doing them again! Patrick

- 1,319 replies
-
- 1
-
-
- caldercraft
- Victory
- (and 1 more)
-
Well done mobbsie. The channels and chains look beautiful. Love your pinnace too and can't wait to see it completed. Patrick
- 1,279 replies
-
- 1
-
-
- agamemnon
- caldercraft
- (and 1 more)
-
Thanks everyone for the birthday wishes!
-
Naval History On This Day, Any Nation
Patrick Haw replied to Kevin's topic in Nautical/Naval History
September 29 1758 - Horatio Nelson born at the rectory at Burnham Thorpe, Norfolk -
Very, very nicely done David. It looks very clean, very sharp. Well done! Patrick
-
Hi Grant, Just saw on Lawrence's log that you're in Florence now and heading to Venice in a few days. I was in Venice for the third time in June and just love the city. Stay away from the tourist traps along the Grand Canal and just take off walking. You'll get lost for sure, but you will find some amazing treats in the back streets and hidden piazza's. Enjoy! Patrick
-
Kevin, I posted this on the question thread you started and also sent it to you in a privtae message. So here it goes again. 6,510 square yards of sail Square root of 6,510 square yards = 80.684 yards (This would be one side of a perfect square of sailcloth 6,510 square yards) 80.684 yards x 3 = 242 feet 242 feet @ 1/72 scale = 3.361 feet (This would be one side of the piece of calico you need) 3.361 squared = 11.296 square feet of calico I'm not a mathematician, but it seems about right to me. Patrick
-
Yes, I have a muscle spasm in my back. It happens once in a while, very painful and incapacitating but muscle relaxers and a heating pad work well so hopefully I'll be back in the shipyard tomorrow Patrick
-
According to Victory's web site, she could carry a total of 37 sails with a total area of 6,510 square yards or 5,468 square metres. In other words... a lot! Patrick
-
Kevi, Are you talking about the area of the sails themselves, or the area the completed model will take up with stunsl booms extended? Patrick
-
Thanks Per-Olof. Kevin, I decided to dp the remainder of the wales first but went out into the shipyard this morning and have a very painful back spasm which is making it impossible to stand there and do any work today. I'm medicated too, which makes playing around with precise measurements and sharp knives not a very good idea! Patrick
-
I have the same model and it's essential. The digital readout is so much easier than the vernier type. Just had to sort out some 3.5mm x 1mm walnut strips for my Victory's wales from a slew of 4mm x 1mm strips. Would have taken forever without the use of this device! Patrick
-
Nice job on your coppering. Is the port side coppering complete? It's hard to tell from the picture. I cut the middle gun deck template i have before placing it but made the mistake of cutting the overlap between the two pieces a bit too much and wound up with the companionway and hatch openings being too narrow. Easily fixed but easier to measure your openings against the plans before going much further. I'm enjoying your build and will be following with interest Patrick
-
Thanks Kevin, Lawrence, Sjors and Joe. Still trying to decide if I want to start coppering and then stop when I run out of tiles, or if I should put the middle and upper wales on now while I wait for the new copper tiles to arrive. Patrick
-
Hi Jerry, Really nice job on the belfry! She's a ship now, she has a bell. Can almost hear it ringing! Keep up the great work. Patrick
-
Hi Kevin, Just caught up with your latest pictures outside. She looks absolutely stunning and the natural light pictures really make her look alive and vibrant. Glad to see you're starting on the masts and I'll follow her masting with great interest. Patrick
-
Lovely work on your shrouds David. Glad to know I'm not the only one taking things off and re-doing them! The futtock shrouds on the foremast look really good...difficult to do without pulling the other shrouds out of line, but you've done them perfectly. Love the look of the masts with shrounds on them, it gives the model some "depth"...no longer a hull with sticks! Patrick
- 439 replies
-
- 2
-
-
- victory
- caldercraft
- (and 1 more)