HOLIDAY DONATION DRIVE - SUPPORT MSW - DO YOUR PART TO KEEP THIS GREAT FORUM GOING! (Only 20 donations so far - C'mon guys!)
×


Jasseji
-
Posts
604 -
Joined
-
Last visited
Content Type
Profiles
Forums
Gallery
Events
Everything posted by Jasseji
-
 interesting info, thank you
 -
Well, i did the same on my LN below the Waterline, only i upped the lazyness factor by using 2 Layers of 0.5mm thick strips instead of one layer 1mm thick. It wont be seen, focus on the visible stuff, good work
-
Any particular brand ? i use mostly Vallejo, but their matt varnish doesnt want to work with airbrushes (the Satin works well tho, but then the gloss is there of course)
- 355 replies
-
- 1
-

-
- vanguard models
- Sphinx
- (and 1 more)
-
what i mean is, if one would cut it off, they could be turned on a mini-Lathe (or even redo them from other kind of wood) just thinking out loud here
- 857 replies
-
- 1
-
-
- Sphinx
- Vanguard Models
- (and 1 more)
-
Wouldnt in be easier to just cut them off and glue them back on after shaping ?
- 857 replies
-
- 1
-
-
- Sphinx
- Vanguard Models
- (and 1 more)
-
I figured that much, just a tiny nit-pick on a Perfect set
-
where did you get that bending tool ? any particular name for it ?
-
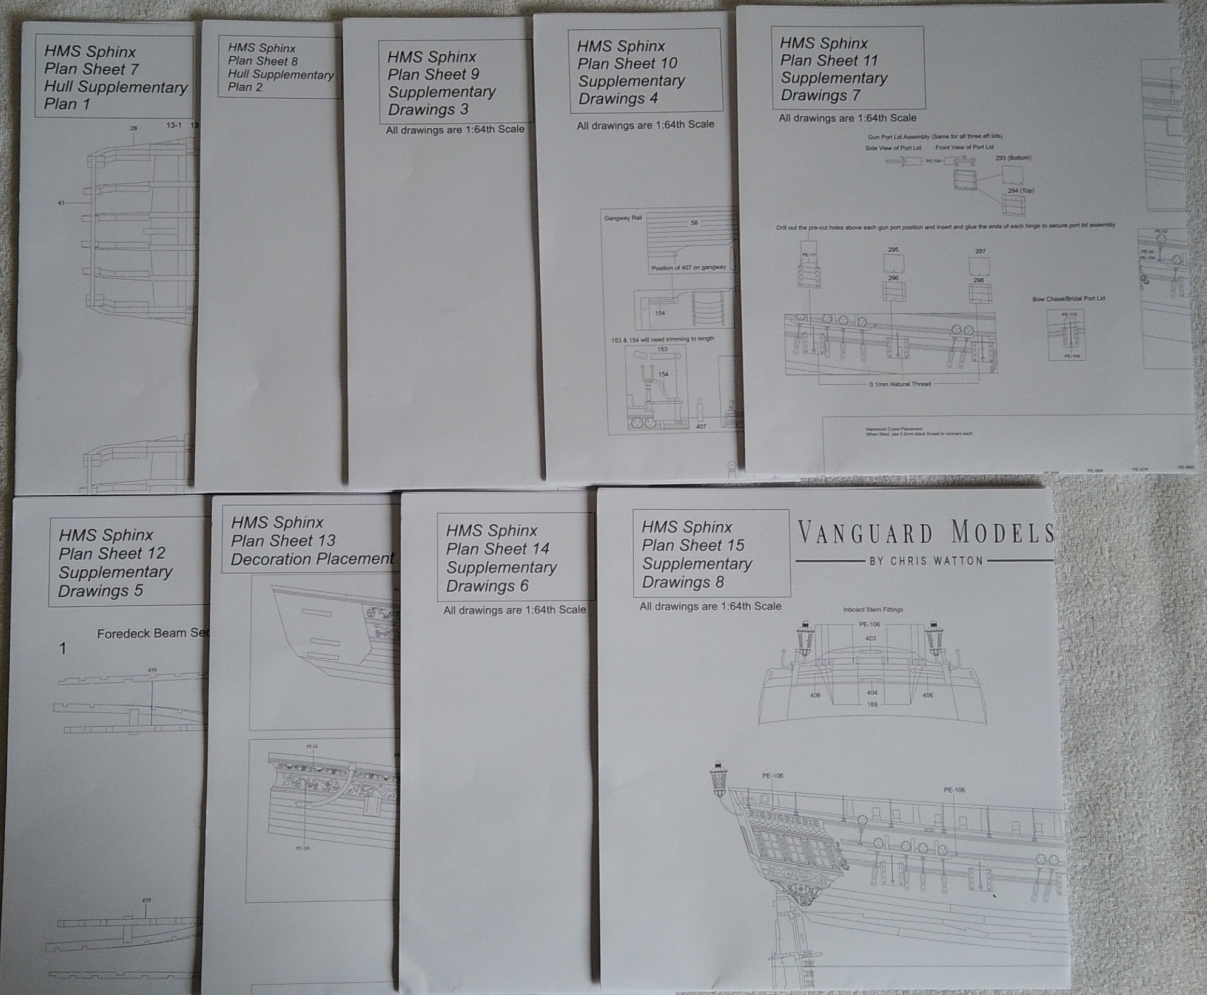
Uh, i am looking through the Plan sheets and something is confusing @chris watton Is this a misprint ? The "Plan Sheet" Numbers dont align with the "Supplementary Drawings" Numbers. It propably doesnt really matter, as the Manual lays out the sequence to follow, but is a bit weird
-
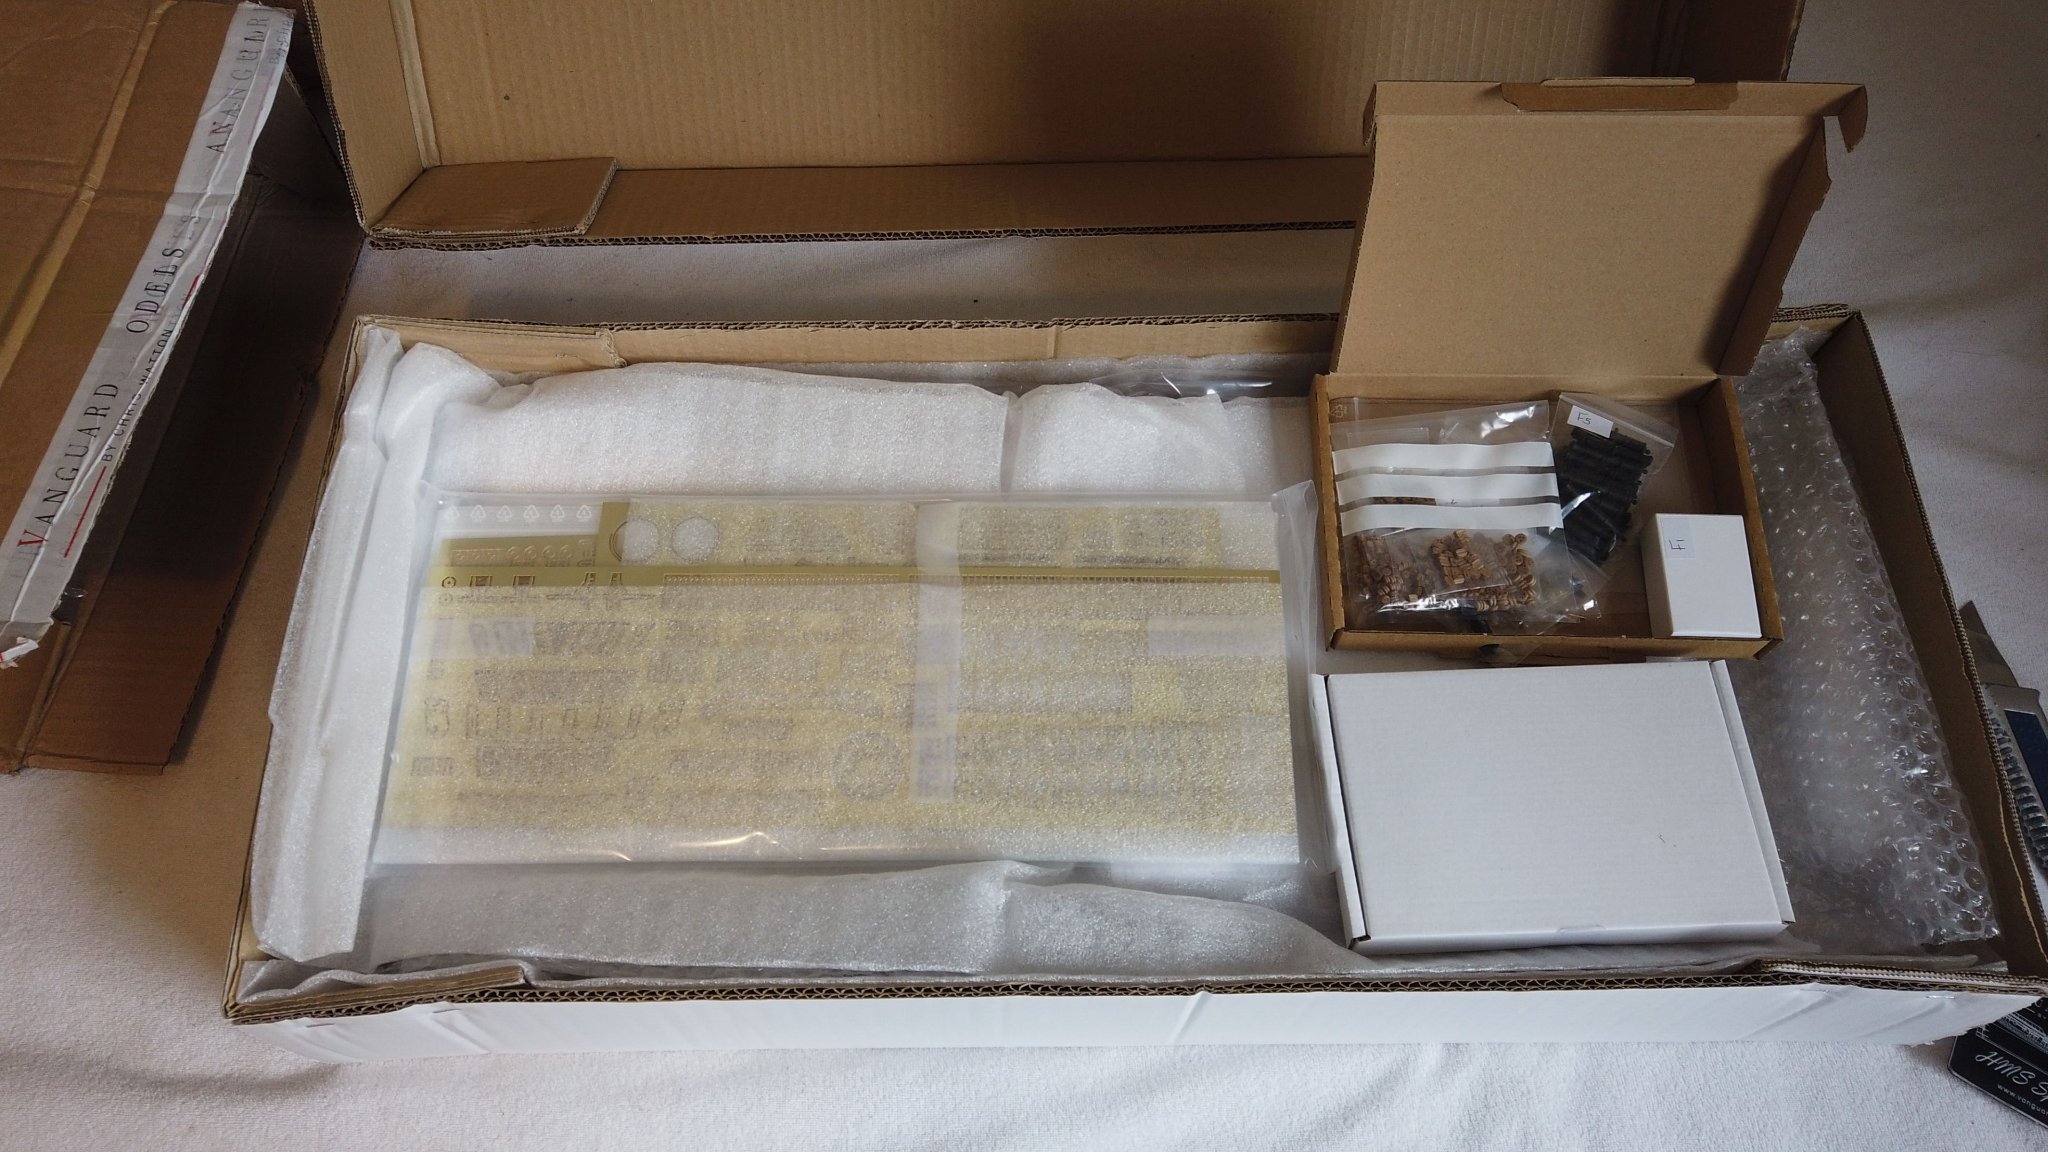
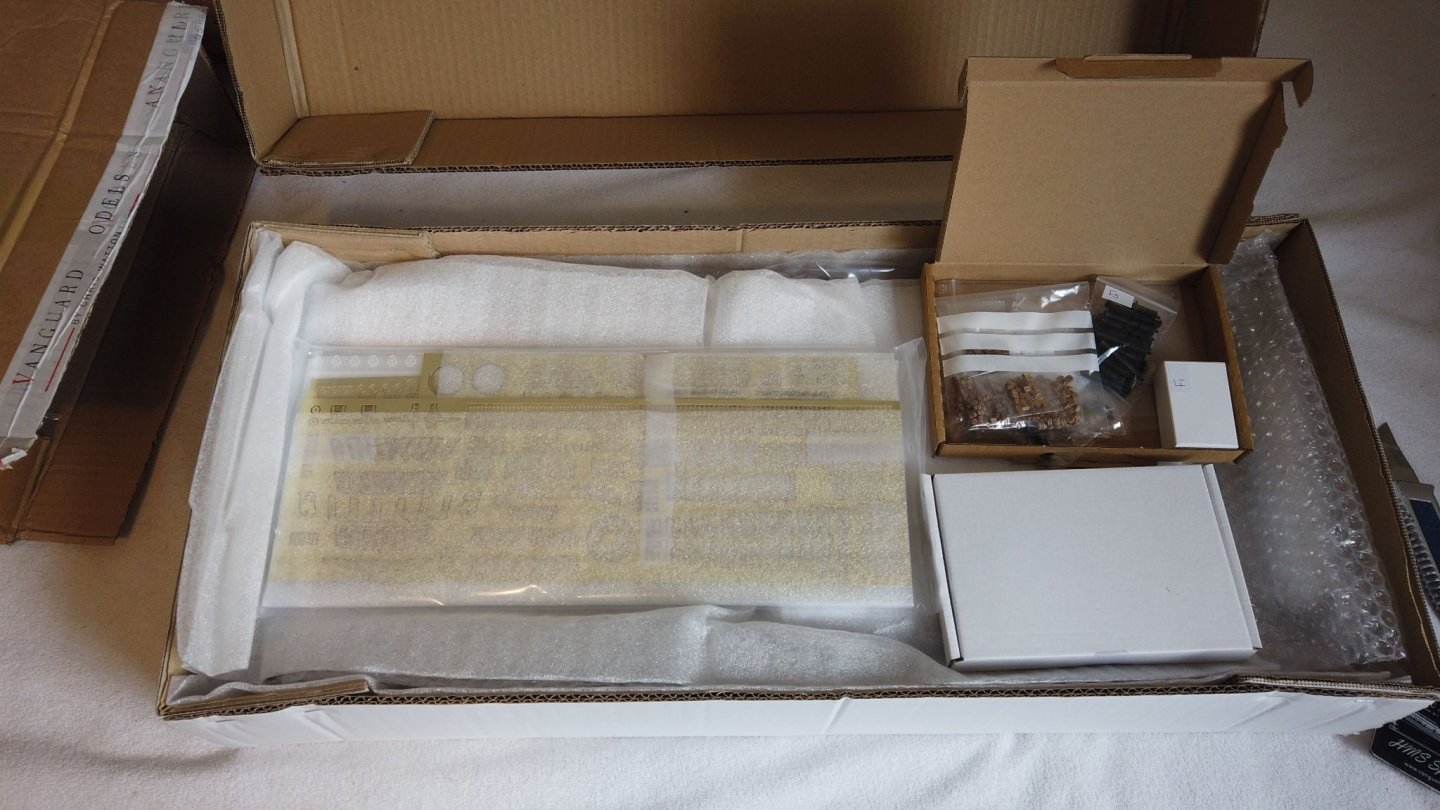
@JJT Thx, i love it I couldnt resist peeking inside the Box: Everything is wrapped beautifully, all parts are excellent finish. Loving those Cannons: Also, a touch of Humor? (i know, regulations ) The plans and instructions are HEAVY


-
That would be a consequence of this, mostly i would think you need to fasten the tackles and breeching ropes somewhere. Small Arms fire could be defended against with tighly packed hammock nets, you wouldnt really need bulwarks for that
-
You are really tempting me to get those ladders from Chris, really adds to the model But i'm a bit scared to cut the Bulkhead and keel tho
- 857 replies
-
- 1
-
-
- Sphinx
- Vanguard Models
- (and 1 more)
-
You're referring to the railings, right? I was considering Quarterdeck Carronades and at least chasers on the Forecastle, but at least in the case of the Quarterdeck this might require closing off the Deck Openings (havent measured it yet tho)
-
Indeed, this might actually be done even earlier in the build to test-fit and verify if all is properly aligned. I'm thinking of actually starting with the jigs to have them on-hand through all the initial stages just to make sure i dont screw up somewhere
-
I do believe the HMS Camilla was mentioned to be re-coppered at some point (hence she would have been coppered initially), also those ships starting 1794 were fitted with 12-24pdr Carronades (4 or 6 of them: 0 or 2 on fcsle and 4 on the quarterdeck) so that might be 2 "Upgrades" worth considering over the kit
-
Cat say myself for varnish, but for diluted glue i make a Milky consistency
- 355 replies
-
- 1
-
-
- vanguard models
- Sphinx
- (and 1 more)
-
Hm, maybe he wants someone to take over, i live quite close by
-
A Primer seemed neccessary anyway due to the color Variations of the Walnut strips
- 71 replies
-
- 1
-
-
- Lady Nelson
- Amati
- (and 1 more)
-
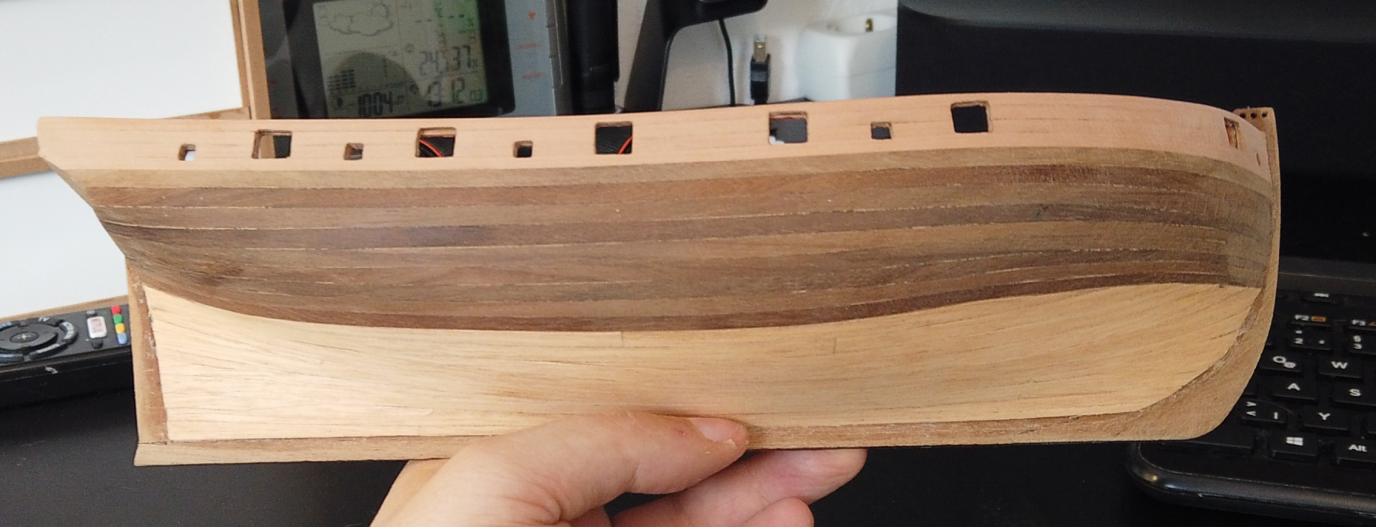
Oh i'm not touching the Starboard side, i consider it finished and the Wave will be hidden under paint. I missed somewhere the info about "the point of tapering", i was under the impression, that the taper should start immiedately from the widest bulkhead (so bulkhead 5 in case of the LN). On the portside i only have the 2 untapered Wale Strakes fitted by now, i will do the tapering there as you describe it
-
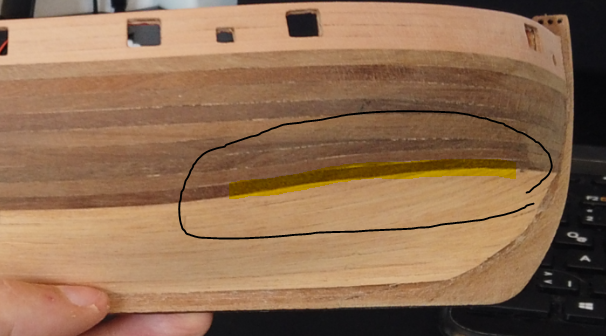
You mean this wavy line ? So, the taper should be started more forward (in the area of bulkheads 3/4 ) instead of starting from Bulkhead 5 ? I will attempt changes on the other hull half, one of the sides will never be visible when on display anyway so i can choose which side looks better
- 71 replies
-
- 1
-
-
- Lady Nelson
- Amati
- (and 1 more)
-
Decided i dont want to fight with the Walnut anymore (still need to for the 6 port strakes until the Waterline tho) so i used Tanganika and took a shortcut. Using the Shortcut meant, i could finish the Starboard Hull in between actually working at work. Sake of Sanity really in a place which will be covered by a layer of Paint Still need to do the port side, 6 strakes walnut until the waterline, rest will be the Tanganika i have (which means finding a day when i can get rid of the Kid and wife for a few hours in one session) Question: does acrylics stick to oiled wood ? I wanted to see how it looks when i oil her
- 71 replies
-
- 2
-
-
- Lady Nelson
- Amati
- (and 1 more)
-
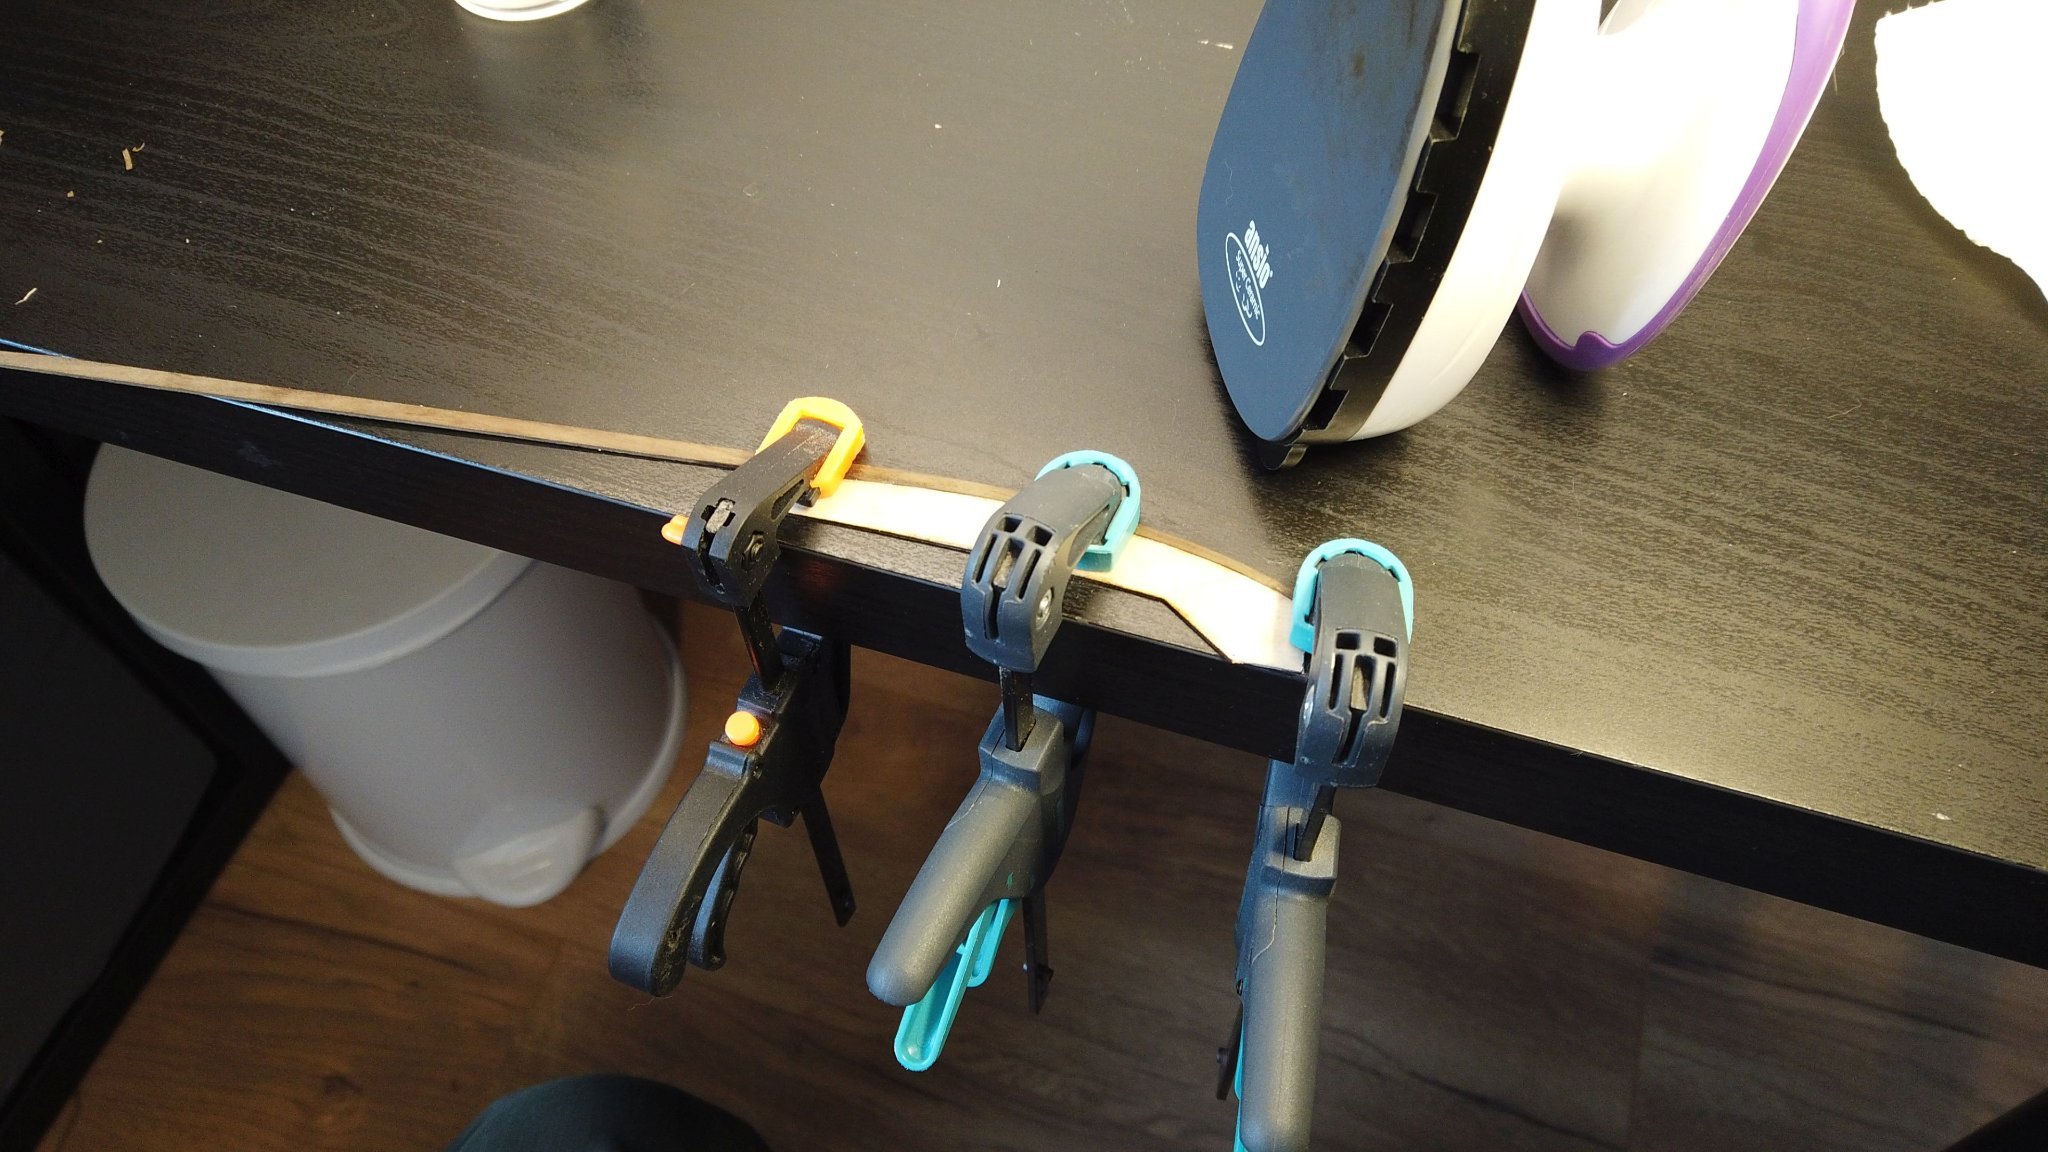
oh, that middle clamp i have added at the end, after ironing for around 2 minutes
-
Like this: still, they refuse to keep the shape, also they tend to snap back to weird curves after i do the bending to fit around the hull. Anyways, i have already decides, that the hull will be painted, now i am experimenting with a cheat-Technique below the waterline which is very fast but definitely not how it should be

- 71 replies
-
- 1
-
-
- Lady Nelson
- Amati
- (and 1 more)