SaltyScot
-
Posts
867 -
Joined
-
Last visited
Content Type
Profiles
Forums
Gallery
Events
Everything posted by SaltyScot
-
 I am happy to have you aboard, Steve. I like the way she is shaping up too I must say.
 -
Yep, I like those davits too. I intend to do a similar thing with the catheads on my build. The kit supplied plywood ones just don't to the model justice.
- 301 replies
-
- 4
-

-

-
- Constitution
- Bluejacket Shipcrafters
- (and 1 more)
-
I couldn't agree more on this one.
-
Glenn, she has come together very nicely. Well done sir.
- 241 replies
-
- 3
-
-
-
- Vanguarrd Models
- Harpy
- (and 1 more)
-
Congrats from me too, John. She is certainly a sight to behold!
-
Wow, a lot has happened while I was otherwise occupied. She is starting to look quite regal. As I have said before, quite the inspiration for us newbies.
- 332 replies
-
- 1
-
-
- Harpy
- Vanguard Models
- (and 1 more)
-
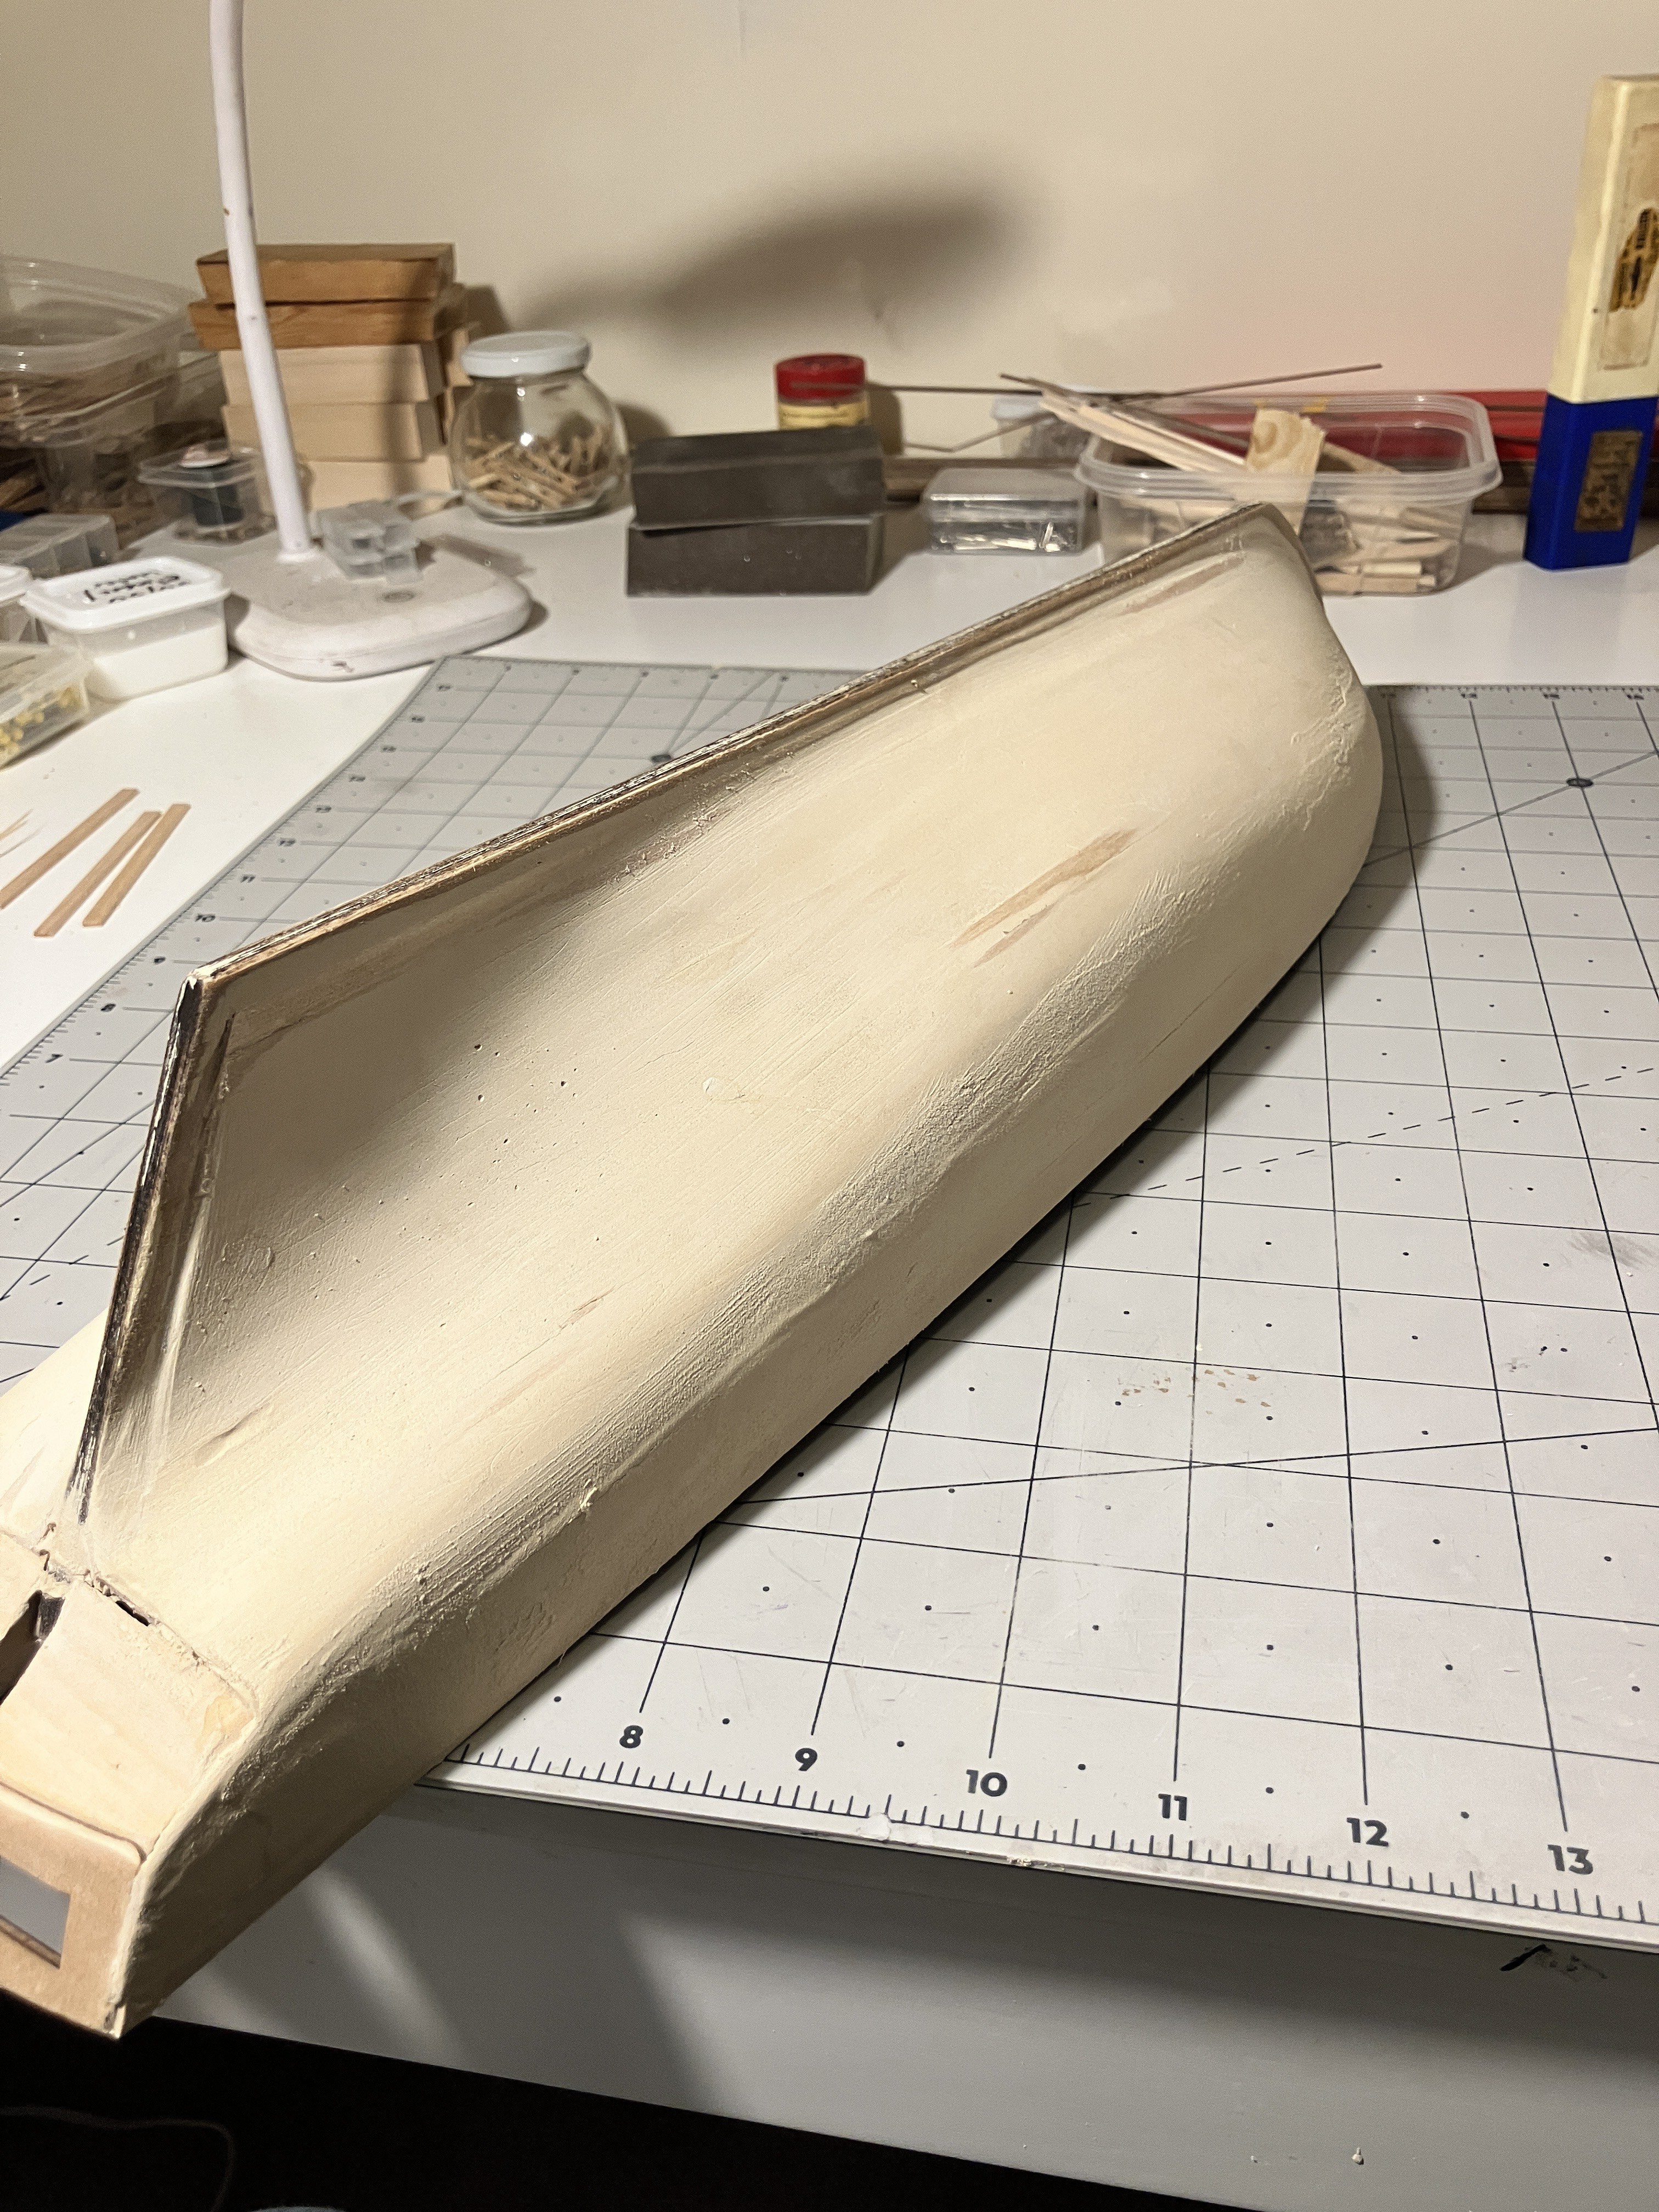
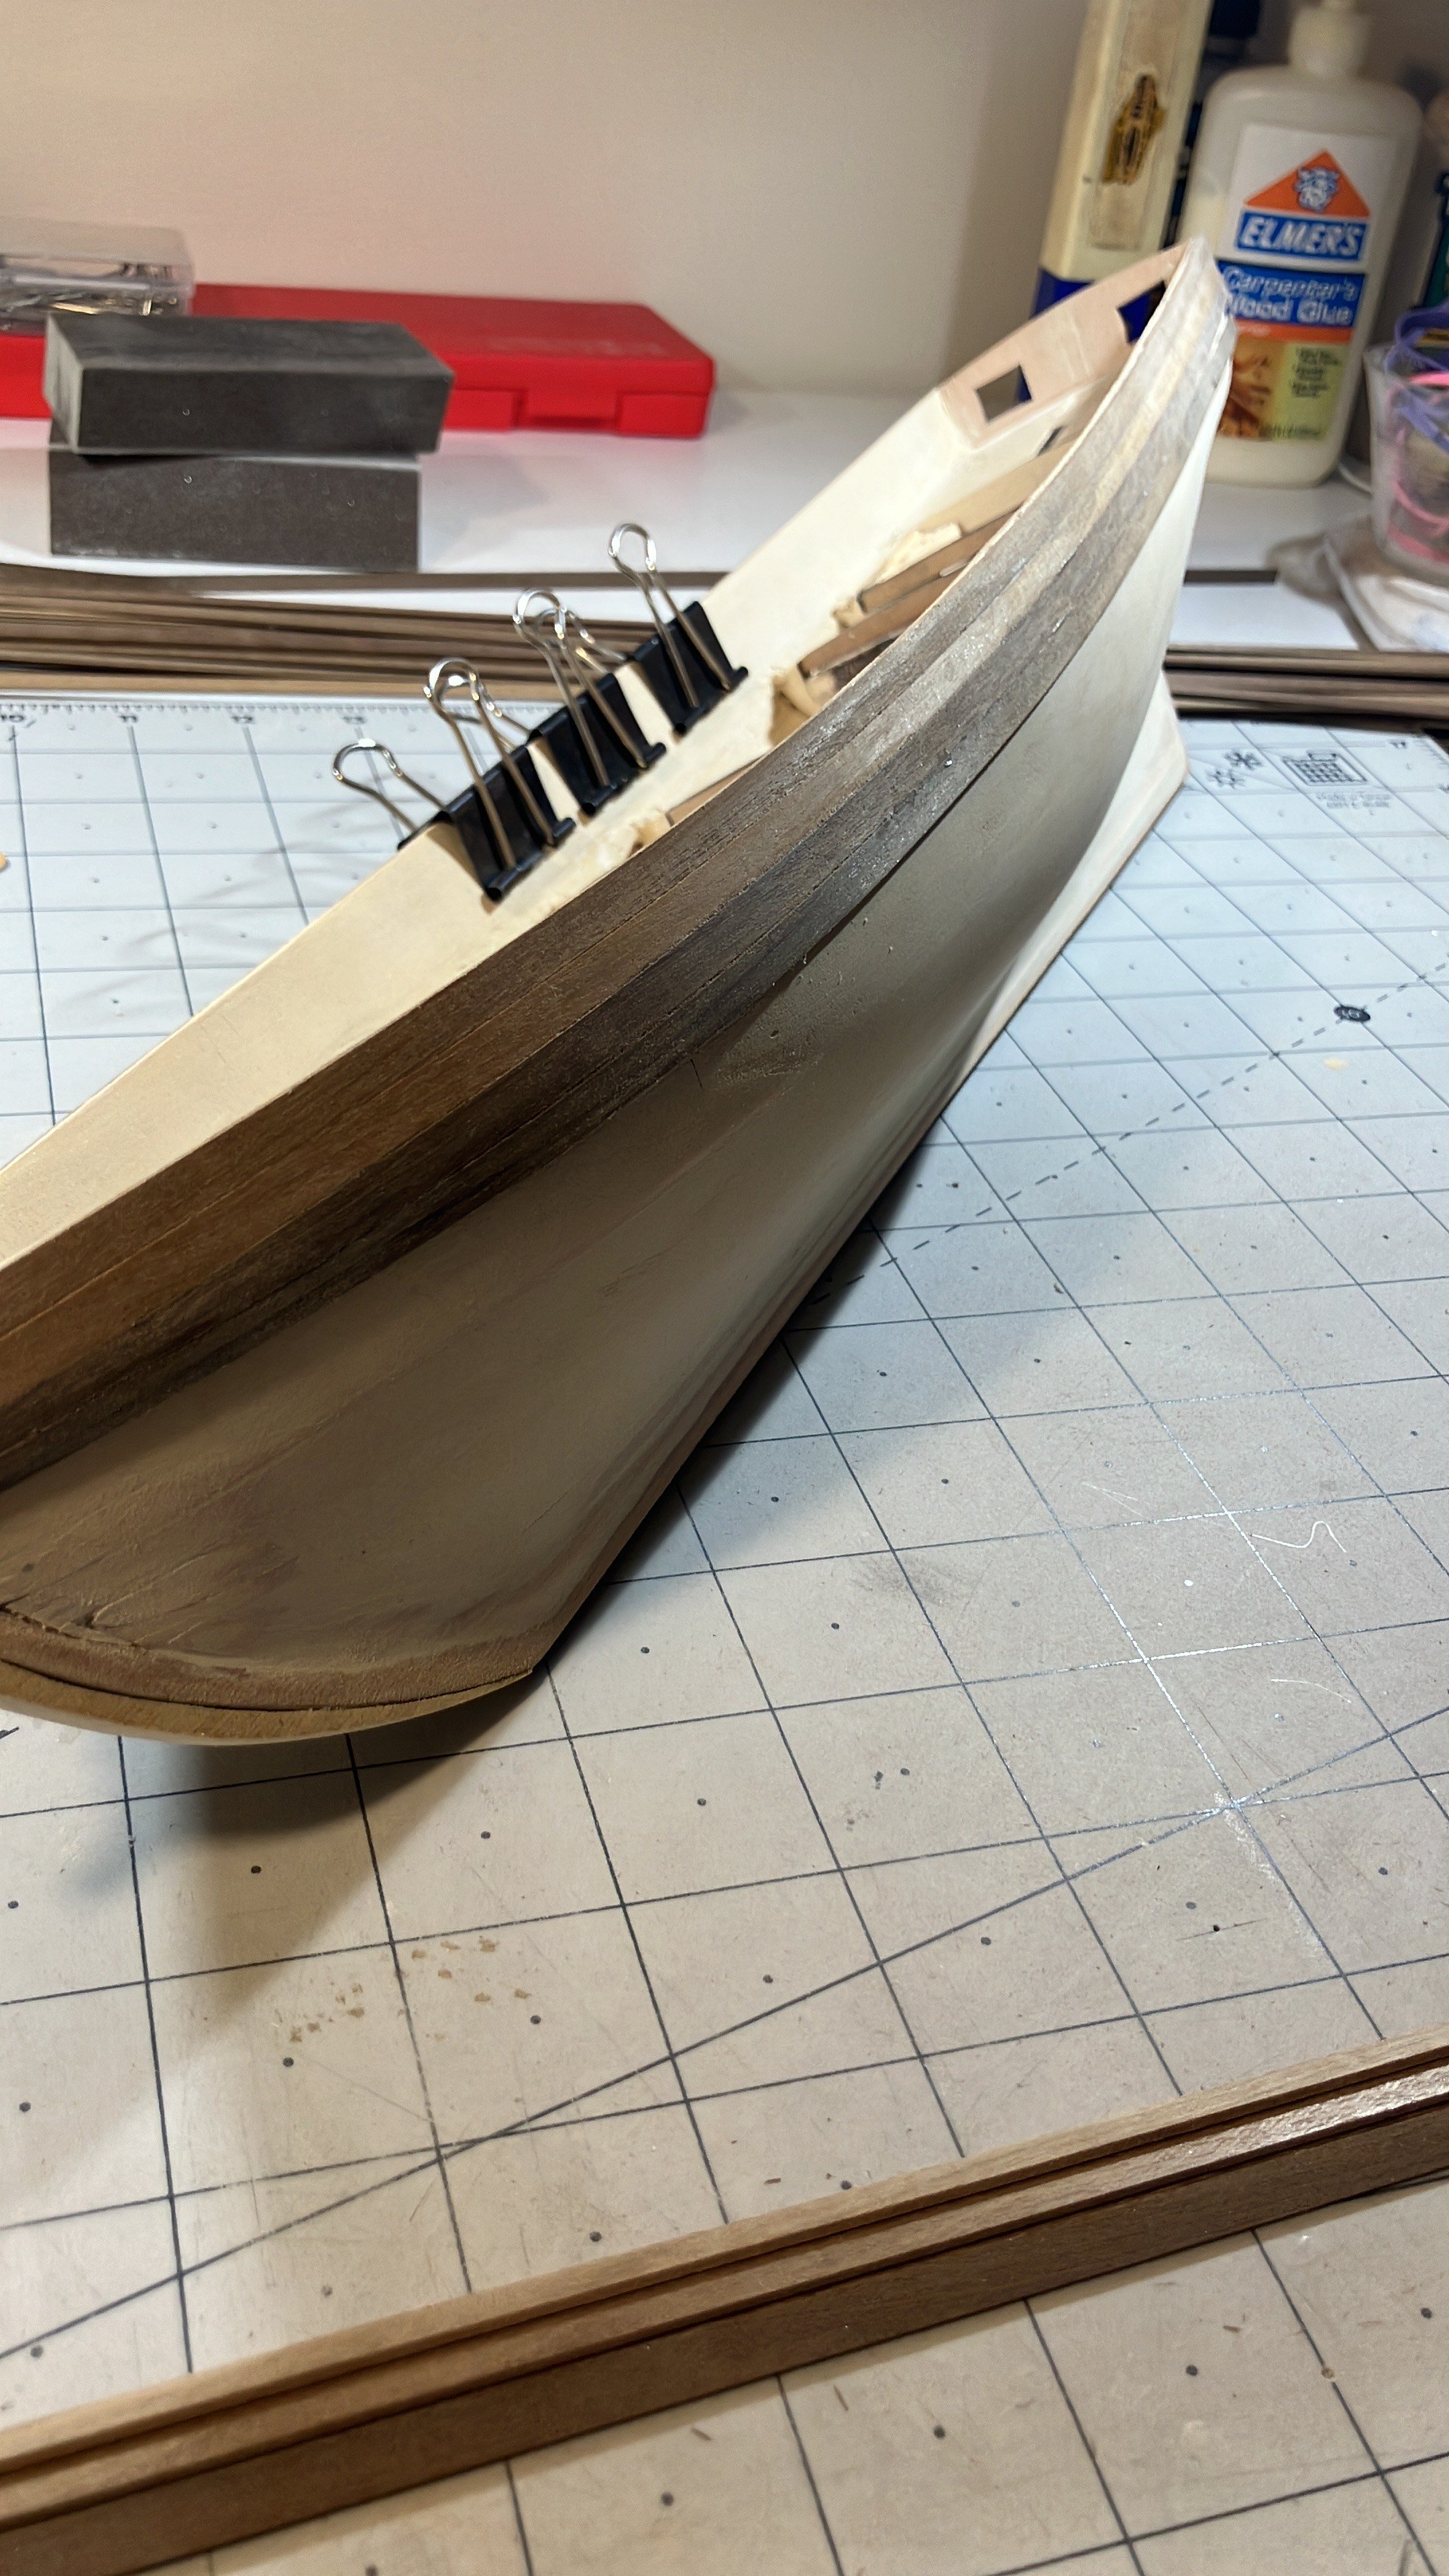
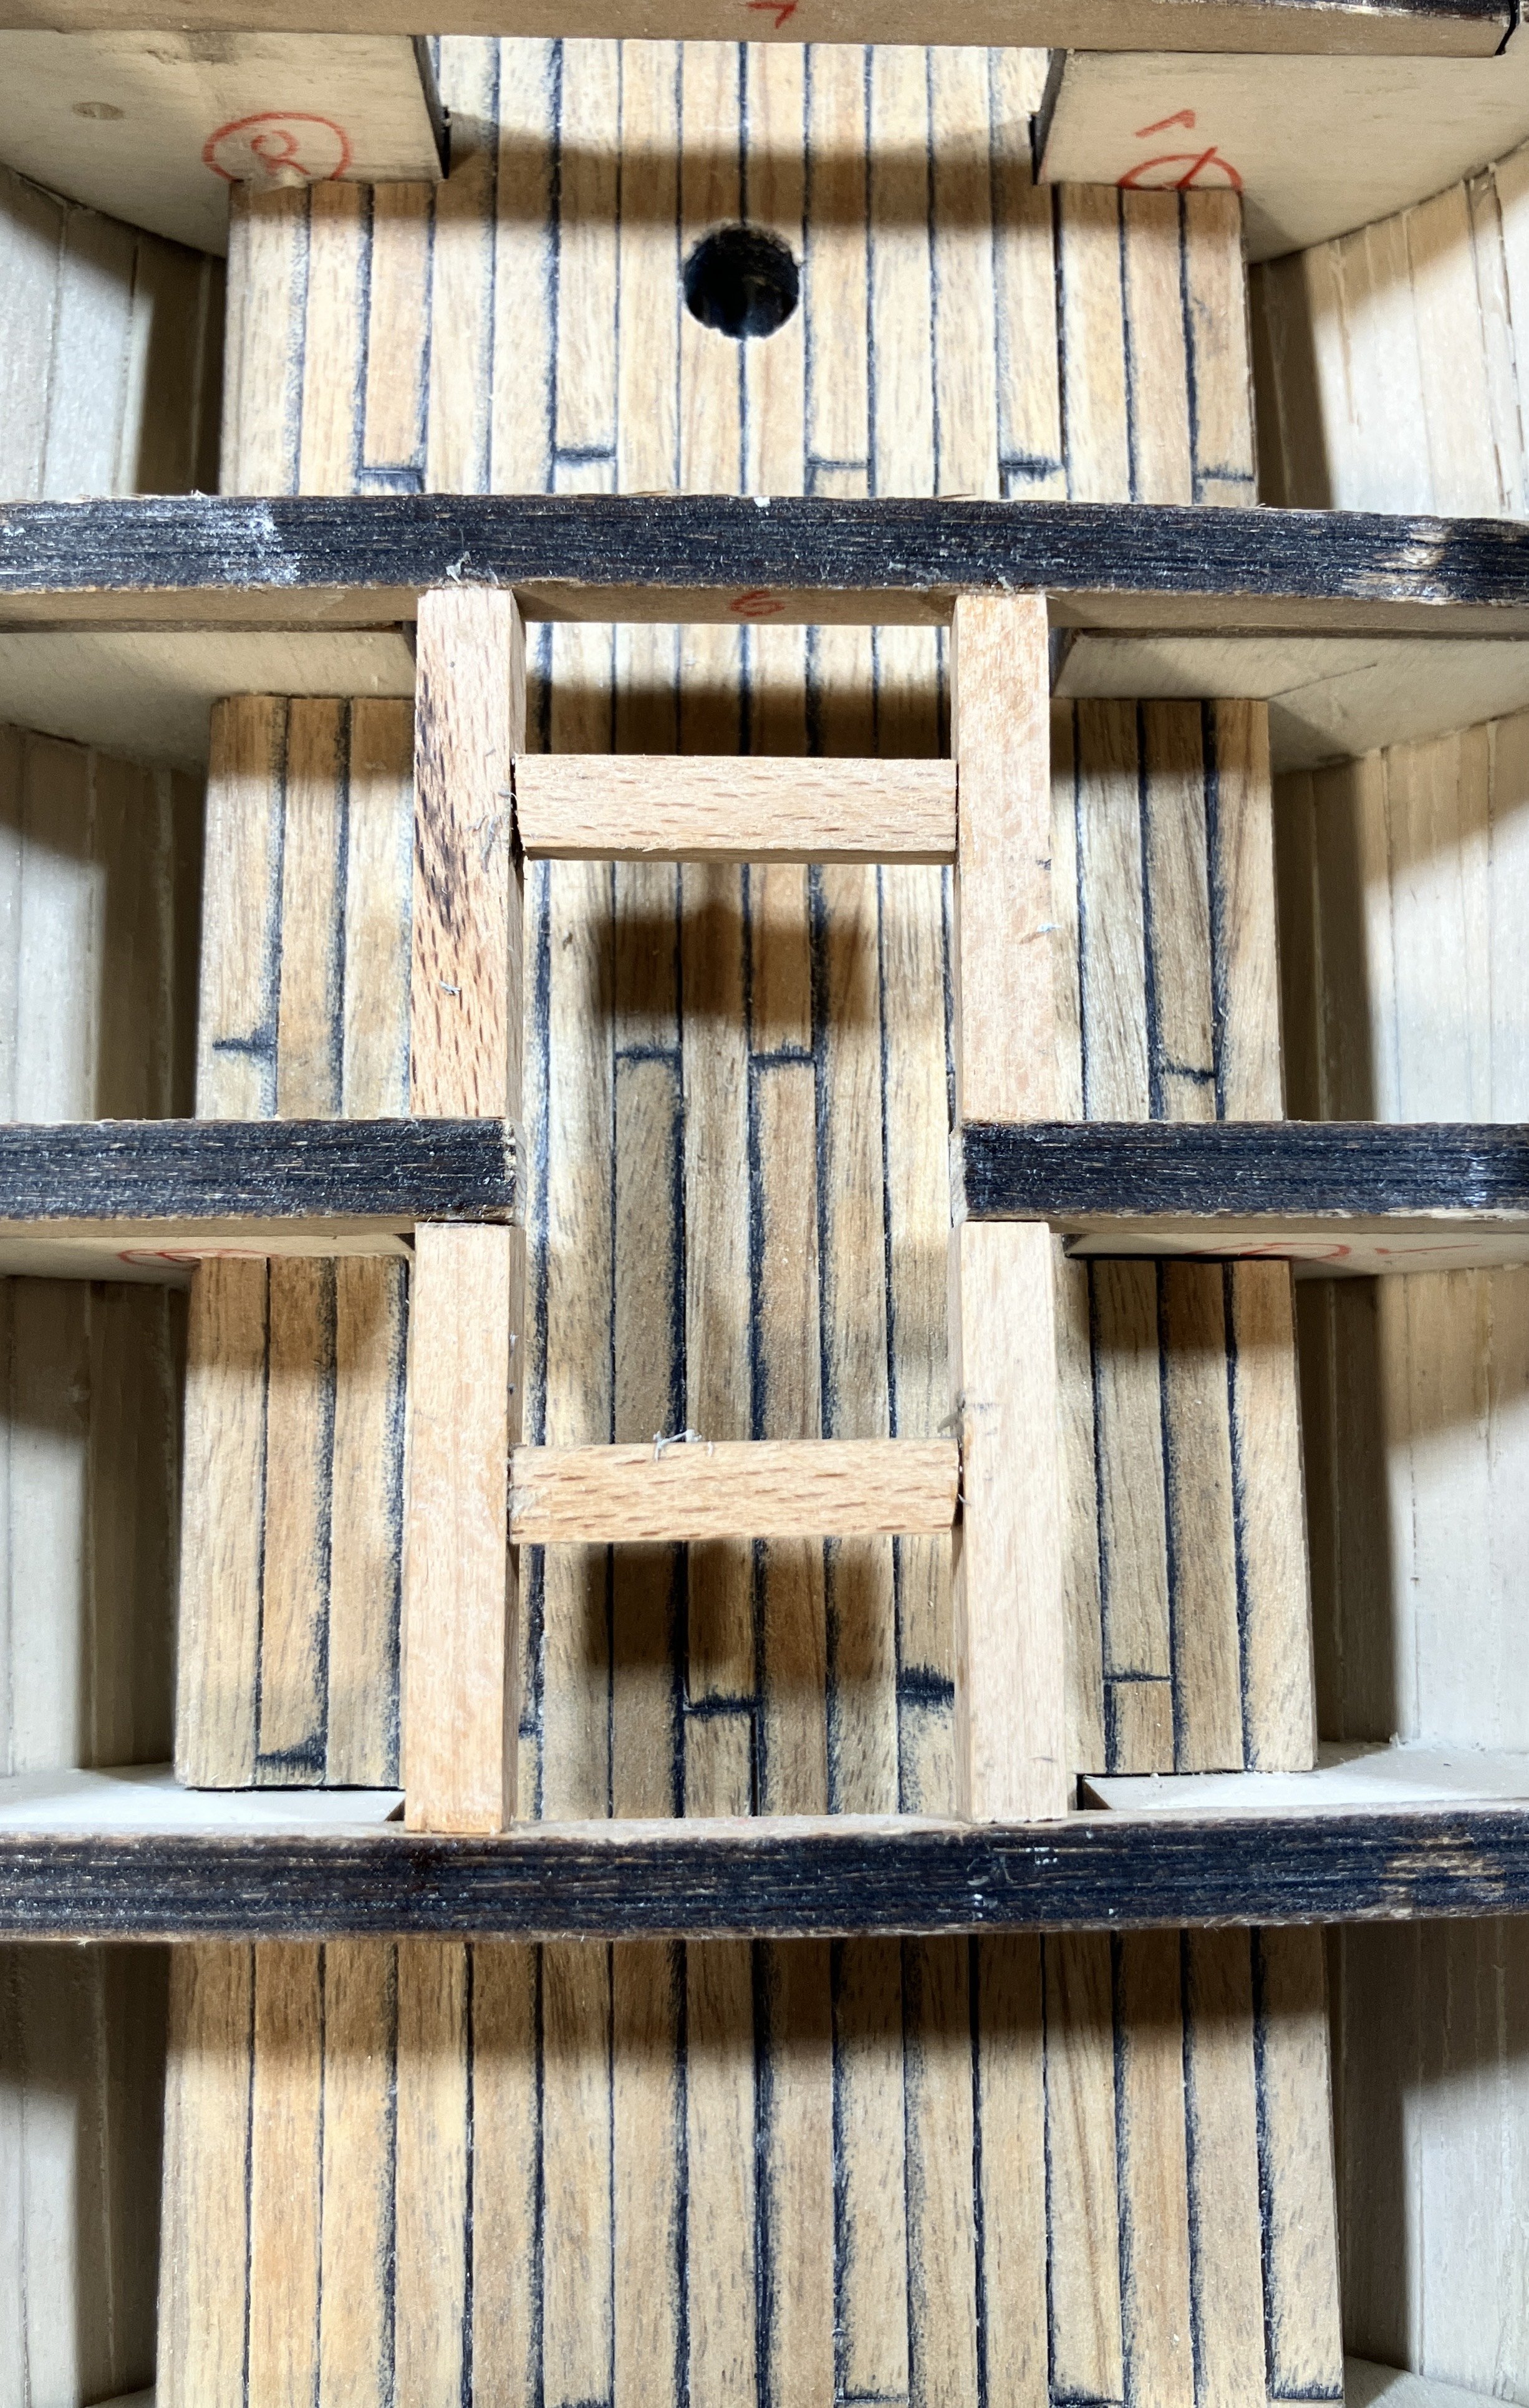
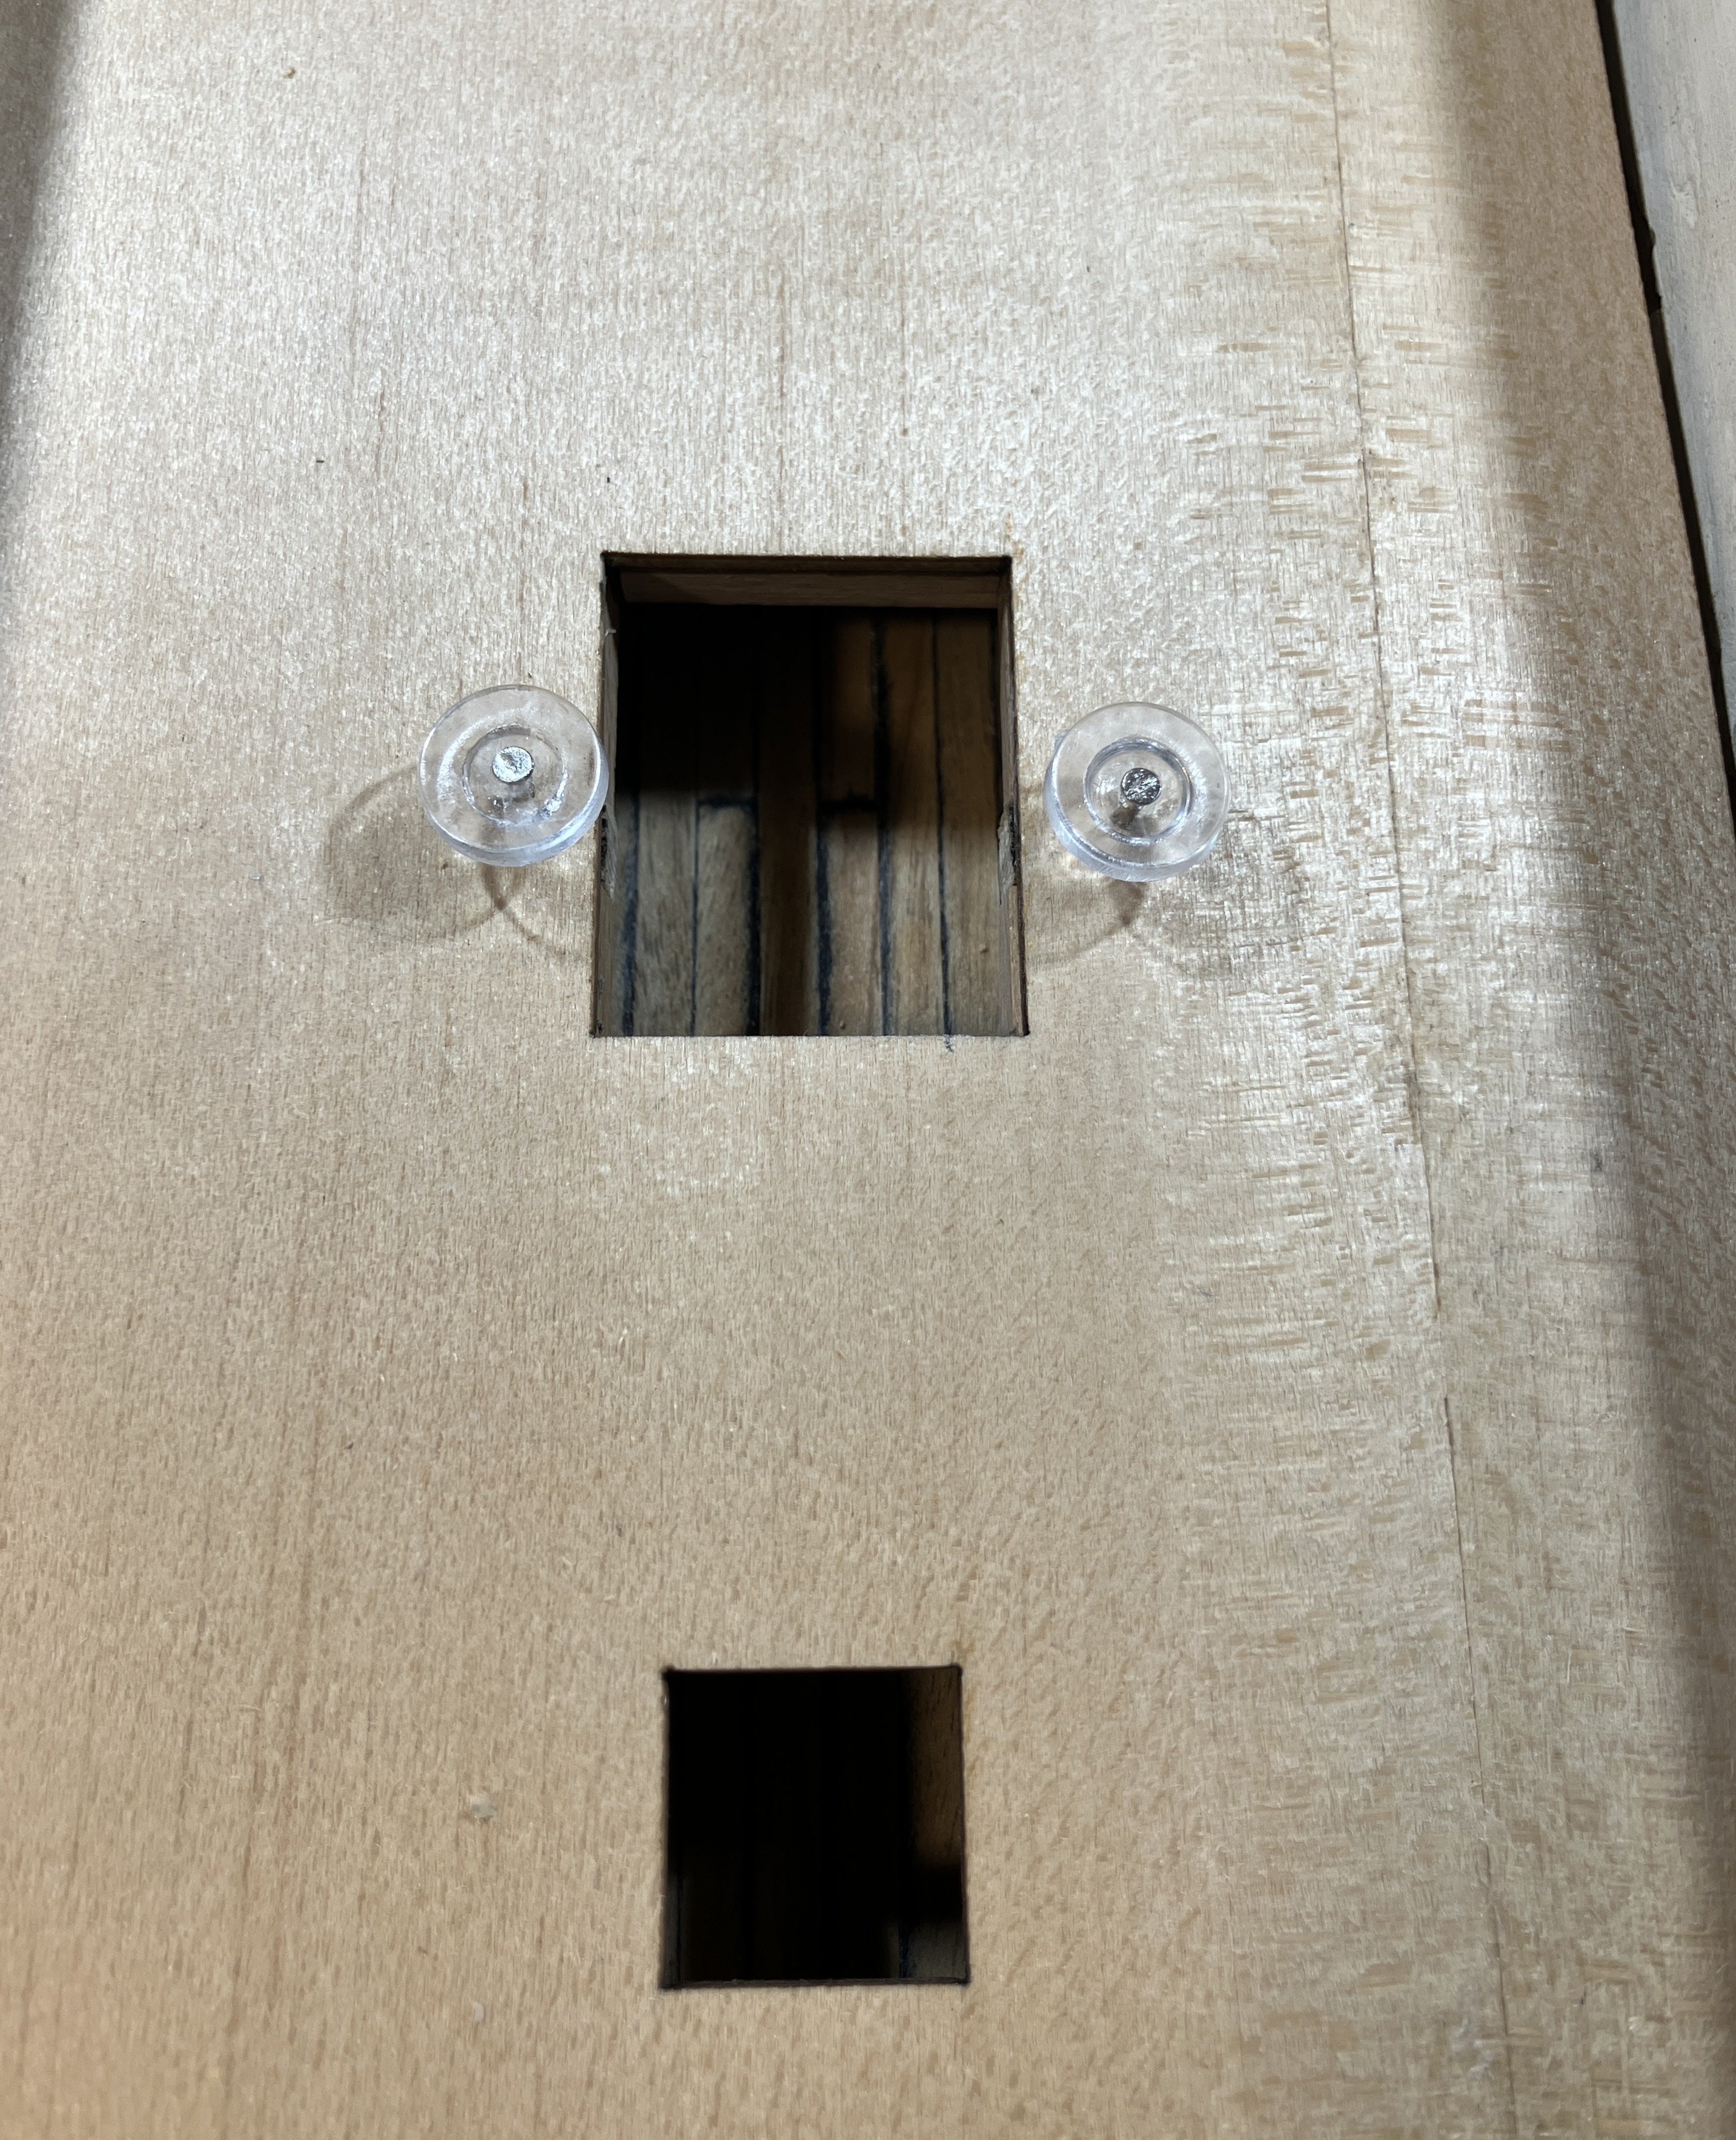
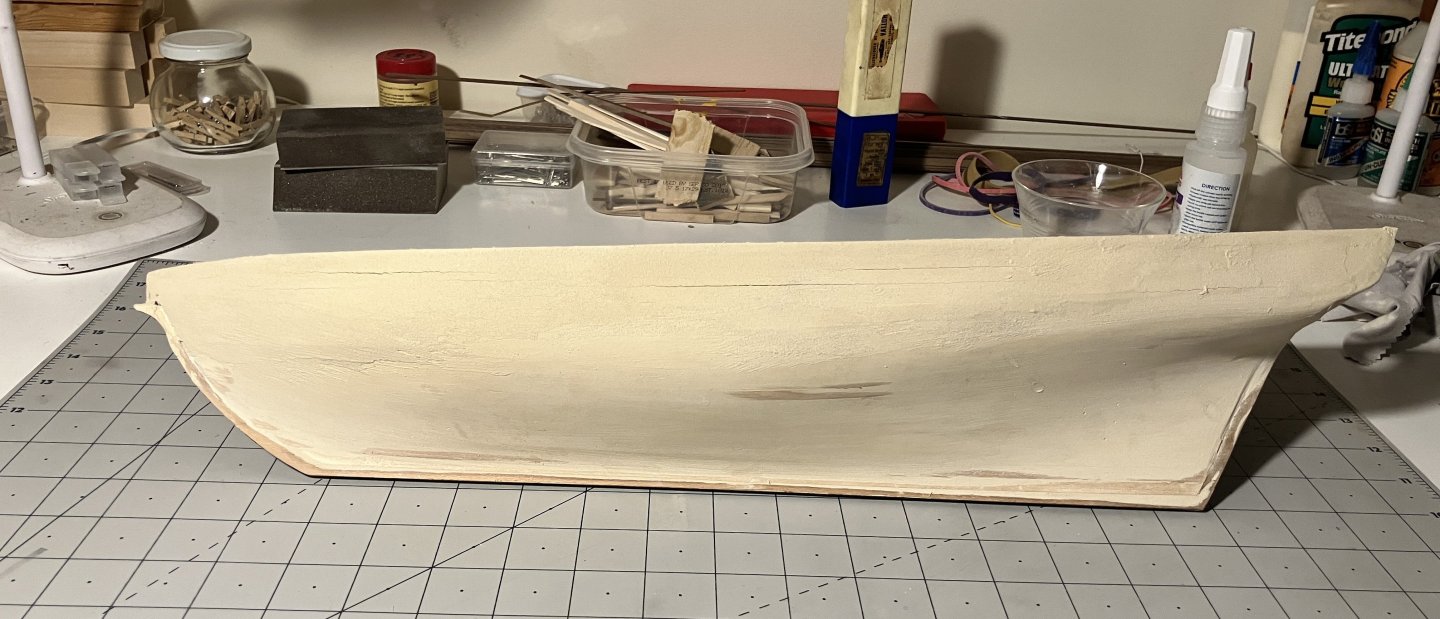
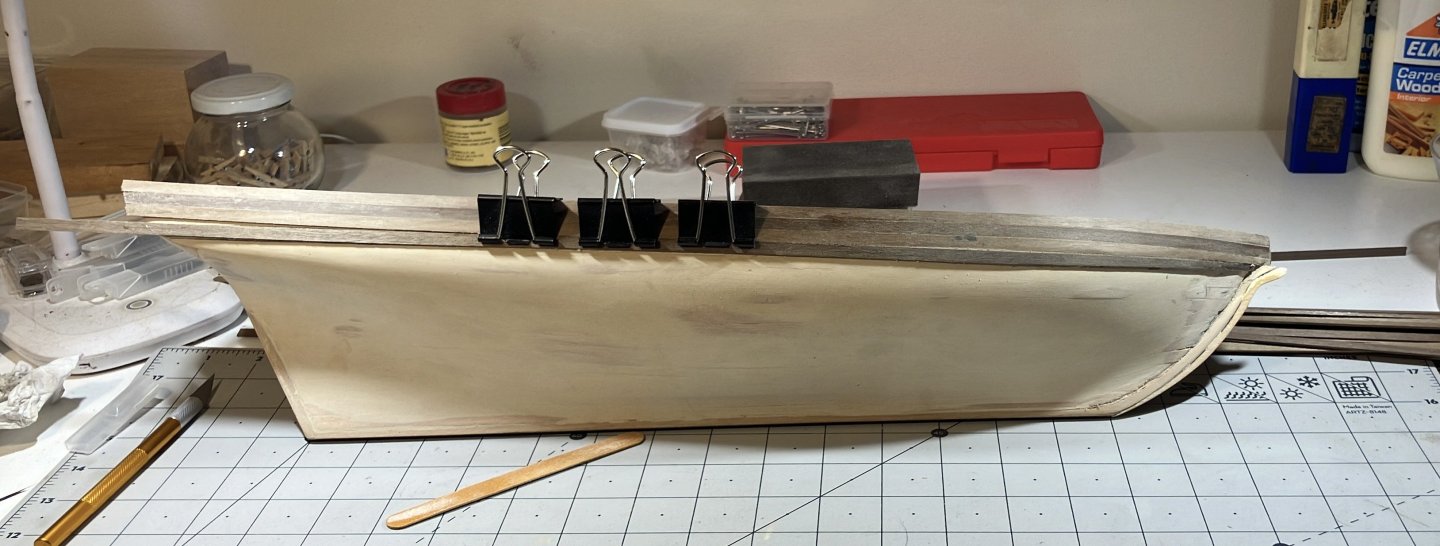
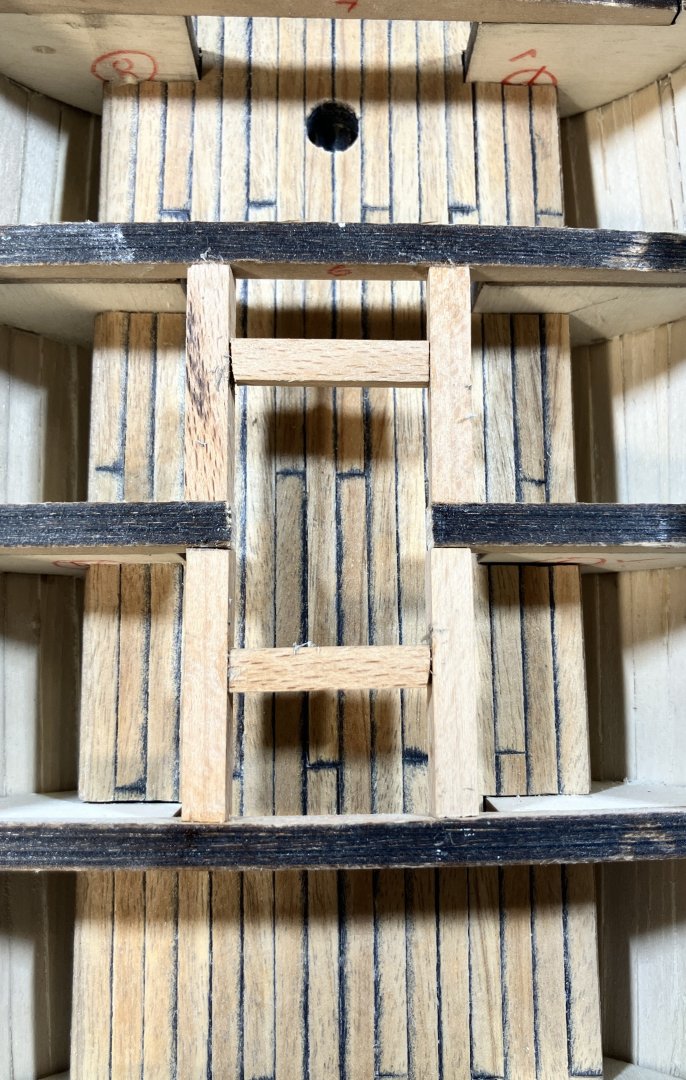
Good morning, folks. I managed to squeeze some time in the shipyard these past couple of days as things are slowing down now that the house is finally sold. The move, at least as far as I am involved, is complete and I no longer need to be running back and forth between here and DC. The other main job we were concerned with that was keeping me from my build was our deck at the back of the house. It was made with composite decking and the water was pooling on it quite badly when it rained. We had to remove all the boards, replace some of the joists and then refit new 5 1/4 decking planks. In effect I guess it was good practice for my deck planking on the build Anyway, on with the build. I finished the first layer of planking and covered the hull with a fine wood filler before sanding the whole thing smooth to accept the second layer of walnut strips. I am not using the material that came with the kit because the quality of the wood in this kit really does leave a lot to be desired. I then started adding the second layer: Because of the position of the deck hatches I had to adjust one of the deck beams so that it wasn't going across the middle of the hatch opening, that looked a little weird when I laid the false deck on. It looks better now: Today I hope to continue with the second planking. Stay tuned


-
You did a very nice job with that sail, Trevor, your usual meticulous approach has paid off. I shall red through your recent posts when I have more than 10 minutes to spare (we are into our house reno again now......)
- 167 replies
-
- 1
-
-
- Norwegian Sailing Pram
- Model Shipways
- (and 1 more)
-
Welcome, George. Enjoy the journey.
-
Welcome to the forum. As stated above, don't be afraid to ask questions, it will help you along your way. Enjoy!
-
I am finally home and have the moving truck full of stuff that we are keeping from the house unloaded, Trevor. I haven't been able to get in the shipyard just yet, the CEO's list of to-do's seems to grow longer instead of shorter Tomorrow is a rainy day here (no sudden, unwanted snowstorms for us!) so I will be bale to sit down and get on with my build. I am very much looking forward to that.
- 167 replies
-
- 3
-
-
- Norwegian Sailing Pram
- Model Shipways
- (and 1 more)
-
You made a fine job of that, Trevor, I really like how the sail turned out. I don't have sails on my current build but this post will go to my "aha, that's how it's done" folder
- 167 replies
-
- 2
-
-
- Norwegian Sailing Pram
- Model Shipways
- (and 1 more)
-
I agree, Phil, those railings really add to the overall look of your build. You are doing a fine job with this one.
- 288 replies
-
- 6
-
-
-
- Card
- Pre-Dreadnought
- (and 3 more)
-
Steep learning curves are part and parcel of the hobby, Jo. It looks like you are headed in the right direction and I like your planking solution sir
-
My fellow modelers, the CEO has declared that my presence is needed elsewhere for the next week (at least). Her mother's house is under contract with the closing date set for April 28th. She plans to move out on the 23rd. The plan is to spend a good part of next week up there in DC to get the final bits and pieces out of the house that are either being sold or donated, before the moving company gets there. There always appears to be something else to be done up there and both myself and the CEO are counting down the days until the 23rd rolls around. Because of all this, I will be away for an as yet undefined period of time, that matter is not under my control....... I go where I am requested because, as we all know, happy wife, and so on......
-
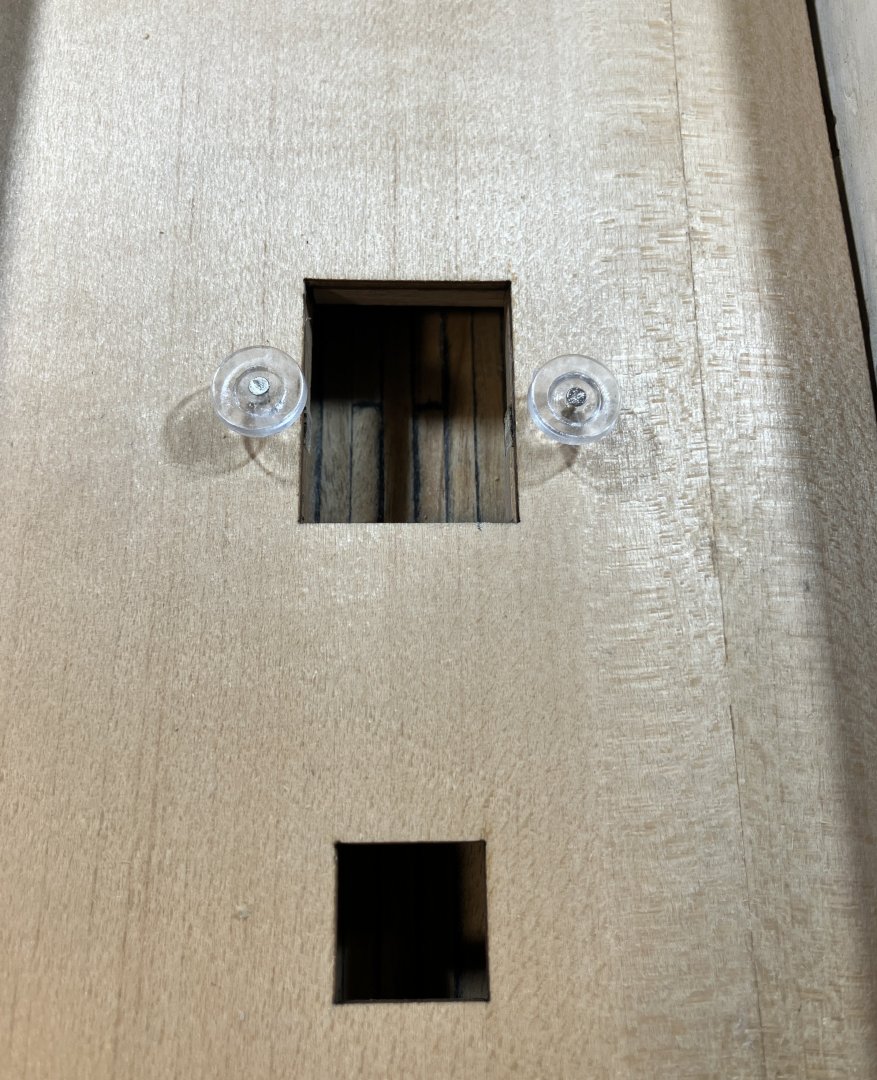
I know exactly what you mean, Glenn. On my Endeavour build I had fully finished the hull, painted and varnished it and was very happy with the result. While I was drilling the holes for the stanchions at the stern of the boat I slipped with the tiny drill bit and went through too far. When I saw the drill bit sticking out through the underside of my nice shiny hull (and the hole that got made when a piece of wood got punched out by the drill bit), I nearly lost it. I had to just take a very deep breath and tackle the issue otherwise I would have thrown the drill against the wall, or something worse.......... Like you mentioned, getting on with something enjoyable and uplifting is the way to go. Your build looks good mate.
- 241 replies
-
- 3
-
-
- Vanguarrd Models
- Harpy
- (and 1 more)
-
Been there, Trevor. My shipyard is in a spare bedroom here in our home. When I get the vacuum out and get in here, I hear all the bits of nails (and the odd tiny cleat) scuttling on up the vacuum hose.
- 167 replies
-
- 3
-
-
- Norwegian Sailing Pram
- Model Shipways
- (and 1 more)
-
Those hatches look good, a job I will be faced with later on down the line on my build. Now I know where to get the inspiration!
-
Heres hoping you are not hurting too much this morning, Bob. I hate to tell you that we have had 80 degree weather these past three days, so I won't 🤣🤣🤣
-
That is spectacular news, John. It just shows that good work is appreciated. You should be proud of that achievement sir, as I'm sure you are.
-
There is definitely an unpredictability to our weather here right now. Yesterday and today we had 81F, fantastic weather to be outside doing stuff. Tonight we are expecting thunderstorms and highs tomorrow of 57F. Grab the sun while you can I guess I hope it shines up there, Trevor, so that you can get out and get your spraying done.
- 167 replies
-
- 2
-
-
- Norwegian Sailing Pram
- Model Shipways
- (and 1 more)
-
Received partially-built Corel Victory -- worth salvaging?
SaltyScot replied to SaltyScot's topic in Wood ship model kits
It is not in the trash yet I have a lot of other projects going on at this time, both inside and outside the shipyard. This may be one for a long, cold winter's day.