SaltyScot
-
Posts
867 -
Joined
-
Last visited
Content Type
Profiles
Forums
Gallery
Events
Everything posted by SaltyScot
-
Yes, that is indeed a play on words I have been seriously thinking about kitting myself out with the necessary tools to at least attempt a scratch built model. I have a very well equipped woodshop on our property here and have been playing with wood for a number of years now but, understandably, the tools in there are rather large and not suited for model ship building. I would like to know what it is I would need to begin this journey. I have a rough idea and already have some input on mini drill presses but things like mills and/or mini table saws for model ship building are all new to me. So, a shout goes out to all those scratch build experts out there. Newbie in need of help here
-
 This makes total sense to me, Phil.
 -
No, Phil, that appears to be the only one. There are a lot of very nice old WWII era pictures on the walls in all the hallways, mostly with a naval theme. The mother in law was not against moving really, that 4500 sq. ft. house was just too big for her. She was also adamant that she didn't want to make new friends in the retirement community when she initially moved in. Since then, she has befriended a retired 2 star admiral, a very funny and interesting man. Things will be just fine.
-
It is not unusual for me to have a single malt on my workbench when tackling onerous tasks, Maurice (like the somewhat simplistic rigging on me Endeavour but, being a newbie it was a steep learning curve for me). I had to chuckle when you mentioned things pinging off into the ether..... who hasn't been there. Your endurance and patience is certainly paying off, she looks superb.
- 332 replies
-
- 3
-

-
- Harpy
- Vanguard Models
- (and 1 more)
-
Yes, Keith, she is all settled in. Thank for asking, sir. That was one big hurdle we are truly glad is behind us.
-
Very nice, clean lines there, Phil. I am going to "steal" that idea with the PVA glue, it makes a lot of sense! Oh, I like your color scheme too by the way.
-
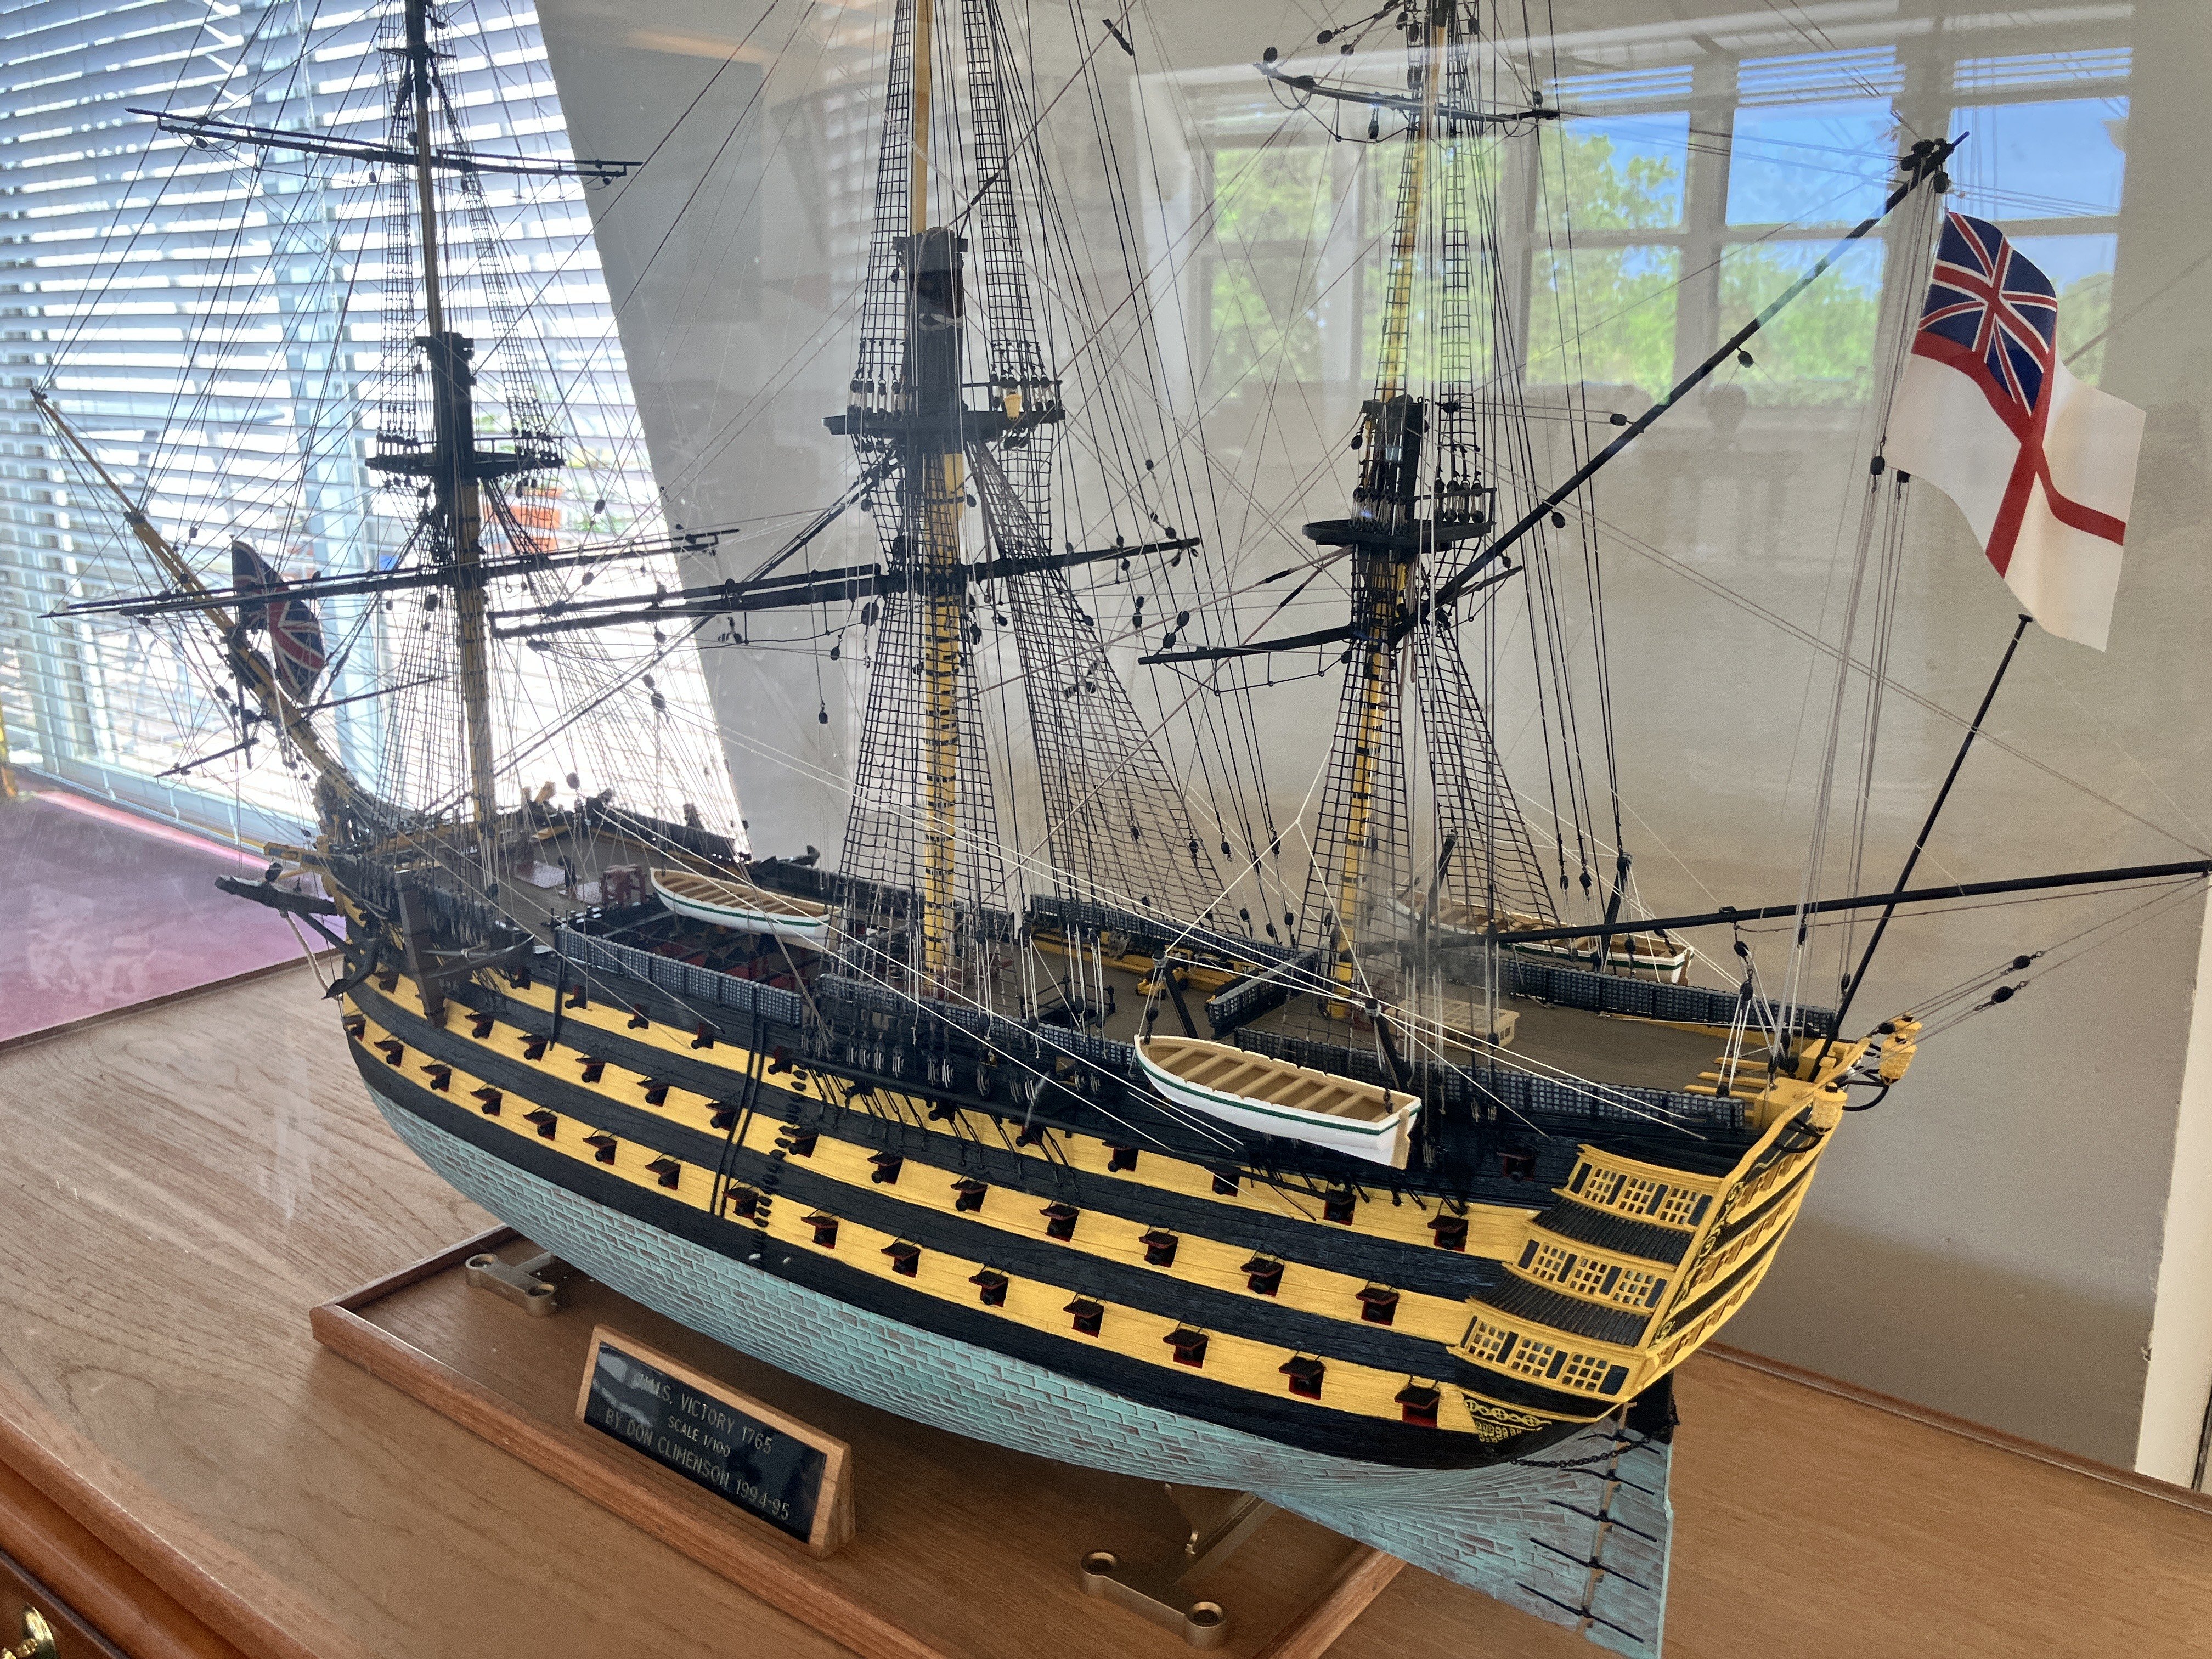
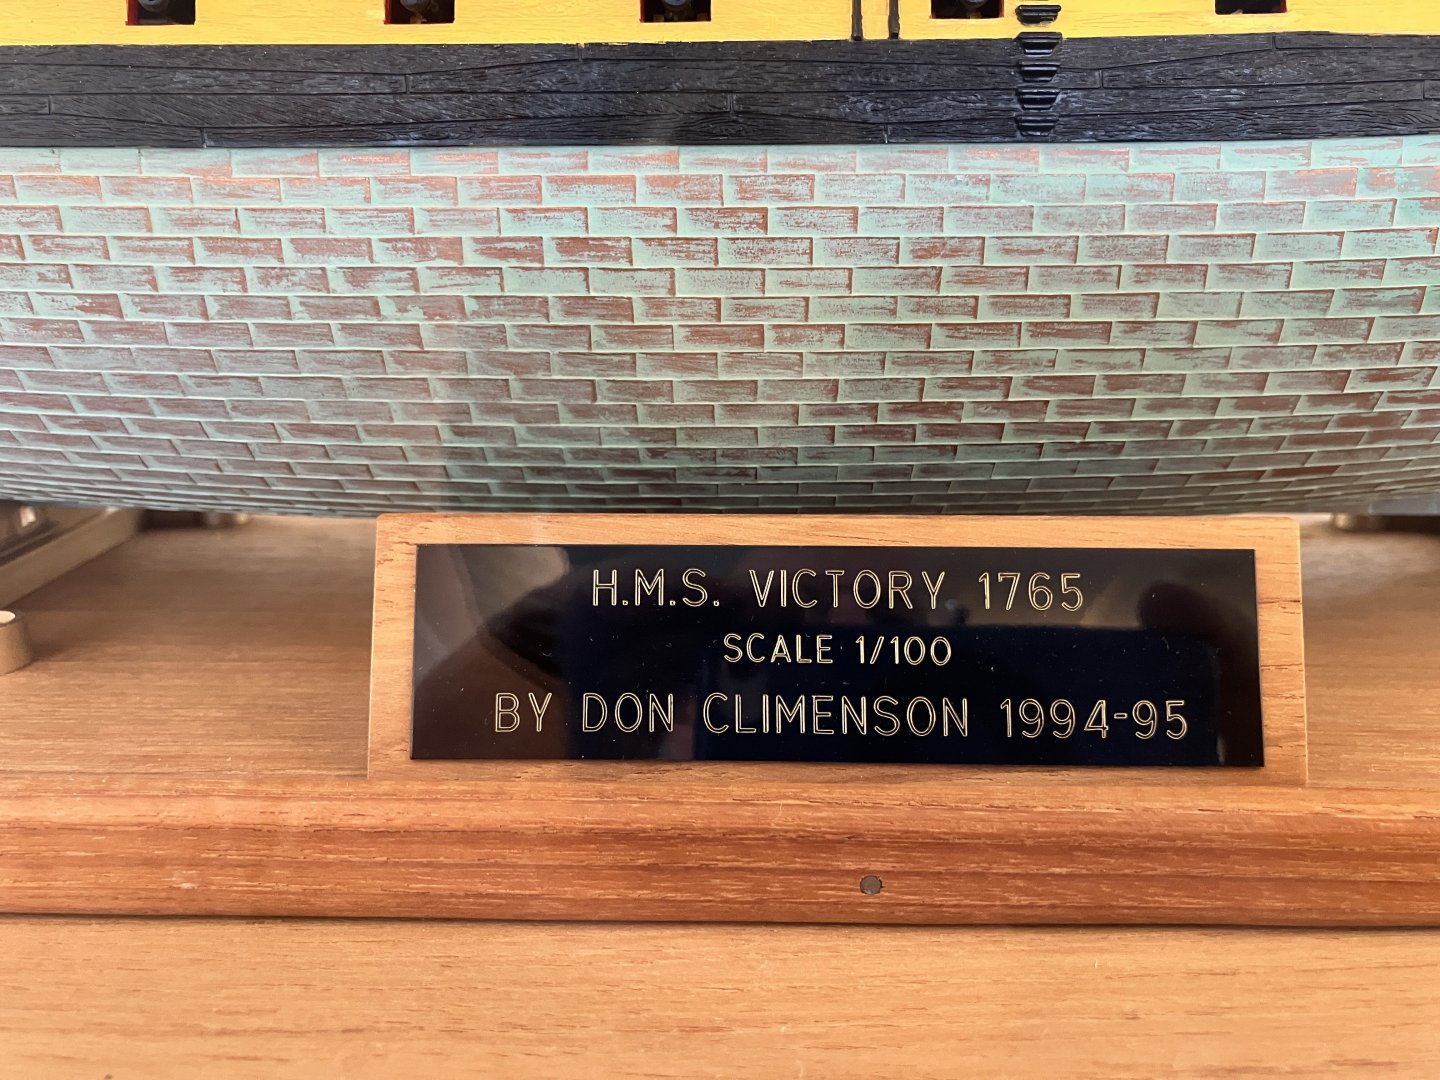
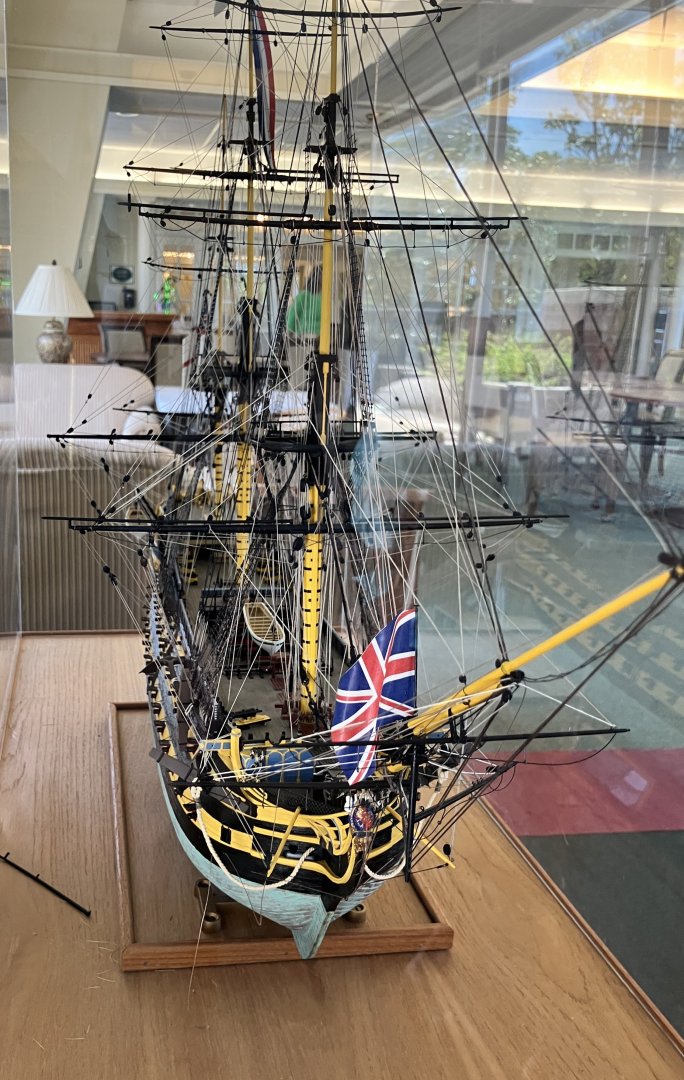
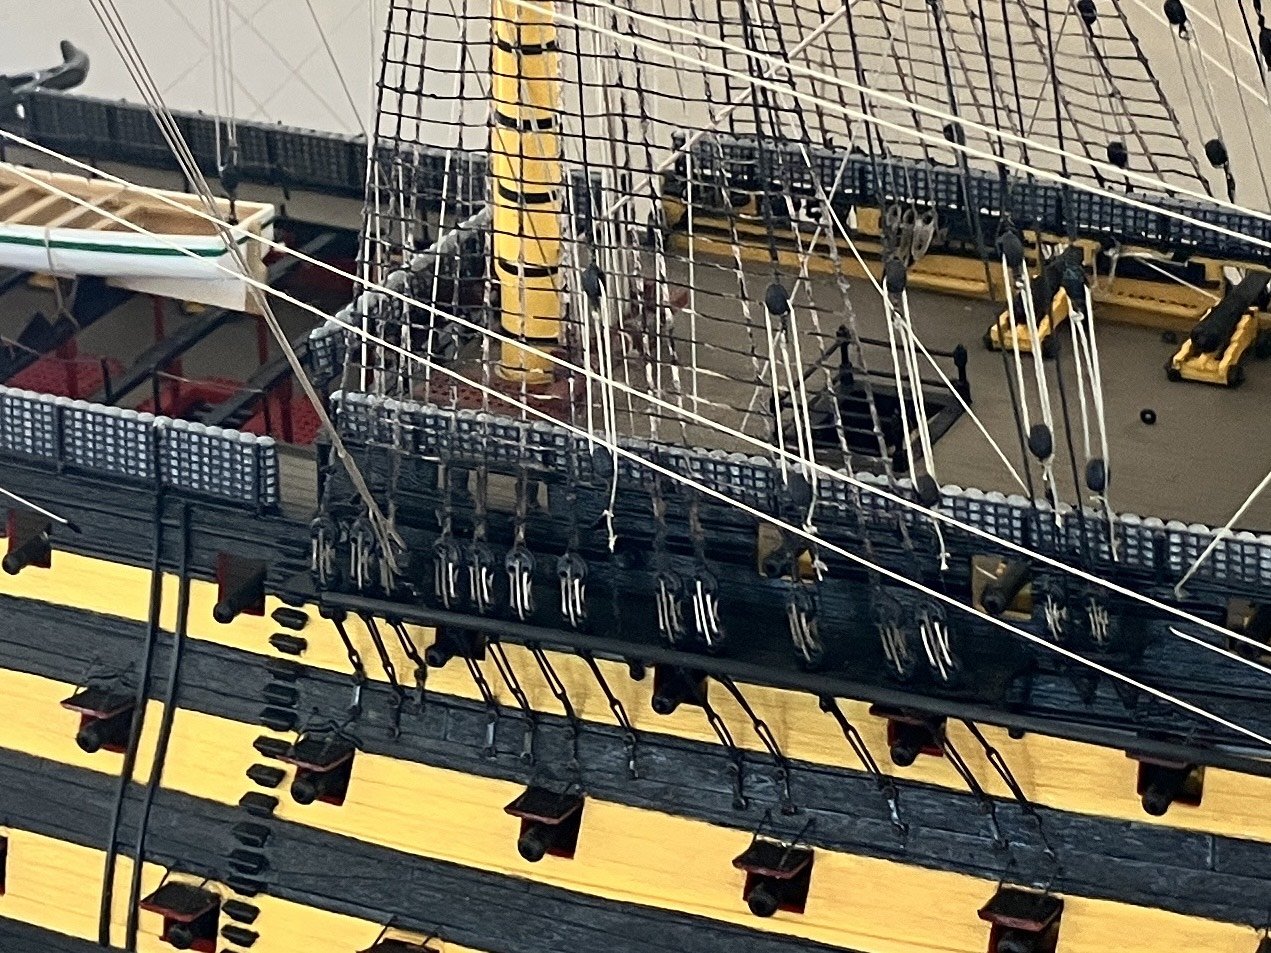
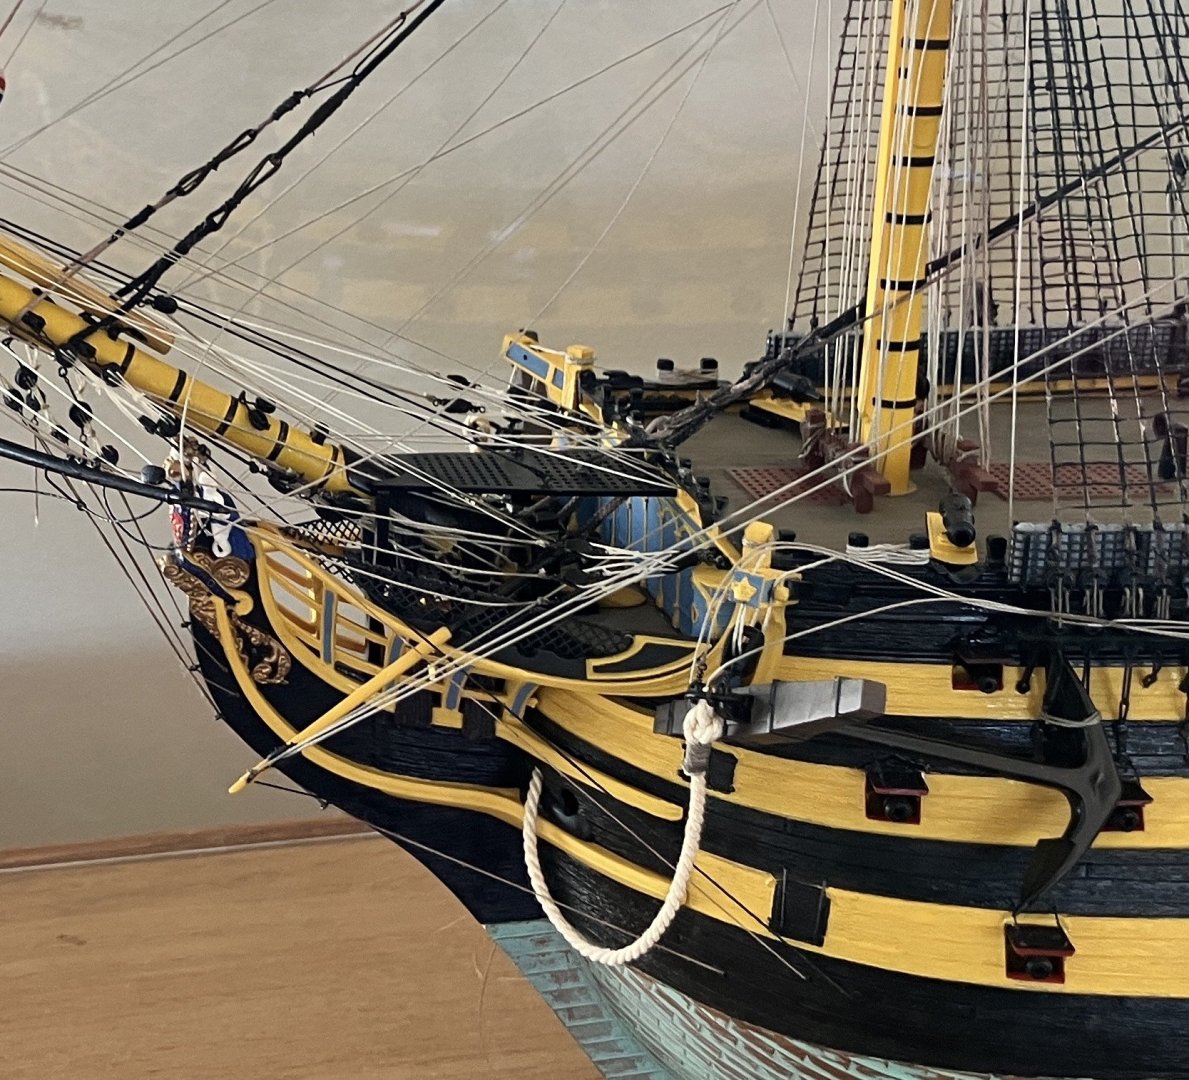
On an unrelated note, something really nice happened to me this weekend. For a lot of us here in the US, today was Mother's Day. As a lot of you are aware, we have been busy moving my mother-in-law into a retirement community and selling her house over the past 6 months. This weekend was the first chance I have had to visit that community (the CEO was the front runner on this project these past months, I was just the "hammer" ). The community was originally built to house retired veterans from the Coast Guard, Navy and Royal Marines (the CEO's father was retired Navy but the complex is now also open to the general populace). Because of that, it has a very nautical theme throughout. This is what I saw when we went up to the dining room on the top floor for our lunch today: She was absolutely beautiful.

-
We live and learn, Tom.
-
Definitely something not to be rushed, Phil. Yes, this was extremely helpful, thank you. I have a list on my workbench of things to do. One of the items on the list was to make a gun port jig. I can cross that out now, thanks to you, sir.
-
I applaud you guys who manage to get the very complex (in my eyes anyway) rigging done on models like this, and still retain your sanity! Very nice work, Glen.
- 301 replies
-
- 4
-
-

-
- Constitution
- Bluejacket Shipcrafters
- (and 1 more)
-
I second that
-
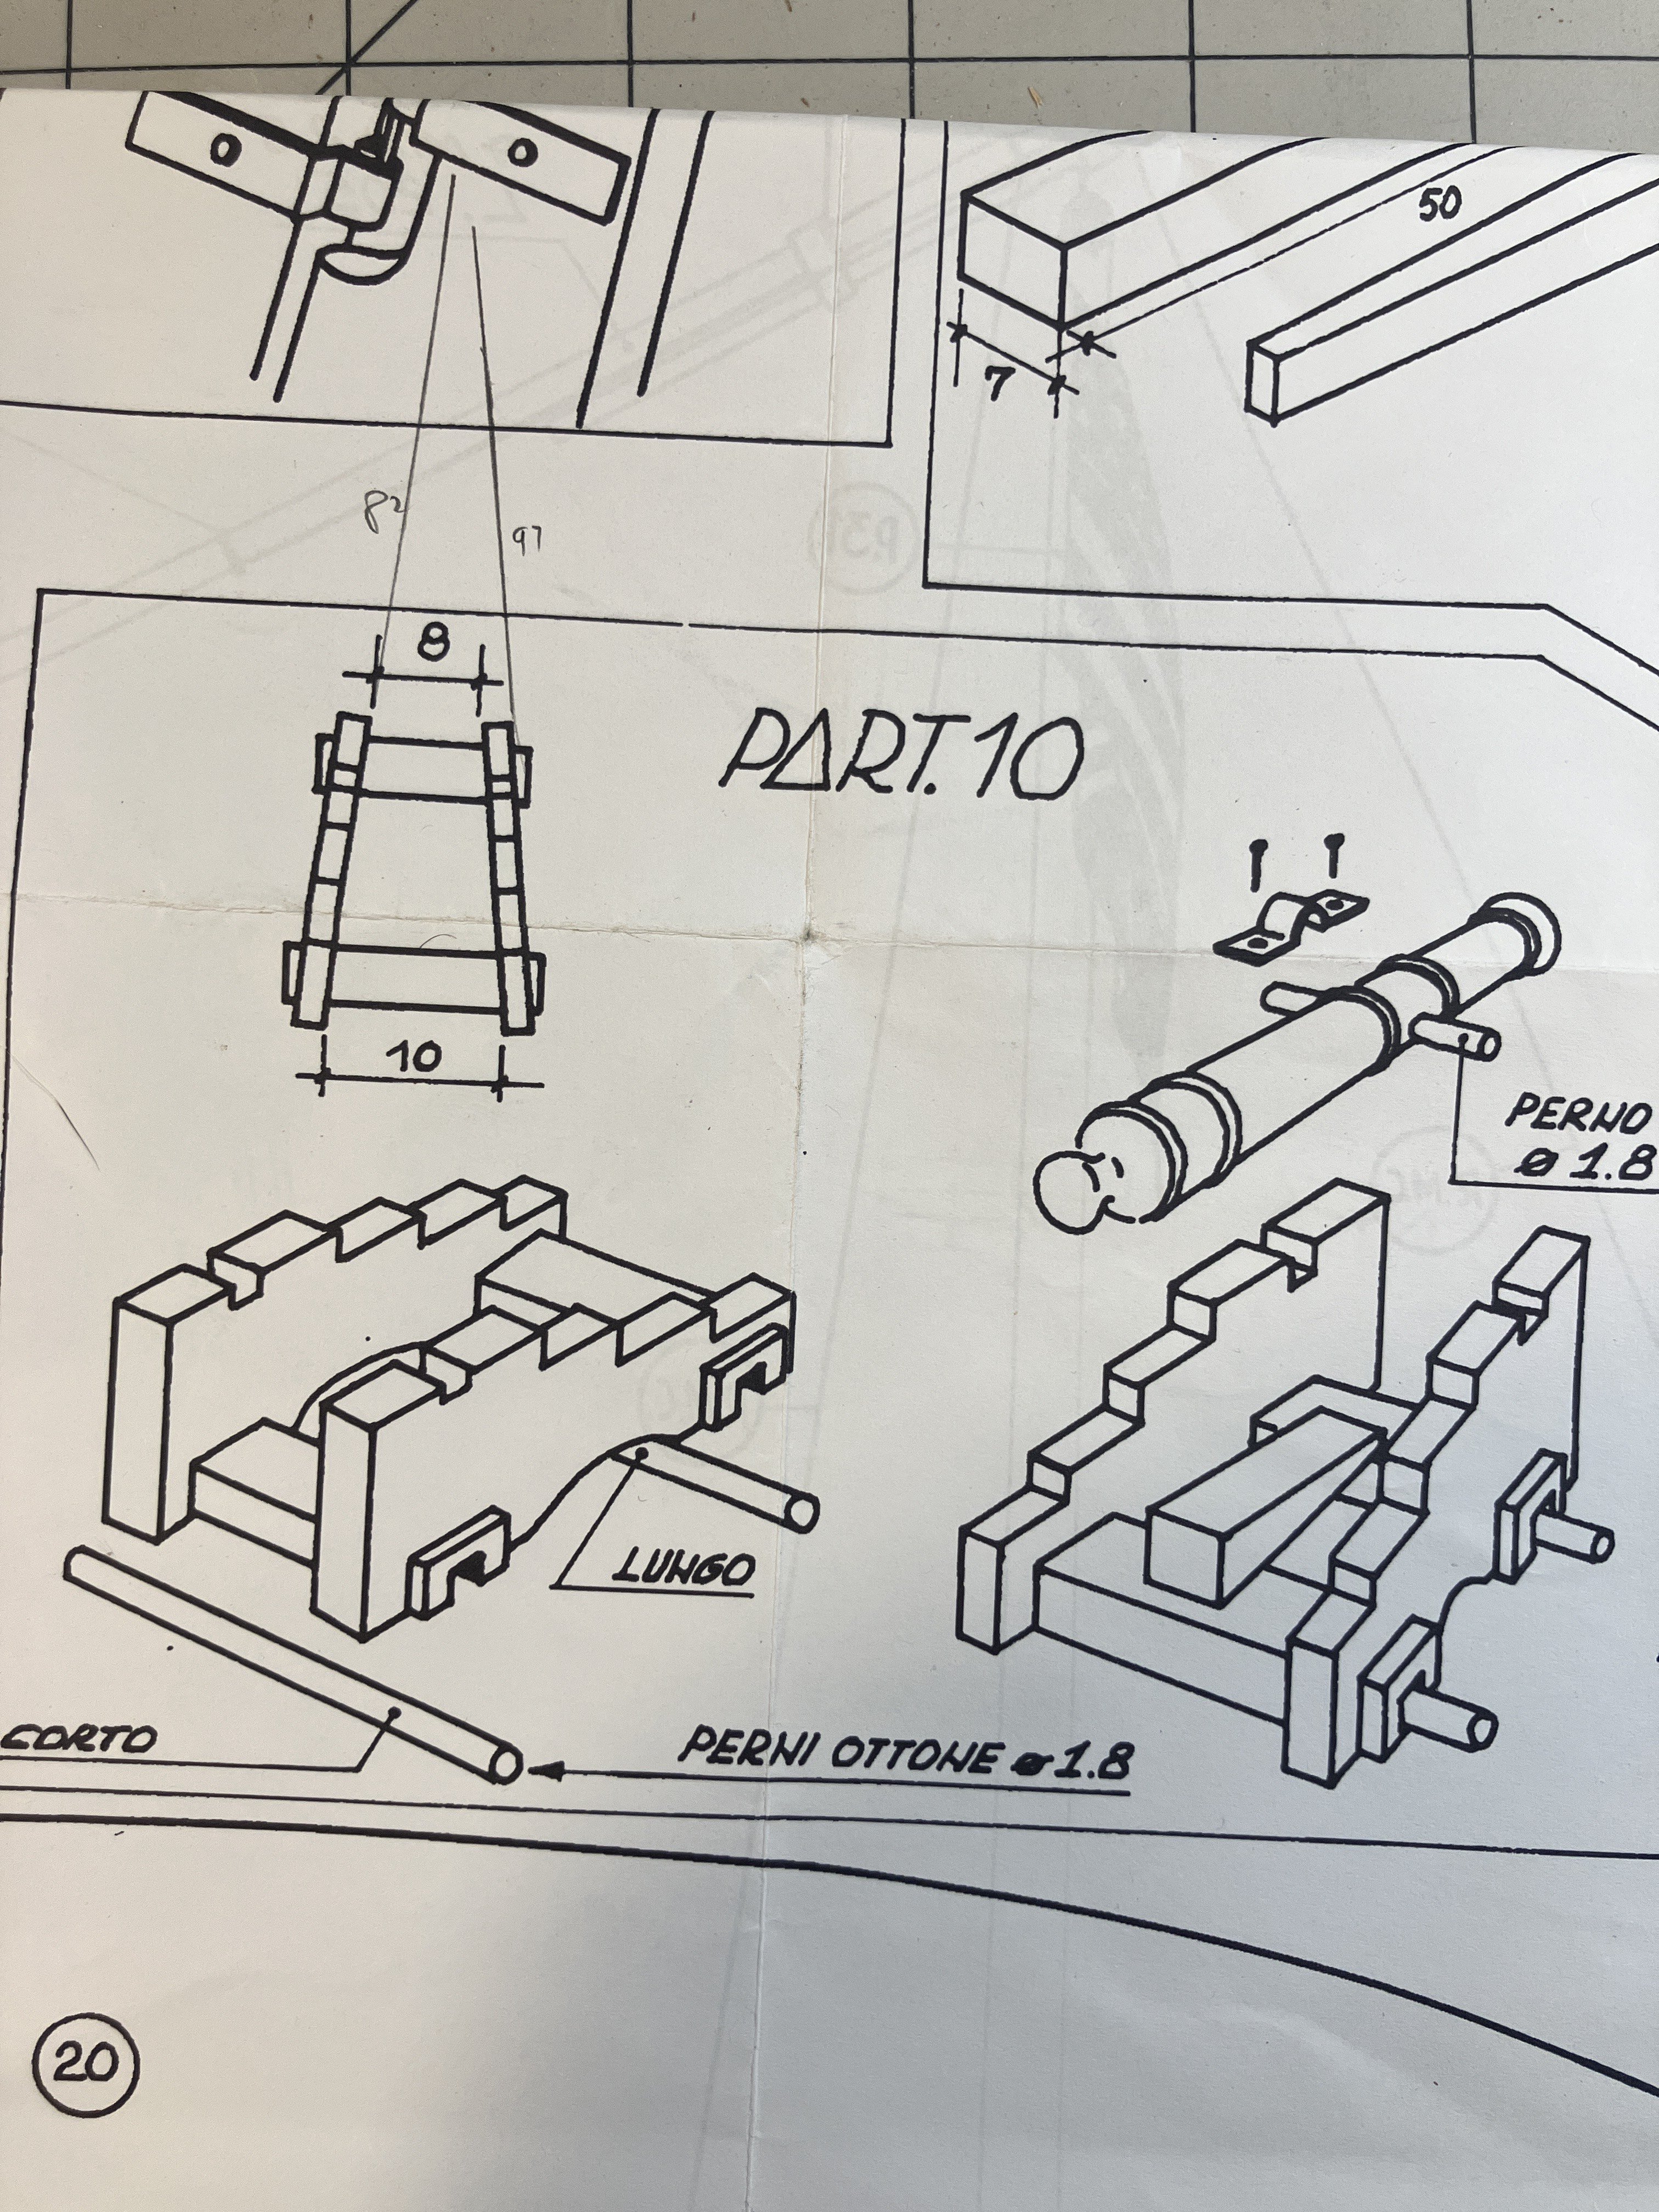
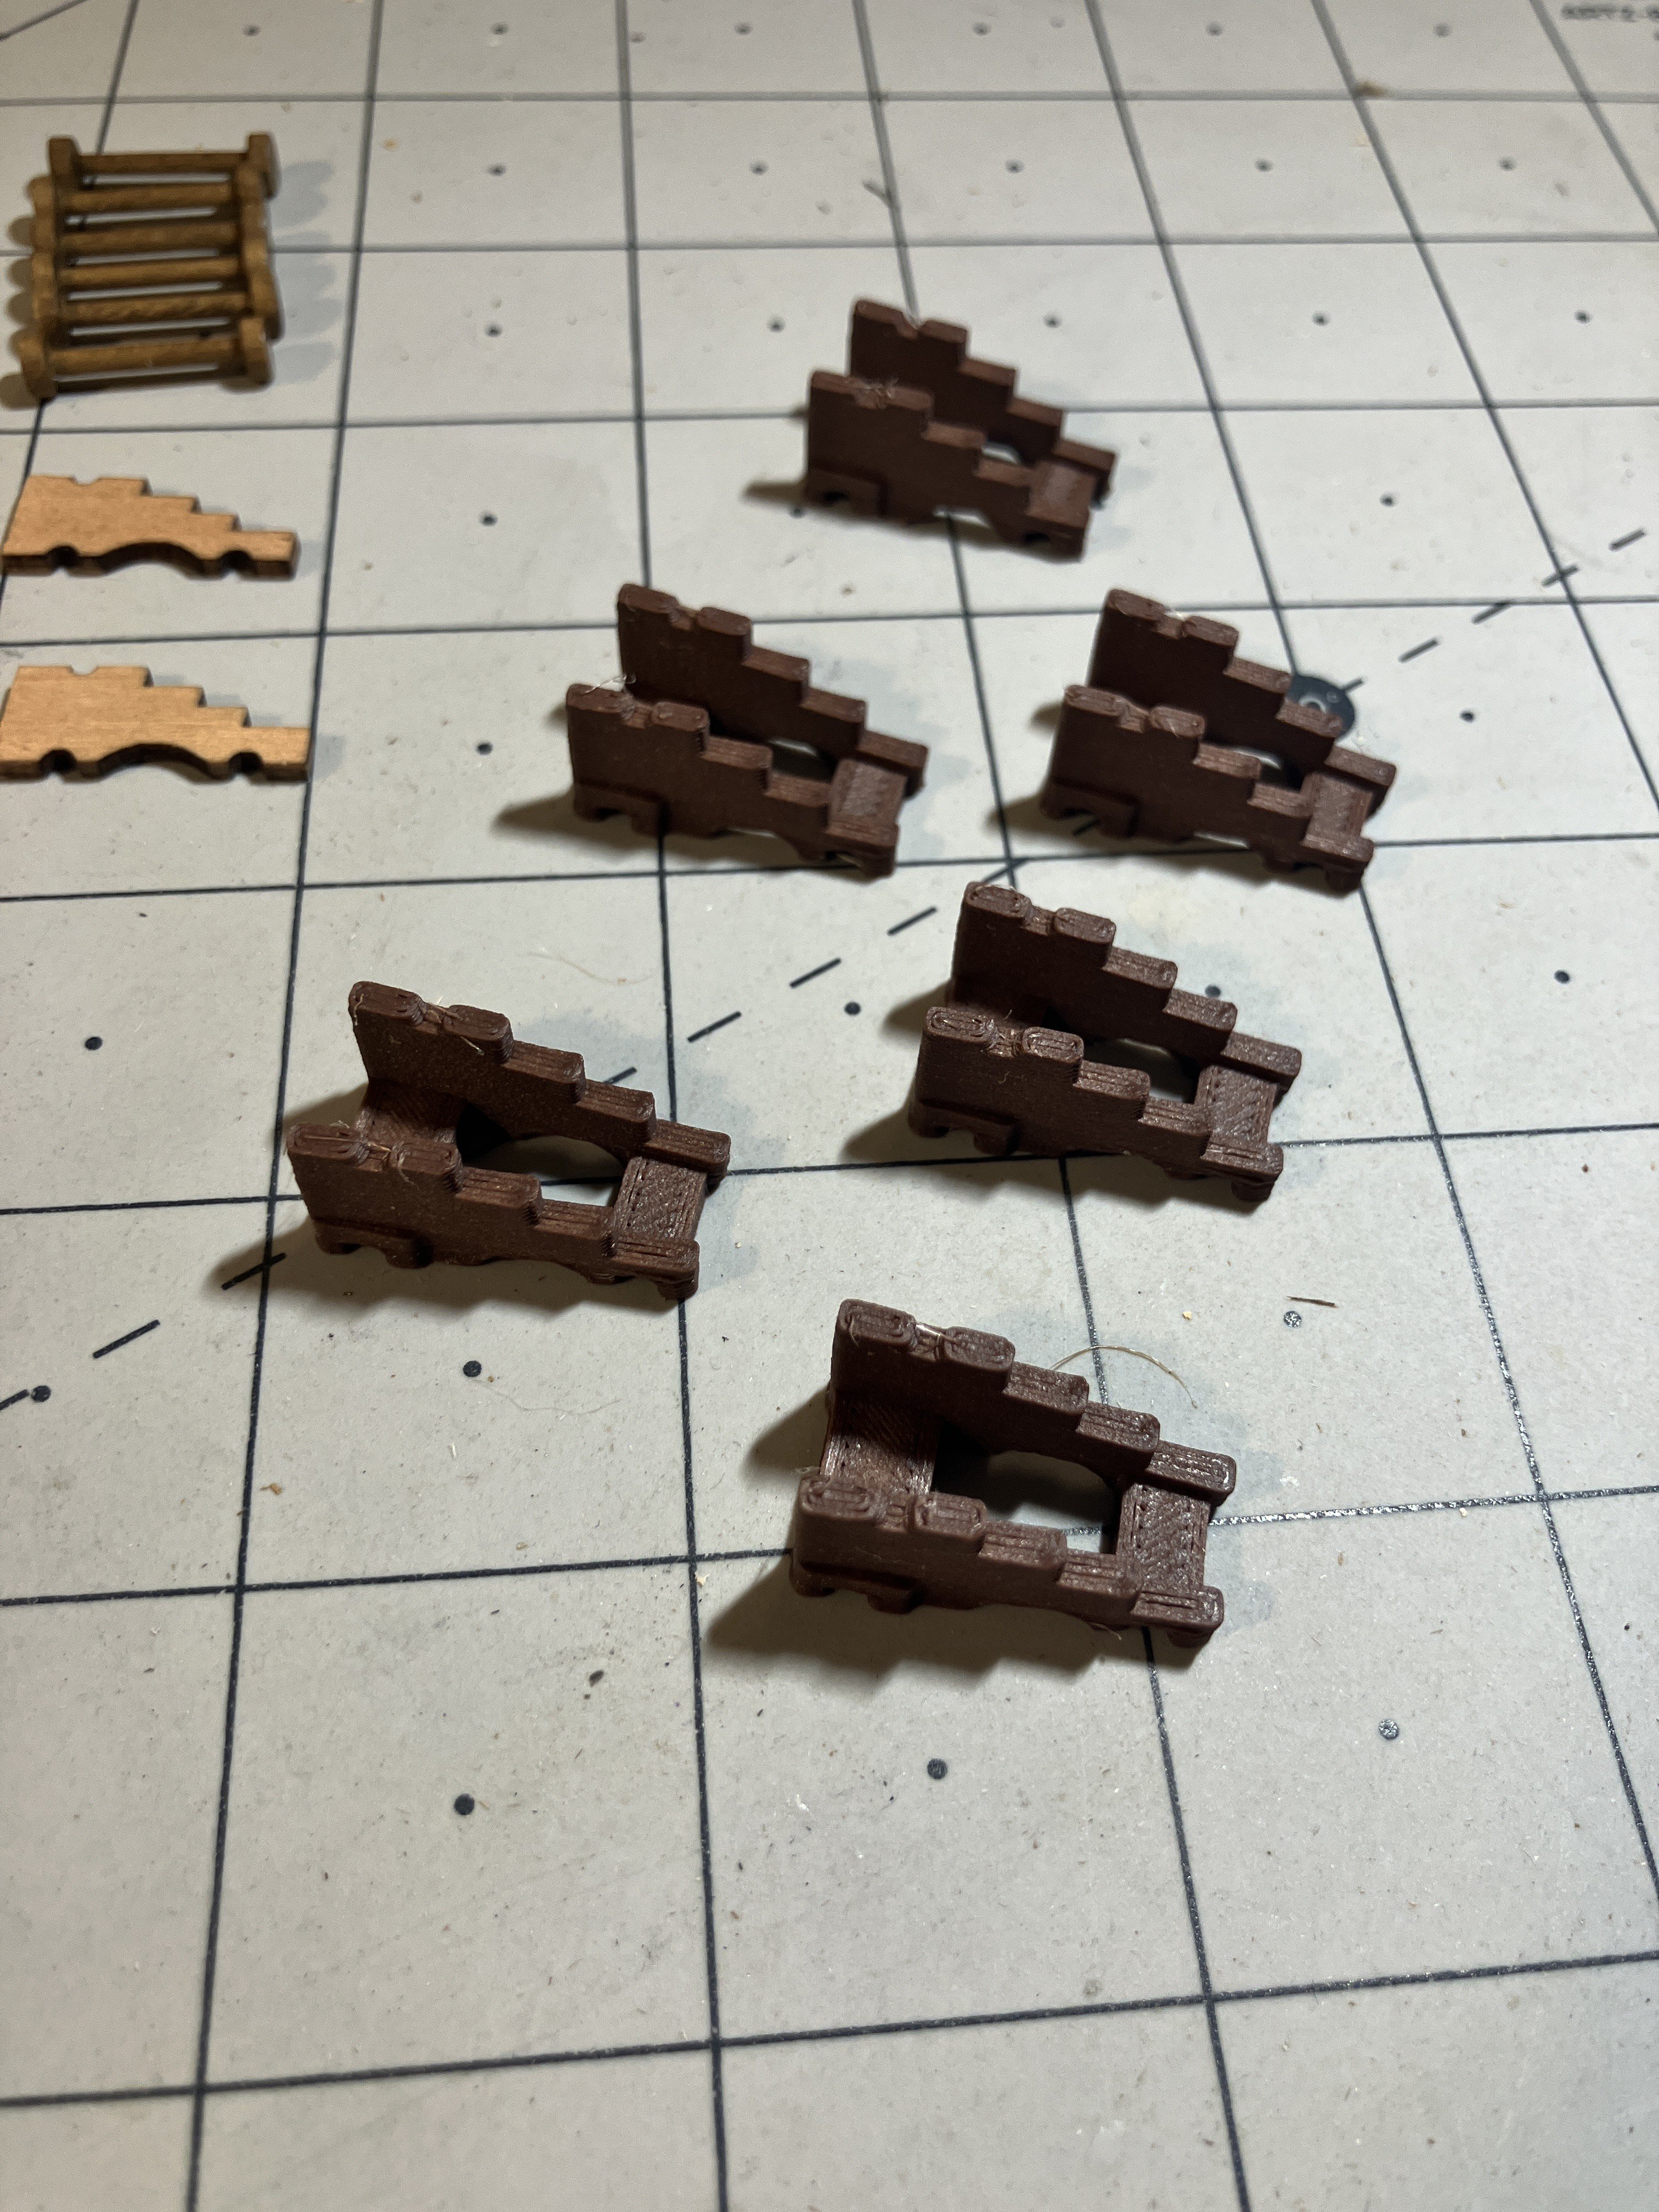
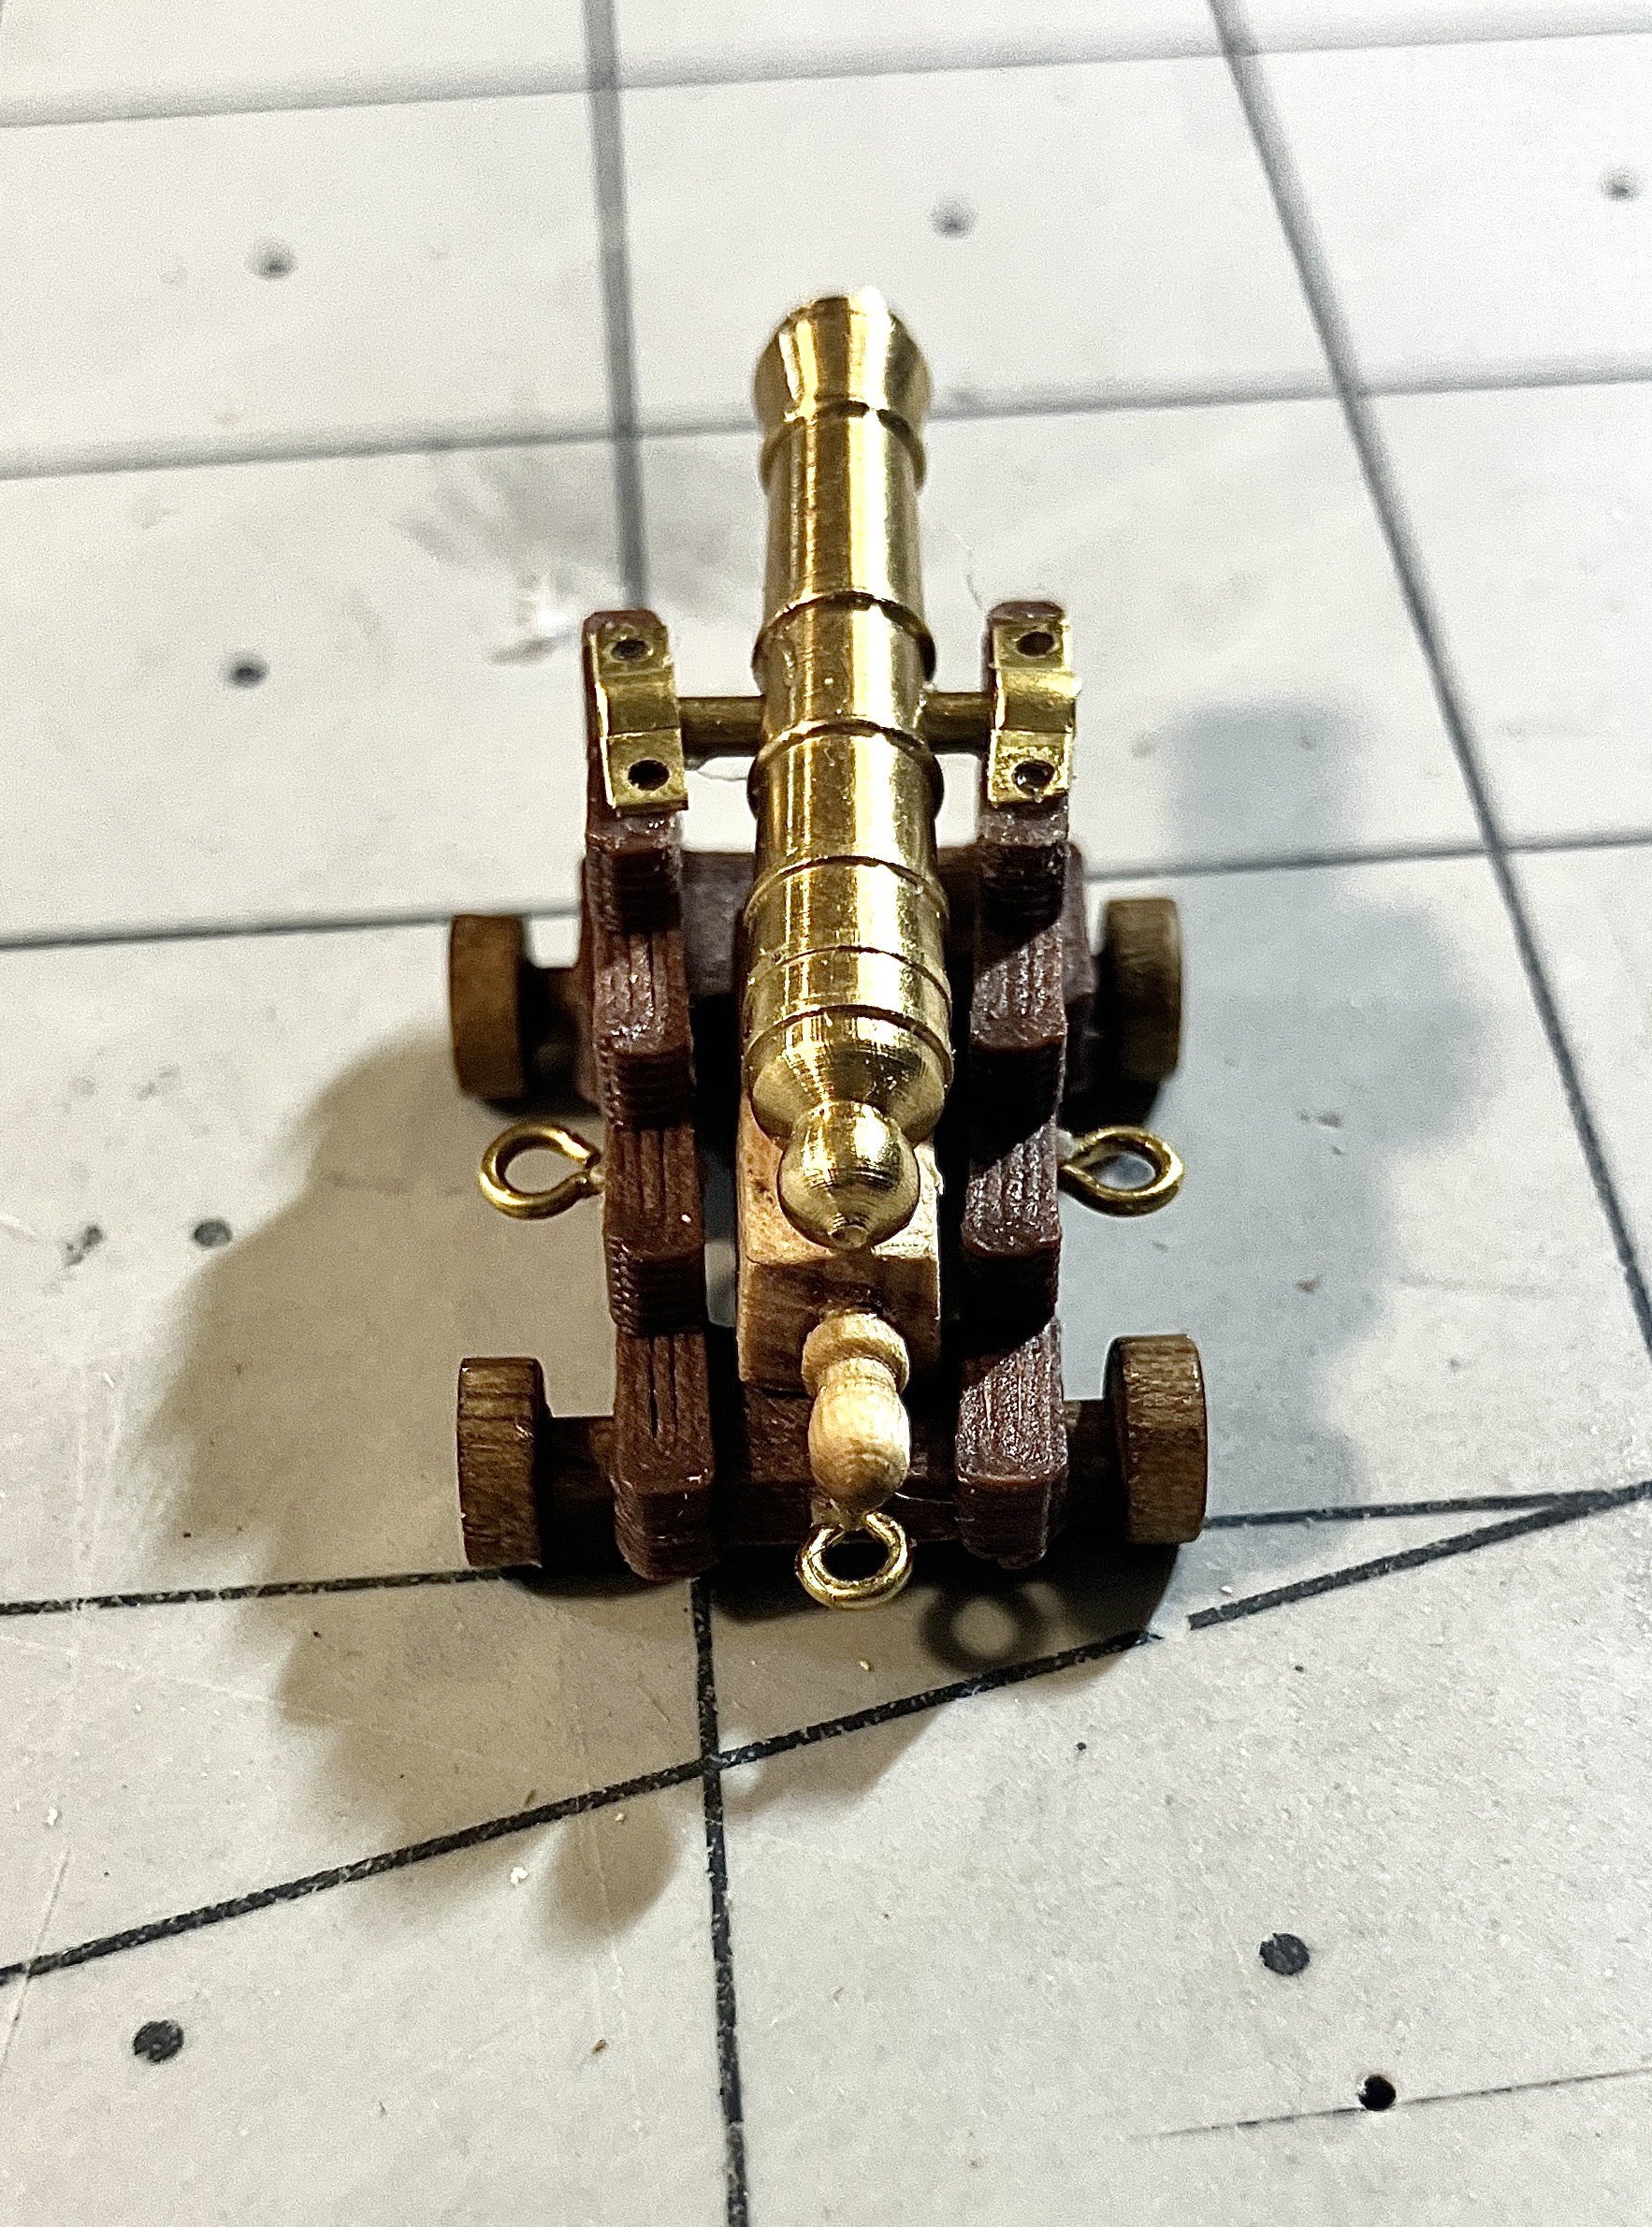
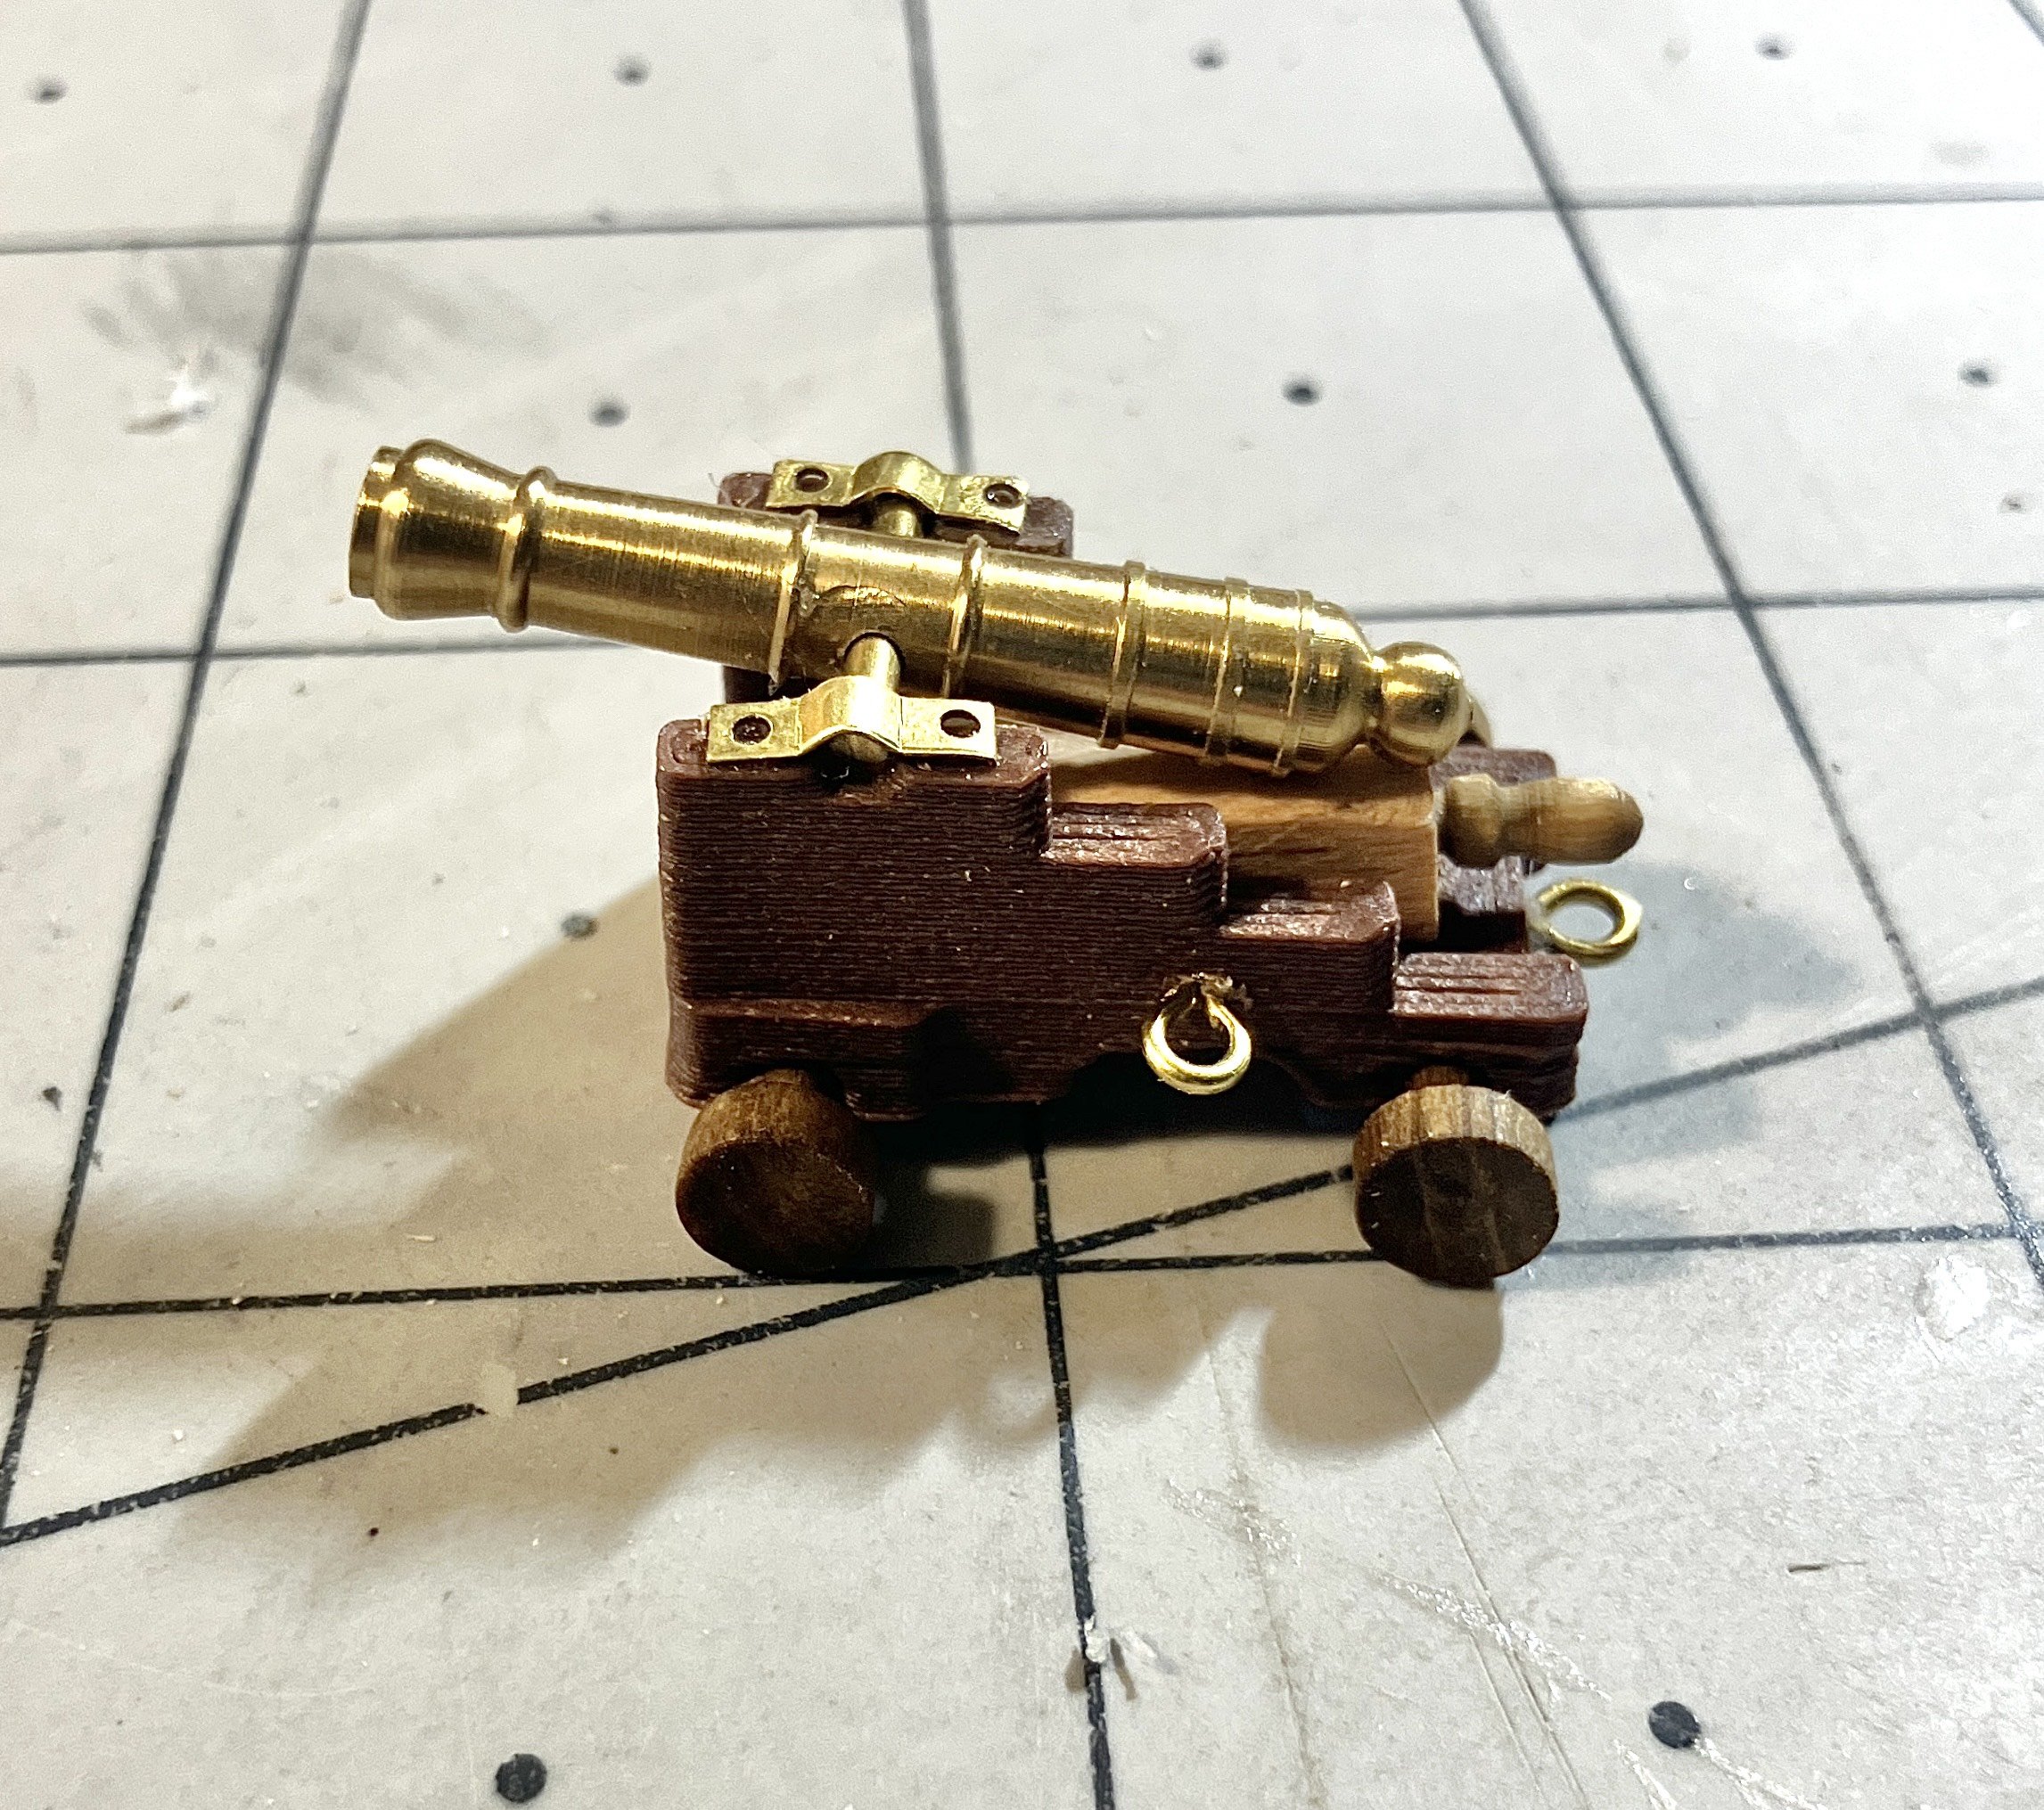
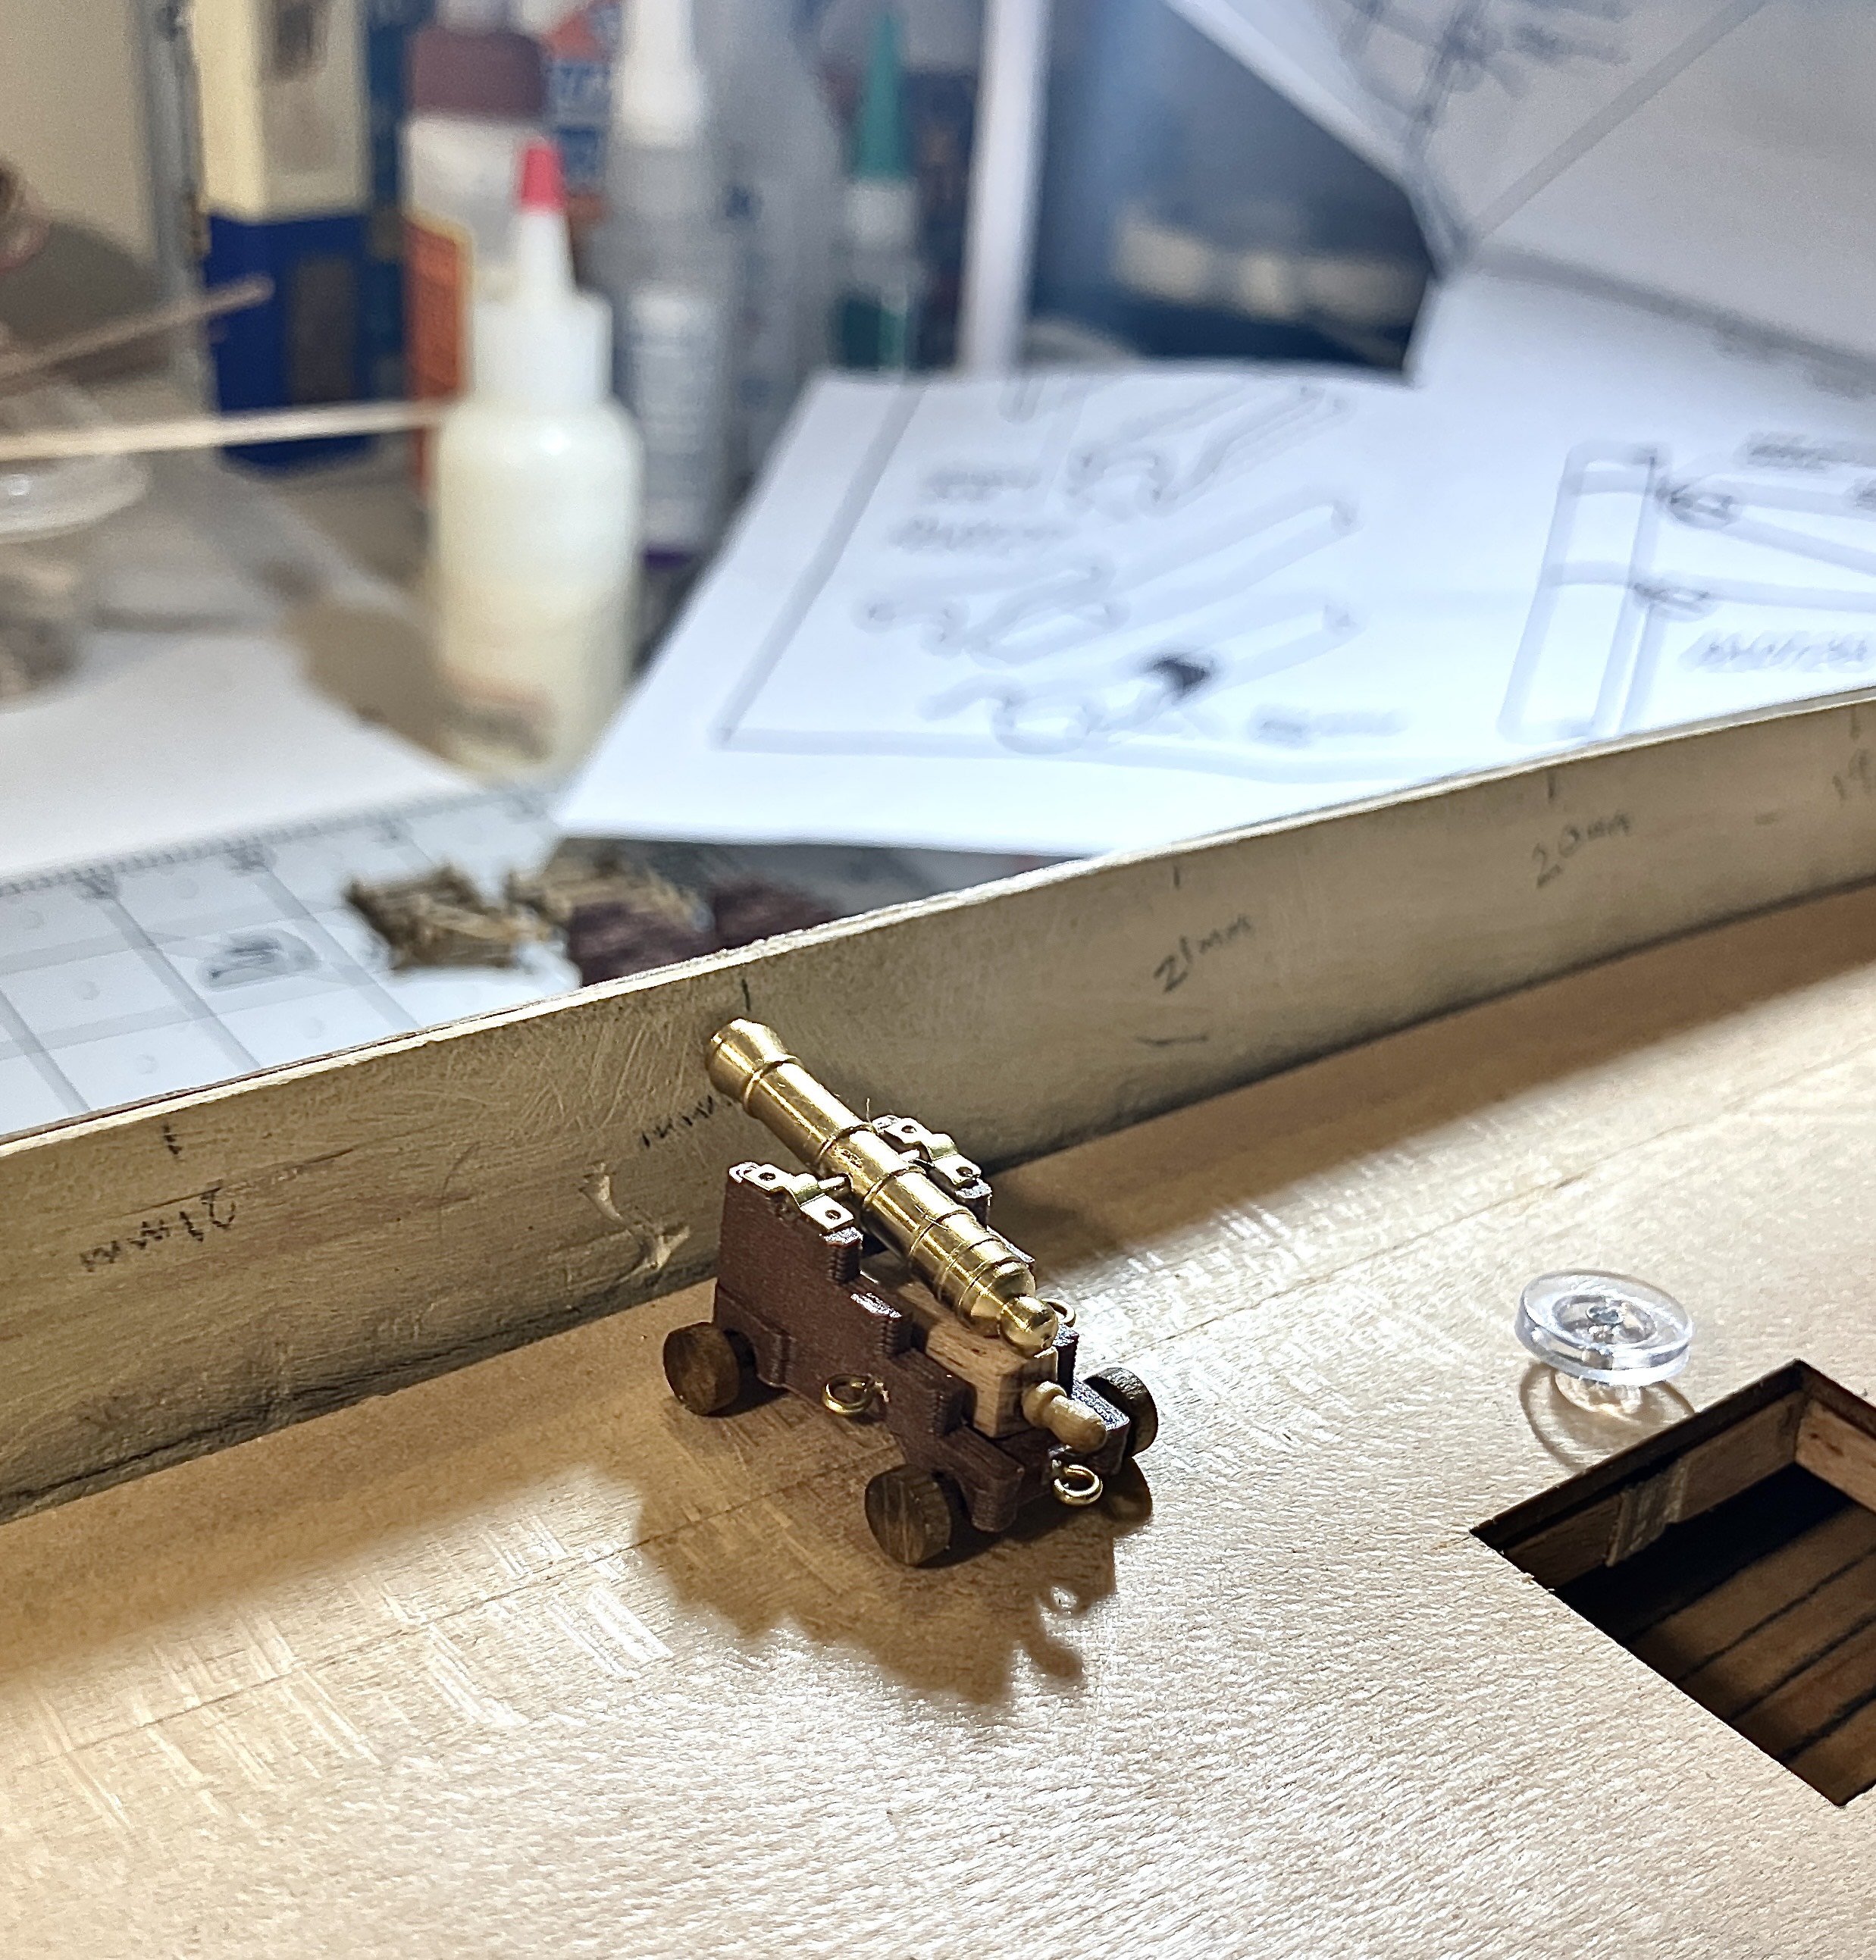
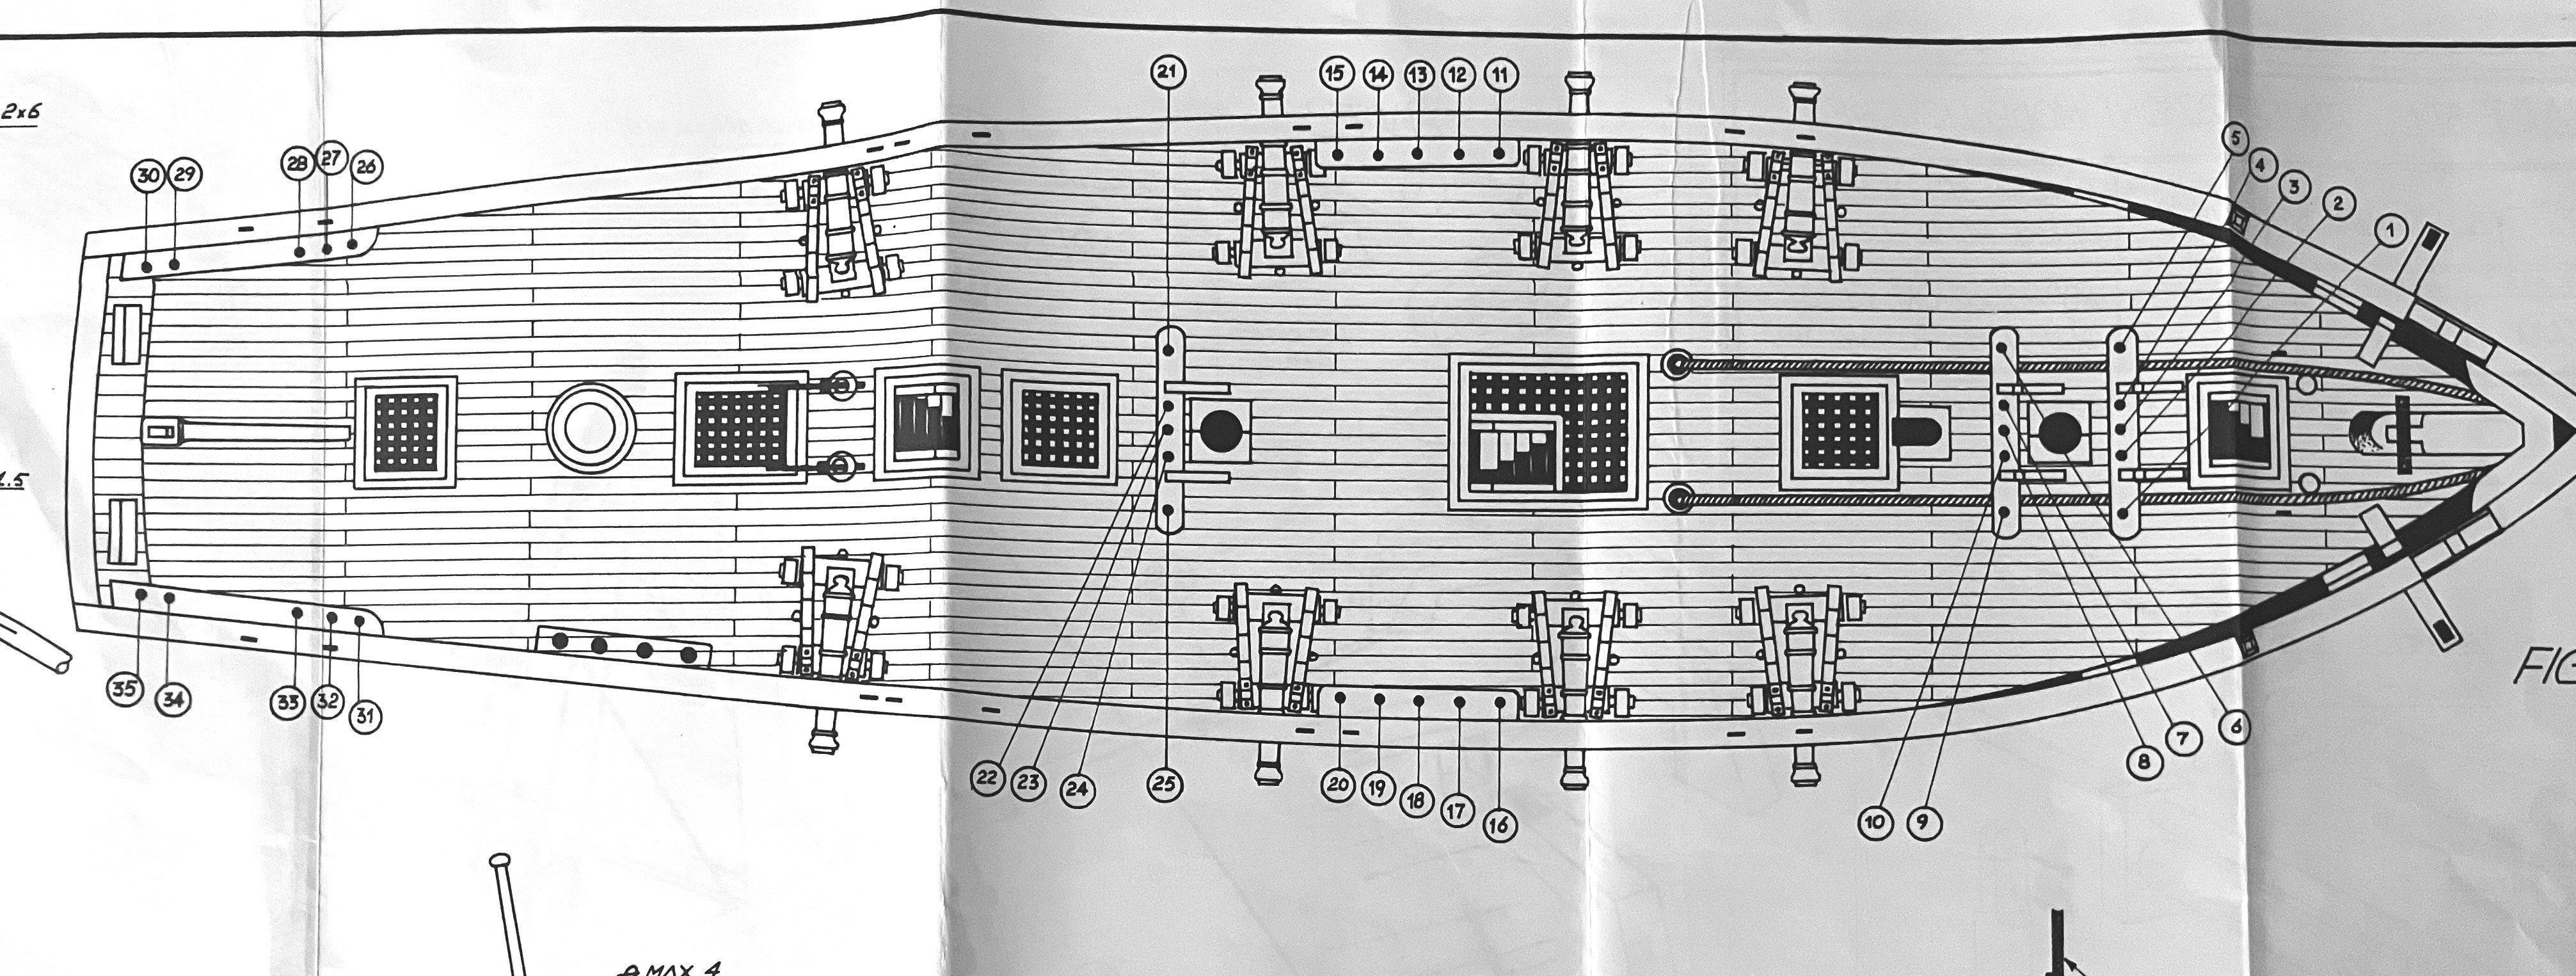
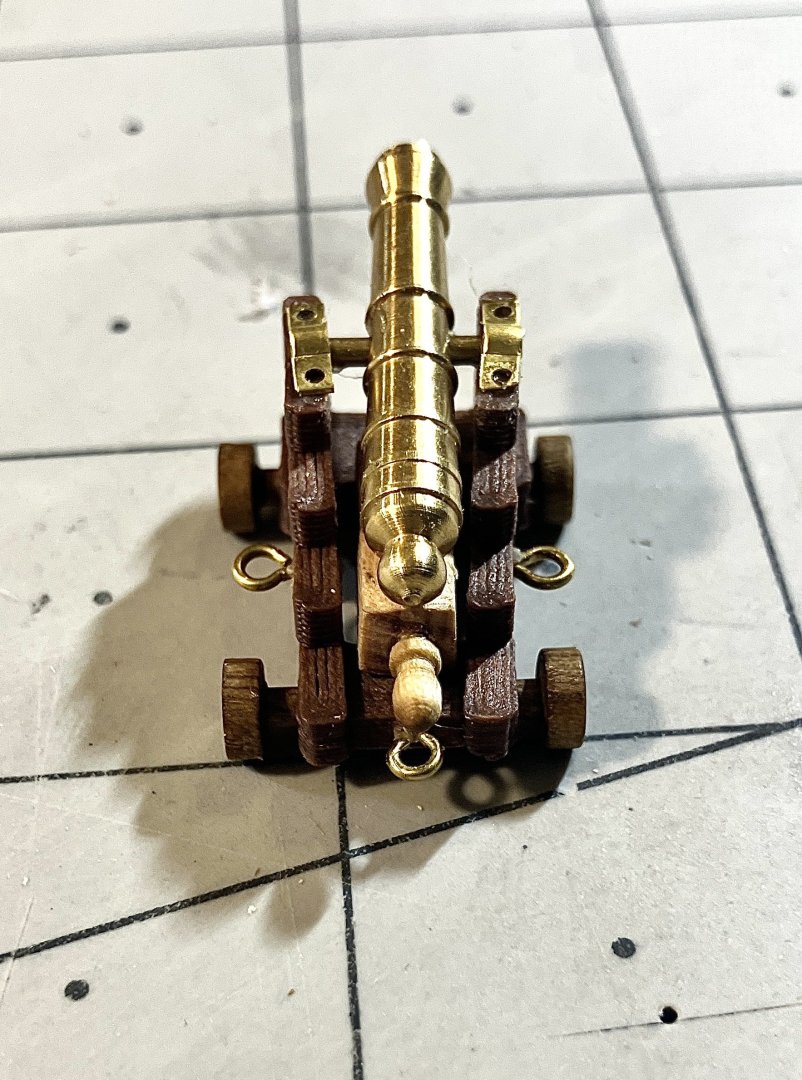
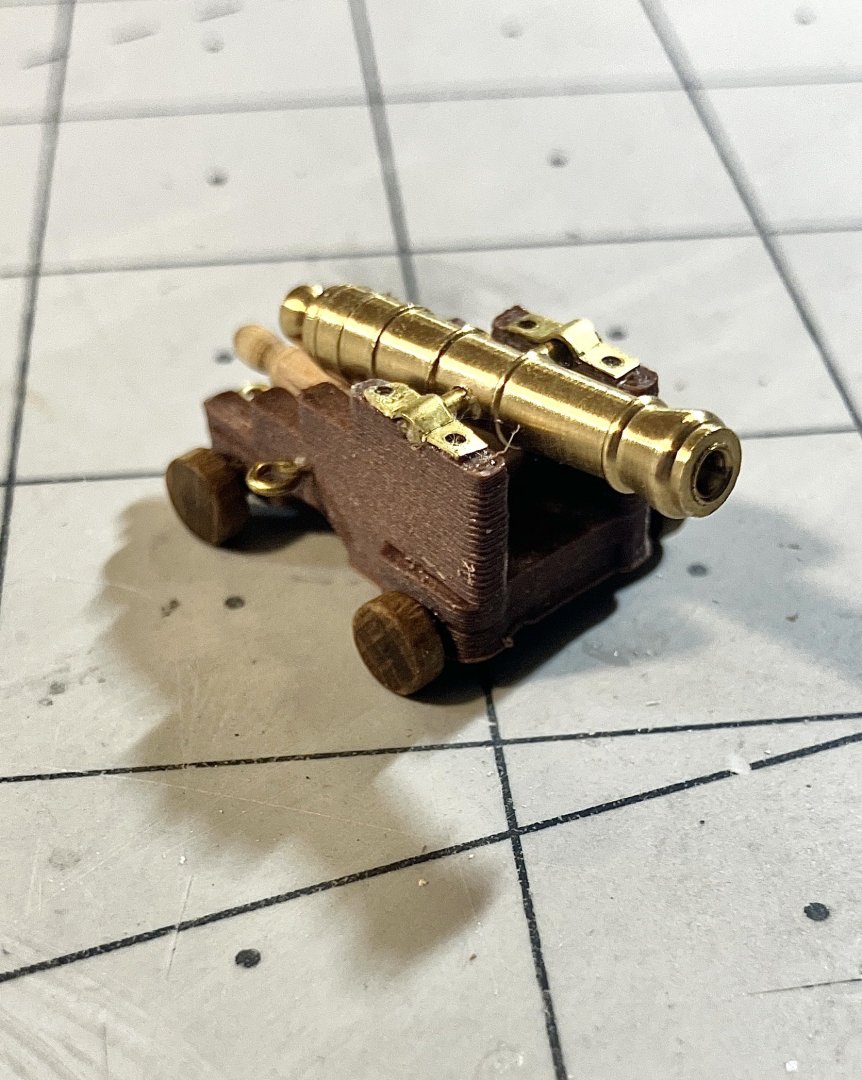
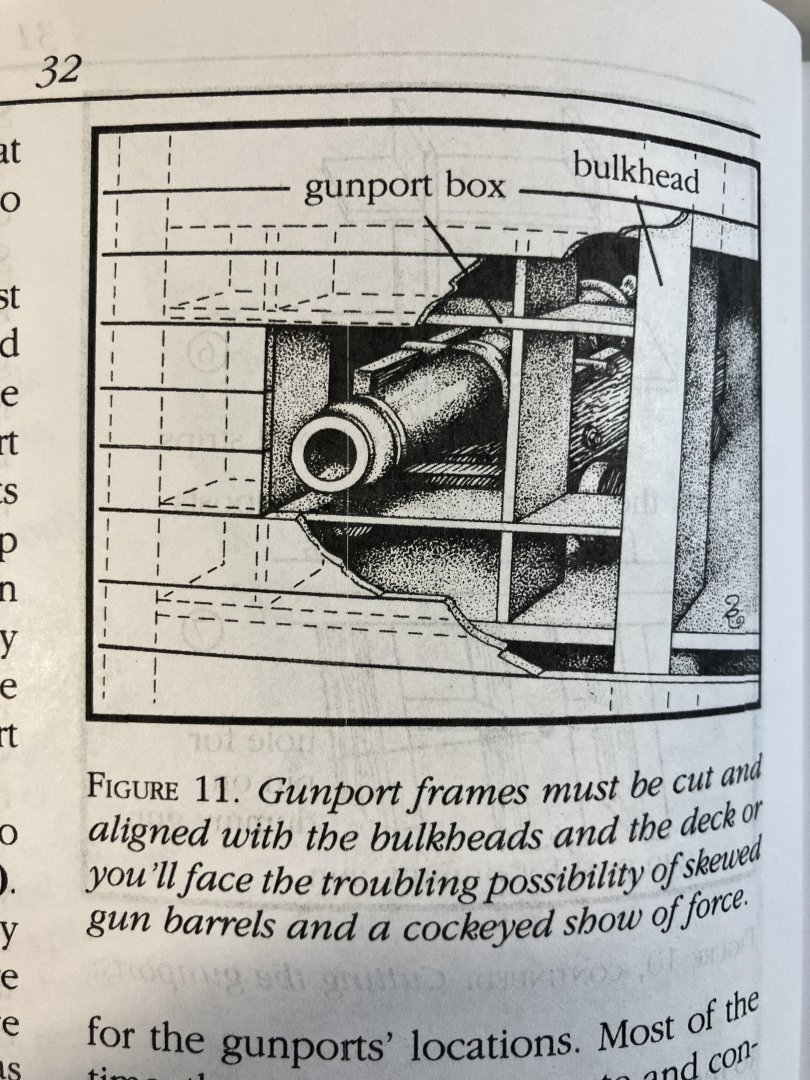
Today I busied myself with the gun carriages. As I have often stated throughout this build, the quality of some of the wood leaves a lot to be desired, the plywood for the most part being the worst. Because of that fact and for the sake of continuity throughout matching parts, I took the pieces of the carriage from the plans into Fusion 360, put them together and then 3D printed them. The dimensions of the carriage brackets exactly match the plywood ones in the kit. Another reason for me doing this was that there was no specification in the plans as to what exactly I should use for the fore and hind axletrees. I could have thrown some scraps together but wanted all carriages to look exactly alike. I will be making all the quoins by hand out of maple wood though, just cuz I can : The kit supplied enough cannons and fittings for 8 sets (although they did mess up with the axles, there were odd numbers of each). I will only be putting 6 guns on my build (see Chapelle's The Baltimore Clipper, top of page 82). I printed an extra set and rigged up a "prototype" to see how everything went together and how it looked on deck. I know that the breeching ring bolt has not been added yet. Also, the cascabel is missing its ring. I am toying with cutting some small brass rings and adding a tiny spot of CA glue to secure them to the top. The capsquares need a little reshaping too. They are TINY so I have to be careful how I mess with them. I also want to add some details to the trucks, they look very bare right now: The placement of the guns can be seen below. Again, I will only be adding 6 to this build so I do have some leeway should there be an issue with the height of the bulwarks: Before the cannons can be placed I obviously have to cut the gunports. I have read differing opinions on several blogs for this build regarding how they should be positioned. Here is what master model builder Frank Mastini has to say about that:


-
Hervorragende Arbeit. As others have already said, this blog will be bookmarked for future reference. Thank you, Johann.
-
I found this information on her here, Phil: After Napoleon’s defeat and the end of Britain’s war with France, Mosquidobit was sent to Deptford, England where her lines were taken off and is thought to have served in the Mediterranean, sailing between Toulon and Marseilles. By 1820, she had been decommissioned and, on January 13, 1820, was sold to a Mr. Rundle who placed her in private service. It looks like she was only in British service for 4 years then.
-
I missed that then, Phil. It was right at the bottom of the page there too. Just after that I noticed he also wrote, "... and a very short and small head for the gammoning." I need not have worried about the size of the gammoning knee after all. When I read this book initially, specifically the info on the Lynx, I obviously did not pay attention or give the necessary importance to what was mentioned about the rake angles. At that time I honestly wasn't aware what that meant! It's a pity he didn't give the precise rake angles too. All that being said, and because I don't have those exact rake angles, I will leave the masts as planned for this build. What is your opinion on that?
-
It does indeed, Trevor. The kit supplied cannons do not have that ring so I may have to get creative on that. As always, your input is much appreciated and it was good to hear fro you.
-
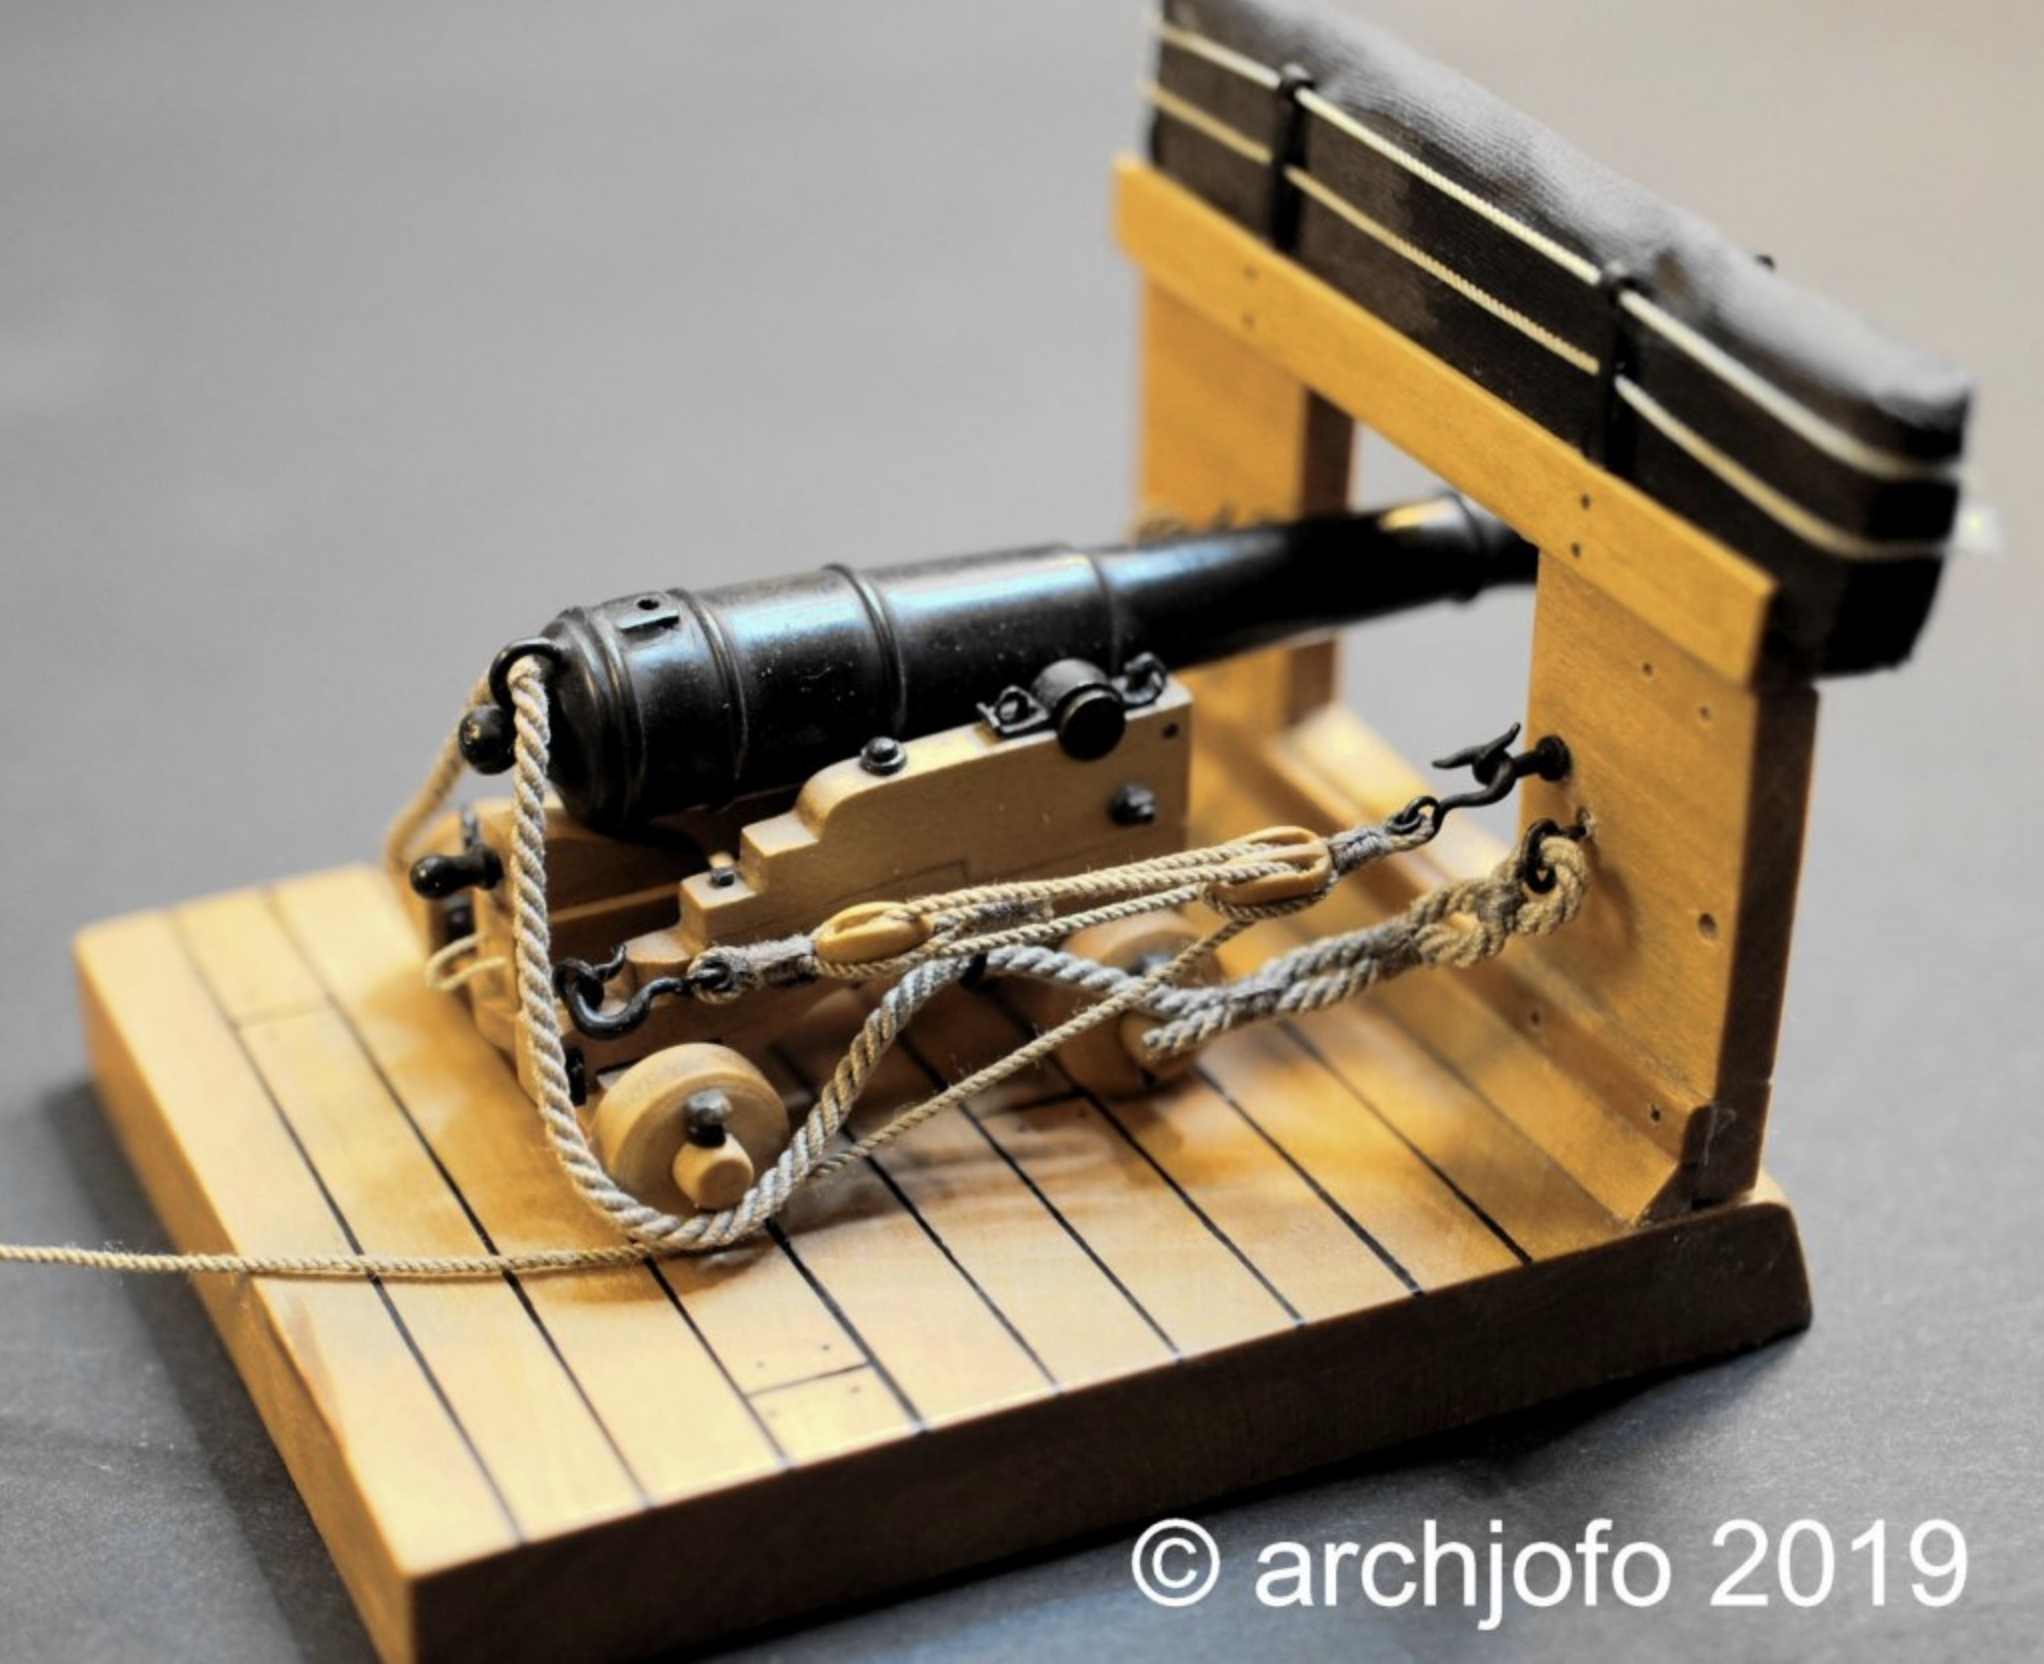
Phil, how much later was this done? I am researching the tackle for my Lynx build right now and rather like the look of this (that you linked in your feed here from archjofo): Here the breeching lines do not rest on the cascobel but pass through the ring you mentioned. Would this have been done after 1812? There is no description in my kit's instructions as to how the guns are to be rigged, so I thought I would ask you

-
Good call, Glen. It would be a crying shame to mess up a fine piece of wood like that.
- 301 replies
-
- 3
-
-
- Constitution
- Bluejacket Shipcrafters
- (and 1 more)
-
Those kit supplied hoops turned out really well and, in my humble opinion, you did right in leaving them black. I like the contrast. I also agree that 3D printing can (and certainly will) play a major role in this fine hobby. I know I do not regret buying a printer.
- 332 replies
-
- 1
-
-
- Harpy
- Vanguard Models
- (and 1 more)
-
Hey, I would have happily done that for you, Glen She is looking truly beautiful, at least from what I could see oh master.
- 301 replies
-
- 4
-
-
-
- Constitution
- Bluejacket Shipcrafters
- (and 1 more)
-
Hi, Tom. The Grecian was a fancier looking clipper than the Lynx as far as I can recall. It would be a good base model for a nice clipper build. If you don't have any info on the clippers we started a thread here pointing out some good literature on the subject. Do let me know if you do start, I would be very keen to follow along.
- 206 replies
-
- 1
-
-
- Endurance
- Shackleton
- (and 2 more)
-
Thank you, Phil. We are excited about seeing her displayed in our family room. The spot has already been picked out.