SaltyScot
-
Posts
867 -
Joined
-
Last visited
Content Type
Profiles
Forums
Gallery
Events
Everything posted by SaltyScot
-
 That is nice to hear, Phil. I am just finishing up the sails on the Endeavour build and getting her on the shelf. My week so far has been occupied with swapping out our front door for a new one and finishing off patching and painting after we removed some walls between two rooms here at home. I should be back on the schooner by the weekend, sir.
 -
Good call, Trevor. That was just a split waiting to happen with that grain on the footer the way it was.
- 167 replies
-
- 1
-

-
- Norwegian Sailing Pram
- Model Shipways
- (and 1 more)
-
Nice work, sir.
-
I guess that proves that practice does make perfect, Glenn
- 241 replies
-
- 1
-

-
- Vanguarrd Models
- Harpy
- (and 1 more)
-
I only use CA if I want to secure one end of a particularly difficult plank while I work along it and glue it with wood glue for the rest of the way. Like Bob just said (@Knocklouder), it's down to personal preference but I find CA glue dries too quickly and allows pretty much no readjustment of the plank. Like him I prefer wood glue and clamps - so much more forgiving One thing to think about, and this is only the way I approach planking right now (I am going to try out a new method using a small mini iron to bend the planks on my Lynx build), I soak the planks (first layer only) for about 15 minutes and then clamp/nail them in position (NO GLUE) overnight to let them take the required shape. When they are dry and shaped, it is a whole lot easier to have them lay correctly while you glue them, you are not fighting against the wood and they don't spring back once glued (you may still need to secure them while they dry, depending on the curve etc.).
- 47 replies
-
- 1
-
-
- La Nina
- Artesania Latina
- (and 1 more)
-
That is a good call. It would be a disaster to ruin this beautiful piece with a slight slip of the brush so to speak 😉
- 332 replies
-
- 2
-
-
- Harpy
- Vanguard Models
- (and 1 more)
-
That answers the question I was going to ask then.........
- 167 replies
-
- 1
-
-
- Norwegian Sailing Pram
- Model Shipways
- (and 1 more)
-
Hello, Phil, it is good to hear from you sir. Yes, I totally agree with you there, the CEO and I have decided to put all the sails on this one after all.
-
It's always good to have a system in place, Glenn, it makes for a smother workflow. You did a nice job on the coppering, it looks very neat.
- 241 replies
-
- 1
-
-
- Vanguarrd Models
- Harpy
- (and 1 more)
-
Danke Dir. She is very nearly done and will take pride of place on a shelf in our dining room.
-
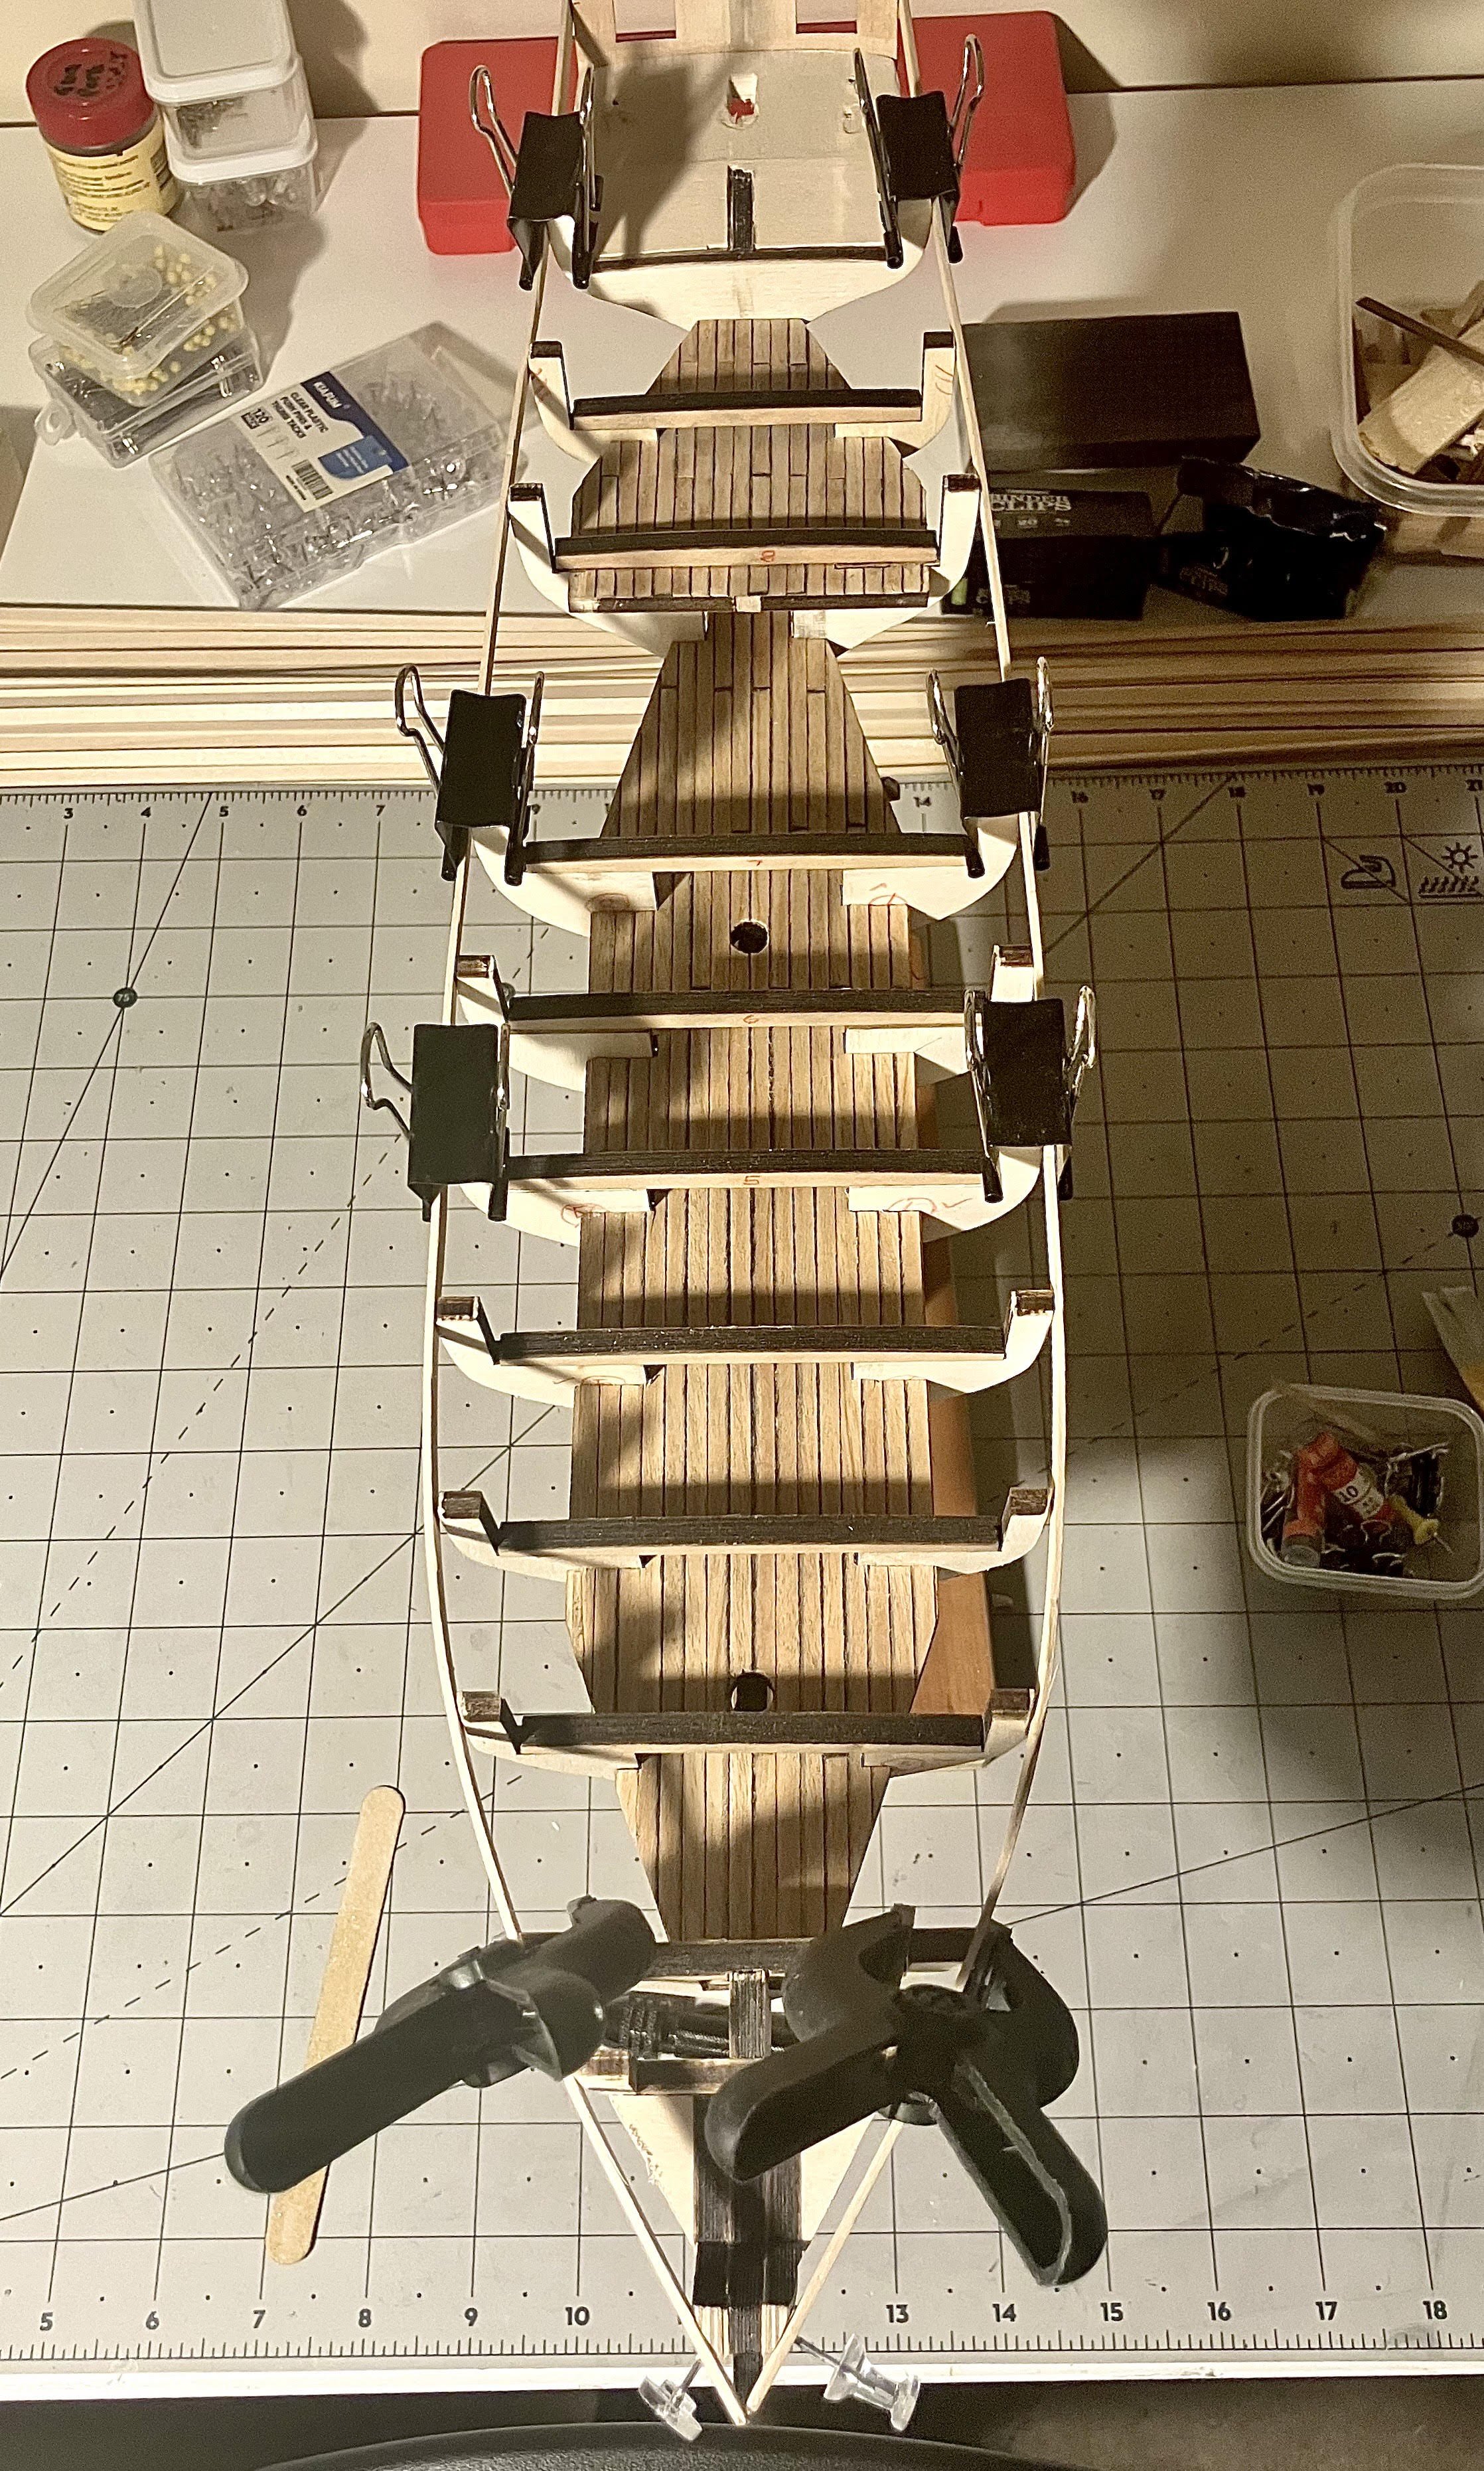
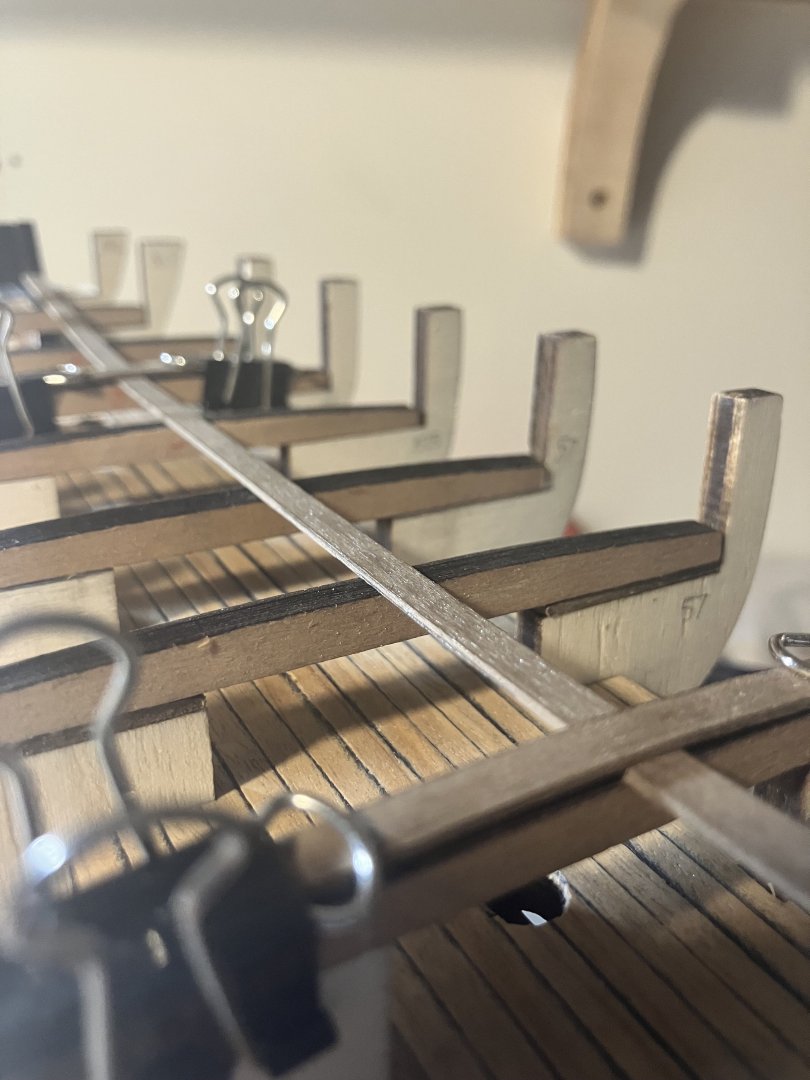
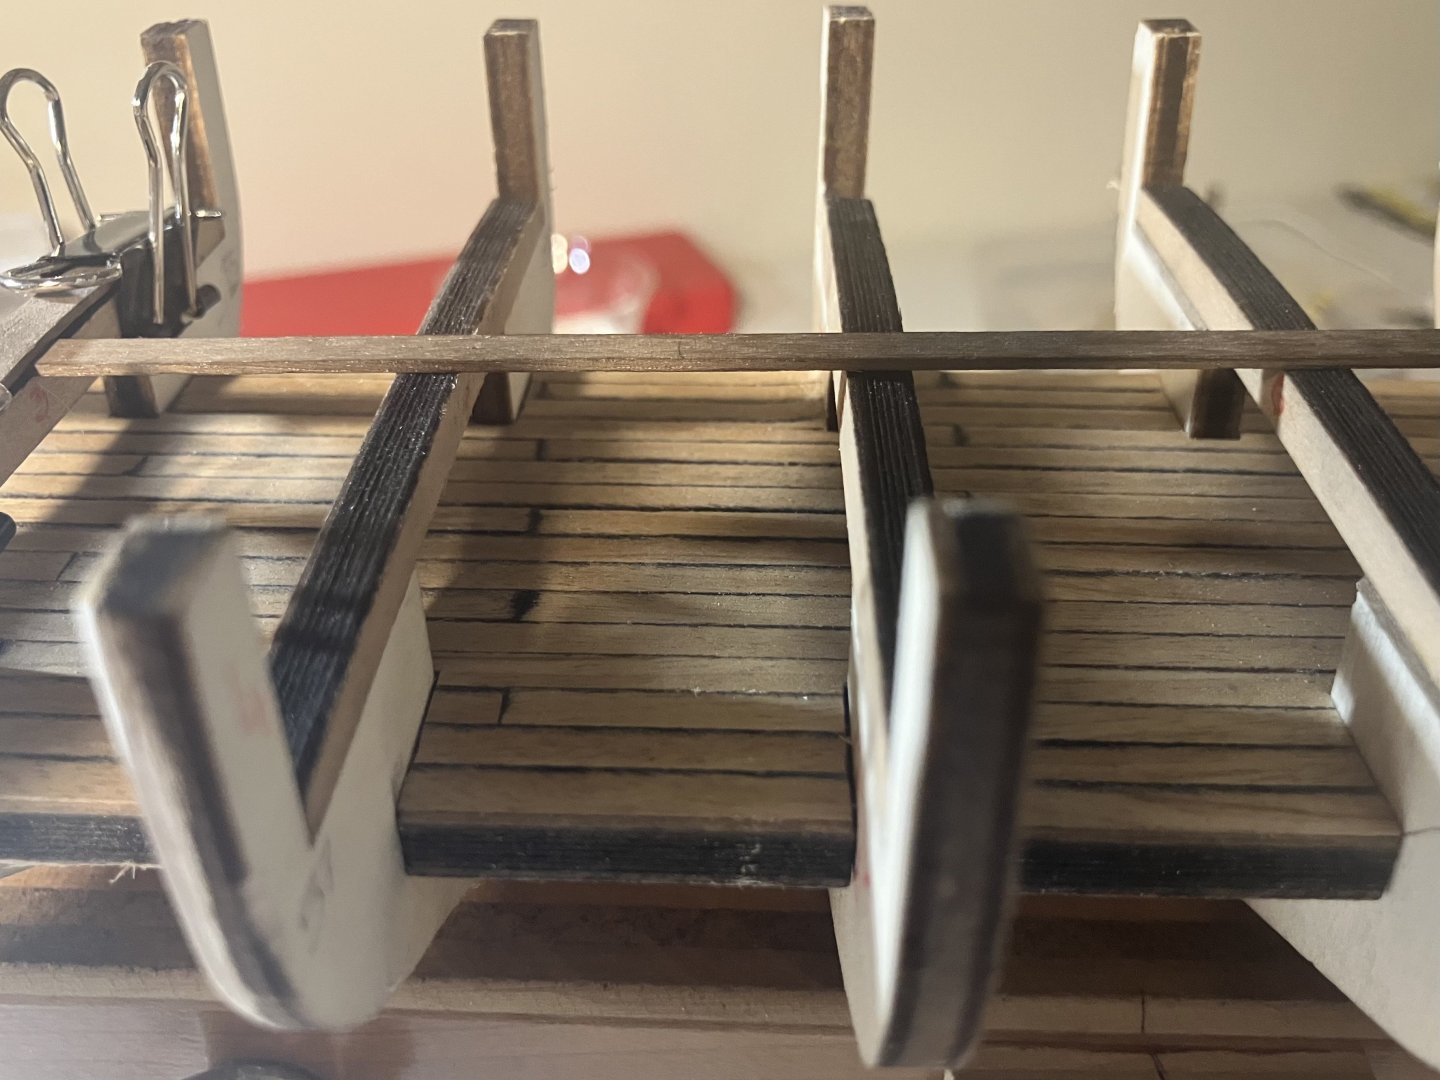
After checking everything was lined up correctly I did a dry fit of the top strakes. The symmetry looks OK. I am going to leave this as is for now because the sails for my Endeavour build are done. I will finish her up, it has been too long since she's had some work done on her. Once she is complete, I will return to the Lynx.
-
Phil, I use this glue as well and really don't want to use anything else. I picked iyt up in a Hobby Lobby store in Harrisonburg, VA. Now that we have moved out to the Northern Neck I cannot find anywhere that sells it and the online stores I did find want $14 to ship a $5 bottle! Where do you get yours from, sir?
- 482 replies
-
- 3
-
-
- minesweeper
- Cape
- (and 1 more)
-
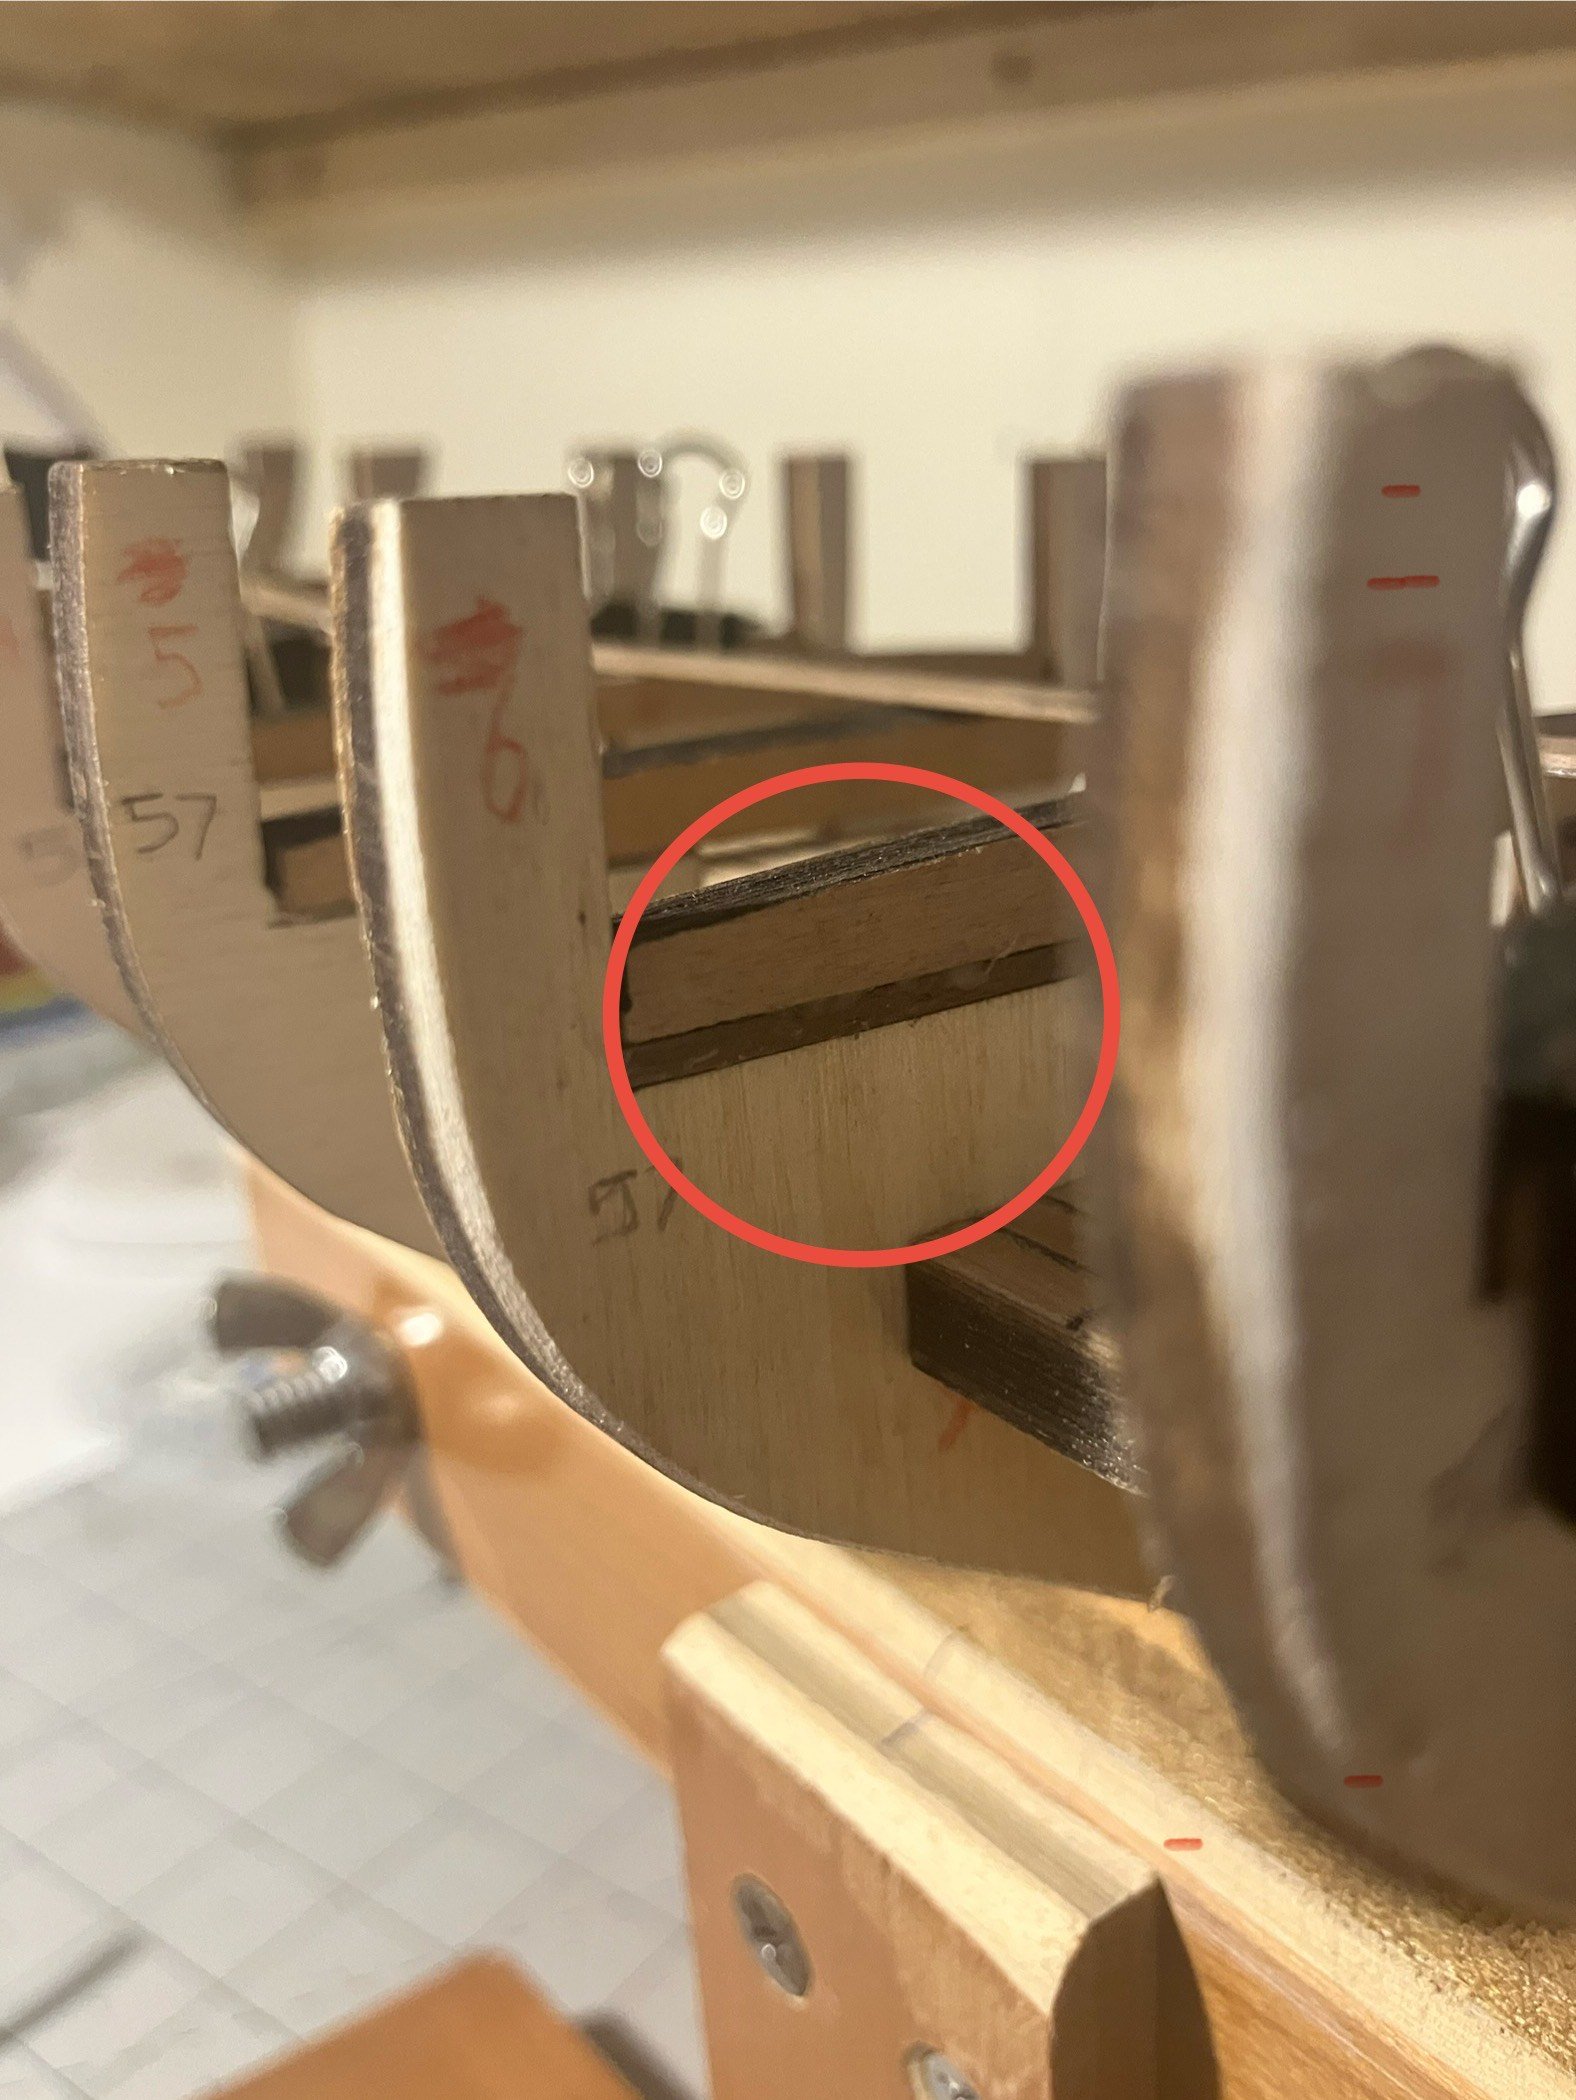
In my opinion, in that image it looks like your forward bulkhead is sitting a little too high? I agree with @AON, decks did tend to have a slope to them but this one looks a little extreme.
-
Right tool for the right job I always say, Trevor or, improvise, adapt and overcome
- 167 replies
-
- 3
-
-
- Norwegian Sailing Pram
- Model Shipways
- (and 1 more)
-
If you apply a thin wood filler then wet your finger slightly and smooth the filler over the hull it will give you a nice even layer (after all the holes are filled of course). I did this three times on my Endeavour hull, lightly sanding in between. The results were worth the effort.Your hull looks really good, very nice work.
-
Point taken and lesson learned, Phil. I dry fitted those top strakes to get a feel for the symmetry throughout the day today and I have been finely sanding bulkheads here and there to get it right. Before any glue goes on I will be double and triple checking that everything is sitting correctly.
-
They do have their uses in the shipyard after all I hope she doesn't read that, I will be in trouble if she does......... Joking aside, it is always good to get a fresh set of eyes on something like that. I am just glad she dropped in when she did. Good woman
-
Phil, I was going to ask if you wet them beforehand but then hopped over to the links you shared and read the notes. I am going to get one of those wee irons, it will be a valuable addition to my (ever growing) tool chest here in the shipyard. As always, your insight is very much appreciated sir.
-
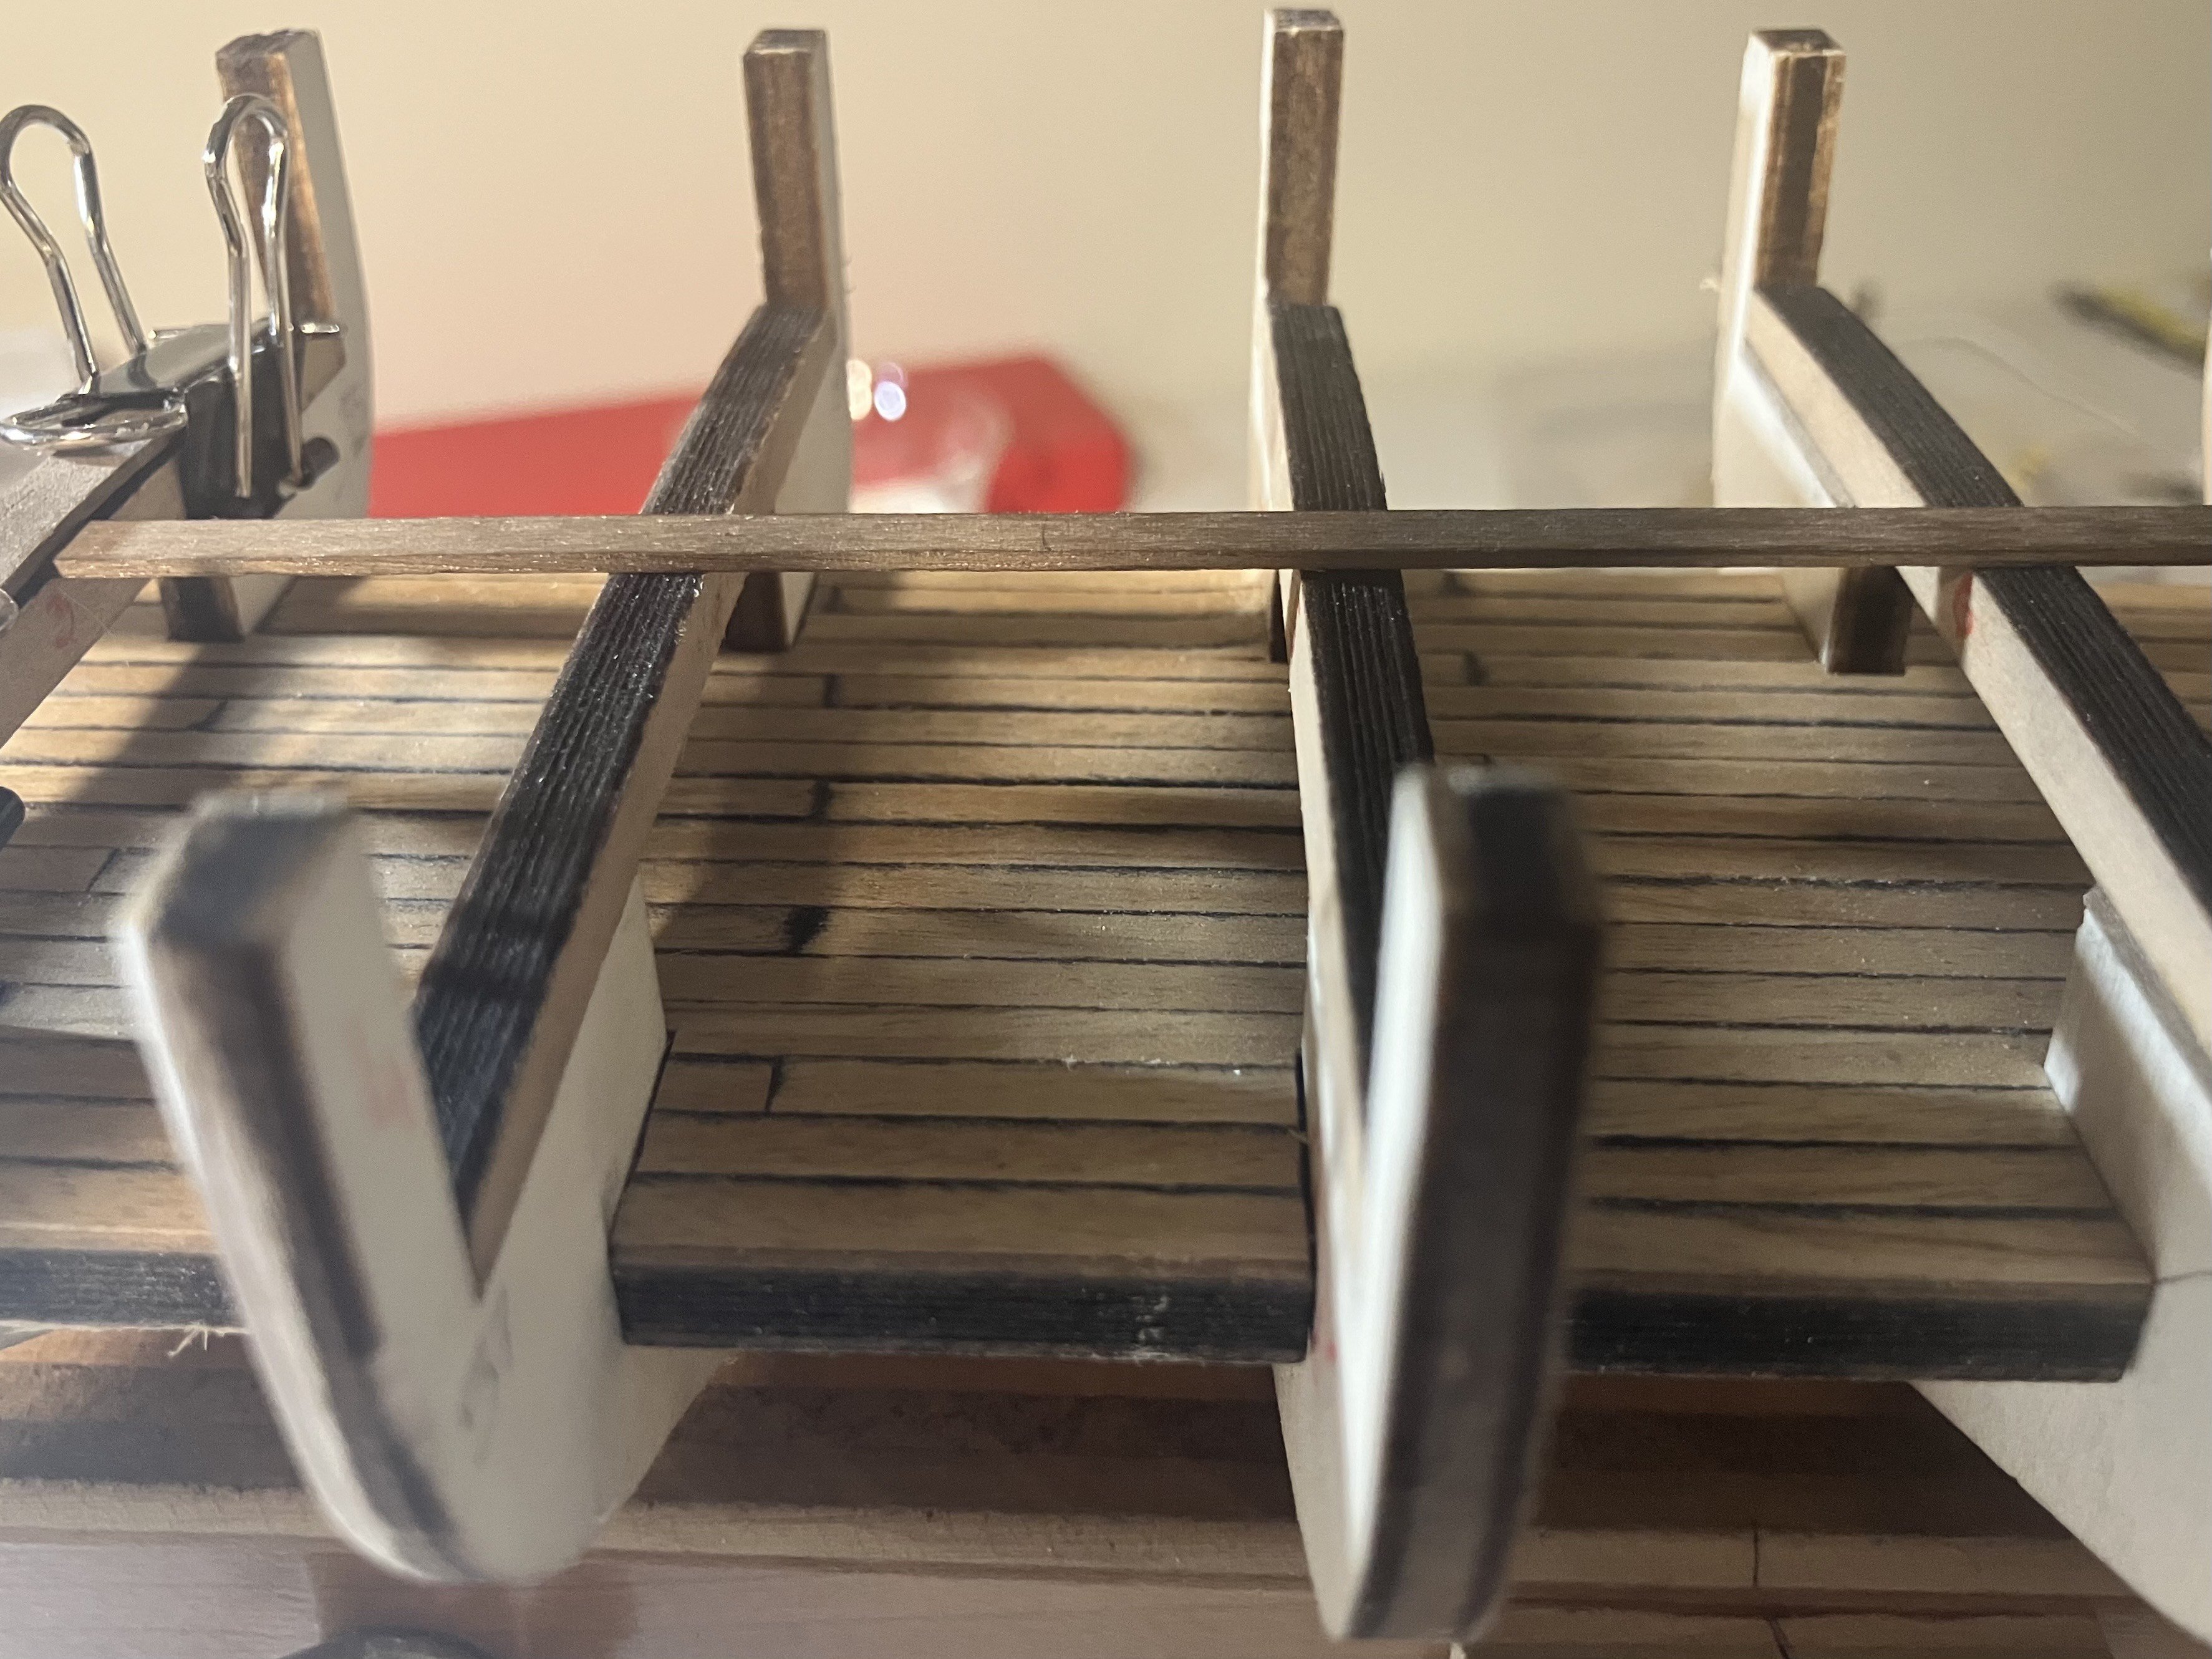
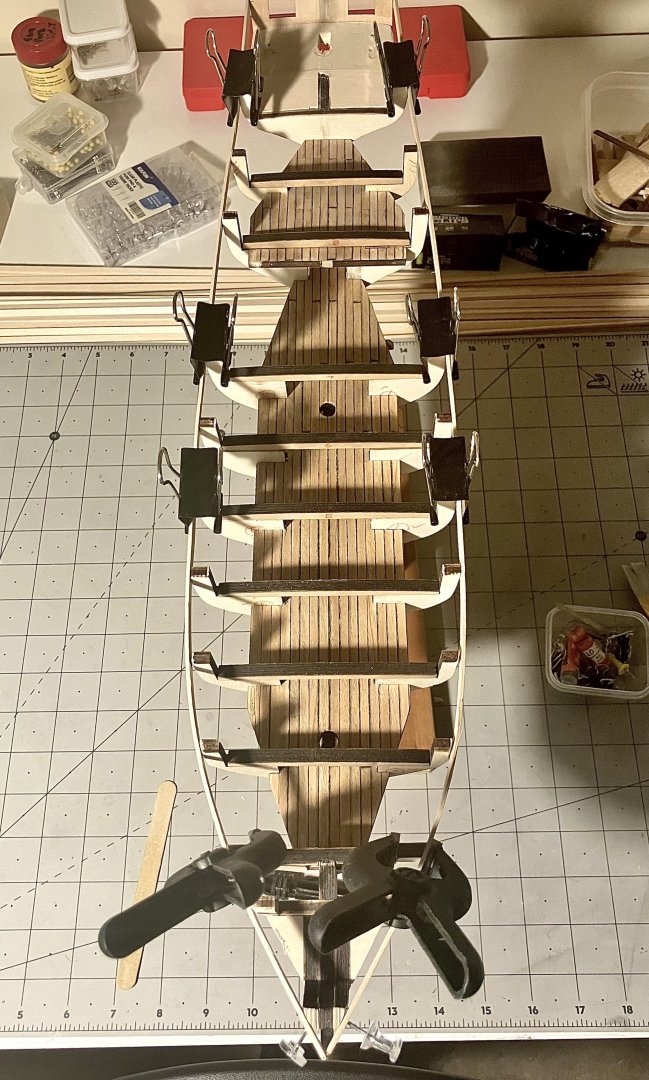
The issue is resolved. I had some 2.5 mm thick strips in my wood shop from some past job. I needed to add 2 mm to bulkhead #7 and take that much off bulkhead #6. The deck line is a lot smoother now and contacts each cross beam on the way across:
-
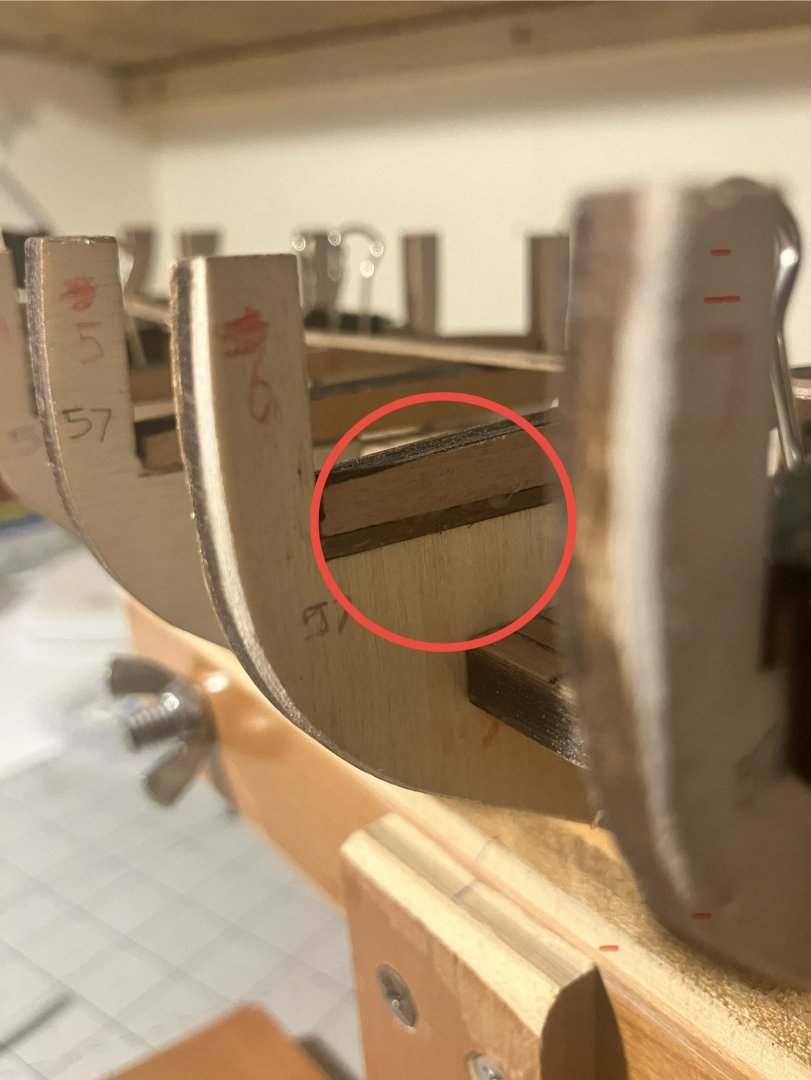
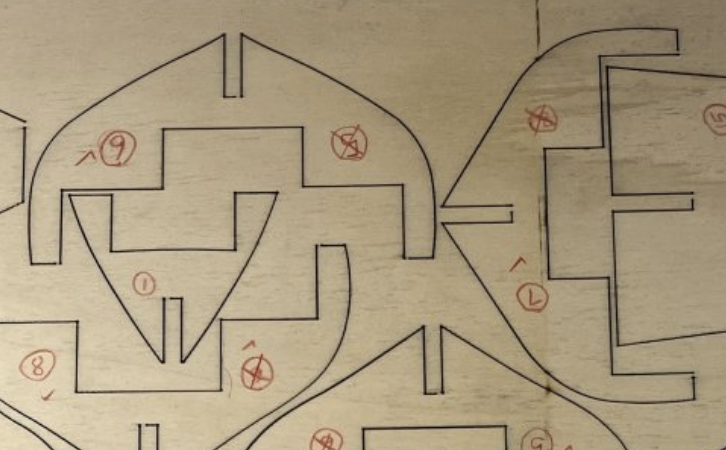
The reason for the low beam has been discovered. The CEO just happened to be in the shipyard this afternoon and I mentioned the issue to her. She saw straight away that bulkheads 6 and 7 were in the wrong place. If we go back to the 4th post in this blog, I wrote how similar those bulkheads were and that I had to change my decision as to which one was which several times: The solution is simple, I will lower #6 by filing it down to the measurement of #7 and raise #7 accordingly (if that makes sense). Once done I will check the outer measurements and make sure the "flow"of the hull is correct. By the way, the red numbers on the "ears" of the bulkheads that you see in post #52 above correspond to the cross beams and have nothing to do with the original bulkhead numbers (didn't want anyone getting confused there).
-
Ha, you do me too much justice, sir. I am finding the way you shaped those planks with the gain etc. to be a lot more intricate that modifying some plans
- 167 replies
-
- 1
-
-
- Norwegian Sailing Pram
- Model Shipways
- (and 1 more)
-
I second that, absolutely!