SaltyScot
-
Posts
870 -
Joined
-
Last visited
Content Type
Profiles
Forums
Gallery
Events
Everything posted by SaltyScot
-
 Never say never, Glen What a fantastic way to close out that wonderful chapter.
- 301 replies
-
- 4
-

-

-
- Constitution
- Bluejacket Shipcrafters
- (and 1 more)
-
I 100% agree. The possibility of ruining something else or getting all tied up somewhere is taken off the table by doing it like this. This is the way I will be doing the Lynx masts once the time comes. Thanks again, B.E.
- 332 replies
-
- 2
-
-
- Harpy
- Vanguard Models
- (and 1 more)
-
Another lesson learned. I had been wondering how to achieve that. Thanks B.E. !
- 332 replies
-
- 1
-
-
- Harpy
- Vanguard Models
- (and 1 more)
-
Yes, it most ertainly is.I tried that on the Endeavour build. Very disappointing.
-
I thought the deck looked good, Wolle, but we modelers view our builds with a very critical eye, don't we.
- 35 replies
-
- 2
-
-
-
- Britannia
- Mountfleet Models
- (and 1 more)
-
You did a nice job on that deck house framing, Phil, very neat and precise. What wood are you using for that?
- 490 replies
-
- 3
-
-
- minesweeper
- Cape
- (and 1 more)
-
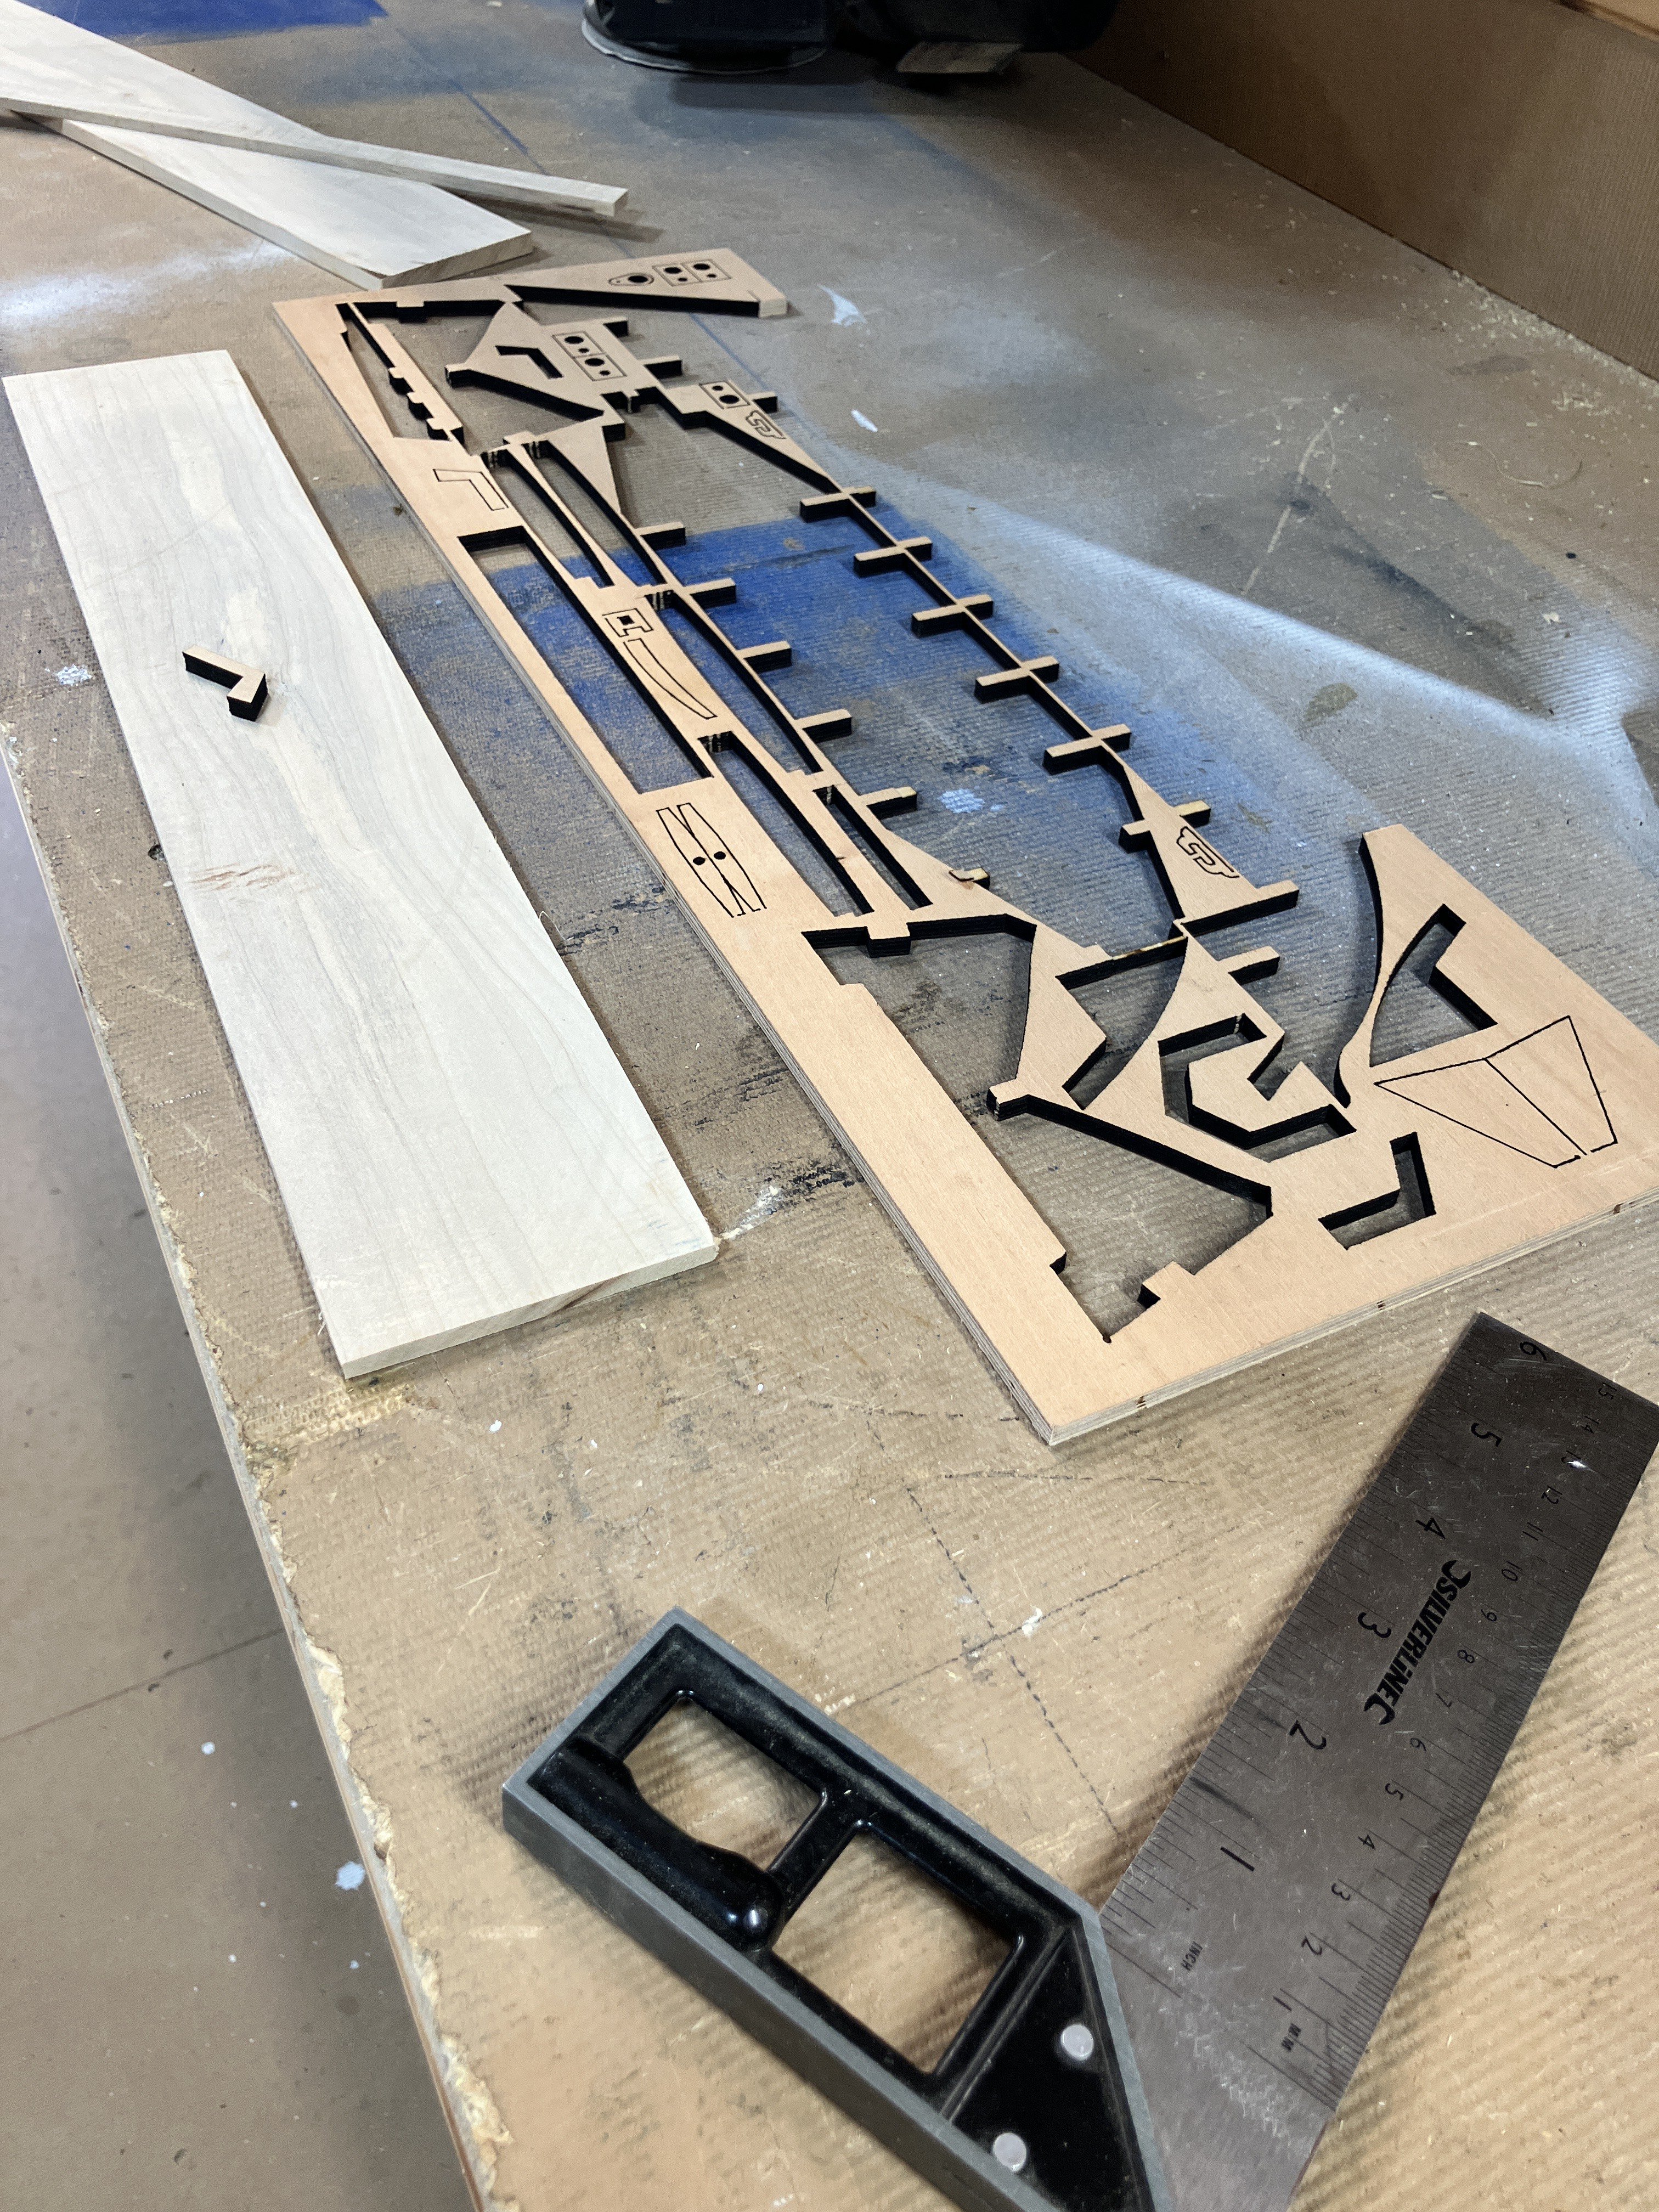
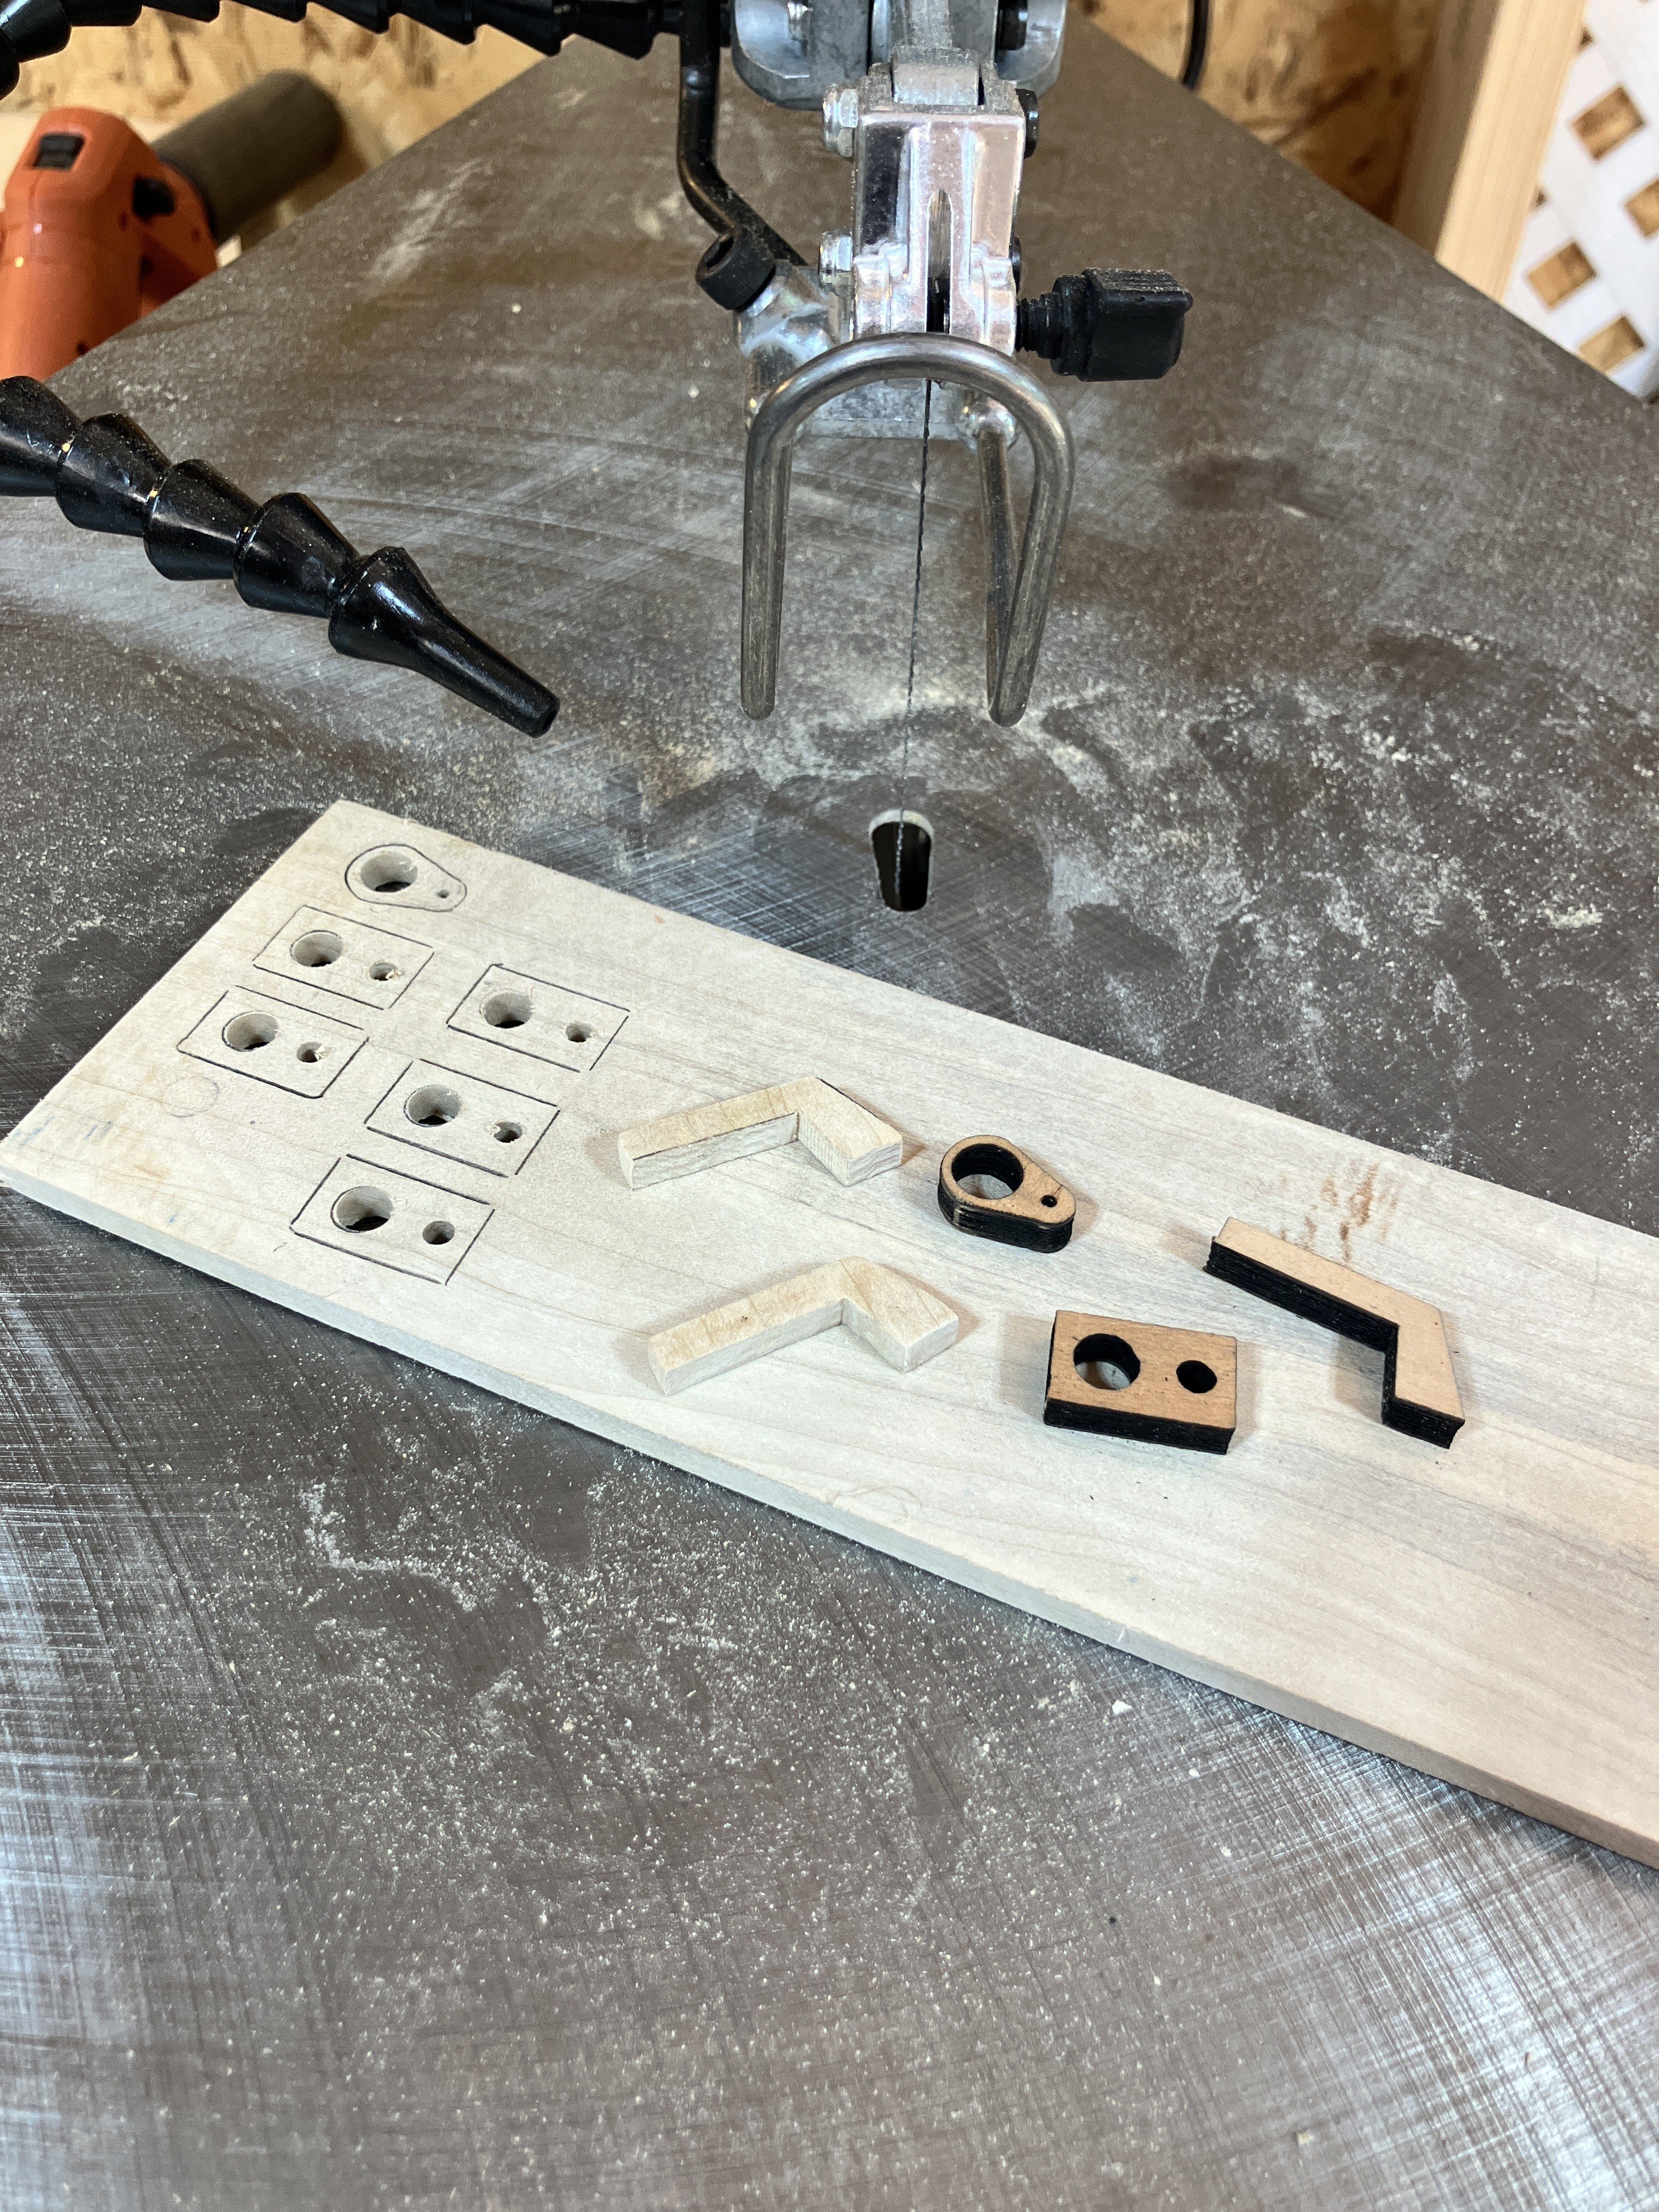
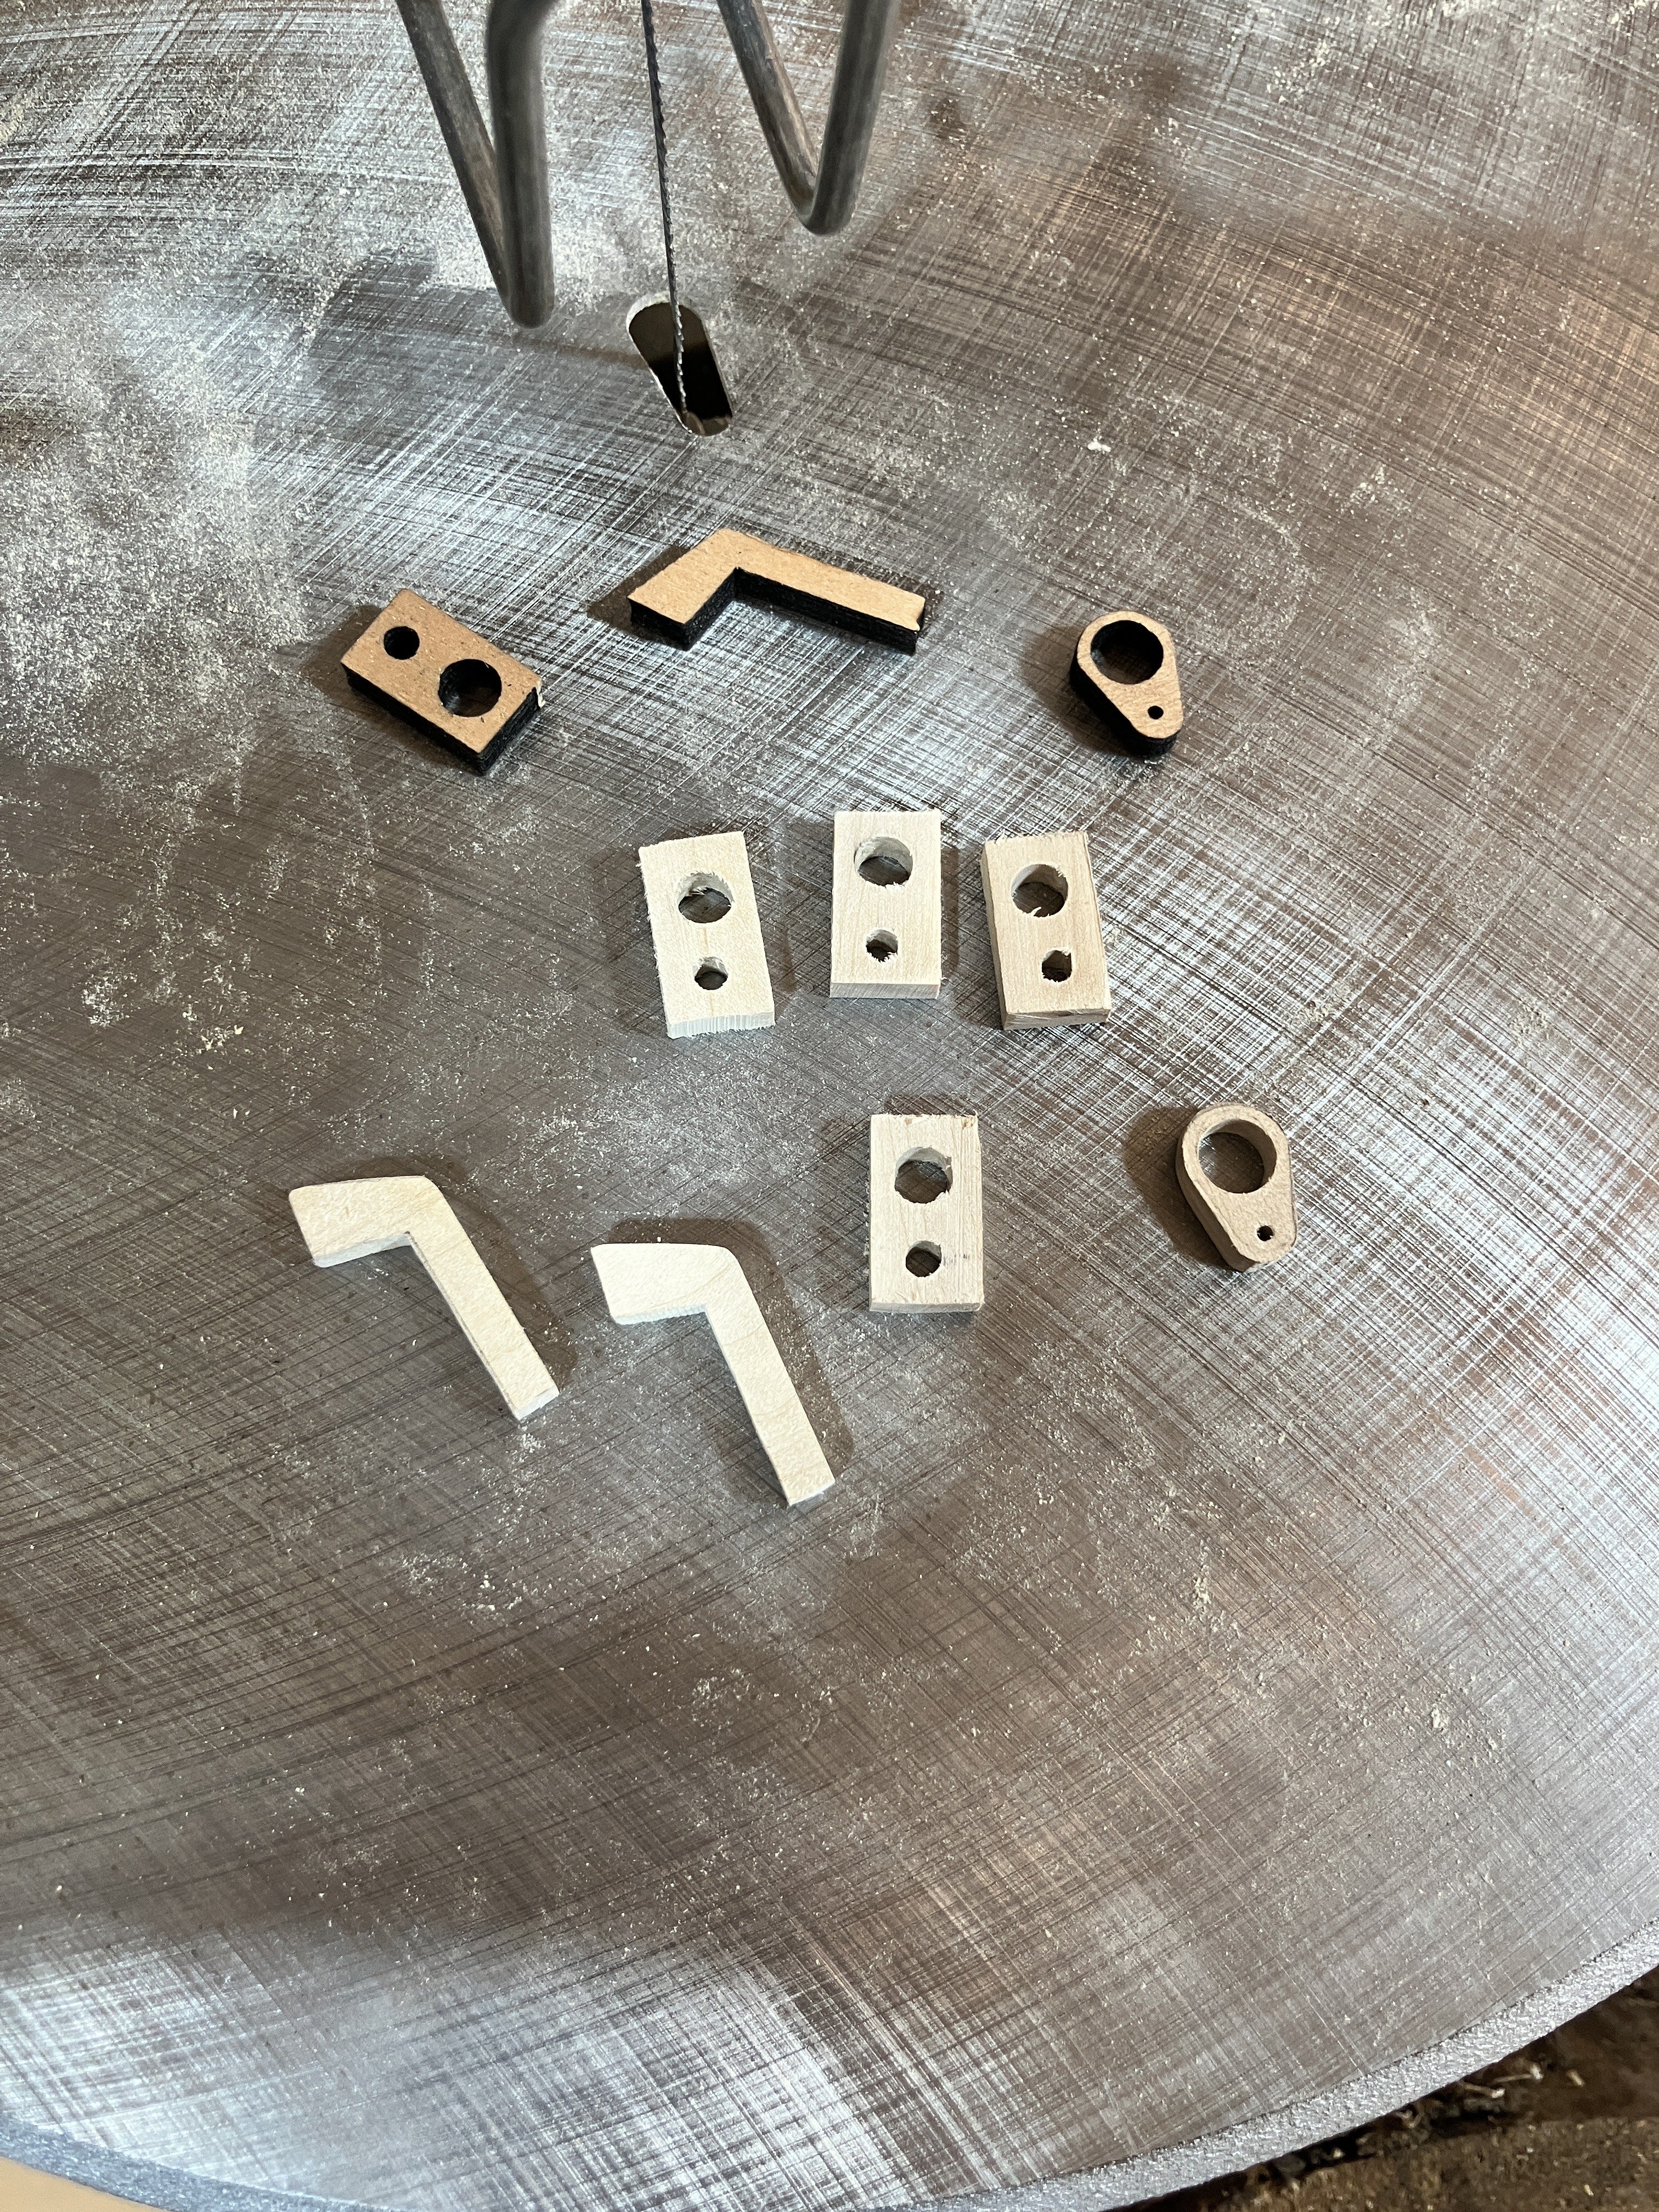
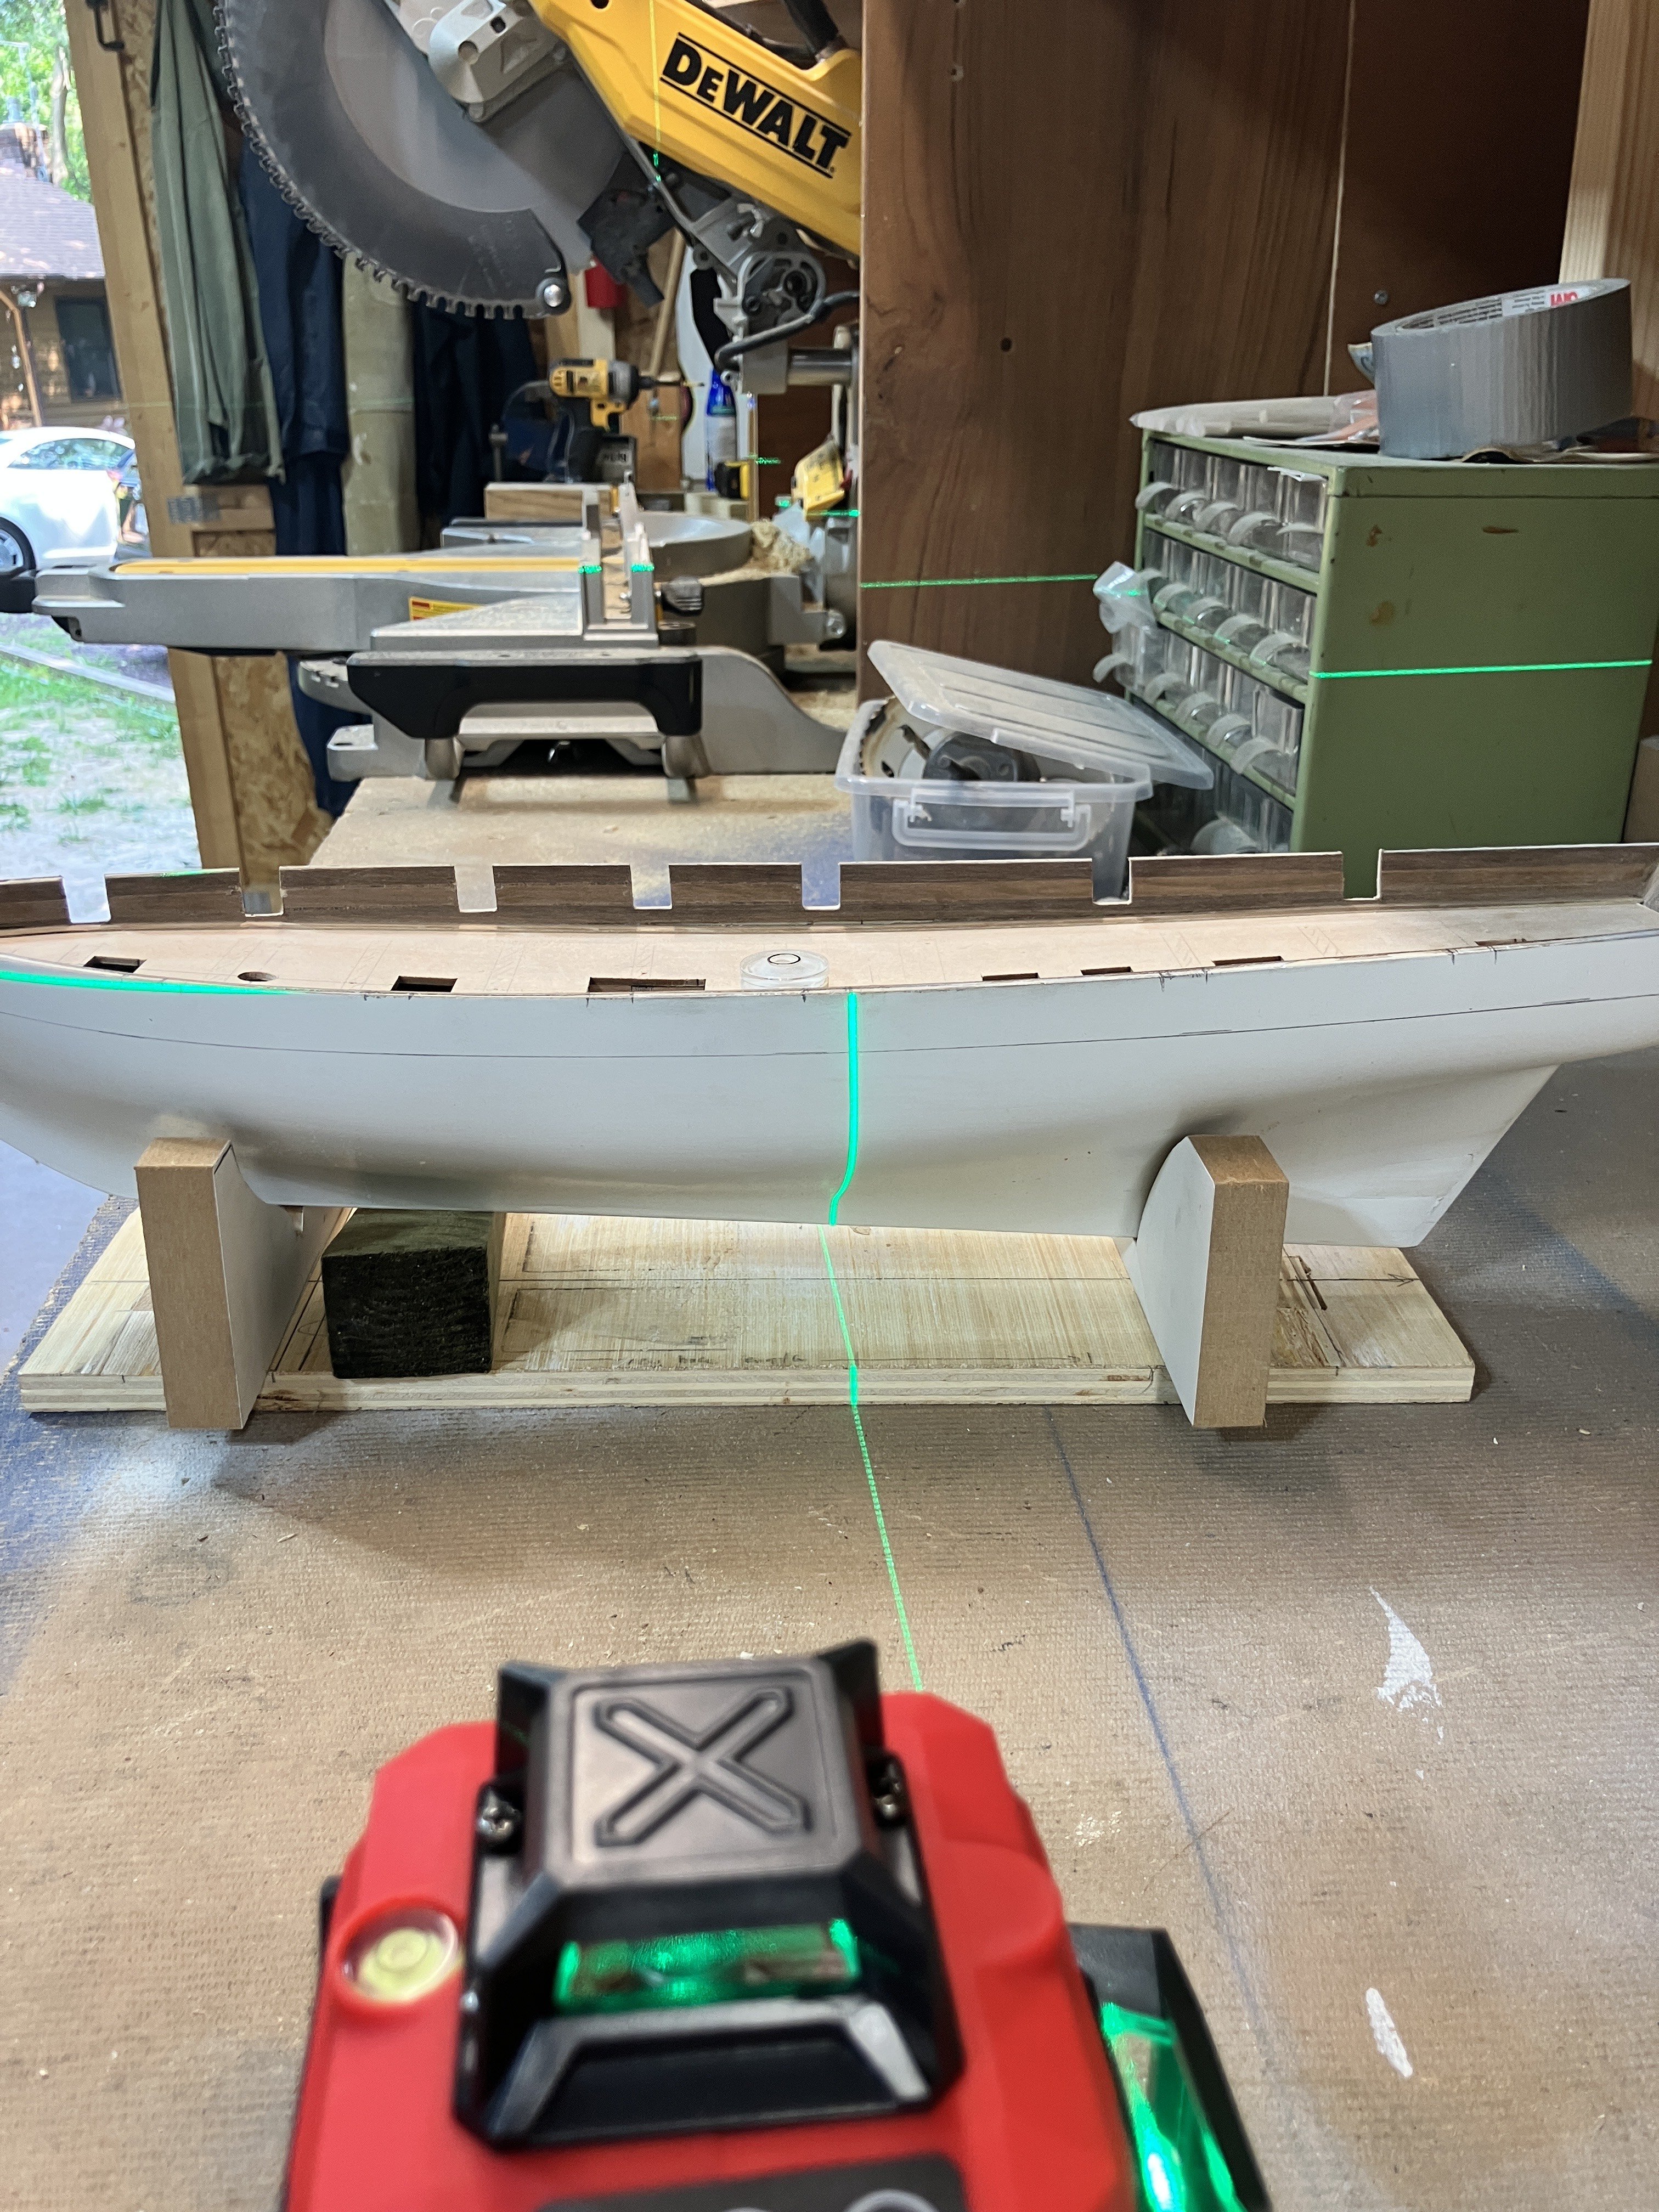
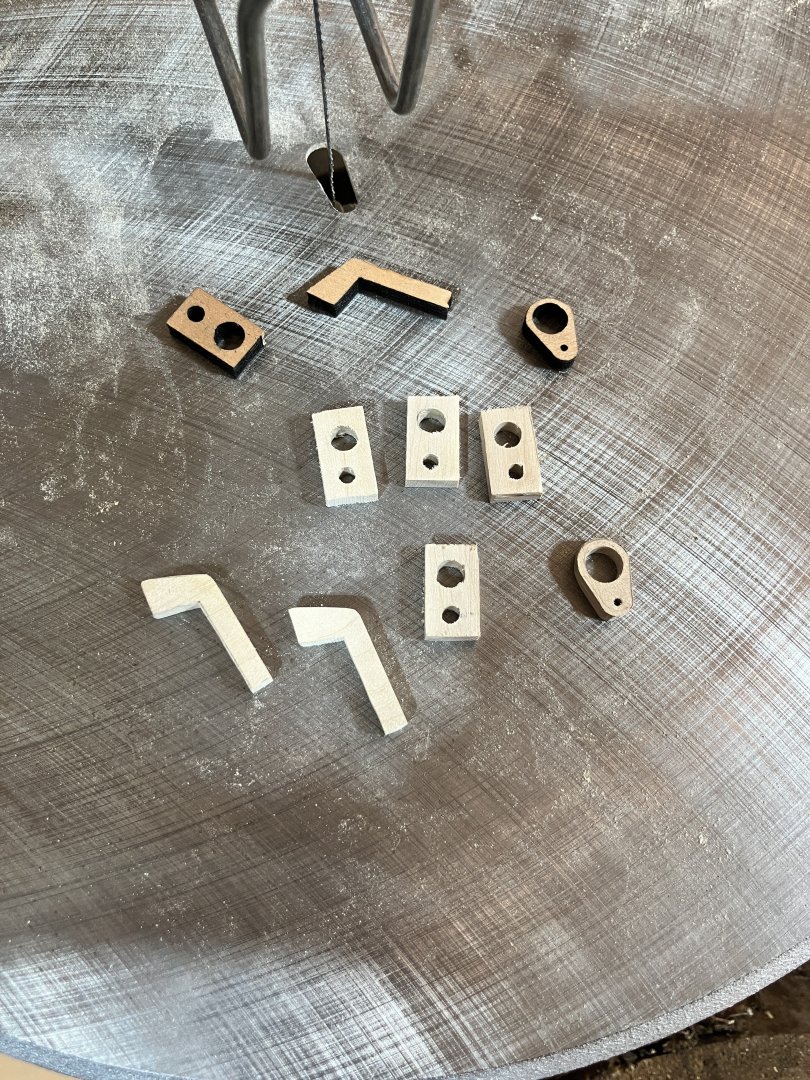
I managed to get some unexpected time in the shipyard today. We have family here for the week but they decided to take a day trip today which freed up some time. I got on with some tasks I have been wanting to do away from the ship. I replaced the horrible plywood parts for the bowsprit and mast caps, catheads and support ring for the boom on the main mast with some white maple I had knockng around the woodshop. The maple was milled to the right thickness and the parts cut out on the band/scroll saws: The pieces will be taken to the shipyard and cleaned up properly then stored away until needed. As well as that I put the new laser level to the test. I leveled the hull in the woodshop and used the laser level to help me mark the gunport holes that still needed cutting out. I also checked on the ones that I had already done, just to be sure: Our house will be ours again this weekend so I am hoping to carry on where I left off today. Here's hoping


-
I have to agree with Keith here. I bow to you, sensei Glen
- 106 replies
-
- 3
-
-
-
- Kentoshi-Sen
- bottle
- (and 1 more)
-
I am happy to read that your eye issue resolved itself, Tom. Let's hope the after effects of this latest surgery go the same route. I found your sticky tape solution ingenious! That is what a lot of this hobby is about, solving tricky issues like that. Nicely done.
- 206 replies
-
- 1
-
-
- Endurance
- Shackleton
- (and 2 more)
-
Mensch sieht das aber fein aus! You did a fantastic job on the hull, Wolle!! The deck looks amazing too, love that color tone. Haste gut gemacht
- 35 replies
-
- 3
-
-
-
- Britannia
- Mountfleet Models
- (and 1 more)
-
That is an impressive setup, sir. You had mentioned using a piece of tubing on the seizings. I take it that it doesn't stay in place once done and is only there to help hold the two ends together before you seize them? I was a little confused about that.
-
Nice fix, Roland. I have found that in situations like this a wooden tooth pick works well also. Yes, they may need to be stained a little to match the wood but, as they are tapered at the ends anyway, I found them very useful for plugging holes.
-
Congratulations on reaching the finishing line on this one, Phil. Your build log, and now the added notes at the end of the blog, will continue to be an inspiration for me as I begin my journey into the world of schooners. We are apparently going to have a few very rainy days here this coming week. If that is so, I will leave my (real) boat and fishing poles at the dock and get back to my Lynx build
-
I am a little late coming aboard but I will be staying for the rest of the journey. What a great build and a very interesting model. I really do like the look of her! Nicely done.
- 121 replies
-
- 1
-
-
- Lucia A Simpson
- AJ Fisher
- (and 1 more)
-
I have missed that wit, Trevor!
-
Welcome aboard, Andreas. This link may help you out with your rigging. Peter did a great job on his Virginia build and an even better job of explaining the rigging. You will find that info in his build log. Enjoy!!
-
Welcome to MSW, Wes. All I can say is, do not be afraid to ask questions once you get your build log up and running. Everyone here is so helpful and the willingness to share experiences and answer questions is more than commendable.
-
Very nice!
-
This is one to be proud of. Well done, sir!
- 443 replies
-
- 3
-
-
- Indefatigable
- Vanguard Models
- (and 1 more)
-
I could not agree more, Glen. I had only ever heard the quote and didn't think to look up the whole poem. What captivating words.....
- 301 replies
-
- 3
-
-
- Constitution
- Bluejacket Shipcrafters
- (and 1 more)
-
I am slowly coming to the conclusion that one should go into a build with the expectation that this will eventually happen, then it won't be such a shock/surprise and can be taken in stride. Easier said than done though, I am sure.
-
Your attention to detail and resilience with regards to getting this just right is commendable, Glenn. Hat off to you, sir.
- 241 replies
-
- 2
-
-
-
- Vanguarrd Models
- Harpy
- (and 1 more)
-
Now THAT is a great idea! I will tuck that wee bit of info away for future reference.
- 332 replies
-
- 2
-
-
- Harpy
- Vanguard Models
- (and 1 more)
-
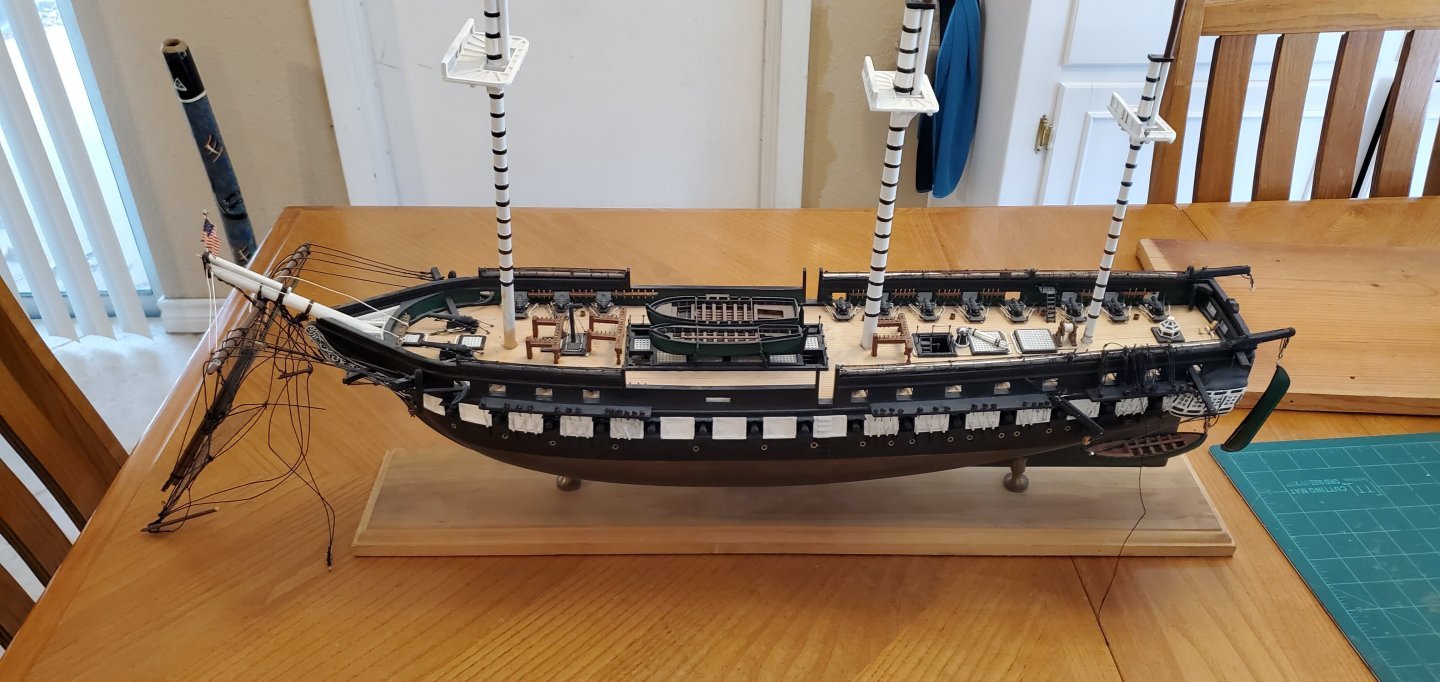
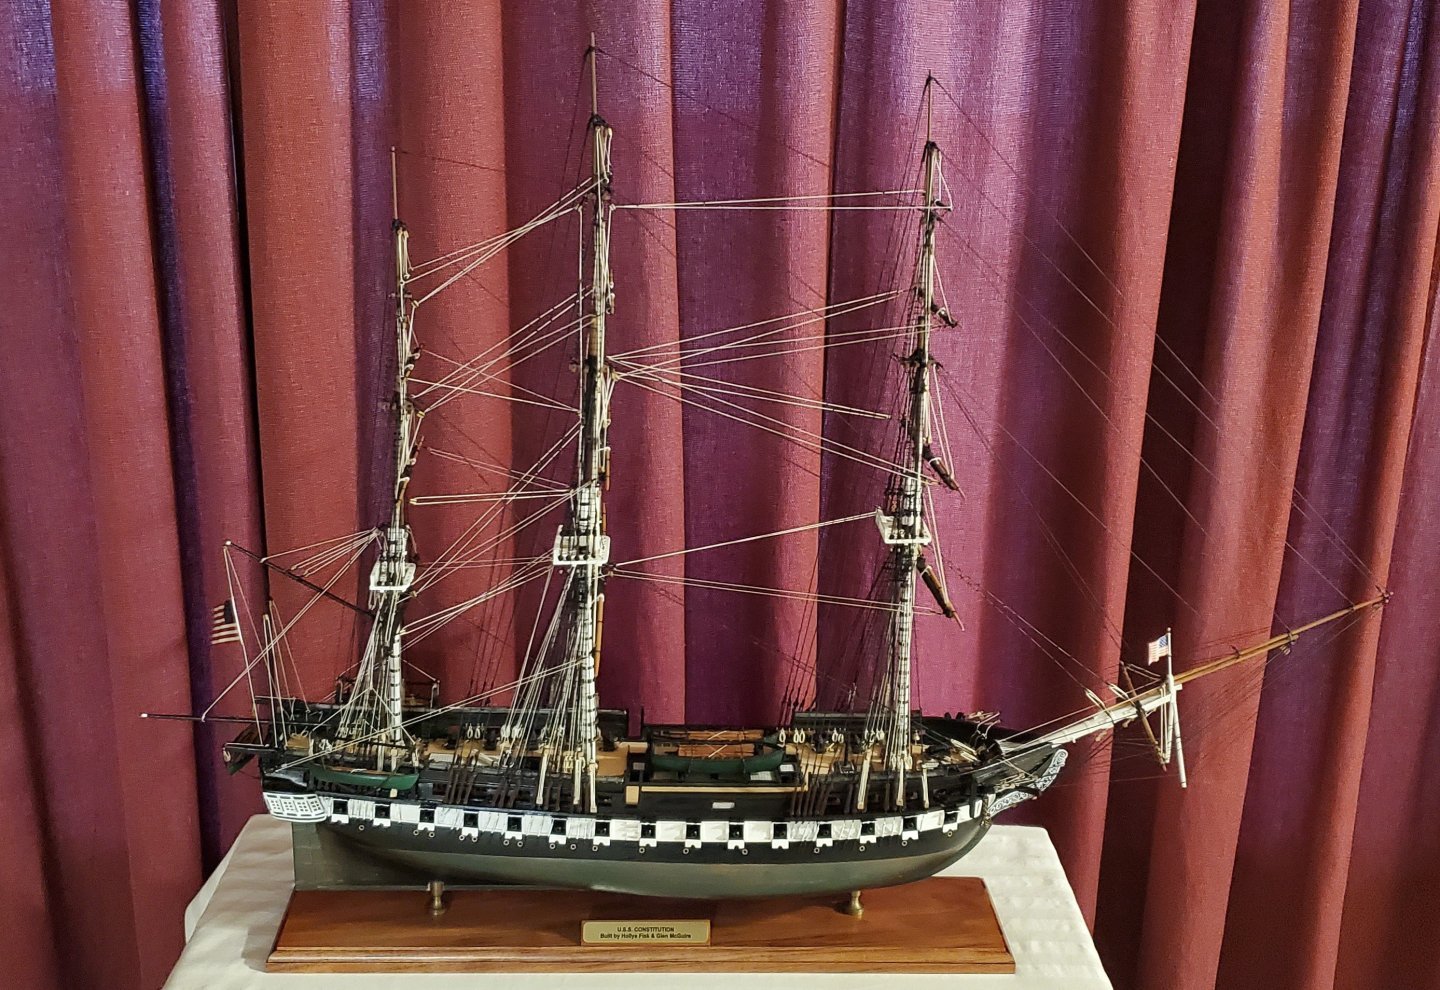
Glen, I too just sat and watched your video, quite touching really and a fine example of true workmanship. When one considers what she looked like 8 months ago: You have done her more than proud, Glen, and what an honor to have your name on the plaque alongside her original builder. You are a master, sir, and don't let anyone convince you otherwise. As Robert N. Rose once said: "Ships are the nearest things to dreams that hands have ever made, for somewhere deep in their oaken hearts the soul of a song is laid.”
- 301 replies
-
- 8
-
-
-

-
- Constitution
- Bluejacket Shipcrafters
- (and 1 more)