


bhermann
-
Posts
535 -
Joined
-
Last visited
Content Type
Profiles
Forums
Gallery
Events
Posts posted by bhermann
-
-
Jim - I found Russ's tutorial in the Ship Modeling Materials and Tools section of the Articles database. It gave me a very good start on silver soldering. Take a look if you get the chance.
Bob
-
On 4/3/2020 at 2:18 PM, jamcdonel said:
Bob,
I am also building the 1:64 Bluenose, and your log has helped me solve a mystery! I was a member back on MSW 1.0, and remember following your build. I couldn’t for the life of me remember my old screen name, but I just read your log here on 2.0 and found a post from myself back in 2013! Evidently I haven’t been gone as long as I thought. I was “McDaddy” back in those days.
I am getting ready to start the metalwork, and have always admired yours. What is your set up? What kind of solder do you use? Do you use more than one temperature? How about torch?
following ....again.
Jim
Welcome aboard, Jim (or should I say McDaddy?). I'm glad I could help out with your mystery.
I learned my soldering from a tutorial Russ had posted on the MSW 1.0 site. I use a silver solder paste, which I can't read the label on any more, as it has faded a lot over the past 10 years or so. Since I only have the one tube, I can safely say all my soldering has been done at one temperature. I have been able to solder as many as four lugs on a single band on the bowsprit, so there has been no need for multiple temperatures. I use a Bernzomatic butane micro torch which I think I picked up at Home Depot. I tried several pencil grip torches before settling on the micro torch. I had a terrible time refilling them, this one has worked well for me. Here is a link to the torch (or a newer version of my torch) on Amazon.
https://www.amazon.com/Bernz-Matic-ST2200T-Micro-Butane/dp/B000PS9TQI?ref_=fsclp_pl_dp_2
I will poke around and see if the Russ tutorial made it to MSW 2.0. One of the main things to remember is that the solder flows toward the heat, not away from it. Once I figured that out I got much better at getting good connections on the first try.
Bob
-
Thanks for the photos, Richard. Yes, I should have said I found pictures of the chainplates inlaid into the hull. I am building the Model Shipways kit and when I read the note about them being flush with the hull, I interpreted that as being the outside face of the chainplates being even with the planking. The photo I based my judgement on is here:
https://novascotia.ca/archives/bluenose/archives.asp?ID=88
In any case I discovered the information after I had laid the chainplates proud of the hull and I'll live with it.
Bob
-
4 hours ago, Retired guy said:
Thanks a lot Keith linkage worked out how I wanted, I am hoping that it might turn the Rudder when I install 🤔
Hi Bob thanks very much for your comments trying to get her as close as possible to what I see in the drawings and pictures.
The great information I have got from asking google 😁 and just got a couple of pictures from Robin, would you happen to have any?
Regards
Richard
Hi Richard
I have been using the Nova Scotia Archive site for a lot of what I have done so far. Most of the detail photos there are from later in Bluenose history, and there are some taken from dockside earlier in her career. The site is here, if you don't have it.
https://novascotia.ca/archives/bluenose/
I also have visited the L. A. Dunton at Mystic Seaport and have several photos of her. While she was built by Chapelle, she is contemporary with Bluenose and shares some detail.
I know you aren't there yet, one of my main regrets thus far is not placing the chainplates flush with the hull. I didn't realize unto after I had installed mine that they should have been. Pictures of Bluenose and my visit to the Dunton confirm this was the case. Given the amount of work you have put in to accuracy of your model, I'm guessing you would want to do that.
Bob
-
Richard
I have been away from the forum for a while and just discovered your Bluenose. The level of detail and authenticity you are putting into this is just amazing. I will be following along as you proceed with the build.
Thanks for sharing all the great information on your sources and how you are approaching each of these "mini-builds", that will come together into one fantastic schooner by the time you are done with it.
Bob
-
Late breaking news - I am now in the process of setting up for retirement (yay!) and expect to be back in the shipyard soon. It has been way too long since I have put any time in on Bluenose. I did blow some of the heavier dust off the other day. It'll be good to be back at it!
Bob
-
J - I took a look back at my restarted log. I detailed the scupper work here:
As far as the colors go, my recollection is that the practicum had a lot of areas on the rail painted white where the plans called for them to be black, and vice-versa. I apologize but I haven't looked at the practicum, nor the plans for deck painting schemes for a few years. What I recall is that the practicum called for a number of rail tops to be black, and the outer side white, but the plans called for white tops and black outer sides. The plan information and scheme looked more real-world to me. Who knows, she may have been painted both ways at different points in her career!
Bob
-
Good to see you at it again, Per. You are coming along nicely.
Bob
-
Nice start on your Bluenose, J. You did a really nice job on the hull and deck planking.
I also started with the Hunt Practicum, as Bluenose is my first wood build as well. Like DBorgens, I followed the Hunt practicum at the start, but stopped around the time of the deck furniture. I also thought some of his instruction on painting the upper hull and rails didn't match the plans well, so followed the plans instead. There was also the matter of the scuppers, which I did differently than he called for.
In any case, it will be fun to watch your progress, things are looking fine thus far!
Bob
-
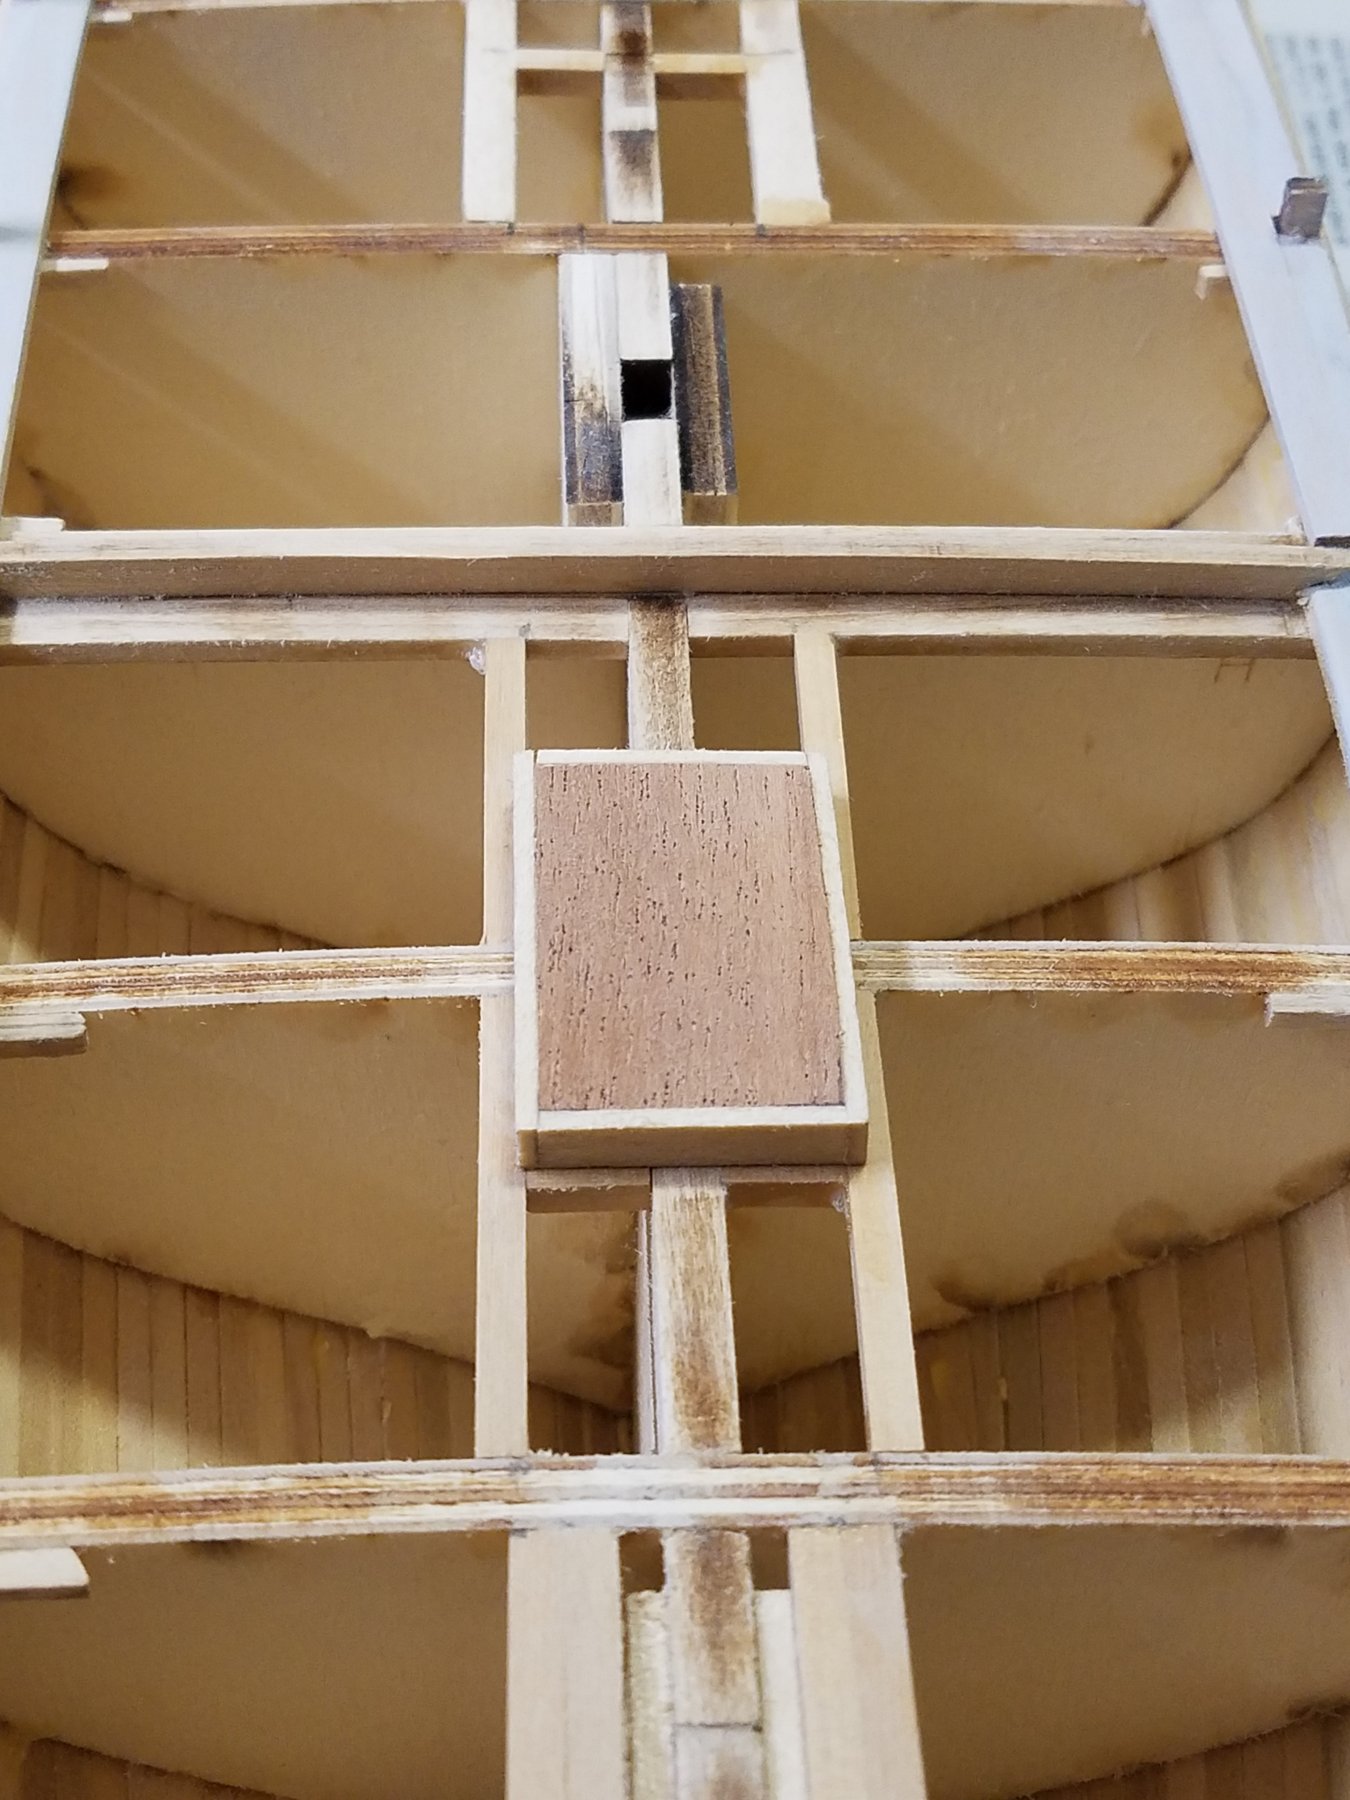
Hi BigJ and welcome to the Bluenose club. My recollection of those filler blocks is that I traced the cross sections from the plans onto the sides and end of the blocks and removed the excess material with a coping saw, then glued them in place and finished shaping them as part of the bulkhead fairing process. Of course this all happened 12 years ago, so there is no guarantee that is exactly how it went down.
My advice is to take a deep breath, take your time and work the excess away slowly. And always remember - it is wood, if things get too bad, you can always remove what you've done and start over with new filler blocks
")
Bob
-
An update - not new build stuff, rather this is about when I may resume. I am close to setting a retirement date at the end of 2021/beginning of 2022. Since I originally took up model ship building as something I would be able to do after the working days were done, it seems fitting that resumption be tied to that event.
Bluenose is still sitting quietly on the workbench (in her Lands End cradle), patiently awaiting my attention. The time is coming!
Bob
- EricWilliamMarshall, JPett and nagrod
-
 3
3
-
Still out here, but no work on the Bluenose. I have taken on a different ship-related project for now. Following in Caroline's (VulcanBomber) footsteps, I am working on a counted cross stitch image of a ship sailing past some rocks. I have been at it since January, and am less than 1/2 way through.
Bluenose continues to wait patiently, sitting next to me on the desk, being admired and thought about fairly regularly...
Bob
-
Derek, here's a link to my method for doing the scuppers. There are many ways to go with this, do what you are most comfortable with. In my case, I did the scuppers before installing the false stanchions.
Bob
-
-
On 7/30/2017 at 8:50 PM, Nirvana said:
Well, I got the hatch made.
In Bob Hunts practicum it's mention that the top is to be umber colored, but since I had mahogany laying around.
I used that material instead, turned out nice in my opinion.

Per - I did something similar with my hatch and cabin tops. The older versions of the kit (back in the Model Shipways days) came with walnut veneers strips as an option to finishing the hull. Since I was painting the hull, I used the walnut in the same way you used the mahogany. I agree it is a much nicer look than the burnt umber painting. Overall you are doing a fine job on this grand old lady.
Concerning the practicums direction on painting - it does not match the plans in a number of areas. The sides and tops of the rails are reversed black for white, as one example. Also the finishing of the cabins and hatches may have some discrepancies - don't quote me on that one, it's been a few years. I followed the paint scheme from the plans rather than the practicum - I think it produces a more "normal" look than the practicum.
As I recall it was that difference in color schemes that made me start questioning some of the practicum details and considering other ways of doing things.
Bob
- popeye the sailor and Elijah
-
2
-
-
Hi Per - I have Chucks rope ready to go. As of now only the bowsprit is rigged. I made up my own turnbuckles for this from the kit supplied brass strip and wire. I used speaker wire for the footropes as I couldn't see how to get thread to drape properly., I did use thread for the stirrups. Other than that, it's all standard stuff.
I'll be getting back to Bluenose at some point - ATM I am working out some bothersome details on my astrophotography setup and am not spending any time in the shipyard.
Bob
-
Hi Per, good to see you starting on this grand lady. I will be following along with interest. You have already done some things I wish I had thought of way back when. The support for the waterway between the stanchions, for instance. I recall fearing those guys wold just drop into the hull when I was installing them. I also recall rejecting the Hunt practicum for the installation of the great beam.
Waiting patiently for your next step. She is coming along nicely so far!
Bob
- popeye the sailor, Eddie and Nirvana
-
3
-
Very nice detail Dave. I handled the mast sheaves in a similar way with pretty much the same result. While studying the plan, I decided they were used to lift the topmasts into place. Whether that is true or not, I can't say. As you say, they are not used anywhere in the plans.
A question on the fids - I installed them above the trestle tree and I think the plan shows that as well. I assumed their purpose was to keep the topmast from dropping through the hole, not to keep them locked in, as yours appear to function. Again my assumption was that the standing rigging would keep the topmast from lifting out of the hole.
Bob
- Nirvana, genericDave and Elijah
-
3
-
-
-
Congratulations on finishing up this chapter of your model building. She looks really good.
Bob
-
I remember those mast hoops being fidgety things. In order to allow for sails and anticipating some breakage, I put a few extra on each mast before installing the cheeks and trestle trees, to hopefully ensure I could survive losing a few while lacing the sails on. Nice job on the boom rest and pin saddle, they are very crisp assemblies.
Bob
- Nirvana and genericDave
-
2
-
Nice work on the prototype, Dave. I found the kit-supplied dories and materials to be too hard to get a good result with, so my deck is dory-free. I like your approach and may re-try. Who knows. maybe you'll be my inspiration to get moving on this guy again!
Bob
- genericDave, Nirvana and Eddie
-
3

Bluenose by Retired guy - Model Shipways - scale 1:64
in - Kit build logs for subjects built from 1901 - Present Day
Posted
Agreed on the lack of glass. On the Model Shipways plan they are listed as "Air ports", which indicate ventilation as the main purpose to my mind. Because I have no detail inside the cabin, I painted a block of wood flat black and glued it to the inside of the cabin wall to finish them off and prevent any view to the undetailed inside.
Love these latest details you have added. The boom buffer is a major improvement on the cast kit parts!
Bob