HOLIDAY DONATION DRIVE - SUPPORT MSW - DO YOUR PART TO KEEP THIS GREAT FORUM GOING! (Only 24 donations so far out of 49,000 members - C'mon guys!)
×


cookster
-
Posts
416 -
Joined
-
Last visited
Content Type
Profiles
Forums
Gallery
Events
Everything posted by cookster
-
Mobbsie, just found your build and read the entire log over a couple days. Very, very nice! I'm glad I got here just as you're ready to rig her cause I love to watch you guys that know what you're doing rig a ship. I will be following along!
- 1,279 replies
-
- 1
-

-
- agamemnon
- caldercraft
- (and 1 more)
-
Moving right along Augie.. Makes me jealous, mine's still sitting in the box. Looking Good!
- 2,191 replies
-
- 1
-
-
- confederacy
- Model Shipways
- (and 1 more)
-
Thanks for sticking with it Bob. Hopefully once you have the frame built and properly faired things will become more straight forward.
- 1,477 replies
-
- 1
-
-
- essex
- model shipways
- (and 1 more)
-
moving right along Augie...
-
Thanks Geoff. Yes, one day she'll be fully planked. When I get to cannon tackle, or rigging, I may wish for planking again... Tying all those little blocks seems like fun for the first few, but for the next hundred plus - not so much... Augie, I can see the logic of double planking for some parts of the hull, but if I had to plank all those gunports a second time I think I'd give up and go back to plastic...
-
I'm not familiar with the AVS, but I do have the Syren. Bought it and the MS Constitution as my first 2 wooden ship builds. The designer of the Syren, Chuck Passaro, runs this site (MSW) and can be asked for help and questions easily. He usually keeps his eyes on Syren build logs so you'll have his help. The Syren instructions are great and invaluable to a newbie wooden ship builder like me. He walks you through the entire build and includes lots of pics, including the rigging. Just my 10 cents...
-
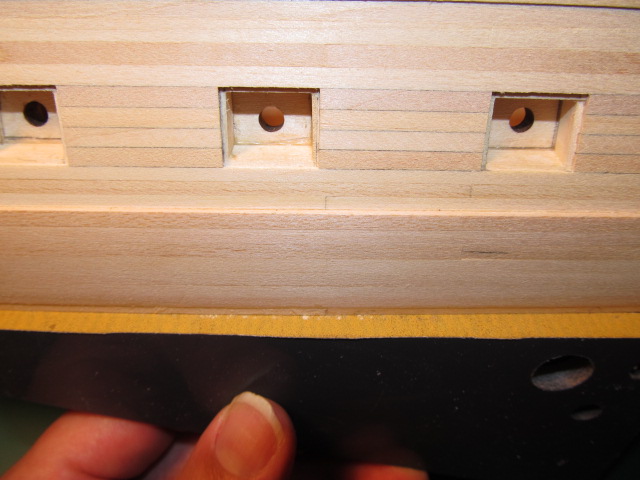
Augie, double planked? Are you nuts? To paraphrase Chuck, "why do double work?" Or am I missing something here... Patrick, it's there but I purposely avoided a close up of it.
-
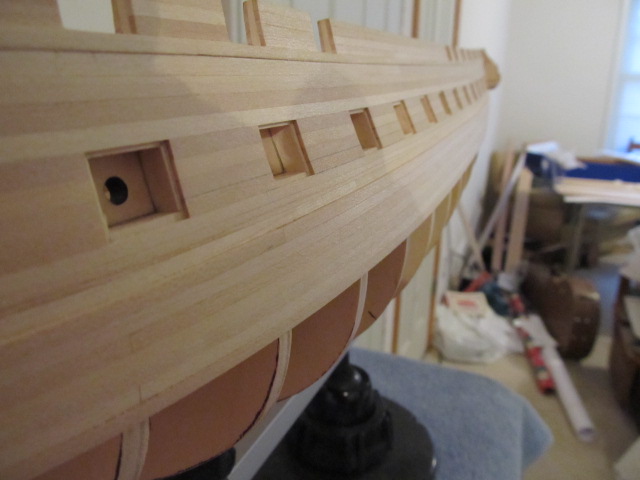
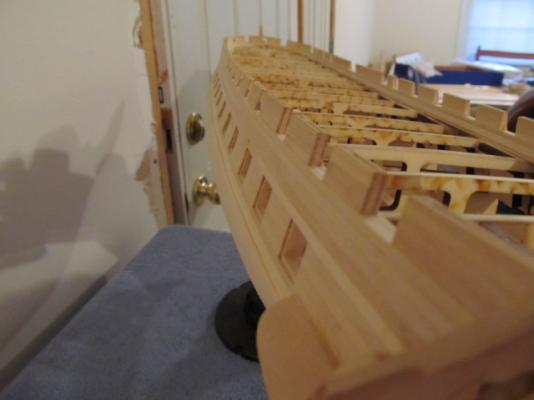
St-iiiiiiiii-L planking...... Had to leave my first gap in in between strakes. Didn't want to but it was necessary to get the strakes back in line. This will be a good time to try out filler and test how it does when it put the finish on. I also had to use a too thin plank at the bow to get the stakes back in line. I know why, wasn't being careful enough with my plank widths. Another lesson learned! Counter isn't that great but I'm learning... The other side should be better, and thank goodness I'm painting this one!


-
Augie, regarding the sander. How fast does it remove material? How long do the sanding pads last? I see you used it for faring so it must be able to remove material moderately fast? I've been looking at this one or the proxon one. I've also thought of using a dremel with the flex shaft attachment for fairing. Since it's rotary instead of oscillating, it should hog out material pretty quickly... Thanks for the answers, your build's looking good!
-
Andy, I read your build log last night. Wonderful work! Your work on the rigging is spectacular! The serving in your pics is what really drags me into looking at your rigging and thinking this is incredible. I can talk dados, and mortises, and rabbets (not wabbits) with the best of them. But the talk of stropping, siezing, serving, hidden clove hitches, etc makes my eyes roll in the back of my head. The only "real" knot I can tie (other that the overhand knot) is the square knot, which doesn't help on a ship model. I've seen mention of serving before but seeing it here on your shrouds finally makes me understand what it is and how great it looks. This hobby should really be called Model Ship Building and Model Ship Rigging. The skills and knowledge to perform each (well) are so different! Looking at your rigging will be a huge inspiration whenever the day comes I have to rig my models. I'll also have to invest in that rigging book you have. Good luck in your travels!
-
Welcome aboard Patrick! Hope you have some patience though as it will be slow going on Confed for now...
-
Good luck with the modifications Bob. I know it's a pain but at least you're making progress again. You said even the drawings were wrong? I hope Sam or ME got you a corrected set of drawings.
-
Augie, my plans are to rig her, I hope. I also hope someone else tries that before me though as I'd hate to be the guinea pig on that! I guess there are rigging plans available somewhere, but thankfully no need to worry about that for a LONG time...
-
Thanks Steve! I keep going back and forth on details... The artistic side of me says make it look good and be happy with it. The engineer in me keeps wanting to fret over details.... Ah well, It will all come together at some point. Continued good luck on your builds!
-
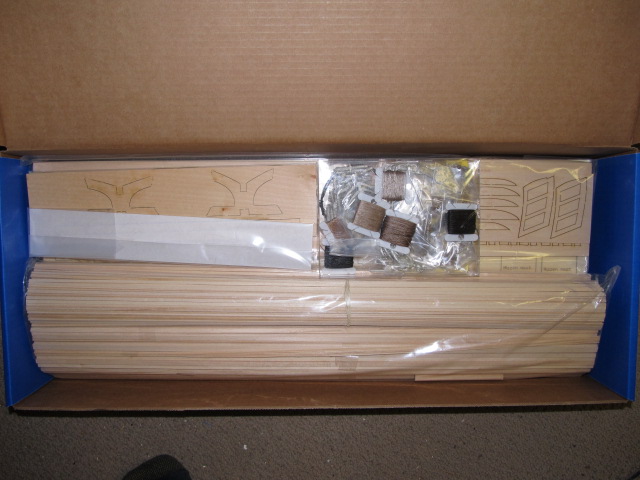
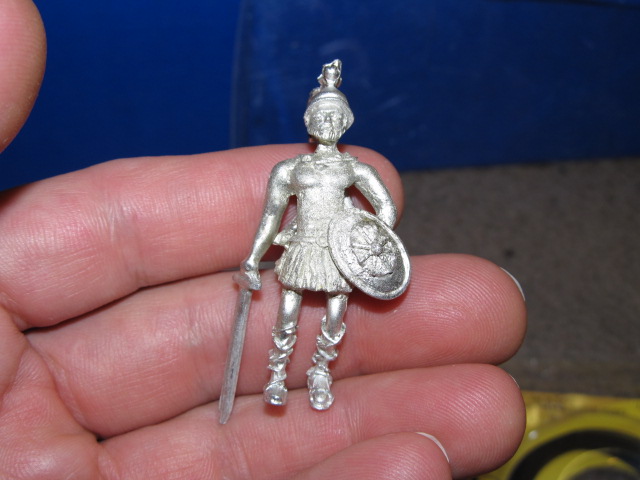
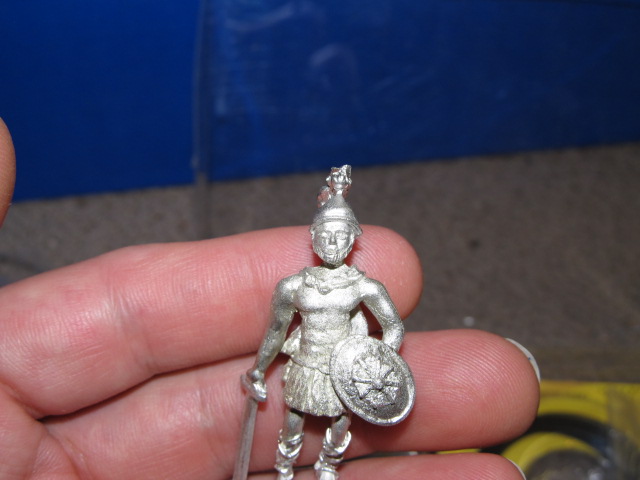
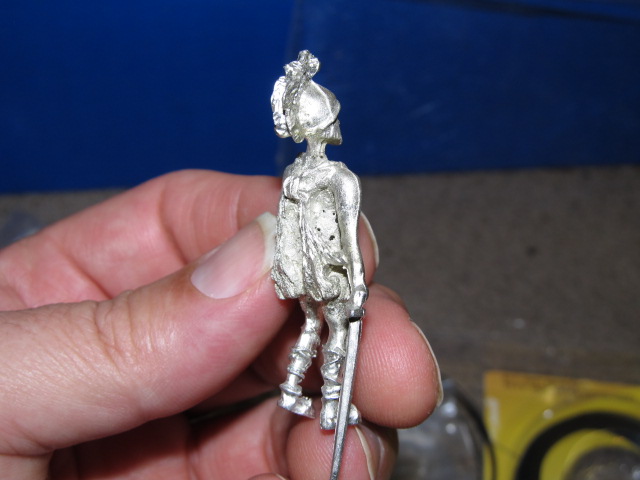
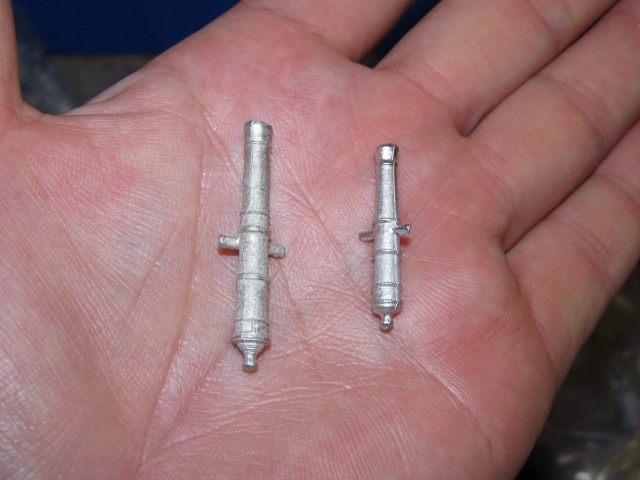
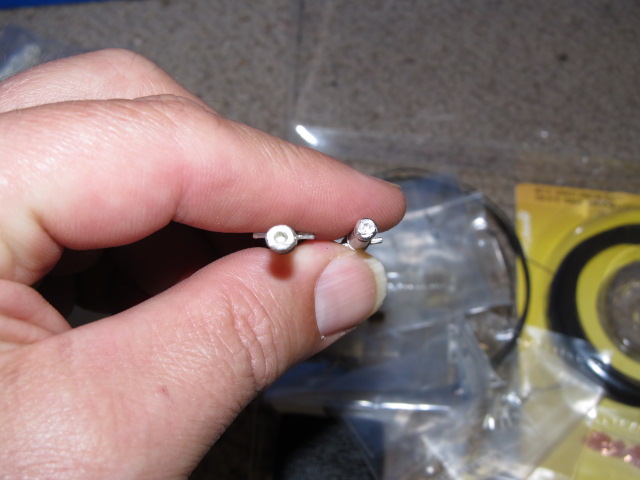
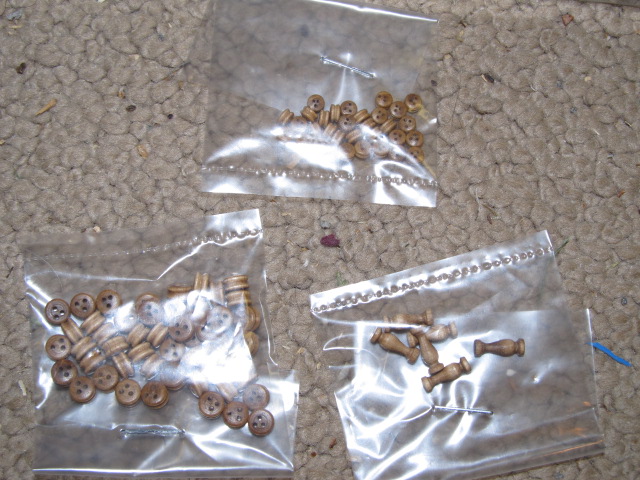
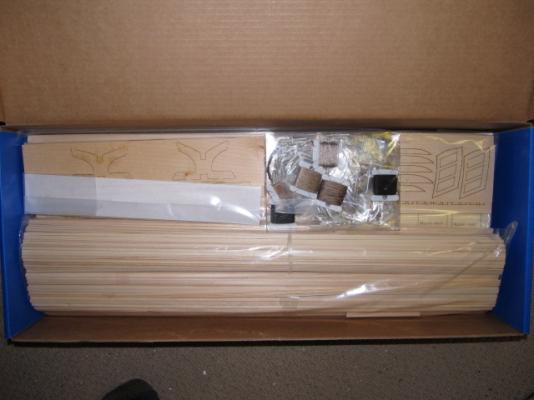
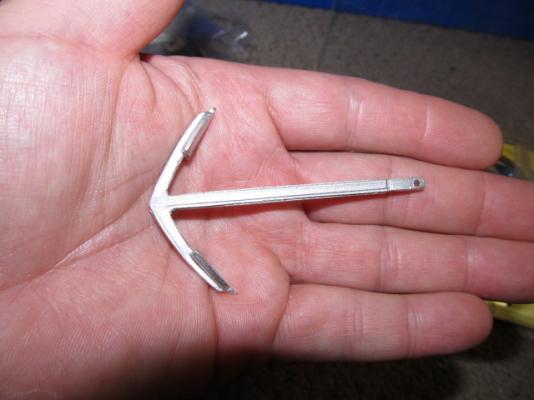
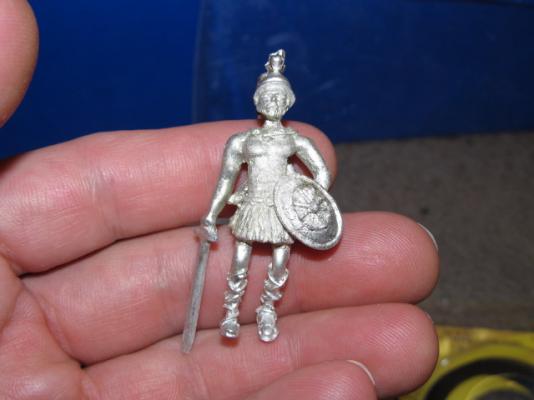
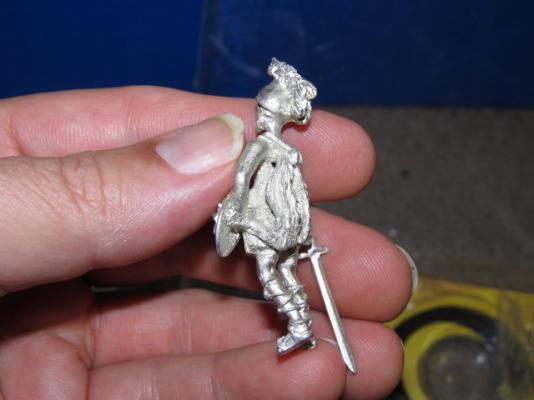
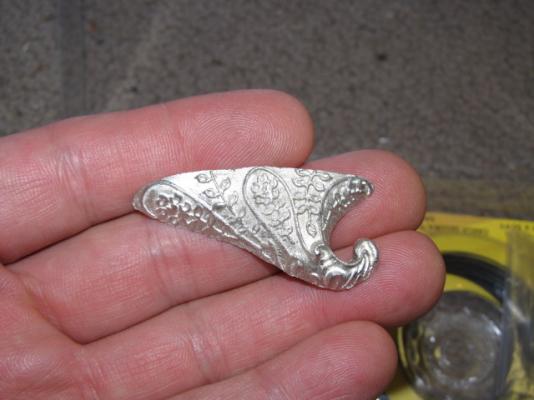
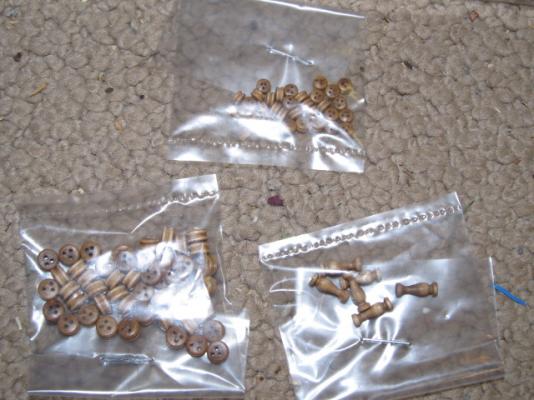
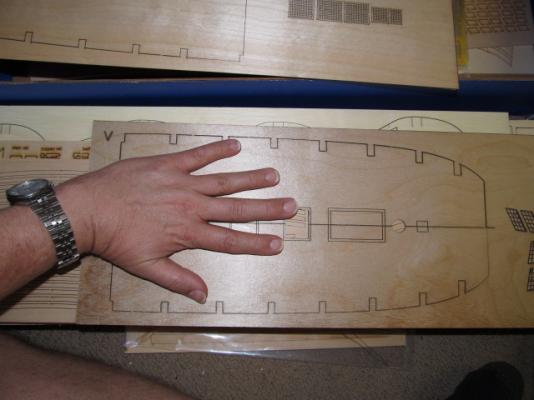
This kit is my 50th birthday present to myself. I don't really need another kit, as I'm deep into my Constitution build and I have the Syren sitting in drydock, all alone.... But, I really wanted this kit, Expo had a deal, and it was my birthday after all so here we are... I don't plan to do any major construction until after I finish planking my Conny which will take another month or 2 at least (as slow as I am...) I do plan on making a new stem in swiss pear and I'll probably work on that on and off over the next few weeks. I do have some unique plans for this build, hopefully they pan out. I opened the box and took some pics of a few things, didn't see the need to photograph everything as others have already done that. So, a few pics... Big Anchor... The figure's not that bad, but it does have issues. Most notably pits from air pockets during the pour and the back "wings" have a lot of flash and are shaped funny. I'll probably wind up getting Chuck's figurehead. Cannons aren't that bad, the cannons for my Conny are MUCH worse. Don't know yet if I'll keep them or go with Chucks... The wood items look pretty good... I knew she was big but the size of the deck was surprising!


-
Thank you Augie, been watching your Confed in quiet admiration as well! One day I'll start mine. I want to get this planking done so I can move on to the deck, etc, which will be very tedious. That will be a good time to start Confed, although I must day I'm forcing myself to wait. I'm gonna make the stem from swiss pear as a first step, so I'm getting anxious!
-
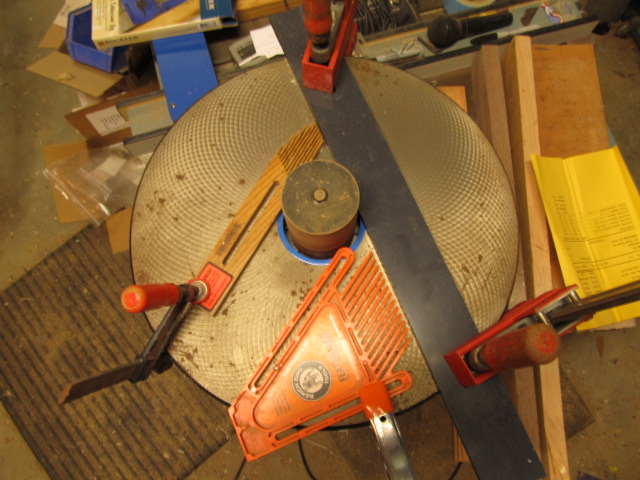
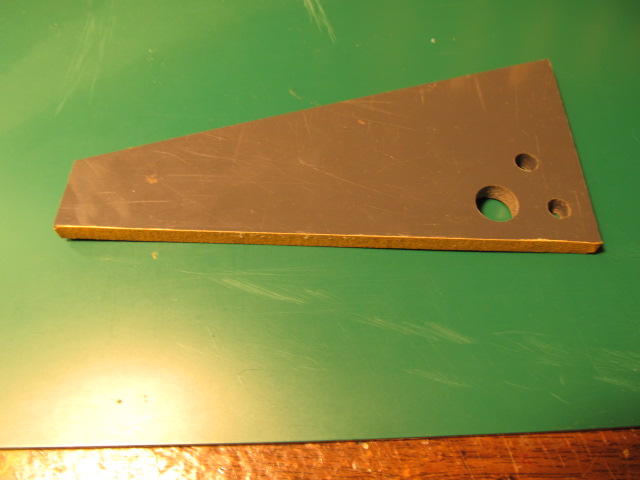
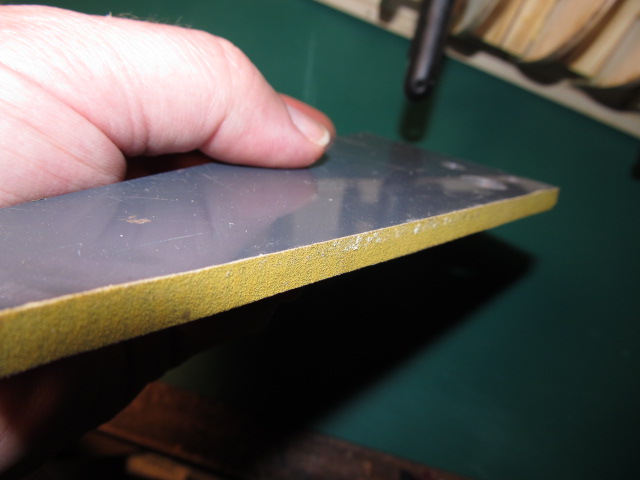
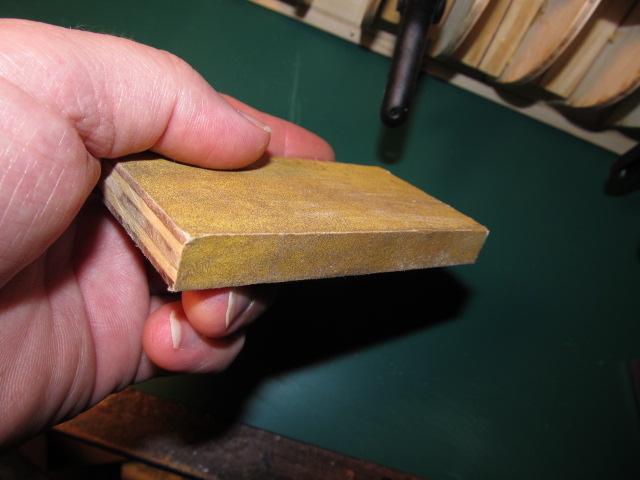
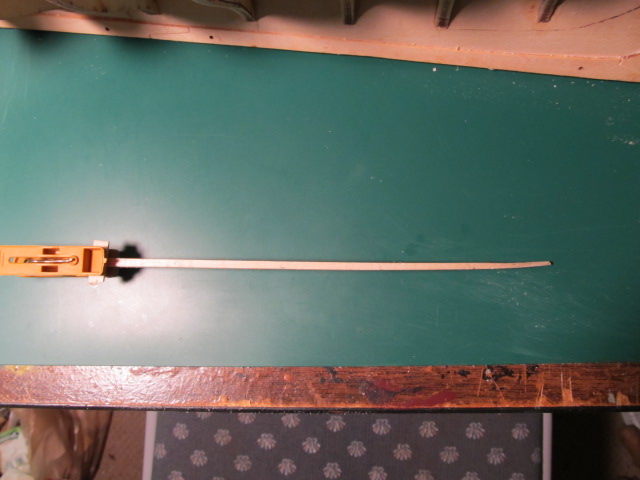
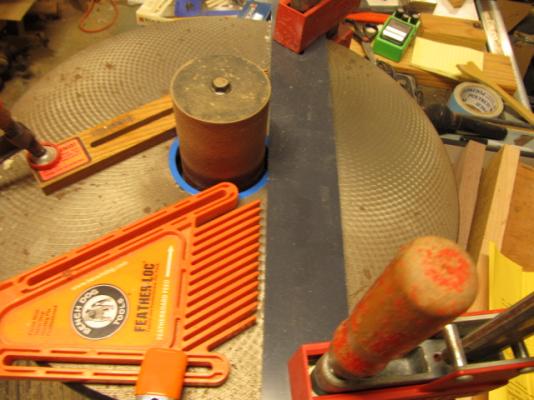
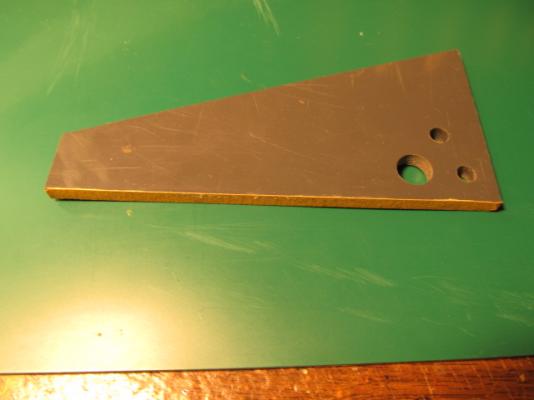
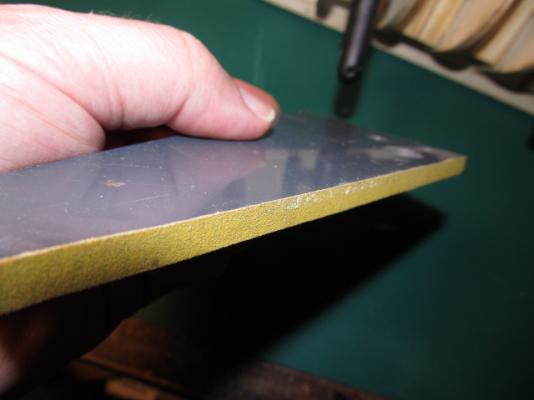
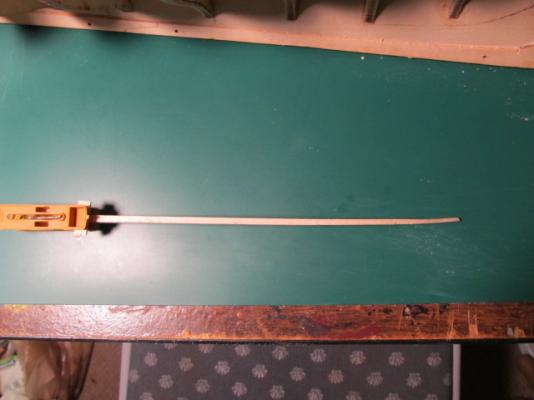
A few housekeeping issues: I got tired of all the planks not being the same width, so I finally broke down and set up a fence on my spindle sander to sand them all to a consistent width. It's not perfect but it works. And, as a former body repairman I know the value of sanding blocks. I've been fighting keeping the sheer line of each plank perfect (yes I said perfect) by trimming and edge sanding before gluing each plank. I've known all along all I needed was a way to sand the plank edge to straighten it up. I've been using a sanding block with paper wrapped around 3 sides, which works great for some things but not this. The sandpaper on the bulkhead side sands the bulkhead, not what's needed. So I took a piece of 1/4" PVC I had and stuck a piece of 180 sticky back to it, then trimmed it so only the 1/4 face has sandpaper on it. And viola, a sanding block to edge sand planks. It works great!


-
Thanks Bob and Wolf! Hey, I'm promoted!!
-
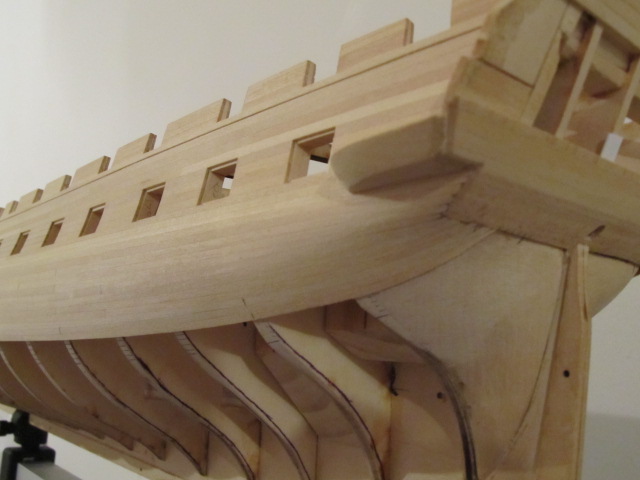
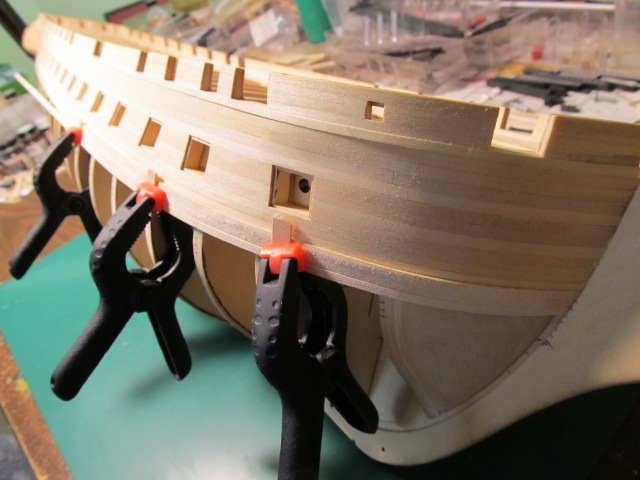
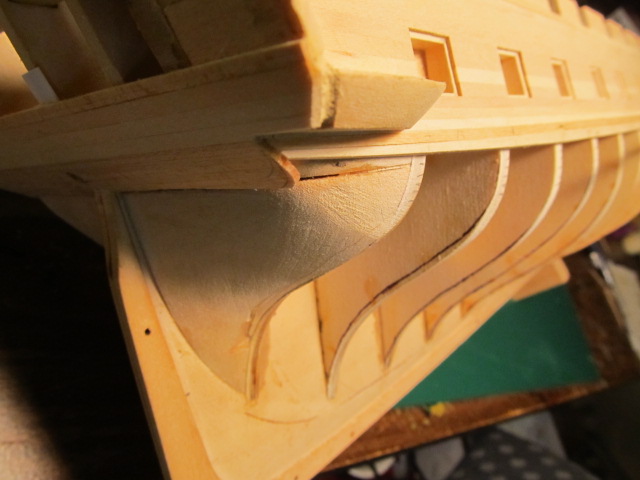
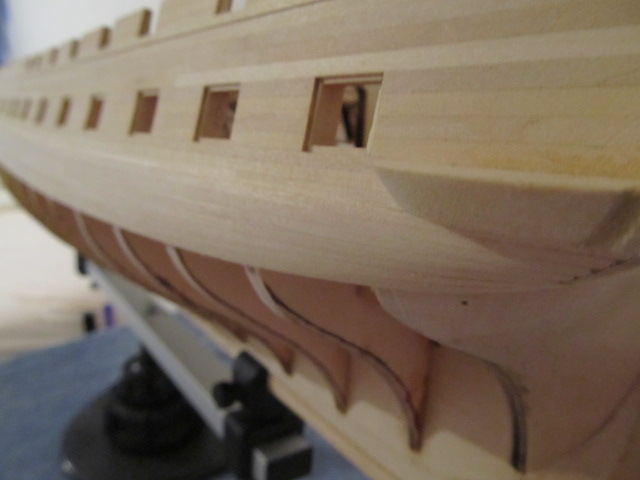
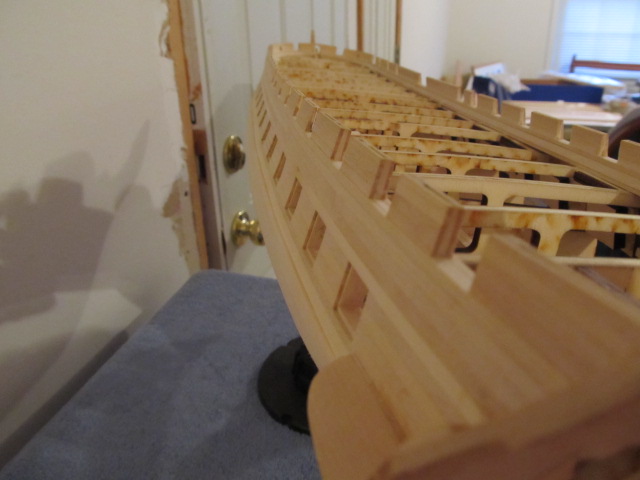
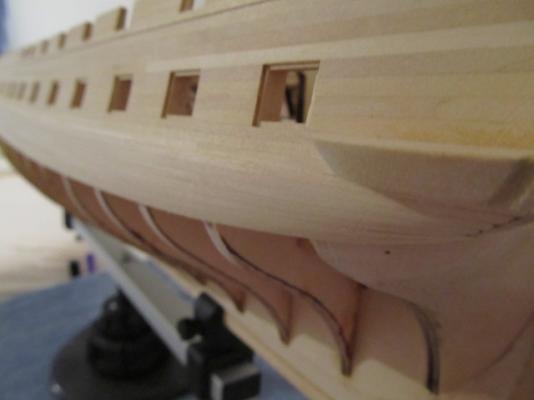
While talking about planking, I've started pre-bending the planks in place as each plank is a little different in the area I'm working. I always pre-bend a full length plank around the entire curve. If you don't, the bend of the plank won't follow the entire arc. Think of drawing a series of dots, then connecting them with straight lines - vs connecting each dot with an arc. After the plank is dry go back and cut the plank into segments. More sanding on the stern filler blocks makes a big difference. Planks fit much better at the counter. Also another thing I missed on the port side was tapering the planks down to 1/16" thick at the stem and counter. I realized this mistake after I'd added 4 or 5 planks. Now, thinning them helps the fit be much better. Also realized I could trim the thickness down on the inside of the plank, which helps the fit even more! Kind'a hard to see on this pic but the plank inside face is thinned down with a knife and doesn't have to be dressed up since it won't show.


-
Thanks Patrick! Personally, I wish I could do better on the planking, but I am my own worst critic after all. I know where all the flaws are, and what caused most of them, so I am learning. At least the paint will cover them up... I'm in planking mode and haven't worked on the stern anymore since making the new drawing. I will, whenever I either get done, or tired of hull planking.
-
Steve, I bought the AOTS book. Very good indeed. Now I gotta resist the urge to look at every little detail and obsess over it.... I have decided to remove the bullwark section that was added in the 1927 overhaul, between the gangway and gunport. I've picked up the razor saw a couple times to do it but so far haven't had the courage. Also need to see if the bullwarks were red in 1812? Gotta research that one some more... Thanks again for the tip on the book, and continued good luck with your build!
-
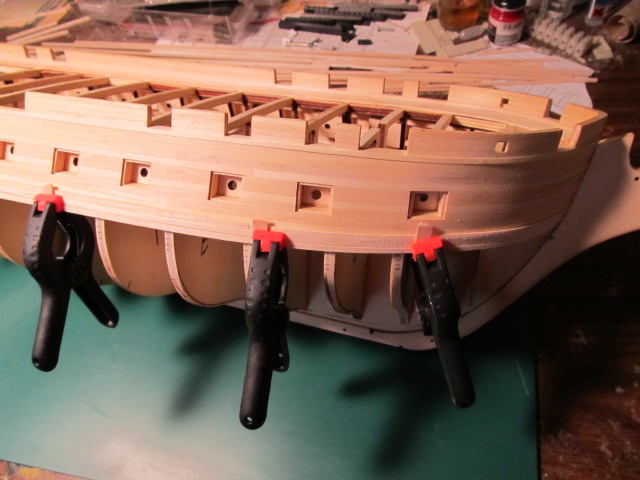
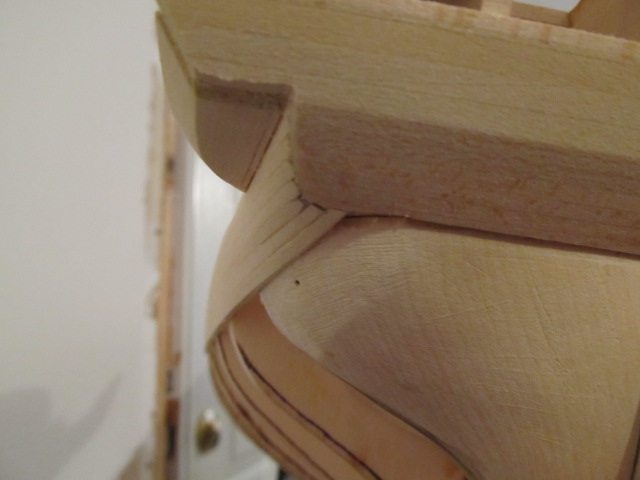
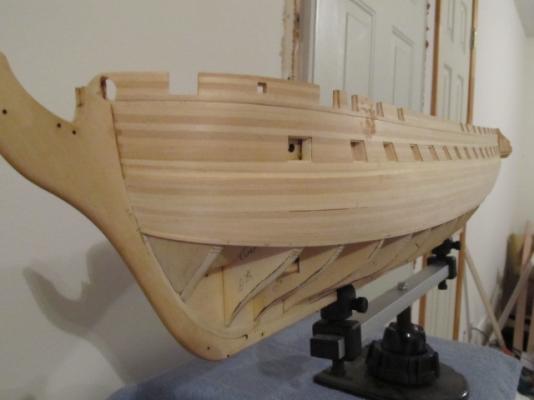
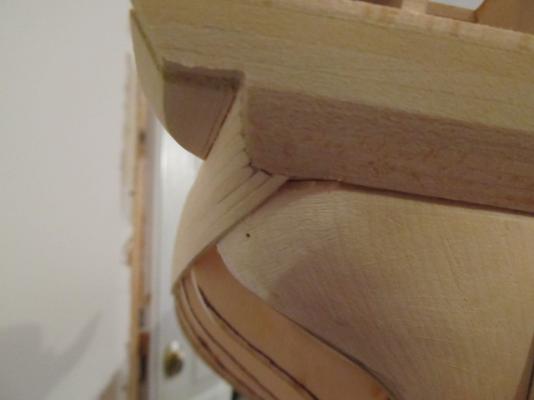
Thank you ZyXuz Got the port Wales sanded. Gotta tell you planking the counter was a pain, as I knew it would be. But i can say I learned several things, the biggest was I didn't sand the counter filler block enough. I've already applied that lesson to the starboard side. Gonna take a little wood filler to fix it up. I know this hull is painted, but I'm trying to plank this hull as if it would be left natural as practice for future builds (read Confederacy!). Which means no filler if possible... Anyway, pics...

-
Wow Bob, hate to hear all that. I was looking forward to getting that kit this fall, guess I need to hold off. Good luck on whatever course you decide to take!
-
Sport, no problem... And I bought that for myself, best way to get what you want!