pirozzi
-
Posts
843 -
Joined
-
Last visited
Content Type
Profiles
Forums
Gallery
Events
Everything posted by pirozzi
-
 Hi Keith, The gunports should be parallel to the horizontal plain and follow the curvature of the deck as to height off the deck. Vince P.
 -
You have to be careful about altering the gun carriages because the position of the gunports depends on the height of the gun barrels. I will preform the trunnion bands over round stock so they appear as though they are sitting over a larger pin. Vince P.
- 593 replies
-
- 1
-

-
- royal william
- euromodels
- (and 1 more)
-
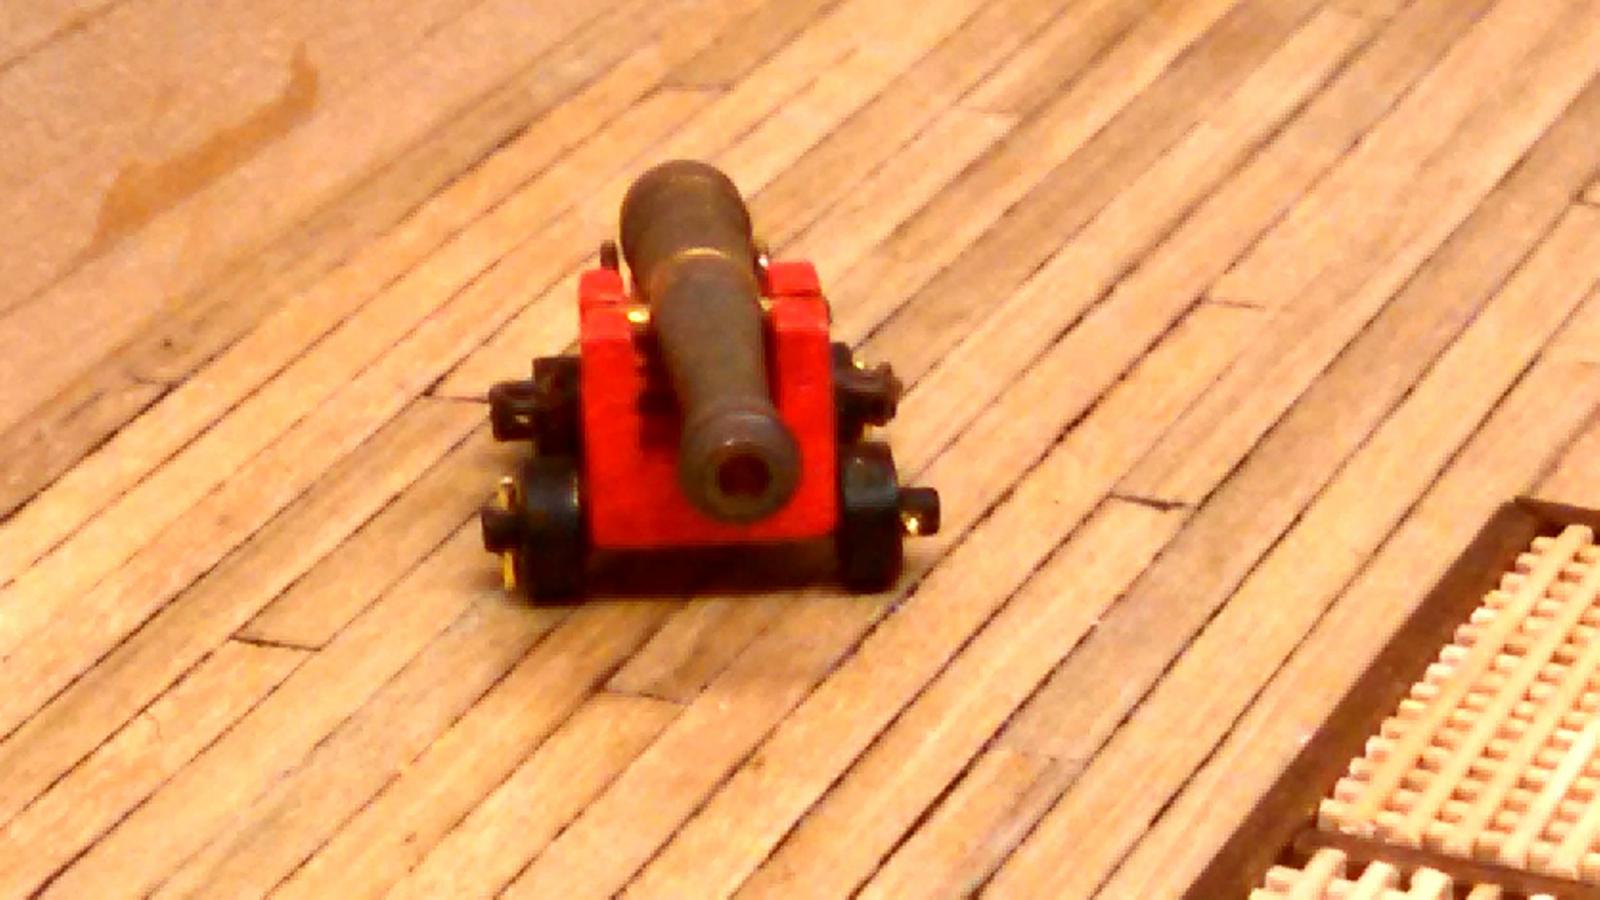
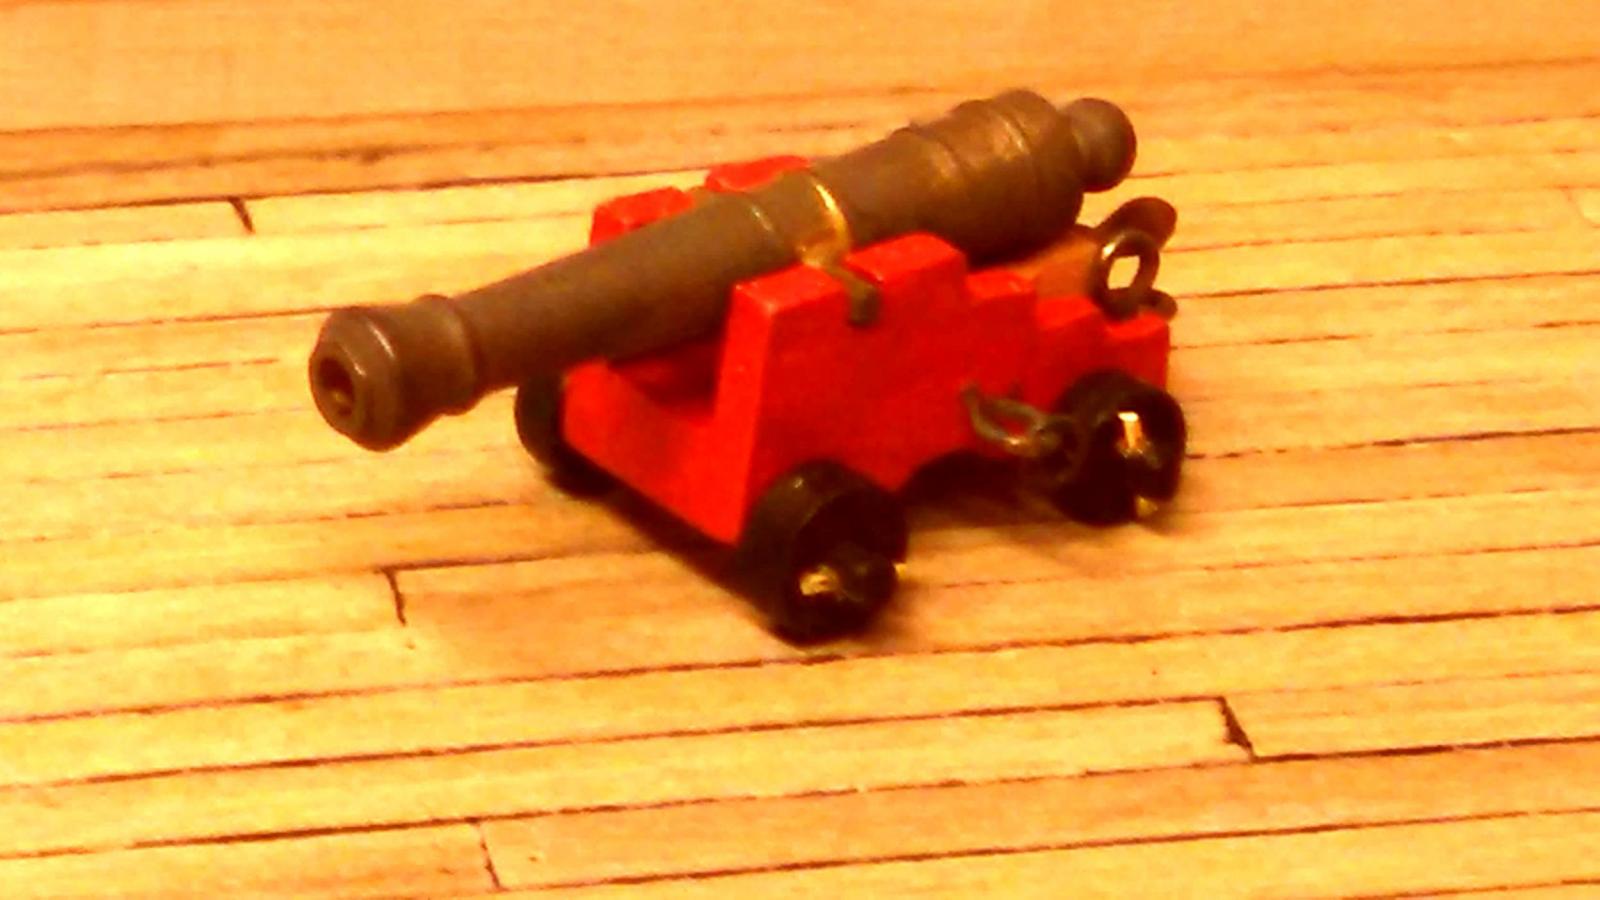
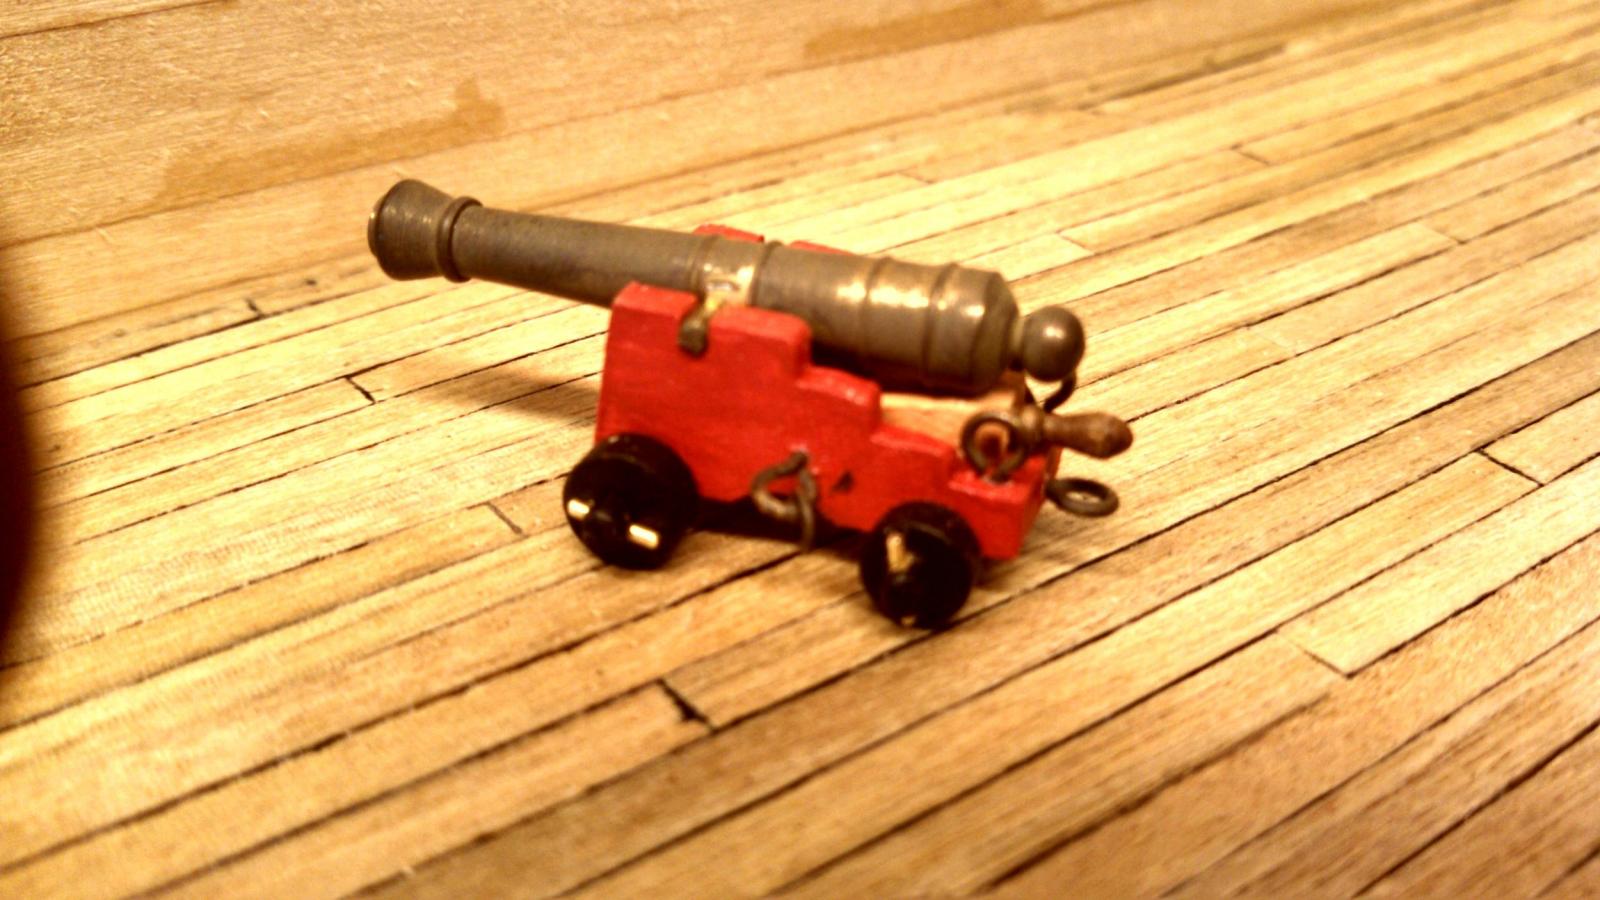
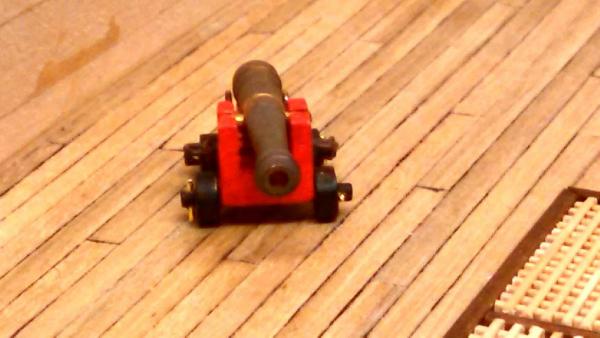
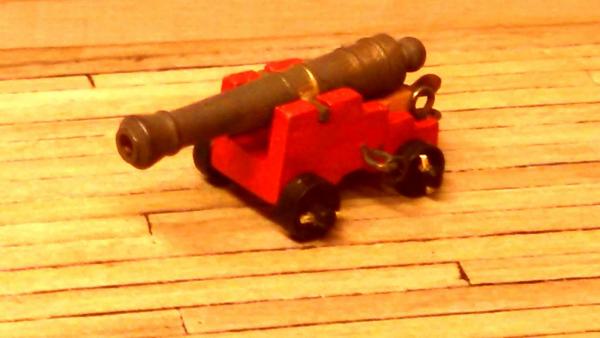
One main deck gun constructed. I decided to enhance the construction from the basic kit design and supplies. I tapered the carriage from 10.5mm wide to 10.5 at front and 9.0 at rear. Also tapered front of carriage slanting backward from bottom up. I also added the qoin for elevating the barrel and the cotter pins for the truck wheels. If you are going to add the cotter pins, the front axle needs to be lengthened to 19.25mm and the rear to 18.0mm. I aged the brass barrel and eye bolts with a blackener. The only thing missing at this point is the trunion band to hold the gun barrel on the carriage. I did not have any suitable material to make this, but have some copper strips coming. Will add later. Vince P.

- 593 replies
-
- 7
-
-
- royal william
- euromodels
- (and 1 more)
-
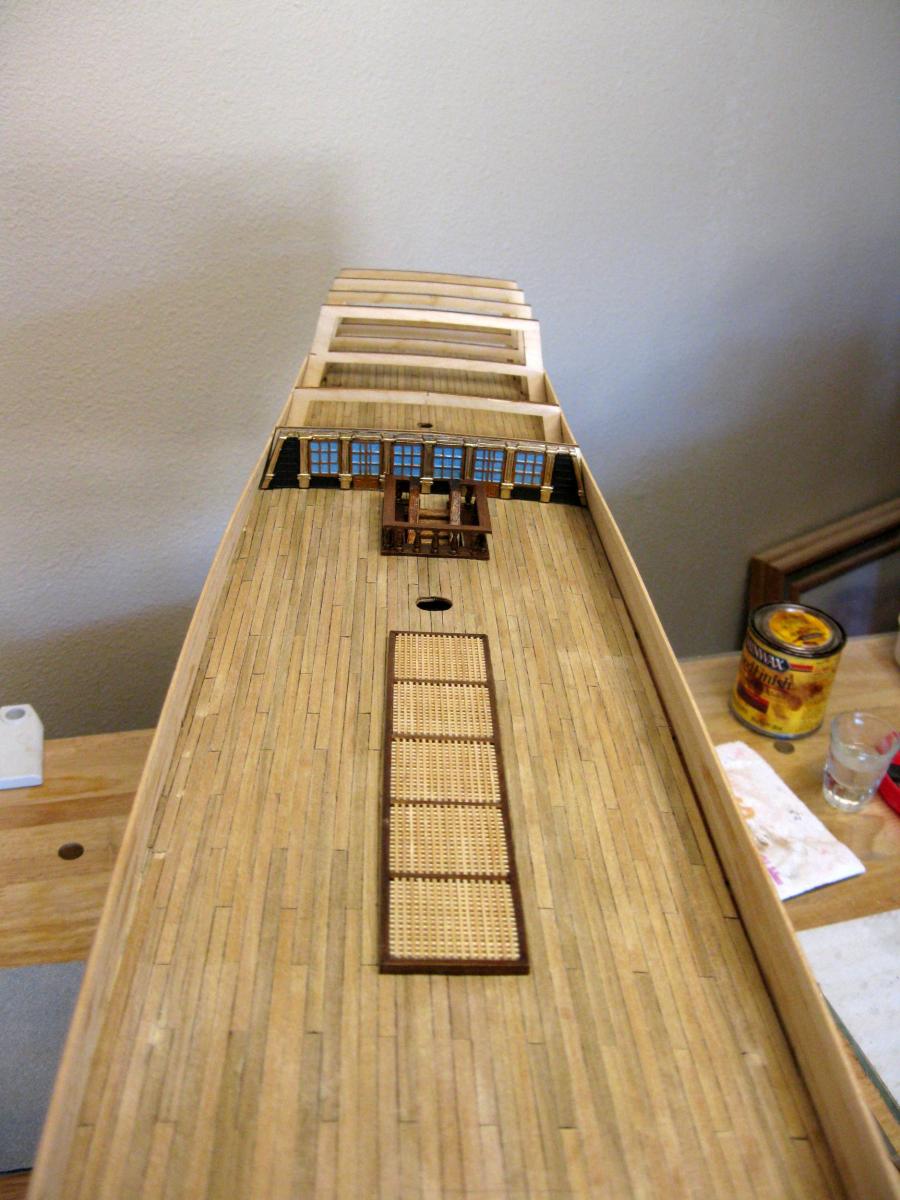
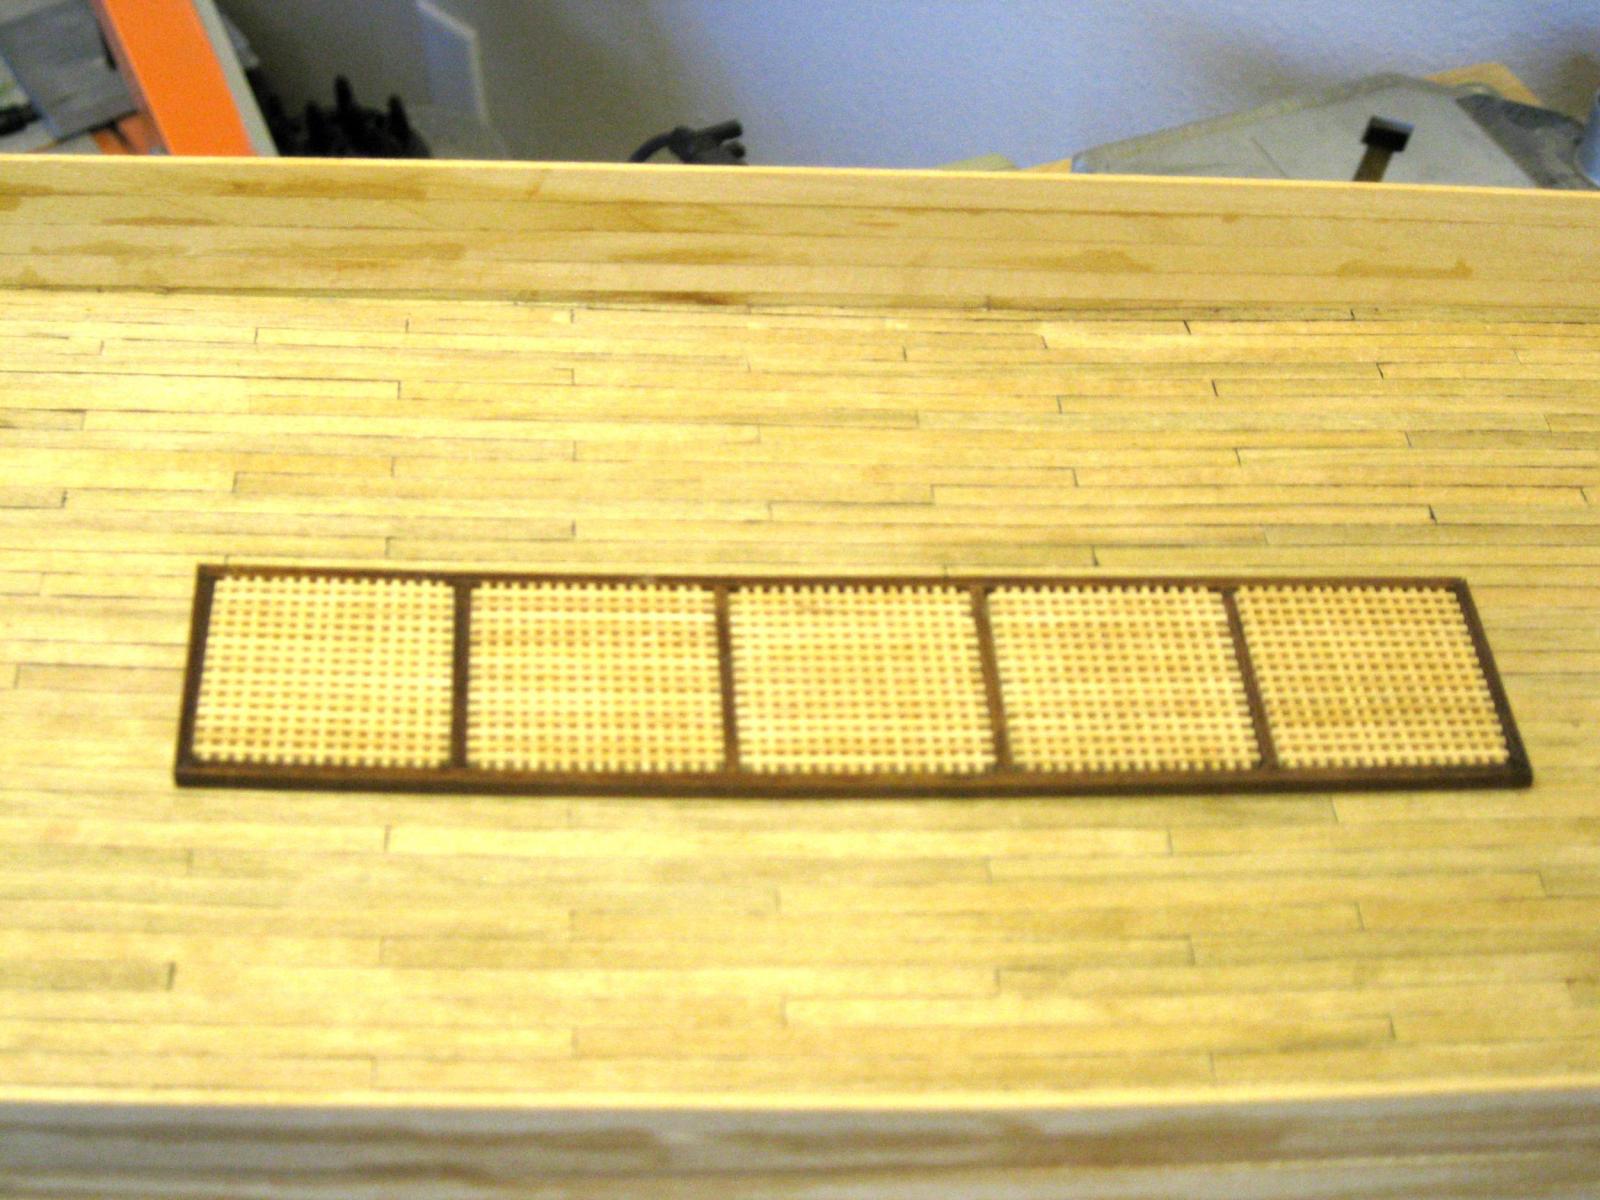
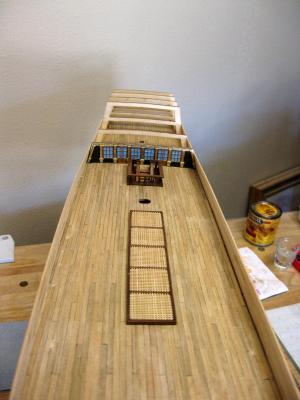
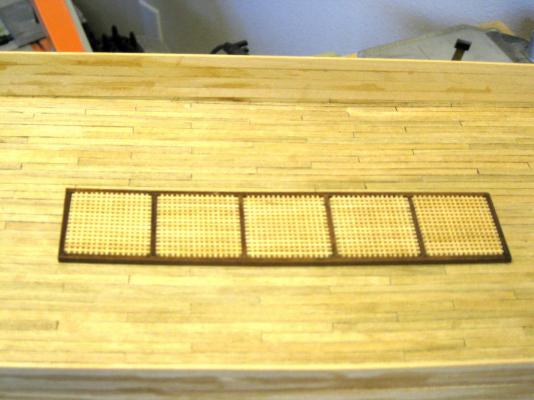
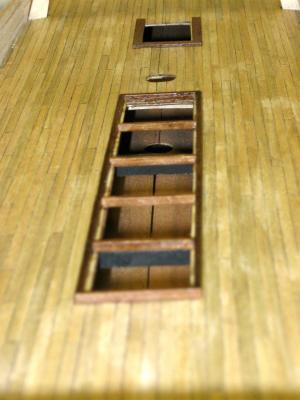
The main deck gratings completed and in place. If you are going to use PVA glue to construct them, dilute it to at least 50/50 glue and water. It makes it much easier to work with and still holds everything in place. I just dunked the little slots in the glue and pressed each piece into place. I did not immerse the entire grate after construction. Each is finished in one coat of a natural oil based finish, since I think the natural wood color is perfect. When placing the gratings, the ribs running along the top of the grate should run in line with the length of the ship. Next up: Construct a main deck gun so I can set the height of the main deck ports and cut them out. Vince P.
- 593 replies
-
- 6
-
-
- royal william
- euromodels
- (and 1 more)
-
Hi Charles, I have thought about the circular staircases for many hours and lost sleep over it. Not that I am scared, but eager to find a solution. I have done some research and have some drawings and photos of staircases. The key to building this will be in creating a jig, just like with the main deck stairs. I have some ideas I am throwing around, but I have not decided yet. It will be challenge to be sure. As soon as I come up with something satisfactory, I will post it for anyone interested. I do know that Peter Coward has something in the works as well, but have not seen it yet. Vince P.
-
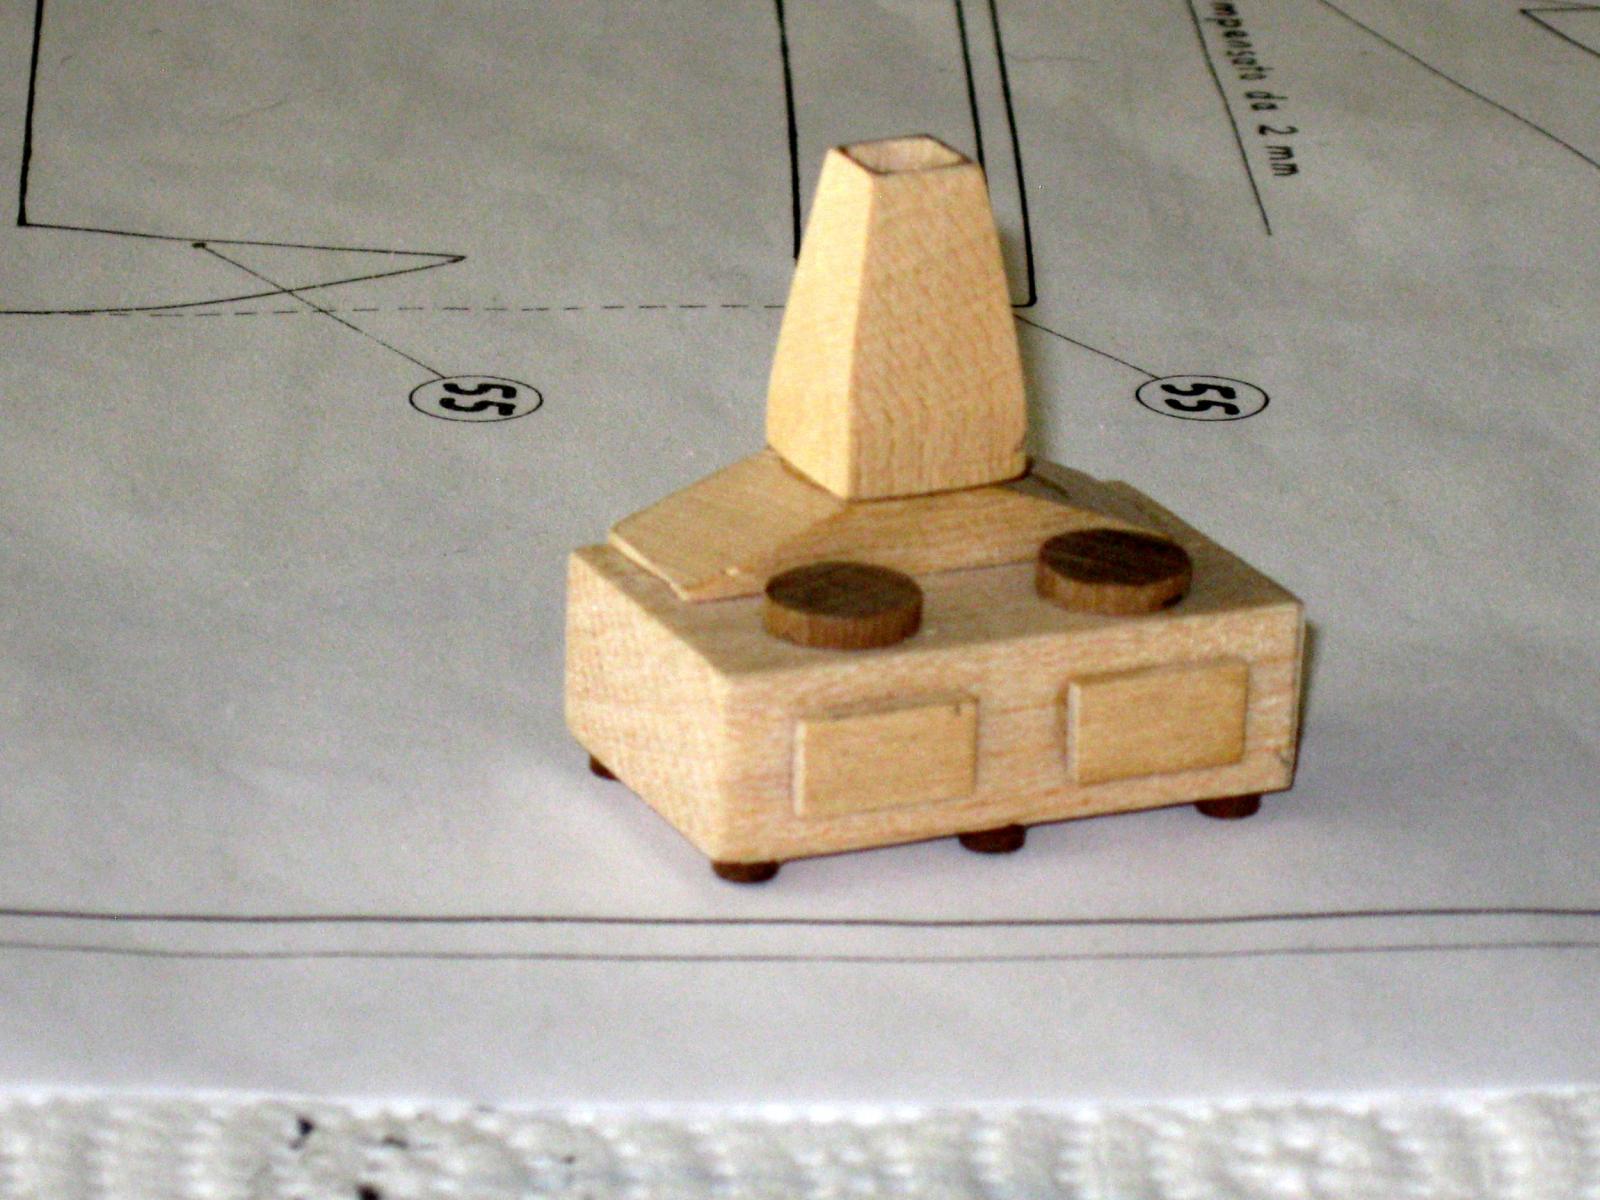
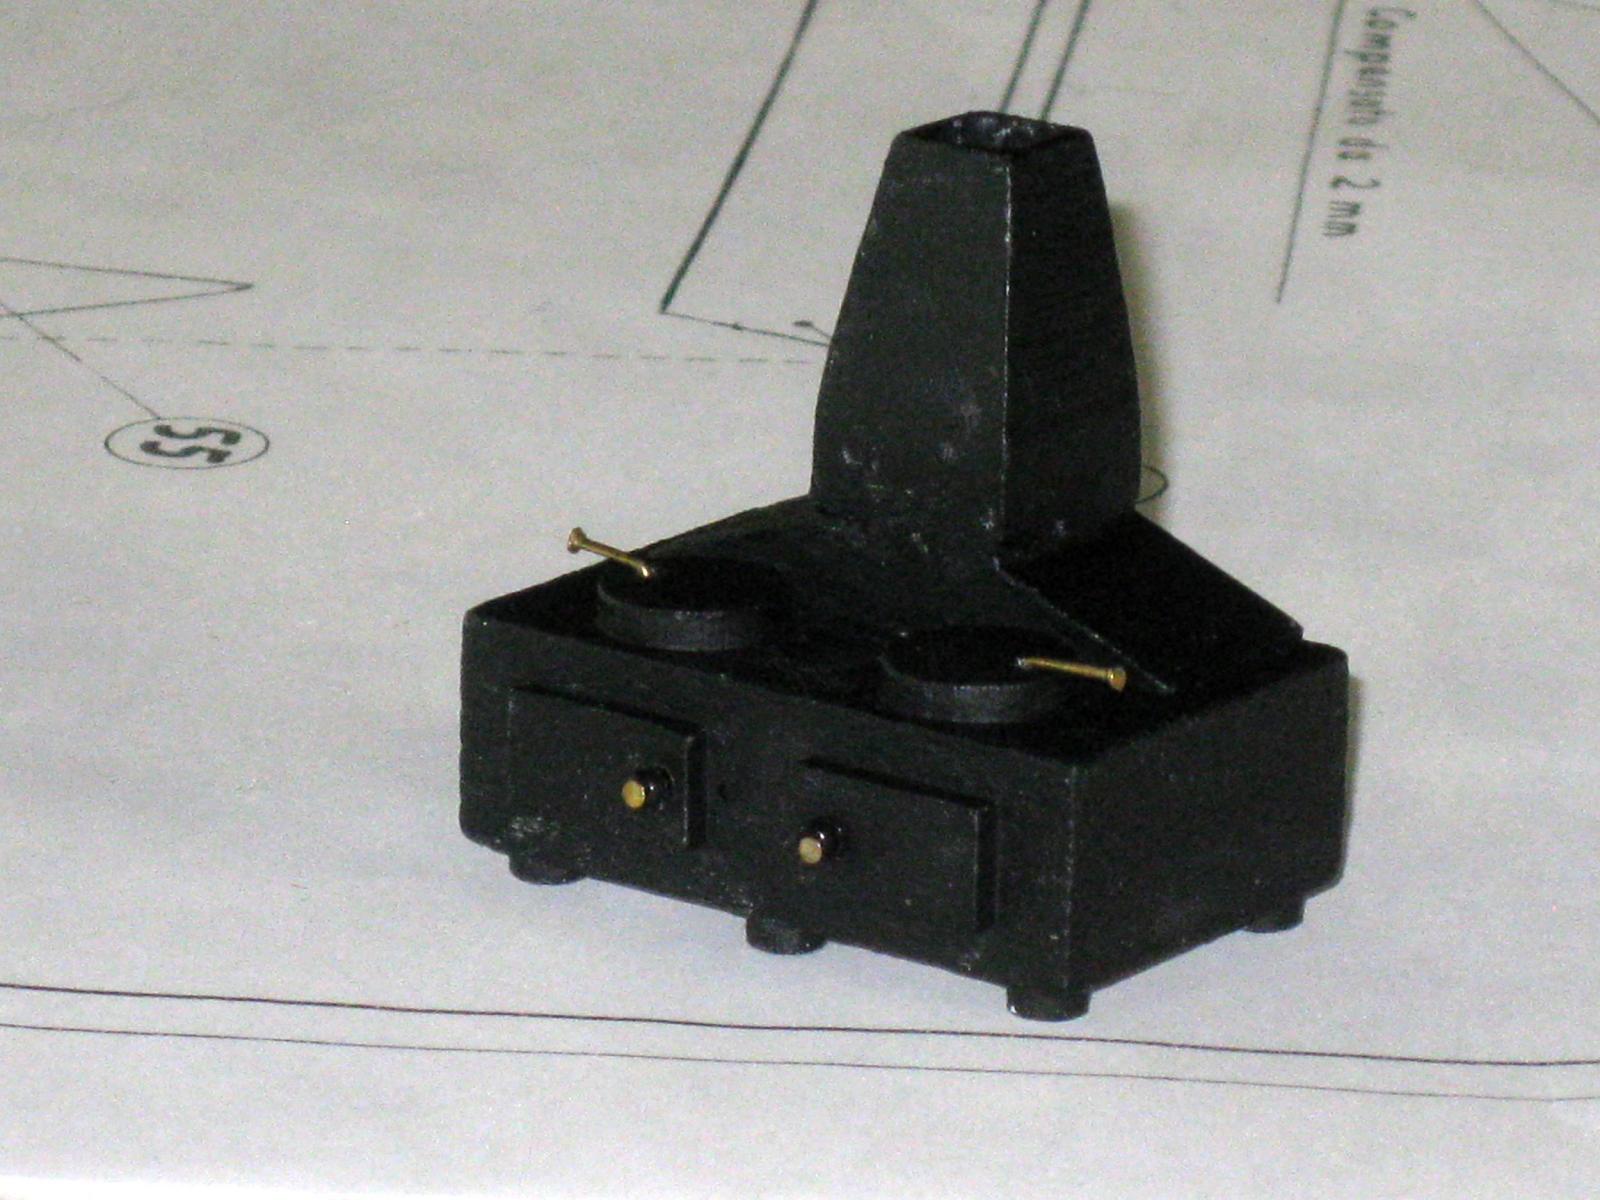
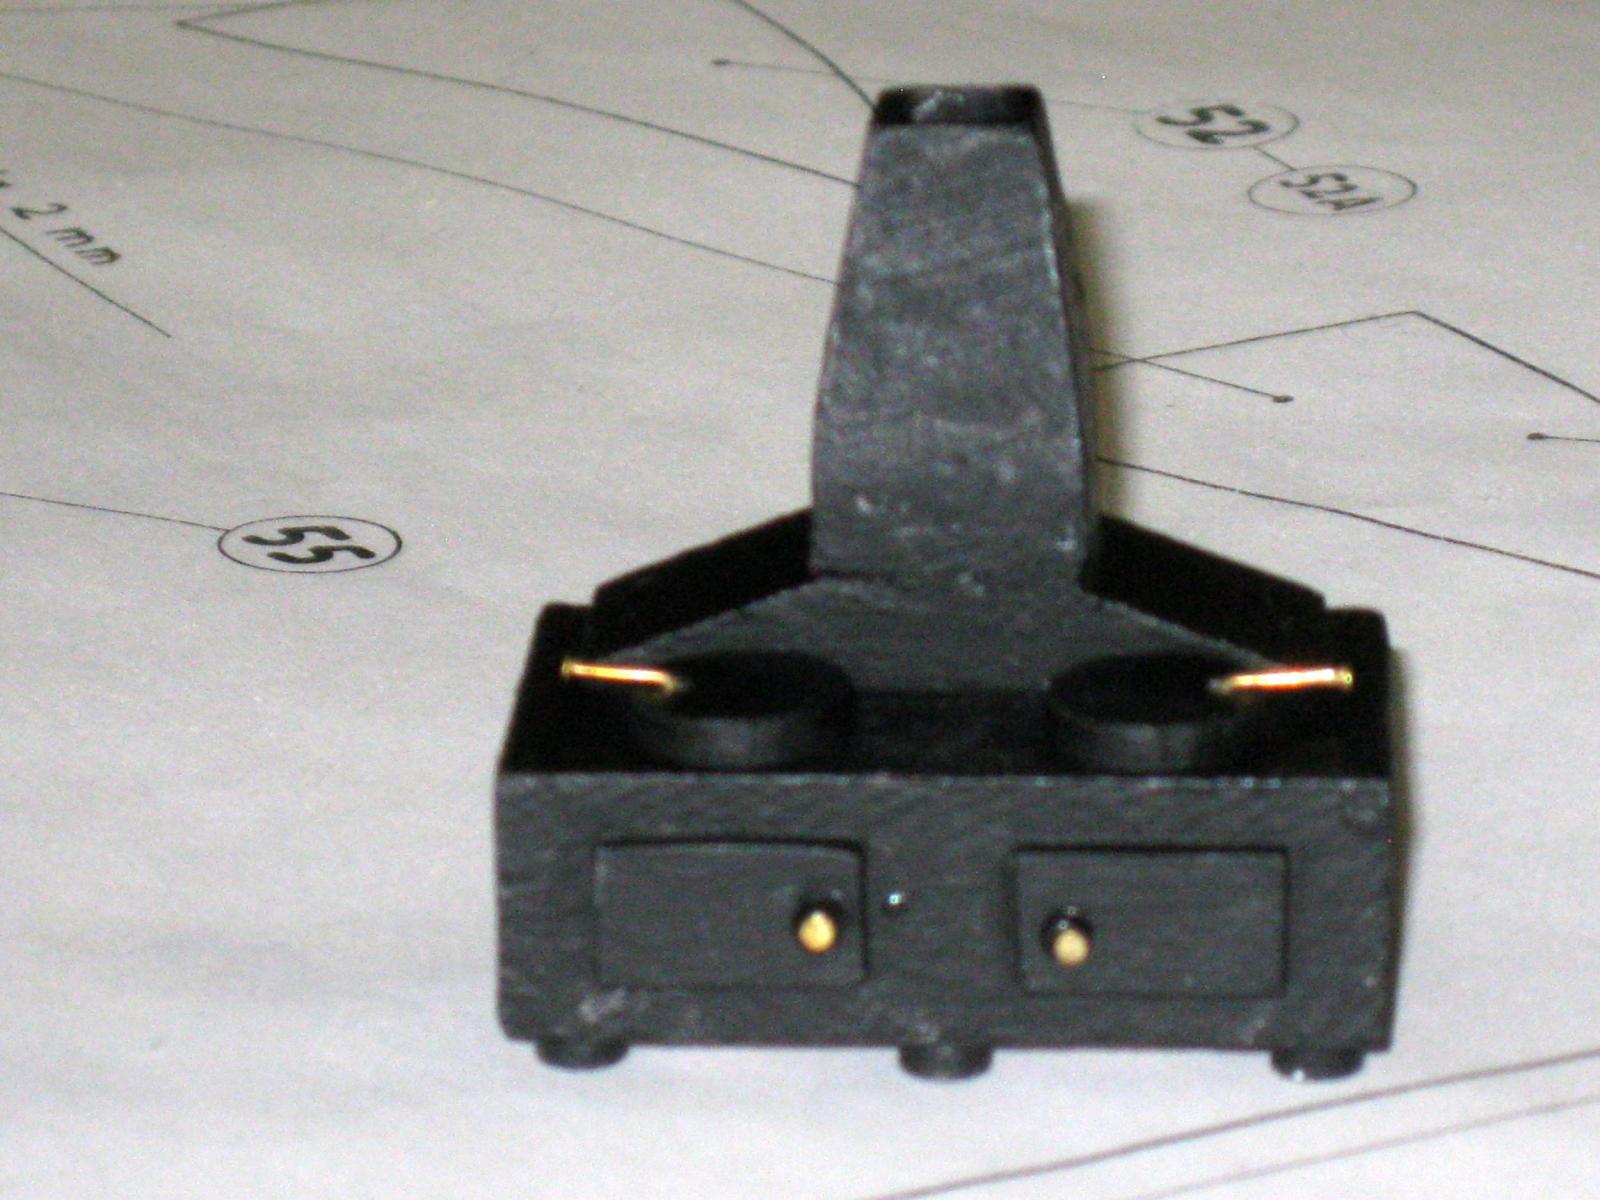
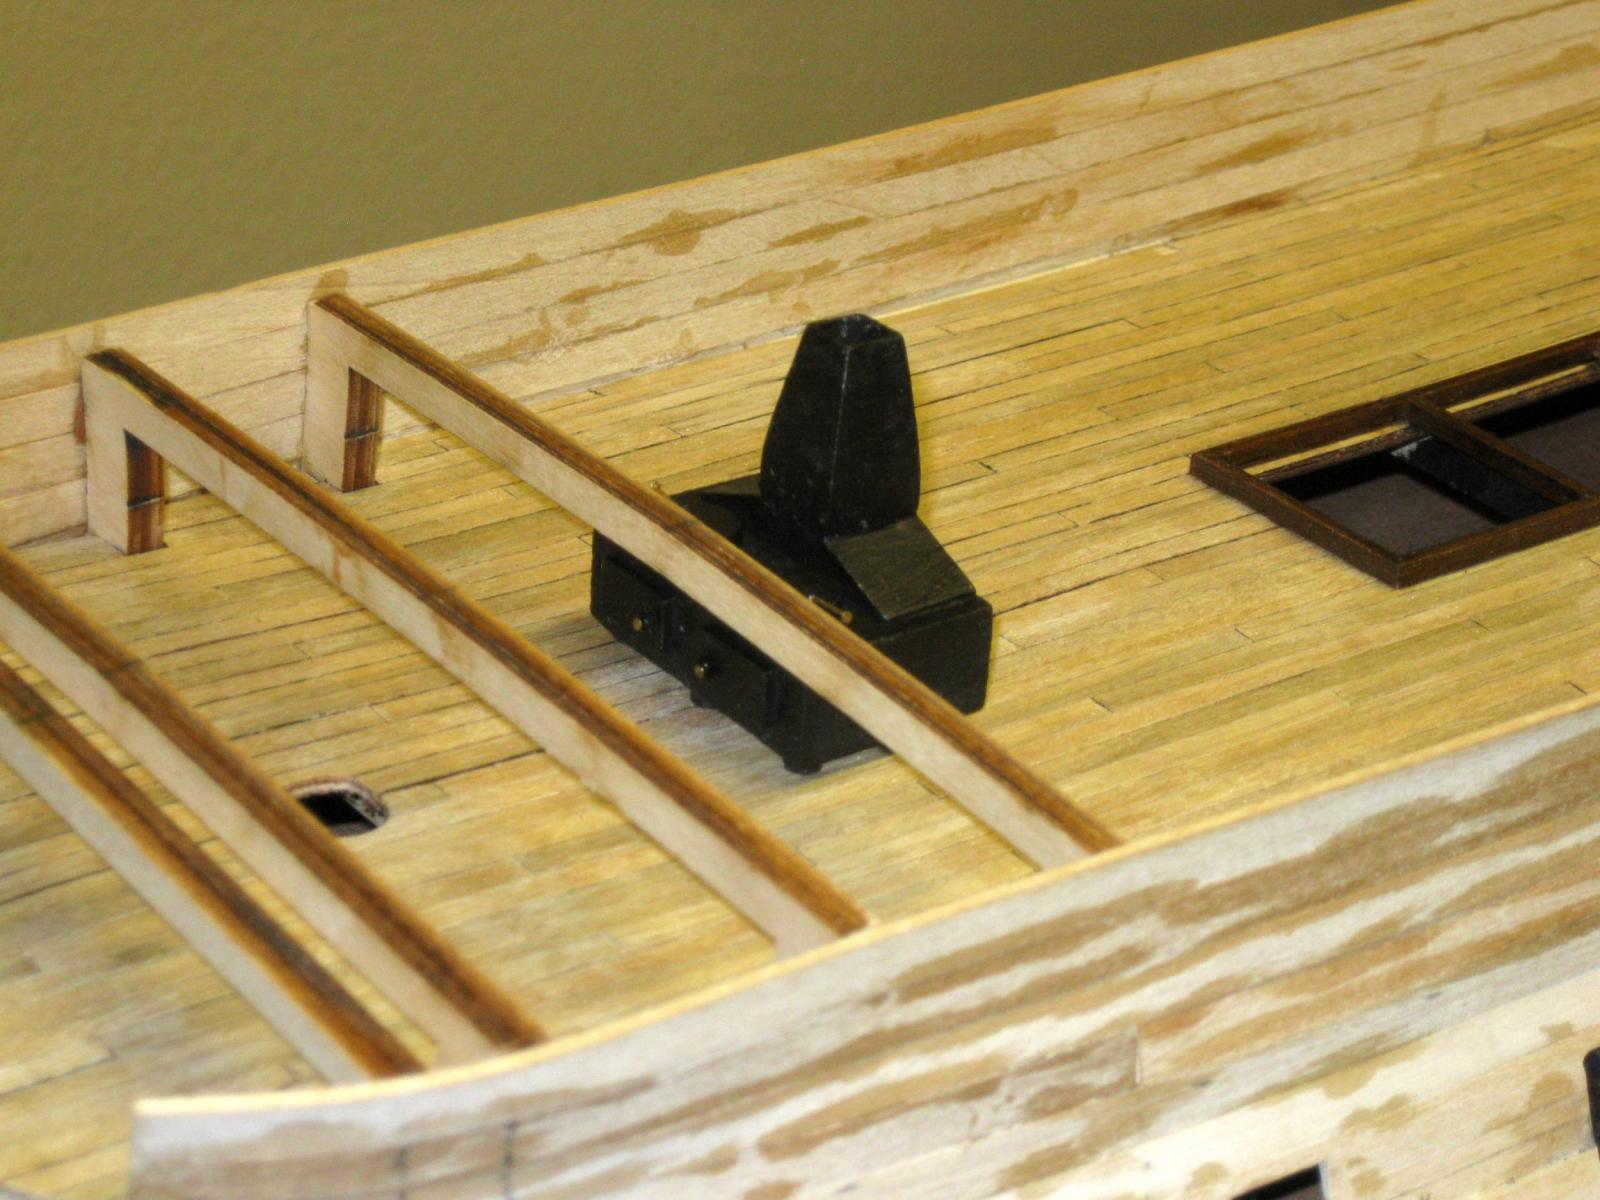
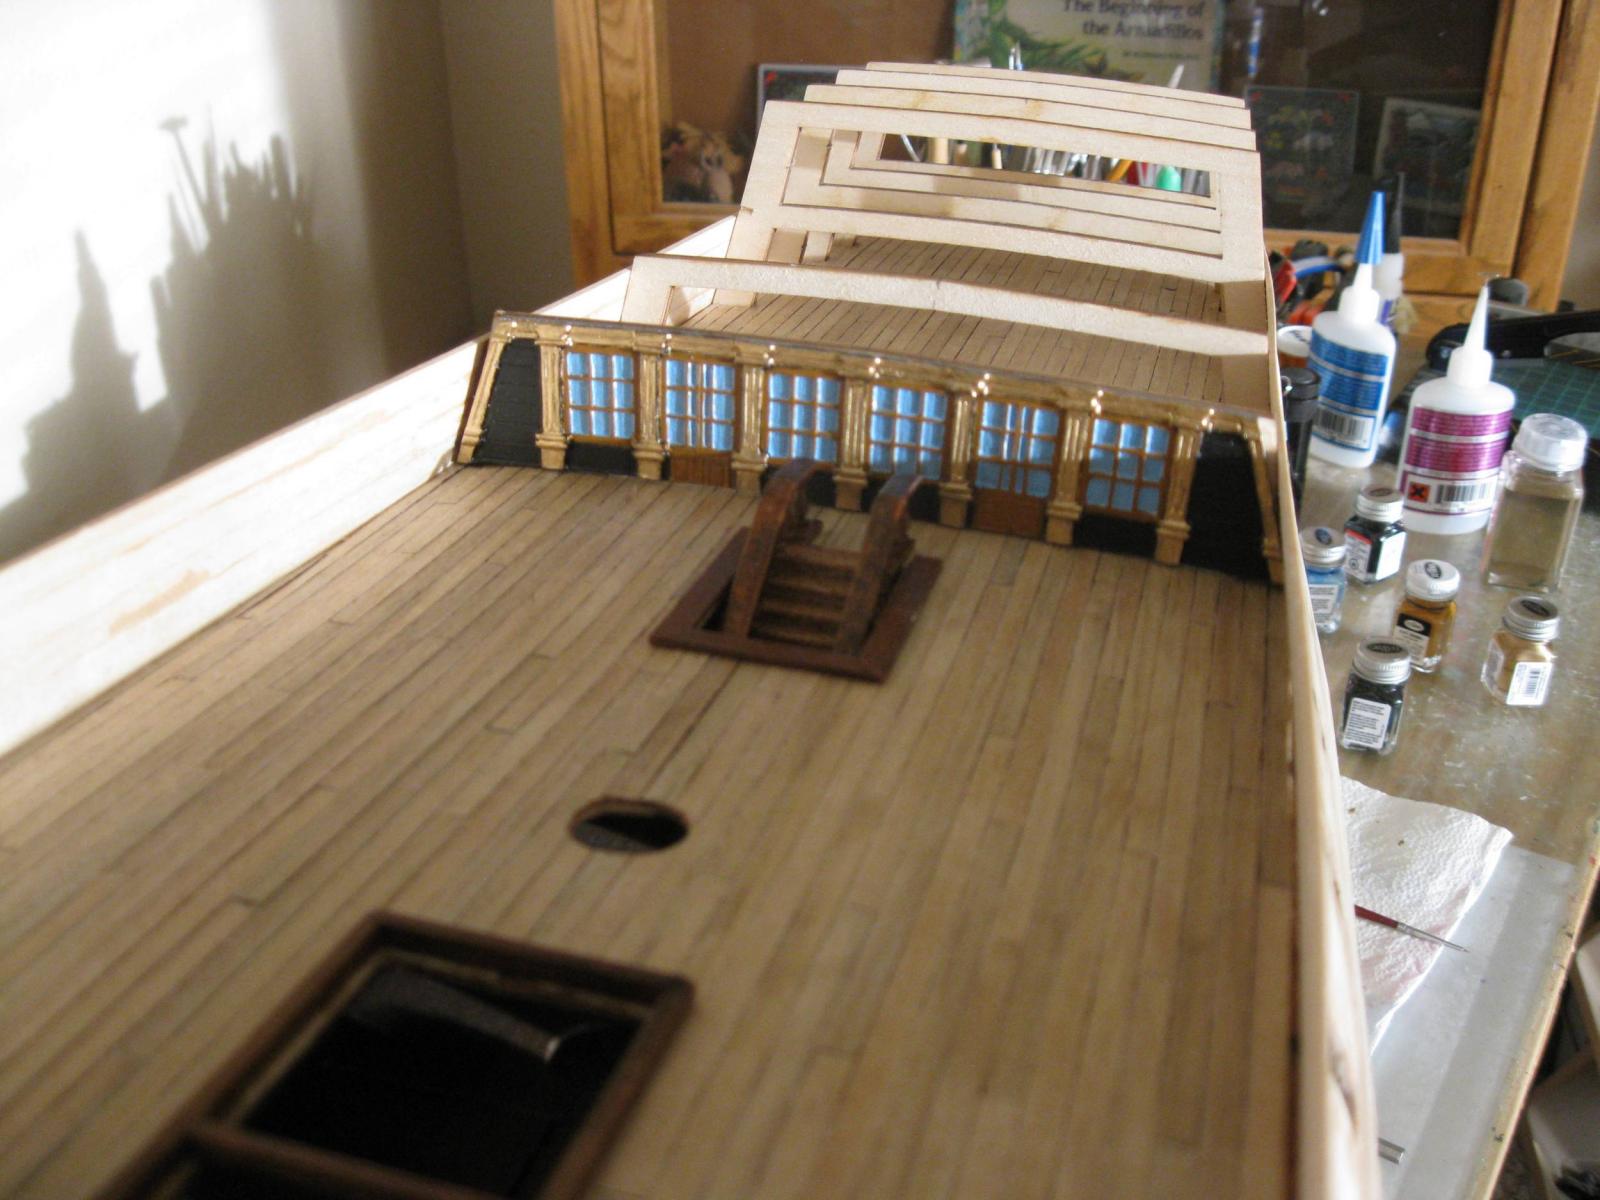
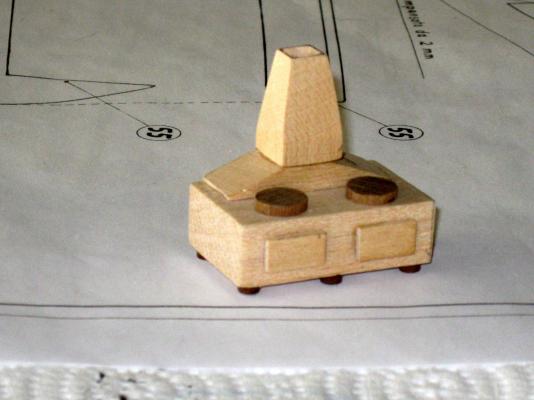
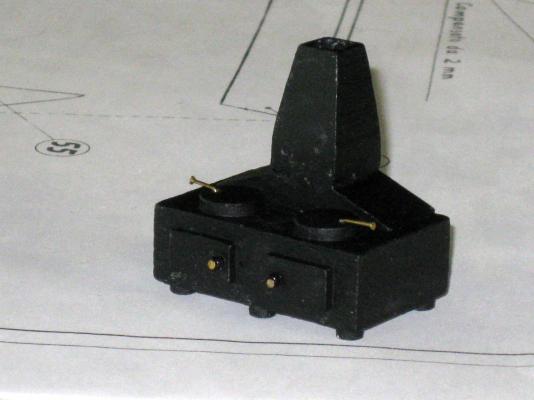
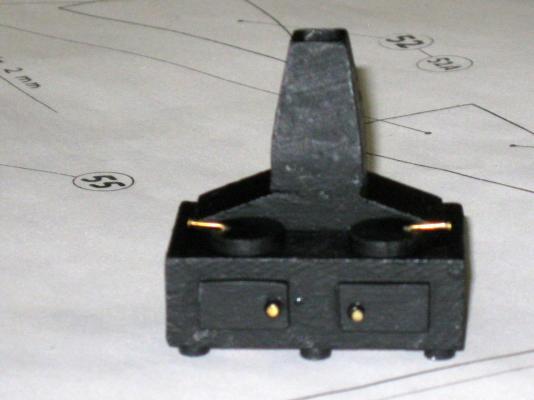
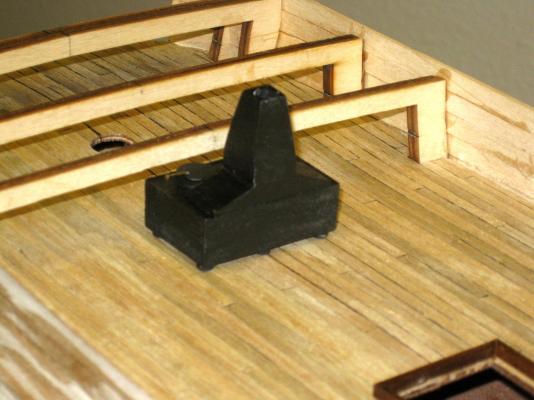
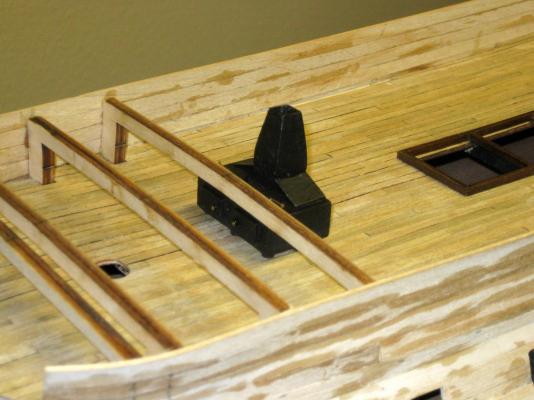
Constructing the ship's stove. Like the main deck staircase, this will be covered up with the upper decks. The kit provides drawings for these things, but no supplies, in case the builder desires to add as much detail as wanted. This is one of the main reasons why I bought this kit.The stove is a nice touch so I built it out of bits and pieces from my lumber stash. I placed it on the deck temporarily to show where it goes. The chimney stack comes up through the forecastle deck. Vince P.
- 593 replies
-
- 8
-
-
- royal william
- euromodels
- (and 1 more)
-
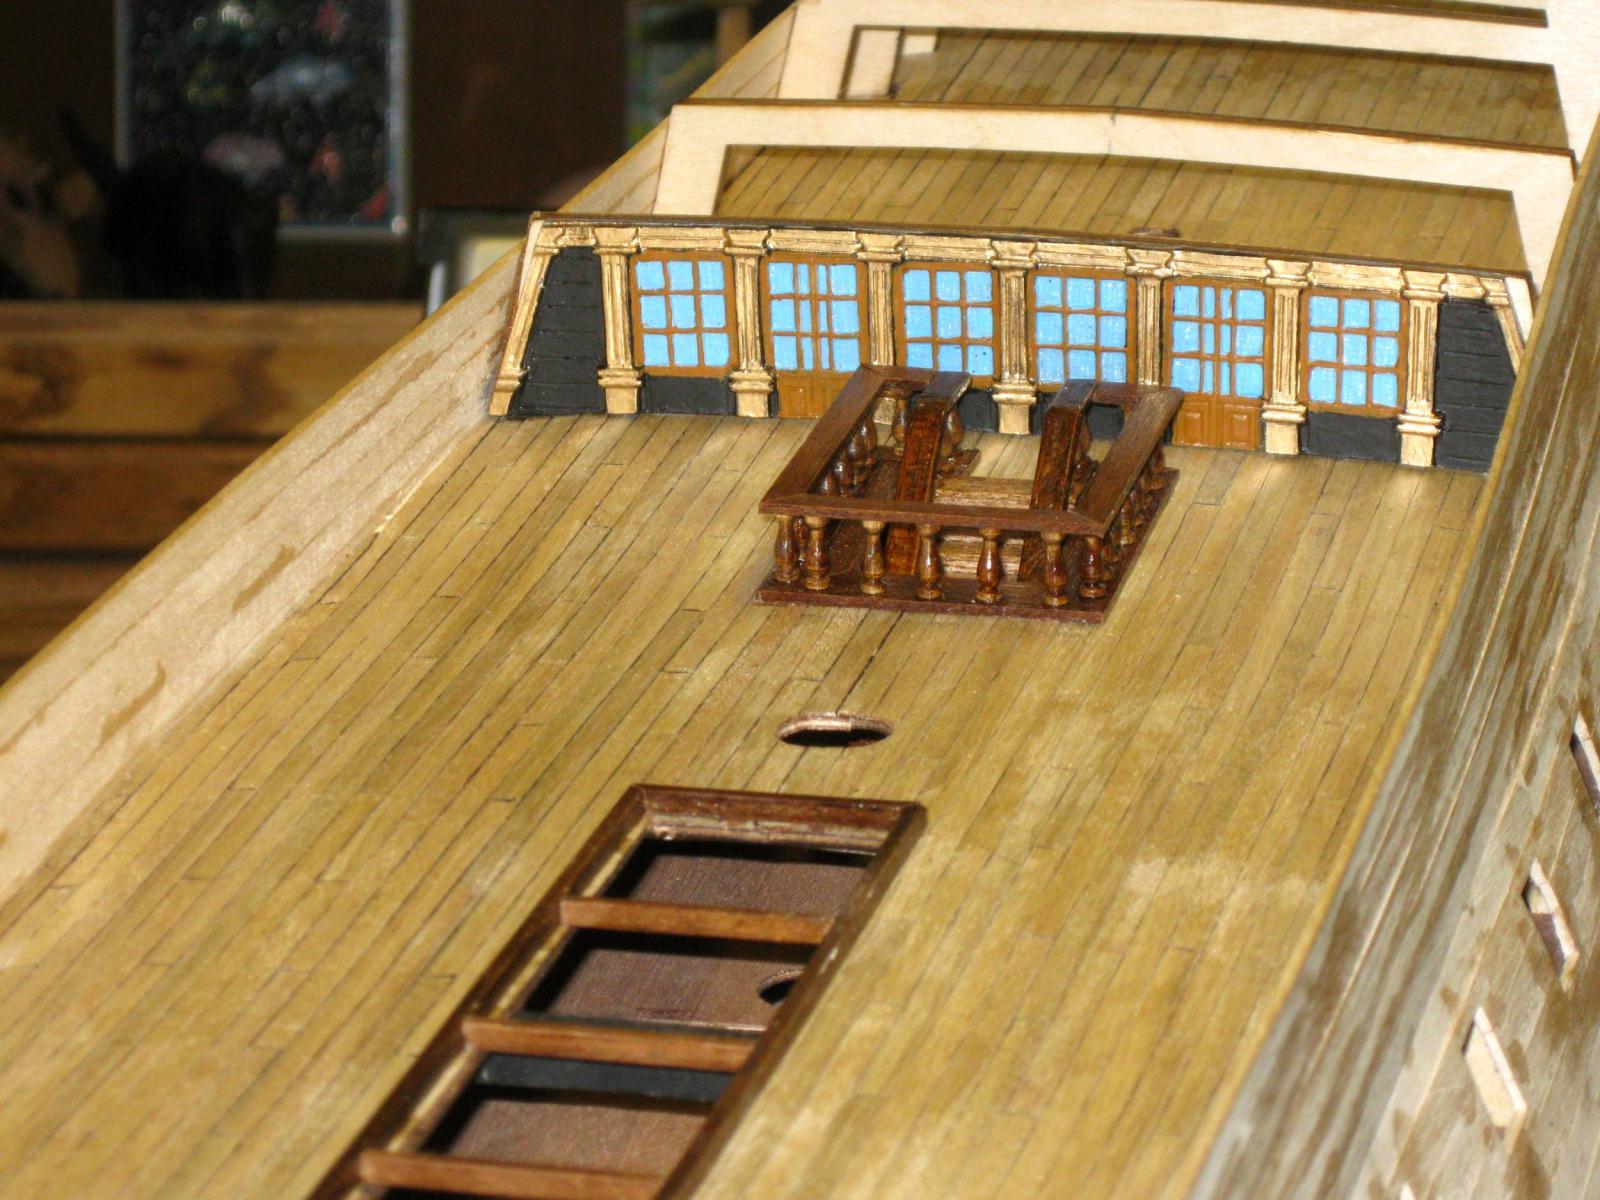
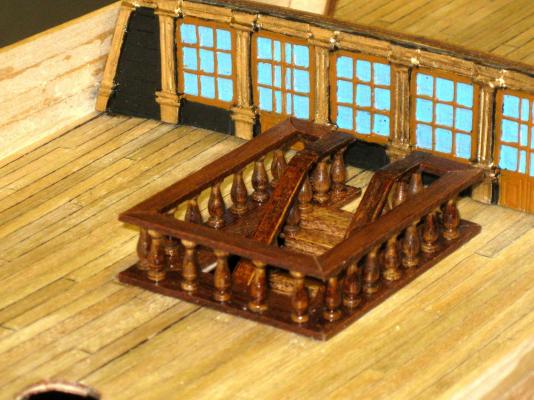
The main deck staircase and banisters are completed. Everything was constructed from scrap lumber since they are not included in the kit. Next up: The ship's stove. Vince P.

- 593 replies
-
- 8
-
-
- royal william
- euromodels
- (and 1 more)
-
Are those electric plank benders worth it?
pirozzi replied to Spaceman Spiff's topic in Modeling tools and Workshop Equipment
Well, I learned something new! This is a great site. I have that plank bender too and use it for bending, but what I great idea for setting CA glue. I always have to hold the piece down and use a hairdryer to set the glue. Using the plank bender to apply pressure and heat is a great idea! Thanks, Robnbill Vince P. -
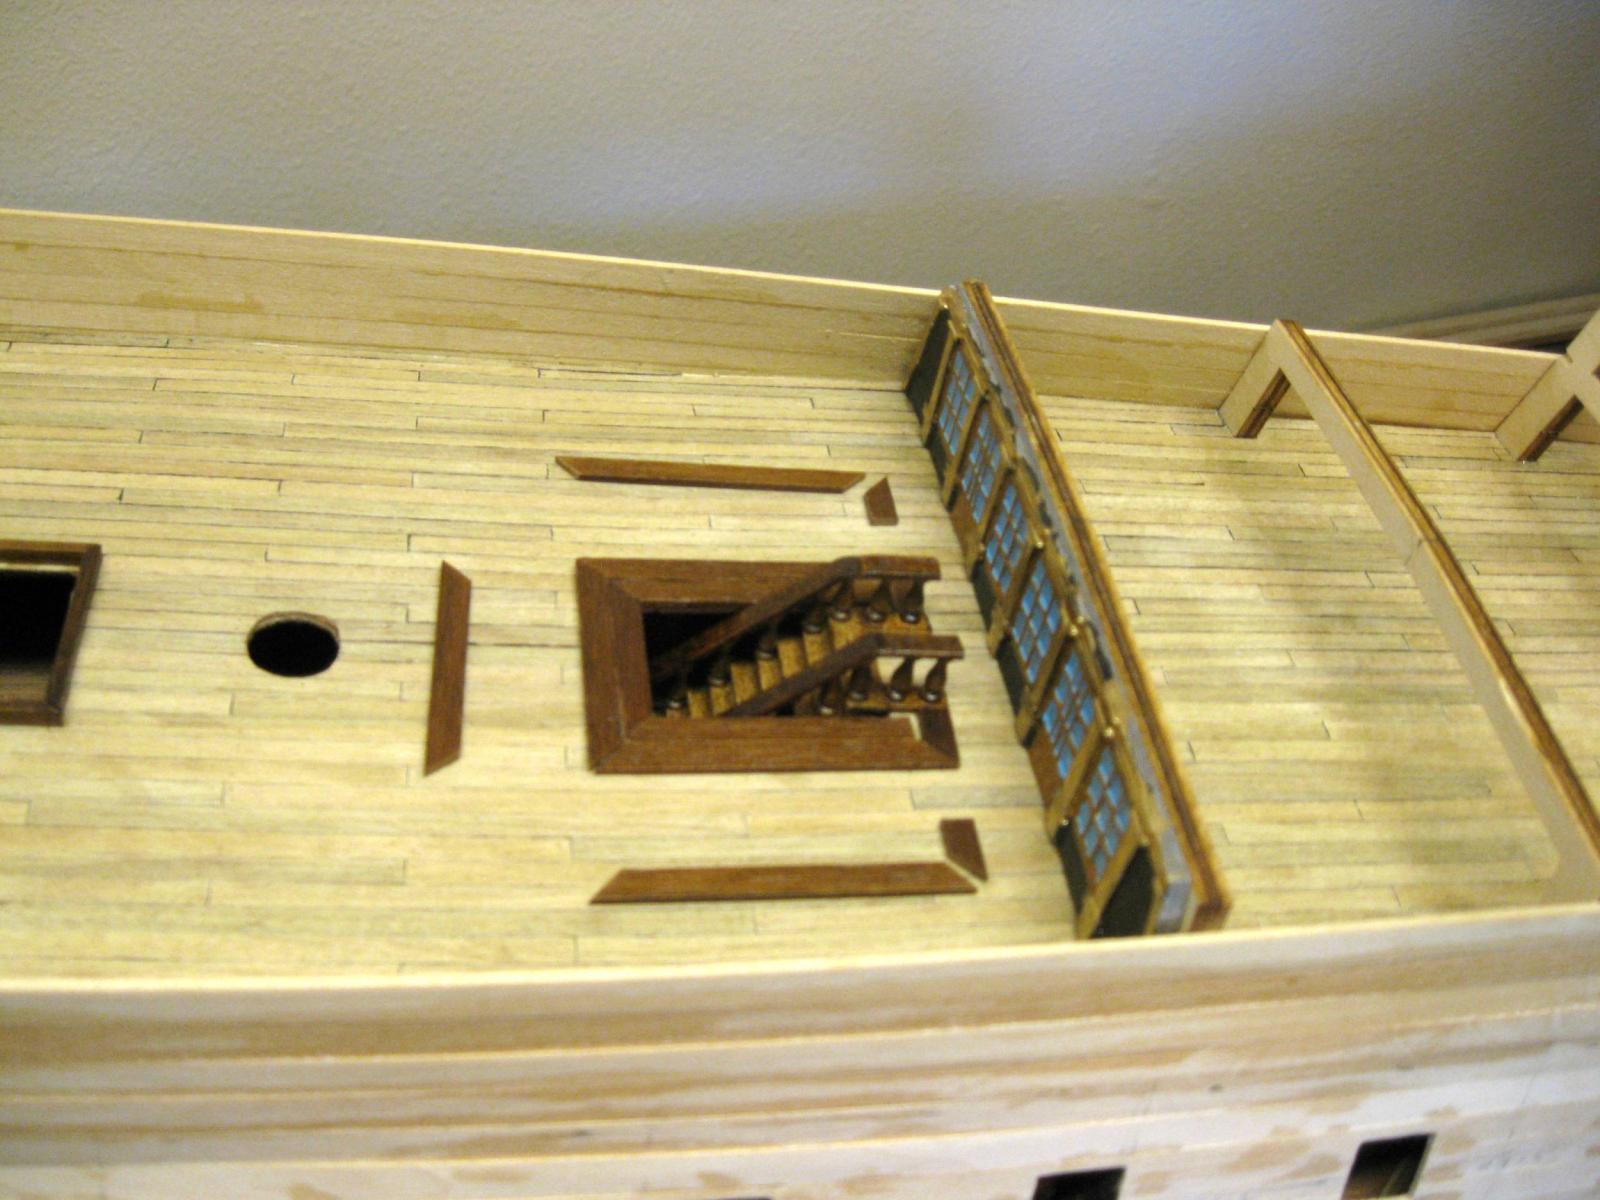
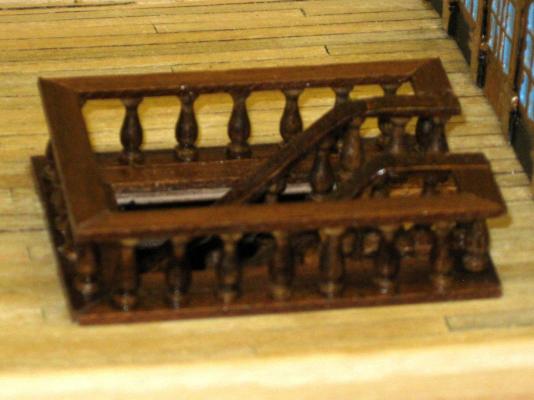
I am working on the main deck staircase. The staircase is secured in place and the upper and lower banister rails are cut. Since both the lower and upper rails have to match perfectly, each was cut and matched into a pair. The lower are secured to the deck and the upper sections are laying next to them. Next up is to place the stanchions and then the upper rail sections. Vince P.

- 593 replies
-
- 10
-
-
- royal william
- euromodels
- (and 1 more)
-
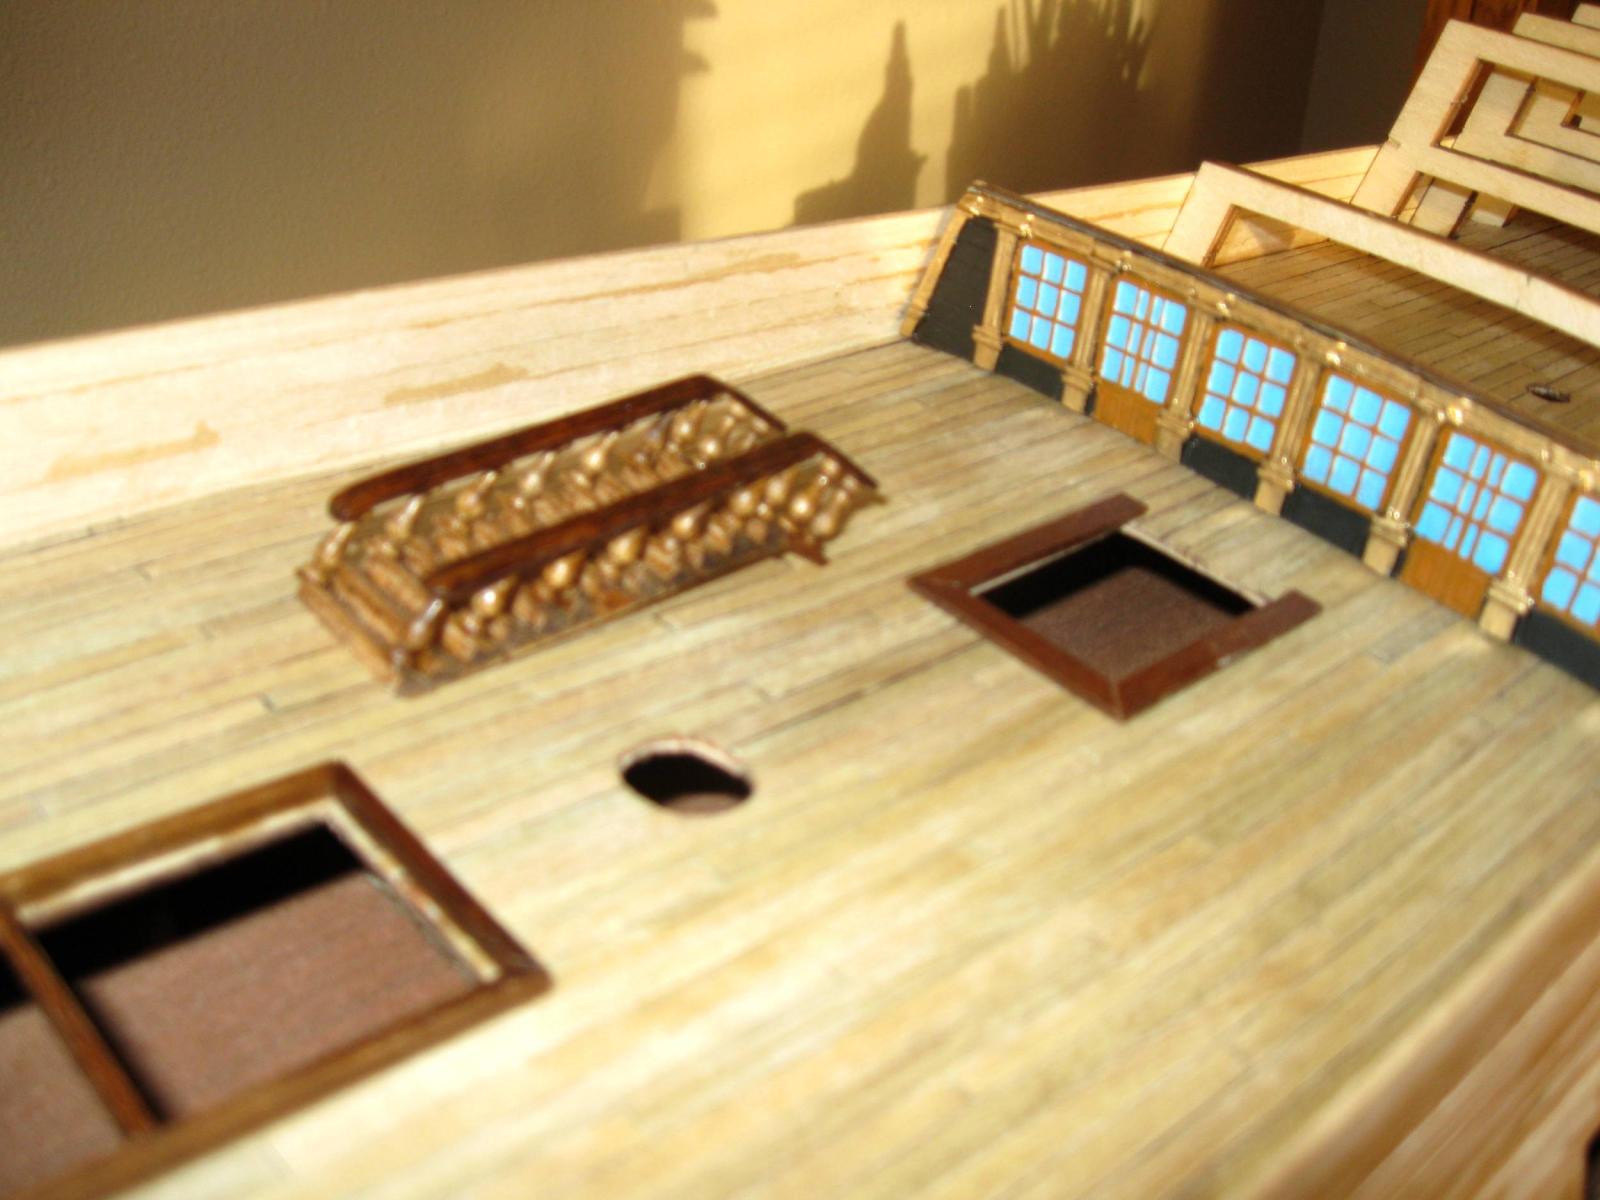
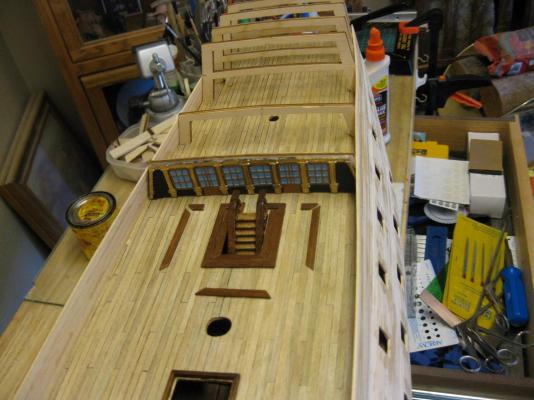
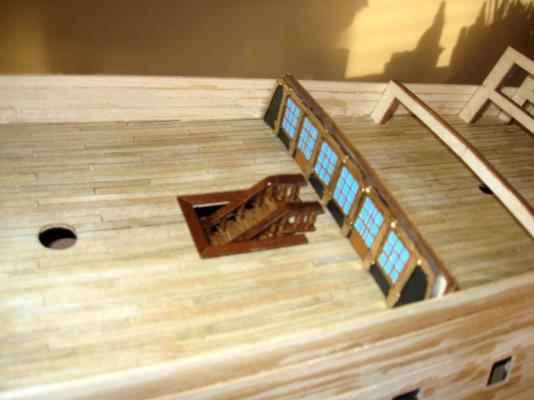
I am reiterating a point I made earlier about this kit because I feel it is very important. Although this model is called a "Kit", it really is not a true kit. They call it a kit because it comes with a complete set of plans (a very nice set), and the materials needed to construct it. It does NOT however come with an instruction manual, as most true kits do. When building her, you are working off the set of plans only, just like with a scratch build. Without a detailed instruction manual, you have to plan ahead before doing things so as to avoid problems. Case in point: I stated in my last post that the next thing to do was place the main deck staircase and build the banisters. In looking ahead I also noticed that the main deck decorative bulkhead needed to be placed soon as well. Because of the concave shape of the hull sides where the bulkhead is placed, it is necessary to lay it flat on the deck and slide and wiggle it into place and then stand it up and attach it to the wood frame. However, with the staircase in close proximity to this bulkhead, if you place the staircase first, you can not slide the bulkhead along flat on the deck to get it in place. So I had to change the order of things and prepare and place the bulkhead first, before working on the staircase. In the photos, I just placed the staircase into the hole without securing it yet. Most experienced builders would know these things, but others could get into trouble. I am far from an expert and just want to help those that might want to build this ship. Vince P.


- 593 replies
-
- 11
-
-
- royal william
- euromodels
- (and 1 more)
-
Are those electric plank benders worth it?
pirozzi replied to Spaceman Spiff's topic in Modeling tools and Workshop Equipment
It is like any other tool. It is a matter of preference as to how one does any task. If it works for you, then it is a good tool. If not, then it is not for you. Any tool is only as good as it is useful to the craftsman. I have been bending planks for 40 years and have done it many ways. The electric plank bender in my opinion is the most efficient for me. You have to use it properly and treat the wood before bending, but you can make complex bends and twists as well. Vince P. -
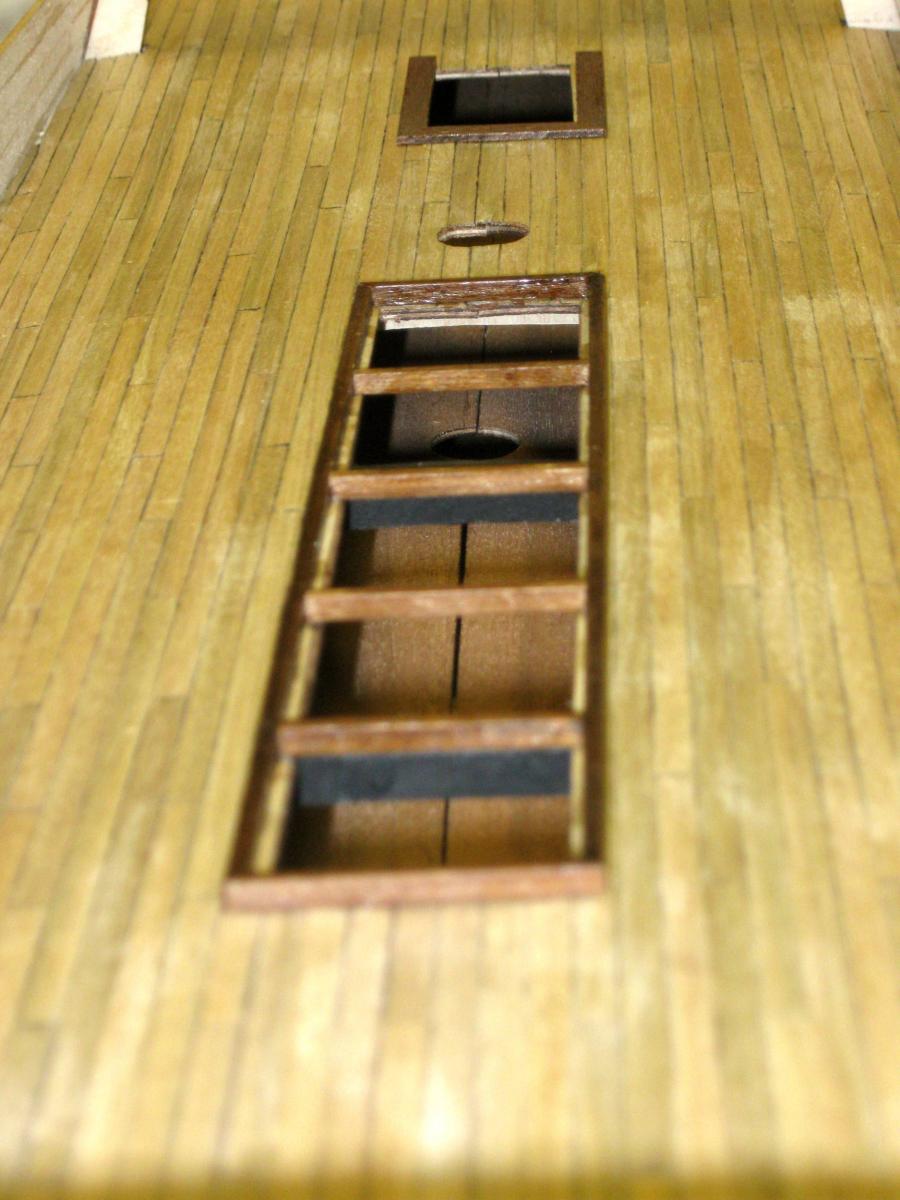
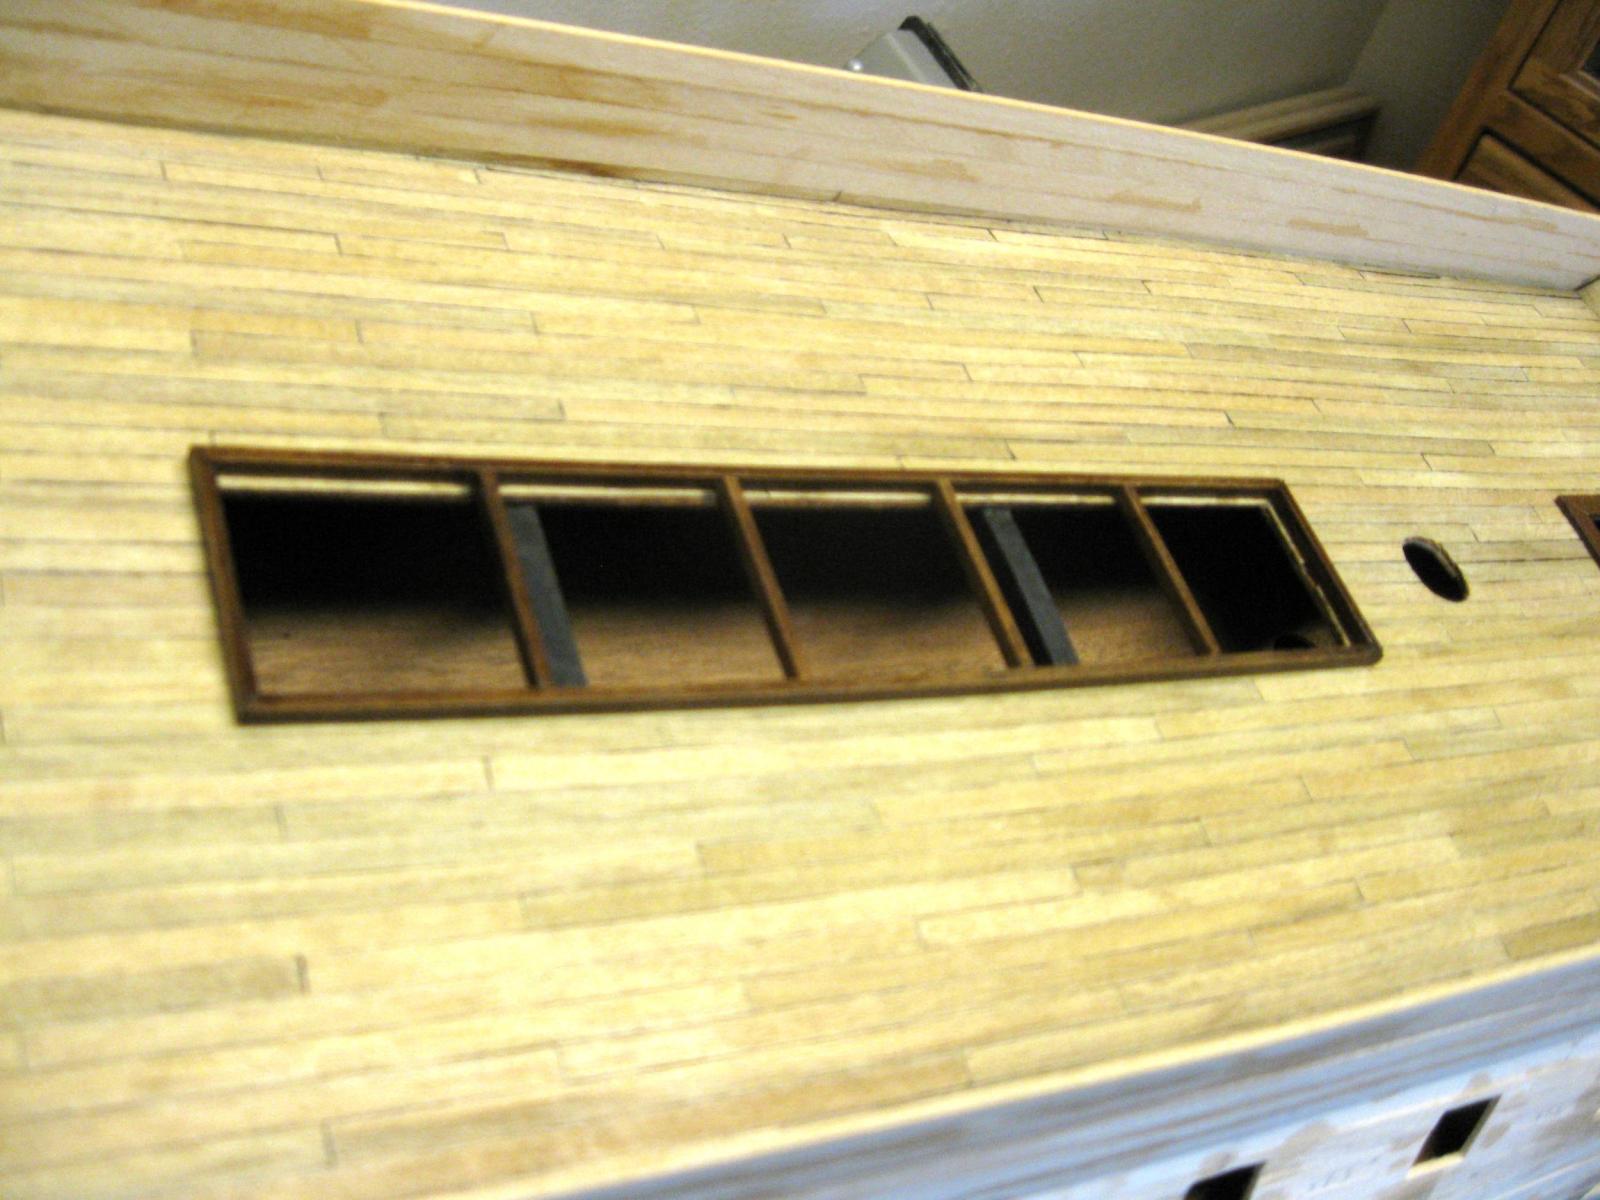
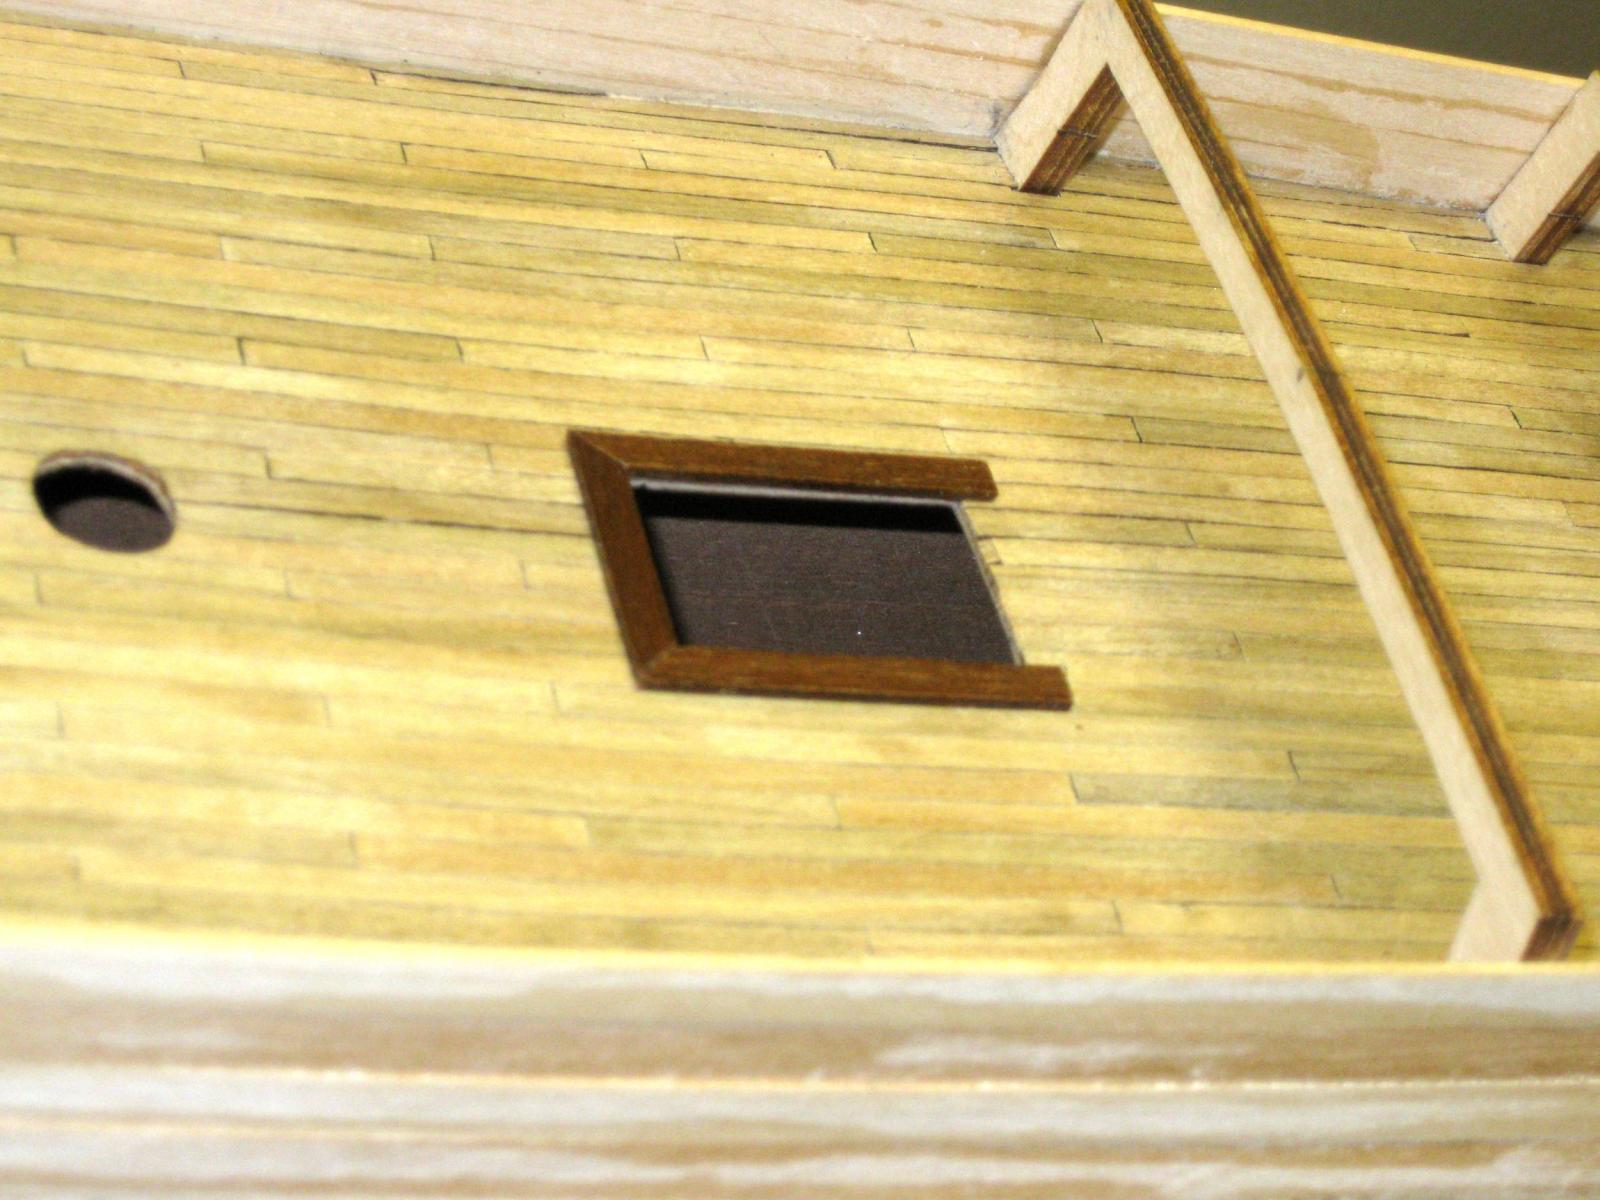
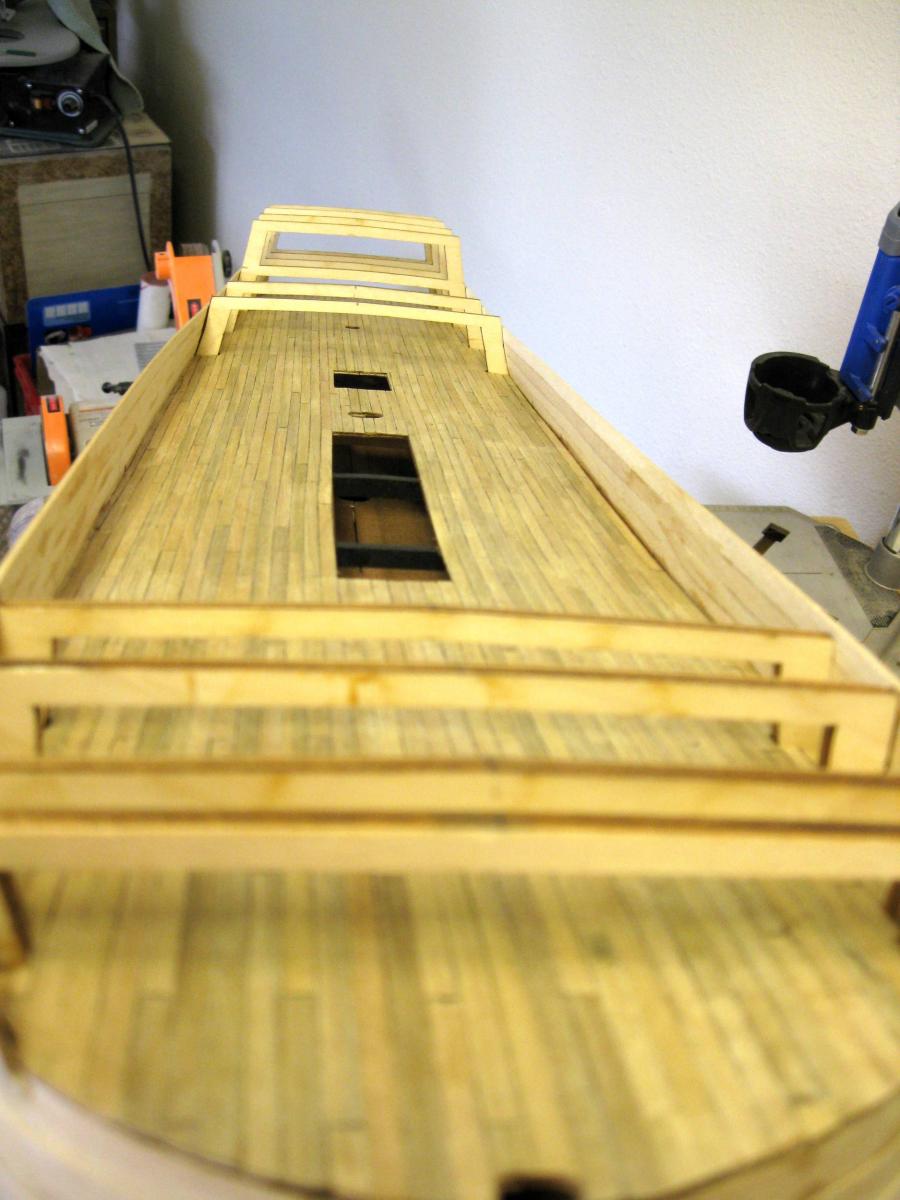
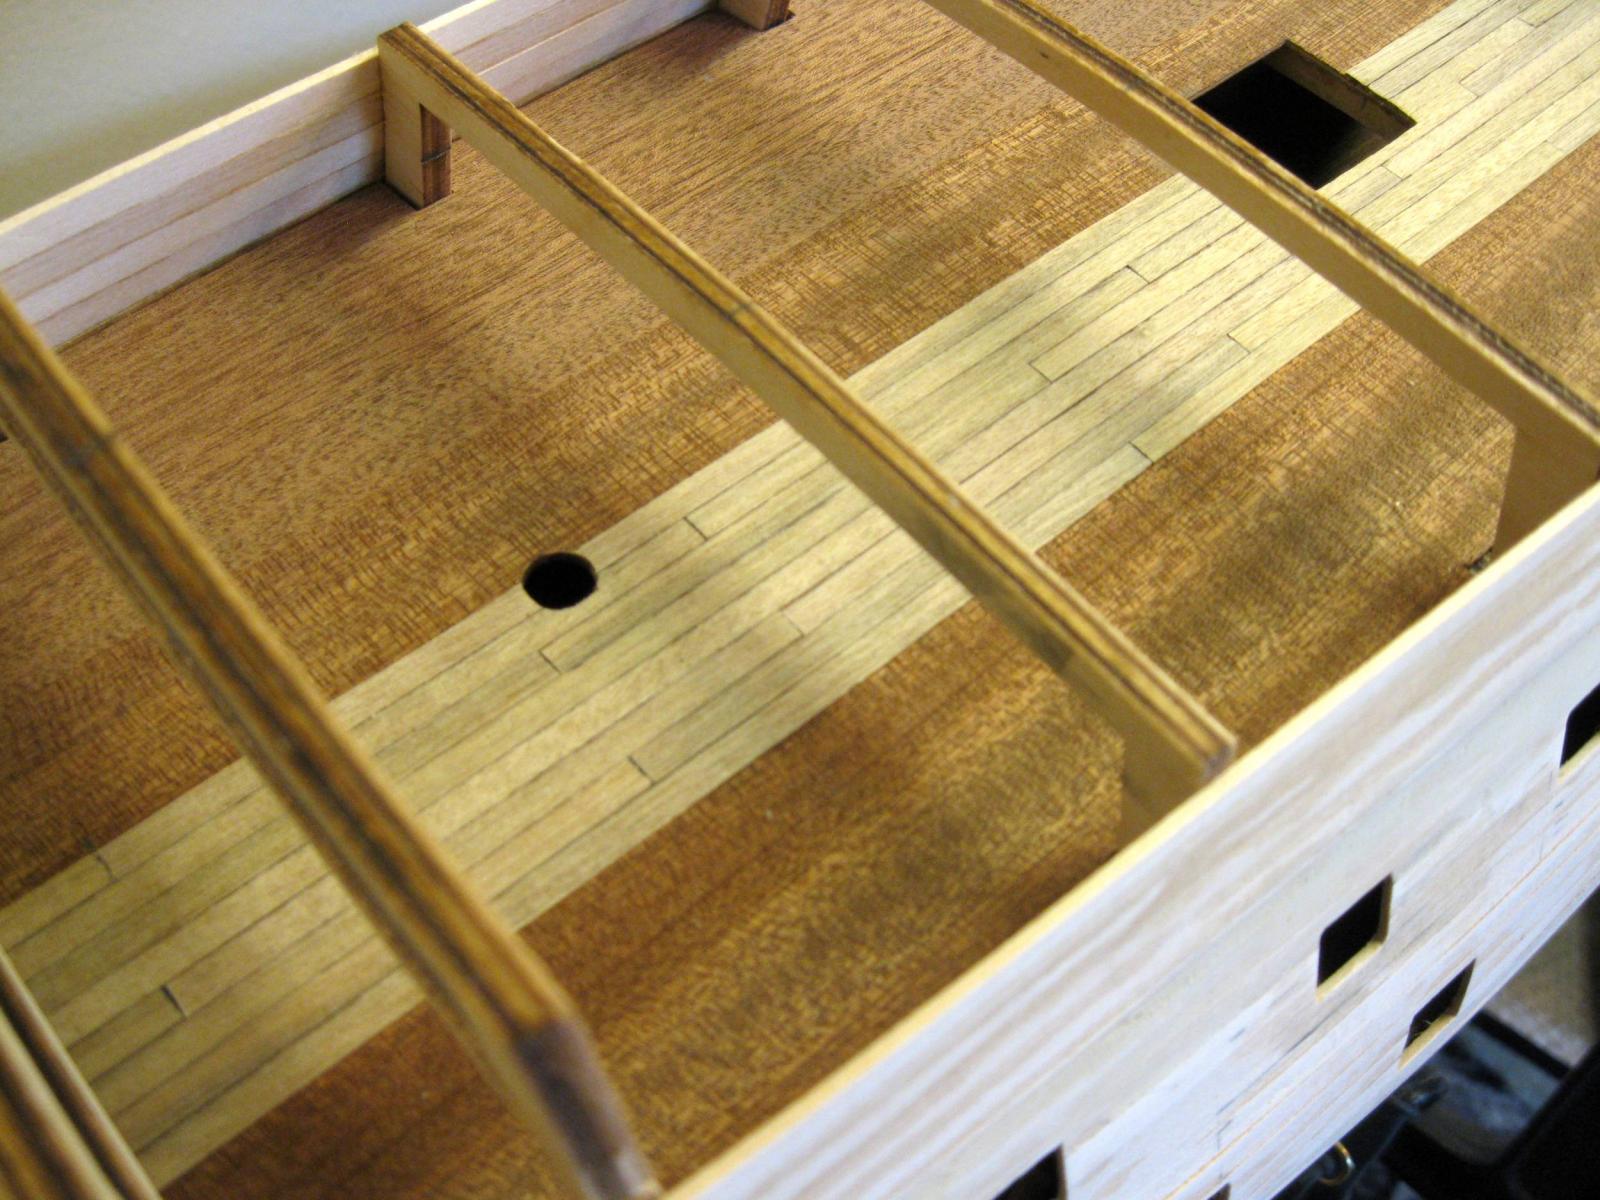
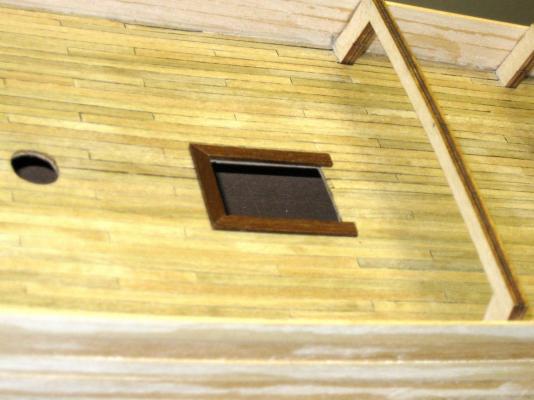
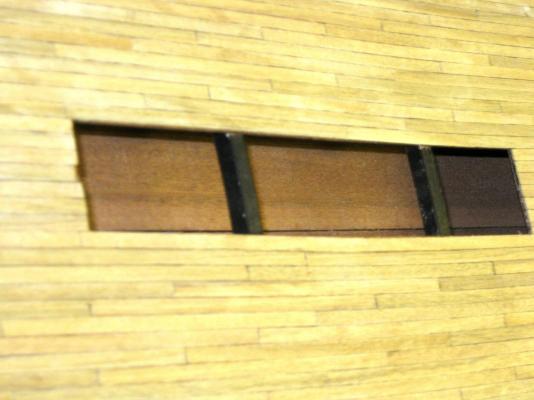
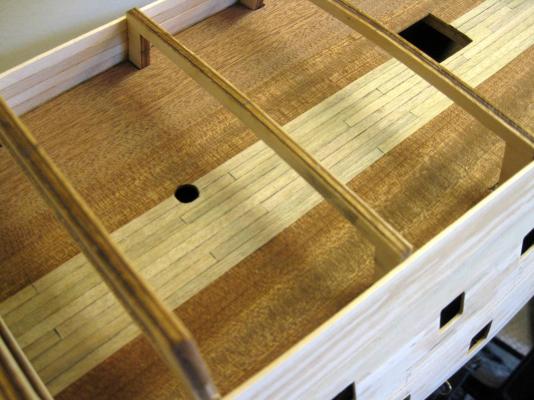
I added the framing for the main deck gratings and staircase. The grating frame was made with 3x2mm walnut standing up on the 2mm side. The staircase frame was made with 5x1.5mm walnut laying flat. Both frames were stained with one coat of red oak. **note: The plans call for an opening of 32mm square for the gratings. Make sure to leave a small lip of planking on the edges running along the ship's length for the gratings to rest on. Also, keep the square openings at 33mm or less because the gratings when assembled are just a pinch over 33mm. They will fall through anything larger than 33mm. Next up: Placing the main staircase and constructing the bannisters. Vince P.

- 593 replies
-
- 13
-
-
- royal william
- euromodels
- (and 1 more)
-
Hi Andy, I actually cut stock that was 2.0mm thick and the cut was not beveled enough that you see even under a magnifier. The blade is strong but quite thin. Vince
- 593 replies
-
- 1
-
-
- royal william
- euromodels
- (and 1 more)
-
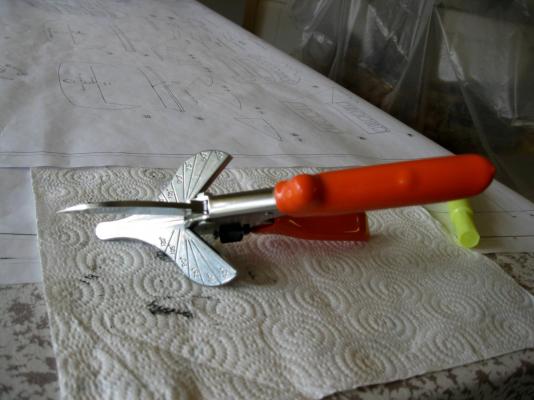
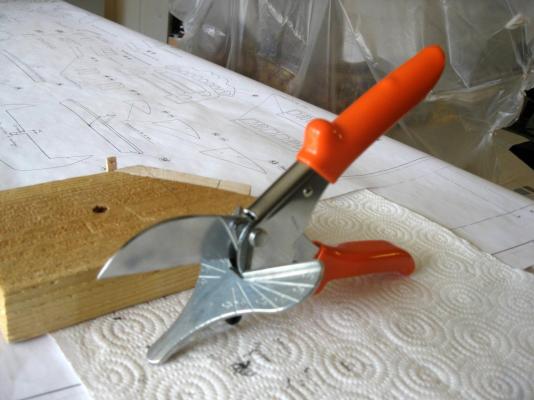
I just bought this new tool from MicroMark. It is for cutting mitred angles on wood strips. I have a cutting block for this, but this tool is much easier to use and makes clean accurate cuts. I will be posting a few photos soon on the frames and the staircase of the main deck. All of the cuts were made with this tool. Vince P.
- 593 replies
-
- 7
-
-
- royal william
- euromodels
- (and 1 more)
-
Hi Denis, I was anticipating this new build log. No cheating now! You have to finish the SOS first. Those were the Admiral's orders as I recall. Since we built the SOS together, I am really looking forward to building the RW with you. We really learned a lot from each other by swapping stuff as we went along. Vince P.
-
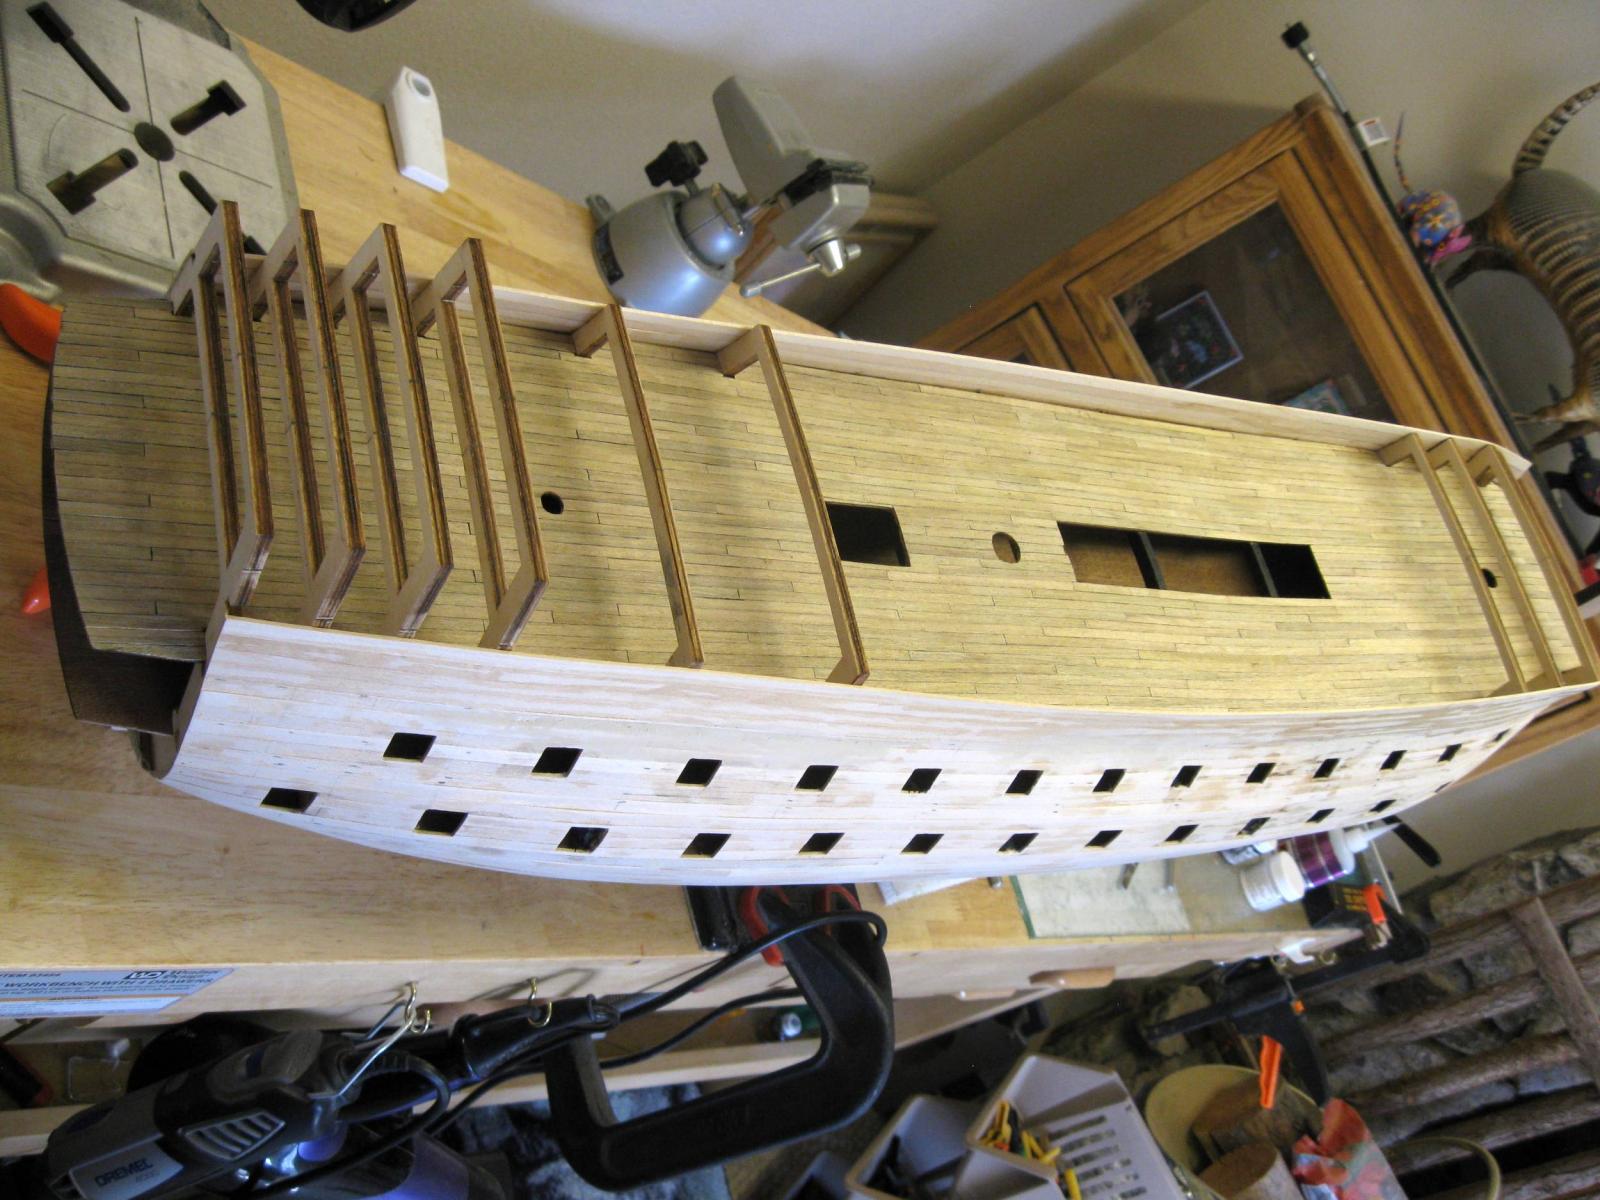
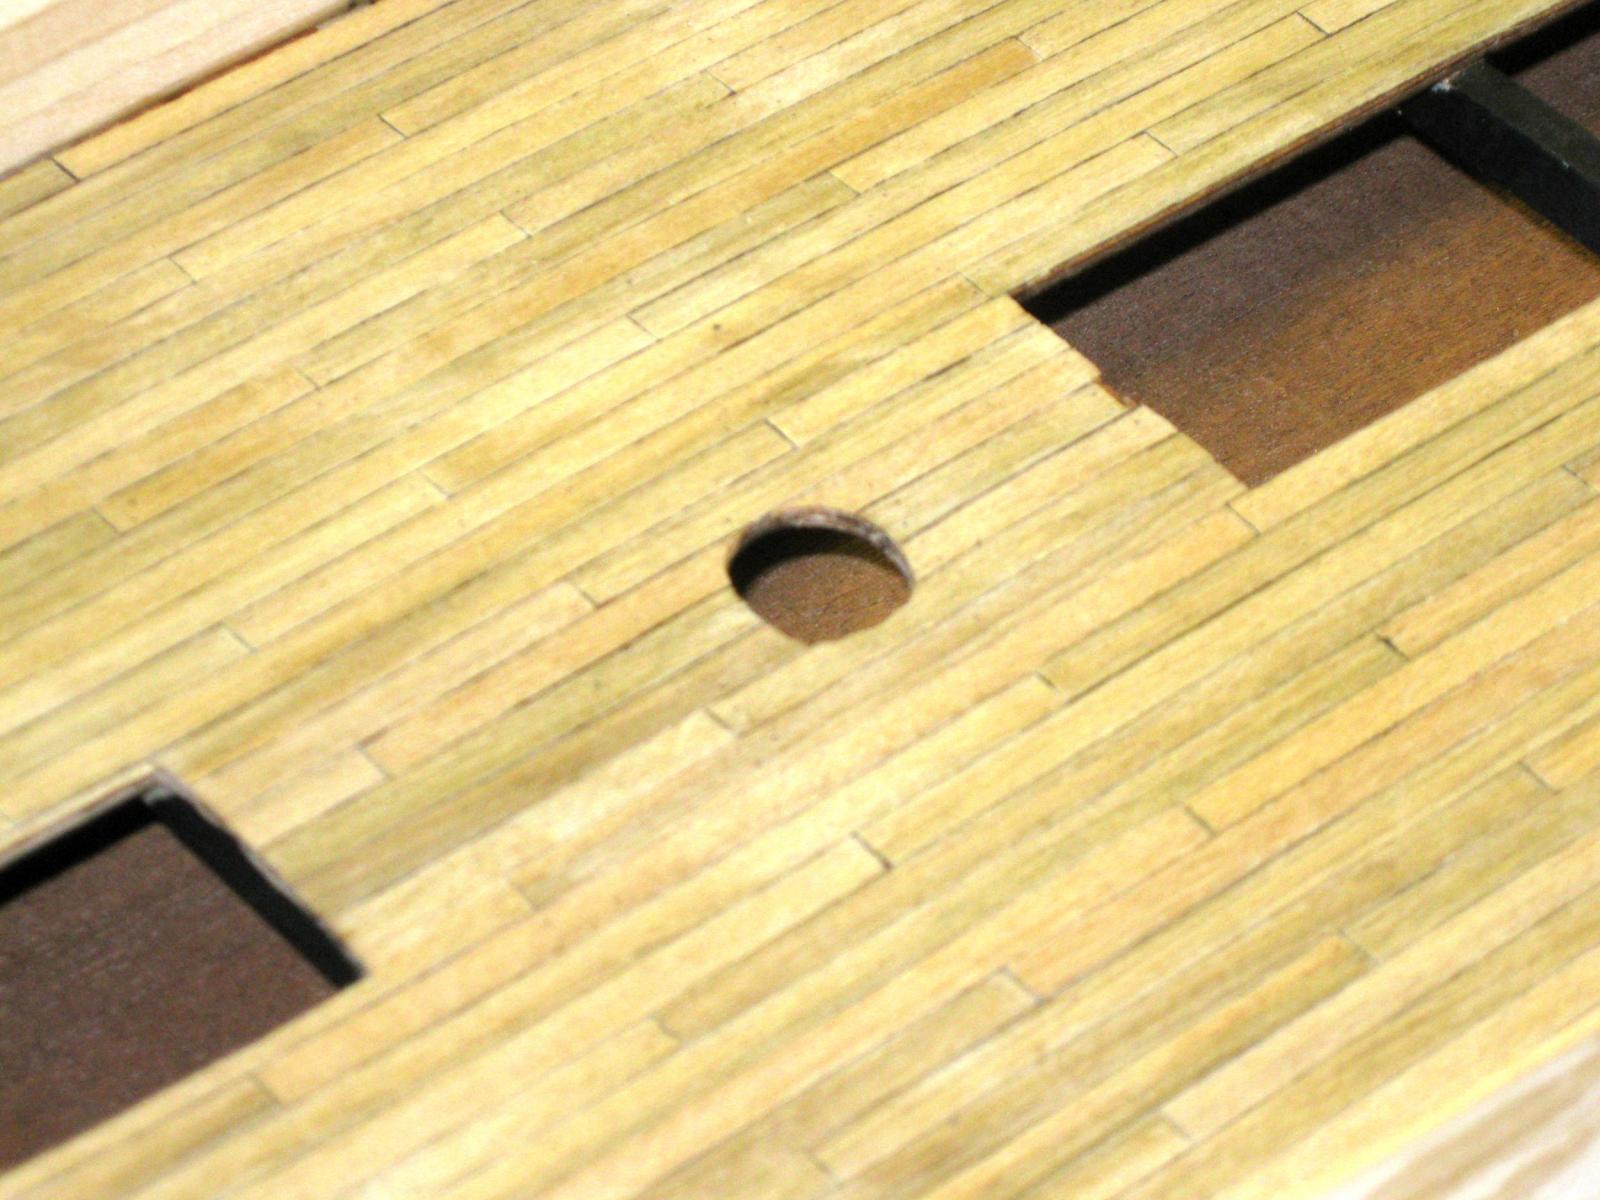
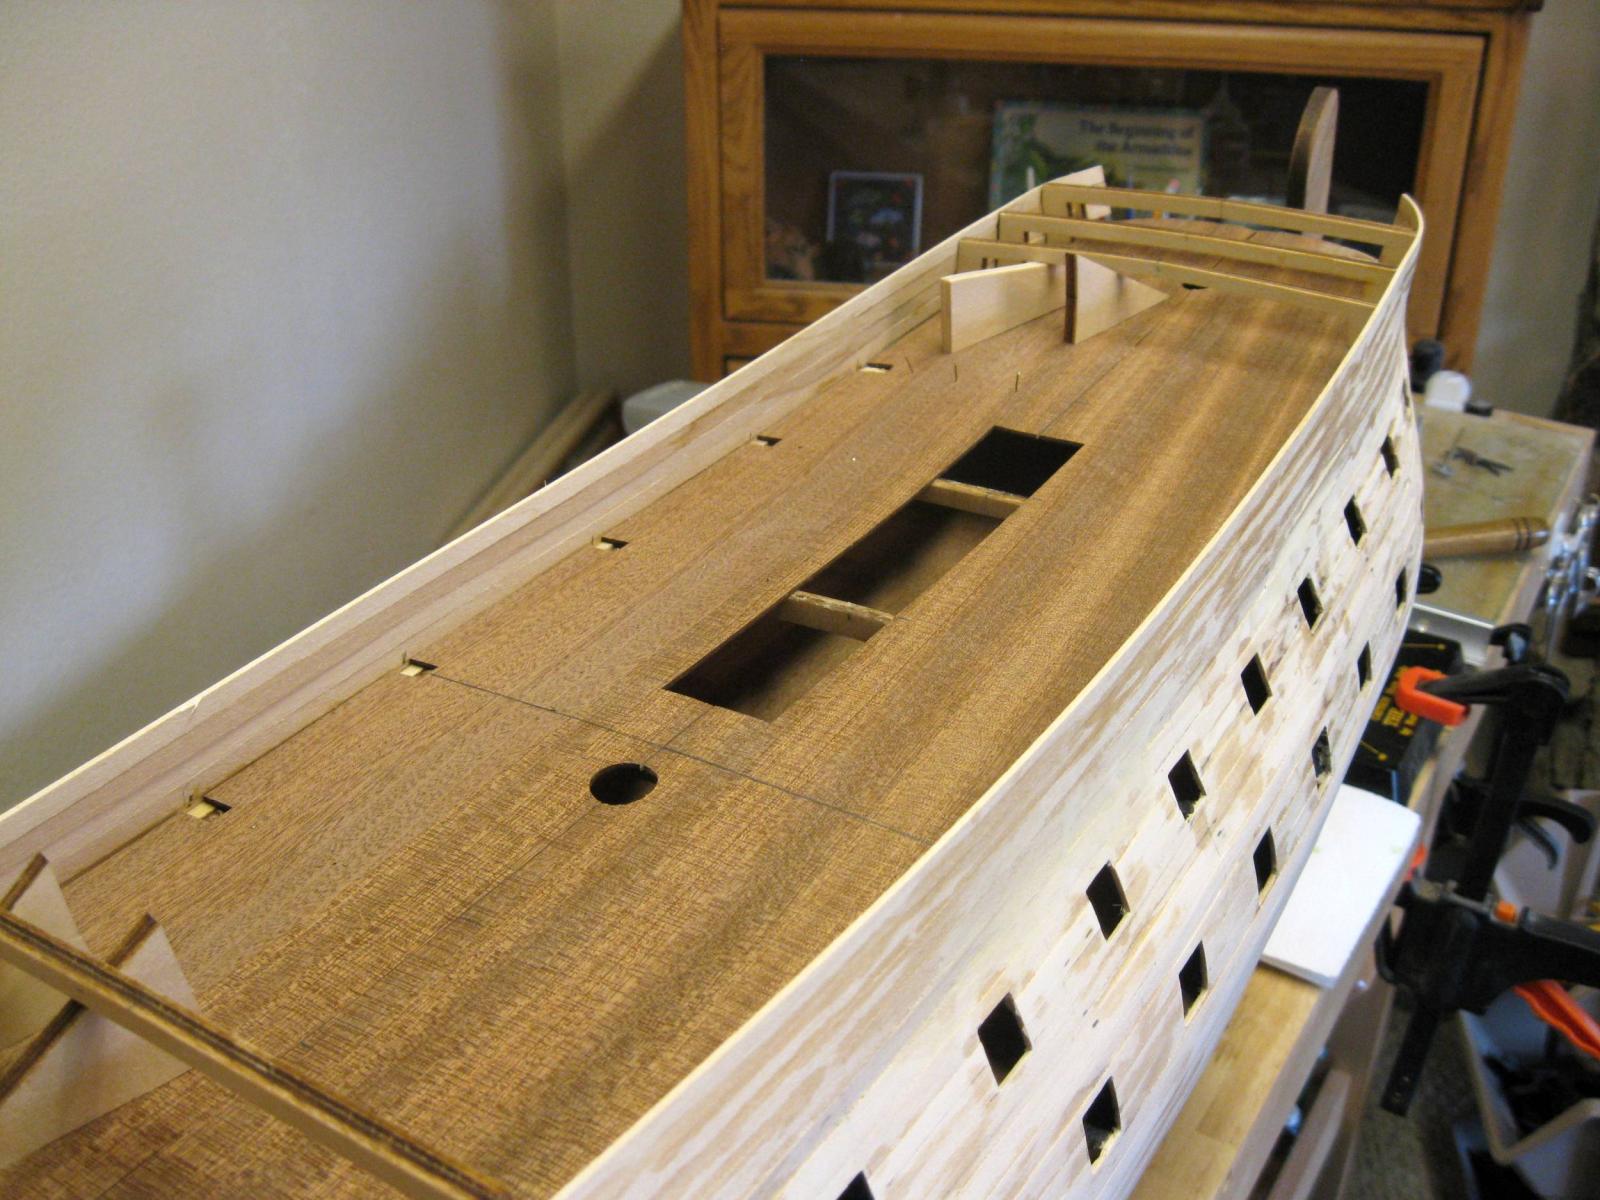
I finished the main deck planking and applied one coat of a clear satin finish. I also simulated the trenails at all of the joints, but you can't see it in the photos. I need a really good camera with a closeup wide angle lens. Next up is to prepare and add the frames around the square openings and place the main deck staircase. Vince P.

- 593 replies
-
- 14
-
-
- royal william
- euromodels
- (and 1 more)
-
I think you got the hang of it. Looks great. Vince
- 555 replies
-
- 1
-
-
- sovereign of the seas
- mantua
- (and 1 more)
-
Thanks Walter for the links. I had been looking around for them but you pointed me directly to them. I am going to make sails by hand and needed some good info. Vince P.
-
On the caulking, I used a black marking pen and lightly darkened one long side and both ends of each plank. I tried both long ends but it came out too dark. Vince
-
Hi Gary, Yes the openings will have mitered frames. Once the planking is done the frames will be added as the gratings, staircases and such are added. Vince
- 593 replies
-
- 1
-
-
- royal william
- euromodels
- (and 1 more)
-
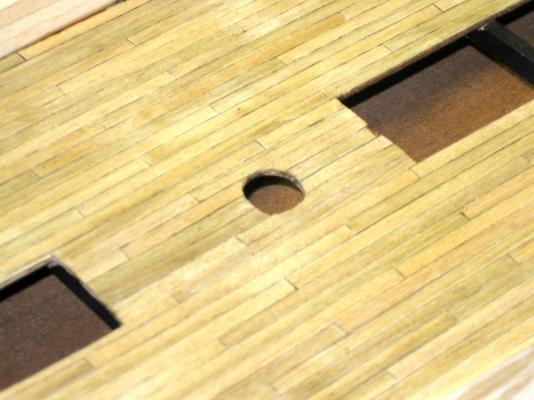
Working on planking the main deck. I am really pleased with the color of the bleached walnut wood. Using Peter's research, it appears that at this scale, the length of a real ship's deck planks should be no more than 102mm. The kit calls for 180mm. I chose to go with 100mm. Rather than plank with one continuous strip and simulate joints with a marker, I chose to do it the actual way with the 3 plank shift. The first line at the center was done with all 100mm strips and the next started with a 75mm strip, the next with 50mm and the next with 25mm, then back to a 100mm and so on. One long edge and both ends of each strip were darkened with a black marking pen to simulate the black caulking that was used in between planks to seal the deck. I also tried to mix up the grains of the planks to give it more a realistic look since real decks were planked with lumber that did not match the flow of the grain. All this may seem to the extreme, but I said I would try to take this build to a more extreme level of reality than my last. Vince P.

- 593 replies
-
- 12
-
-
- royal william
- euromodels
- (and 1 more)
-
Hi Denis, She is coming along great. You can see the light at the end of the tunnel. I am eager to know your next project. If it is the RW, you will surely get to use your new toys. Vince
- 555 replies
-
- 1
-
-
- sovereign of the seas
- mantua
- (and 1 more)
-
Hi Mike, I used straight household bleach with no dilution. I did thoroughly rinse the wood 4 times in warm and cold water. Then dried it at 150℉ I don't think it will harm the wood, but we will have to see. Vince
- 593 replies
-
- 1
-
-
- royal william
- euromodels
- (and 1 more)
-
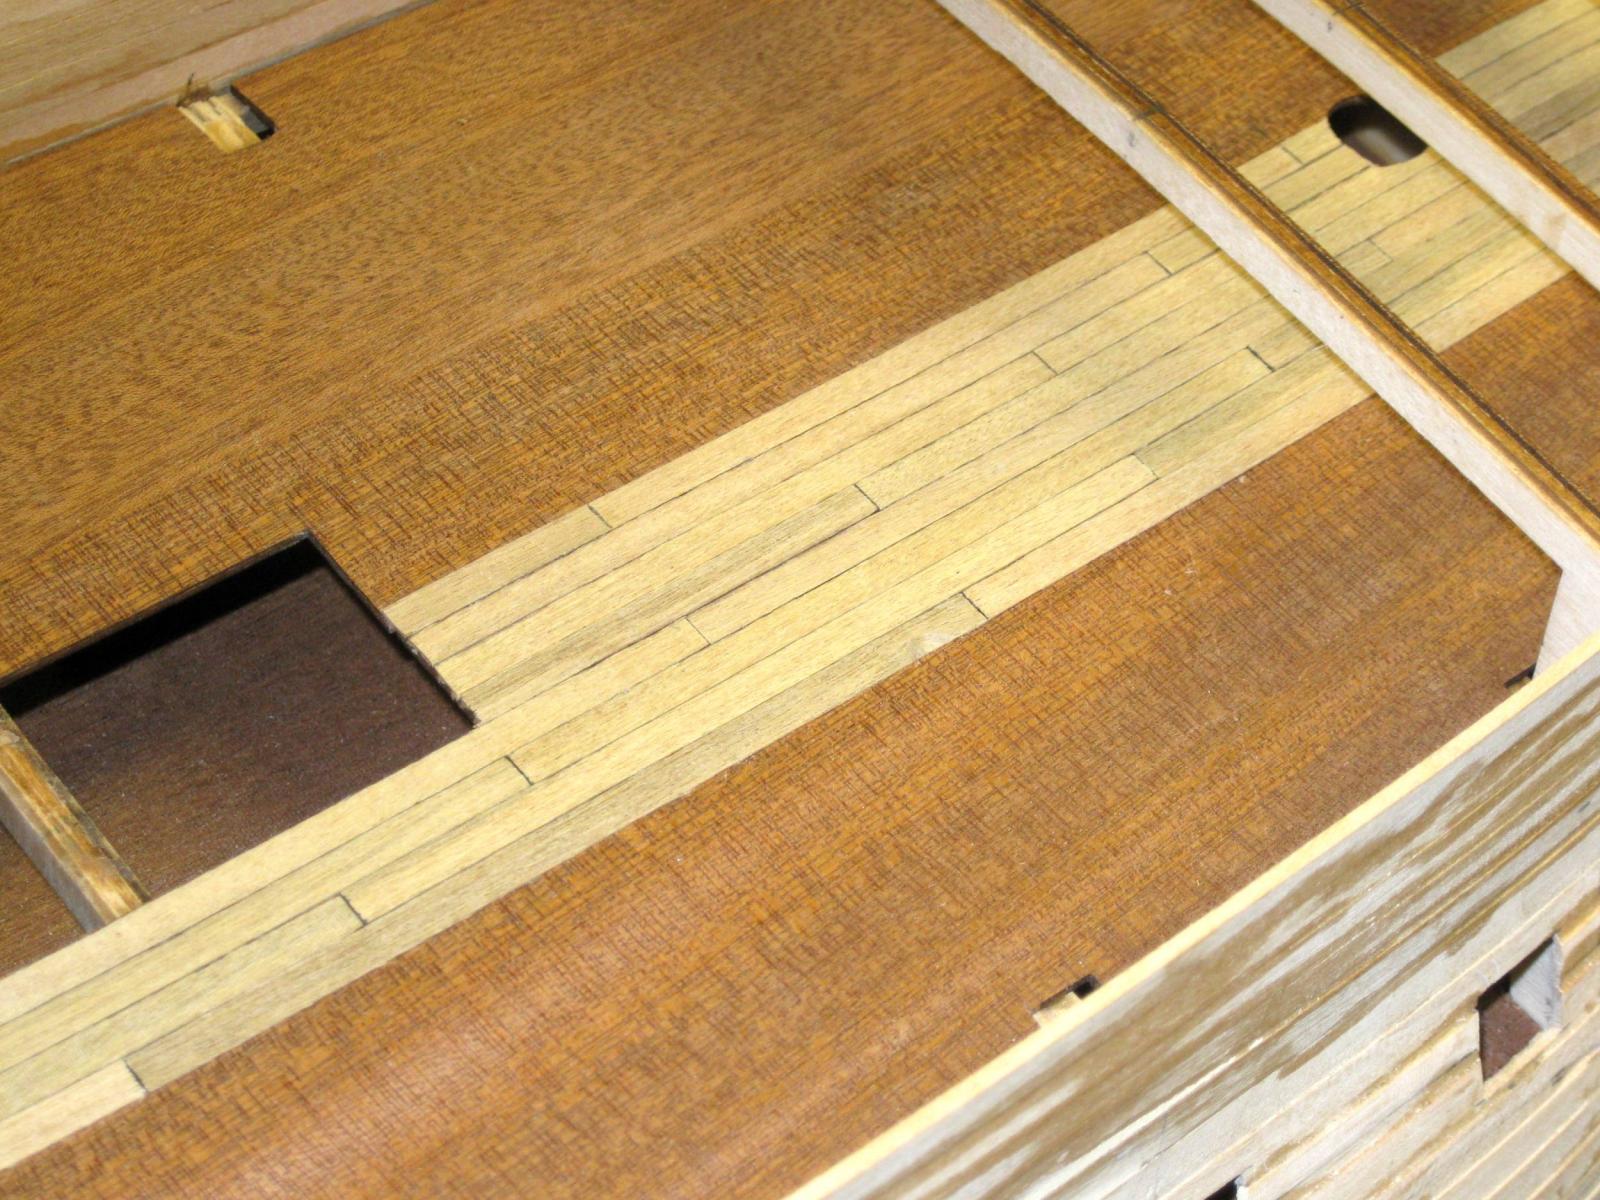
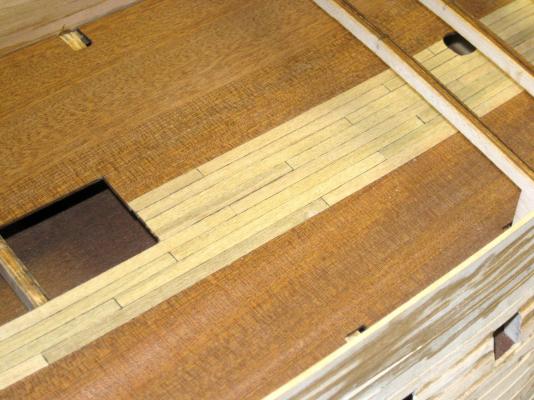
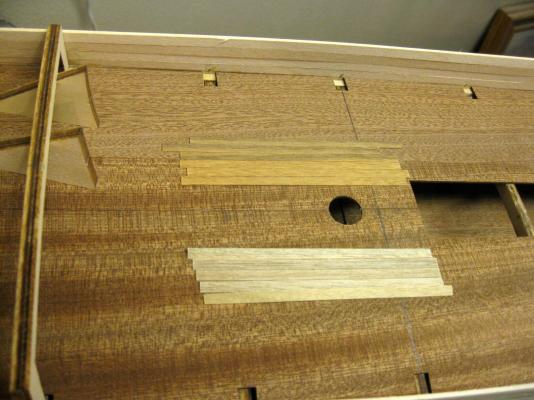
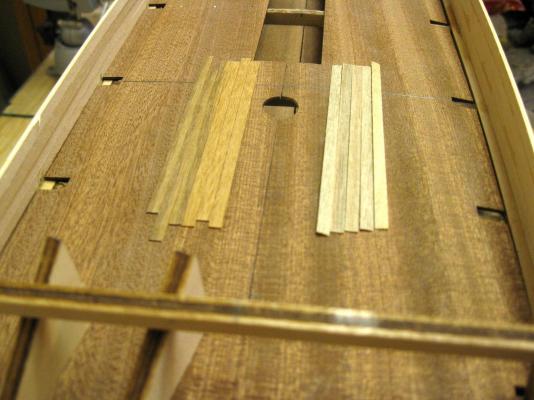
The wood supplied for the deck planking is walnut and it is nice wood but different colors and too dark for realistic deck planking. I soaked the wood in bleach for 20 minutes and dried it. It came out perfect and will give the deck an authentic look. In the photos, the wood on top is the walnut as it came with the kit. All 6 pieces were cut from the same strip and you can see the color differences from one part of the wood to the next. The lower strips in the photos are the bleached wood. The color is good and it bleached out all of the strips to the exact same color. It has a weathered look like a real deck would appear. Vince P.
- 593 replies
-
- 11
-
-
- royal william
- euromodels
- (and 1 more)
-
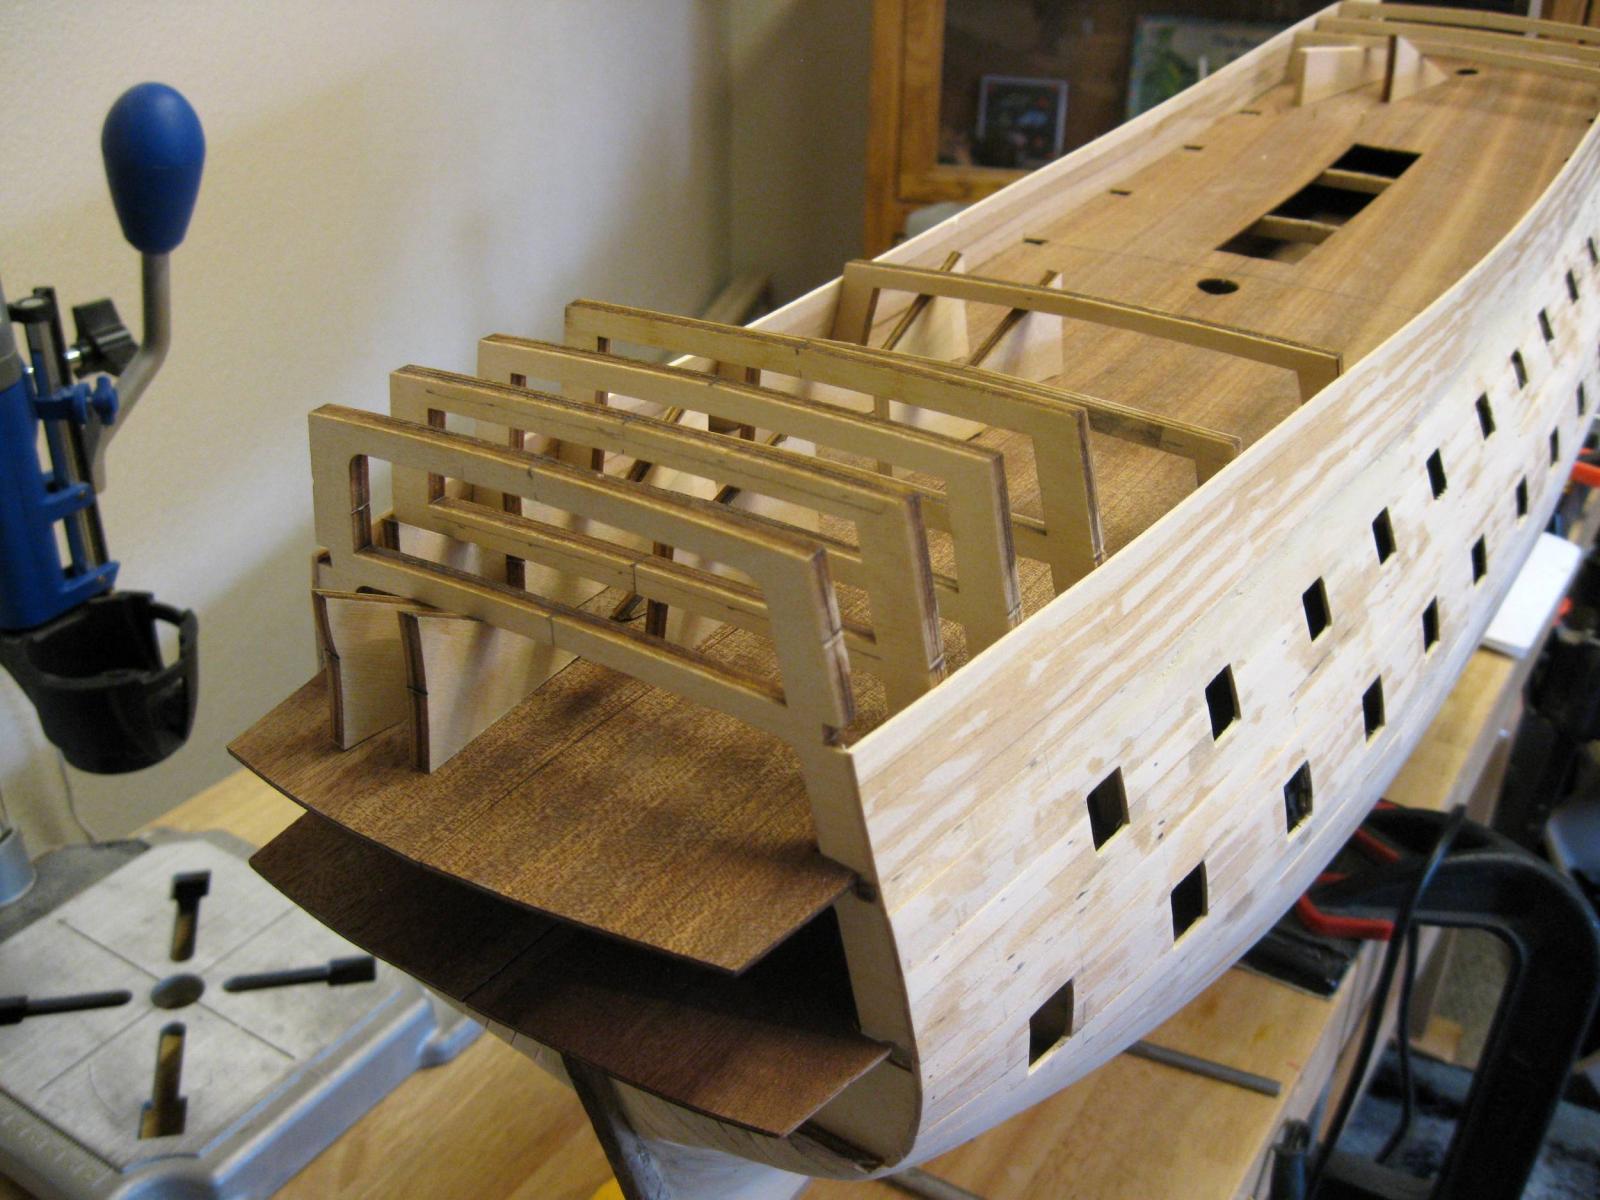
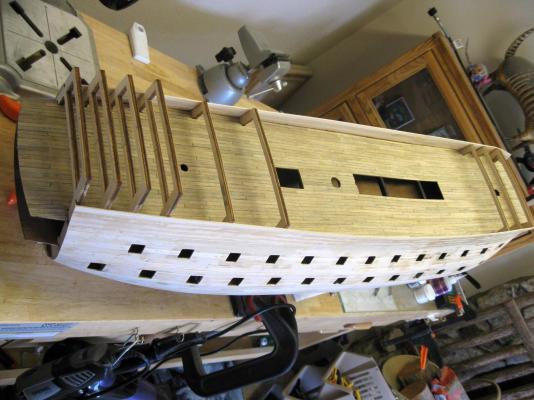
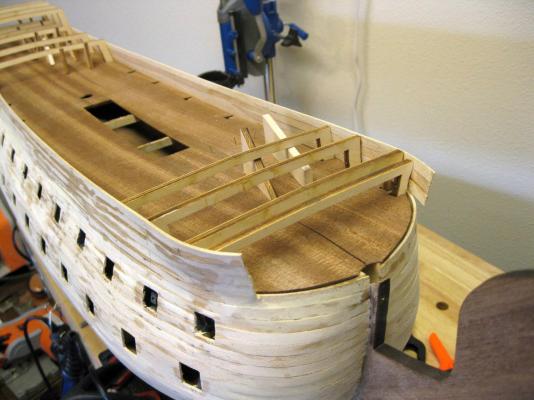
The main false deck is glued in place. I did not cut this deck in quarters like the others. The first half was easy to clamp down on the bulkhead, but the second half was different. There was no way to clamp down the section in the middle where the main deck is the topmost deck. I nailed it using tiny brass nails which will stay in place and be planked over. Next up is to cut out the square opening between the mainmast and the forward edge of the quarter deck for the main deck staircase. The opening needs to be 24.0mm across, but I have not yet calculated how long to make it. Vince P.


- 593 replies
-
- 11
-
-
- royal william
- euromodels
- (and 1 more)