
HOLIDAY DONATION DRIVE - SUPPORT MSW - DO YOUR PART TO KEEP THIS GREAT FORUM GOING! (Only 75 donations so far out of 49,000 members - C'mon guys!)
×


popeye the sailor
-
Posts
16,007 -
Joined
-
Last visited
Content Type
Profiles
Forums
Gallery
Events
Everything posted by popeye the sailor
-

How many kits do you have on the go at the moment?
popeye the sailor replied to CaptnBirdseye's topic in Wood ship model kits
I had to look back to the beginning.........could have sworn I posted on a subject like this a while ago I am soooooo guilty........I should be locked away and the key thrown away!!! just an off the cuff guess........I think I have as many as 20 kits in various stages of assembly. I really should do a roster of them....perhaps I will and post it later. I could try and come up for an excuse for it, but it all boils down to whatever is interesting, or if it has ever been attempted. kits or scratch build.......makes no difference to me......it all in the eye of the beholder. a big one for me is looking into the history of kits....it's amazing what you will find. modeling needs thought.......about your subject and what you've read about it.......molding it into flesh. tangible to the touch, and visual to the eye. the question is........do I act on what I've read? I put a lot of information on the back burner......my wish list for future modeling........some don't stay hidden for long though. I have to let some of the monsters out. for some, it is good. when faced with a problem on one project, switching to another is a good way to stay busy, while thinking of the solution. I'm not one to just sit there and ponder. for others, it may not be......and that's good too. it's not a race and folks like to savor their experiences. it's all in what you expect from the hobby.......whatever rabbit hole you want to go down, you've found the right place -
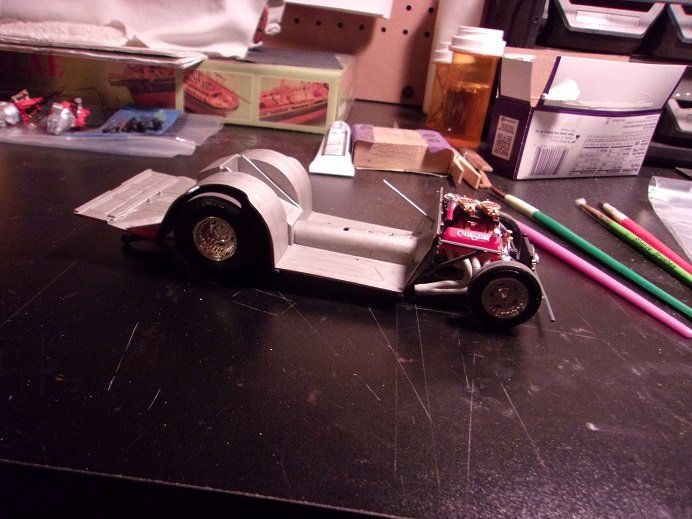
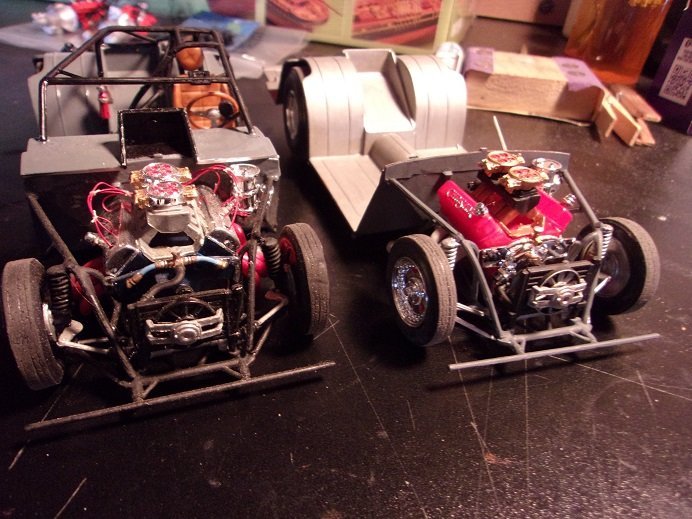
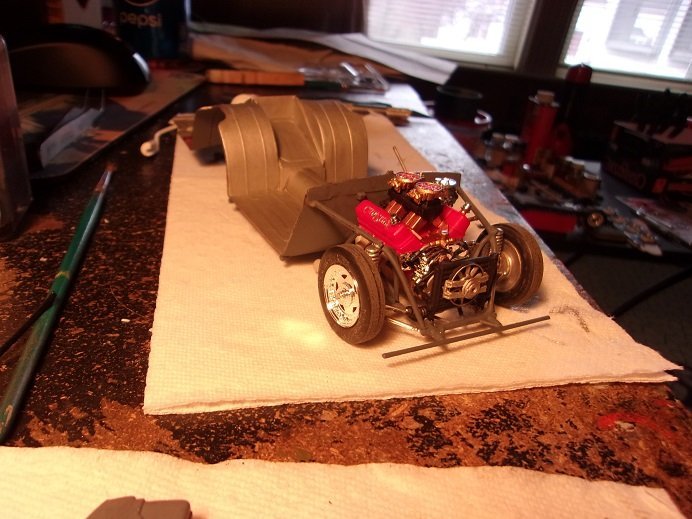
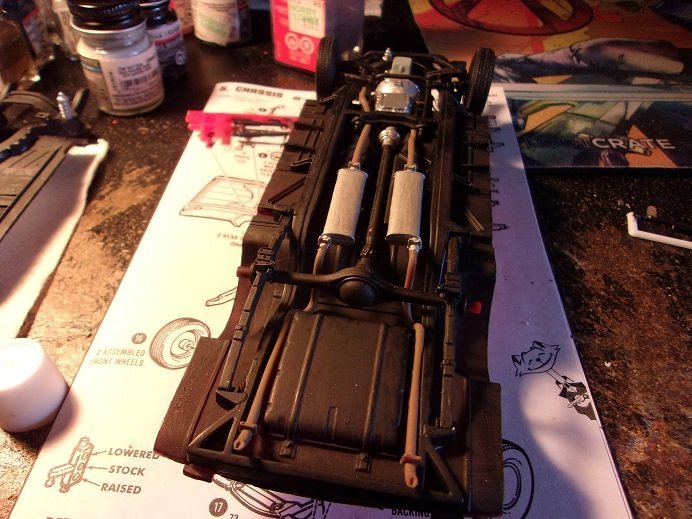
body painting was yesterday.......but to start off this small session, the rear tires were added to get her off the ground. the body and hood... the one thing I wished for this model, would be that the bumpers were separate. for a comparison, I brought the Jukebox Ford out and put the two chassis side by side. one thing I noticed, was that I had dechromed the parts on Christine, while on the Jukebox, I didn't.......and it shows. I'm using a mix of aluminum, silver, and flat steel, and it adds a bit more contrast to the chassis. in hindsight, I could have been a bit 'tighter' with the wiring on the Jukebox.......with Christine though, I didn't give it a thought, and so, I didn't do it. I must not have remembered that I had window maker either for the windows.......where I cemented them in has now turned whitish oh well........second boot to the rear........the decaling wasn't that great either.

-
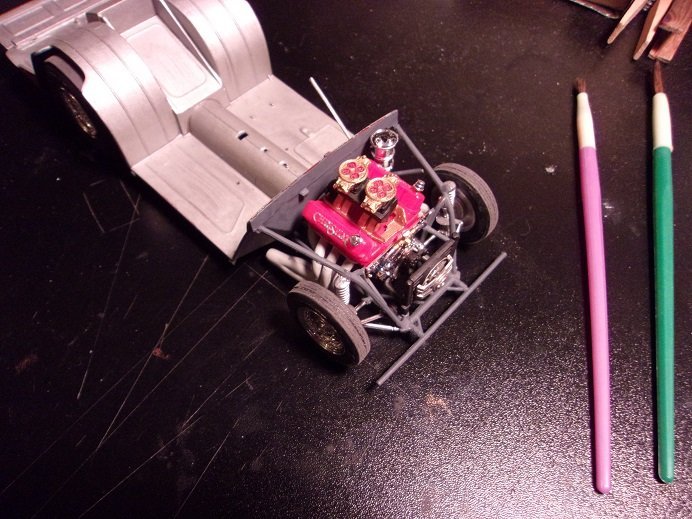
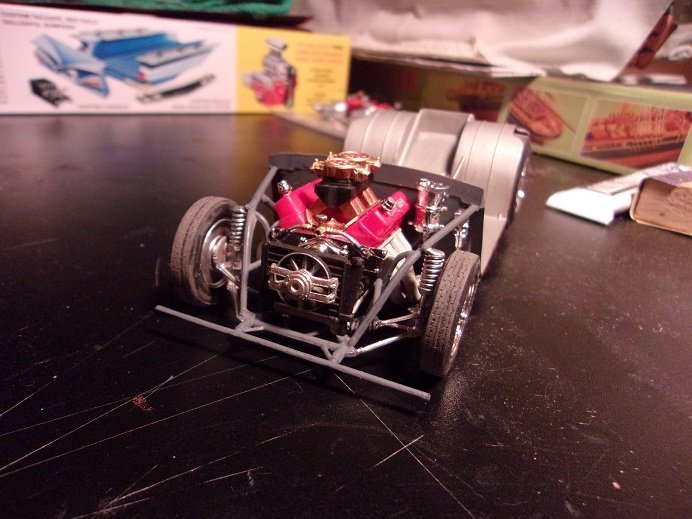
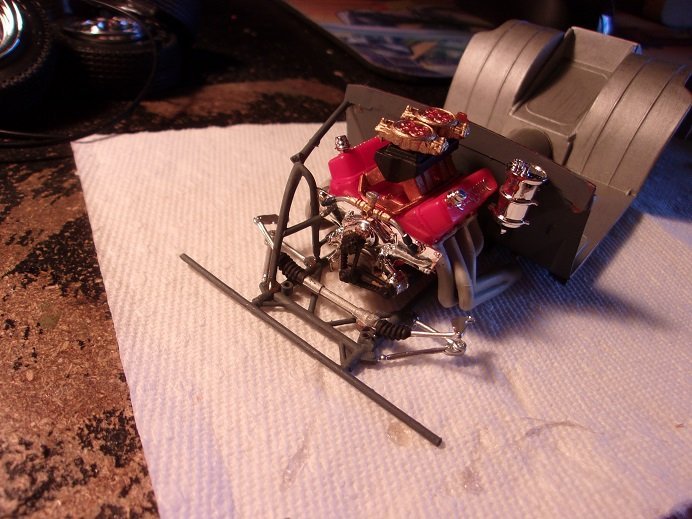
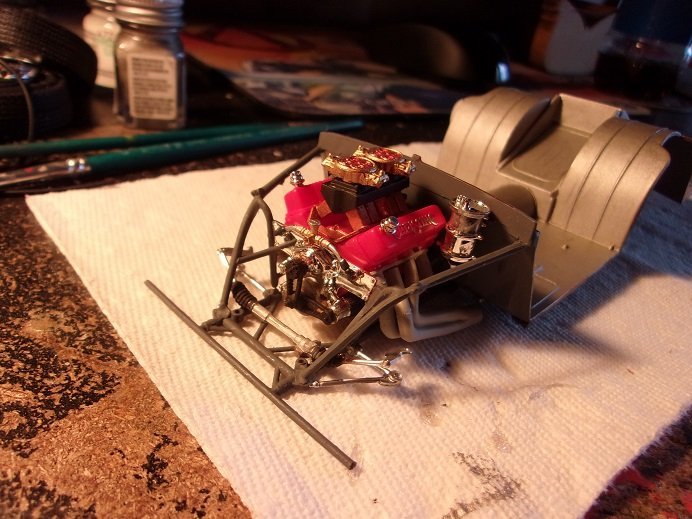
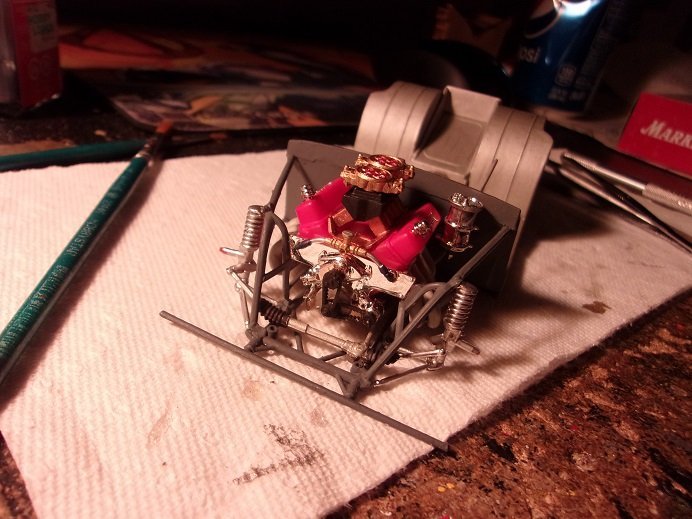
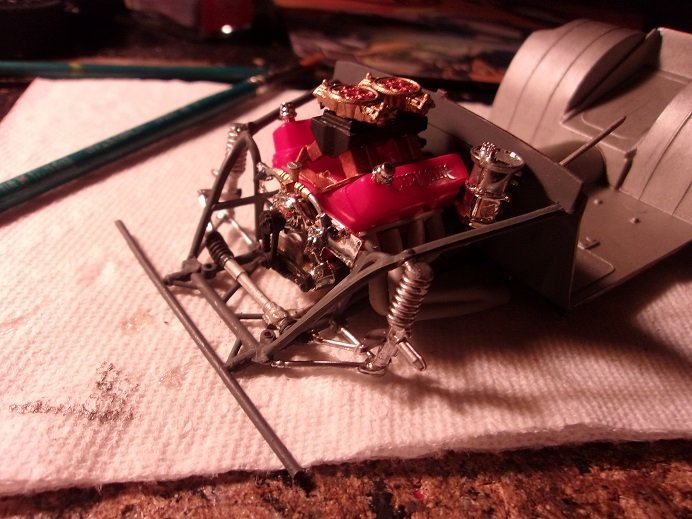
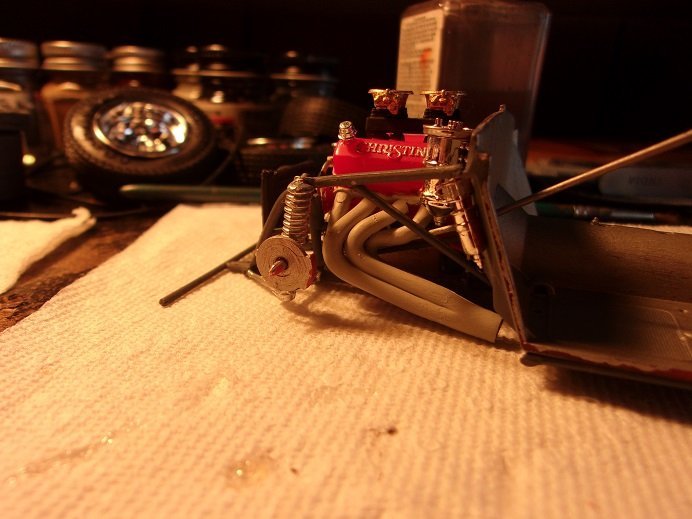
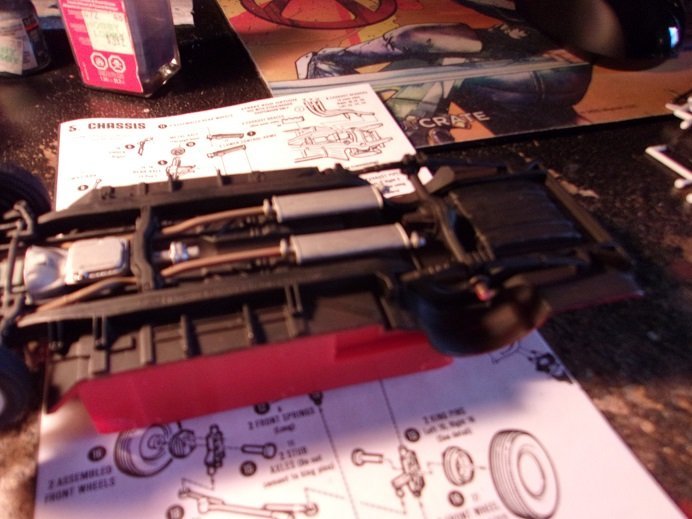
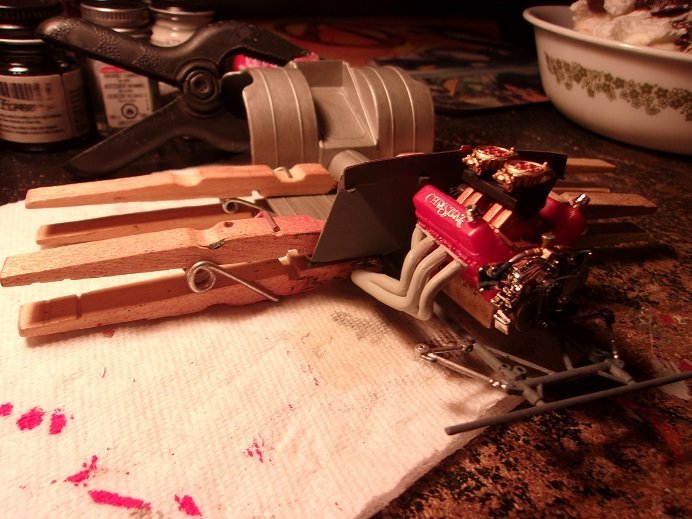
touch ups are done and dried........onward! starting at the front, the engine cage and front suspension will be added. the front part of the chassis is slightly warped........I'm hoping it doesn't create too much trouble. the right side of the cage is added..... the oil tank and the steering rack were also added........the left side cage was added..... as I feared...the warp did create some problems........adding the front struts was a bit more involved. with no real way to clamp them, I was forced to hold until set. by then, I figured out a way to set it up on the desk, to put pressure on the lower control arms with sufficient counter weight. I found four paint bottles on the chassis deck did the trick {should have taken a picture so you could see this}. the forks of the steering rack fit nicely in the slots in the struts. the steering linkage was added to the assembly. the accumulator was added to the fire wall, as well as the brake rotors there are a pair of braces that lead off the sides of the cage, to the firewall down by the chassis frame.......they are usually the worst to install. they proved to be just as tedious, as they were for the Jukebox Ford. lastly, was the radiator and bottom hose. the upper hose would have been included here, but I seem to misplace it. given that the desk and the little table beside me are black, if I painted it, it may account for it's disappearance. I'll keep an eye out, but in the meantime, I will scratch make one. it was time to finish off the front by putting on the front tires. more to come


-
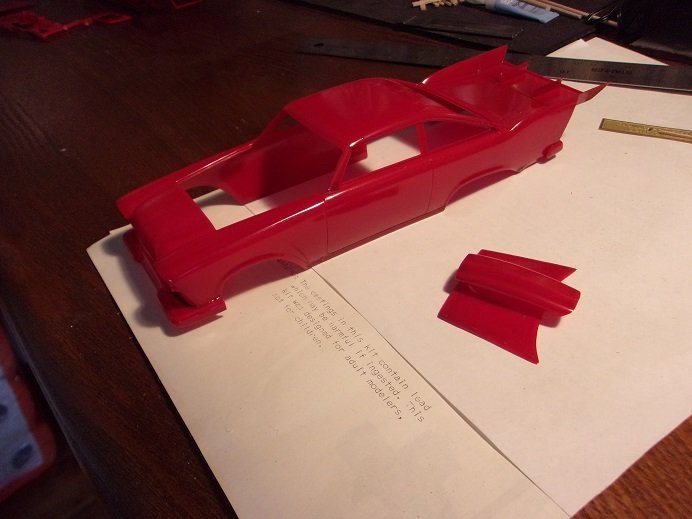
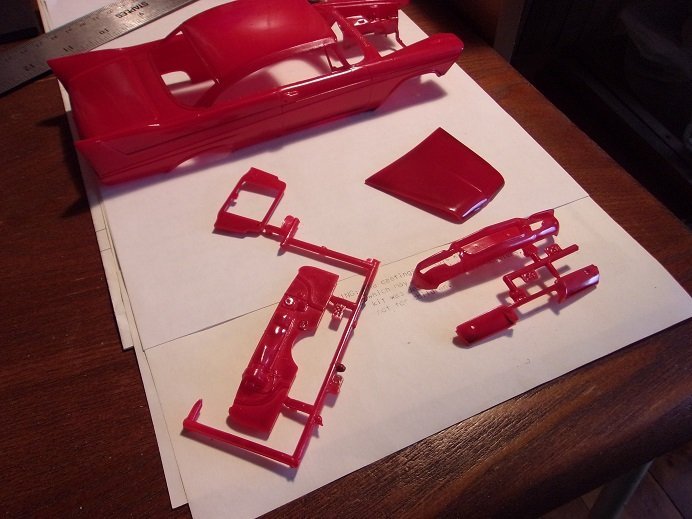
I had spent a lot of time on the pro modified........I decided to do more to the street version. I really didn't get that far into it until I got called back to the real world, but I did get the body painted. ....as close to a 'blood' red as I could get
-
ok............so when I'm 'repurposed'
-
I wouldn't be too critical with the touch ups on the bogies........it may help with the weathering you'll likely be adding other stuff to muddie them up. I've never seen split track before.........kinda neat!
-
the parts look really good....I'm sure that if you went into the history of the kit further, you may find that the molds may have fathered more. of course, this would account for the kits that seem less than perfect, depicting the positioning of the wings {additional molds were created to make the parts for other variants}. you may have trouble seeing the hues your outlining, if you photograph in a room or such. one suggestion would be to give the model a sort of 'green screen' as a back drop. the ambient lighting in a room will reflect hues and colors as light bounces off whatever is in the room. to get a better view of what the finish will reflect, would be to literally take the model outside, and chose a place to display for pictures. asphalt, concrete, wood would be better represented in natural lighting....and you may even get the benefit of blue sky. there were very few of these birds that were camouflaged, so you have a pretty good representative of the finish you want to achieve
-
catching up on the logs I've missed........this one is particularly dear living in the town of Weare, back in the 60's until the day I left home, I was immersed in the old school mechanics. though a bit more modern, given the time, our workshop was similar........but not as primative as the gent that lived up the hill from us. we used to go up and help Bill from time to time, especially after his son Willie went into the Army. he was an old polish guy........chewed tobacco, spitt'in it in a Pepsi bottle. that's what he did for a living.......working out of a cinder block garage, with one door.....as well as a window. seeing what you've done here, brought me back to those days in a big way. you couldn't be any more spot on, than if you lived back in the day yourself my hat is off to you........it's an awesome dio as a epilog.........when Bill Heino died {his wife died before he did}, his daughter Ruth took over the house. she had a direct line to the police because collectors were showing up trying to get a look in the shed next to the garage. in there were parts dating all the way back to the model A......most of the parts still wrapped in the paper they came in. it used to the his original shop before building the cinder block building. there was a bench that line the entire back wall....stairs that lead up into the attic. it was chuck full, all the way to the door! as I recall, there was a cellar too........the door was around the back, centered in the foundation.......it was built on the preface of a hill, so the foundation was exposed. to me..........you've outdone yourself!
-
chin up Mark....he'll do another........the hanger's not full just catching up on all the logs I've missed Chris........splendid job on the Spit! she looks superb! I had a poke in at your England log, and I must say.....your doing a spectacular job thus far! I don't think it will fit in the hanger though...soI hold hope that you'll do another .......'jes say'in I get the same feeling concerning your build frequency.........I churned out boat after boat for a few years there........only to find myself doing what.......only one or two a year now. it's alright though........I have quite a few 'active' projects to show for it think that's funny........the admiral just figured out why I've been accumulating a stash! {retirement is right 'round the corner }
-
Lisboa Tram and Diorama by puckotred - OcCre
popeye the sailor replied to puckotred's topic in Completed non-ship models
considering the age of the log, it just wouldn't do to simply put a like on it.........you did a superb job on this tram! it makes for a really sweet diorama! -
sweet looking plane...........really like the way you did the silver. considering what she looked like in these last pictures.......you came quite a long way!
-
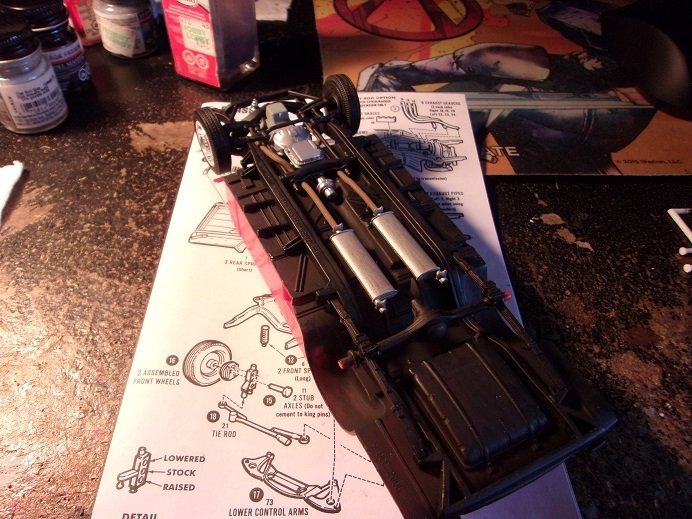
once the interior assembly was dry enough, it was flipped over to fasten the exhaust to the underside. the rear differential was dry fitted here at this time. once that had dried, the tail pipes were added, as well as the drive shaft and differential. set aside to dry and await touch ups
-
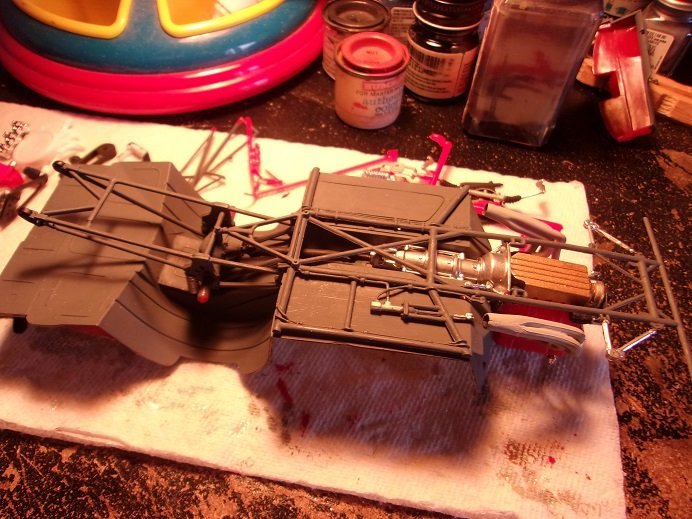
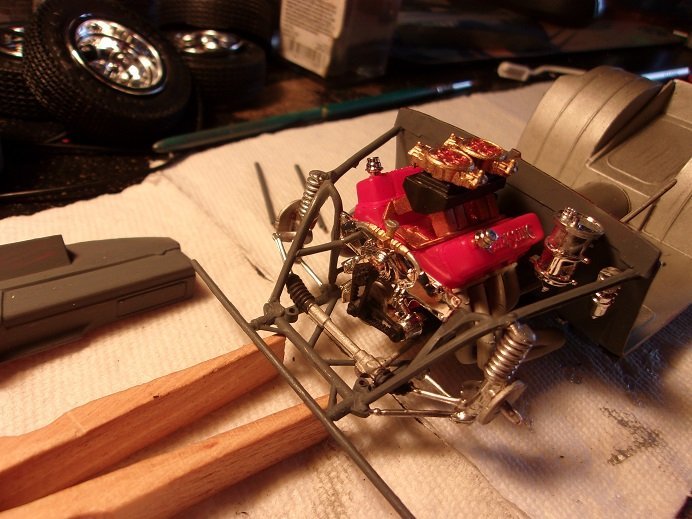
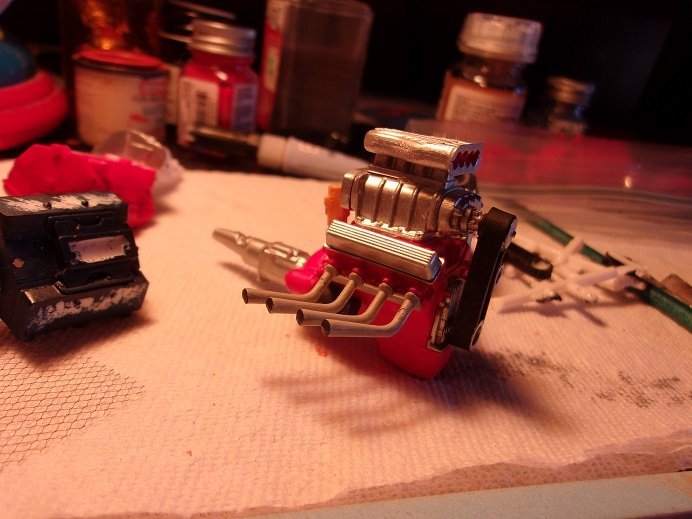
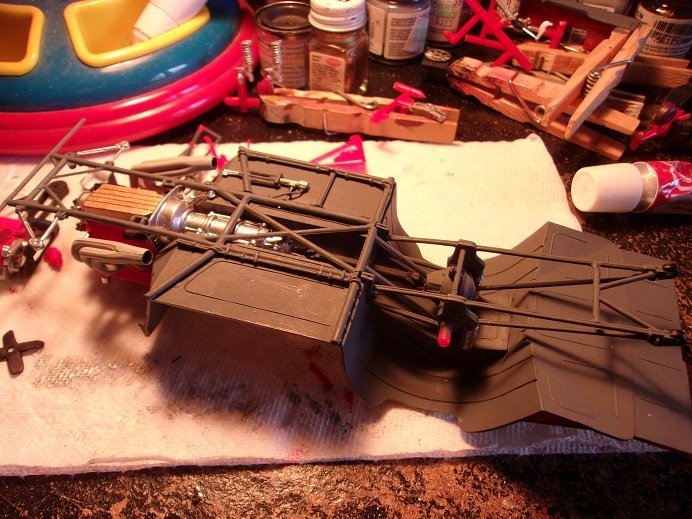
I've been play'in with these engines for a while now........I could post a log on what I've done so far I've got a 427 that I have no car for........still looking for a recipient I've added another 1:16 car to my stash.....a 1957 Thunderbird.......another AMT offering produced by Round 2. I've got my rants about them, but they are what they were....and still are. one in particular I have a remedy for.......I've yet to put it in flesh......I'll save it for the log. anyway........there is movement on the Christine Pro mod. it's beginning to look like a chassis I did a bunch of painting and now it's time to put it all together. the headers were added to the engine {both of them}, and then set in place on the chassis. some detailing was done to the chassis before the deck was also set in place. once it had set long enough to dry, the driveshaft and differential assembly was added to the chassis. I've taken a couple of day off from work............I've been doing more painting, and I hope to add more to her soon

-
it is a "lovable" kit
-
so this is where you went?!??!........such superb workmanship thus far Chris you've done such great work on planes.......no doubt this will be a beauty as well!
-
very nice.........
-
hope you can solve your issue. should you get tired of waiting, there is a repair using brass wire.........a lot of us smaller scale guys use it
-
Porsche 934 restoration by kpnuts 1/12 Tamiya
popeye the sailor replied to kpnuts's topic in Non-ship/categorised builds
nice transformation -
back in the day, when I lived in Florida, I built a Guillow's Fokker D VIII. it came to be my best flyer. there was a concrete slab in the side yard, likely for a shed, and it seemed like a good place to take pictures. I laid on the ground in various places around the edges and took some shots.......some using the grass to look through. I was very impressed with how they came out........but I lost them in my move back here. after all these years....I still wish I knew where they went. would have been great to share with you folks
-
have seat, will travel
-
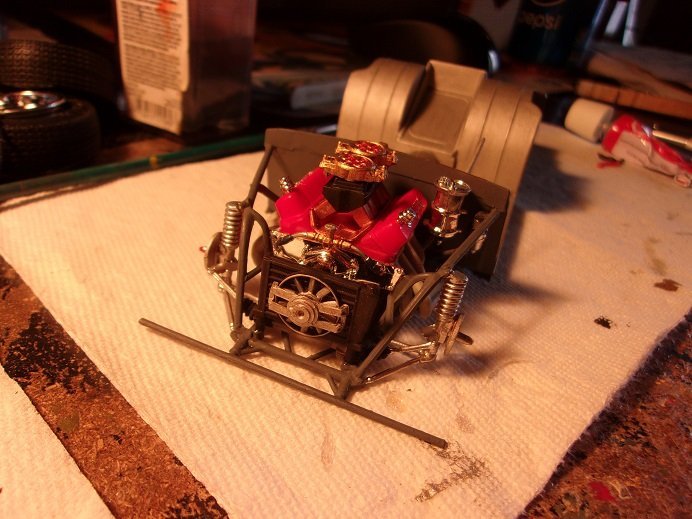
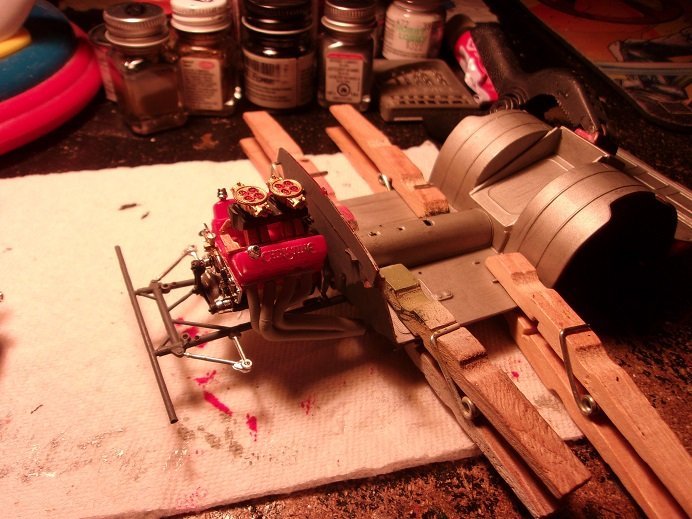
I'm still doing some painting on this project.......hope to get more done this week. I have one picture to share with you.......I had better hurry before the admiral has a fit.......she wants to go shopping guess I had better get dressed.................OK, I'm ready! hee....hee.... putt'in the headers on
-
in regards to your finish pictures.......it might look a wee bit better to be on asphalt or concrete.......but certainly not on a garbage can ......jess' say'in
-
thanks for the likes folks yea.......I think the time to do any of the deeper weathering should have been done before the decaling was done. god knows that I have a bunch of different hues of olive......heck, even some of the tan colors would have worked well. true on the rubberized tracks...kinda hard to get them to rust. a lot of what I put on there has disappeared...you'd never know that I applied anything....so I may leave it at that I did remember to do the rubberized bogies.........got me a few points anyway it is what it is.........it's an old kit that has stood the test of time. I've even seen a few older kits out there.......this one even newer, since I bought it off the shelf. it is an interesting kit though.......shows the advances and evolutions that the model tank has made though the years. the more modern kits sport interiors and oodles of external details......more than the older kit can provide. thank the good lord for the detail kits......I'm sure there is one for this kit. the formal finish is soon........
-
your near the finish line silver....silver leaf......no matter how one does it, silver can be a task and a half! I wonder if aluminum paint would be a better choice. she look'in good my friend......great job!
-
superbly done Kevin.........very sharp the leather work is awesome!


