popeye the sailor
-
Posts
16,007 -
Joined
-
Last visited
Content Type
Profiles
Forums
Gallery
Events
Everything posted by popeye the sailor
-
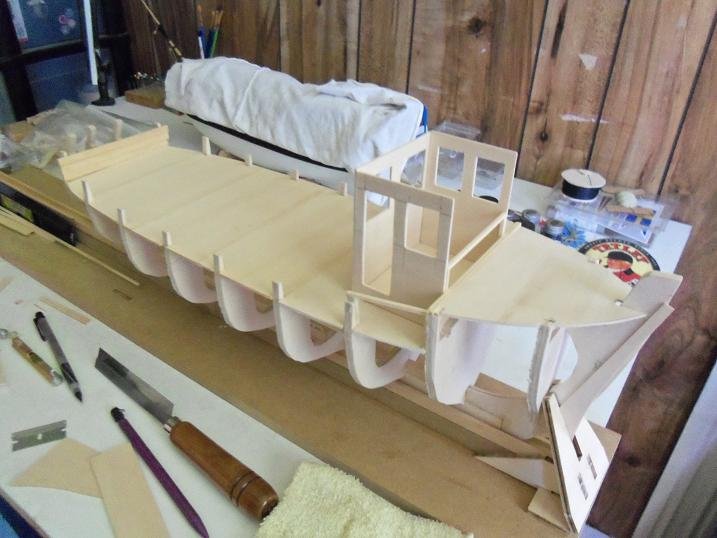
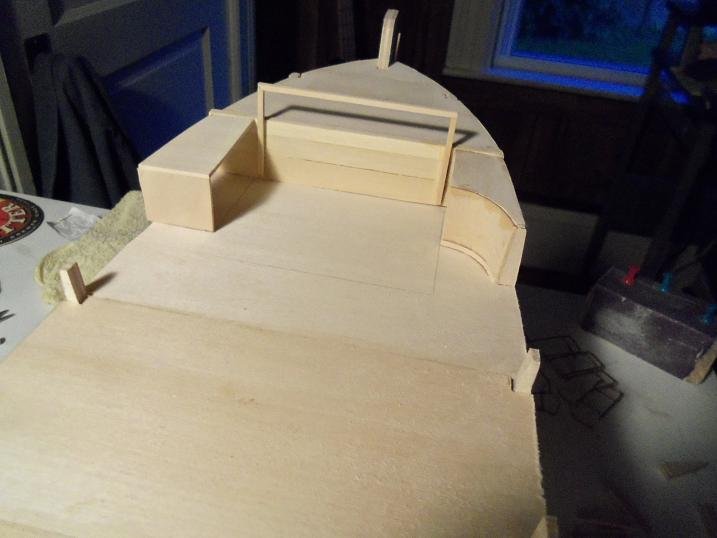
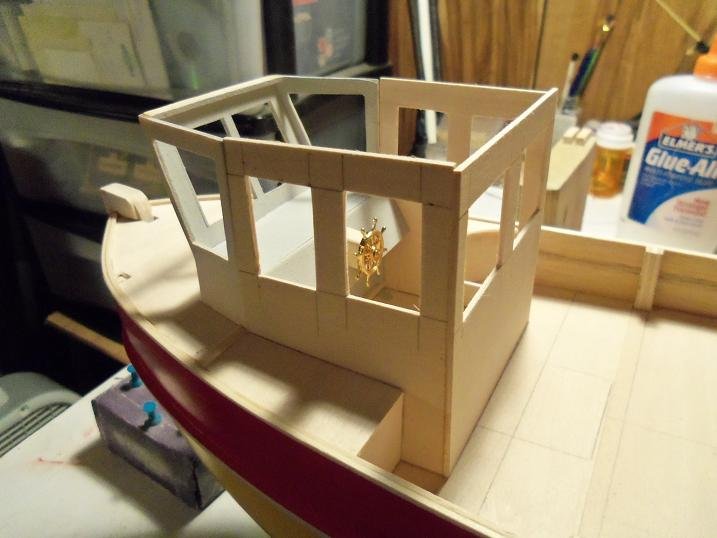
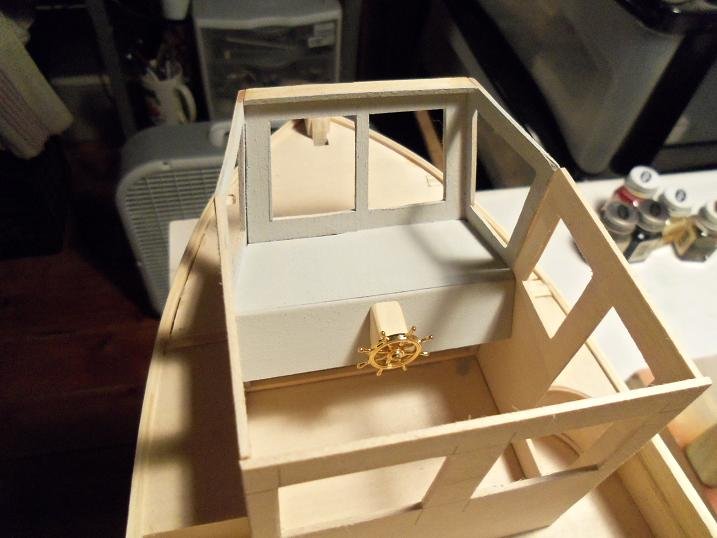
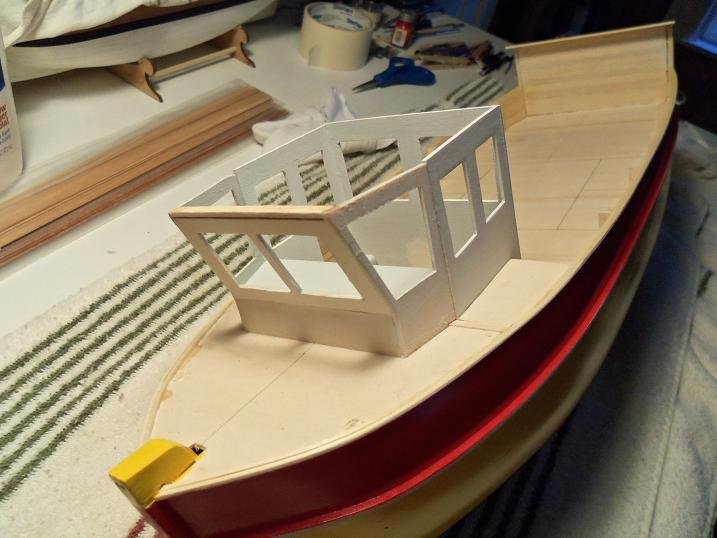
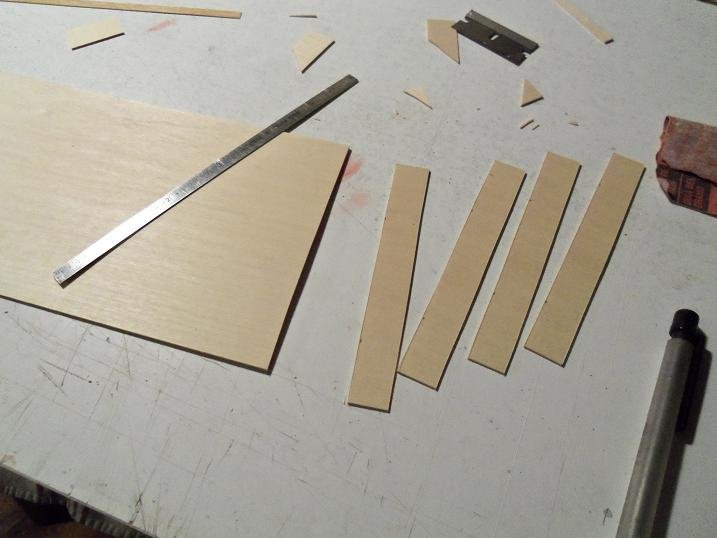
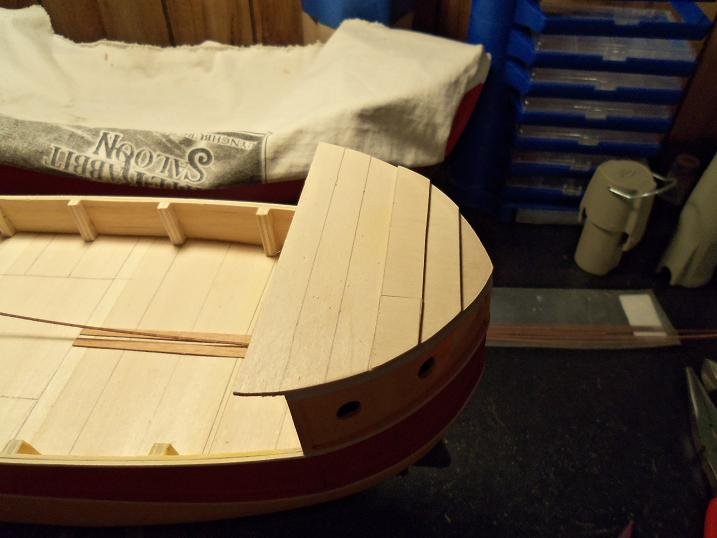
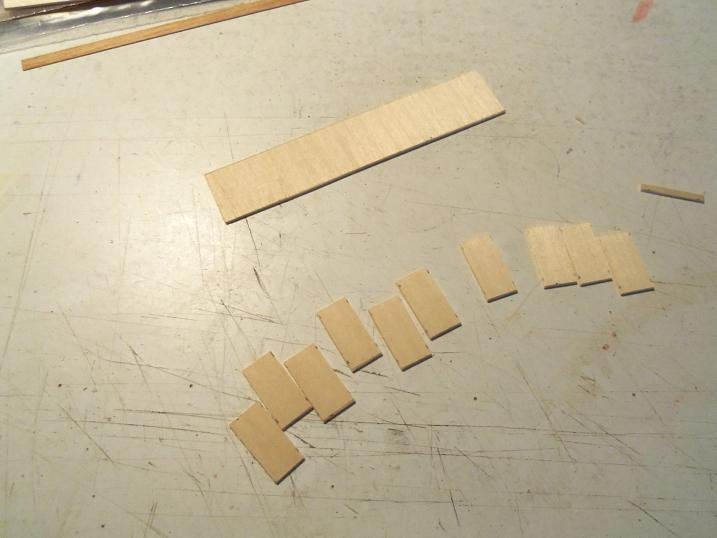
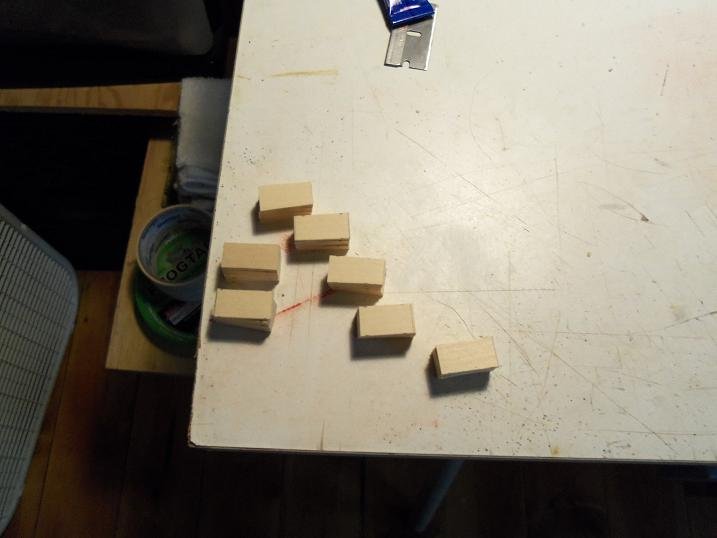
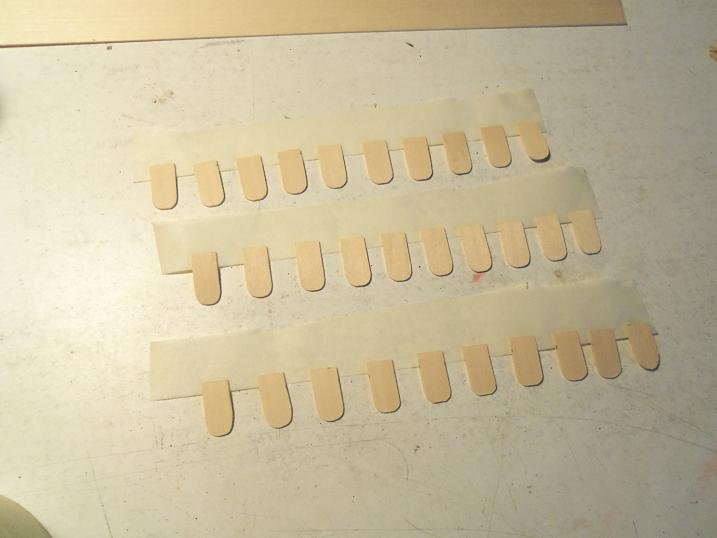
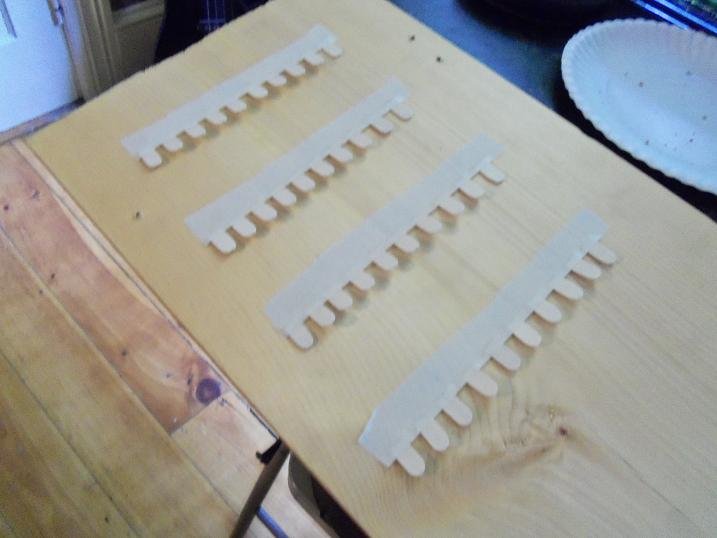
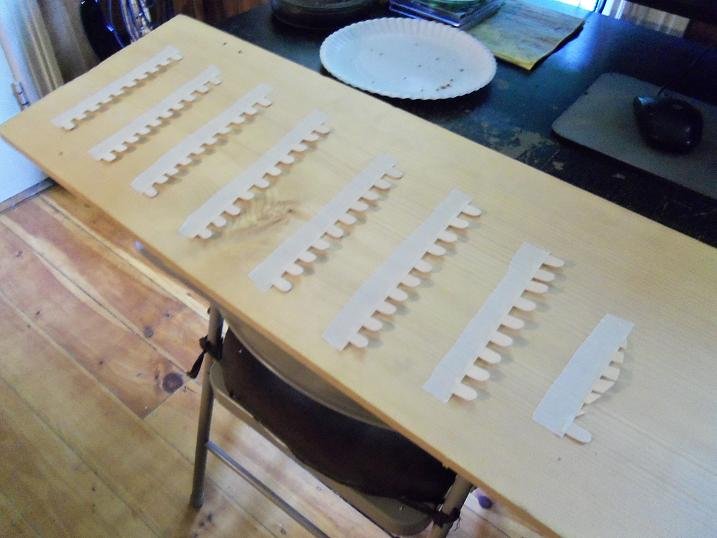
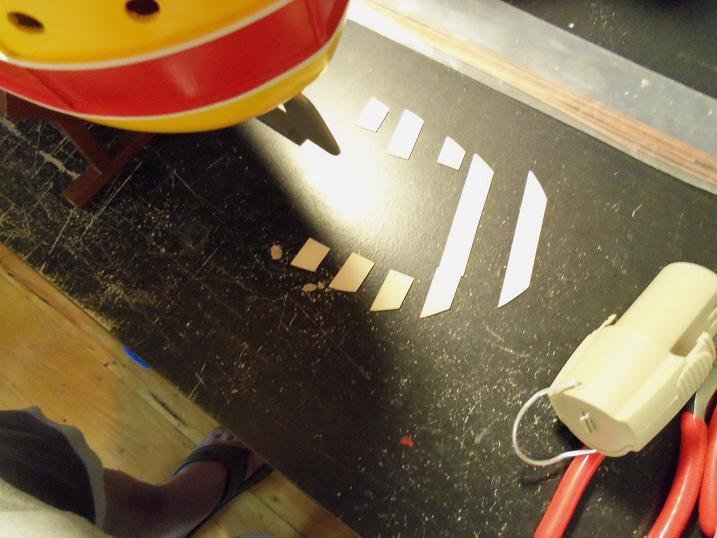
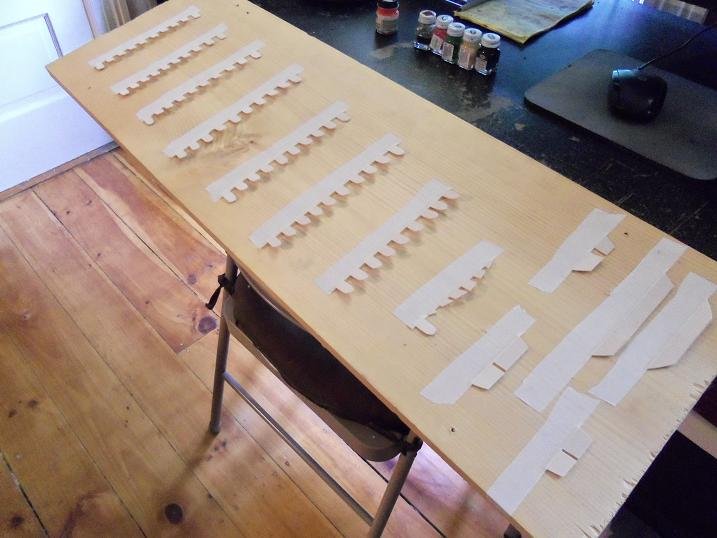
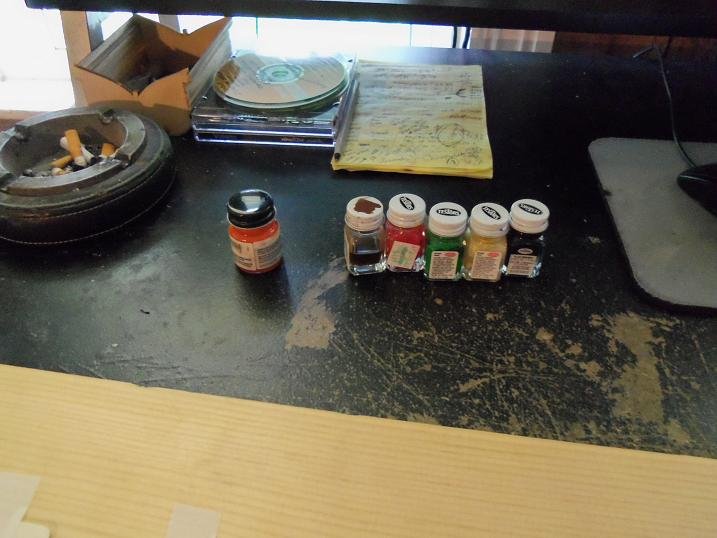
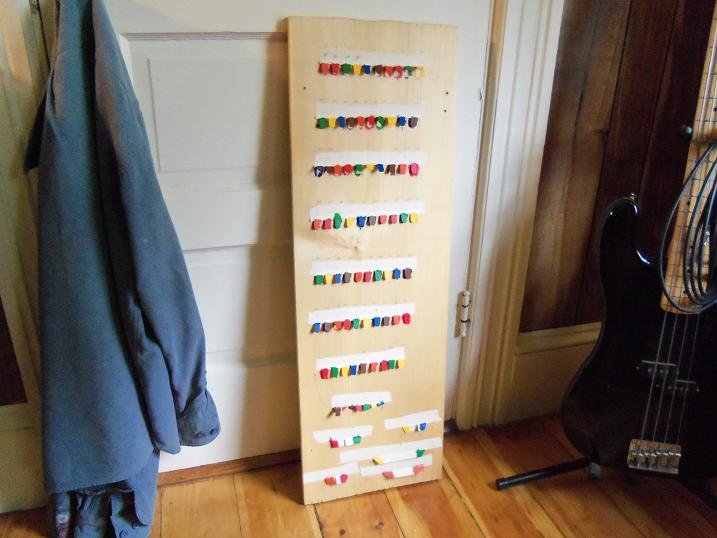
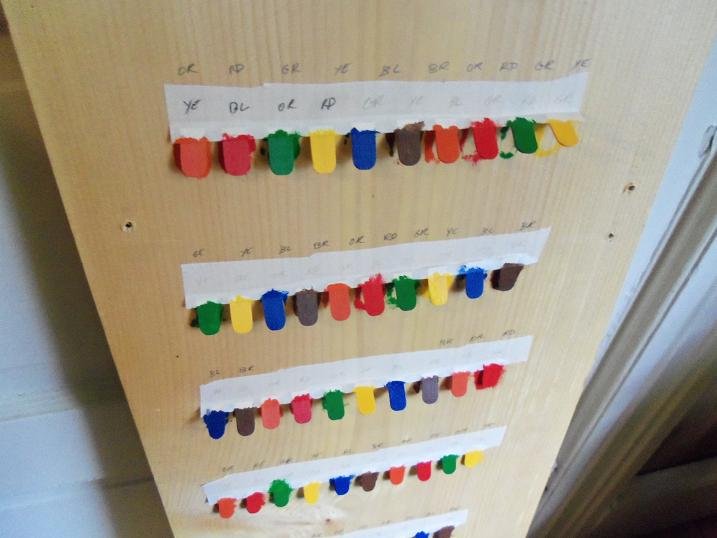
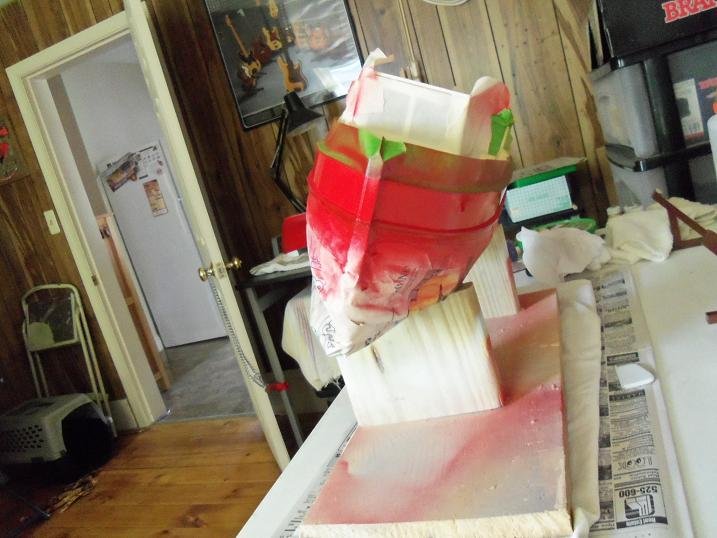
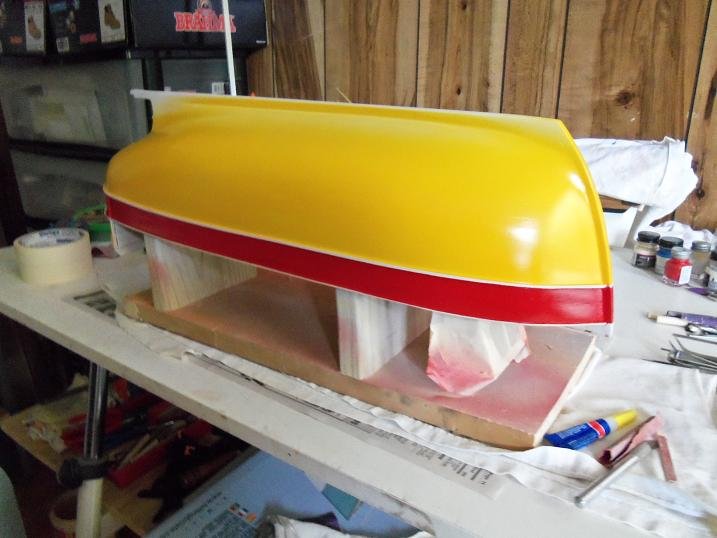
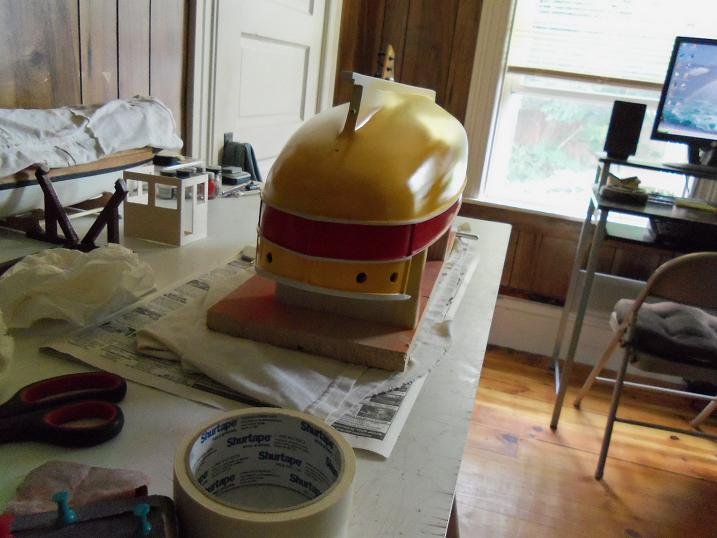
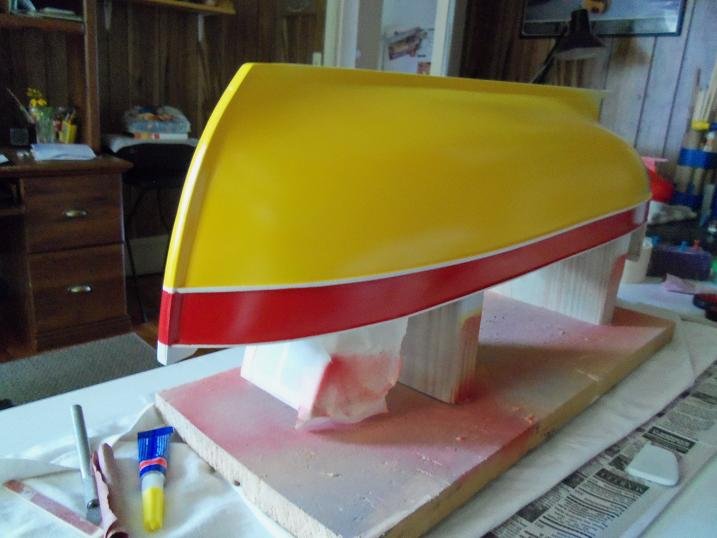
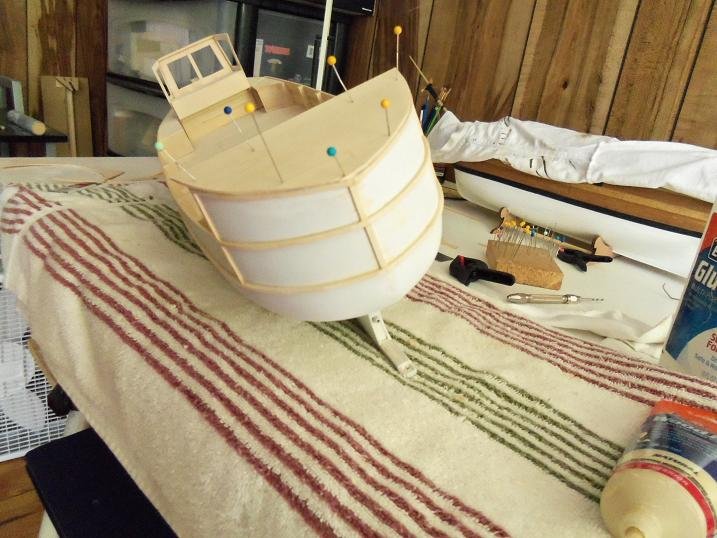
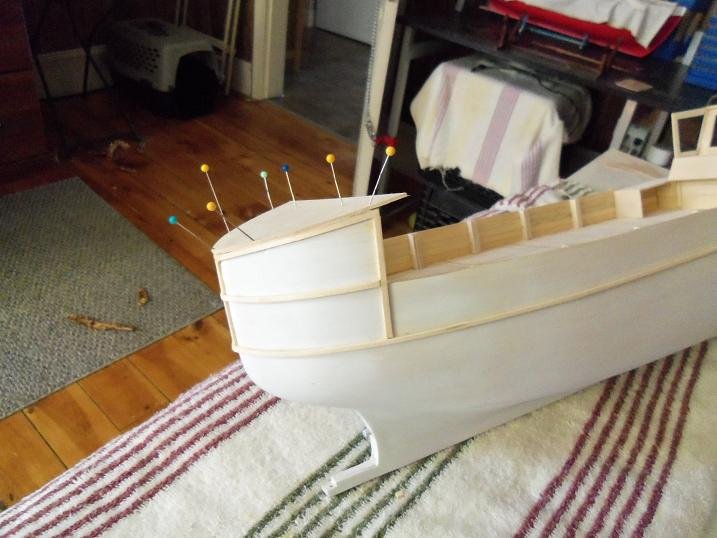
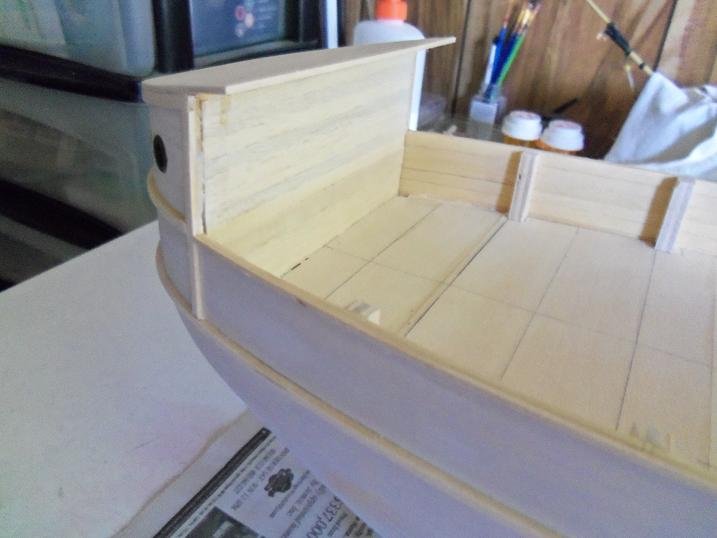
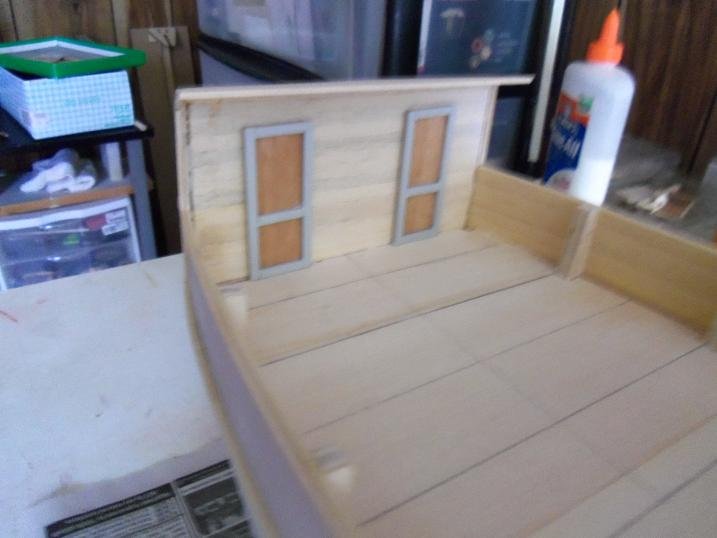
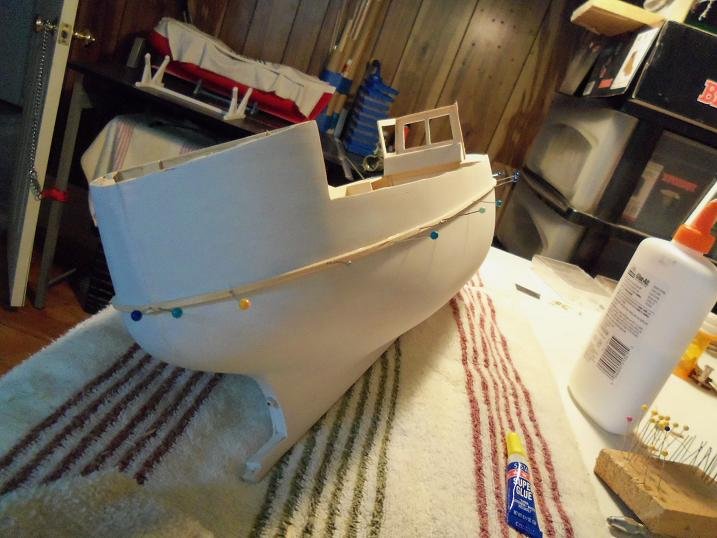
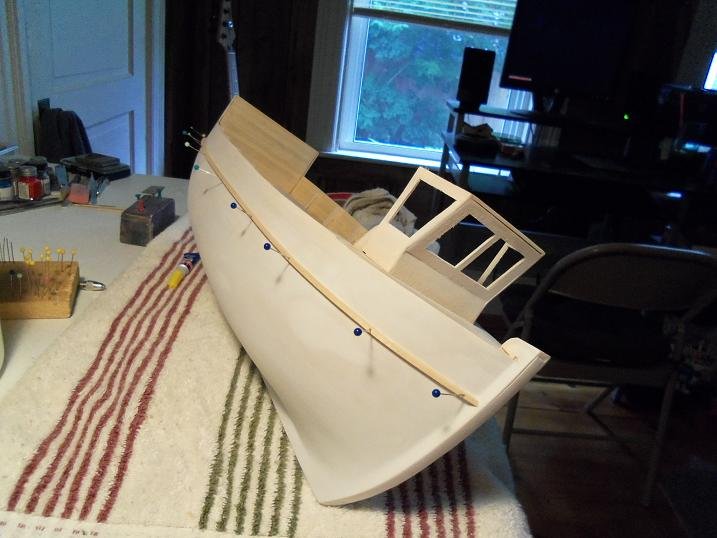
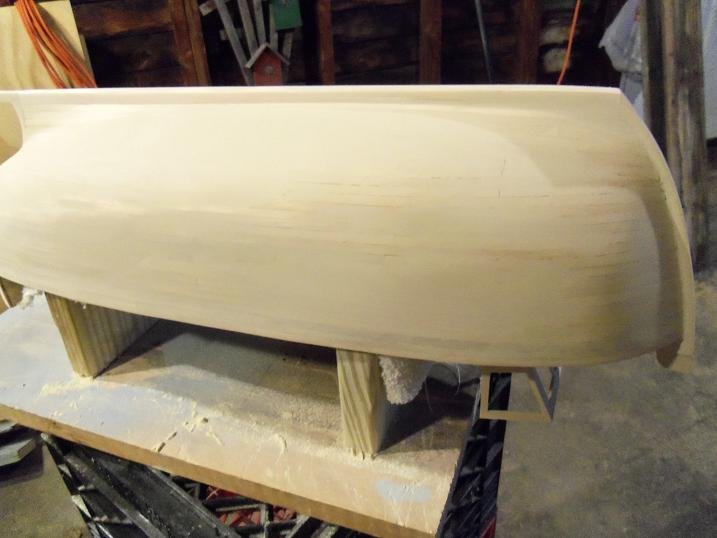
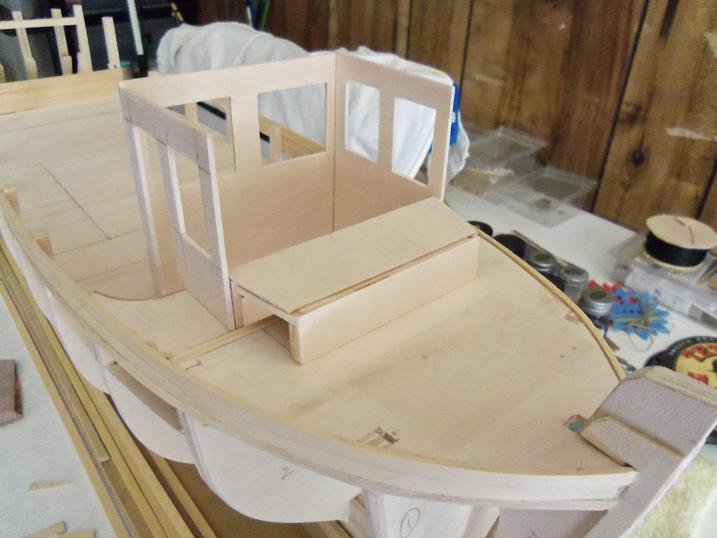
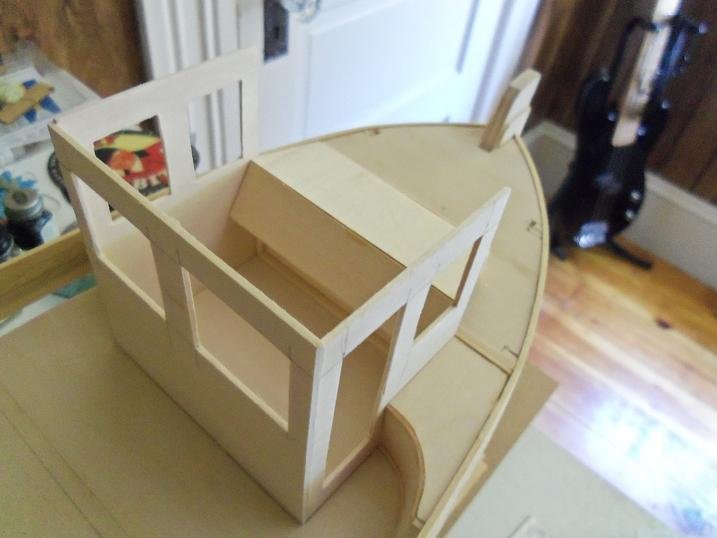
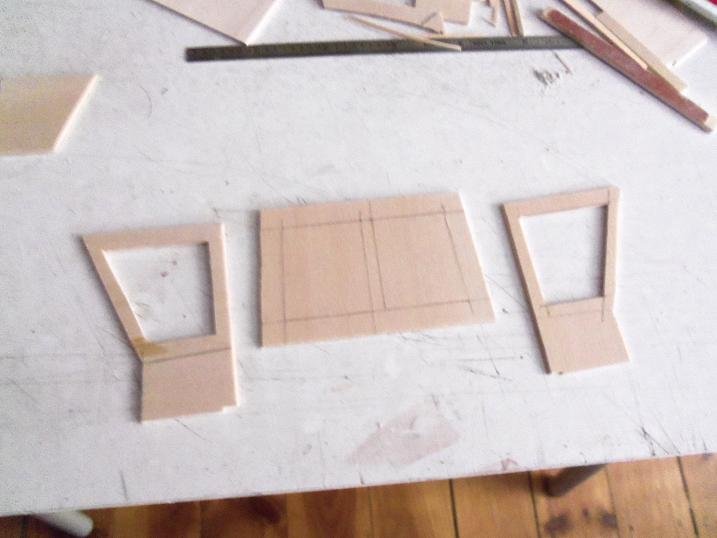
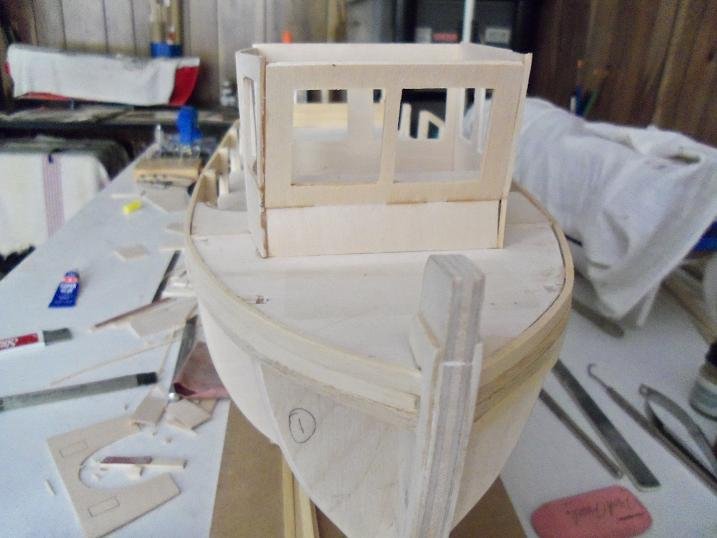
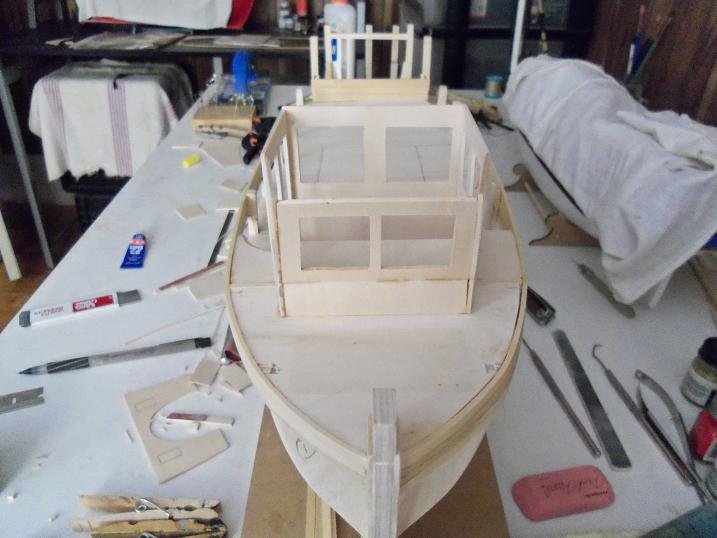
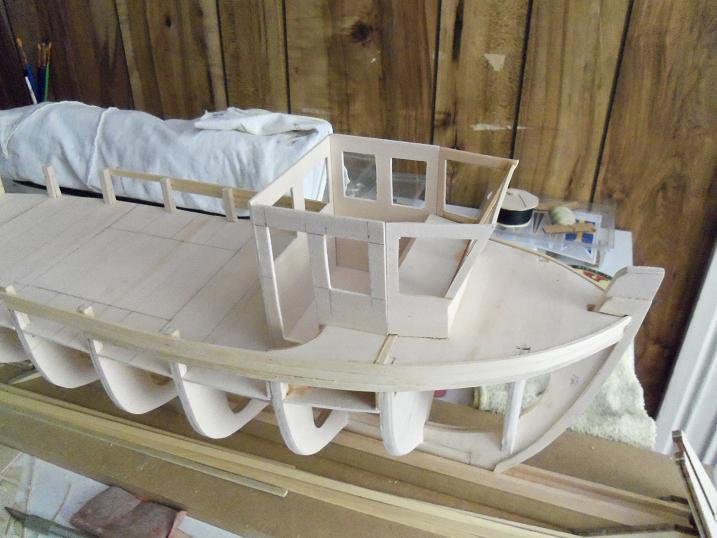
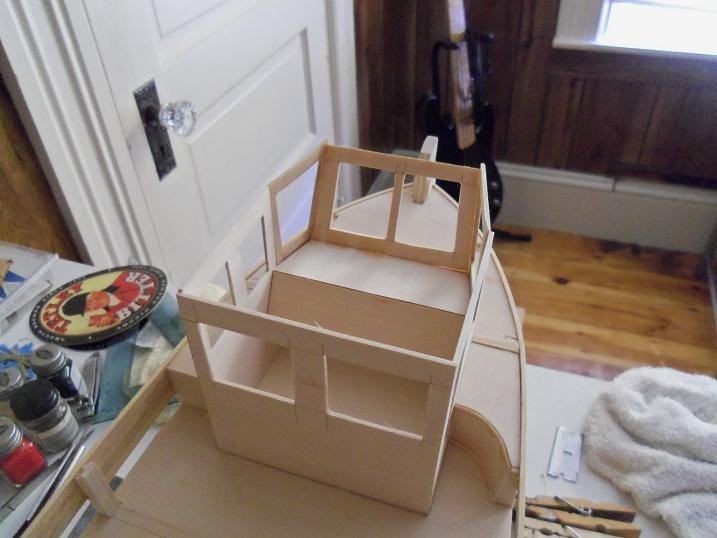
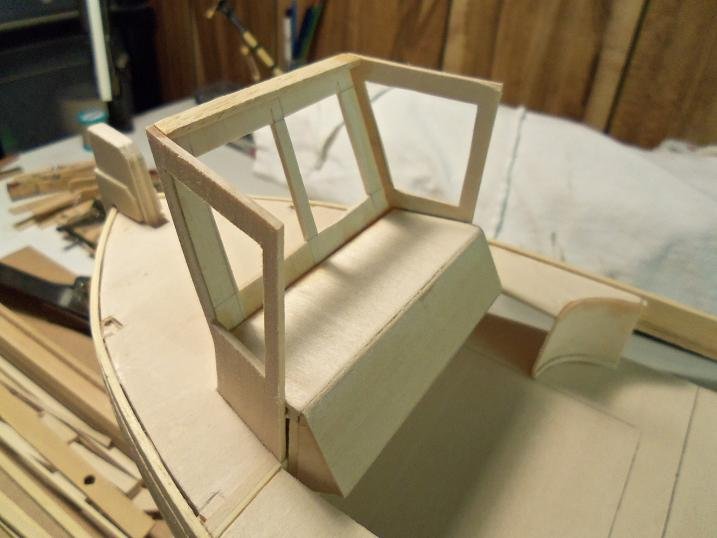
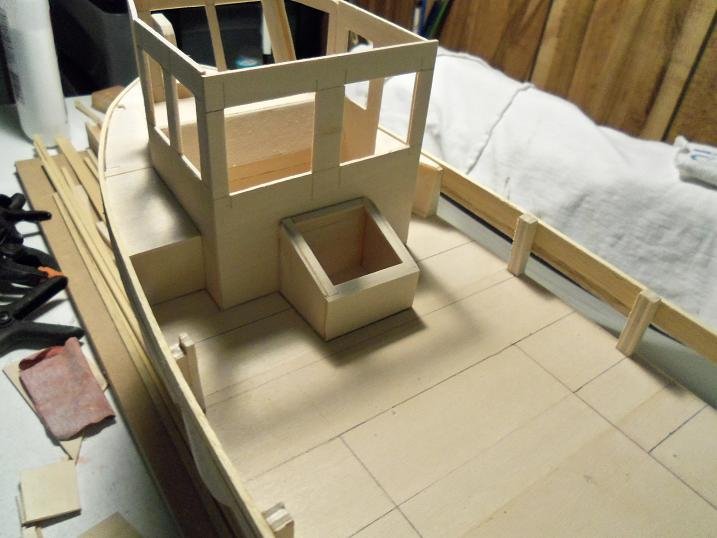
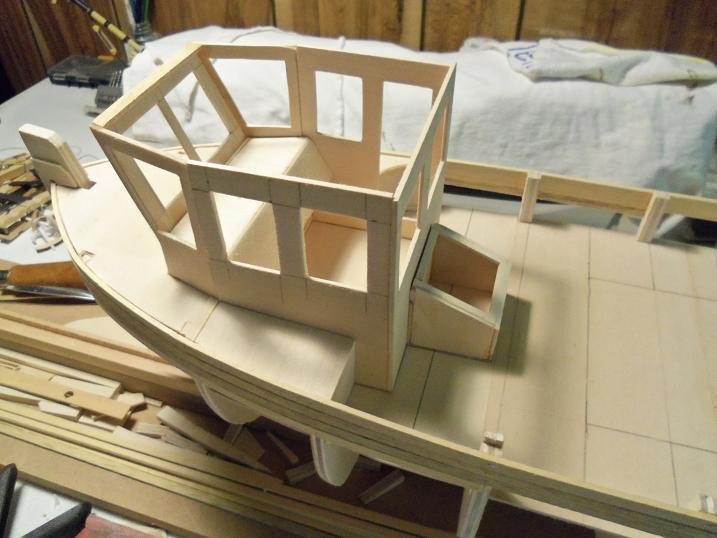
 thanks OC.........sadly, I don't think I got to see your Vic. with all the logs I look at {and I do oggle over quite a few} I missed it I don't miss too many of yours now {notice I said 'many'}. that my no name Bass.......don't even know who makes it. it's a shorter bass.....kind of like a student model. I put a set of flatwounds on it and it sounds really nice.....has a nice smooth 'bottom' to it. I have two other bass guitars.....a Fender Squire P body, and a Epiphone Les Paul. the last set of pictures were from 7-25-2012............these are from 7-27-2012. I started to flesh out the aft cabin roof. looking at these pictures.......I can't believe I did this. this was just the beginning for the pilot house. the cabin roof is a rounded triangle......I planned to shingle it. the shingles were cut and shaped. I was getting an idea of how they were to fit.......I started to plank the deck at this time too. all cut into little wafers.......they will be shaped and trimmed into the shingles. they were set on a board. once arranged on the board, each one will be given a color. they are to follow a pattern. I had taken paper and cut them to the contour of the edges. the shingles that line the edges of the roof will be trimmed to these pieces of 'templates'. all done with Testor's.......
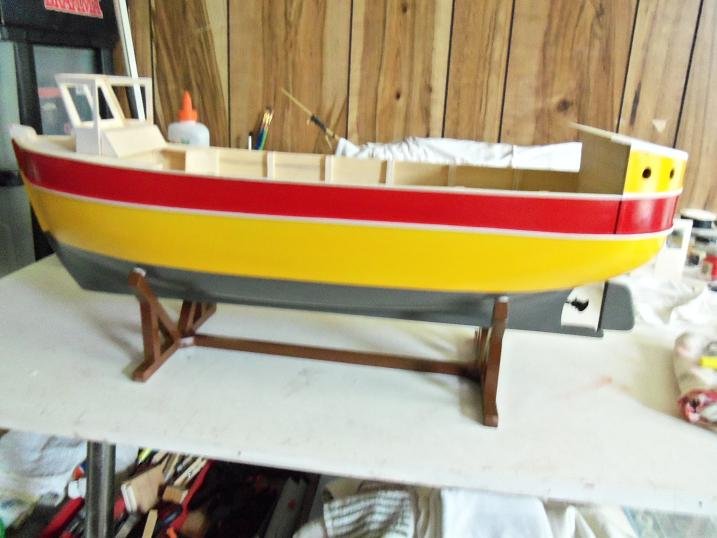
-
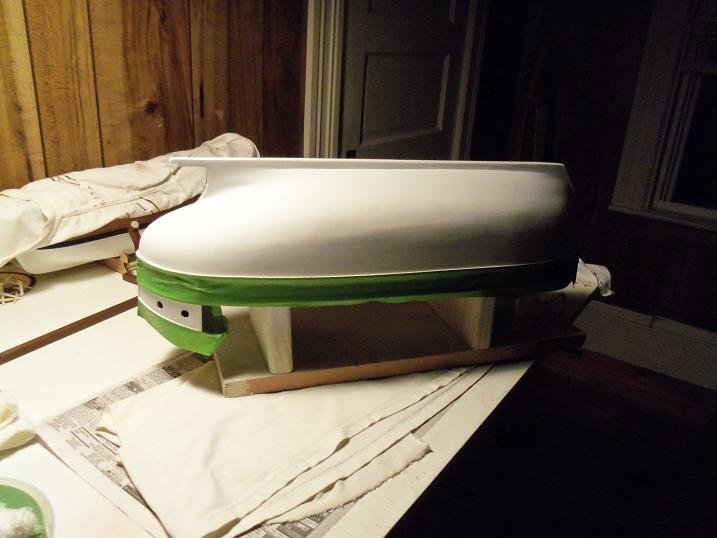
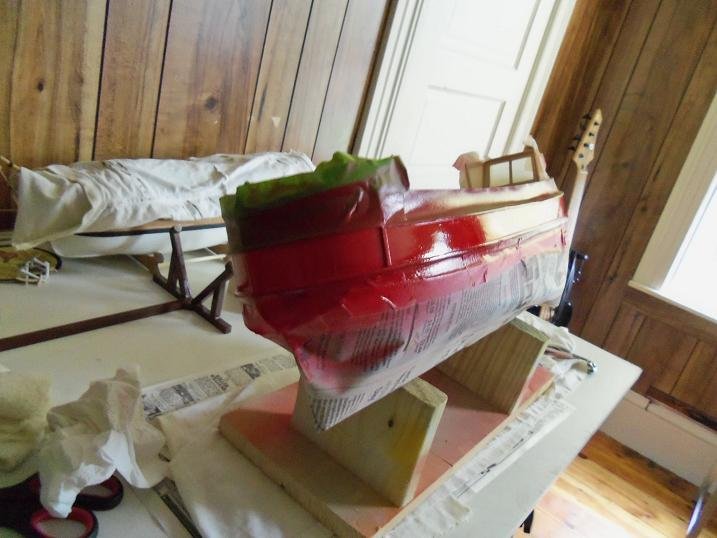
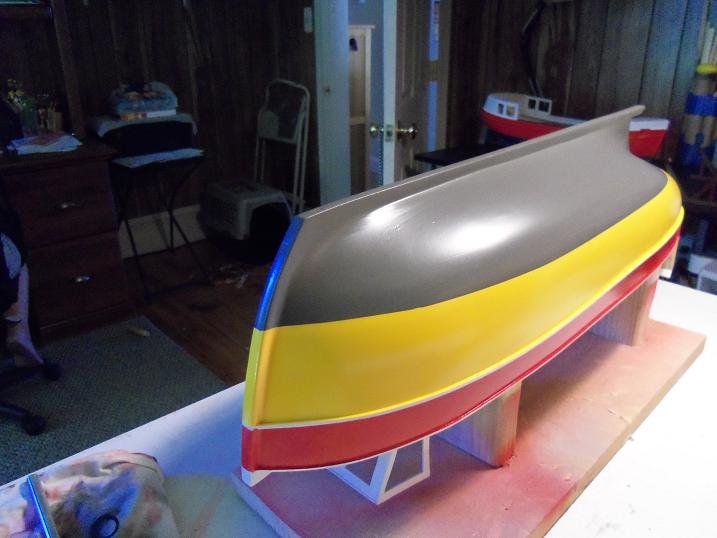
....amazing how long these log pages are. I remember when they were half the length paint! the paint work on the model came out so good. it was probably one of the best jobs I ever did. more in the next session
-
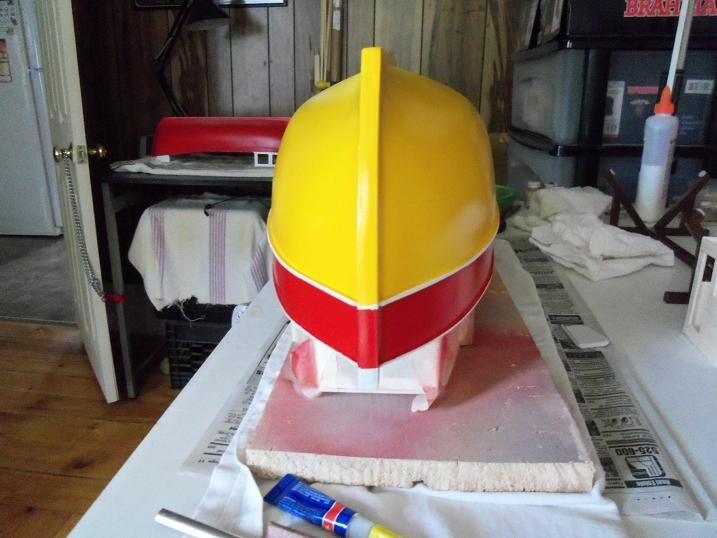
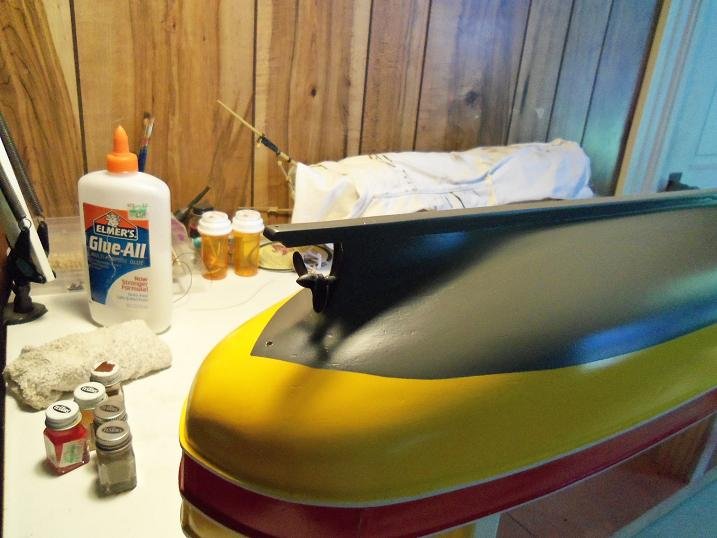
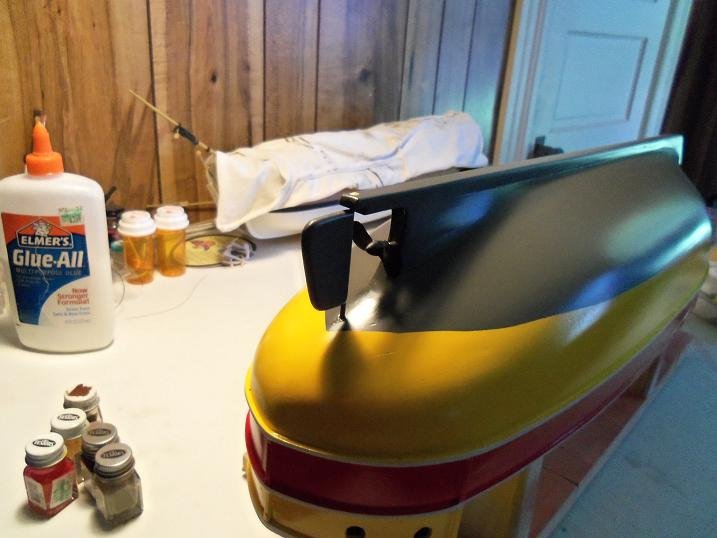
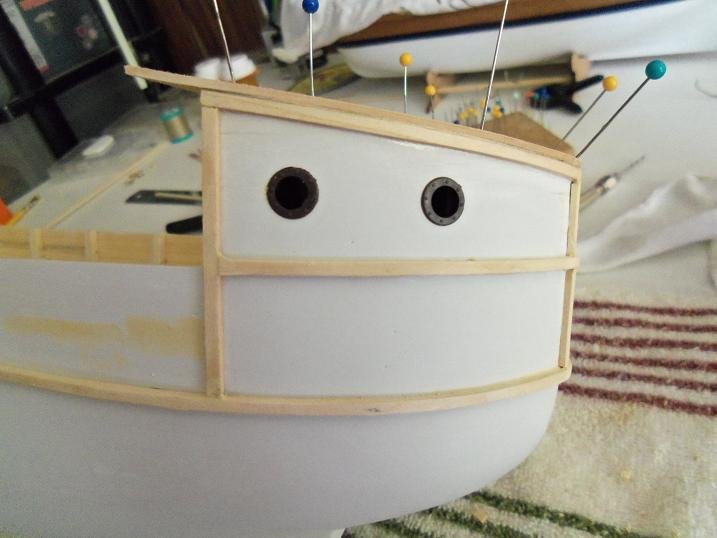
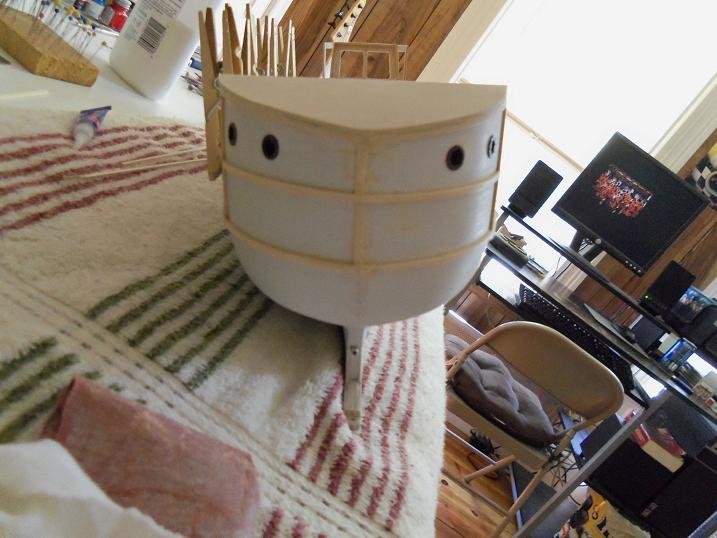
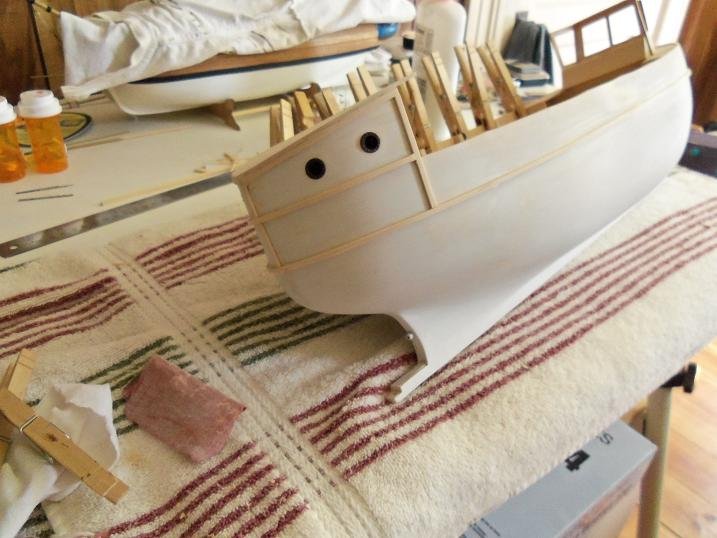
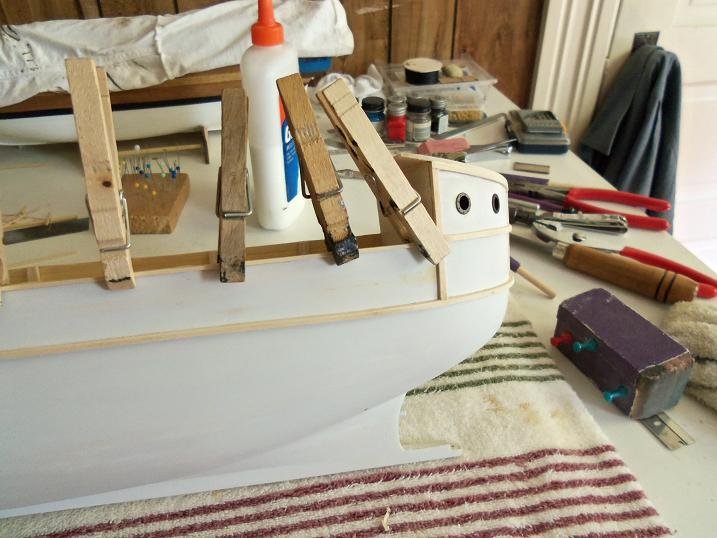
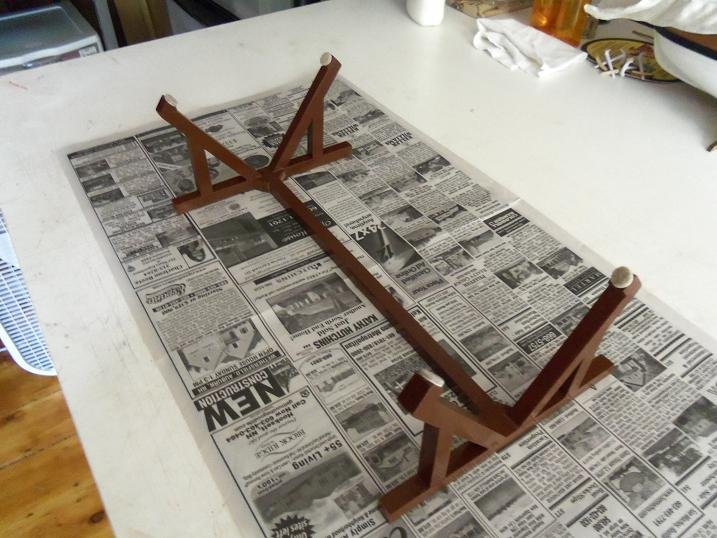
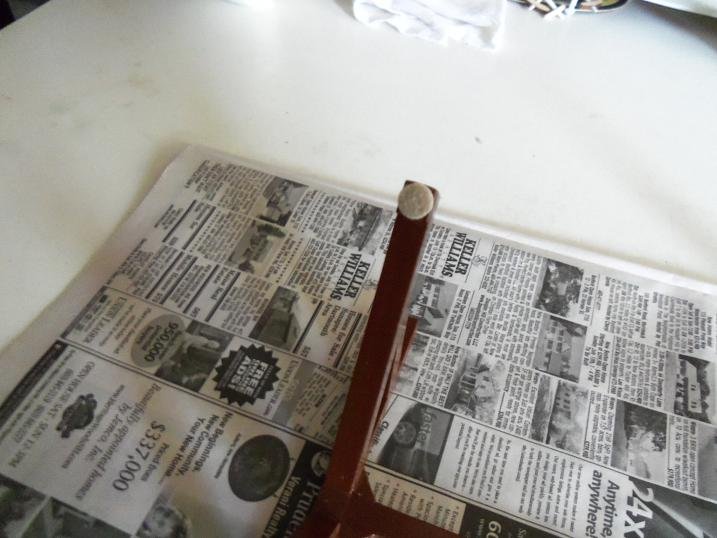
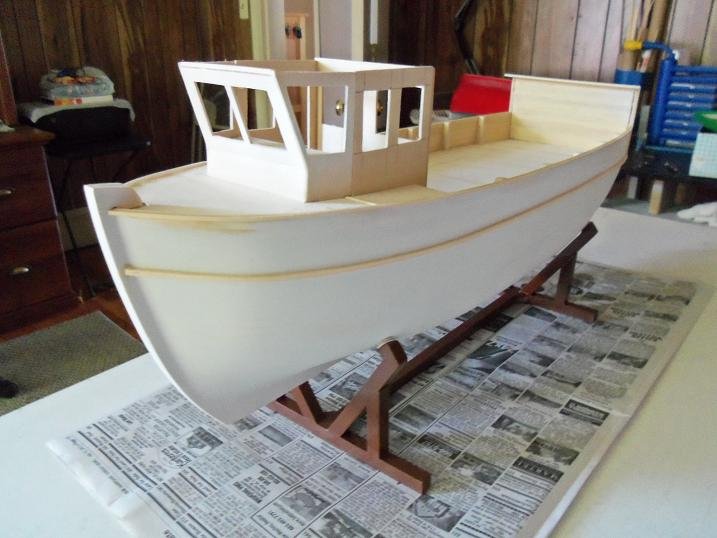
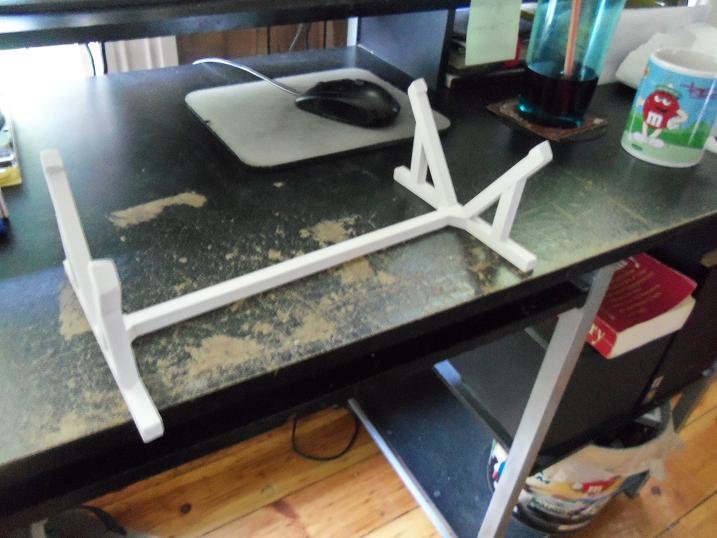
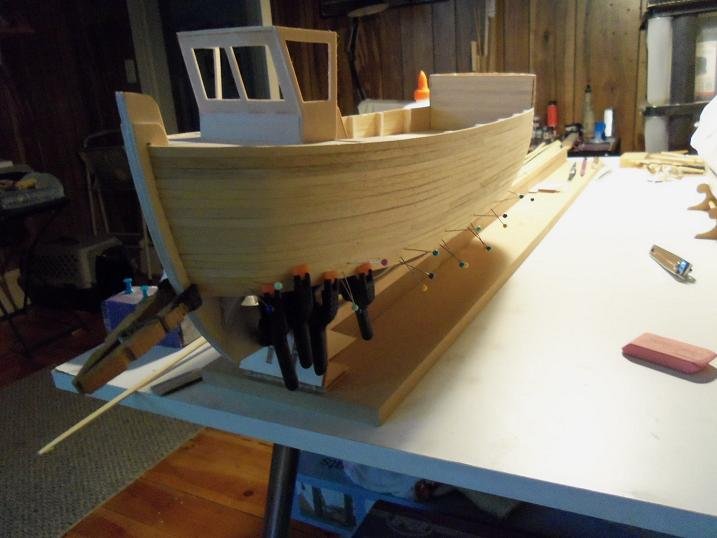
7-19-2012 we are getting close to paint.....which is good......but there is so much more to go more rub rails were added, along with some of the other bits of detail....like the portholes in the aft cabin. the cabin roof was put on at this time too. the stand got it's felt buttons.... here are a few more shots of the progress. there were over 800 pictures in the entire log....... ...and this one small addition to the model.


-
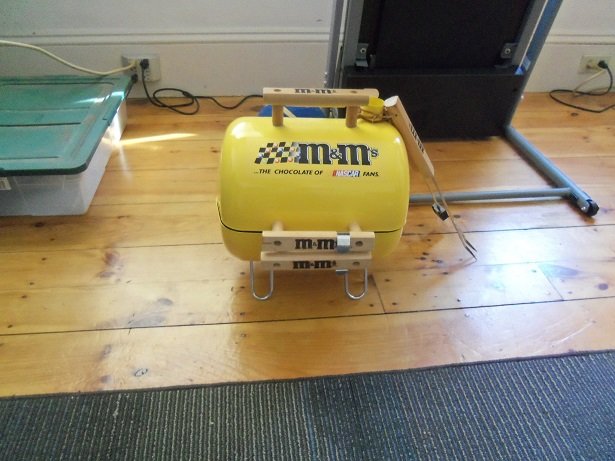
thanks Pat..... we are doing some research on the hibachi...trying to get a handle on just how many of them were made / sold. neither of us have seen it before, and the people that Kevin bought it from, told him they got it from a raffle. we're thinking that it may be a collector's item........for this reason, she won't use it, and I don't blame her. some of her cookie jars and dispensers go back a few years. I keep telling her that she ought to pack some away...but she wants to show them {who can blame her.......I have my boats in the living room} thanks to all who hit the like button
-
it will be.........until you see the direction it wants to go in I think your going to like where that hull takes you .
-
I think you need more of those blocks! Brandon {my oldest} was the Lego kid in the family.....one night during a power outage, we build a city block!. yes, that's how many Lego's he had fuel the fire!.....by all means look'in good.......so glad your able to put some time into it.
-
huff'in and puff'in to catch up! what an ambitious project you have going on here.........I look at the shape of the hull and right away, I think James Bond! I'll just take any seat.......no matter where you sit...it's ringside
-
look'in good piet yea, I'd likely experiment too.
- 378 replies
-
- 6
-

-
- java
- pacific crossroads
- (and 2 more)
-
you did a fine job........rigging and sails look very good congratz!
-
I think Greg did one of his Japanese ships that way. I thought it looked good pull'in up a chair OC
- 122 replies
-
- 5
-
-
- tamiya
- King George V
- (and 2 more)
-
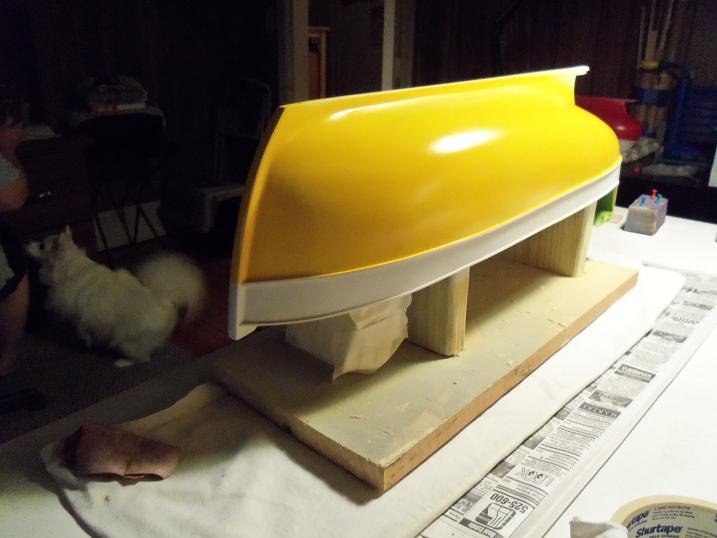
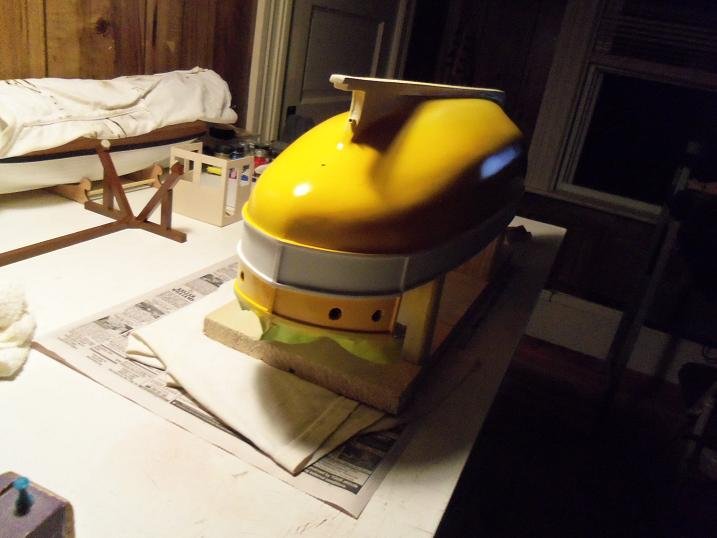
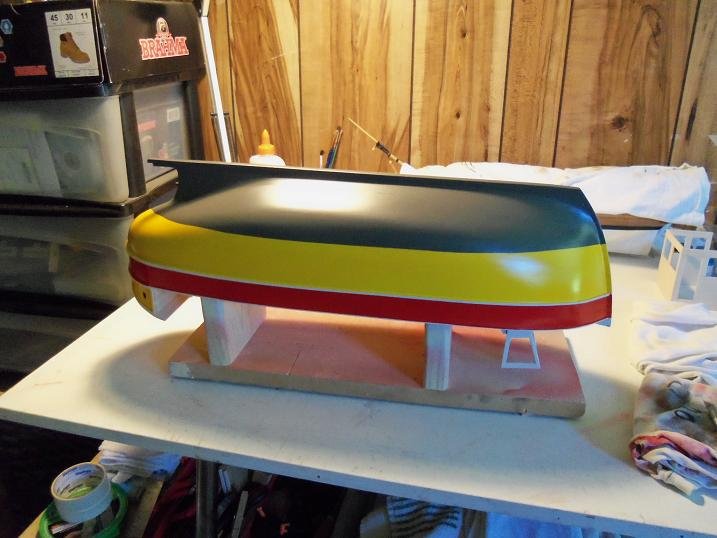
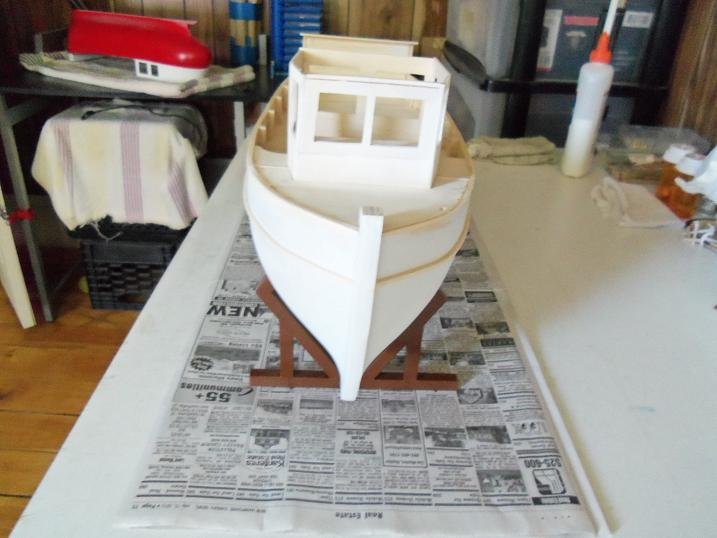
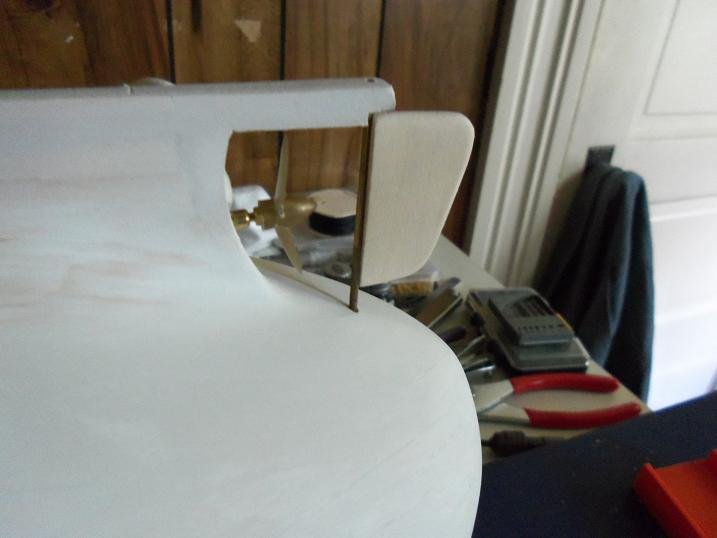
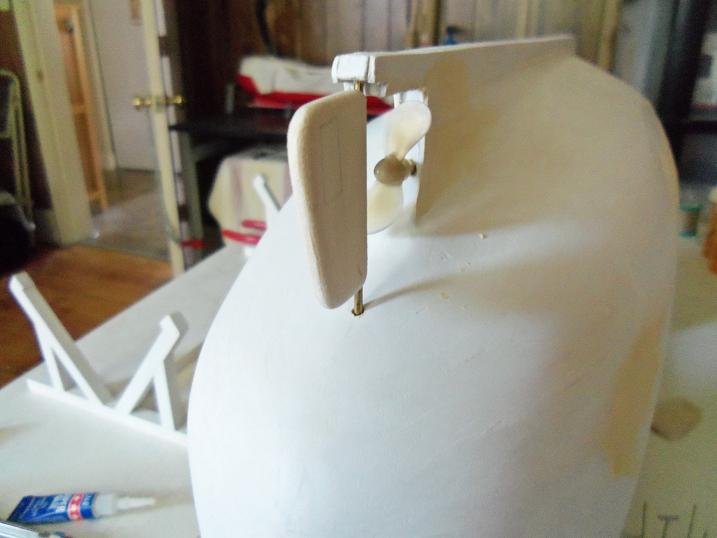
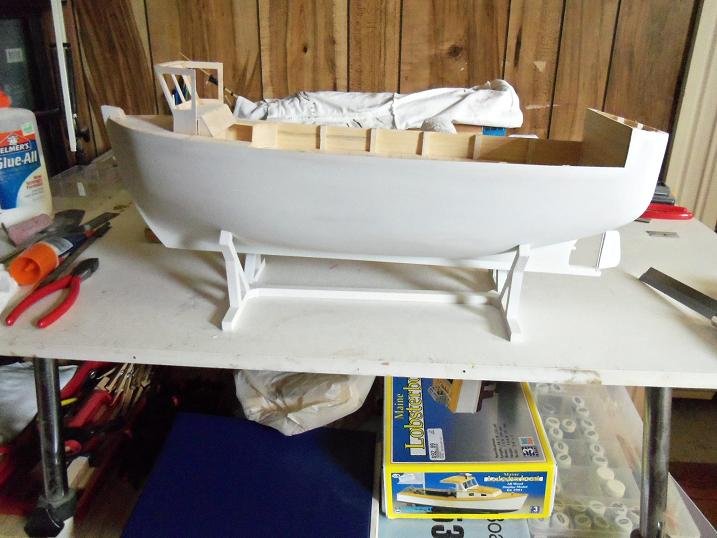
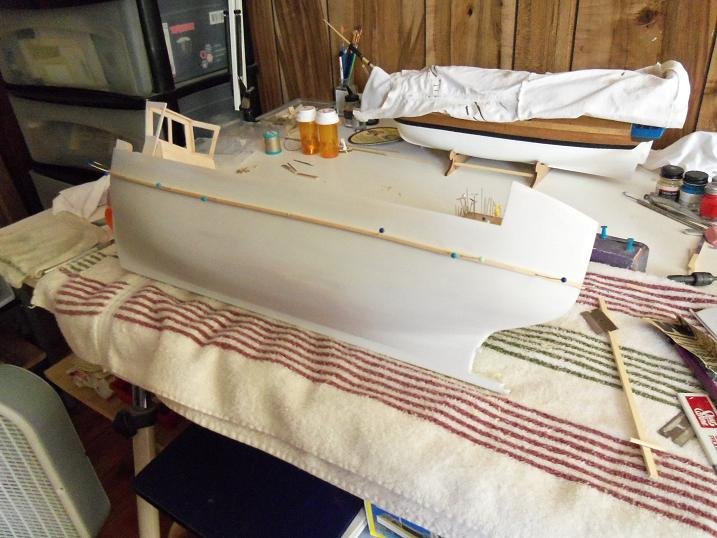
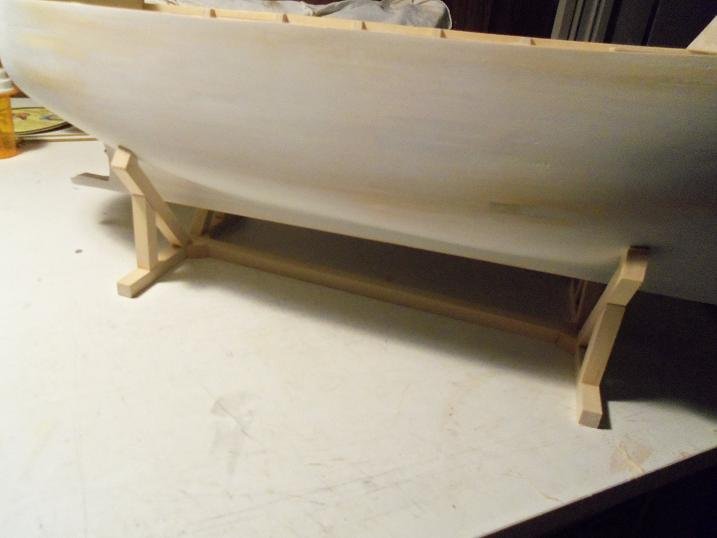
7-18-2012 it wasn't much.....just a facial the rudder was made at this time and installed. the hull was just about ready for paint. then it was time for rub rails. the stand got a coat of paint first. more rub rails to go yet....stay tuned

-
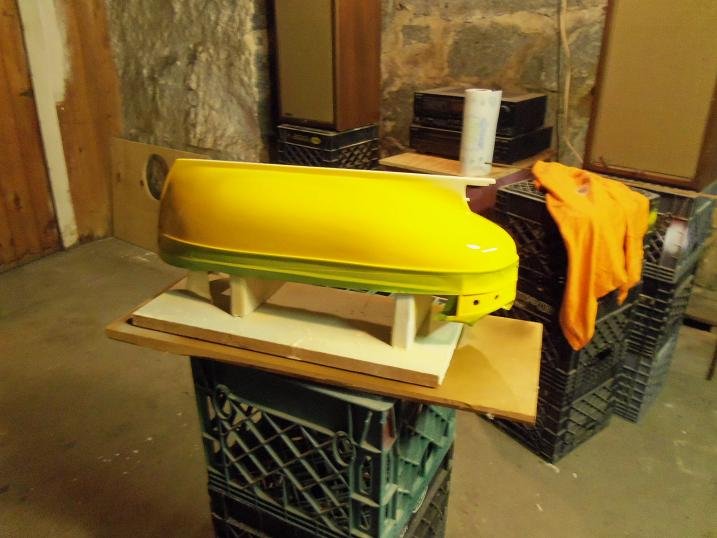
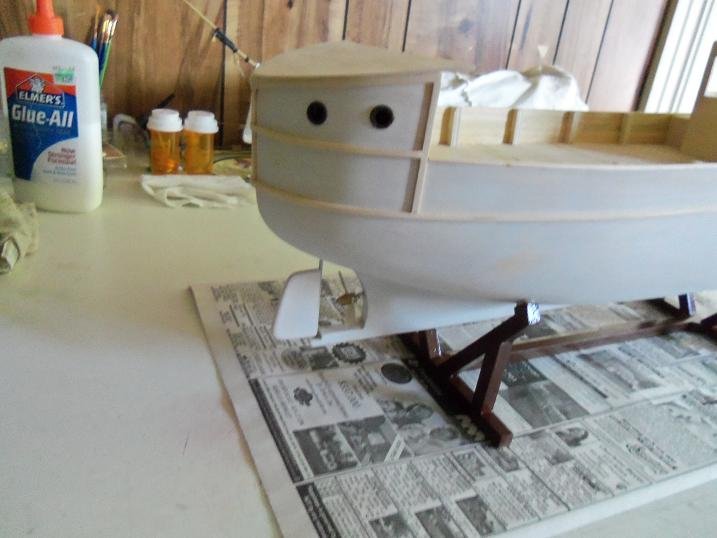
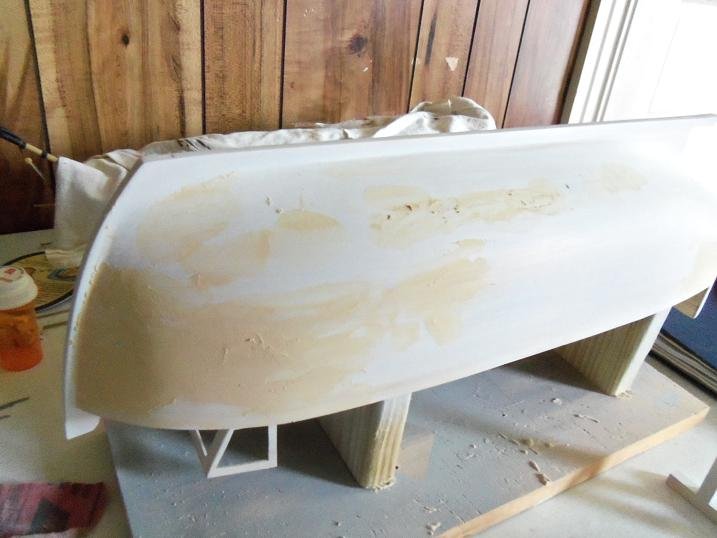
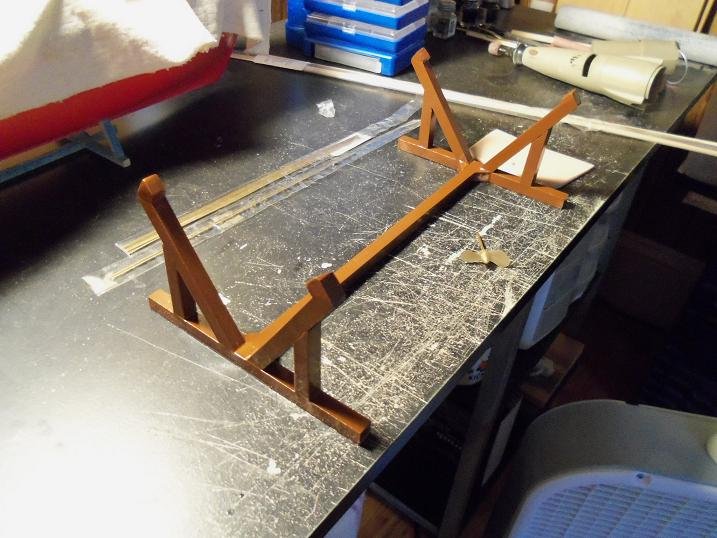
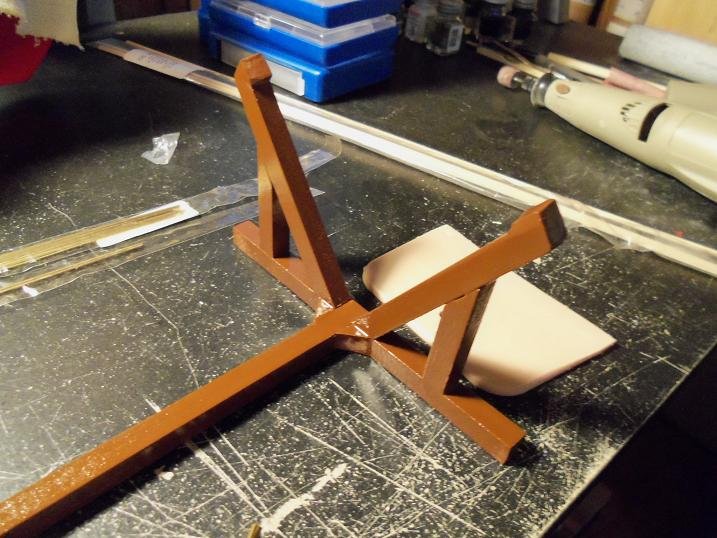
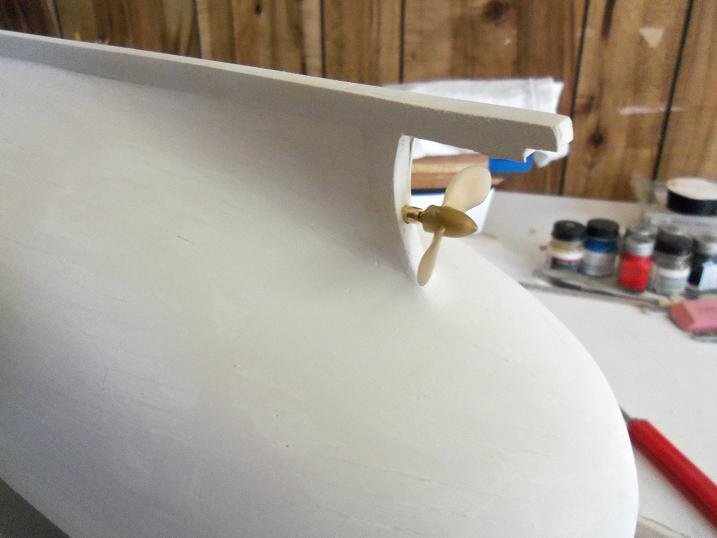
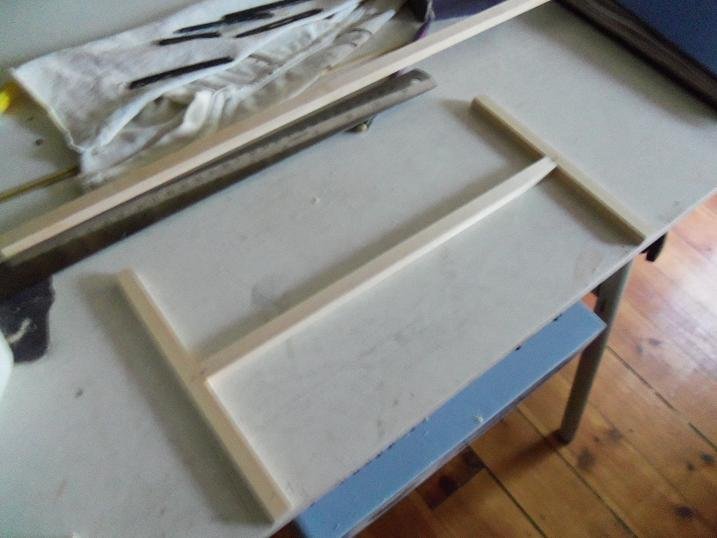
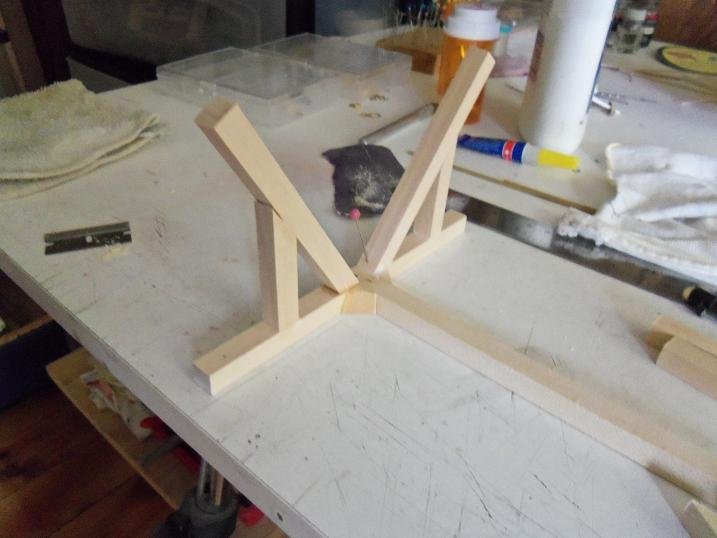
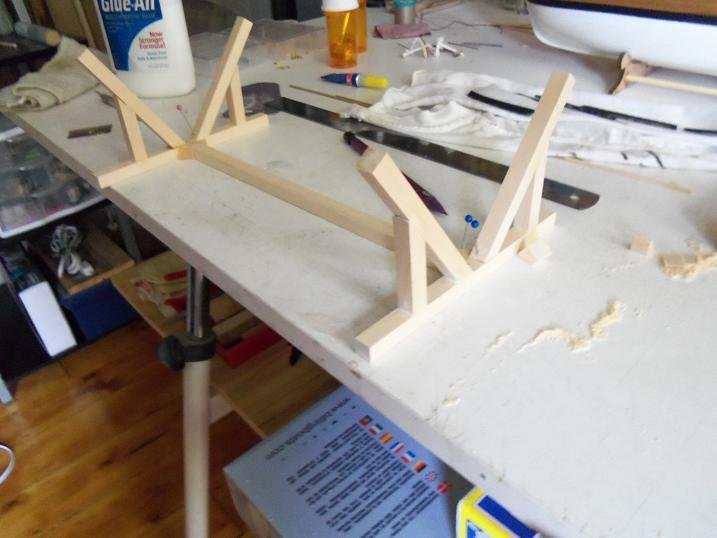
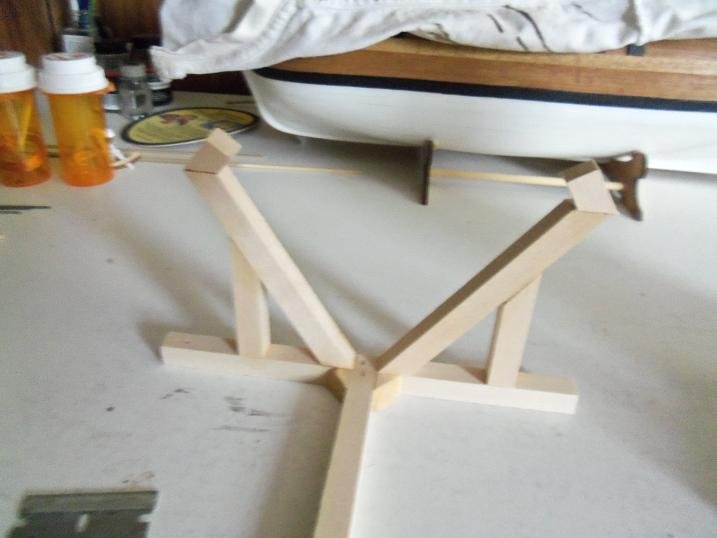
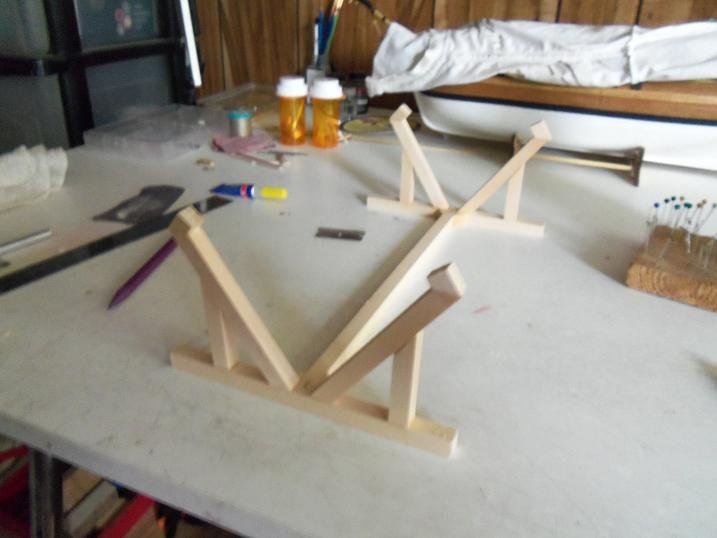
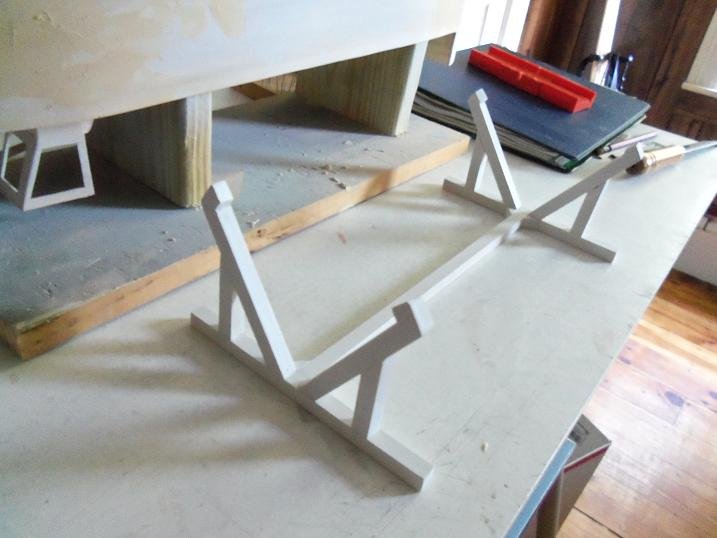
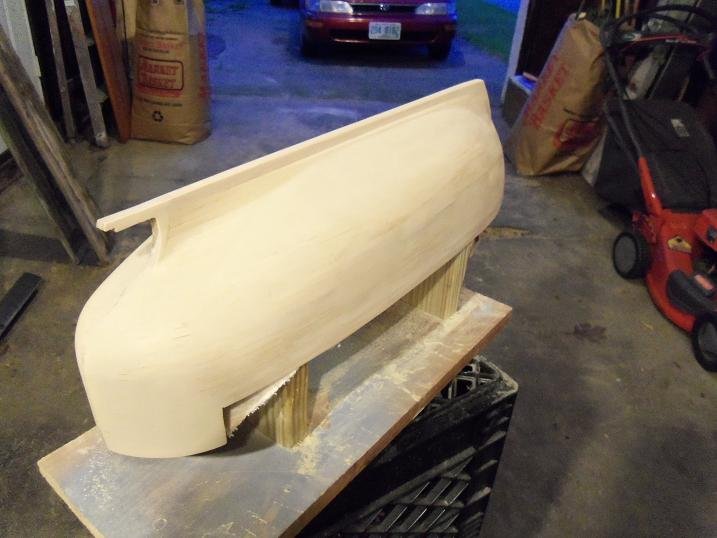
7-17-2012 the prop was then added to it. then I began to make the stand for her. then it too got a coat of primer. as can be seen, I added a little more filler to the hull.......I believe that was the last application.
-
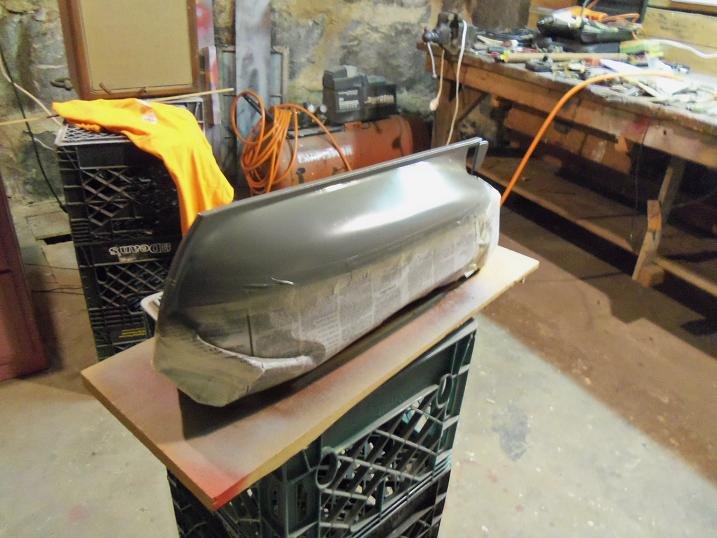
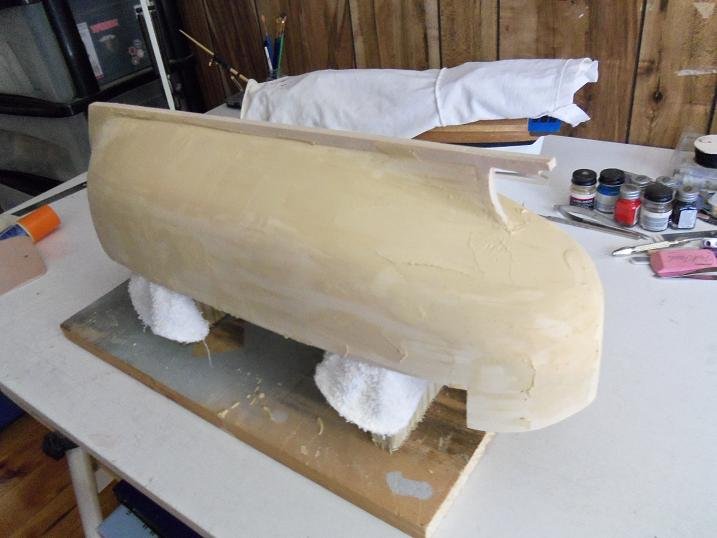
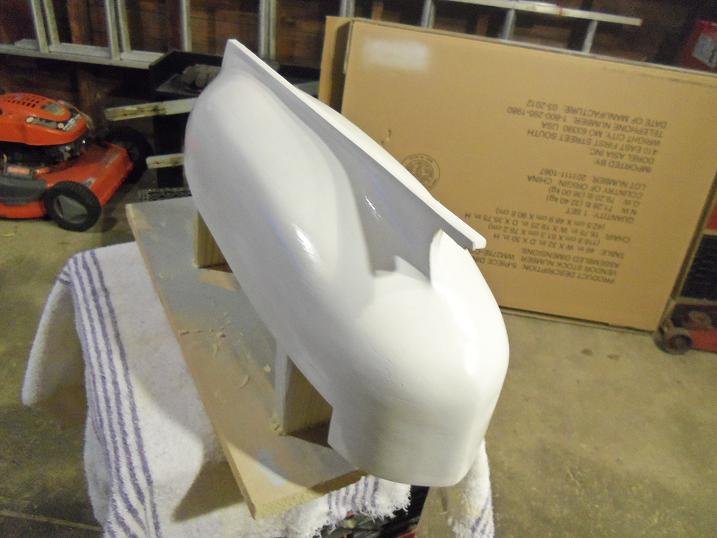
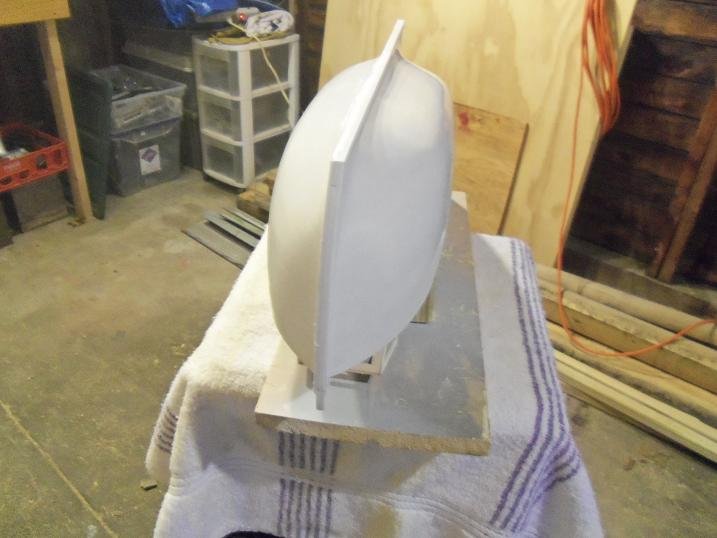
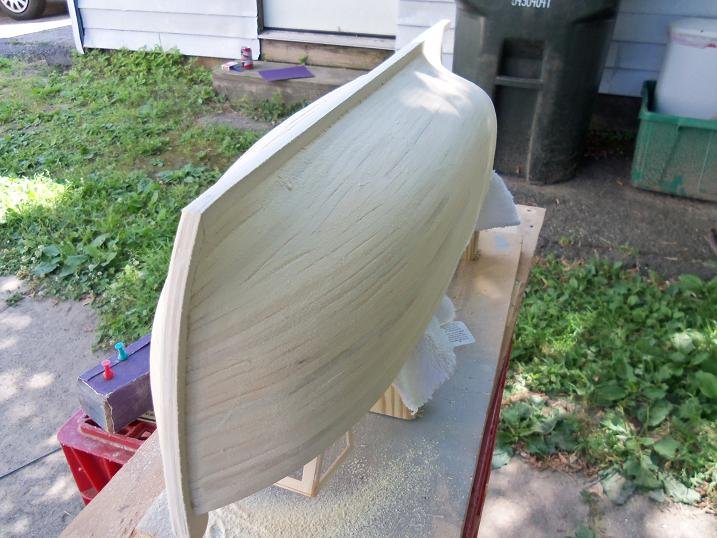
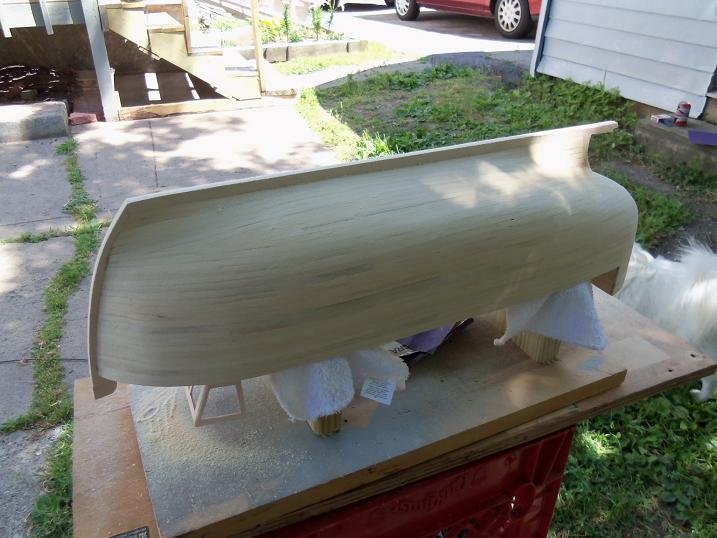
OK.......I got some time before I have to man the grill {no....not that one....she'd kill me!}. here are some shots of the hull / filler treatment 7-11-2012 I spent a lot of time sanding.......I still had a couple of imperfections to take care of. when I got it where I wanted it, it got a coat of primer.

-
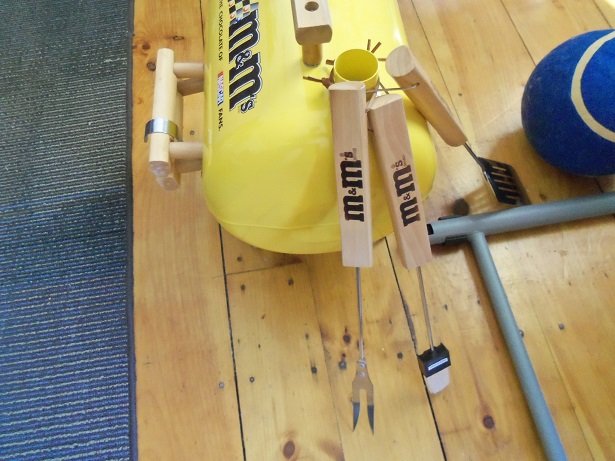
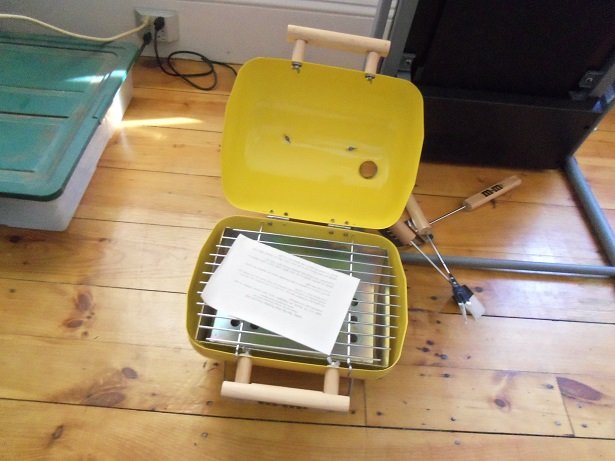
thank you very much Patrick it had the usual imperfections, but it didn't take much to get the hull ready for paint. actually, it was kinda quick.......I did do a coat or two of filler, but I like to sand as much off as I can. it doesn't add thickness to the 'shell'. very kind of you to say. thanks to all for hitting the like button the admiral got a pleasant surprise today...... our youngest son Kevin and his fiancee {spelling.......dunno, I'm used to saying 'girlfriend'} brought her over something to add to her collection ......an M&M hibachi! came complete with the utensils! I might loose the spare room, if she keeps this up!
-
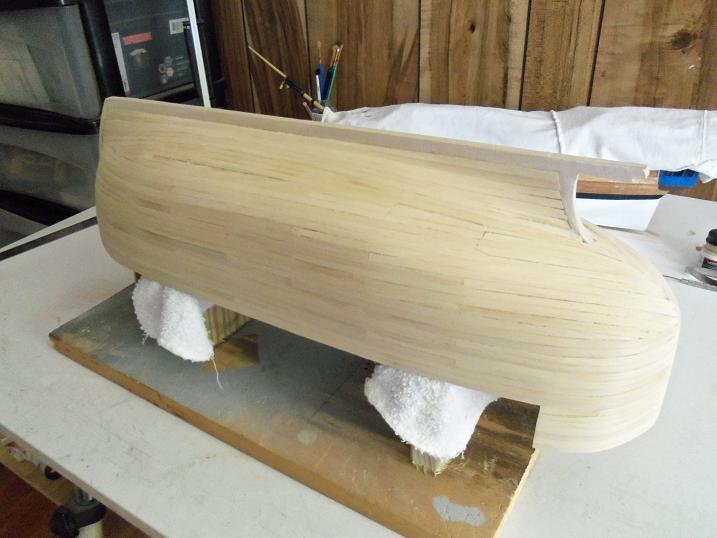
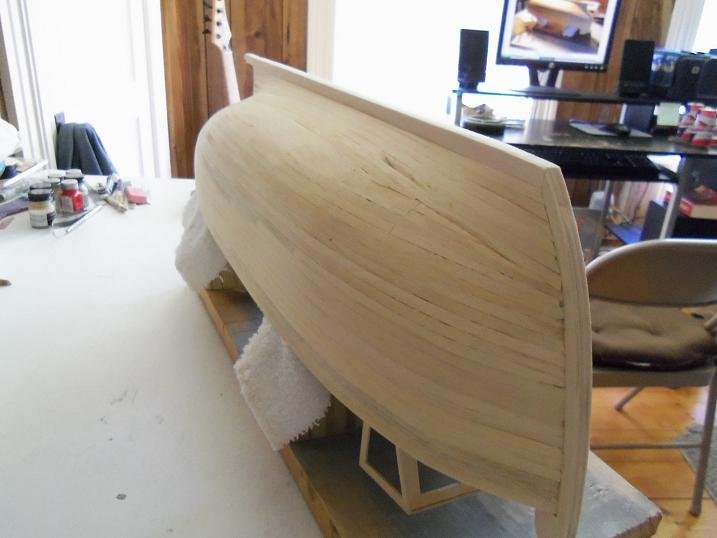
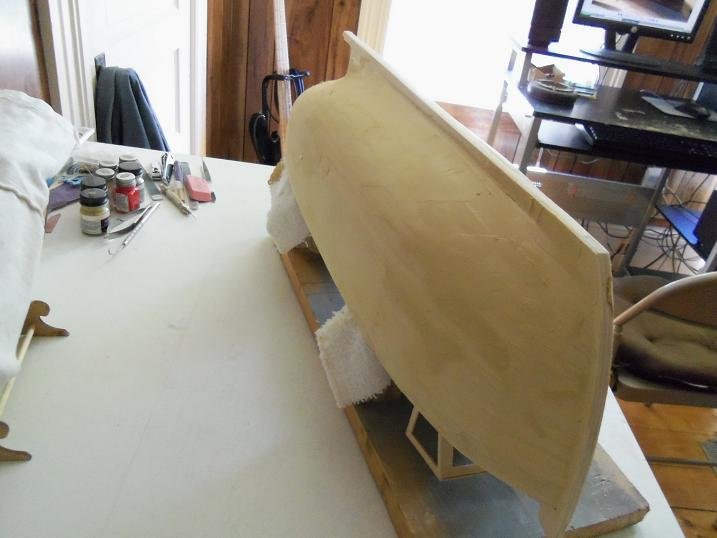
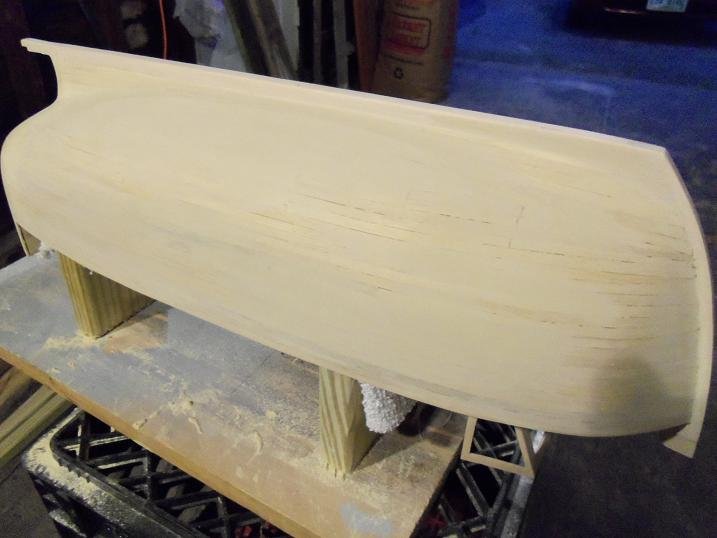
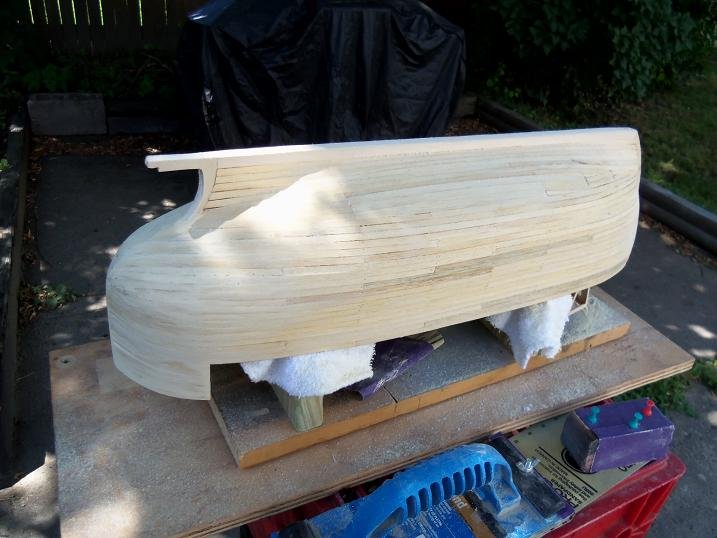
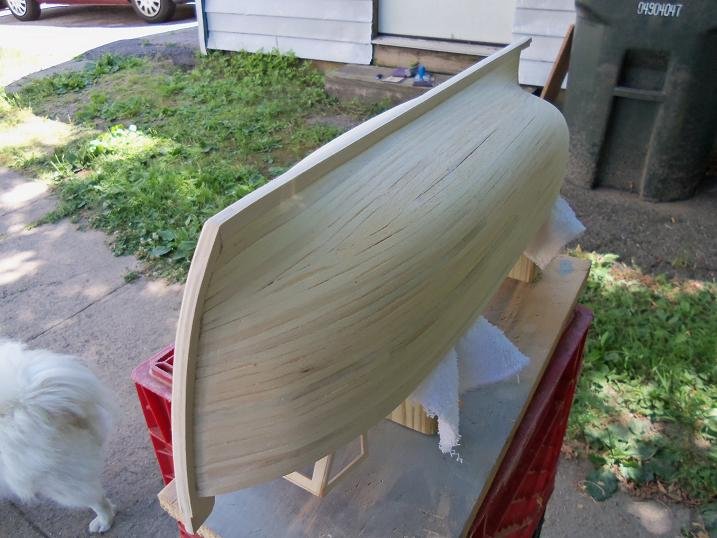
7-10-2012 the job was done by mid day. I took it outside to do some rigorous sanding. one side went well........the other side...........well?!?!? no matter....in the end she smoothed out rather nicely. I don't recall if I had used any filler at this point, but I will with the second sanding. it will help to get rid of the minor chinks in the armor I'll get to some more tomorrow. thanks for look'in in!
-
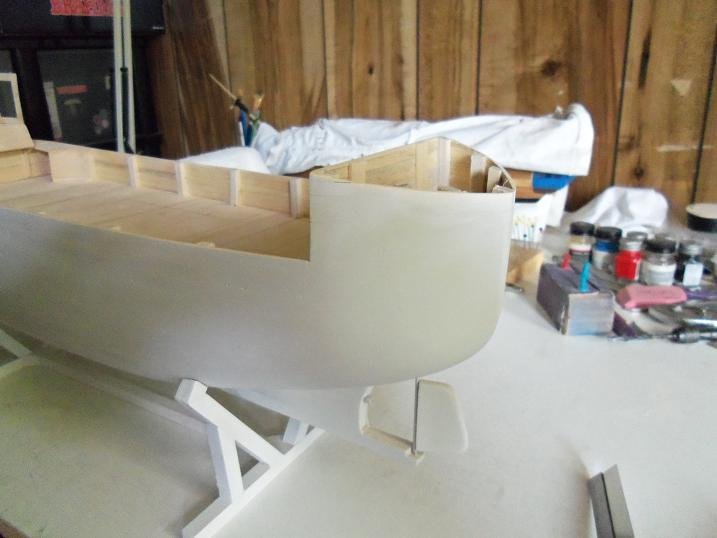
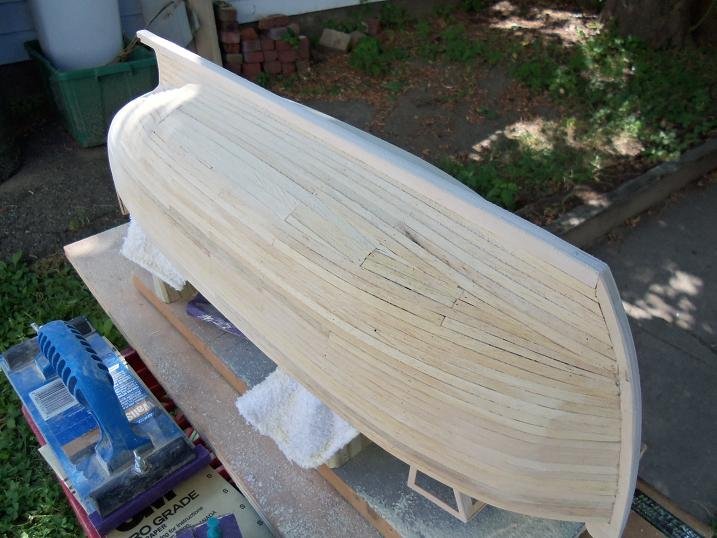
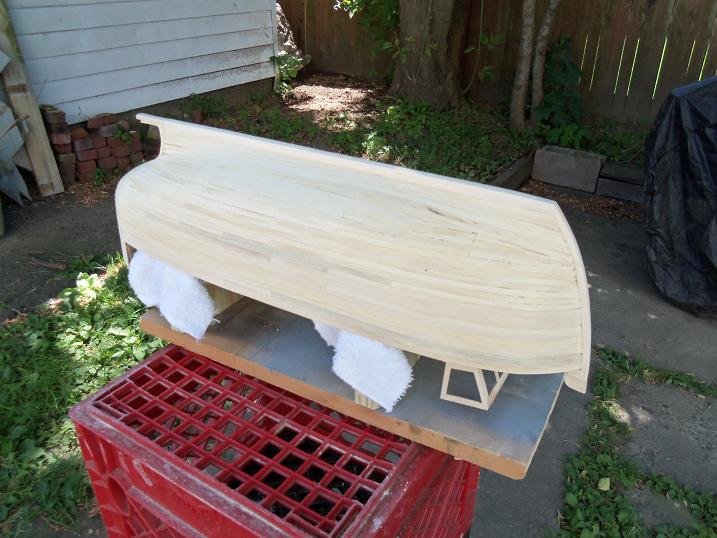
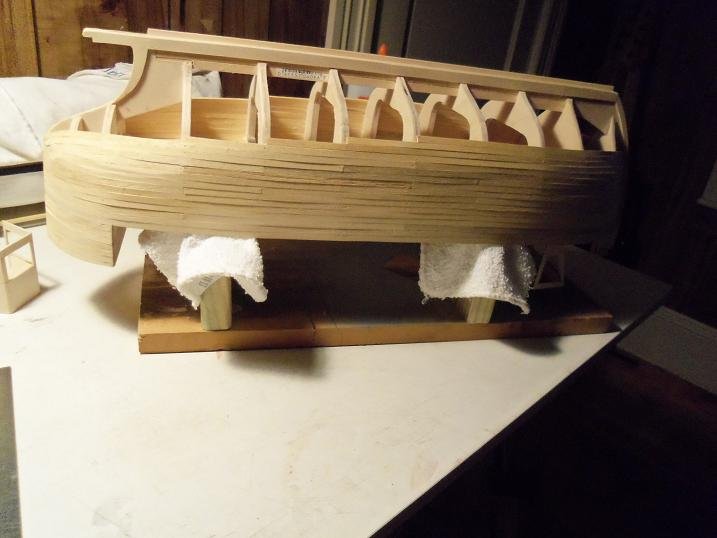
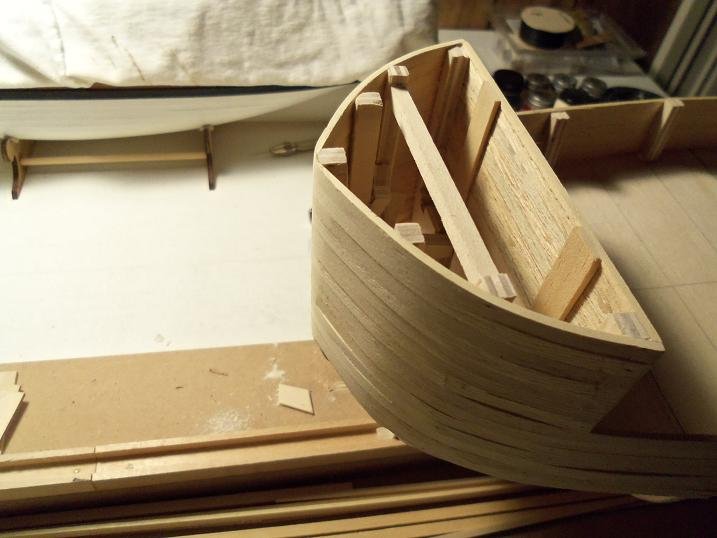
7-6-2012 to speed things up just a little......I wasn't going to go this far into the planking. here is how the stern was shaping up, and a snap of the garboard laid wit h a few more strakes added. the garboard plank fit into the slot and made a nice transition. these sessions were quite long. I'd start working on it, and the next thing I knew, it was time for shut-eye.

-
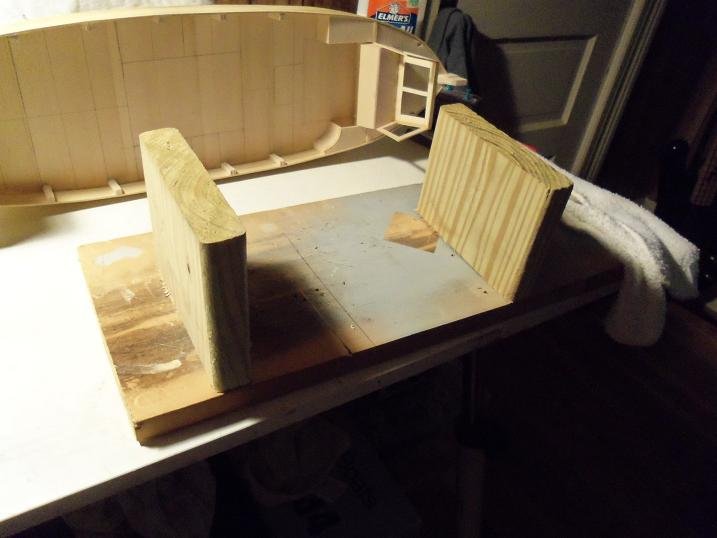
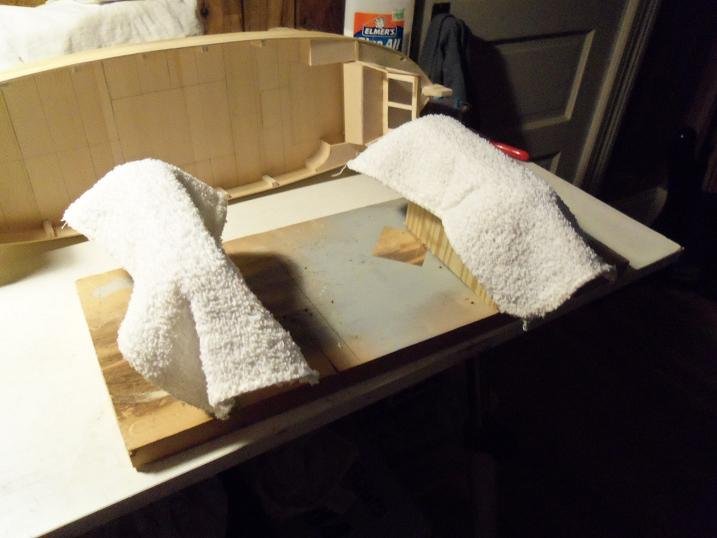
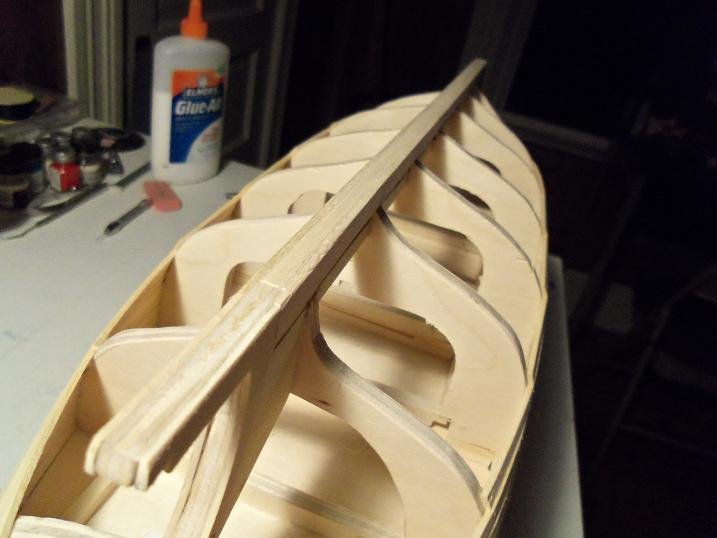
6-29-2012 the additional thickness is 1/32, I believe........it mated the rabbits dlush. with what I had on the deck, it was impossible to work on her upside down. I made a stand for it, the keel was trimmed flush...
-
6-28-2012 more on the planking a strip was laid on each side of the hull to equal the thickness of the rabbits. the aft rabbits was cemented in place.


-
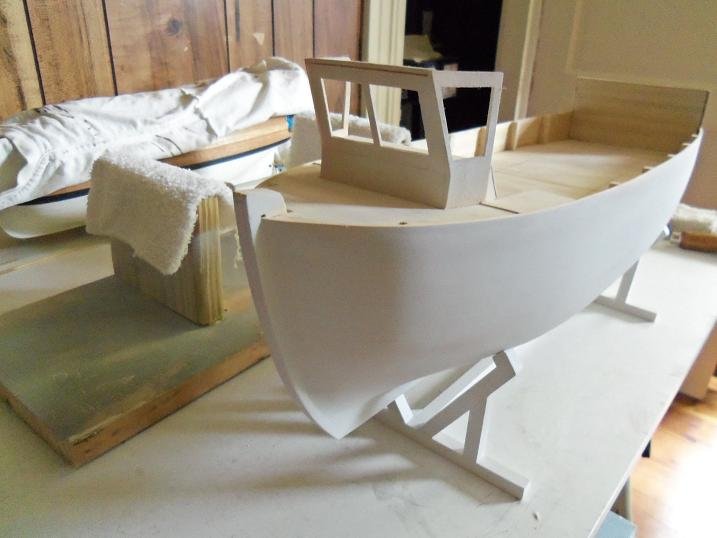
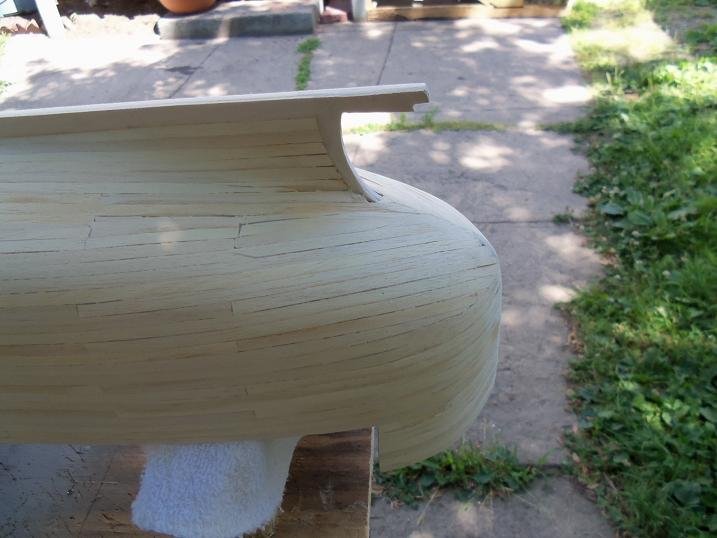
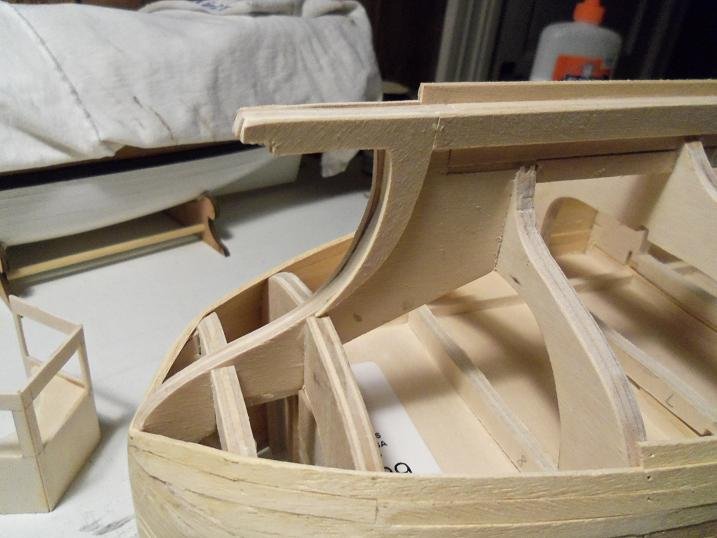
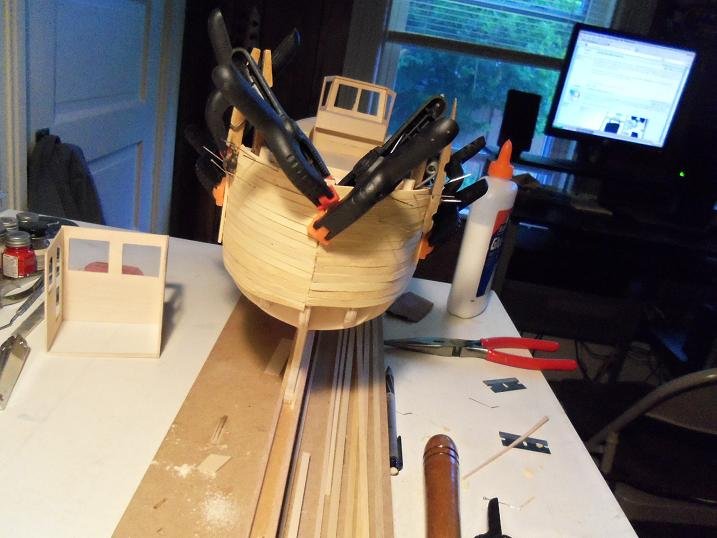
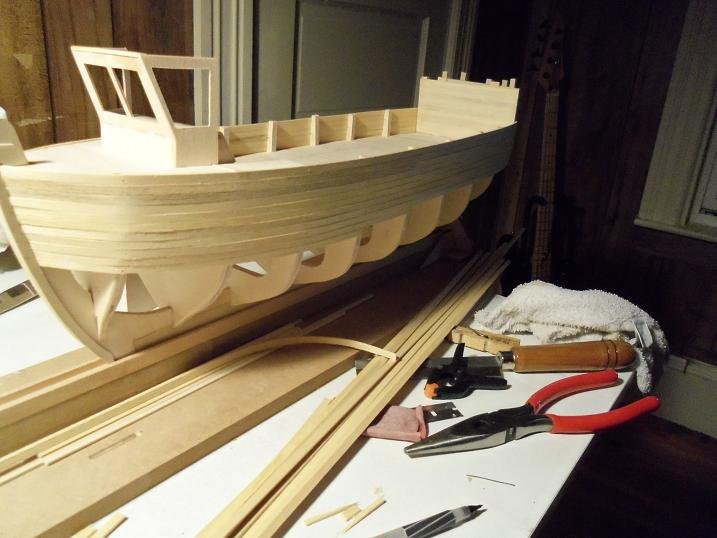
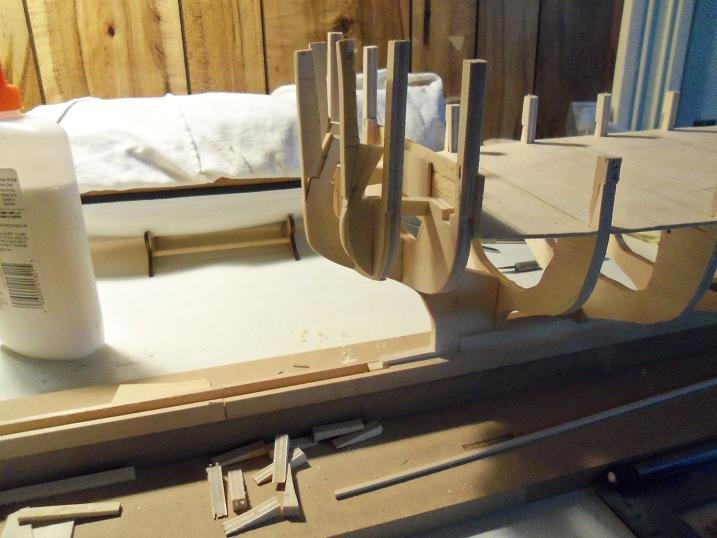
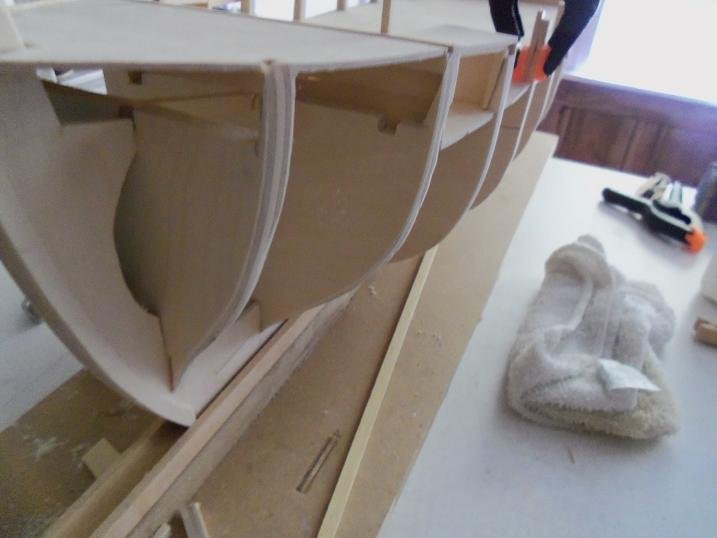
6-27-2012 the outer hull of the stern was built up to flesh out the aft cabin it was then trimmed and I did some rough sanding on it.


-
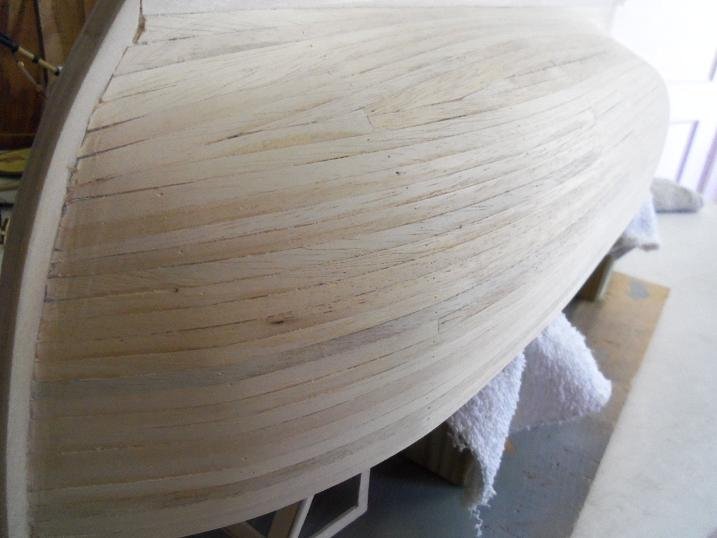
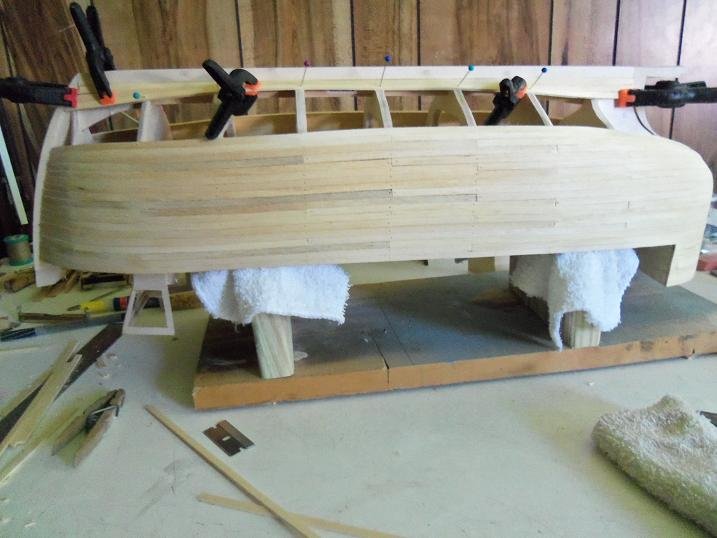
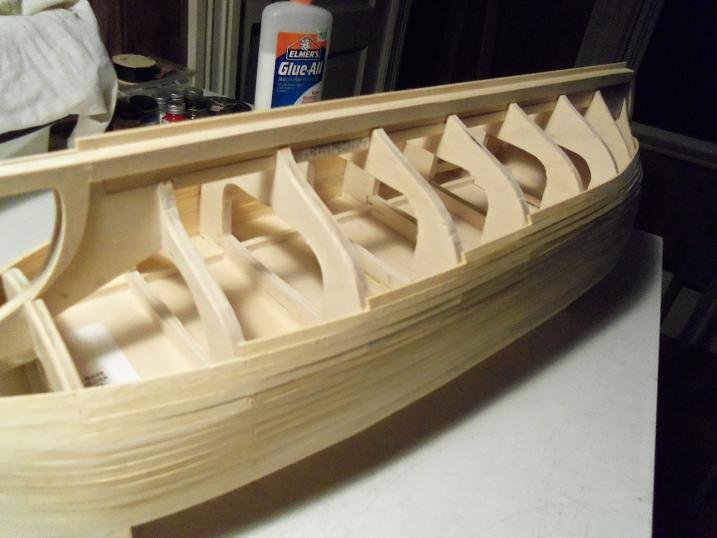
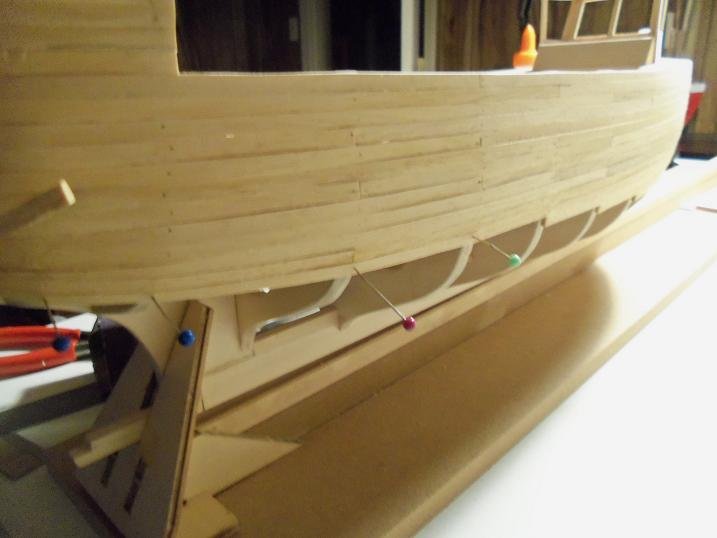
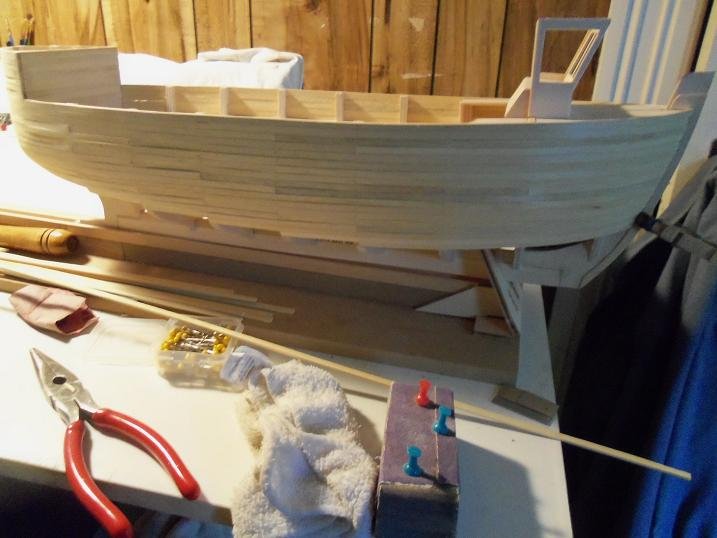
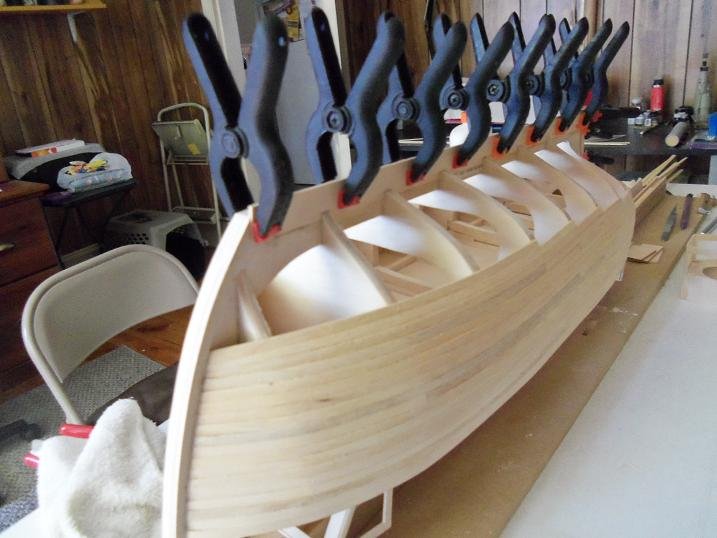
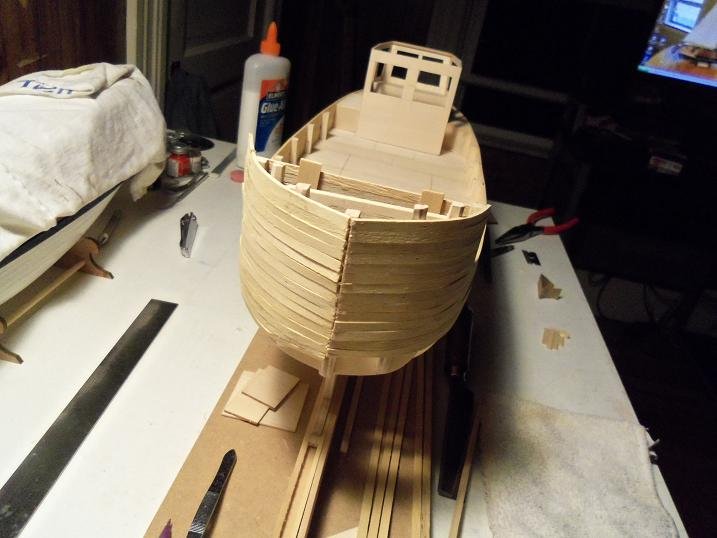
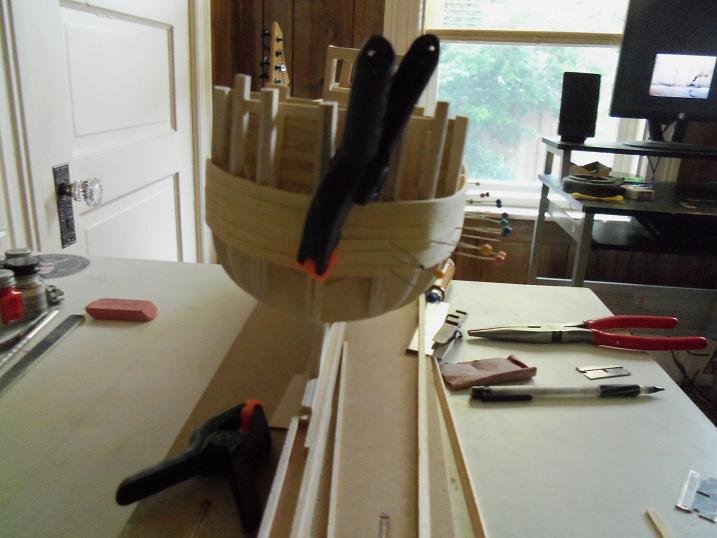
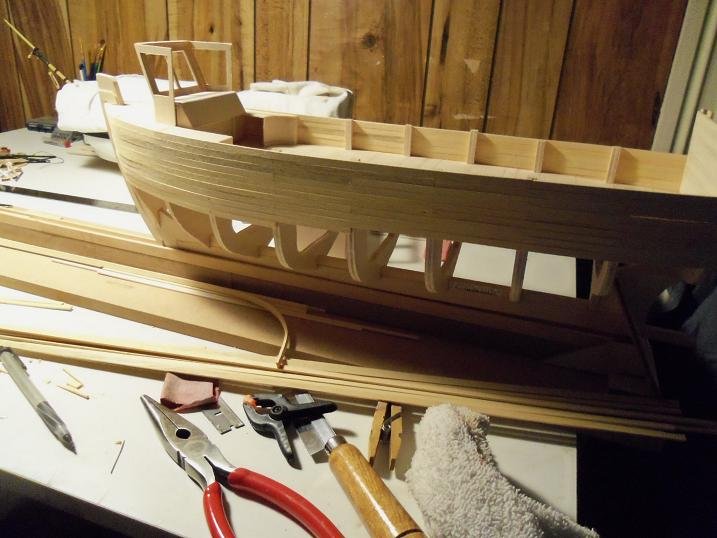
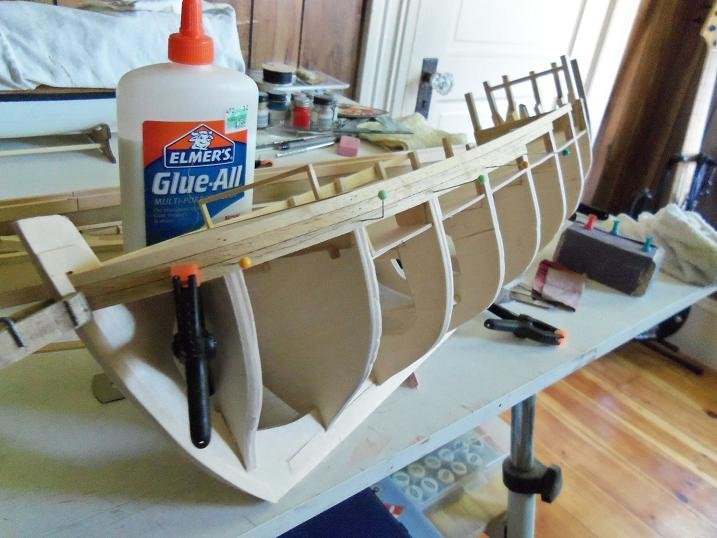
6-25-2012 the planking continued from this point.......the first couple of pictures were blurry, but I think the others show how well she planked over. there were a couple of bulges...but they sanded out fairly well.
-
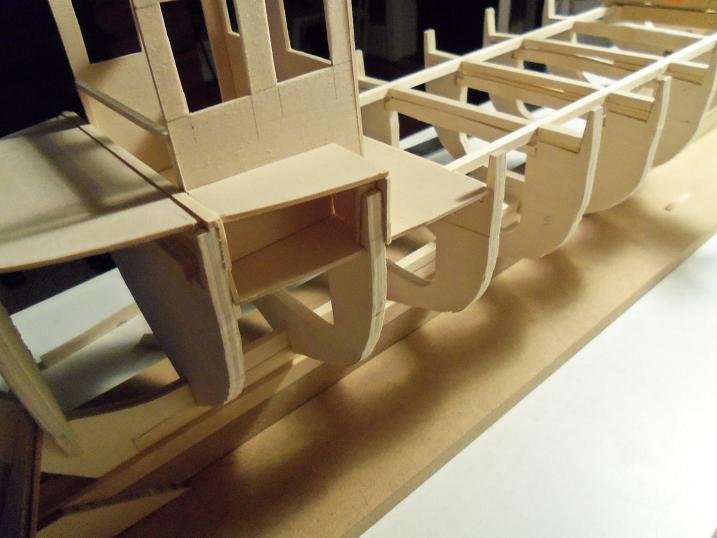
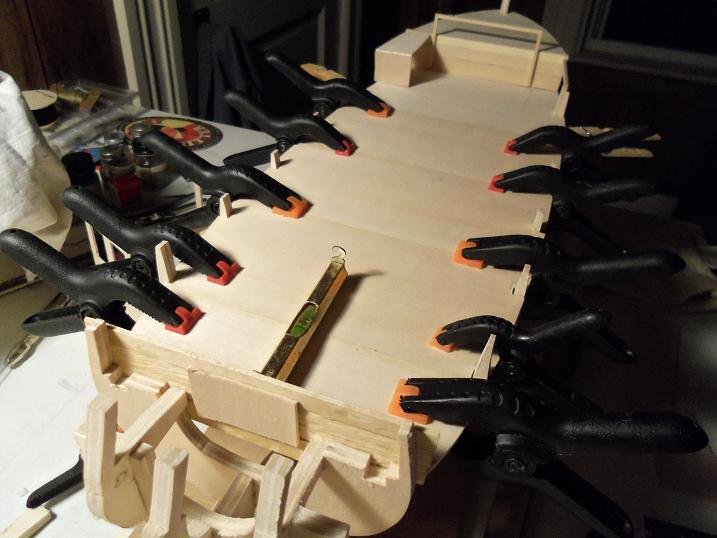
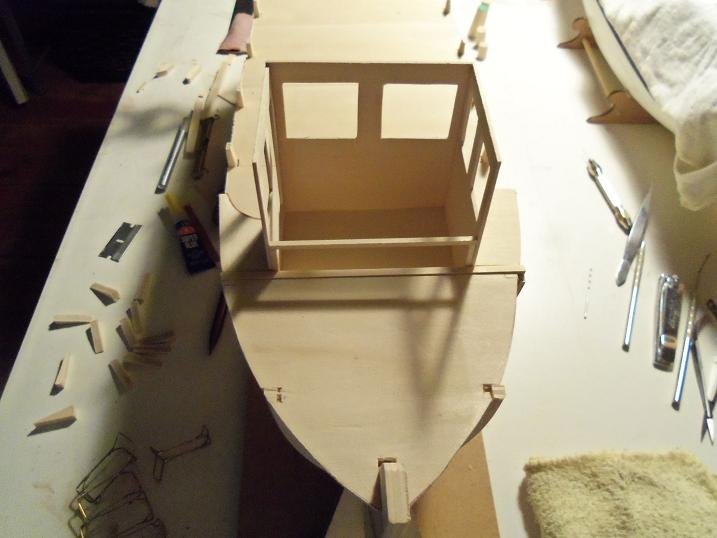
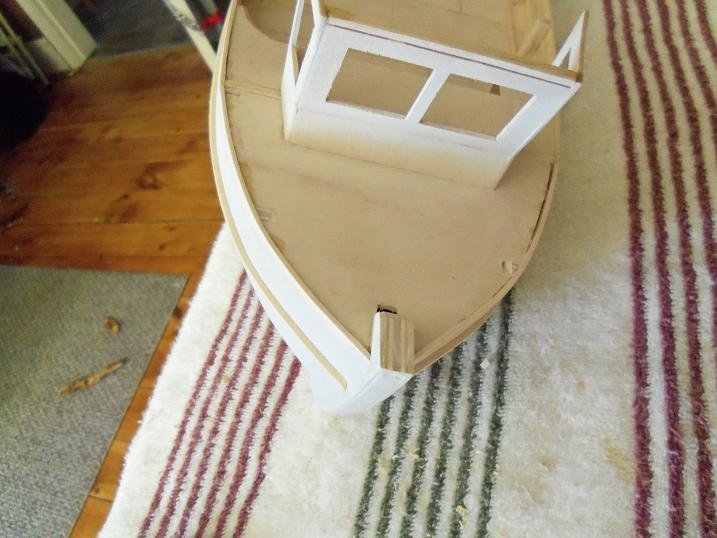
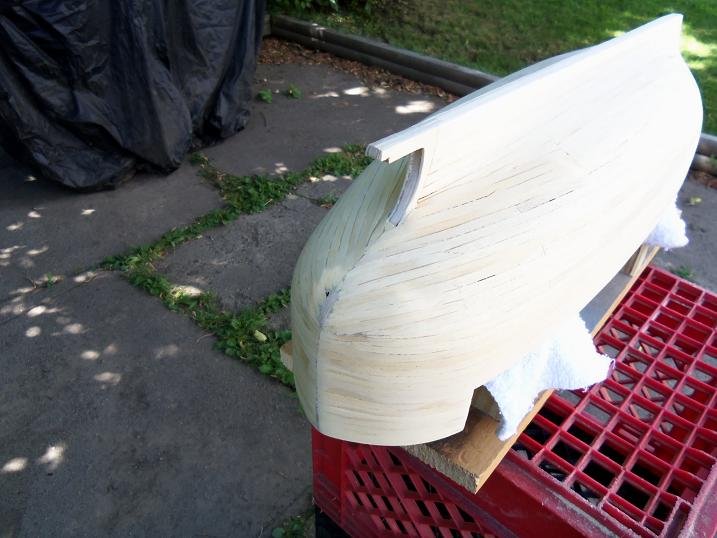
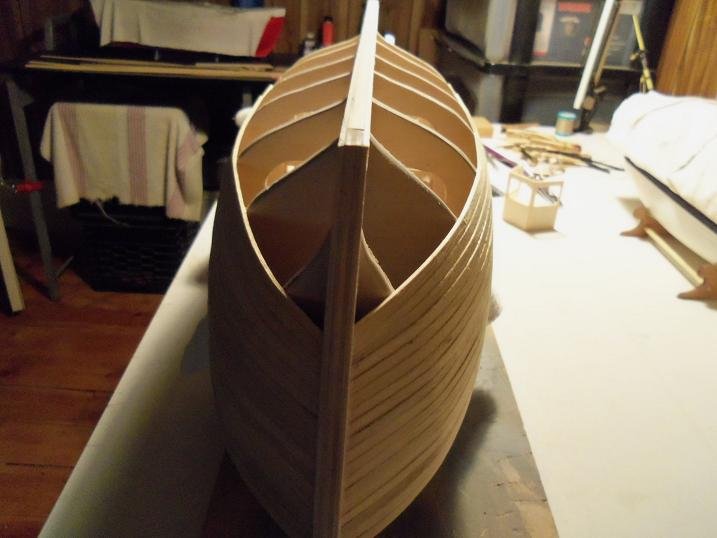
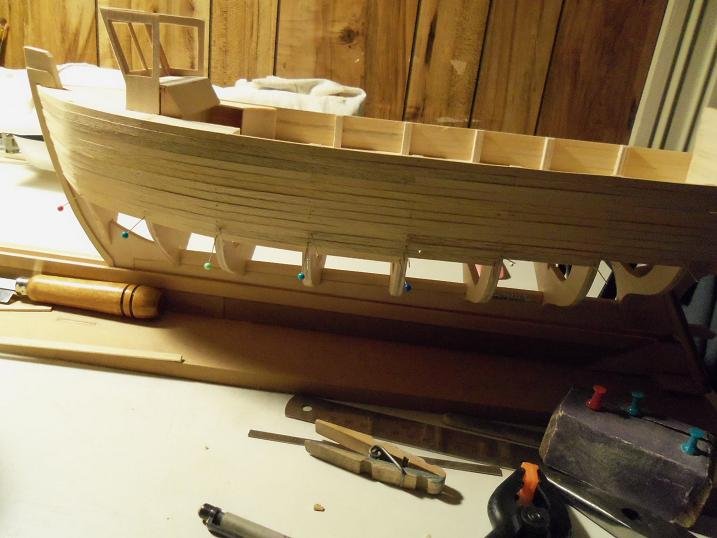
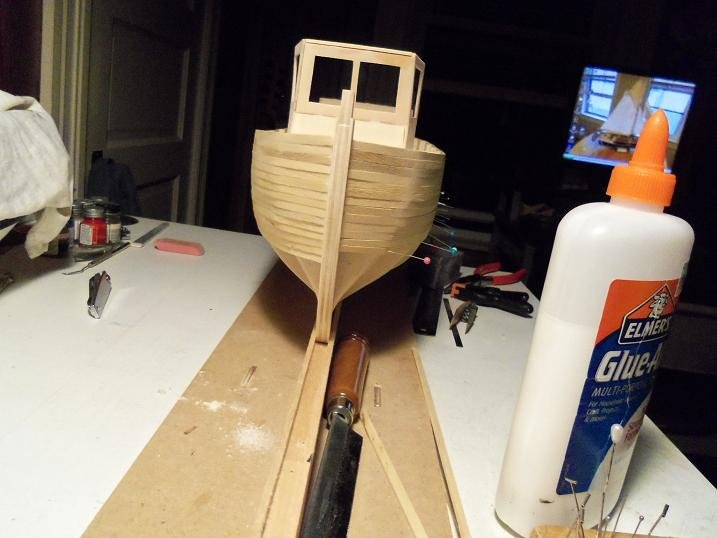
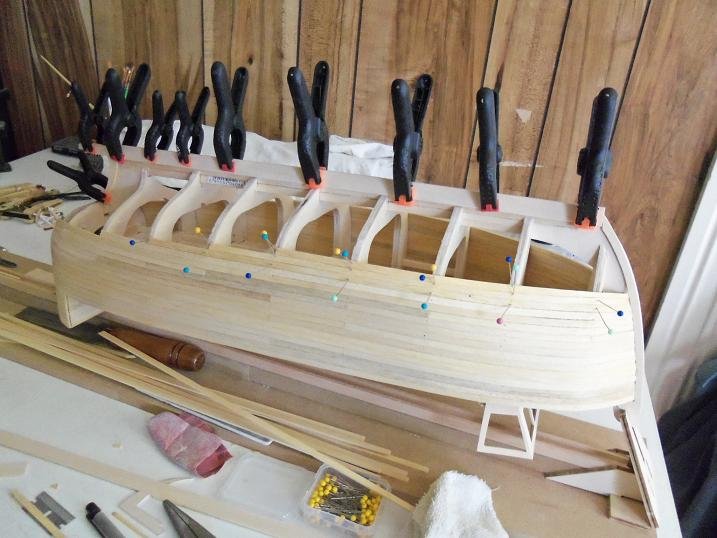
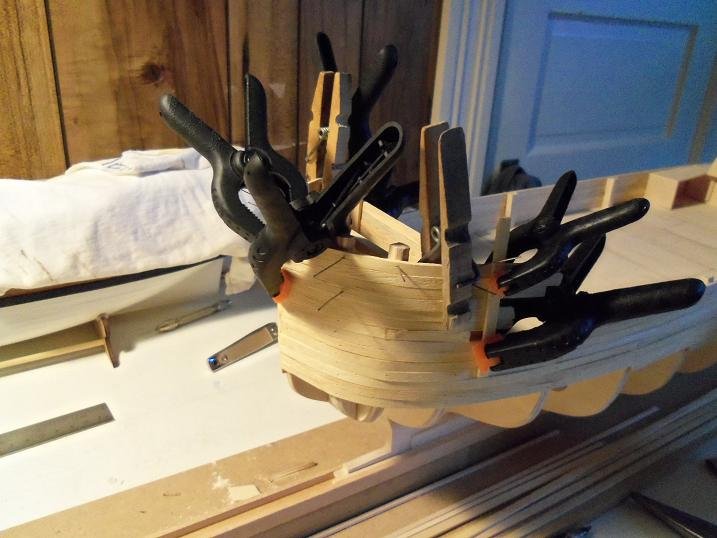
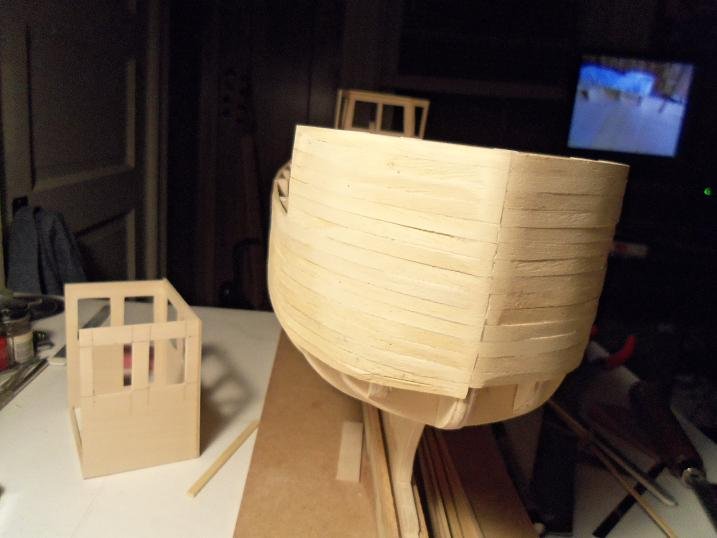
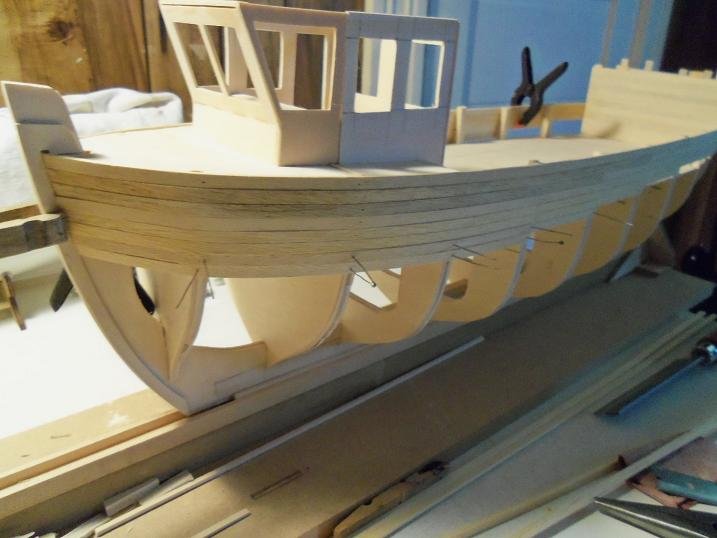
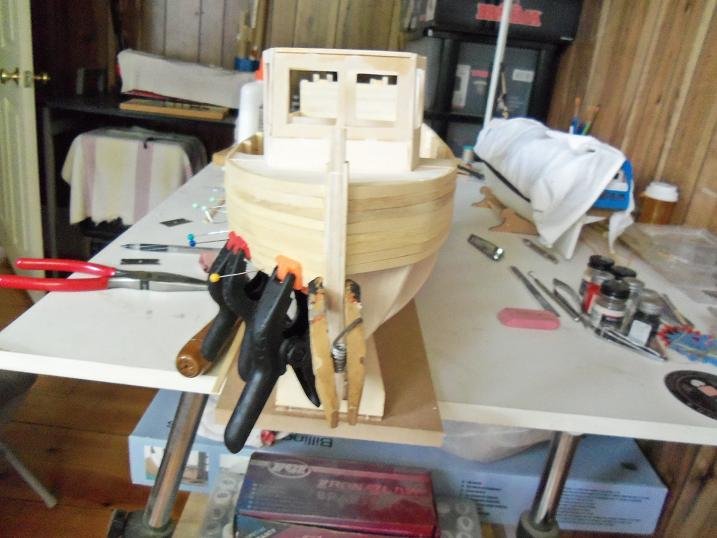
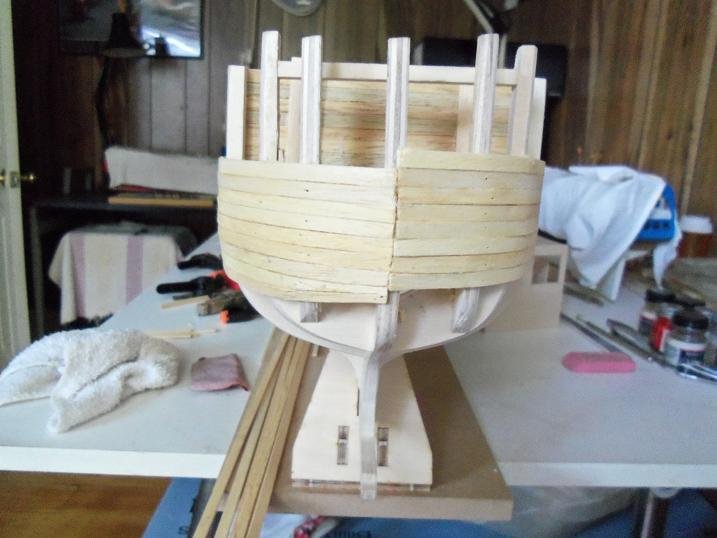
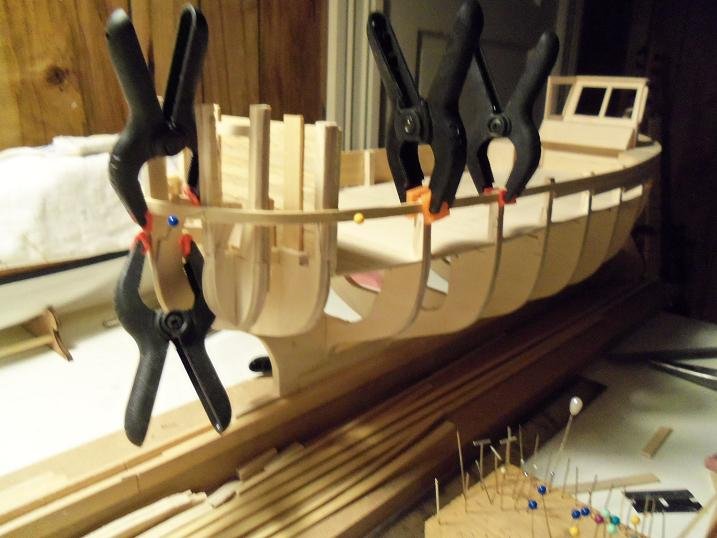
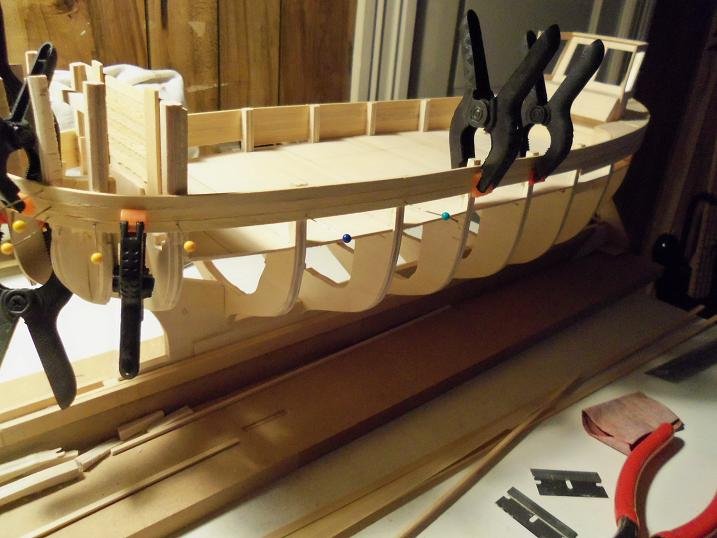
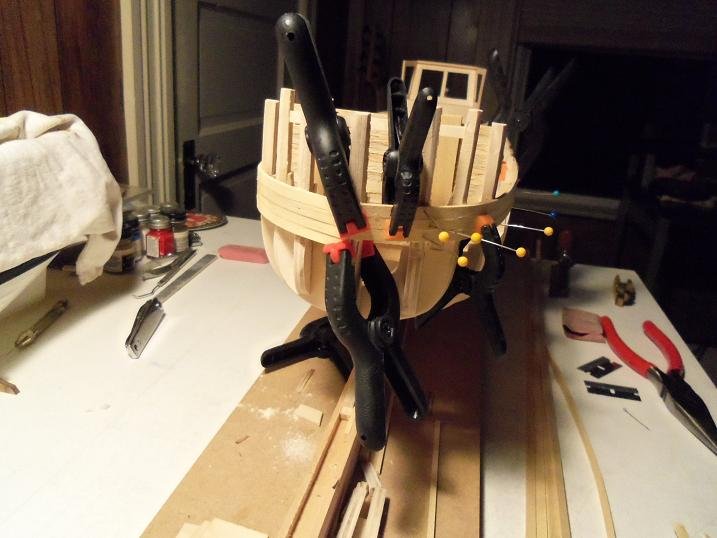
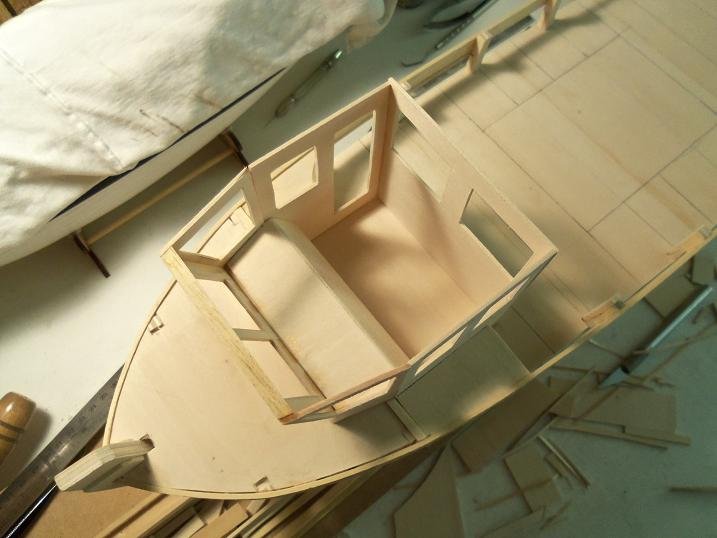
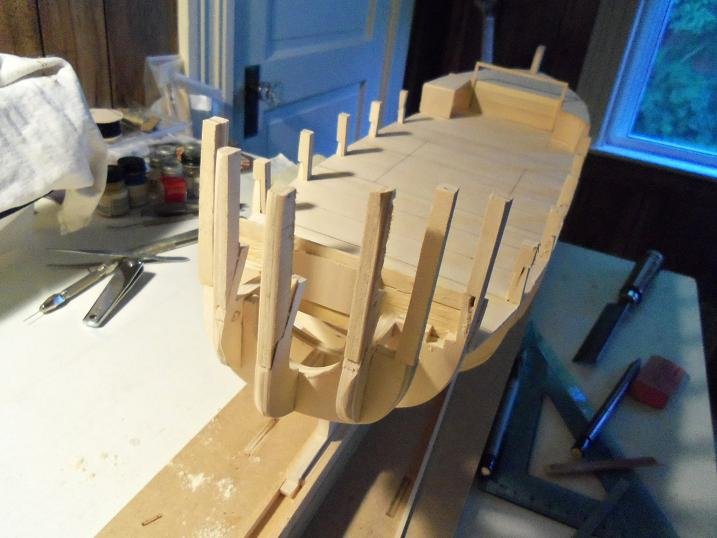
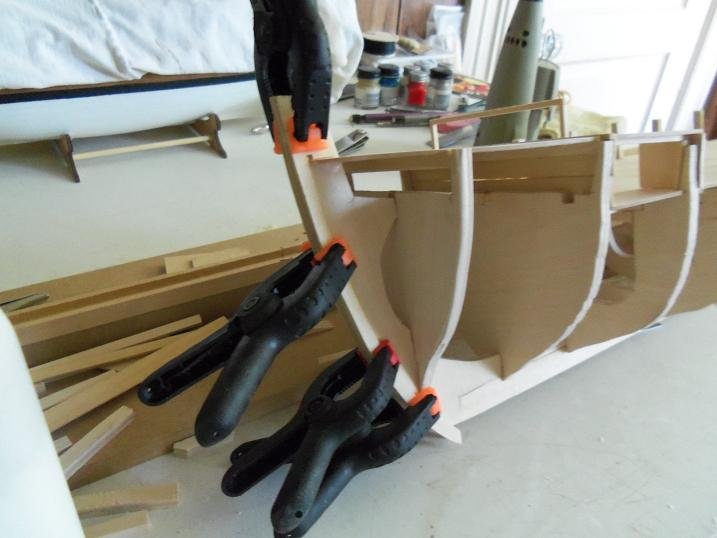
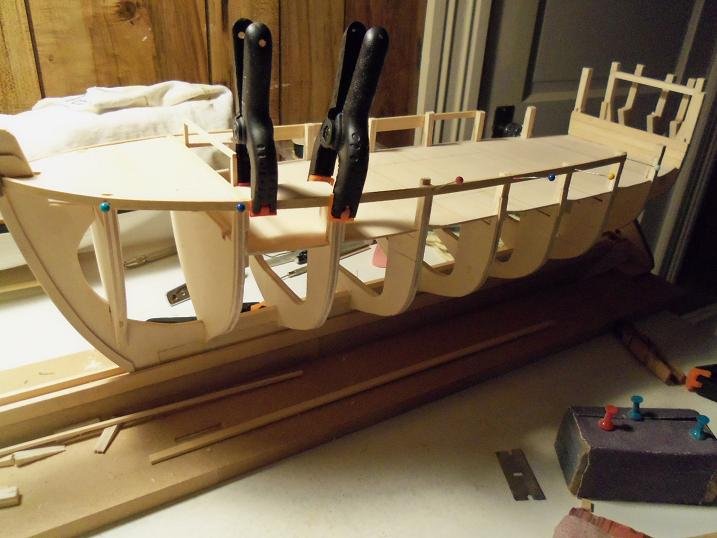
6-22-2012 it was back to planking the bulwarks again, after the rest of the pilot house was assembled. I had done some sanding to all the posts.....you may have noticed one picture, where one of them was clamped. I ran into some trouble with a couple of them. the goal was to get the planks to lay as flat as possible, making them just as smooth inside as outside. planking around the stern was interesting.....instead of rounding it off, I left it to come to sort of an apex. it was given a less subtle shape with the finish sanding. the wall for the aft cabin was built up some more. the shape of the deck realized...

-
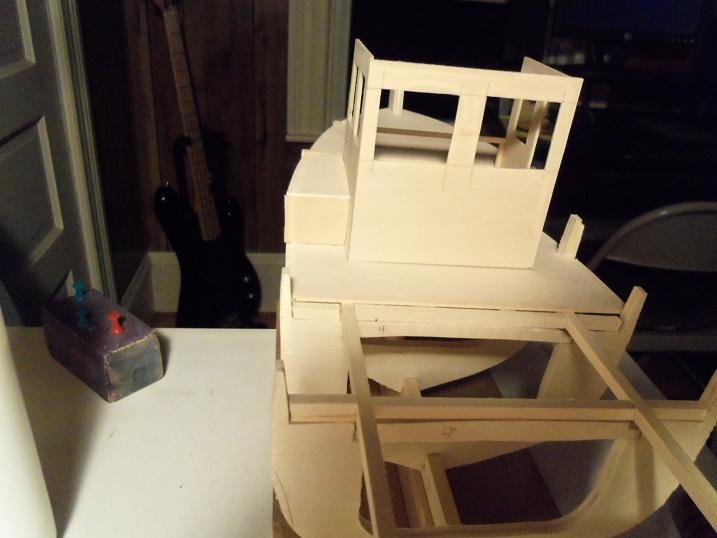
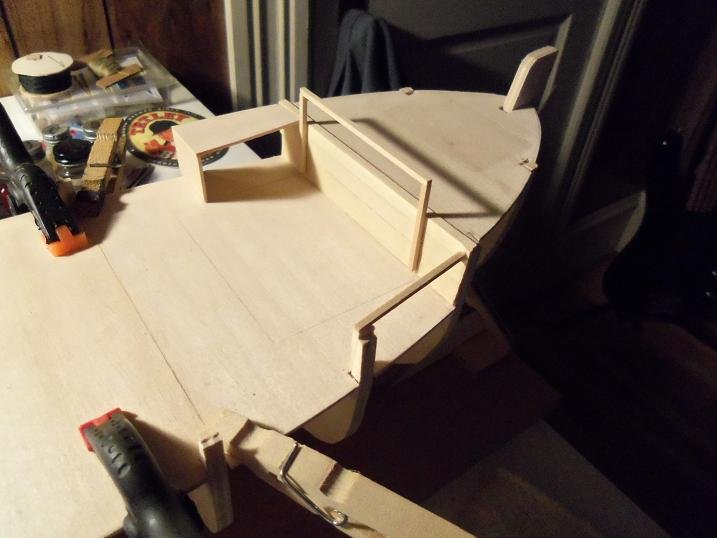
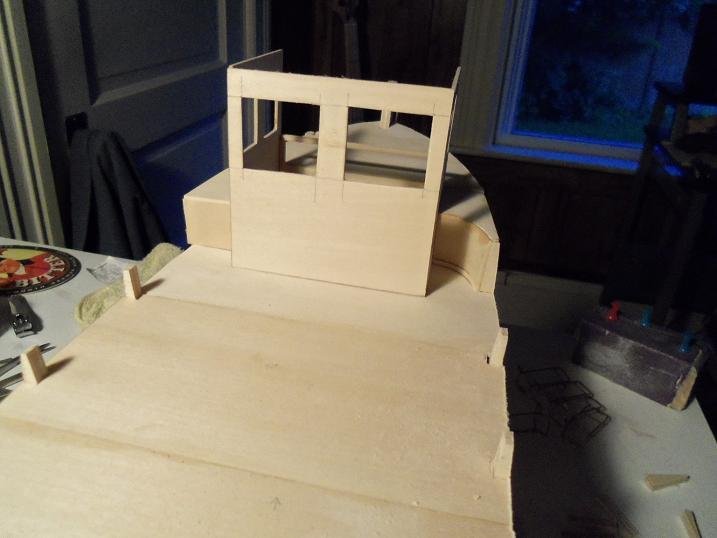
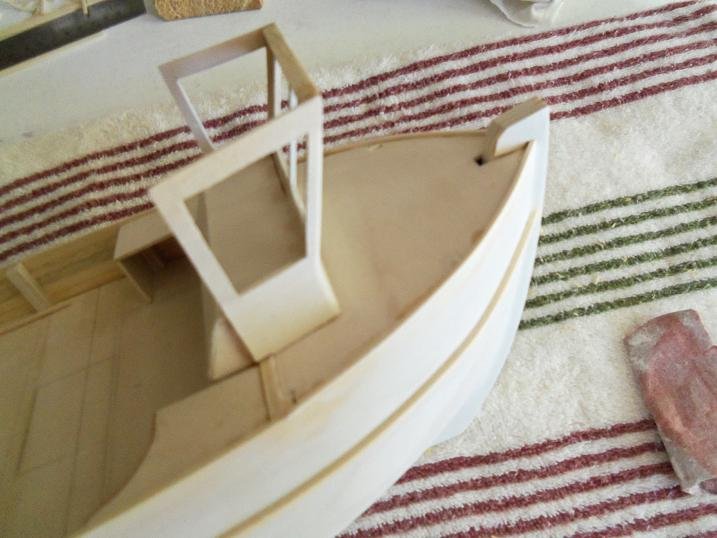
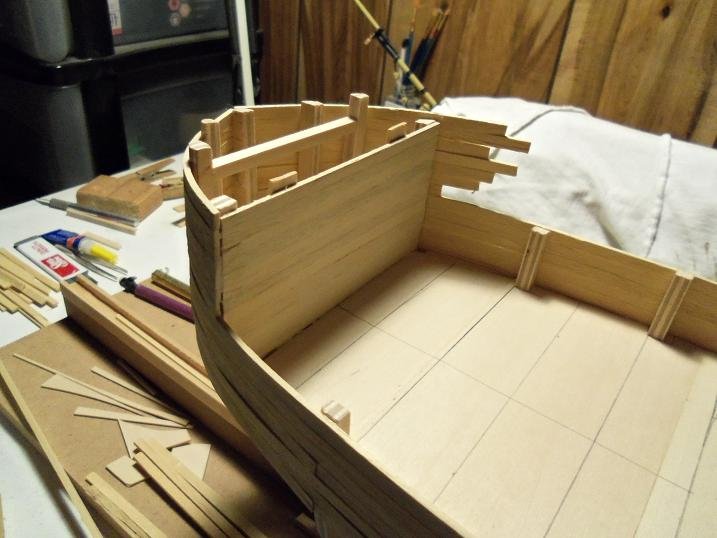
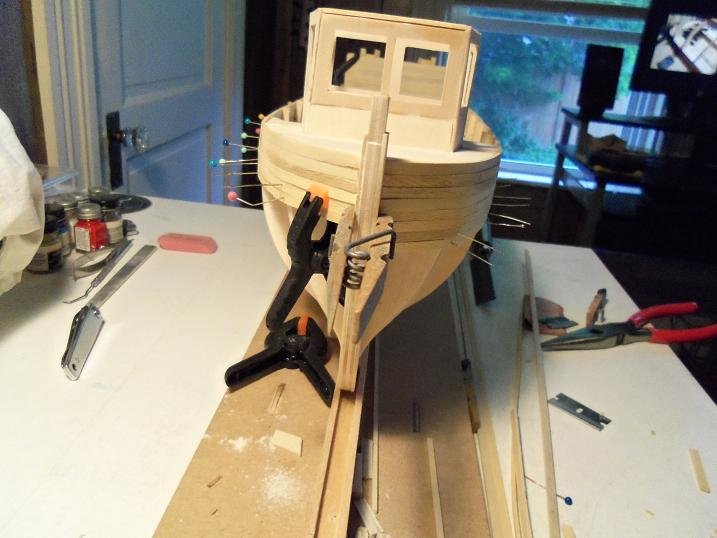
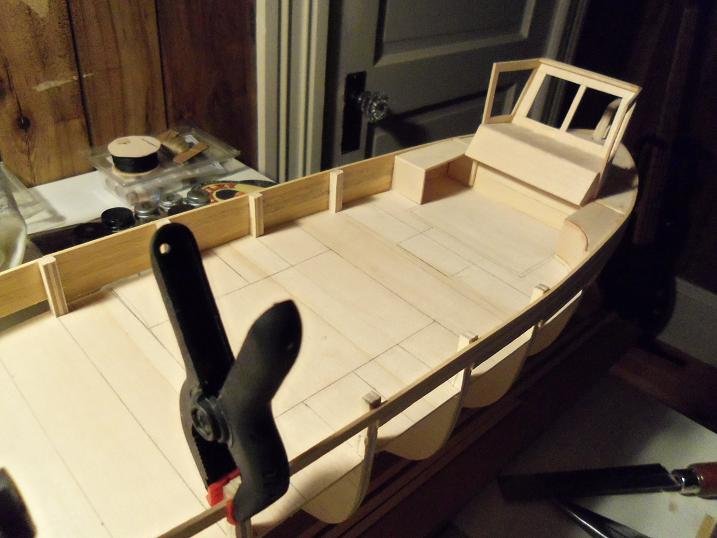
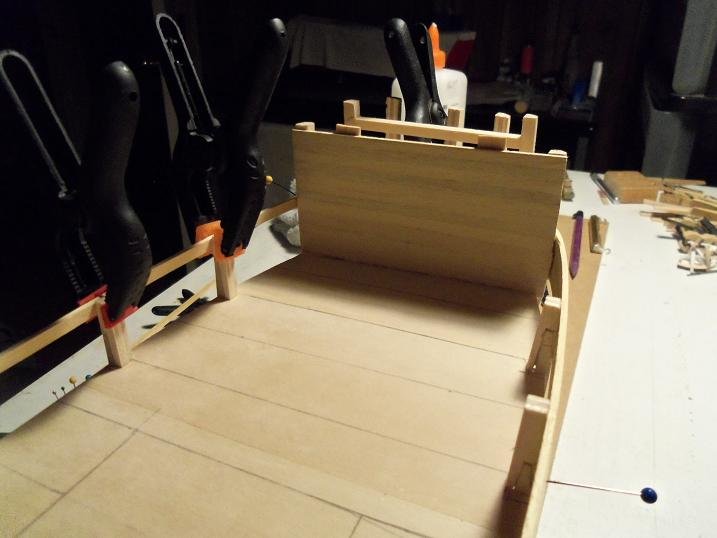
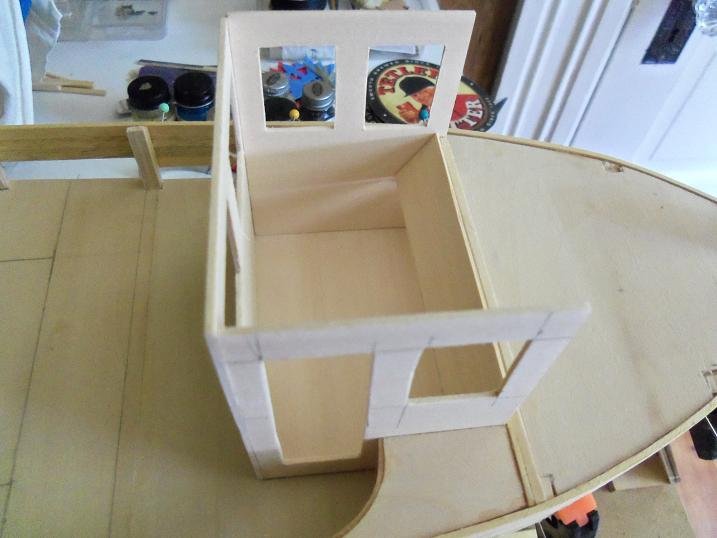
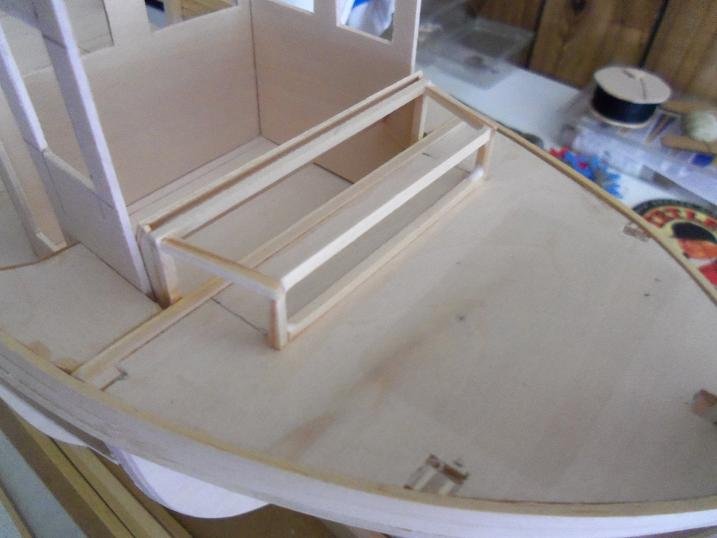
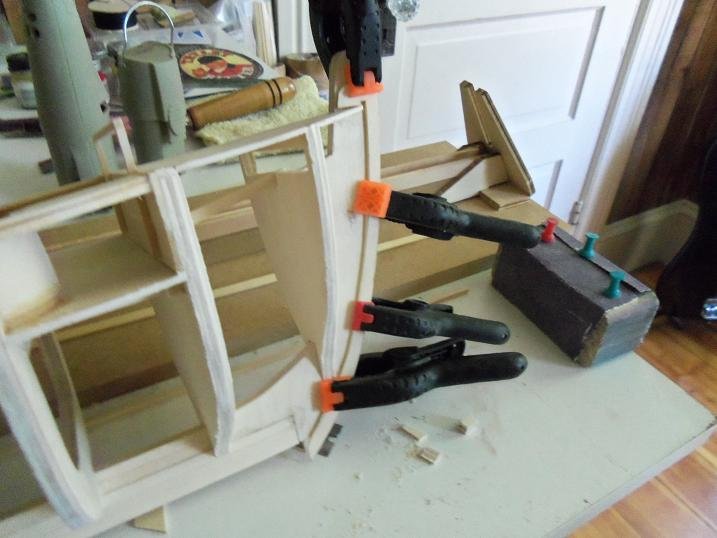
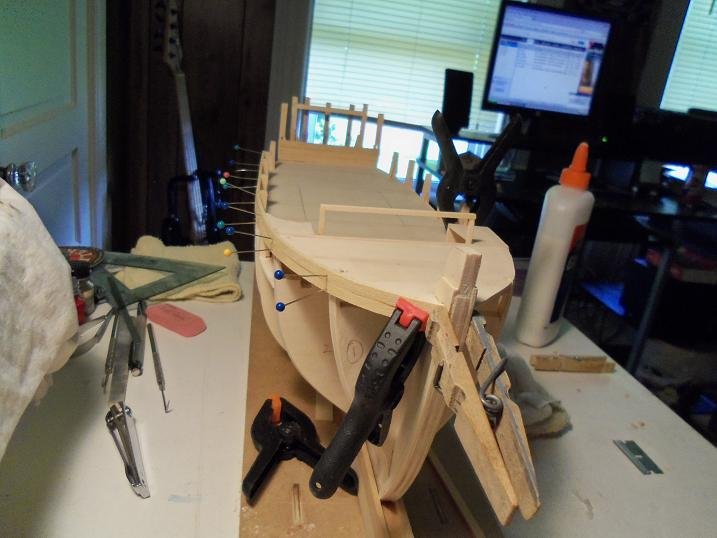
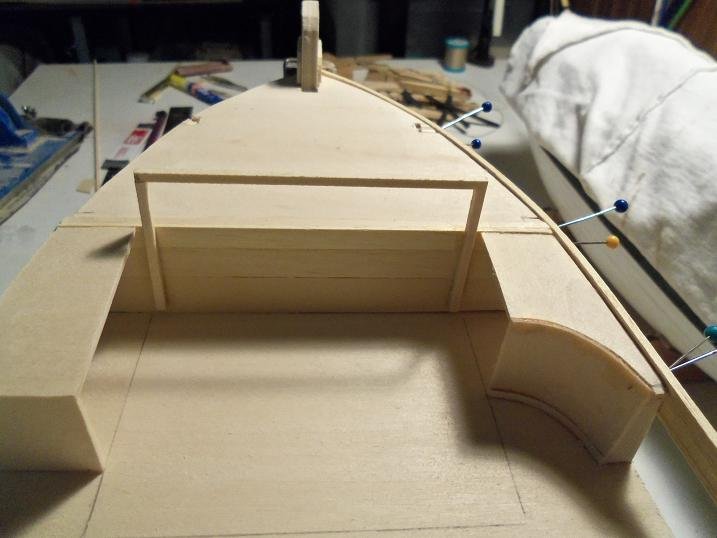
6-21-2012 this particular session was devoted towards fleshing out the front of the pilot house. I'm sure more sanding was tucked in there somewhere. the hull looks a bit disheveled at this time.....it'll get better. off of the frame for the dash, the framework for the front wall was built the planking seemed to stall here. I guess I was more interested in enclosing the fore deck. the front wall and windshield was cemented in place. the back section of the pilot house is still removable... the interior looks a bit better after a little sanding and primping. across the back wall, the access hatch to the engine was fleshed out

-
thank you very much for the kind comments. also thanks for the likes yes it was Mark.......it's one of the reasons why I decided to repost it. I should have done it at that time, when everyone else was rebuilding their logs, but it was a finished build, and if my memory serves me right, I had five or so builds going on at the time. way too much to replace. what amazed me was that I didn't have to put much thought into it...I had everything planned out in my head. I even added in a few extras.......like Andy's suggestion about the windshield wipers! the admiral actually accused me of prolonging the project thanks Pat......I'm sure you remember the log........you followed star to finish! glad your ready to follow again! thanks Patrick.......then you'll get a huge kick out of it! I had just as much fun with this build, as I did with the Andrea Gail hello Lou......thanks for the good word! I guarantee that will never happen......it sits on a shelf, and the admiral STILL won't let me touch it! I wouldn't think of try to mod it in any way.......it's a one of a kind. even if I tried to build another one, it wouldn't come out the same. I've got a small errand to run.........but when I get back I'll post more.
-
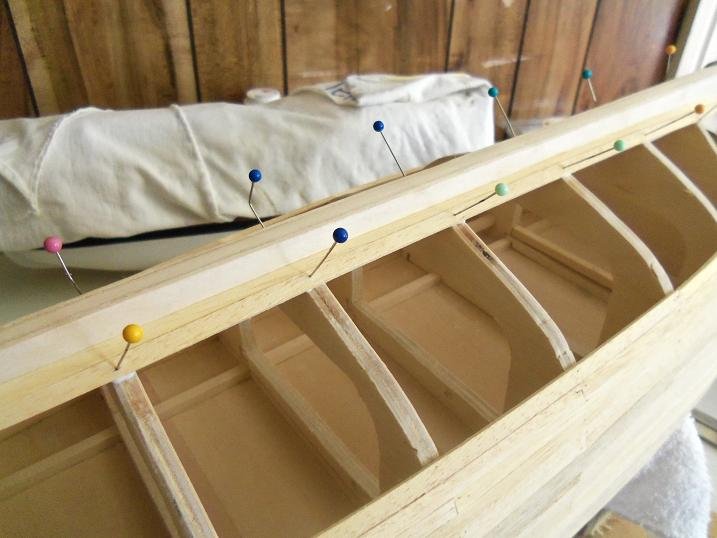
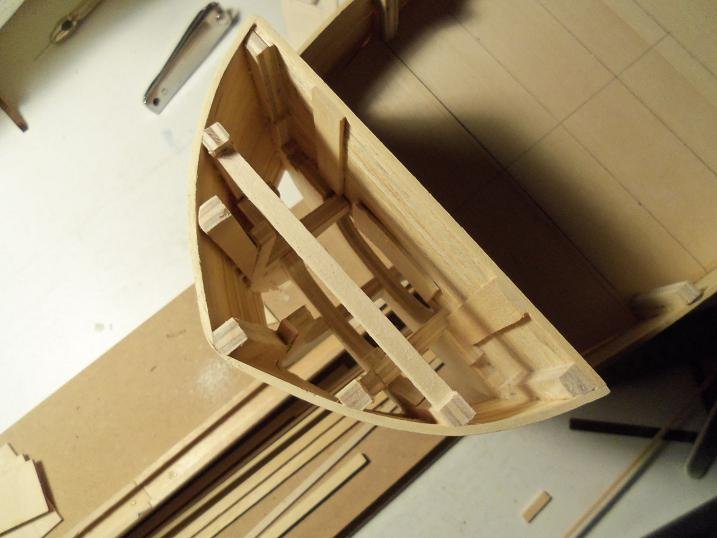
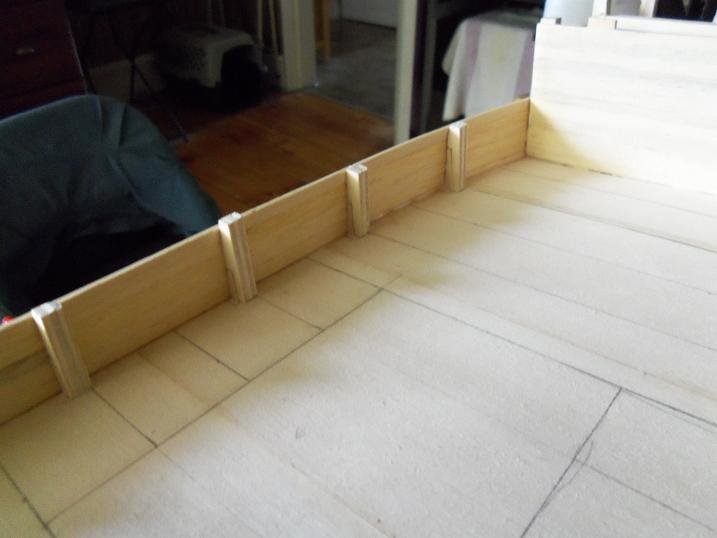
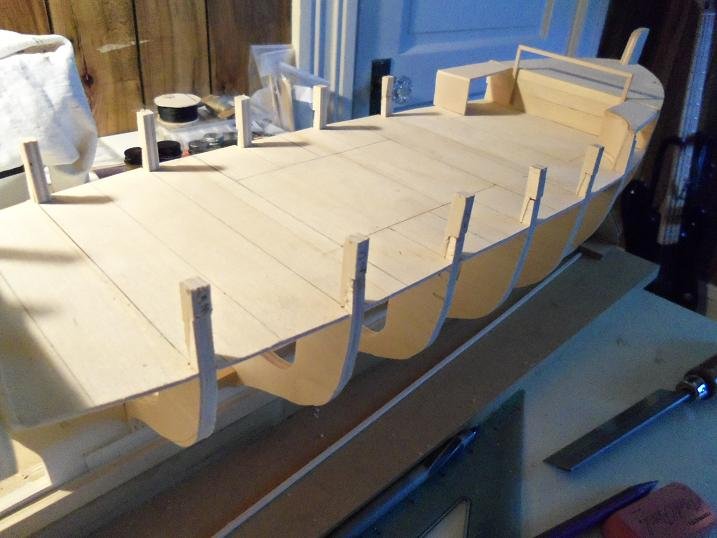
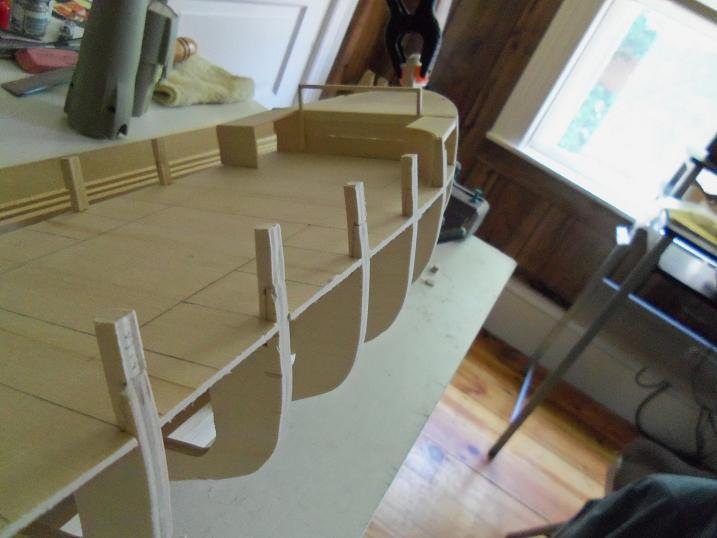
6-19-2012 more aft post work was done, making sure they were all perpendicular to the deck. all around the deck platform, was sanded flush with the bulwark perimeter. here around the fore deck, especially. extensions were added to all of the bulwark posts, to make them all look the same thickness. sanding was going on all over...even some of the faring {I recall this plywood was tough to sand.....a lot of work}. I had also cut the rabbits for the bow and stern. I did the bow at this time in prep for hull planking. the faring process continued... yea......this plywood was terrible to use. at this time, I didn't have a dremel, but I came up with something to use. we had bought what they called a 'peticure', a motorized 'sander' for our dog's nails. he hated it so we stopped using it......just in time for the switch to break. I rewired it so all I had to do is push the battery pack in place, and it would run. it wasn't the best, but it beat the heck out of expending all that elbow grease. you will likely see it in some of the pictures. the planking started by this time. I'll show the highlights of the planking........it can be seen how the planking sits behind the rabbit. the planking was butt staggered like this through the entire process. it better utilizes the planking, rather than the full strip.


-
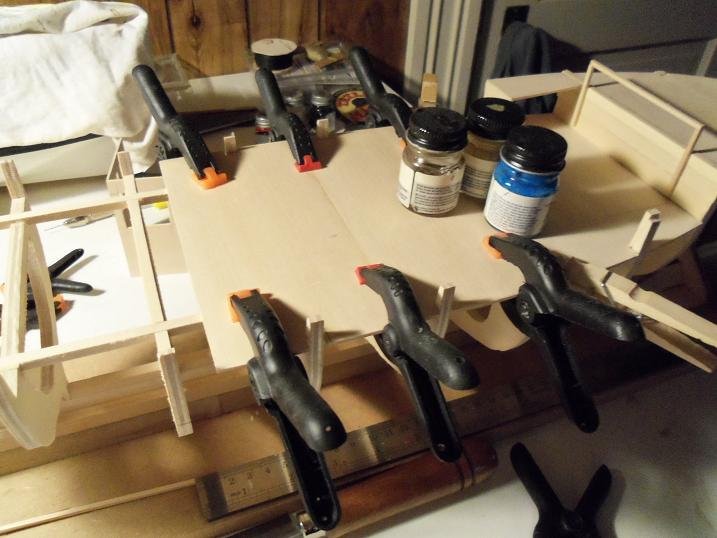
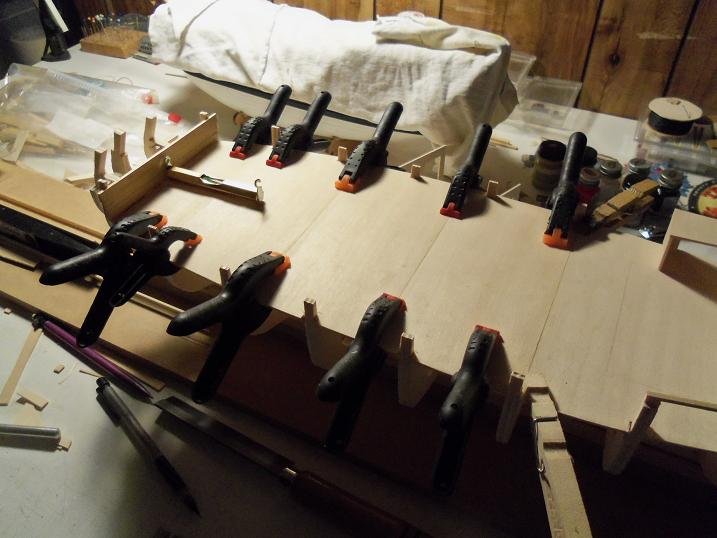
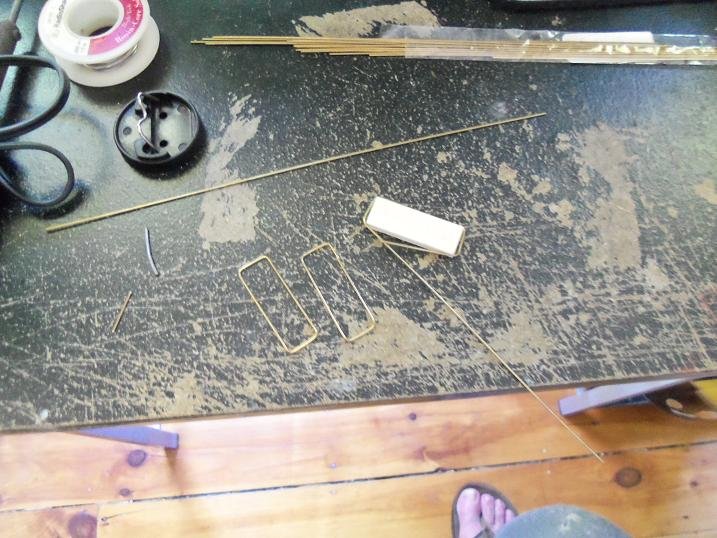
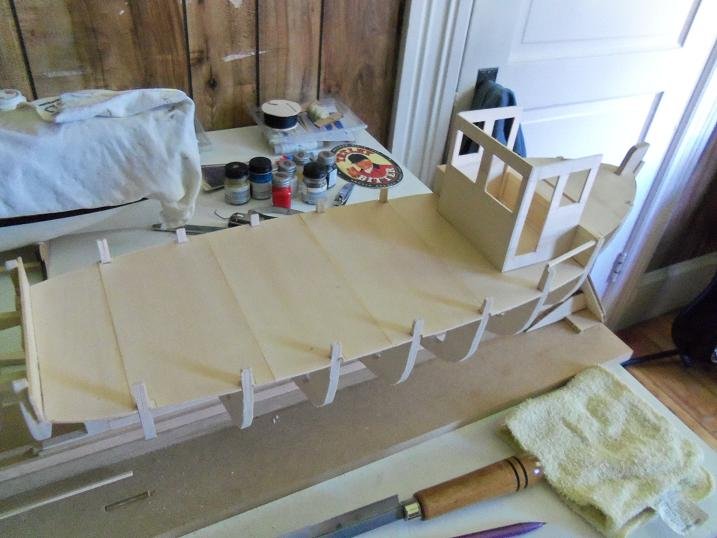
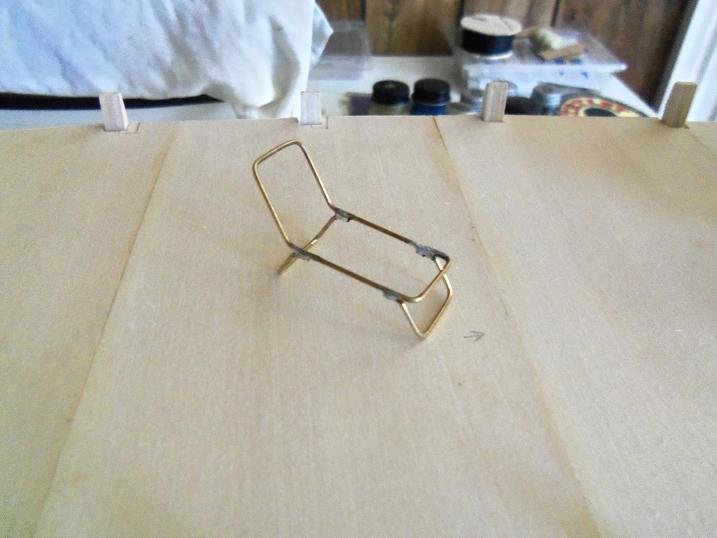
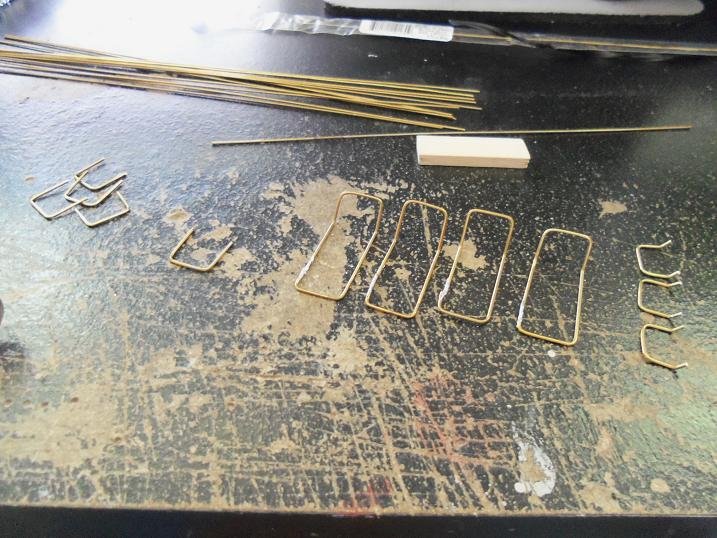
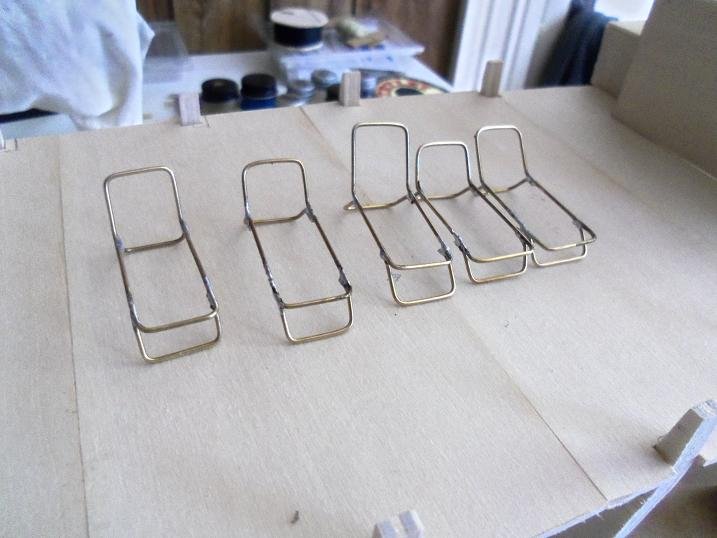
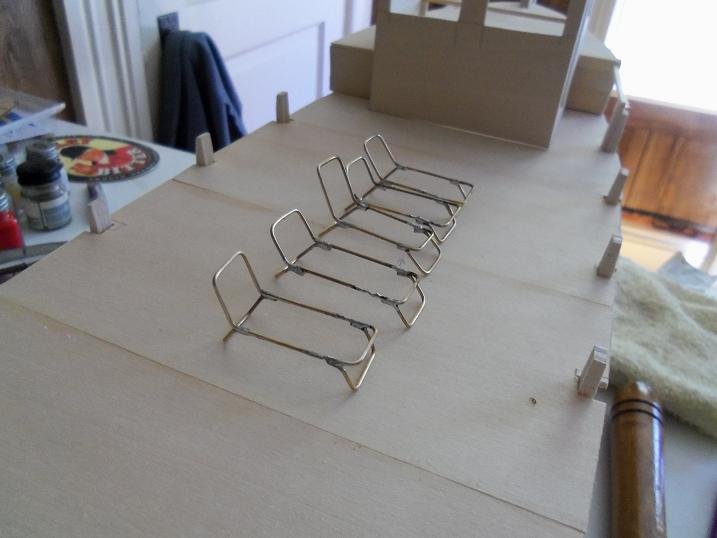
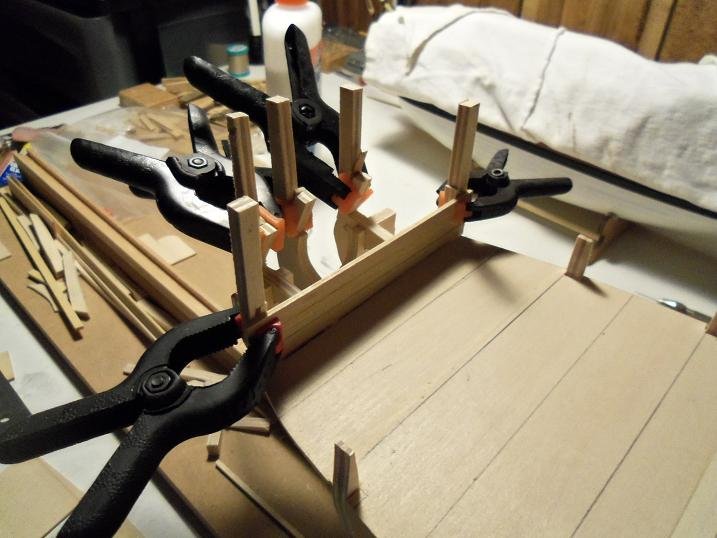
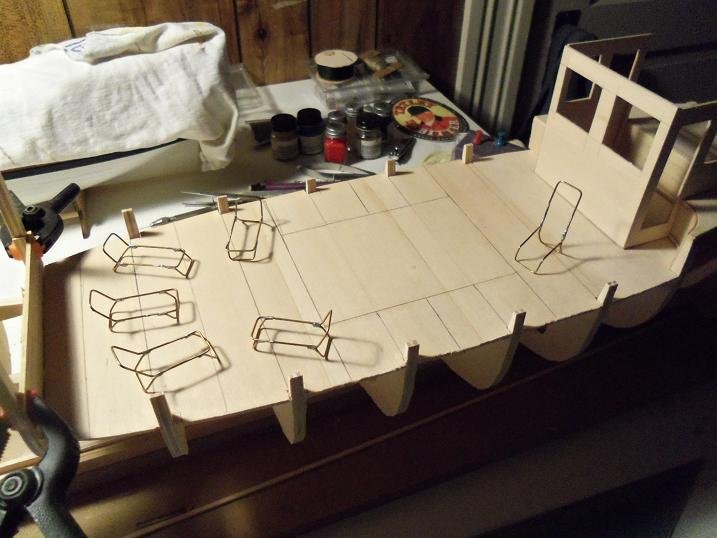
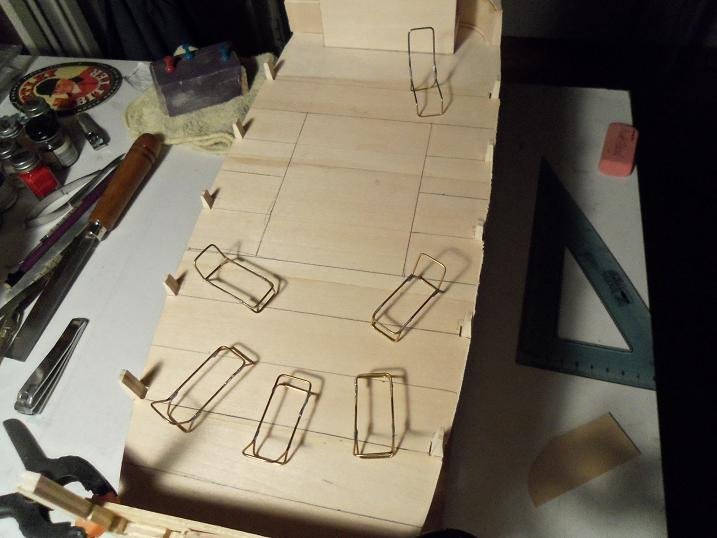
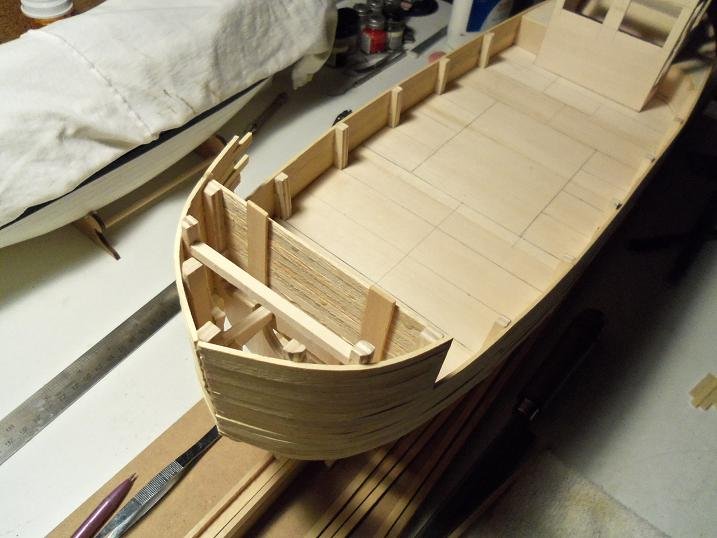
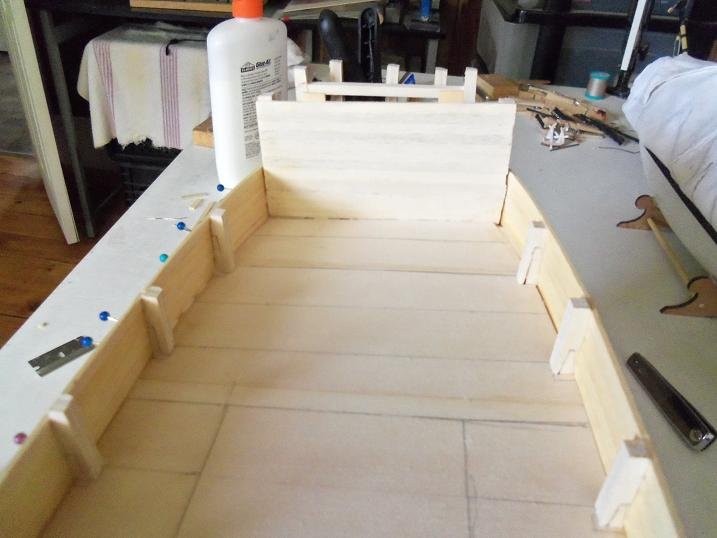
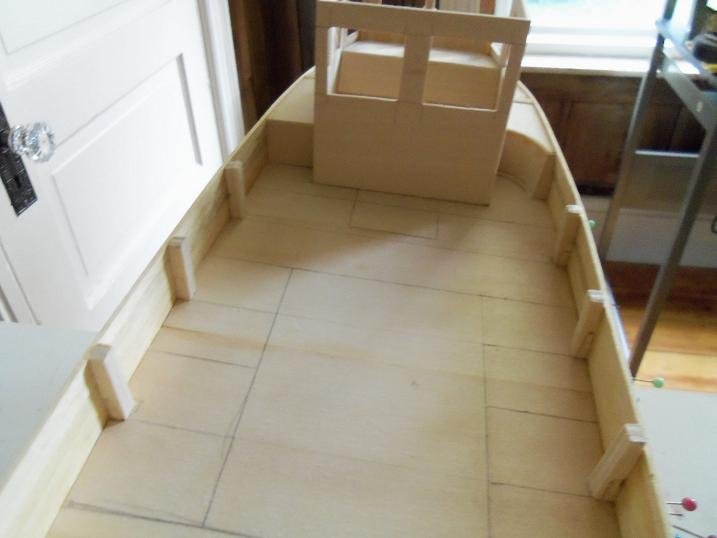
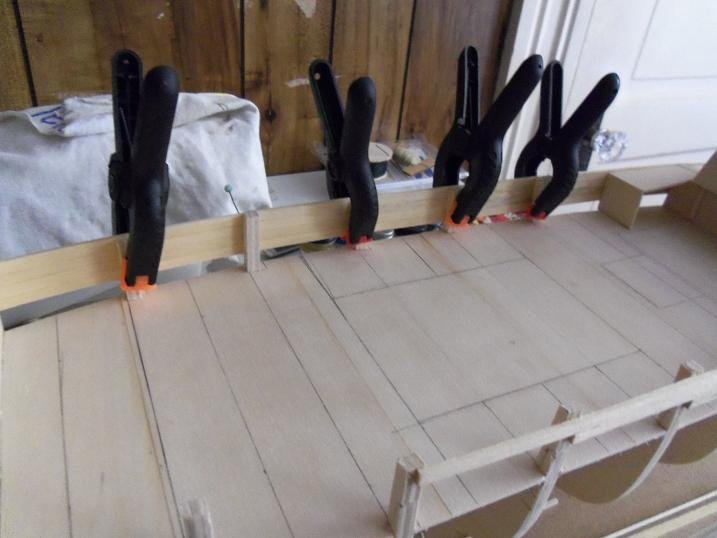
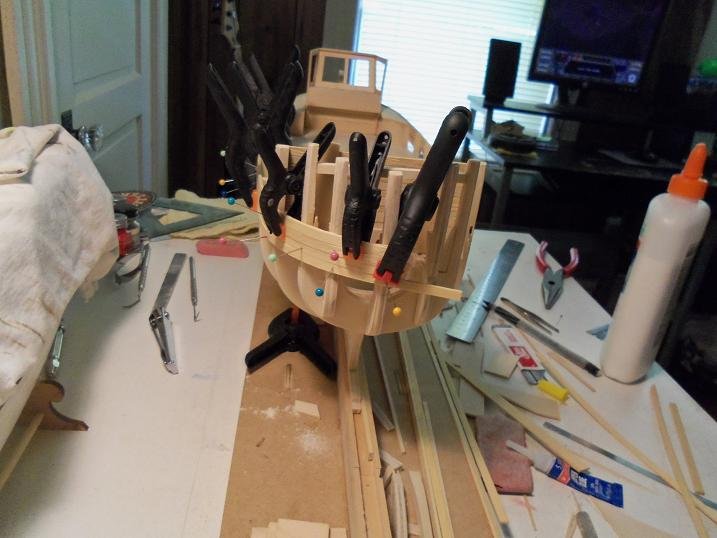
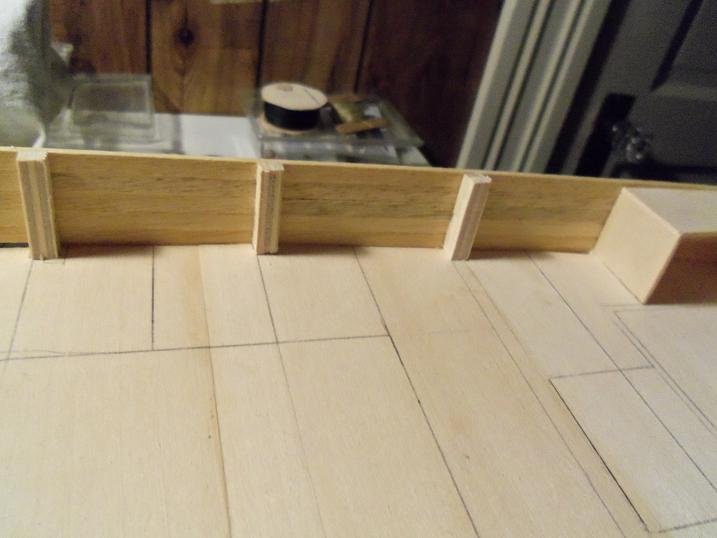
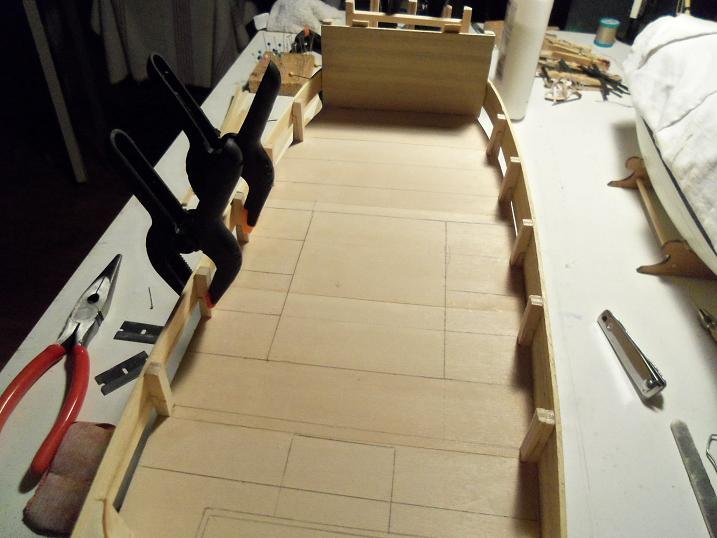
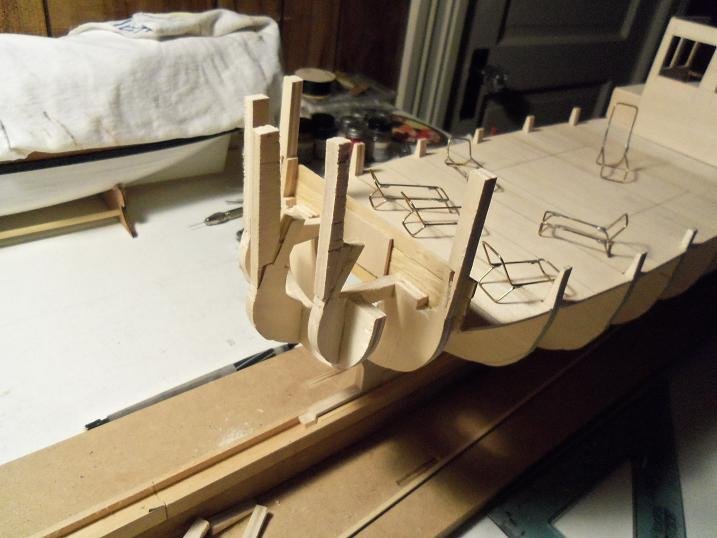
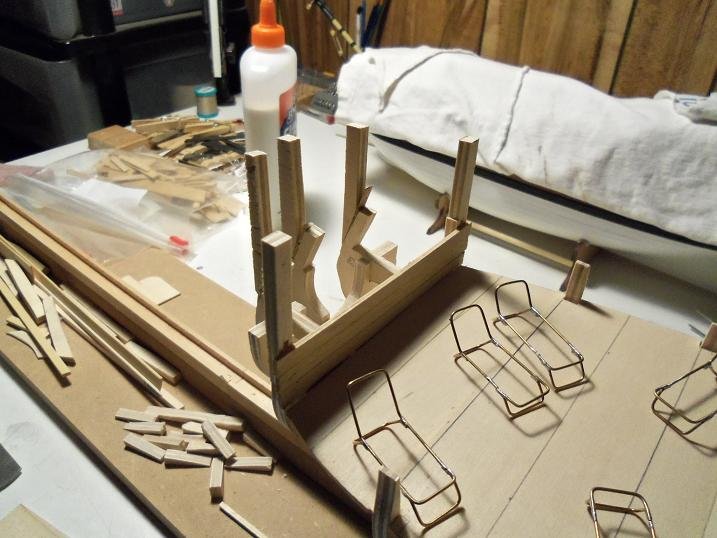
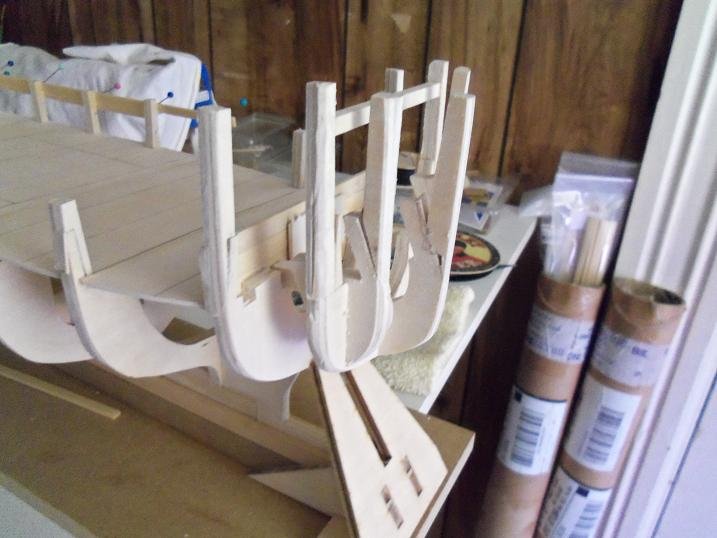
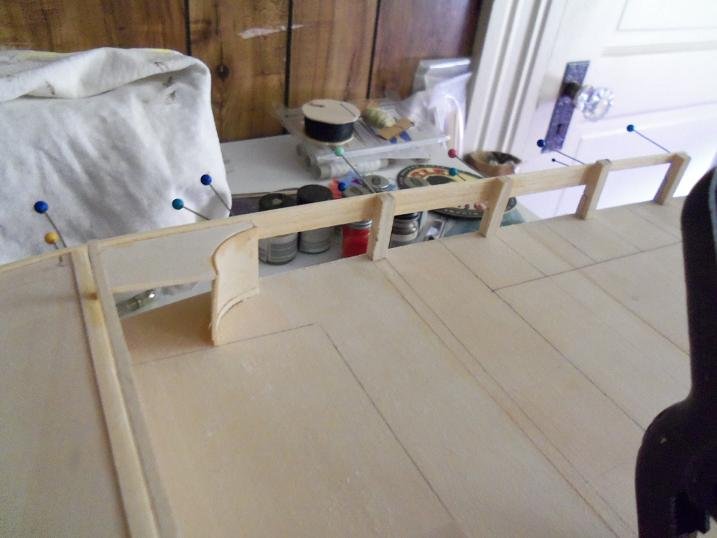
6-15-2012 the pilot house was put back in place, so that a section could be added, closing off the port side fore deck. then the rest of the deck platform was added. one of my ideas was to make some lounge chairs for the deck. this involved some soldering. a template was made to make the basic frames for the lounge chairs. the deck platform was finally dry and the clamps could be removed. the first lounge chair frame was done... the chair assembly continued. for the starboard side of the fore deck, a rounded extension was added to allow for door movement {or the illusion that it could}. the pilot house was marked on the deck, in prep for planking. post extensions were added to the stern posts, to frame in the aft cabin. as can be seen, the planking butt stagger lines were marked on the deck. also planned is a dance floor......this is the only thing I drew a diagram of.