


popeye the sailor
-
Posts
16,007 -
Joined
-
Last visited
Content Type
Profiles
Forums
Gallery
Events
Everything posted by popeye the sailor
-
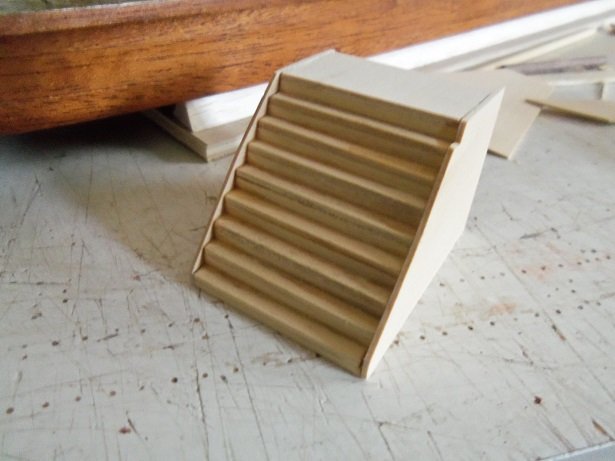
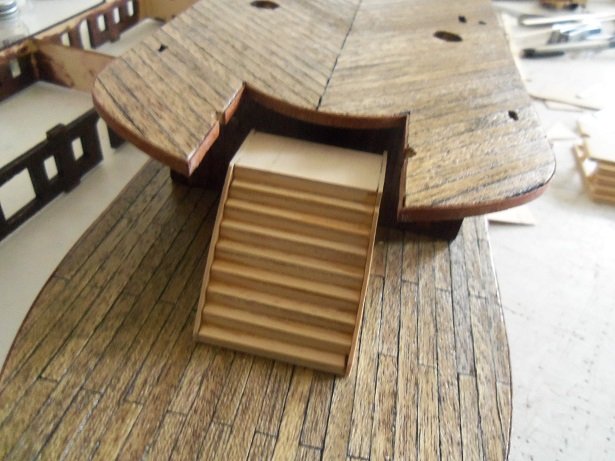
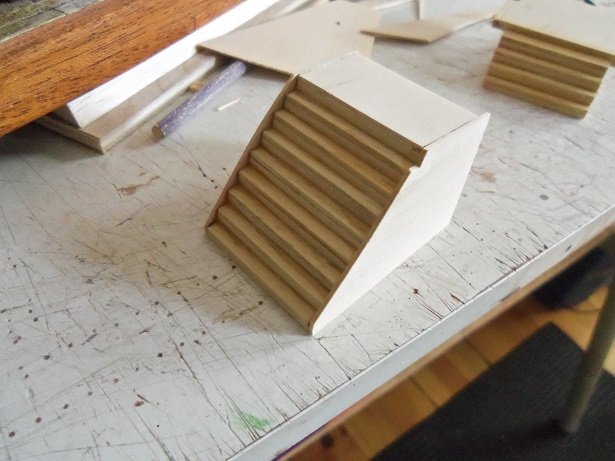
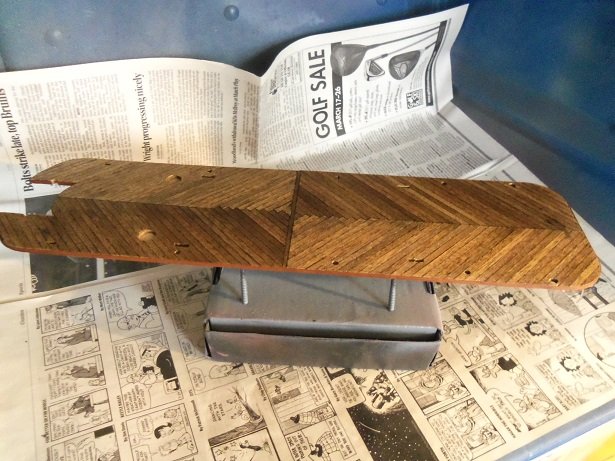
 I've been meaning to get these pictures up here. I tried a couple of different ideas on the stair issue. I continued with the original idea, adding the stairs to the landing. I then thought that the landing might be a bit too deep. ...if anyone needs a guillotine....or a hangman's platform.......I'm your man I then tried idea #2........the same basic double flight of stairs, but I went higher...and gave it closed in sides. you see the edge that has been cut out.......I will do the entire flight. here I get the notion that I've gone too high. perhaps a couple steps lower. ...here are the infamous before and after pictures............ I then did them in mahogany stain......they came out looking blotchy. my next idea should raise my expectations...hopefully take it to the next level.
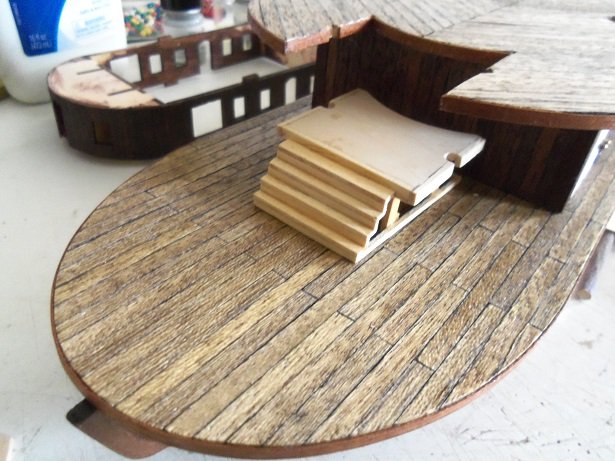

-
I don't know how you got into all the nooks and crannies.......but you did a first class job painting the deck I too, will have to see what your using, as I've never heard of it either. awesome progress!
- 378 replies
-
- 4
-

-
- java
- pacific crossroads
- (and 2 more)
-
sorry to hear about the rigging issues.........Billing is not very good at showing all the particulars. I've build many Billing kits........even though they are my favorite kit, their instructions are a bit derelict who is 'they' BTW? you've done a swell job with the hull and deck work.........I'm sure you'll figure out the proper rigging.
-
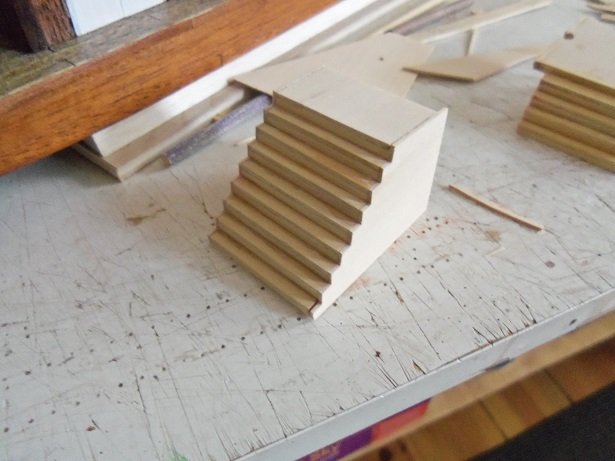
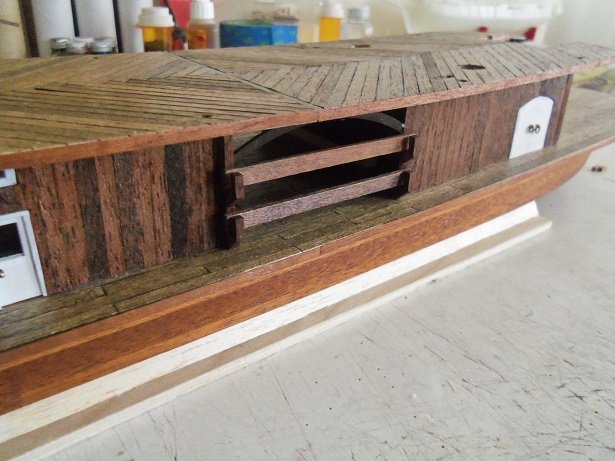
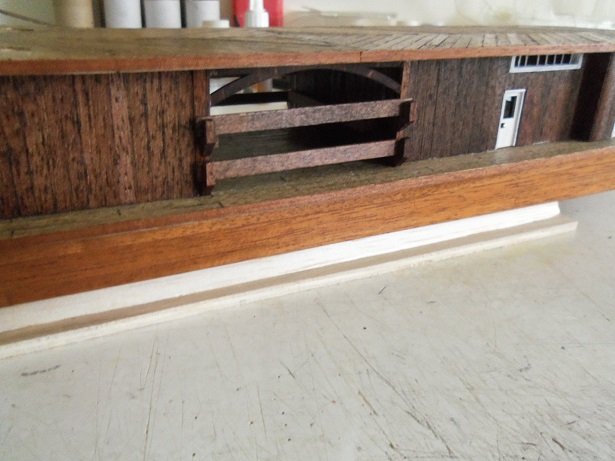
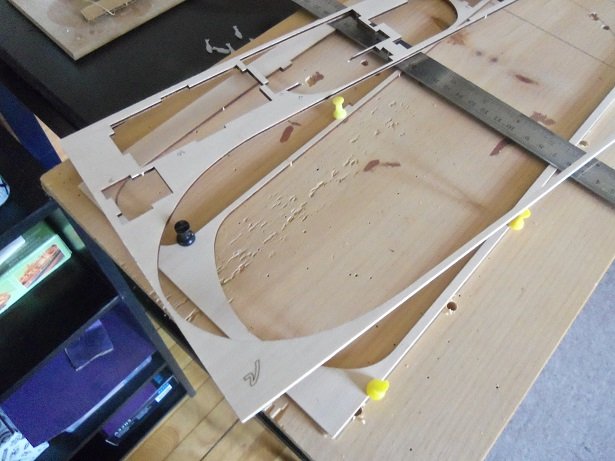
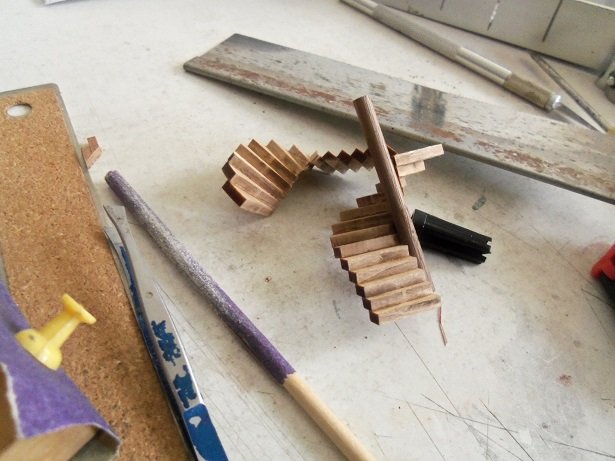
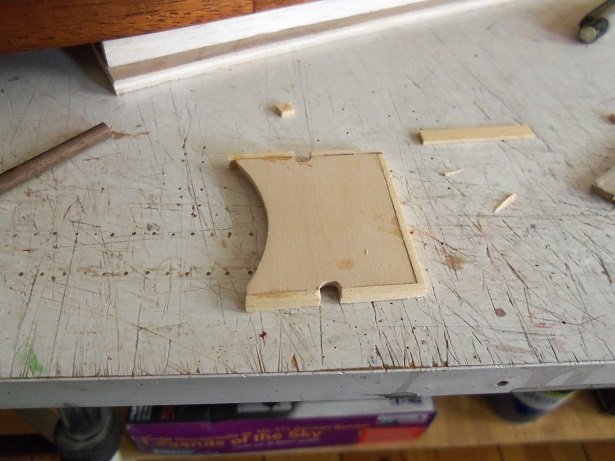
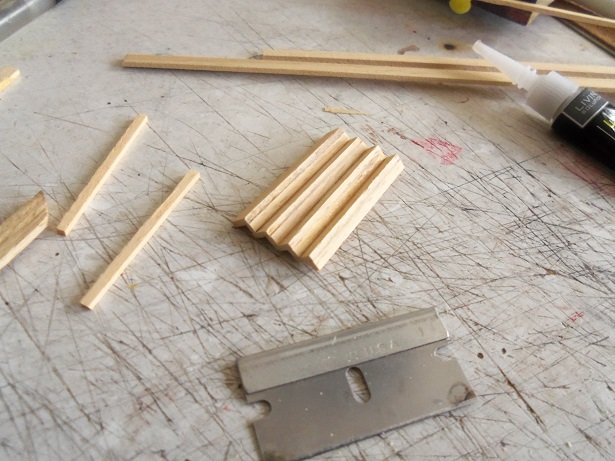
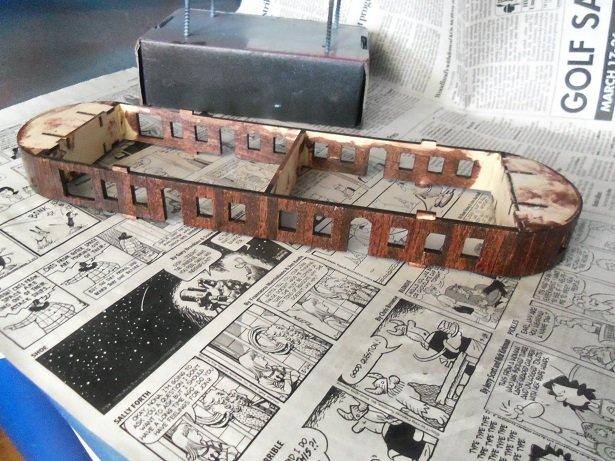
now that we have power back...........came back on @ 6:30 AM {Gibbs let us know}......I can continue. this is a fairly bright room......I could have continued without it........some of my pictures are done with no lighting at all. I figured I would start with something easy, while I think about the stairs.....I finished the coral bars. the second level deck is cemented on...had to be weighted down due to the arch. sorry to see.......but the bow fender was a flop! I used the wrong template {deck}. the parts panels are in very good shape. the one laid on top is the one I should have used. the mahogany bent OK......but I think I will try a softer wood. I can stain it later. for chuckles, I did a dry fit of the second level, and the third level deck. here's how the stairs came out........ the instructions weren't much help either......so I will try a different approach. it starts with this platform.......... and these stairs ......... getting the height right is going to be the feat.......I'm working from the ground up. I'm going to make the set of stairs that will join the second level too.....they need to join together on the platform, that will likely tell me better how high the platform needs to be. I'm also thinking of bypassing the platform idea, and create stairs that branch off each other, joined at the lower level. I'll get to be able to use some of the kit parts this way. if this don't work......then I guess I'll have to go all 'Dr Who' on the model
-
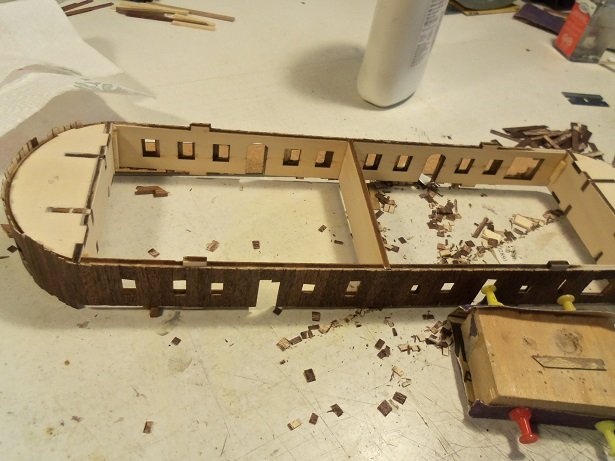
yesterday was devoted to the second level structure clean up. the windows and doors......finished trimming the excess planking, and then sanding to all the openings. you probably saw that I had sanded over the planking, to get rid of the ridges.....I went over it again with the stain. it did come out a little darker, even though I wiped it fairly quick after the application....shouldn't take away too much. it was given a coat of lacquer, but I had to give it a second light coat, due to some 'white' that started to form. lacquer can be rather touchy with humidity. while this process was going on, I tried my hand with the spiral stairs. I can concur with Hugh.......they are a pain they didn't come out right.
-
thanks for the good word gents! I'd have gotten further yesterday, but the admiral had a doctor's appointment.......and we made an afternoon of it then last night, some drunk nut decided to fly up our street, like a bat outta hell, and totally take out the telephone pole on the corner of Varney and Riddle St.....and ended up hitting a house two doors up on Riddle St! Whatta freak'in mess!. he cleaved the pole......all he got out of it was a laceration on his calf! on top of that.....while all this was going on, another drunk woman drove through the police blockade and attempted to get through. they took her away in a paddy wagon, and her car was later towed. wonder if she was at the same party? they are still working to replace the pole at this moment........looks like they are almost finished. of course Chris.......if you see something you like, be my guest not often I come up with something usable.......definitely a time saver though, I think you will like it I just answered an e-mail request from someone in Ontario, who wants to Build the Andrea Gail......he reads my logs on Word Press. hope I didn't disappoint him........I don't draw plans for anything I do........I just build it. I wish him well and good luck that's how I build my hulls........from saving all the parts panel sheets...also good if parts need to be scratch made or replaced. I did try to assemble the spiral stairs yesterday........boy! did I mess those up! I may need to so something like you did.........or perhaps feed my Frankenstein and try that elevator idea I have stuck in my head thanks Nils........compared to Chris........I'm on the wrong side of the escalator! .......a lot of effort, with little progress thanks for the likes.........I have a few more pictures to show.........I get them up in a bit thanks for look'in in !
-
my god........I'm standing still! your really moving along on her.............look'in really sweet!
-
don't you just hate it when some things don't come to fruition?!?!?! it happens to us all.......especially me even with that Glenn, you've built a first class ship here........the rigging alone has some really nice detail to it. she's very well done.......sails and fittings, and done very neatly too your almost finished
-
thanks Bob........this morning, I was standing in the kitchen....came up with an idea for the windows. now for the doors thanks for the good word!
-
if you don't want to use the rattle can, you can decant the paint into a bottle. there is a nice tutorial on you tube about this........but I posted a thread here in nautical or shore leave, how to do it without making a mess. it will airbrush OK too and you can thin it if you want the guns look great BTW
-
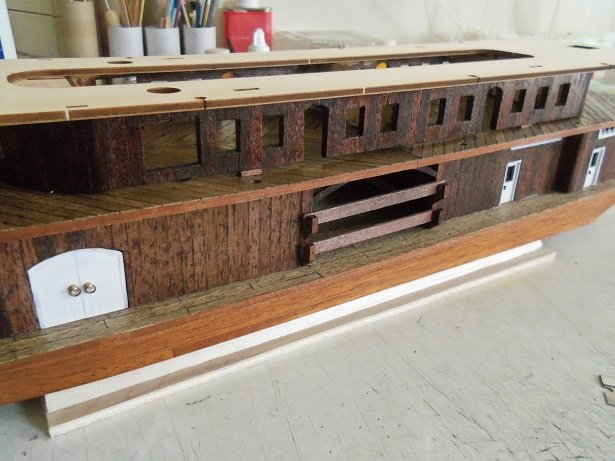
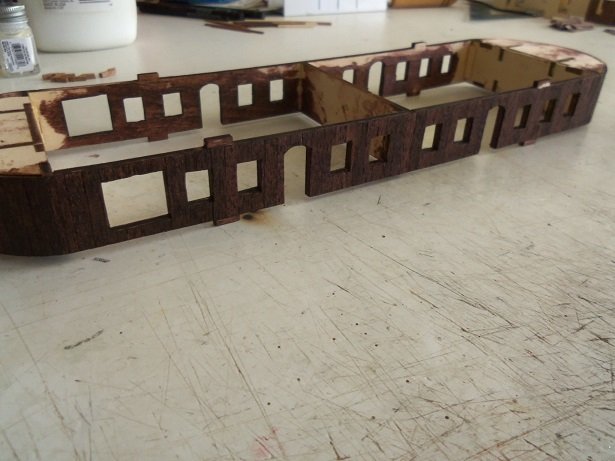
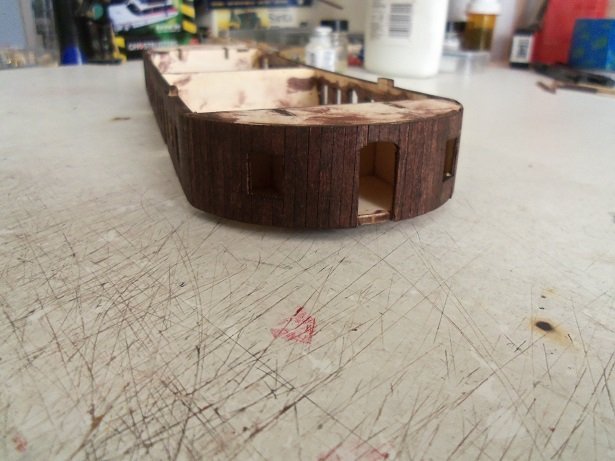
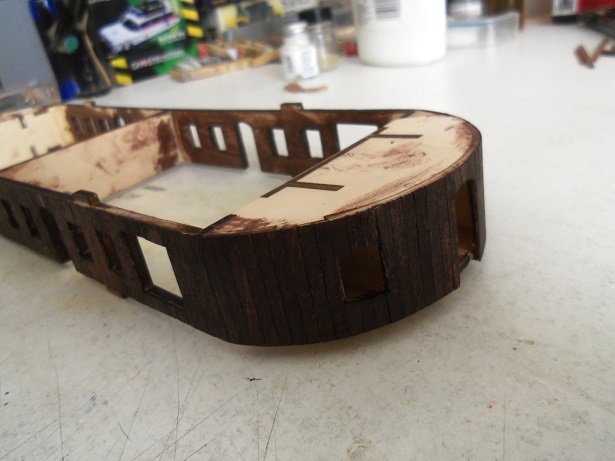
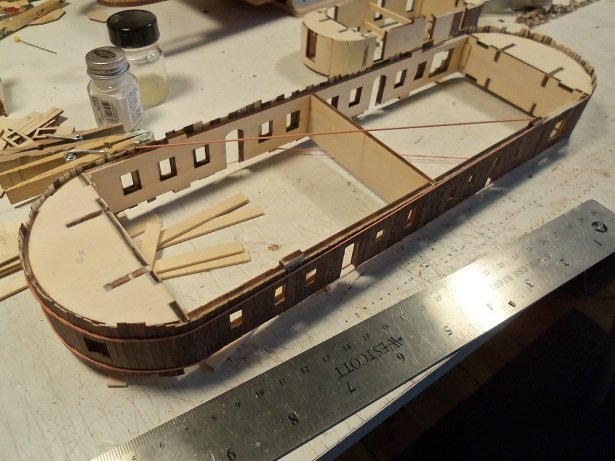
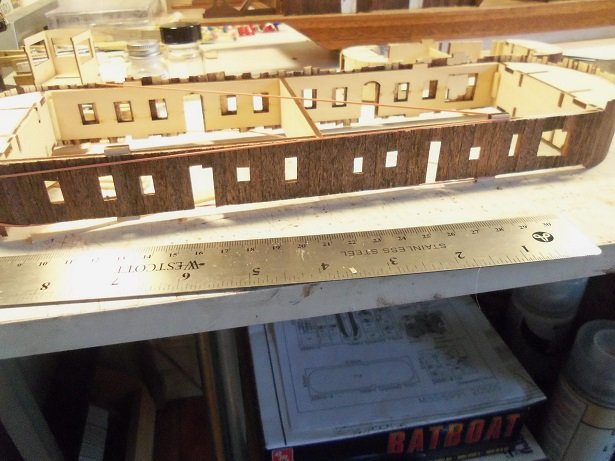
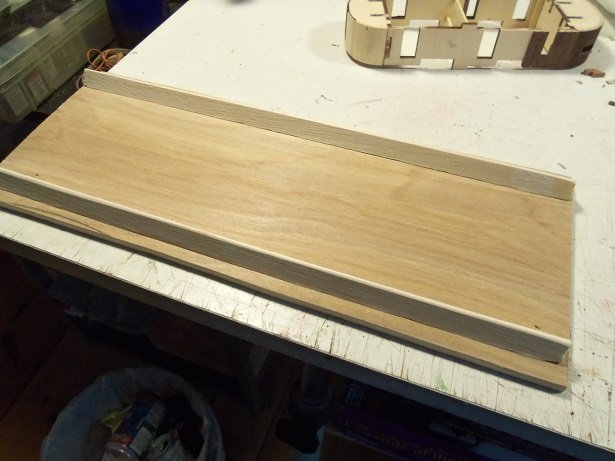
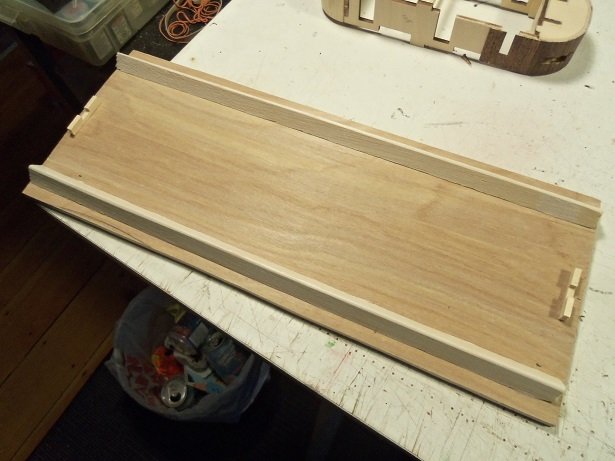
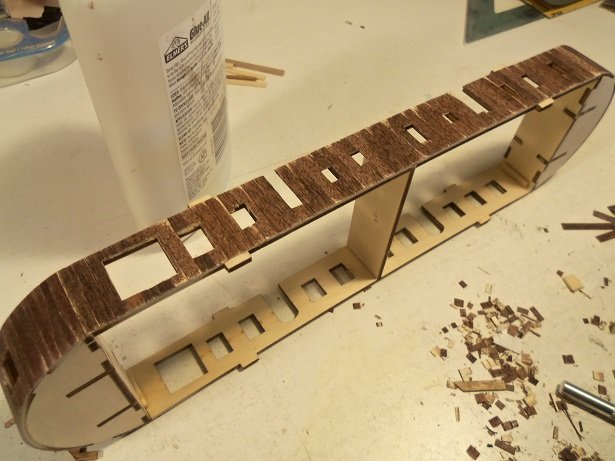
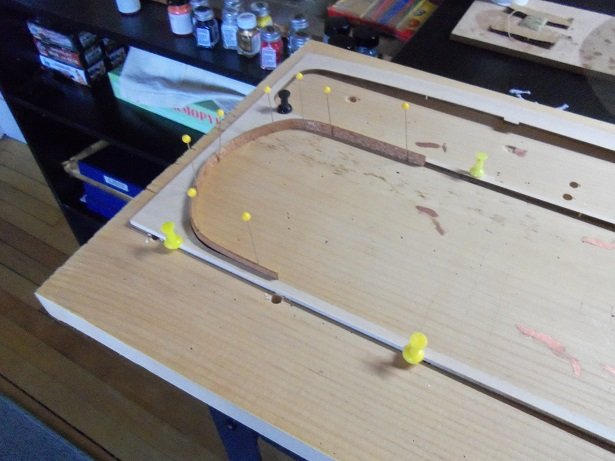
well......I had fun yesterday planking......planking..........and more planking the second level structure is completely planked. I trimmed off what I had done already...exposed the tabs.....and then continued. I was very happy to see that the final plank fit comfortably, joining the plank band together. couldn't have planned it any better myself......that was the question in my mind, using the two sizes of planking. I also finished trimming the stairway area of the second level deck. once it was ready, it went to the paint booth, to get two coats of gloss lacquer. the stand I made for it is good.......but I need to improve on it. the hull moves around on it, making some work done on it a little unstable. I first cut the excess wood from it, to make it look better. I marked off the center between the bars of Balsa at both ends, and made up these two chocks for the keel. while they were drying......I started to trim the excess from the planking. I used the clippers, and then sanded the edge flush. ....I can't wait till I get to the windows and doors. trimming them out is going to be a chore I don't recall seeing doors with rounded tops.......they must be metal parts. I will have to make them scratch, from wood........I already know that I will that I will need to do the windows. in between all this, I also cut the paddle boards for the wheel.....planning my attack to paint the metal parts. by this time, the chocks were dry enough to trim, sand, and cement into place. I sanded the bars down a bit, because the board is warped to a degree.......trying to make up for it. I'm sure that as more work is done to the model, it will get heavier, and will flatten out the stand on it's own. I may need to file the slot in the chocks to make up for this, so the keel has the room to sit in the slots fully. the deck is dry now........has the same sheen as the first level......glad to see that it was put aside....it will be cemented on once I can get the hull back on the stand. this has taken some time........but the windows and doors are almost completely trimmed out. it's as tedious as I though it would be. one last thing I started to create, is the fender at the bow. I had been soaking a piece of the mahogany wood for most of the morning. I got the parts panel for the deck out of the box, and set it up on a piece of pine wood. I'm using it to bend the wood to the contour of the deck. I have been very careful not to ruin the panels........sneaky, sneaky me I have a 'what if' brewing in the back of my mind. icky mae


-
are those blast shields on the upper windows? will all of the exposed windows have that treatment?
-
looking good Chris! I'm looking forward to the day I can populate my decks
-
I agree whole heartedly Mike! working on some progress as we speak!.........gotta let things dry for the moment. another thing is browsing through your favorite modeling site
-
nice work on the launcher assembly.....primered up, they look great. what is this going to do for the window dilemma?
-
good yo see your getting back to the table Vivian
-
I have one picture of me building the Revell United States.......I think I was around 35 in the photo. I never took any photos of the models I built before then.....some I wish I had.... time it twas... and what a time it twas..... ....it twas.... a time if innocence, a time of confidences. long ago it must be, I have a photograph. preserve your memories, their all that's left you........ {bookends by Simon & Garfunkel}
-
thanks Kevin........got a rainy day ahead of me here. should be able to make some progress today as for the job thing......I'll just keep looking, that's all
-
glad your not using the metal carriages. as long as you can file the breech area down, so the cannon can sit at the proper level, the thicker cannons will fill the carriages better {and look better too}. good thought going on here
-
looks awesome Michael 'exposed' window is a neat idea.......fitting the deck out looks good too.
-
awesome progress Chris........got some really nice detail going on! stairways look really well done...as well with how you did the paddle wheel. really great job!
-
we have a thing called FMLA {family medical leave..not sure what A means} ........you have {I think} 21 weeks of leave......paid or not, I'm not sure {never done it}. we get 192 sick days...we pay ourselves through our PTO accruements. it used to be nice.......if you didn't use any, any additional time accrued, would turn into personal time, which could be used anytime. Wally has gone through so many changes these past couple of months....the sick time {we will never get to use}, no more personal time, and the PTO accruement program is prone to bugs and not very accurate. it used to be good......now feel like we've been cheated out
-
well...yes, that more of the hull is now covered gonna be sweet to see it completely covered!