-
Posts
1,409 -
Joined
-
Last visited
Content Type
Profiles
Forums
Gallery
Events
Everything posted by DelF
-
The widest distance a ratline would have spanned on the main shrouds was 3' 9" (1.15m) and on the fore shrouds 3' 6" (1.06m). Those widths don't sound too extreme - they just look odd compared to the ratlines on either side, where the deadeyes on the channels are virtually touching and consequently the ratlines are very short. Derek
- 345 replies
-
- Duchess Of Kingston
- Vanguard Models
-
(and 1 more)
Tagged with:
-
That’s a good suggestion Glenn, I hadn’t thought of that
- 345 replies
-
- Duchess Of Kingston
- Vanguard Models
-
(and 1 more)
Tagged with:
-
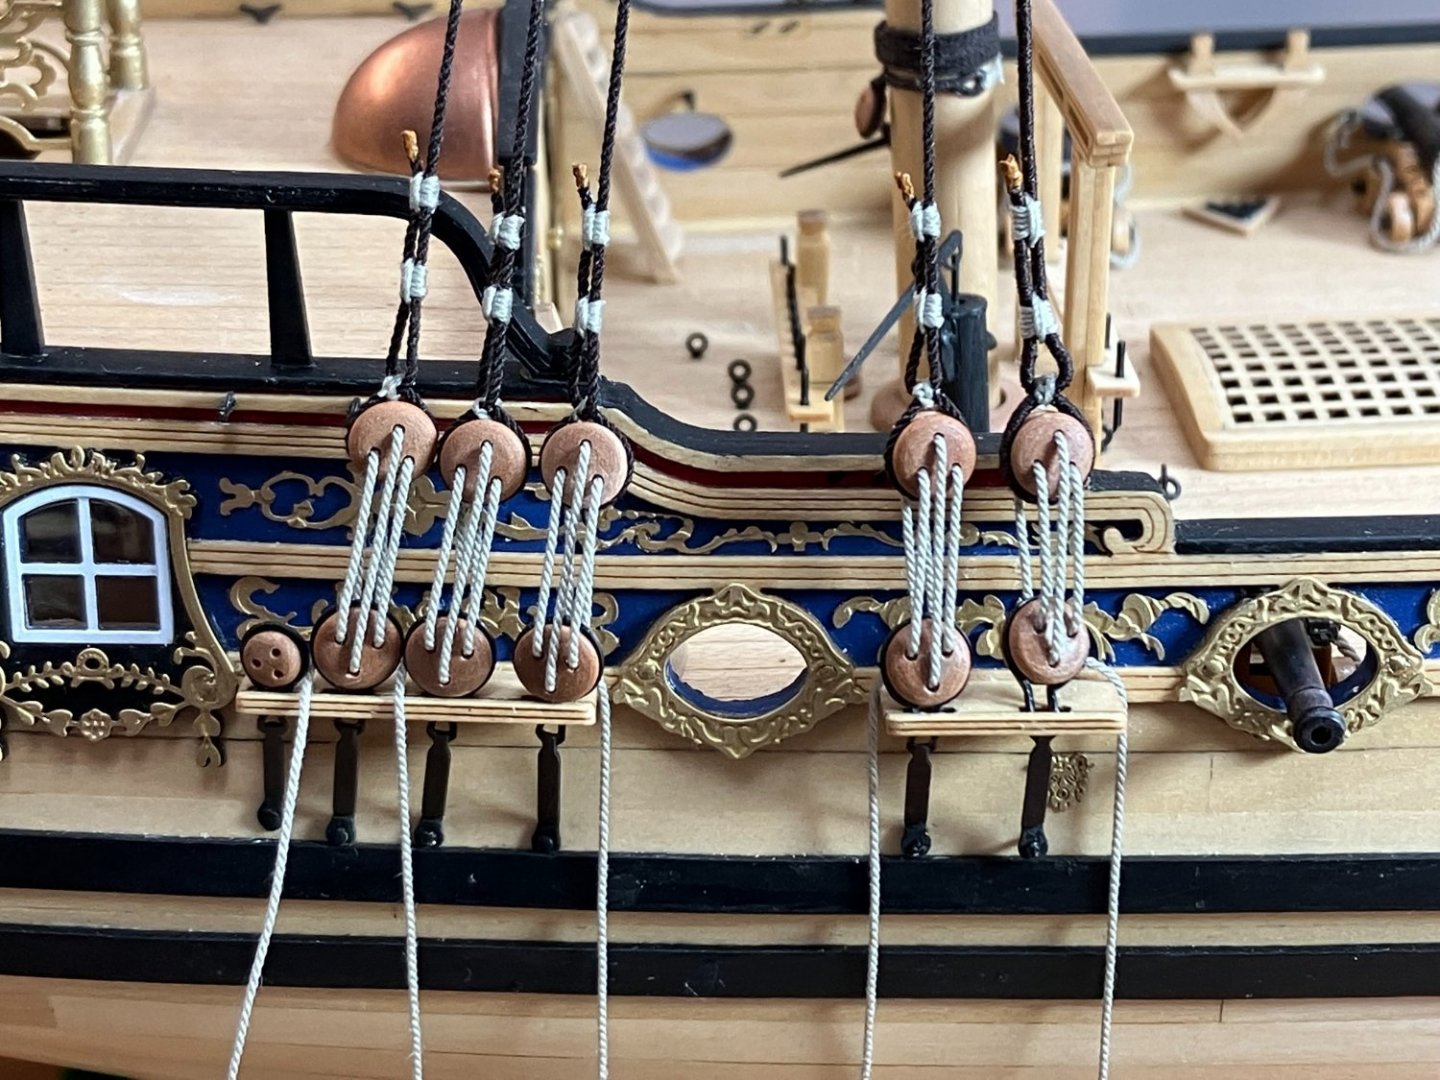
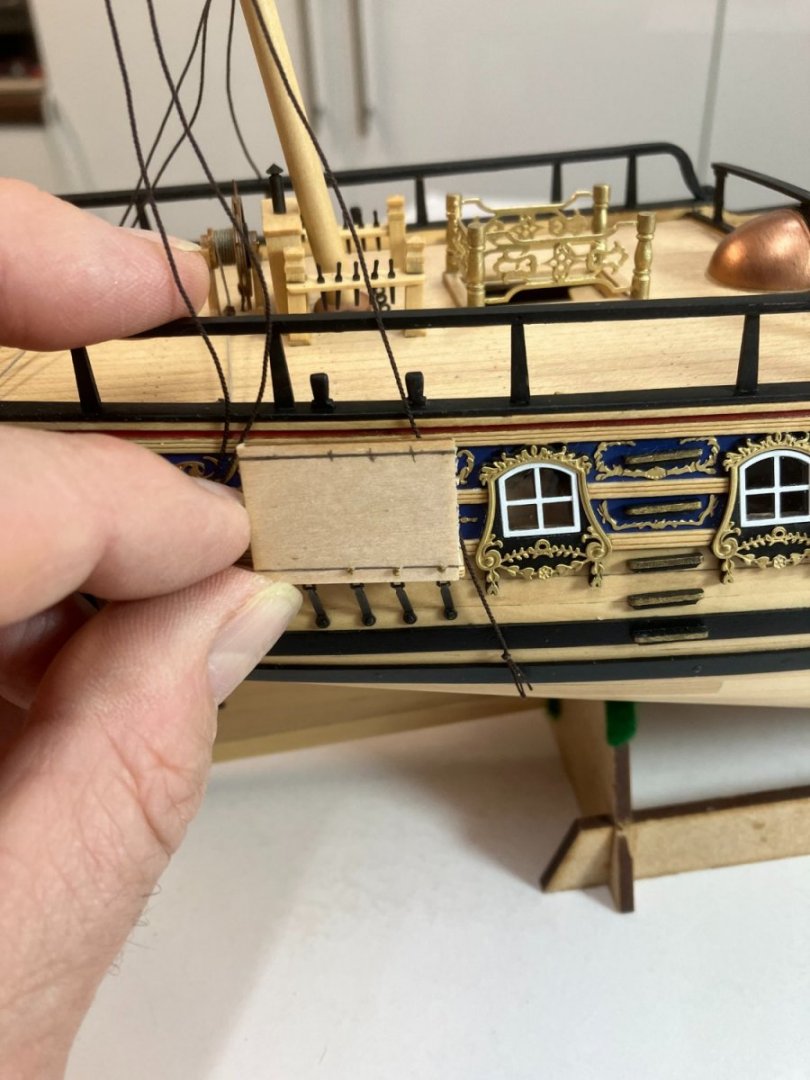
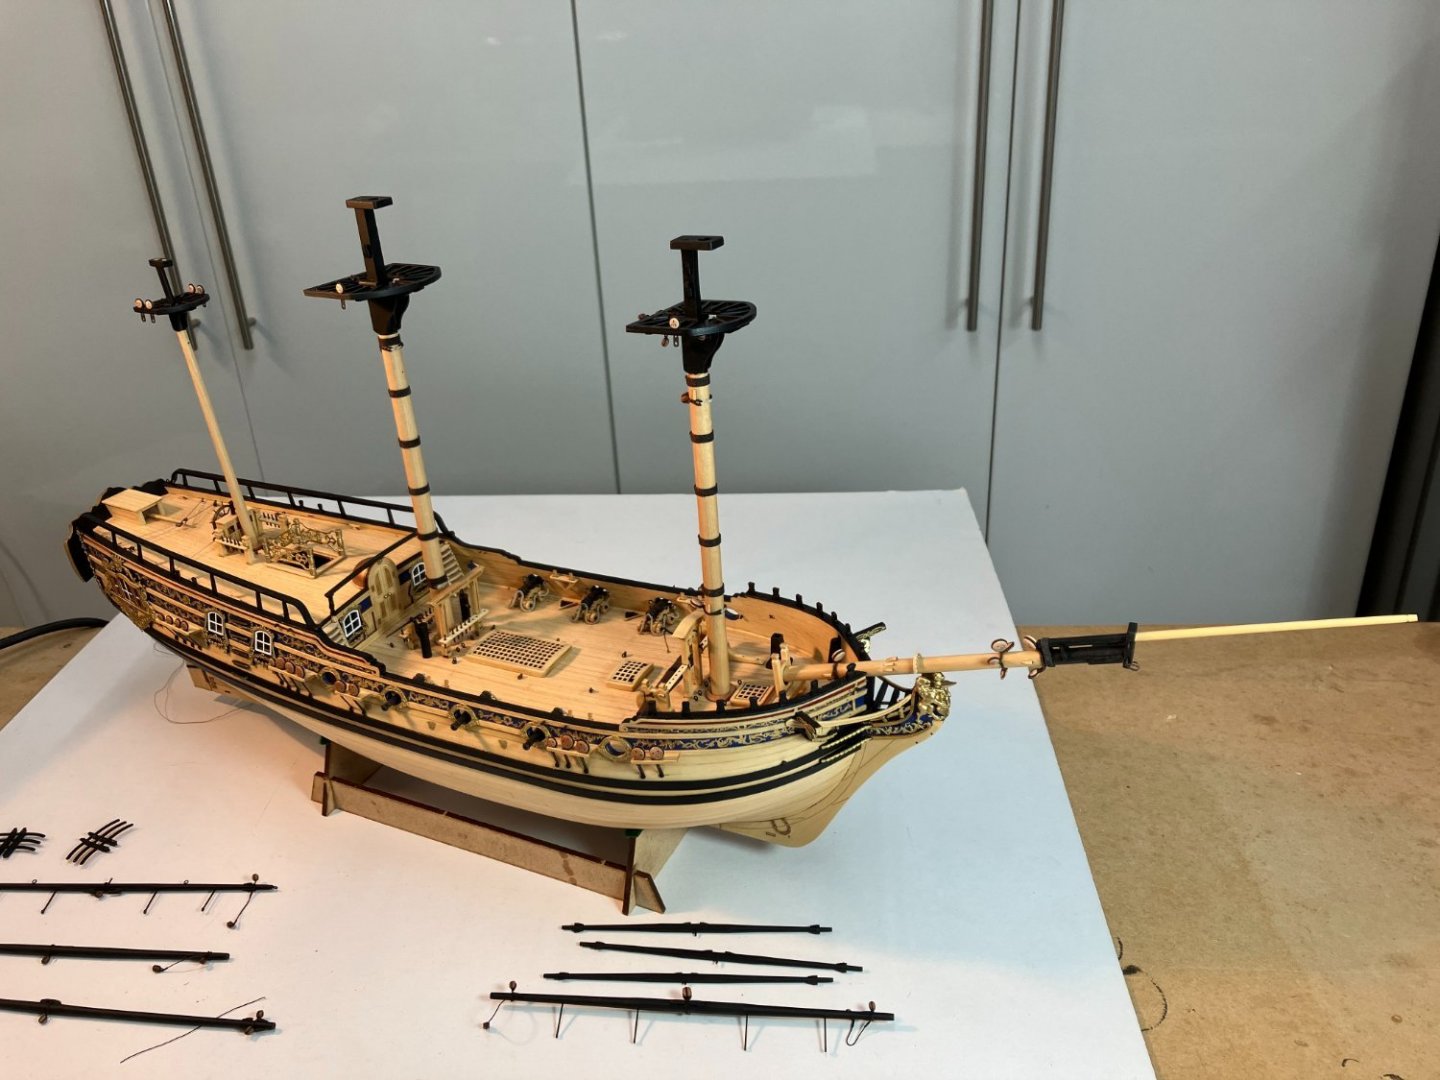
Main shrouds These consisted of two pairs plus one swifter on each side. As with the mizzen, the central quarter of each shroud pair was served, but for the main the whole of the first shroud on each shroud was served. I always like the look of a gang of served shrouds stacked up round a masthead: I used 0.50mm line for the lanyards (made from three strands of Mara#70). I like the line, but on reflection it looks a bit heavy and I might replace it with 0.40mm. A head scratcher This shot highlights an issue that's been concerning me for some time, namely the wide gap between the two sets of shrouds. The fore shrouds have a similar gap, and in both cases I'm wondering how practical the ratlines would have been on the real ship. The ratlines spanning the wide gap would surely have made a very unstable ladder for the sailors, so I wonder if they might have been left out? On the model, which would look odder - a gap or unfeasibly wide ratlines? What do fellow builders think? Derek
- 345 replies
-
- Duchess Of Kingston
- Vanguard Models
-
(and 1 more)
Tagged with:
-
10' without specs works better on my models...😬
- 857 replies
-
- Sphinx
- Vanguard Models
-
(and 1 more)
Tagged with:
-
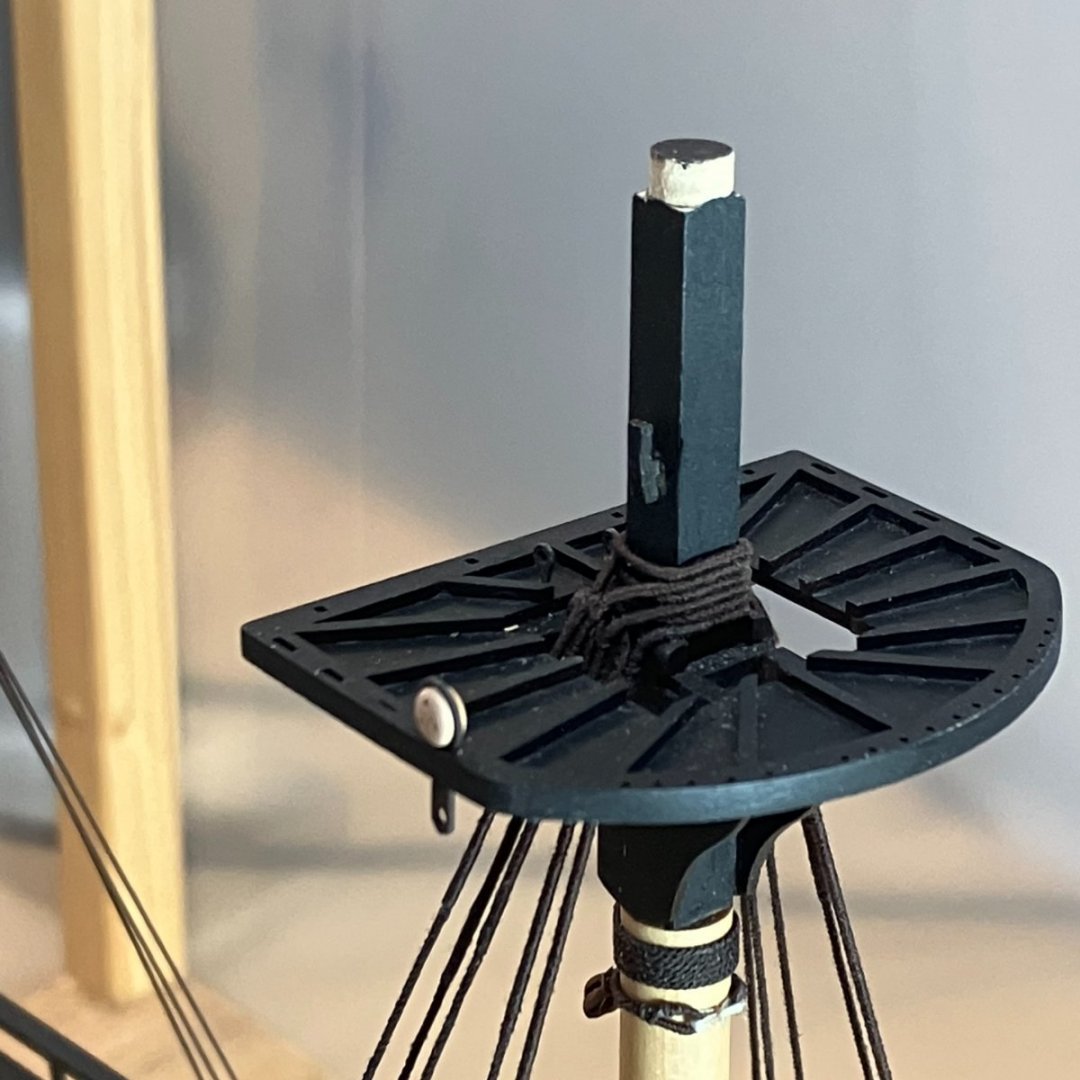
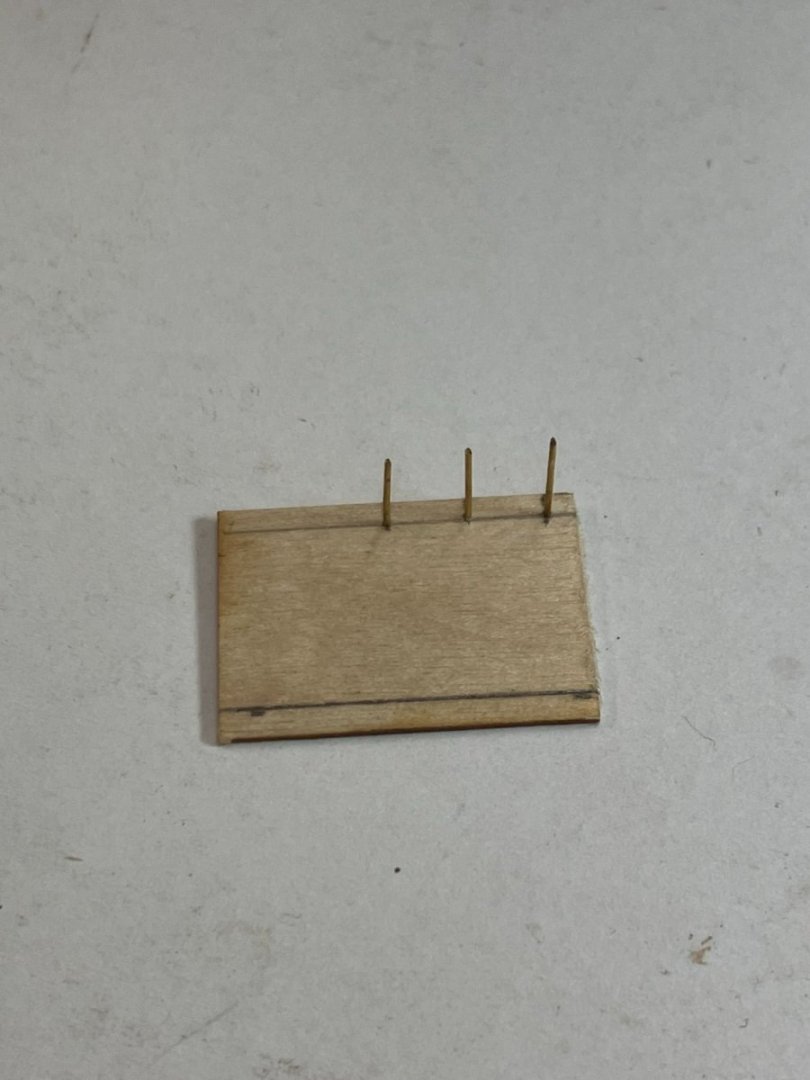
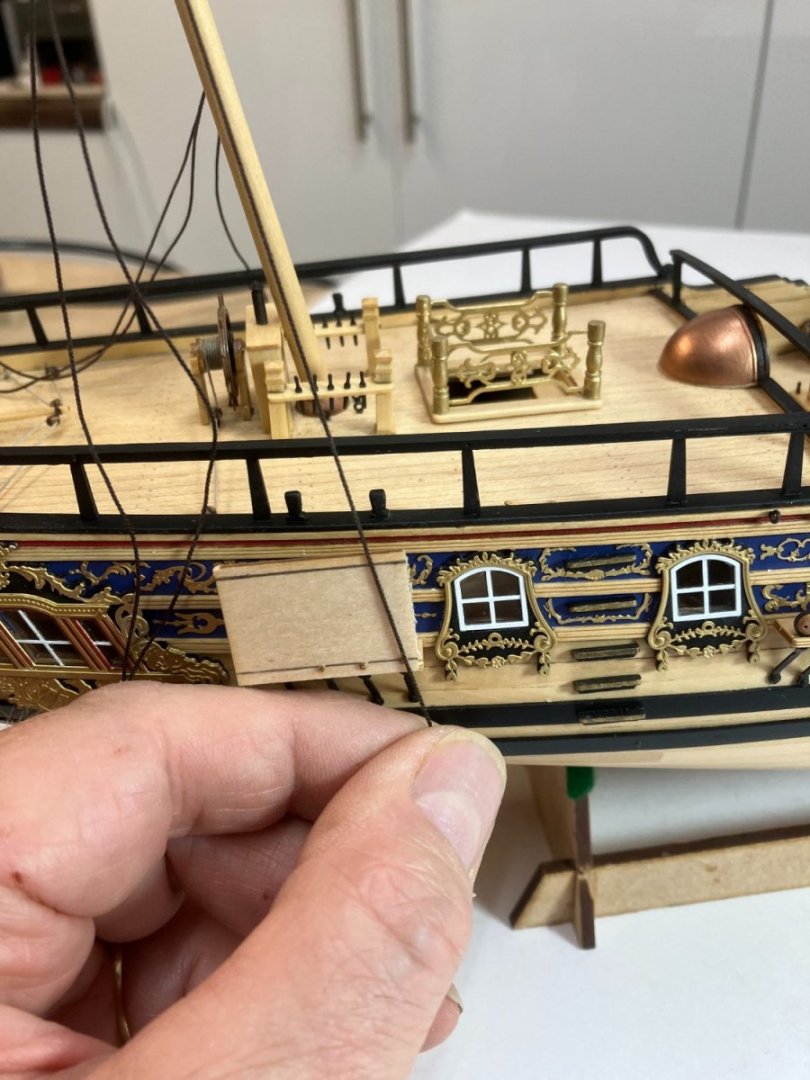
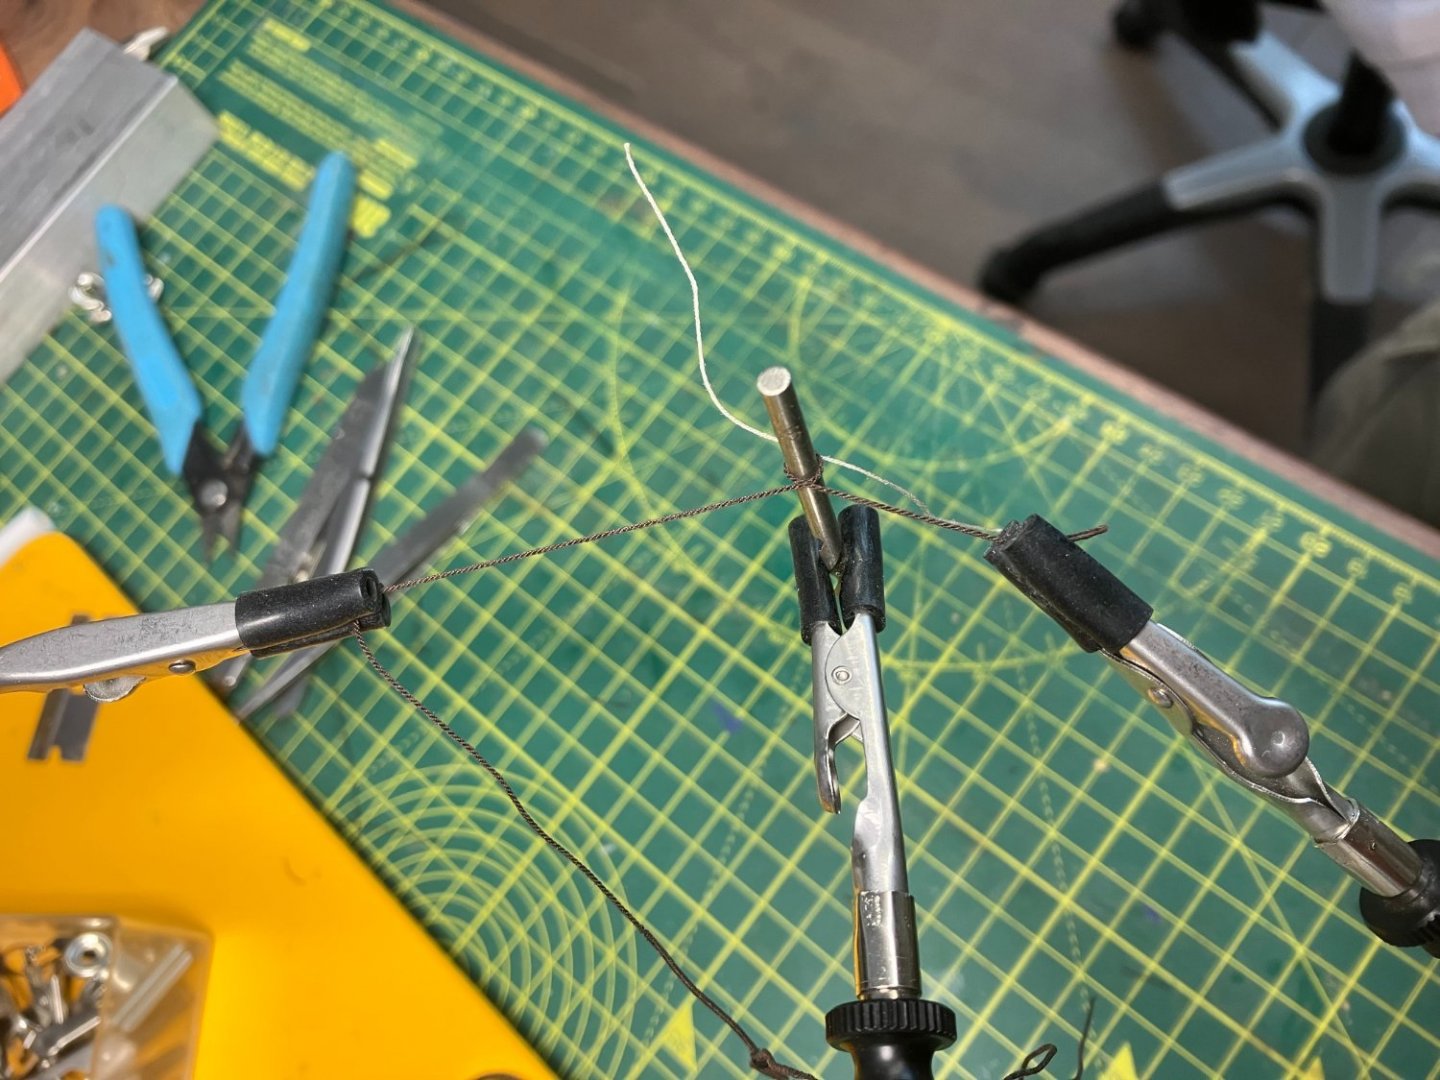
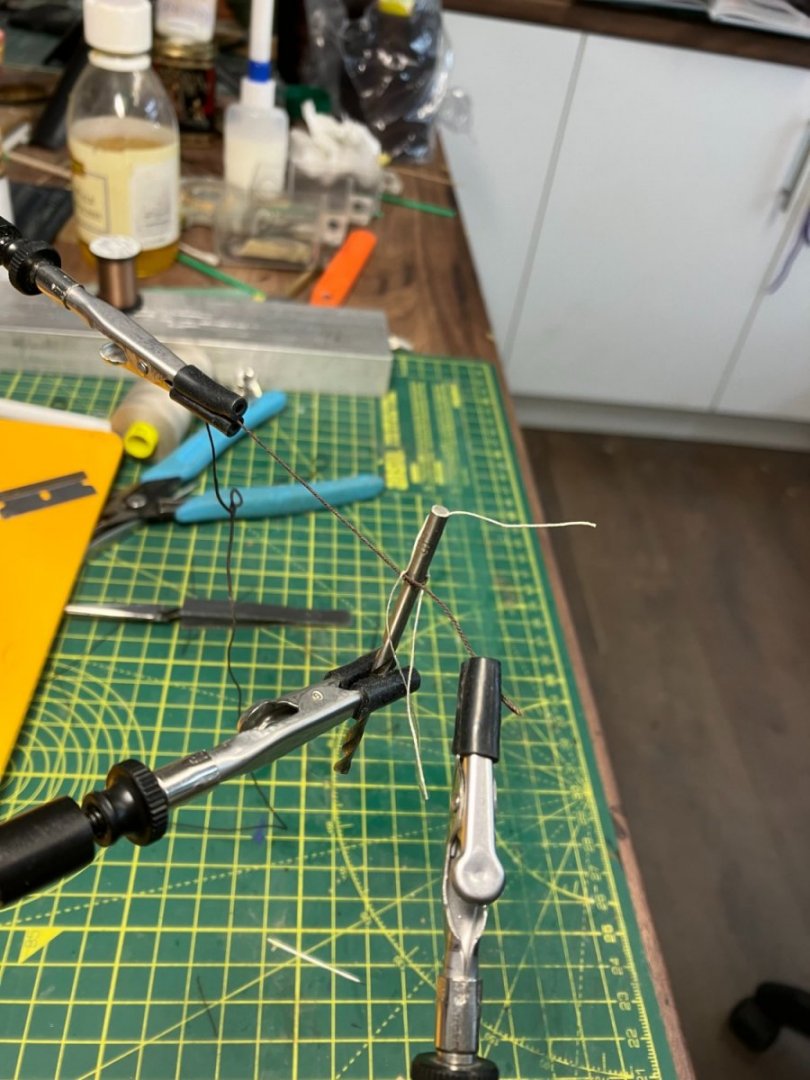
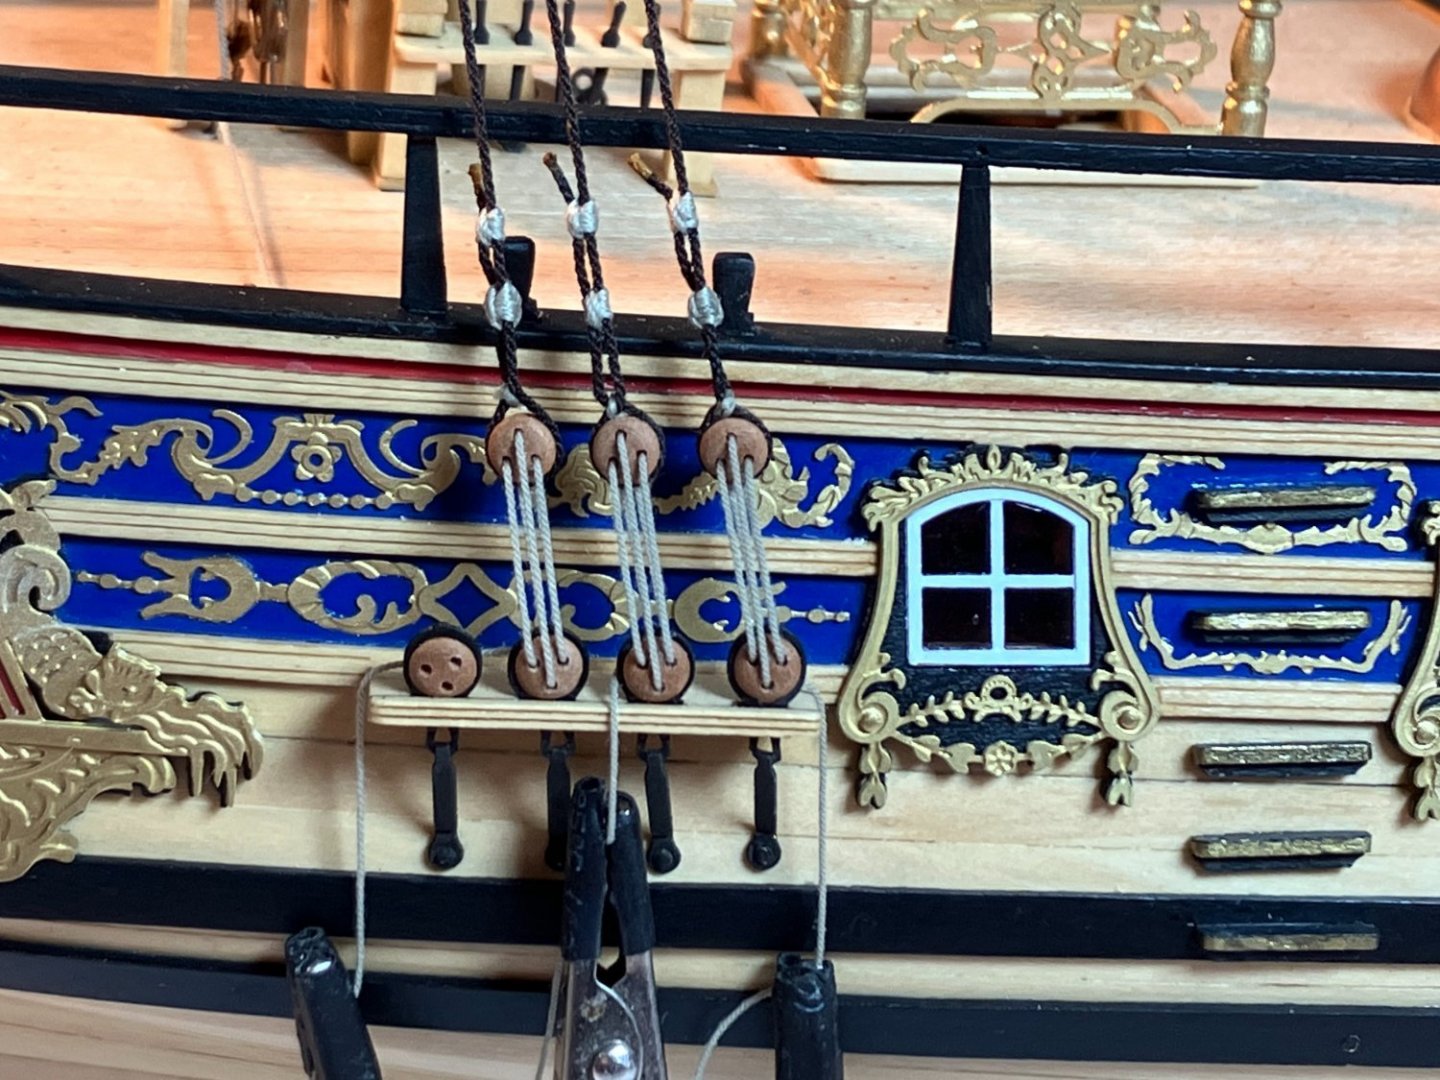
Mizzen shrouds The kit plan for the mizzen on Duchess has just three shrouds on each side, one pair and a swifter - a single shroud eye spliced round the masthead. Port and starboard singletons were sometimes fashioned from a single line cut spliced round the masthead, but eye splices were also commonly used according to Lees so I stuck with the kit plan. I used 0.50mm dark line (3 X Mara #70) with the middle 70mm of each pair served and an equivalent length served on the swifters. I used Mara #150 for the serving. The front shrouds on the main and fore masts were served along their full lengths, I think to protect the courses, but as there is no equivalent sail on the mizzen the extra serving is not necessary. I covered shrouds extensively in my Speedy log (eg here for seizing deadeyes, here and the next few posts for rigging the shrouds). However there were a few differences which I'll cover. First, unlike Speedy I decided not to construct each mast in its entirety before starting the rigging. On Speedy I had to rig each shroud on the model, because with caps and topmasts in place it was not possible to slip shrouds over the mastheads. On the Duchess I can fit shrouds temporarily, measure where I want the deadeyes, then take the shrouds off the model to fit the deadeyes in comfort. Also, I don't bother gluing lower masts in place, preferring to adjust shrouds and stays until they are secure and properly aligned. Like lots of people I usually struggle to get deadeyes to line up neatly, so I thought I'd try a slightly different method involving a variation on the pins in a stick method. Instead of dealing with the deadeyes one set at a time I tried the whole channel in one go. I figured it was best to try it out on the mizzen first with its modest three shrouds. I started with a small piece of 2mm wood sheet in which I drilled three holes corresponding to the lowest holes on the three deadeyes on the channel. With pins in these holes I drew a line parallel to the line of pins at the distance I wanted the upper deadeyes: With the board pinned through the lower deadeyes I marked the point at which each shroud would cross the upper line: With holes drilled in the upper line, pins inserted and deadeyes fitted it was easy to mark where each shroud wrapped round the bottom of each upper deadeye. I tied a short length of light thread at this point then removed the shrouds from the model. I should add that I was able to use the same jig for the port side - I just had to remove the pins and reinsert them from the other side of the board. To seize the upper deadeyes I used the same method I described for Speedy. The mizzen deadeyes are nominally 3mm but actually measured 3.4mm. However I used a 3mm drill bit to start the process as this ensured a good tight fit when I inserted the deadeye. I'll just include a couple of photos to show the start of the process. 1) Wrap the shroud round the drill bit, with the crossing point opposite the thread marking the bottom of the deadeye: 2) Use a fine needle to stitch the seizing (I used Mara #100) through the crossing point - actually through both parts of the shroud to ensure the seizing won't slip: The throat seizing can then proceed in the normal way, after which the deadeye is inserted, two round seizings added, everything trimmed and the leather cap simulated with raw sienna acrylic paint. The big question - did this process produce level deadeyes? Did it b*****y! Just as uneven as usual... ...however, I soon discovered the big advantage of using Gutermann Mara - it's very flexible. This meant I had sufficient scope in tightening the lanyards to get the deadeyes more or less level. I used 0.30mm line for the lanyards, spun up from three strands of Mara #150: I'll leave the lanyards unfinished until I'm ready for final tightening all round. On to the main next. Derek
- 345 replies
-
- Duchess Of Kingston
- Vanguard Models
-
(and 1 more)
Tagged with:
-
Hi Rob I wouldn't be too quick to dismiss the MF70. Search on the forum and see some of the work people achieve with this tool. The speed is high to give clean cuts in wood, which is what most people use it for. Also, it is not limited to tools with only one shaft diameter. The use of collets means you can use a wide range of drills and mills from 0 to about 3.4mm. These tools may be classed as tiny, but that's the point - they enable you to achieve very precise results at small scales. I'm fortunate enough to have a larger mill as well as the MF70, and that tool's fine for other hobbies and DIY jobs around the house, but at least 95% of the time the MF70 is my go to milling machine for ship modelling. Hope that helps Derek
-
Unfortunately I've not been able to try AYC - it seems virtually impossible to get hold of in the UK. Some boatyards have it for fitting out high-end craft, but they don't seem willing to part with it in sensible quantities. Having seen Glenn's beautiful work on Winchelsea I've decided to sneak a saw into my luggage for my upcoming trip to Alaska
- 345 replies
-
- Duchess Of Kingston
- Vanguard Models
-
(and 1 more)
Tagged with:
-
Great to see you expanding your rigging techniques David, and making a fine job of it. Thanks - glad you find the logs useful. I agree with Glenn about your log - it will also be very helpful to Duchess builders. I agree - 18/0 is fine enough for this scale. My micrometer says it's only 0.04mm in diameter, which equates to just 2.5mm (0.1") at full size. Perfect for fine whipping cord. Derek
-
Yikes! I think lying about the size will be the only way I'll get this one into the house ("Honest, it's not much bigger than a rowboat!") I'll probably have to lie about the price as well, but that'll be easier to get away with.
- 488 replies
-
- Indefatigable
- Vanguard Models
-
(and 1 more)
Tagged with:
-
Thanks Dave, much appreciated. Yes indeed! I've had Sphinx sitting in a corner of my workshop since Christmas, and when I look at current Sphinx build logs (I'm following @Blue Ensign, @hollowneck & @glennard2523) I start drooling in anticipation. I regularly have to excercise restraint to stop myself opening the box and starting construction as I know I just couldn't handle having two major kits on the go simultaneously. Last year I enjoyed having a small pinnace build on the go at the same time as Speedy as it provided variety, but DoK plus Sphinx would be too much. Of course not Rob, and thanks for the kind words. Much of what I've learned has been through other people's logs on this site and if I can pay some of that back through my own builds then I'm very happy. Derek
- 345 replies
-
- Duchess Of Kingston
- Vanguard Models
-
(and 1 more)
Tagged with:
-
Making your own rope is honestly dead easy and very satisfying, and you've got plenty of space to set up a temporary ropewalk whenever you needed it. Have a look at the Rope Rocket and Servomatic videos on Chuck's site to see how fast you can make and serve rope. I enjoyed seeing your great basement, but I get embarrassed whenever I see such tidy and well organised workspaces as yours and Glenn's - I've been too shamed to post mine before! Many thanks. I paid extra for the boxwood version but it was worth it. (I agree about David's planes!) Derek
- 345 replies
-
- Duchess Of Kingston
- Vanguard Models
-
(and 1 more)
Tagged with:
-
You've got your priorities all wrong Glenn. What's a bathroom?
- 345 replies
-
- Duchess Of Kingston
- Vanguard Models
-
(and 1 more)
Tagged with:
-
Looking absolutely superb. I can't wait to get started on mine, and shall doubtless use your log to guide me. I hope you're going to get Chris's Indefatigable in due course as I regard you as the trailblazer on all these great kits and will shamelessly copy your research and enhancements 😬😁 Derek
- 857 replies
-
- Sphinx
- Vanguard Models
-
(and 1 more)
Tagged with:
-
Nonsense - you're already ahead of me on Byrnes tools - I want the thicknesser and disc sander! 🤢
- 345 replies
-
- Duchess Of Kingston
- Vanguard Models
-
(and 1 more)
Tagged with:
-
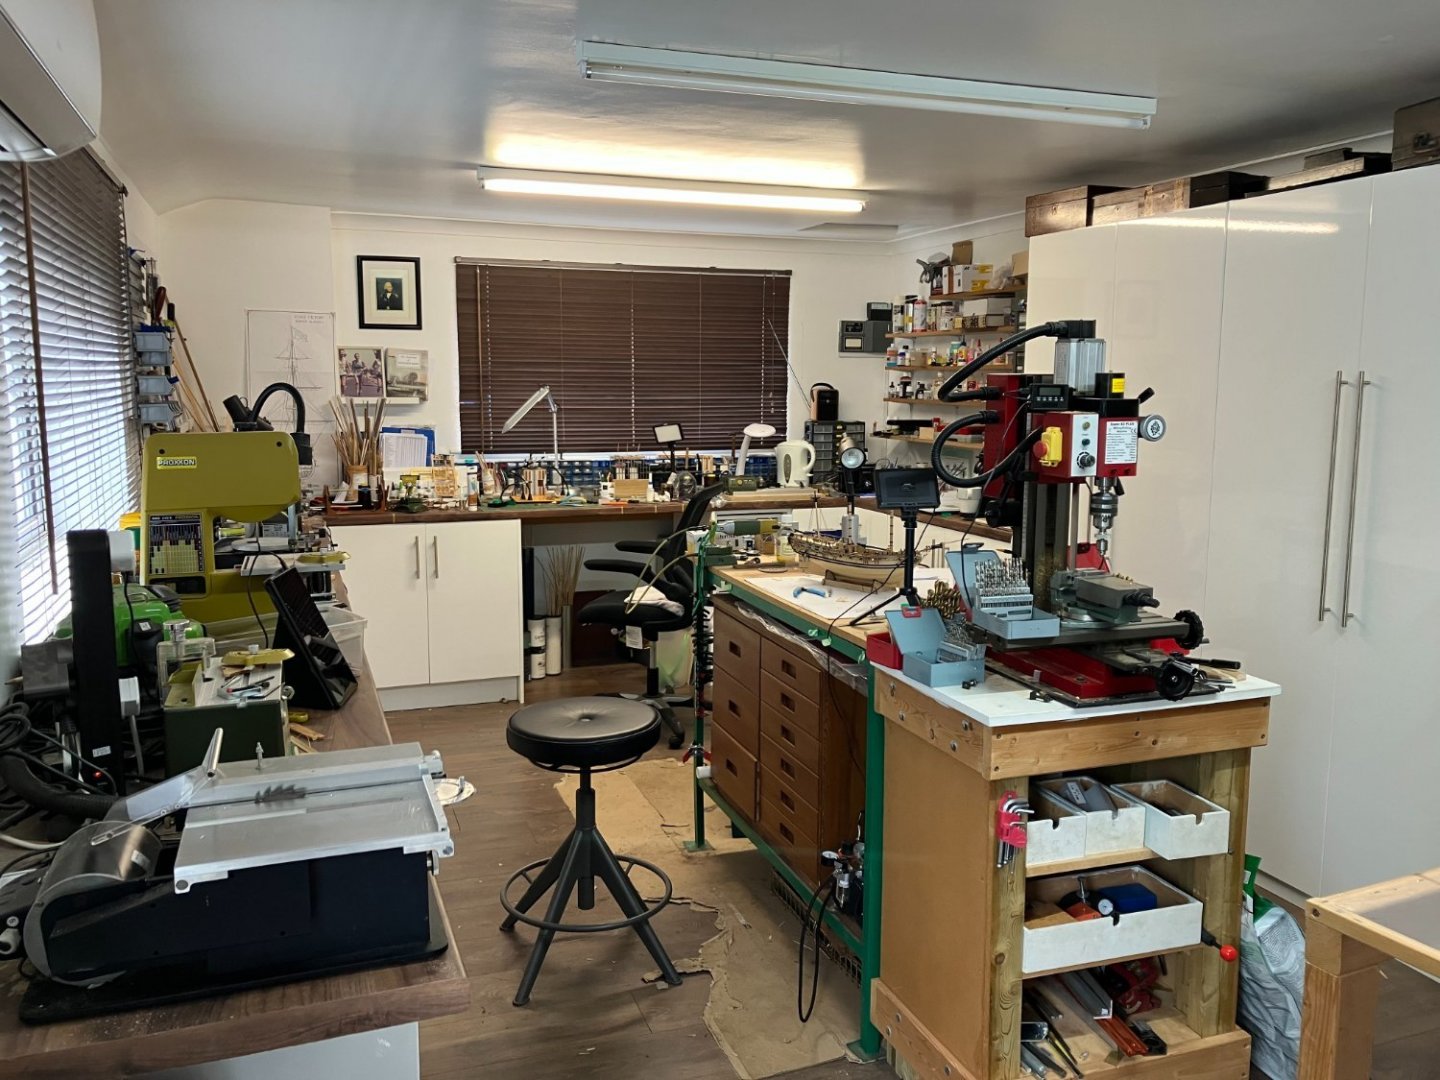
Thanks Glenn. The garage is great for the ropewalk and general DIY. I'm fortunate to have a separate workshop for hobbies - this is the 'tidy' half (I daren't photograph the other part)!
- 345 replies
-
- Duchess Of Kingston
- Vanguard Models
-
(and 1 more)
Tagged with:
-
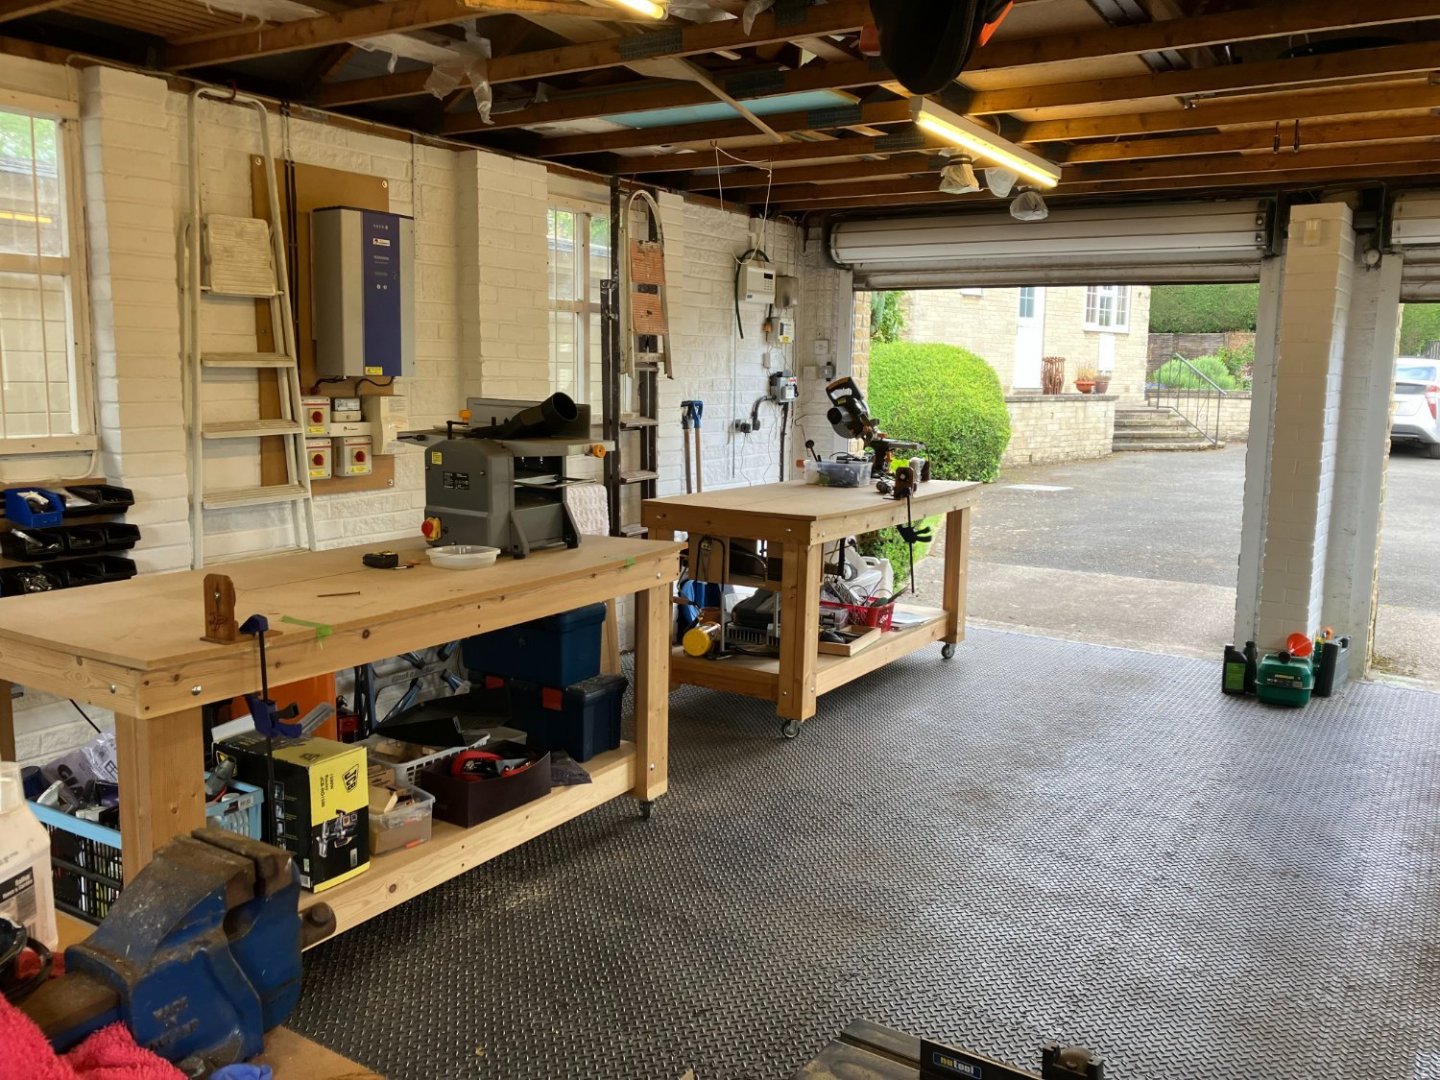
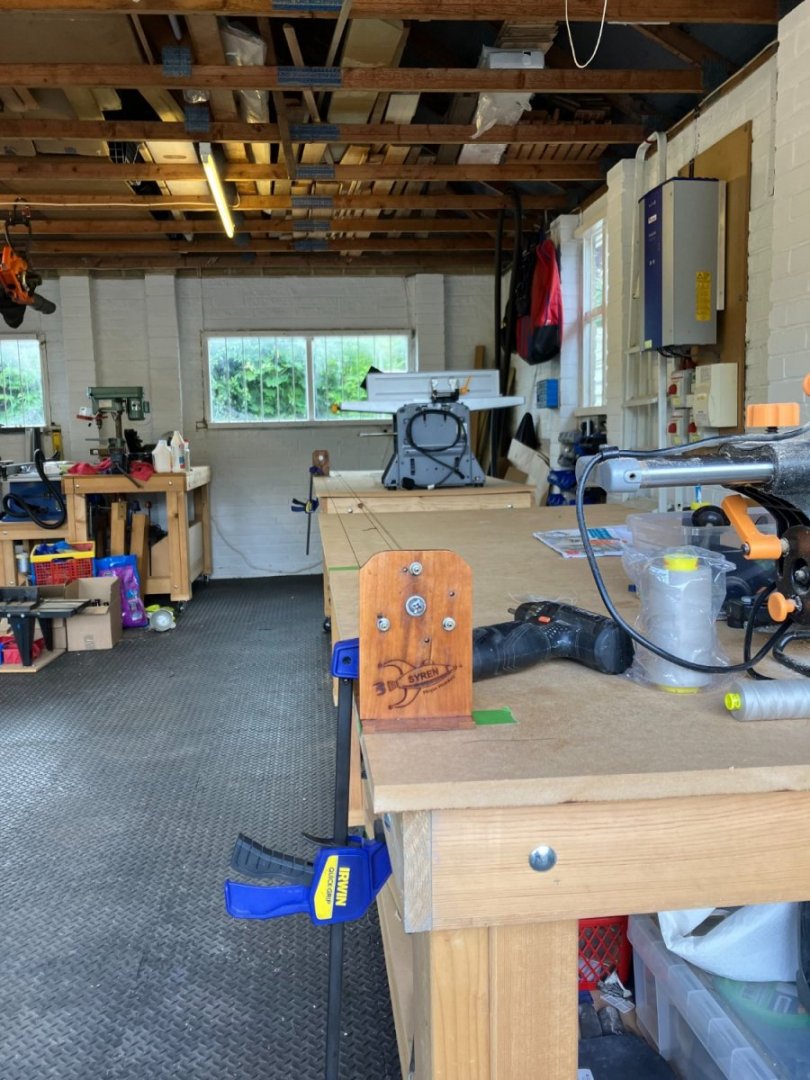
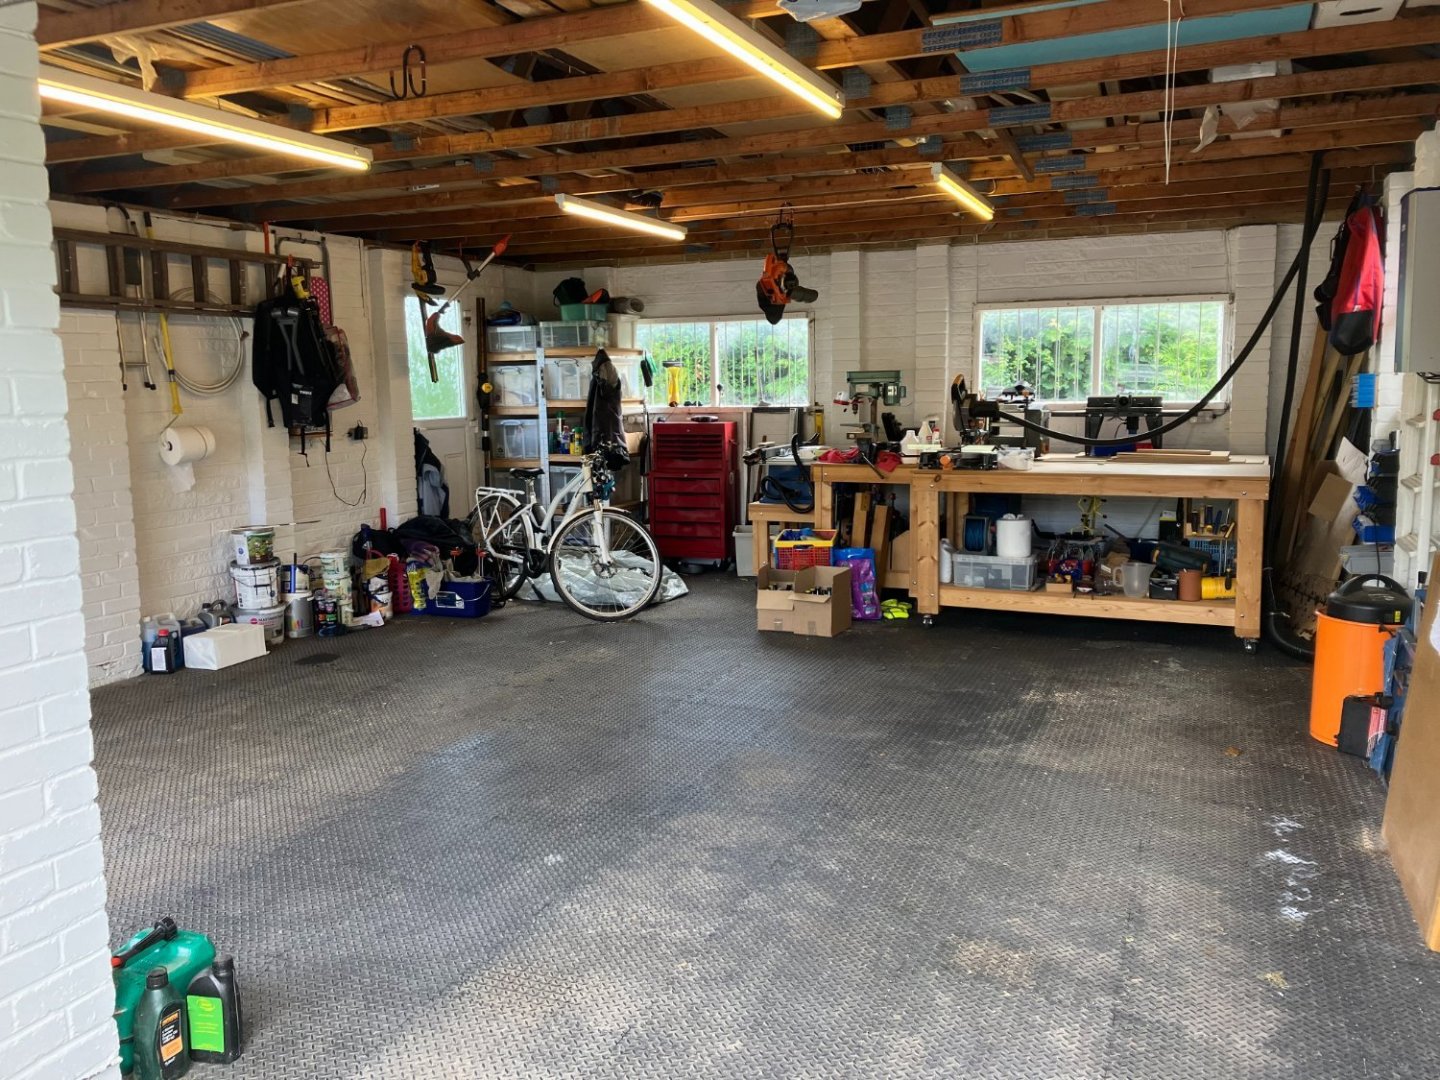
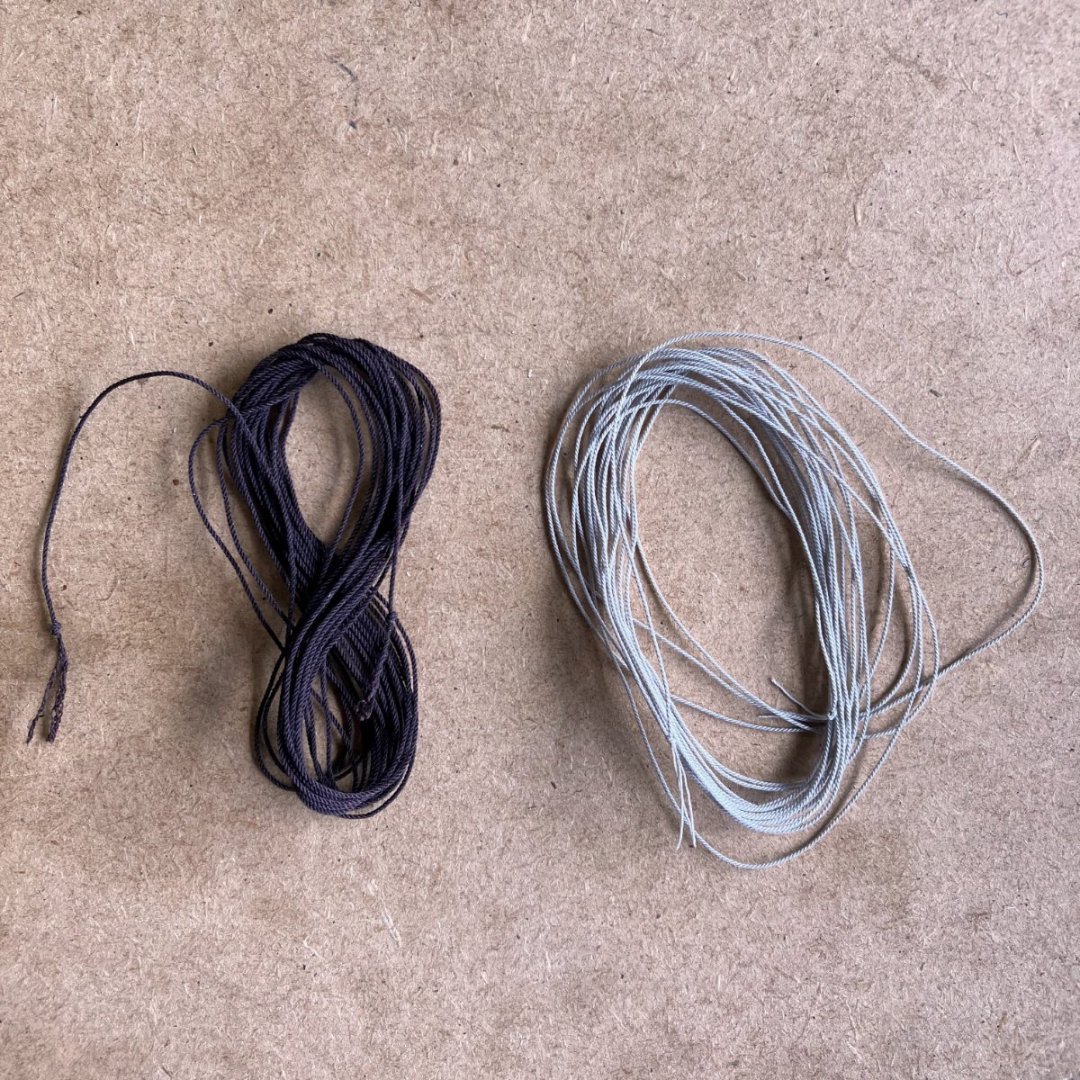
Bobstays & Bowsprit Shrouds Thanks for all the positive support - much appreciated. The bobstays and shrouds were relatively straightforward to rig. I decided to follow full size practice by serving the lines, using my finest thread - Mara #150. Bobstays were usually doubled, which I achieved by threading lengths of served line through the holes in the stem and gluing the ends together. Here's the inner bobstay first, showing the join: Then I had a brainwave for the outer bobstay and realised I could hide the join in the stem if I made the hole bigger: Here's the two finished: The bowsprit shrouds were equally straightforward... However compare the lanyards: For the bobstays I just used some ordinary Mara thread (#70, I think) but for the shroud lanyards I used the thinnest rope I could make - 3 strands of Mara#150 - giving a more realistic 0.30mm result. I'll replace the bobstay lanyards as soon as I run up some more line. I've added a touch of raw sienna acrylic paint to the cut ends of the shrouds to represent the protective leather caps. While on the subject of lines, I thought I'd say a word on my ropewalk. A few years ago when I was fitting out my garage I built a number of workbenches on lockable wheels in order to give me maximum flexibility when using various tools. This turned out to be a happy decision for rope making, as it means I can use the benches in conjunction with my Syren Rope Rocket to make rope of any length I want. In practice I tend to start with the headstock and tailstock 13 ft apart which gives me 10 ft rope which works well for me. Here's the two six foot benches set up with the Rope Rocket: Here's the benches stowed away alongside two smaller ones. The wheels reduce the bench footprints to a minimum, still leaving room for both cars (and a pile of junk!): More relevant, here's some of this morning's production, 0.65mm on the left; 0.50mm on the right: I knot the ends until I can apply heat treatment to stop the rope unravelling. I use a crafter's hot air gun; others bake in an oven. I just find the hot air quicker and easier. Finally I should add that my wife found the design for the workbenches on Pinterest (the first and only time I've found a use for the latter!) and I tailored them to suit my tools and needs. I know they're not a new concept and some modelers use similar ideas in their workshops, but the flexibility and convenience they give me makes doing jobs in the garage much less of a chore and therefore much more likely to get done. Shrouds next, I think. Derek
- 345 replies
-
- Duchess Of Kingston
- Vanguard Models
-
(and 1 more)
Tagged with:
-
Looking very neat David, especially your wooldings. Following Gregory's post I couldn't resist looking it up. According to the OED woold (first noted in English around 1616) is derived from earlier German and Dutch words meaning to wrap a rope or chain round something to strengthen it. Hence woolding refers to the resulting wrapping as well as the act of wrapping it.. Derek
-
When you find the solution Glenn please let me know - I struggle with this too. However... That's my reasoning too! Derek
- 476 replies
-
- sphinx
- vanguard models
-
(and 1 more)
Tagged with:
-
Great use of silver soldering - those stanchions look superb. Derek
- 857 replies
-
- Sphinx
- Vanguard Models
-
(and 1 more)
Tagged with:
-
I agree - can I have the buxom Duchess of Kingston please? 😬
- 488 replies
-
- Indefatigable
- Vanguard Models
-
(and 1 more)
Tagged with:
-
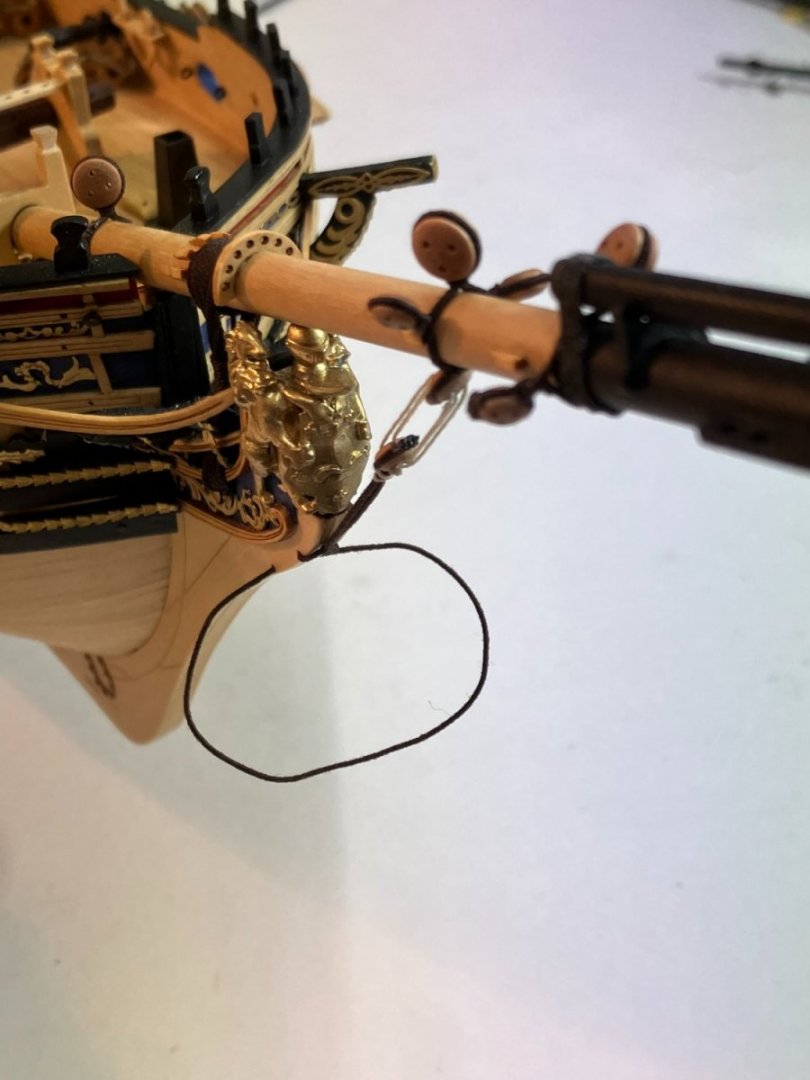
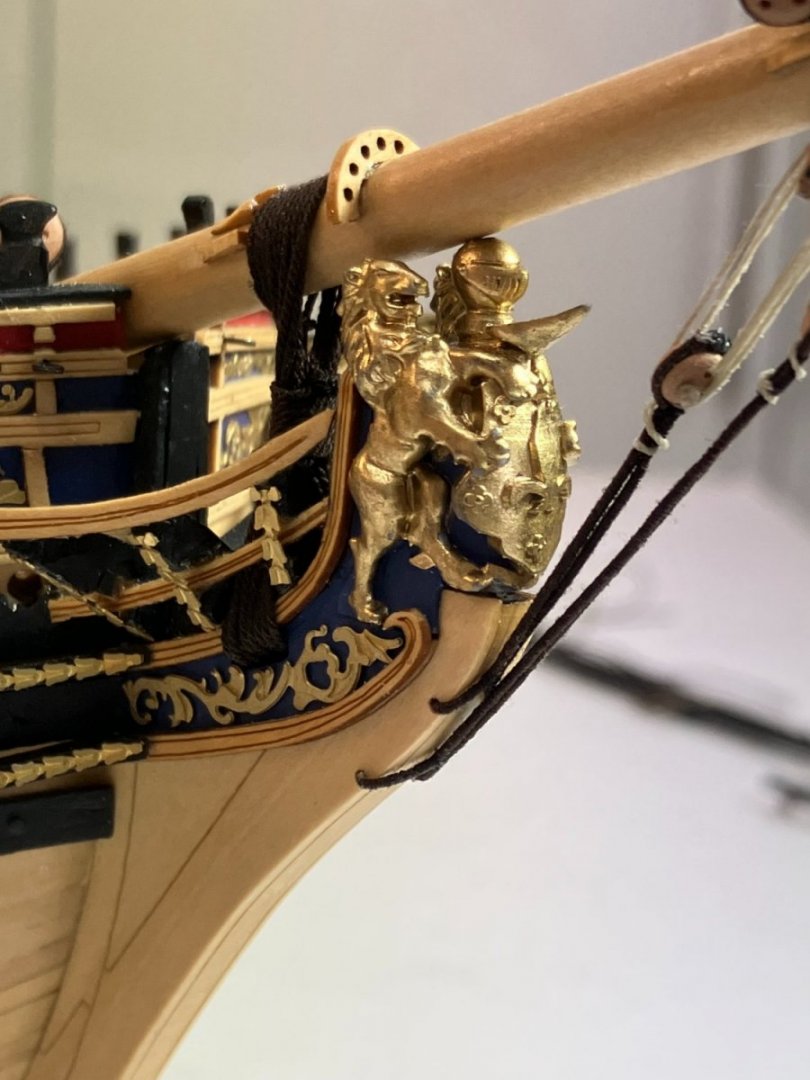
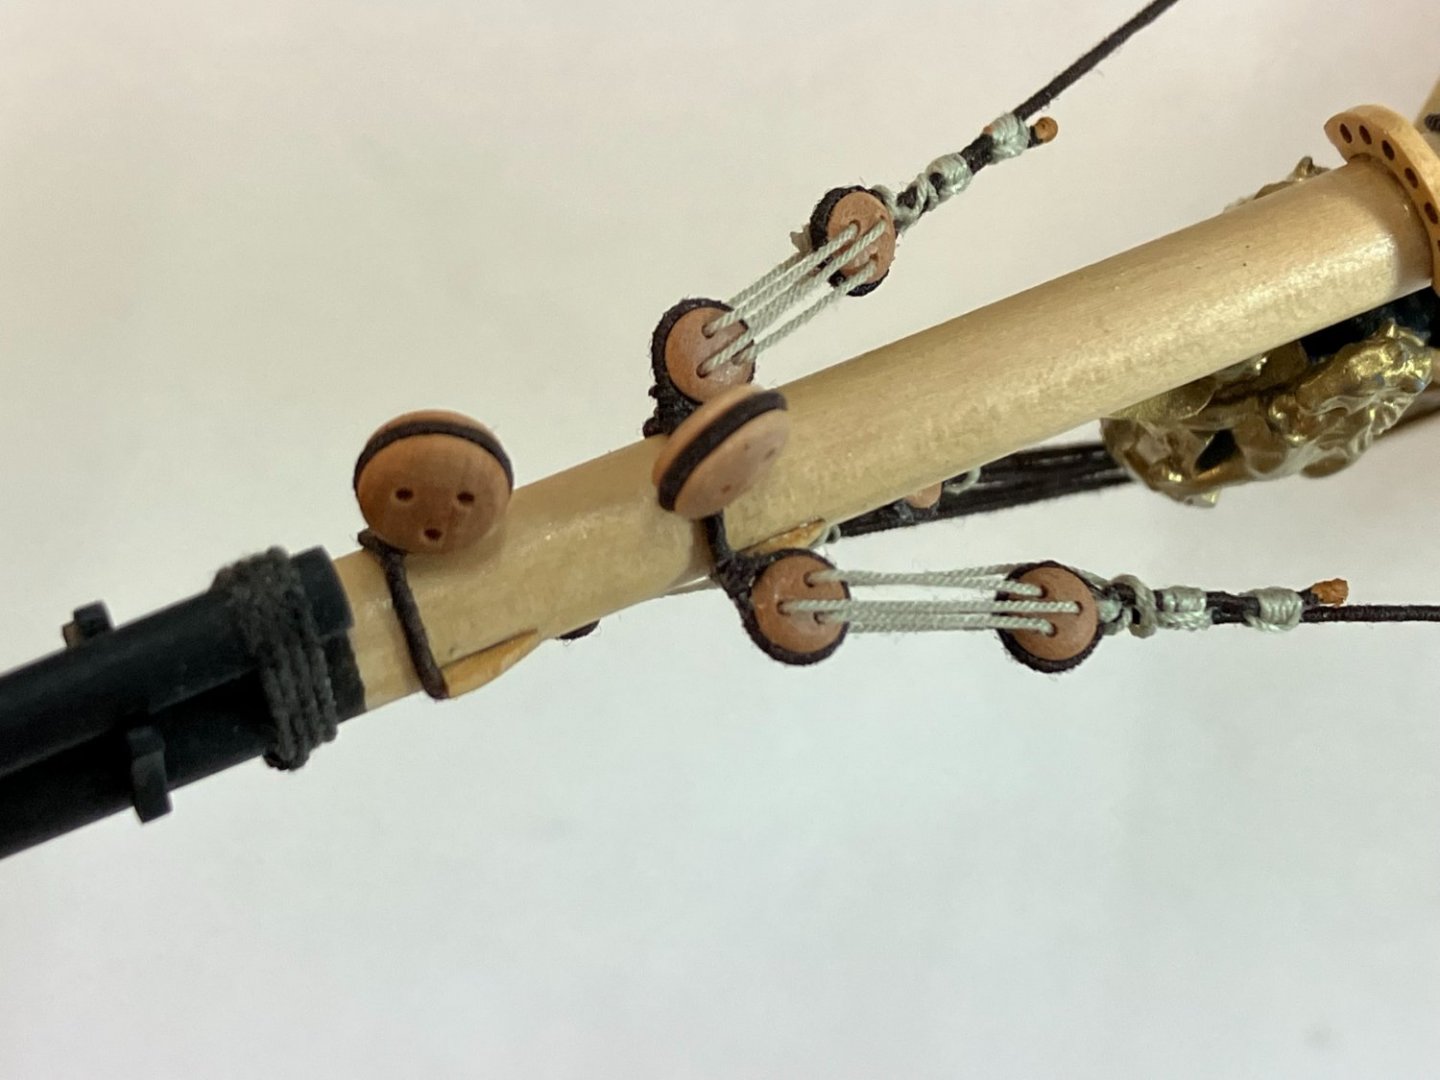
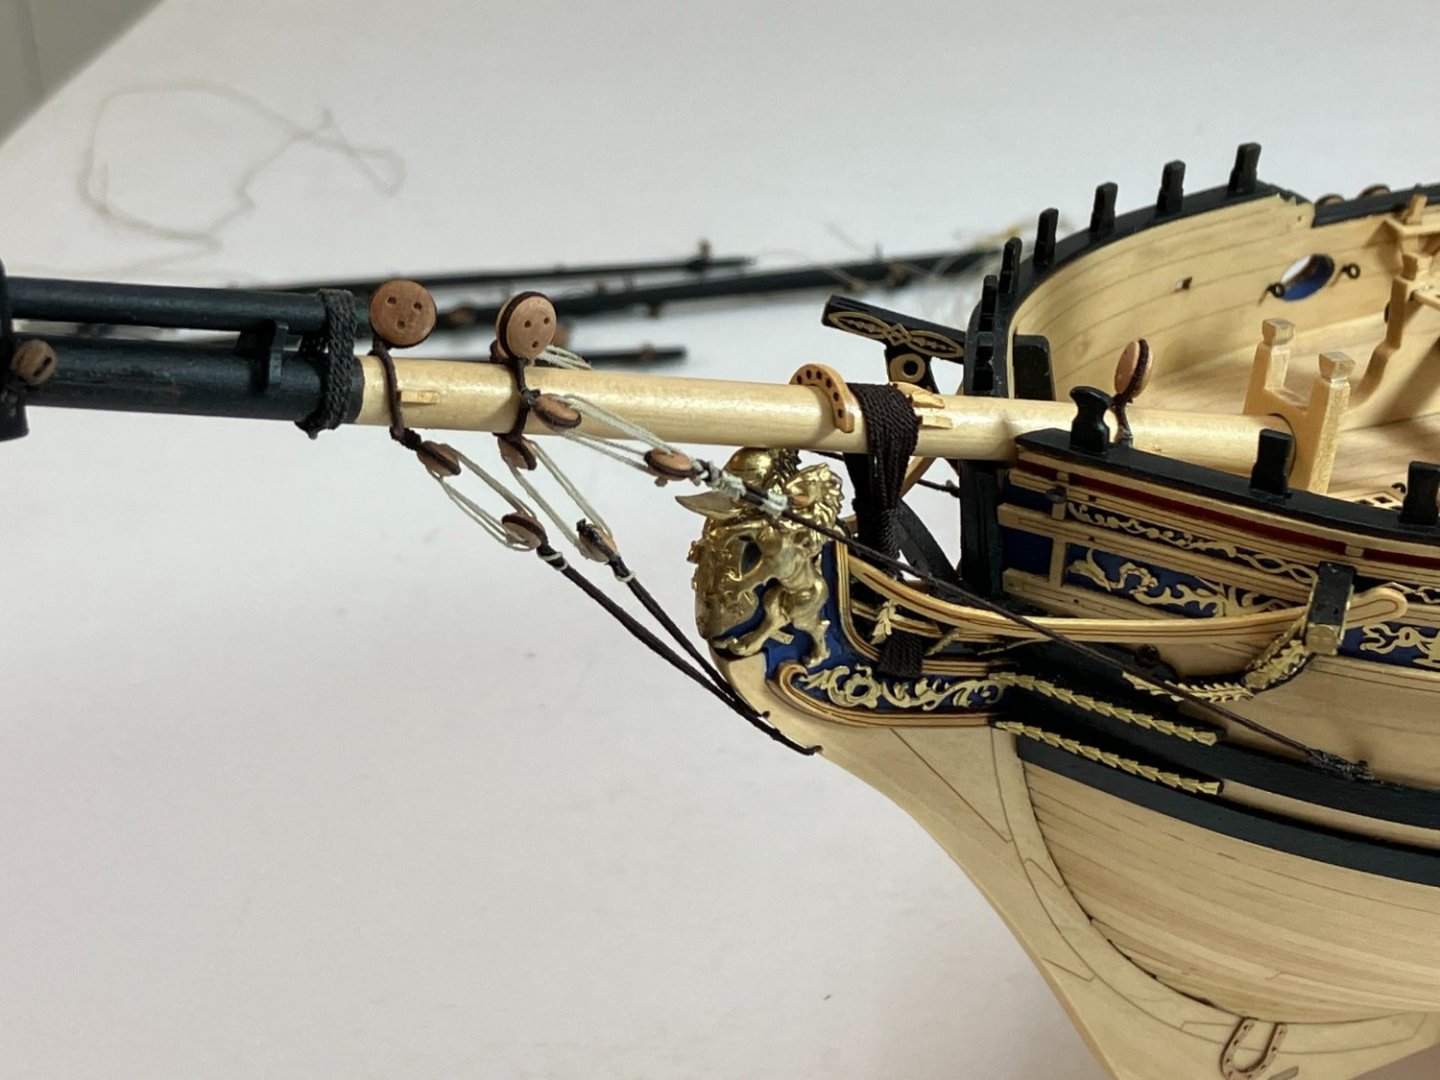
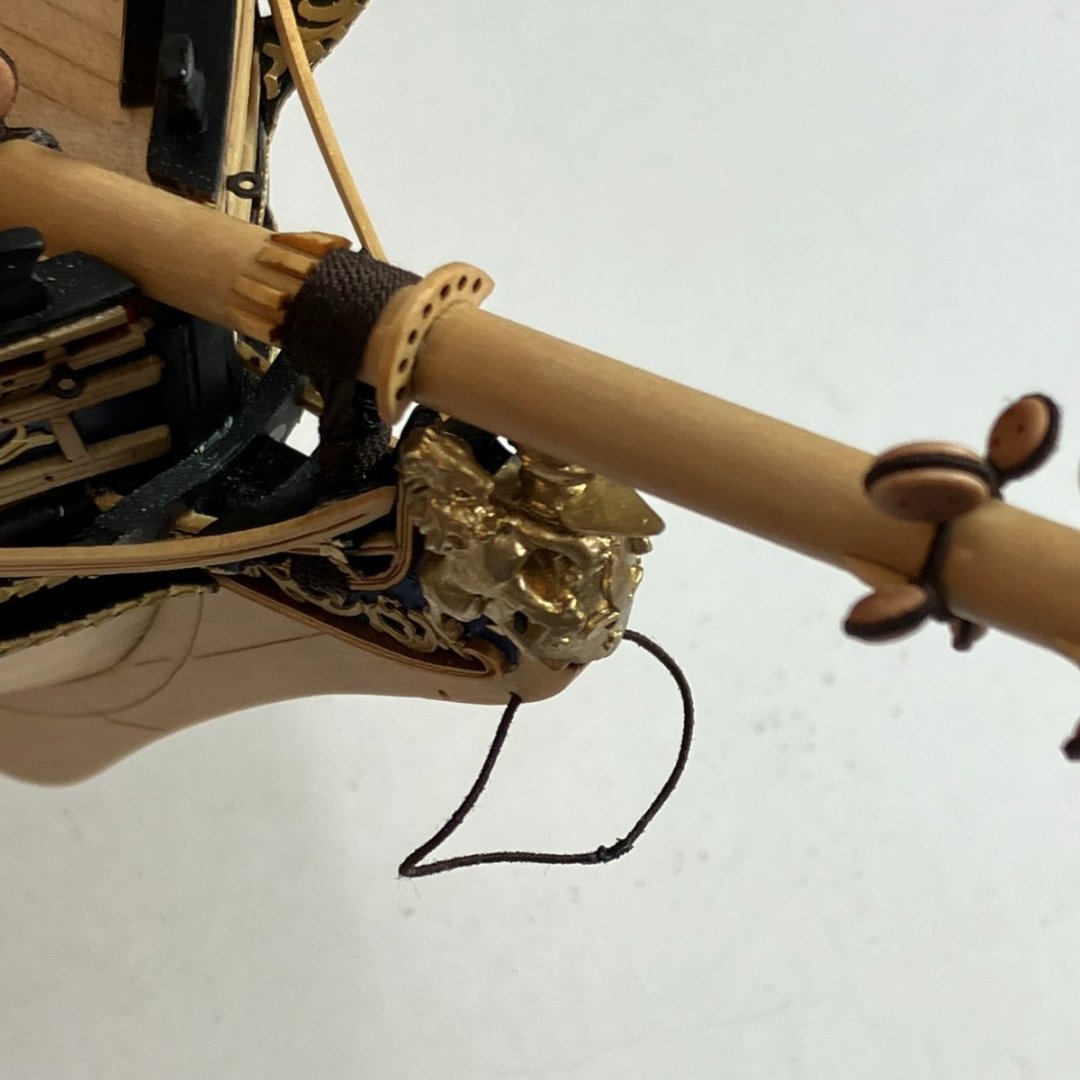
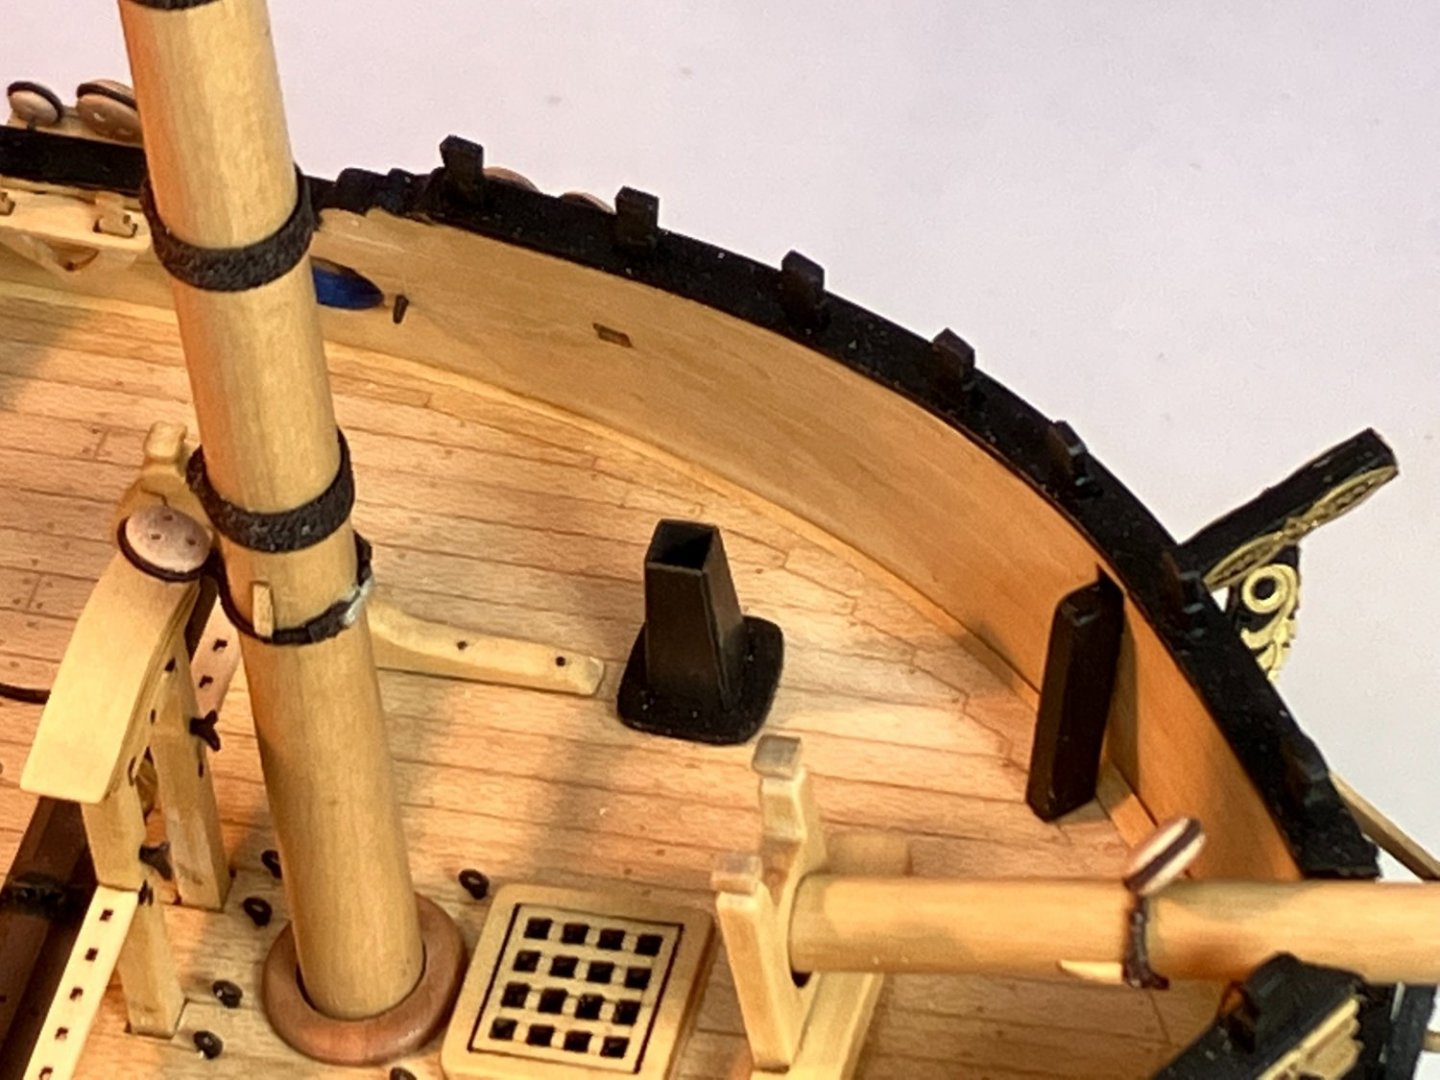
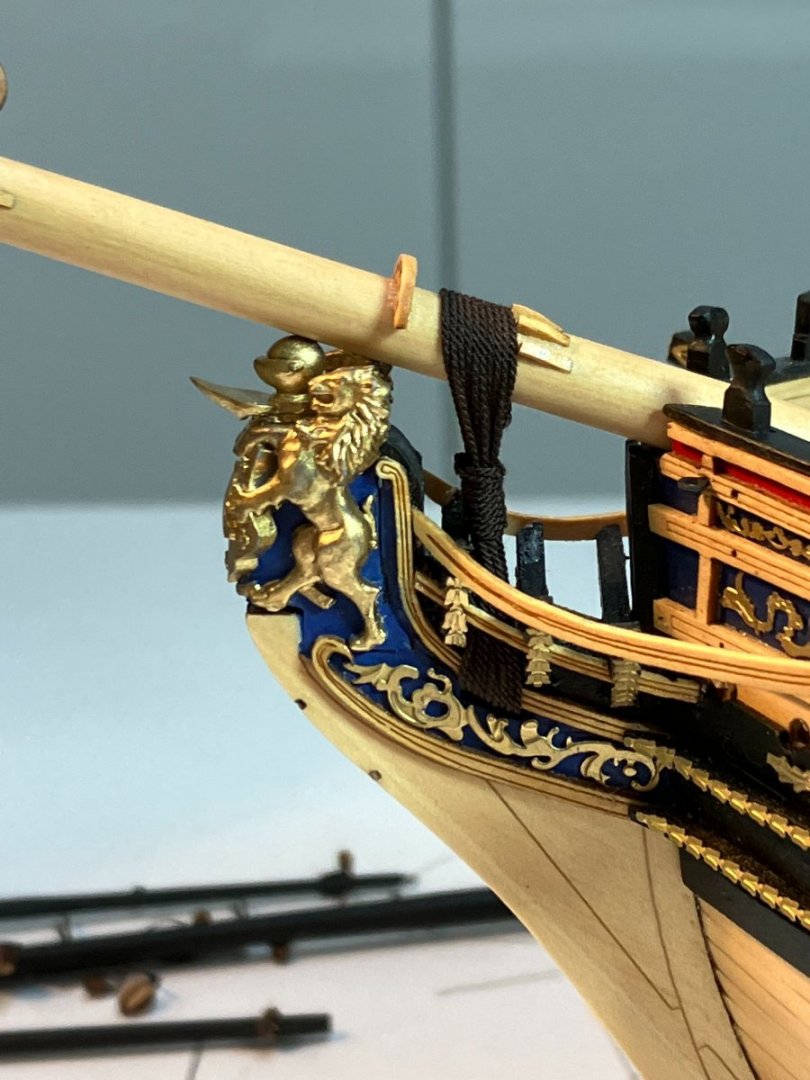
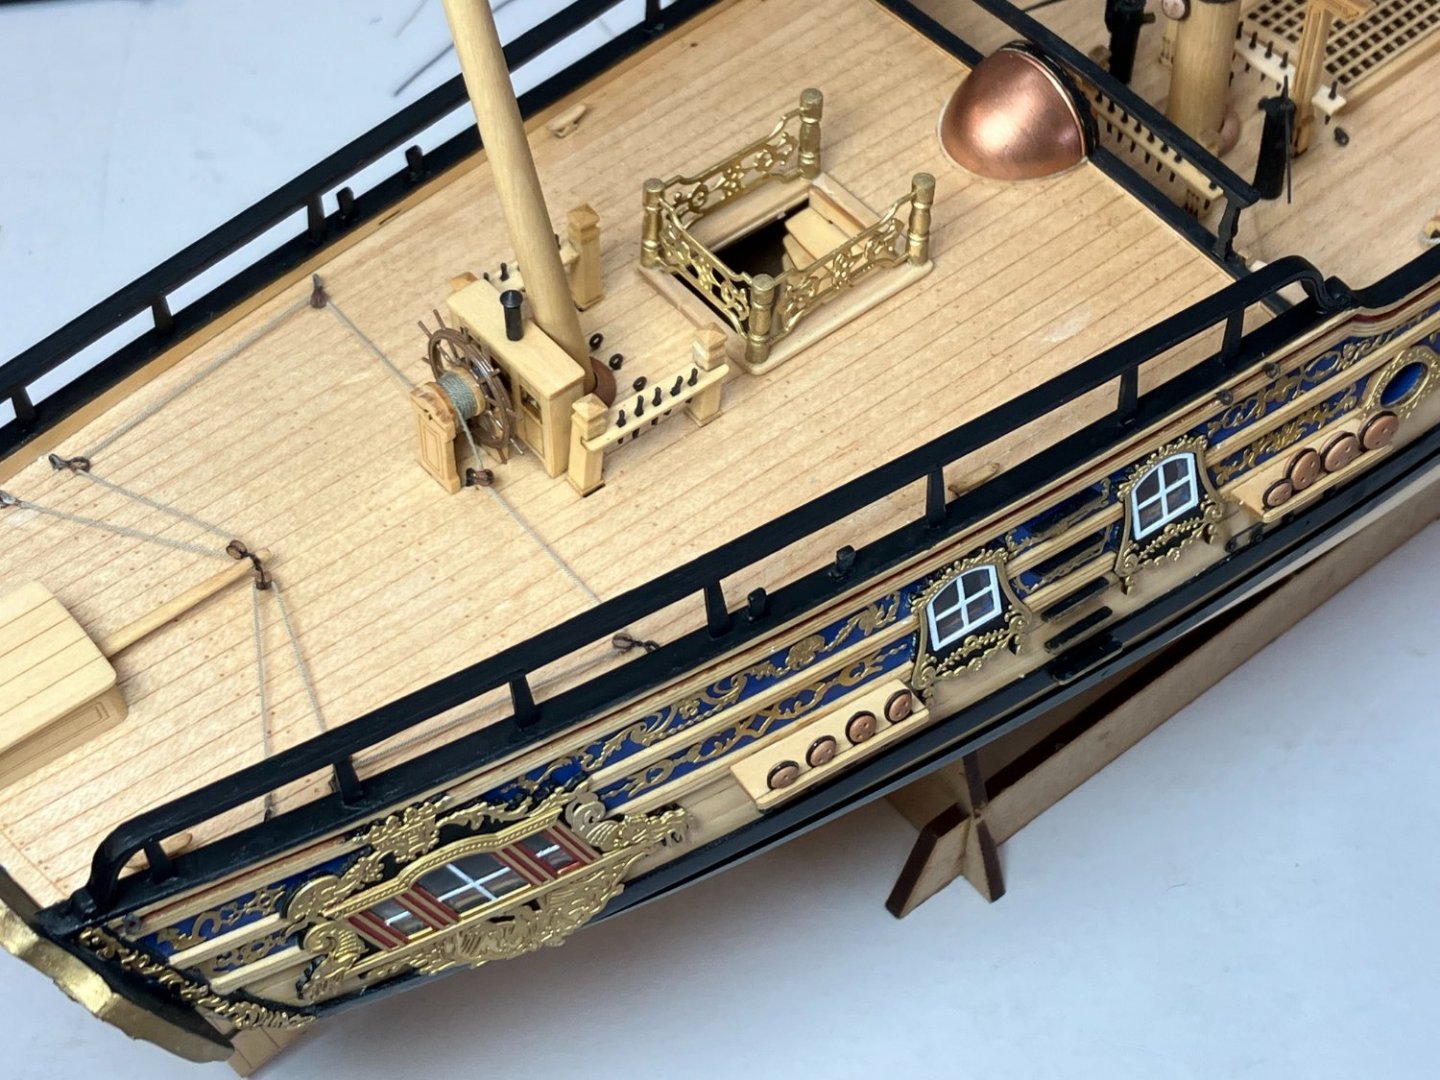
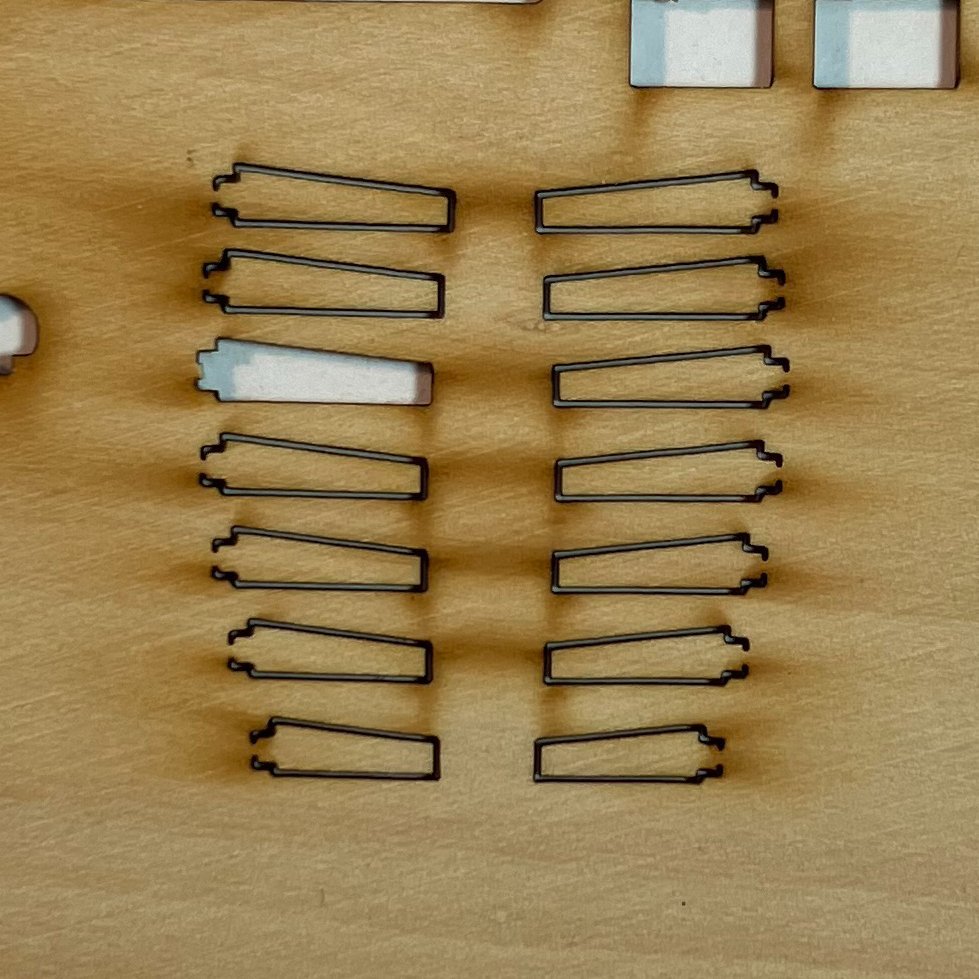
Rigging the bowsprit I just had a couple of items on the hull to finish before I could start rigging. First, the rails on the quarterdeck: These were straightforward to construct, with each railing made from three patterns laser cut from 1mm wood sheet. To hide the laminations I applied water-based filler to the top of the handrail and rubbed it down before painting. However the pieces are quite fragile, and despite my best efforts one of the supports broke as I was installing the starboard rail. Fortunately the kit provides 14 spares, two for each of the seven supports, each of which is slightly different: The last little job was blackening and fitting the stove flue: That last photo reminds me of a small detail I forgot to mention before. I like to simulate bolt heads where appropriate - two are visible on the timber just aft of the flue. For bolts like this I use an old hairbrush with black nylon bristle which are just the right diameter when inserted in a hole and trimmed off. Here she is ready for rigging to commence: I started with the gammoning, using about 1 metre of 0.5mm line (dark brown spun from 3 strands of Gutermann Mara): Here's a link to my Speedy log describing the method I used. It took ten turns to fill the gammoning slot, and a lot of patience to weave the line through the head rails! In particular, the Speedy log describes how I differed slightly from the kit instructions which show the loops running parallel between the bowsprit and the slot. I followed full size practice in which each loop starts at the front of the bowsprit and goes to the aft of the slot, resulting in a twisted effect. Btw, I'm no longer stressing about losing the knight's helmet's plume on the figurehead. It appears I've left no room for it, which is puzzling as I don't see how I could have fitted the figurehead and the bowsprit any differently. Next set of tasks will be finishing the rigging to the bowsprit. Derek
- 345 replies
-
- Duchess Of Kingston
- Vanguard Models
-
(and 1 more)
Tagged with:
-
Truly a thing of beauty - even a perfectionist like you must be delighted at your achievements. The sweeping lines of those planks really enhance the beautiful shape of the hull. We're also cruising there in late July, early August. I'm taking a saw to bag me some of that cedar😁
- 840 replies
-
- winchelsea
- Syren Ship Model Company
-
(and 1 more)
Tagged with:
About us
Modelshipworld - Advancing Ship Modeling through Research
SSL Secured
Your security is important for us so this Website is SSL-Secured
NRG Mailing Address
Nautical Research Guild
237 South Lincoln Street
Westmont IL, 60559-1917
Model Ship World ® and the MSW logo are Registered Trademarks, and belong to the Nautical Research Guild (United States Patent and Trademark Office: No. 6,929,264 & No. 6,929,274, registered Dec. 20, 2022)
Helpful Links
About the NRG
If you enjoy building ship models that are historically accurate as well as beautiful, then The Nautical Research Guild (NRG) is just right for you.
The Guild is a non-profit educational organization whose mission is to “Advance Ship Modeling Through Research”. We provide support to our members in their efforts to raise the quality of their model ships.
The Nautical Research Guild has published our world-renowned quarterly magazine, The Nautical Research Journal, since 1955. The pages of the Journal are full of articles by accomplished ship modelers who show you how they create those exquisite details on their models, and by maritime historians who show you the correct details to build. The Journal is available in both print and digital editions. Go to the NRG web site (www.thenrg.org) to download a complimentary digital copy of the Journal. The NRG also publishes plan sets, books and compilations of back issues of the Journal and the former Ships in Scale and Model Ship Builder magazines.


