


Bedford
-
Posts
1,191 -
Joined
-
Last visited
Content Type
Profiles
Forums
Gallery
Events
Posts posted by Bedford
-
-
OK now I'll come clean, I sent Keith a PM after my previous post saying I didn't really know what it was I was just stirring the pot to promote the mystery of it.
Although I did have an idea because I know how Keith did the cradle for Altair, it's his style.
- KeithAug, Keith Black and mtaylor
-
 3
3
-
Some really nice work there mate
If you're waiting for a heat gun to use on the heatshrink there are other ways to shrink it. A hair dryer works well as does a cigarette lighter, just keep a bit of distance between the lighter and the job. It doesn't take a lot of heat but you want to spread it around the tube so it shrinks evenly
-
3 hours ago, Keith Black said:
OK, I'll be the first to take a bite out of this poisonous apple. It's real pretty but, what in the world is it? And if it's patently obvious to all but myself I'm gonna feel real stupid for the second time today.
It's obvious what he's doing, I'm surprised you can't see it.
I won't spoil his fun though!
- mtaylor, Retired guy, Keith Black and 1 other
-
4
-
-
Mark, the windlass on Waratah has gypsies for the anchor chain and similar brakes though the axis is on the horizontal, the brake is manually adjusted as the anchor is lowered so yes someone has to stand there and effect a controlled descent of the anchor
- mtaylor, KeithAug and Mark Pearse
-
3
-
Now I know how to make what we call a gypsy for the anchor chain, thanks!
- mtaylor, John Allen, KeithAug and 1 other
-
4
-
John, the SHF shipyard is closed for the duration, no cruises either because it is run by volunteers and most are in the senior age group most at risk
- mtaylor, popeye the sailor and cog
-
3
-
-
Keith, further to Druxeys comment, there is an old wood turning trick whereby you glue the quadrants together with paper in between then after turning it a sharp knife can be used to separate the pieces. Clearly you loose half the thickness of the paper from each face but that would not be noticeable in most cases.
- Keith Black, KeithAug, FriedClams and 2 others
-
5
-
-
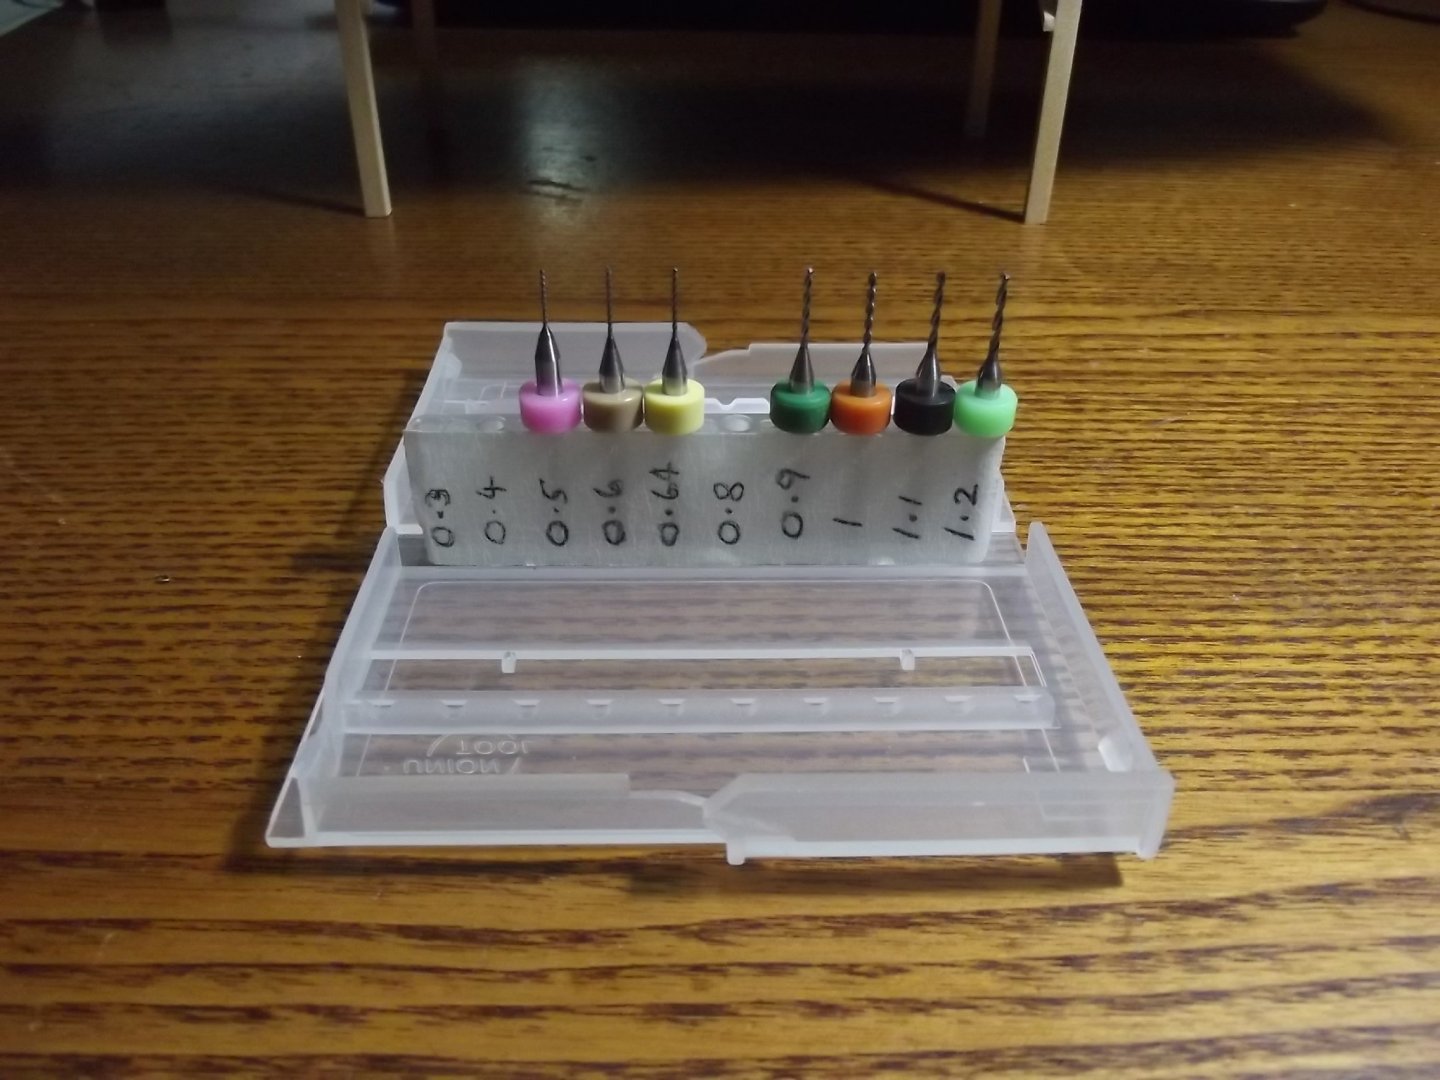
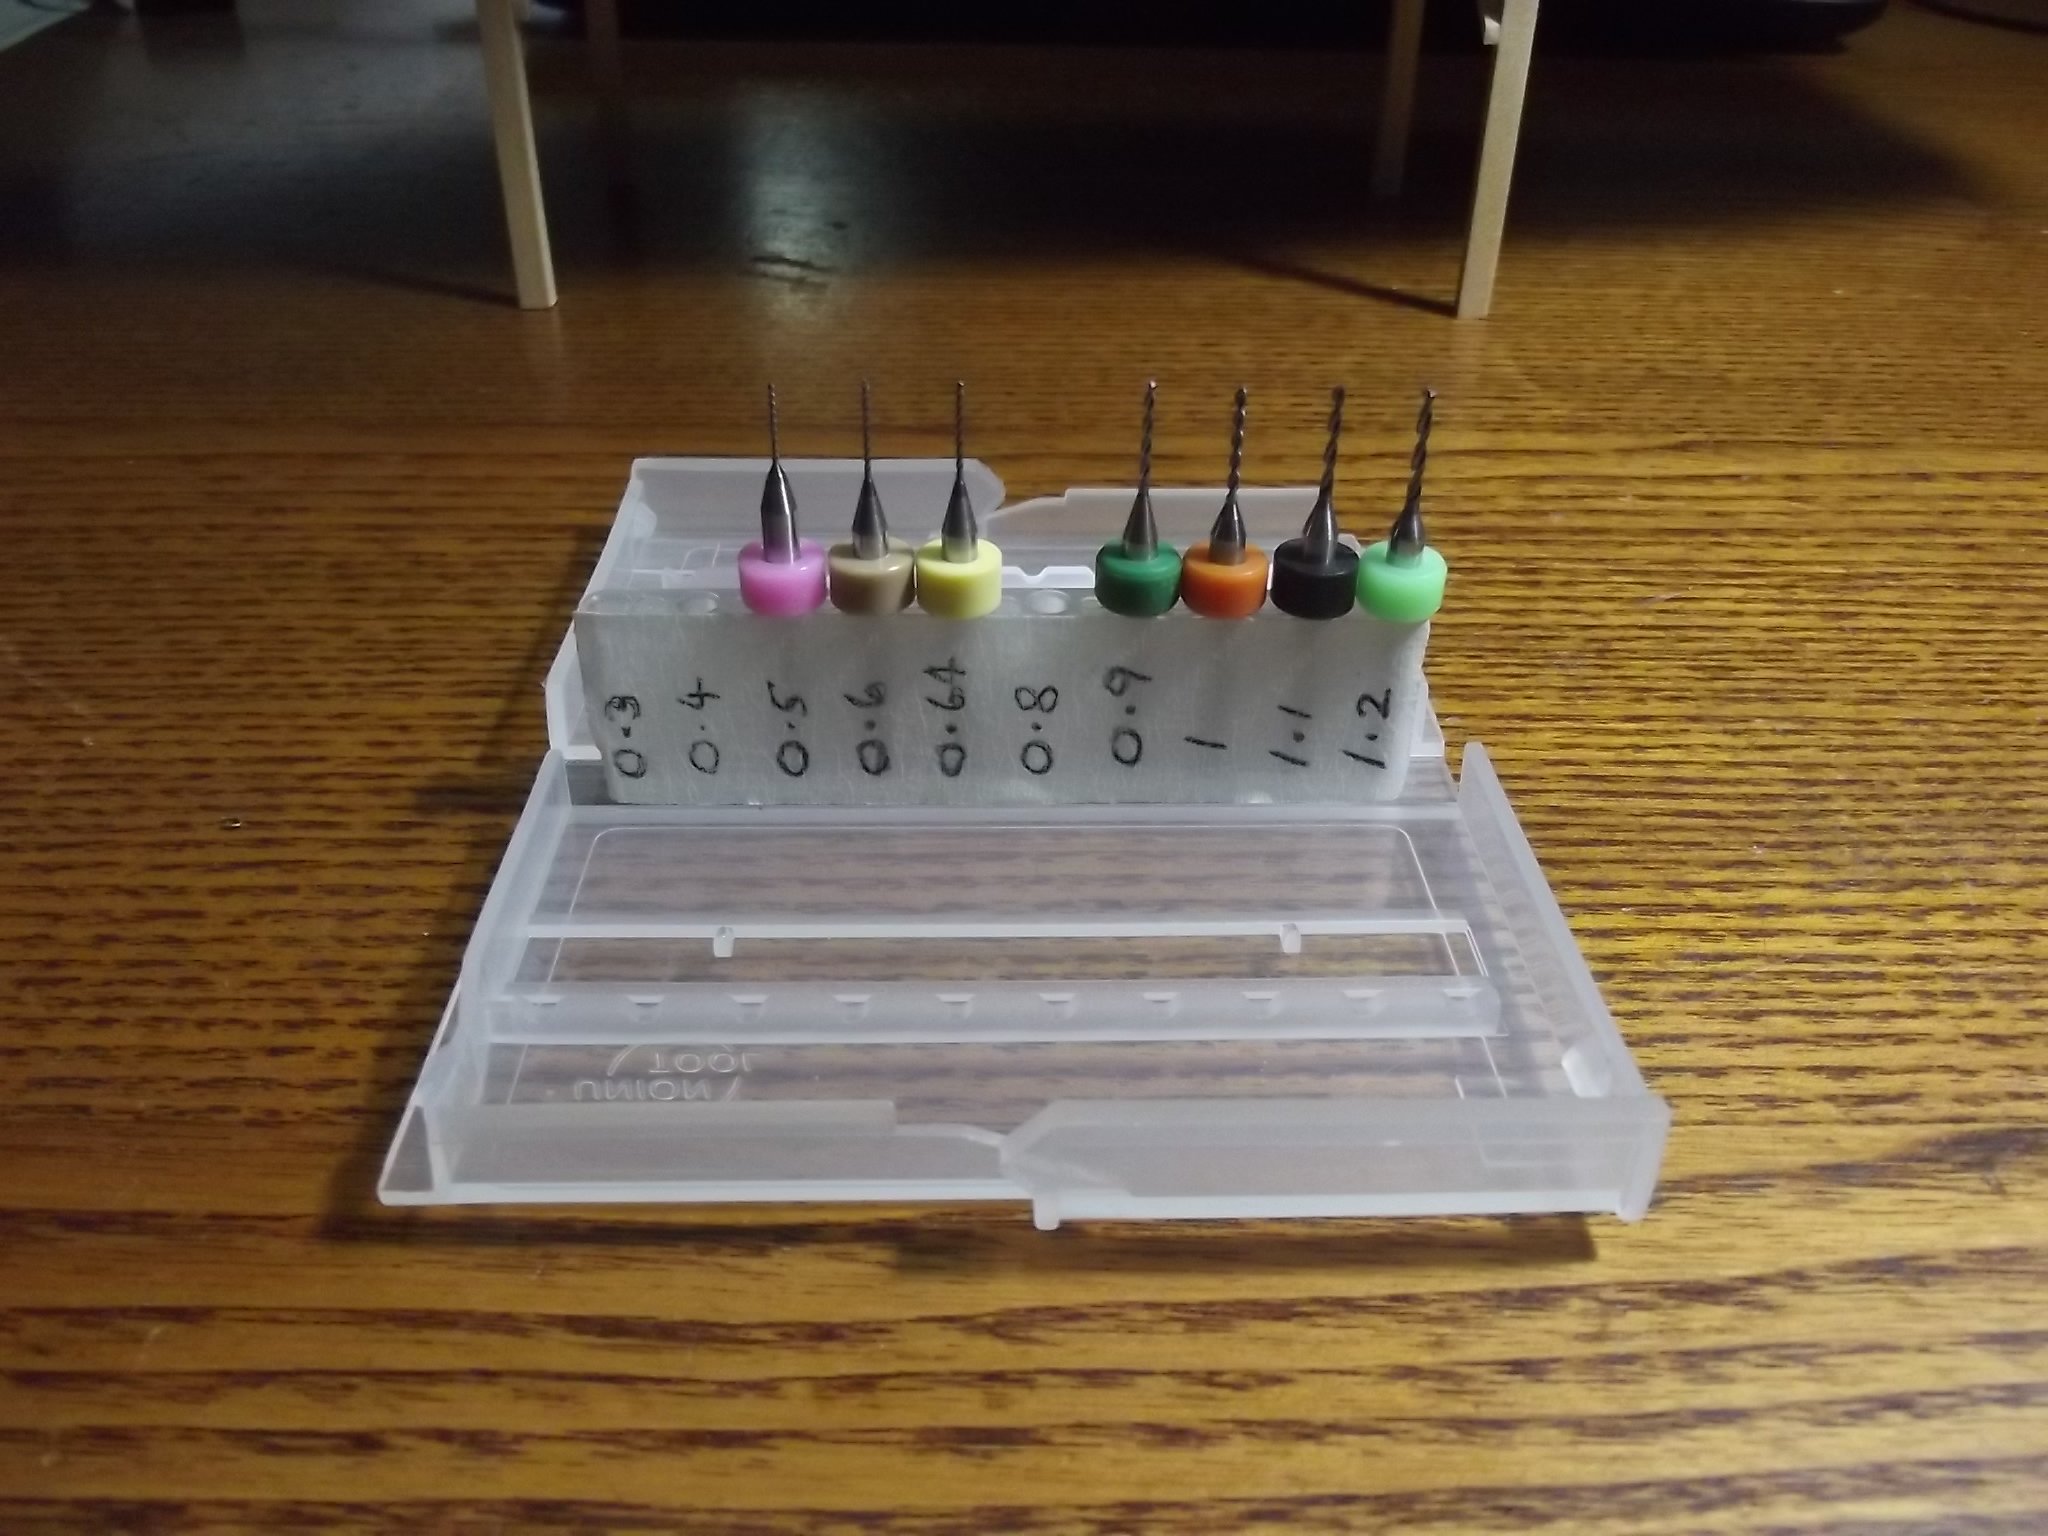
Yeah Keith, I'm replacing the broken drills with 10 packs. The HSS ones Eberhard mentioned would be great but I haven't found any and these are cheap. As for work holding I still have patience to learn in that area, I'll always try the quick easy way first but I can generally tell when I need to go the long route before I start something.
-
-
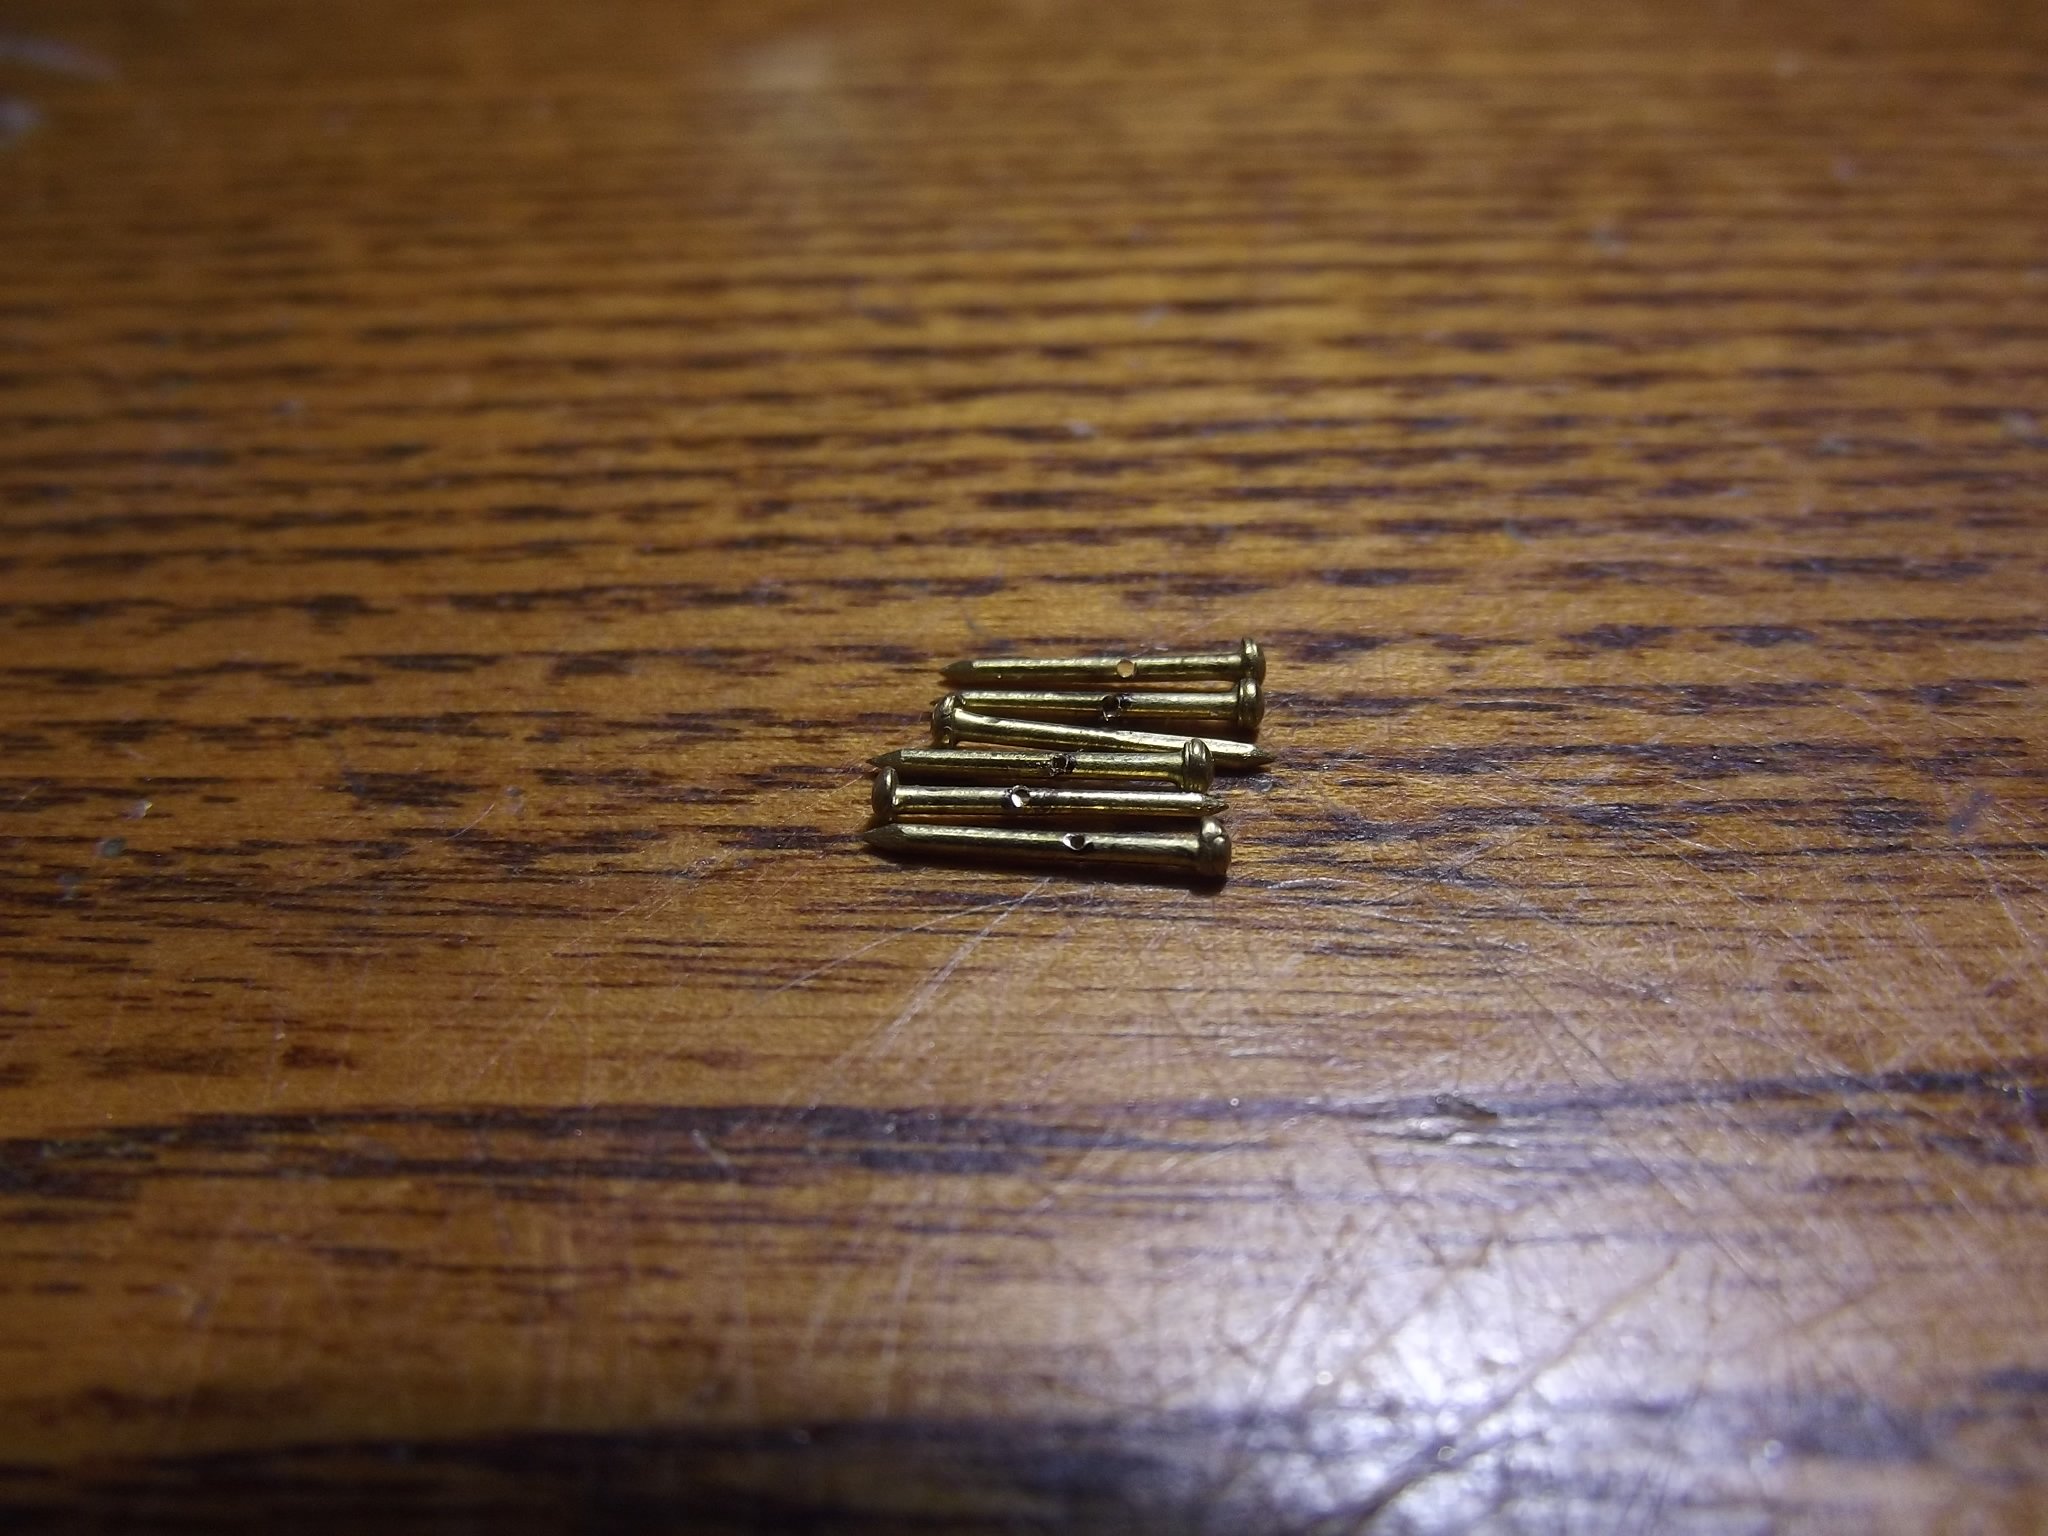
I got a set of micro drills last week and they've been very handy despite the steep learning curve using such fine drills in a machine, I broke the 0.3mm while getting the 0.4mm out! I cross drilled three of the 0.8mm pins with the 0.4mm bit before it snapped on the way out after drilling the hole, I think a bit of swarf came up with the drill and jammed it. I had to drill the remaining three holes with the 0.5mm bit which required very accurate centering leaving only 0.15mm either side of the hole. I couldn't hold the pins in a collet because I haven't got one small enough so I just clamped them in the machine vice and then used the 1mm bit to start the hole to prevent the smaller drill running off the side of the pin and breaking. The wire I used to put through the pin is 0.3mm diameter
The pins were cut just past the holes


- mtaylor, bruce d, Retired guy and 4 others
-
7
-
-
-
Eberhard what can I say, change your retirement plans.

- GrandpaPhil, druxey and mtaylor
-
3
-
-
It's beautiful Richard although when rowing, which I do more than sailing, she's light and easily influenced by wind. She weighs about 230Kg with me in it and there's a lot of freeboard. The centreboard helps in that instance but it can still be hard work keeping it on line but I'm doing for exercise as much as pleasure so that's ok.
I haven't done much sailing yet but when I do sail her she glides along beautifully and will make way in extremely light breezes. I'm yet to encounter stronger wind and don't intend to until I'm a better sailor.
I don't know if this link will work because it's from facebook, it was taken by a bloke I sailed with last year, mine is obviously the other boat.
- druxey, Mark Pearse, KeithAug and 2 others
-
5
-
Beautifully executed Keith, sort of the inverse of my method, giving a stronger result. I'll remember that!
Is this why you were looking for an octagonal collet block?
- FriedClams, mtaylor and KeithAug
-
3
-
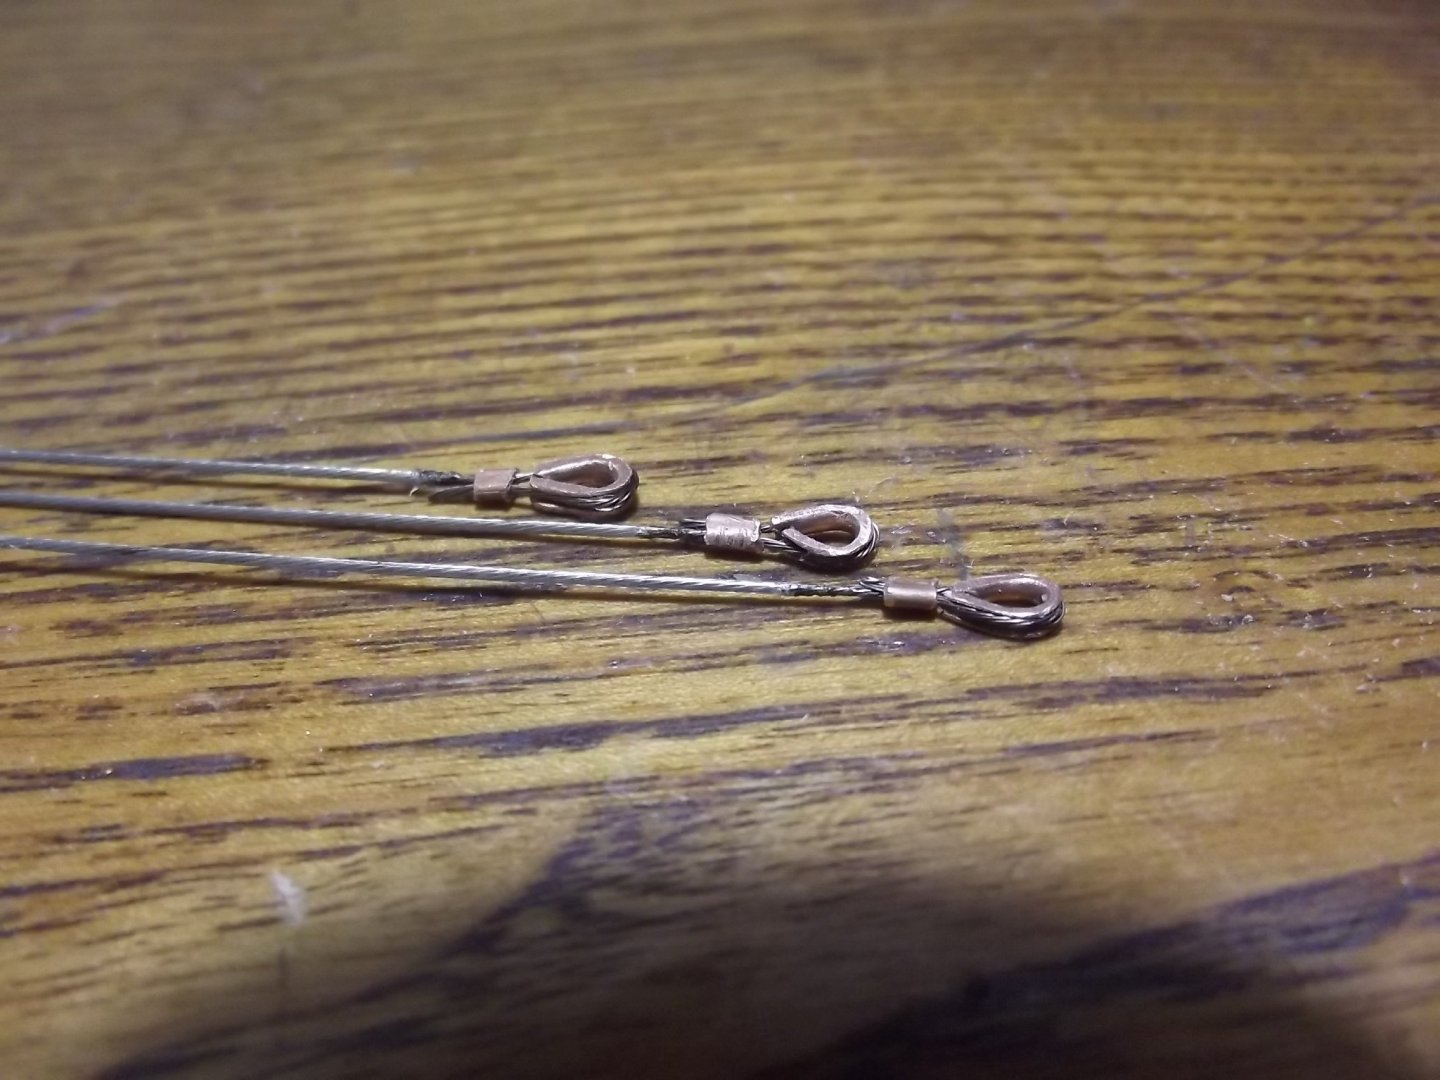
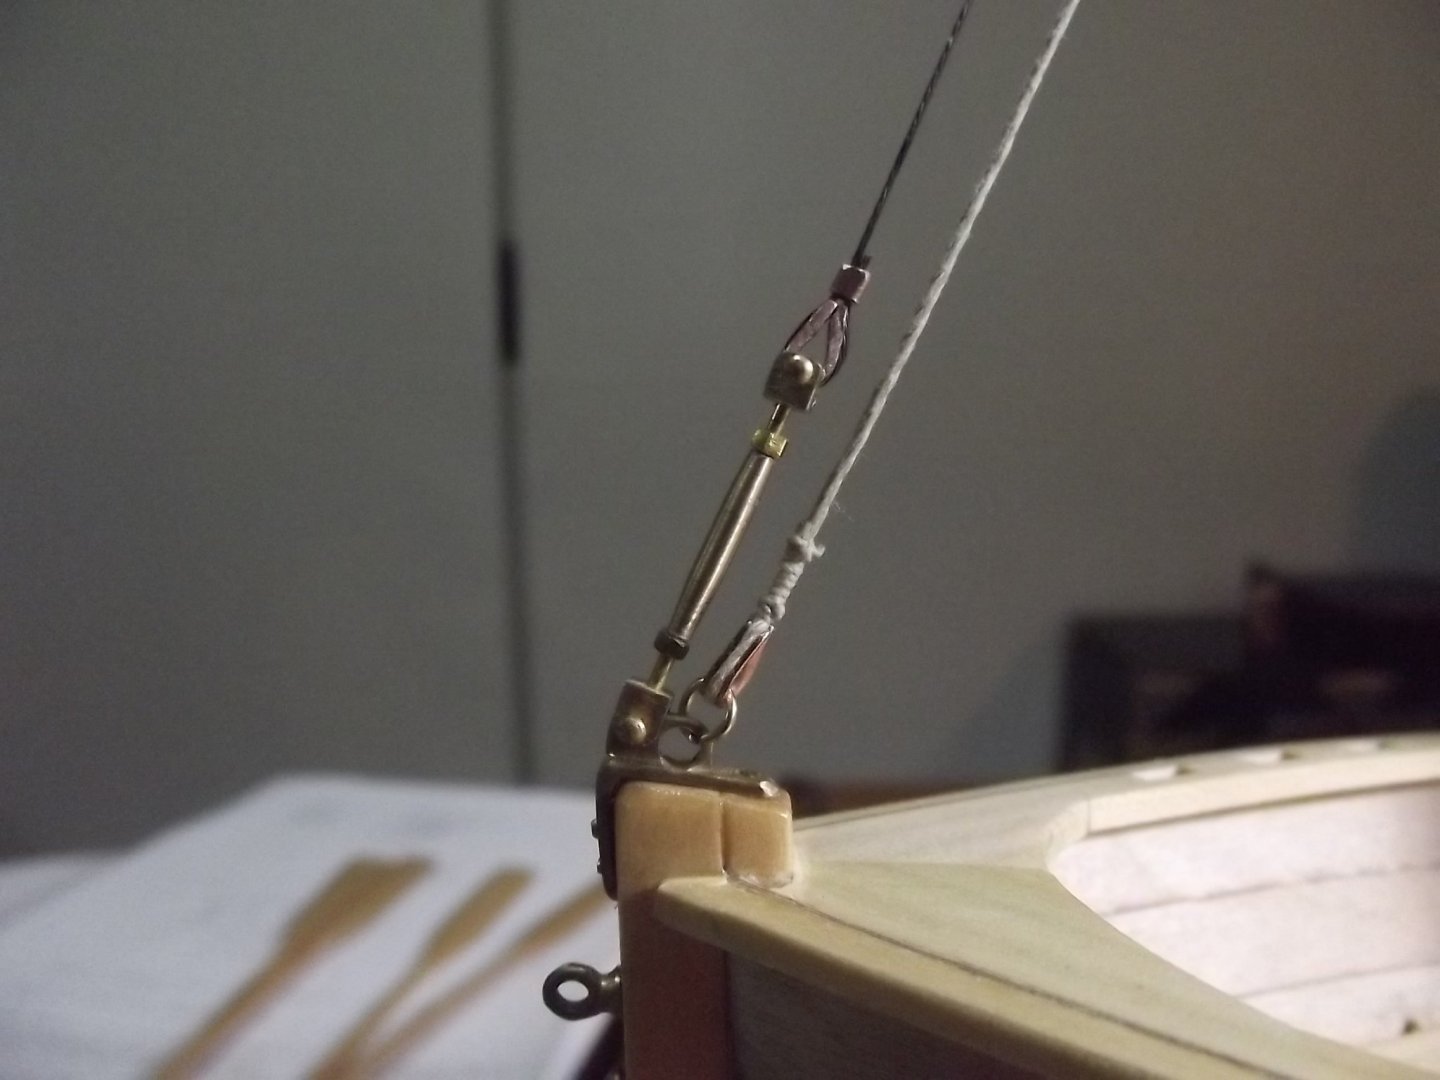
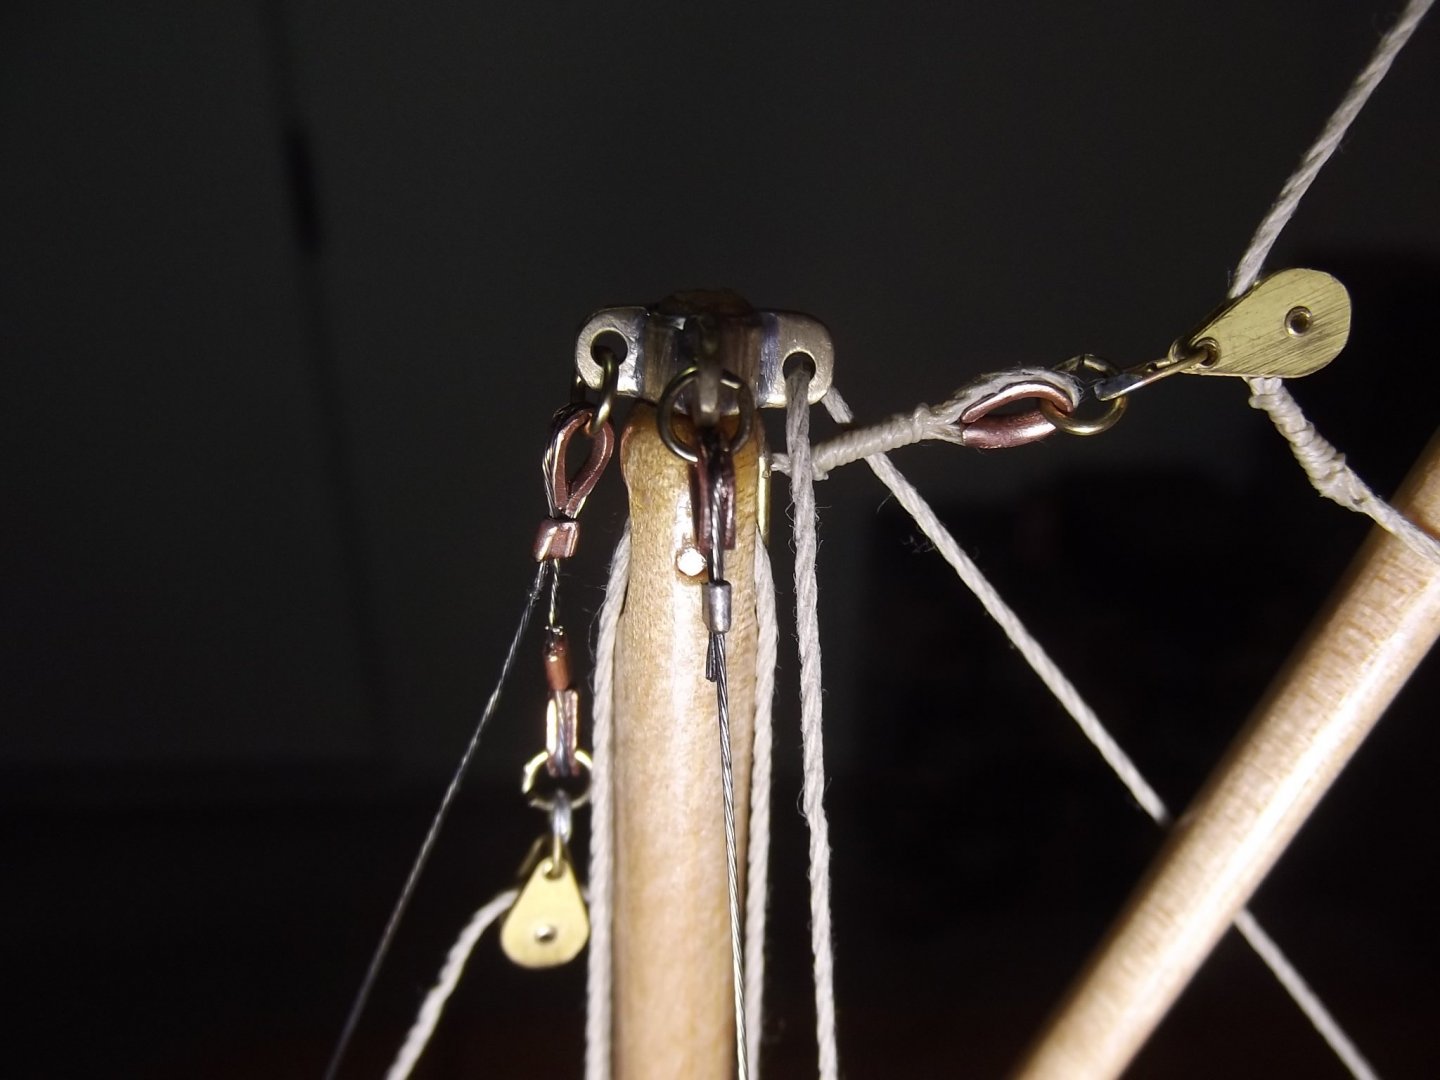
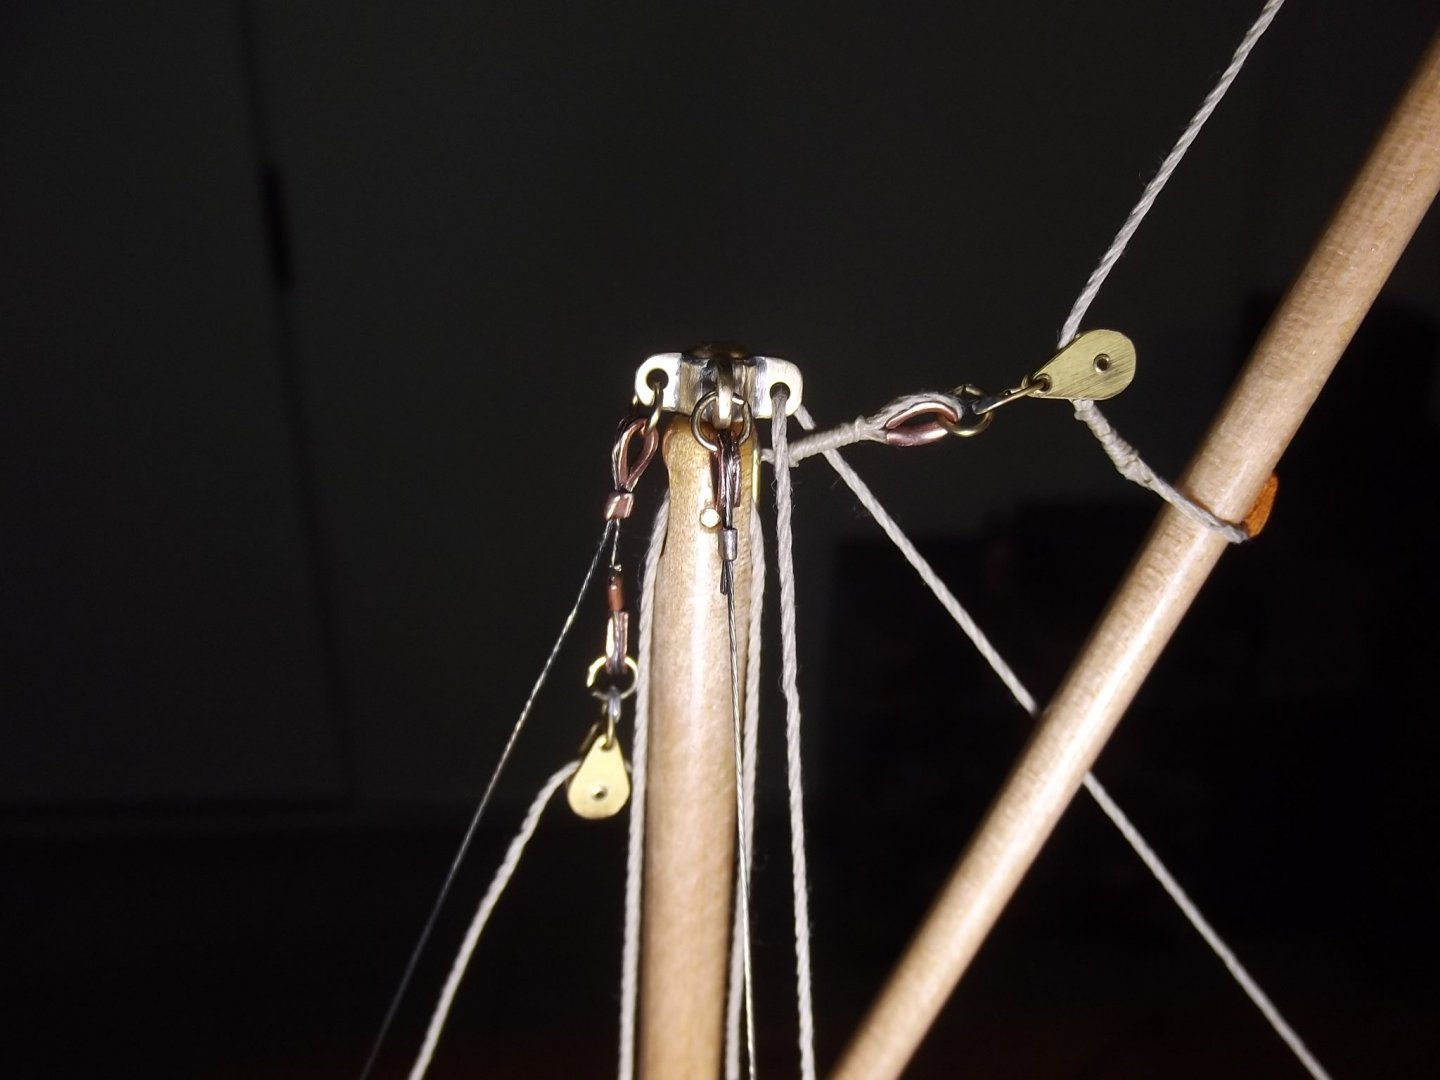
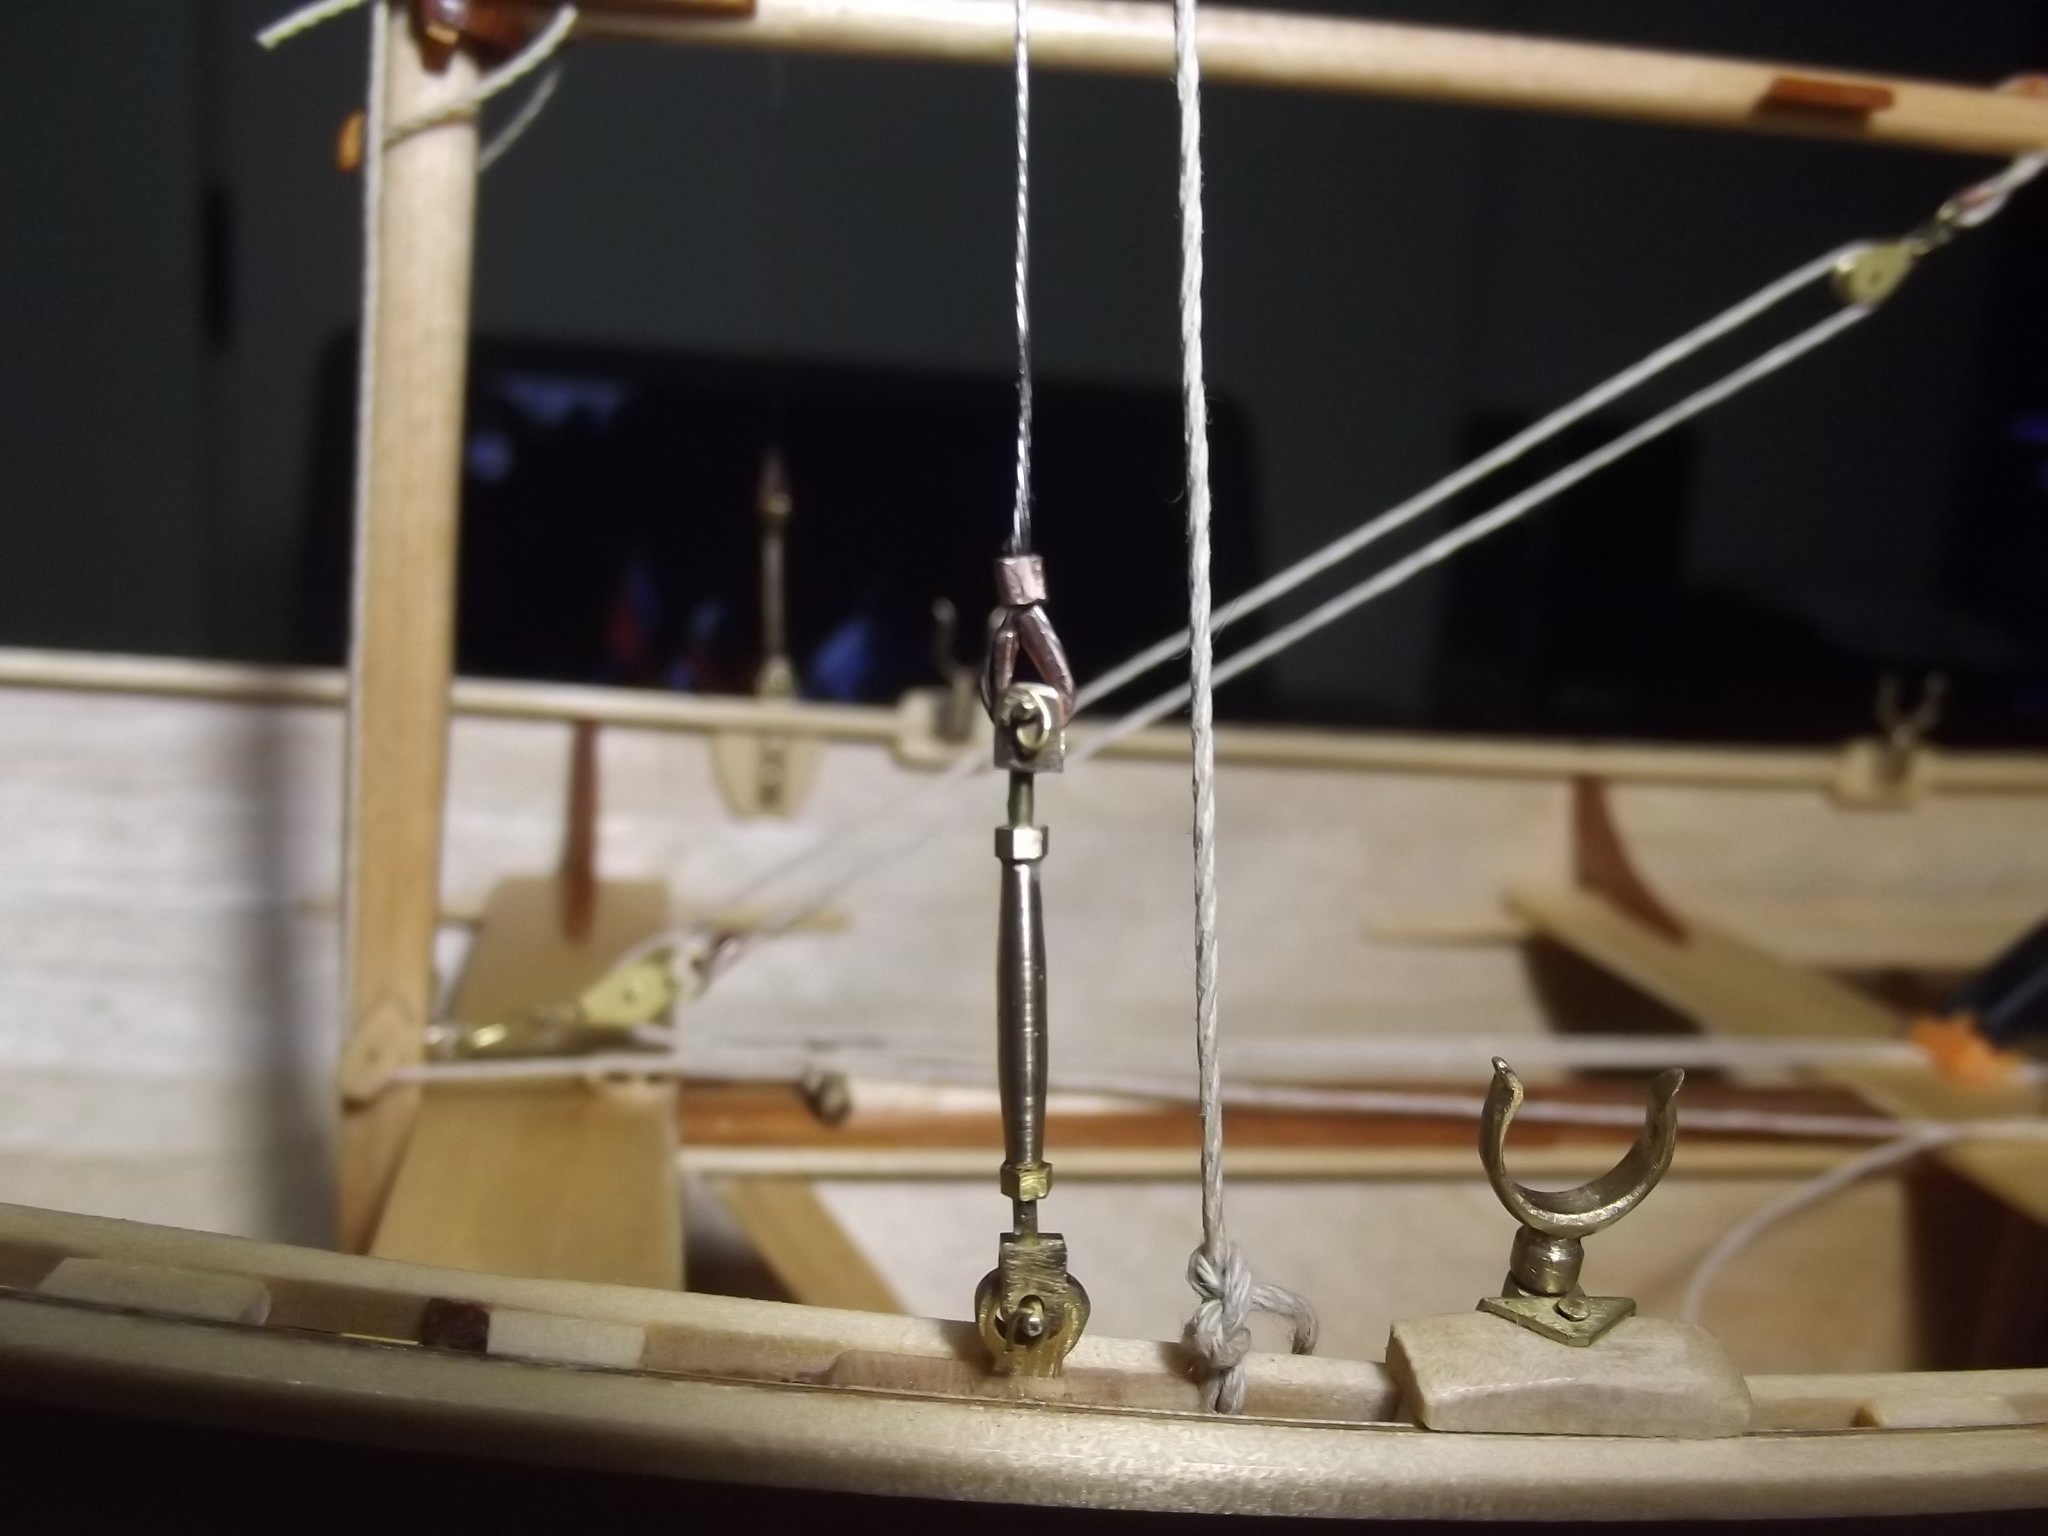
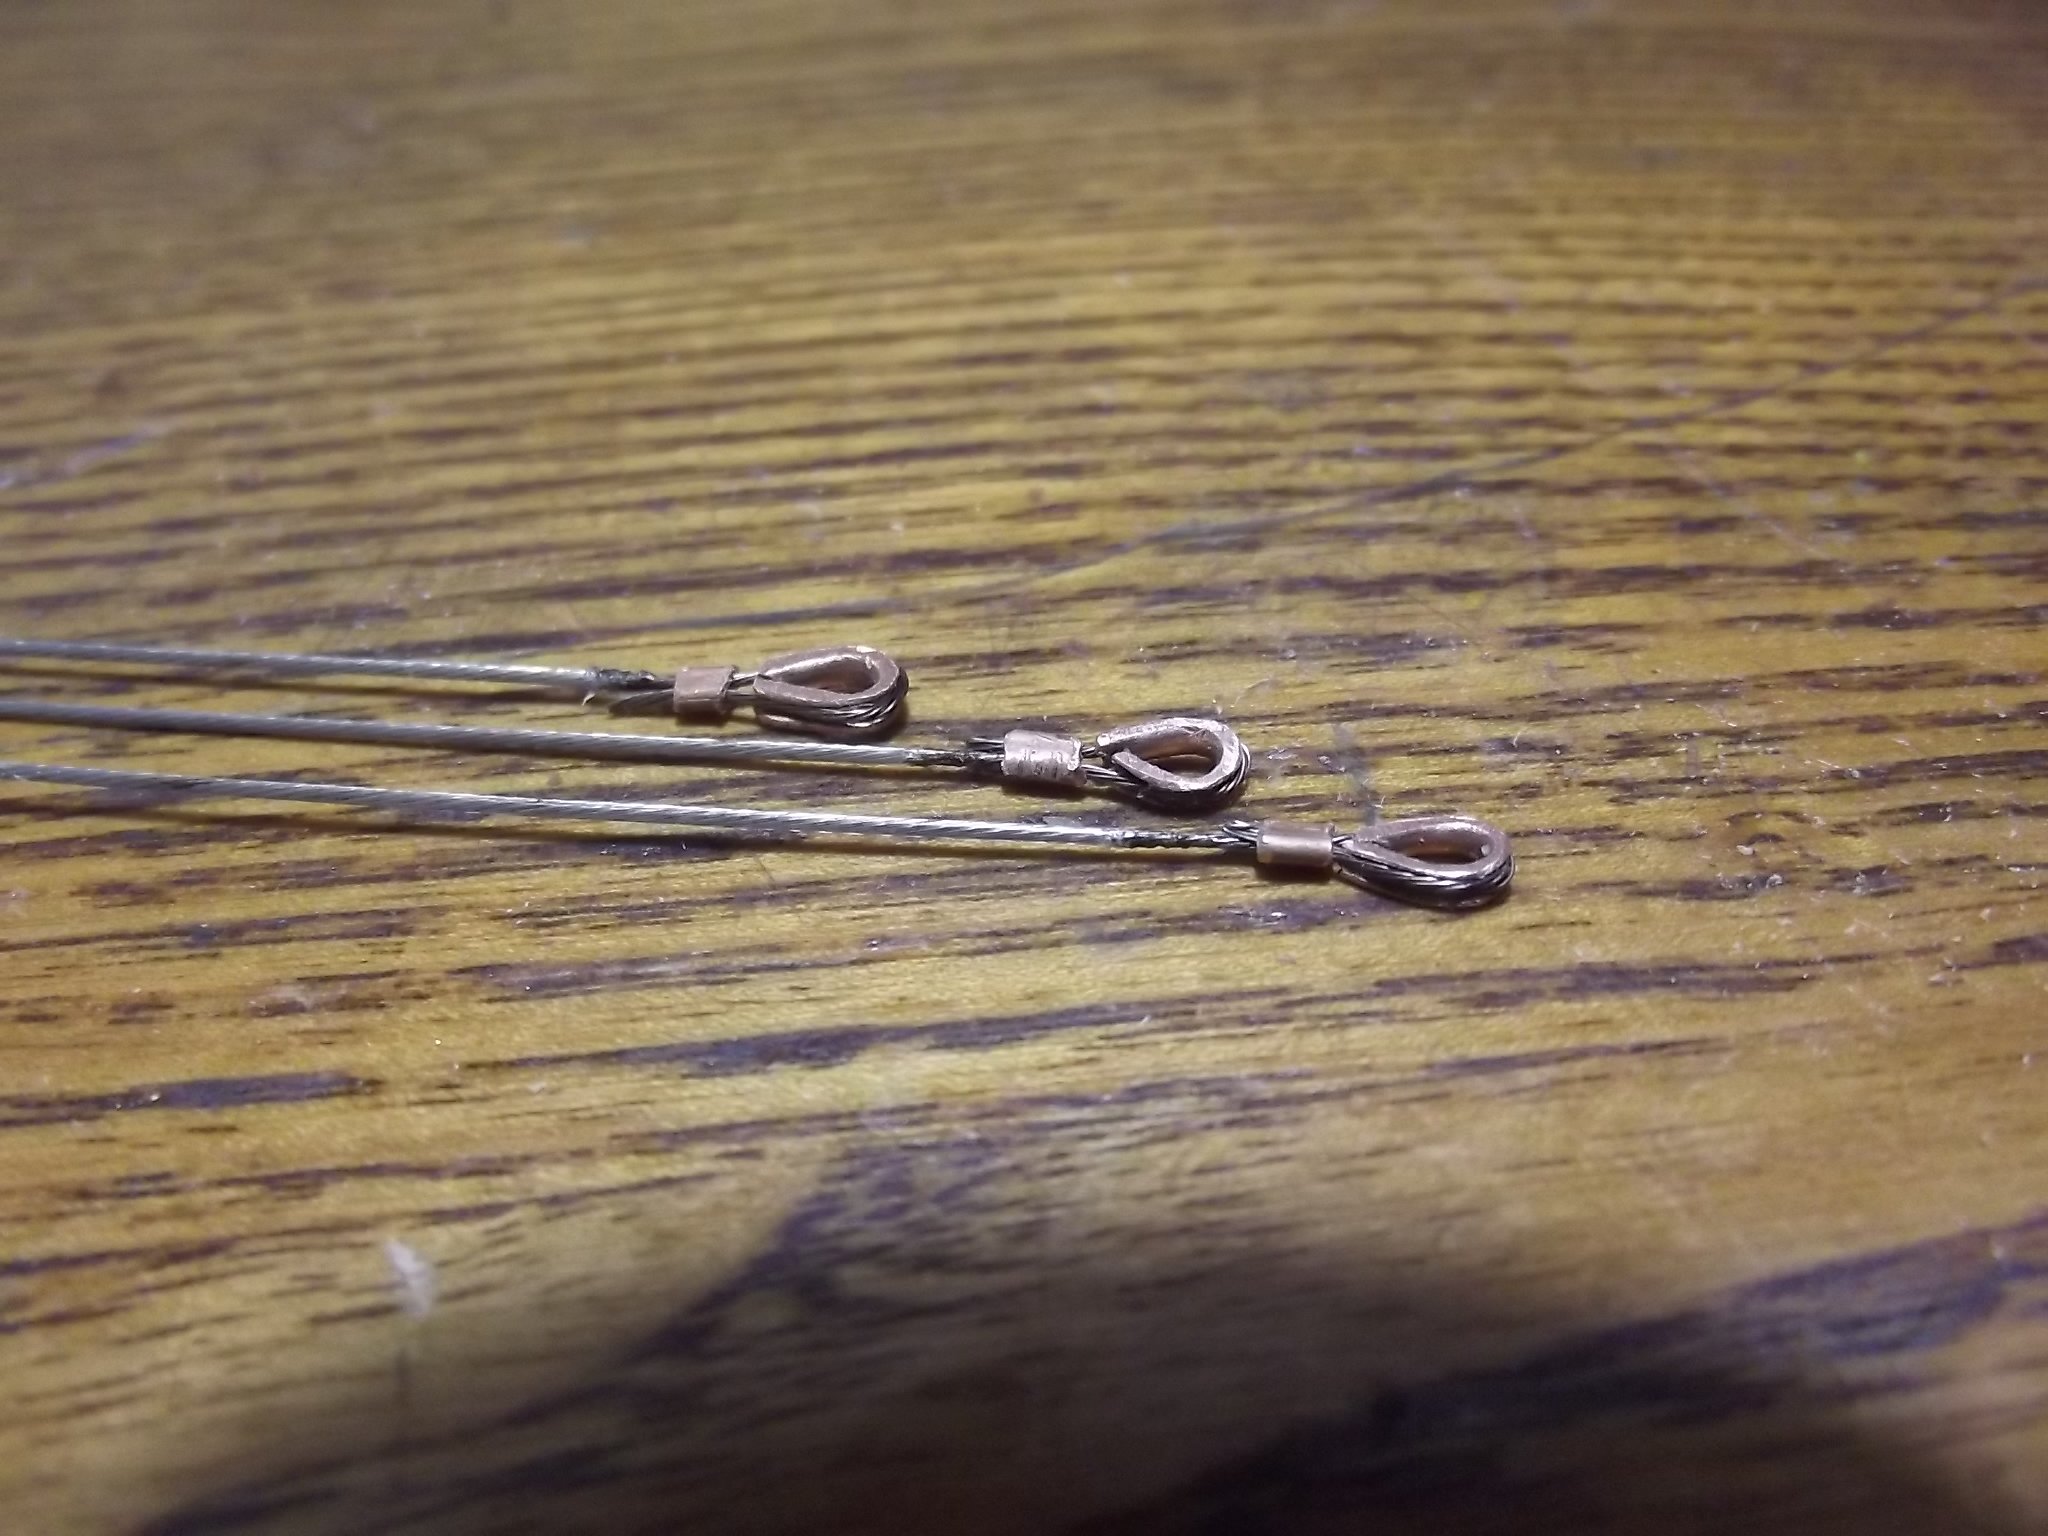
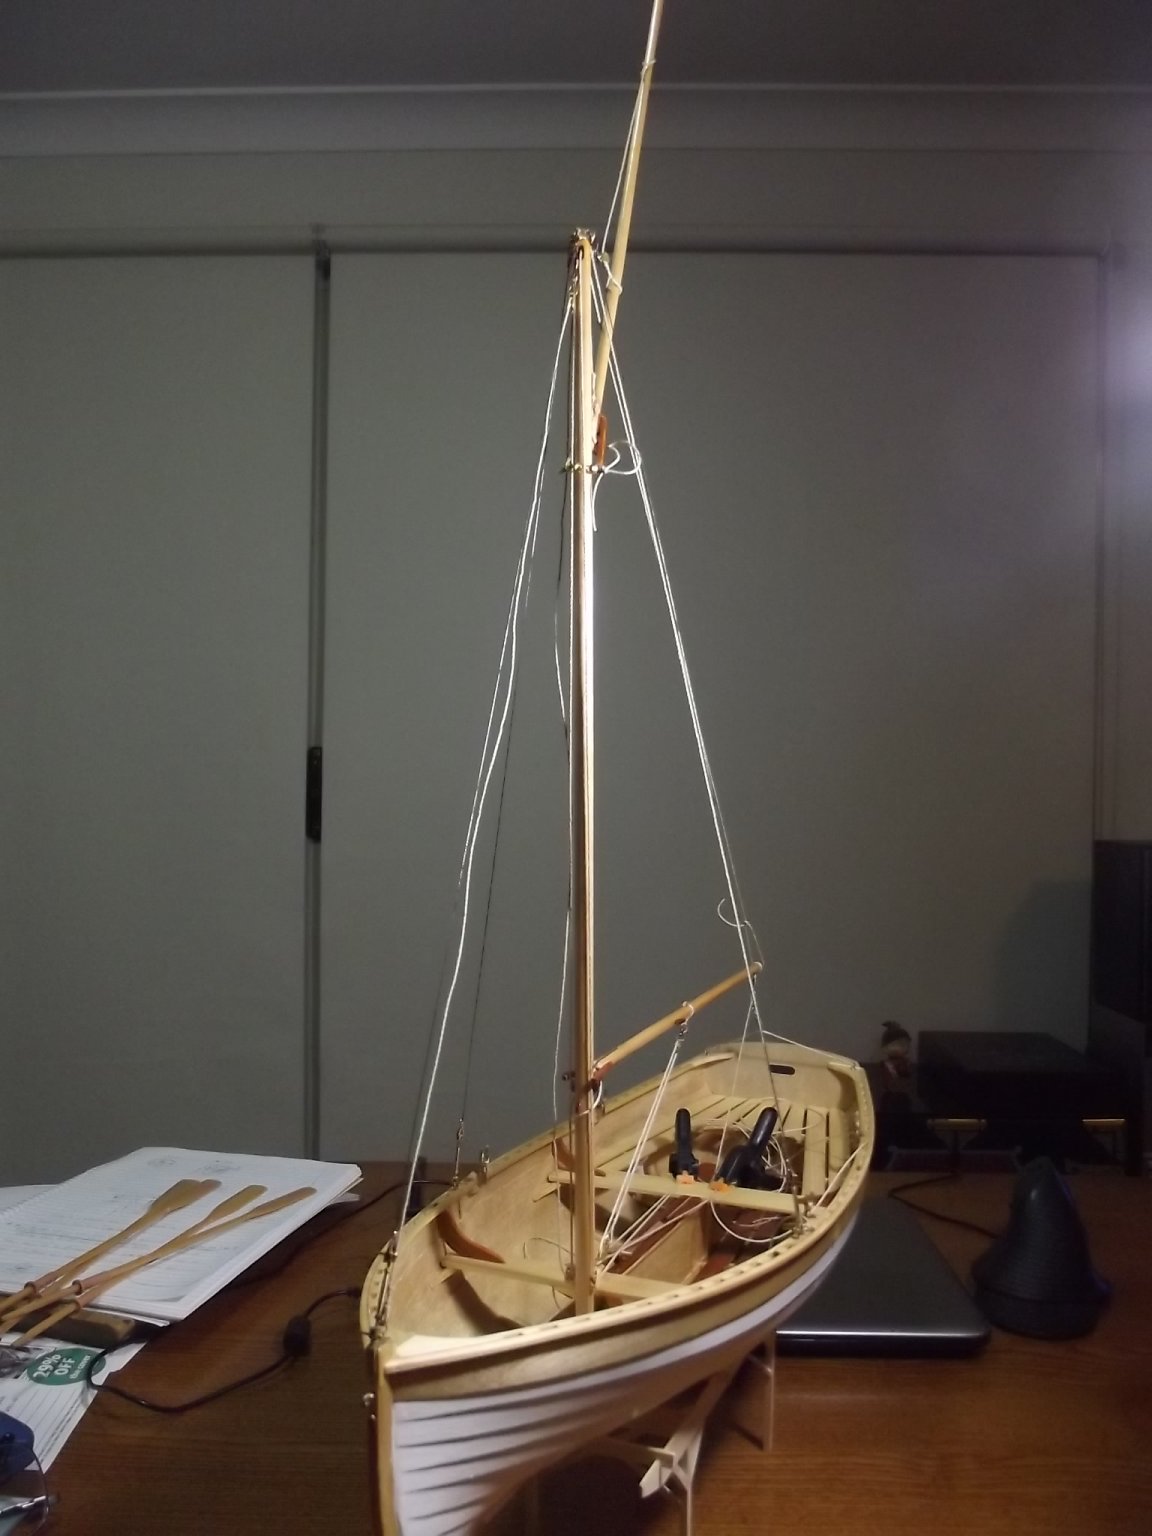
Standing rigging done. I couldn't make the thimbles any smaller so I filed them down as much as possible to reduce the outside dimensions to suit the stainless steel wire which is smaller than the rest of the rigging, thereby making them look smaller than the ones in the running rigging. The crimps were made from the same copper tube that I used for the thimbles.
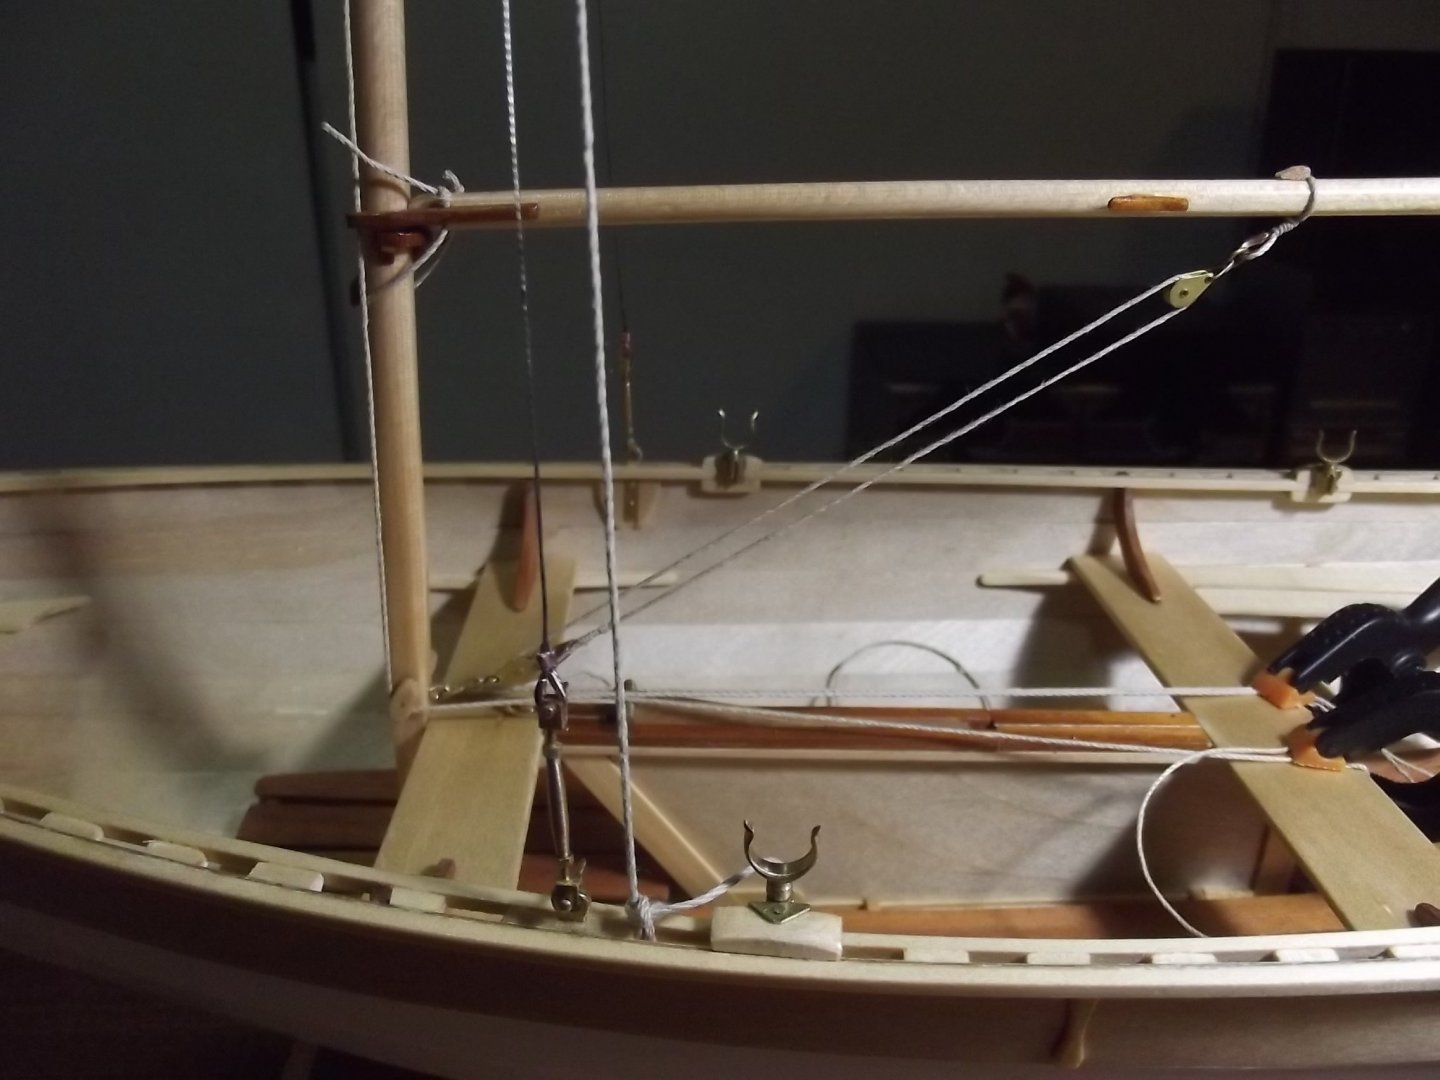
Running rigging in place but nothing to tie off to yet.
Still deciding whether or not to make sails for it.

- GrandpaPhil, druxey, Retired guy and 9 others
-
12
-
49 minutes ago, wefalck said:
Horological collets are very good for holding such small things as screws. You also may want to watch out for so-called 'jewelling collets'. These are insert collets that go into a 5 mm collet.
Ah thank you, now I know what to search for.
- mtaylor and Retired guy
-
2
-
-
-
Mark, when I built the full size version I went for classical craftsman type finish and that meant this sort of detail, not to mention the fact it protects the keel etc very well.
- FriedClams and mtaylor
-
2


New England Stonington Dragger by FriedClams - FINISHED - 1:48 - POB
in - Build logs for subjects built 1901 - Present Day
Posted
Now here's a man who's been paying attention
Nice idea