


Bedford
-
Posts
1,298 -
Joined
-
Last visited
Content Type
Profiles
Forums
Gallery
Events
Posts posted by Bedford
-
-
-
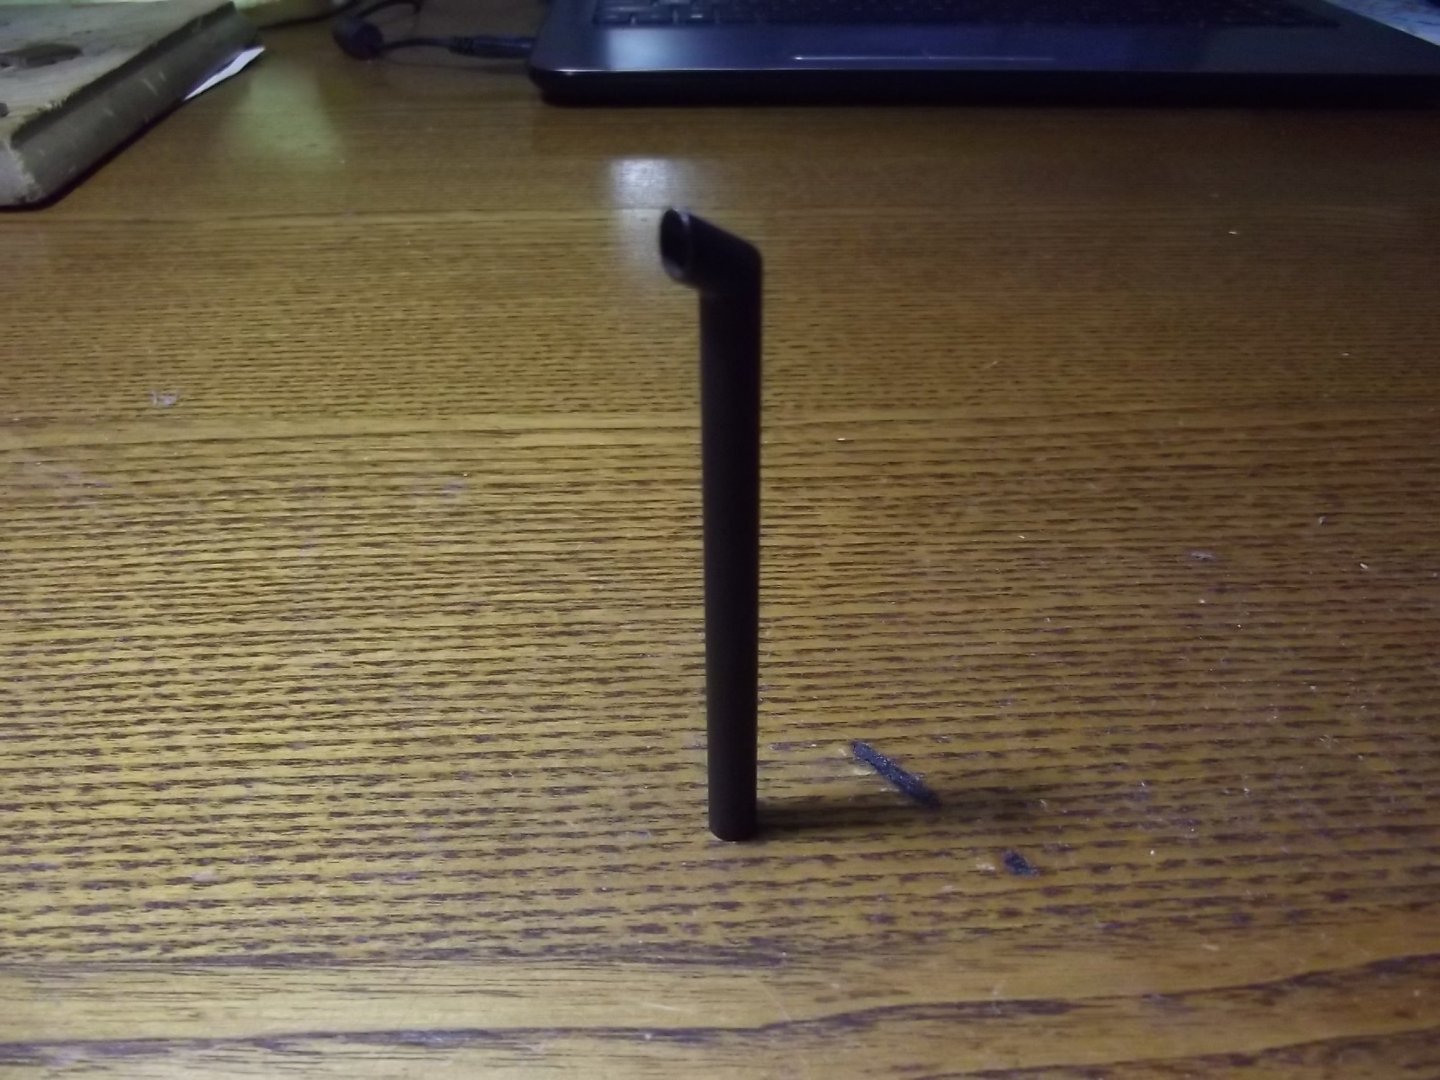
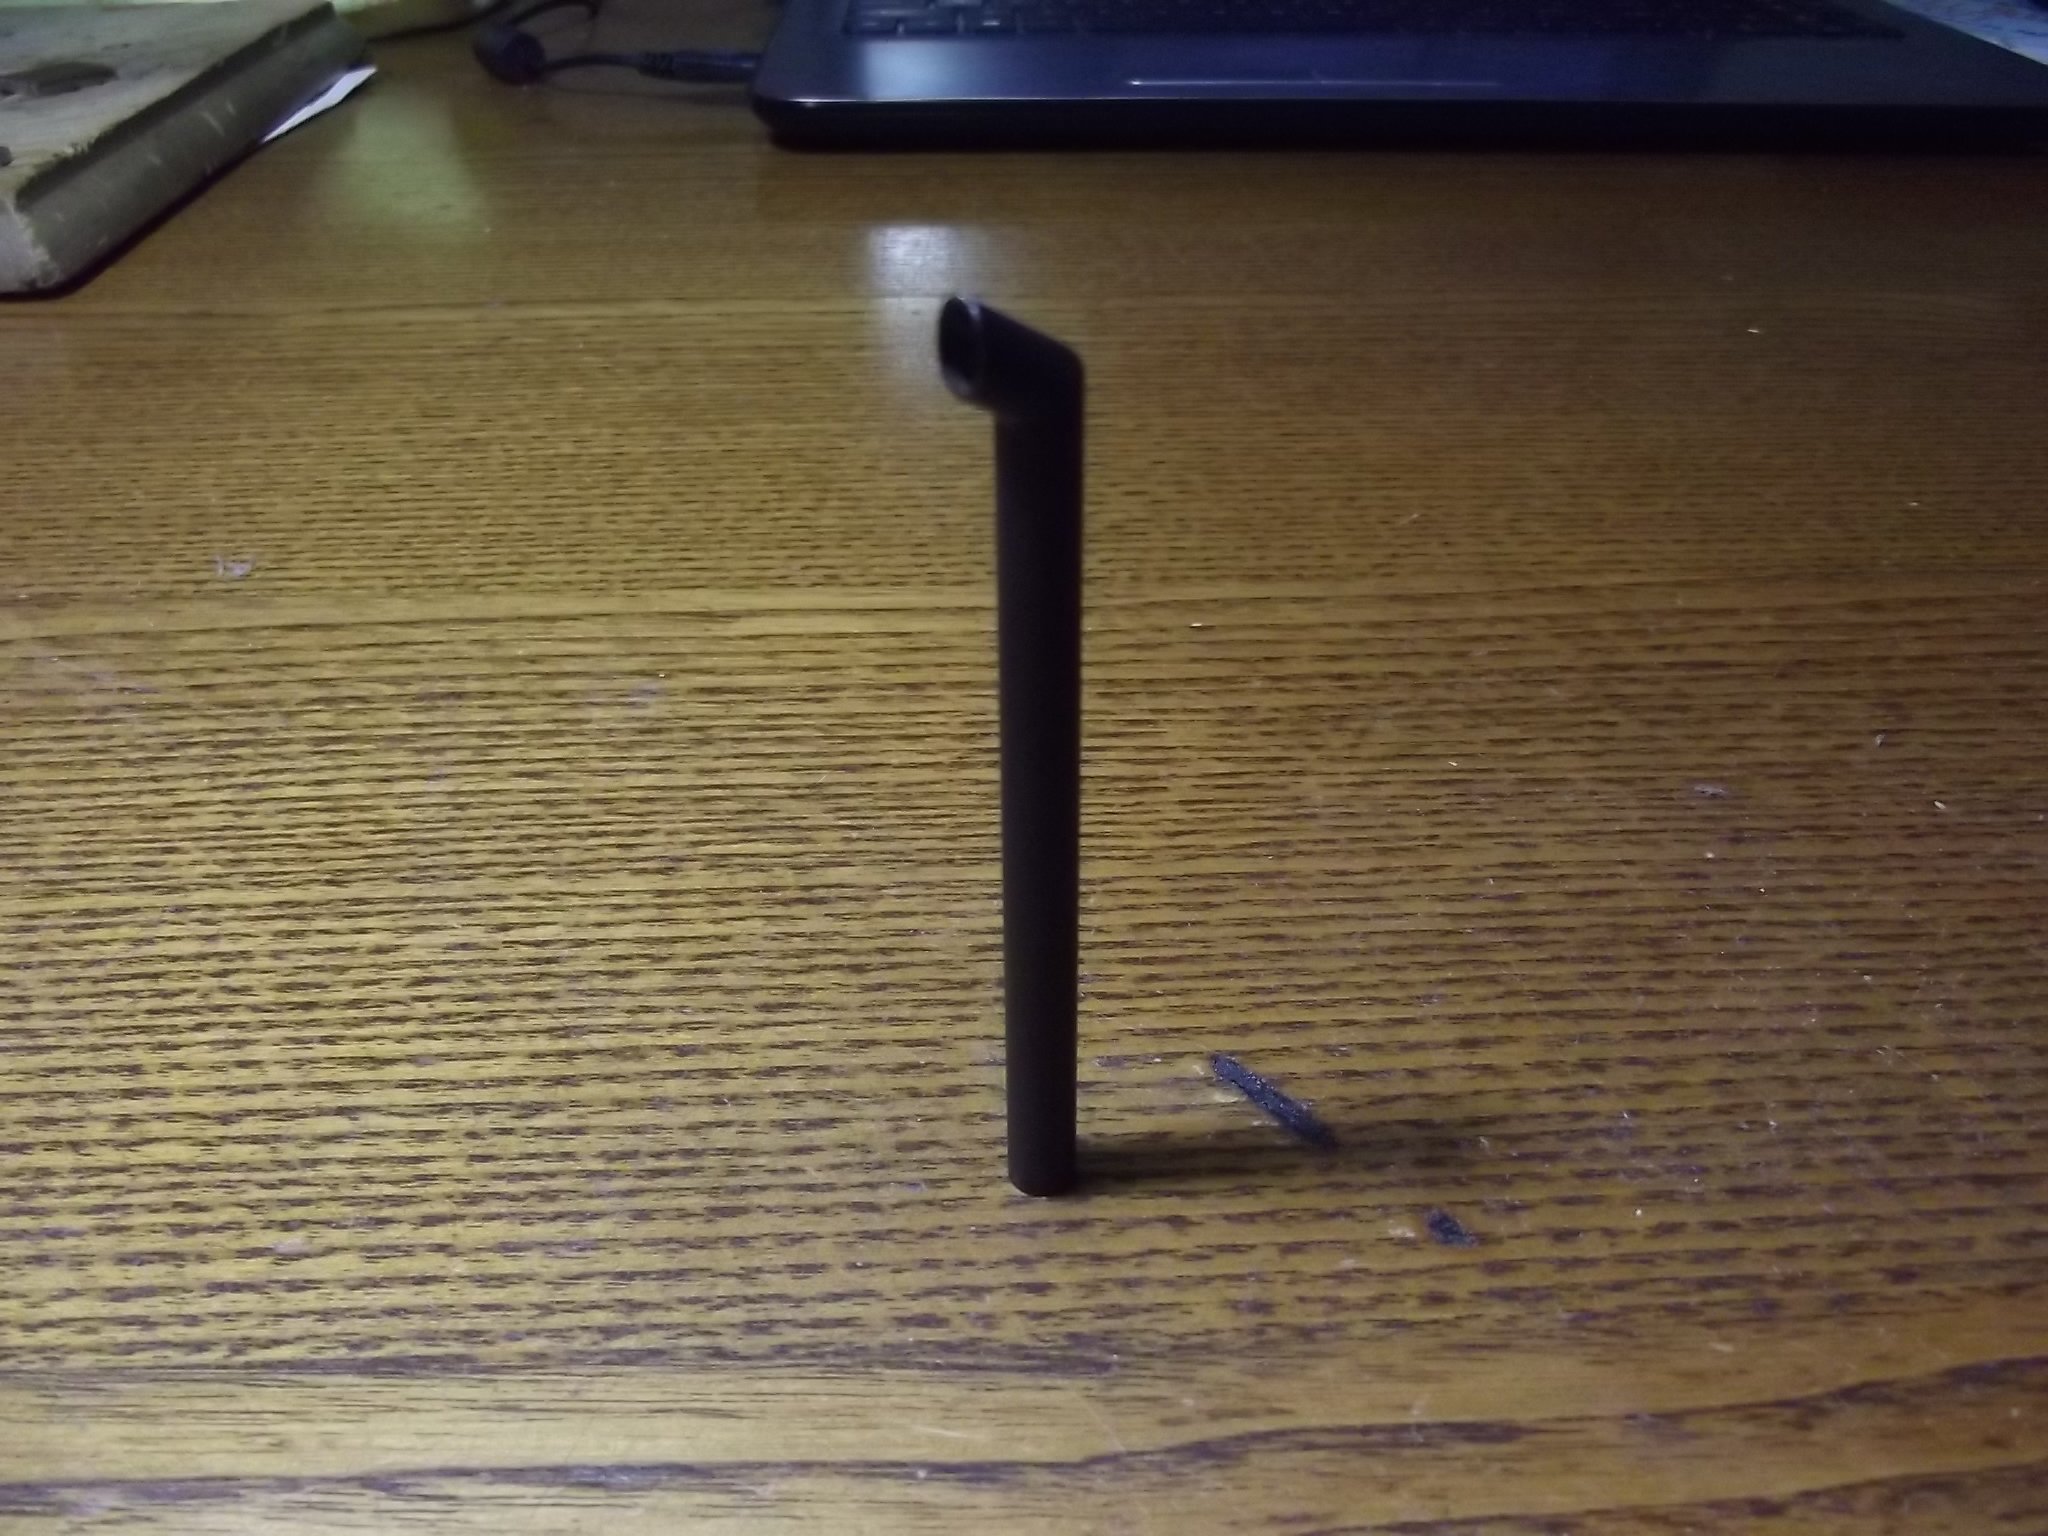
I've made more progress, 1st instead of using 6mm dowel to make the flue for the galley stove I used 6mm brass tube, it looks good painted black.
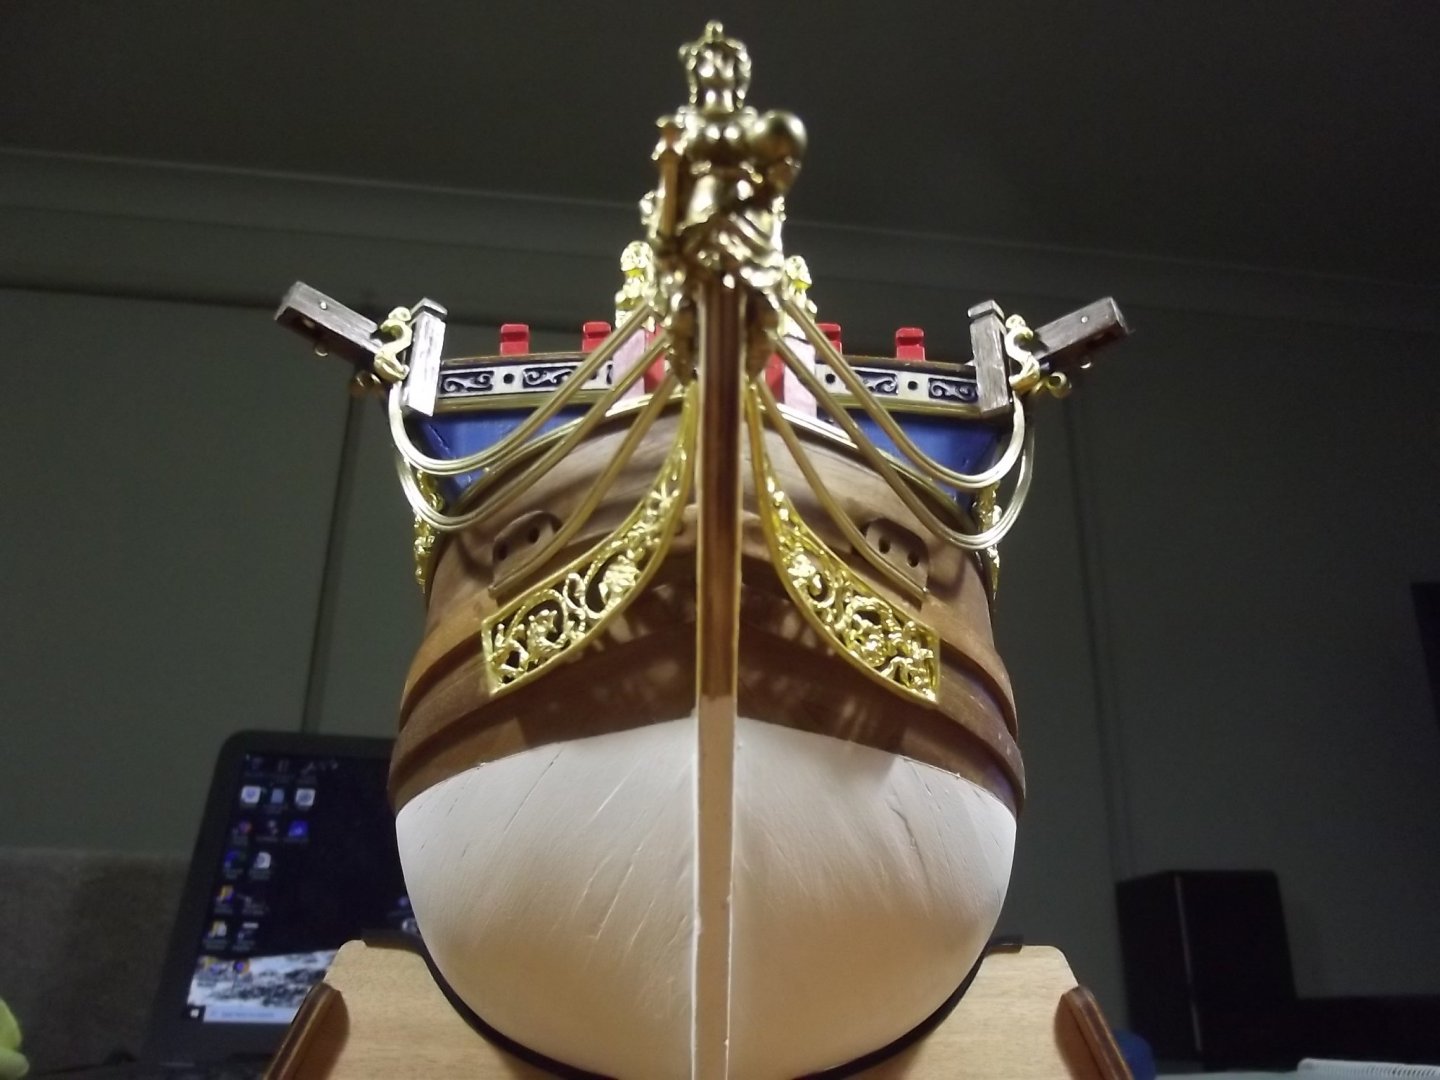
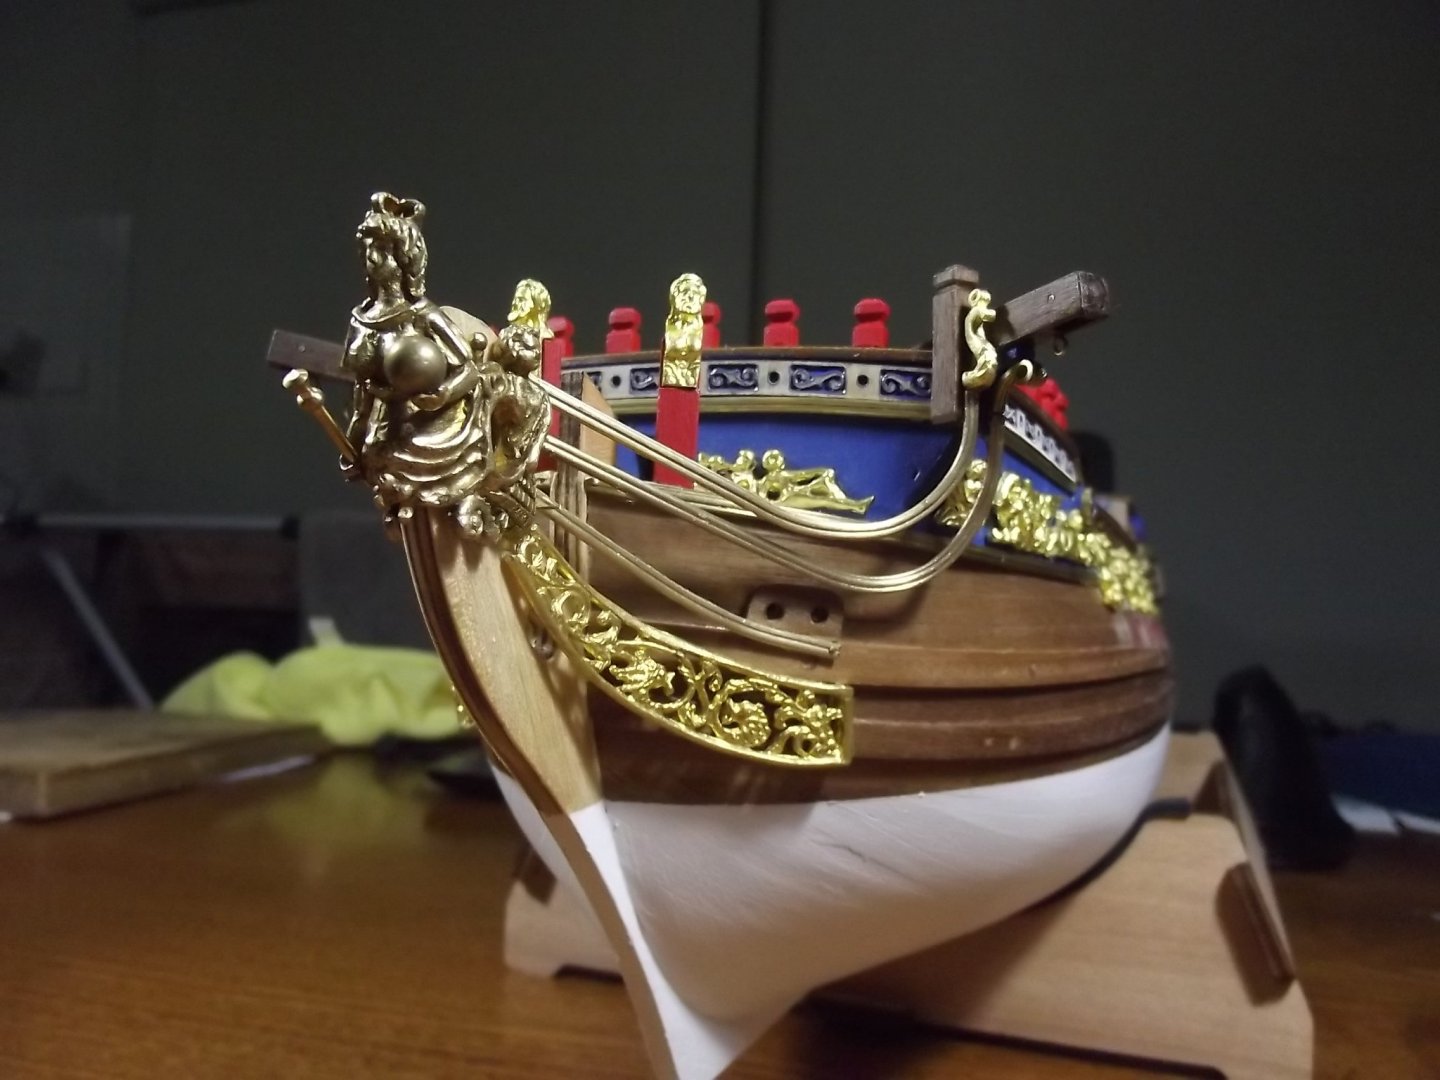
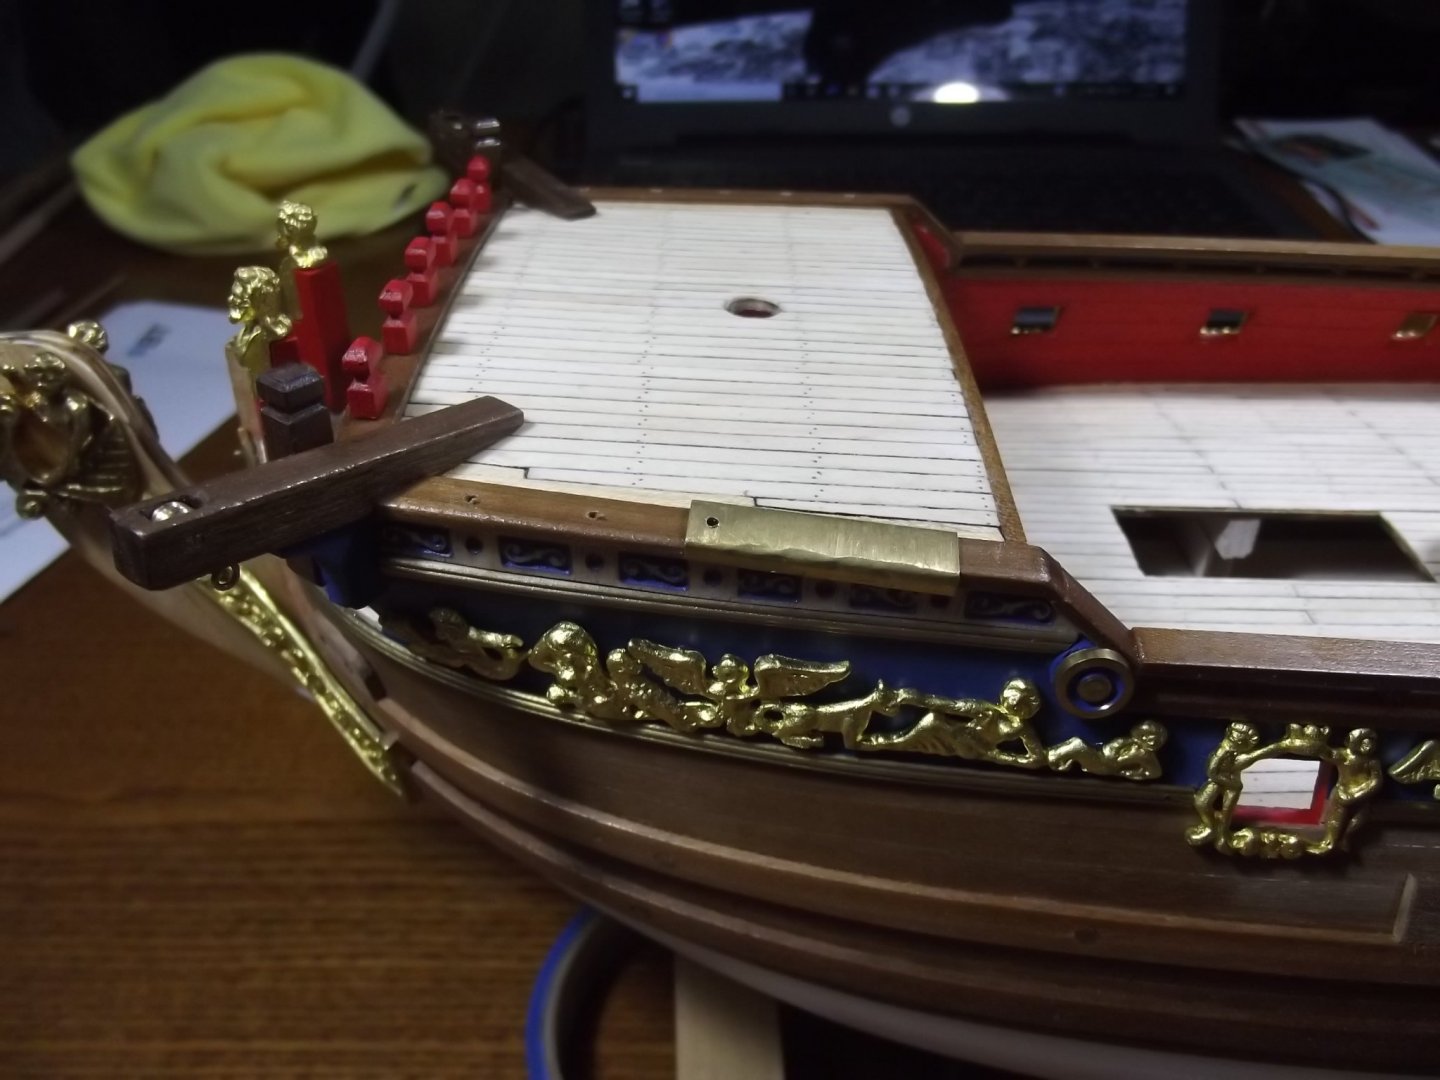
Then I moved onto the brass rails, I have no idea what they're called but they took a lot of fiddling to get them shaped and fitted. There is still some fine tuning to do on them.
I don't know if I mentioned it before but I also turned up double sheaves for the cat davits because there is no way those anchors were raised with a single line offering no mechanical advantage. It has to be 4 to 1 at least.
- GrandpaPhil, Ondras71, Keith Black and 2 others
-
 5
5
-
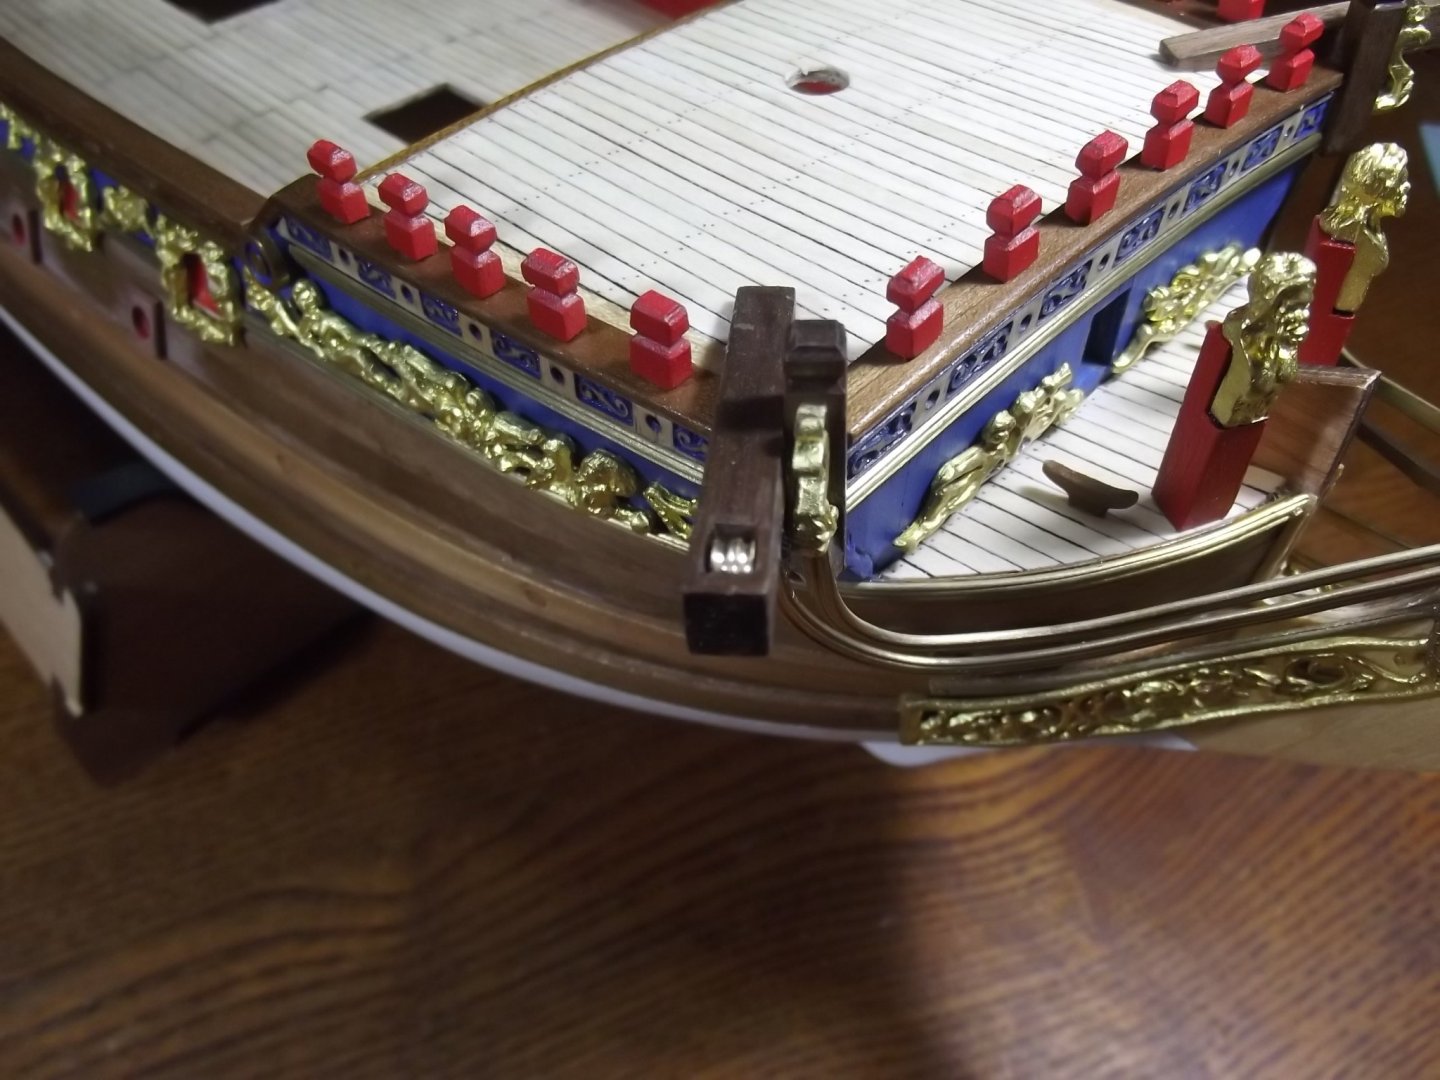
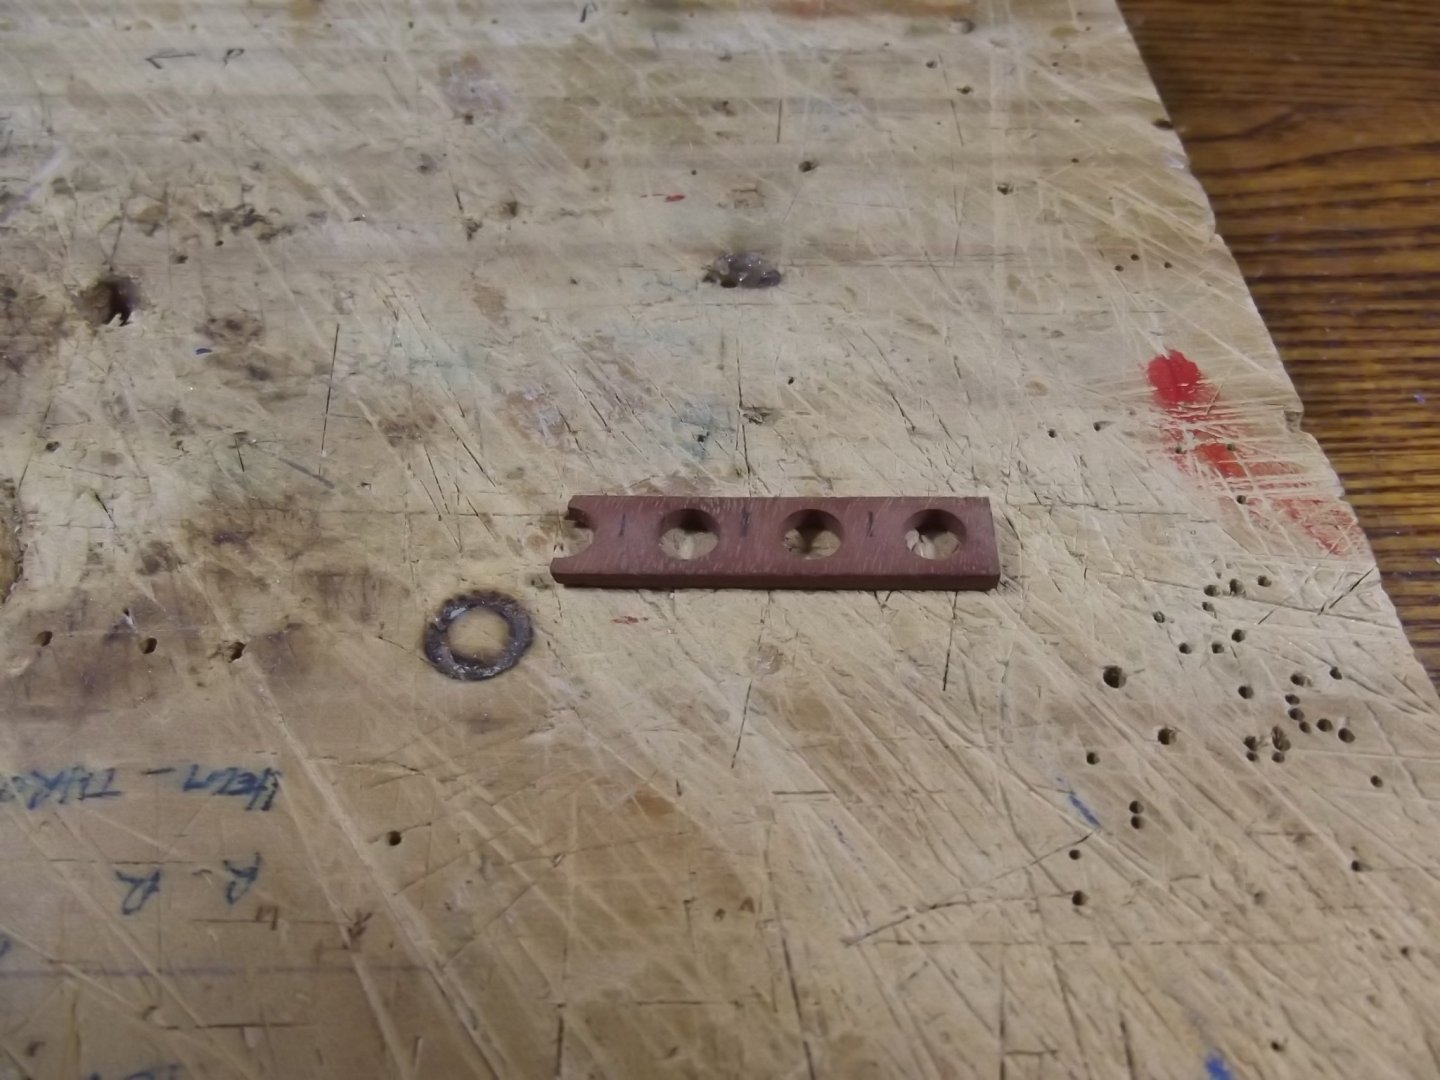
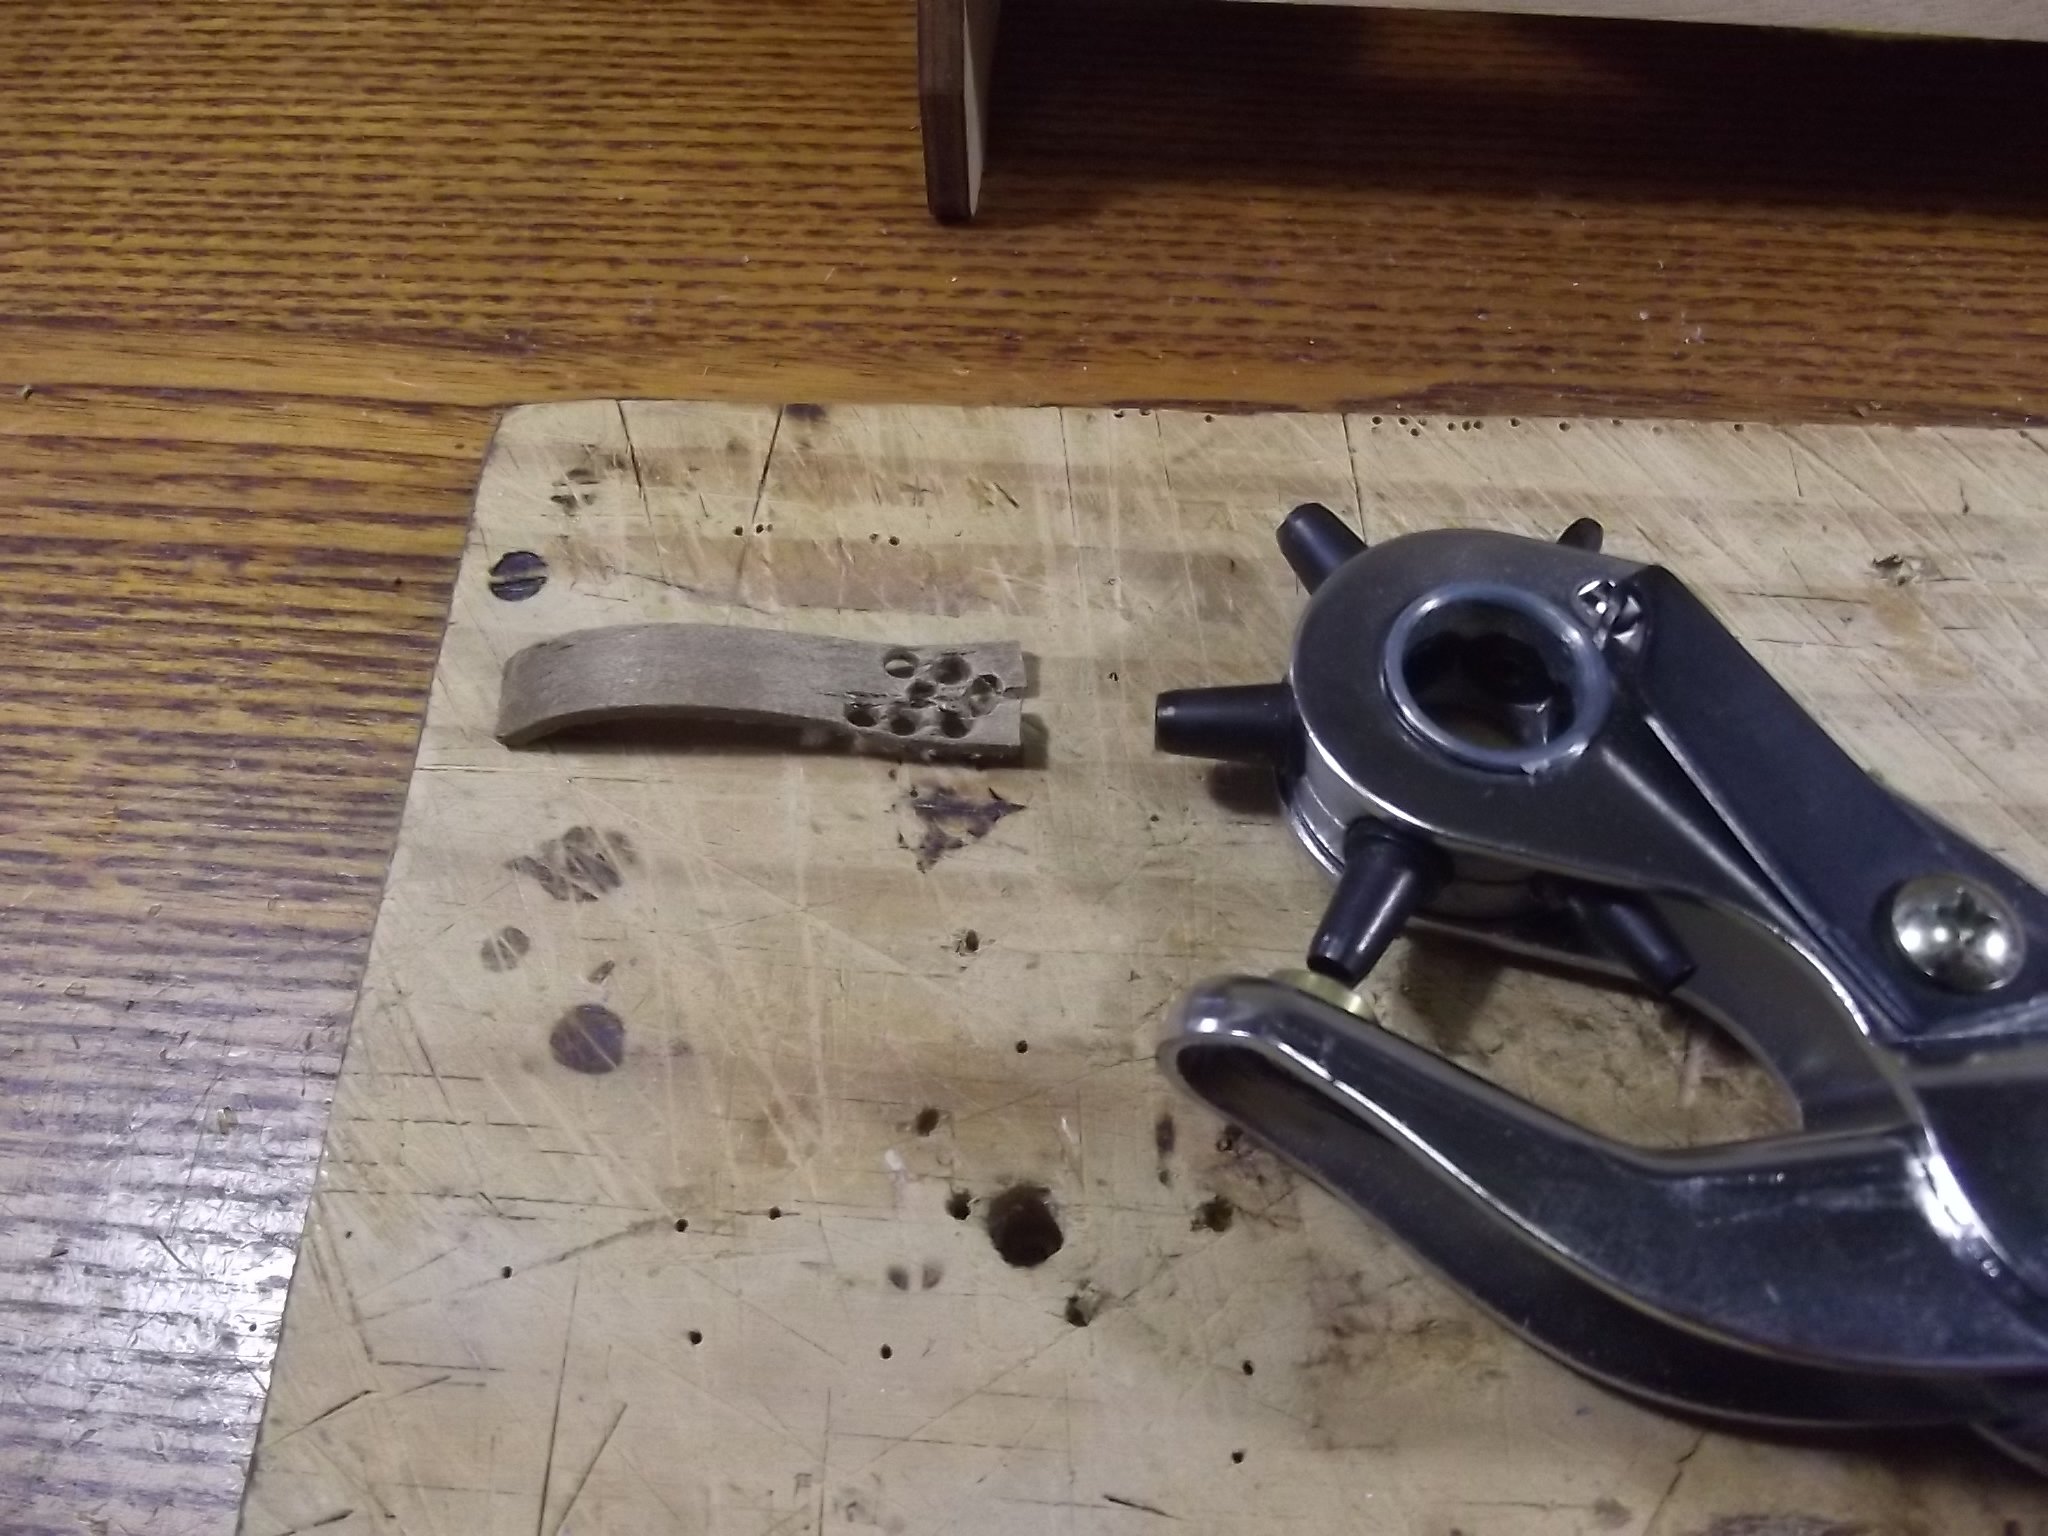
I've mentioned a block of river red gum I have in a few other builds, I like to put a little of it in every build because it's such a beautiful Aussie timber and it machines very well. In this case I've machined a strip of holes to separate into the freeing ports.
-
I've been fitting the knights heads/bollards and you'll see a piece of sheet brass bent to straddle the walnut cap strip. This was first used to protect one part of railing while sanding adjacent pieces but now I've drilled the guide hole for the knights head dowels. It's such a simple way to keep the hole in the centre of the strip.
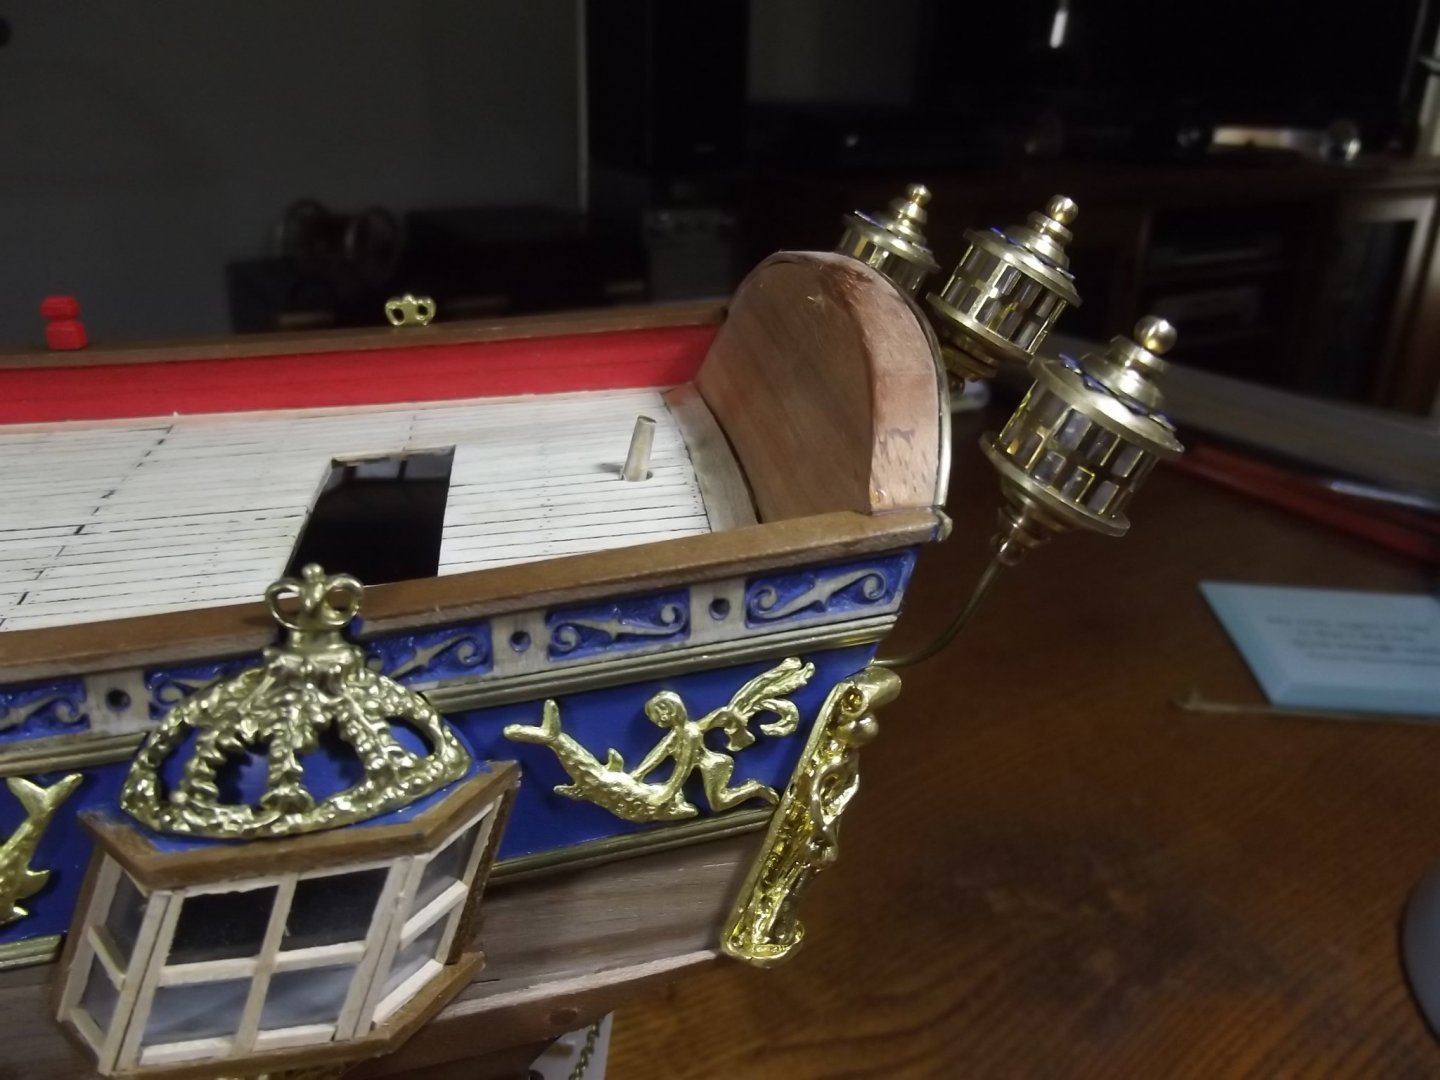
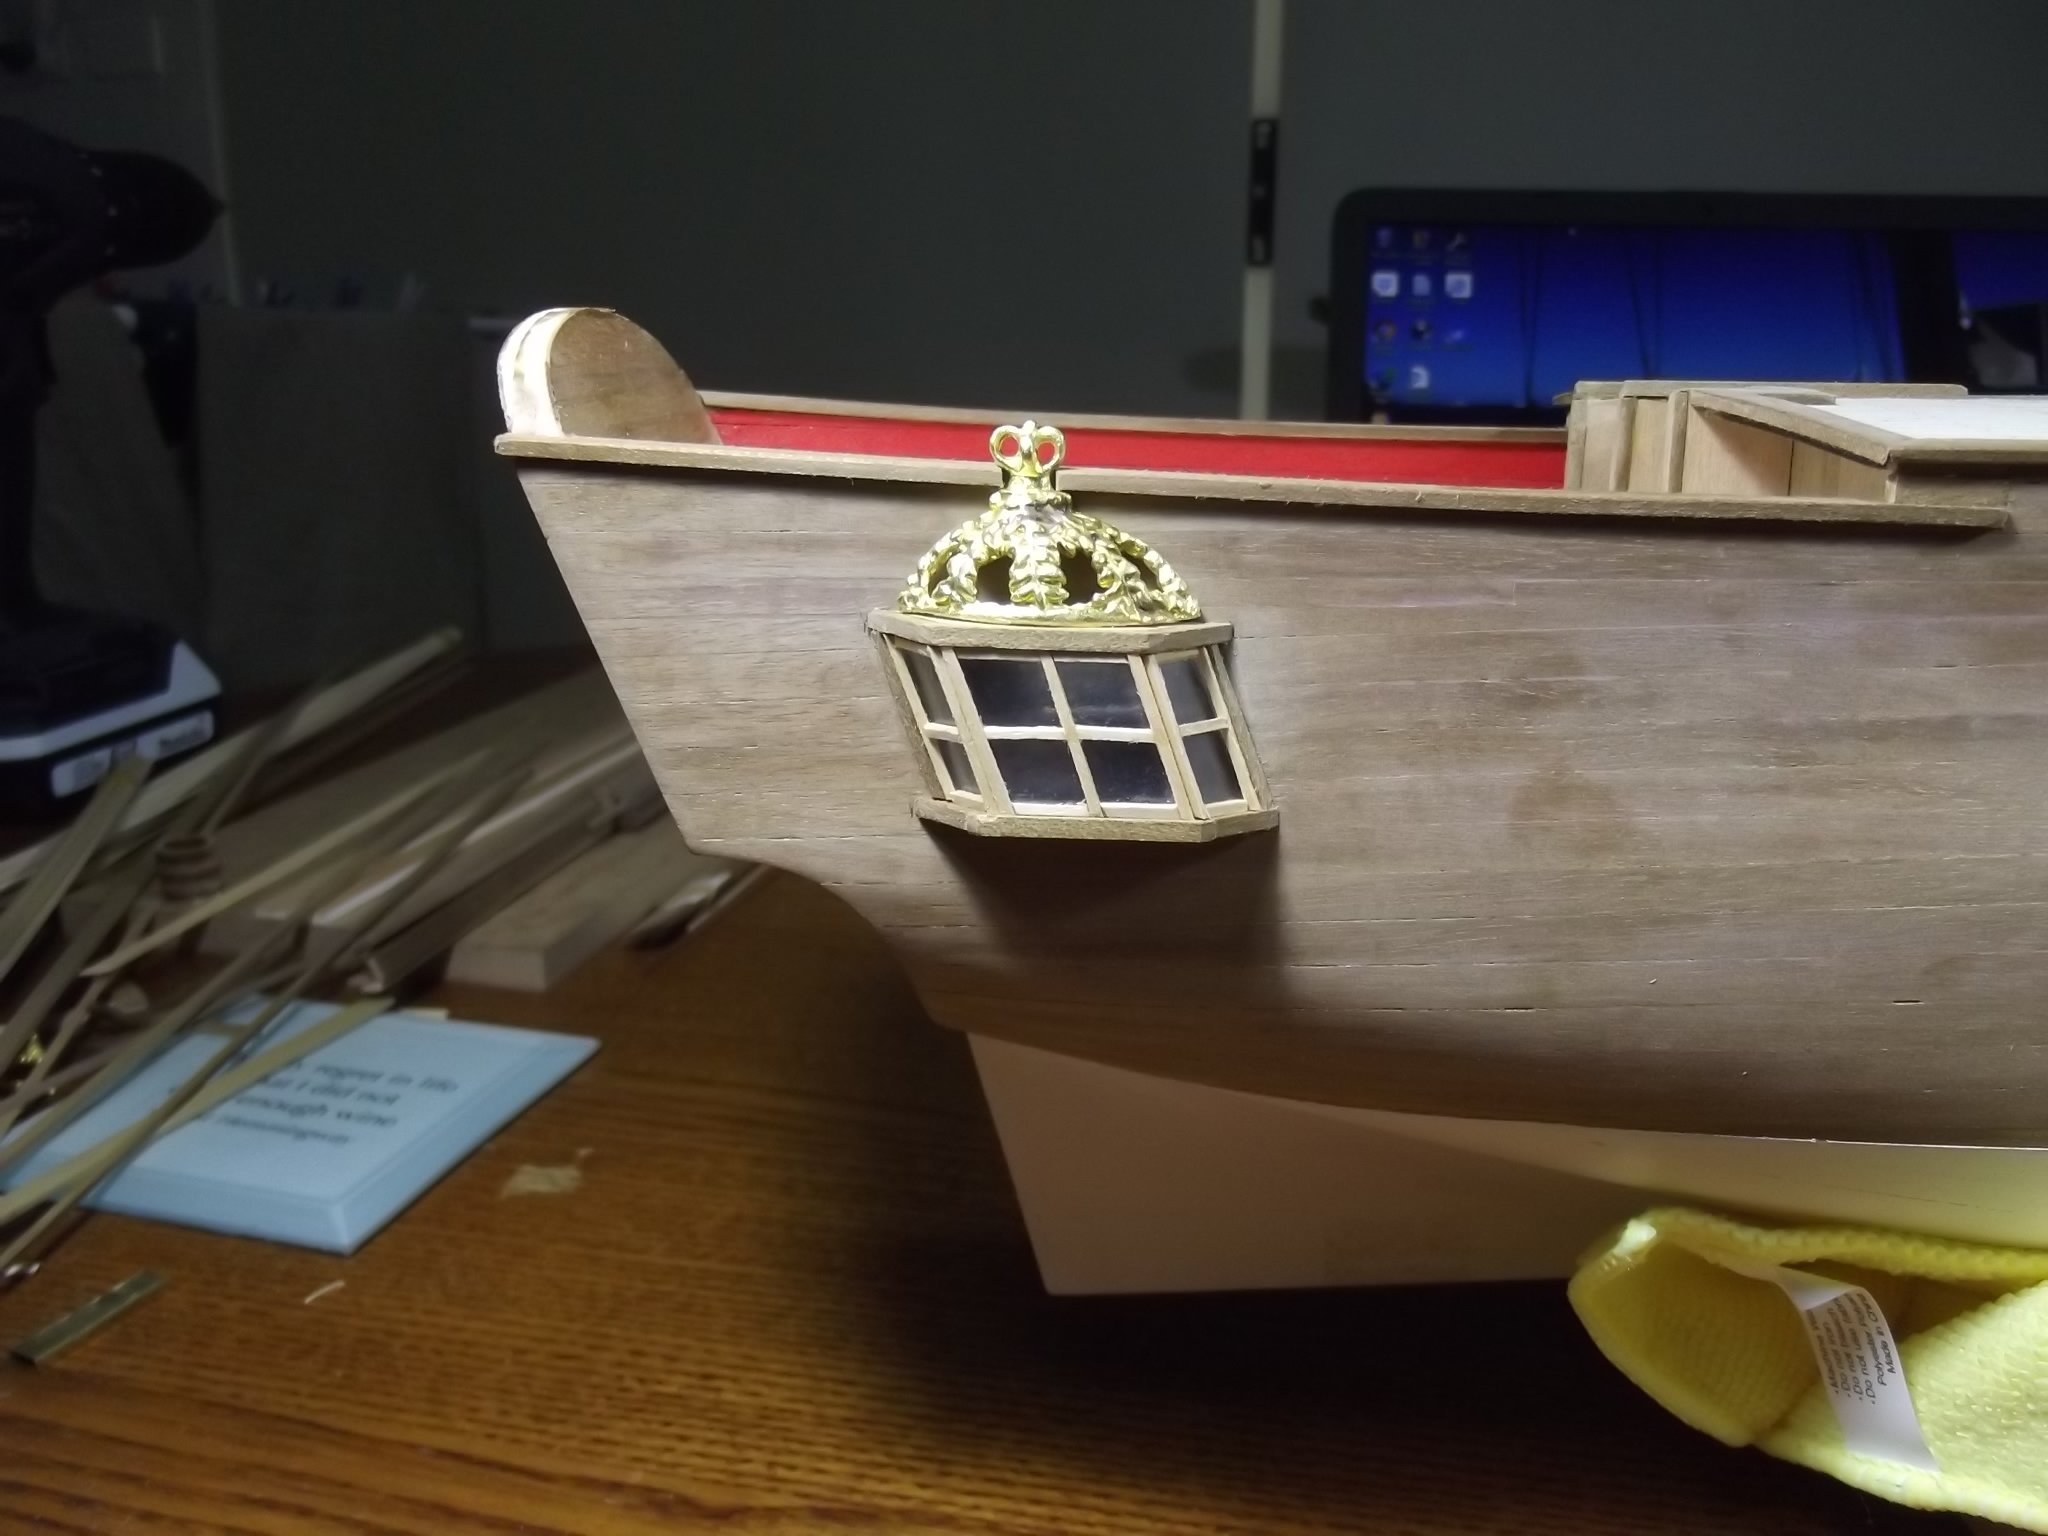
I would have left the knights heads varnished if they were walnut but they are beech so I decided to paint them red which most fixed tie off points would be anyway. I've also made and attached the stern lanterns.
I've come across a problem I had with the Bluenose kit I did years ago in that while the walnut plank stock varnished normally, the thicker square stock doesn't seem to let the varnish dry. From memory it took up to 2 weeks on the Bluenose and it's been 4 days for the cat davits and adjacent bollards and they are still a little sticky. Does anyone know anything about this?
- Keith Black, GrandpaPhil, EJ_L and 2 others
-
5
-
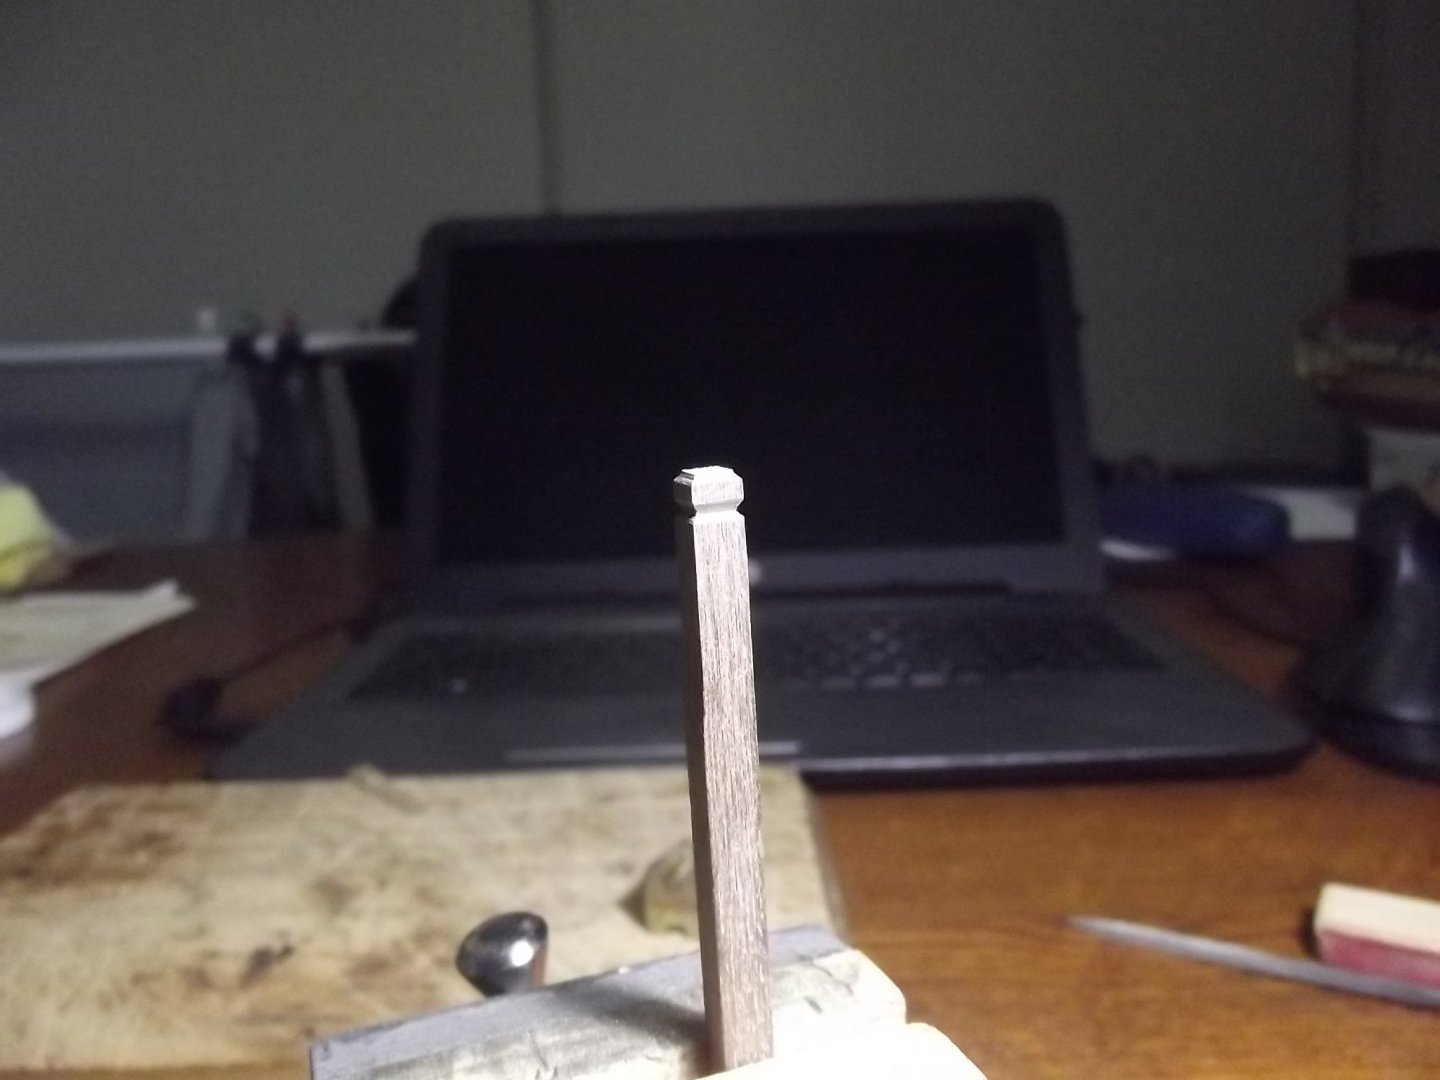
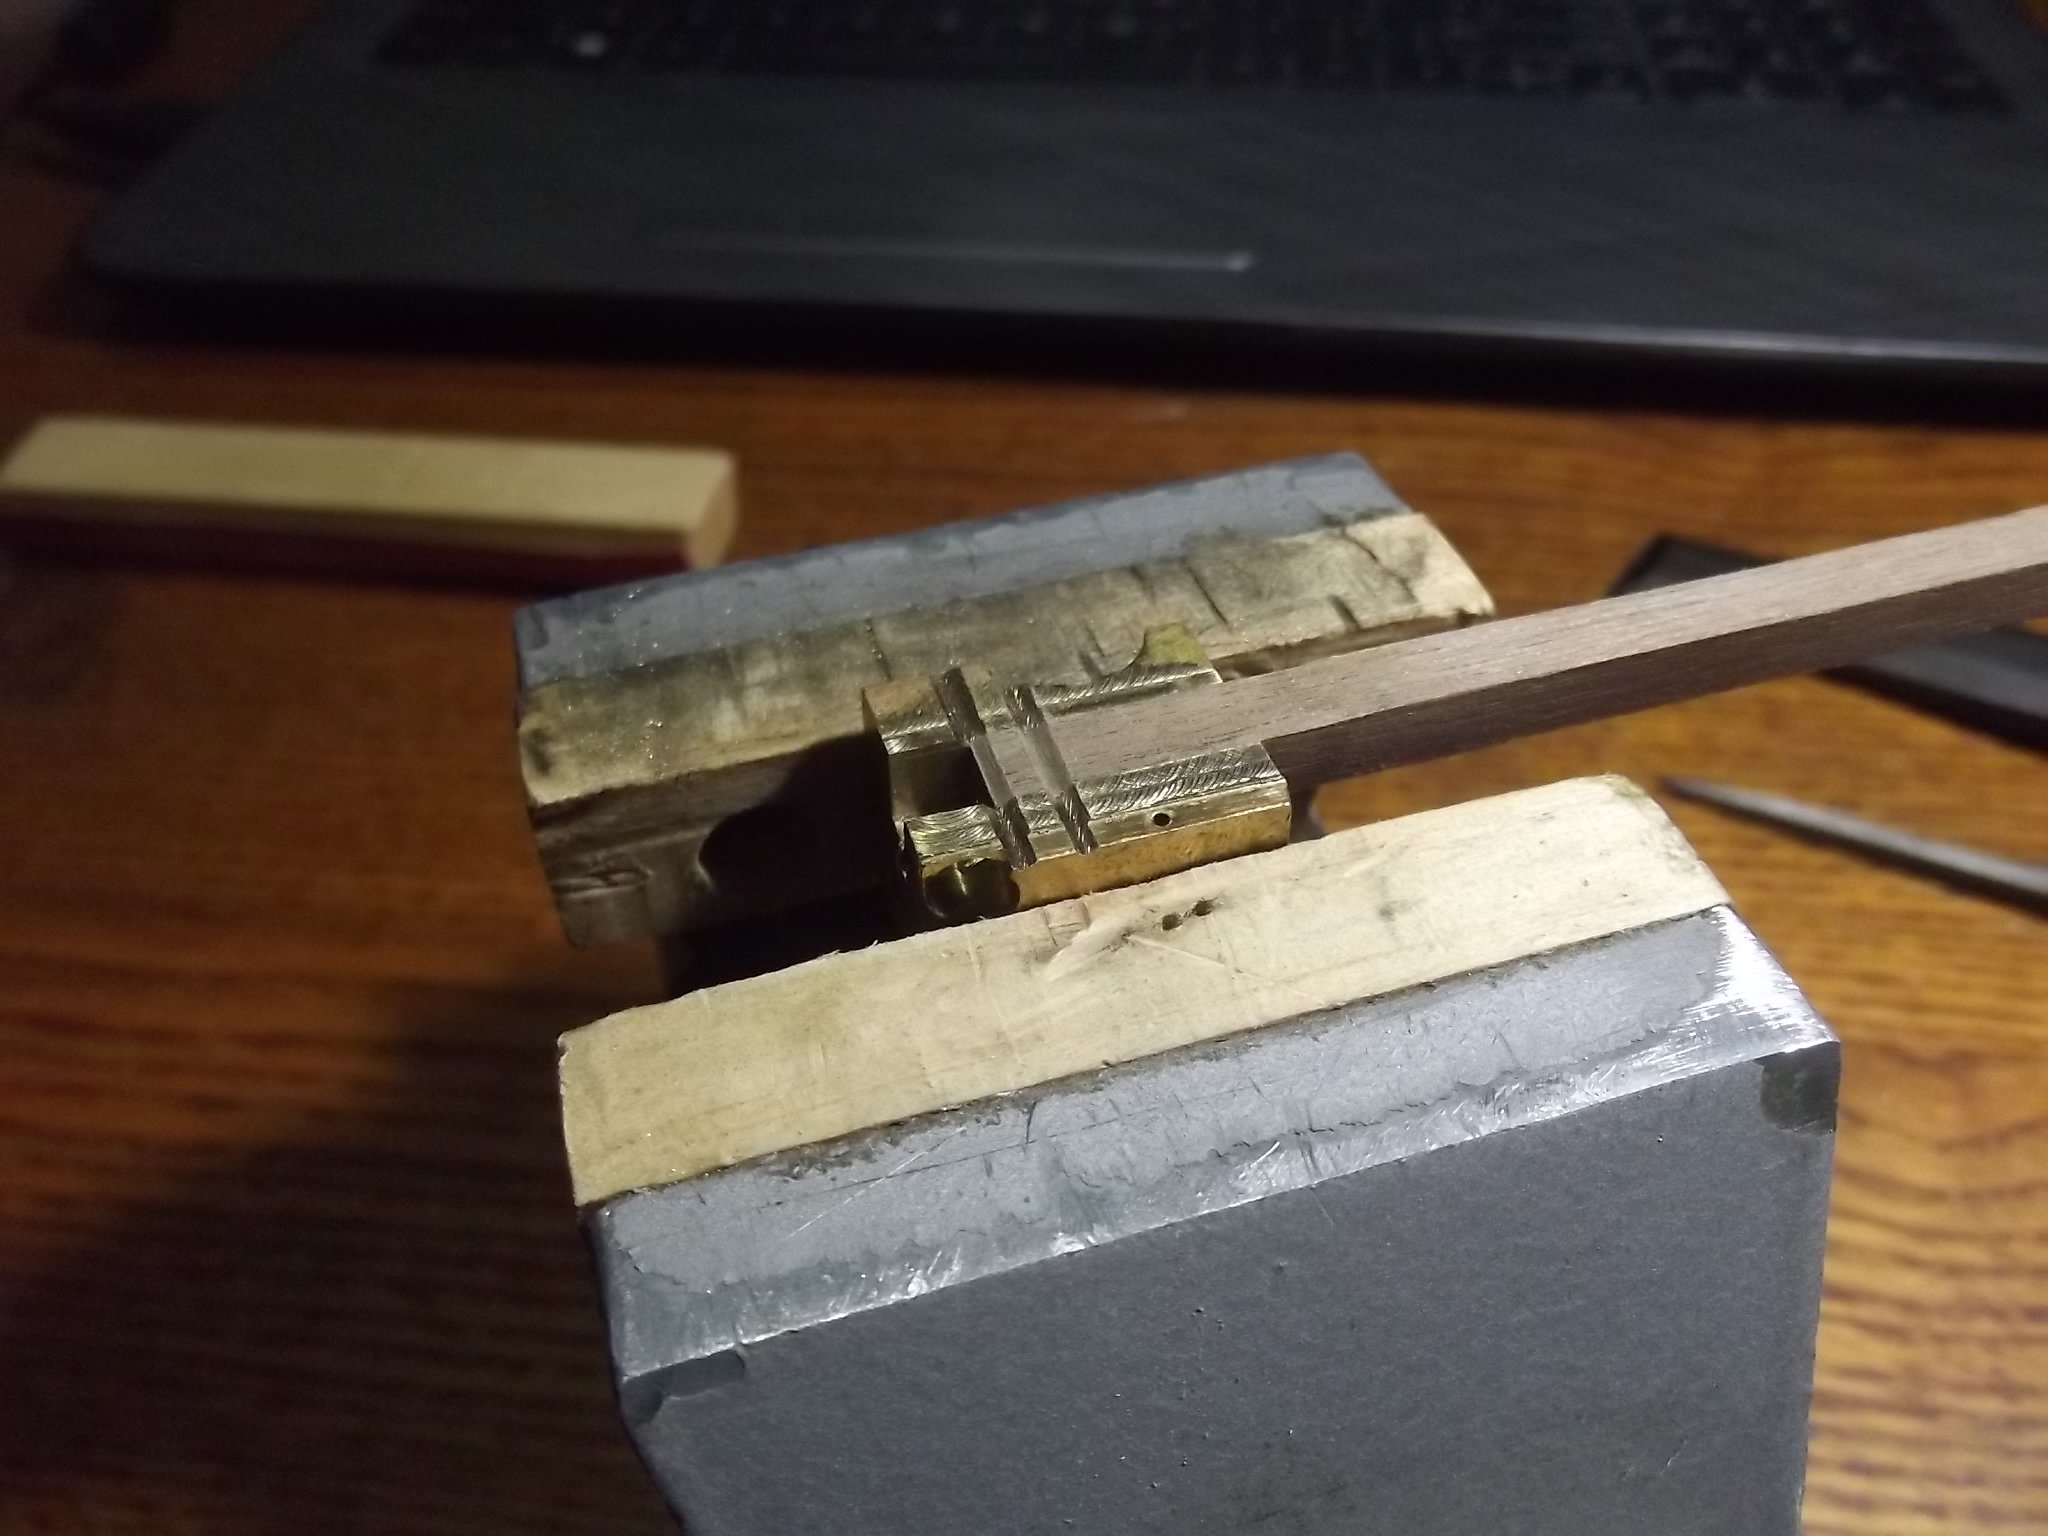
Since this ship has quite a few knights heads which all require the same shaping I milled a piece of scrap brass to accept the timber sizes required and then milled two right angle grooves for the file to follow and glued in a stop so they will all come out the same.

-
Well Chris, I saw you're "likes" on the Model Ship World FB page and followed the link to find this thread so I'll add my comments here as well.
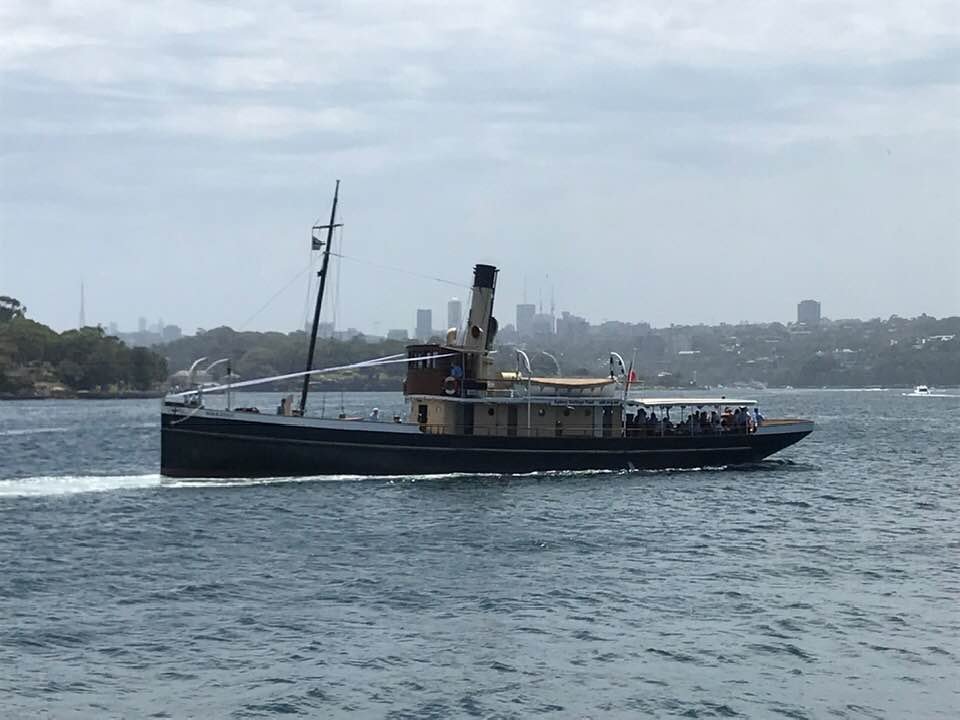
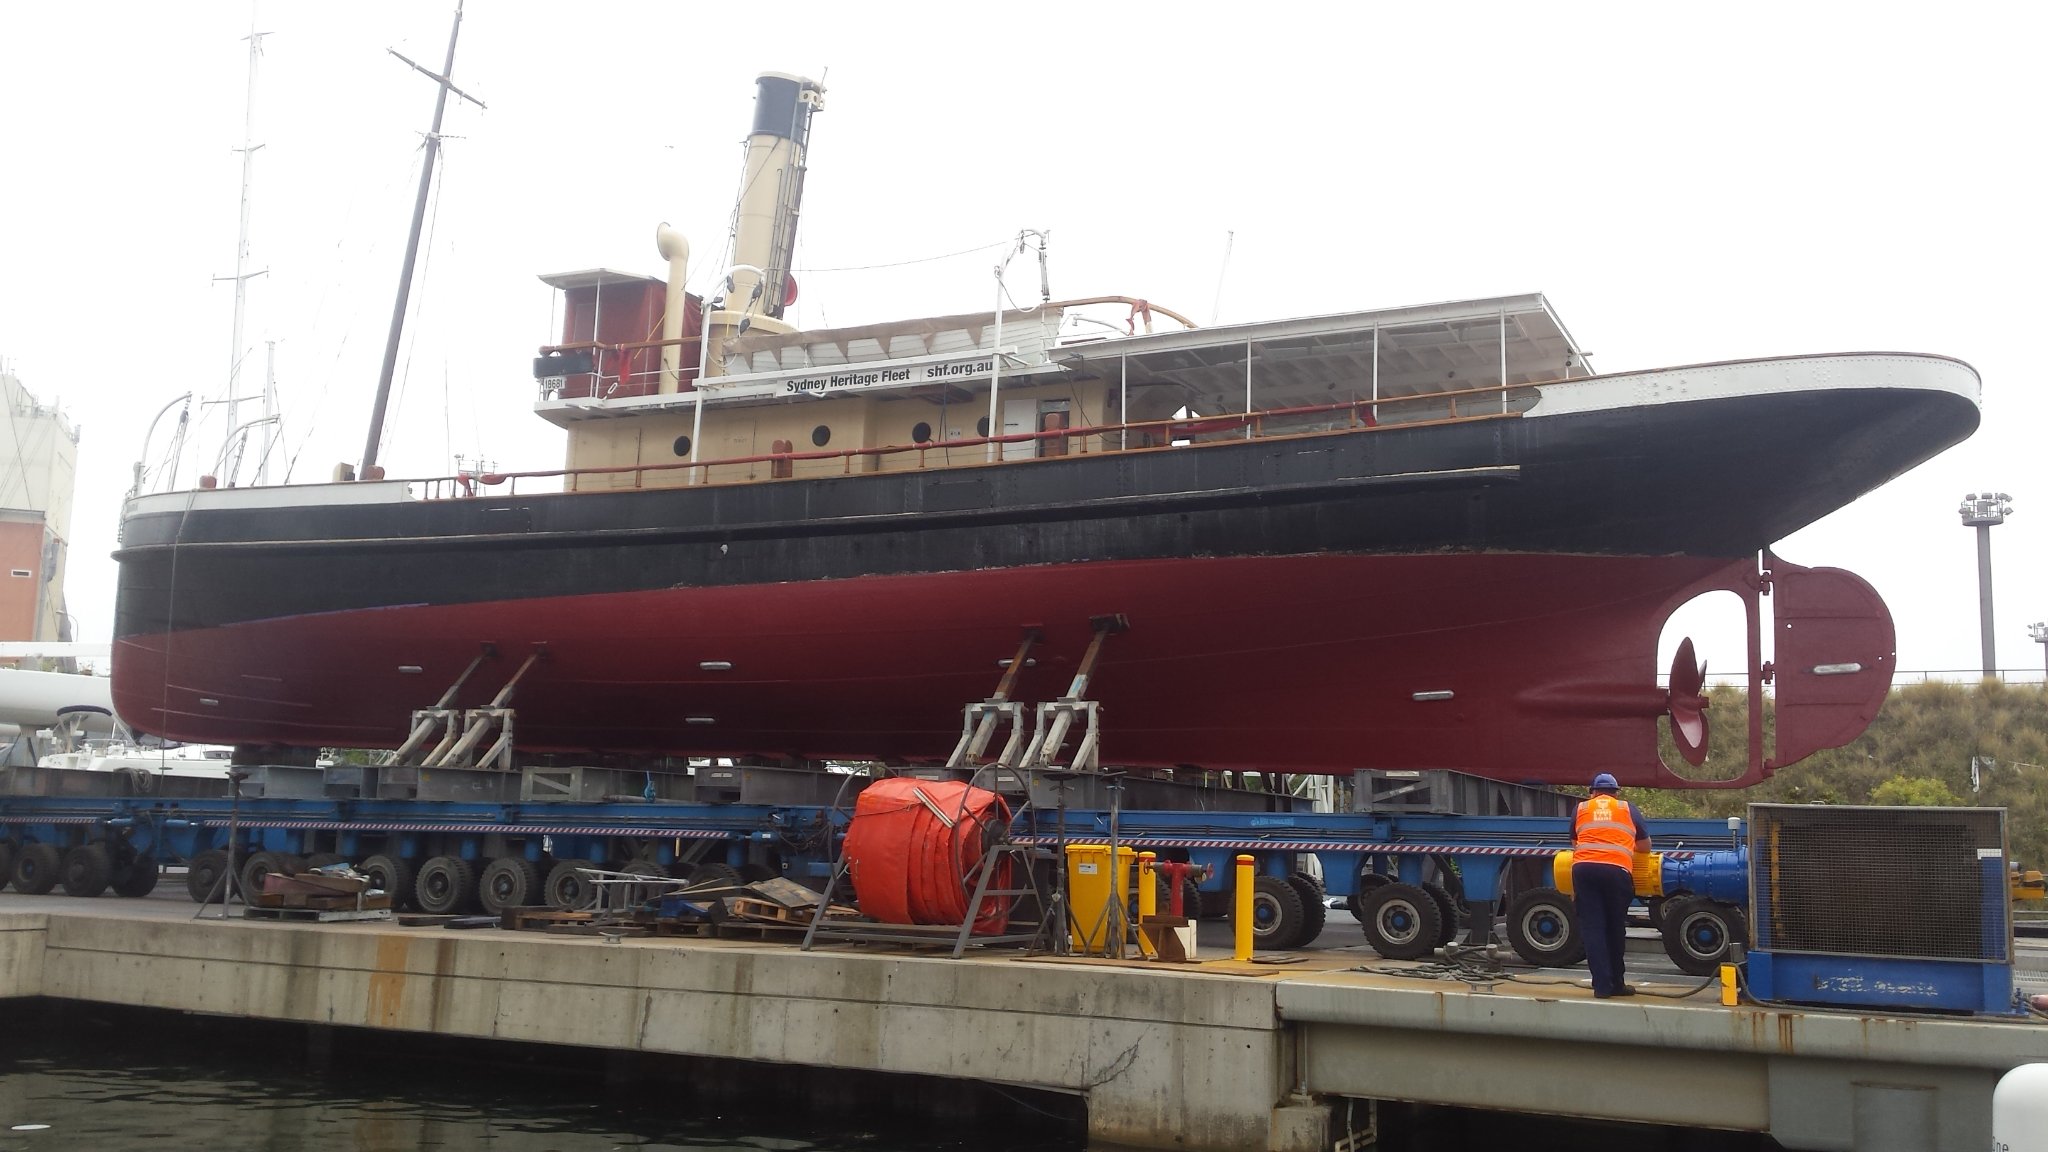
I crew the S.T. Waratah on Sydney Harbour. She is still coal fired and very original. We strive to maintain original equipment in the original ways and only add modern equipment as is sensibly required for safe navigation.
The model is quite well detailed and includes little things we have added like the wing awnings on the wheelhouse, the life jacket boxes which are either side of both the fore and aft accommodation hatches and one either side of the upper engine room as well as the aft awning and the small square plastic drinking water tank under the original cylindrical tank on the boat deck (we couldn't keep rust out of the water) It should be noted that all such modifications can be easily removed to return her to original.
I'm not into card models but do have a set of plans I bought from SHF which portray her at approx 1/33 scale so 1 metre long.
She's a beautiful old girl!

-
Messis would you mind measuring the length and diameter of the falconnets for me, just the main body of the gun. I might turn some up for my R.C.
-
Thanks Michael, my son came for a visit last weekend and was impressed with it and with the doors and windows still to be done on the forward wall of the kings cabin he was able to see into it well enough to see what's in there so I'm glad he saw it and knows what's there first hand.
-
It's looking good Mark, I don't know how I'd go about making that. I can build up but the idea of cutting away to reveal the shape is beyond my understanding.
I know Ian Smith is building a ranger for his retirement, do you know which one it is?
-
4 hours ago, Mark Pearse said:
perhaps they grew mussels on them, the captain was fond of seafood chowder.....
I would imagine that would be preserved for King George and his queen, Caroline.
- Mark Pearse and Keith Black
-
2
-
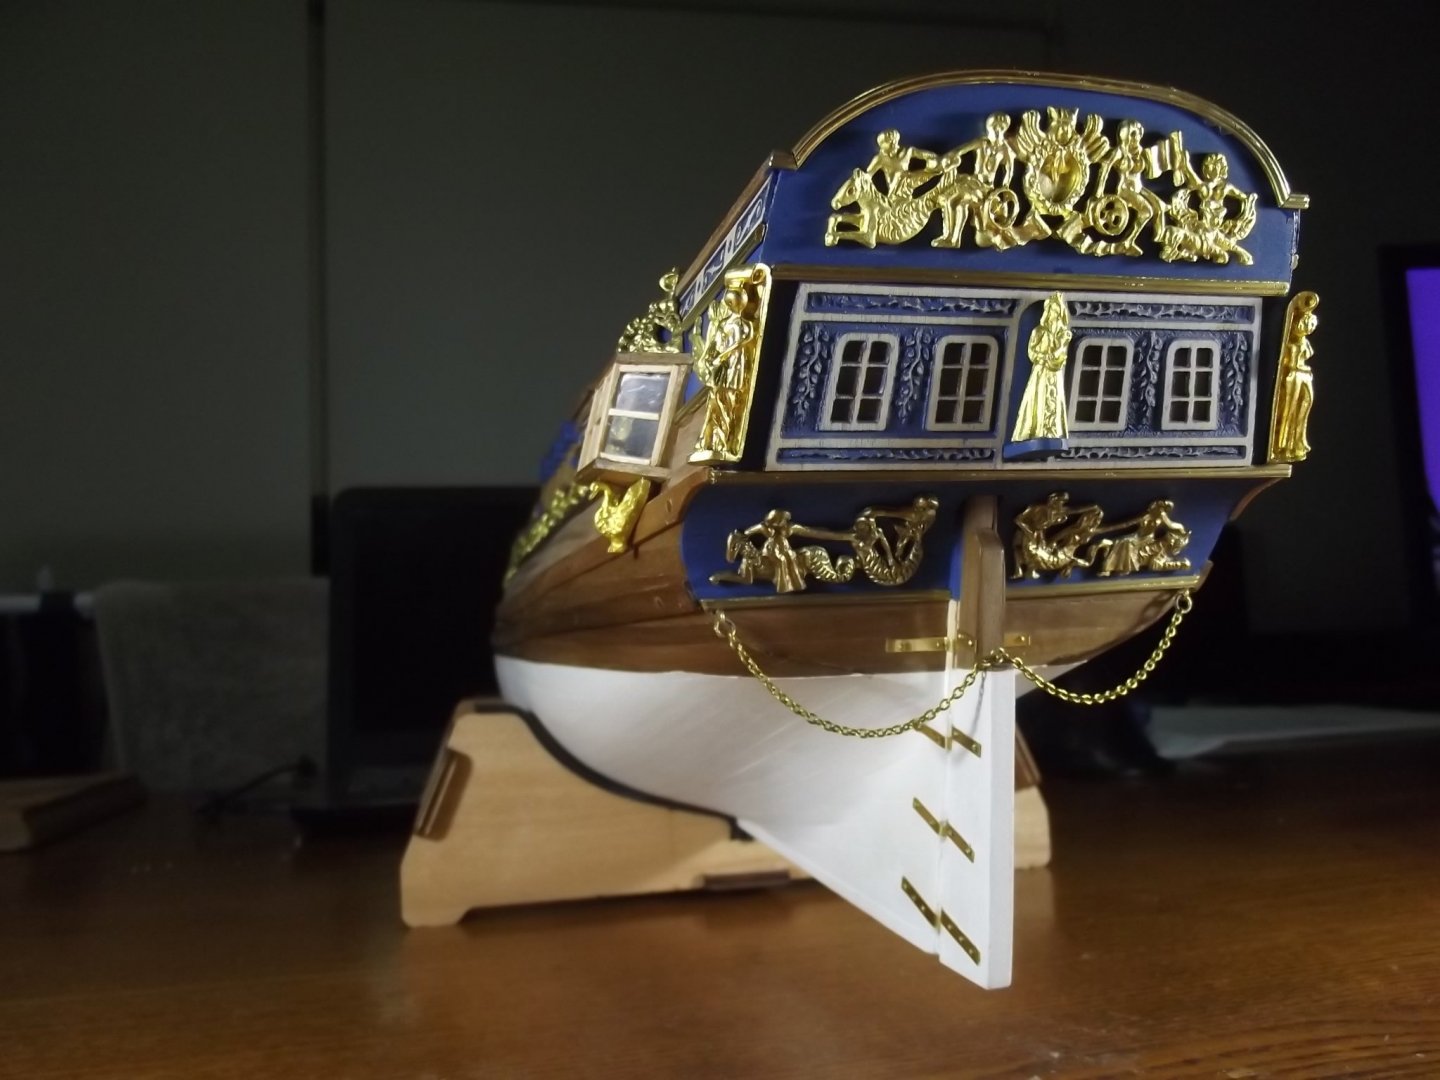
I've got the rudder hung now, not real happy with the chains hanging below waterline but that's where the plans put it.
-
Thanks for the input kirill, I might have to do some investigating on that.
Mark I'm high and dry but there's a hell of a lot of water going down the Nepean through Camden and it's all joining the spill from Waragamda Dam and head for Penrith & Windsor.
I agree that there would be various tones in the finish, there are 3 distinct tones at work here but I'm hoping that with all the handling I've given them and their exposure to oxygen they will become less different over time.
- Mark Pearse and Keith Black
-
2
-
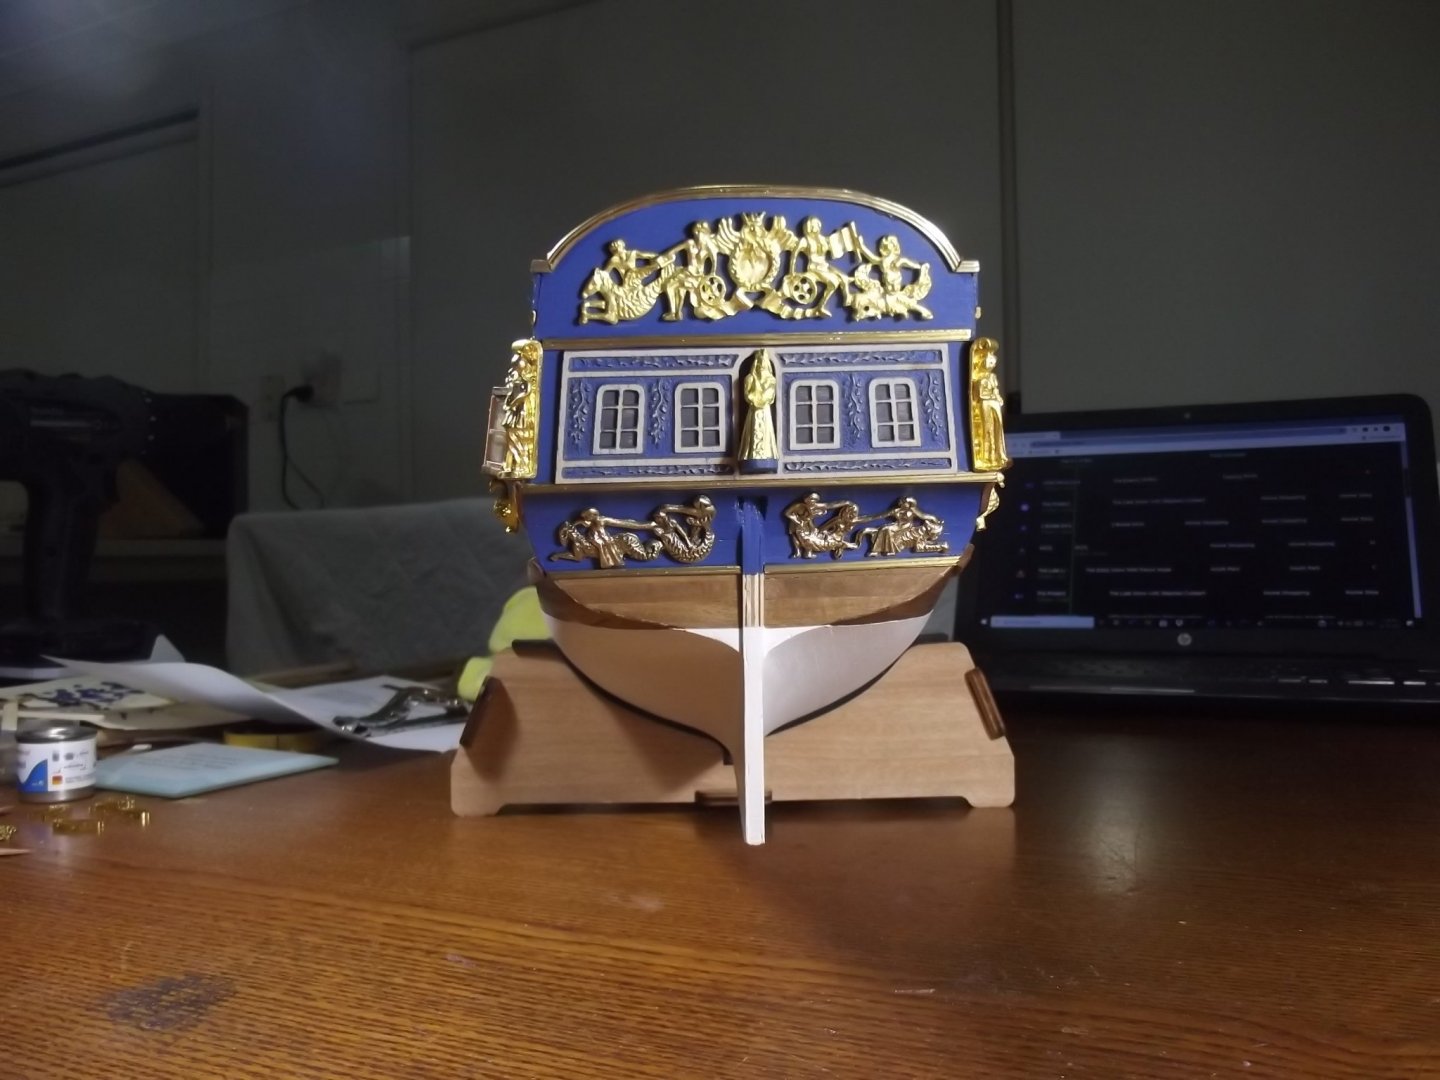
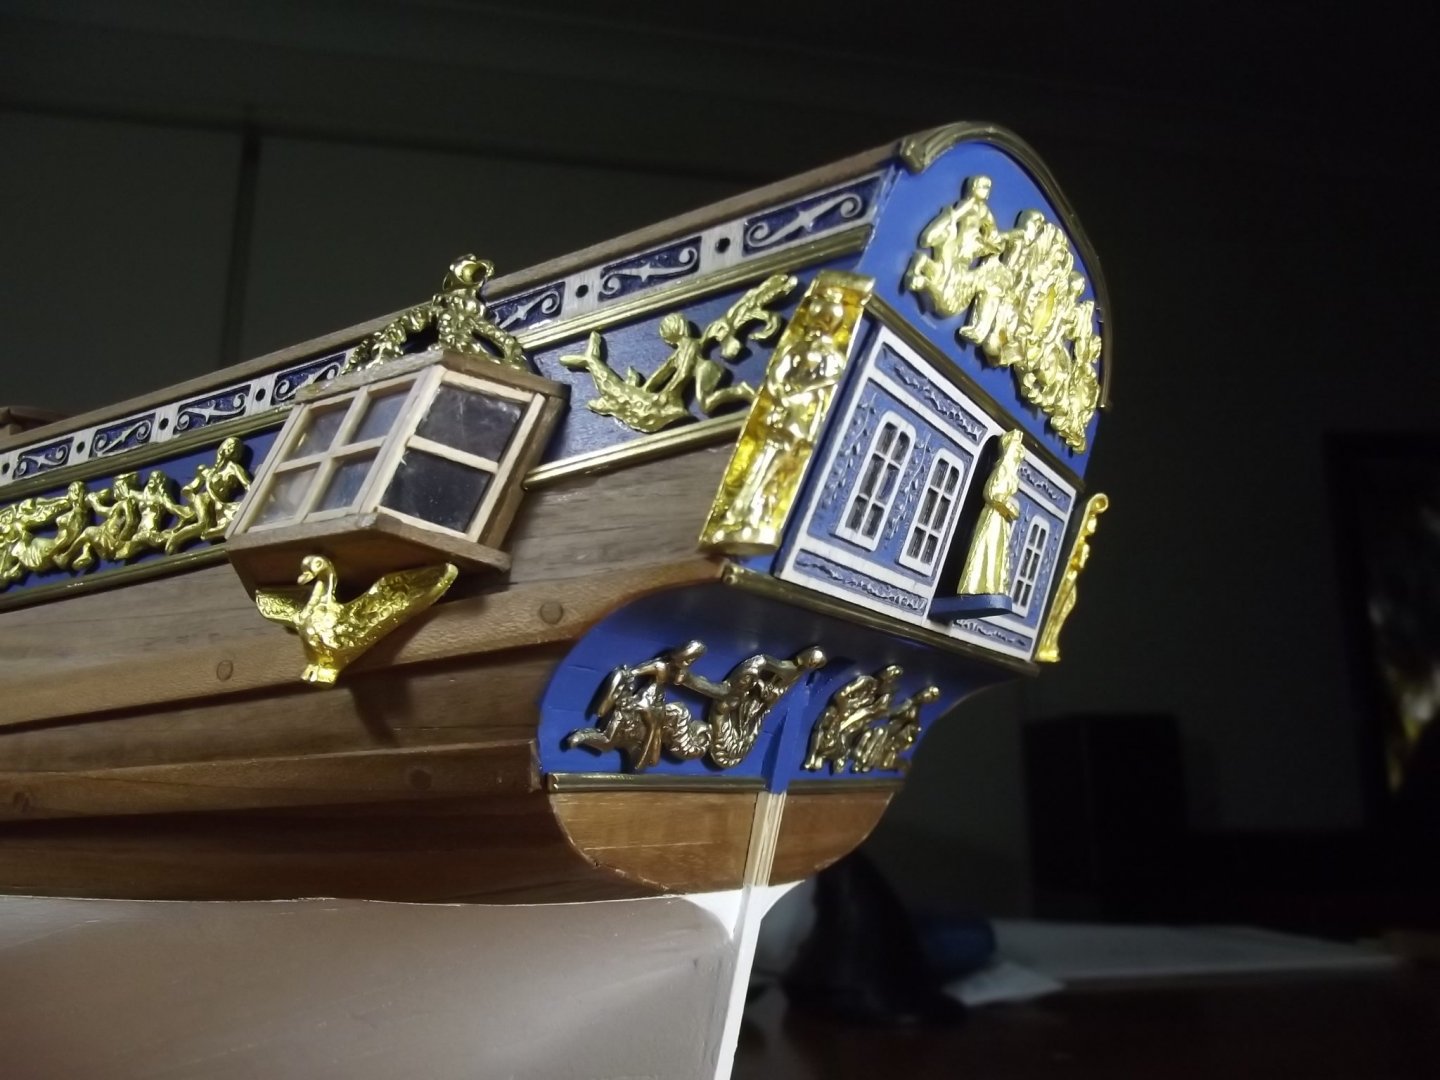
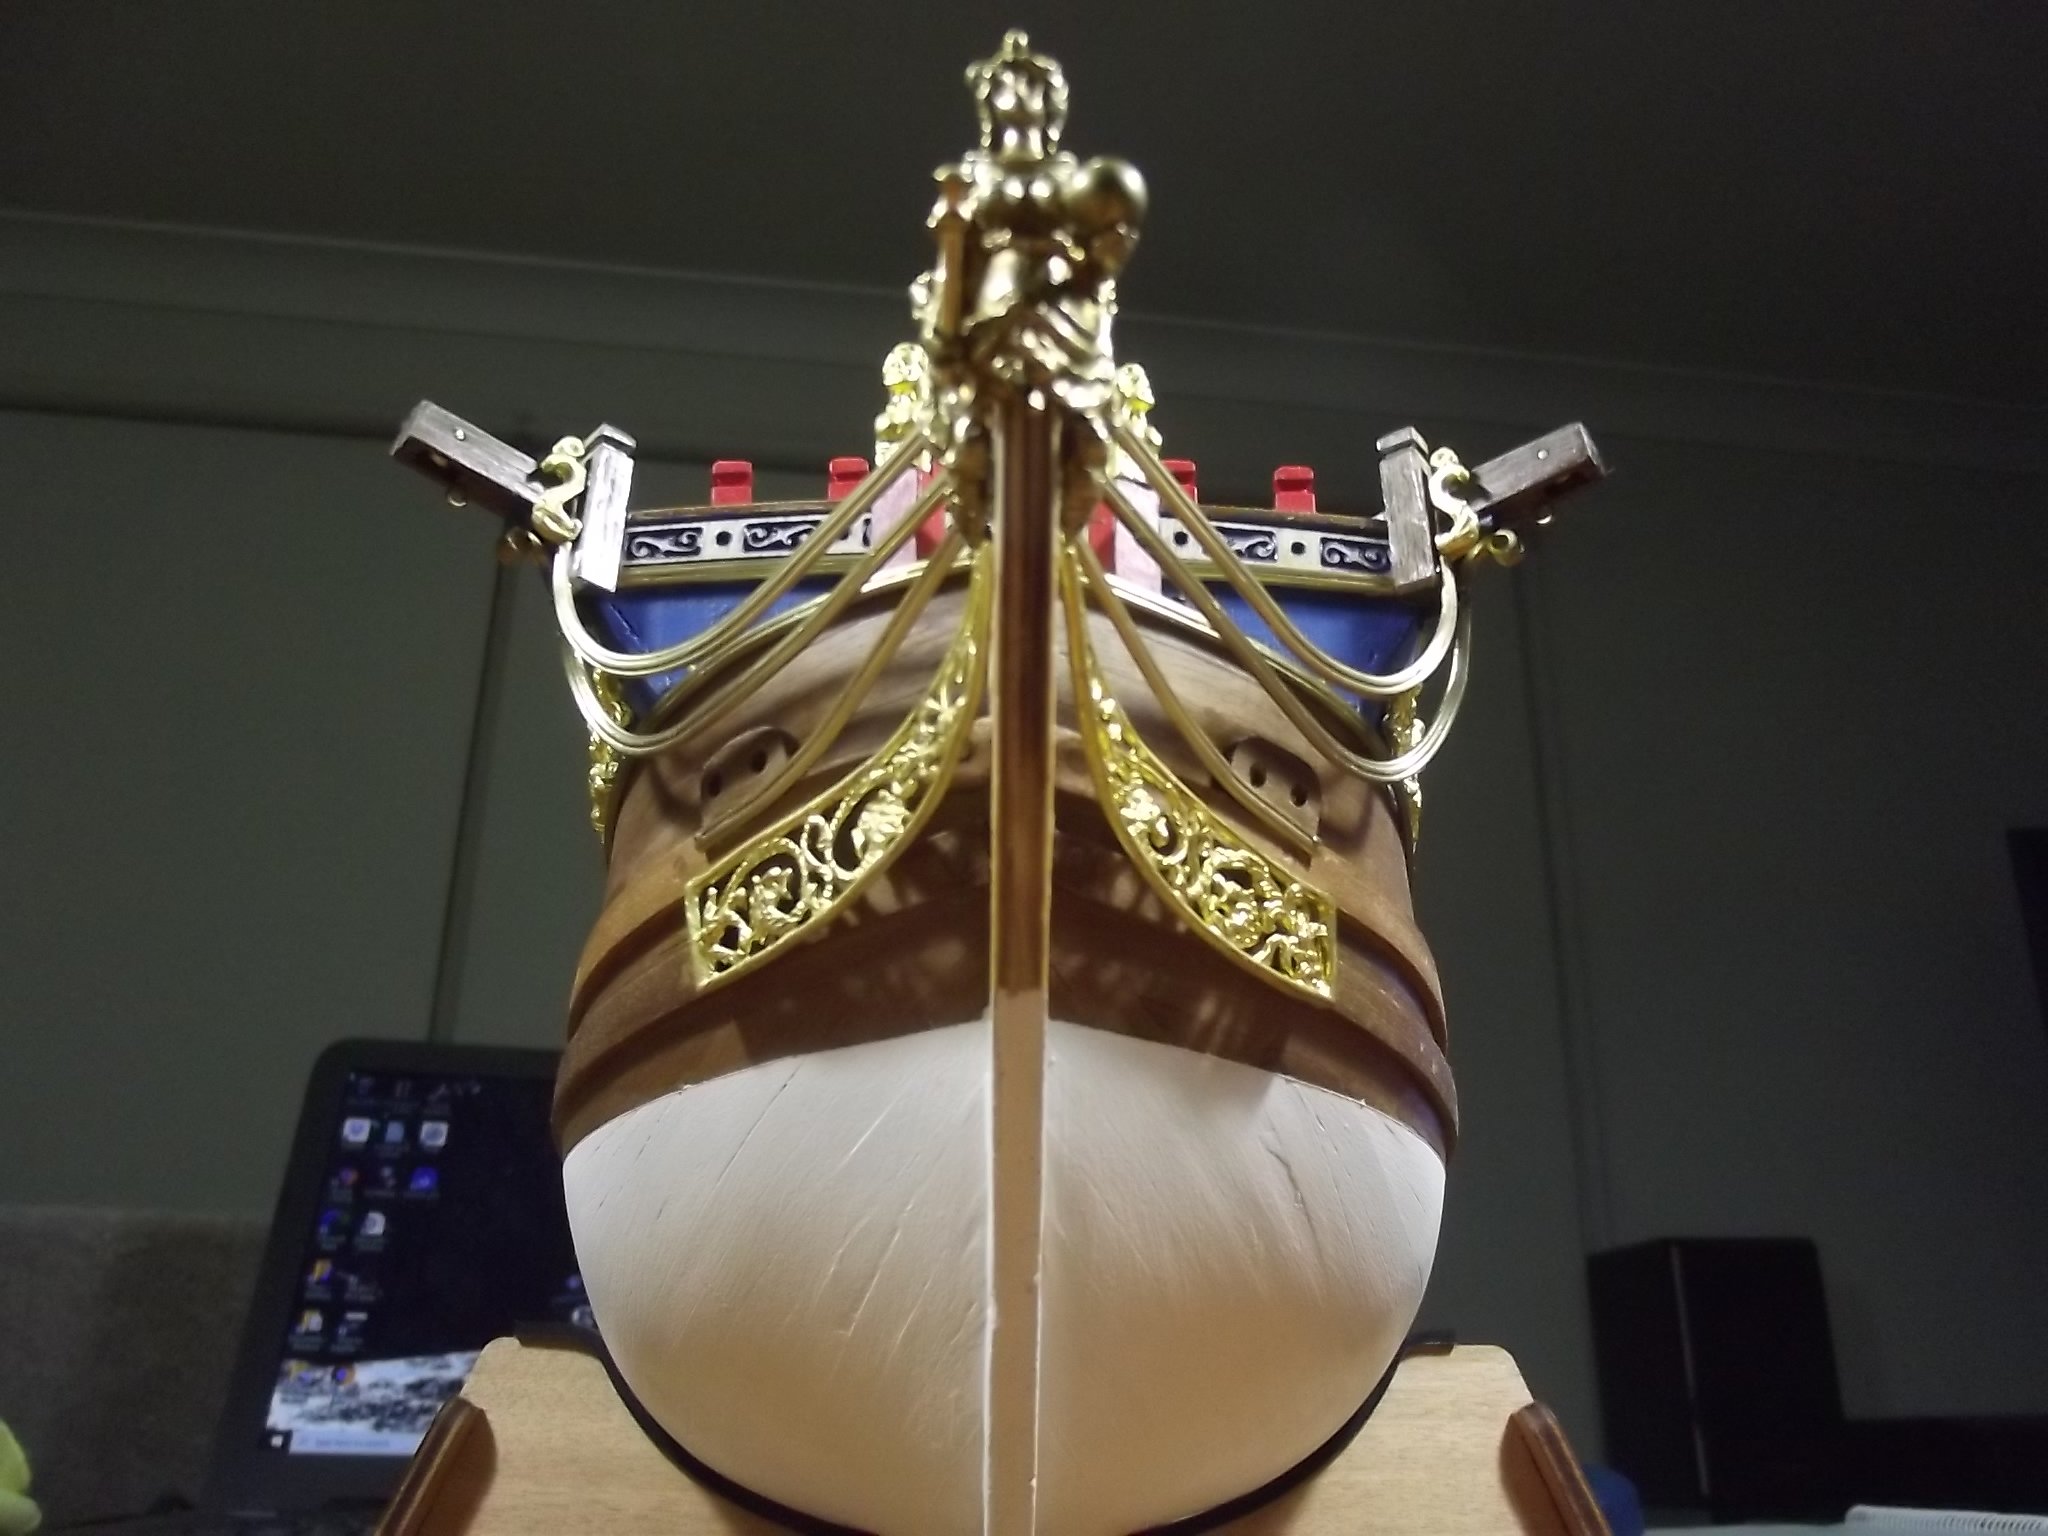
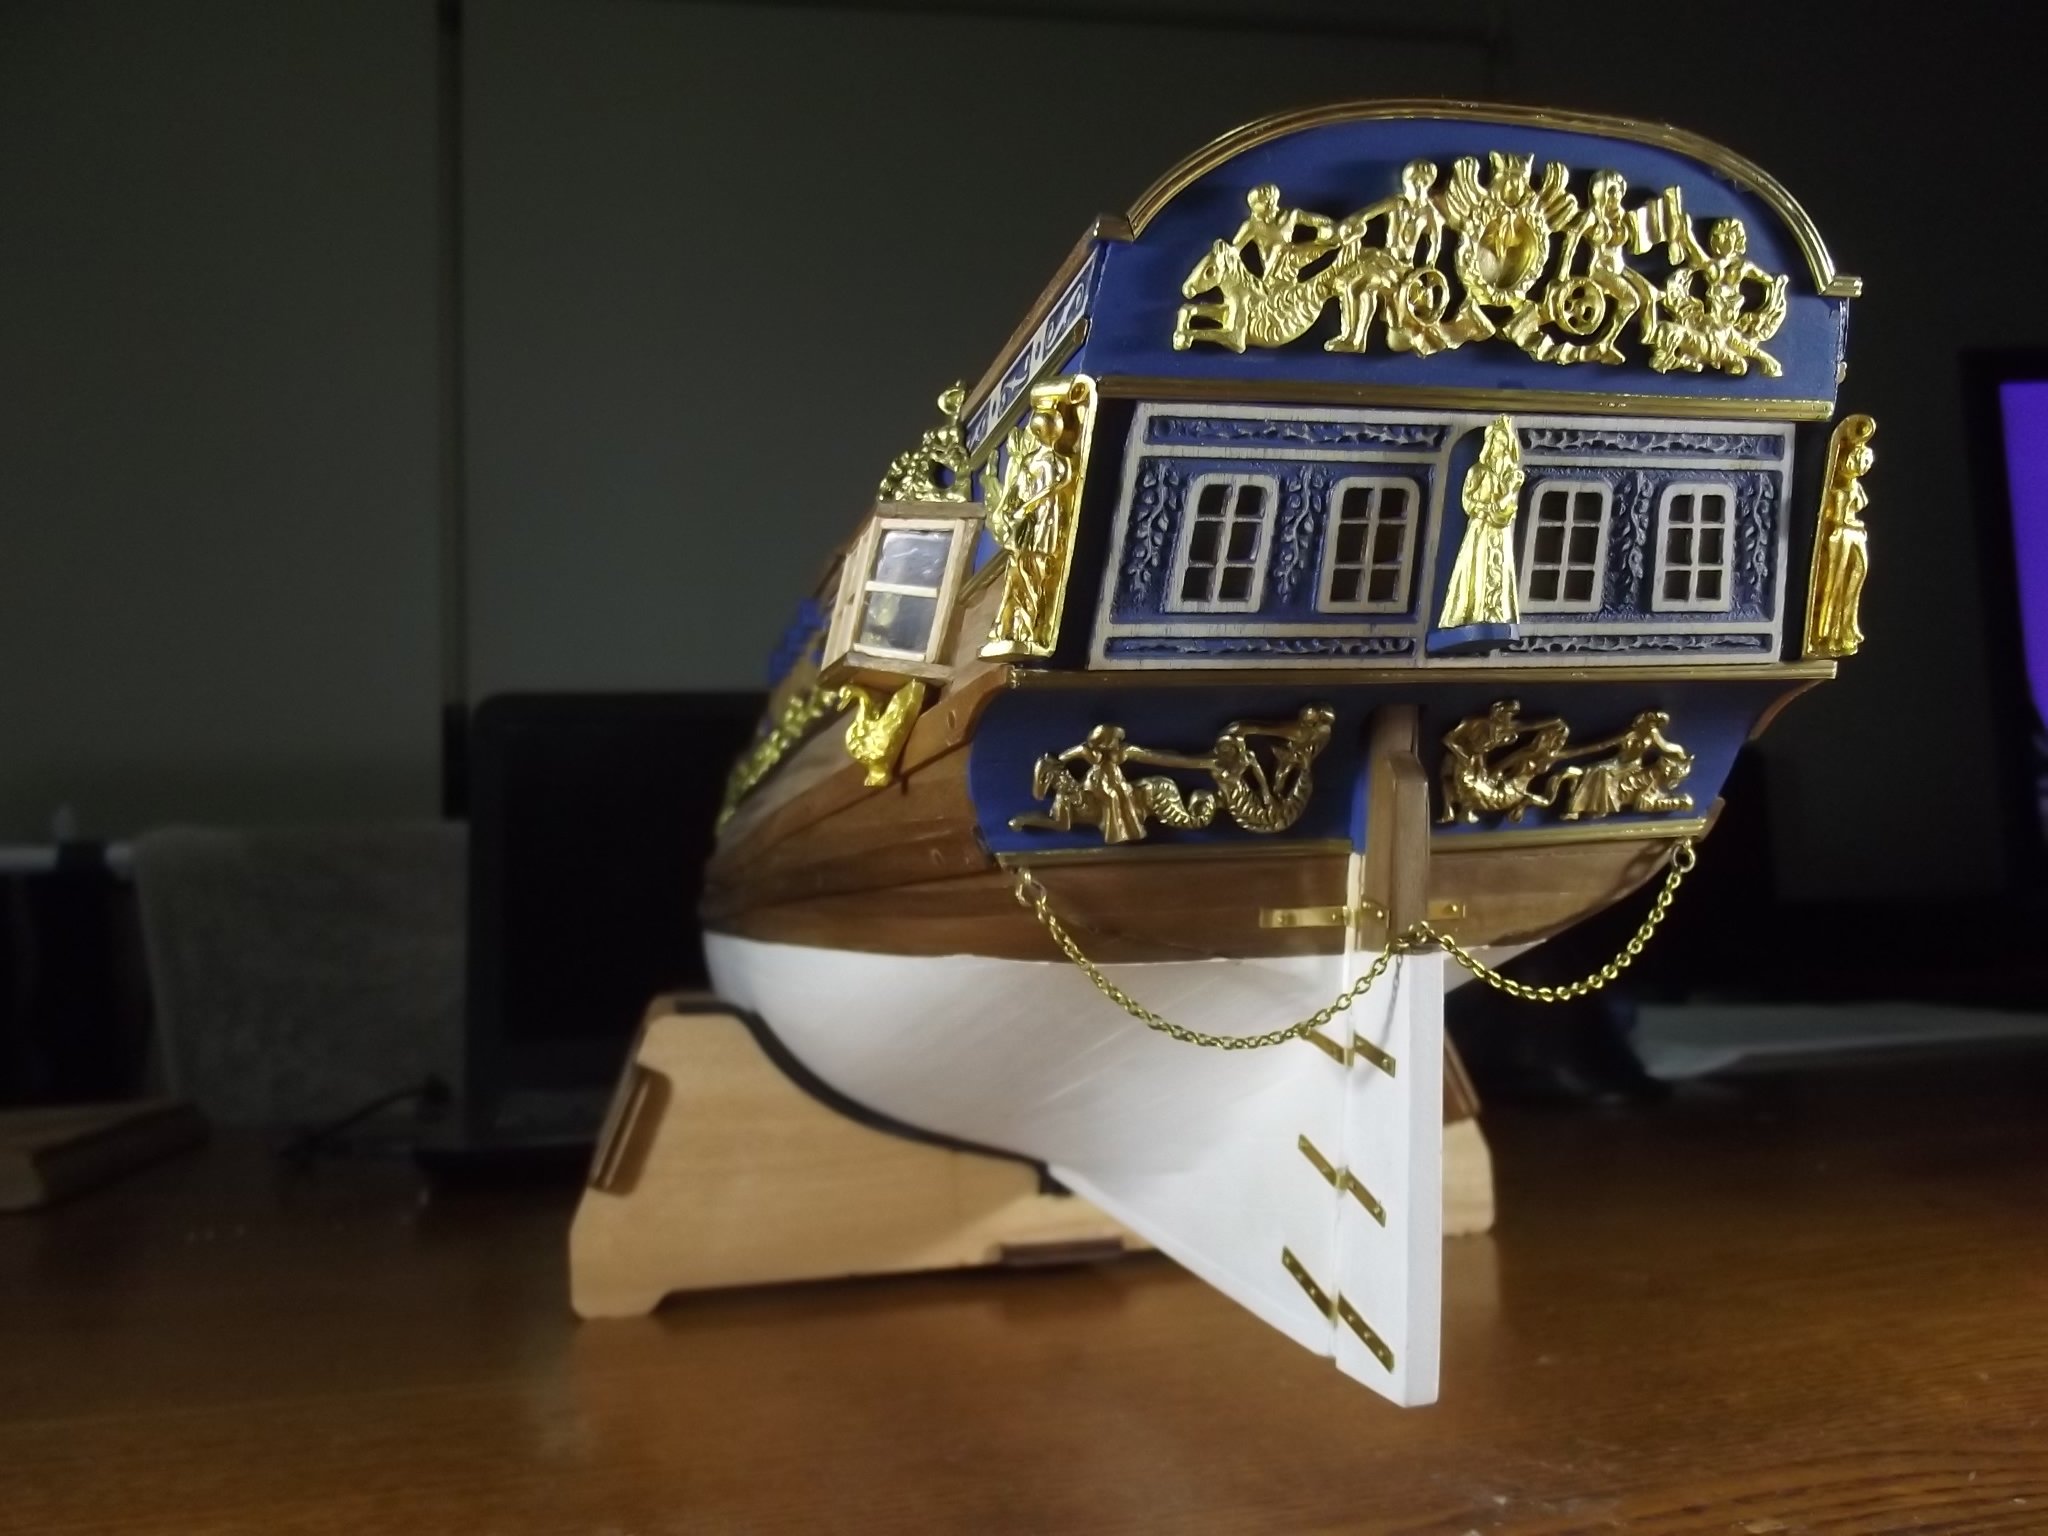
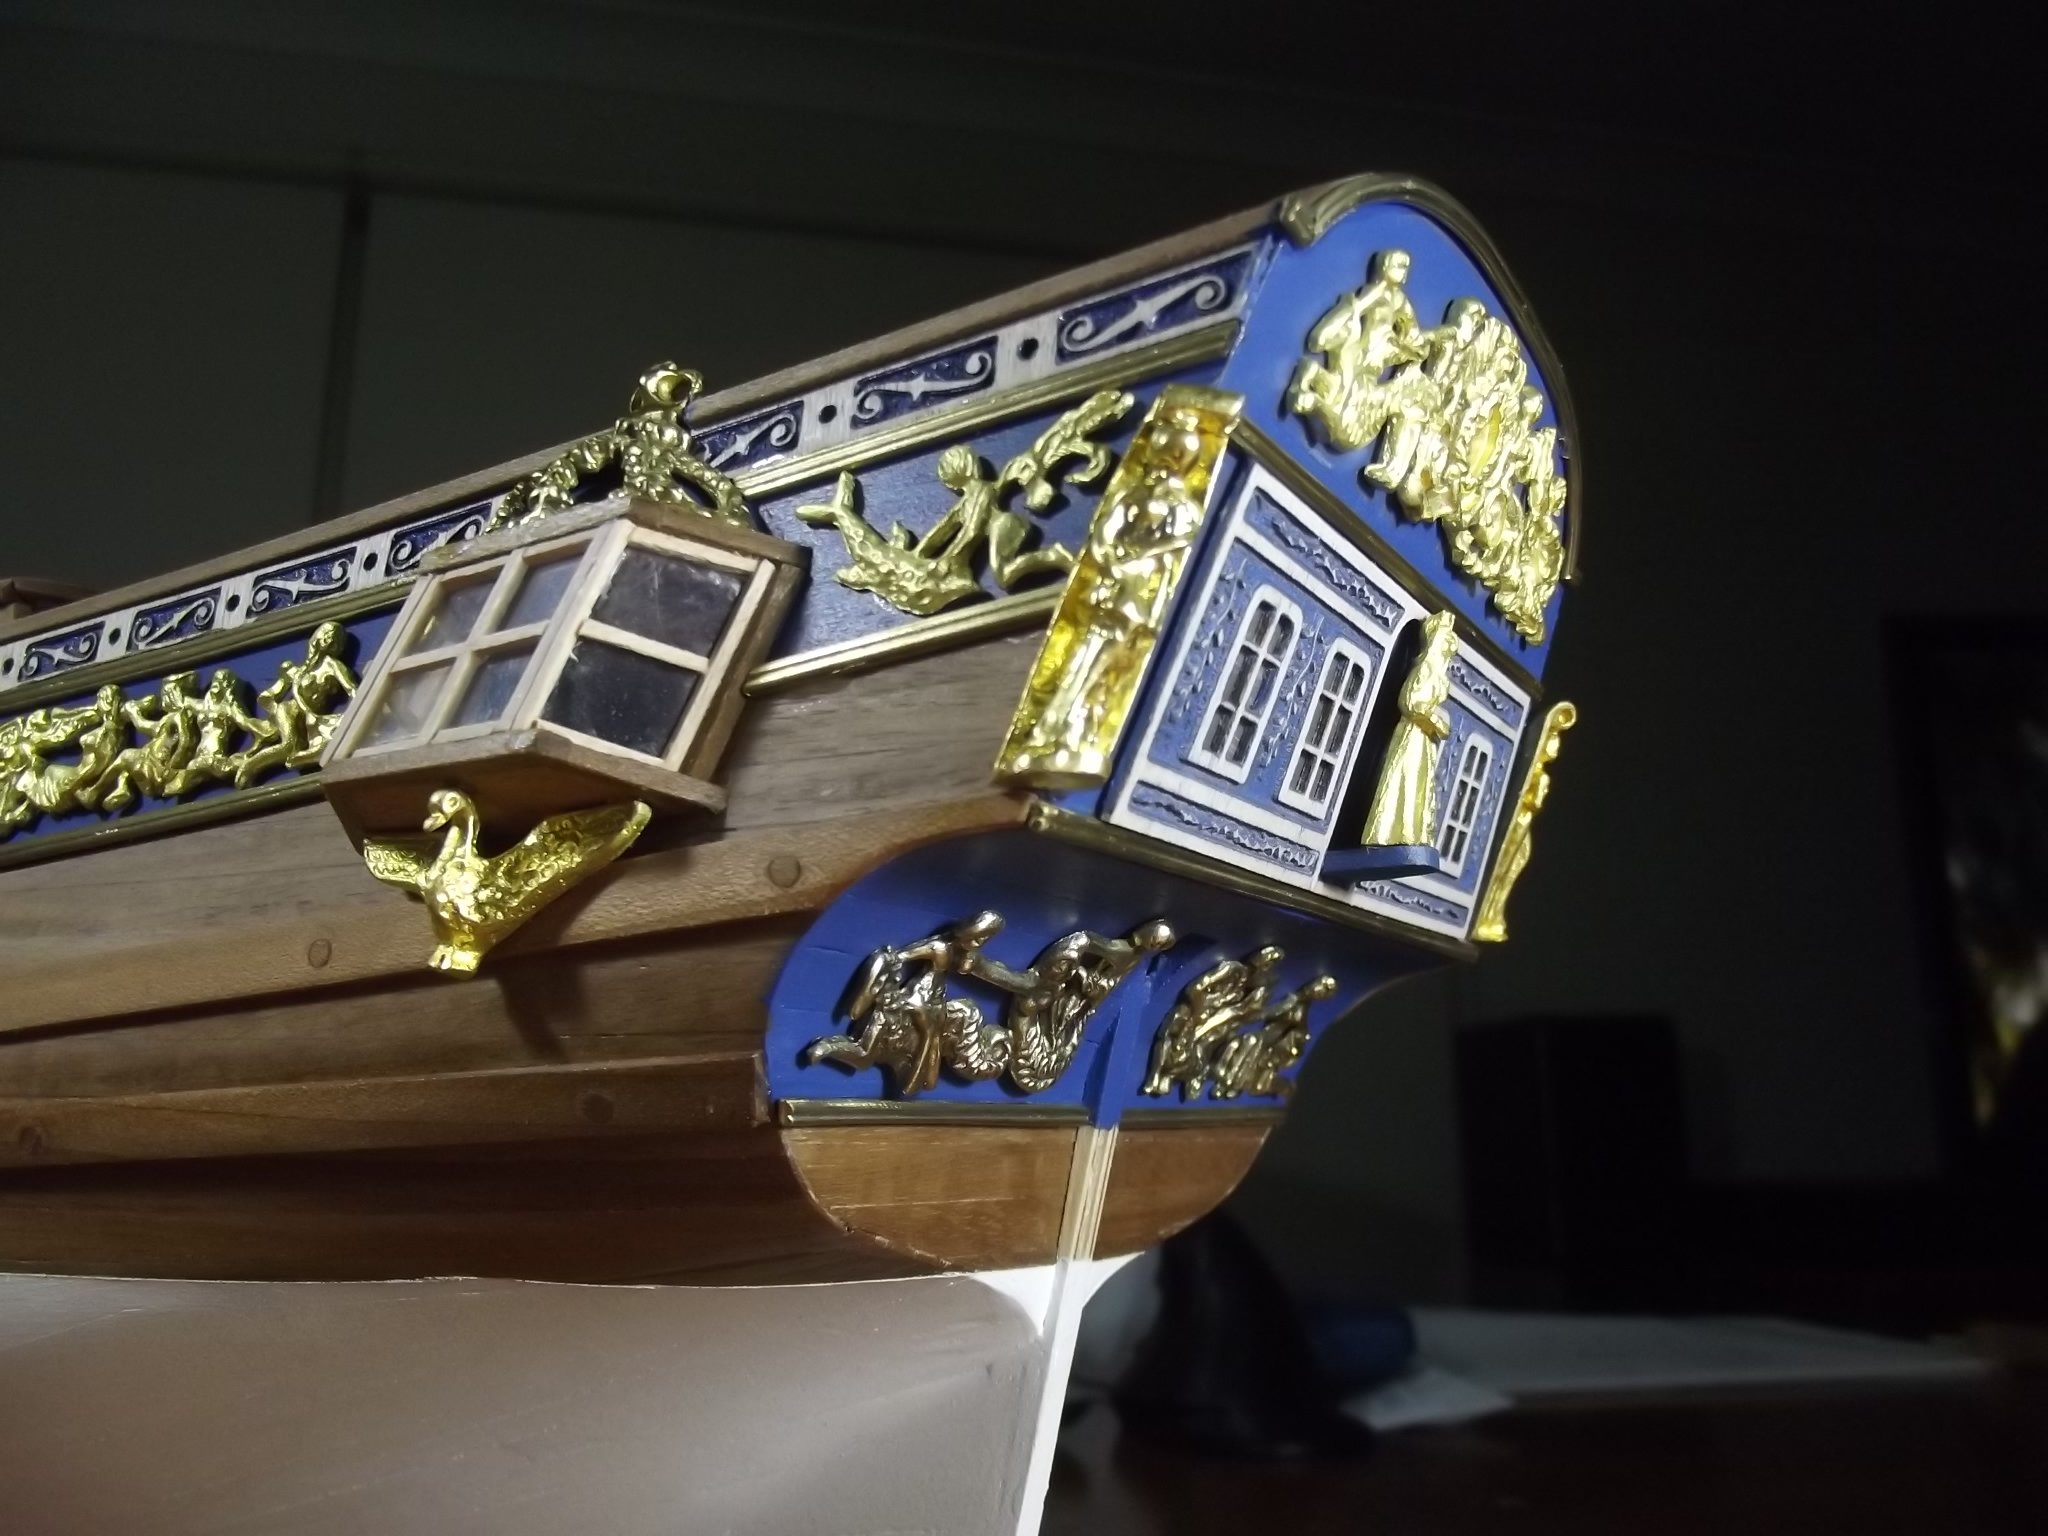
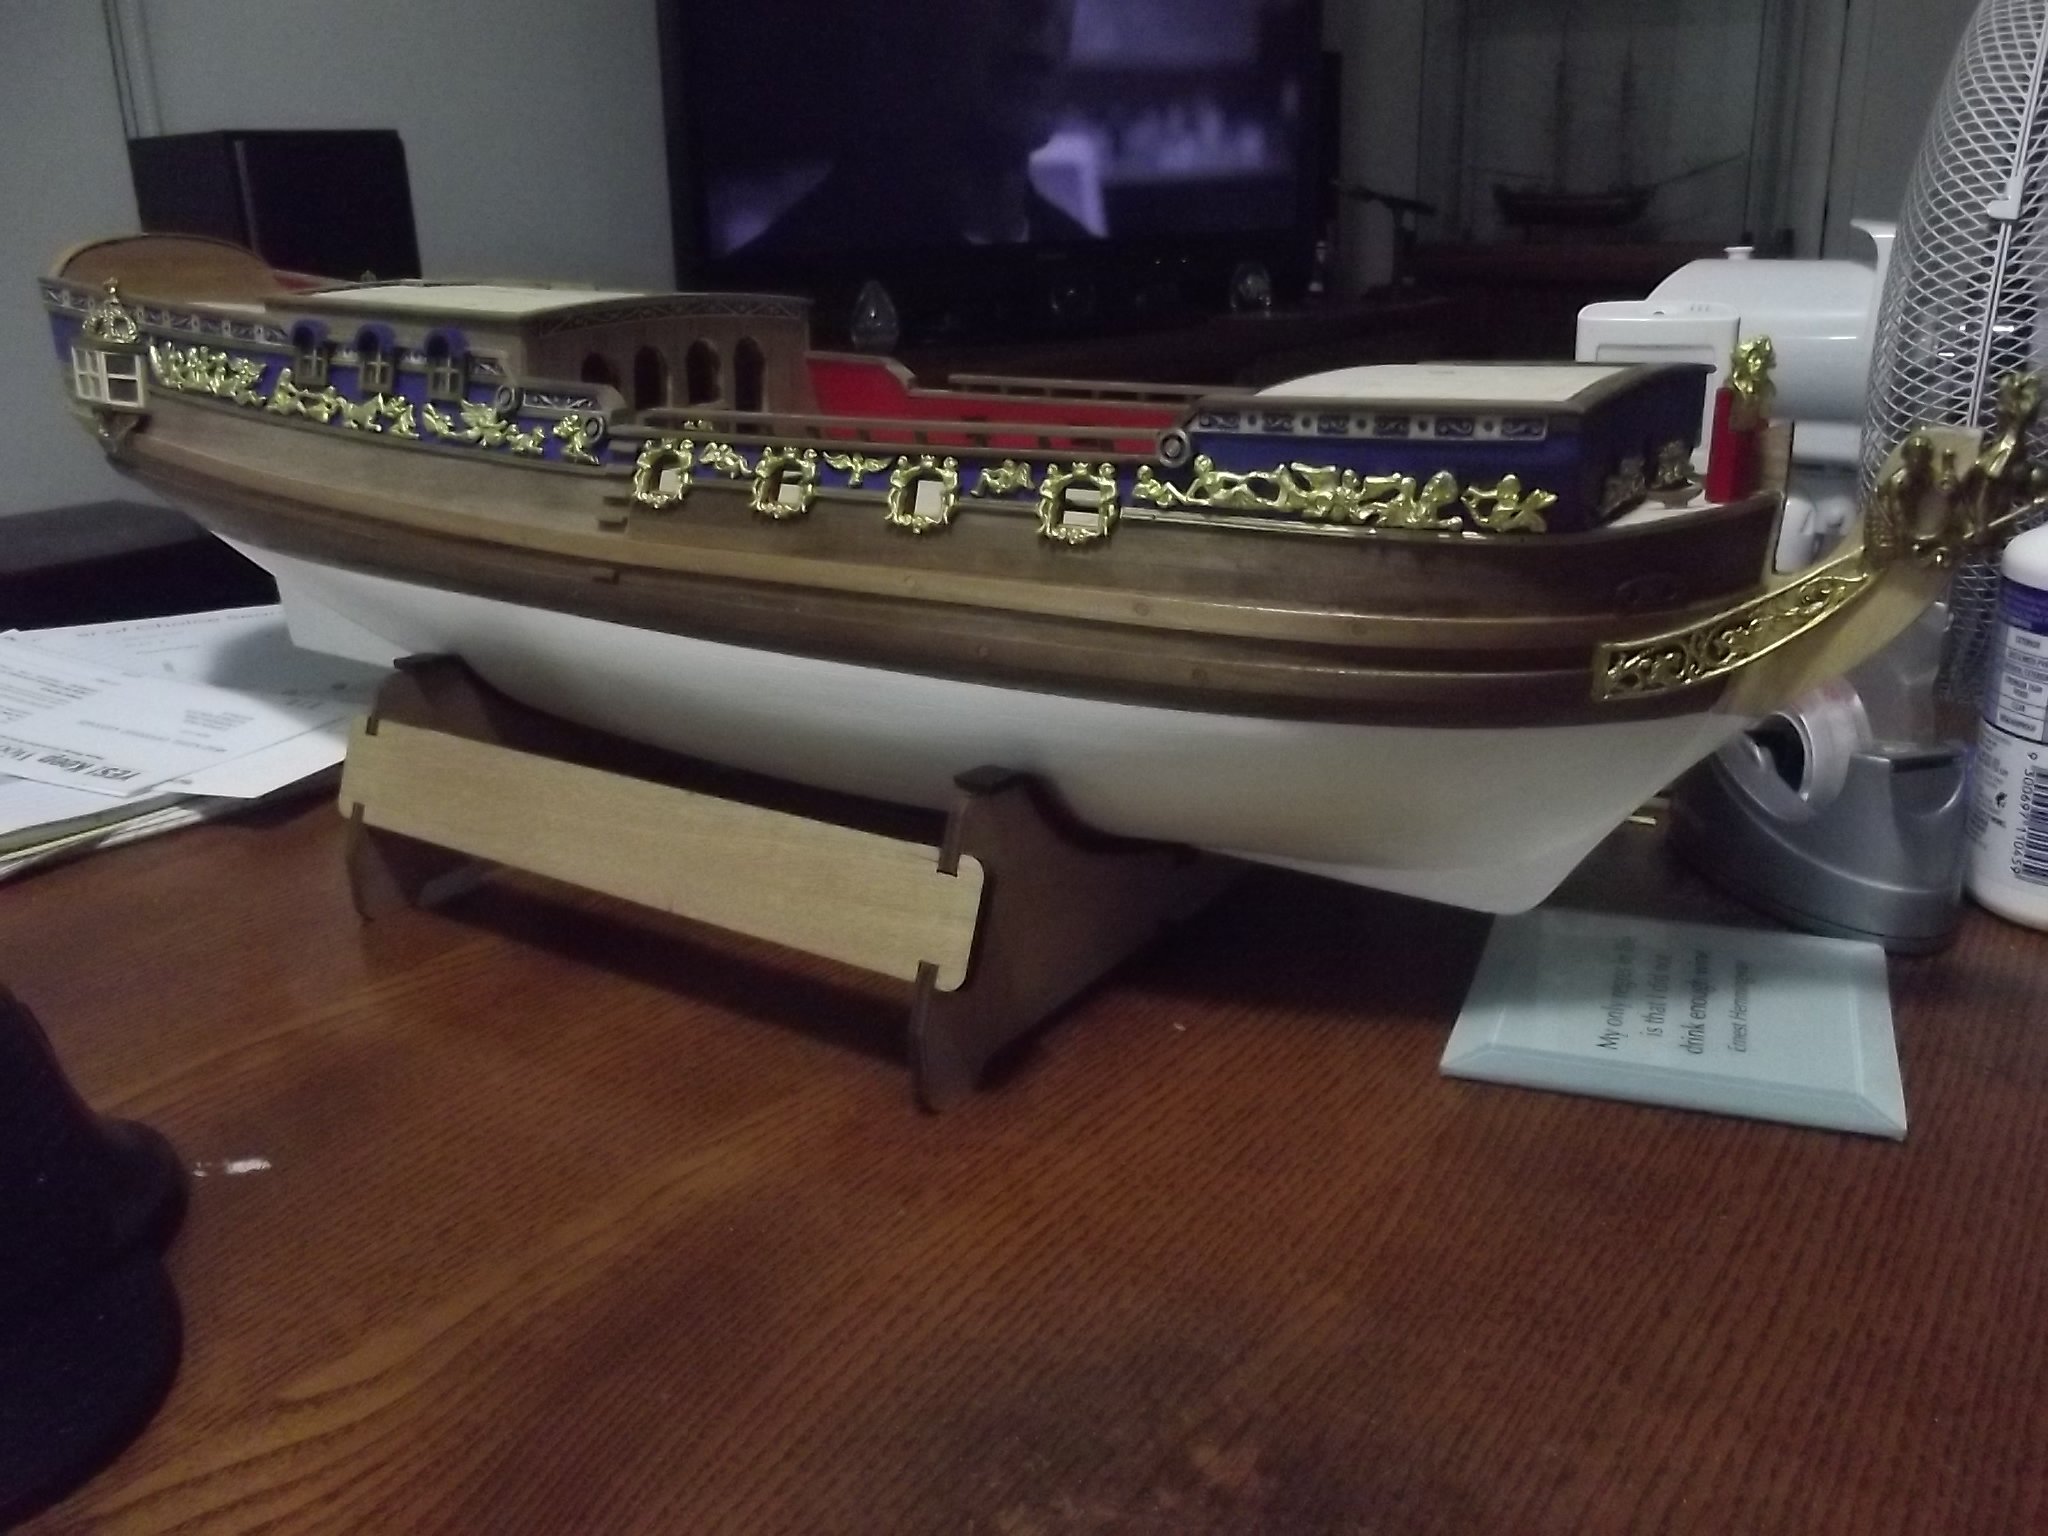
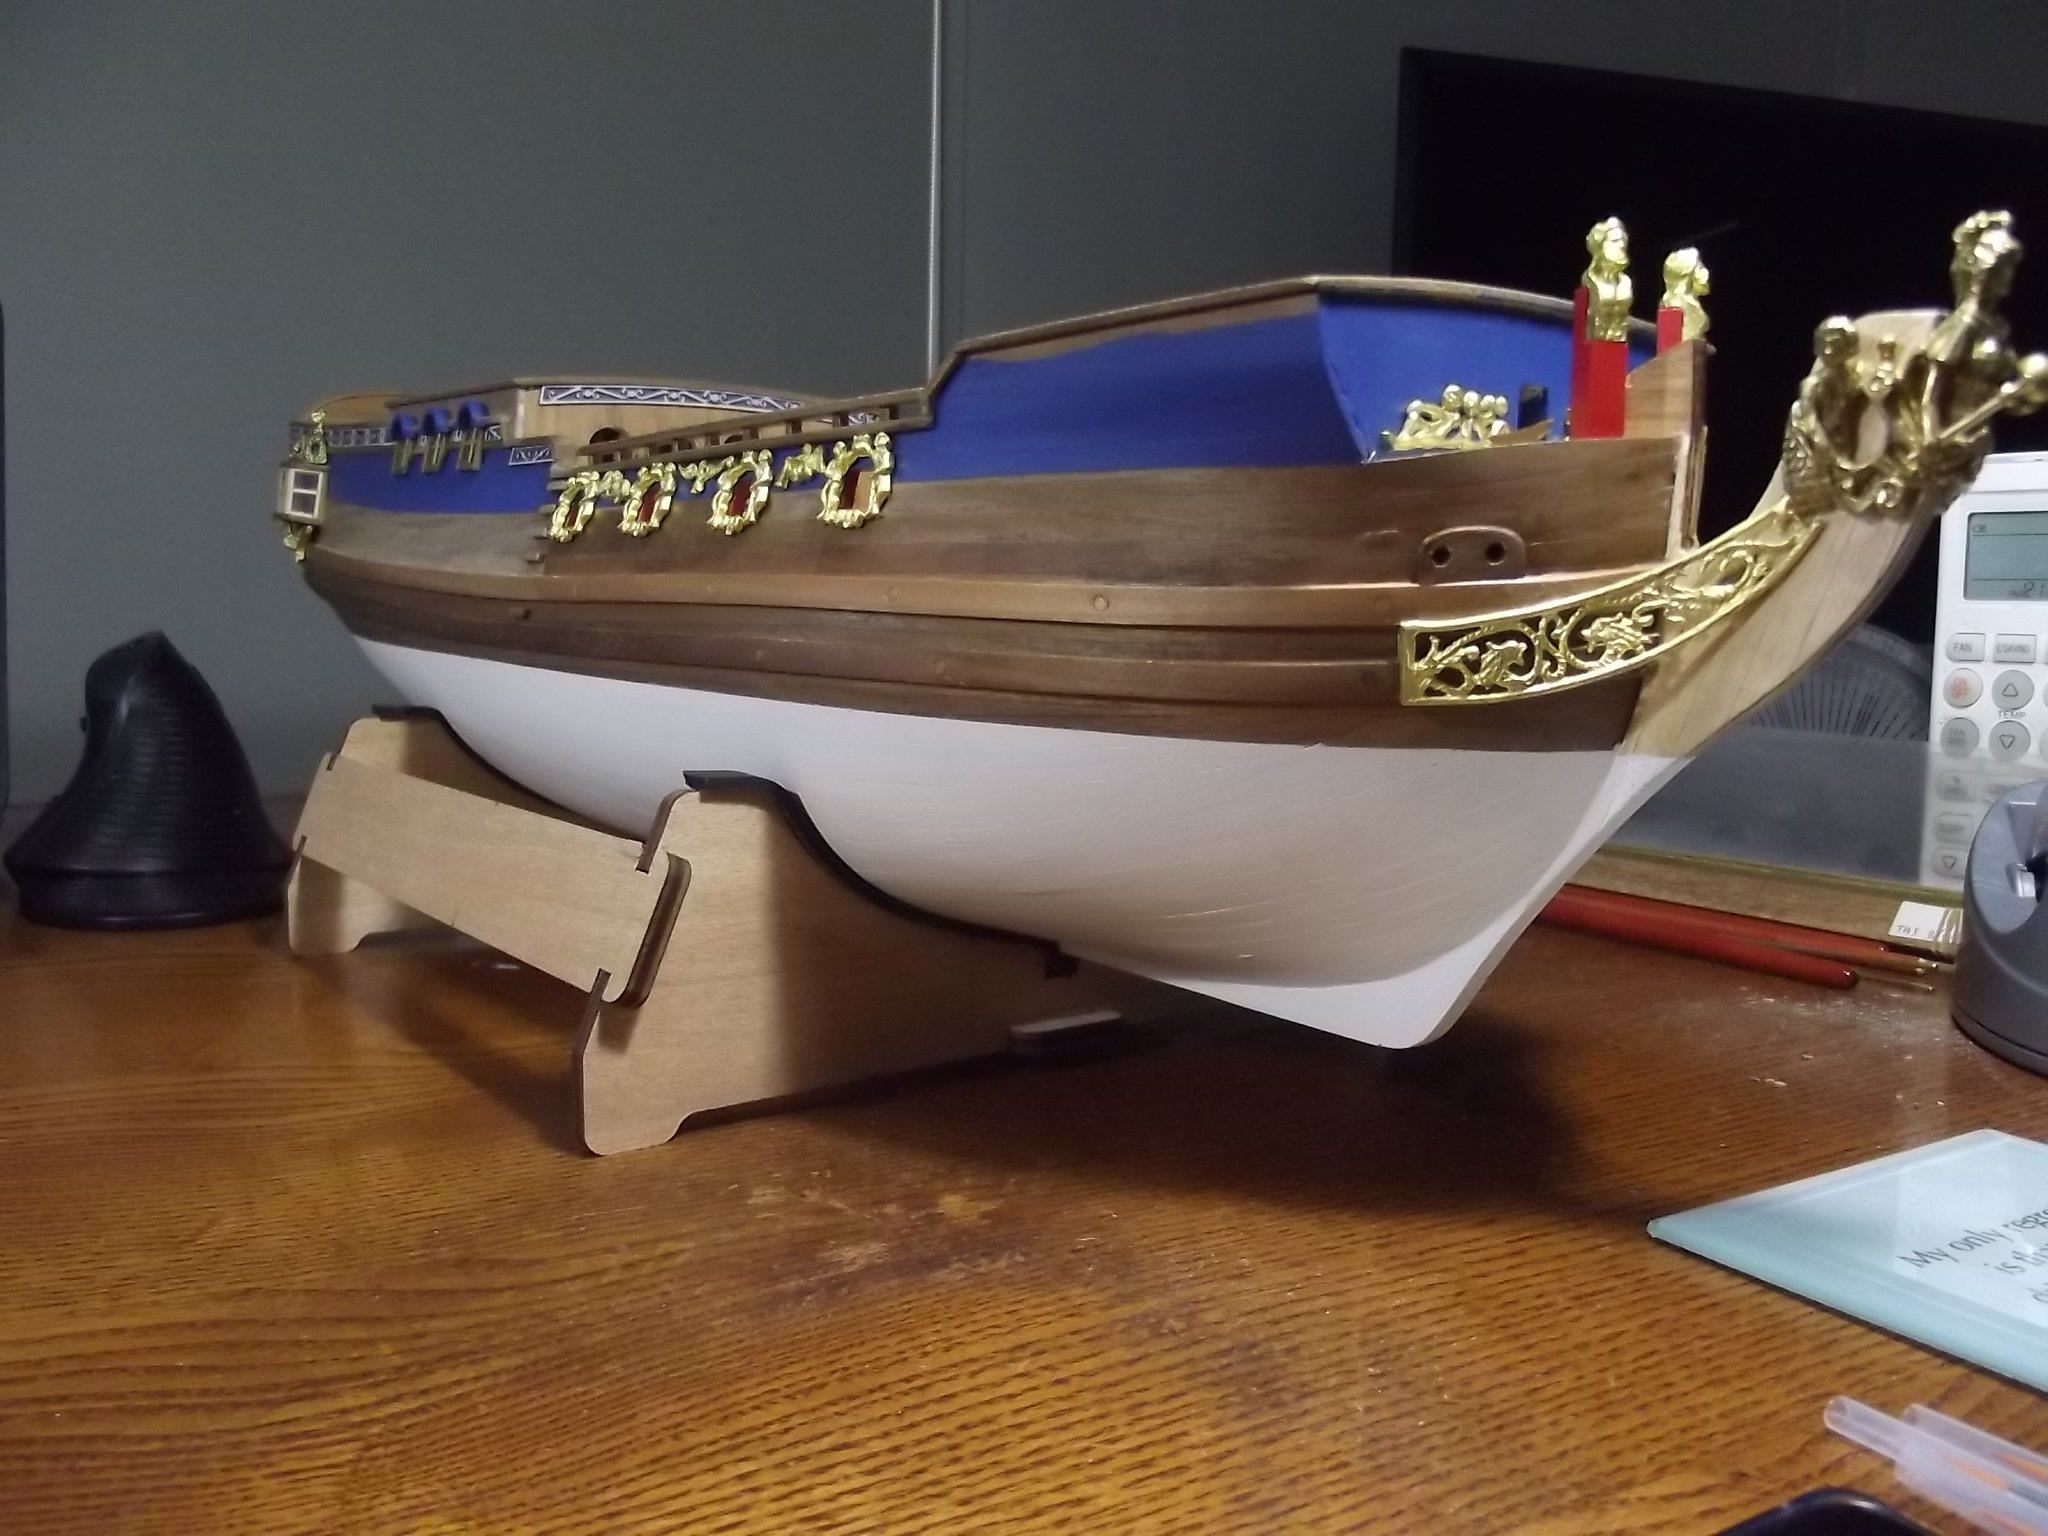
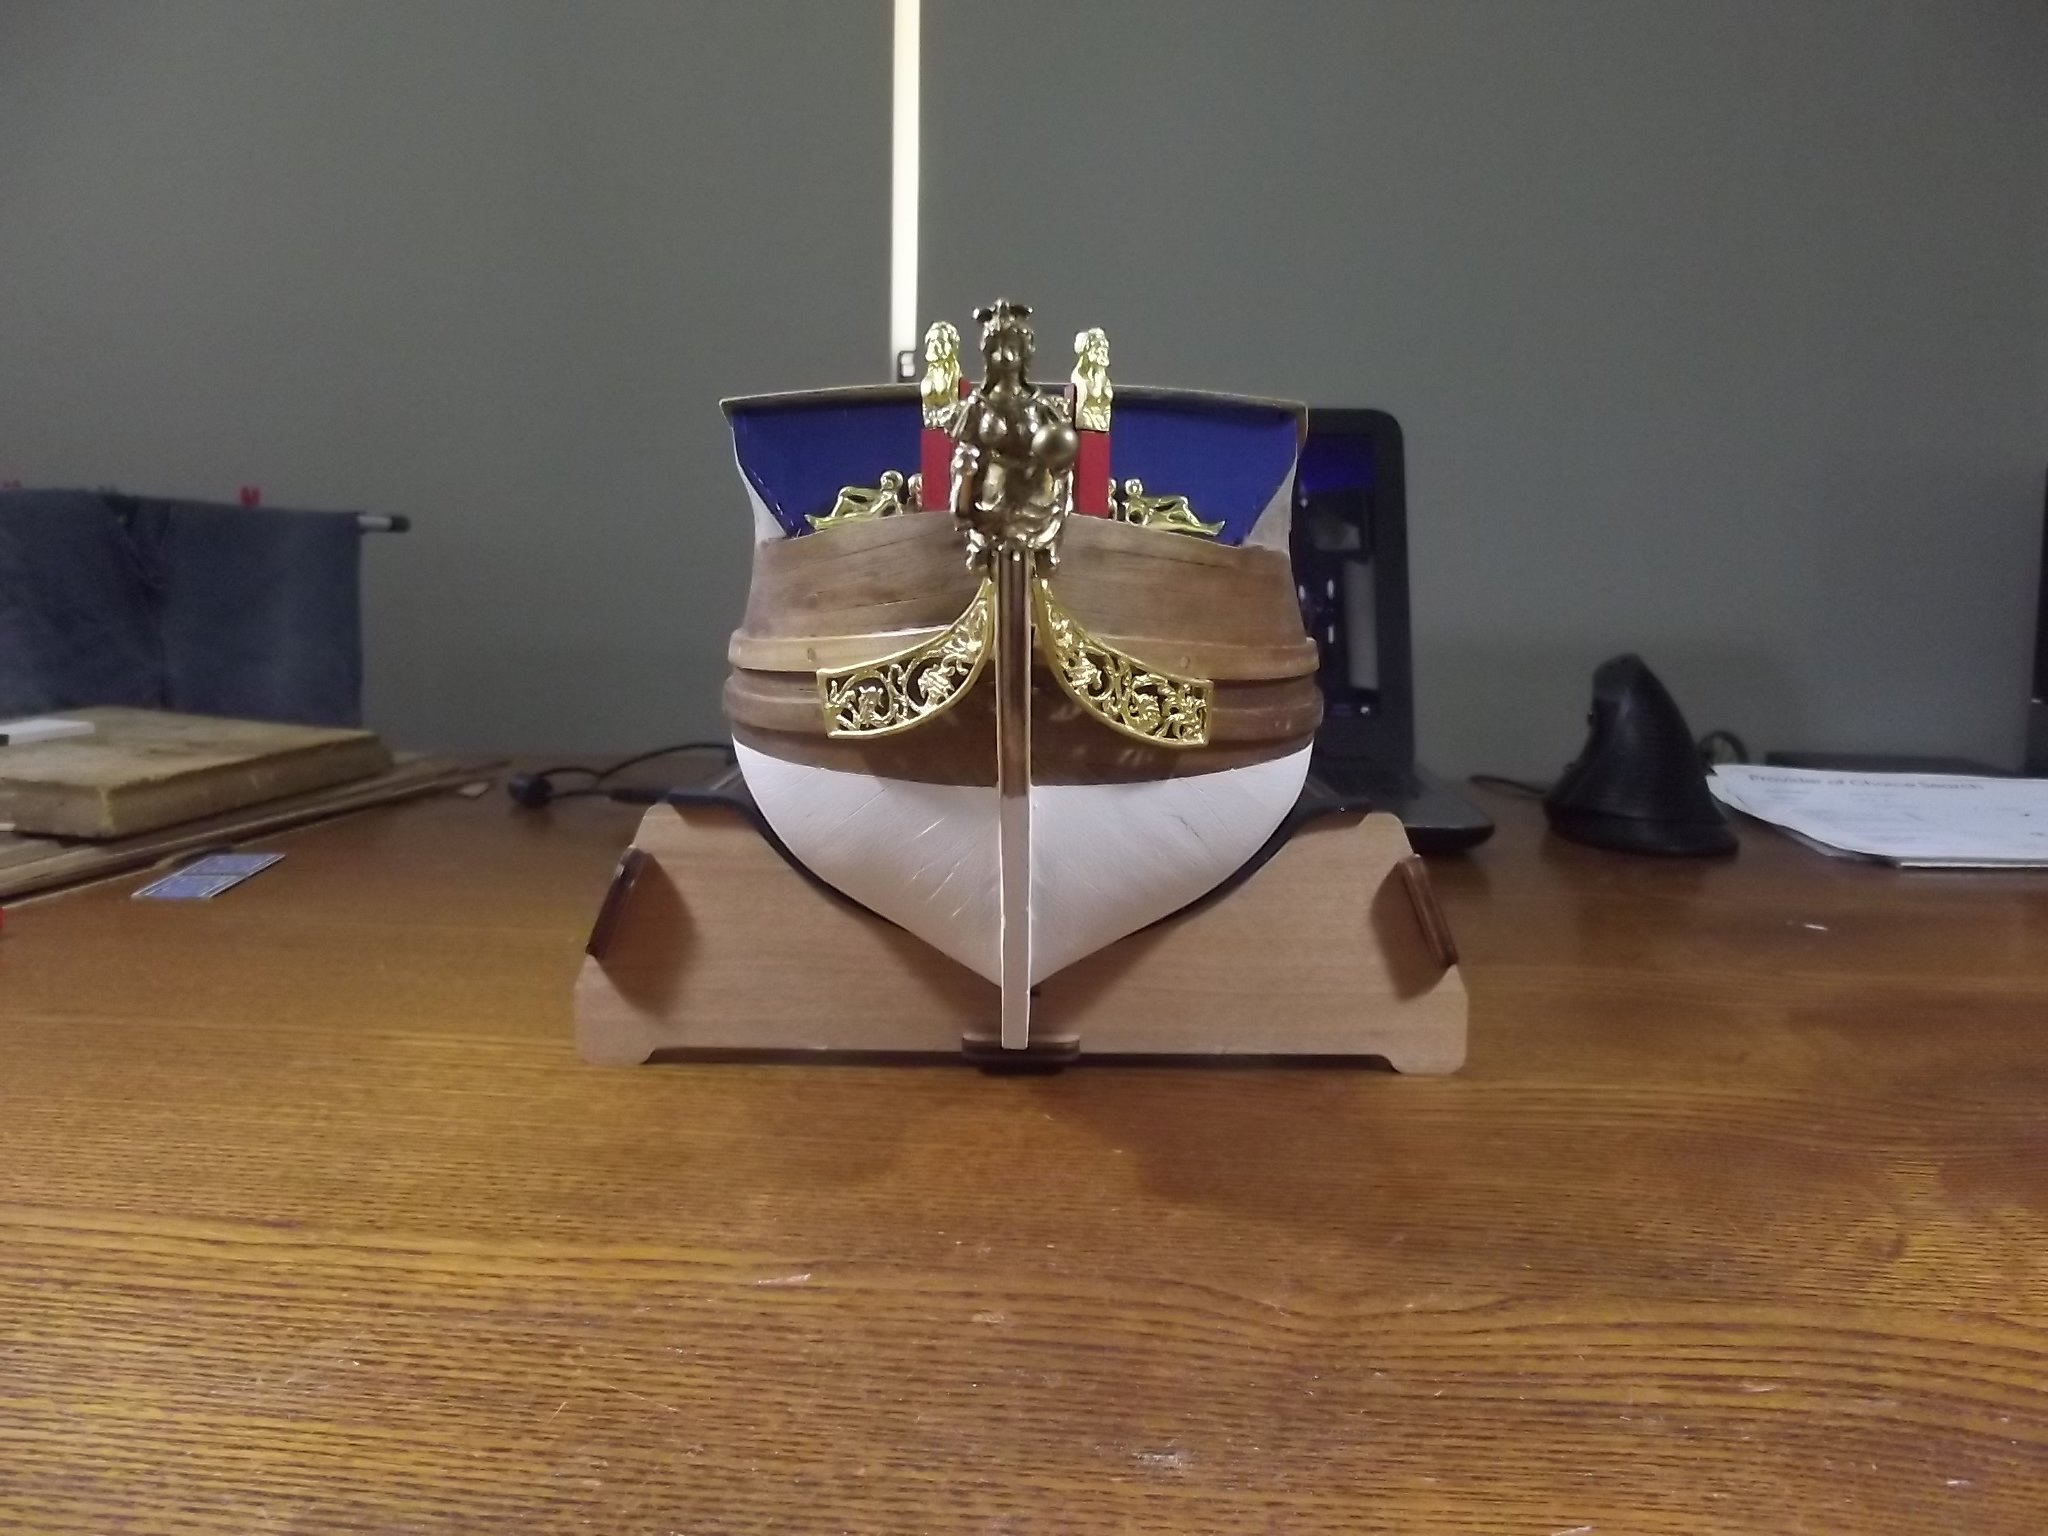
I've got the decorations done on both sides now, more frustration because the opposite castings were different lengths and sizes so it made fitting them a bit of a puzzle and I had to re-arrange them a bit on the starboard side to make them fit but they're on. I've also finished the stern decoration, the hardest part there was fitting the lower two either side of the rudder. I found the radius of the curved section of the transom and drilled a hole through some hard wood with a 32mm speed bore which was the closest to the correct size then cut the wood through the hole to give me a mold to hold in the vice. Then I annealed the castings, laid them in the curved mold and tapped them into the curve of the mold using another piece of wood as a drift so as not to mark them. A little bit of adjusting and they fit beautifully. Unfortunately they are now a slightly different colour but I can't do anything about that, I tried gold paint but couldn't find one worth spit!
-
A little bit more progress

-
Thanks Mark, she was built in 1749 for King George II.
That puts her 15 years ahead of Endeavour and while the replica Endeavour is clearly not the original it is regarded as one of the most accurate replicas around so I'm using my knowledge of her to guide my thinking on this build, same country, same era, same navy and basically the same size so there are bound to be many similarities and that thinking has helped me understand and in many cases change what the drawings and instructions say to do

-
I've got a bit ahead of the instructions because, one - I needed a break from woodwork, two - I'm finding more and more that the castings, plans and dimensions rarely match so I'm laying out all the exterior decoration now so I can make sure everything will fit properly before putting woodwork in the way.

- Keith Black, GrandpaPhil, Ian_Grant and 3 others
-
6
-
With all the build detail in this one has to wonder why you didn't just build it full size
- mtaylor, FriedClams, Keith Black and 3 others
-
2
-
 4
4
-
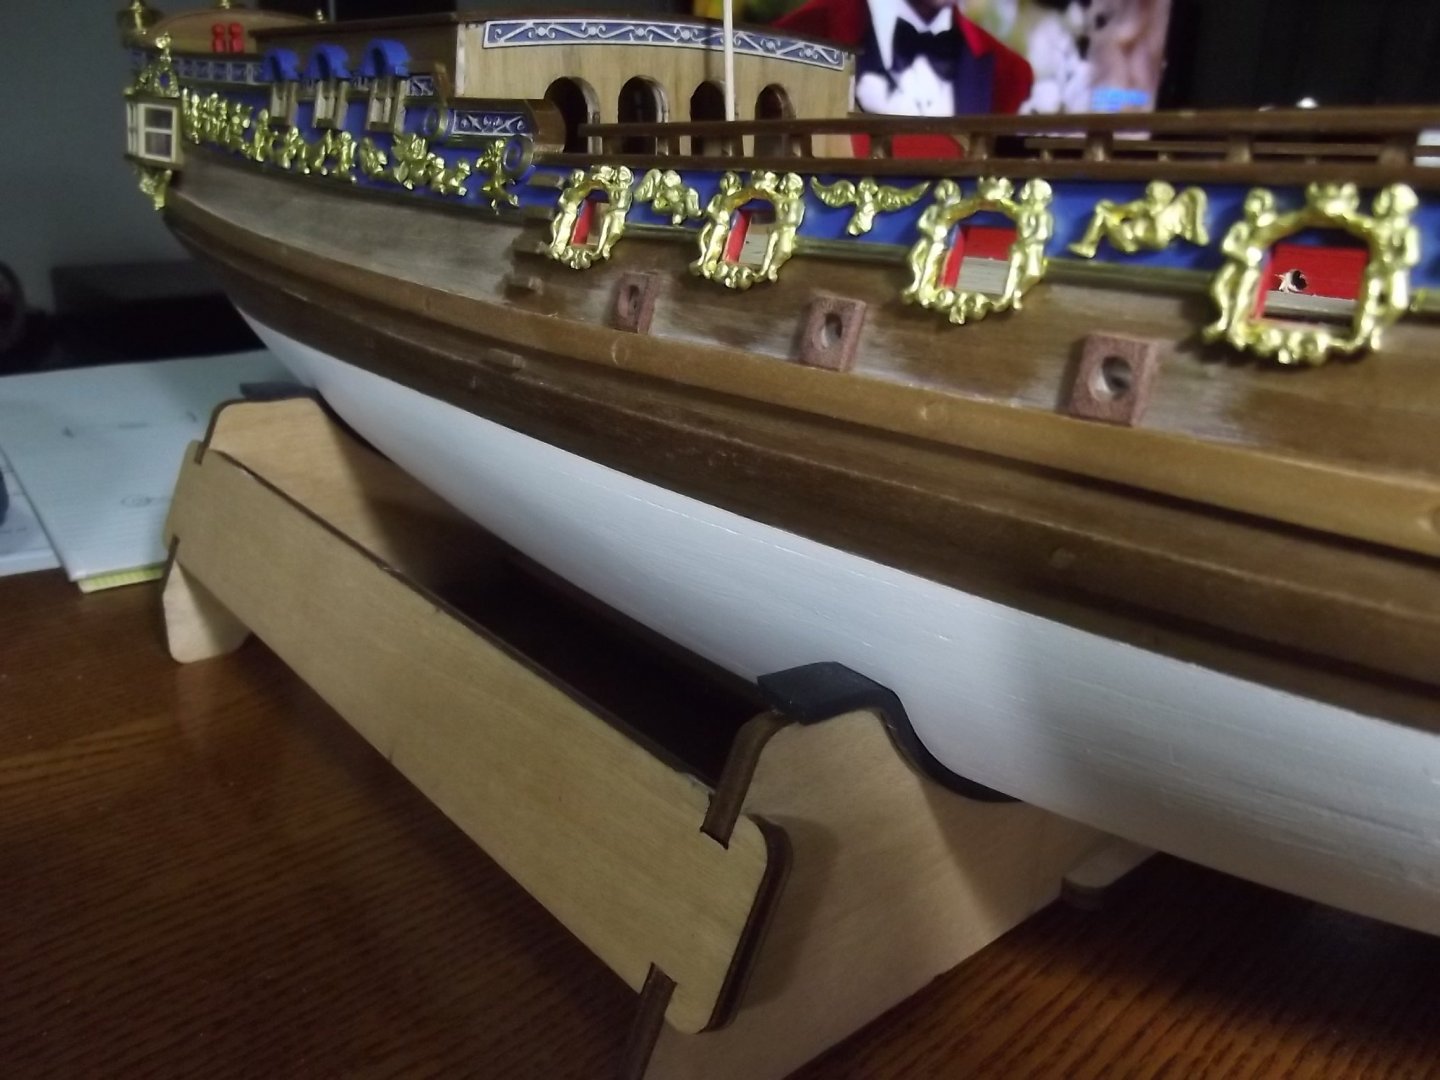
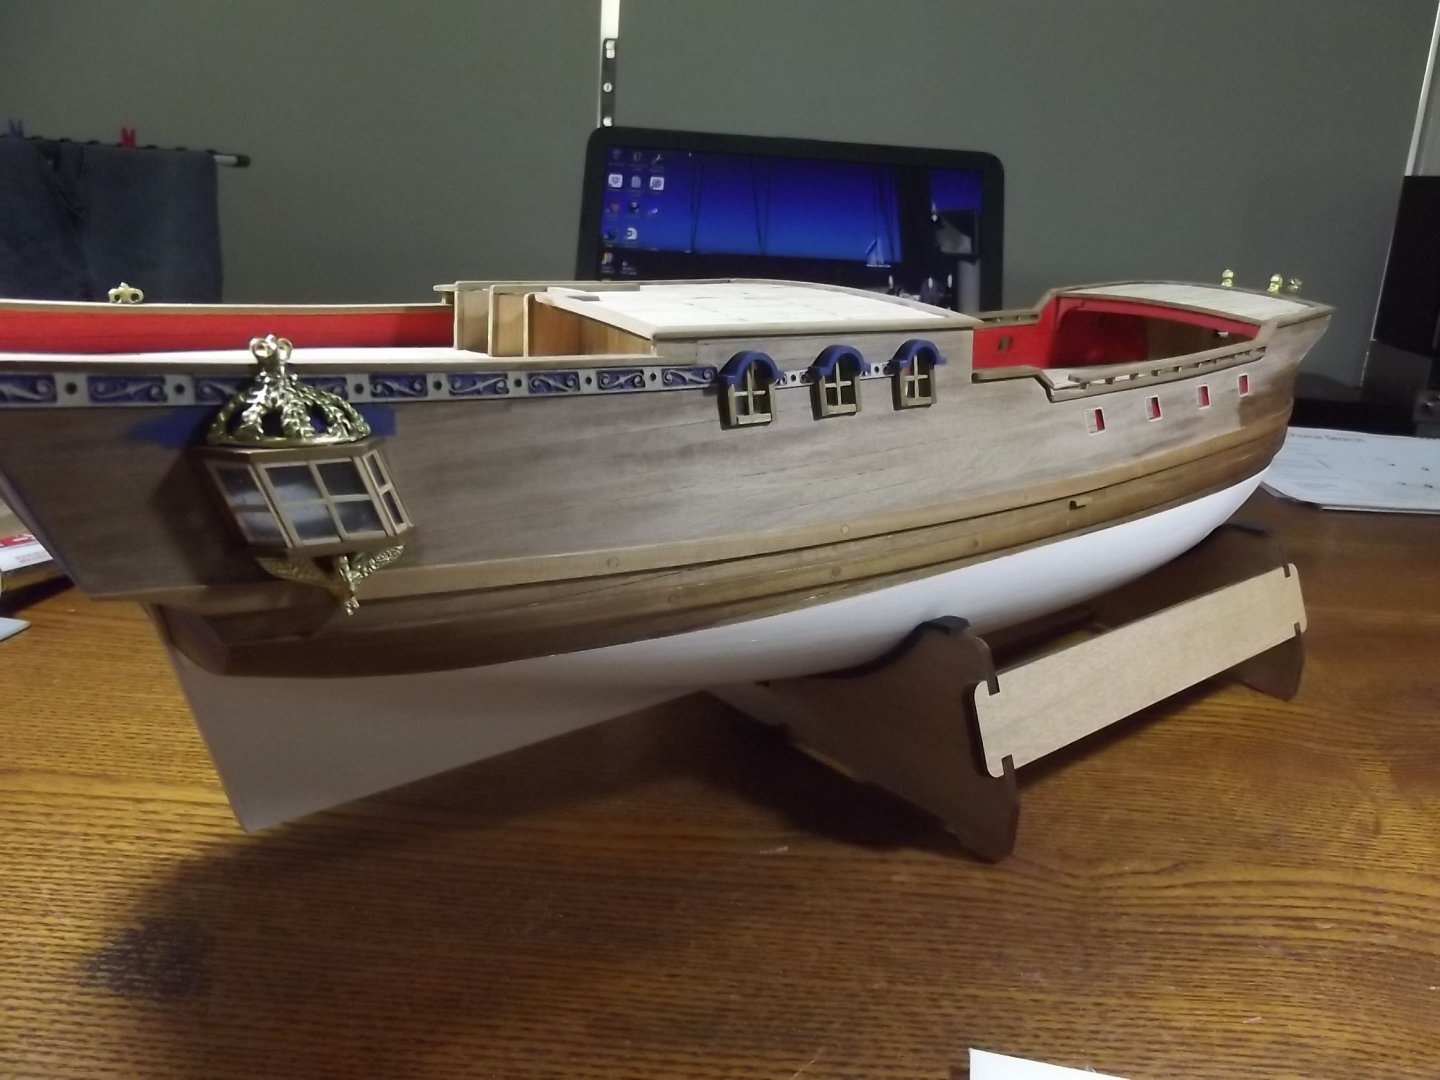
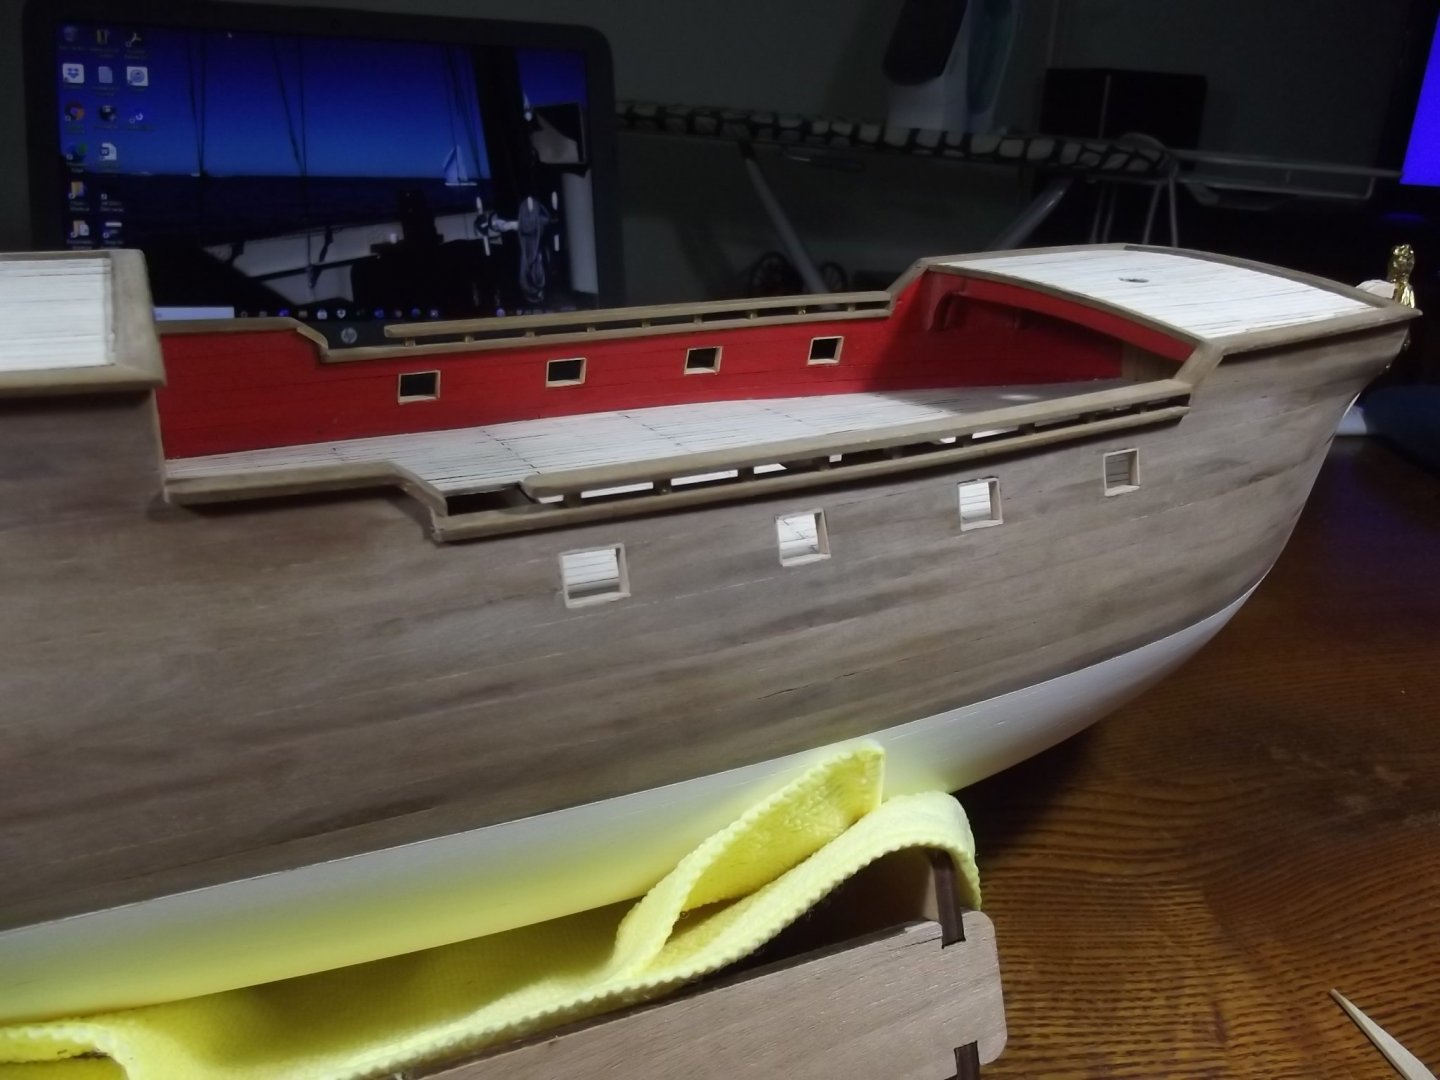
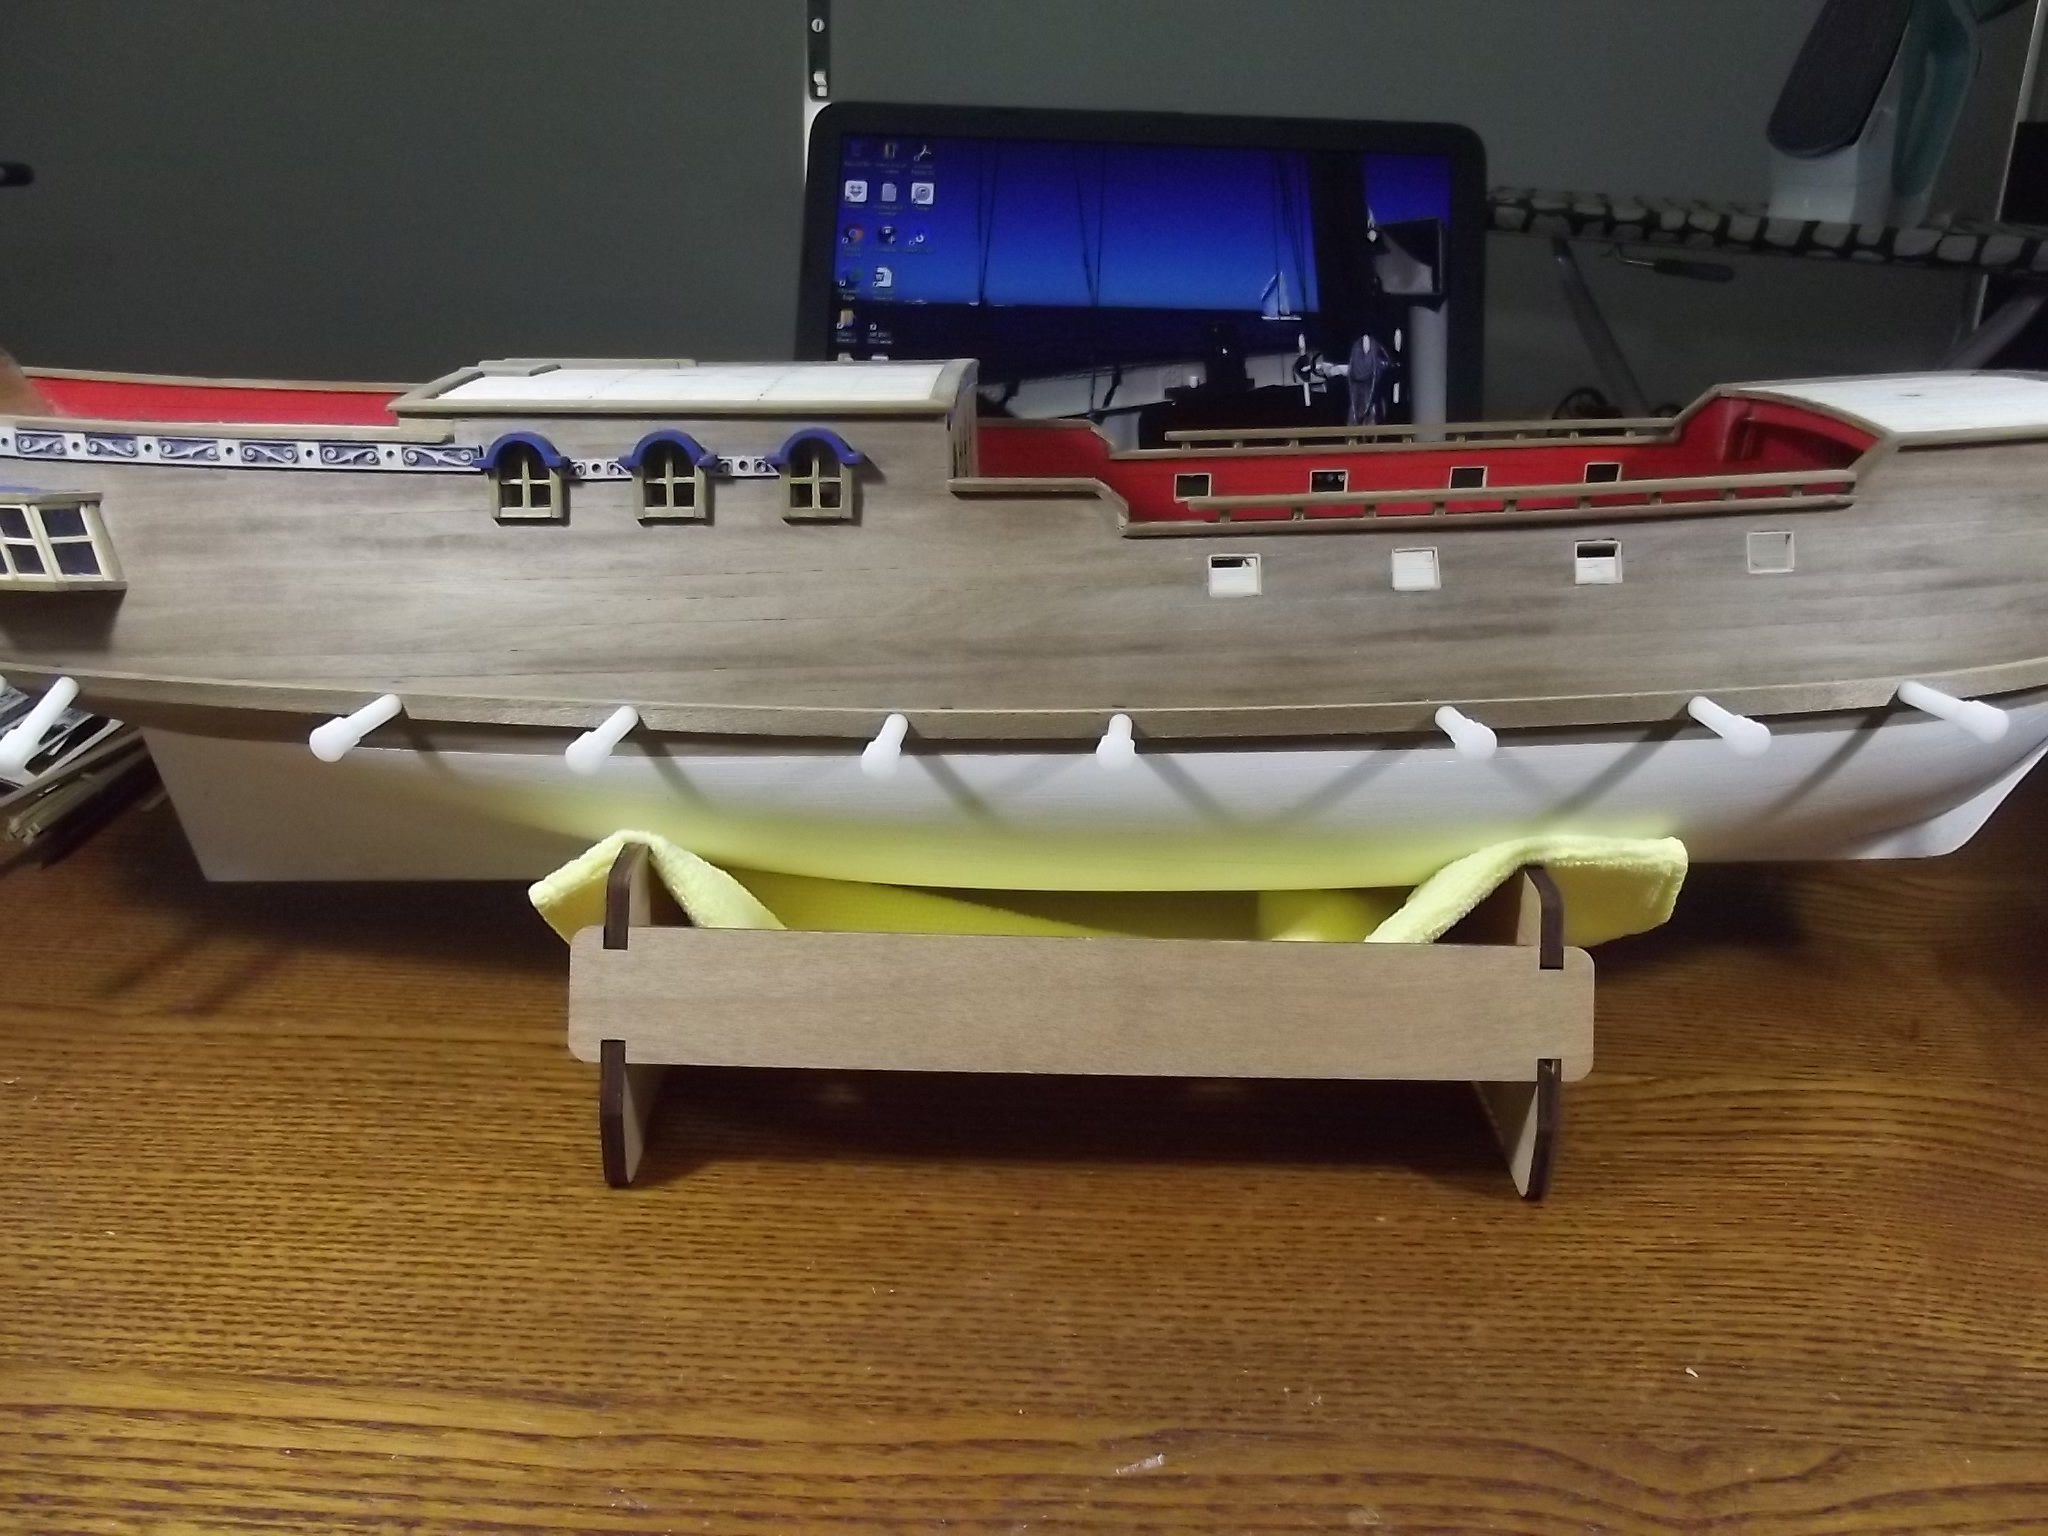
I've made a bit more progress with the side windows done, and wasn't that a fiddly job!
I've also fitted the side rubbing strakes, I was originally going to paint them black but decided against it reasoning that black would be somewhat overpowering and the hull will be pretty heavily decorated so too much detail I think.
The downside of not painting the strakes is I had screw clamp holes to fill and try and hide. I used a hole punch to cut bungs from scrap walnut which I have glued into the holes and after a good sand they don't look bad. We'll see once I get some varnish on.


-
Yeah, I give up now. I'll just go and crawl into a hole.
")
-
A master class as usual Michael but you're making me glad I don't have CAD
- mtaylor, TBlack, michael mott and 2 others
-
5
-
With all this climate change you could tell her you're just planning for her safety in the event of massive flooding.
-
I tend to forget how big this build is and then you post a pic with a clutch pencil on the deck!
- FriedClams, mtaylor, Keith Black and 1 other
-
4
-
12 hours ago, ccoyle said:
Just noticed this in your signature. HMV beat you to it. 😉
That's really interesting, it has the life jacket boxes and the square plastic drinking water tank under the original cylindrical tank on the boat deck, the side awnings on the wheelhouse and even the carley floats, all of which are modifications made by Sydney Heritage Fleet. I know the boat extremely well because I crew her and the model has most of it pretty right.
- ccoyle and Keith Black
-
2
-
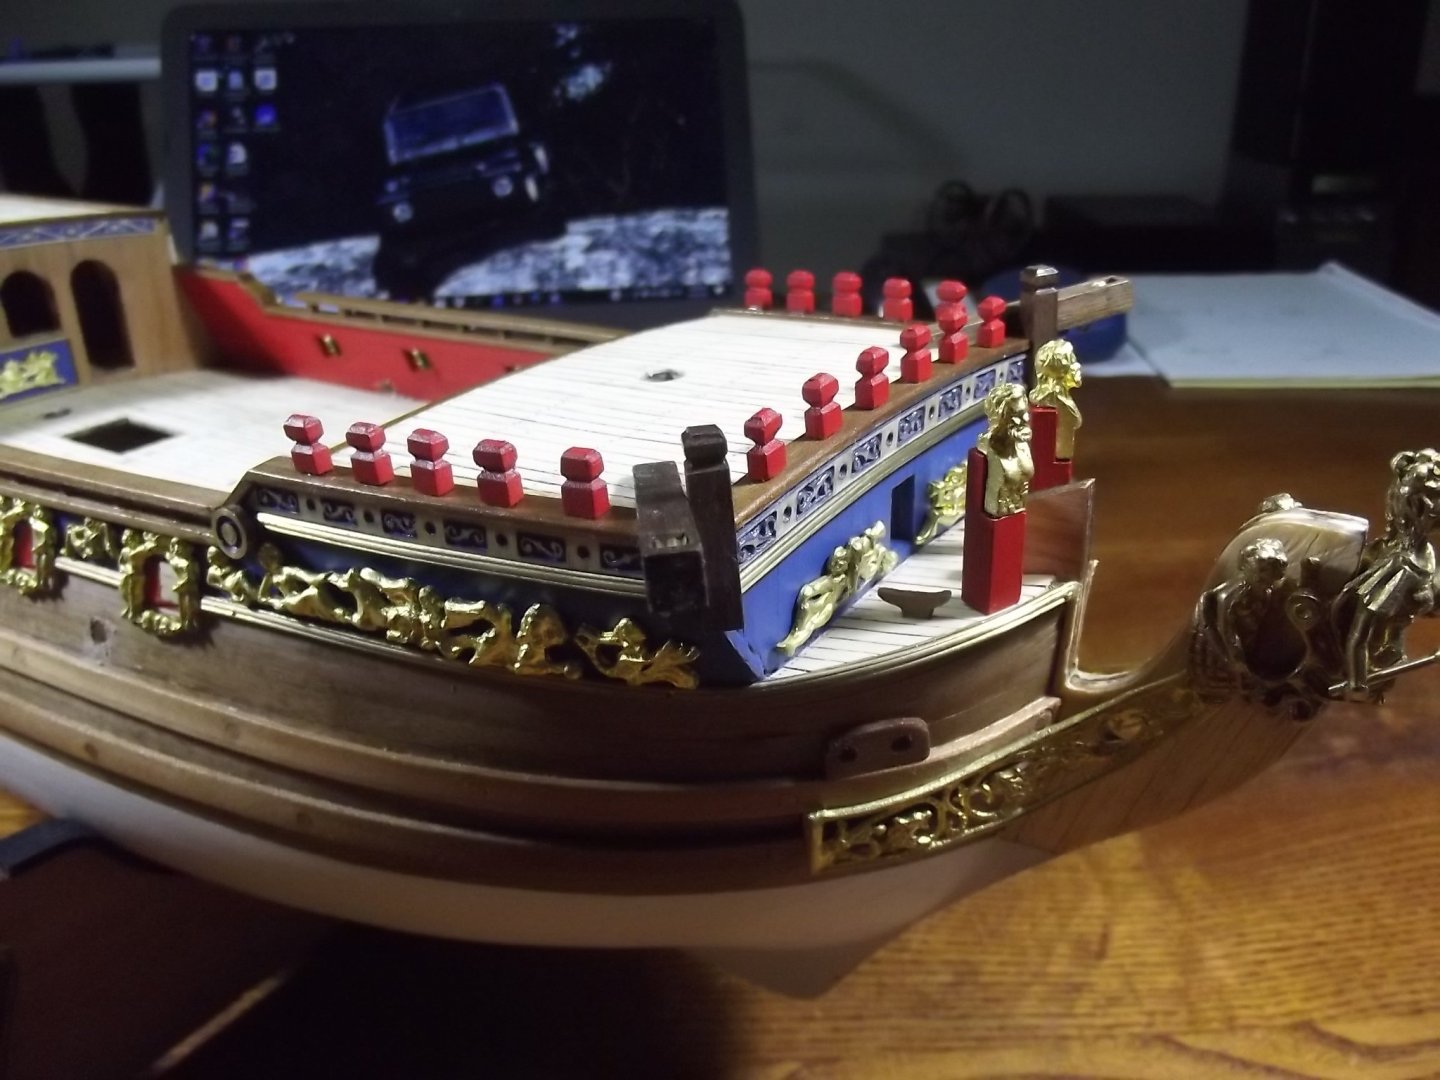
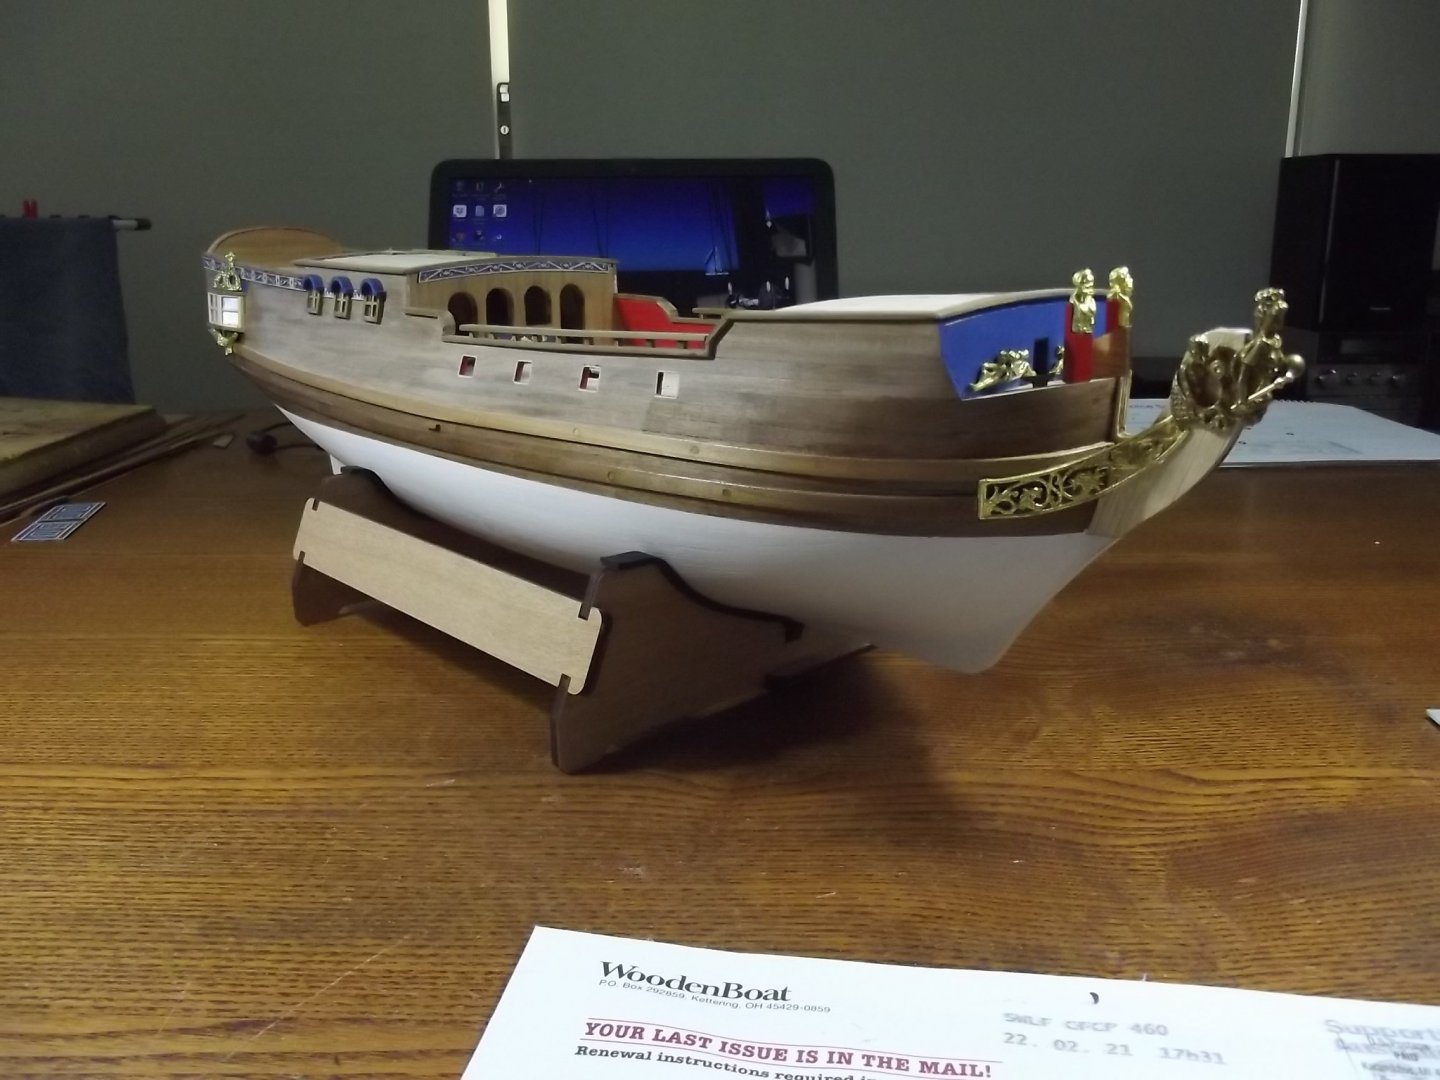
I've added the hand rails to the waste deck bulwarks and again drawing on my knowledge of Endeavour which is very much a contemporary of this ship in size, era and navy I opted to use squared posts for the handrails rather than round ones. If they were round they would have had turned details which can't be done at this scale but if it was Endeavour I can almost guarantee they would be squared timbers. Also in using square posts I didn't have to drill through the top rail and then add the cover strip which I didn't like the look of. Also based on Endeavour I have left the hand rails on both sides short to allow boarding because there is generally access from both sides of the ship.
I've also done the stbd aft window which was a challenge too. the plastic window molding was not great and again the timbers included weren't up to the job so again I used wood left over from other models. It's a fiddly job and now I have the port window to do.
A question Has anyone had experience removing the wax from castings? How did you do it?


Royal Caroline by Bedford - Panart - 1/48
in - Kit build logs for subjects built from 1501 - 1750
Posted
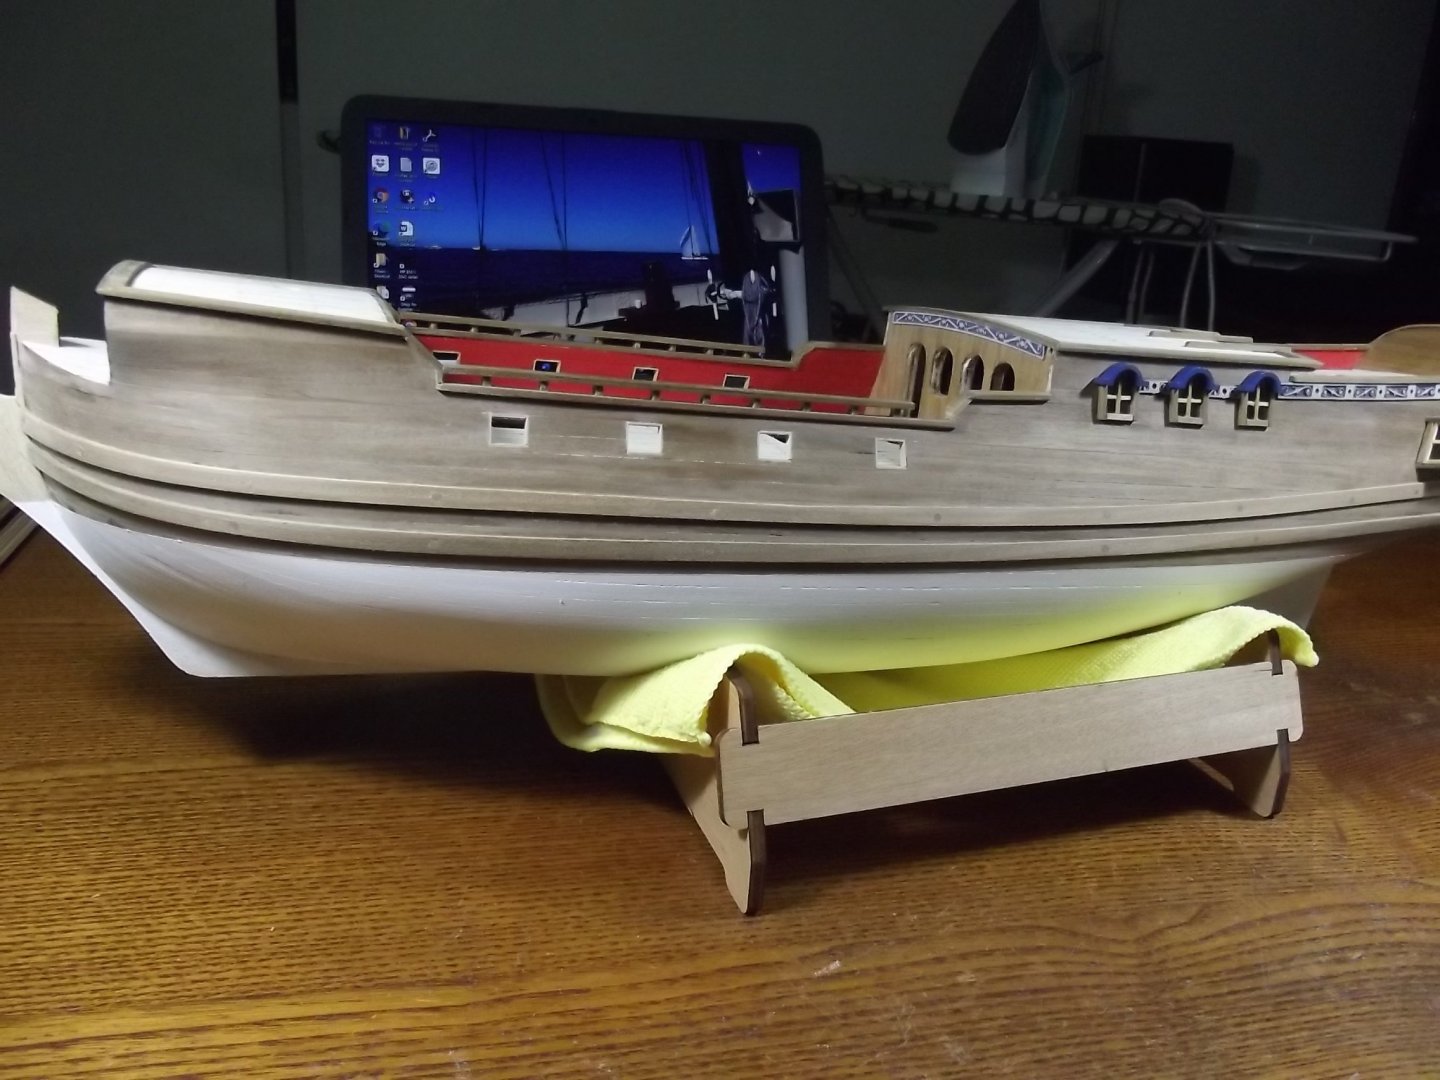
Time for shroud tables, first step lash down the ship to the build frame to keep the hull level to allow the tables to be attached level