riverboat
-
Posts
1,756 -
Joined
-
Last visited
Content Type
Profiles
Forums
Gallery
Events
Everything posted by riverboat
-
Looking good Sjors, must be frustrating when these mfgs. can't make parts that fit.... seems you.ve got it fixed, nice work!! Frank
-
Excellent work Denis.... looks just great!!!..... like the color of your decking.... Frank
-
Wow!!... that was fast..... Nice work Don , looks great!! Frank
- 62 replies
-
- 1
-

-
- batelina
- marisstella
- (and 1 more)
-
Nice little build there Don.... looks like a winner!! Frank
- 62 replies
-
- 1
-
-
- batelina
- marisstella
- (and 1 more)
-
Thanks Michael ...... the Supply was a lot of fun to build, glad you liked it.... Frank
-
Man that looks really nice!!.......this is a classic build... excellent work Michael Frank
-
Thanks for the tip Jack......... I'll see how it goes after I try another coat of Vallejo's clear flat. Frank
-
Hi Denis....... Thanks ...... My thoughts too, I like the fruit wood stain the best. It's always nice to get other peoples opinions ,,,thanks again. Hey John...... Nice to have you on board..... I've been ck'n out your Krick build, that is some pretty awesome work you are doing, Thanks for look'n in... Hi Mike....... Yeah , fruit wood wins!!... I really liked that the best, glad everyone that commented liked that one too.Thanks again!! Hi Bill...... I'll give that a try ..... can't expect too much from a mediocre kit . I thought they were reg. decals, I put them in water , tried sliding them off and nothing happened, I said what the!!..... then it dawned Stickers!!!..... well thats that story.Wish I had the talent and patience to attempt carving..... maybe in another life :P Thanks Frank
-
Thanks Don and E.J. for your input, greatly appreciated....... Bill........ I tried a flat coat already, didn't seem to dull it enough.... will try another coat when I do the rest of the build. These are not your typical decals, they peel off a backing then stick to the surface. Thanks for looking in..... Frank
-
Thanks Mark..... I thought the same as you.... Frank
-
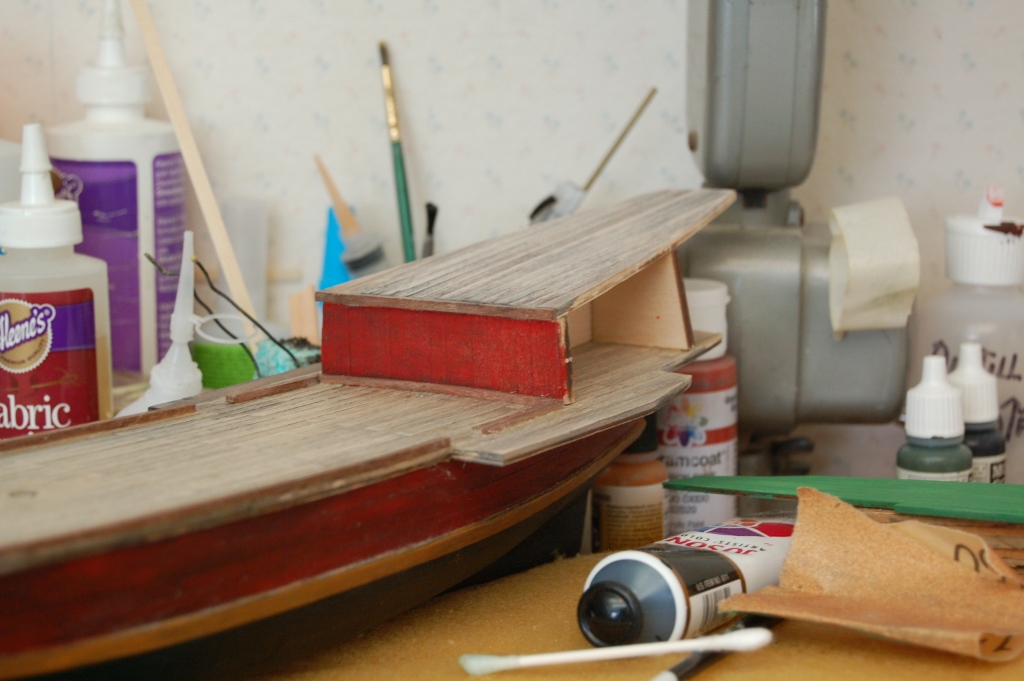
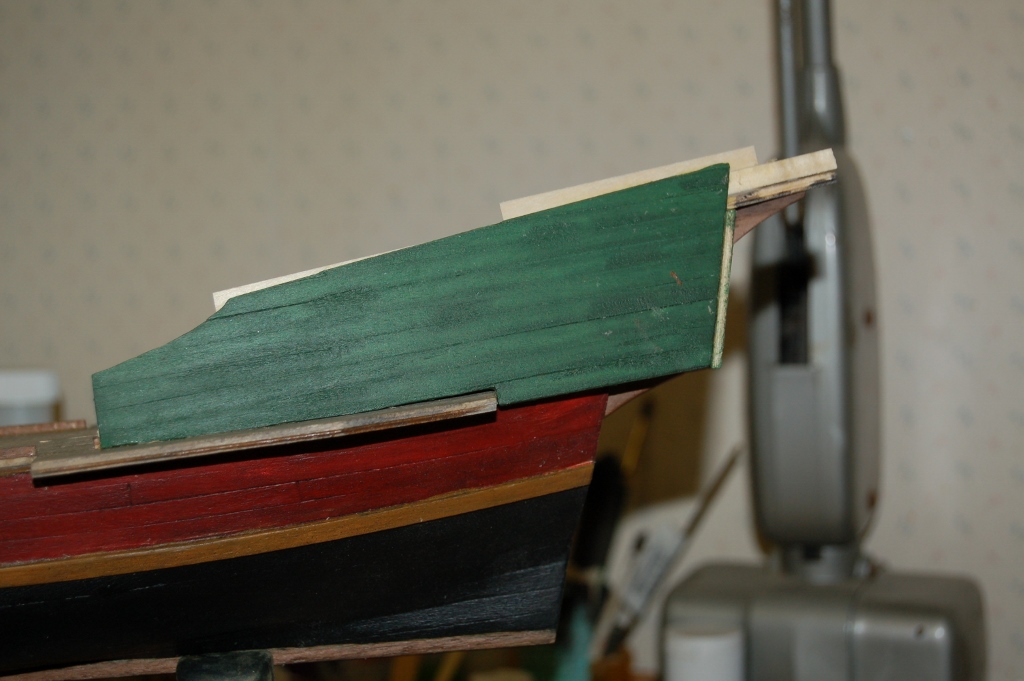
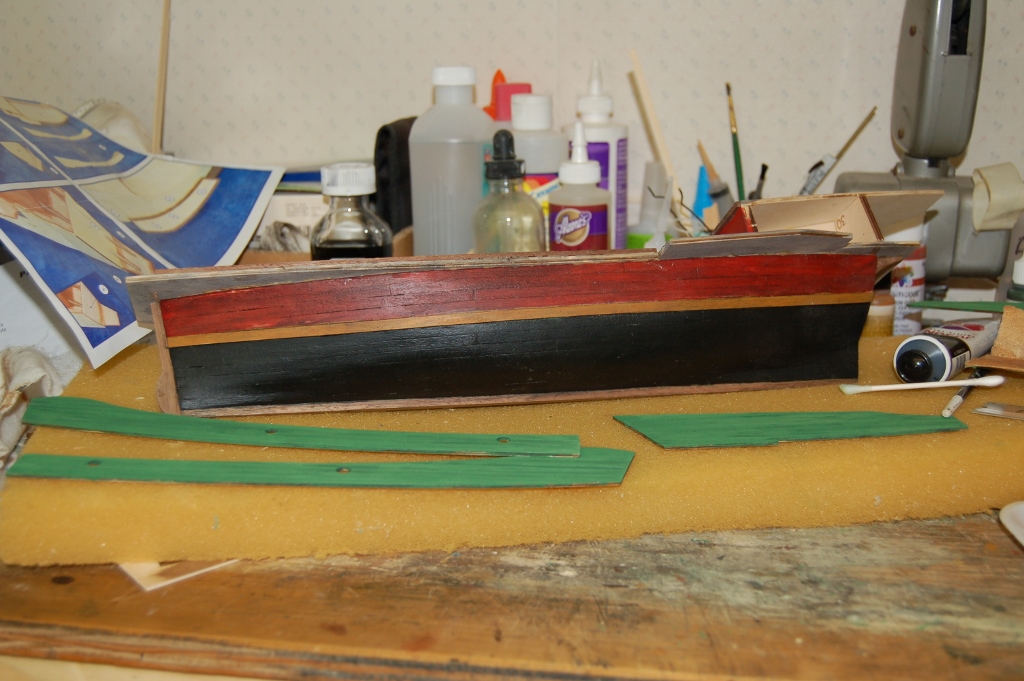
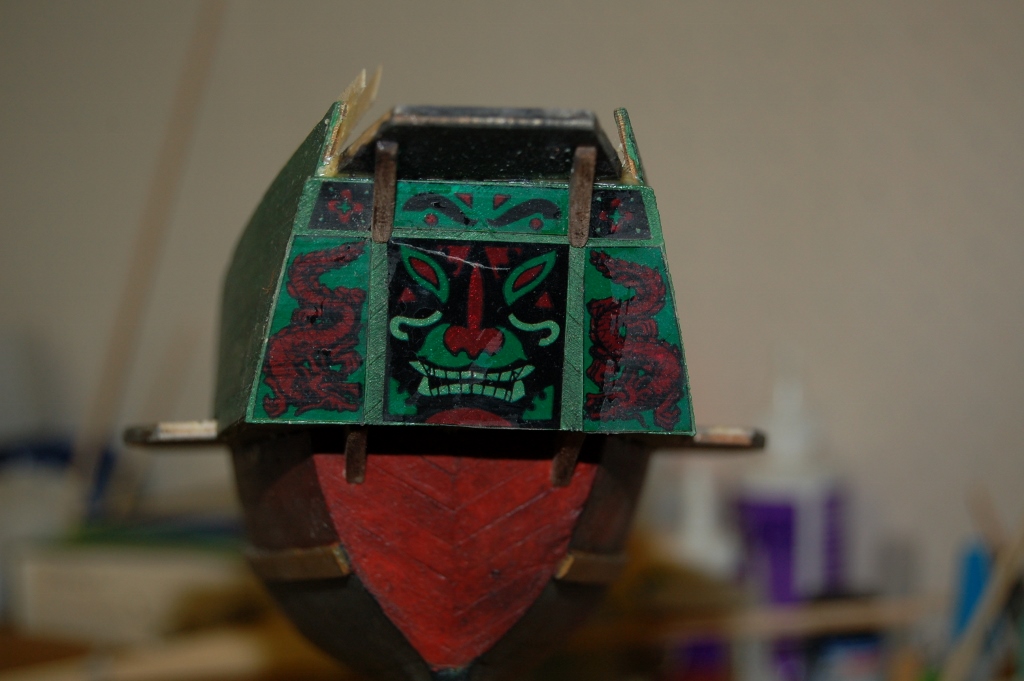
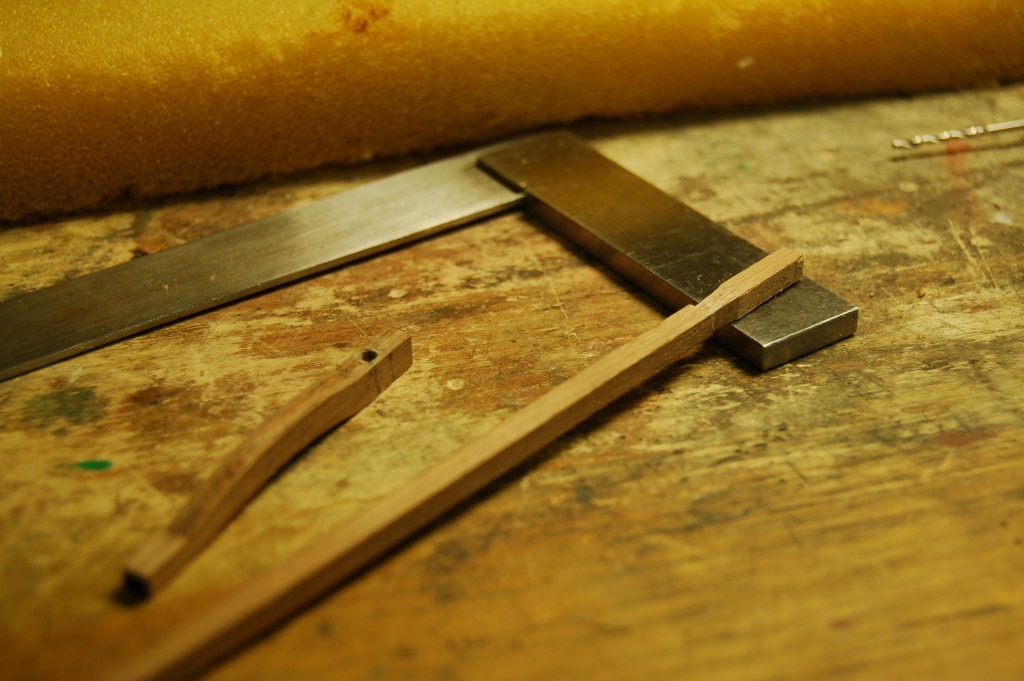
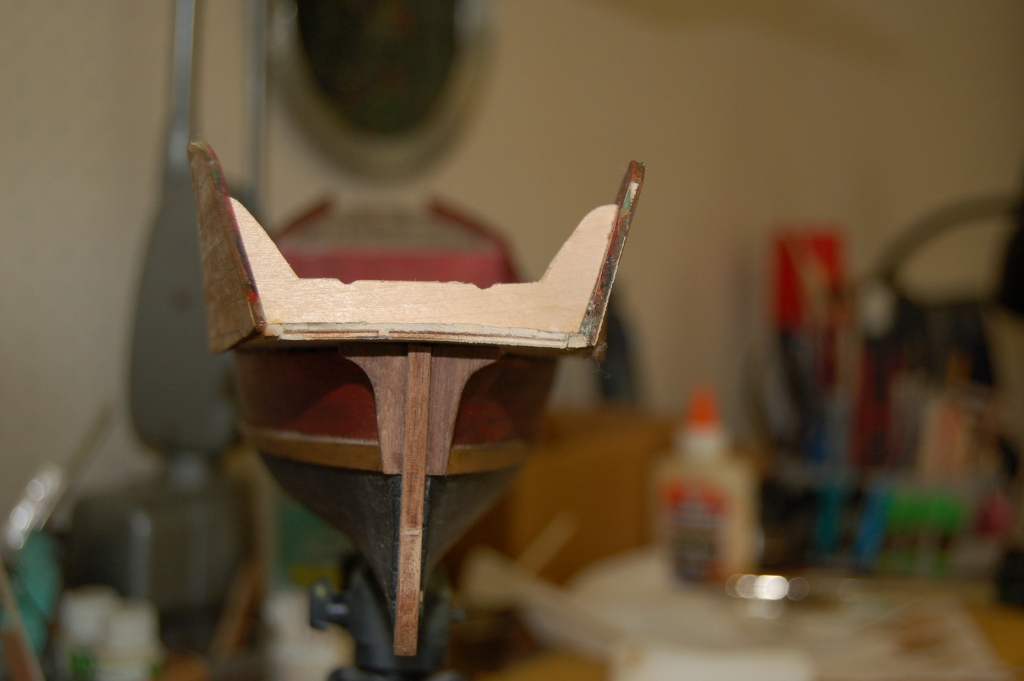
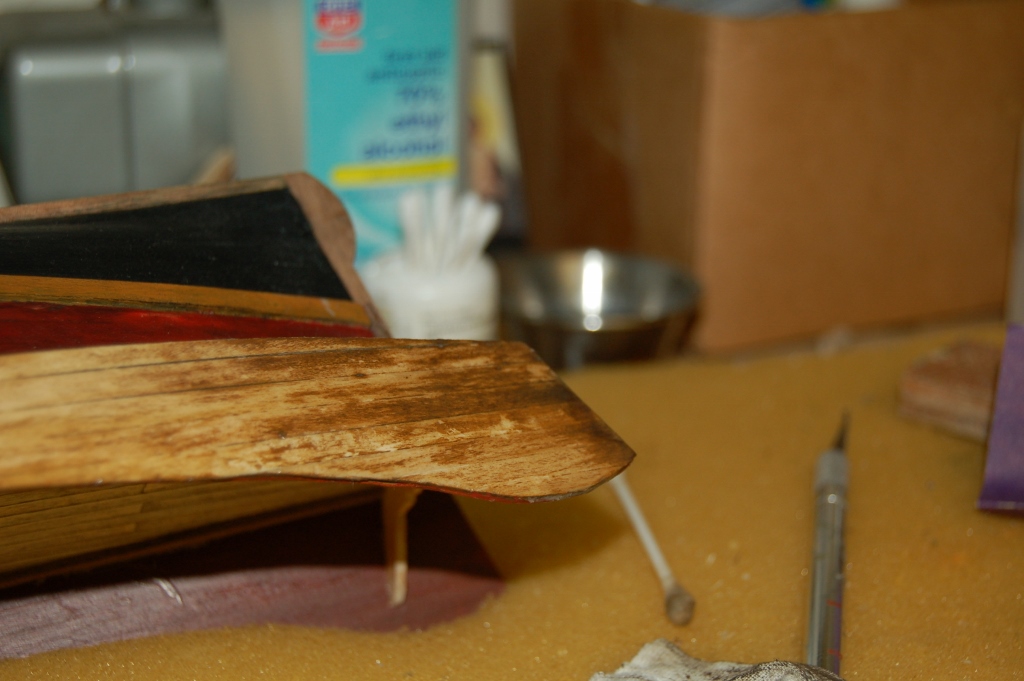
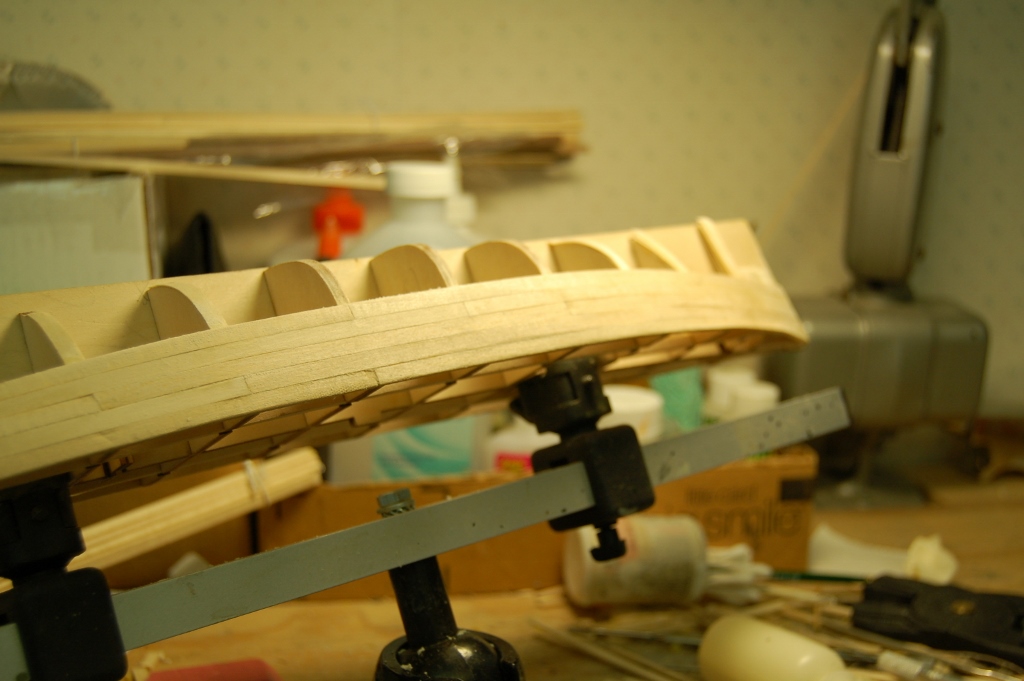
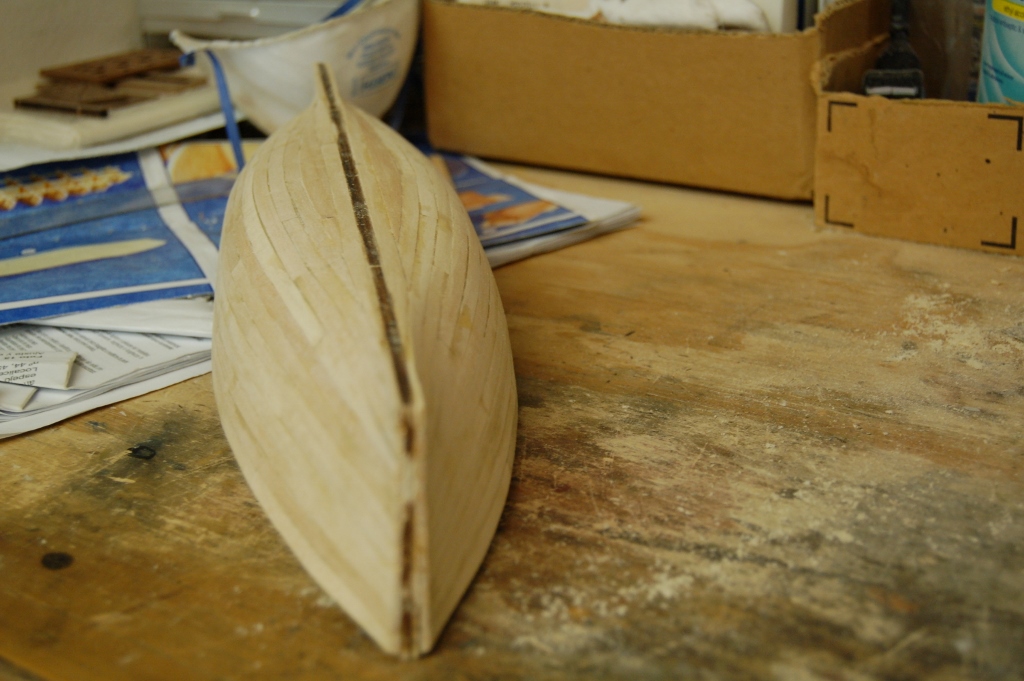
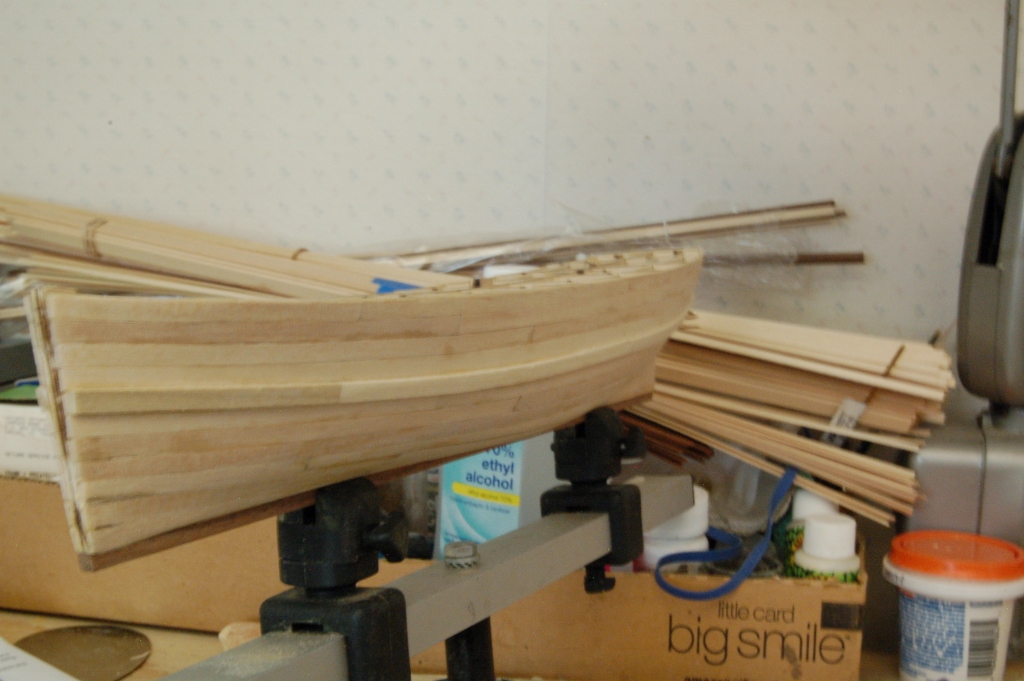
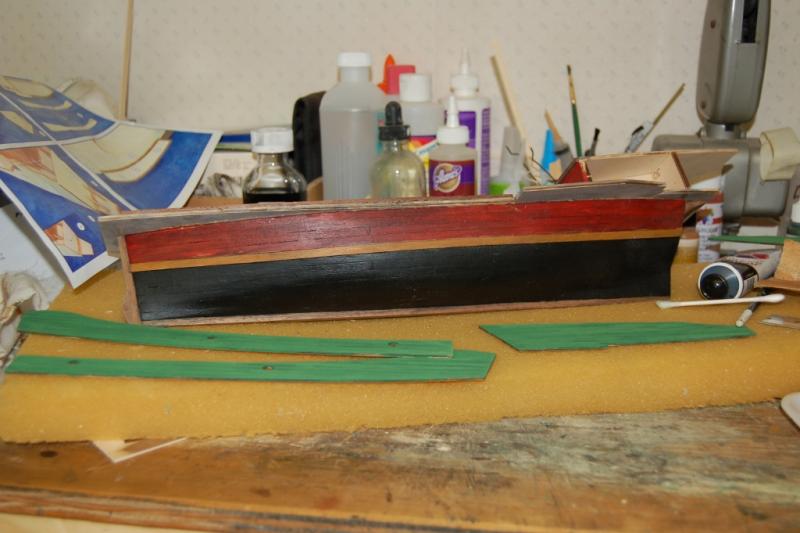
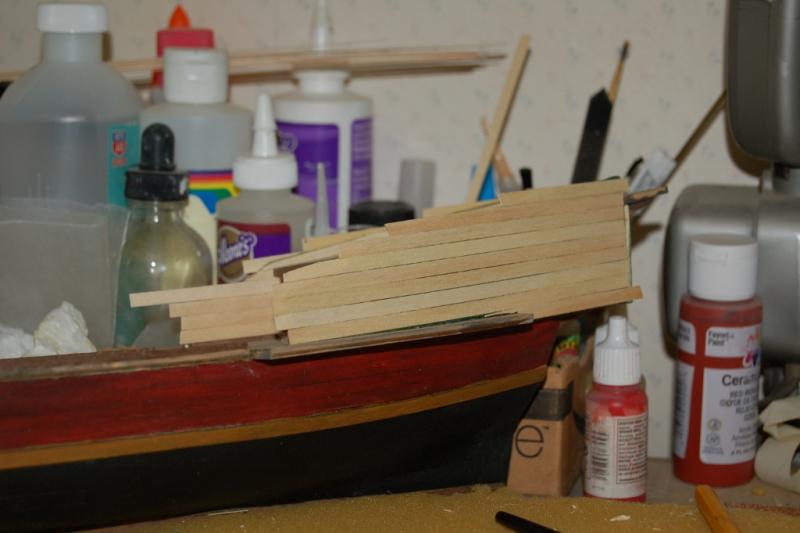
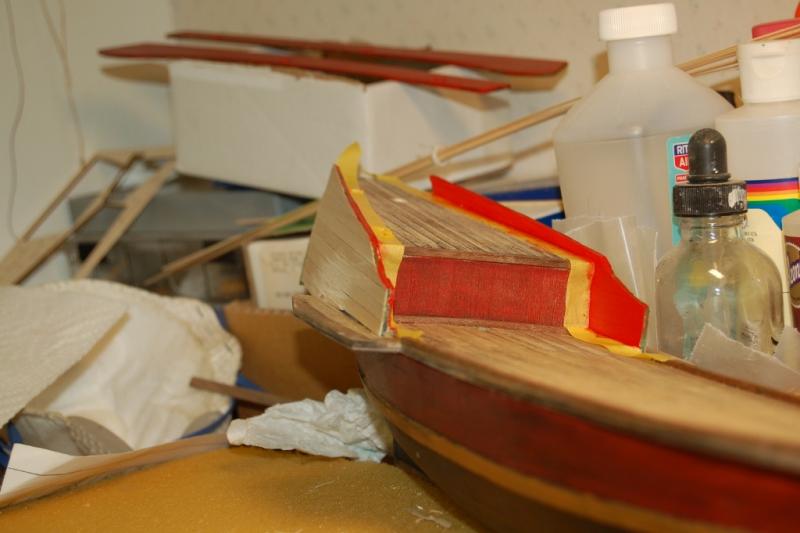
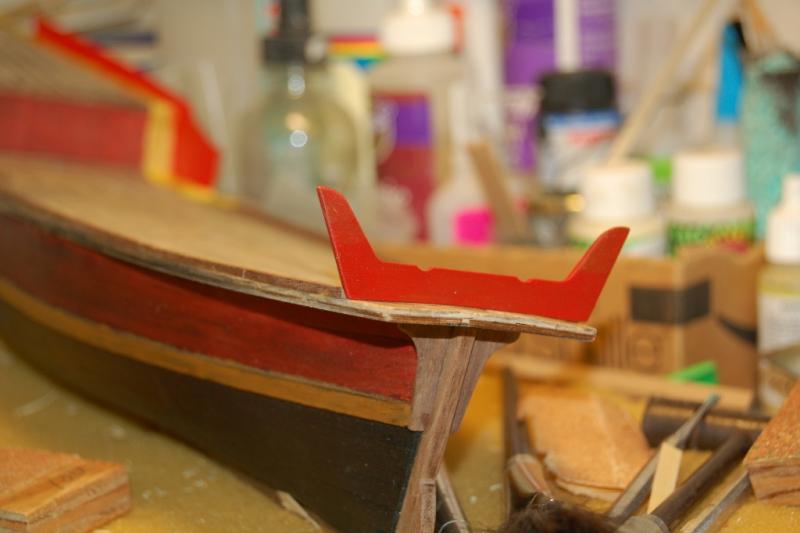
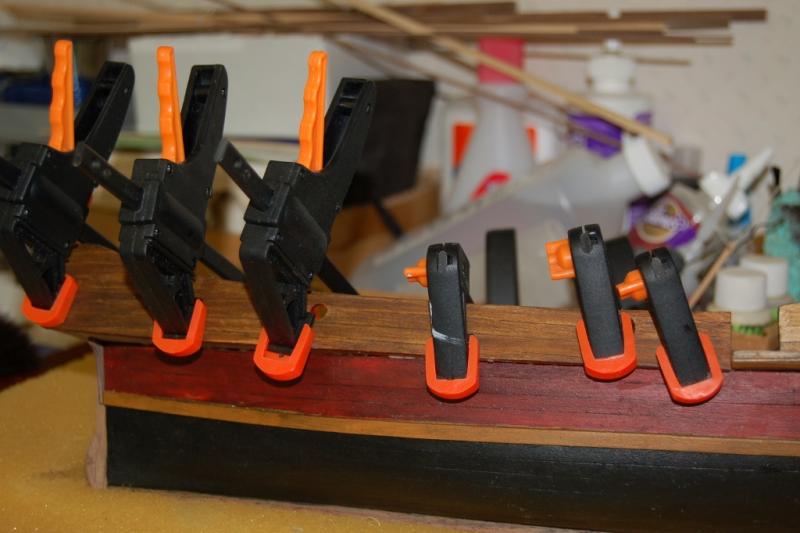
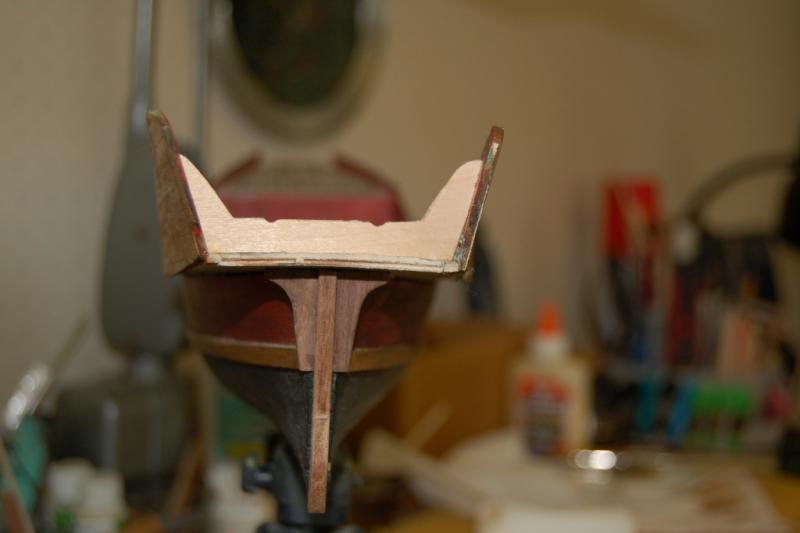
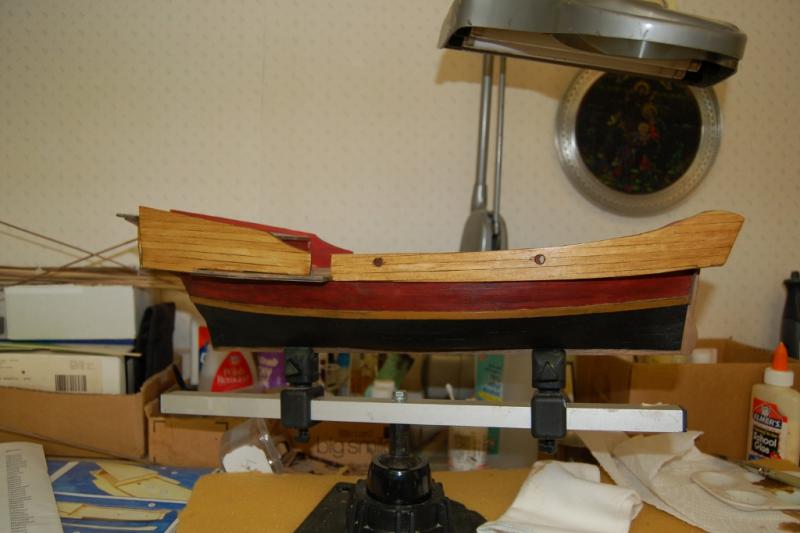
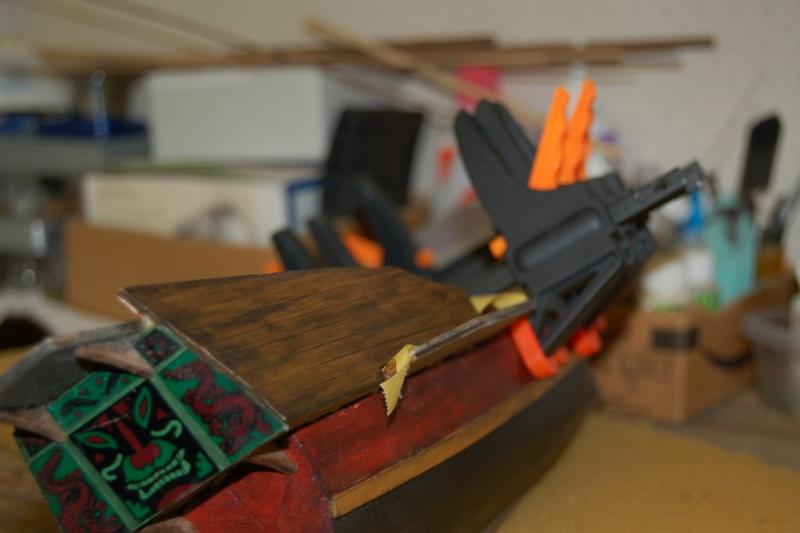
OK I'm back again for a little update...... as you'll see from the pictures I've changed my mind two or three times before deciding on the upper ship's color....I went from green to dark to a fruit wood shade ... after looking at the first two colors the ship looked way too dark, so I decided to redo all the sides into the fruit wood...... the lighter top gives a better contrast...... This is a pretty simple kit to put together but I'll tell you I had a hassle attaching the top side pieces........I broke the front pc,by putting too much pressure on it while gluing...... no big deal itwas easy enough to make a new one.... any how take a look and give me your honest opinion as to the color scheme..... I can always change it again As always..... thanks for taking the time to look in.... Frank This is the color I thought to be my choice, but like I said it looked just too dark afyer all the sides were done I'm not that pleased with the decals that came with this kit they are way too shiny... I have some dragons for the front sides and I dont know if I'll use them or not.... I might try to carve some thing.. I ll wait and see. this is part of the rudder assembly This is the front pc. I broke this is the new pc. This is the color I decded on.......... This is the darker color with every thing done like this it was way too dark looking This is the fruit wood


-
THE 74-GUN SHIP by Jeronimo
riverboat replied to Jeronimo's topic in - Build logs for subjects built 1751 - 1800
Like Nils said..... beautiful work , just beautiful Karl....... frank -
Really nice build AL, excellent work .... doesn't look like you've been away from building at all....... MarisStella's kits look really nice. Frank
-
Thanks for the tip Grant......... Frank
-
Thanks Denis.... I just used Vallejo red and then I thinned some black paint (almost to a wash stage) then I lightly brushed it over the red until I got the darkness I wanted . I'm going to try some green like that for the upper sides. Frank
-
Hi Barry.... I just put some weights on it and let jt stay for a couple days, it seemed to straighten it self out.. Frank
-
Wow!!!...... this is a great!! build Denis.... just found this one..... love what you are doing with this build, this one is going to be hard to top Frank
-
Just went thru your log E.J..... this is one sweeeeeet looking build .... Excellent!! work.... I agree with Mike, those French ships were real beauties. Frank
- 608 replies
-
- 5
-
-
- la couronne
- corel
- (and 1 more)
-
Thanks Mike...... I didn't use the planking that was included with the kit for the deck. They had some .05mm strips which I wasn't too found of for the deck, so I used some 1.5mm stock that I had in my stash. To be honest Mike I haven't really done any weathering on this project( as of yet), the deck looks like it but it's just the" Age It "look . I'm thinking maybe using just paints and some stains, I'll see as I progress along with the build. -E.J.......... Thanks for your comments, I know , this hull looked like it was just a straight away planking job, good thing it only got tricky at the bottom,and of course....... paint is the sloppy builder's best friend frank
-
Michael this build of yours is up and beyond!!......... it's just beautiful!!!.... Frank
-
Hey Don.... if you are referring to the color i used Micro Mark's "Age It Easy" gray. It works pretty good on basswood or Lime, not too good on boxwood or some of your other woods. frank
-
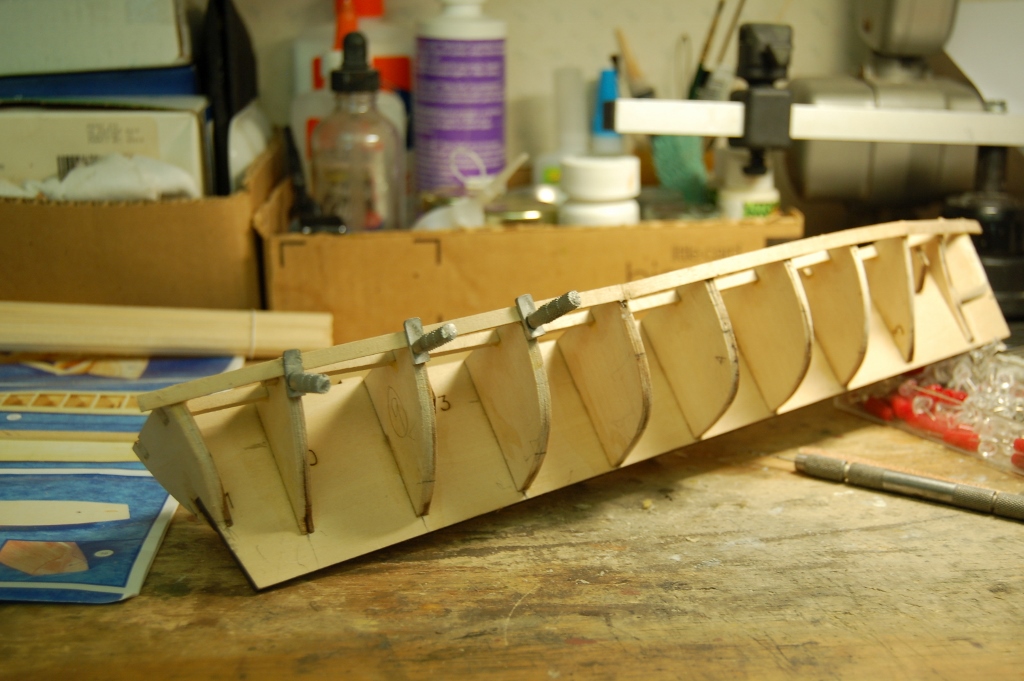
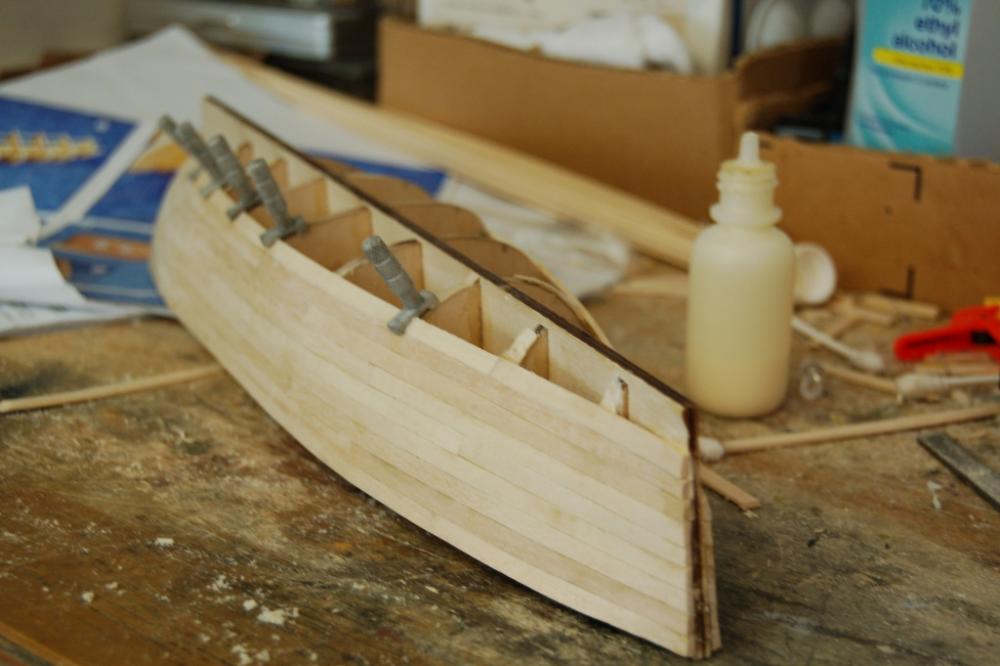
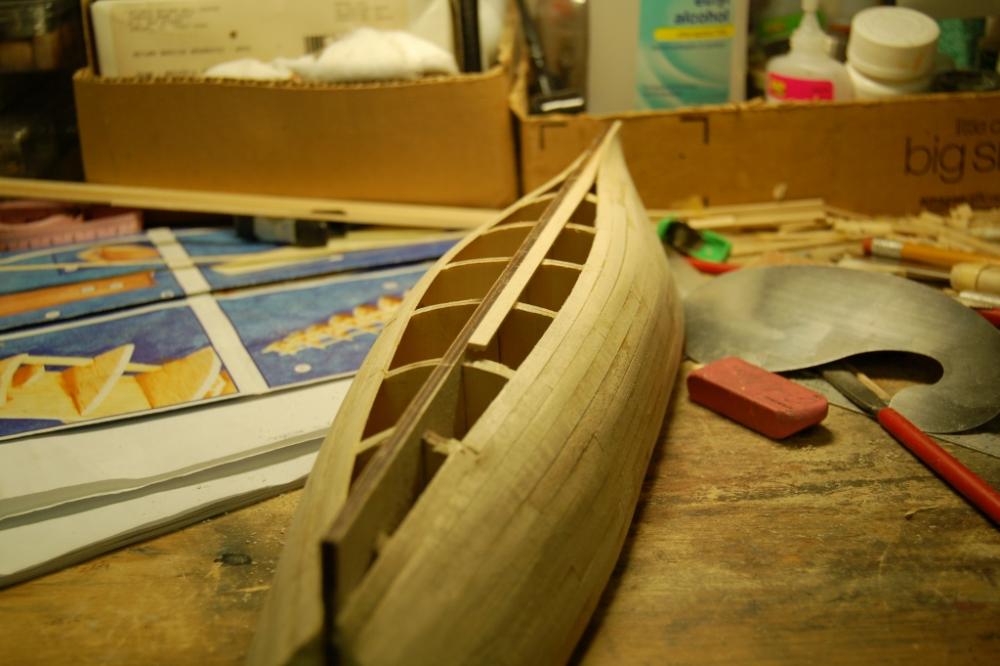
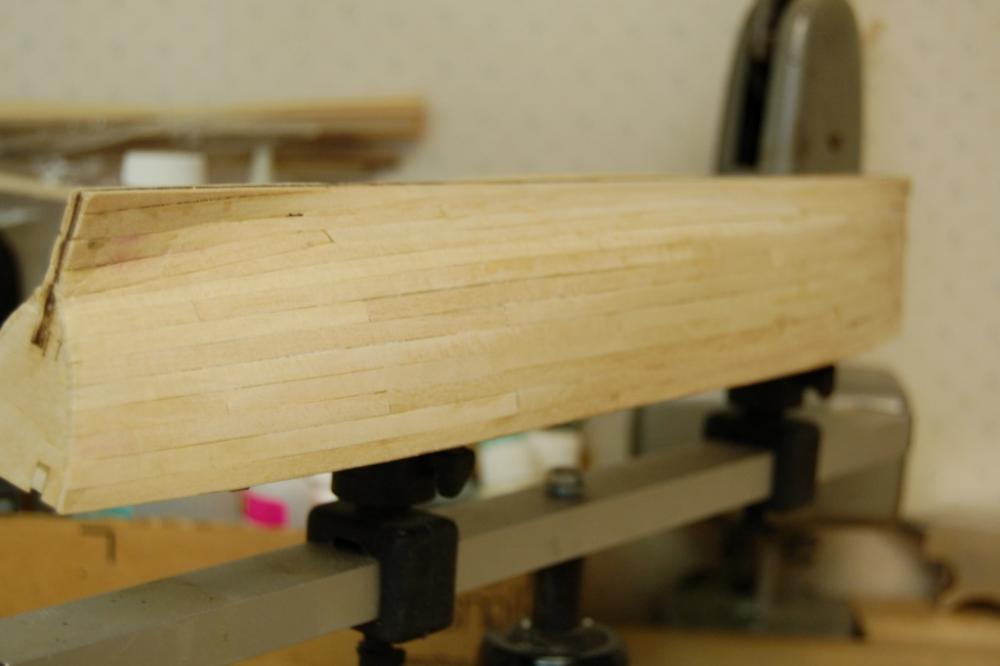
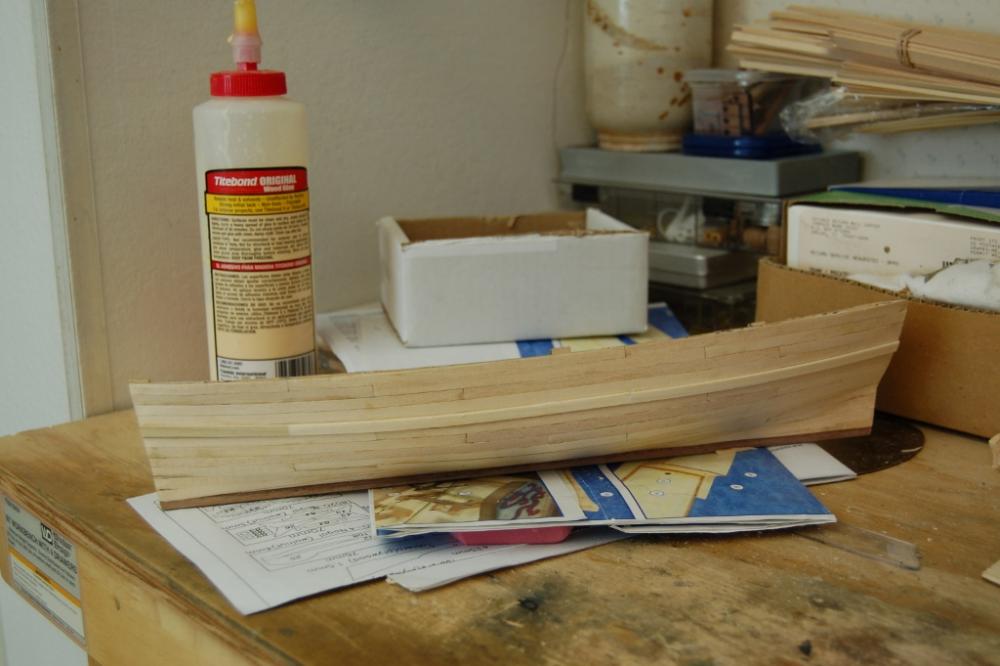
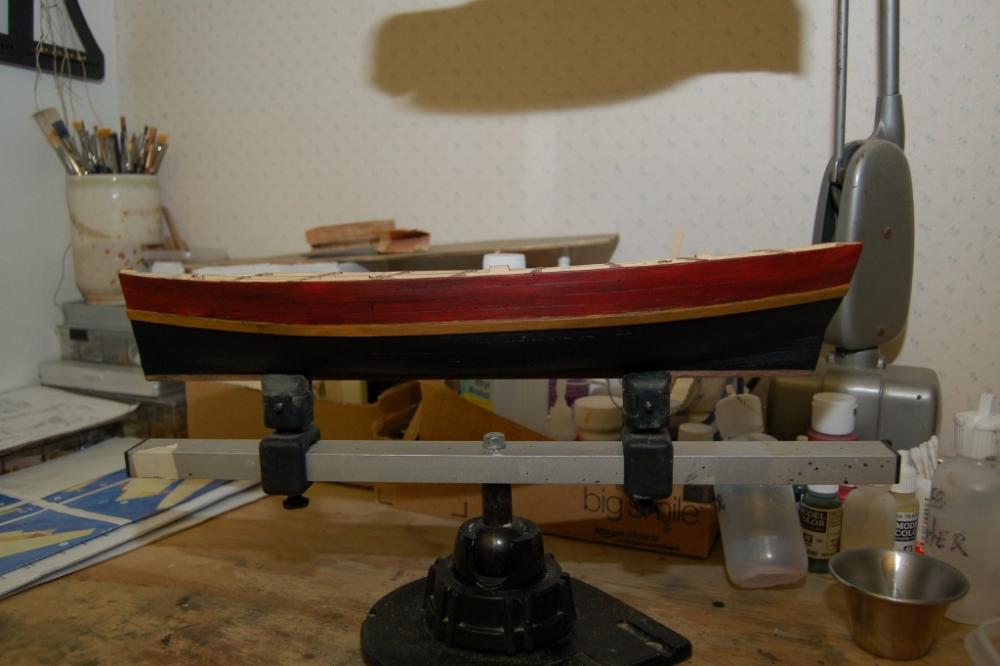
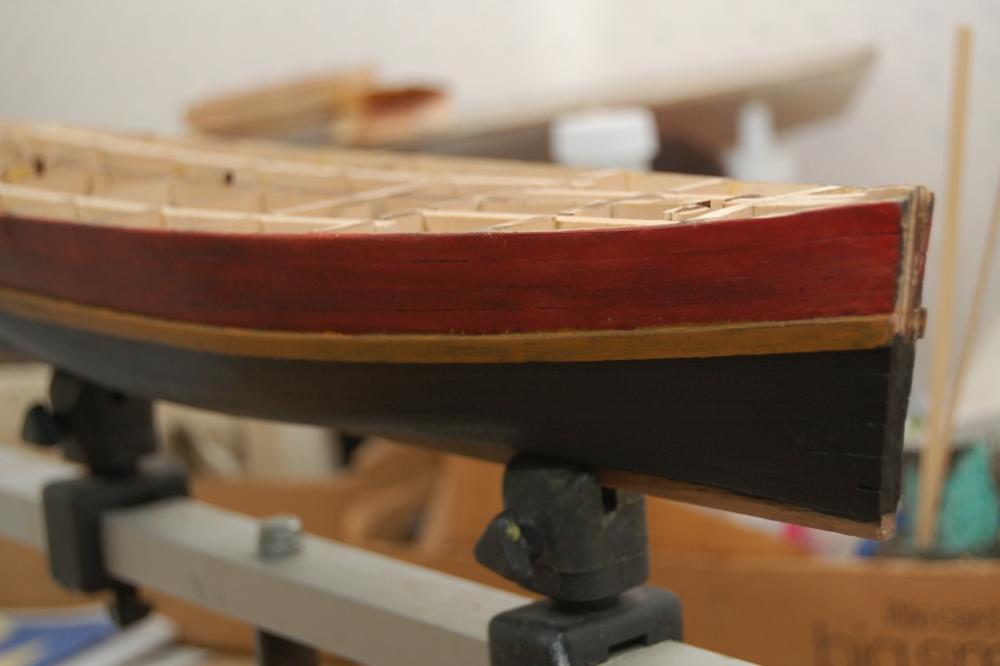
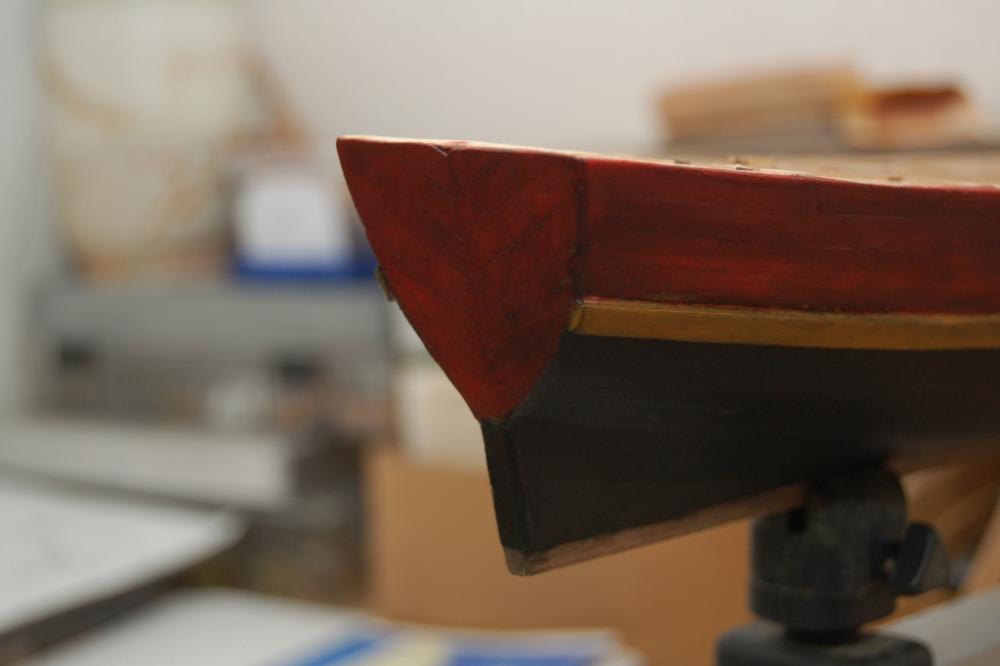
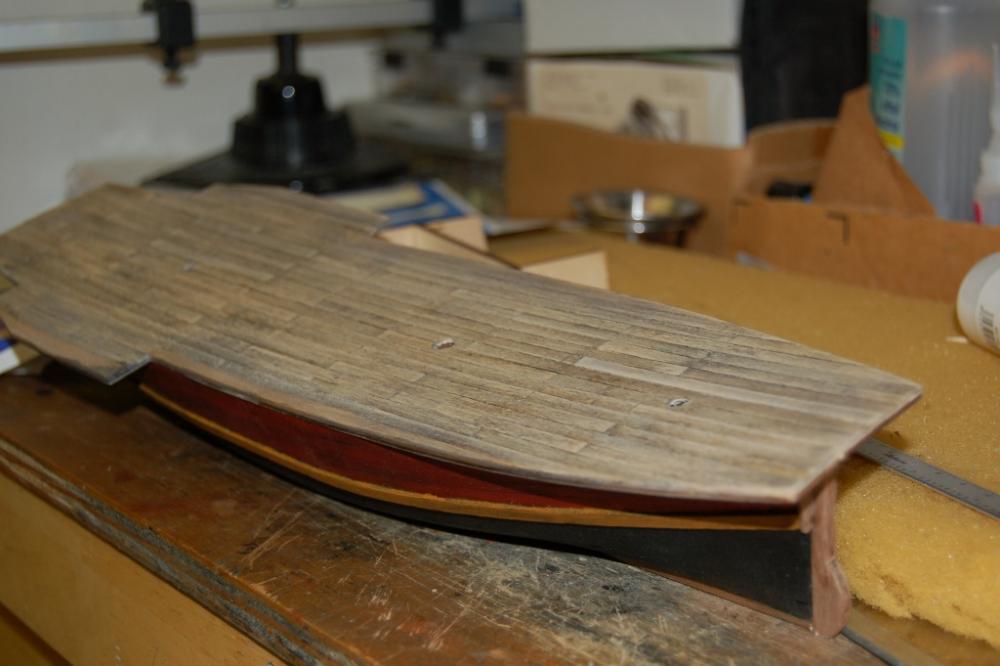
Thank you Mike, Denis, Michael and Edwin for coming on board......... well it's about that time for a Red Dragon update. Since our last meeting I've managed to accomplish finishing the hull construction, main deck and painting of the hull and attaching the main deck. I'm in the process now of working on the upper deck ,,,,,,,, the following pictures will bring you up to date........ as always Thanks for look'n in Frank As you can see this is the first strake laid.... What I failed to do was to taper.... would you believe that??..... the way this hull laid out, it looked like there was no taper at all..... well , things went OK until we neared the garbord I then had to do some creative fitting I will never ever do that mistake again luckily it turned out half way decent Again......... thanks for stopping by........ Frank


-
Really nice work there Bug...... everything you did looks perfect...... excellent job on the fitting of those pieces. Frank
- 2,191 replies
-
- 6
-
-
- confederacy
- Model Shipways
- (and 1 more)