Geoff Matson
-
Posts
720 -
Joined
-
Last visited
Content Type
Profiles
Forums
Gallery
Events
Everything posted by Geoff Matson
-
 Looking great. I look forward to following your progress
- 117 replies
-
- 4
-

-
- constitution
- model shipways
- (and 1 more)
-
Yes Elijha, it is too big and too awkward to transport. So I will be bringing a flash drive of my progress to the meetings and Kurt can show it on the projector.
-
Hi Elijha, I too enjoyed meeting you and brother and Dad at the meeting last night. Looks like you are off to a great start on your Phantom. I look forward to following your progress. Go make some sawdust!.
- 701 replies
-
- 3
-
-
- phantom
- model shipways
- (and 1 more)
-
Ken, again I love following your thought processes. Looks like you will have an outstanding model.
-
Ken I love following your build and watching how you figure out your "oh know" moments. Great job!
-
Great job on the ladders. I really like the detail and the way you explained how you did it. Always looking forward to more progress
-
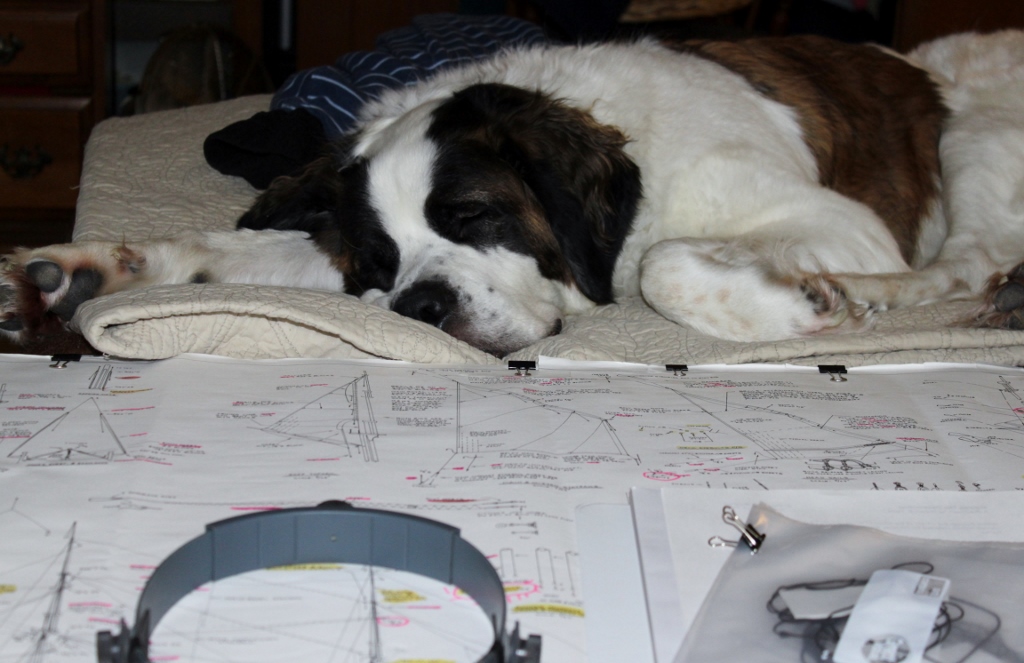
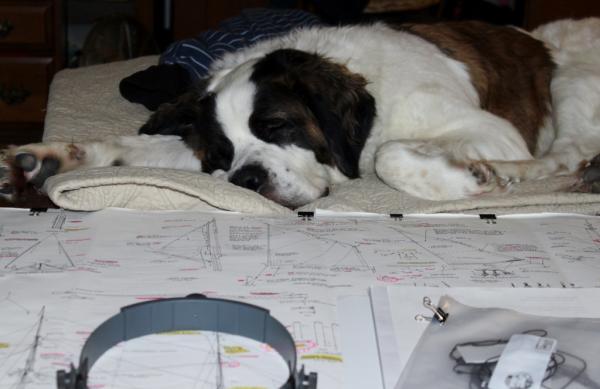
I spent the last few days making rope for the my Main Mast rigging. I will follow the same practice as I did on the foremast, rig as much as I can off the model. I also make up a lot of the other rigging line ahead of time so when I go to install everything I will be ready to go. The nice part about this is I will know ahead of time where all the lines will attach. This will hopefully prevent having to drill a eye bolt hole in the deck with everything installed and in the way. Here is a quick shot of my main helper going over the rigging with me
-
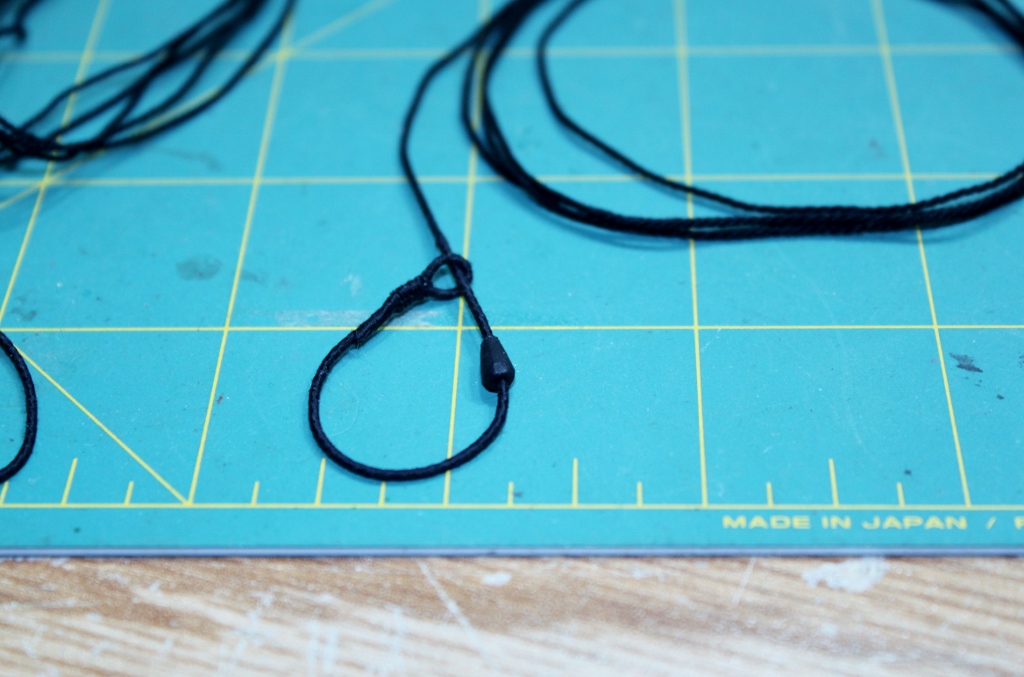
Hey that Rattlesnake is looking pretty great. I remember when you started it. Thanks for your interest in the mouse. It was pretty basic, I just followed Bob's idea of taking a square piece of wood proper for the line size, drill a hole in the center the size of the line and file it into a cone shape. Then just painted it black and slipped on the line.
-
I have been working on the foremast rigging. Here is what I came up with to represent a mouse on some of the lines.

-
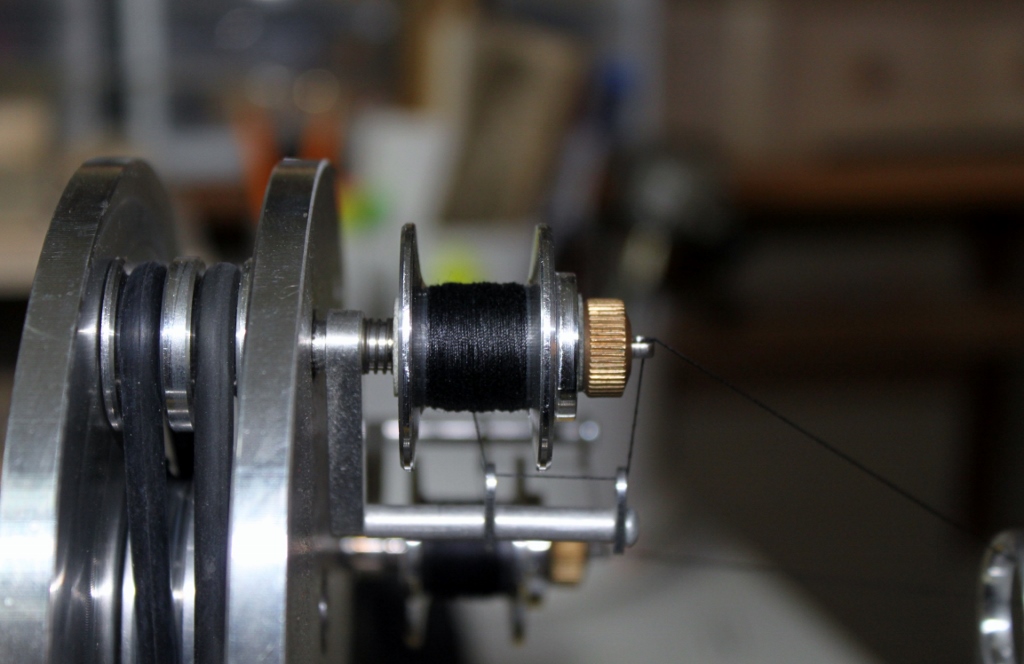
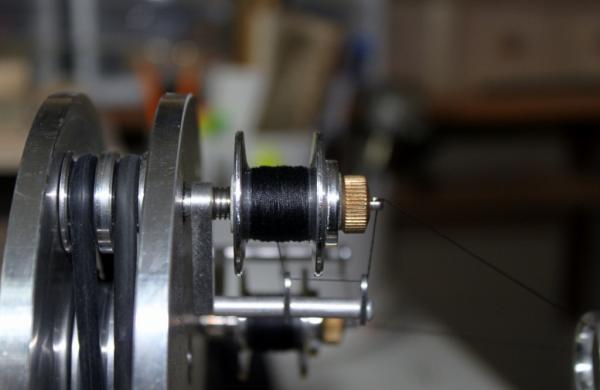
.Here is a sight I just came across for cotton thread. http://www.discounte...derysupply.com/It is called Discount Embroidery Supply. I ordered some 40 wt and 80 wt cotton thread from them to make more smaller sizes of rope. They have a lot of thread and different sizes. Just check it out and it may help you out. Here are a few shots of making three strand 40 wt cotton thread


-
Hello Dave. Here is a sight I just came across for cotton thread. http://www.discountembroiderysupply.com/It is called Discount Embroidery Supply. I ordered some 40 wt and 80 wt cotton thread from them to make more smaller sizes of rope. They have a lot of thread and different sizes. Just check it out and it may help you out. If you use (Coats and Clark 30 wt and 35 wt), (Guttermann 50 wt),(Maderia 80 wt), and( Floriani 40 wt) you will have five sizes of single black thread to use and no rope walk needed. You might want to check out the lighter colors for the running rigging.
-
Wow the stern timbers are looking great! really like your modifications.
-
Hello lambsbk Thanks for interest in my build. I also found your sight and you are doing a great job with your Conny. At this smaller scale it is really hard to make the rigging look right. That is why I went with making my own rope using the Byrnes Ropewalk. The kit supplied rigging line just left a lot to be desired.
-
Just found your sight. Your Conny is turning out great. I look forward to following your future progress
- 601 replies
-
- 1
-
-
- constitution
- revell
- (and 1 more)
-
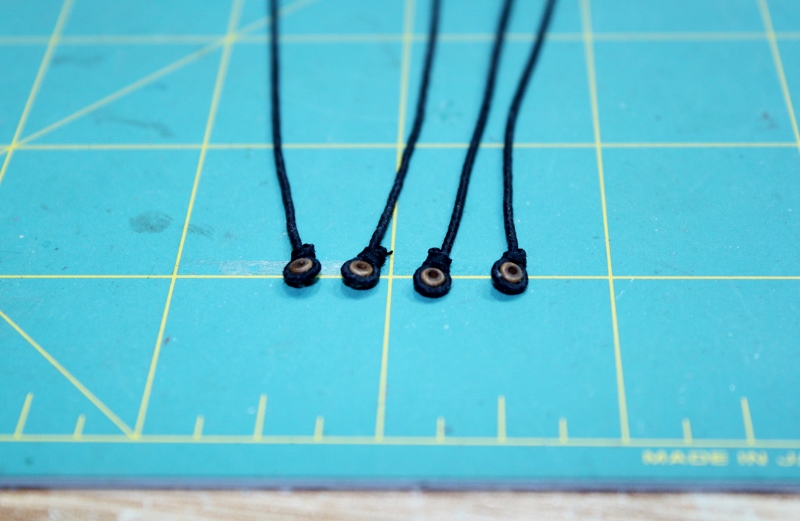
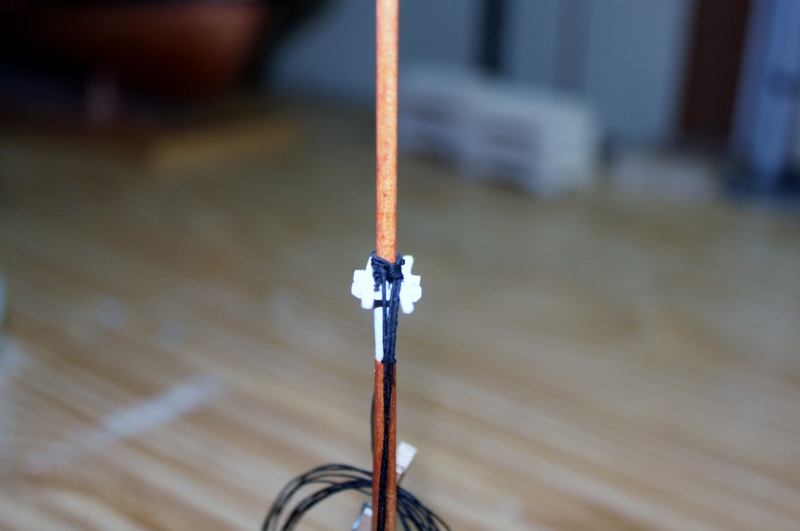
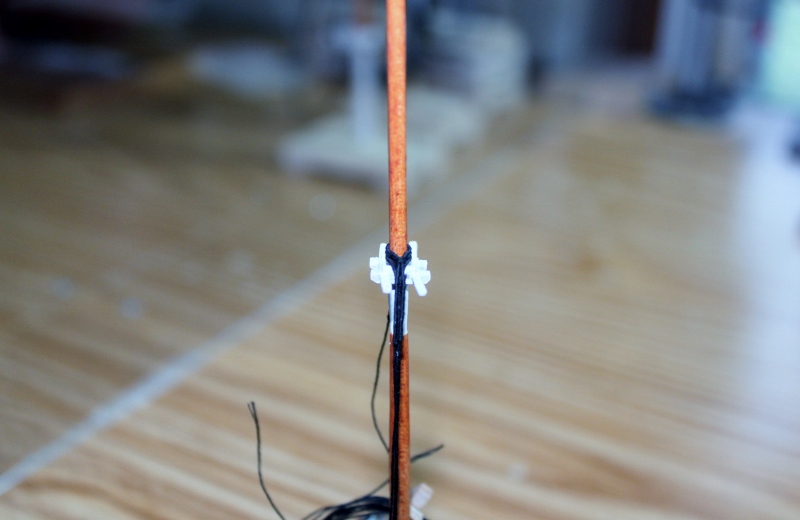
I installed the lower shrouds on the main mast. I will attach them to the dead eyes once i set the mast. Here is a picture of the the shrouds laid around the mast

-
That's just the right bit for drilling scuppers!
-
Hello Harvey You got it! That is why I use Cotton Thread. You can set the line with a little diluted white glue. I also apply it to the attachment point of the rigging if I need to take some slack out of a line.
-
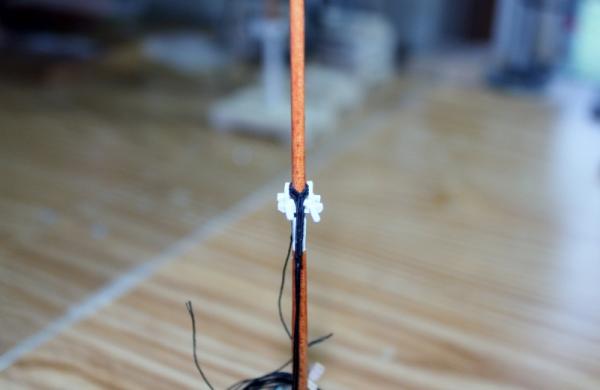
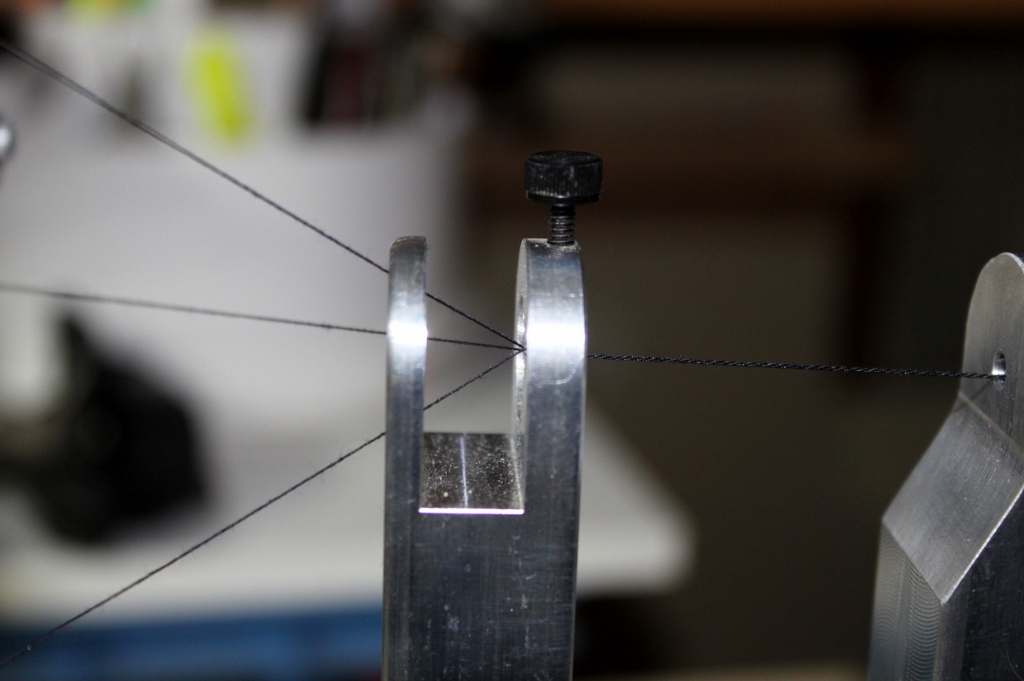
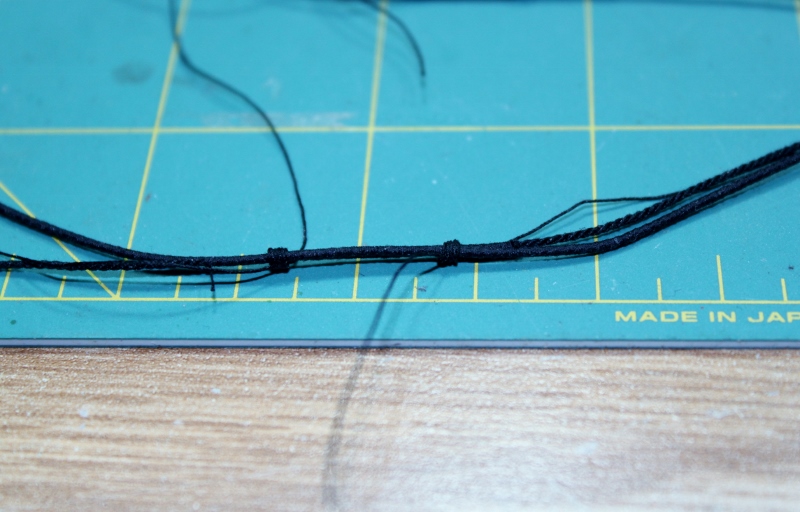
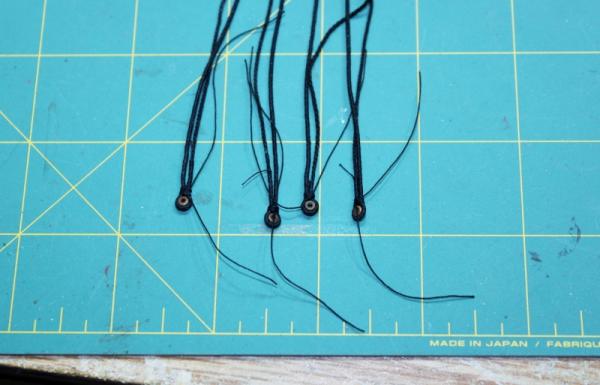
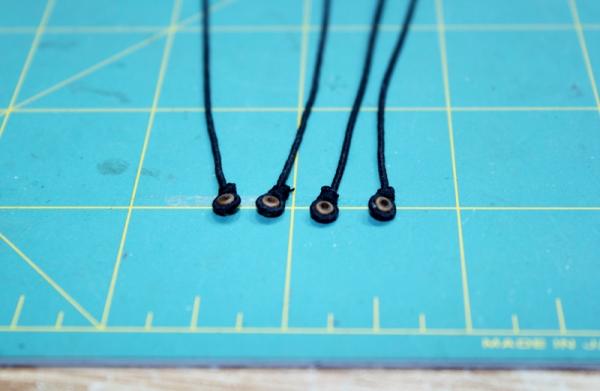
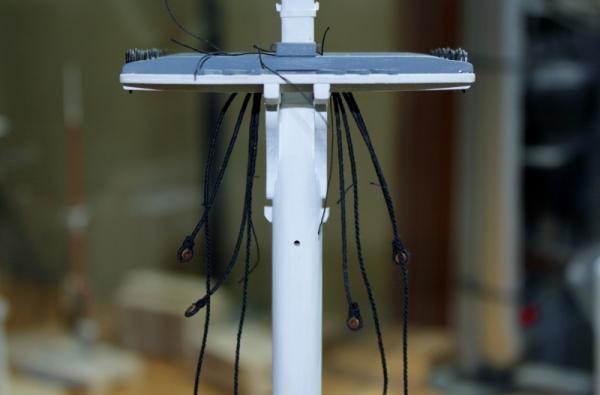
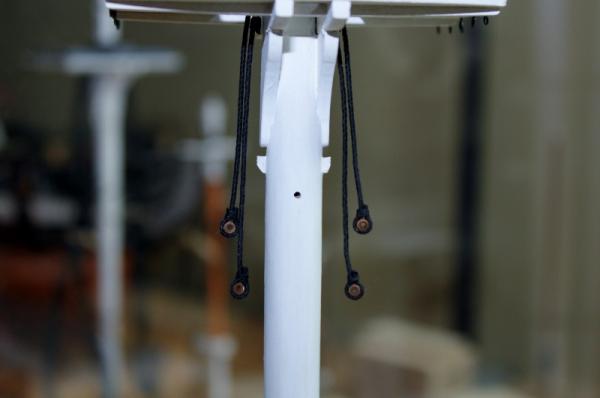
Some people have asked me post how I did the runner pendants. In this picture the line has been made and served and attached to 1/8th bullseye. The bulleyes have been adjusted and set with diluted white glue and trimmed. The two lines have been seized and the tails left on for the final adjustments. The lines have been placed on the mast. The tails aid in the final adjustments. This takes some time. I am so glad I do it off the model. Once I am happy with the position of everything I set the lines with diluted white glue. Once the glue is dry I trim off all those tails. Here is the finished product I will next install the swifter, which will be served the full length and move on the the lower shrouds. The small hole in the mast is where the yard will be installed. I try to pin all my attachments to make the rigging simpler.

-
Looking good Ken. I went with the three windows and made my Constitution as the Kit suggested. I enjoy following your changes from the kits option. Have a great Christmas and make a lot of sawdust
-
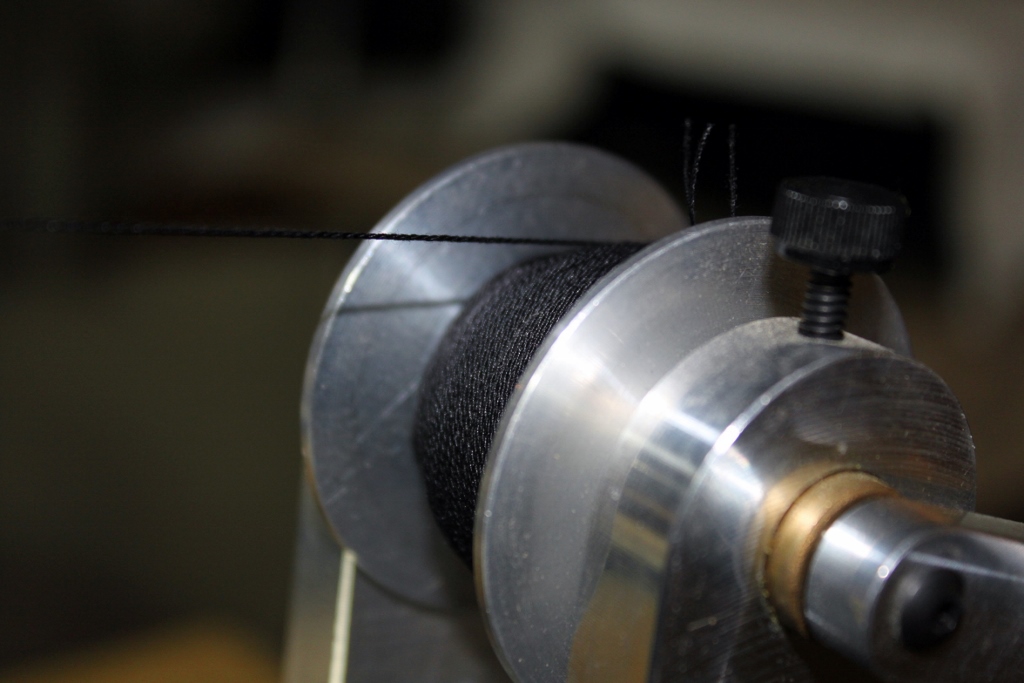
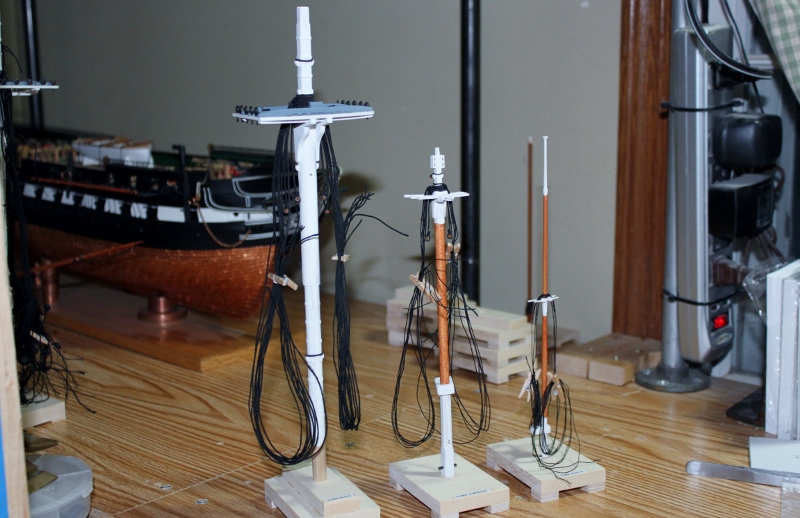
Thanks George. They work out great and make the rigging a whole lot easier. This way I can rig the masts while sitting in my chair instead of standing up and working over the model worrying about breaking something off. With the rigging there is a lot adjusting the lines to get them just right. If you look behind the masts you can see the other stands ready to go to work
-
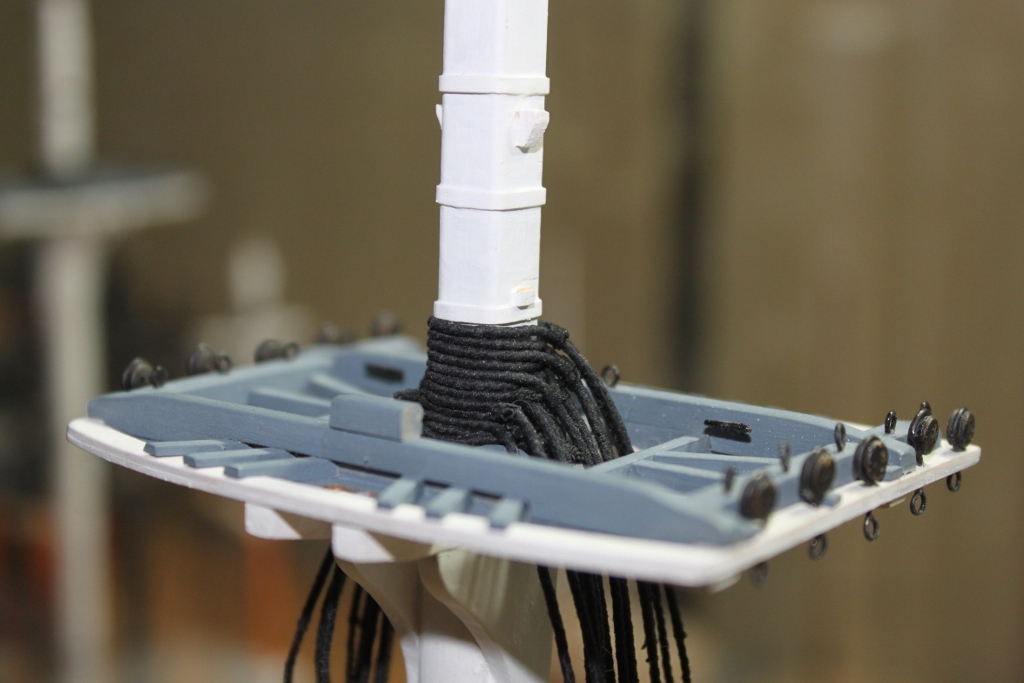
I finished all the foremast shrouds. The shrouds are all I want to install on the foremast right now. I am figuring out the rest of the lines that will go on the Foremast and make them up ahead of time. That way when I begin installing the mast all the lines will be ready to go. I will do the same for the Main mast and Mizzen mast.

-
Thanks for the tip
-
Hello J T The plan sheet for the Constitution lists the rope sizes on the rigging plan. I just used those measurements and scaled the rope to those sizes. There are many ways to measure line diameter. The one I chose was a simple digital caliper that displays you your sizes in inches and mm. You have to find a way that works for you. You and I would probably come up with different sizes depending on how hard you squeeze your caliper. I feel making my own rope gives me a more realistic look than just using the kit supplied few sizes. Plus the fact I want to get into some scratch building and figured this would be good practice for that. Hope that helps and thanks for your interest
-
Hello David. Hope you are feeling better. As for bringing it to the meeting I am putting some construction pictures on a flash drive and Kurt is showing it to the members with the projector. Works out well and no hassle in transporting. So far I am happy with the cotton line. A little fuzz, but just don't look too close
-
Here are two photos. The top photo looked to clunky to me so I redid it and second photo is the result I am happy with. Both rigging lines are the same and served with the same thread. The only change is I used a smaller size line to seize them to the mast. To me one little change made a big change in appearance. That's what I mean about experimenting George. To me the bottom photo just looks cleaner and more to scale.