


Glenn-UK
-
Posts
2,660 -
Joined
-
Last visited
Content Type
Profiles
Forums
Gallery
Events
Posts posted by Glenn-UK
-
-
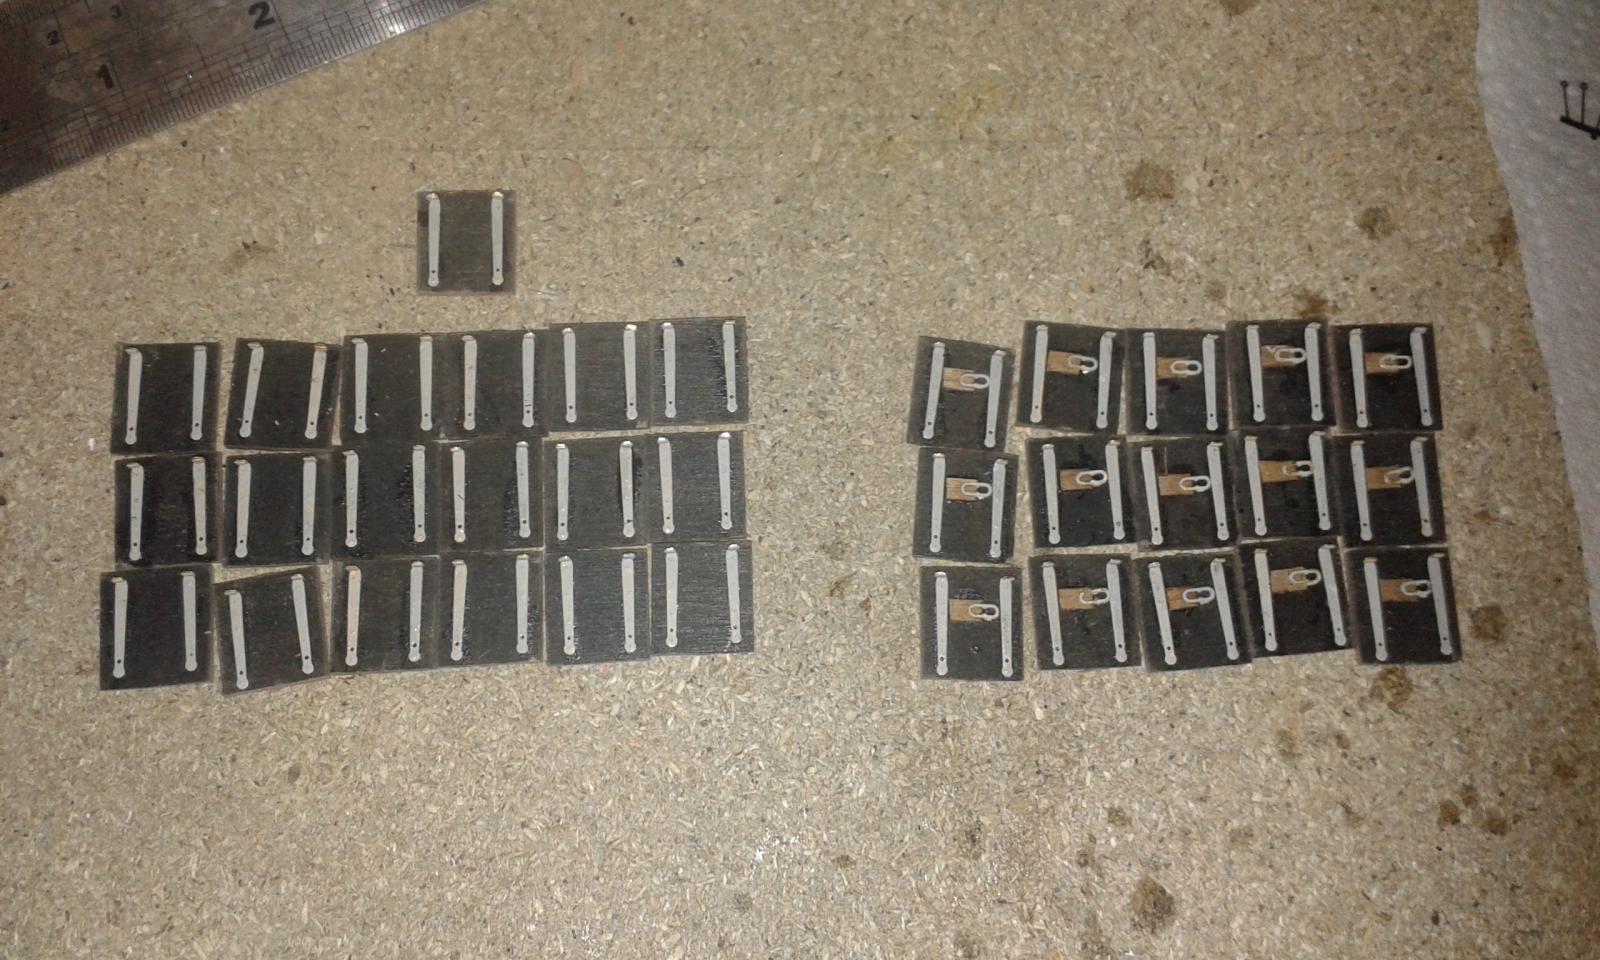
Assembled 34 gun port lids tonight, just got to drill the lids and fit 136 eyelets, 4 per gun port lid which will be 2 or 3 nights work, then 2 or 3 nights work to fit and rig the gun port lids to the port side of the hull.

I have chemically blackened the eyelets which I find much better than painting for these small pieces.

All being well I aim to have all this work completed sometime by weekend after next and will move on to the rudder assembly.
-
All seems to be going smoothly, a very nice set of photos, as always.
You'll have the running rigging completed in no time.
-
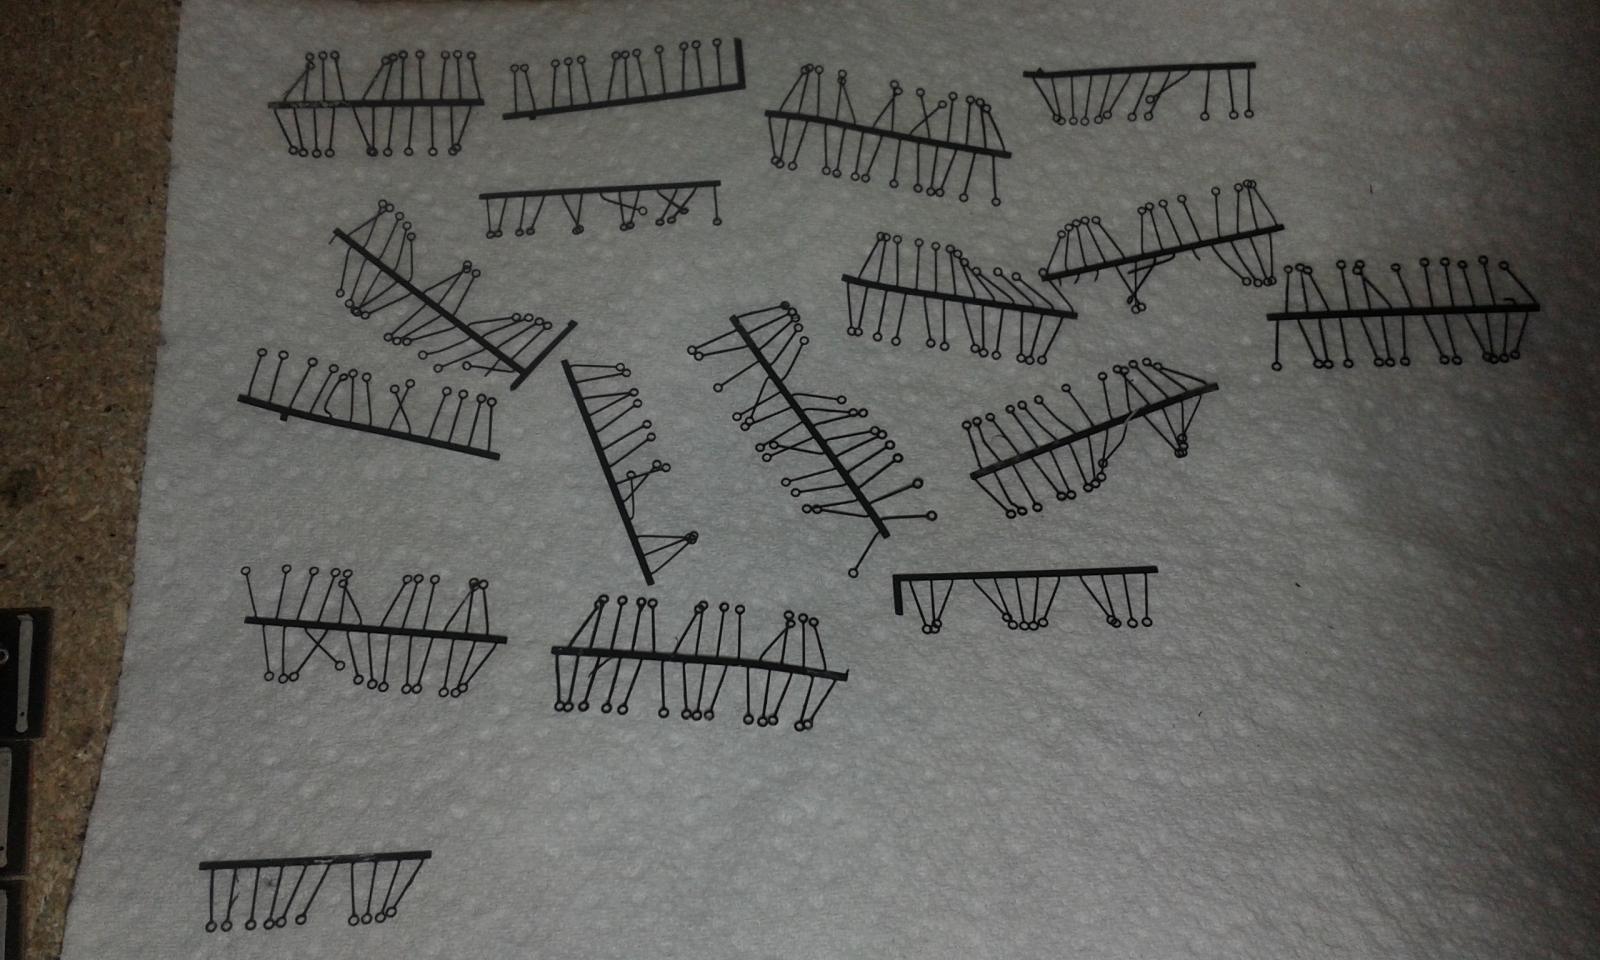
Look forward to seeing your results, an interesting art form. I agree some modellers have enhanced their builds in this manner.
-
Been a good weekend, back at work tomorrow, after a few days off with my glass back which seems to be on the mend but going for a MRI scan in a few weeks time. I will look out for the Bounty build log. I'll start work on completing and fitting 34 gun port lids on Tuesday as tomorrow I'll be babysitting the grandkids.
-
Hi Jerry.
I'm using a pencil on the edges, but only a light colouring. According to Chris Watton adding effects for caulking and treenails is not necessary for this build based on scale. Hopefully once complete, smoothed with razor blade and varnished it will look more appealing.
Trust your model boat social event was a great night out.
-
Time for a progress update, as I continue on with the gun deck planking. I have made good progress today and have broken the back of this task and I would expect to complete next weekend, noting the planking near the bulkheads that have to removed will be completed once the gun ports patterns have been fitted.
Pictures of progress to date.


Build Index - hyperlinks
1. Prework - dry fitting bulkheads
5. Dry Fit Main Gun Deck and Fitting
7. Lower Gun Deck Glued and Pinned
- Mirabell61, Shipyard sid, msberkman and 2 others
-
 5
5
-
Congratulations on completing the clove hitch marathon, it's a major milestone in any build. I plan to split my free time this weekend so I can complete Pegasus gun deck planning and Victory's channels, just waiting for the epoxy to set on the foreword channel before attaching the chain plates.
-
Made good progress, all the brass profiles have now been fitted and holes drilled for the cannons. I just have the fit the dead eyes and chain plates to forward channel before I move on to fitting the rigols and gun port lids (which still need to have the hinges and eyelet fitted).
Final task will be to paint and glue the cannons in position.
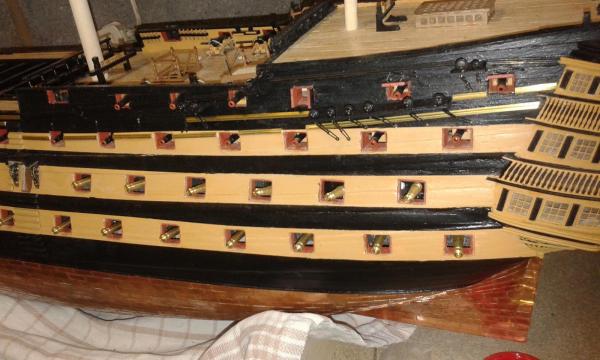
The light at the end of the tunnel has finally been turned on with this phase of the build
-
Hello David
I simply moved the Victory to the Utility Room for natural light for the pictures, but it will be returned back to the garagefor my next session.
-
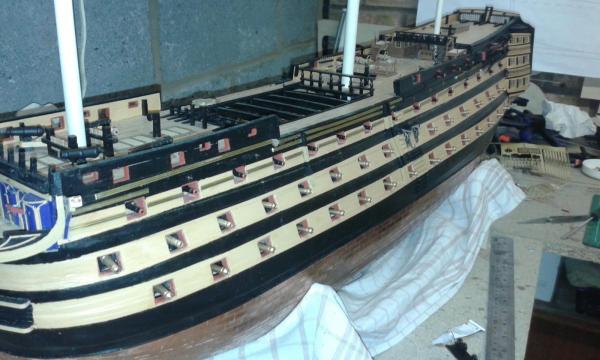
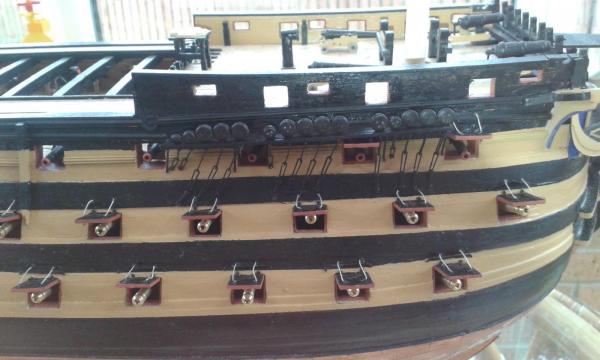
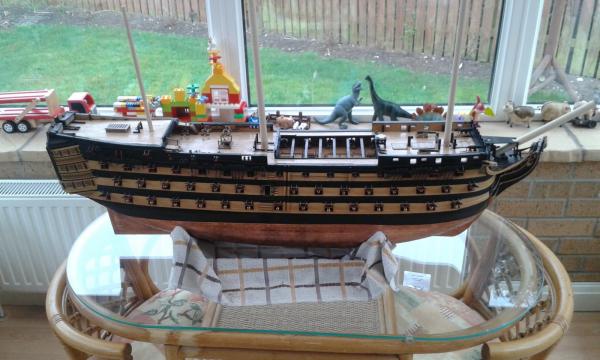
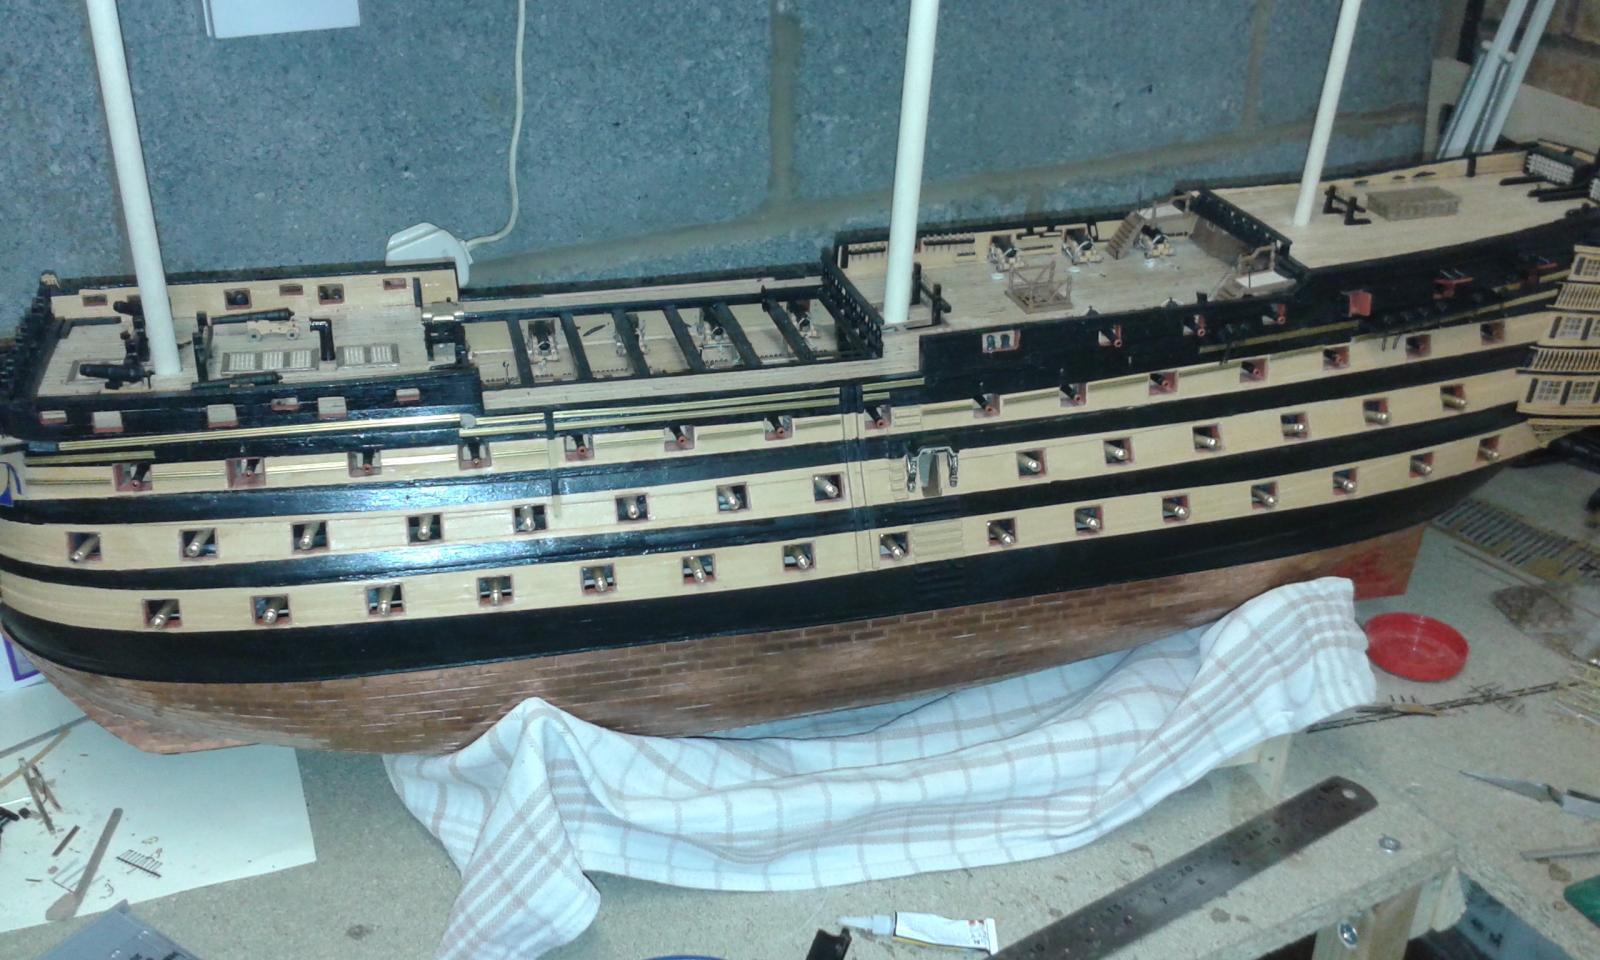
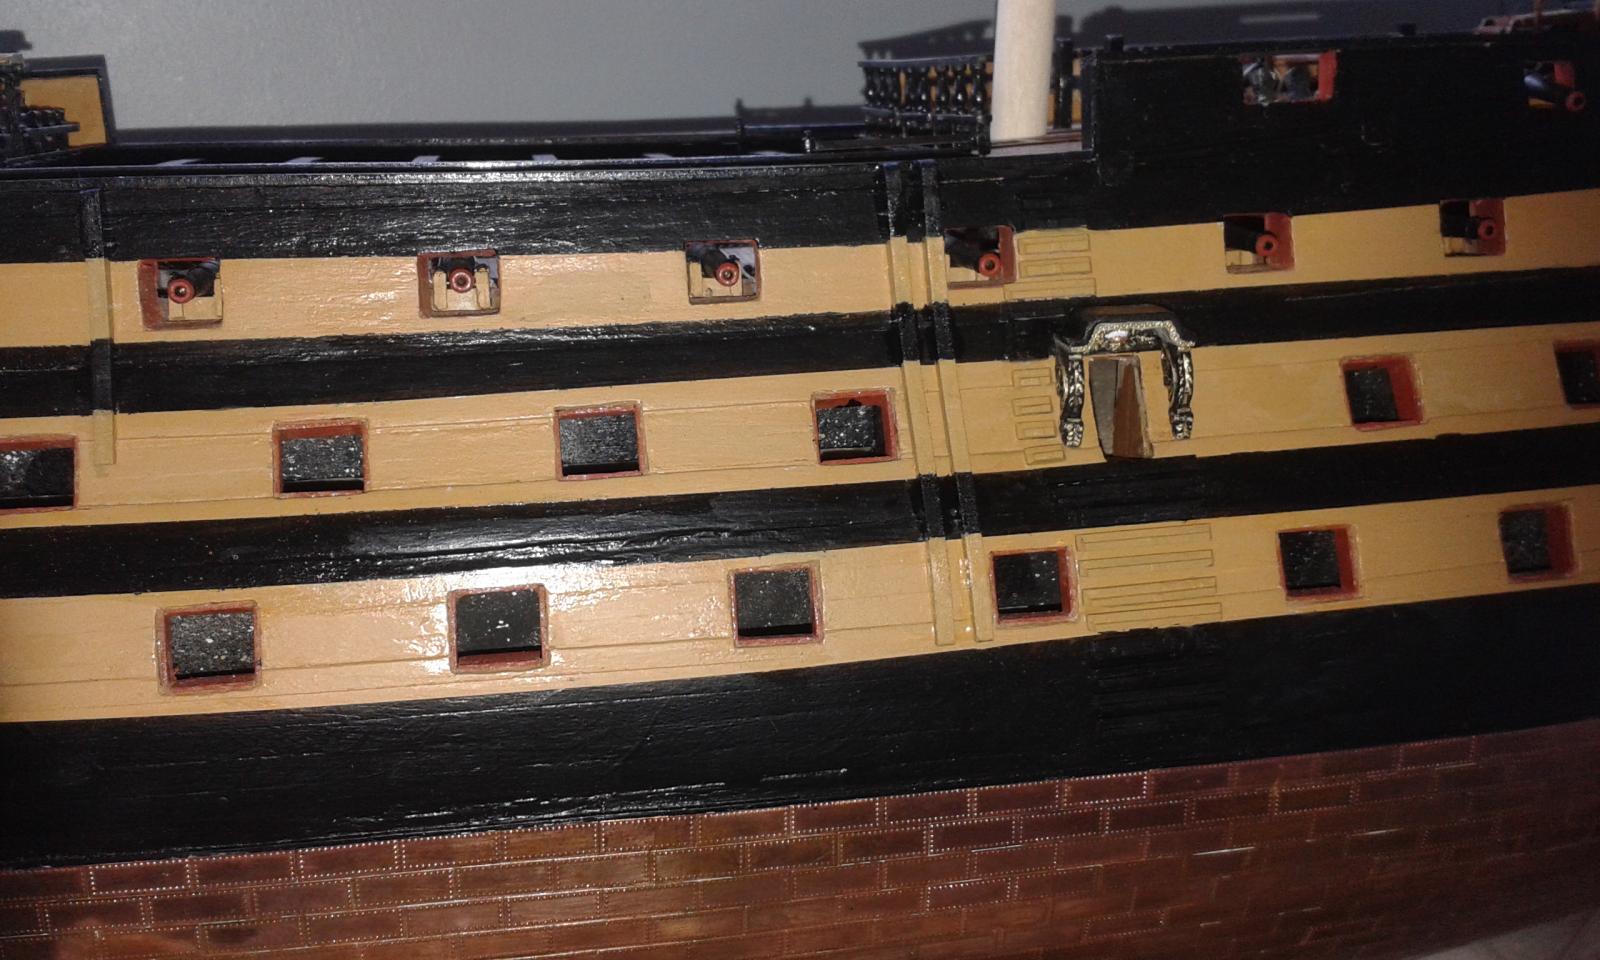
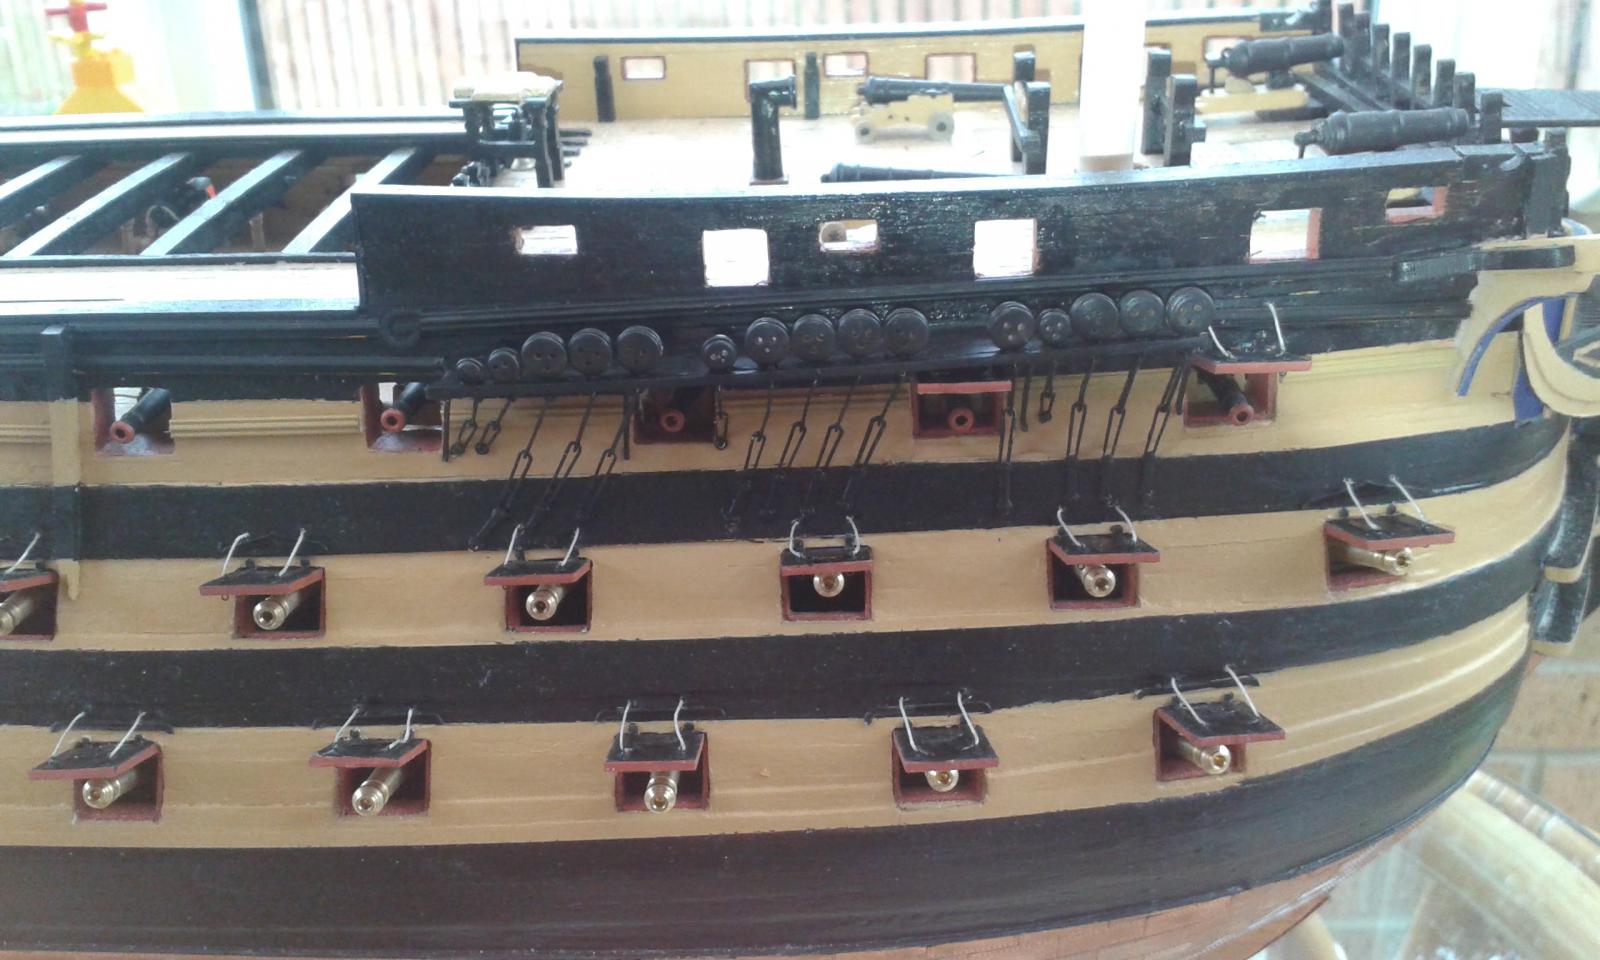
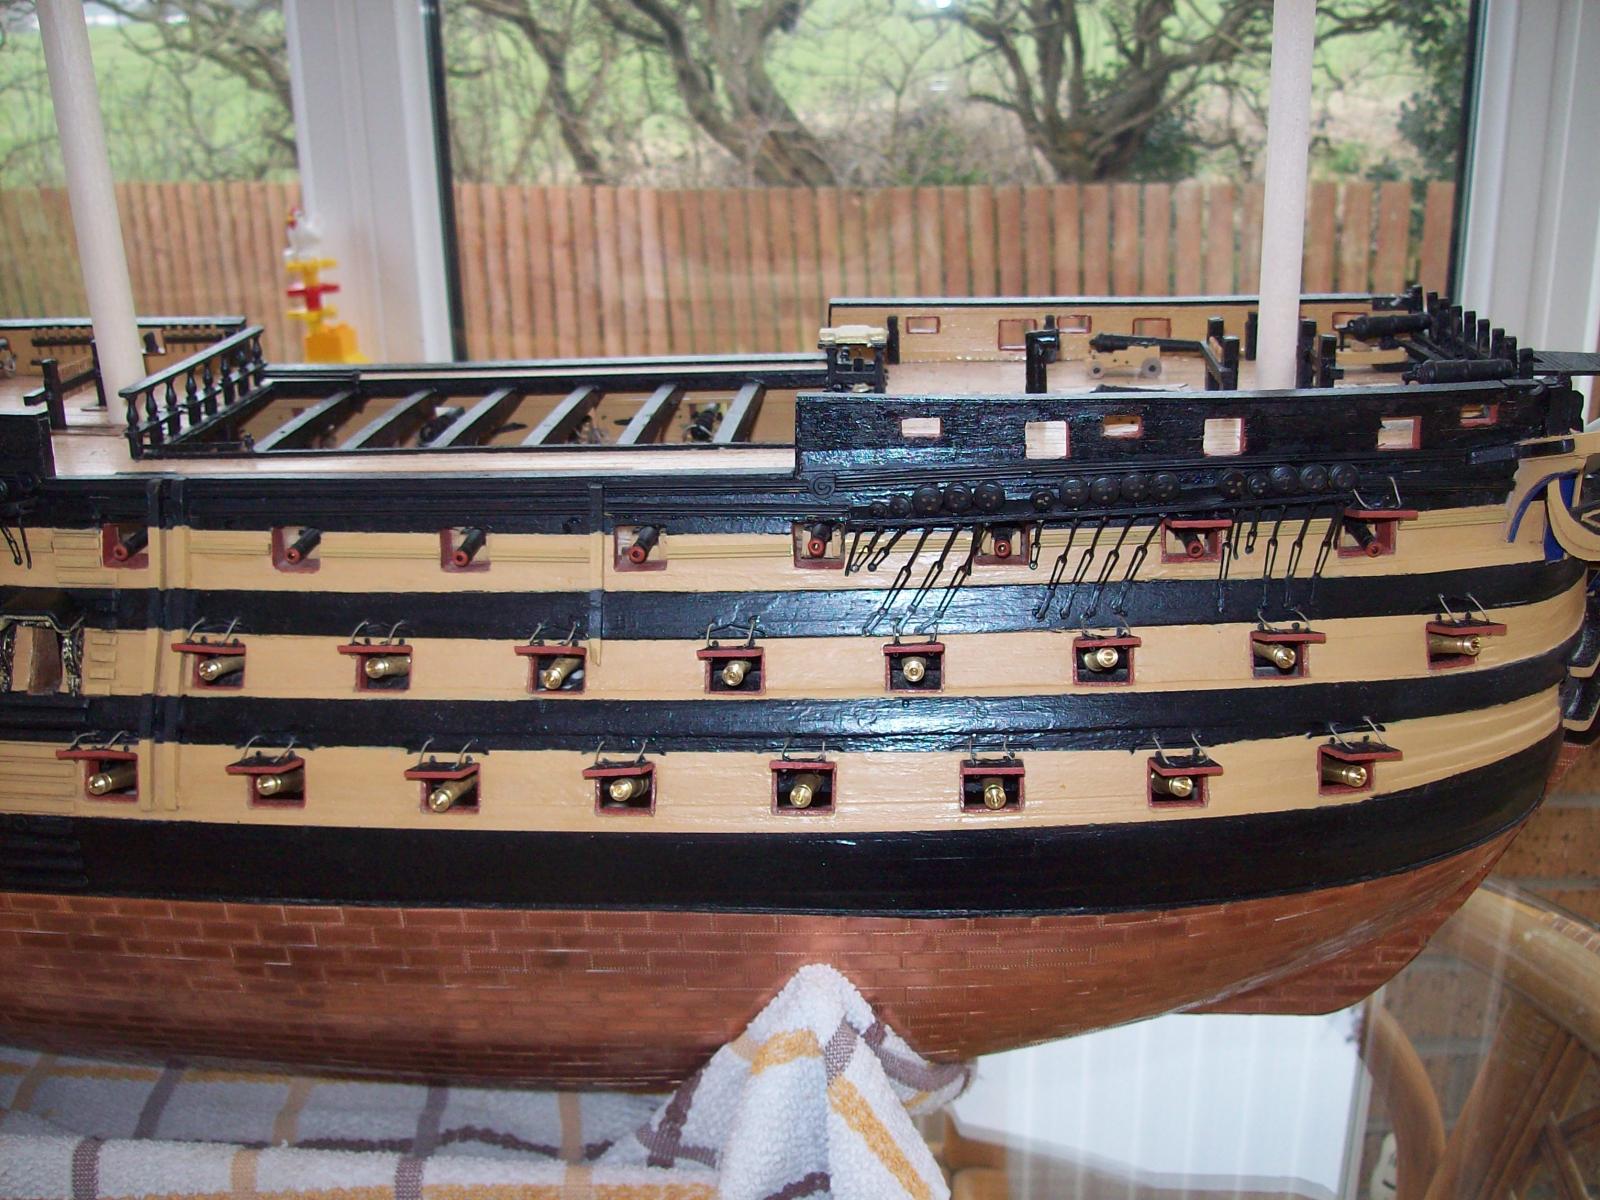
Just a quick update. Work is progressing well on the port side hull fittings.
Picture of status

I have completed work on the side entry port, fenders and cheesetree.

The 3 rear channel assemblies have been fitted, together with the brass profiles.
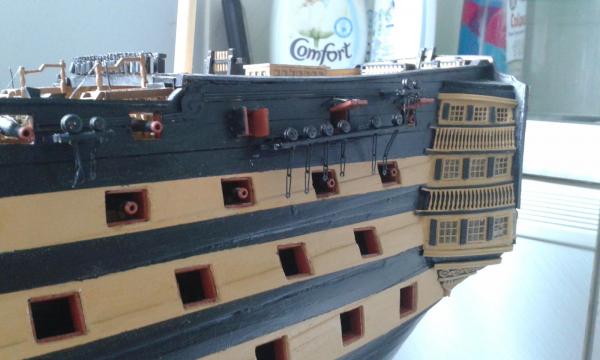
I hope to have the port side completed within the next 2 or 3 weeks, then I plan to turn my attention to the rudder assembly and hammock cranes.
- mort stoll and robert22564
-
2
-
No just me being stupid and I have corrected the post.
-
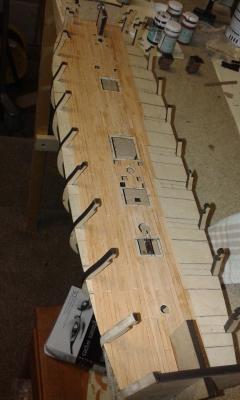
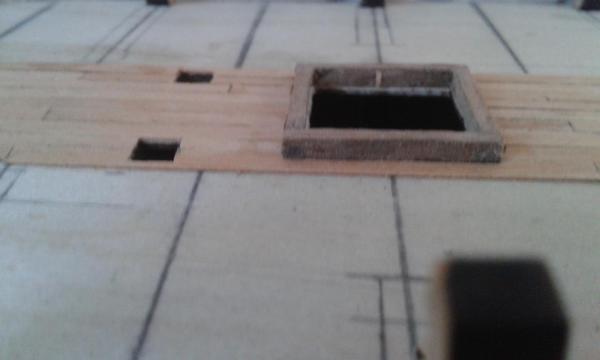
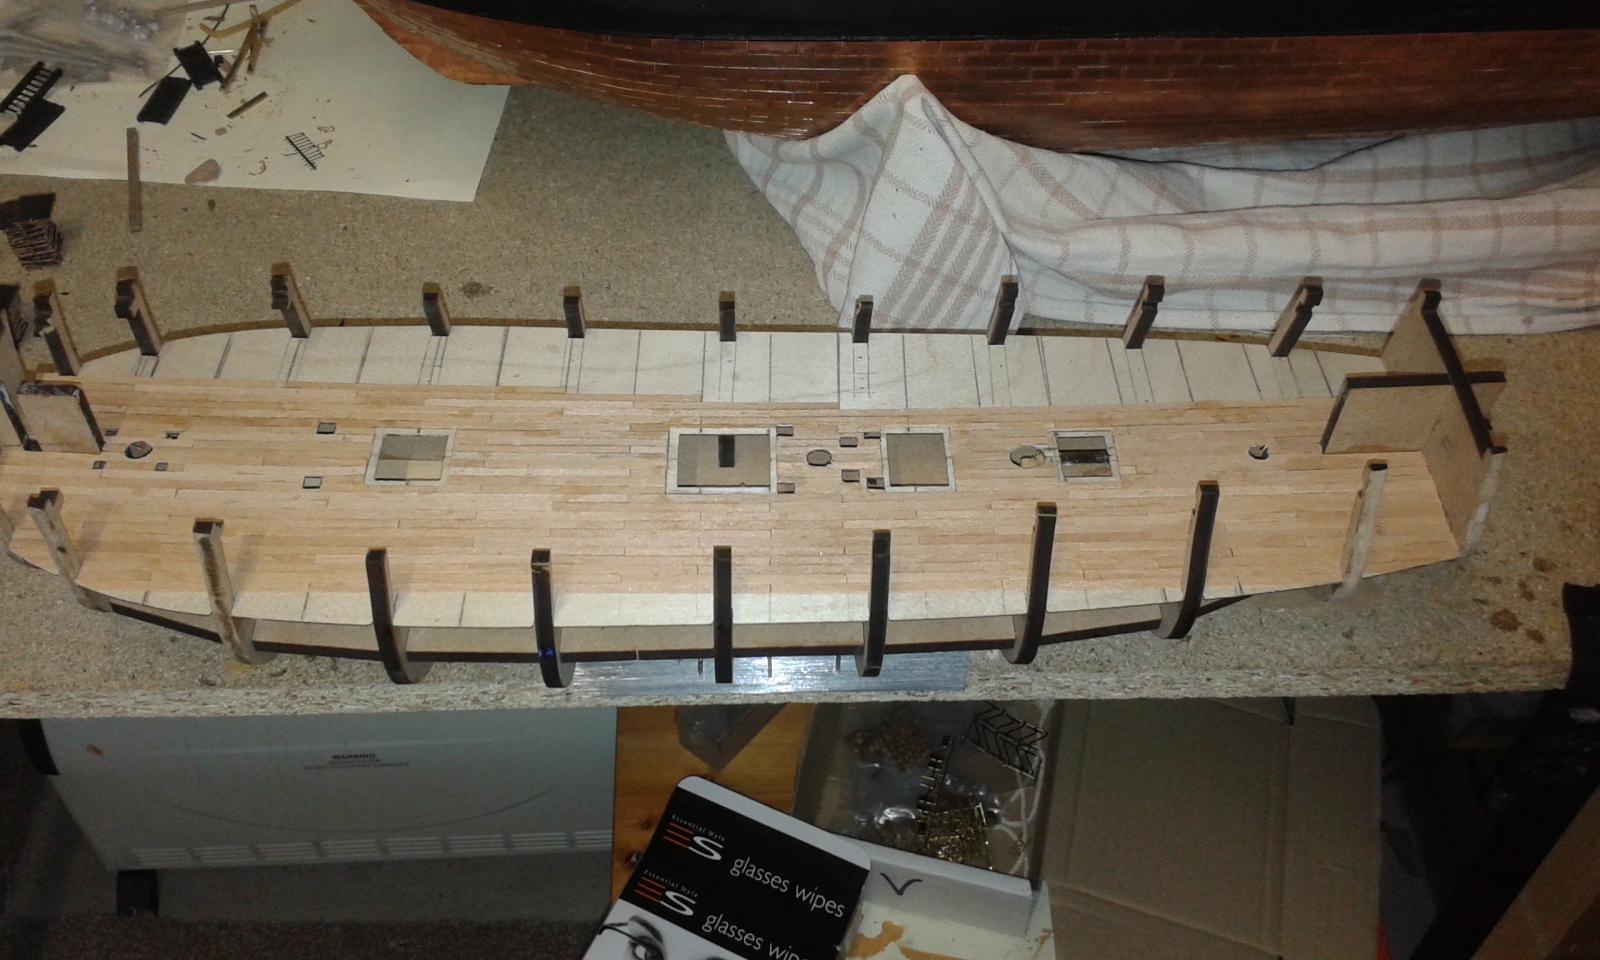
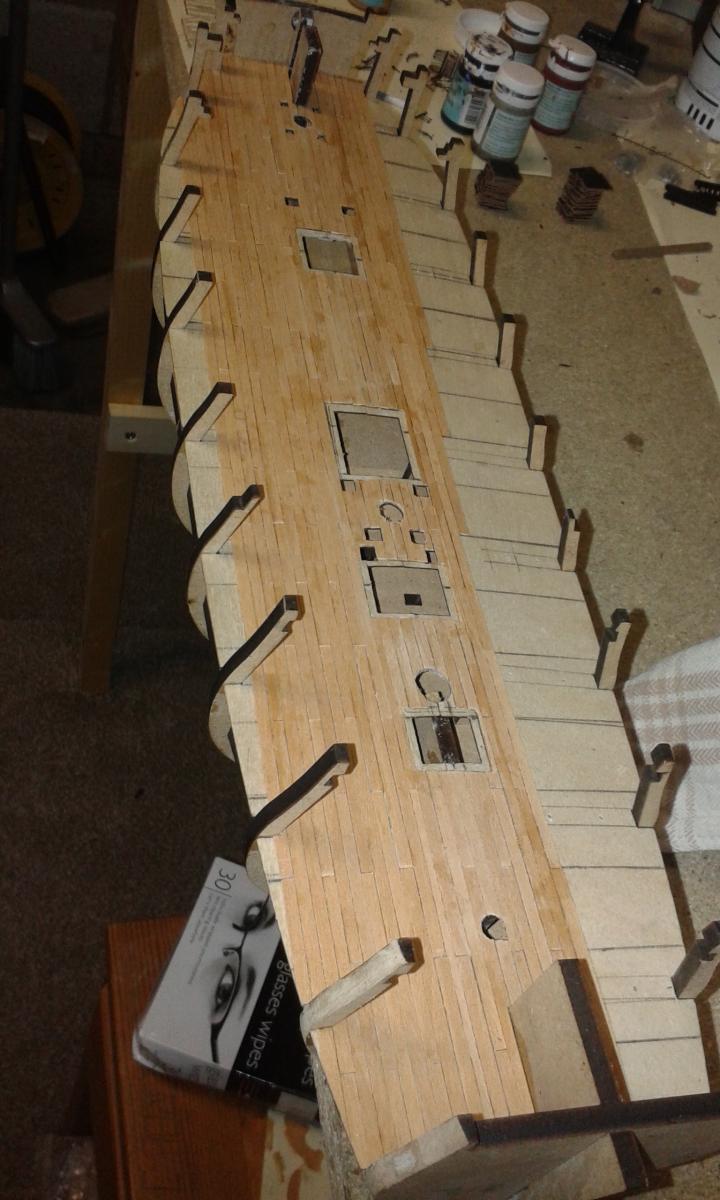
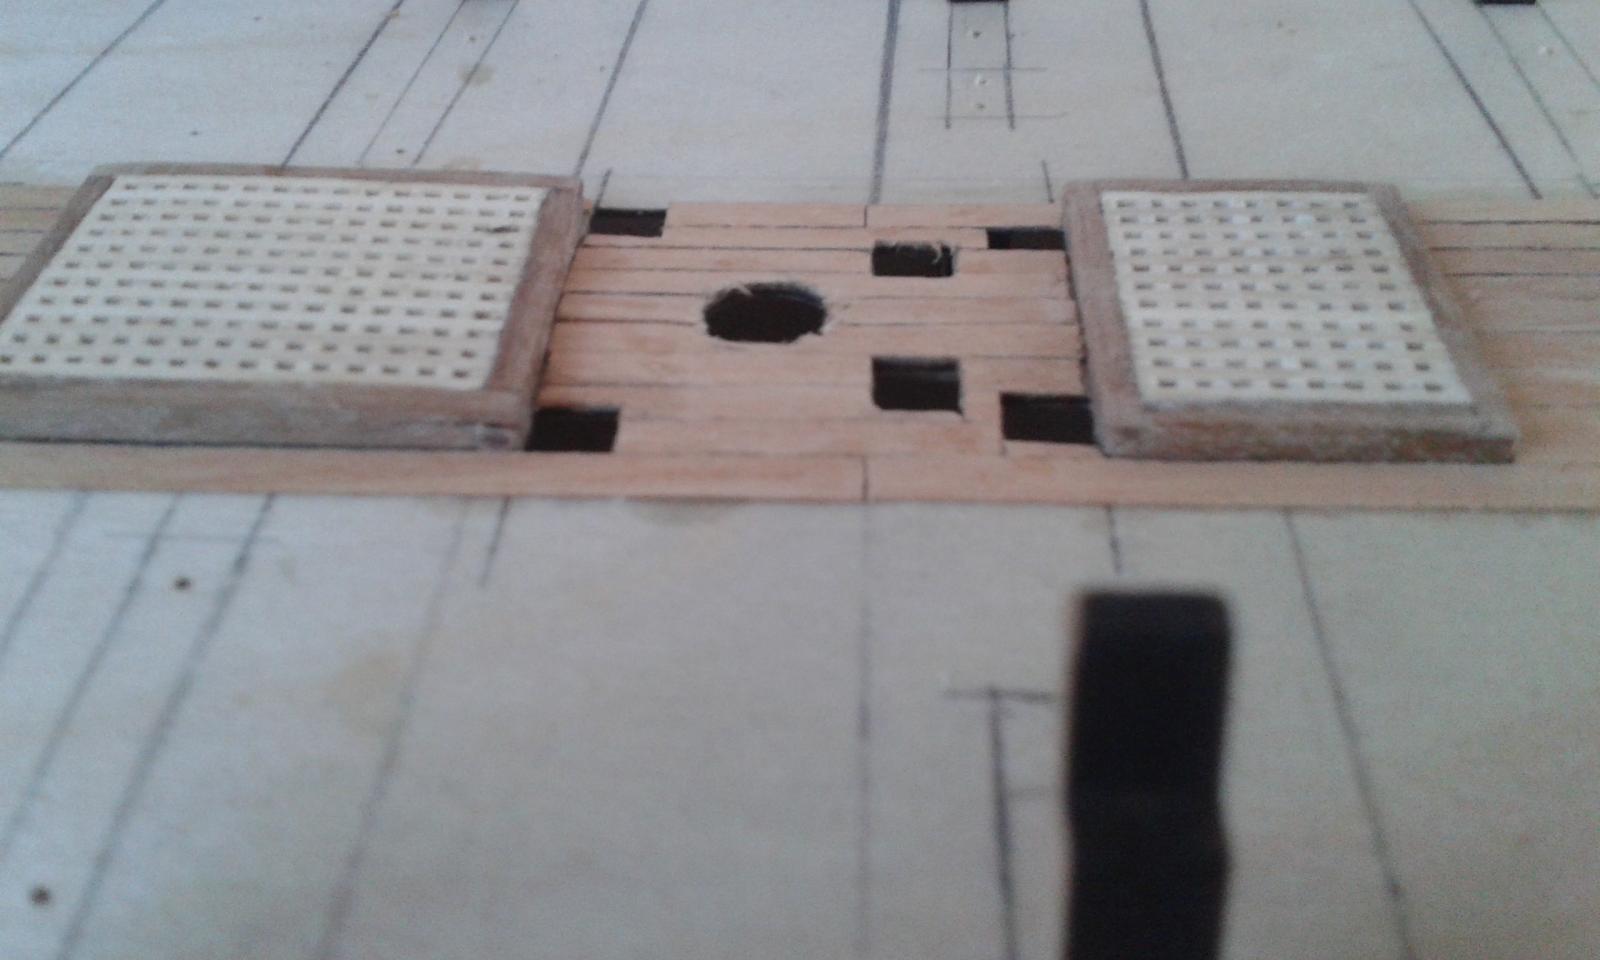
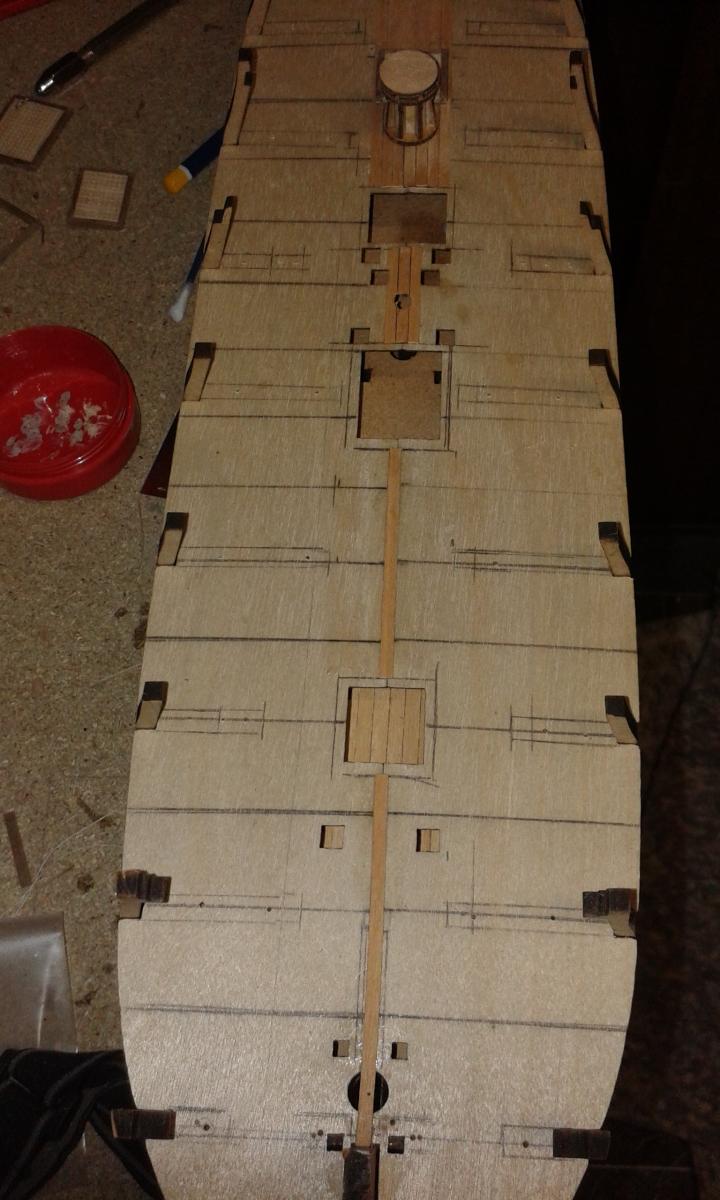
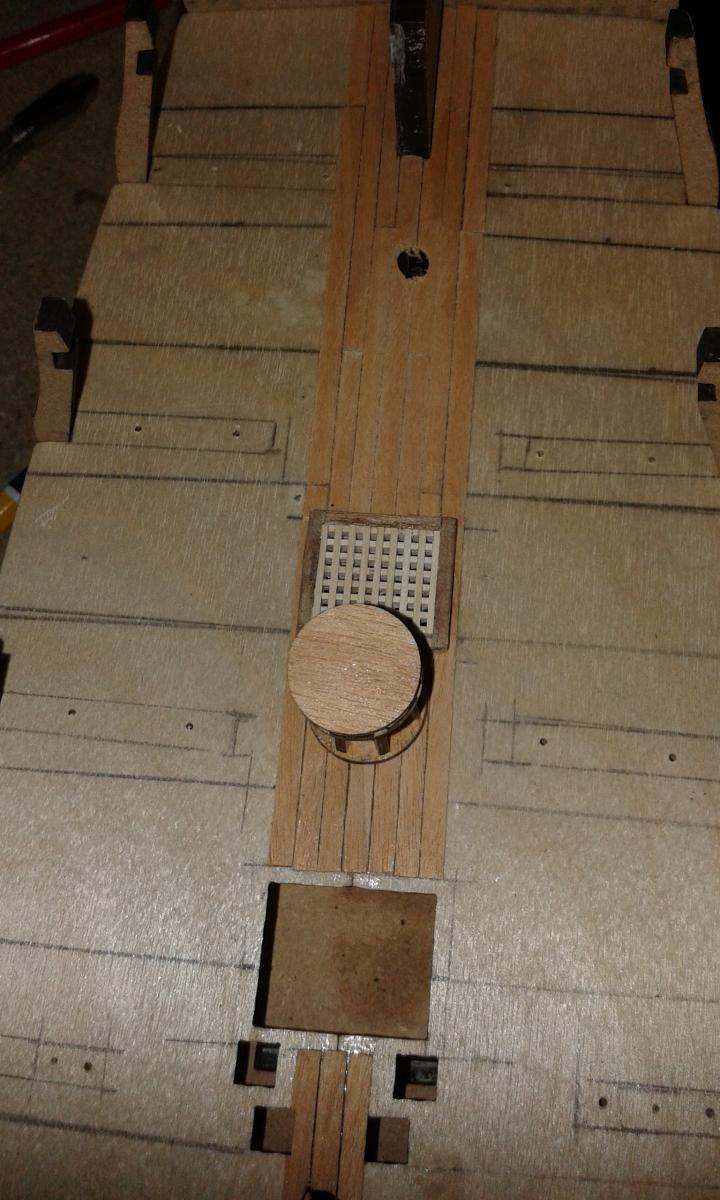
Spent more time working on the the deck planking today, I have now completed the real hard work, i.e. clearing the gun deck openings for the gratings, companionway, masks and bitts.
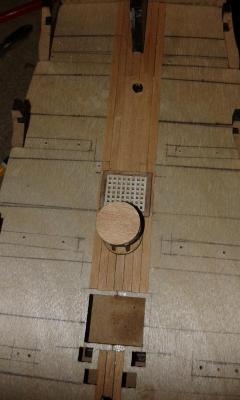
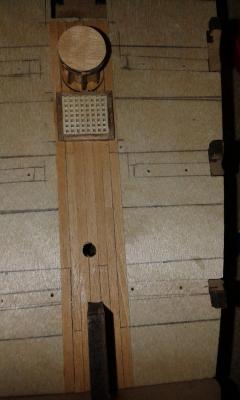
Given Pegasus is a 64th scale model, you can appreciate just how big HMS Victory is in comparison, as this a 72th scale model: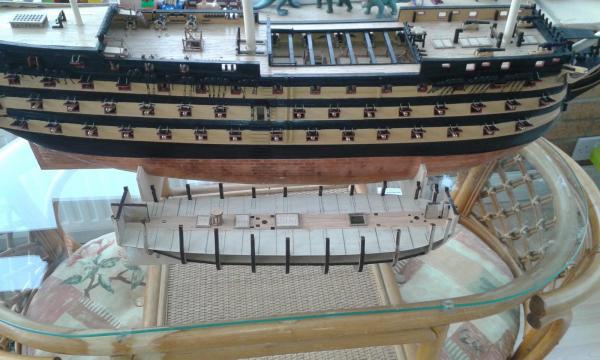
Main Mast Gun Deck Openings, with gratings dry fitted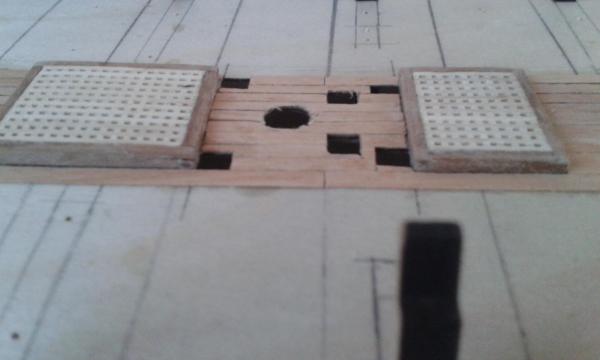

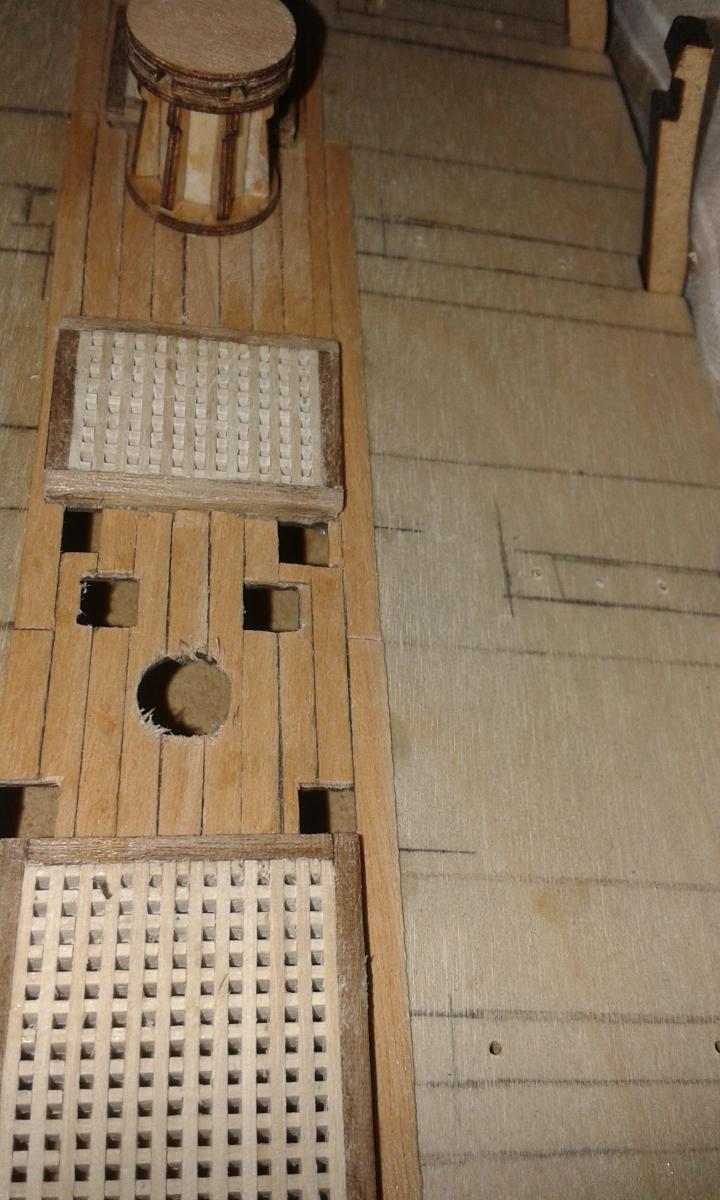
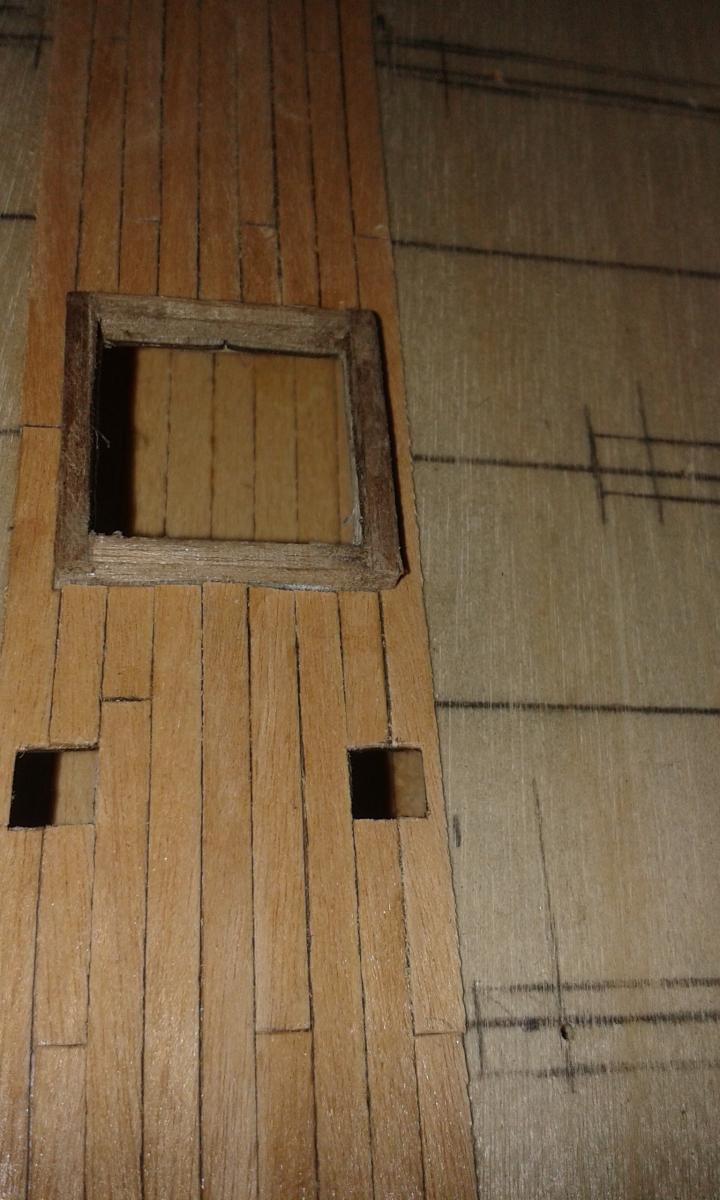
Companionway opening with coaming dry fitted and bitt holes cleared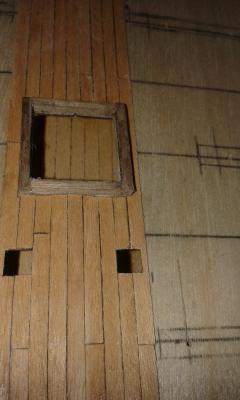
Capstan and rear grating, not properly dry fitted.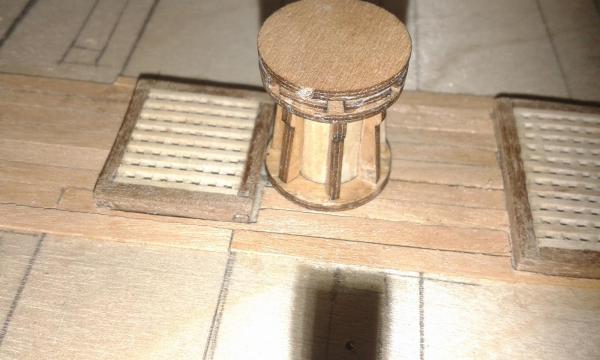
Foremast area with bitt holes cleared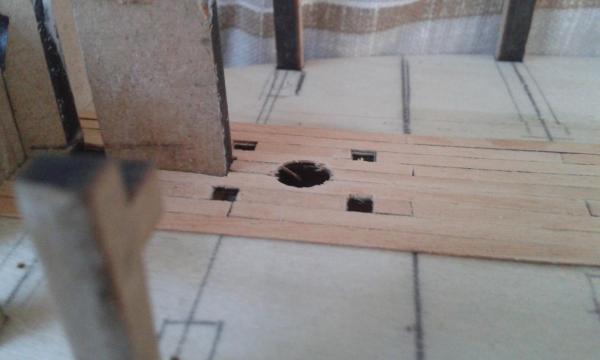
Build hyperlinks
1. Prework - dry fitting bulkheads
2. Beading Line and Rabbet
3. Lower Gun Deck Fittings
4. Grating Assembly
5. Dry Fit Main Gun Deck and Fitting
6. Gun Deck Fitting Prework
7. Lower Gun Deck Glued and Pinned
8. Pre Gun Deck Planking Work
9. Start of Gun Deck Planking
10. Gun Deck Opening Cleared During Planking- cristikc, Martin W, Landlubber Mike and 1 other
-
4
-
As you find out there is a lot of repetitive tasks with the HMS Victory. Nice cannon jig also.
-
Look forward to watching the progress of HMS Bounty. It was one of the ships I have contemplated building
-
I had laser eye surgery a few years ago which was great. I'm tempted to have lens replacement to avoid glasses for reading and for better defined long vision but can't justify the expense to the admiral.
-
I notice the difference with my eyes when I've been working at close quarters with my reading glasses or head magnifier, seems my distance vision takes time to readjust. It's a time consuming task, but you're well on the way, it will not be long before you start the running rigging. Has you wife selected a boat to build?
-
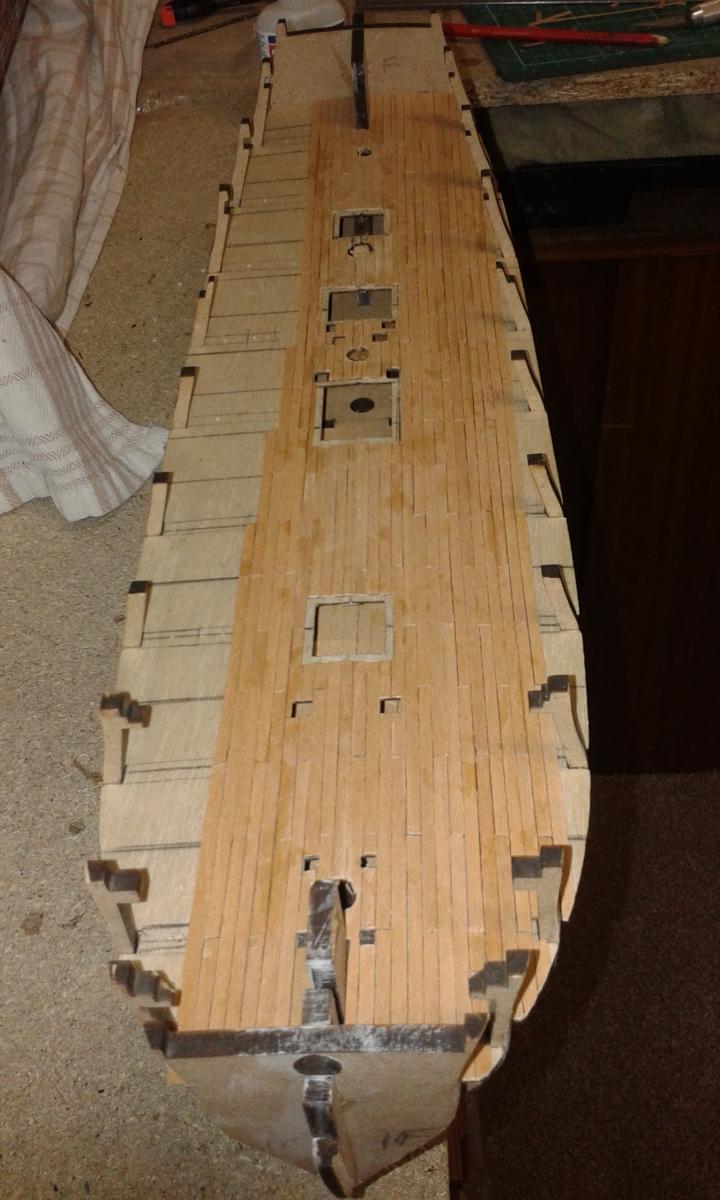
Started the planking of the gun deck.
First off I fitted a king plank along the deck joint.

After that I started planking from the stern around up to the first grating and capstan.
The gratings will be glued to the deck with the planking butted up to the grating coaming.
In the following two pictures the grating and capstan are dry fitted.
I will be using a 3 butt pattern, however not being too strict with the bit of I done as this planking will hidden by the quarterdeck.
Build Index Hyperlinks
1. Prework - dry fitting bulkheads
5. Dry Fit Main Gun Deck and Fitting
-
Thanks Robert and Jerry for your visit and kind comments.
I plan to paint the cannons once I have completed the port side.
-
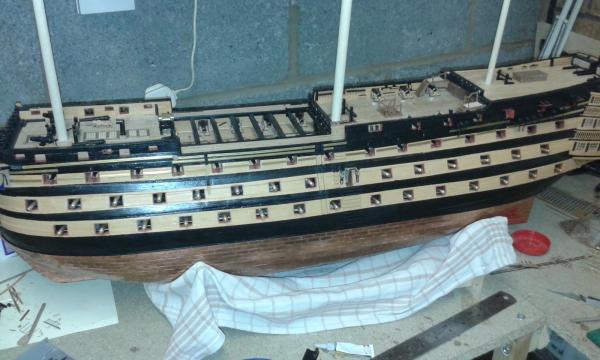
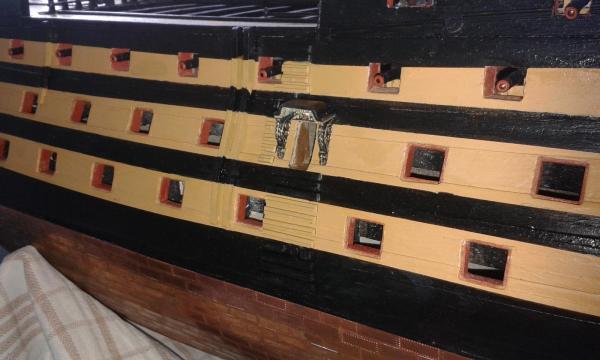
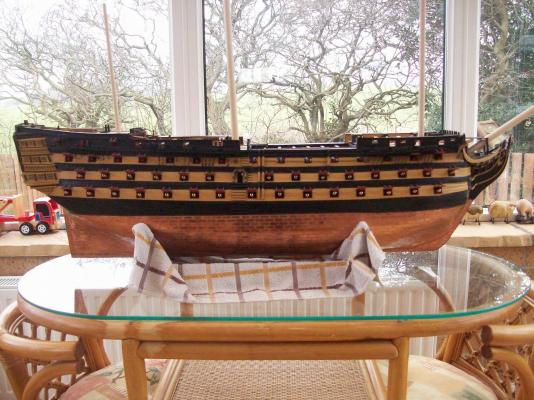
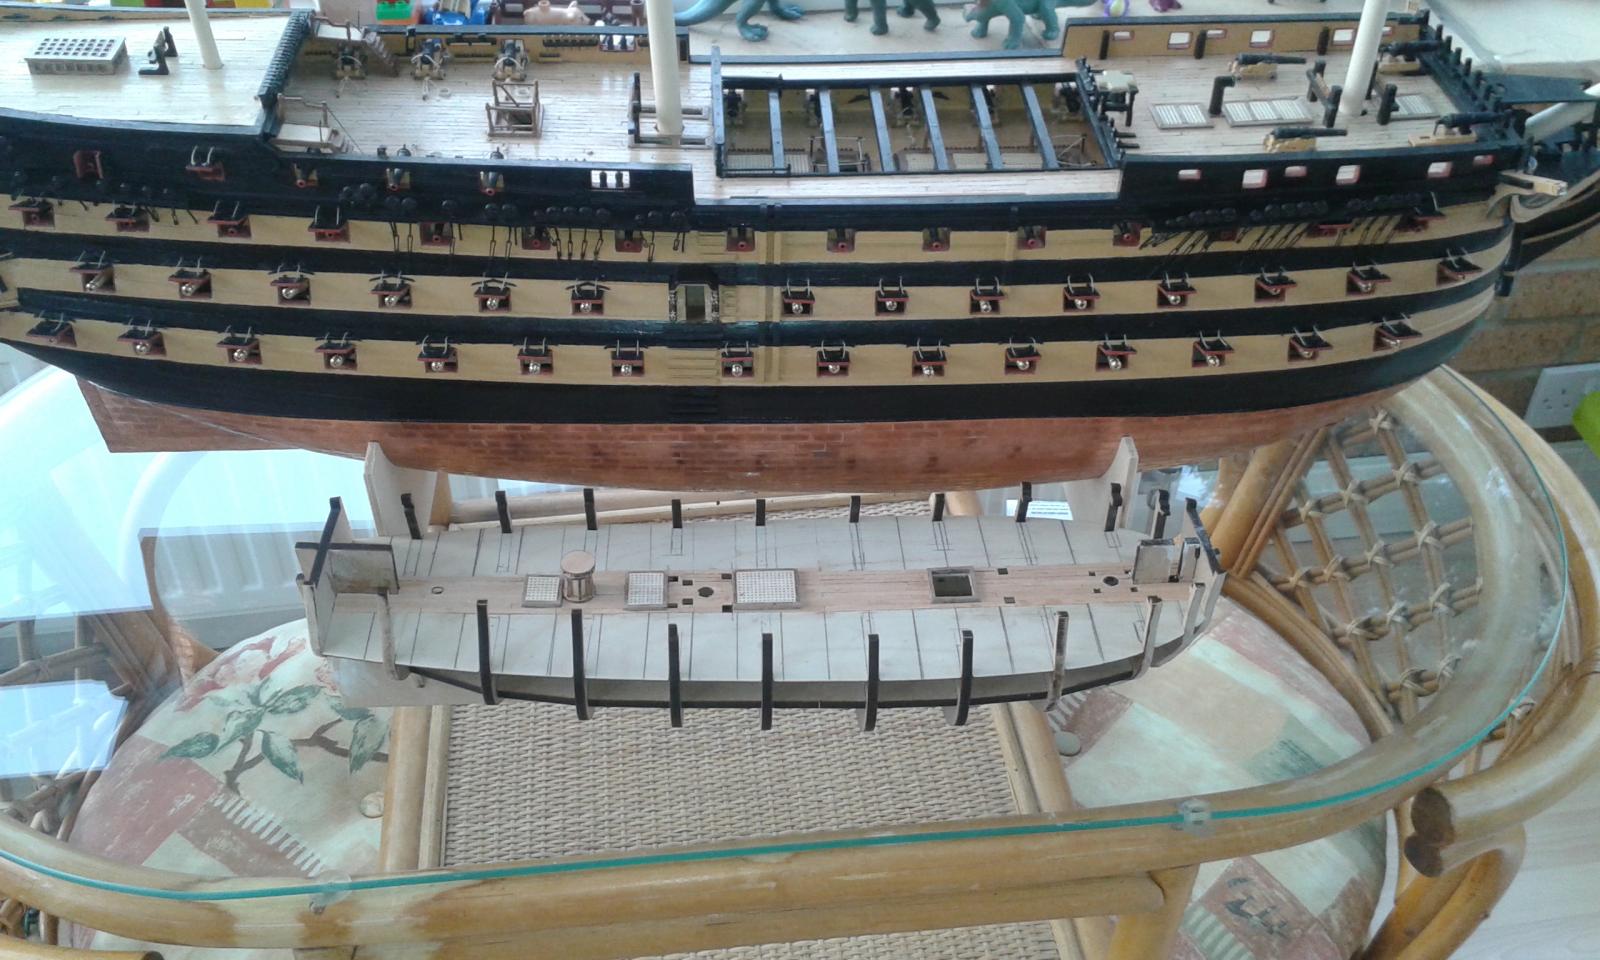
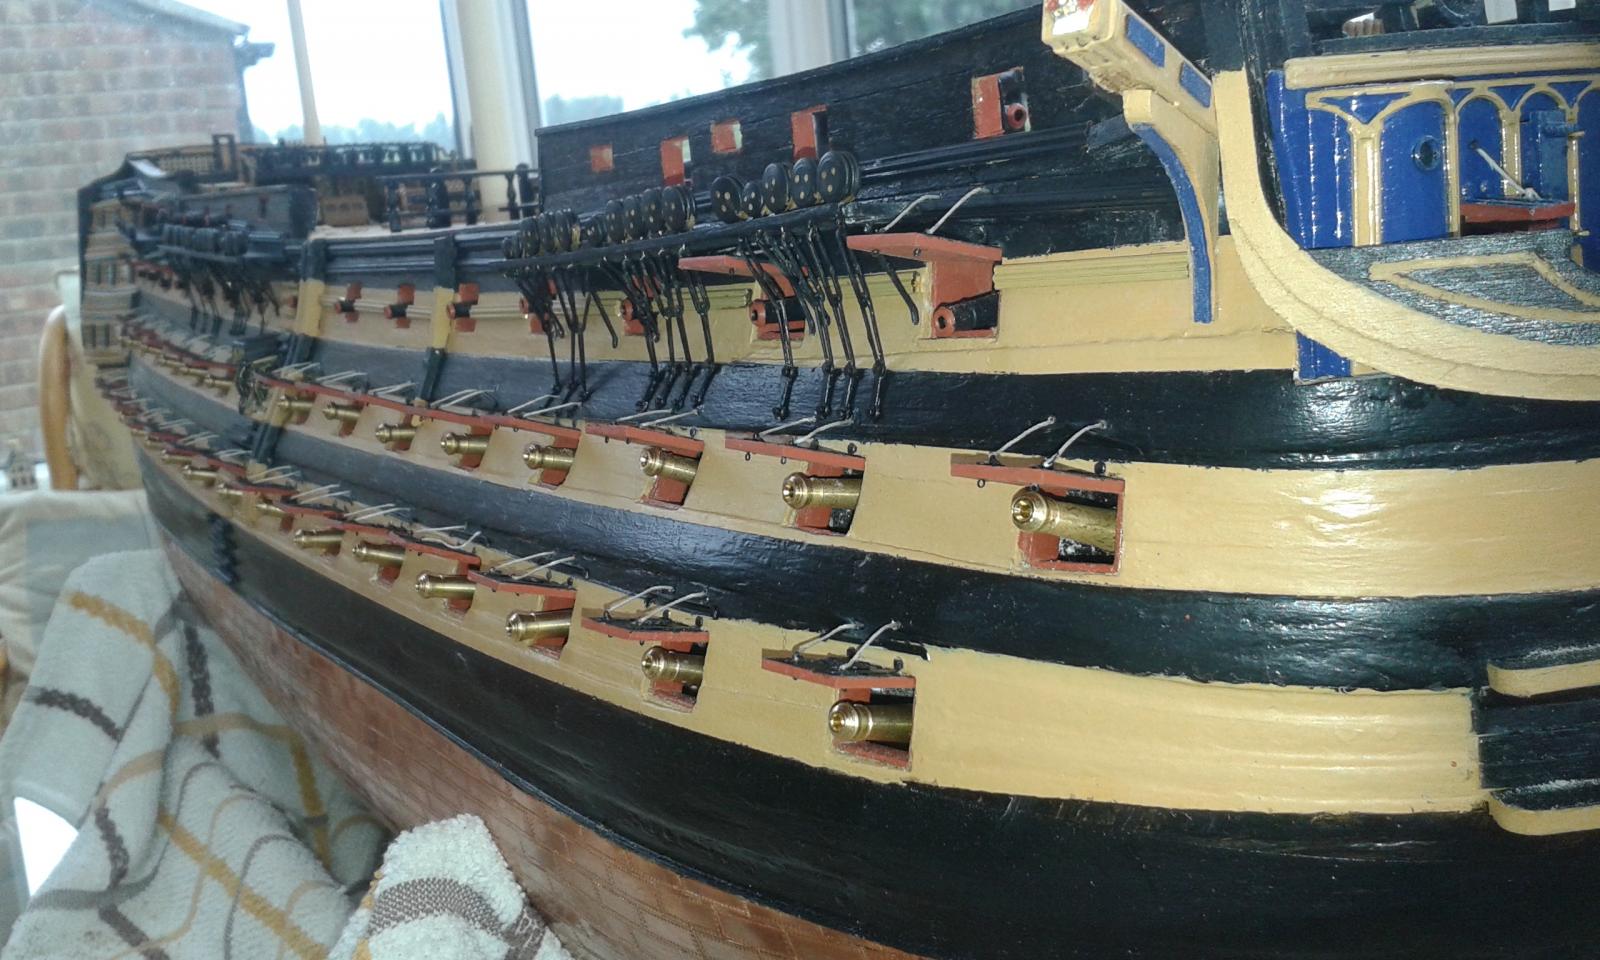
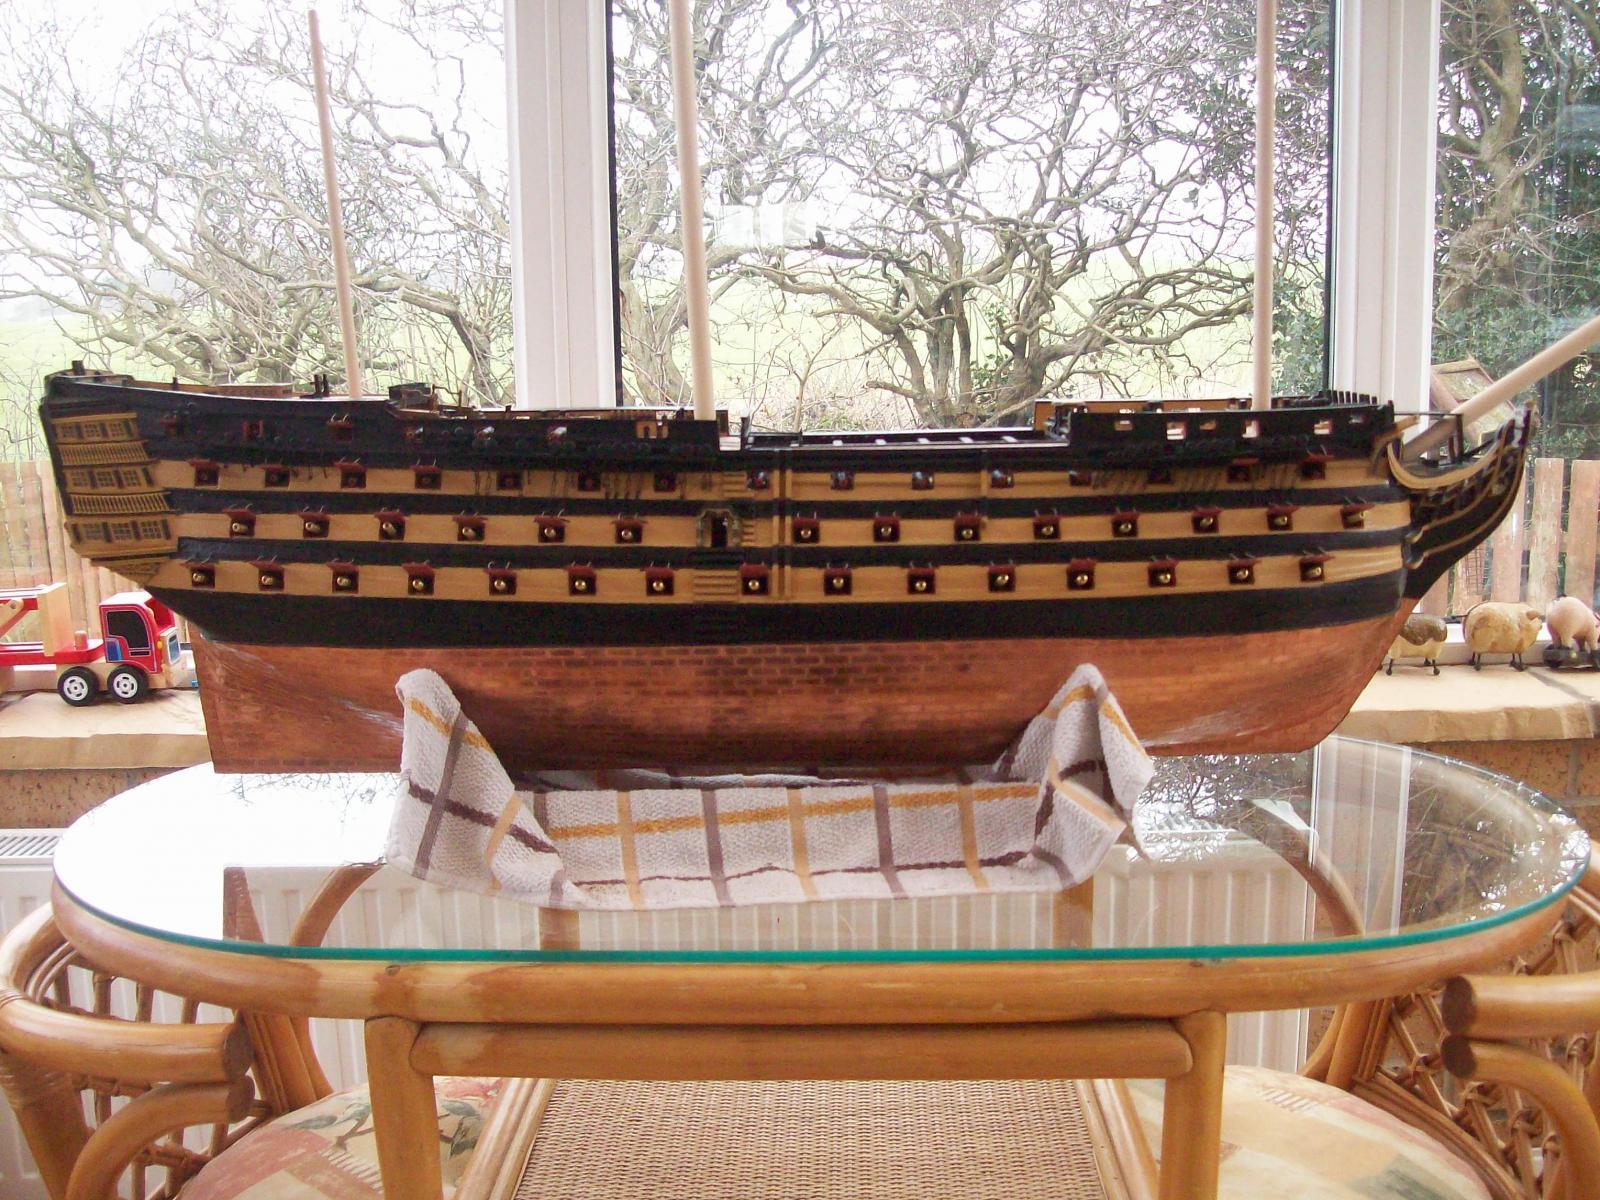
Finally completed the gun port lid installation and rigging on the starboard side.
I moved HMS Victory from the dark dry dock to daylight for these pictures.
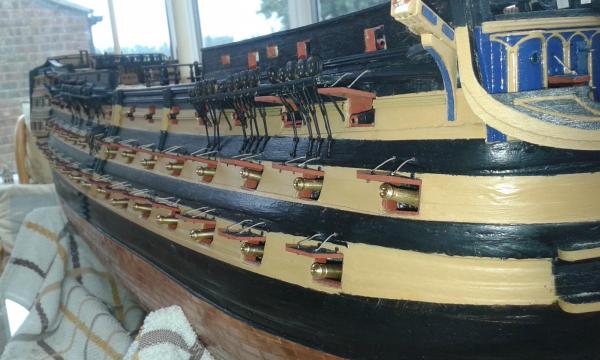

That's the starboard side completed, hopefully the port side will not take as long to complete.

- robert22564 and mort stoll
-
2
-
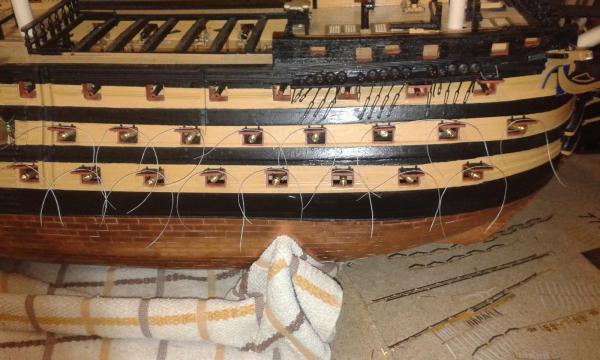
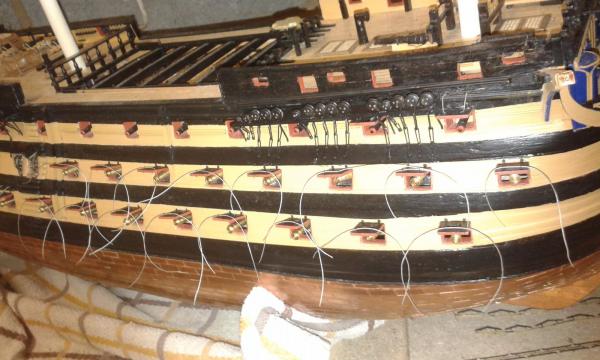
Added the eyelets to the gun port lids, touched up the gun lid paint work and added the rigging thread and finally glued the lids to the gun ports. Will now leave the glue to fully cure for 24 hours.
Probably 2 or 3 work sessions required to complete the rigging and install the rigols
-
Atleast there are not as many ratlines compared with your last build.
-
All I did after the deck was planked was add a strip of wood to the front wheels of the gun carriages which centralised the cannon nicely.
The strips I added are not visible as I made the same dimensions as each wheel. I think some other builder simply added an additional planking strip along the bulwark edge that did the same thing.
- maddog33, robert22564 and mort stoll
-
3
-
Hello Lawrence
Many thanks for your visit and very kind comments
-
Hello Jerry
I was aware of David's hidden gun port, glad to have followed suit with you both. I will try to pay more attention on the port side.


HMS Victory by Glenn-UK - Caldercraft - 1/72
in - Kit build logs for subjects built from 1751 - 1800
Posted
Hi Jerry
I used brass blackener C83999 from CMB.
I found the process takes longed than the instructions indicated, I normally leave them in the solution for 2 or 3 days for the best results.
I do clean before insertion using white vinegar and soaping water.