


Glenn-UK
-
Posts
2,662 -
Joined
-
Last visited
Content Type
Profiles
Forums
Gallery
Events
Posts posted by Glenn-UK
-
-
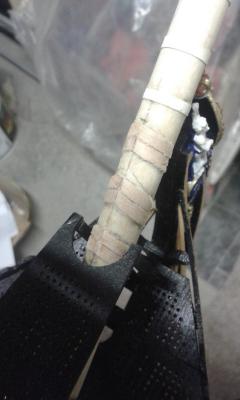
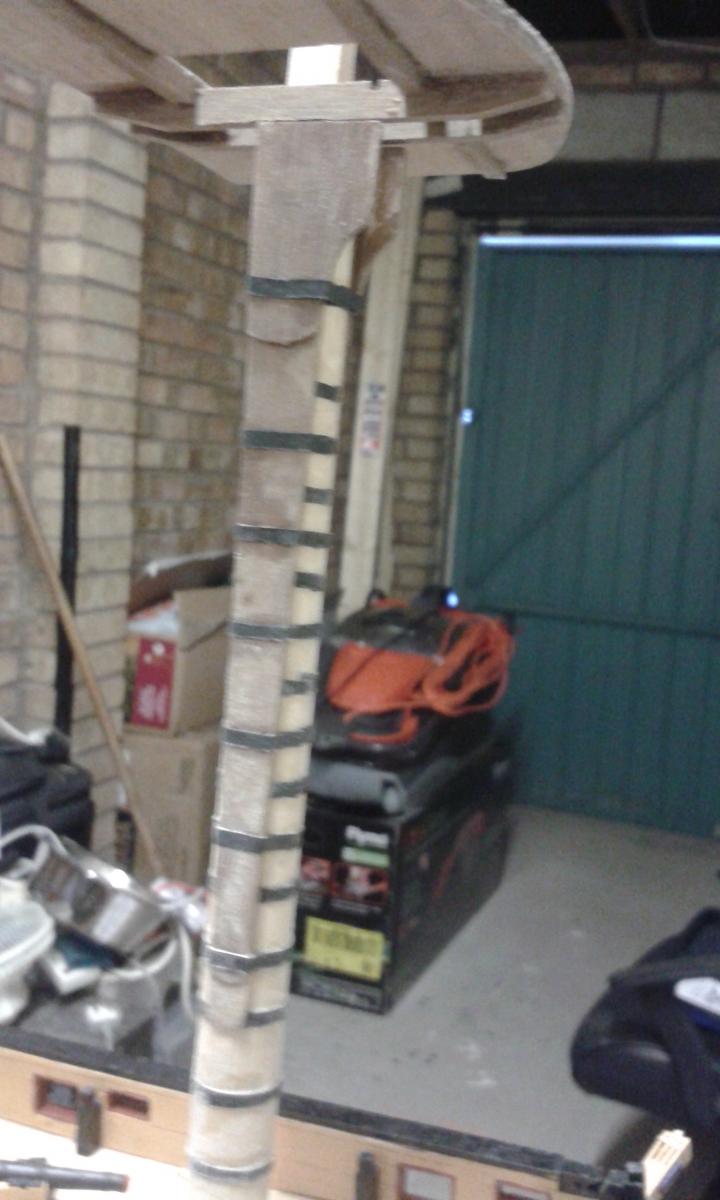
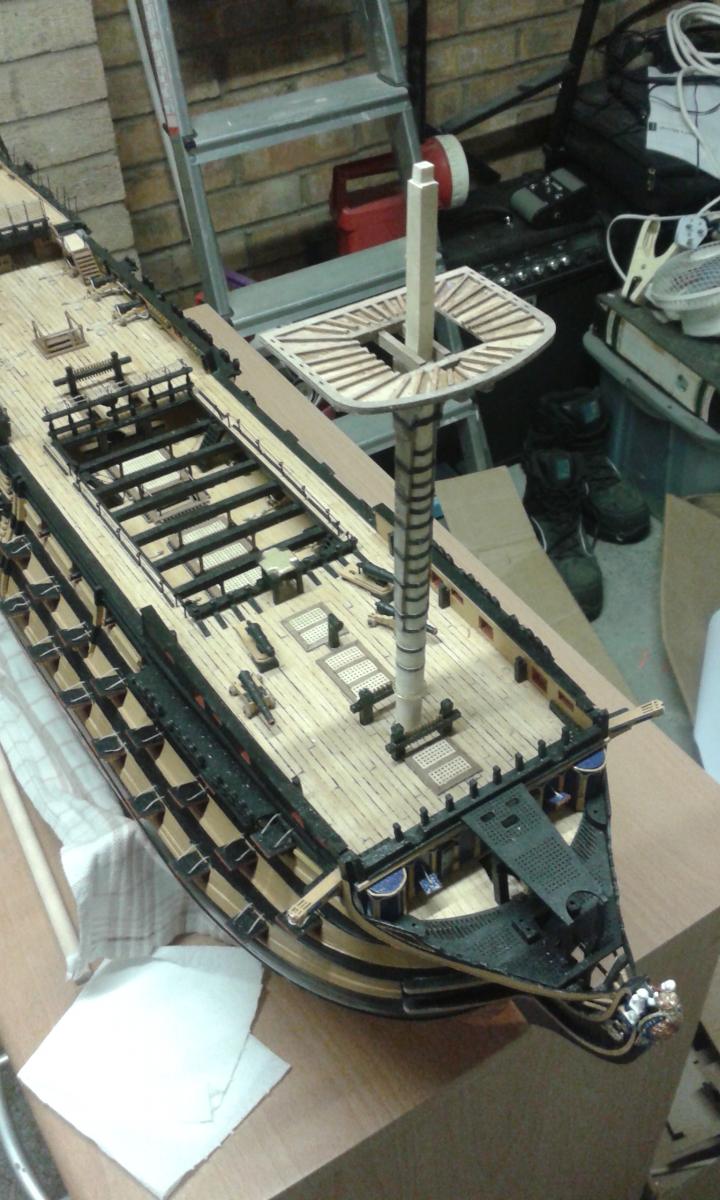
Just a quick update, working continues on the foremast.
I have completed adding the sheeves, bibbs and banding.
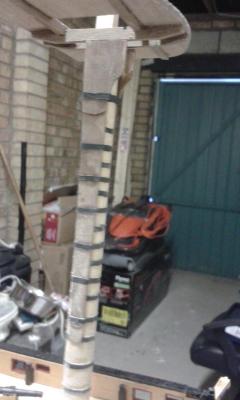
I test fitted the boarding pike mast rings, and noted the mast needs to reduced in diameter to accept them which is not stated in the manual, all is good now after some more sanding.
Also I have completed adding all the batons to the foremast platform.
Platform is only dry fitted at this stage


I think I paint the mast next before moving on to the next Fore Top mast assembly.
- dafi, Shipyard sid, Harvey and 2 others
-
 5
5
-
Its good to see you know what to do when things don't go to plan; a sign of an experienced builder which of course you are.
It's coming along nicely, and before much longer you'll be fluent in Italian!
-
Nice looking paint job on an interesting build, good you're able to make use your paint collection.
-
Hello Jerry
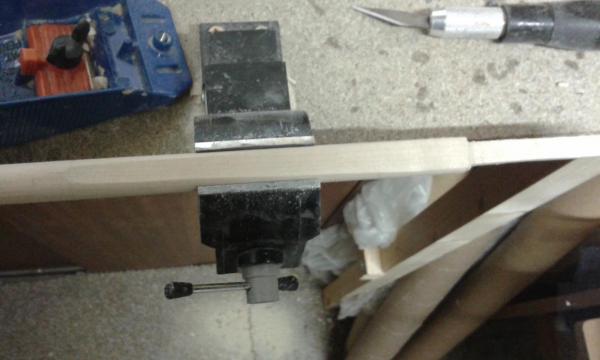
Many thanks, with the dowel secured in the vice the David plane I found it quite easy to get the flat edge started, then followed this with plenty of arm work with the flat file. I did experiment with my small disc sander but didn't like the result.
enjoy your weekend
-
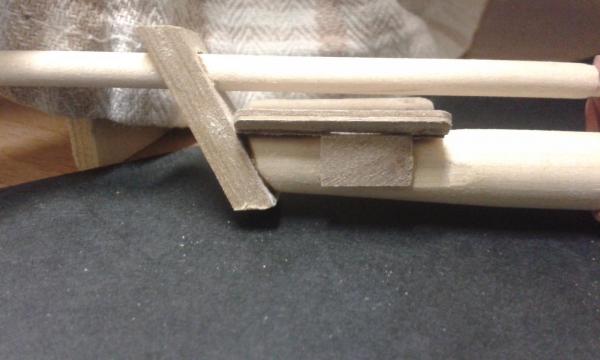
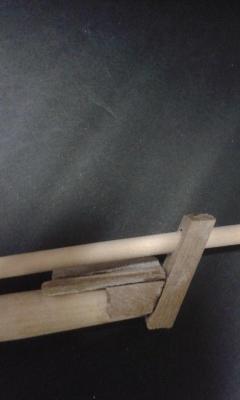
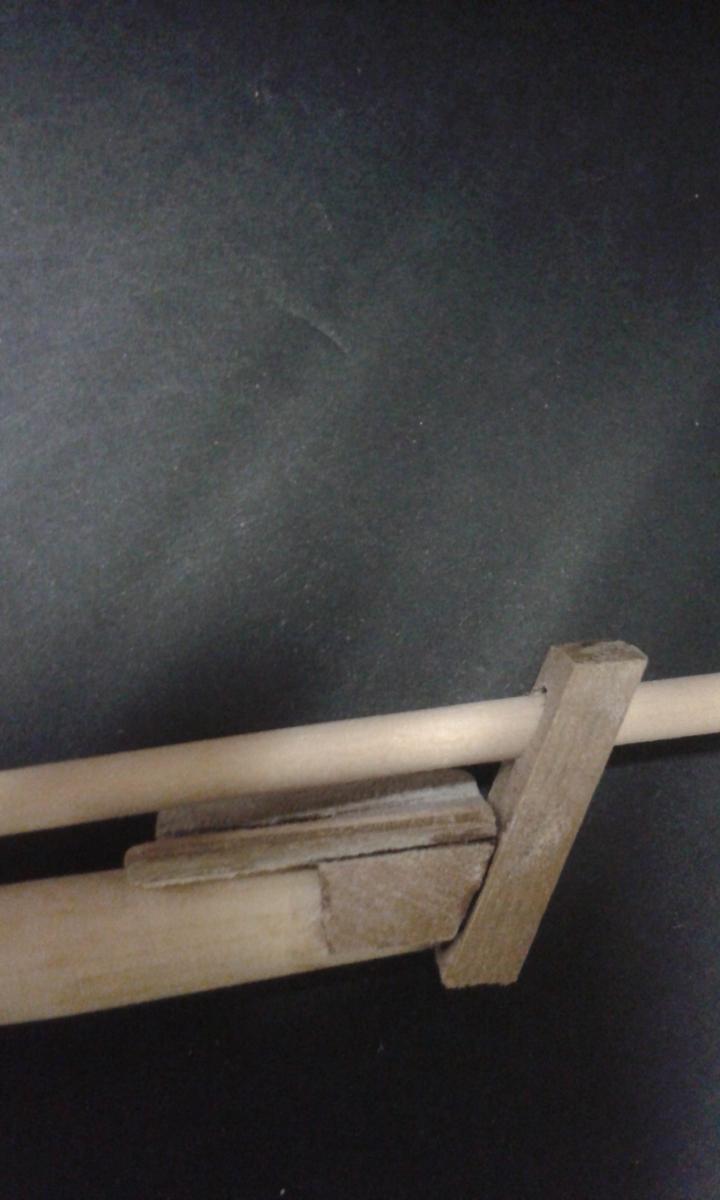
Started work on the Fore mast.
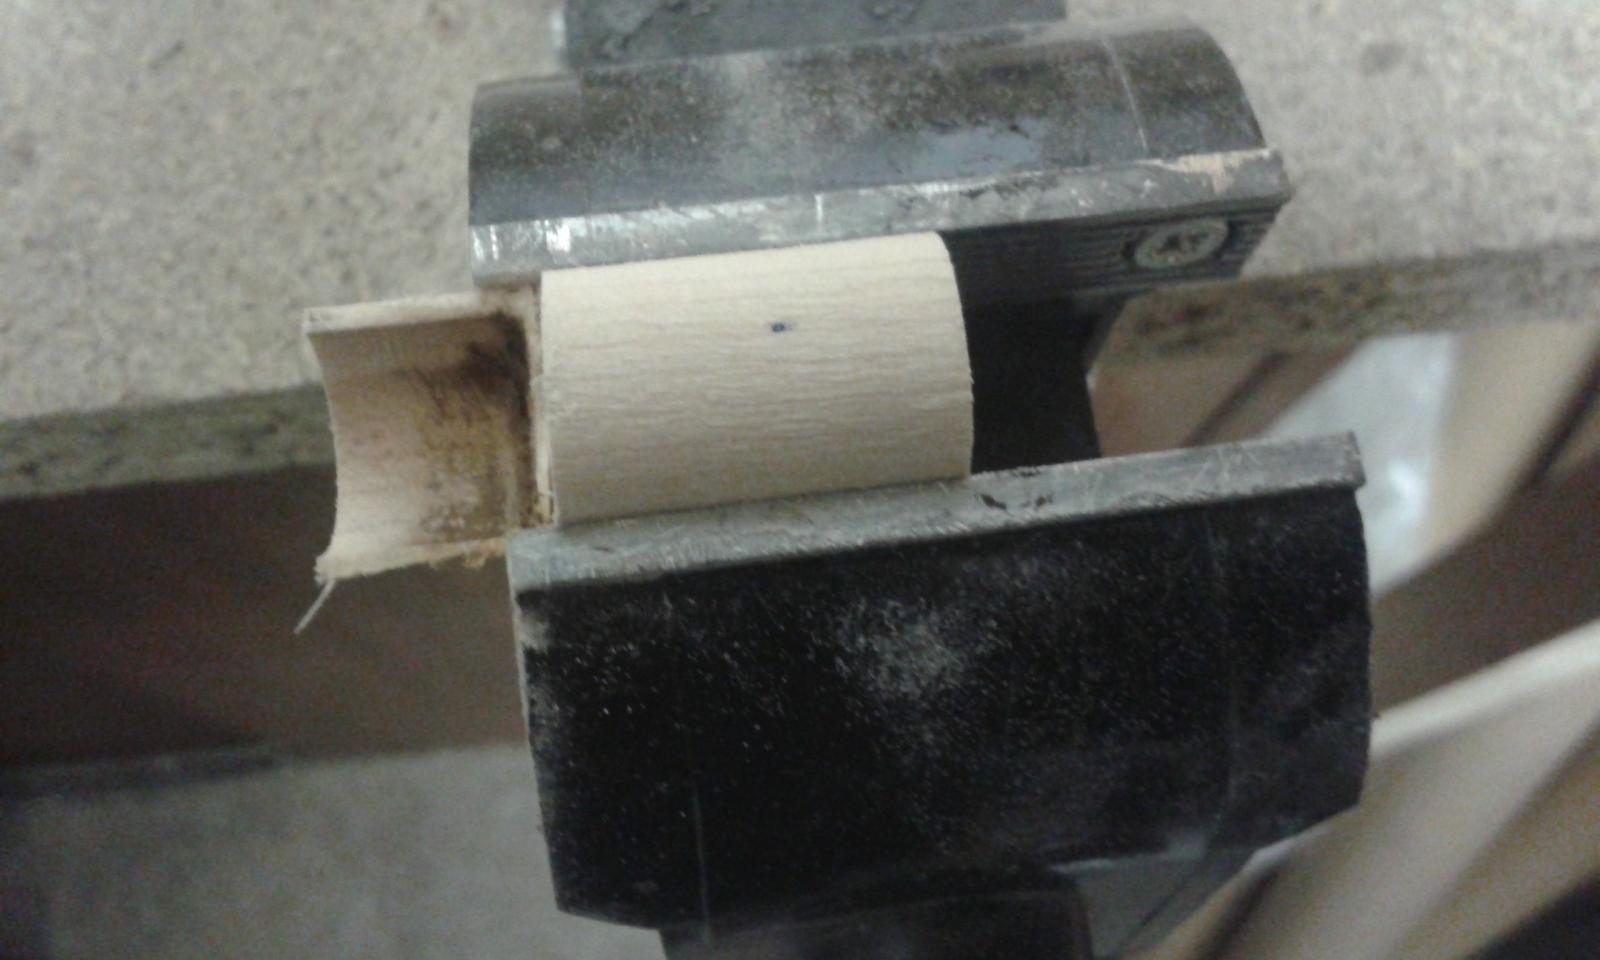
First task was to reduce the 12.7 round dowel to an 8mm square for a length of 73.1mm. This was relatively straight forward using my David plane and file. The first 5mm was then reduced further to a 6mm square.
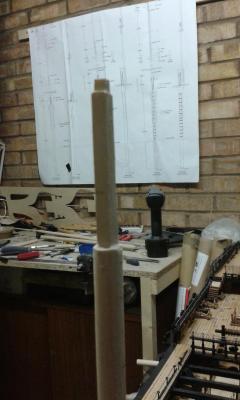
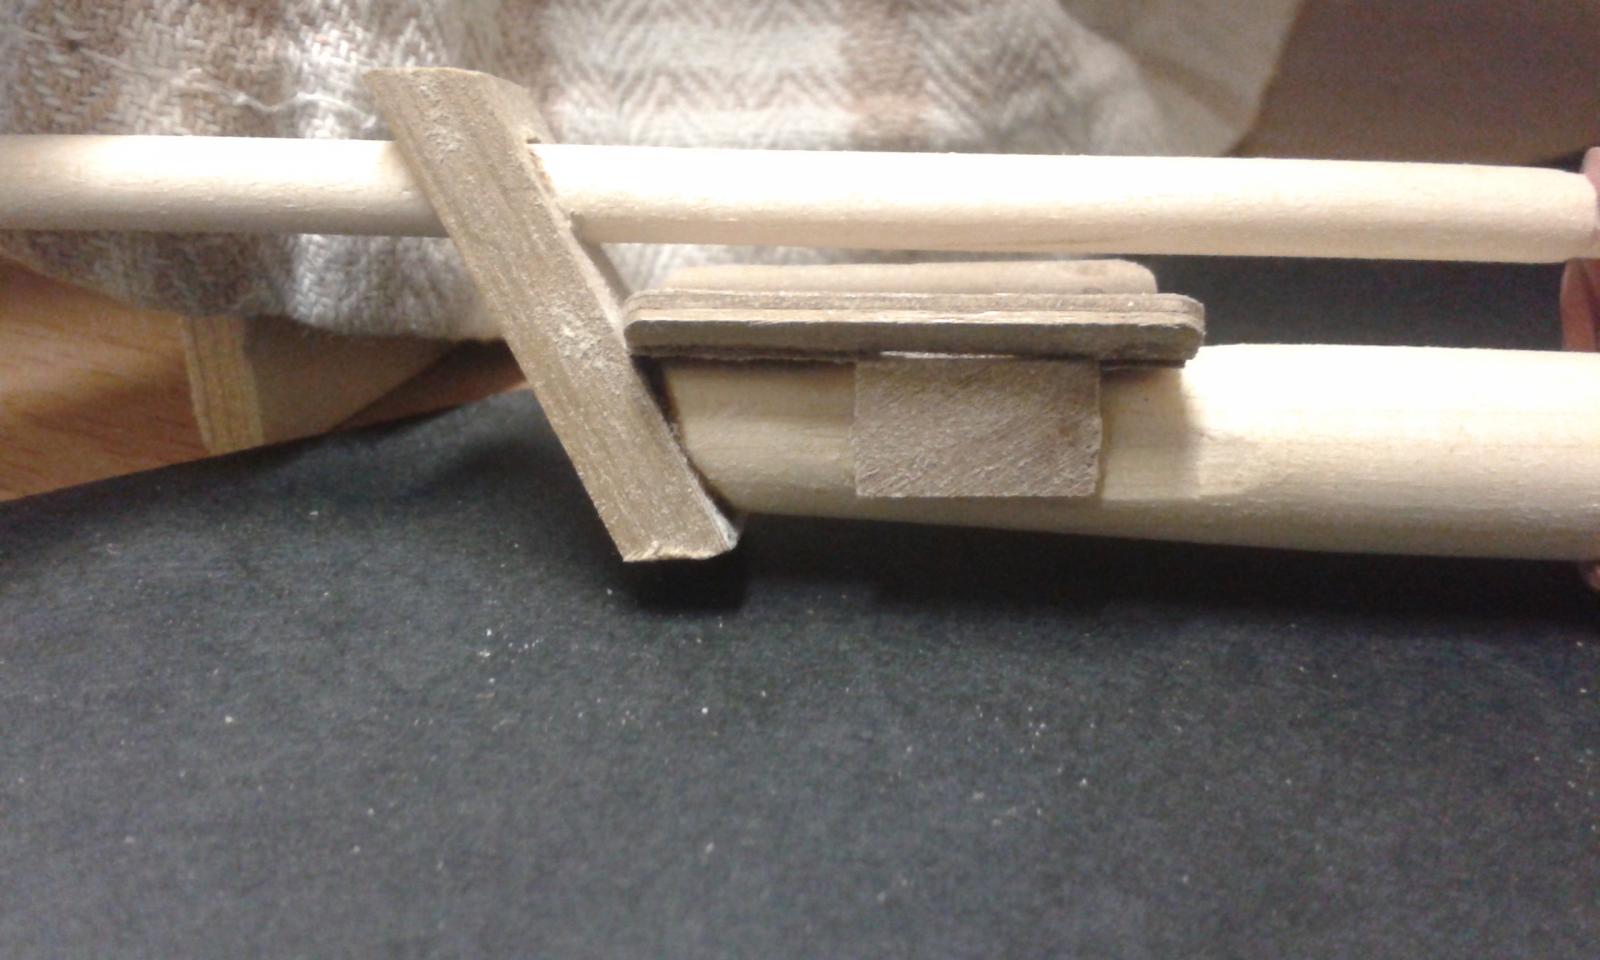
The two sides where the sheeves are fitted where then tapered, again using the David plane and flat file.
I will continue to work on the foremast assembly before moving on the main the then mizzan masts.
- dafi and mort stoll
-
2
-
I have been able to use spare material left over from my Scottish Maid build also, plus I have also bought also sorts of additional material from CMB when correcting errors in my build.
-
Thanks Jerry
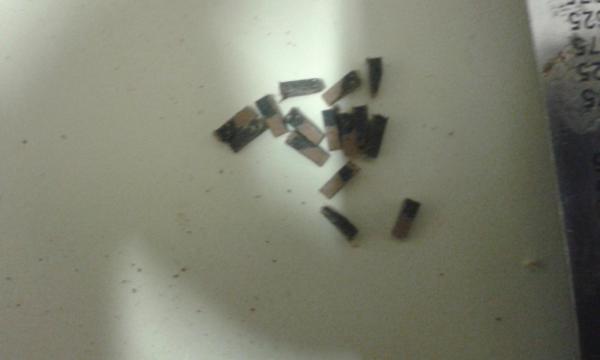
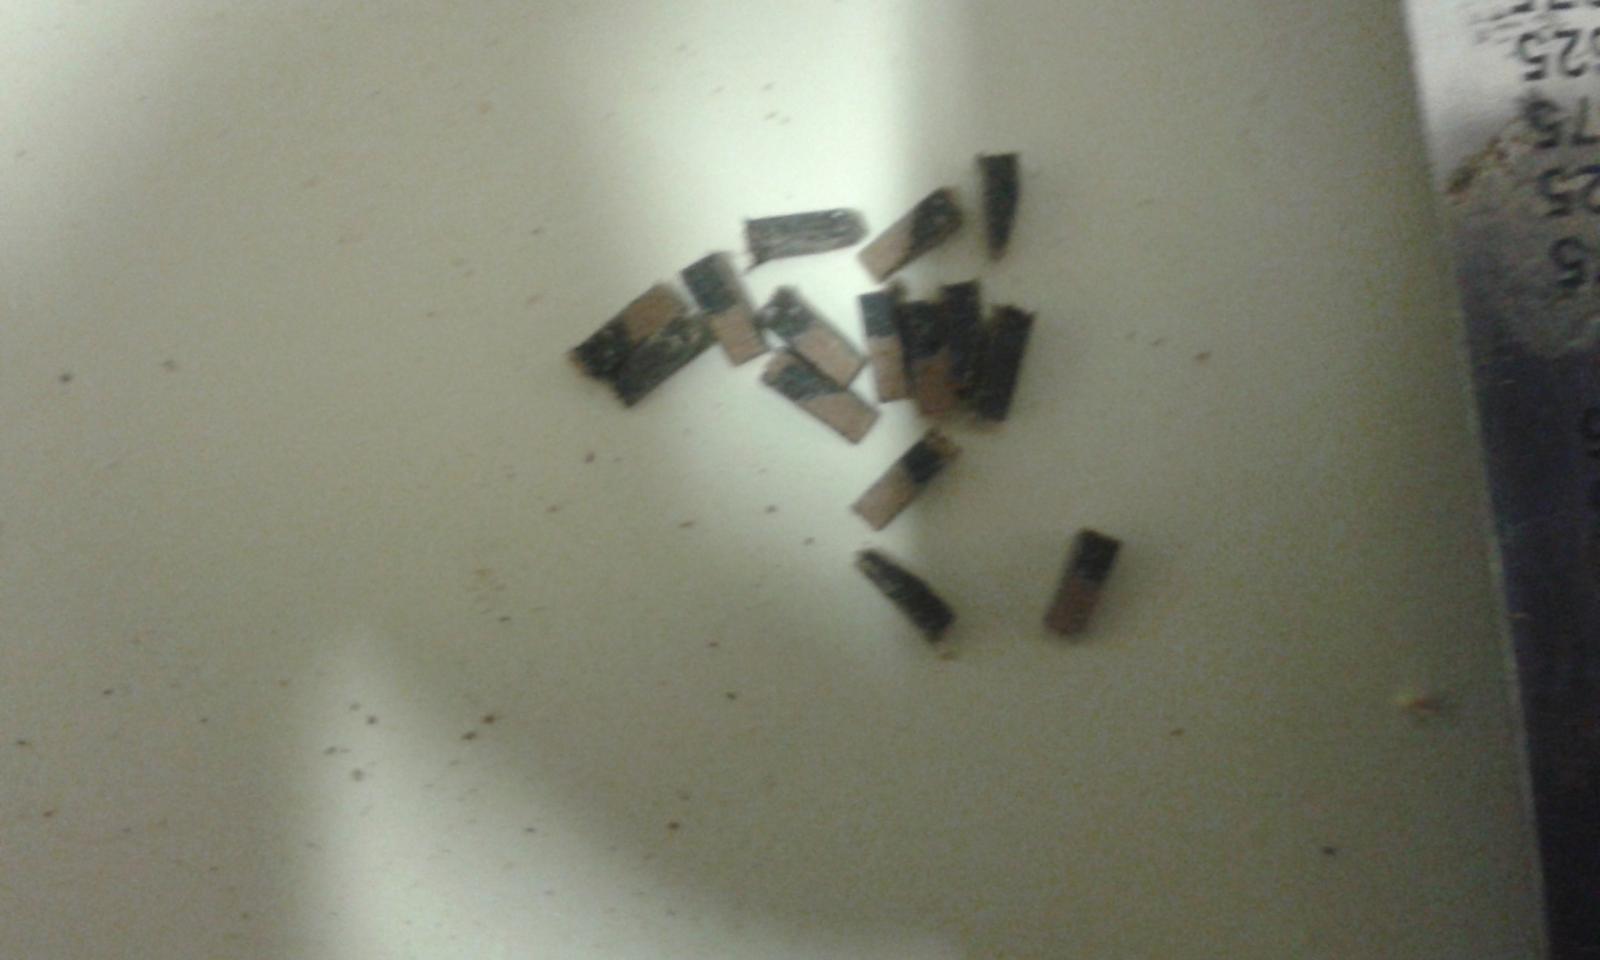
It took three attempts before I was happy with the positioning of the stop cleats, so ended up making quite a few of them.
I found it quite easy to file the end of the 1.5mmx 1.5mm strip strip and then cut to size before repeating the process for the next stop cleat.
The pointy thing is now put to one side to avoid any possible damage.
Have a great day working on your Viking build.
-
Amazing progress once again
-
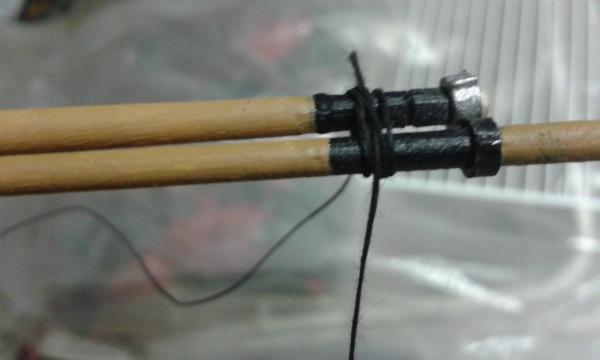
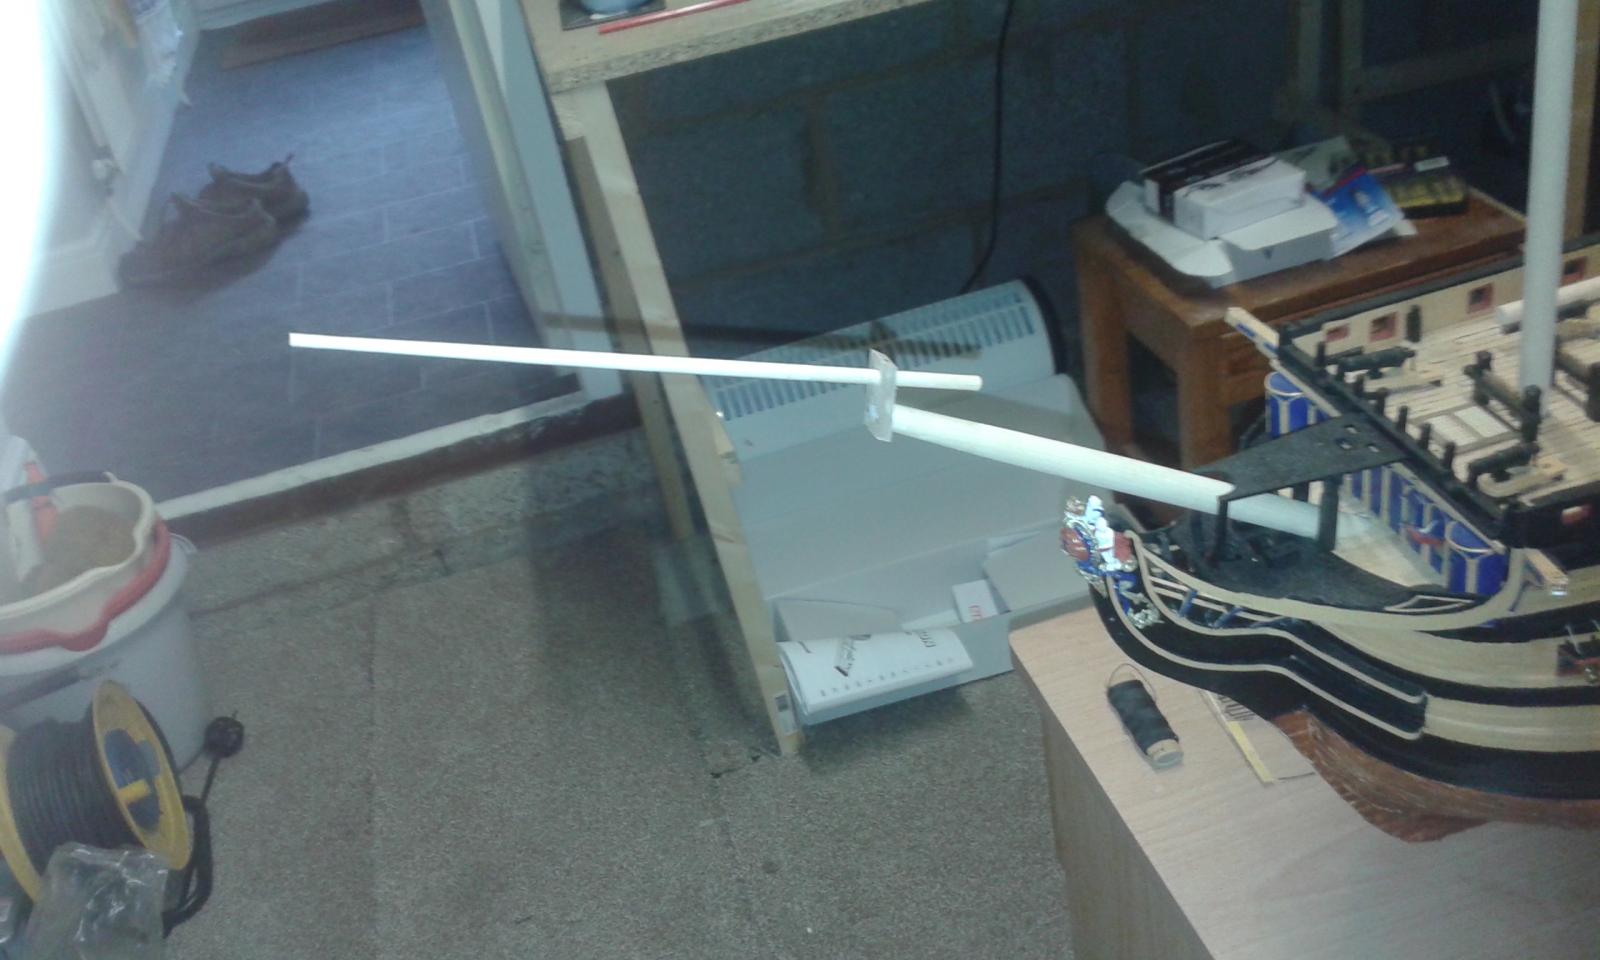
Bowsprit, jibboom and flying jibboom completed. I have just tied these parts together for the time being as I will not glue the assembly together until after I have added the blocks which will be done once I have completed making all the masts and yards. I will remove the bowsprit from the build for the time being to avoid breaking the pointy thing, which I think according to Jerry and David is a right of passage for this build!
Here is a couple pictures
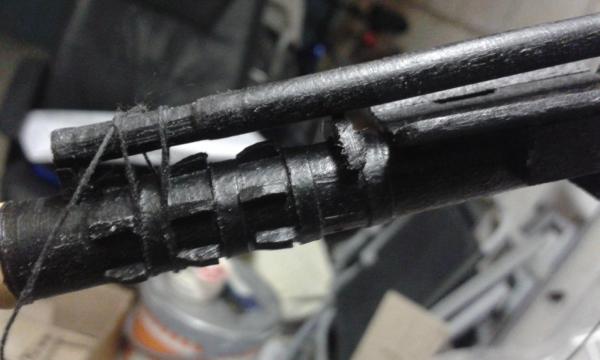
Yard rings will be painted once the assembly is installed and they are correctly positioned
Also progressing with hammock crane assemblies
- zoly99sask, mort stoll and robert22564
-
3
-
An interesting looking build, you seem to have it all under control.
-
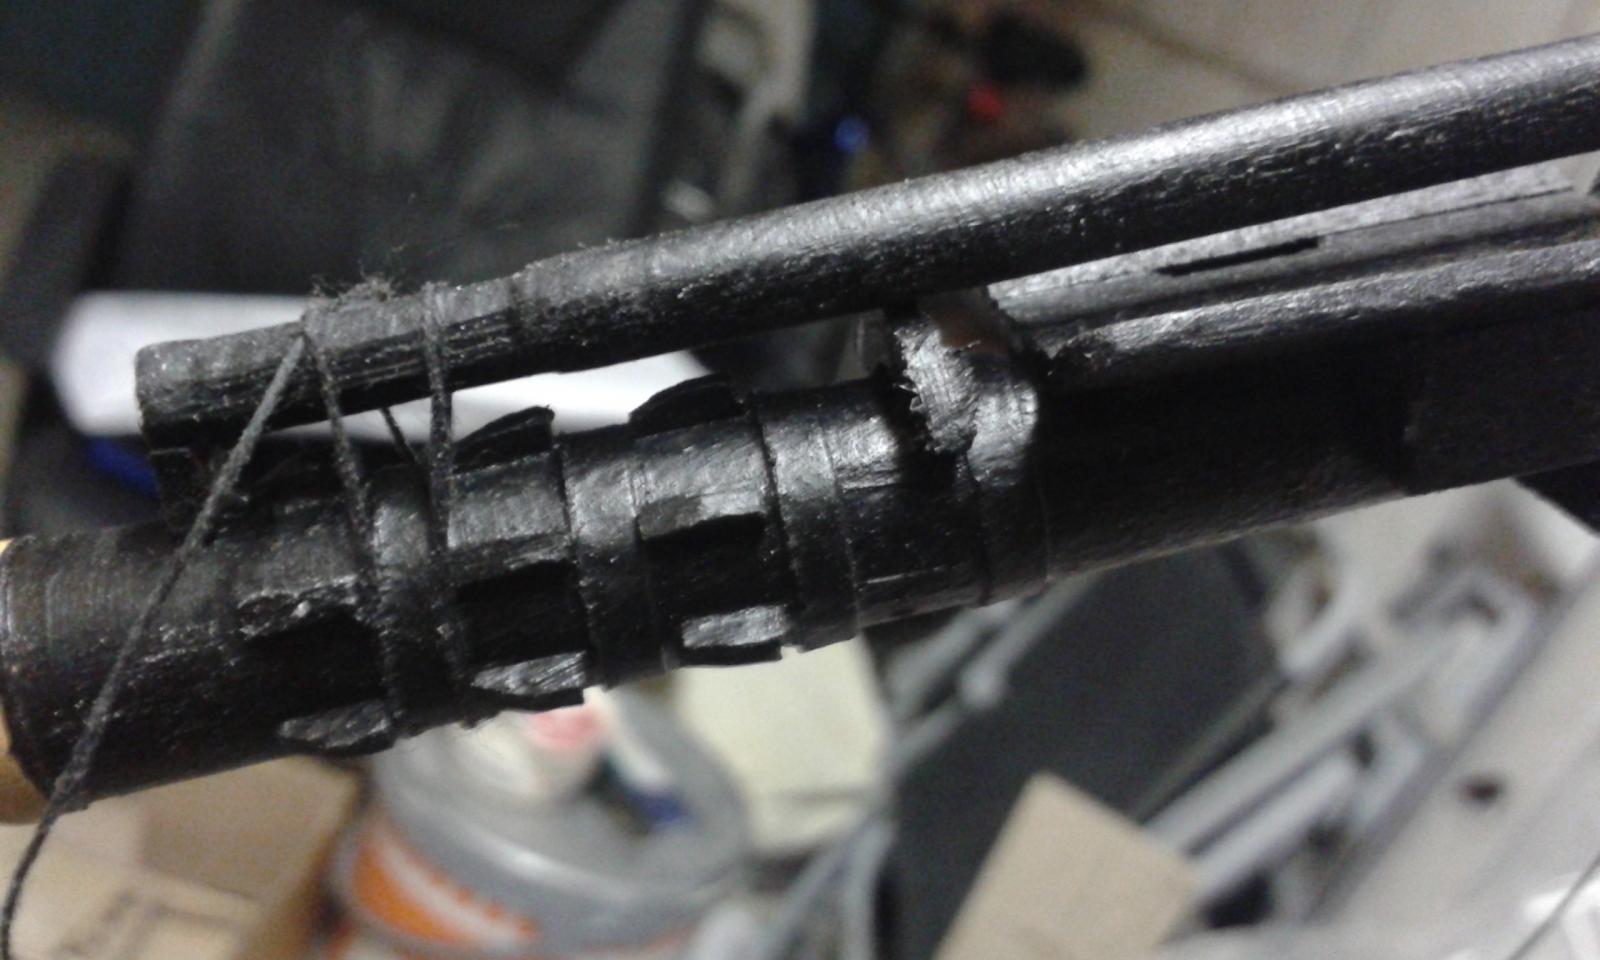
Work continues on the Bowsprit.
First task was to make the Gammoning Saddles. My initial idea was to follow Gil's excellent method to cut a dowel in half and then use a dremmel sanding tool to hollow out. After some different attempts, I was not happy with the finished product.
Picture of Gil's Method

I then reverted to using 3mm strips which I was able to cut and bend as necessary and I think will looks ok after some more sanding and a coat or two of yellow paint.
Picture of the Gammoning Saddles fitted
I then completed the work on the bow cap, sheaves and bees.
Pictures of bow cap, sheaves and bees
I have also add the banding strips and shaped the 15 off stop cleats which I plan to install to tomorrow, after which I can add a coat of two of paint. Its not 100% clear from plan sheet 11 if the banding continues and is used between the stop cleats. More research is need .
Picture of Stop Cleats
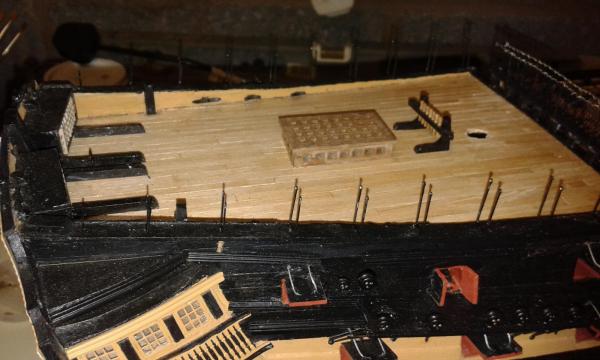
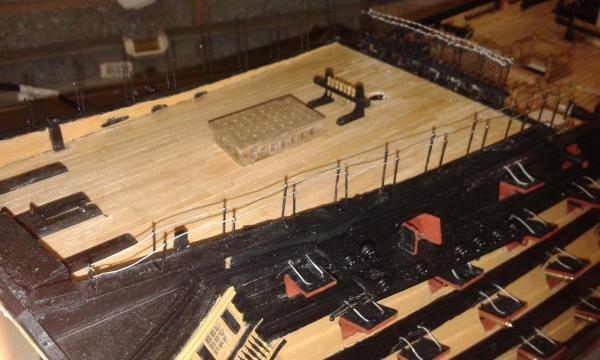
I have continued to work on the hammock cranes as well.
Picture of Current Status
- zoly99sask, dafi and robert22564
-
3
-
Look forward to watching your progress
-
Thanks David
The carpet will stay as it soft under foot and warm plus it stops the stuff I drop bouncing away and difficult to find.
-
Thanks for that Jerry, I will follow suit.
Enjoy your new build.
-
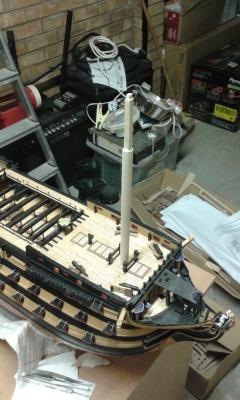
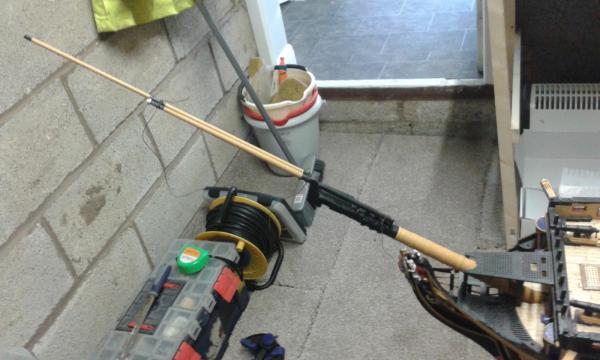
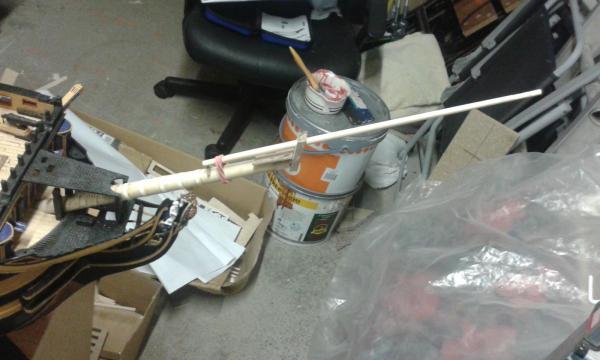
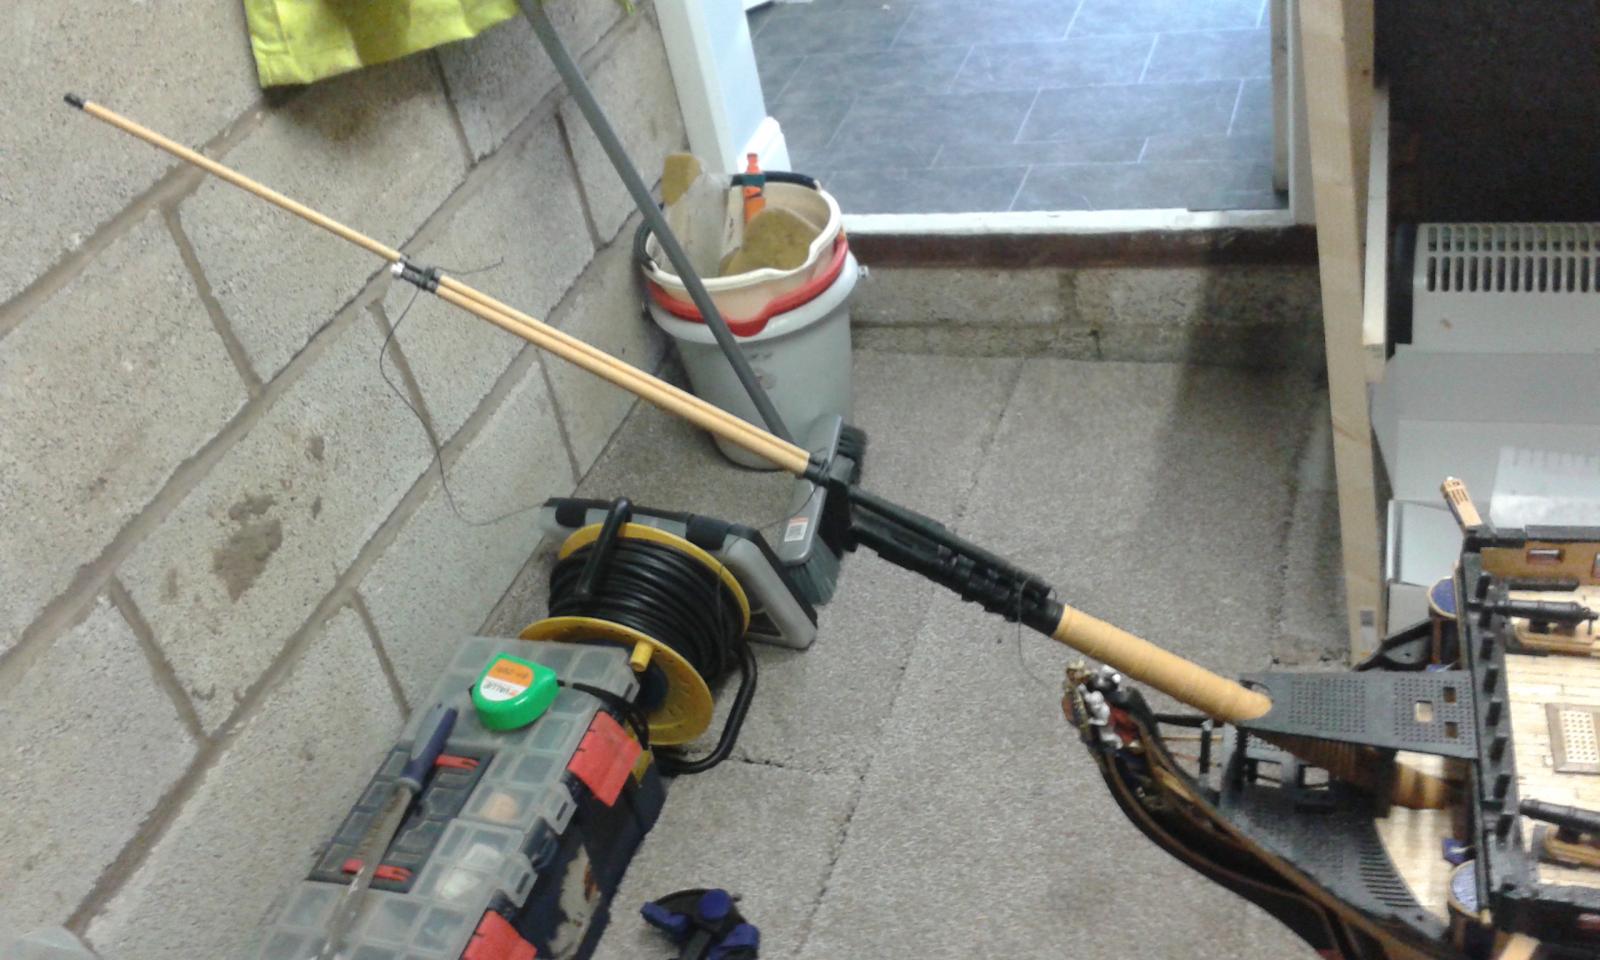
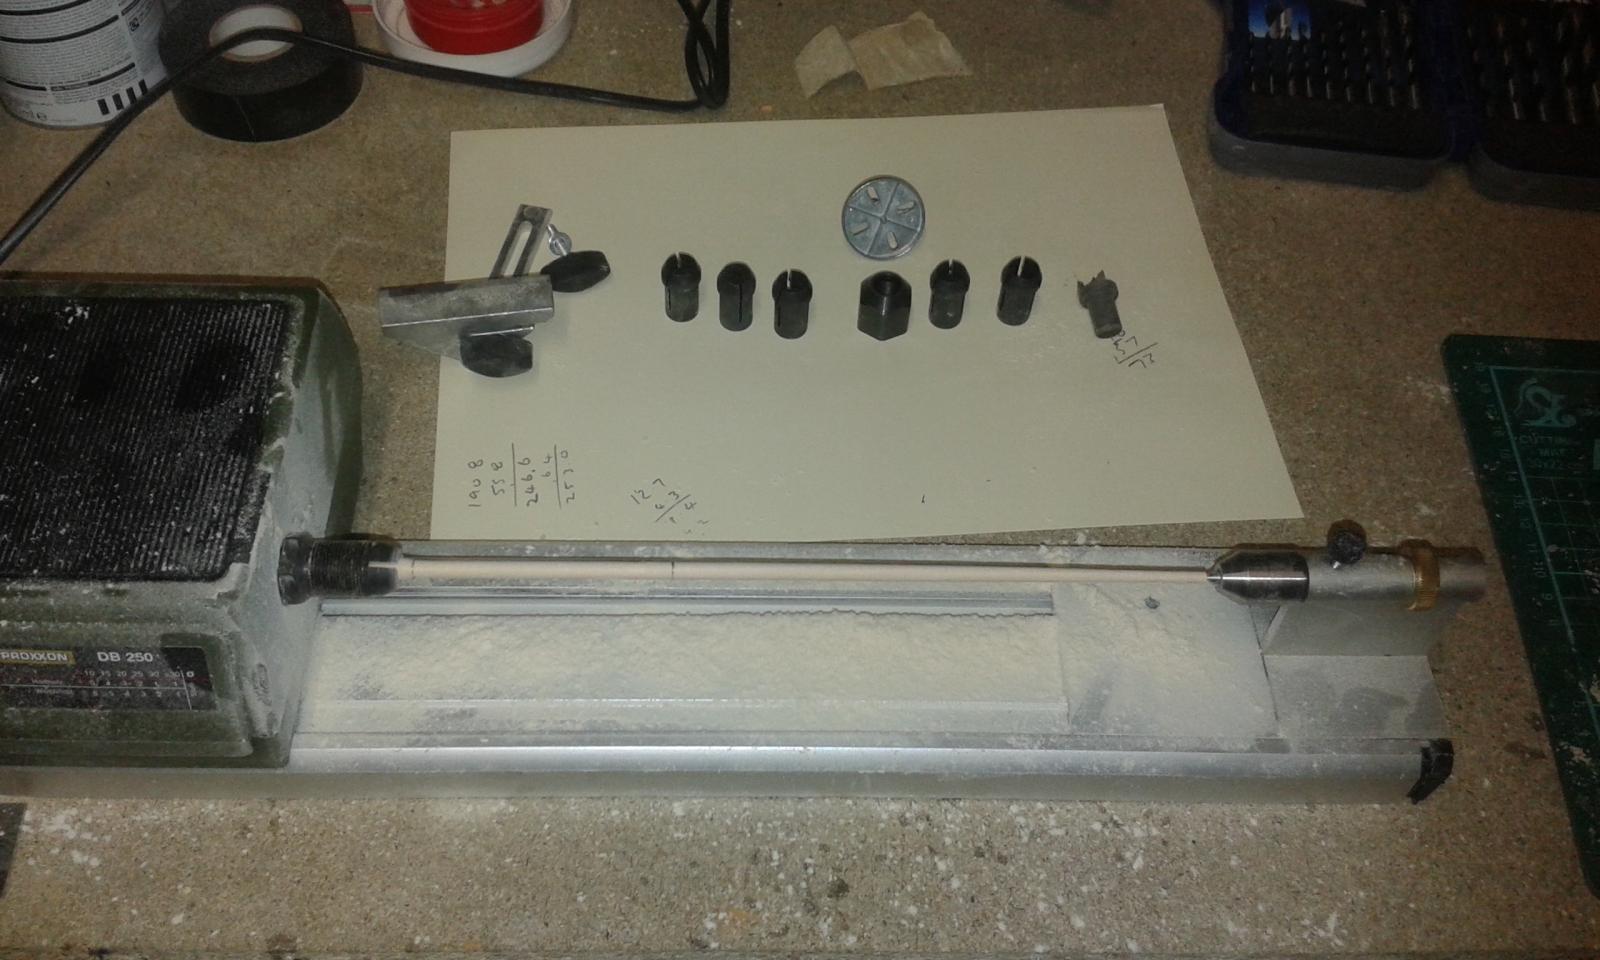
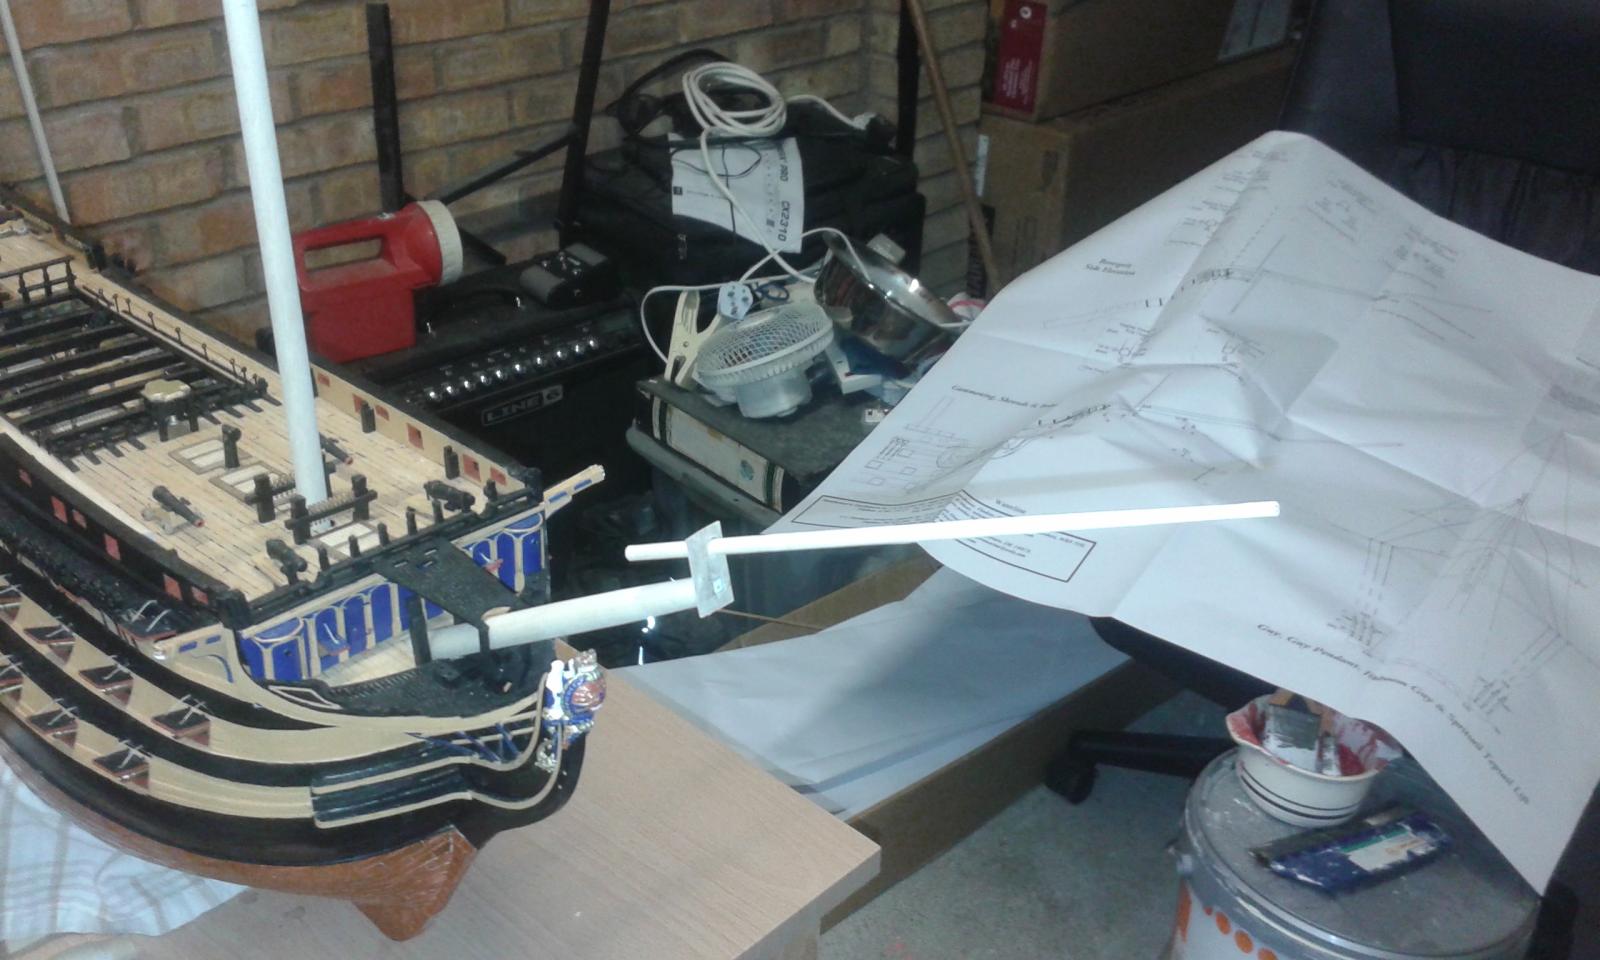
I wasn't planning on posting until I completed some more work on the bowsprit then I thought I would show a picture of my new lathe in action, which I used to taper the jibboom. Starting with a 6mm dowel reducing down to 5mm for a distance of 73mm and then tapered from 5mm down to 3.7mm. Didn't take too long to do. I'm just loving this new toy of mine, but now need to clean up all the saw dust as can be seen in the picture below.
I also made the necessary cut outs in the bowsprit cap and also tapered the top and bottom edge. Pictures below show the bowsprit, cap and jibboom dry fitted. The jibboom will run parallel with the bowsprit w hen it properly installed.
According to the manual both ends of the jibboom requires octagonal shaping. I'm wondering if this is really necessary and would welcome any thoughts on this matter.


-
Thanks Jerry
I love my new toy.
Good luck with your new build when the kit arrives
-
You are correct sized for 10mm, but I was able to feed the 12.7mm dowel through which I had already reduced to about 12.5mm in order to fit in the hull bow spirit slot.
Limited to about 220mm length if using the collets or face plates
I cant see a need to buy the 3 jaw chuck for working mast and yards.
-
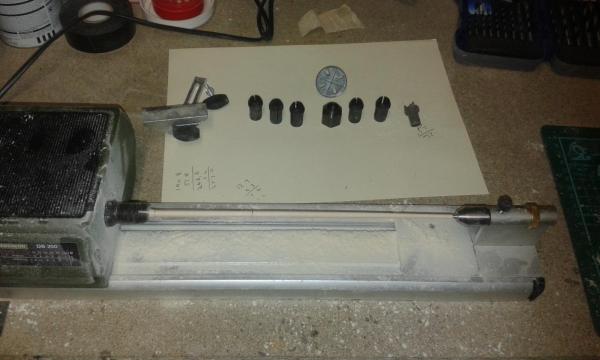
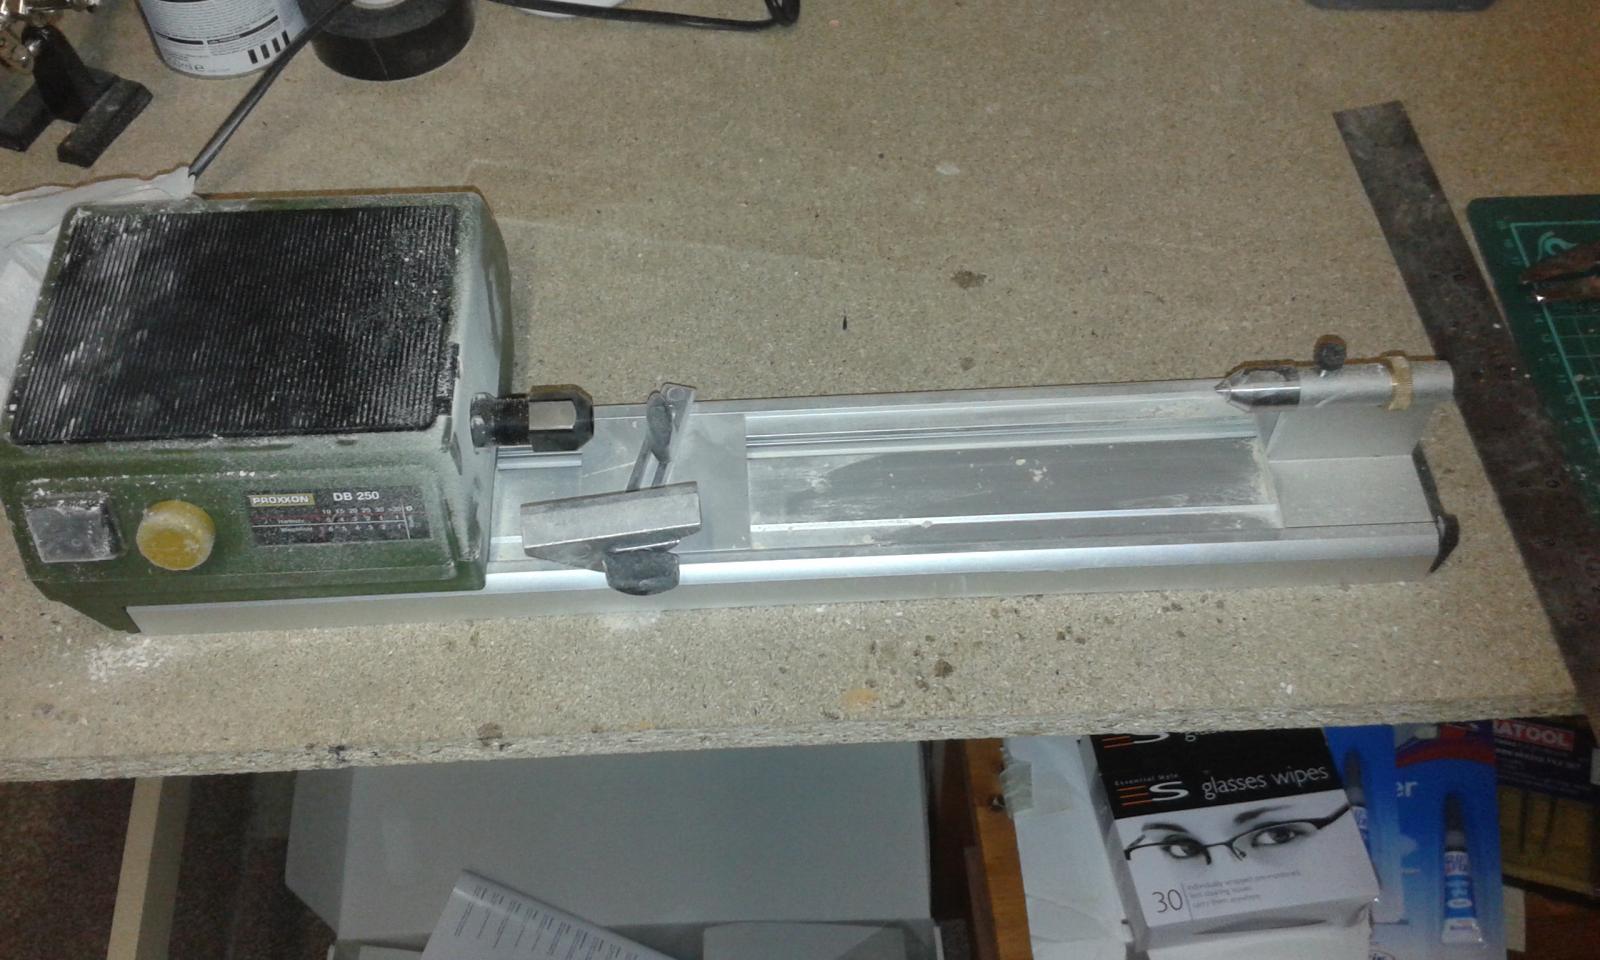
New toy arrived on Friday, needed to rearrange the shipyard which I did tonight.
Prottox DB250 Mini Lathe
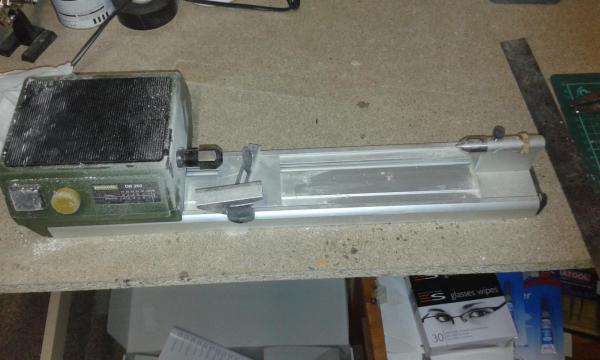
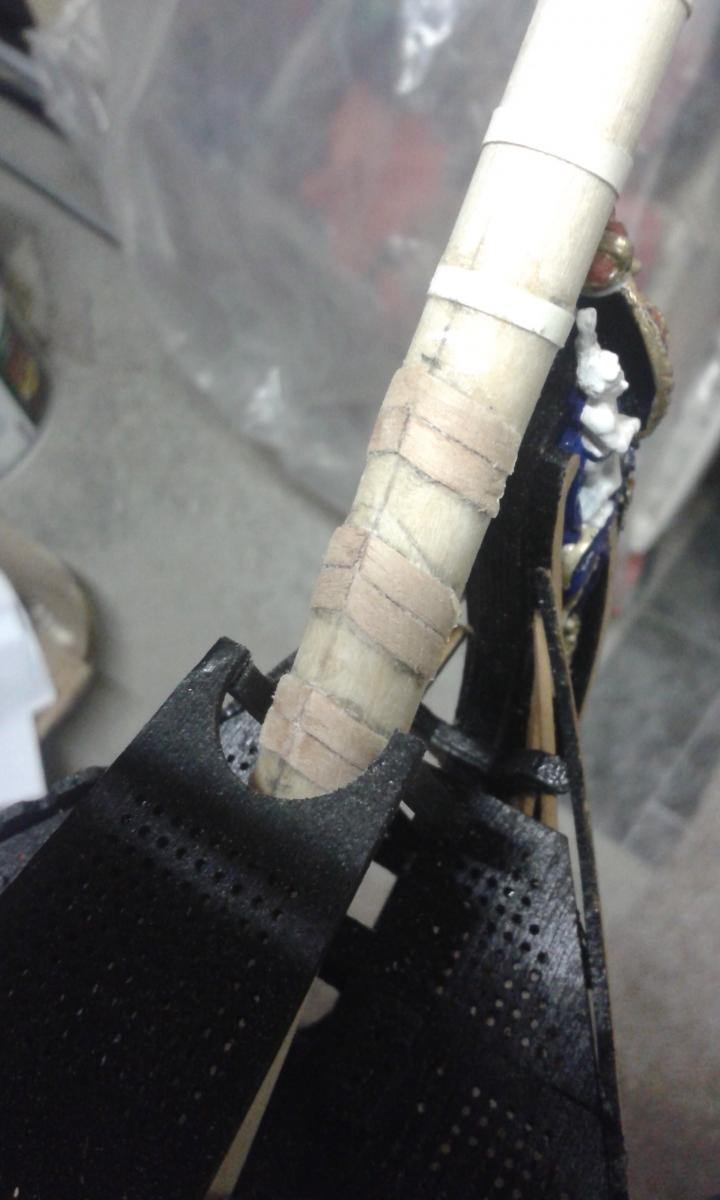
Used the lathe to taper the bow spirit, it was a easy task only took about 10 minutes to reduced for 12.7mm to 9.5mm at the cap end just using sand paper. Also made the 4.3mm square end for the cap. Not totally happy with how that turned out. I may keep it but I may make another one. I will decide after I have completed the work on the bow cap, as it may be OK with a bit of wood filler to fill any unsightly gaps.

Still working on the hammock crane and netting which I can continue in slow time
- robert22564, zoly99sask and dafi
-
3
-
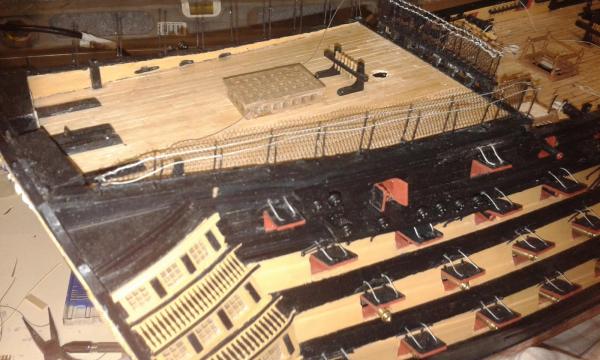
I used the model supplied eyelets for the bulwark eyelets, the cannon decorative eyelets and fixing rigging blocks to the deck. I used a larger eyelet CMB 83506 for the breaching ring cae'd to each rigged cannon. I then used a some left over eyelets similar to the CMB 83500 for the larger eyelets on each side of the cannon where the breaching thread feeds through. I only did this on the quarter deck cannons. For the upper gun deck I simply used the kit supplied eyelets for the cannon assembly and 83506 for the breach ring
- robert22564 and Shipyard sid
-
2
-
Nice work, nice to see you have made some progress again.
-
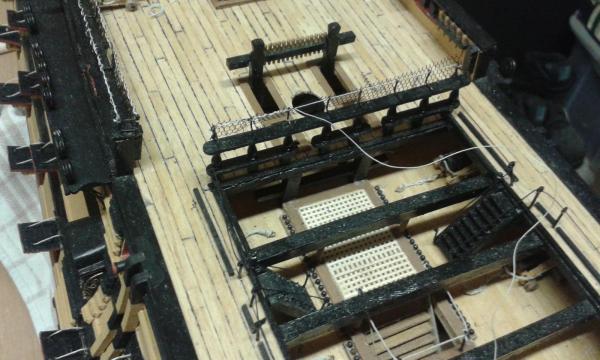
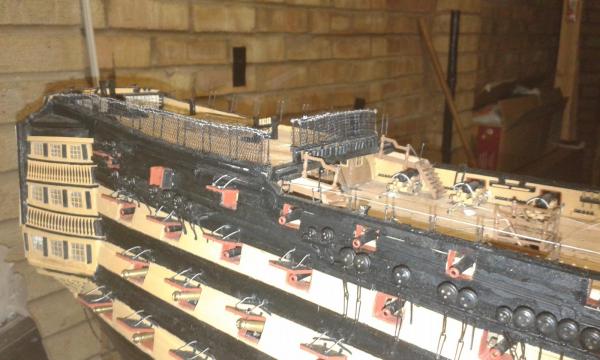
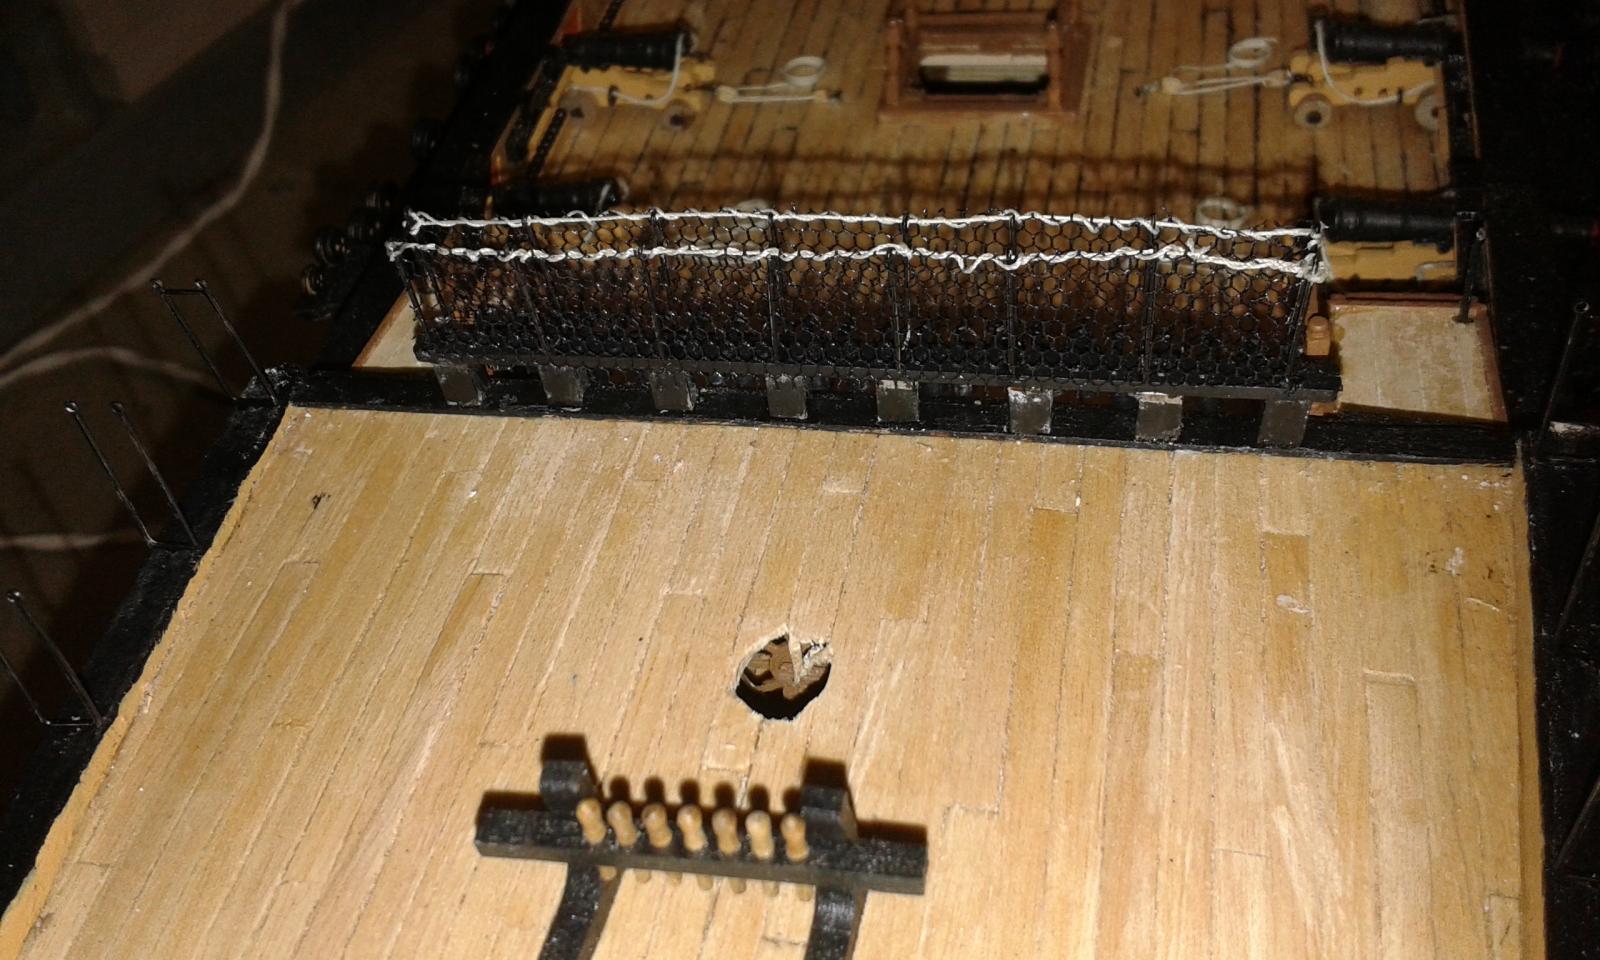
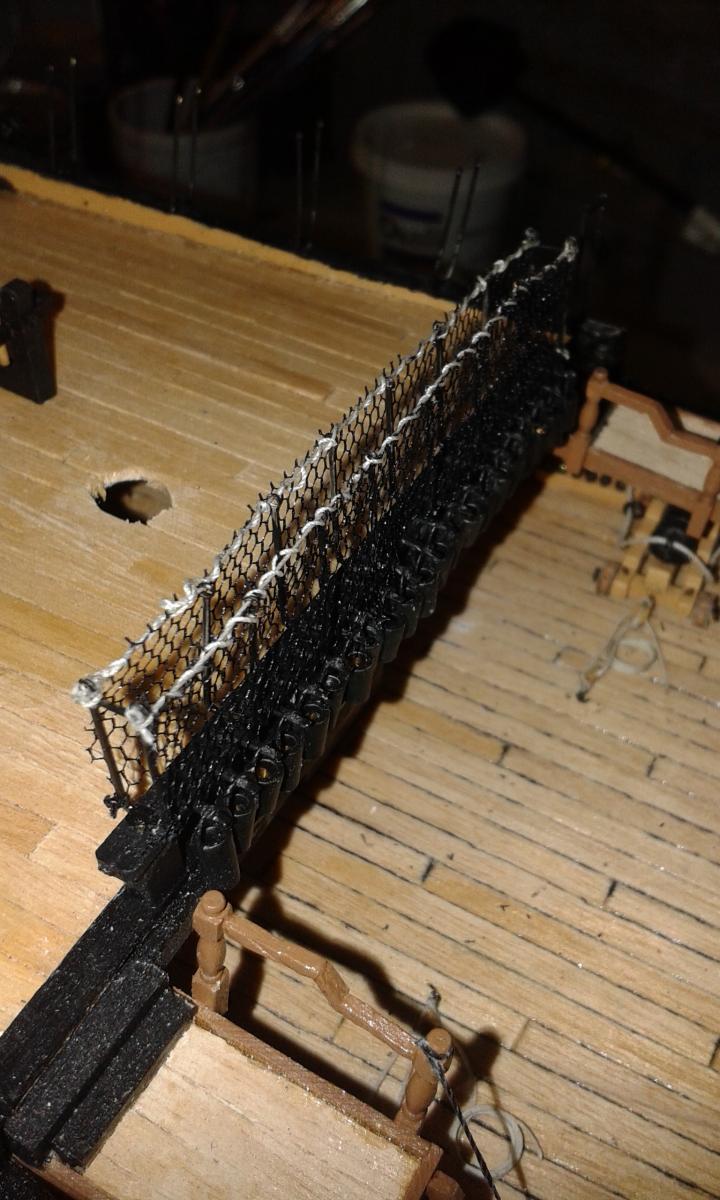
Work continues with Hammock Cranes.
Pictures of first completed hammock crane assembly

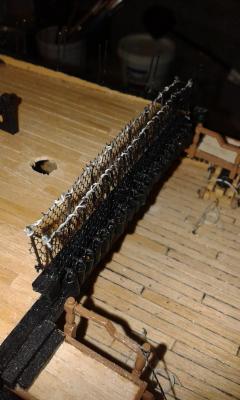

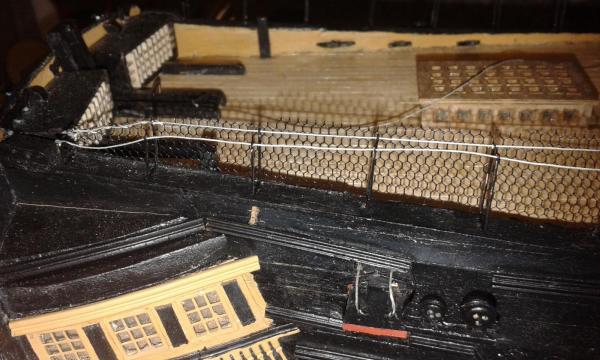
Fitted the poop deck hammock cranes both port and starboard

Added the rigging thread to starboard side
Starting to attach the netting
attachment=232102:007 Hammock Netting Poop.jpg]
- canoe21, zoly99sask and Rich.F
-
3
-
Hi Jerry
What ship have you bought?
-
Halo David. I have not ordered the Chuck as yet. When reviewing the product there is a face plate which other users have said we do the job, plus I've looked at some footage on YouTube. If needed I can order one separately at a later date.
-
Started fitting the hammock cranes last night, adding the netting was not as bad as I thought it might be. I suspect it will take a week or two to complete this task. I will post some picture to show progress in the next day or two.
Then I start with the bow spirit, masts and yard production which is a phase I'm really looking forward to starting.
Following some discussion with some MSW members regarding lathes / drill presses and internet researching I have taken the plunge and bought the Proxxon DB250 mini lathe (sorry Jerry!!!) as I think this will best serve my needs, hopefully delivery is expected tomorrow (24th April).


VIKING SHIP DRAKKAR By Jerry - FINISHED - Amati Scale 1:50
in - Kit subjects built Up to and including 1500 AD
Posted
Hello Jerry
The HMS Pegasus kit quality, which is essential an Amati product, is very good. I suspect each manufacturer has good and bad kits. Not withstanding the quality of your kit you seem to have made a Stella build so far.