


Glenn-UK
-
Posts
2,662 -
Joined
-
Last visited
Content Type
Profiles
Forums
Gallery
Events
Posts posted by Glenn-UK
-
-
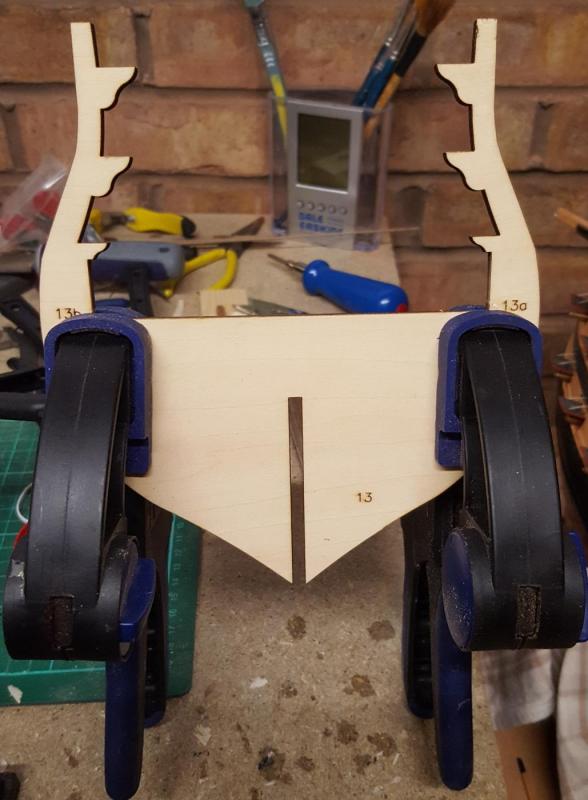
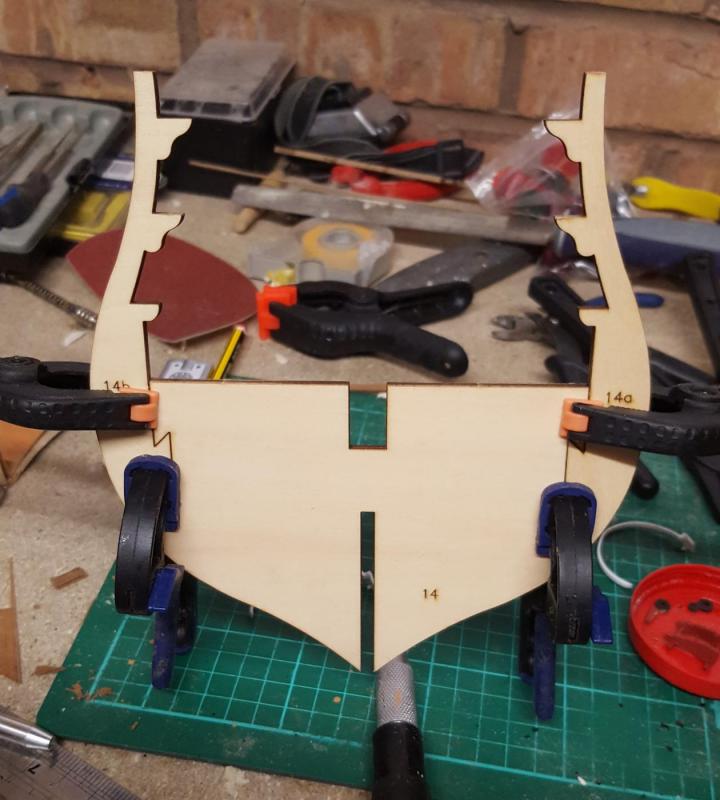
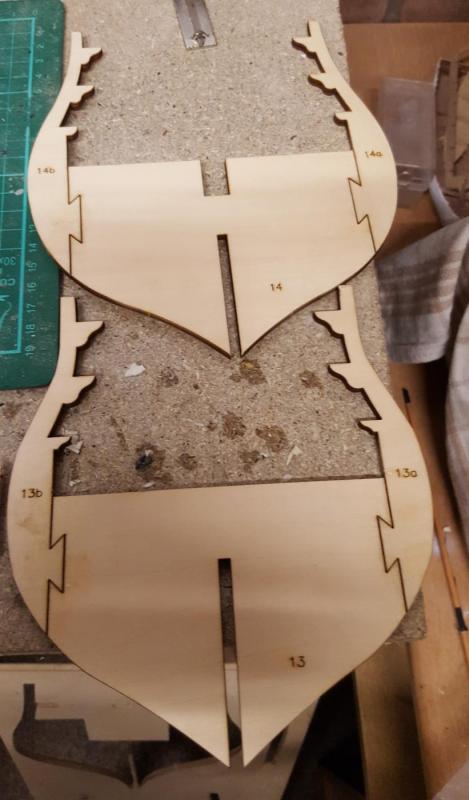
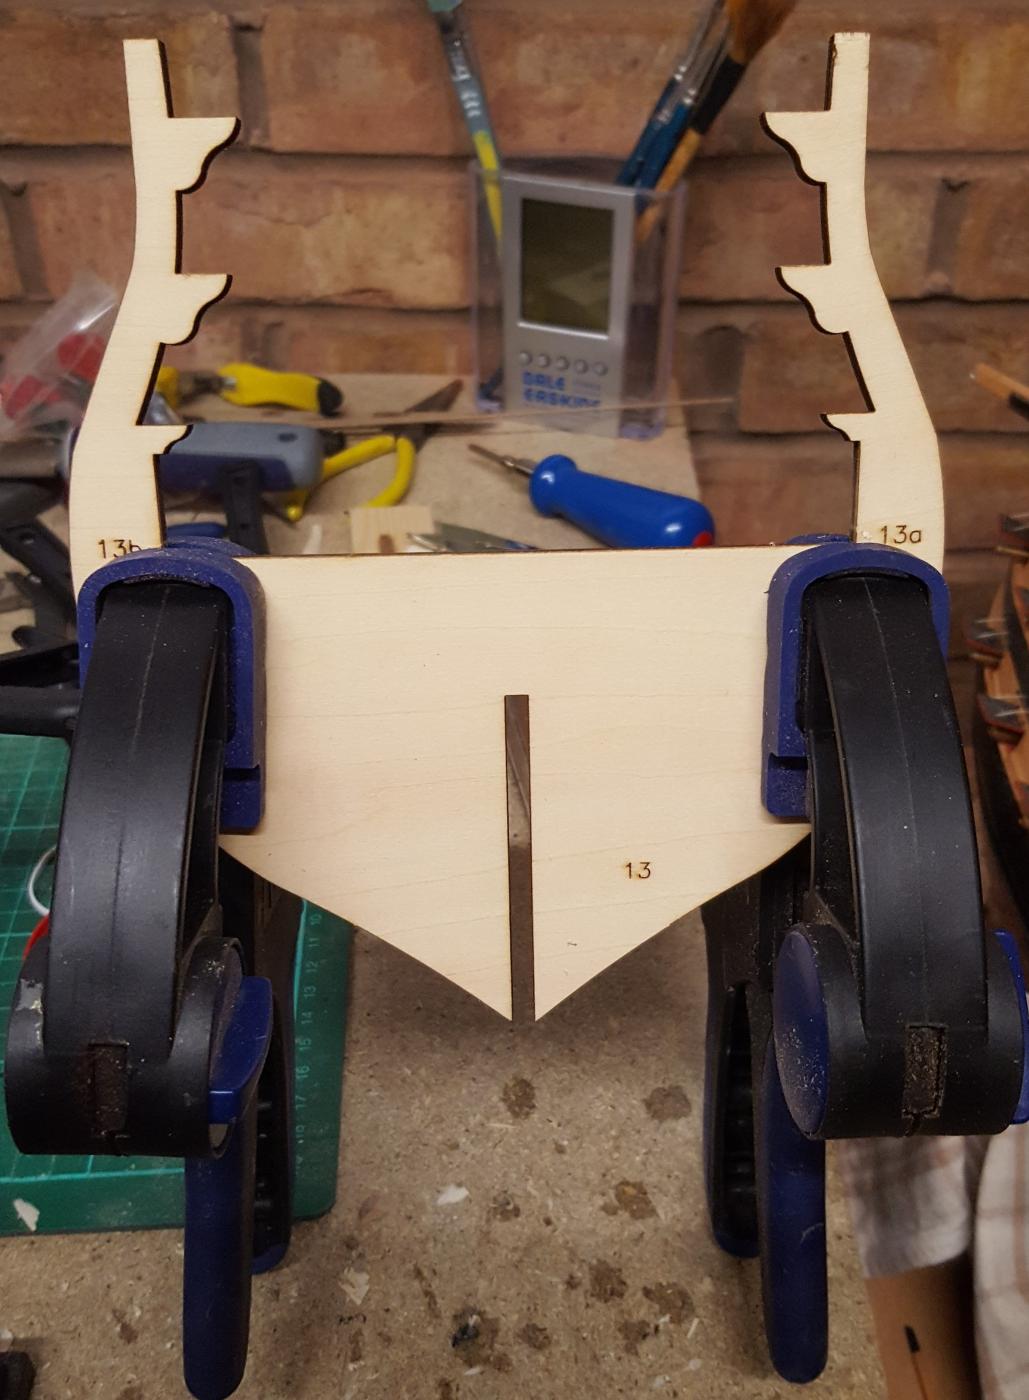
Had a bit more spare time this evening so I decided to assemble parts 13 13a, 13b & 14, 14a, 14b. I used a sanding stick before the assembly phase to remove the rough edges.
Part 13 glued & clamped
Part 14 glued & clamped
Parts 13 & 14 after glued has dried and clamps removed
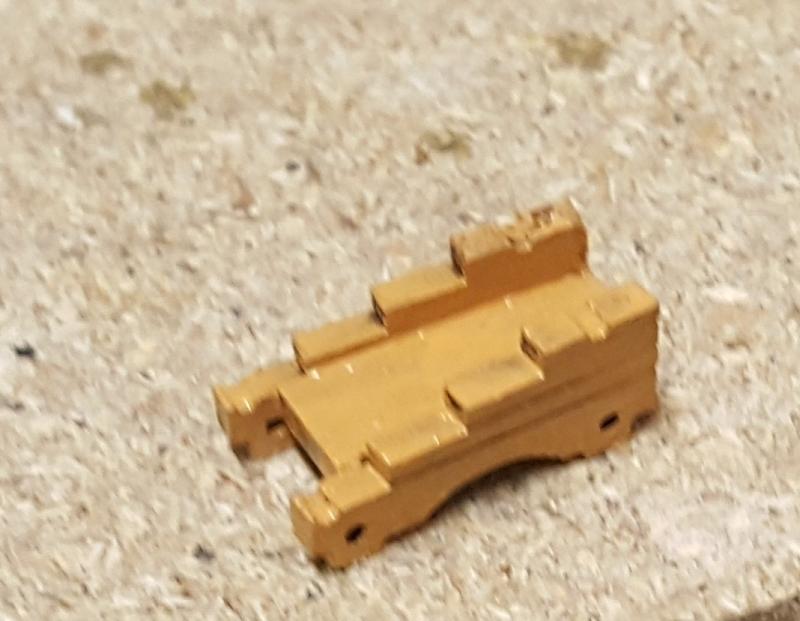
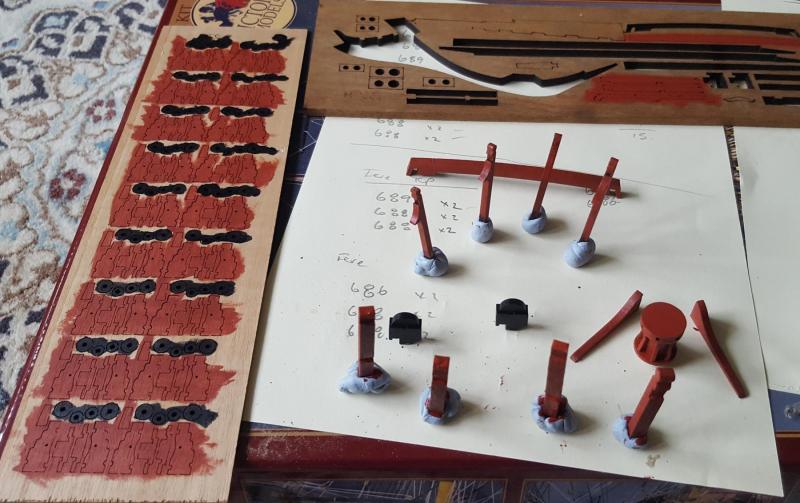
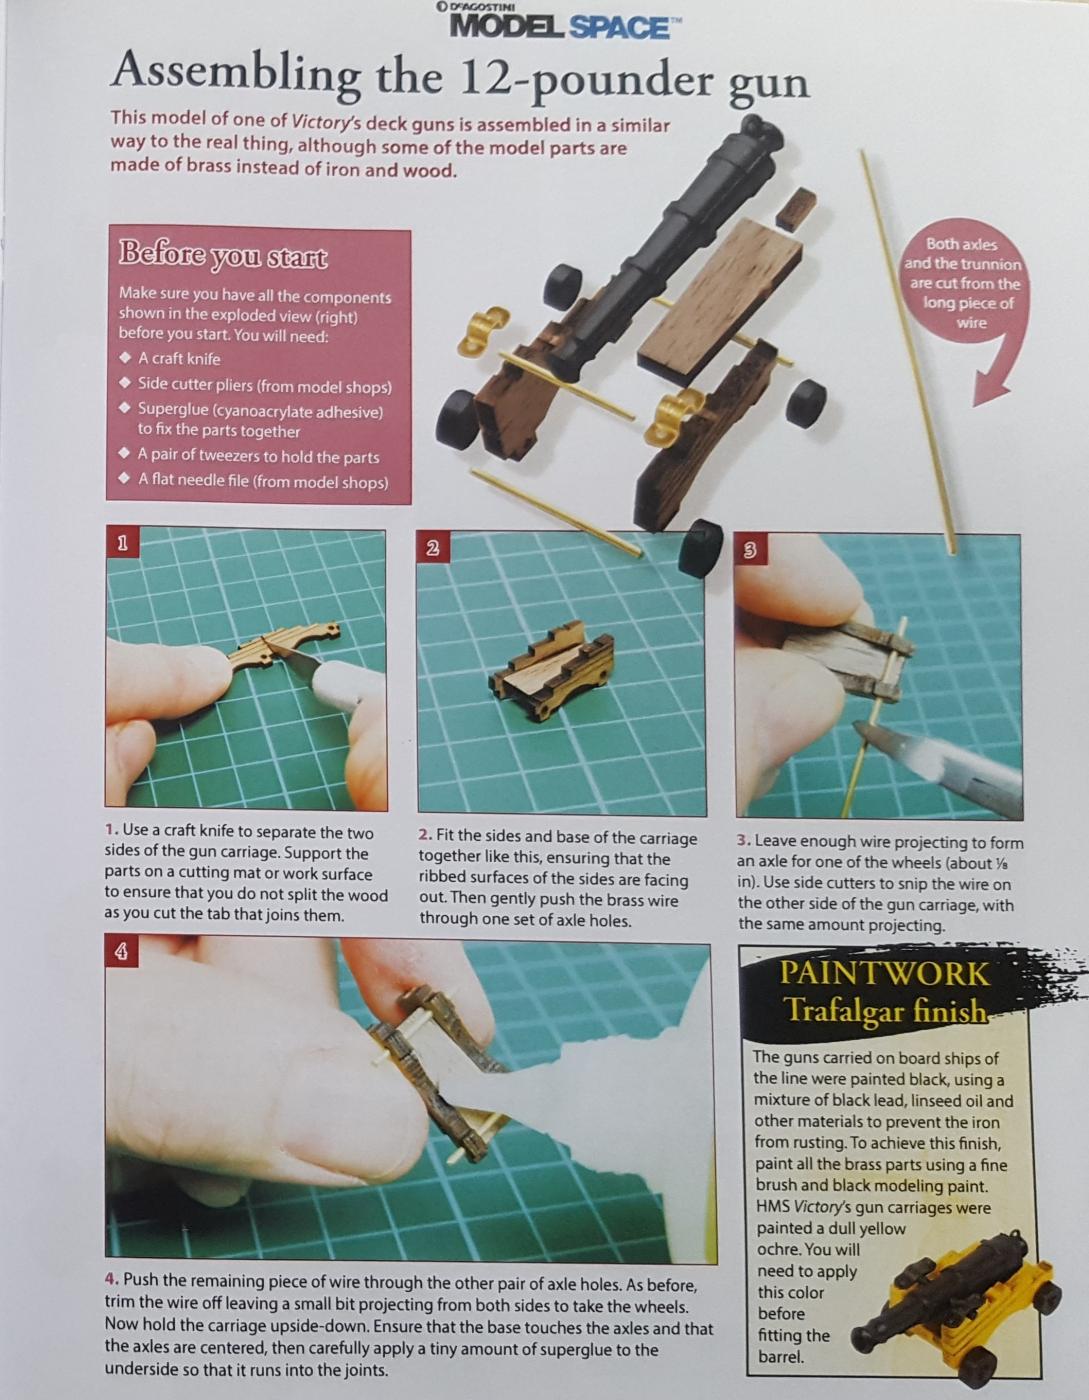
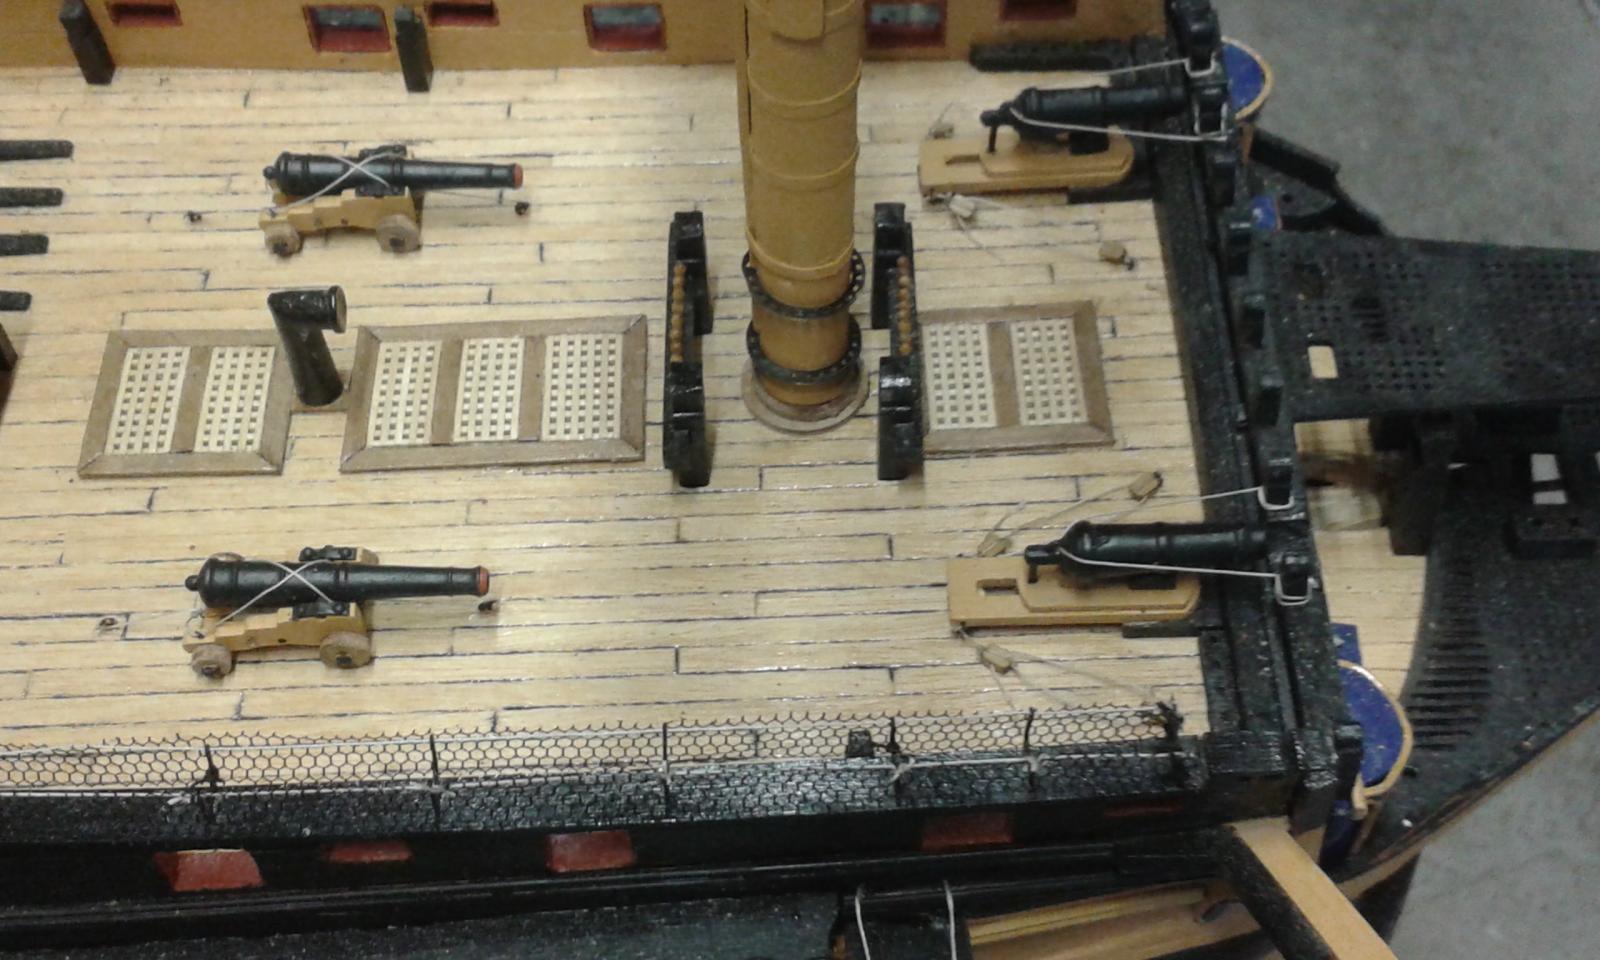
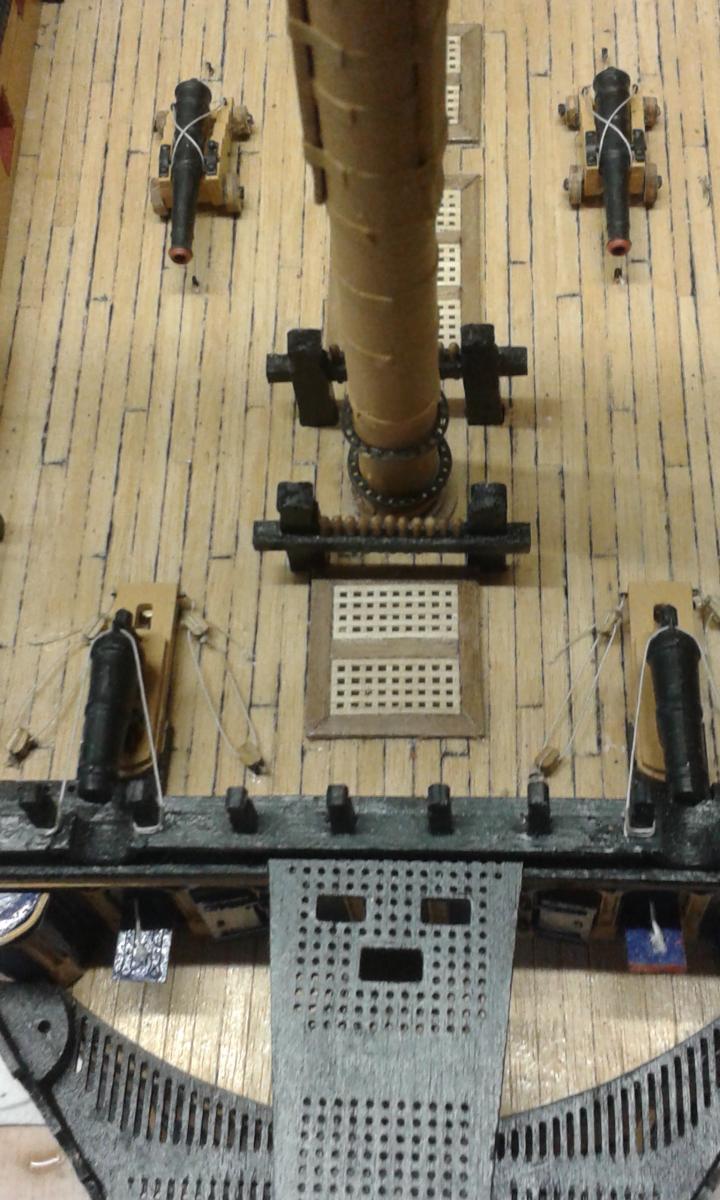
Also painted the 12 pounder gun carriage.
- WackoWolf and zoly99sask
-
 2
2
-
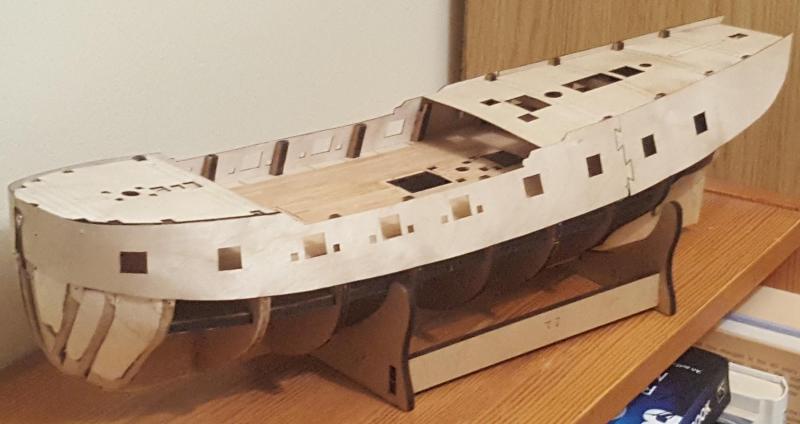
I'm planning on taking my time with this build, unlike my other builds.
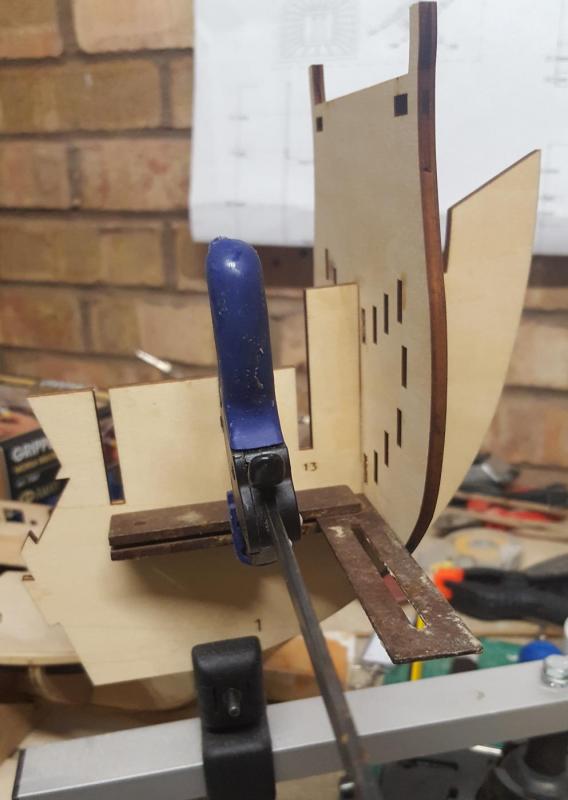
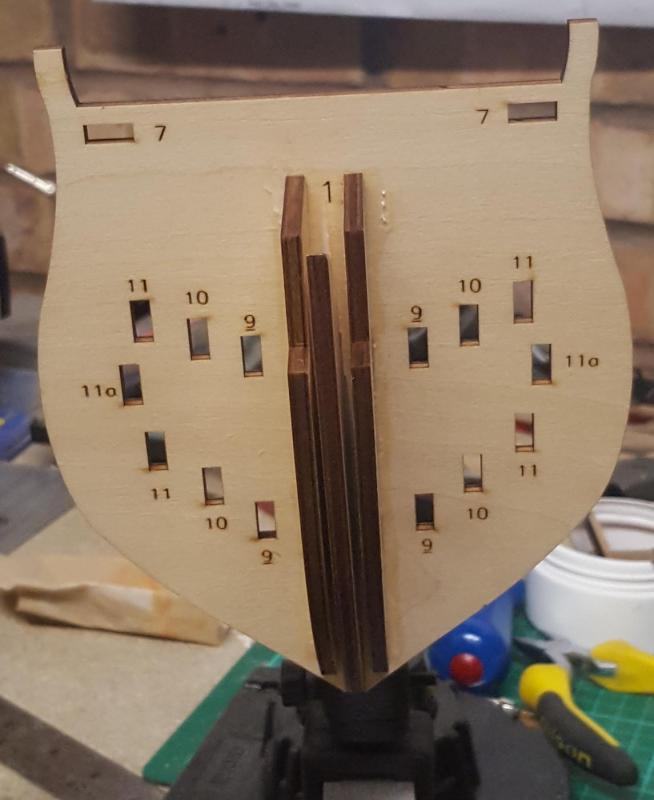
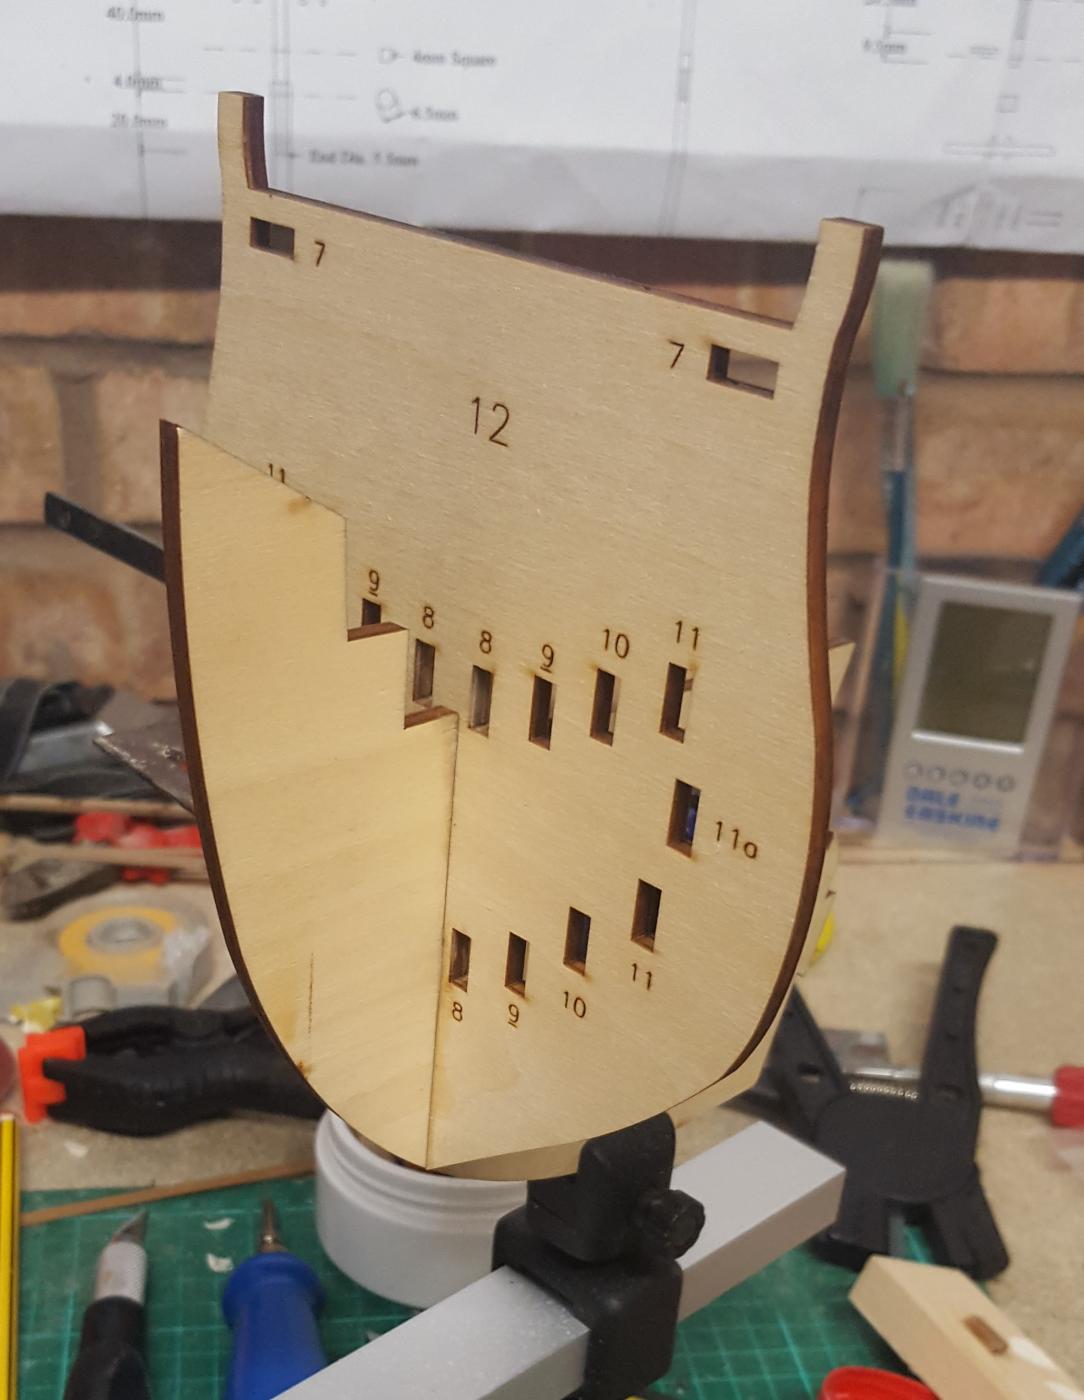
I started with fitting part 12 to the keel.
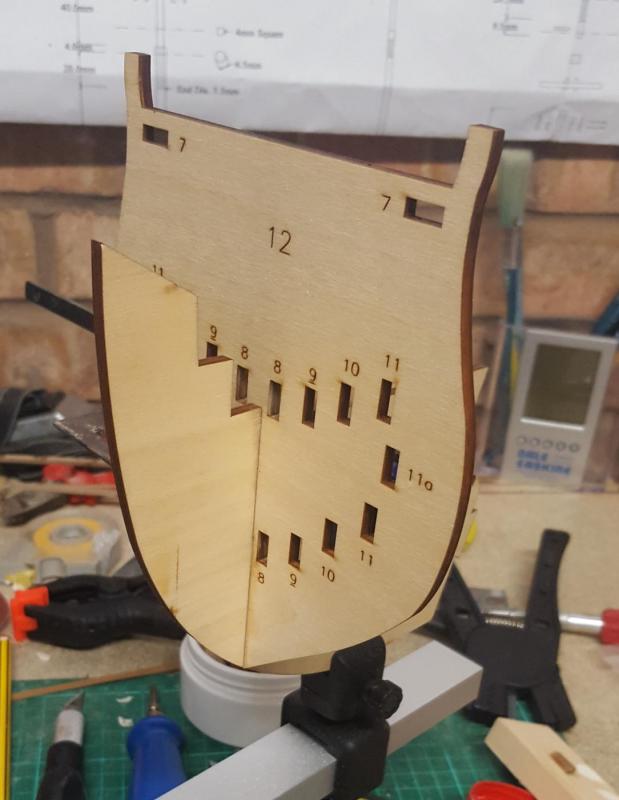
I used a set square to ensure part 12 was fully square with the keel as the glue was drying.
This picture shows other the HMS Pegasus build as well
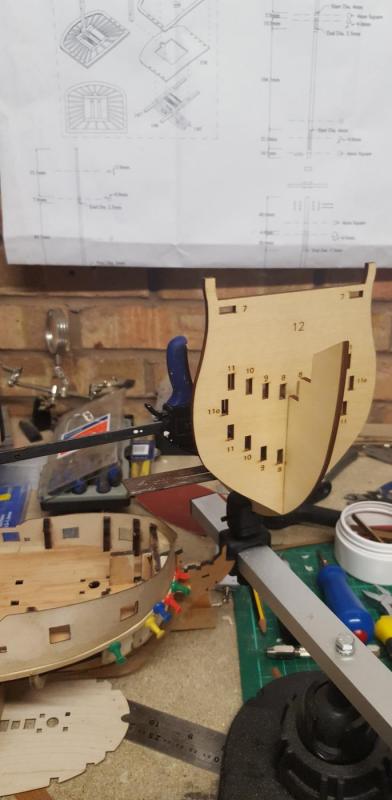
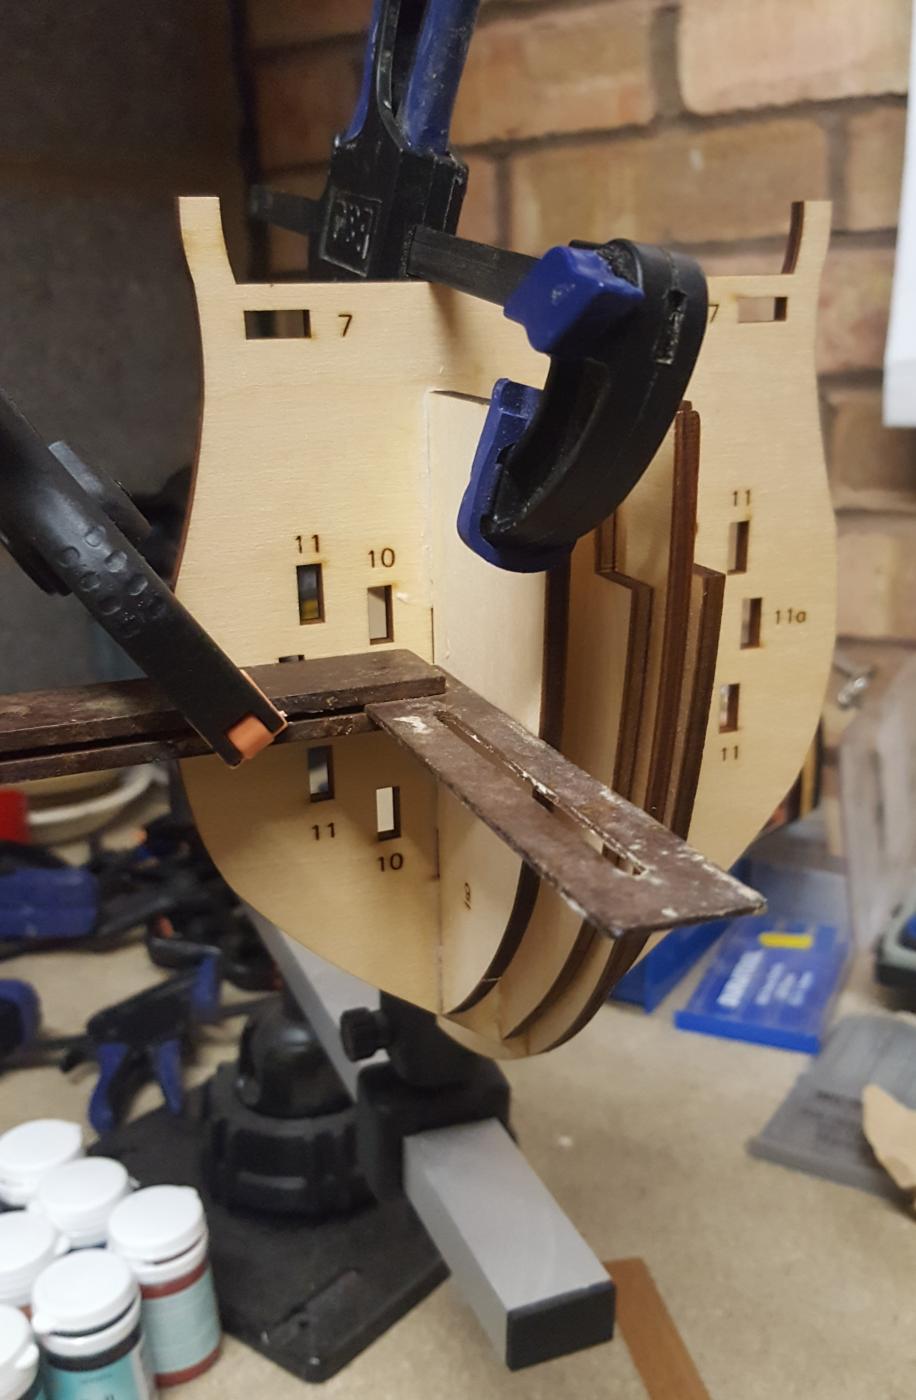
Once the glue had dried I then added bow former part 8 to part 12
Thought it would be nice to show a picture of my other HMS Victory build which is on hold
Once the glue was dry I then added the bow former part 9 to part 12. I used a set square to make sure both part 8 and part 9 were correctly installed.

I have also made a start on the first 12 pounder cannon. I'm now waiting for the glue to dry before proceeding further

- WackoWolf and zoly99sask
-
2
-
Yes those are the videos plus there is another youtube video channel with build videos that I've found https://www.youtube.com/playlist?list=PL_3pPhOtE3Pea-7AYJUZuXIncL4tcPhOC
-
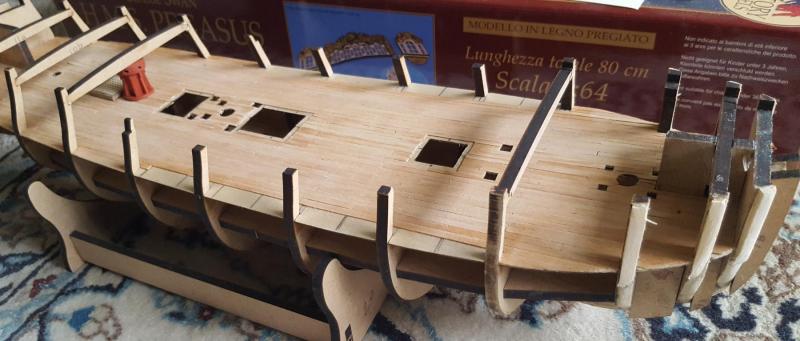
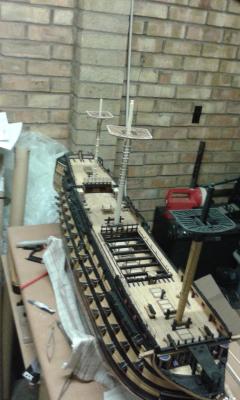
I've been away for a few days, but managed to spend a bit of time today on HMS Pegasus and fitted the first plank. I used my plank bender to shape the planks and the fitting went very well.
It did required a little bit of sanding in a couple of places, once the glue had dried, to get a good smooth finish between the first plank top edge and the gun port strip. I will sand the hull properly and fill as necessary with filler / primer once I've finished the first planking
I have a busy weekend so I will have continue with the planking next week.


-
My Caldercraft Victory build has been in the dry dock for 18 months and I'm not sure if and when I will return to it as I'm waiting for the release of Chris Watton's HMS Victory build which I'm really looking forward to building.
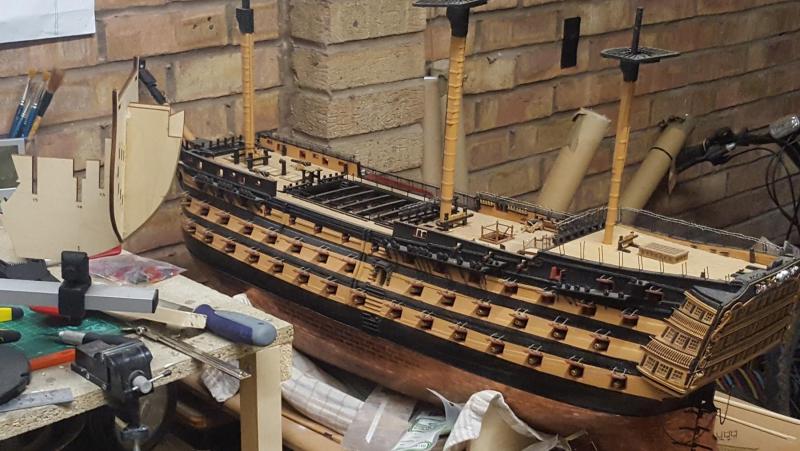
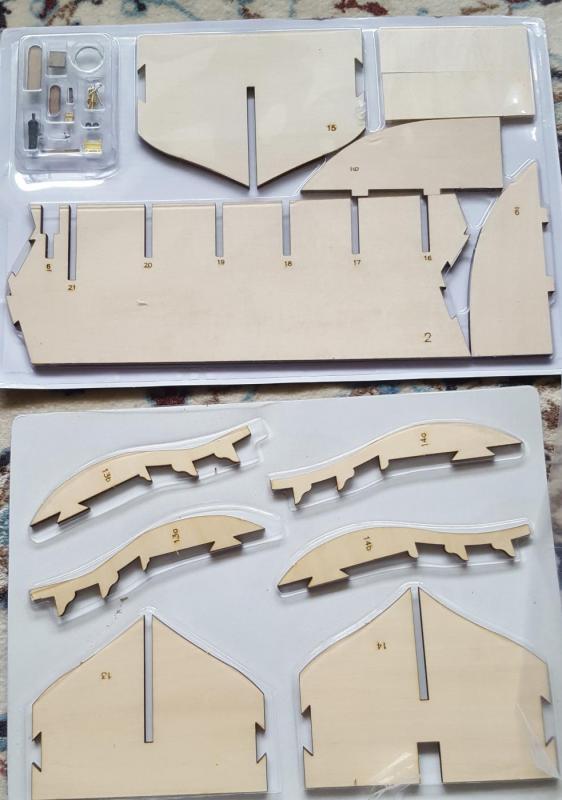
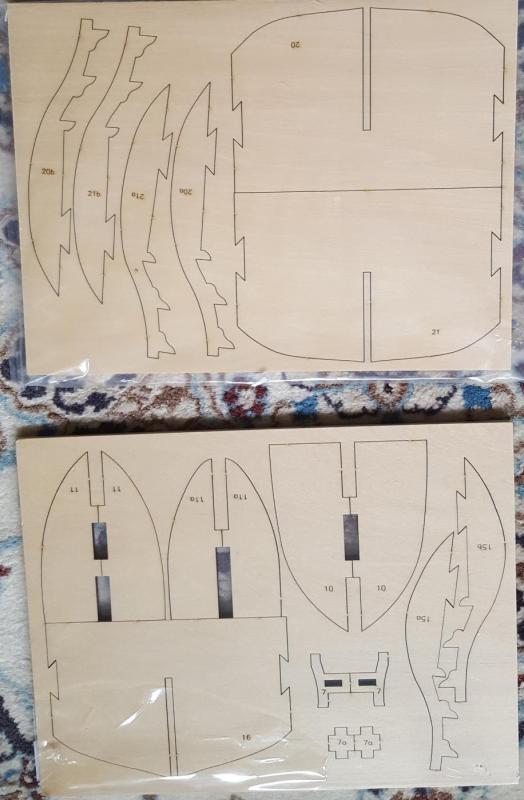
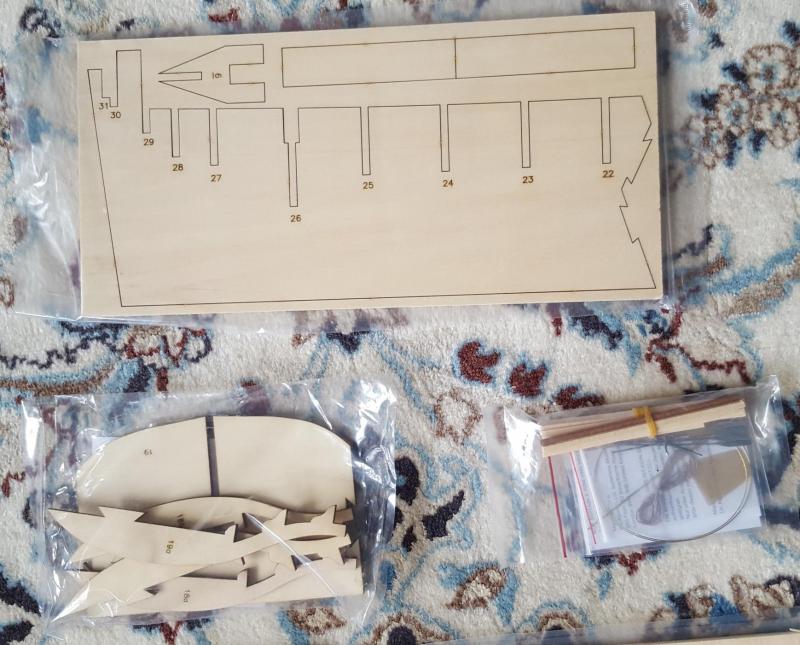
I'm currently working on HMS Pegasus but thought it would be fun to also build the Model Space 1/84 scale model of HMS Victory using the 24 month subscription. I choose this kit because there are some really useful youtube videos and it looks an really interesting build.
I have now taken delivery of my first month subscription and I'm now look forward to making a start on this build.
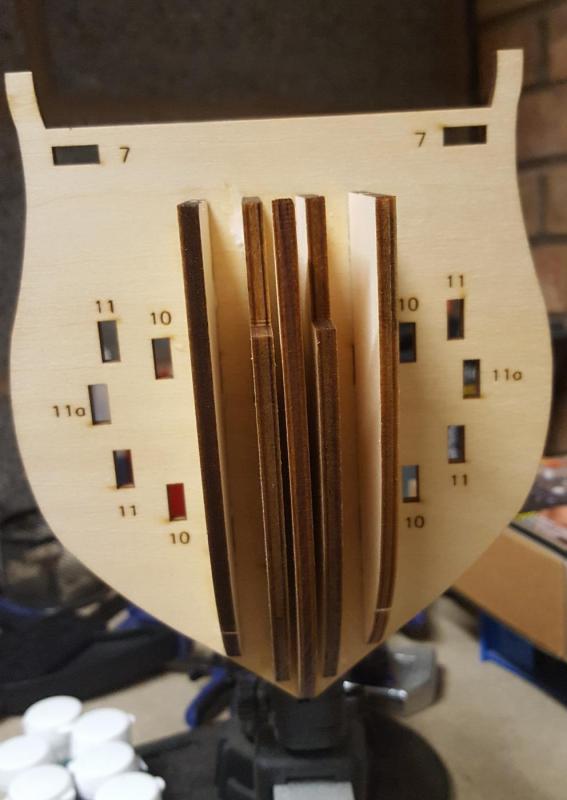
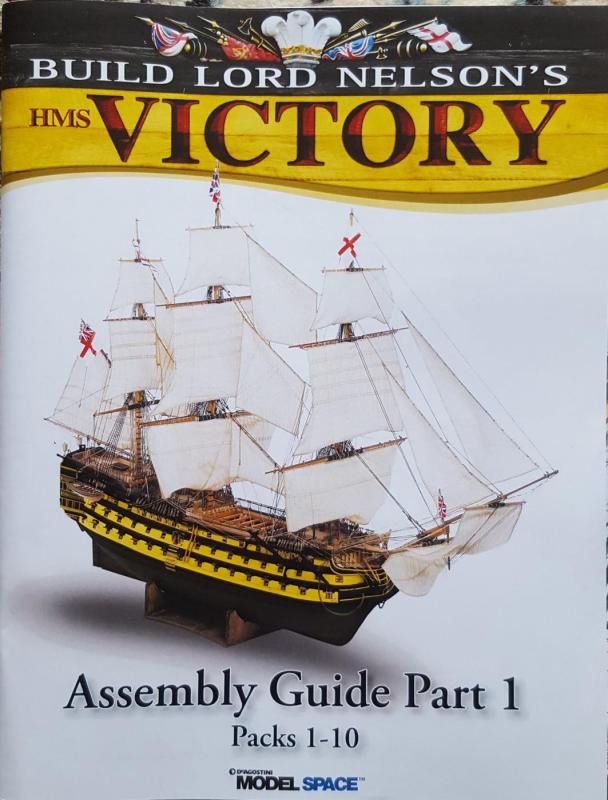
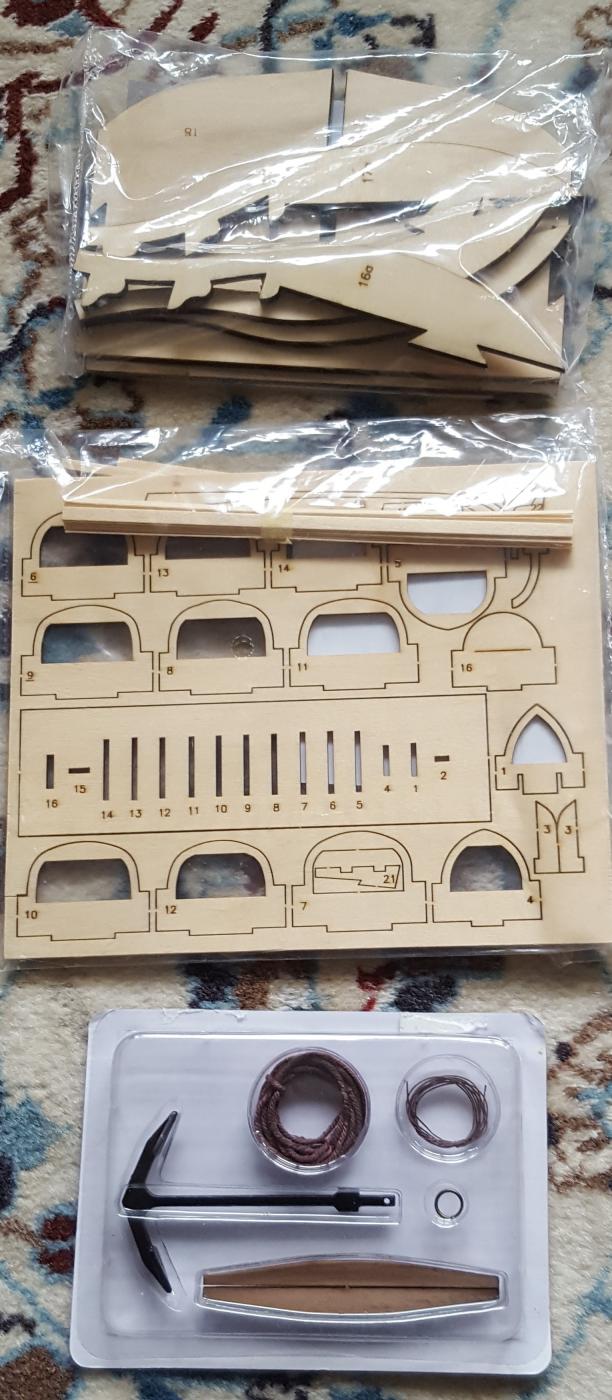
Pictures of the instruction manual

Pictures of the parts received with first delivery

-
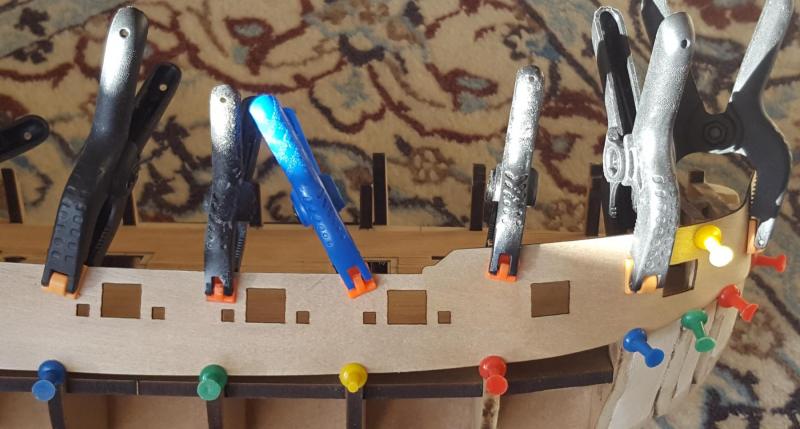
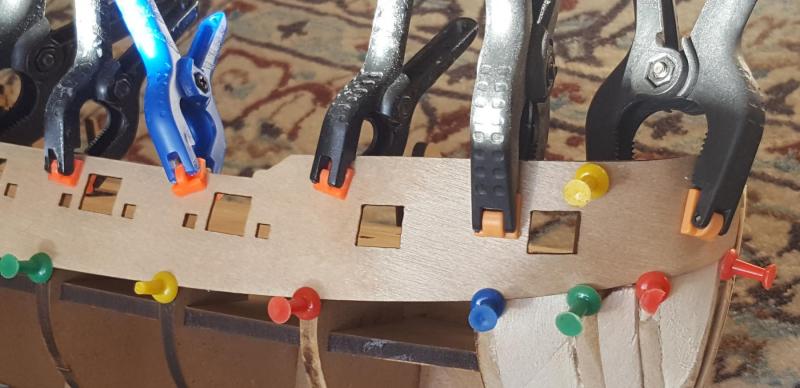
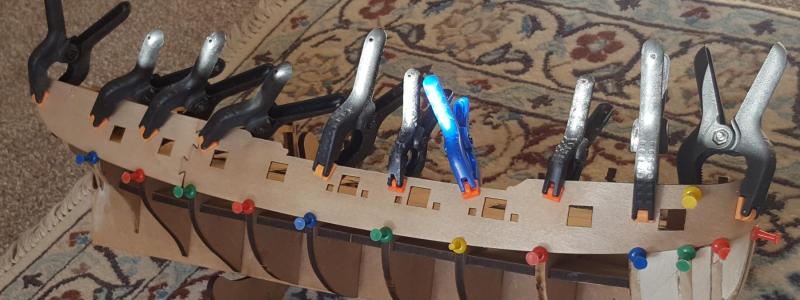
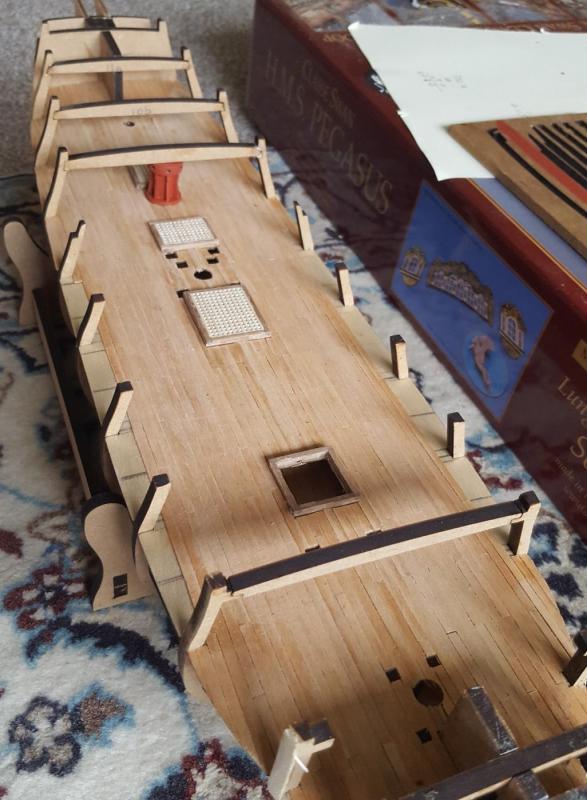
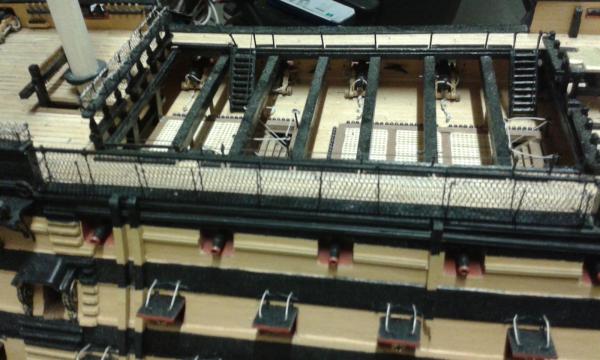
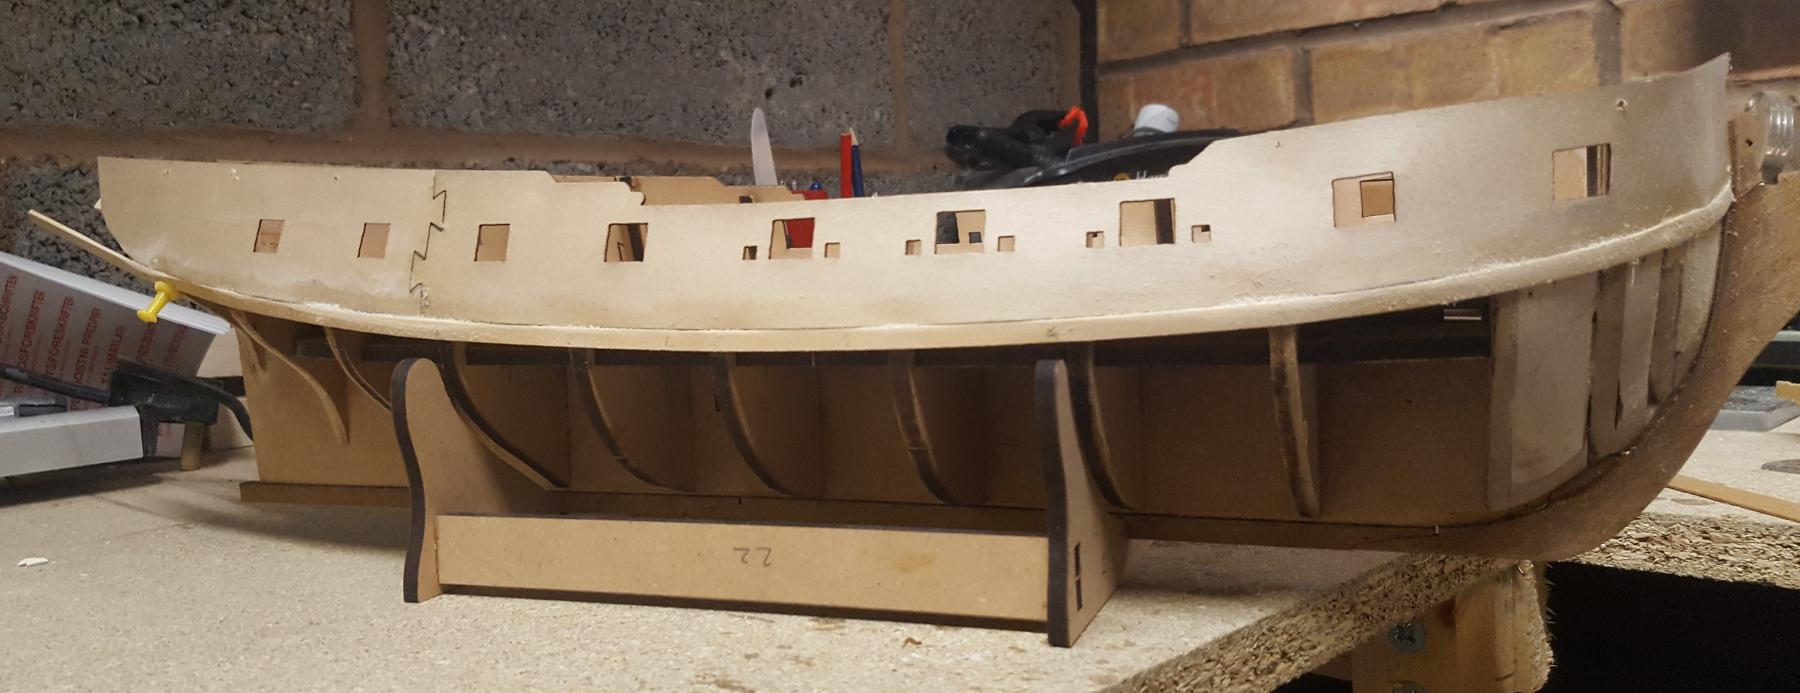
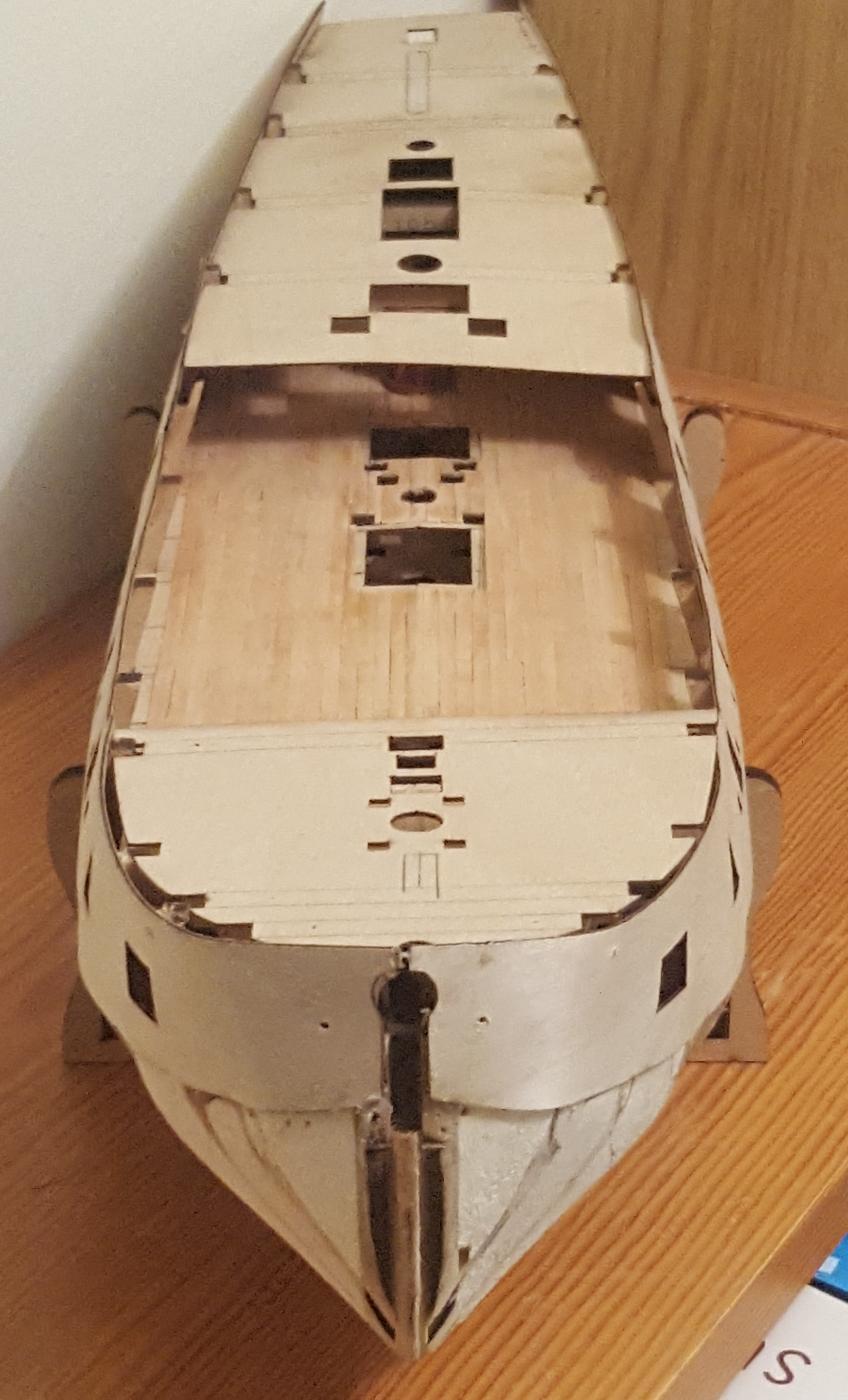
The gun port strips dried nicely and retained their shape. I dry fitted them to be double sure and all looked good so I was able to glue them in place without any problems.
I thought this whole process was going to be more onerous and complicated than it actually was; it turned out to be quite a simple task.
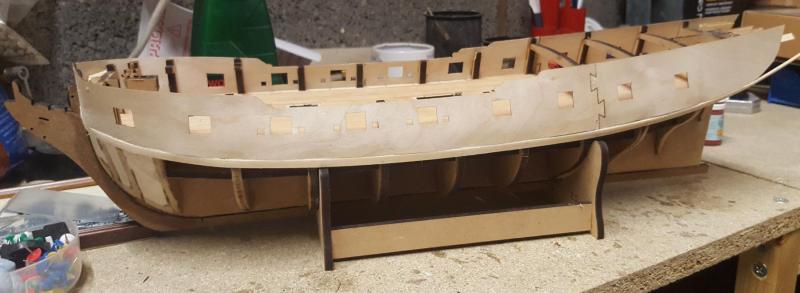
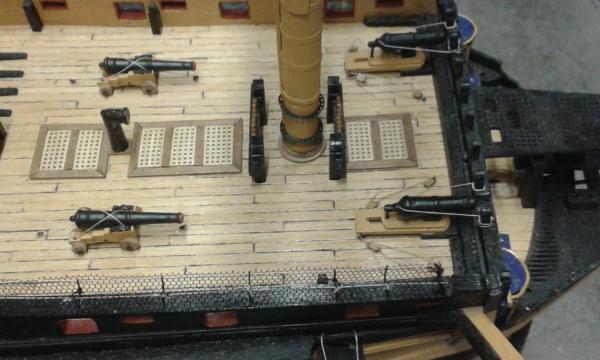
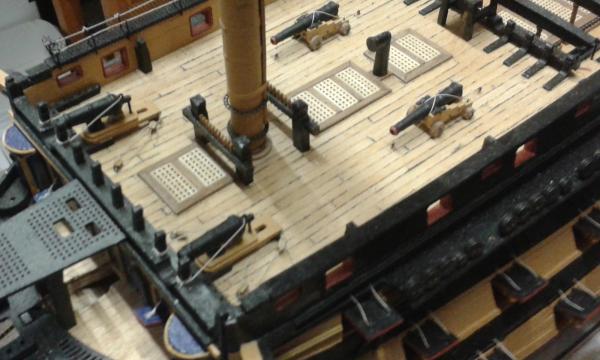
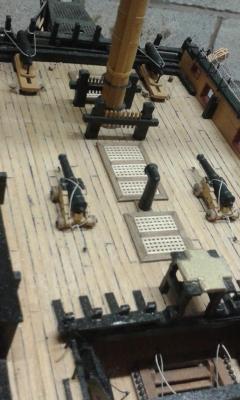
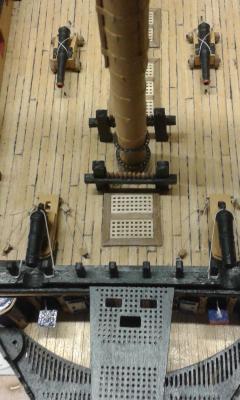
In the following pictures I have placed the upper decks in place, but I will remove them when I start the next task of the first planking.


Build Index hyperlinks
1. Prework - dry fitting bulkheads
5. Dry Fit Main Gun Deck and Fitting
7. Lower Gun Deck Glued and Pinned
10. Gun Deck Opening Cleared During Planking
11. Gun Deck Planking Work In Progress
12. Gun Deck Planking & Fairing
- kier, Landlubber Mike and Martin W
-
3
-
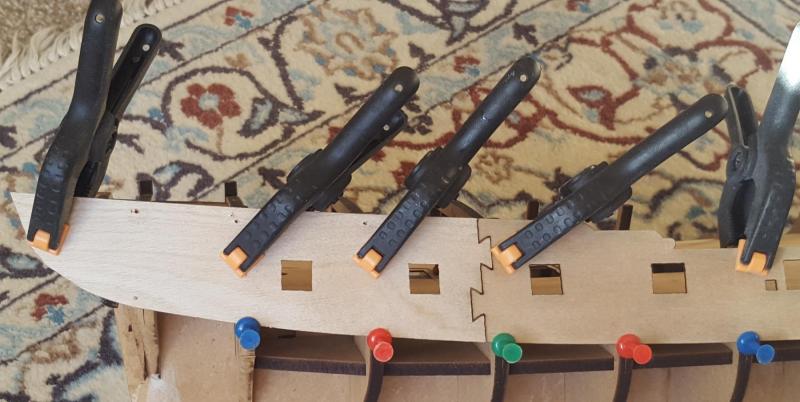
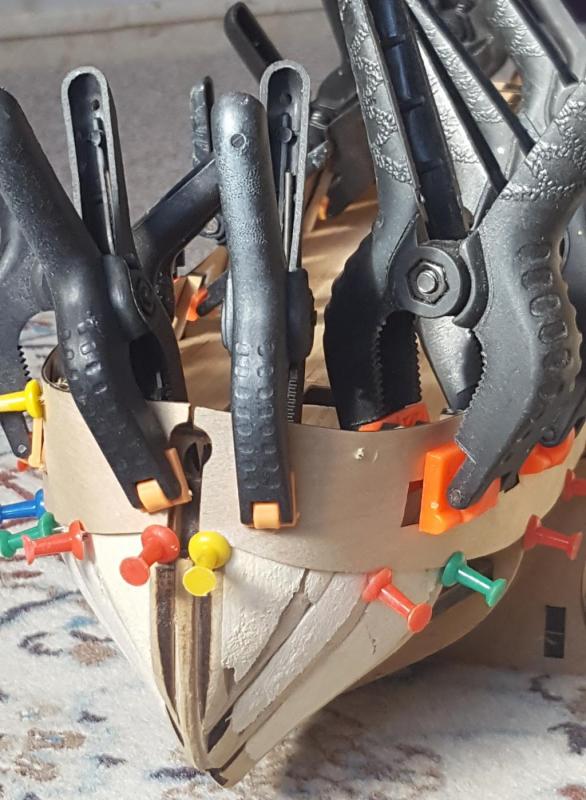
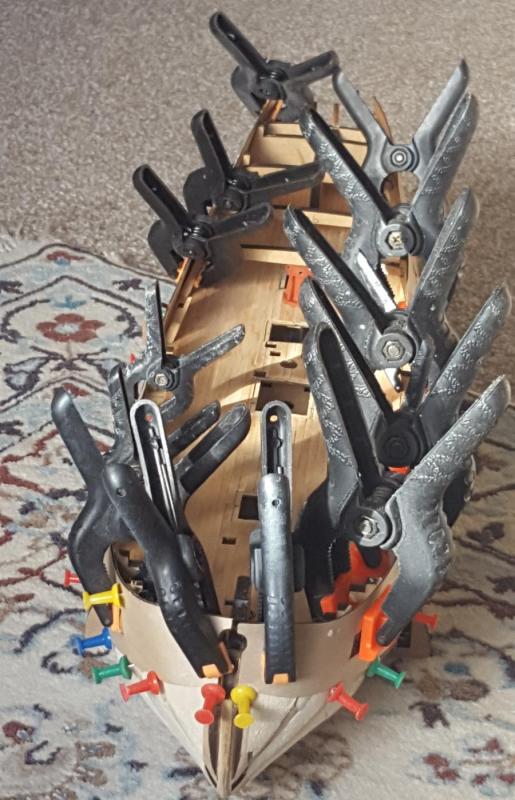
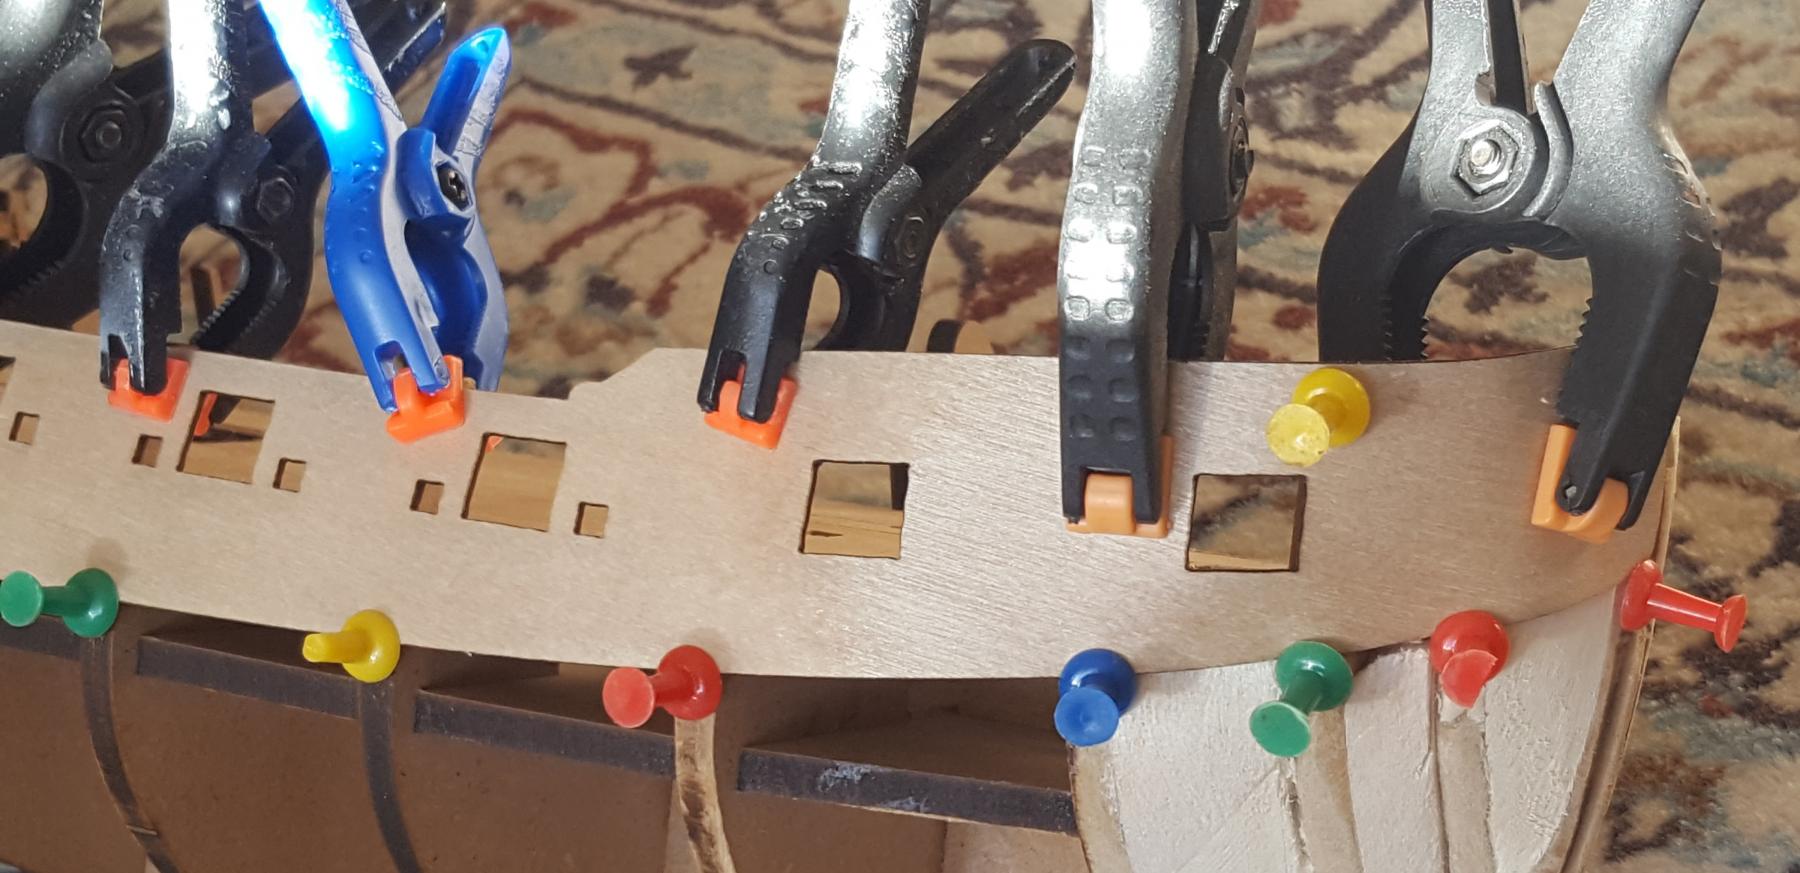
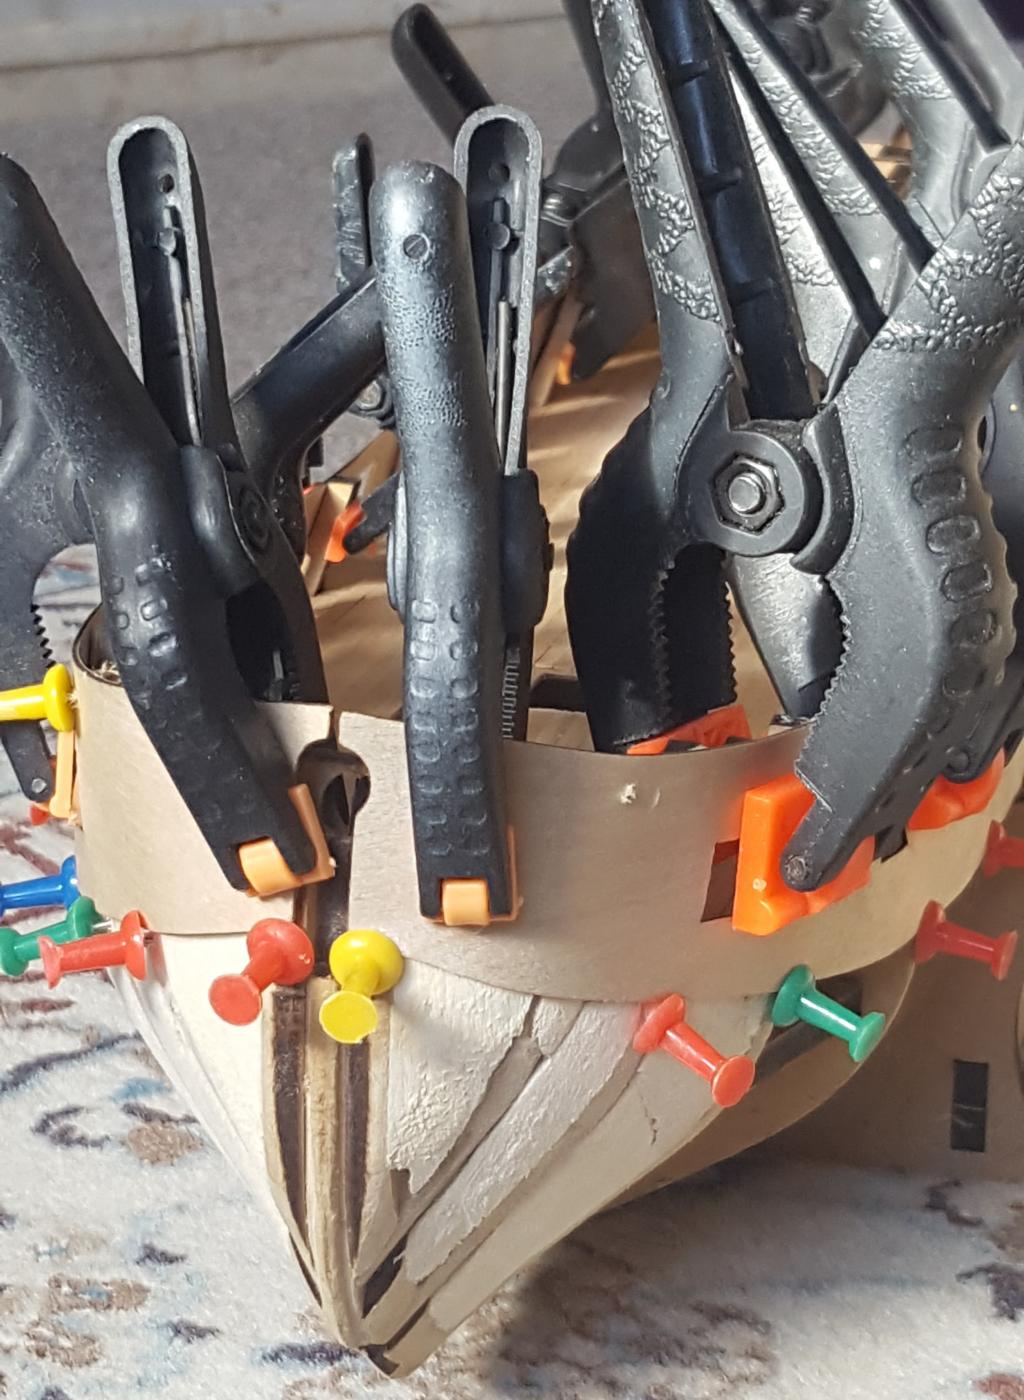
Today's task was to start fitting the gun port strips. I started this by soaking the gun port strip in warm water for 1 hour, noting I did change the water a couple of times to ensure the water stayed warm.
I did also fit an additional support to stern side of bulkhead 9 last night to help secure the dovetail section when I glue the strips in place.
I took the first gun port strip (starboard side) and begin to pin and clamp to the frame. I found the easiest method was to start with the forward gun port strip and align with the top edge and then clamp the top at bulkheads 8, 7 and 6. Once I was happy that all the gun port openings were clear of the bulkheads I pinned the bottom edge at bulkheads 8, 7 and 6. I then continued to pin and clamp until the strip was eased and secured around the bow. I then fitted the rear starboard gun port strip from bulkhead 9 moving to stern.
I then repeated the above fitting the port side gen port strips. I will now leave the gun port strips in place until the strips have dried out.
Build Index Hyperlinks
1. Prework - dry fitting bulkheads
5. Dry Fit Main Gun Deck and Fitting
7. Lower Gun Deck Glued and Pinned
10. Gun Deck Opening Cleared During Planking
11. Gun Deck Planking Work In Progress
12. Gun Deck Planking & Fairing
- Shipyard sid, robert22564, kier and 1 other
-
4
-
-
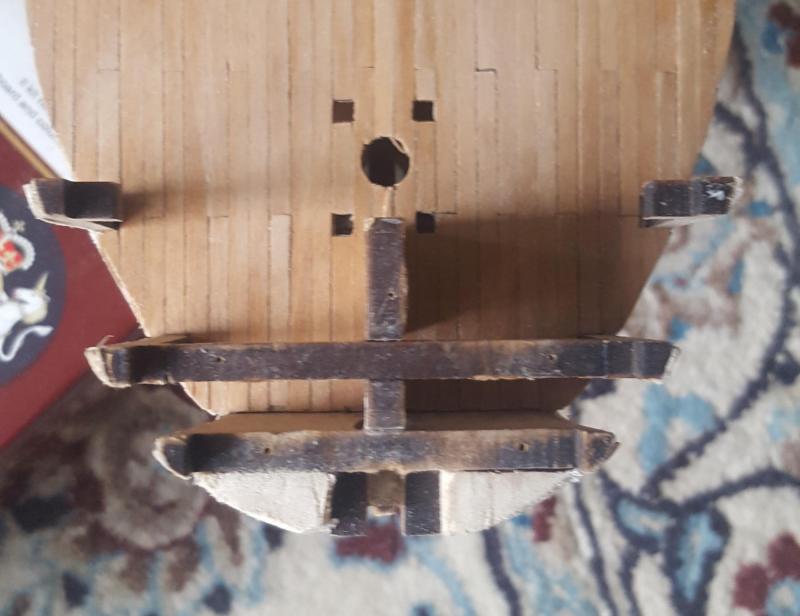
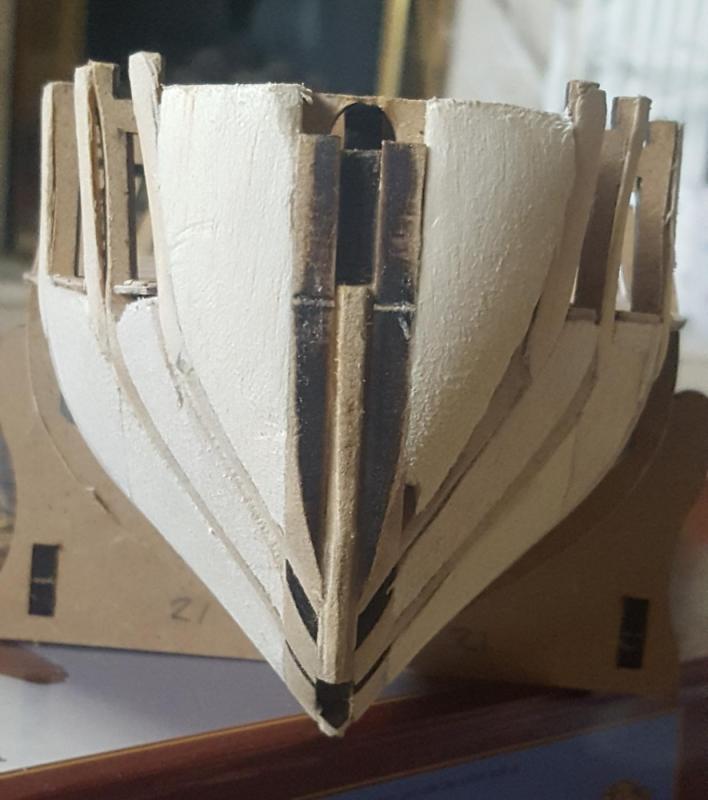
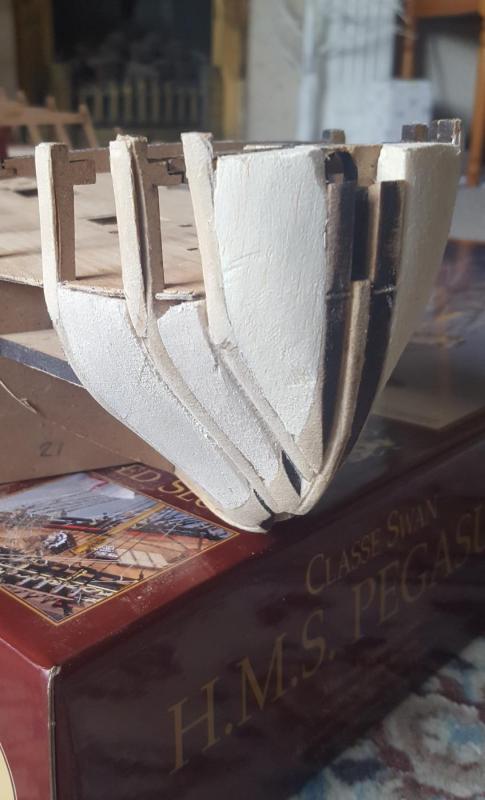
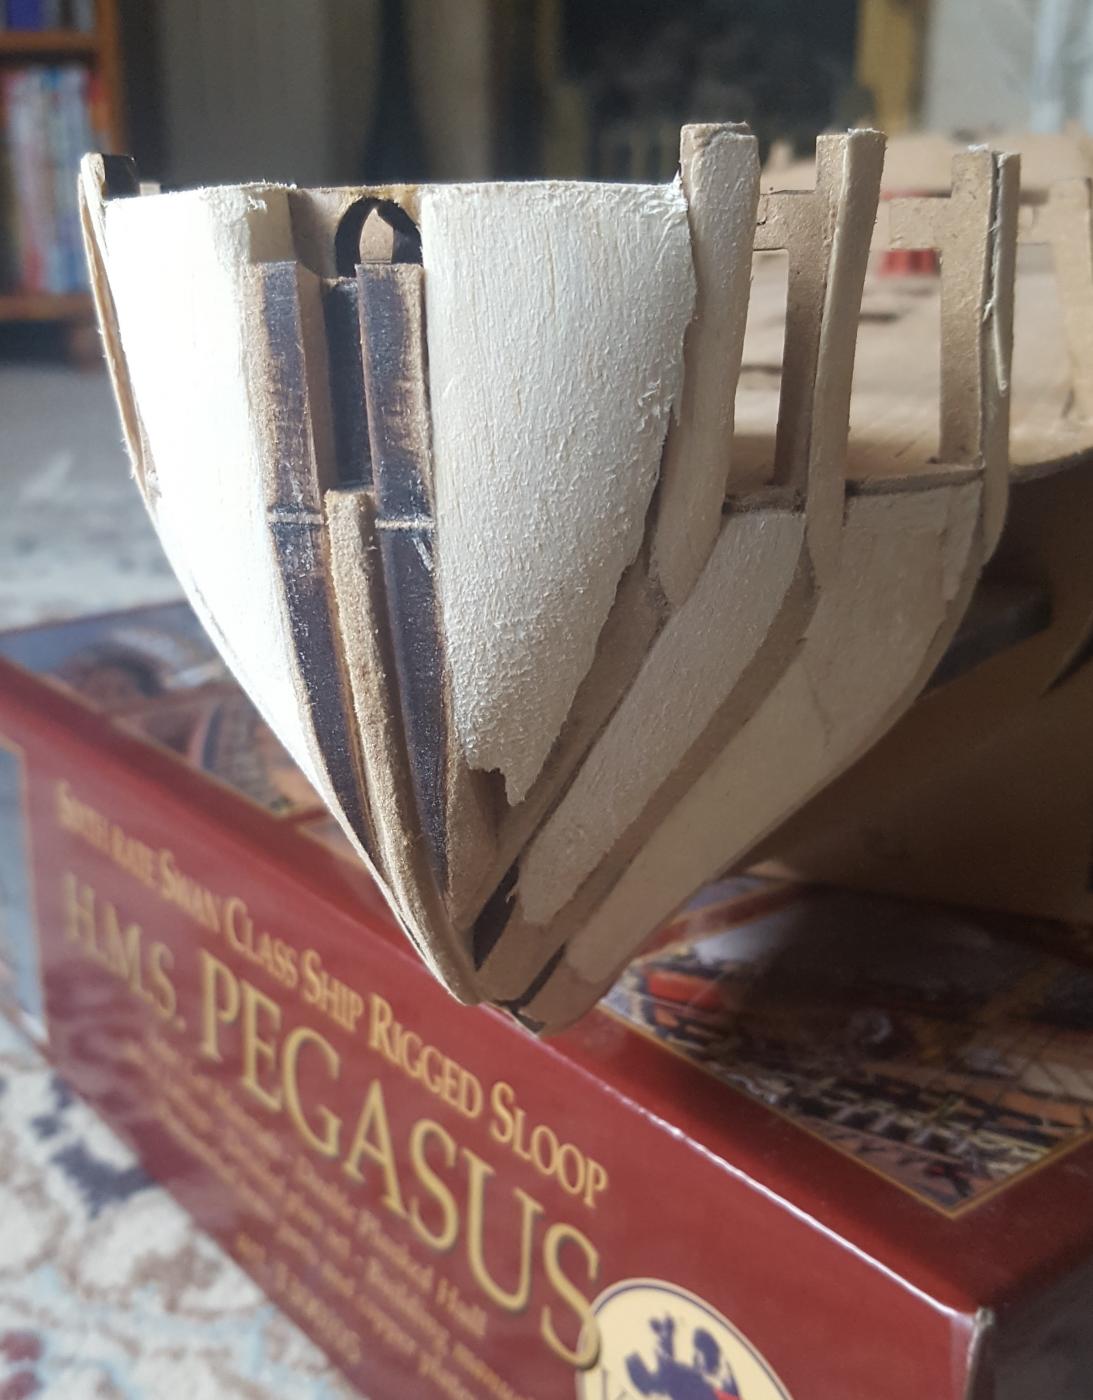
Today I was planning on bending and fitting the gun port strips but I realised I needed to spend a bit more fairing the bulkheads. I then decided to fit some balsa inserts to aid to ensure I have a good shape at the bow end and to help with the planking.
Here are some pictures

- Landlubber Mike, Martin W and Altduck
-
3
-
I last worked on this build 12th April 2015 when I decided to put the project on hold. Anyway over the last couple of days I have been looking at my build and working out what needs to be done.
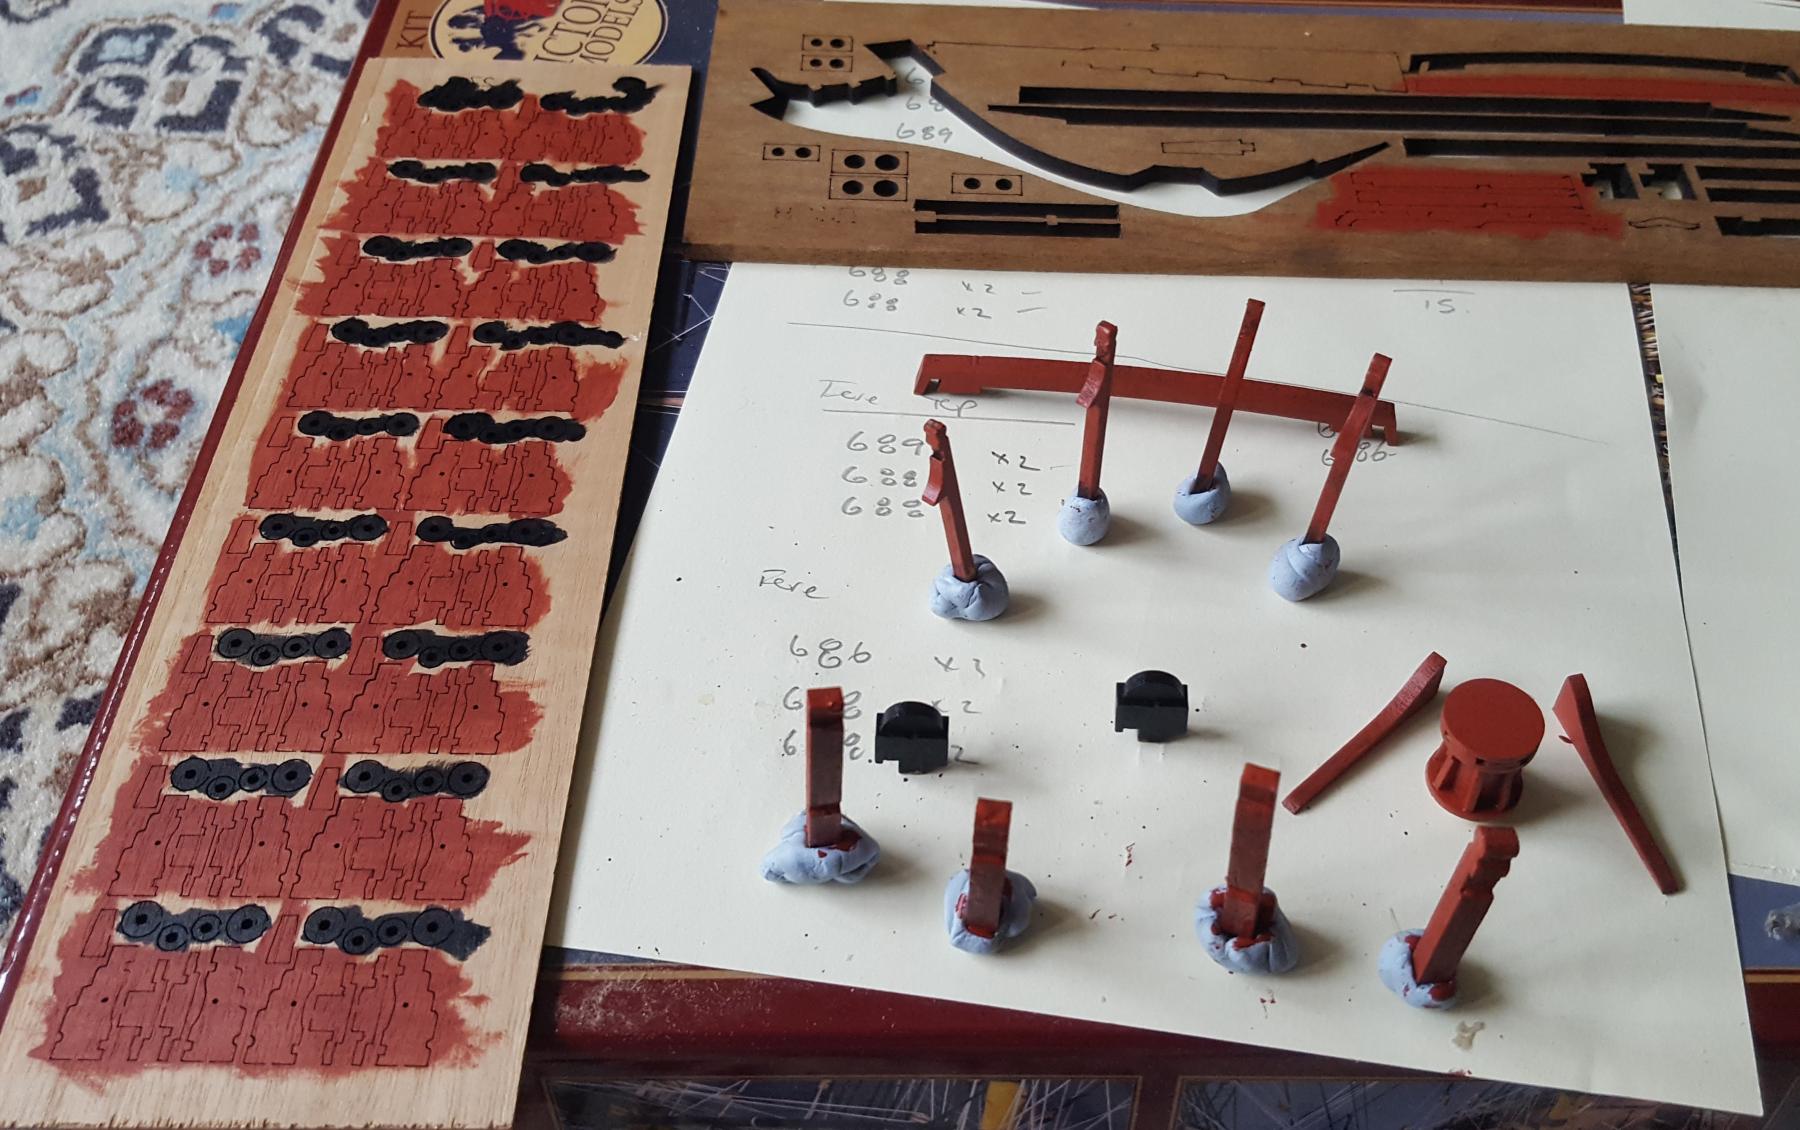
First task was to order some paints from CMB which arrived today so I painted some of the deck fittings. I took the opportunity to also paint the cannon parts before removal from the sheets, as I think it may be easier this way. I'm still debating what colour to paint the bitt cross members either matt black, red or leave natural. Any thoughts welcome.
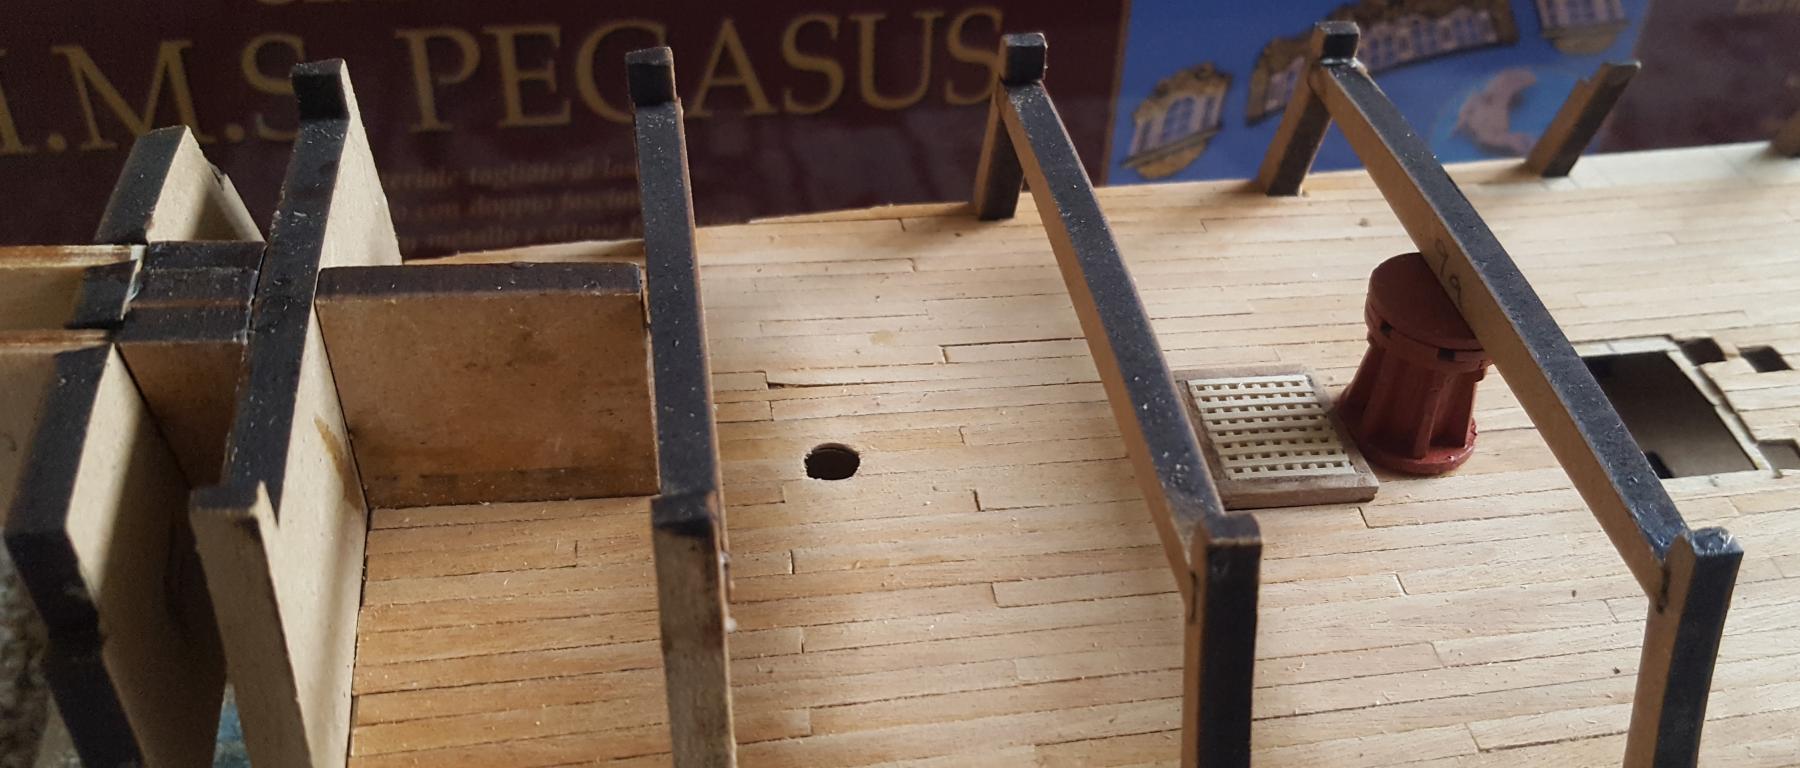
I then fitted the deck support beams and installed some of the main deck fittings

Next week I plan pin the two upper decks in place (but not glue in place) before I start bending and fitting the gun port strips.
Build Index - hyperlinks
1. Prework - dry fitting bulkheads
5. Dry Fit Main Gun Deck and Fitting
7. Lower Gun Deck Glued and Pinned
10. Gun Deck Opening Cleared During Planking
11. Gun Deck Planking Work In Progress
-
Work as been delayed on the Victory as I decided to build a 1/32 scale model of the Spitfire which is nearly complete, I just needs the final paint job.
So today I finally made time and got around to rigging the two final cannons and 2 carronades. I just have to add 4 coils to the carronades.
Pictures attached
- mort stoll, zoly99sask, GrandpaPhil and 1 other
-
4
-
Just a quick note, having been made redundant and deciding to take early retirement at the end of last month the build work ground to a halt as I started do some jobs around the house I finally made time and resumed to the build today. No pictures as I continue to complete the work on the lower fore, main and maiden masts.
-
-
I feel for you.
Worst case you can buy a new set of brass photo etchings from CMB, quite expensive.
You could also try ringing JoTika, the've helped me out in the past for the odd replacement part
-
Glad you're feeling better and hope it has not spoilt you're holiday too much. And many many thanks for your kind comments
-
Its been a while since my last post, progress slowed up a bit due to some major developments at work, all will be resolved one way or another this week, either I'll still working or I will have taken early retirement (aged 57!).
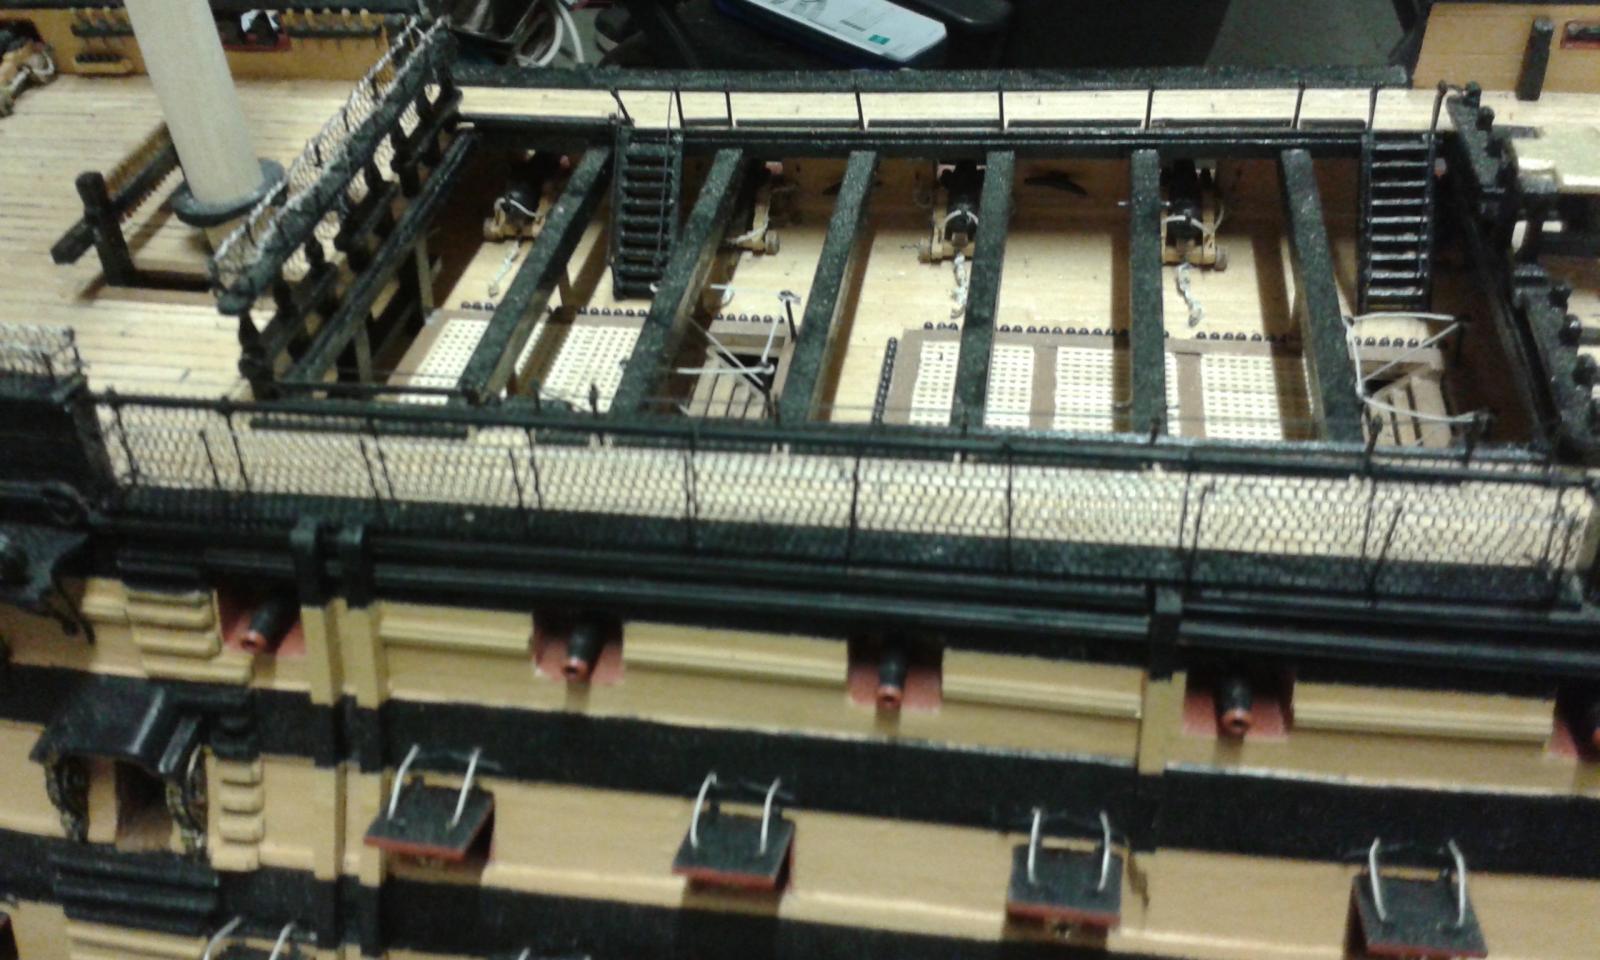
Anyway I have completed the hammock netting on the starboard side.
I have also made the main and mizzan lower masts and associated tops.
Over the next few weeks I plan to complete the port side hammock netting, complete the painting of the lower deck cannons and glue in position and complete the manufacture of the main and mizzan masts parts.

-
Nice work Jerry, I'm always impressed with your work.
I was on holiday last week but had no time in the shipyard as I had a major project in the garden to complete. Had a weekend away and ended up in a shop which had a large Model zone section so I ended up buying the new Revell Spitfire 1/42 scale kit - I think they saw me coming!
I do like the Spitfire and will be a very easy build. I plan to return to the shipyard tonight.
Have a great week
-
The rigging looks alot simpler than your last two builds. I like the red and white sail, seems to add another dimension to your build. I'm still working the masts, currently shaping the main mast. Whilst I know the instructions tell me to full assembly each mast before starting the standing rigging it seems to make more sense to me to part assembly each mast and build up after each shroud layer has been added. This means I can fashion and size each shroud pair before final installation.
-
I never do any ironing I tried it once and The Admiral took pity on me. Am I right in thinking your team won 2-1 at the weekend, if so congratulations. The progress you have made today looks good also
-
-
A great Idea David, I hadn't thought of splitting the blocks.
Fingers crossed the results go your way next weekend to keep Newcastle in the Premier league, hopefully we (Man Utd) can do you a favour by beating Hull next weekend.
-
Thanks Jerry, enjoy the game. I'm travelling to Manchester tomorrow as I have tickets for the Man Utd v Arsenal game.
-
-
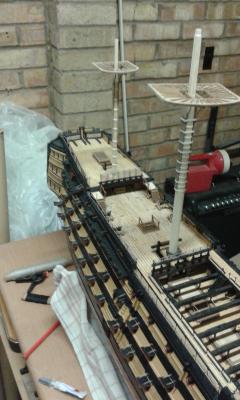
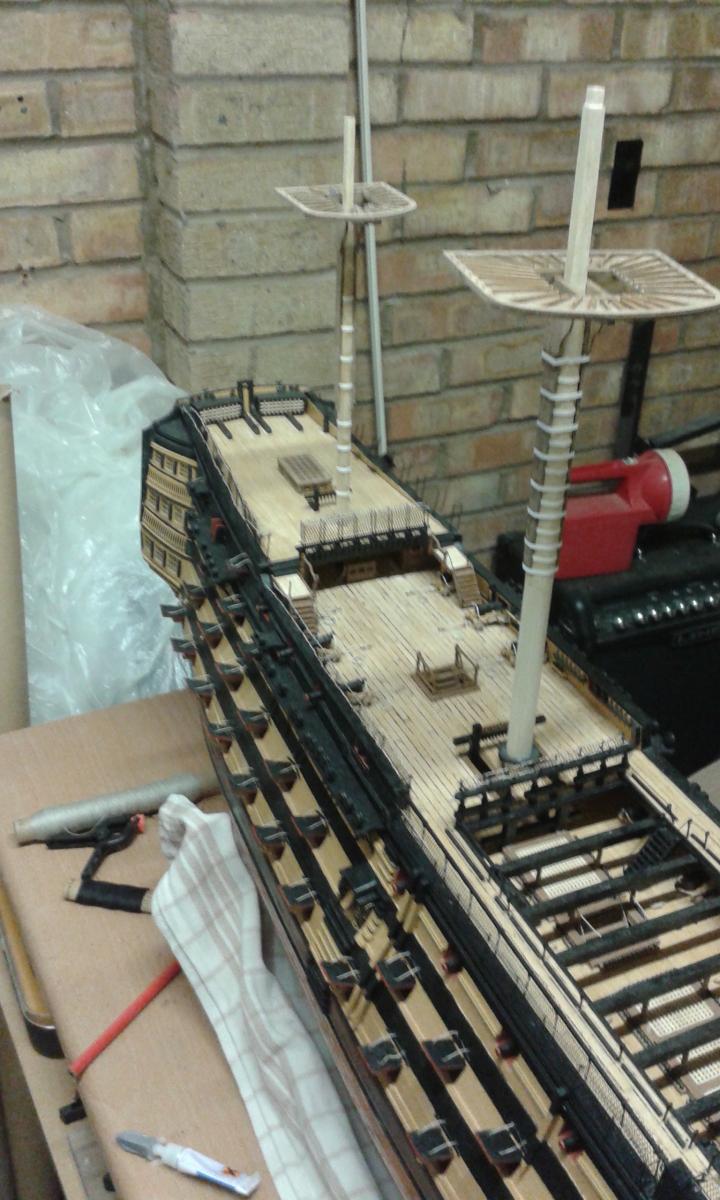
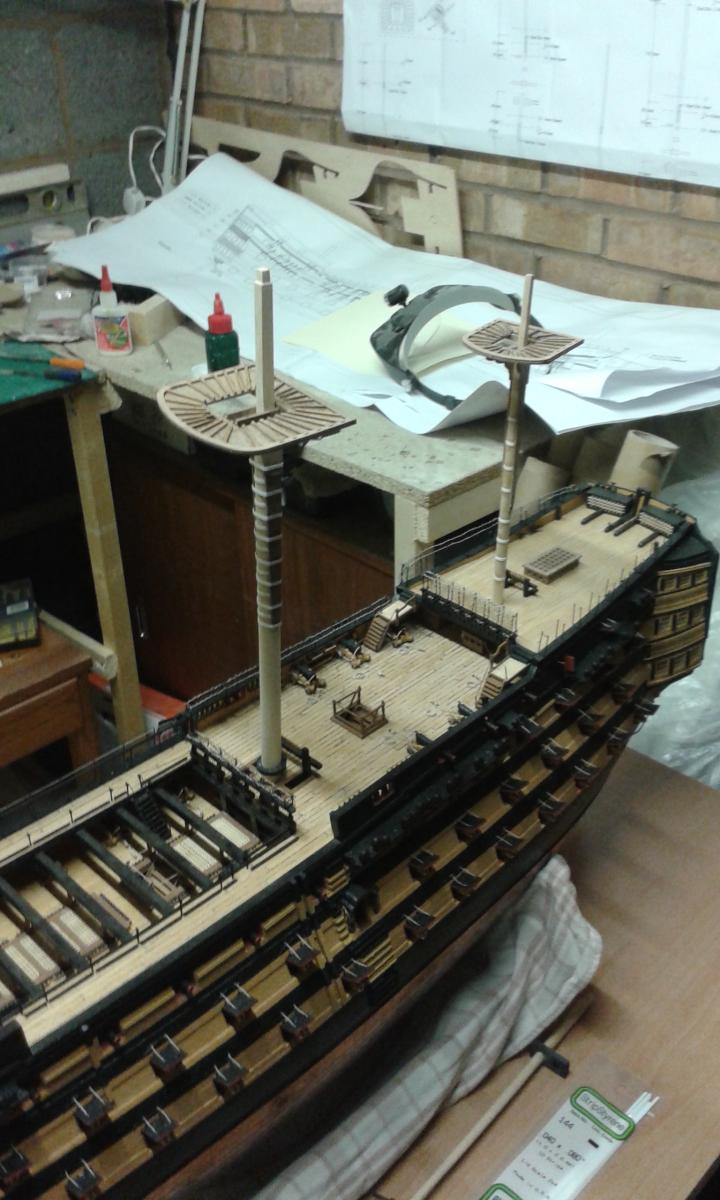
I have completed the basic manufacturing of the Fore Mast sub assemblies, this has been a really interesting and rewarding part of the build and I will now repeat this process for the main and mizzen masts.
Picture of the Fore Mast and Fore Top mast assemblies dry fitted in position
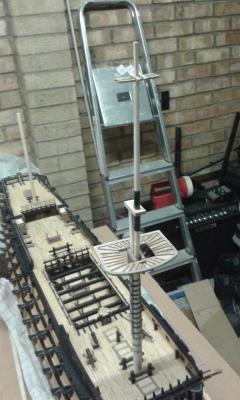
Here are some pictures of the manufacturing process of the Fore Top Gallant Mask
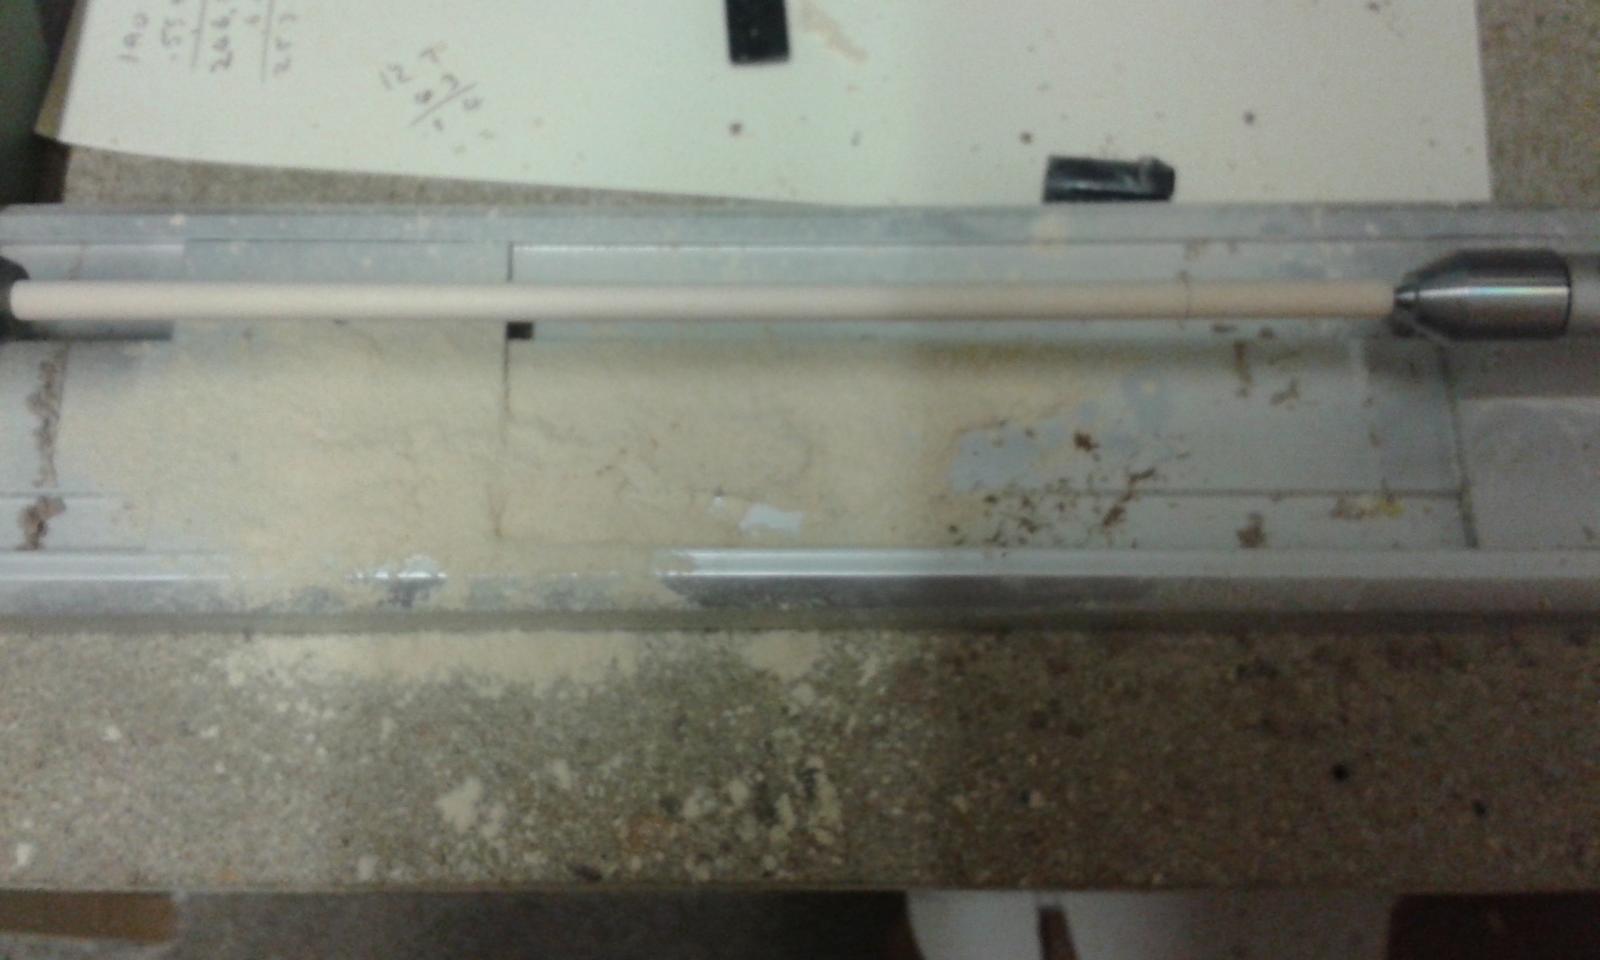
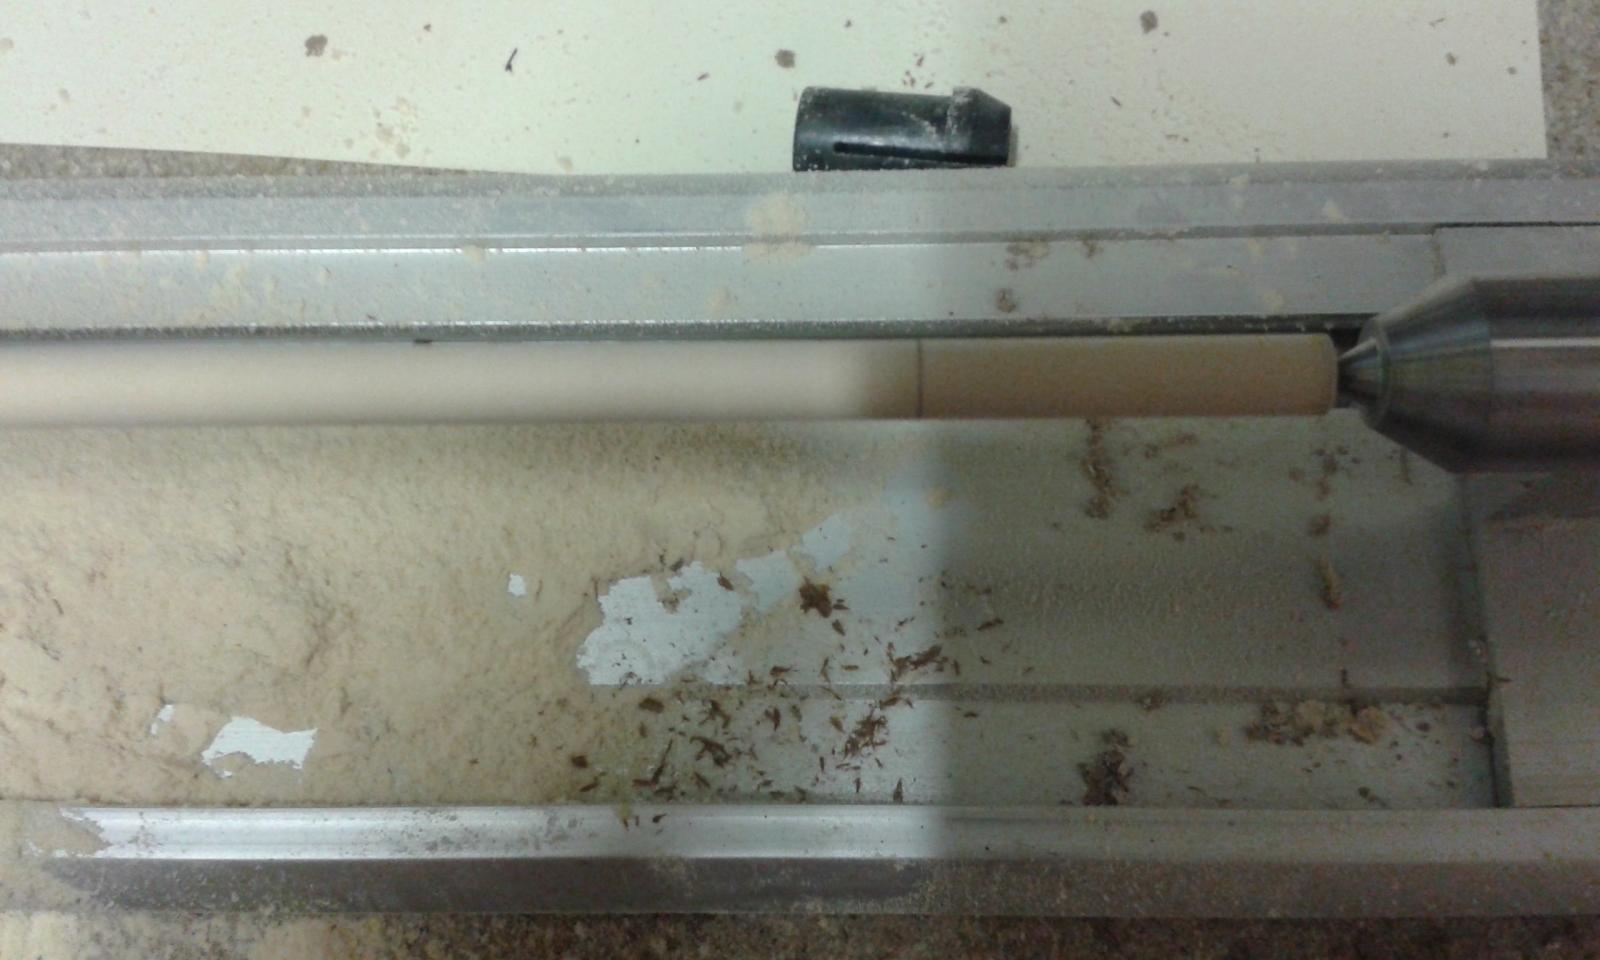
First task was to locate a length of 6mm dowel in the mini lathe
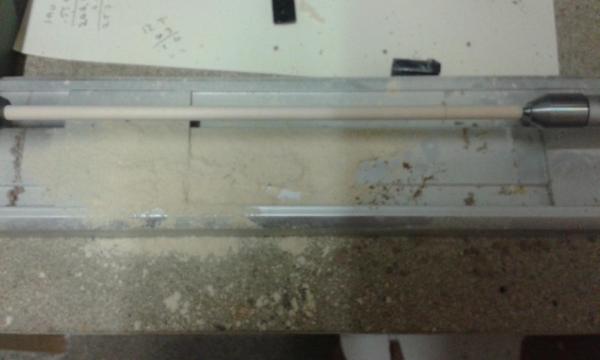
Marking the Fore Top Gallant mast prior to the tapering of the mast sections

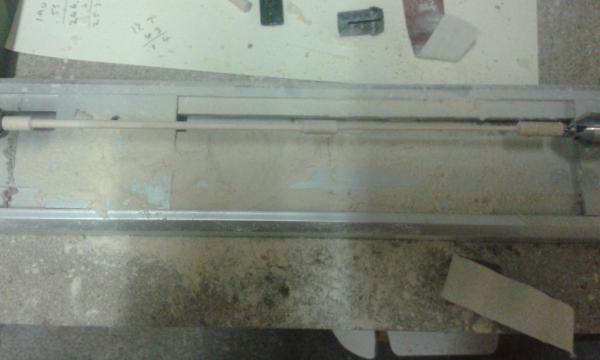
Turning of the Fore Top Gallant mast complete, just need to file the unturned areas square or octagonal as shown on the plan sheet
Complete dry fit of fre mast Assembly in place

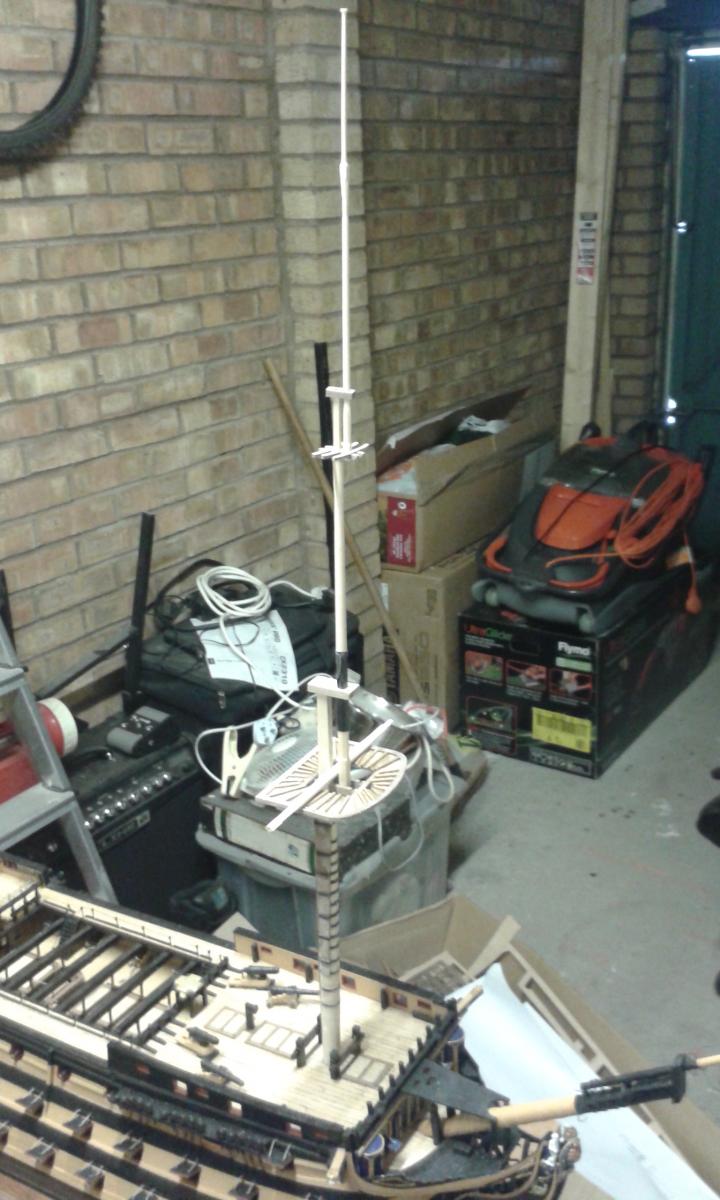
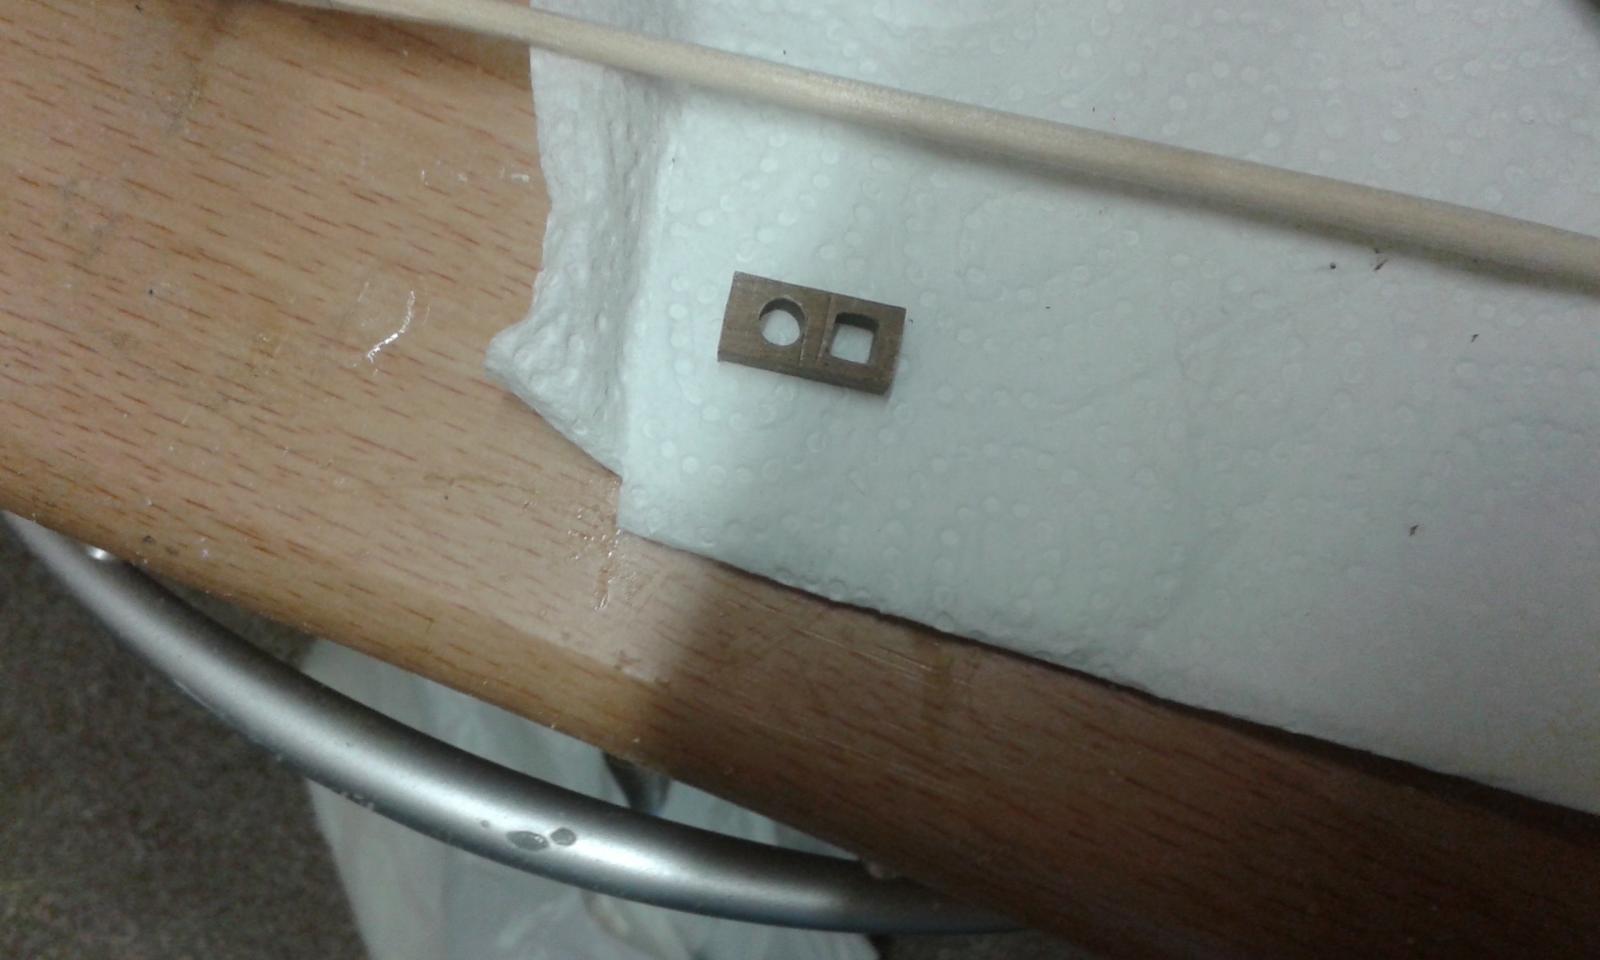
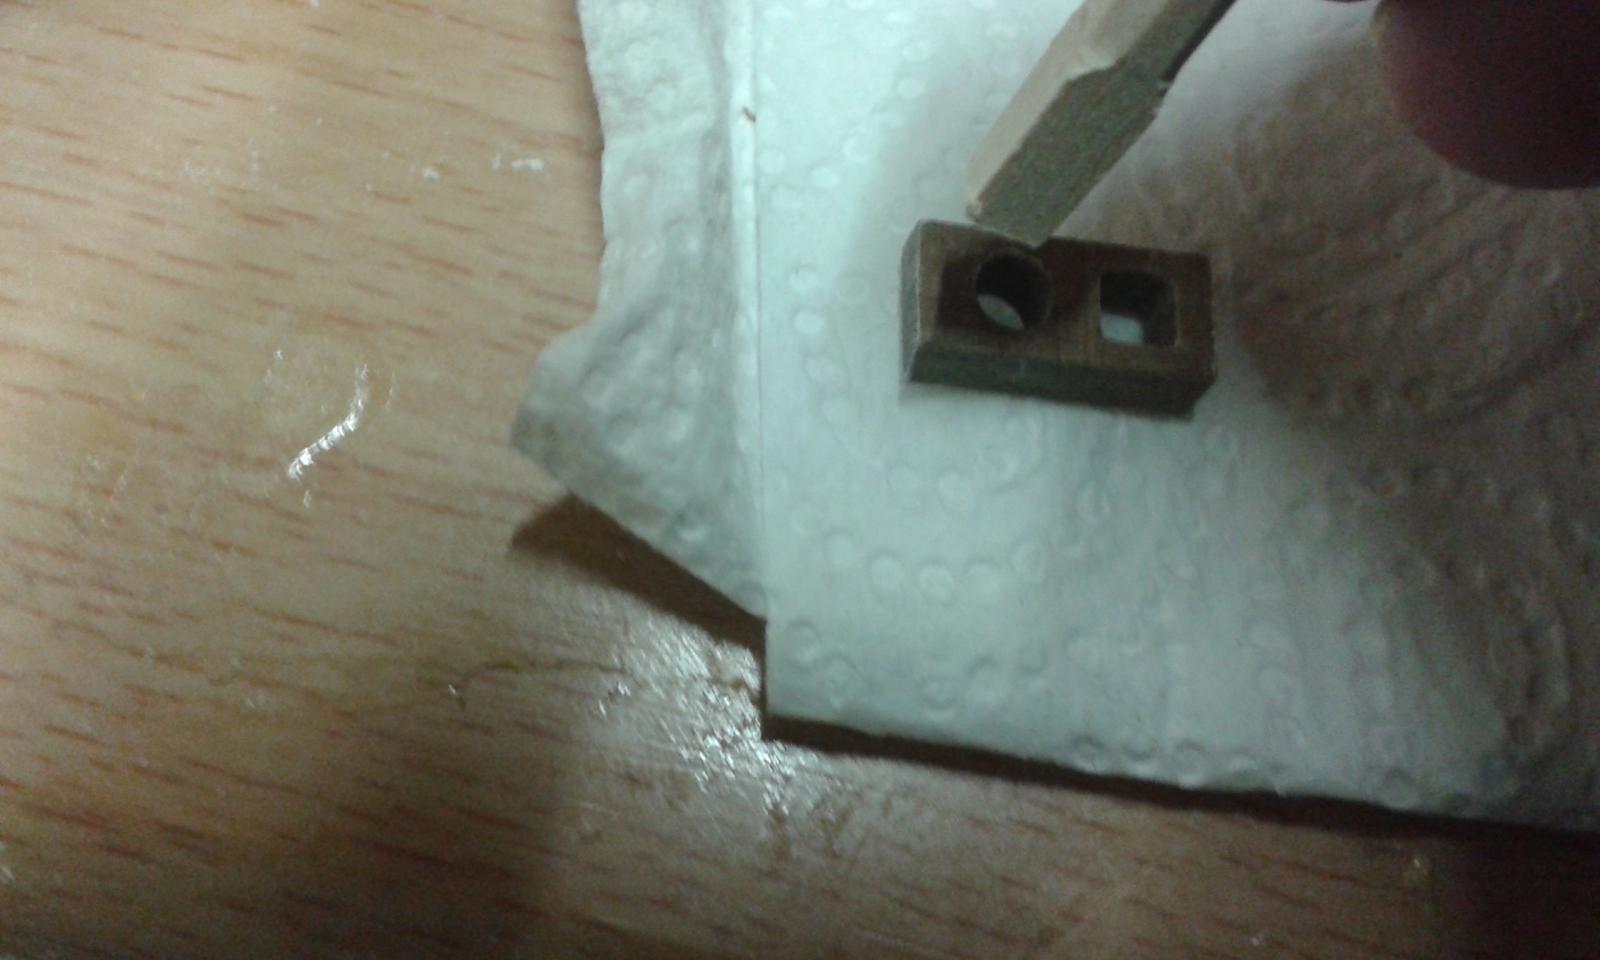
There is just one problem to overcome and that is how to fit the fore top gallant mast block.
The kit part has a 4mm square hole and 4mm round hole
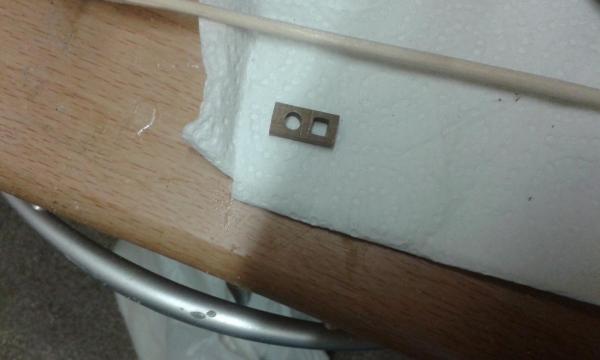
The top of the fore top mast is 4mm square and this fits nicely in the 4mm block square hole.
The Top gallant mask has a 4mm square section at the bottom which fits nicely in the 4mm square hole on the fore top mast platform. As it is not possible to feed the 4mm square end of the fore top gallant mast through the 4mm round hole to the position the block as shown on the plan sheet I think I will simply tweek the 4mm round hole to a 4mm square hole such that the fore top gallant mast passes through. Once everything is finally assembled I will then use my good friend Mr Wood Filler to hide the gaps.

- mort stoll and dafi
-
2


BLUENOSE By Jerry - Model Shipways - Scale 1:64
in - Kit build logs for subjects built from 1901 - Present Day
Posted
Hello Jerry
Hope you're back in the shipyard before too much longer with 20 20 vision.
After my long absence I have returned to the shipyard very recently, restarting work on HMS Pegasus and I've also started a new build with the Model Space HMS Victory on a monthly subscription. My Caldercraft Victory build is still on hold and I thinking about ditching it all together and restarting when the Chris Watton HMS Victory design is released, hopefully next year.