Glenn-UK
-
Posts
2,638 -
Joined
-
Last visited
Content Type
Profiles
Forums
Gallery
Events
Everything posted by Glenn-UK
-
 I like your attention to detail and I think you will build a fantastic ship. Glenn
 -
Hi David Happy New Year to you and your family. You have done an amazing build so far. Congratulations. Many thanks also for your support and valuable advice. Glenn
- 439 replies
-
- 1
-

-
- victory
- caldercraft
- (and 1 more)
-
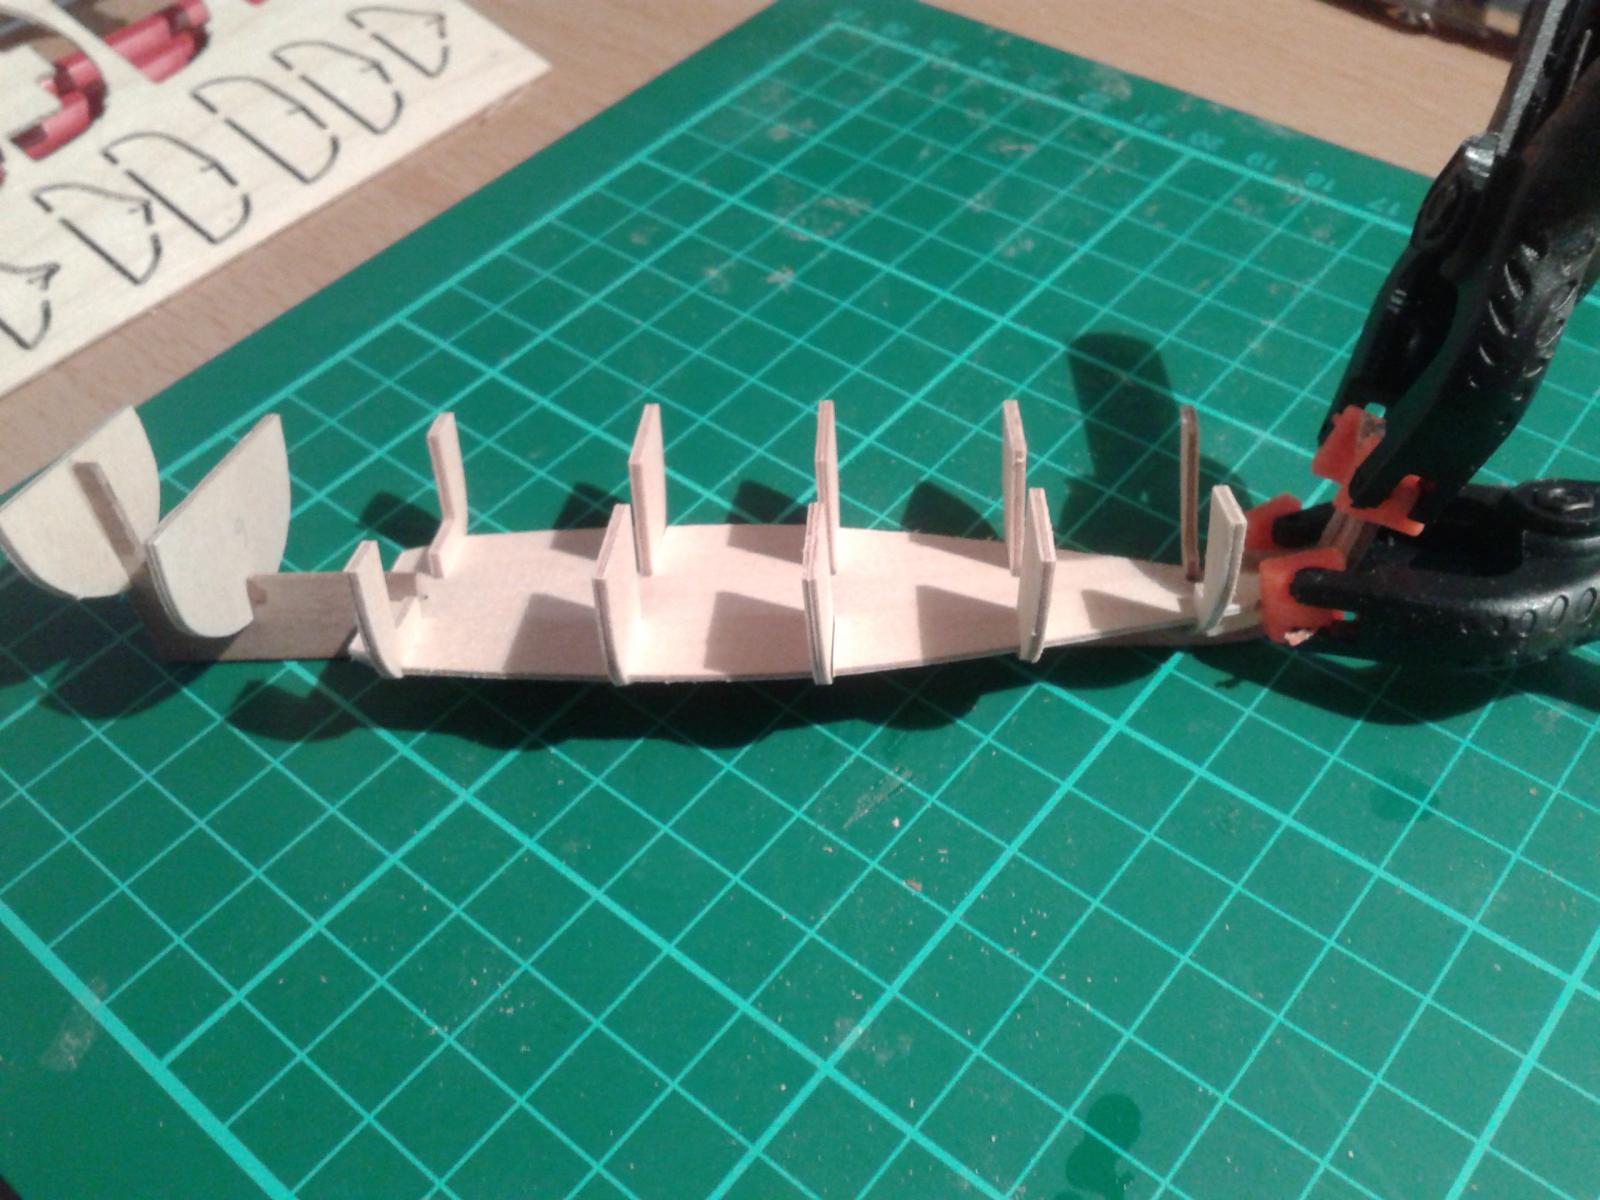
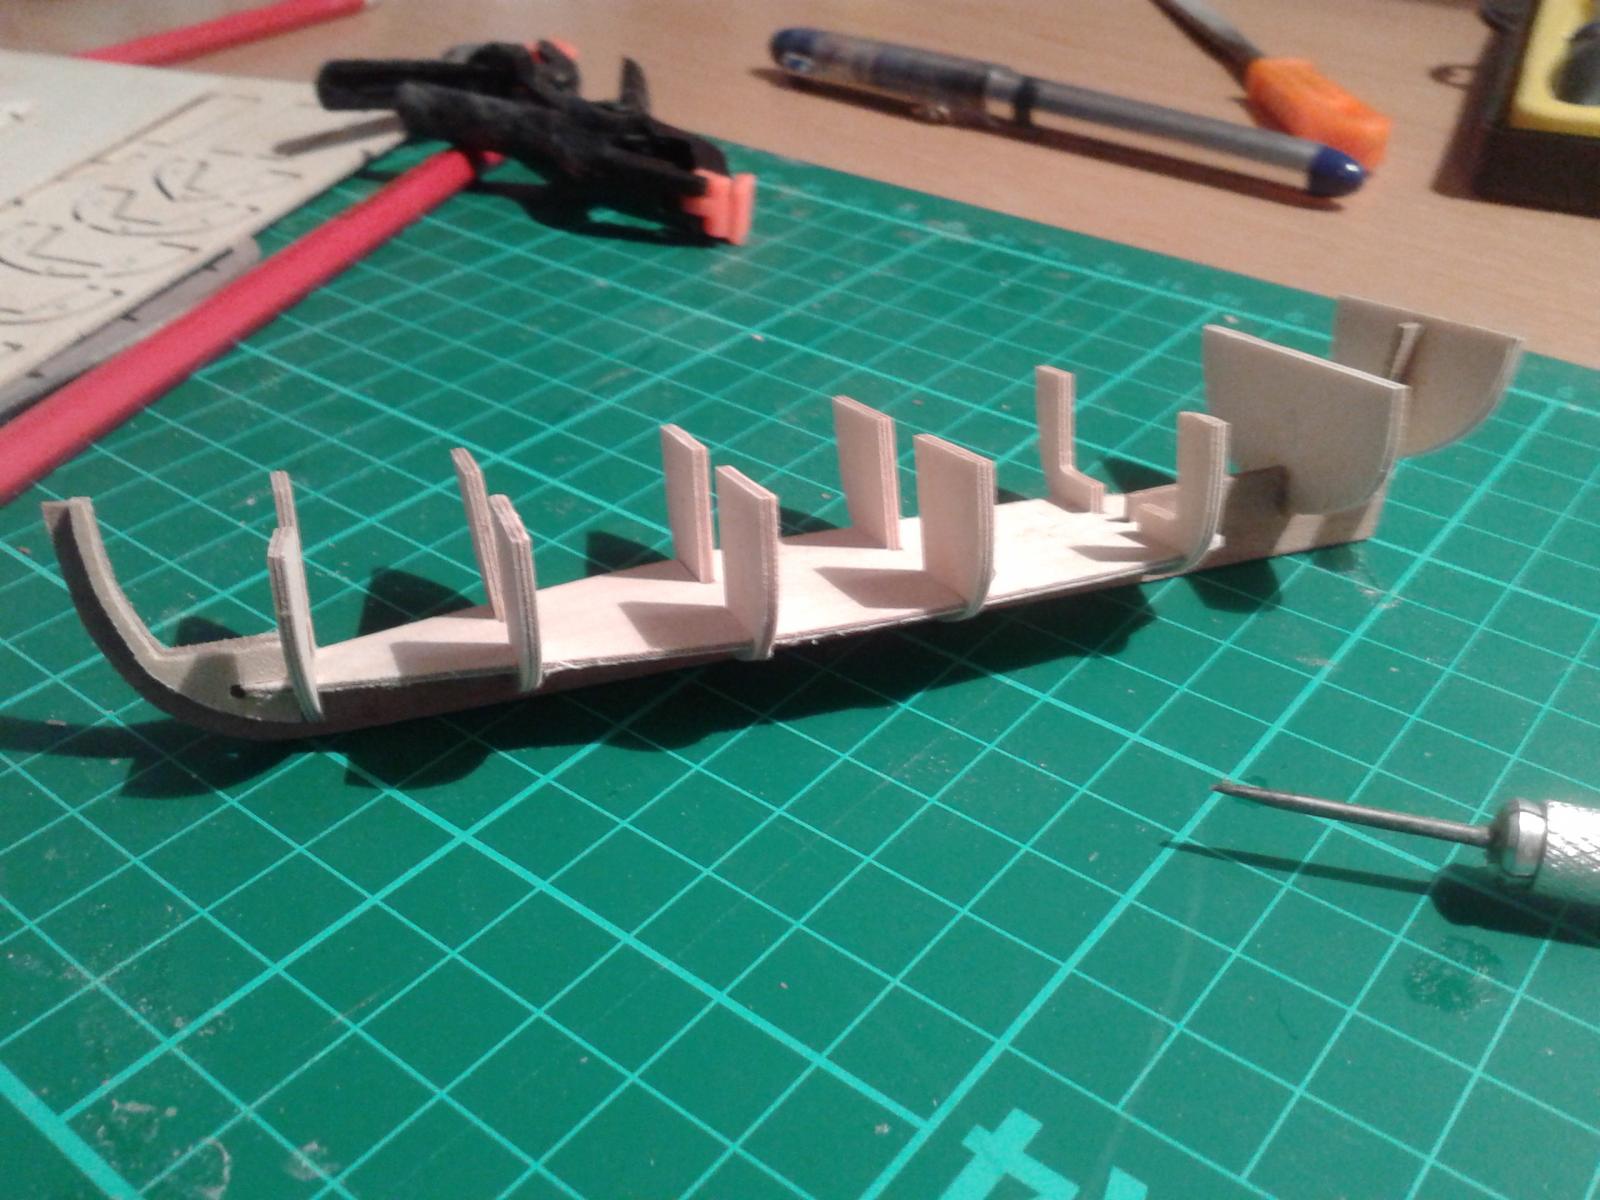
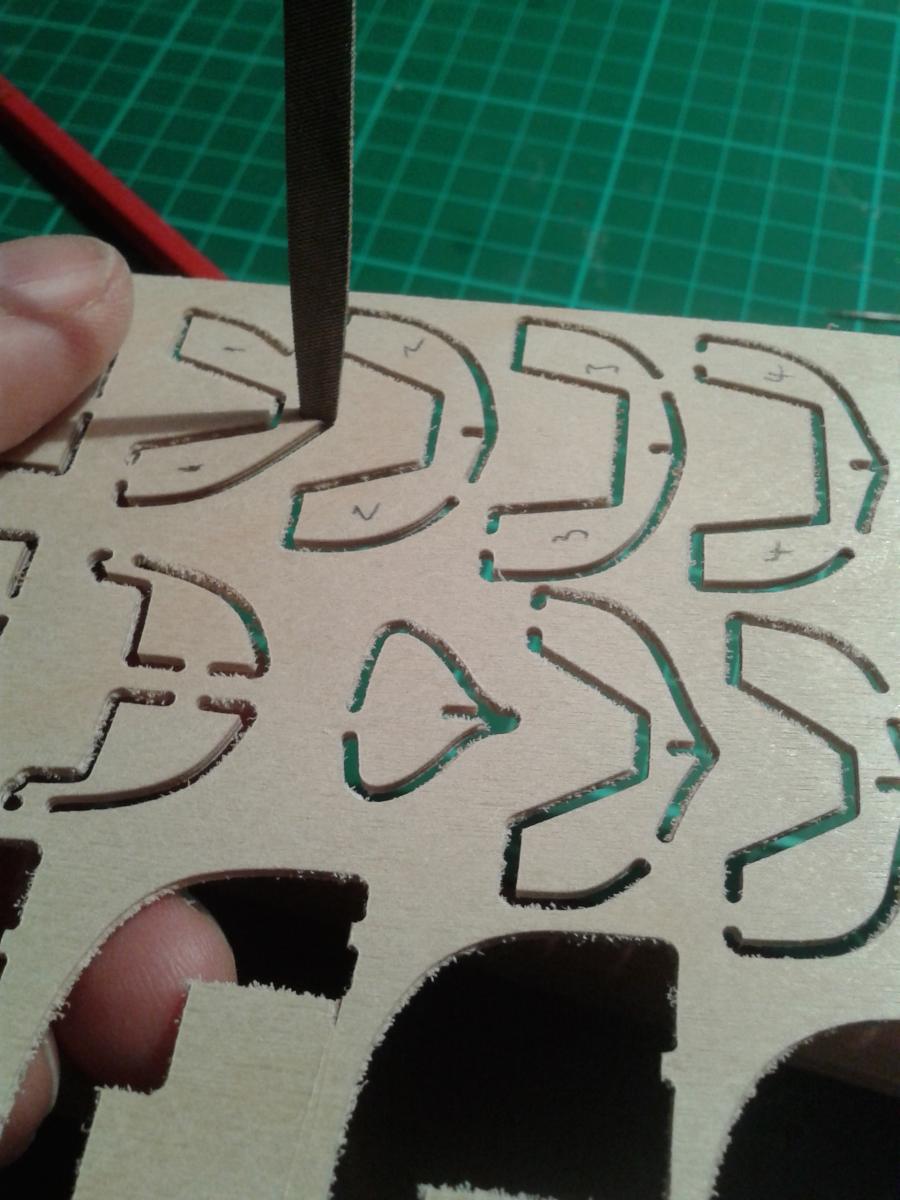
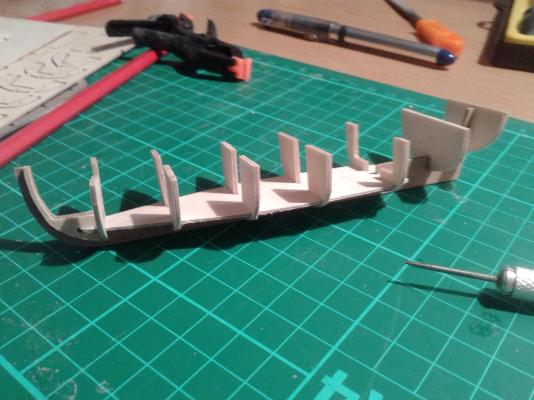
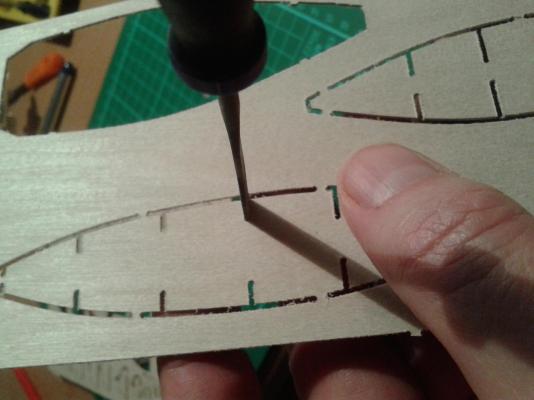
I have been able to move back in to the shipwright's office tonight. I thought I would make a start on the small boats whilst I wait for the replacement parts. I though this would be easy, but its presents quite a challenge. The bulkhead and deck slots took a lot of filing to ensure they fitted correctly. I did manage to split bulkhead two but it was simple enough to repair. Keel, bulkhead, deck and plank terminations fitted and glued Launch assemble now ready for first planking. Whilst waiting for the launch assembly to dry I started work on the barge. A great tip is to file the slots before removing them from the plywood sheets I found it so much easier. That all for now folks, fingers crossed I get the new parts tomorrow so I can catch up over the weekend.


-
It's good to see the progress you're making. I hope to be up and running again in the next few days. Happy New Year.
-
If you search this site there is plenty of information regarding planking. It is an acquired skill but I found it was not as bad as I first feared. I just ordered additional wood materials from Cornwall Model Boats as the build progressed. Enjoy your build.
-
Great information on use if the jig. Something I will bear in mind for the future as as my build progresses Keep up the good work, I think you should be very proud with what you have already done.
-
I simply extended the keel slot lines with a pencil then dry fit each bulkhead in turn using the extended lines as a guide and then use a set square to confirm they are square. I would suggest you mark the beading line with the bulkheads dry fitted and trim the keel as necessary at the stern prior to glueing the bulkheads. This is also the recommended method as detailed in Keith Juliet's book. I'm this stage with my current build which I will start in earnest after the Xmas break and will post some pictures in due course.
-
Hi I used Cornwall Model Boats to order additional materials which were missing / low supply from my last AL kit.
-
I received the HMS Victory Owners' Workshop Manual today which is a very informative book packed full of information and pictures.
-
Happy Christmas Patrick. I have just been through the trails and tribulations of your build log, there is so much useful information, many thanks. You have a great looking build and I hope when I make a proper start in the new year I can achieve something similar to you and the rest of the caldercraft victory model boat builders. Today I did spend five minutes filing a spare piece of 5mm board from the beading line to the edge. I will experiment on another piece with a chisel to see what works best before I work on the actual boat. What do you find was the best method? Took delivery of Autonomy Of Nelsons Navy yesterday which had some very interesting information but also raised quiet a few questions down the line. Anyway that all for now.
-
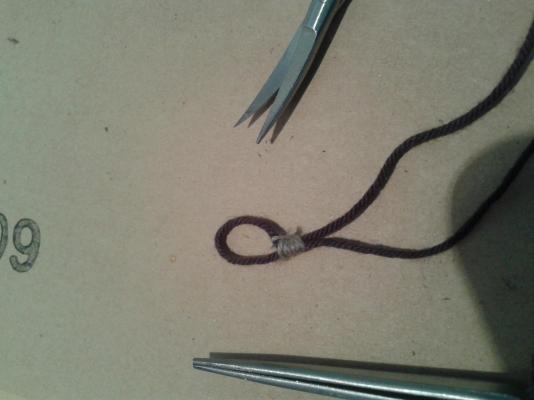
I am interested to know the different methods / knots used for securing a shroud to a dead eye. One method I have found is as per the attached pdf file. Dead Eyes.pdf
-
Does anyone know of a UK supplier for Weather-It? I can only seem to find a USA supplier
-
Many thanks for your help and advise. I did trial a couple of 4 shift test pieces tonight, one using a HB pencil to edge and one using 0.25 black thread. I much preferred the HB pencil as it was more understated. I will experiment with weathering effects. I wish I had found this forum much sooner as there is such a good wealth of knowledge from the members and everyone seems happy to share their tricks and tips.
-
Keep up the good work. I wish I could spend more time with my build but I still have a full time job so I am limited to 2 or 3 hours in the evening and some time at the weekends. l see your gun deck planking used the 4 step shift pattern. What length do you make each full plank as I'm going to experiment over the next few days with some planking ideas using some left over wood from my last build to make sure I get a good finish on this build. Did you add any weathering effects and / or caulking effects?
-
Yep Scarborough North Yorks.
-
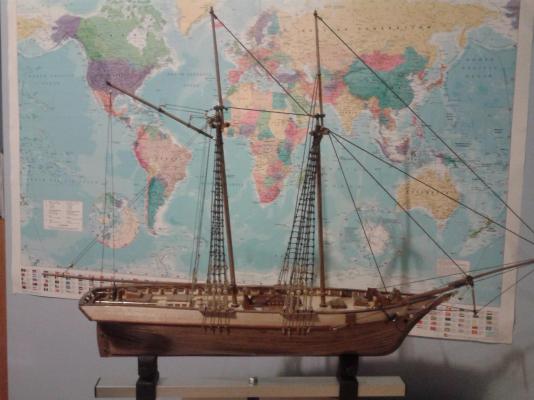
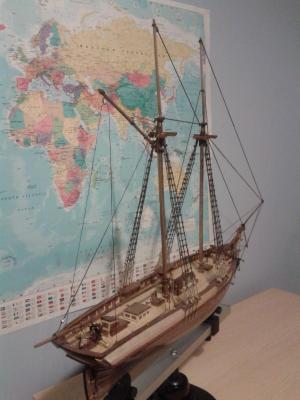
I have now reached the end of the build for this project. I will upload some pictures on Monday. I found it an enjoyable ship for my first build and learnt a lot which should help me when I start the next build which will be HMS Victory (JoTika).
-
Weathering Deck Planks
Glenn-UK replied to Glenn-UK's topic in Building, Framing, Planking and plating a ships hull and deck
Many thanks I have found more information on this web site in a older topic and an another web site. I think I will try soaking wire wool in vinegar for 24 hours mix with either water or tea to see what gives the best effect. -
Weathering Deck Planks
Glenn-UK replied to Glenn-UK's topic in Building, Framing, Planking and plating a ships hull and deck
I'm looking for an effect similar to what Gil did on his JoTika HMS Victory model -
I am to start a my build of the HMS Victory 1/72 scale (JoTika). I'm interest to know if anyone has any tips on how to add a weathering effect to the deck planks so I try out on some test pieces before I start the build in earnest?
-
I have now taken delivery of the Caldercraft kit, wow it's a big and heavy box. Will now need some time to read and digest the build information supplied and to check the kit is complete - happy days
-
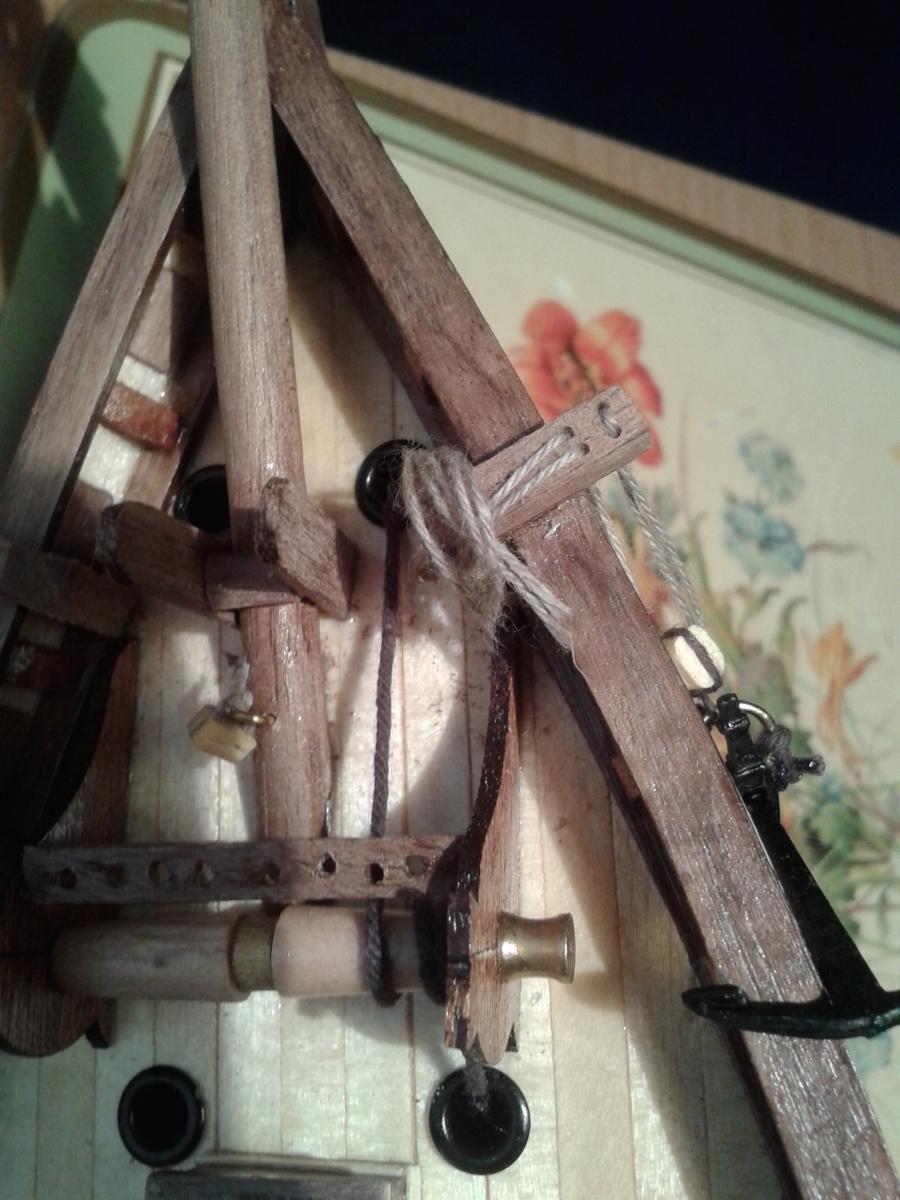
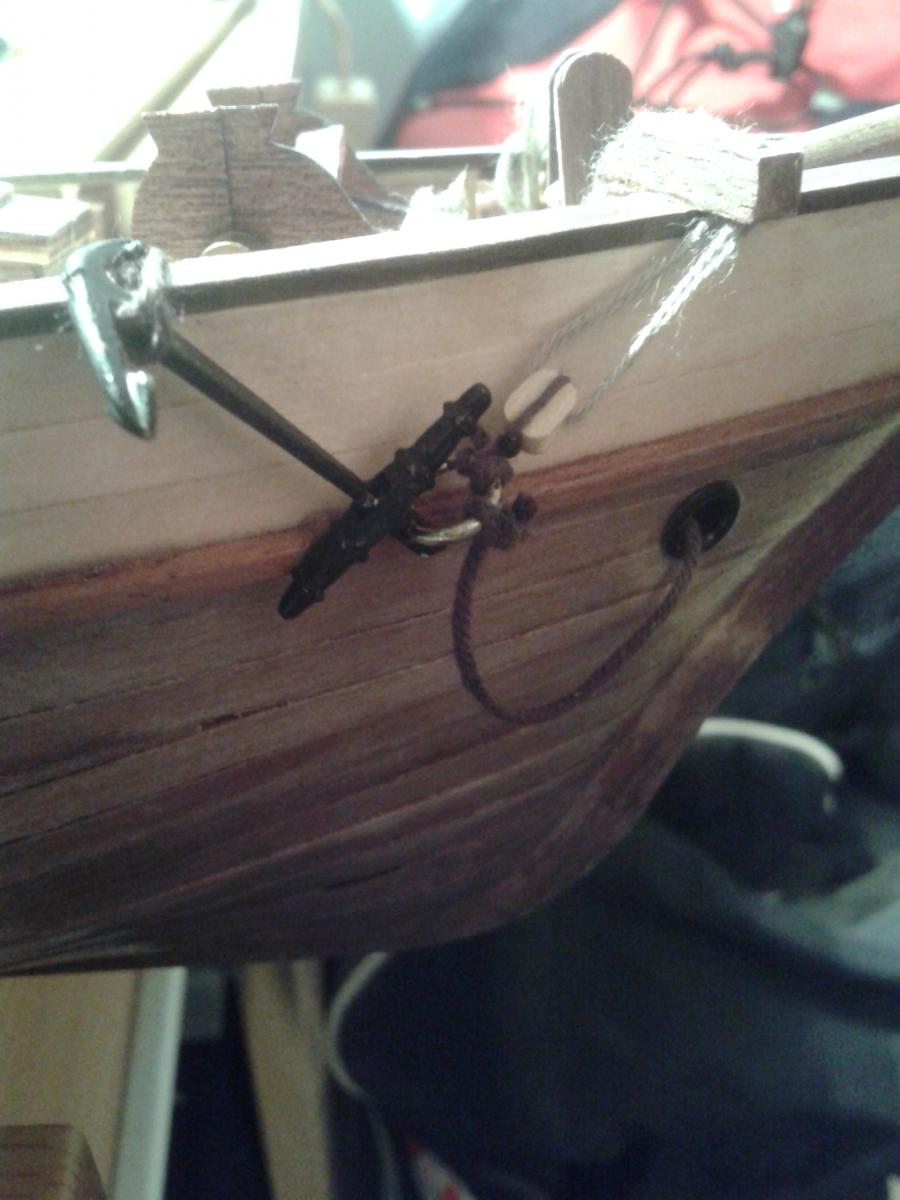
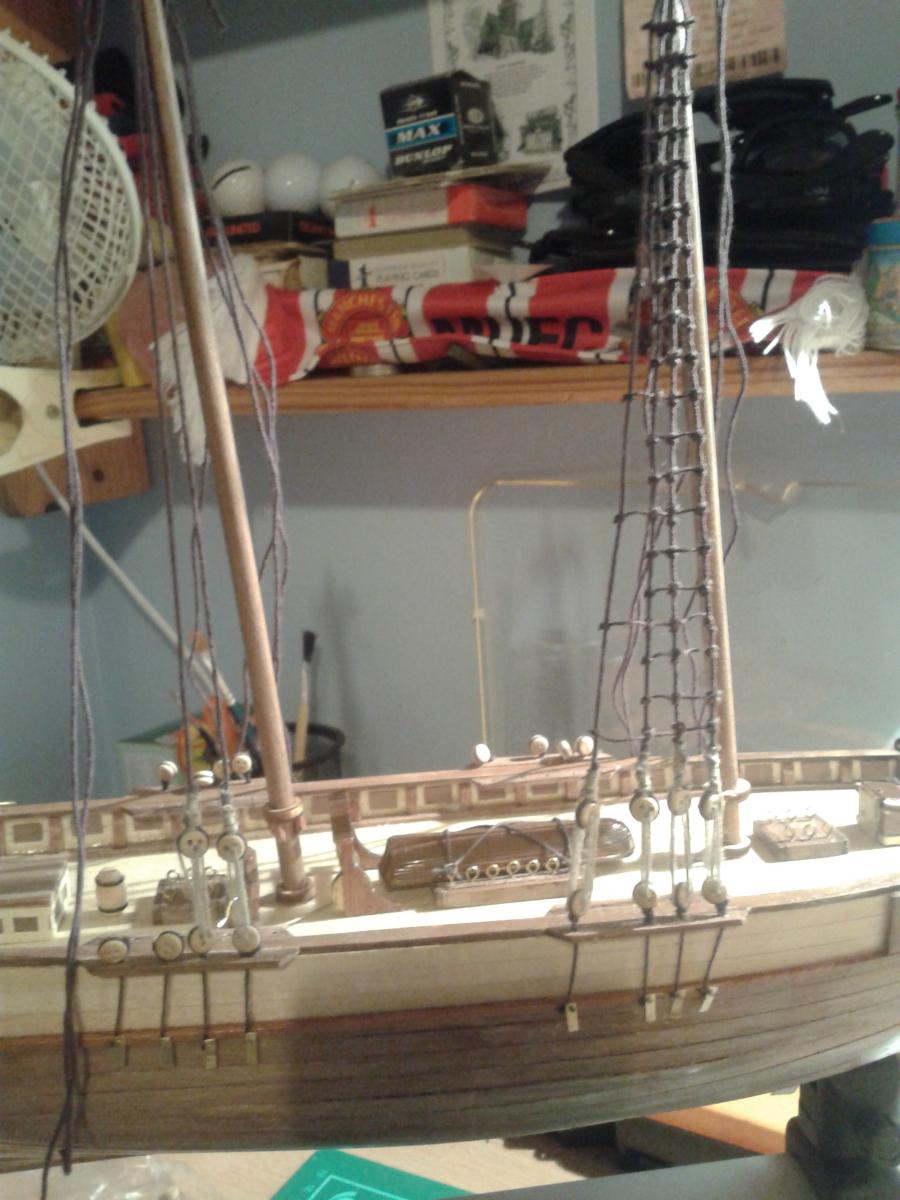
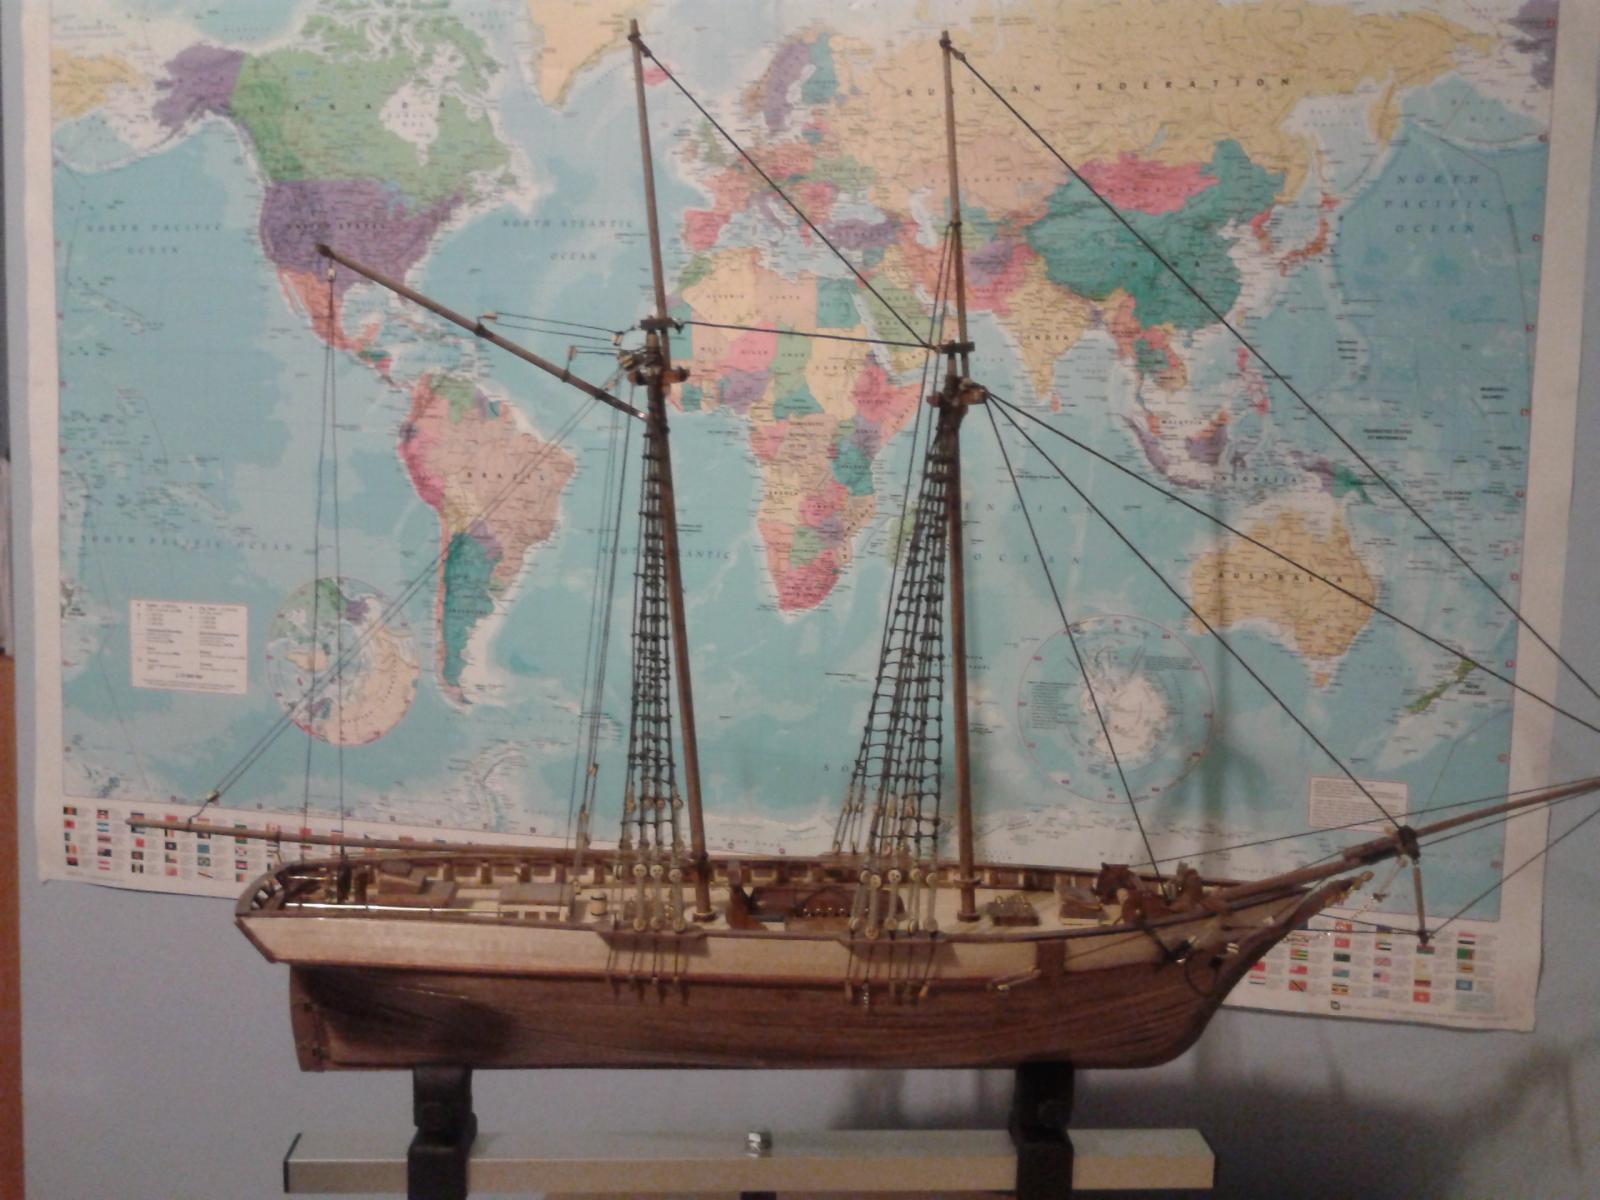
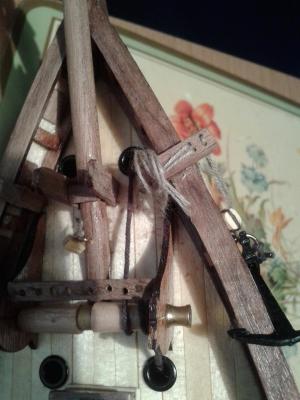
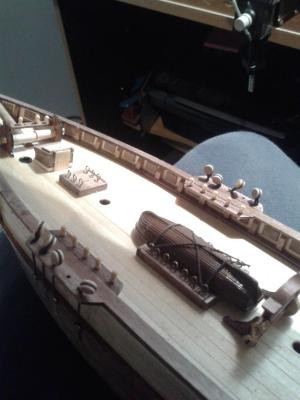
Moving forward, the following show the next phase of build I didn't make a good of this dead eye, but I got better with the other ones. I wish I had used beeswax on the rigging, that was a rookie error on my part. Adding the ratlines was not as bad as I first thought, using a cardboard template helped, and watched a useful video on YouTube, which ensured I used the glove hitch. [ Once again the AL kit was missing a key piece, in this time it was the brass jaw which connects the boon to the fore mast. I managed to engineer a suitable part using wood and once installed looked the part. I installed the bottom fore mast spur last night, so I only have the top two fore mast spurs to fit to and rig, fingers crossed I will complete by the end of the week, which is just as well as the HMS Victory - Caldercraft is now waiting in the wings as the kit arrives today from CMB.


- 19 replies
-
- 2
-
-
- scottish maid
- artesania latina
- (and 1 more)
-
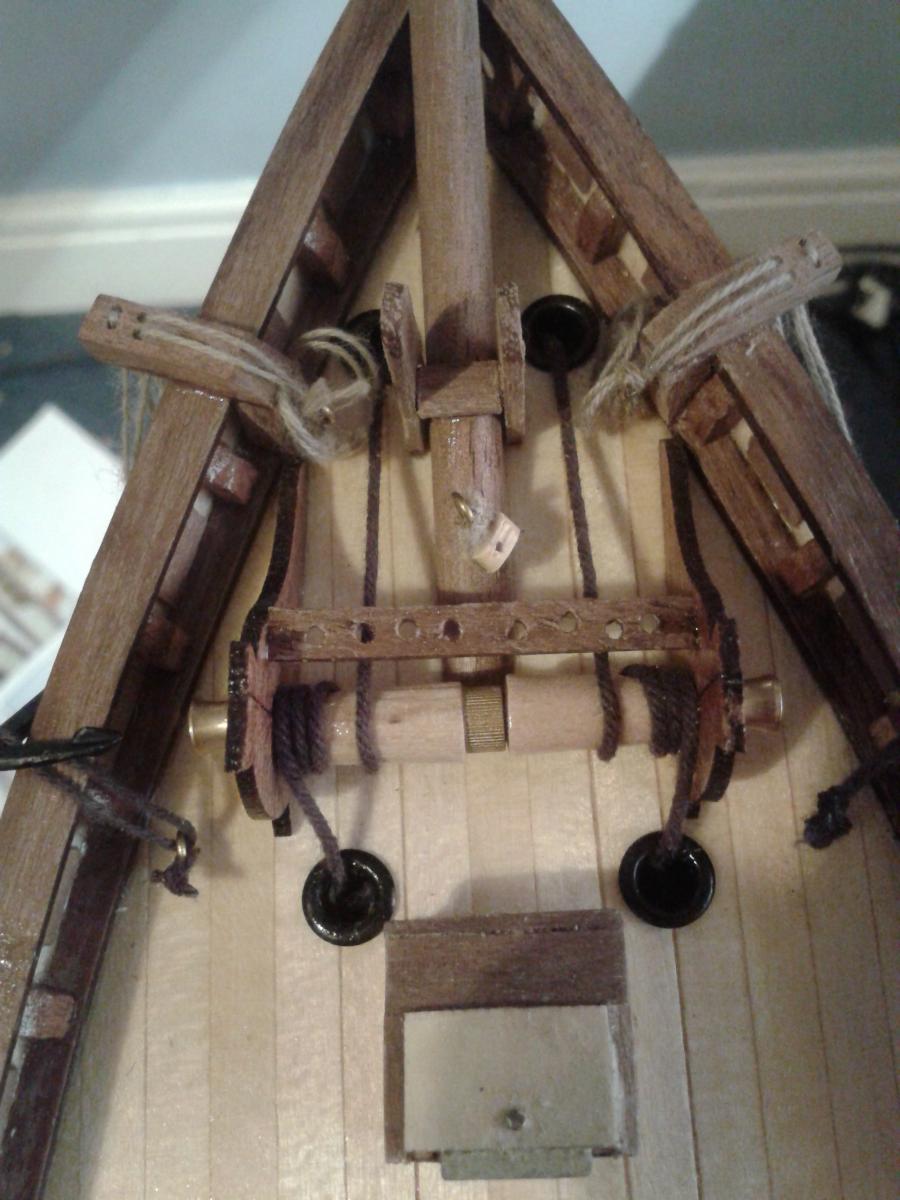
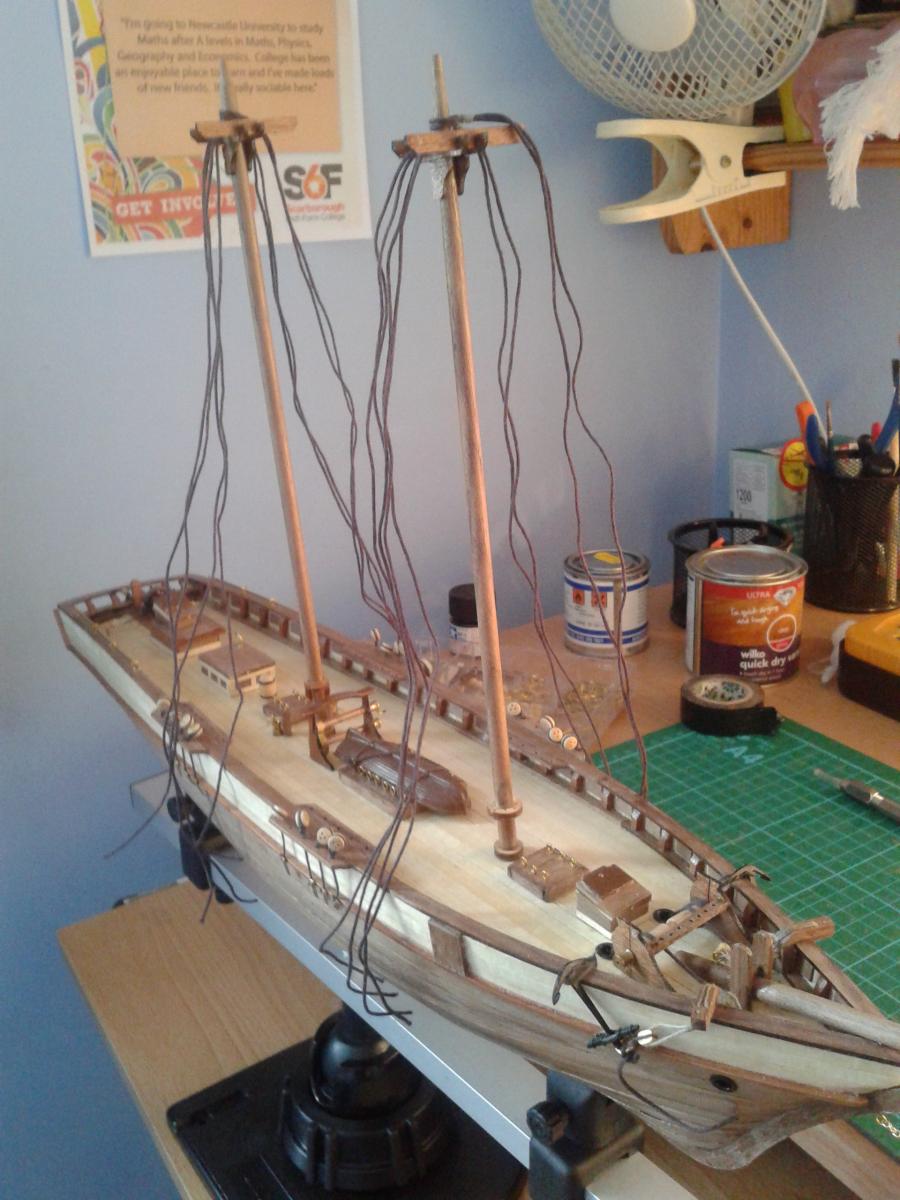
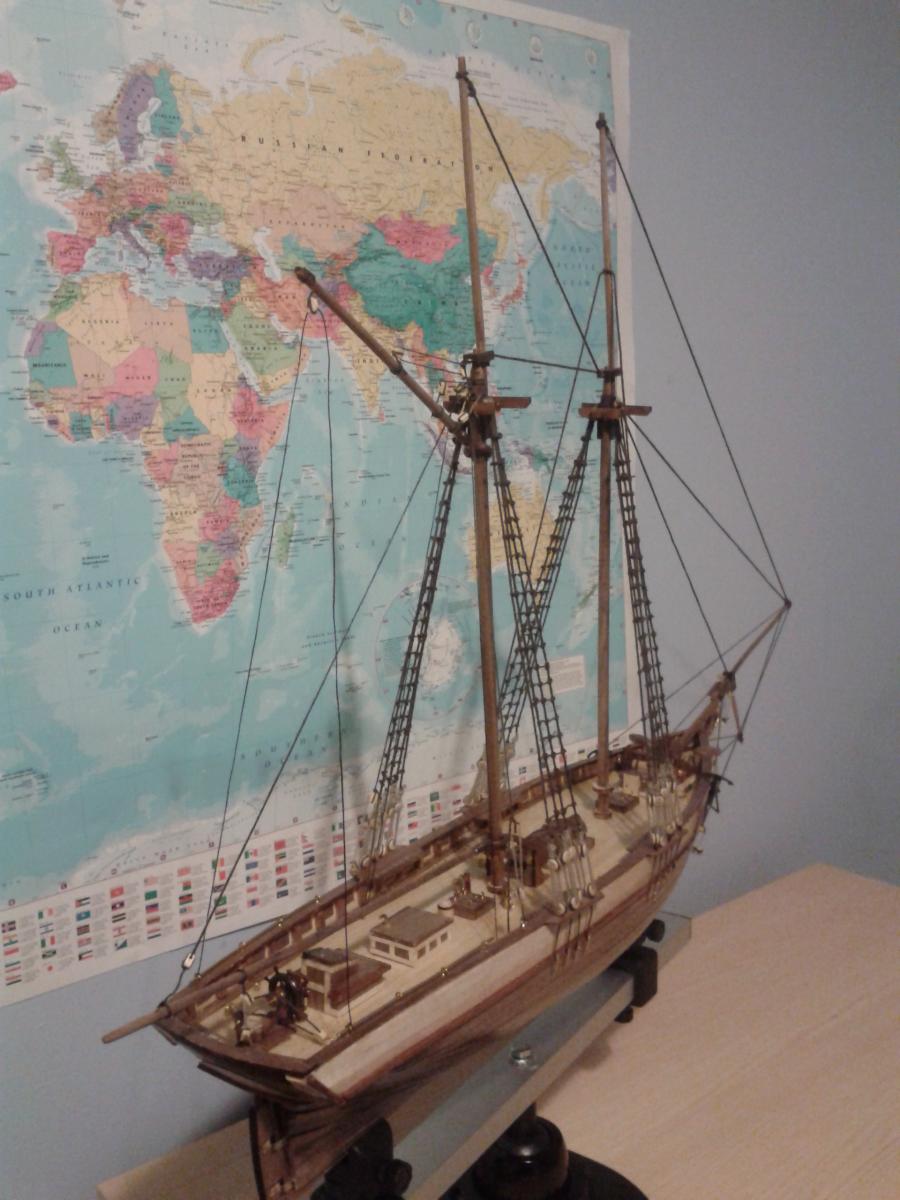
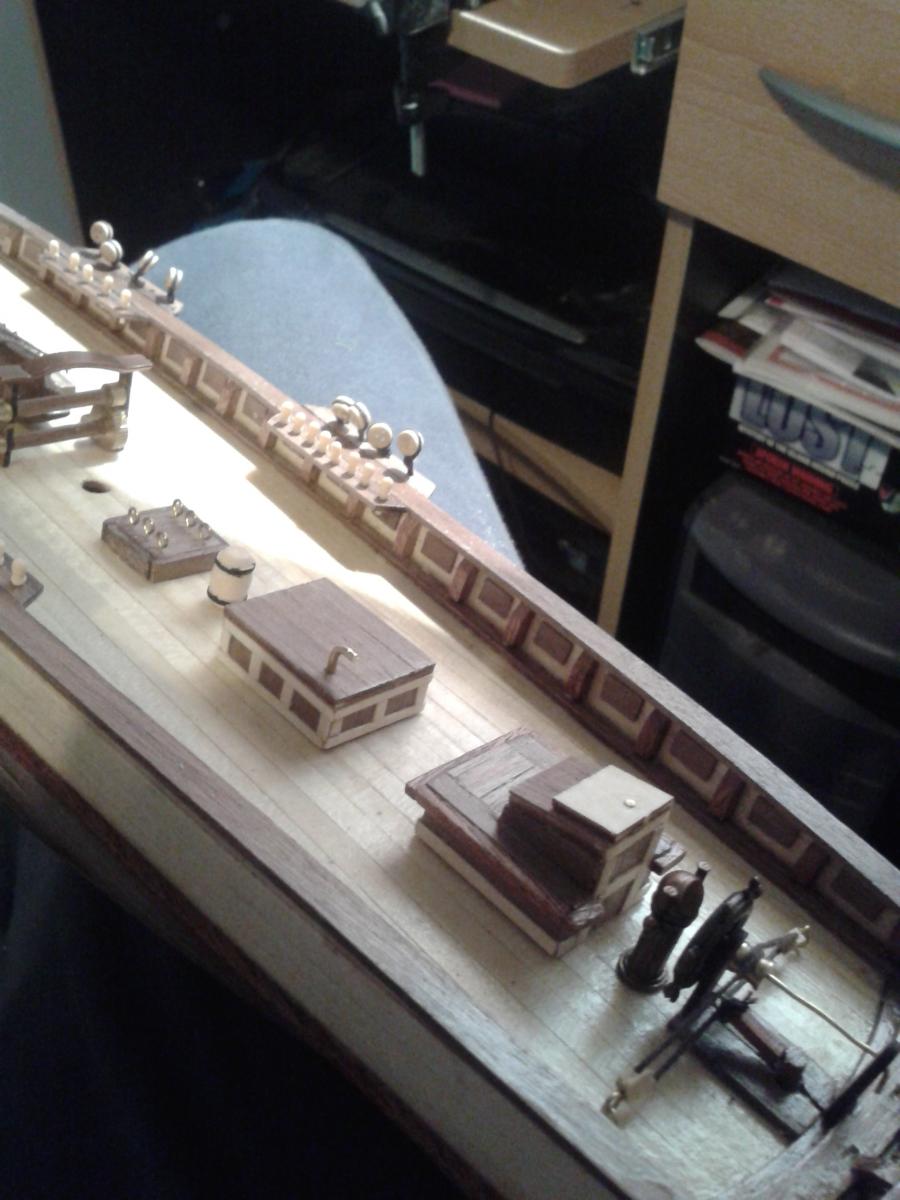
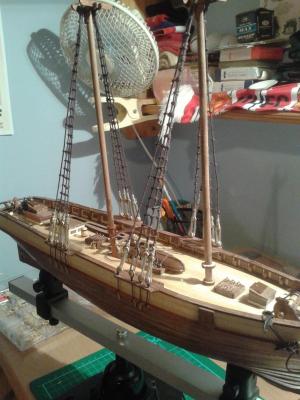
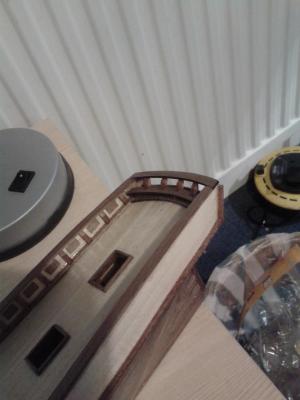
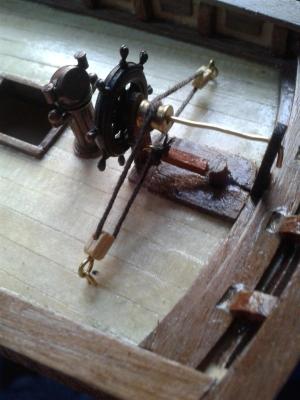
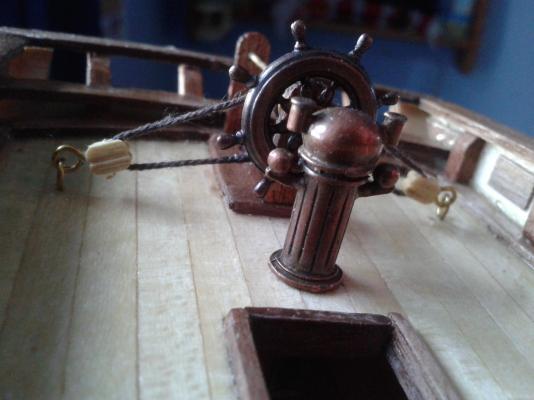
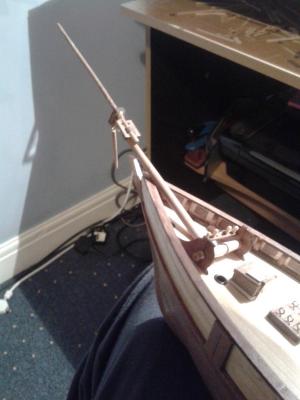
Next stage of build Started adding the deck detail, starting with the rudder control. Finally added the bow spirit, it took some time to taper the dowels, just using sandpaper. For the masts and spurs I invested in a vary speed drill which I was able to use with the sandpaper which speeds the process up no end.


- 19 replies
-
- 2
-
-
- scottish maid
- artesania latina
- (and 1 more)
-
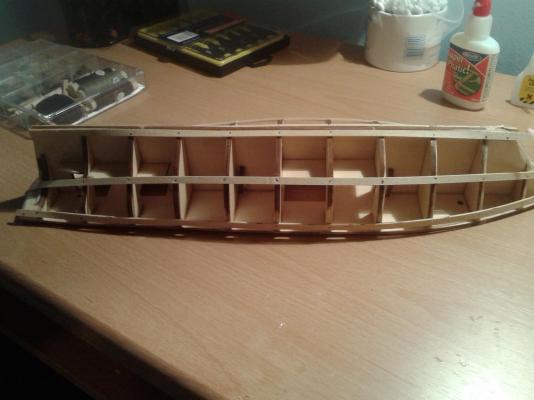
Hi Stan I have been building the boat for the last 10 weeks and being new to the site will add the build picture in different posts. In answer to your question I will experiment with deck nails with my test hull plank build over the next couple of weeks.
-
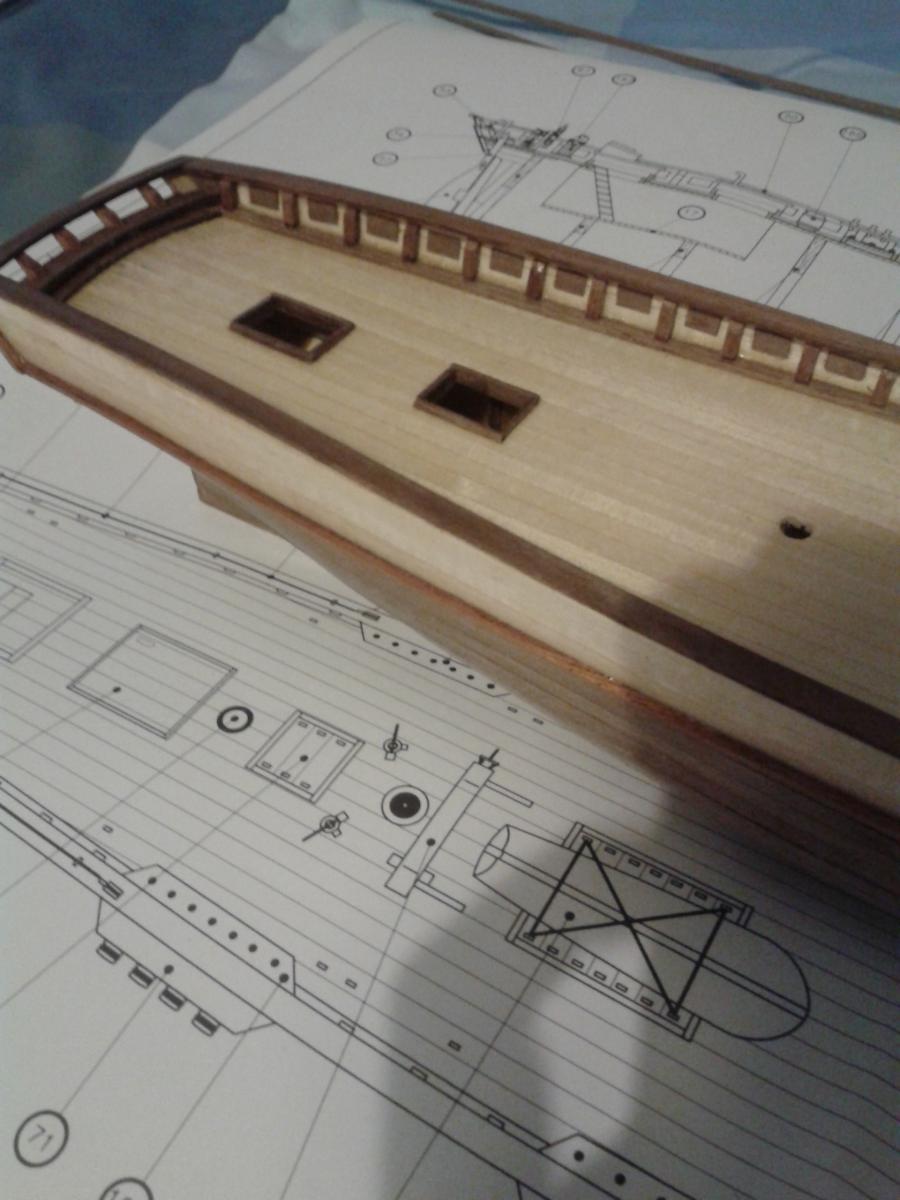
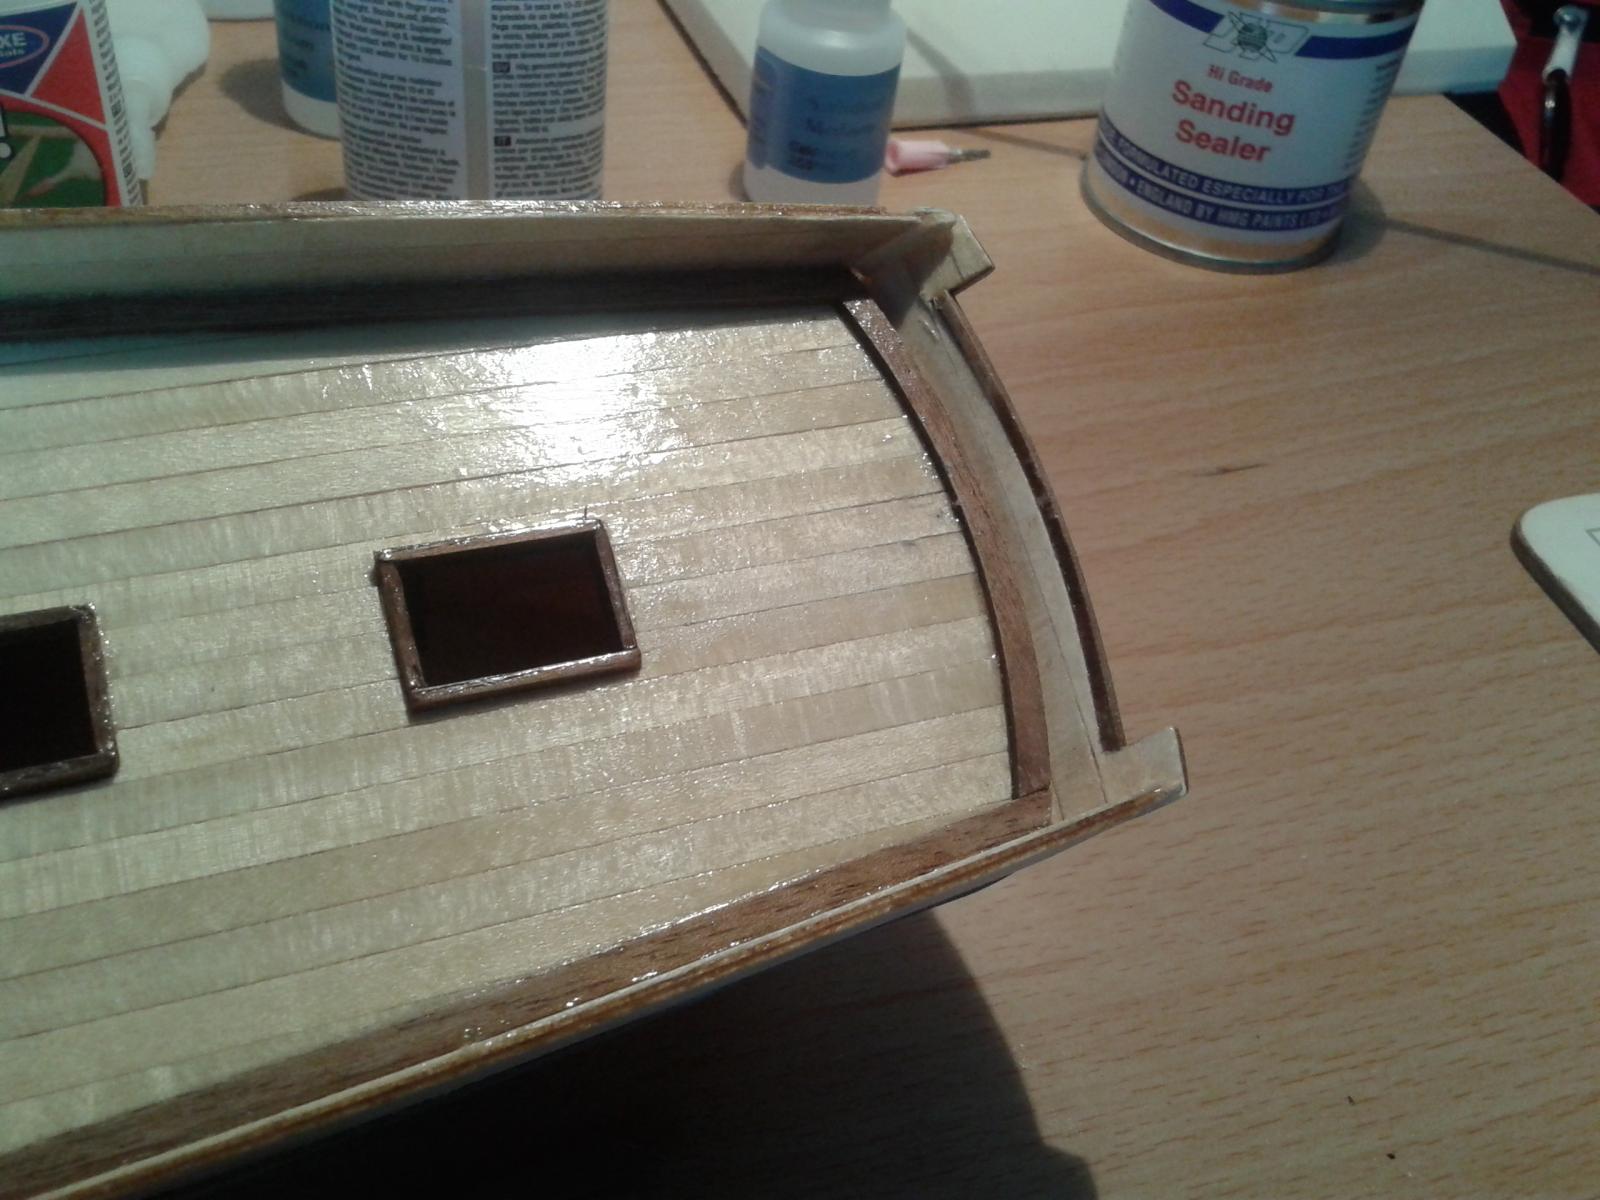
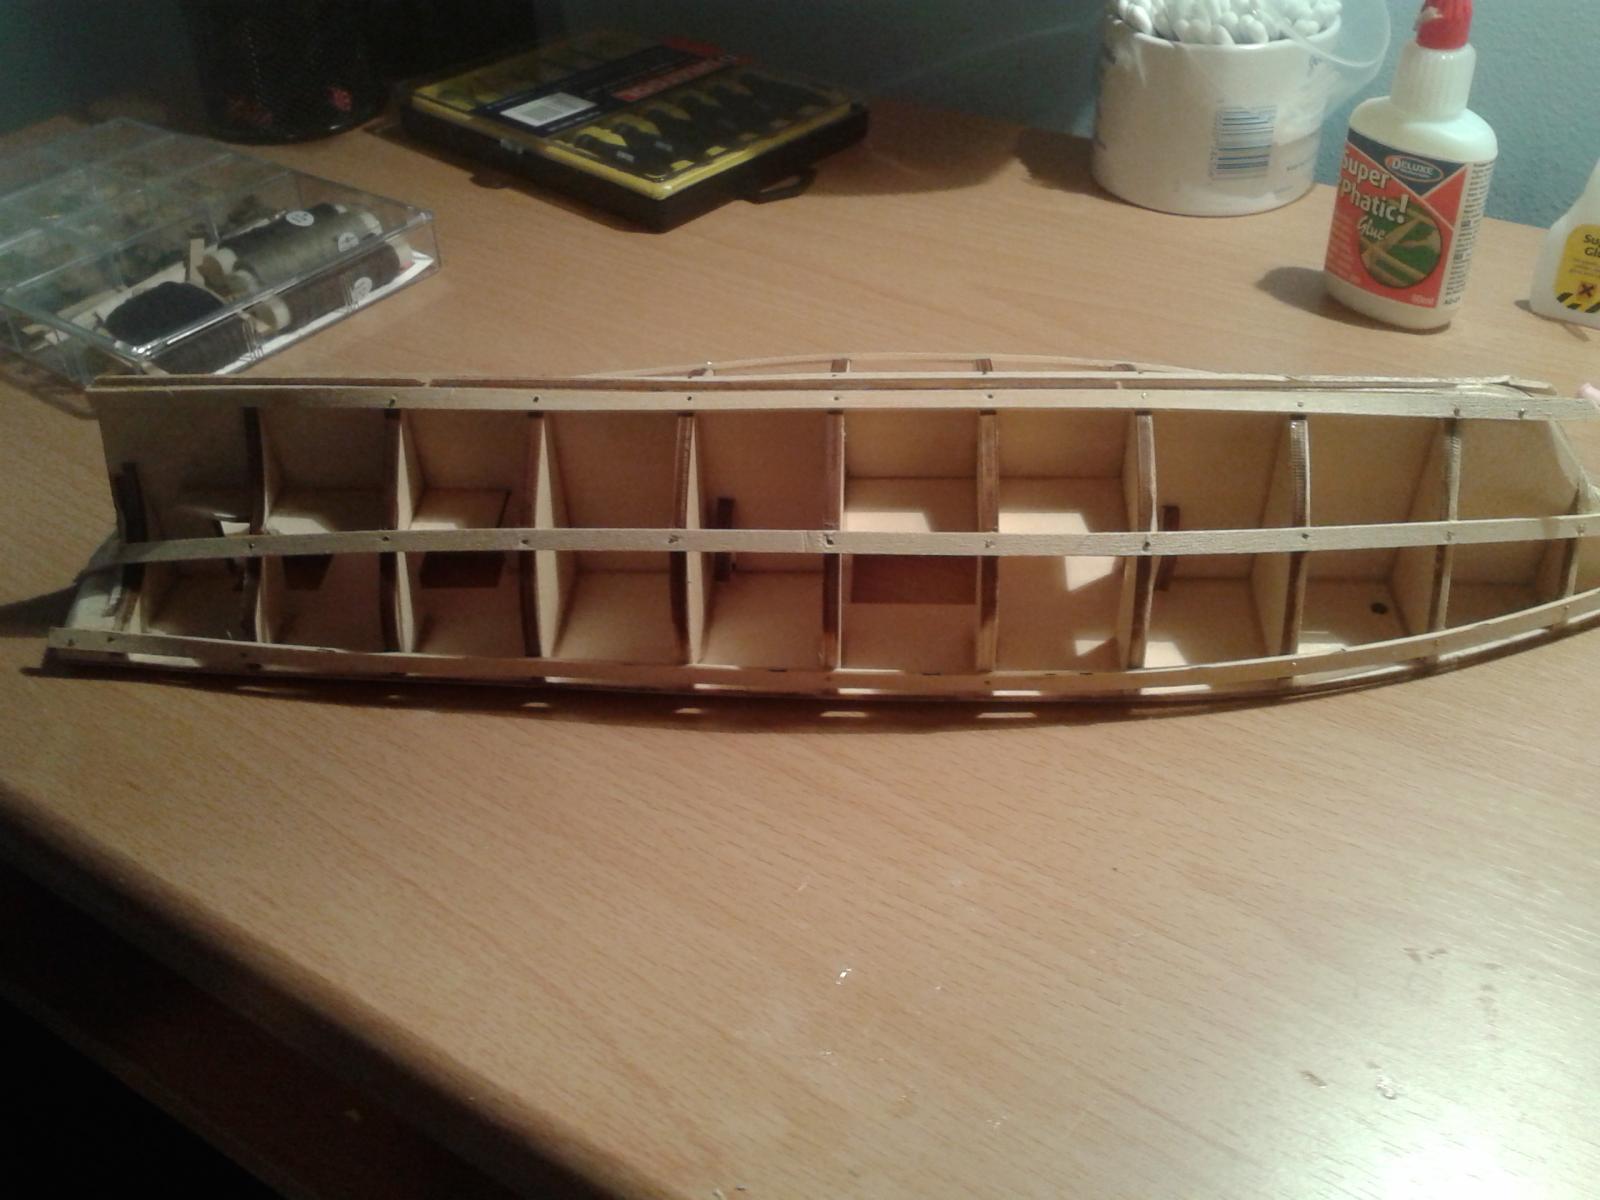
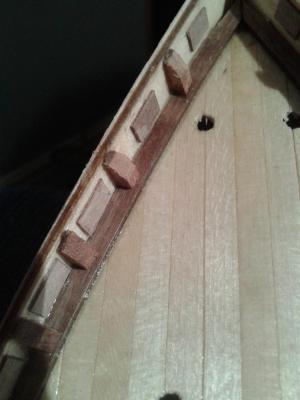
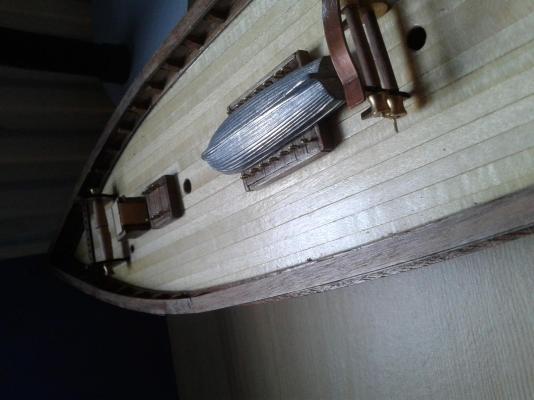
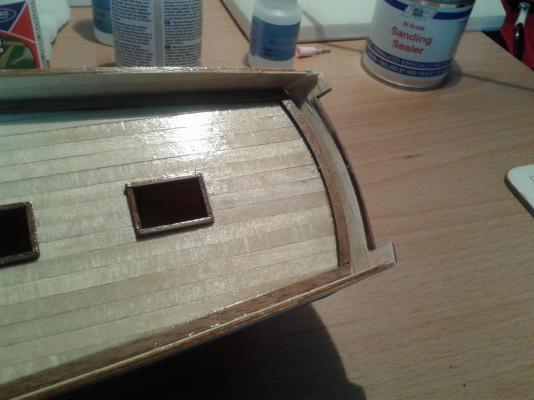
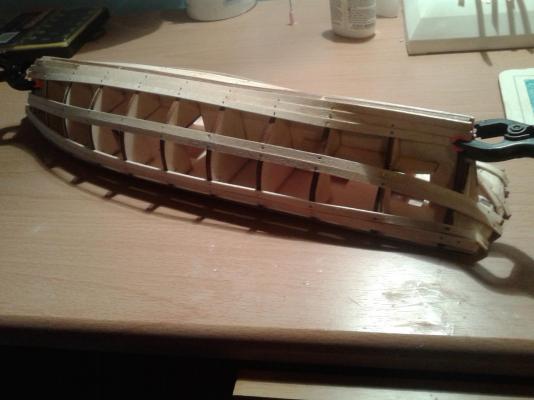
The next phase of the build, some more top side detail added. Started the out hull planking. The first problem was the 2nd plank strips were not in the AL kit, so I had to order a new set from CMB. The were no clear instructions or picture on how this bit should look, I don't think I got it right but with a bit more work I got to a workable solution!. It took time and effort with the next section


- 19 replies
-
- 3
-
-
- scottish maid
- artesania latina
- (and 1 more)
-
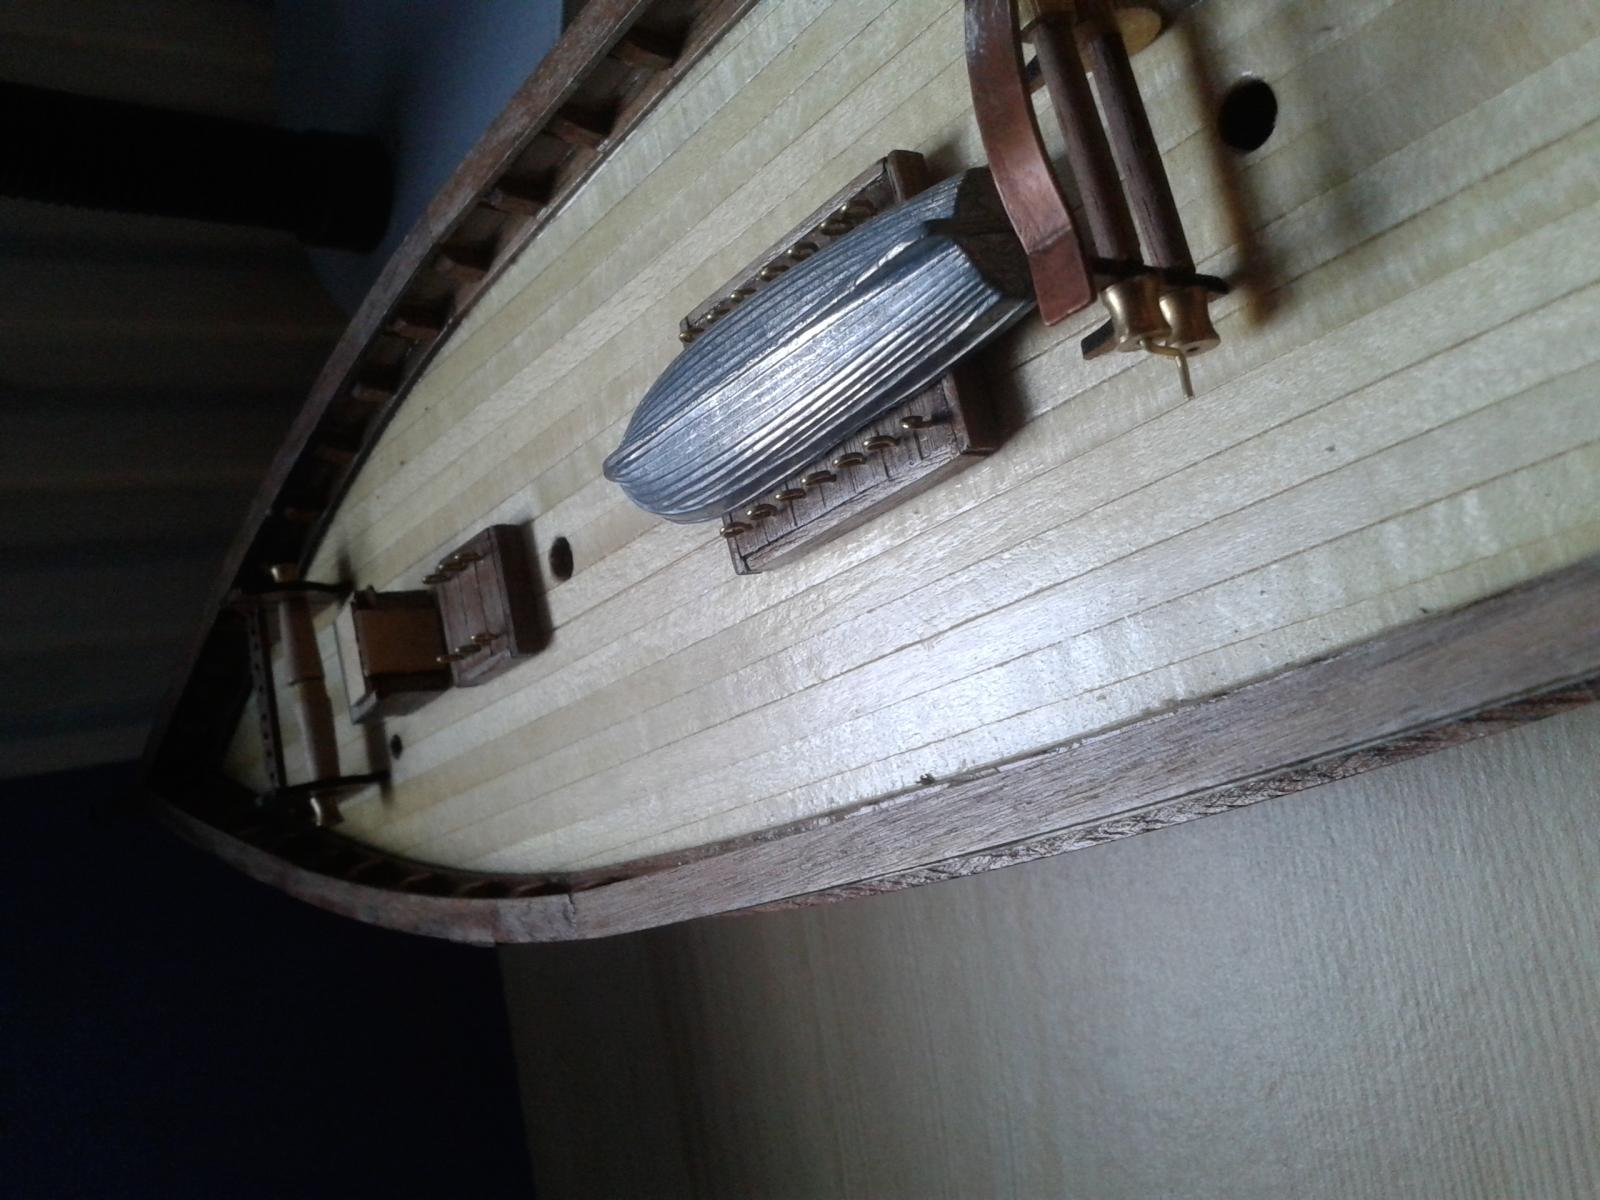
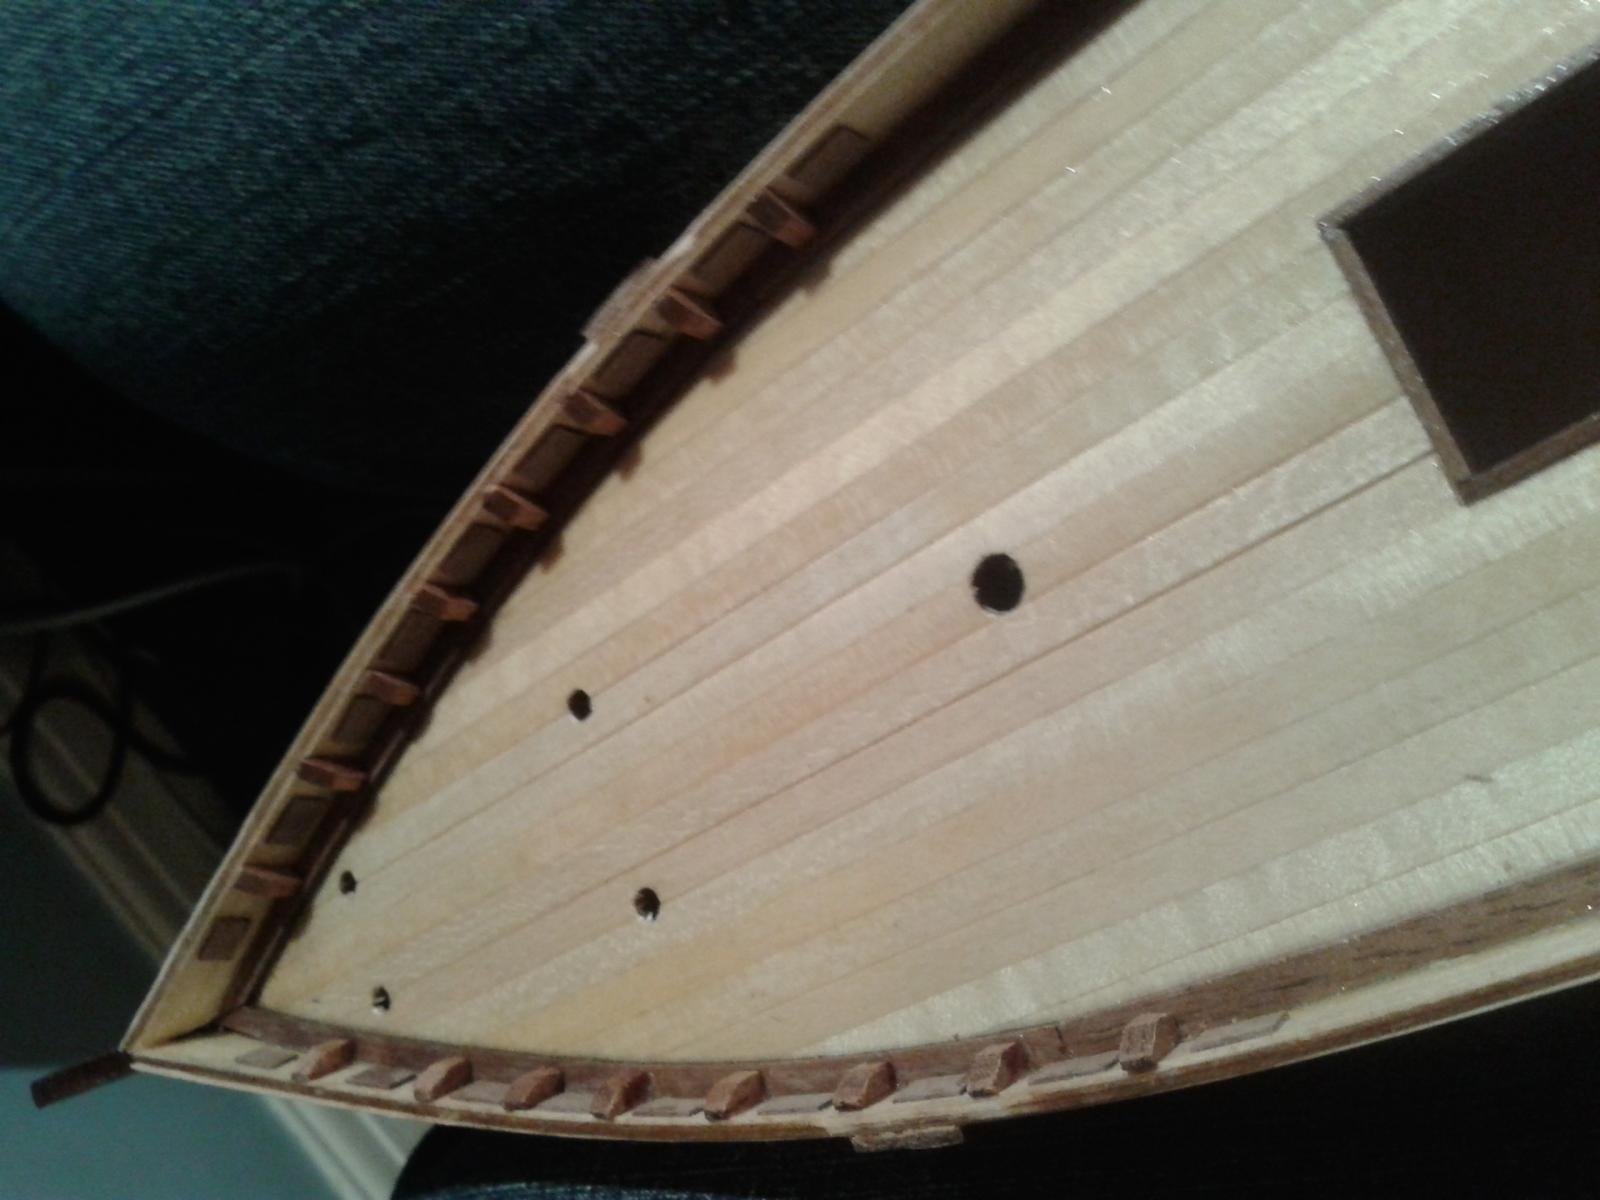
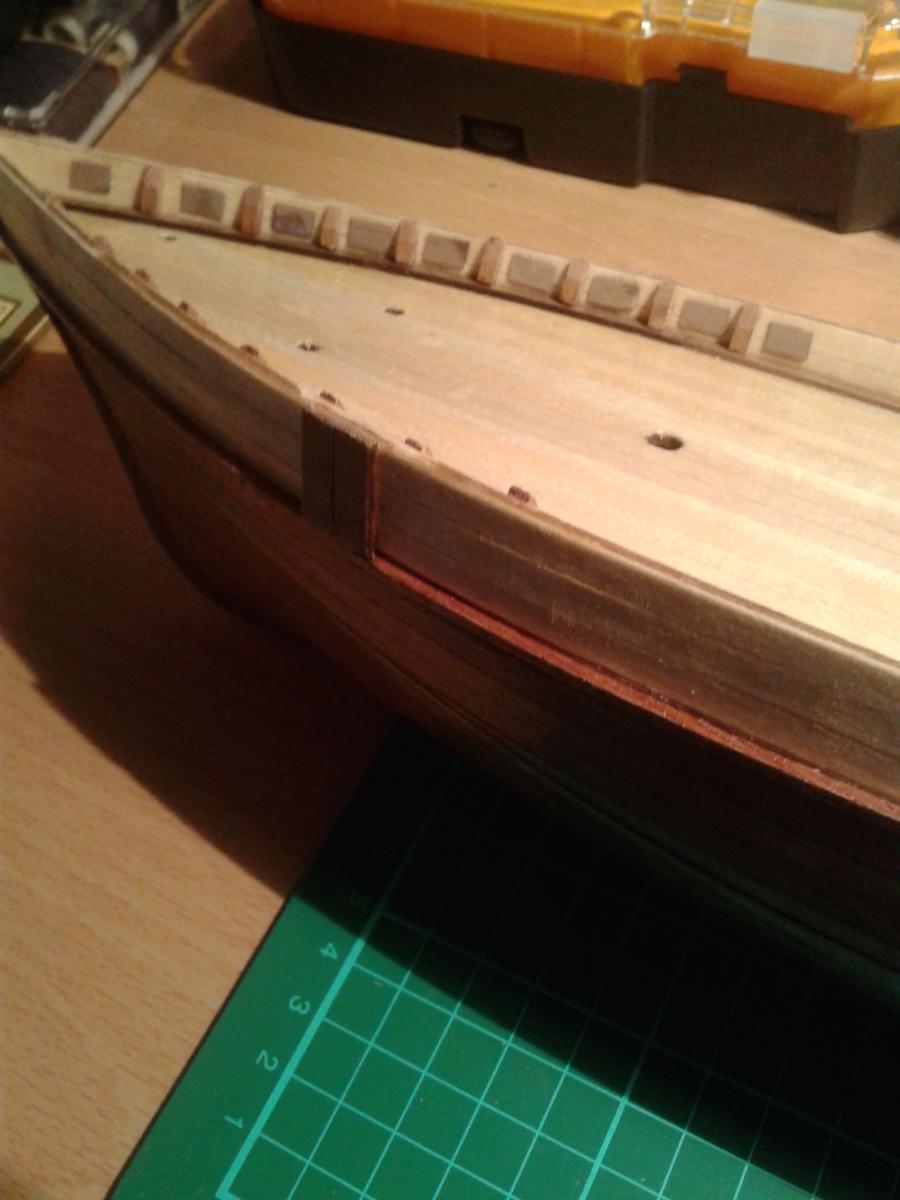
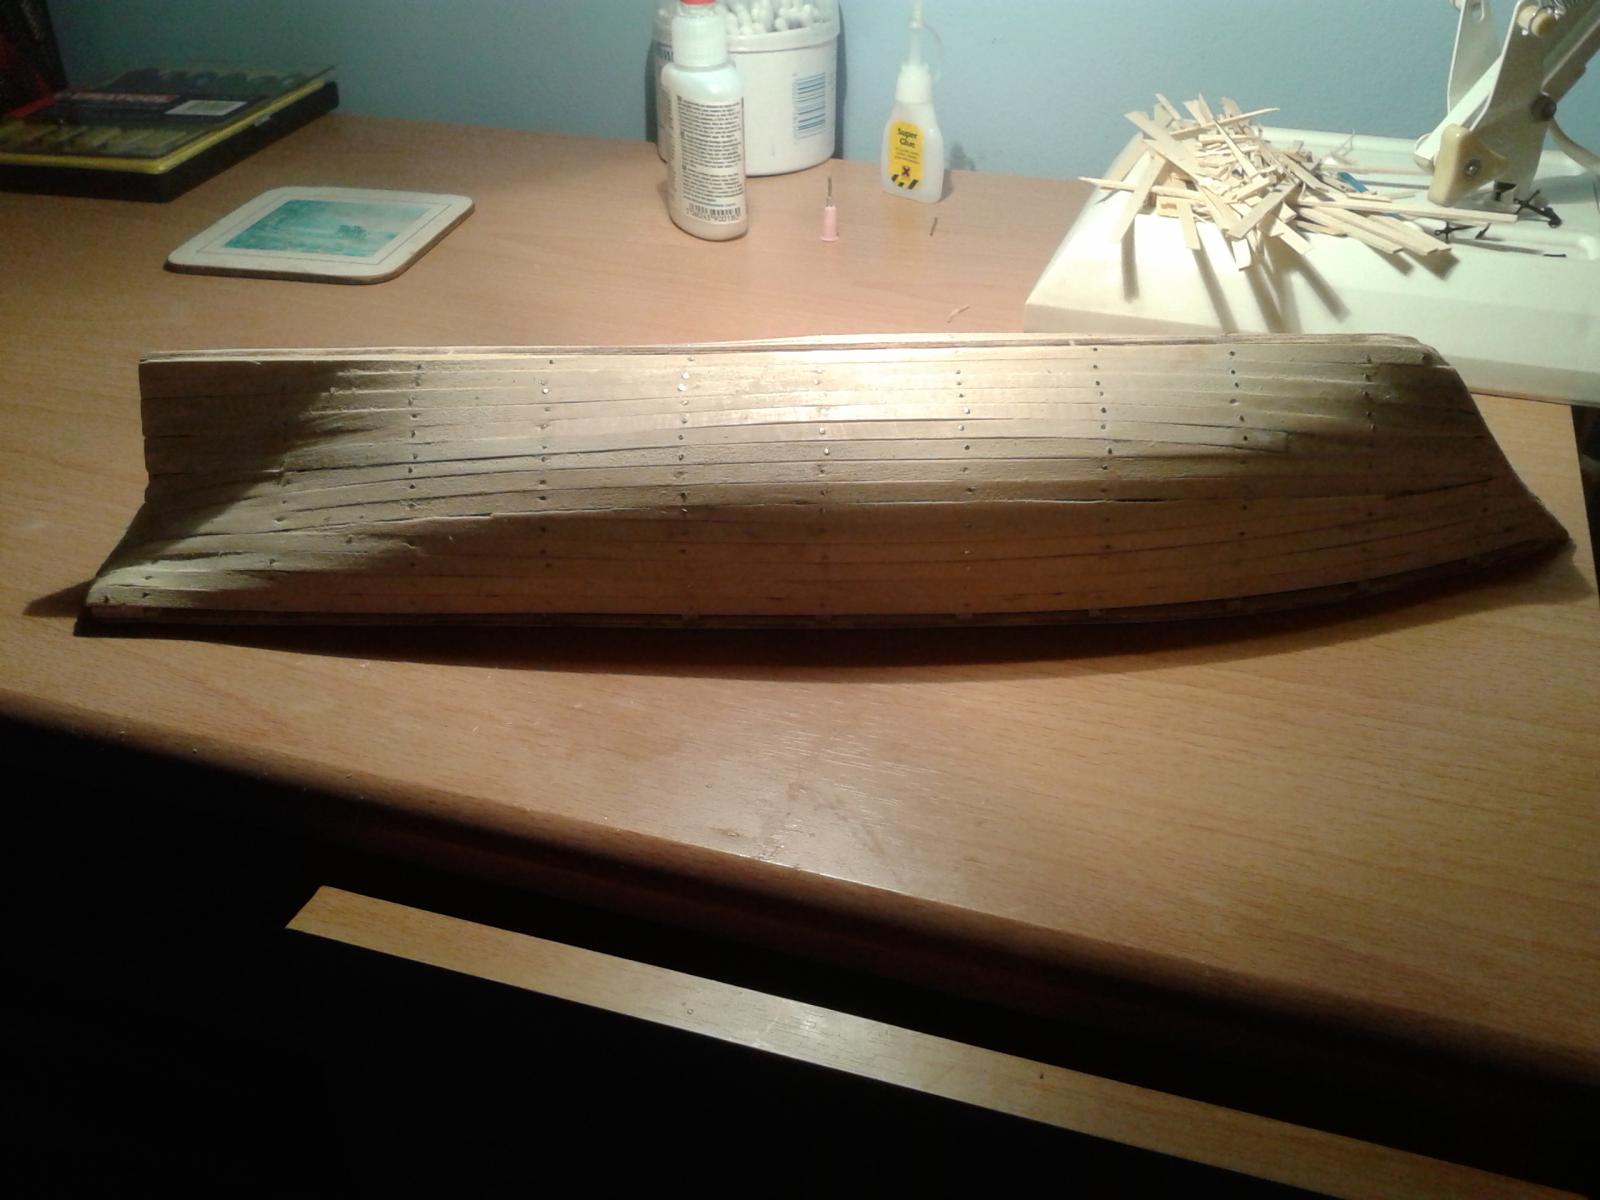
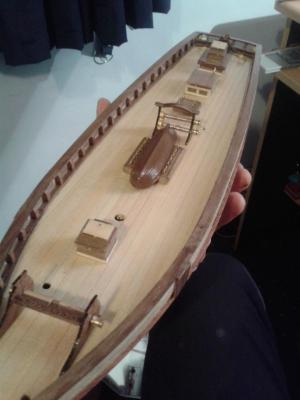
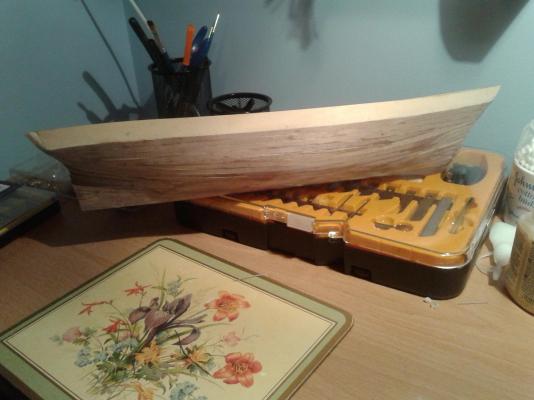
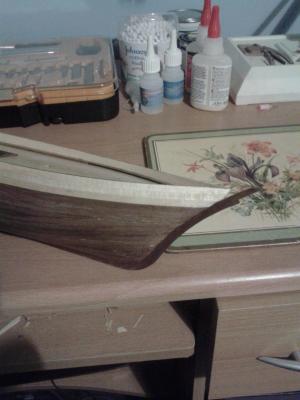
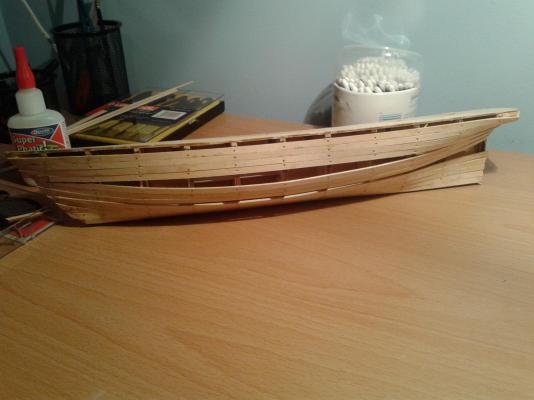
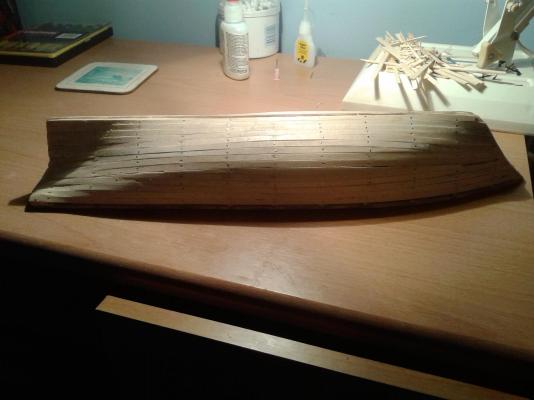
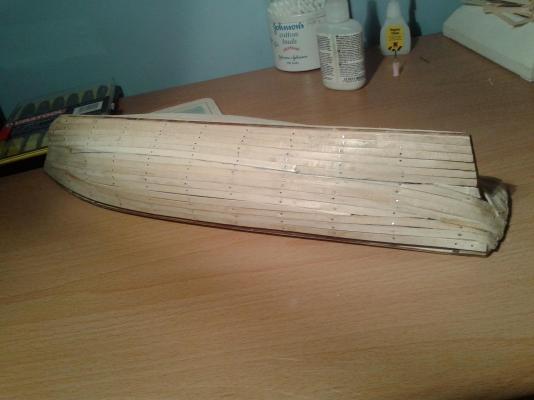
Here is the next set of photos of the hull planking. You can see below the problem had I with the hull planking by not getting the hull shaping correct. I also added the first part of the deck detail. And my ever expanding set of modelling tools!


- 19 replies
-
- 1
-
-
- scottish maid
- artesania latina
- (and 1 more)