HOLIDAY DONATION DRIVE - SUPPORT MSW - DO YOUR PART TO KEEP THIS GREAT FORUM GOING!
×


MrBlueJacket
-
Posts
1,308 -
Joined
-
Last visited
Content Type
Profiles
Forums
Gallery
Events
Everything posted by MrBlueJacket
-
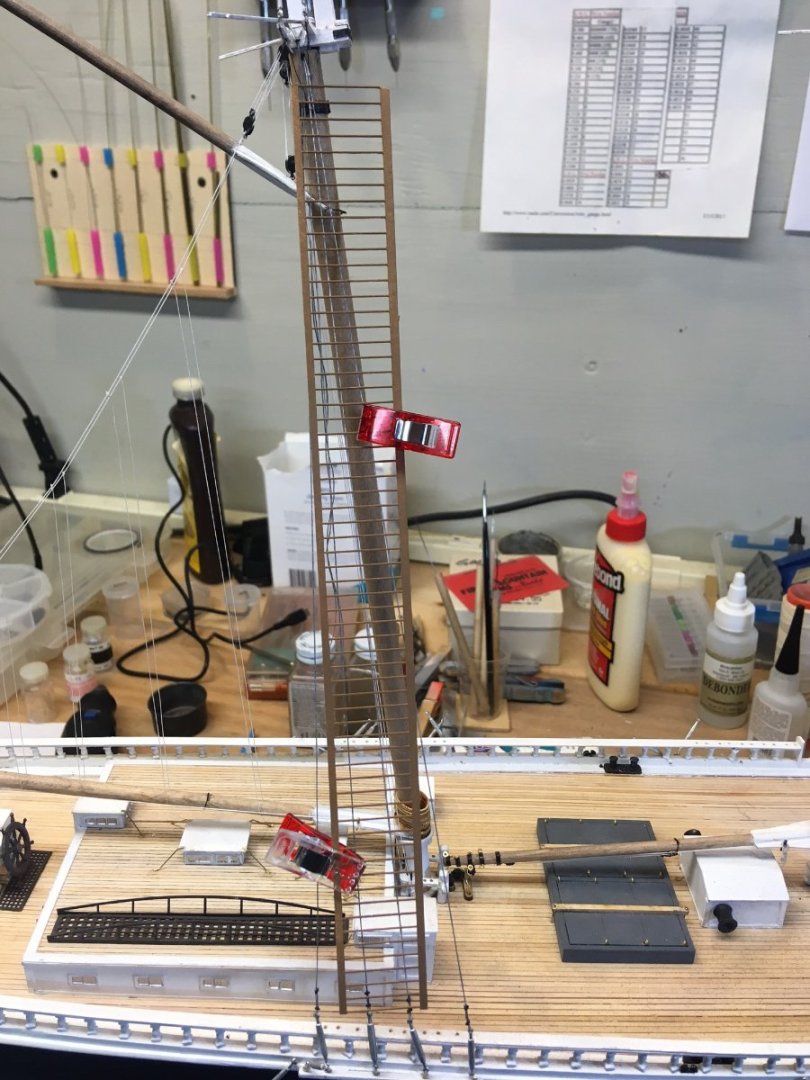
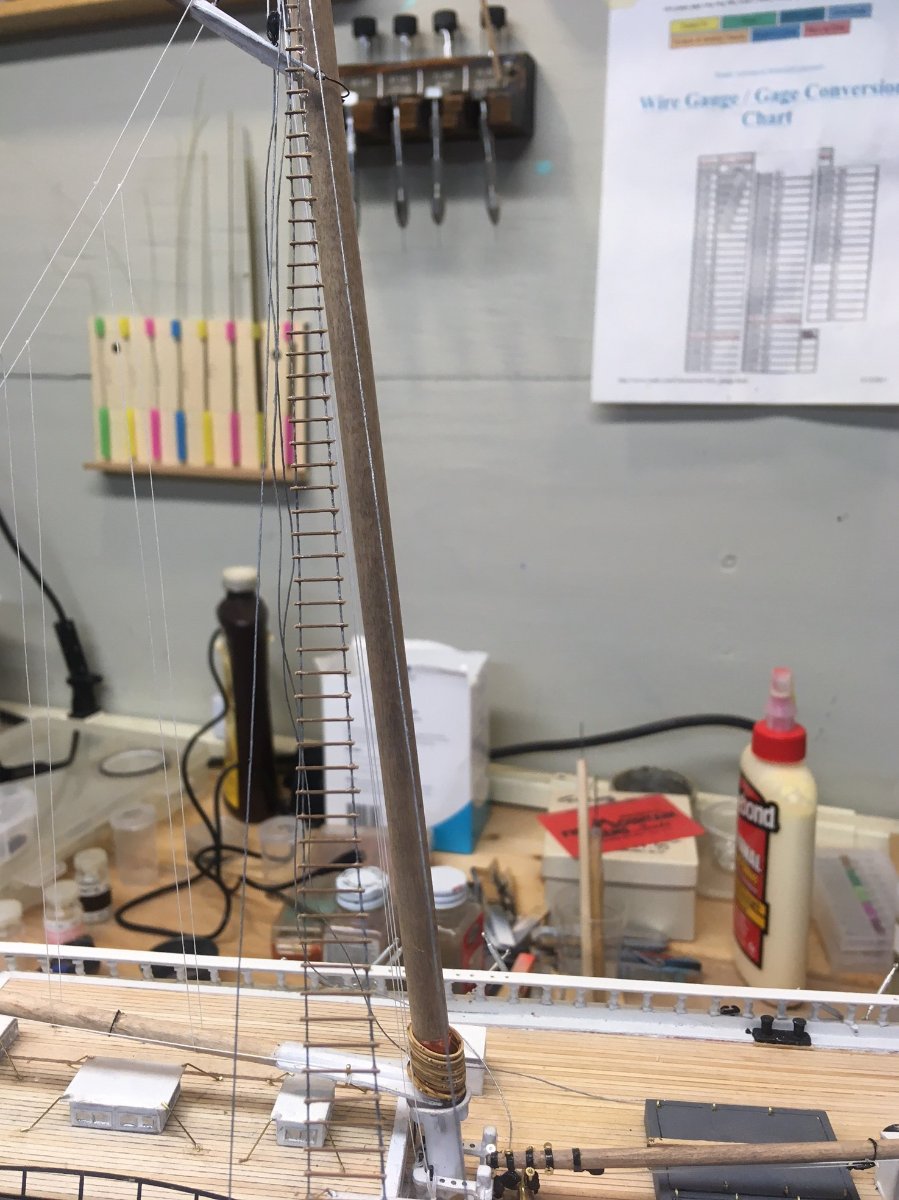
 Once the battens are glued to the shrouds, the ends are clipped off and we have beautifully spaced and even battens.
- 194 replies
-
- 14
-

-
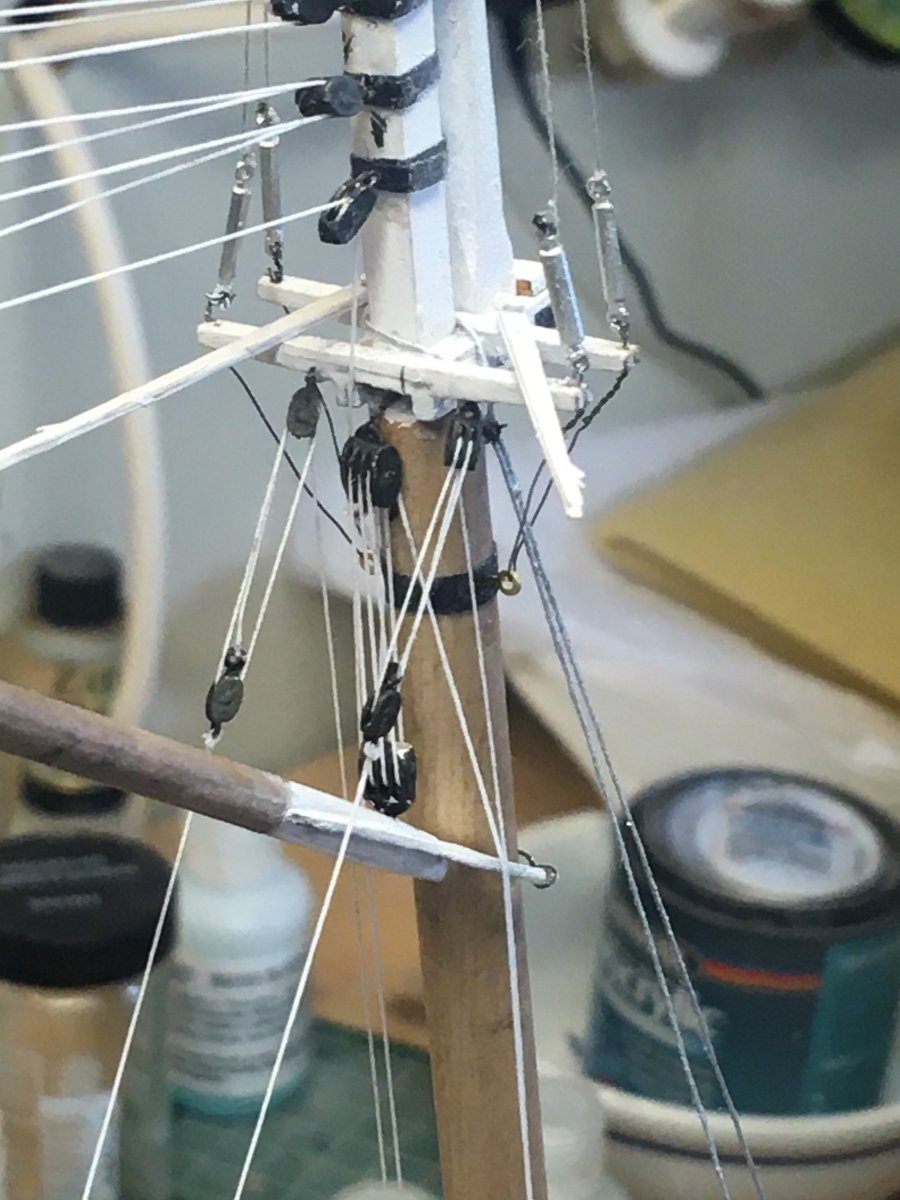
Now to add the battens. We developed a unique method to insure the battens are evenly spaced. We made a "batten ladder"
-
The rest of the lower shrouds on #6 mast

-
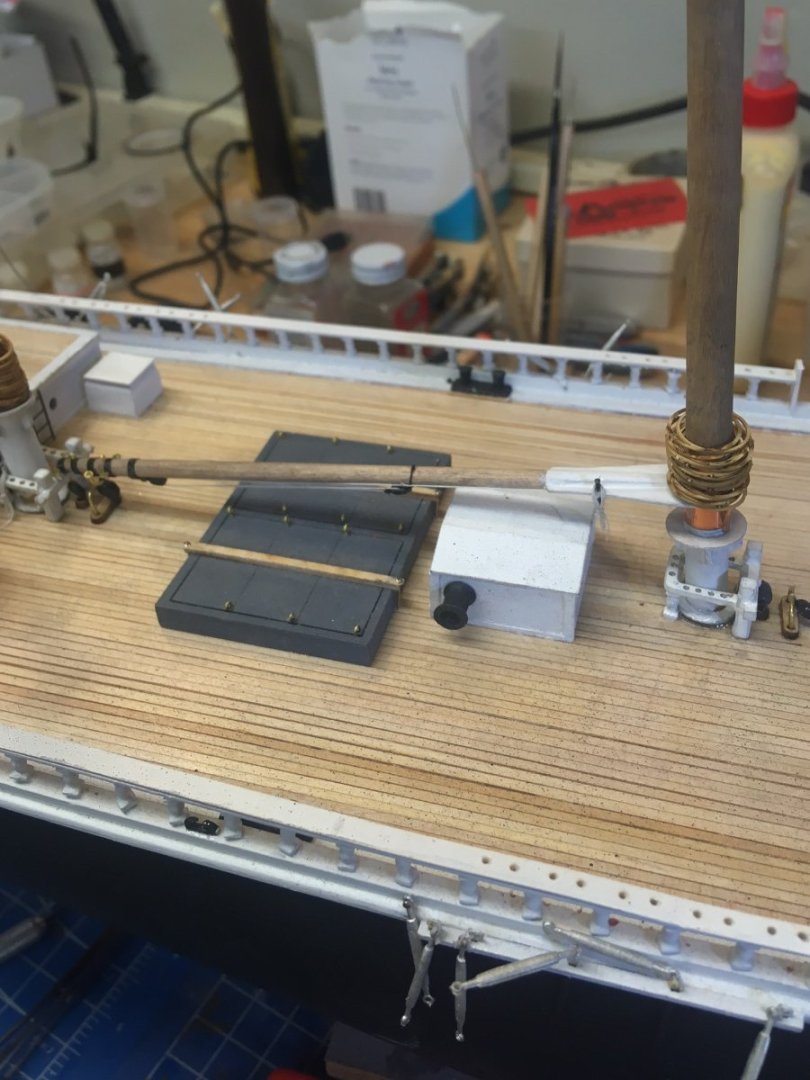
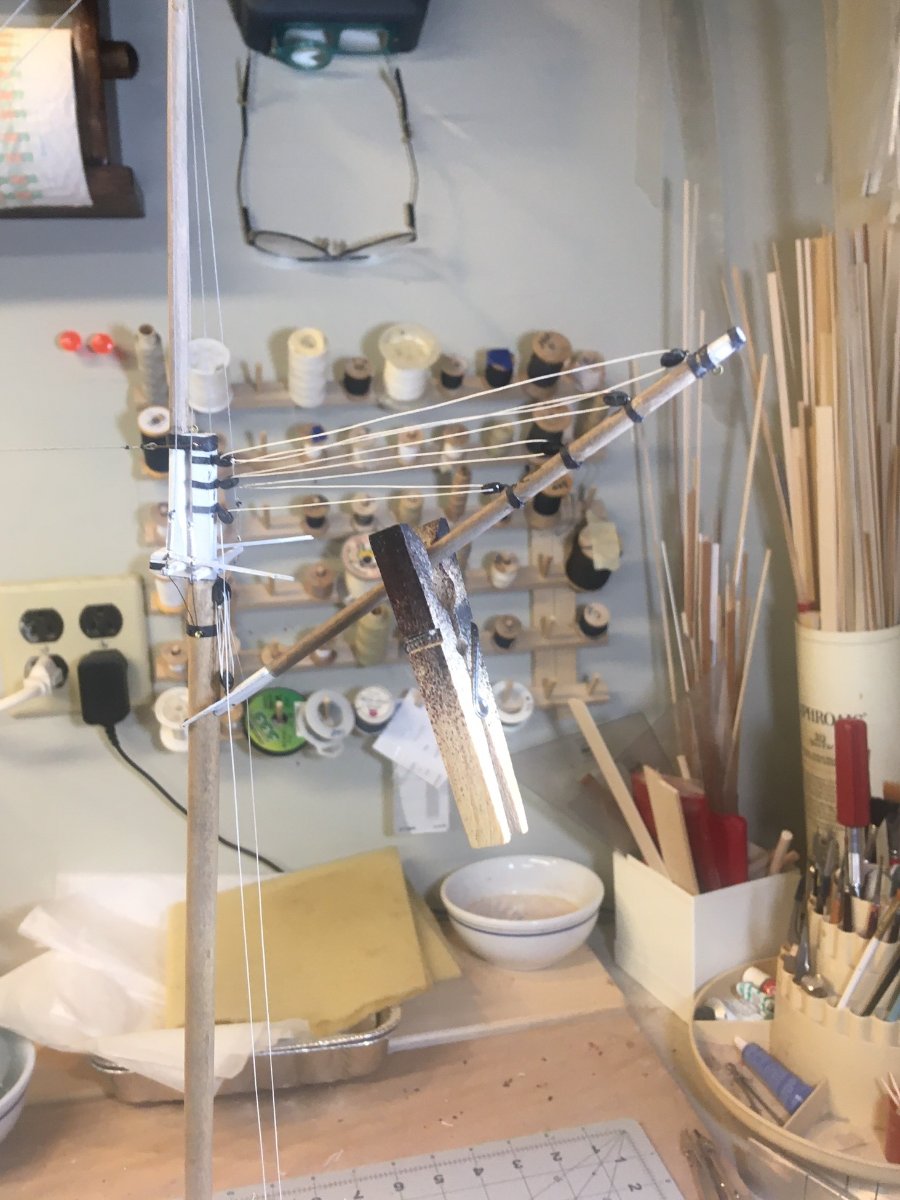
Back on the Wyoming front......... Prepping #5 mast's boom And the boom installed
-
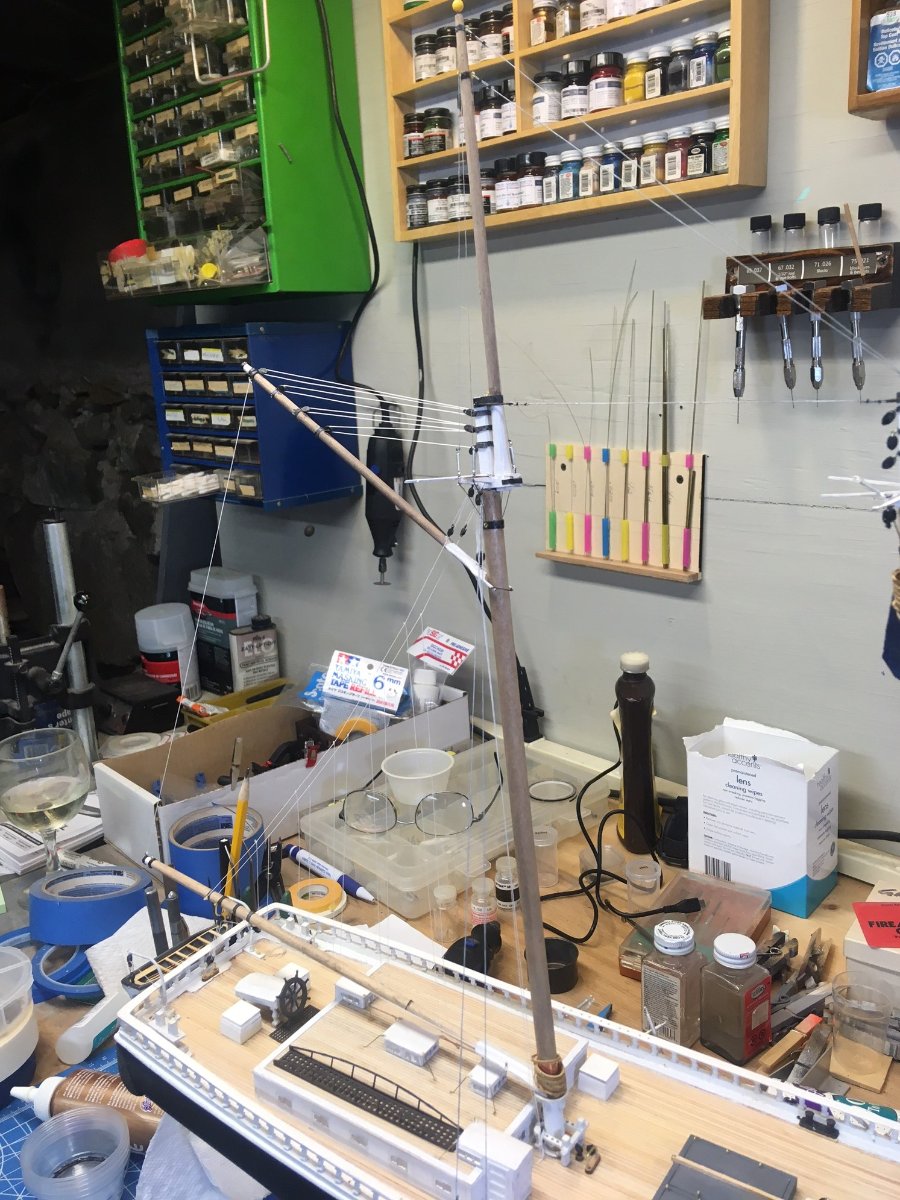
Turned the ship around to work on the starboard side. First 2 stays in place.

-
Congratulations, Mark. Beautiful work. Your customer file now shows you will get a 10% discount on the next kit you buy from us. Nic
-
When doing the chains for the Red Jacket, I first tied fine sewing thread to the chain, then stiffened the other end with CA glue. I think you will find it much easier. Nic
-
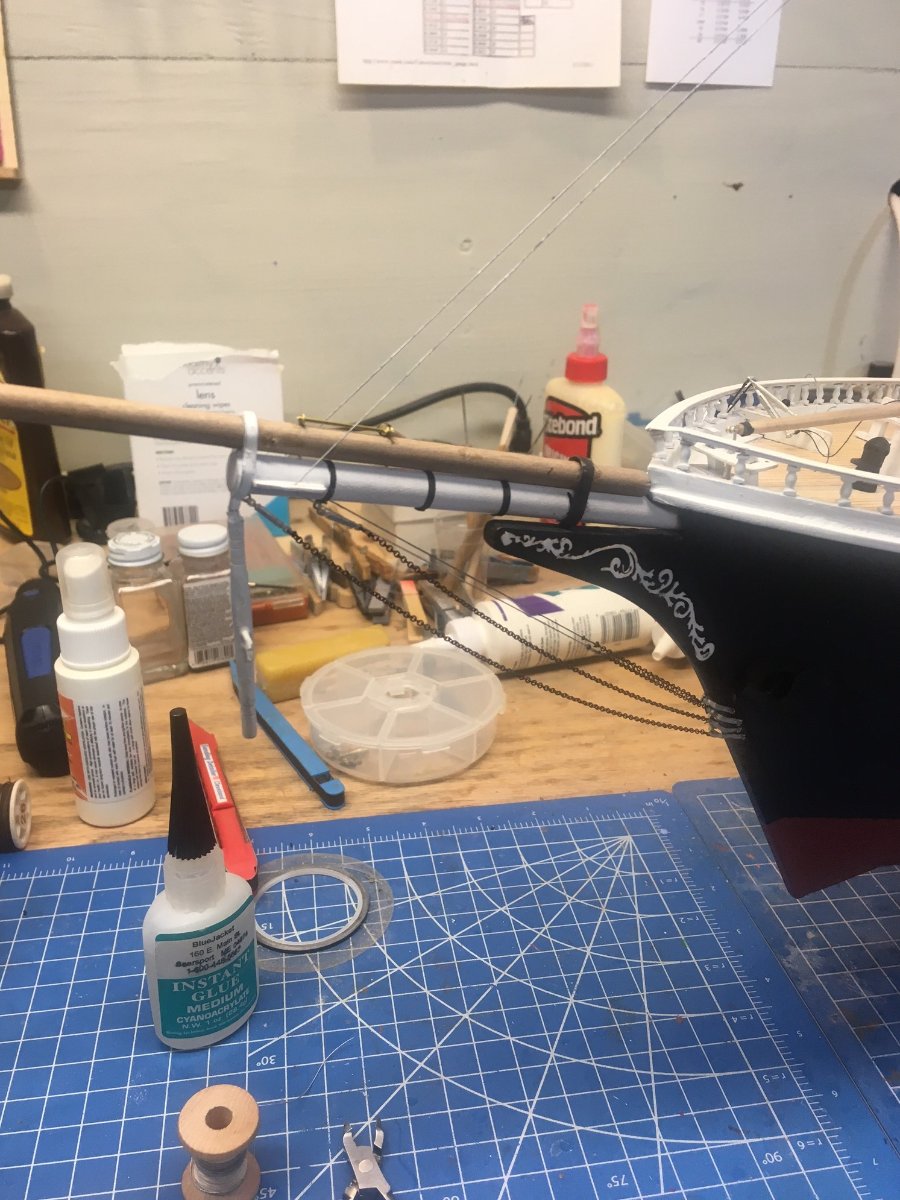
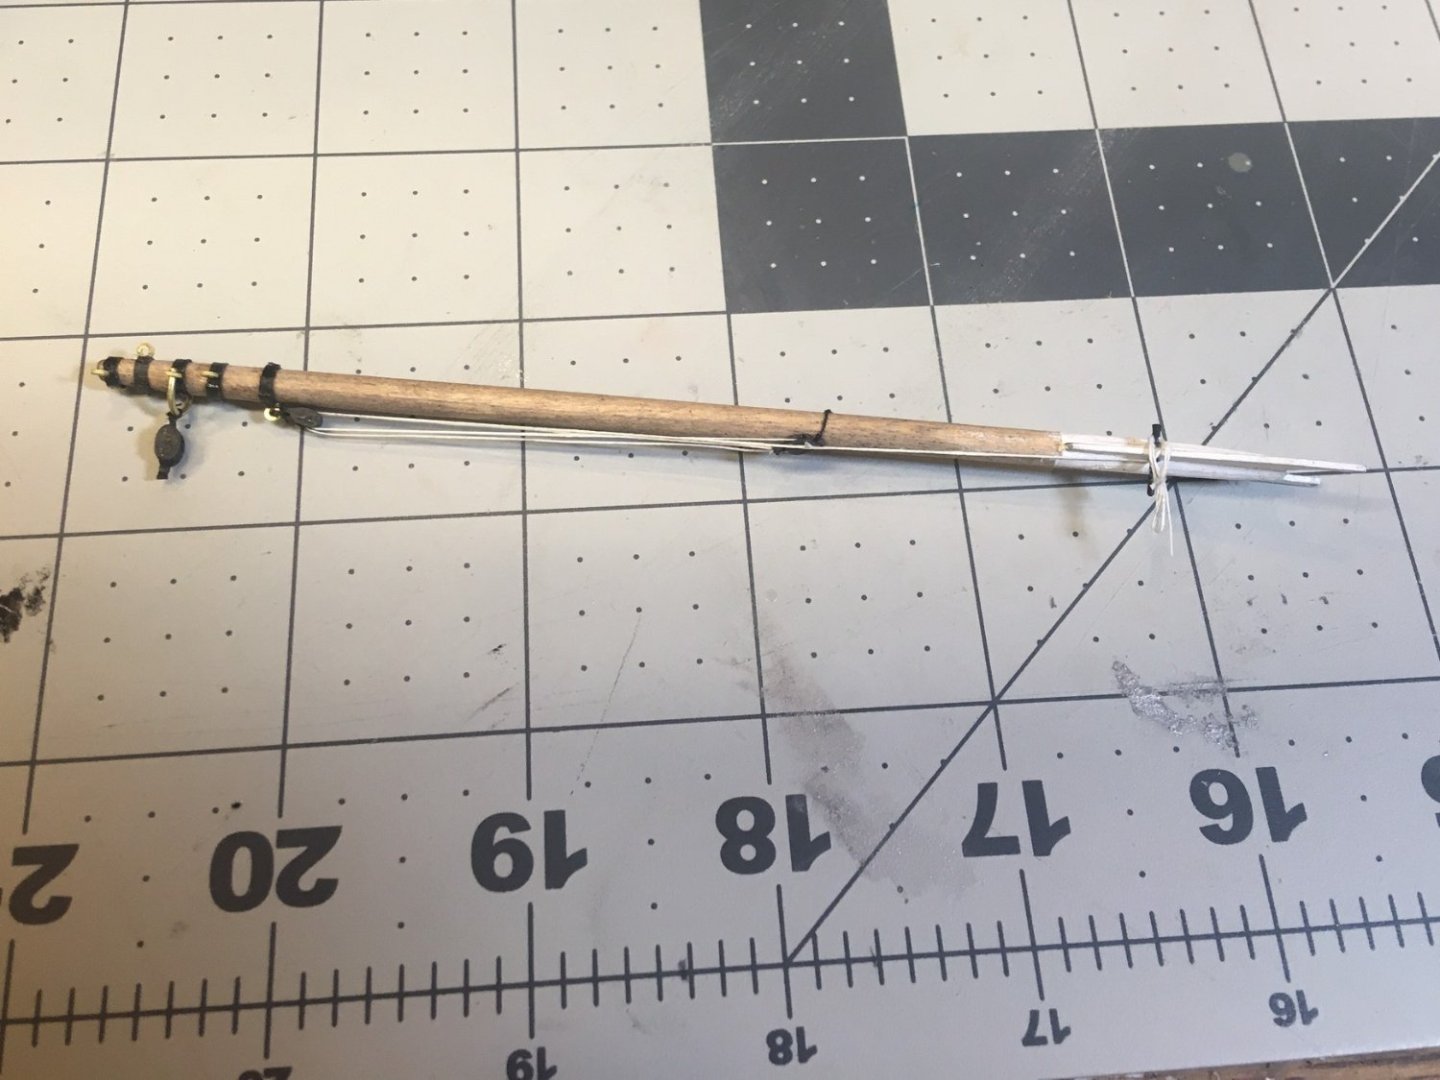
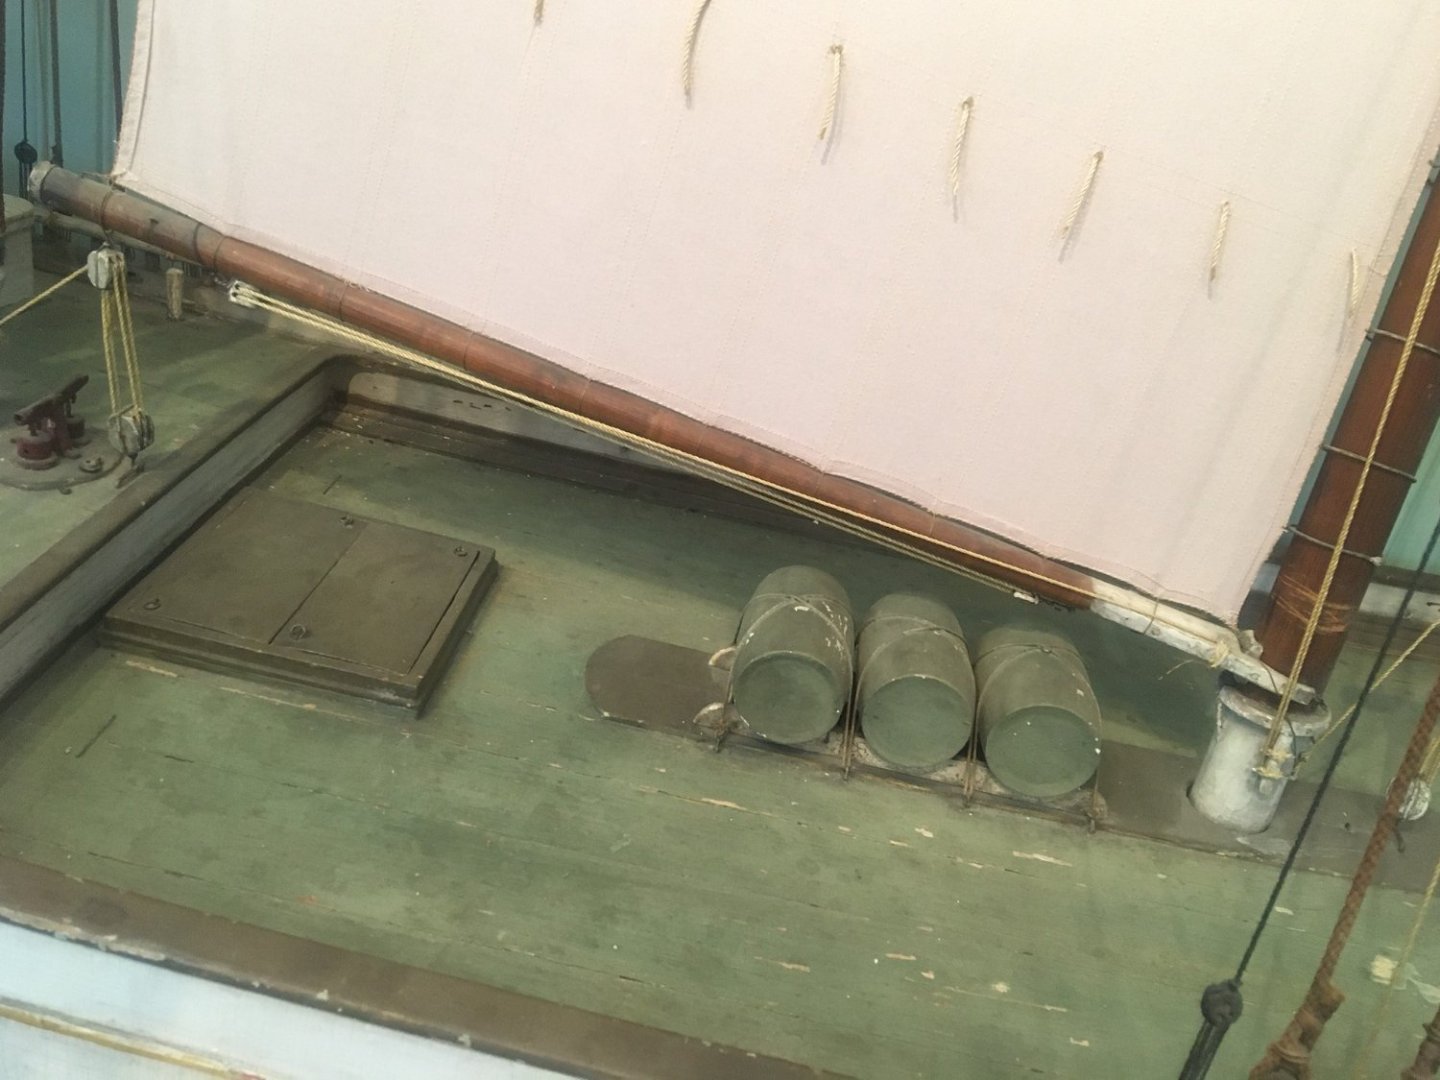
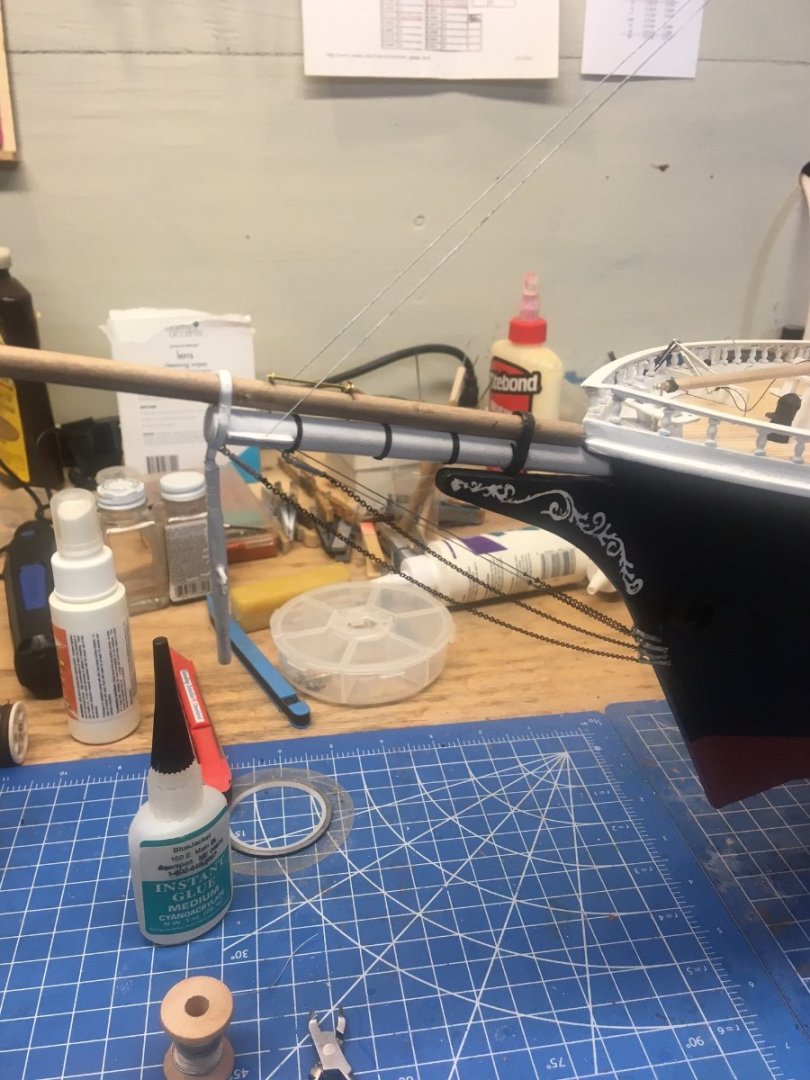
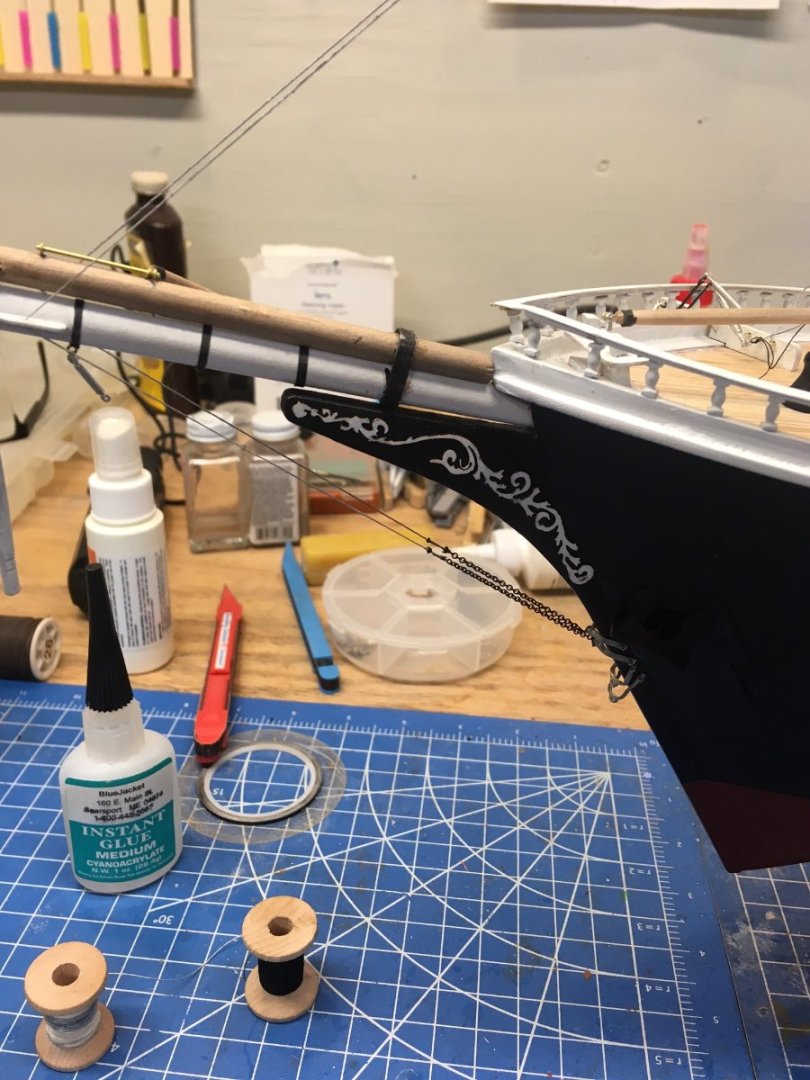
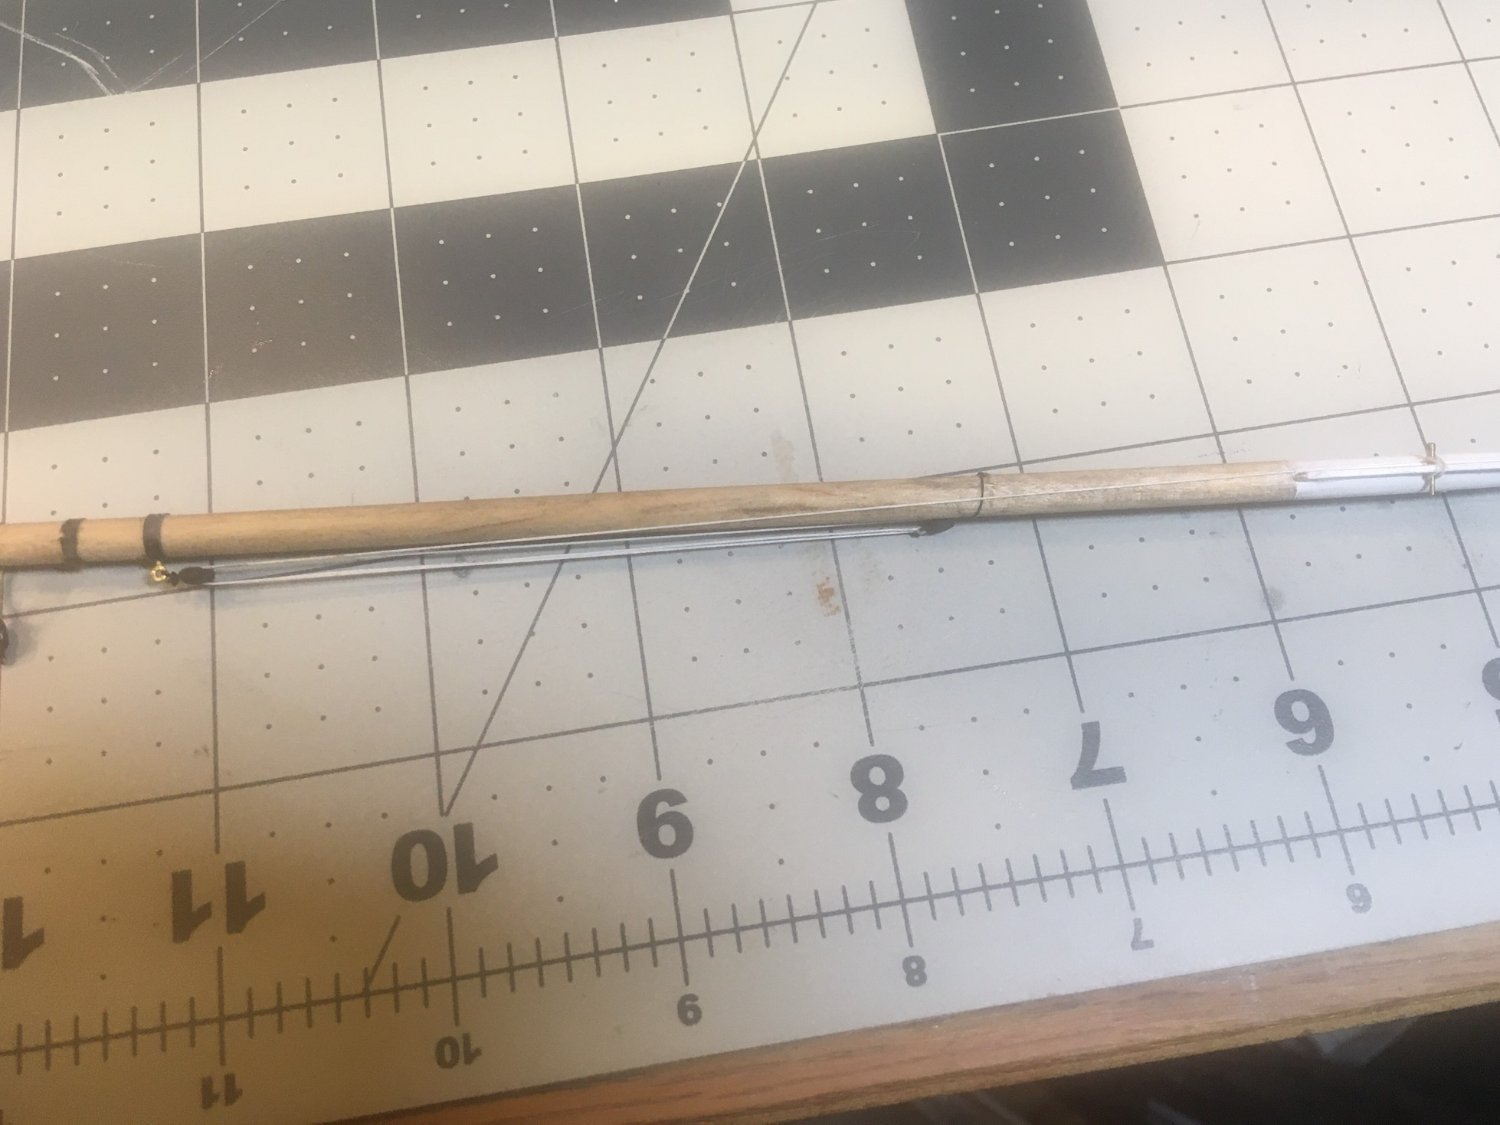
Started to fit out the rear boom. Interesting that on the bottom of the boom there is a block and tackle setup that apparently goes nowhere. I seem to recall (and correct me if I'm wrong) that it is a tensioner to help prevent hogging of the boom itself. In the Penobscott Marine Museum there is a schooner model with the same setup, belaying to the jaws.

-
And installed the bobstay chains as well. I tried 6 times to get them taught by myself, but wasn't happy. Ended up holding the knots and have my wife put on the glue. Best I could do alone. With extra hands, much better result.
.thumb.jpg.8dd5564028c56f92255c52142b7fd853.jpg)
- 194 replies
-
- 12
-
-
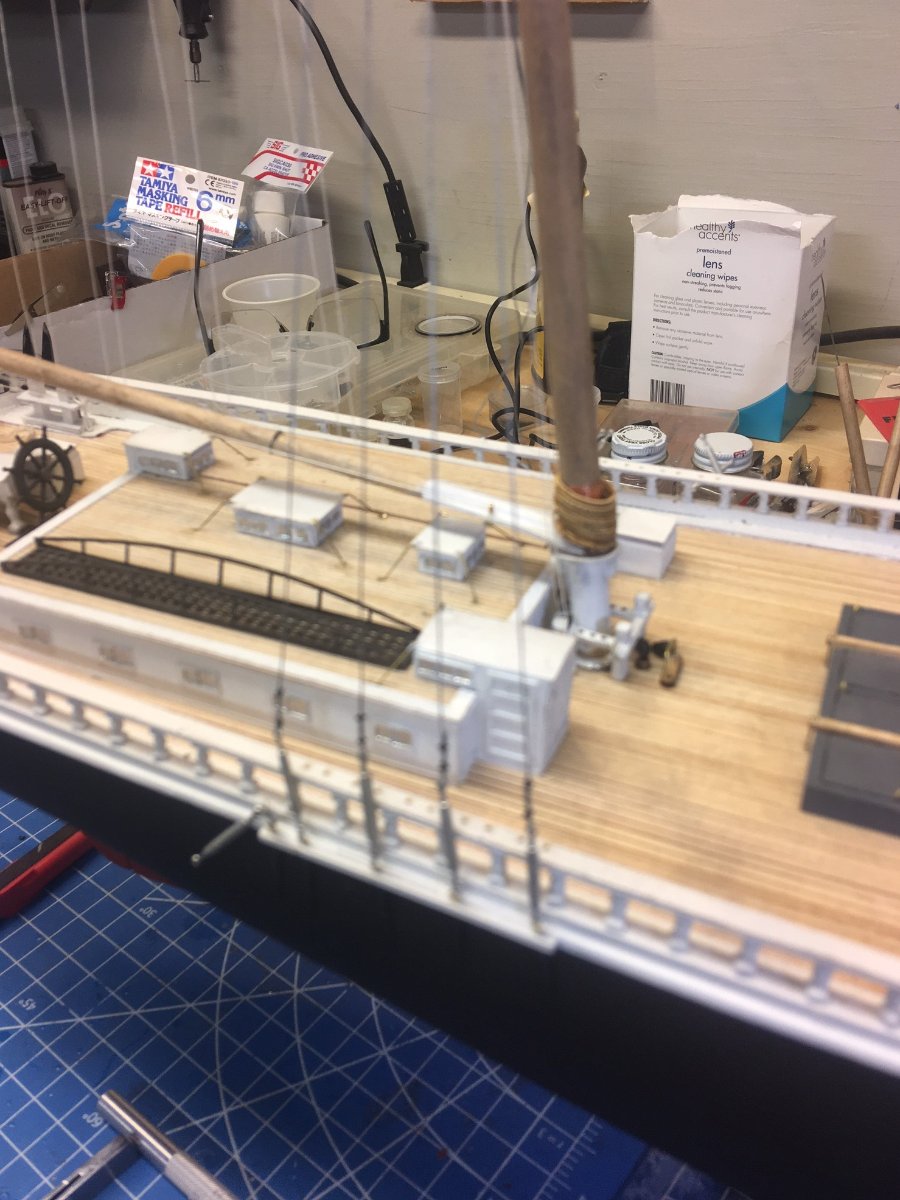
And on the Wyoming front........ Ran the fo'c'sle mast forestays thru the bees to the stem.
- 194 replies
-
- 10
-
-
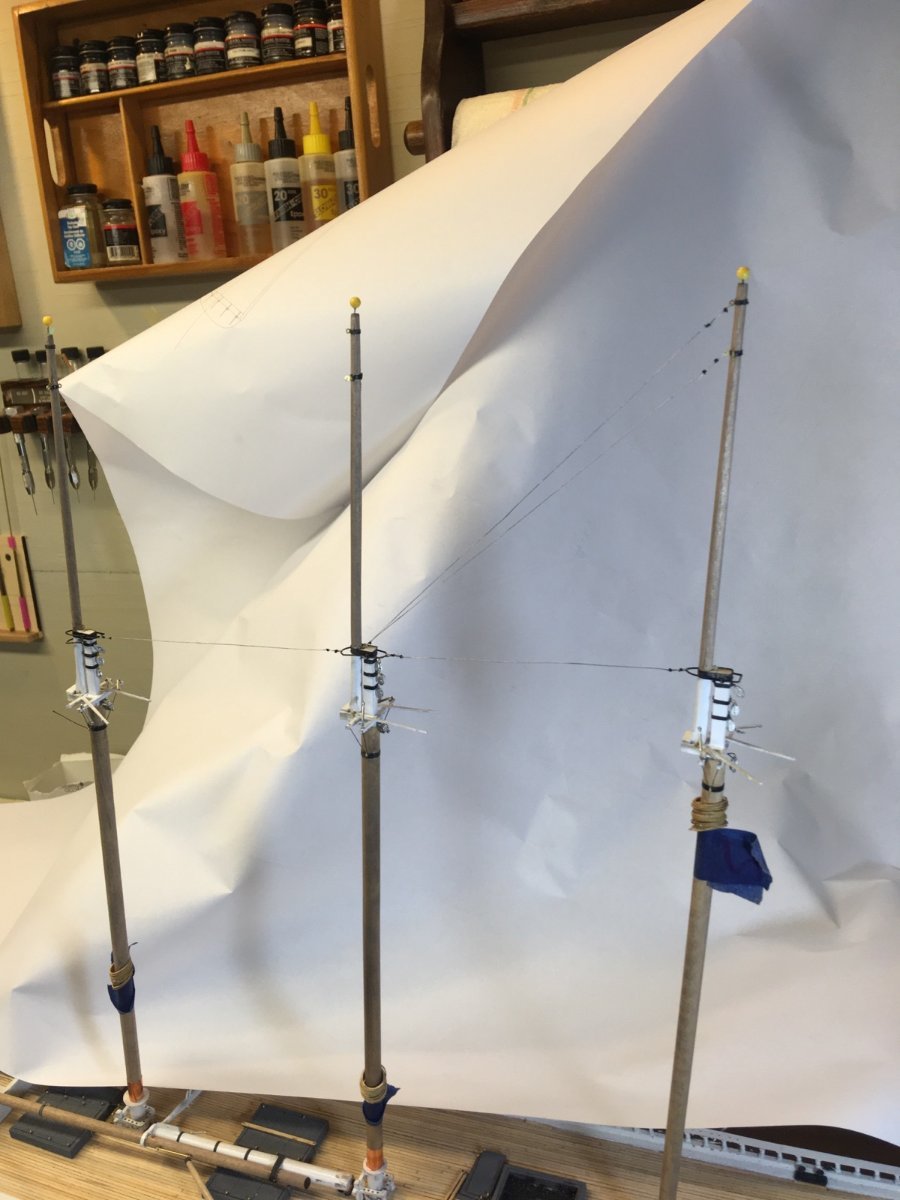
It is .015 white cotton line, painted with a silver paint stick
-
In modern ships, the spreaders actually spread out the stays for more leverage. But in old ships, my opinion (without any direct evidence) is that they are to stabilize the long run of the stays rather than change their direction. Nic
- 602 replies
-
- 2
-
-
- Flying Fish
- Model Shipways
- (and 2 more)
-
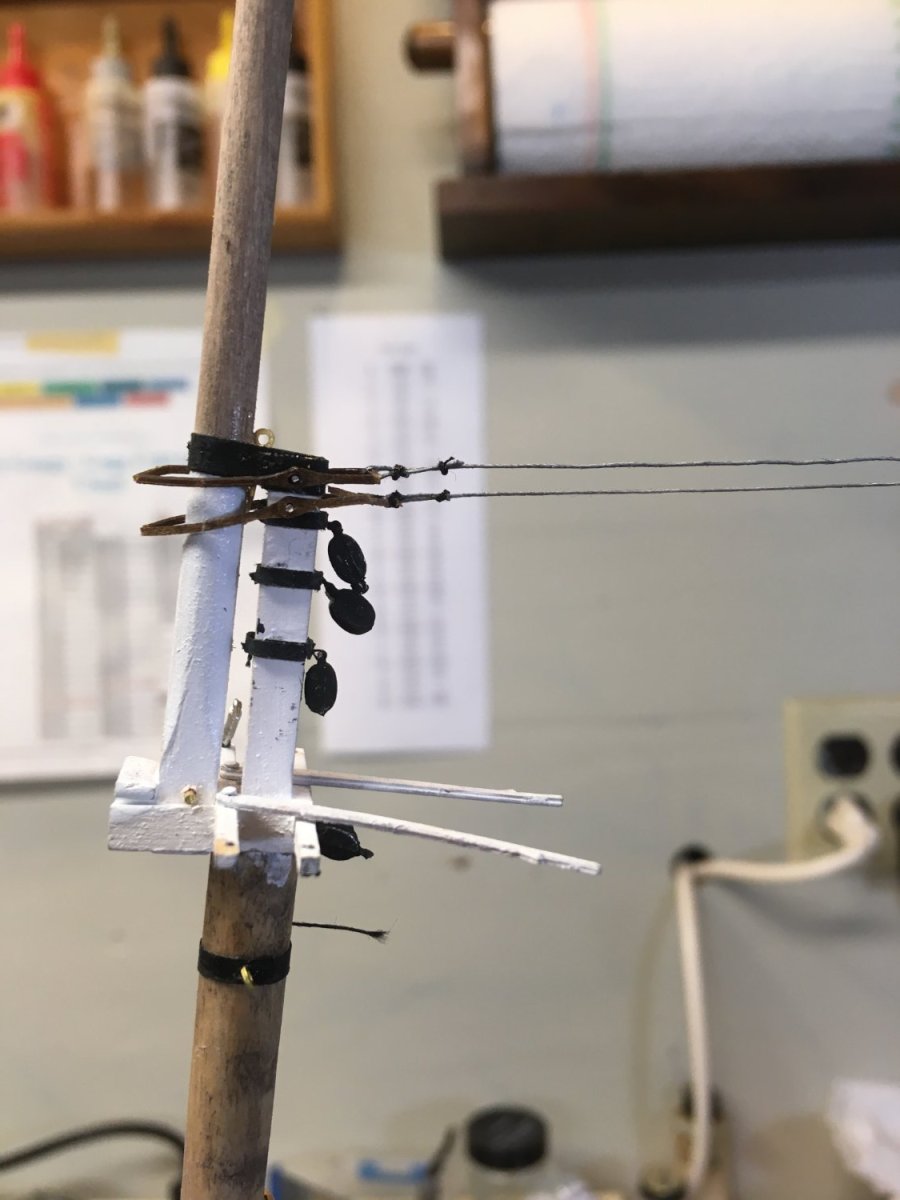
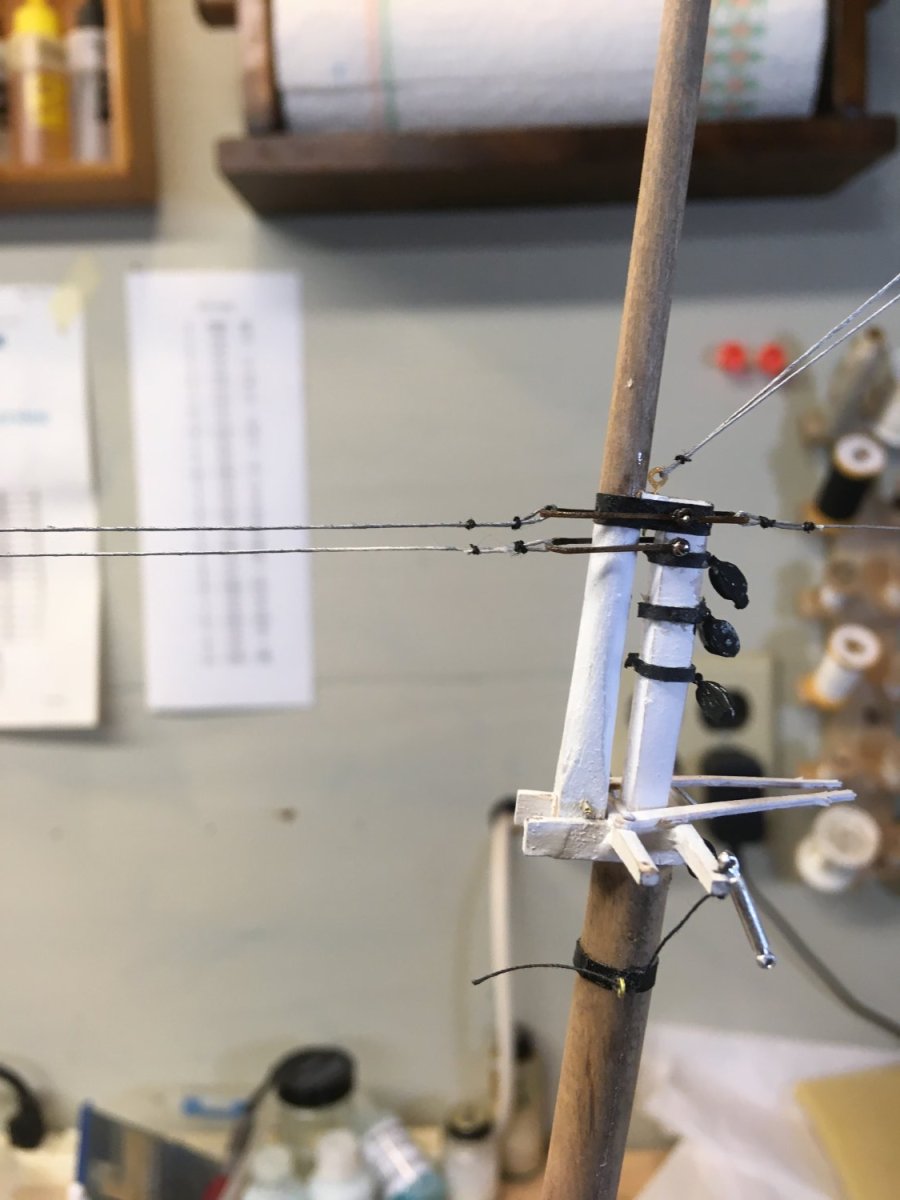
Starting the rigging with the spring stays etc. working from the middle out. I plan to do the booms and gaffs before the shrouds.

- 194 replies
-
- 12
-
-
Very nice. And a quick build, too! Your customer file now shows a 10% discount off your next kit from us. Nic
-
Regarding the line on the jumbo sail, to me it looks like a reef line, but that is inconsistent with the reef points on the main. It is unlikely but possible that the sail was added onto at some point, which is cheaper than making a whole new sail. Other than that, I don't know.
-
I'll probably put a few furled sails on her. Nic
-
*sigh* Not really, I enjoy rigging.
-
Very nice. Your customer file ow shows you will get a 10% discount on the next kit you buy from us. Nic
- 23 replies
-
- 1
-
-
- Yankee Hero
- Bluejacket Shipcrafters
- (and 1 more)
-
Beautiful work. Nice and symmetric. Nic
- 89 replies
-
- 1
-
-
- bluejacket shipcrafters
- revenue cutter
- (and 1 more)
-
With a little keel weight, it should sail just fine. Nic
-
Here: https://modelshipworld.com/gallery/
-
Perhaps the gallery?


.jpg.d6d2611a56ae414c8d67a65881e7d76f.jpg)