HOLIDAY DONATION DRIVE - SUPPORT MSW - DO YOUR PART TO KEEP THIS GREAT FORUM GOING!
×


MrBlueJacket
-
Posts
1,308 -
Joined
-
Last visited
Content Type
Profiles
Forums
Gallery
Events
Everything posted by MrBlueJacket
-
 Nothing looks better than even battens. We are now putting them in the Bowdoin, Pauline, and Charles Notman. And the Wyoming when it is finished.
- 127 replies
-
- 3
-

-
- Bowdoin
- Arctic Exploration
- (and 3 more)
-
by all means do a build log of your Swampscott dory. When you finish, I will give you a 10% discount on the next kit you buy from us.
-
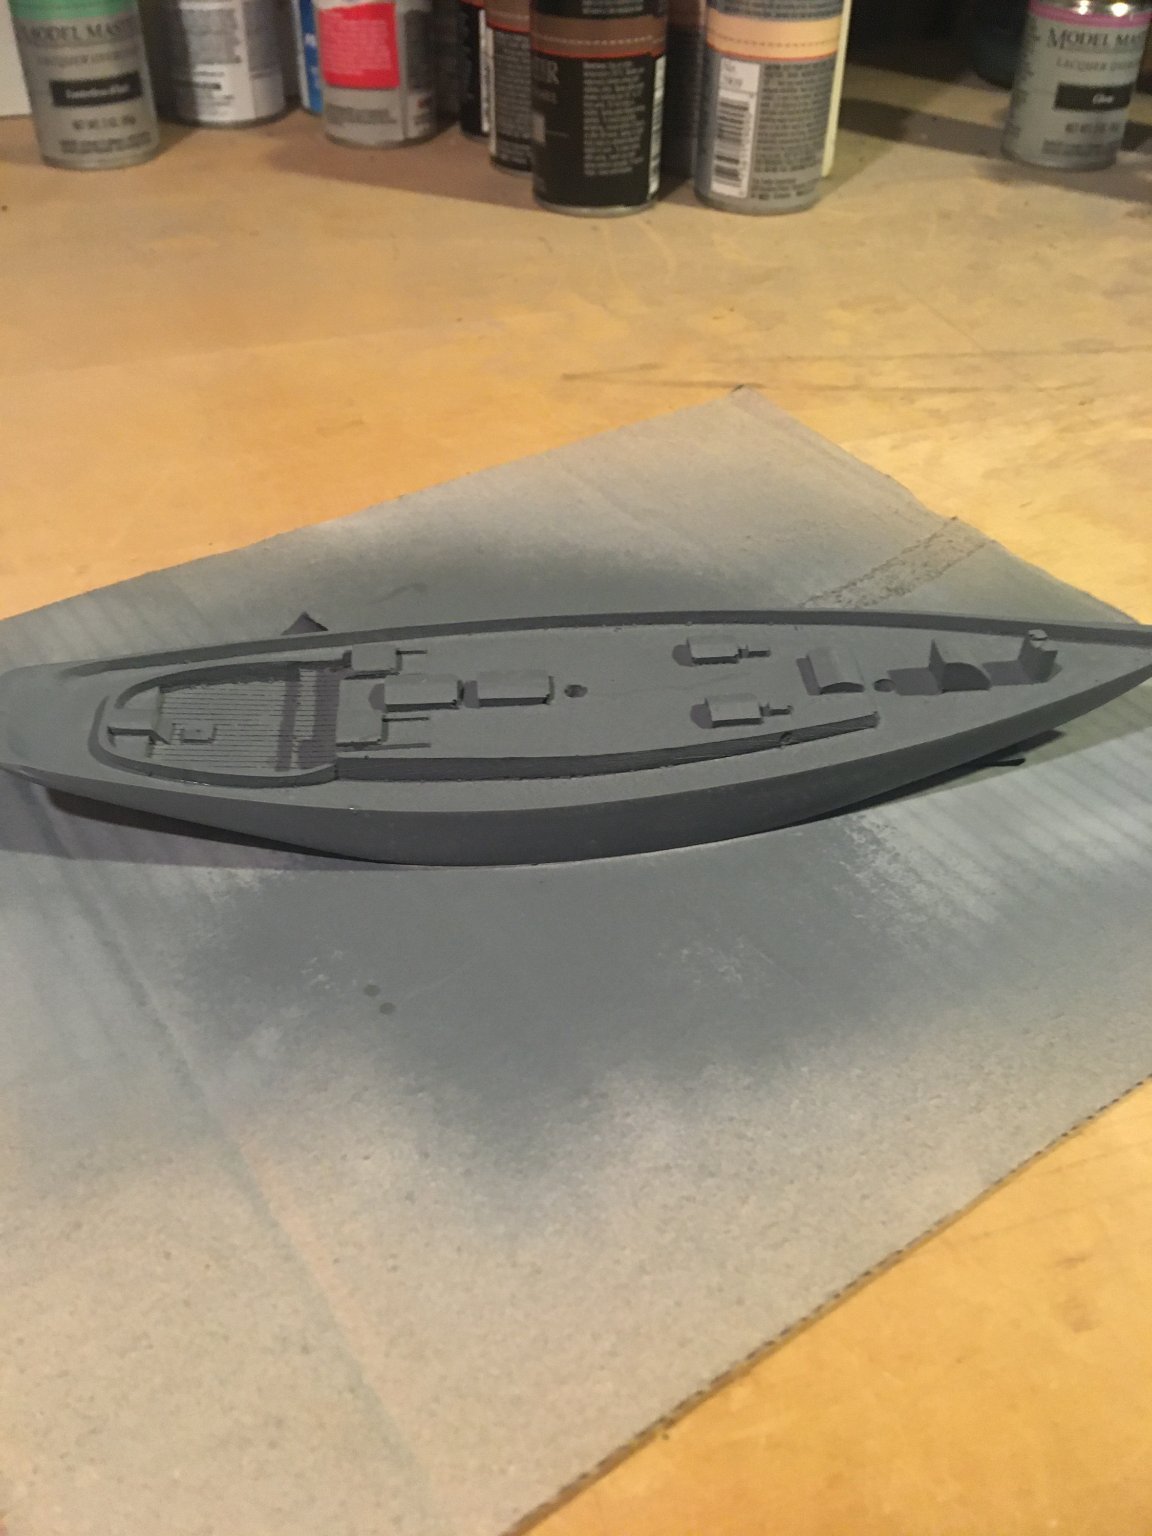
Another quick shot of primer, then I added a rubrail of .020" square styrene.
- 54 replies
-
- 7
-
-
- BlueJacket Shipcrafters
- wendameen
- (and 3 more)
-
Yes, that would be interesting - Justin is a good friend of mine. However, my purpose is to make a display model for our gallery. It will have a water base, but not a real diorama.
- 54 replies
-
- 2
-
-
- BlueJacket Shipcrafters
- wendameen
- (and 3 more)
-
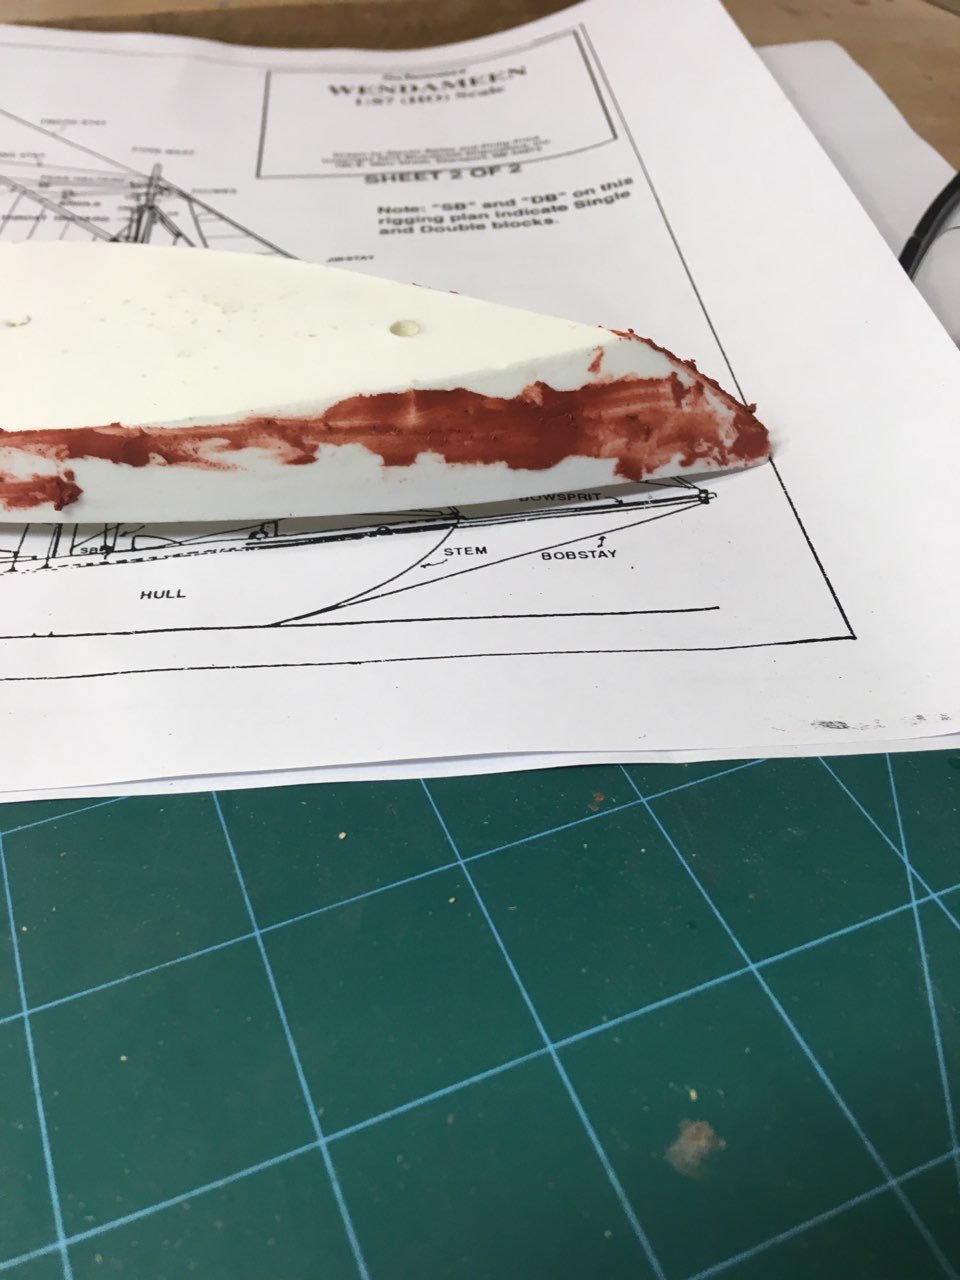
And after a quick wet sanding with 220 paper
.thumb.jpg.aec350ebb49cc7191e99365262cdf4ff.jpg)
- 54 replies
-
- 4
-
-
- BlueJacket Shipcrafters
- wendameen
- (and 3 more)
-
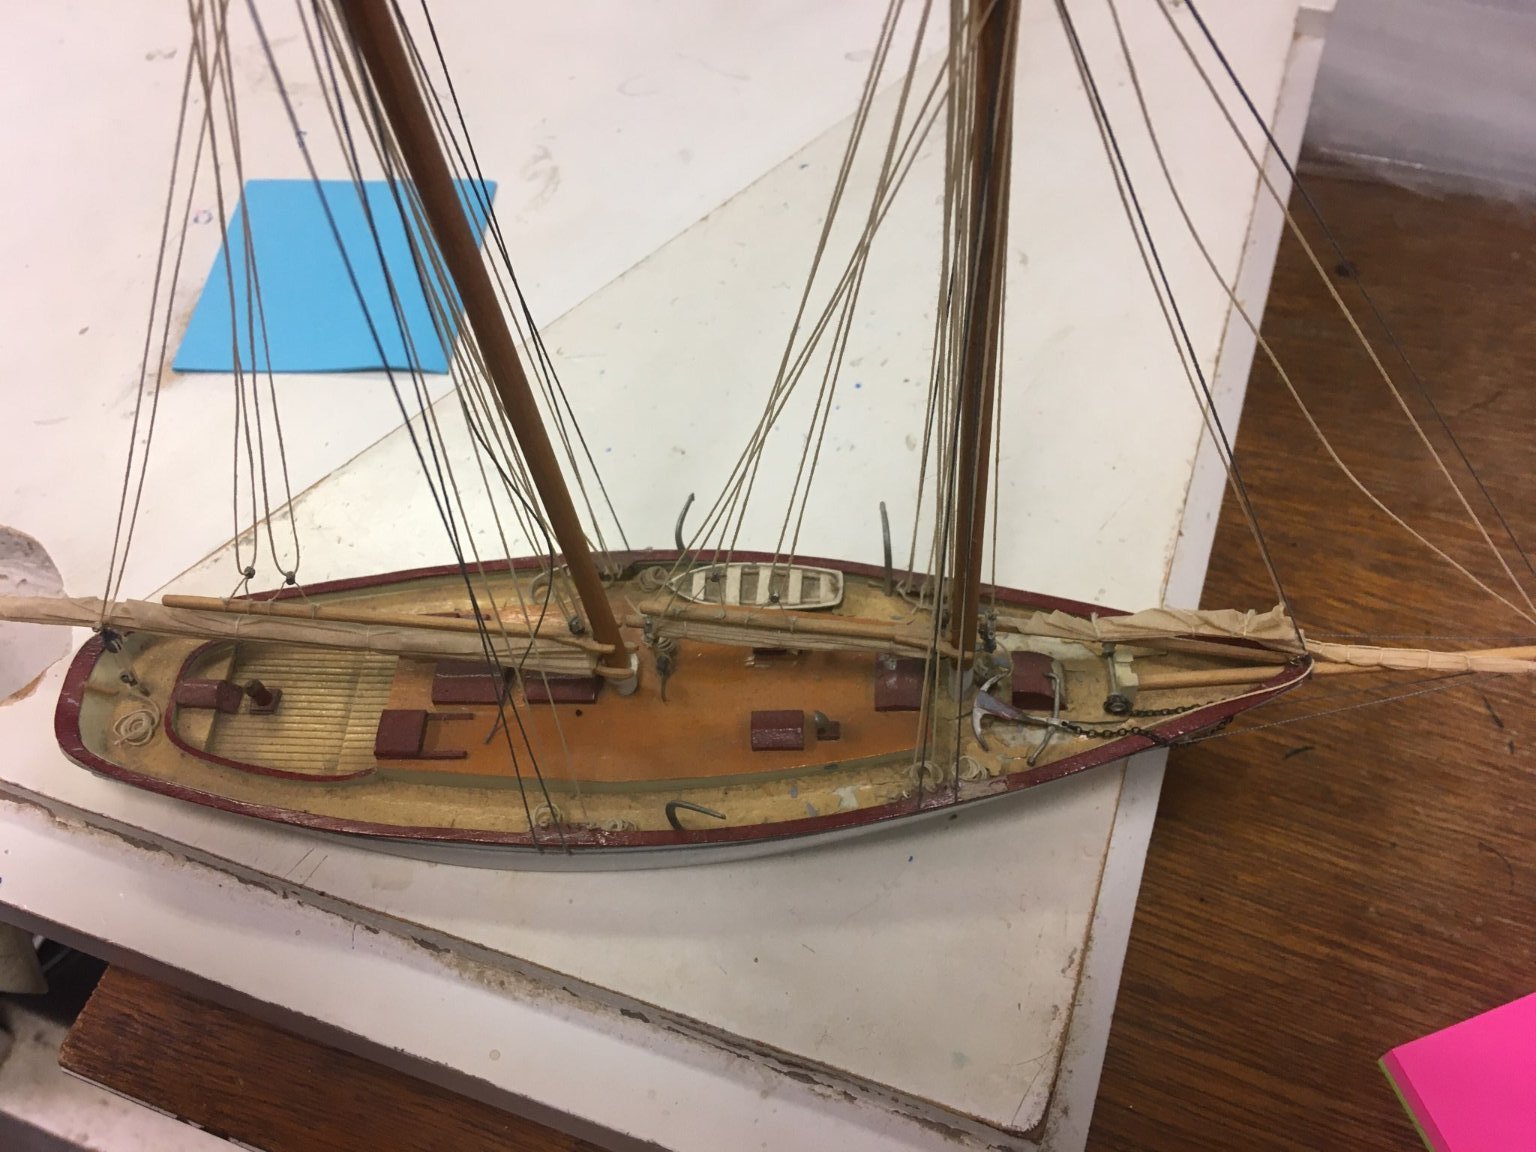
I should show you what I'm replacing. Damage you can see, and things like the caprail is half unglued, etc.

- 54 replies
-
- 8
-
-
- BlueJacket Shipcrafters
- wendameen
- (and 3 more)
-
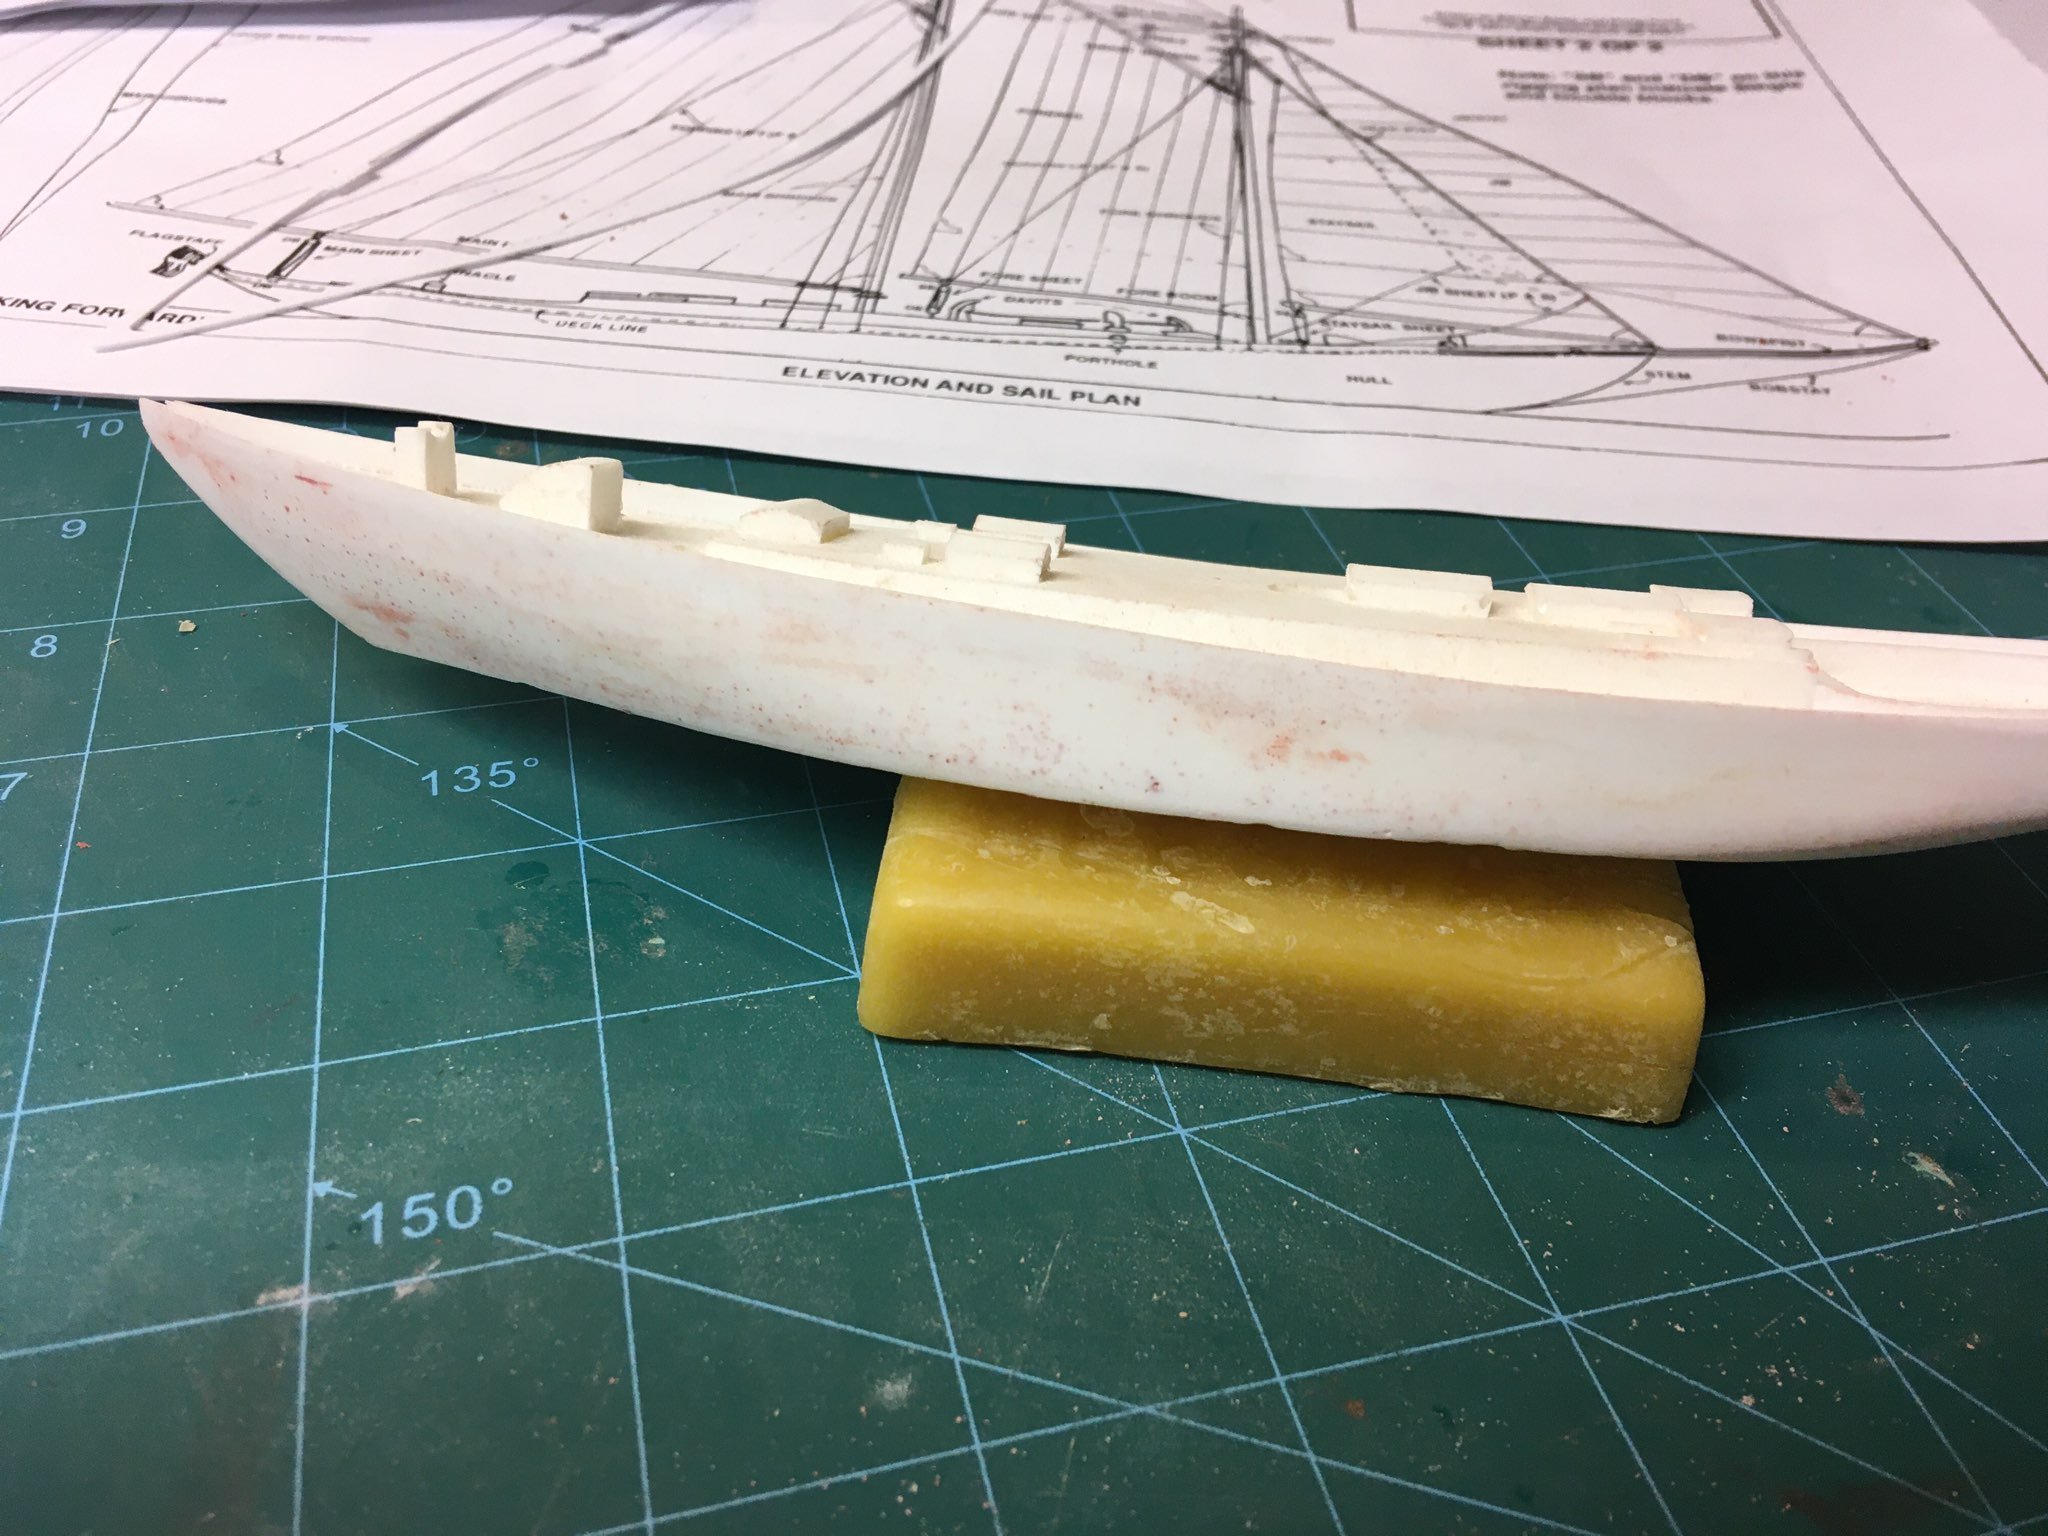
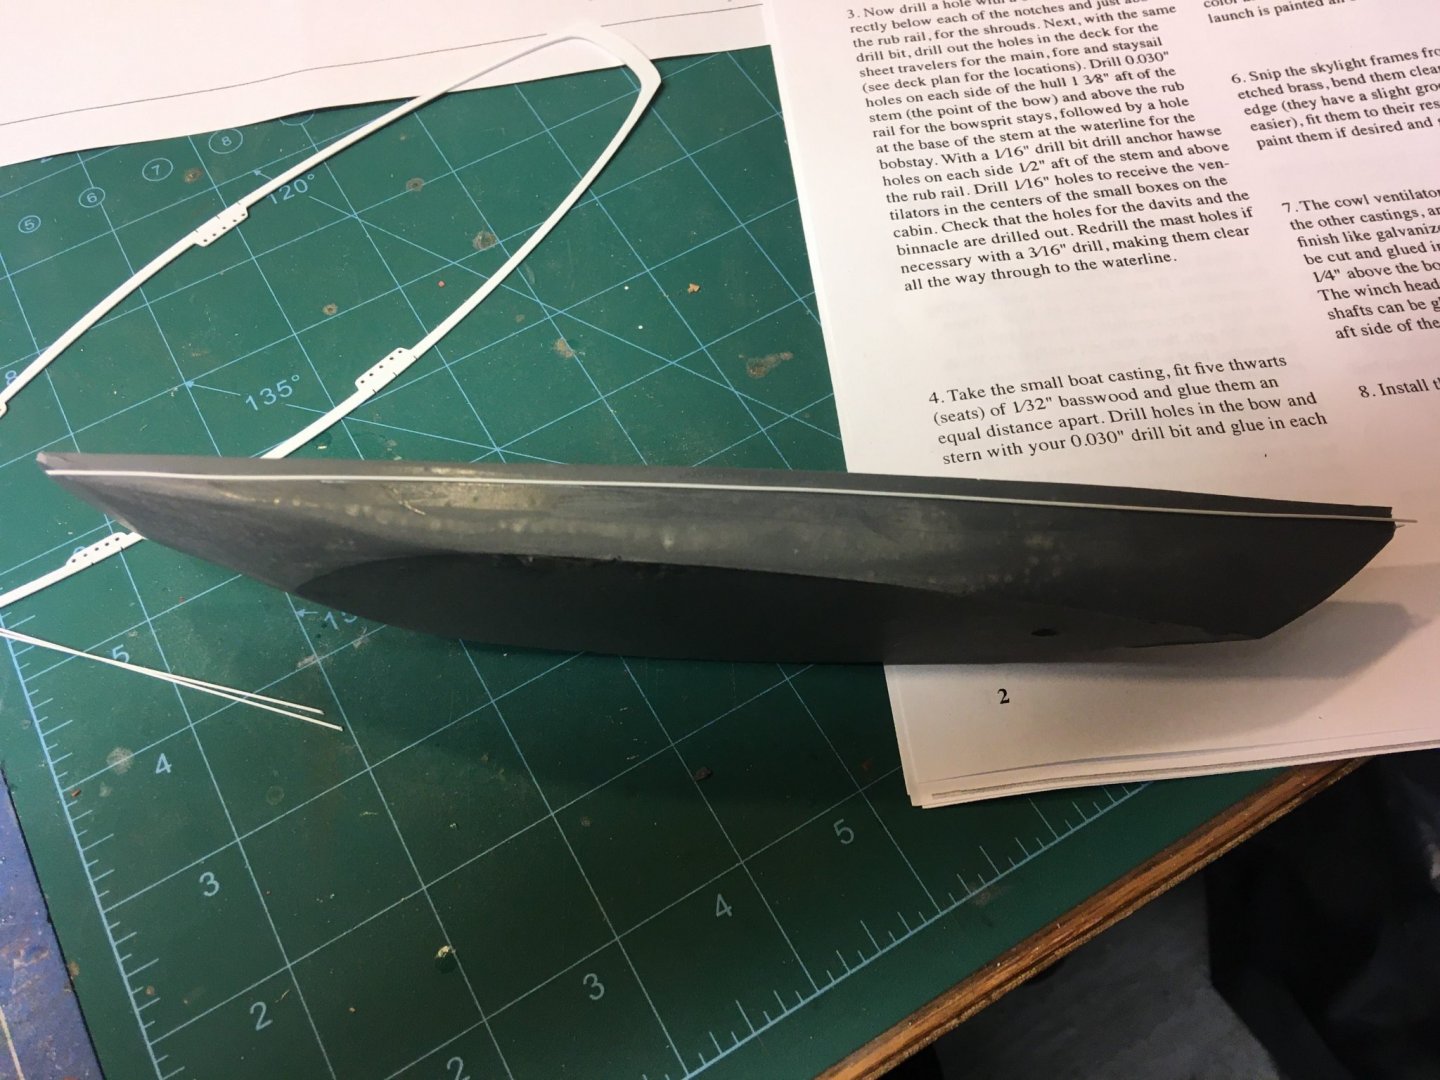
First item is to fill some tiny holes in the hull casting. Most of what you see will be sanded off.

- 54 replies
-
- 6
-
-
- BlueJacket Shipcrafters
- wendameen
- (and 3 more)
-
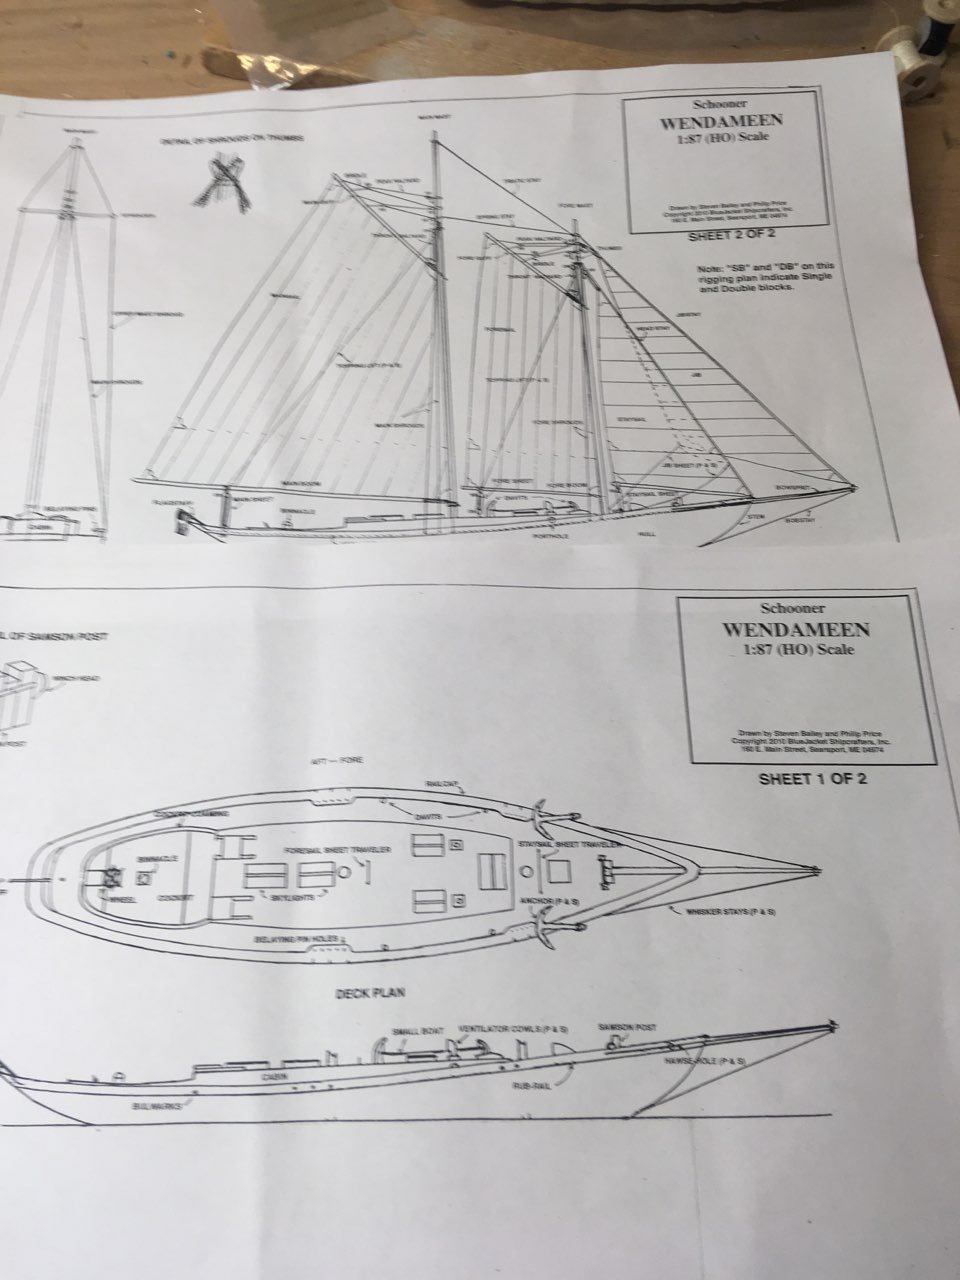
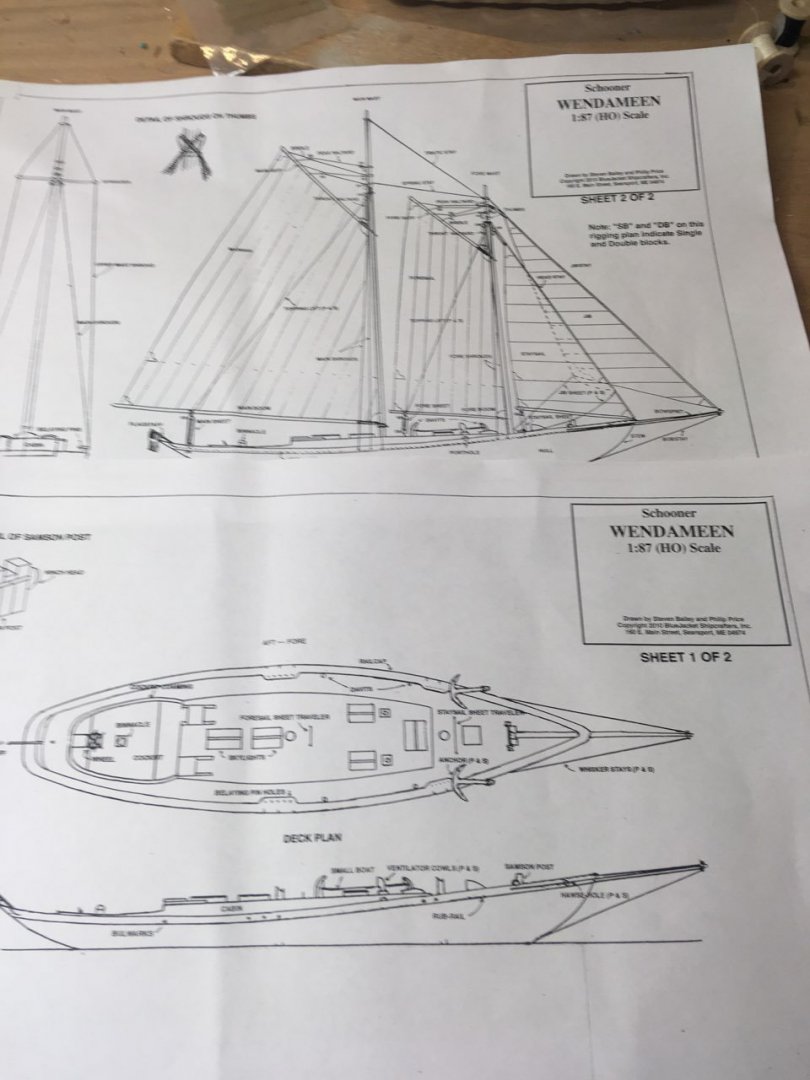
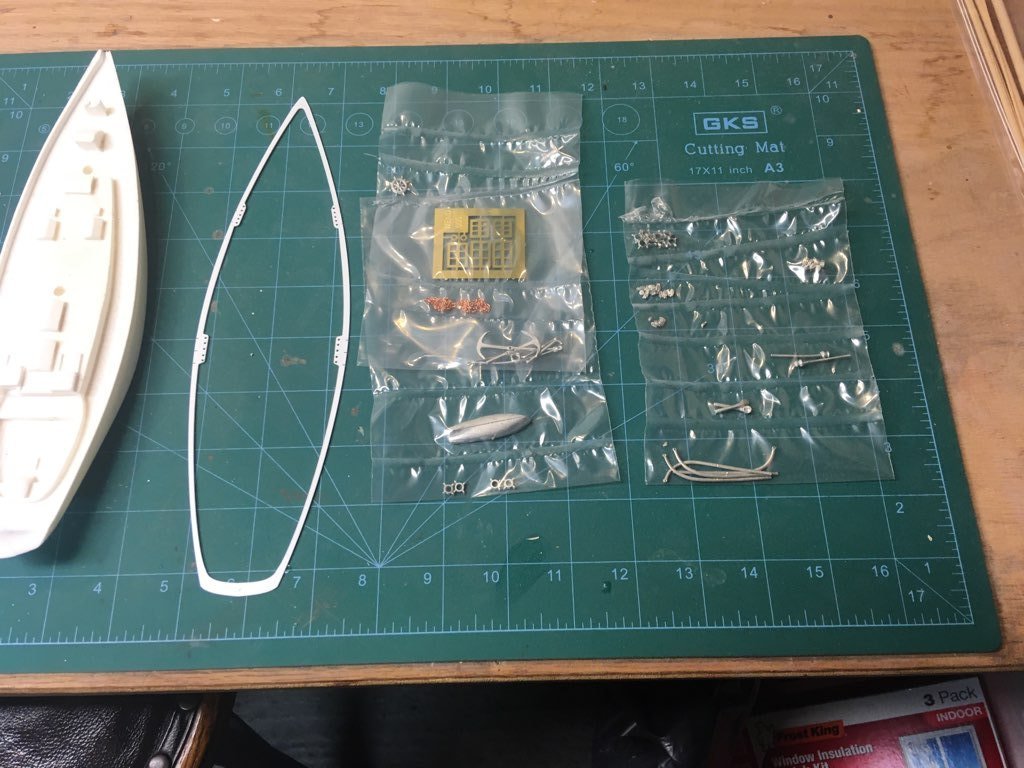
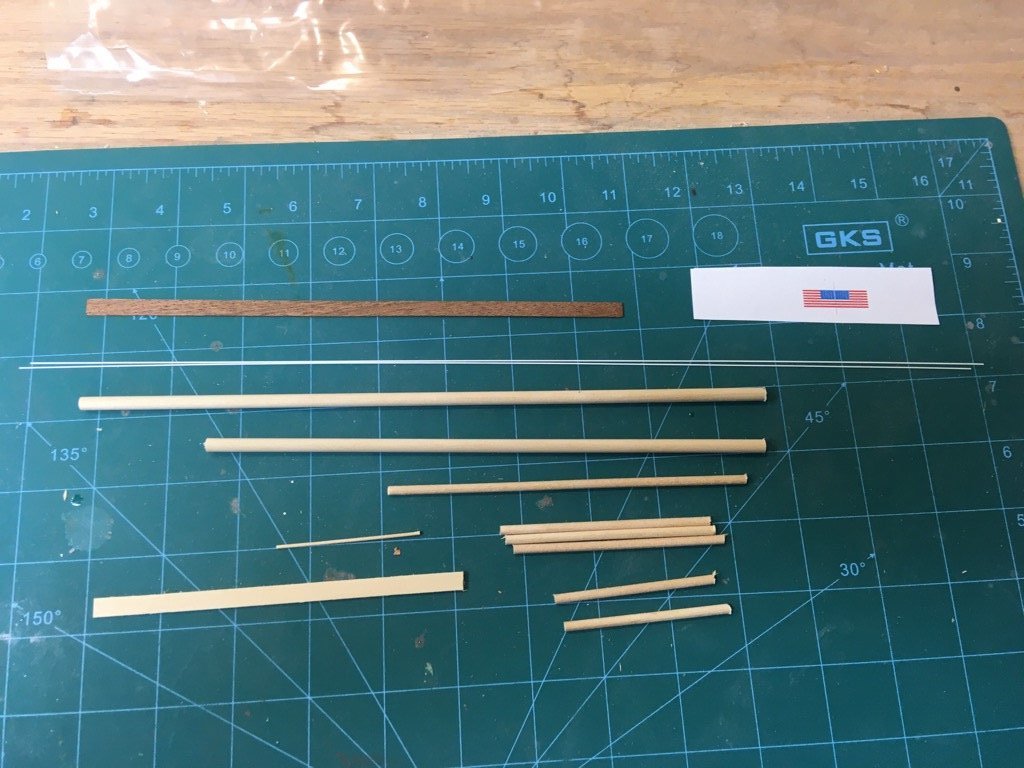
Our Wendameen display model is really getting, shall I say, tattered. It was never cased and 20+ years of being exposed really shows. So I'm going to build another one to replace it. I didn't bother with the whole kit, nor did I take any rigging, wire, or eyebolts because I have plenty. Here's the rest of the kit contents. First, the plans Next comes the hull, laser-cut caprail, and the fittings. FInally, the wood package
- 54 replies
-
- 8
-
-
- BlueJacket Shipcrafters
- wendameen
- (and 3 more)
-
Hmmm...... Believe the laser cut pieces, we're going to adjust the drawing. Nic
-
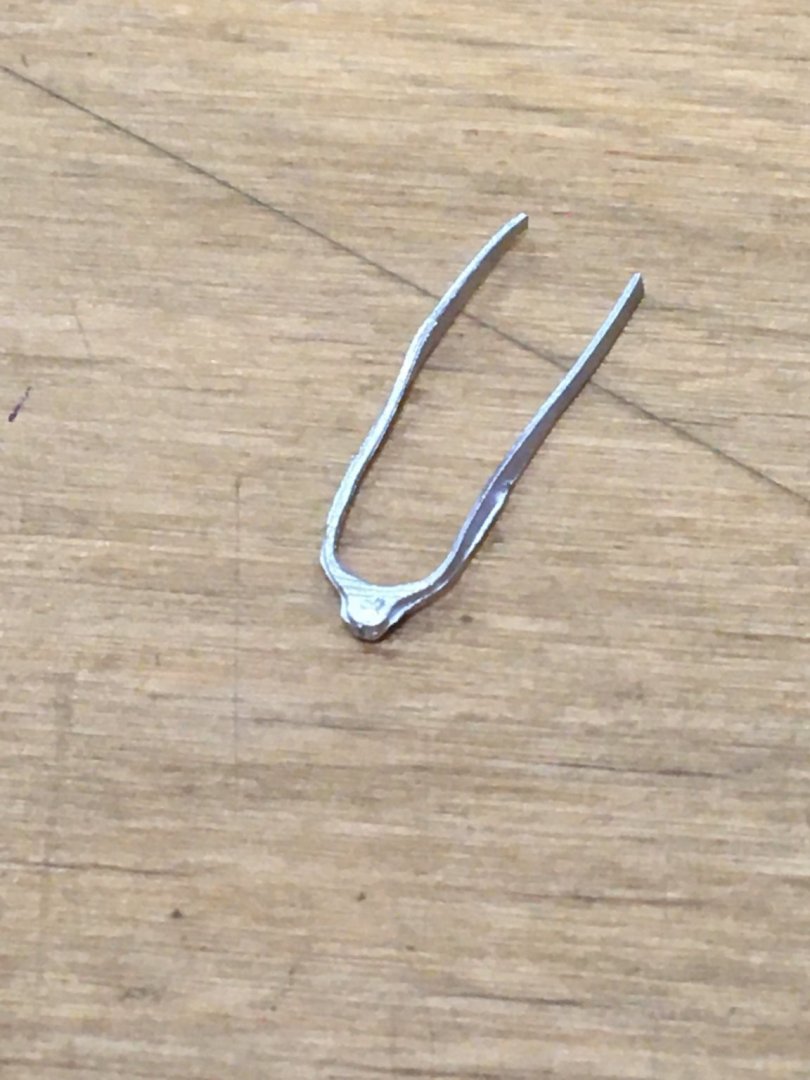
Hi Josh, The hinges are cast pieces. They look like this and you will need to bend them into hinge shape. Nic
- 27 replies
-
- 1
-
-
- Revenue Cutter
- BlueJacket Shipcrafters
- (and 1 more)
-
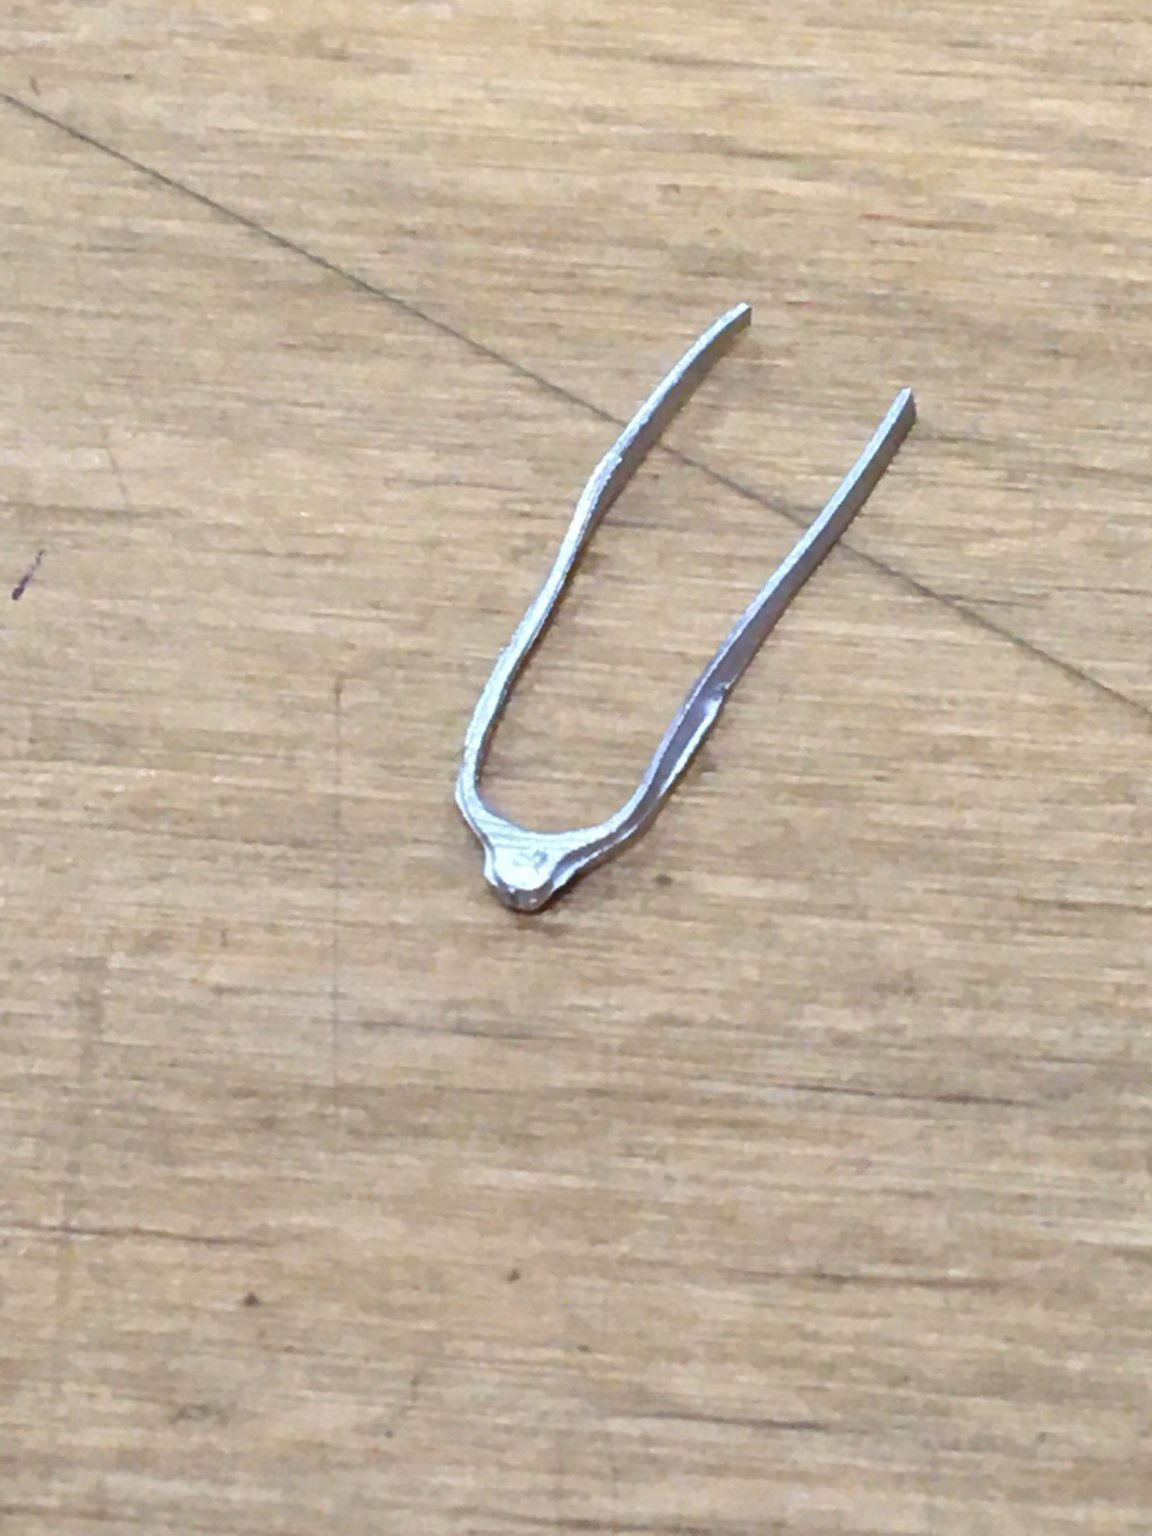
Bend the traveller to shape and trial fit into the holes. Then dip the ends into CA and insert.
-
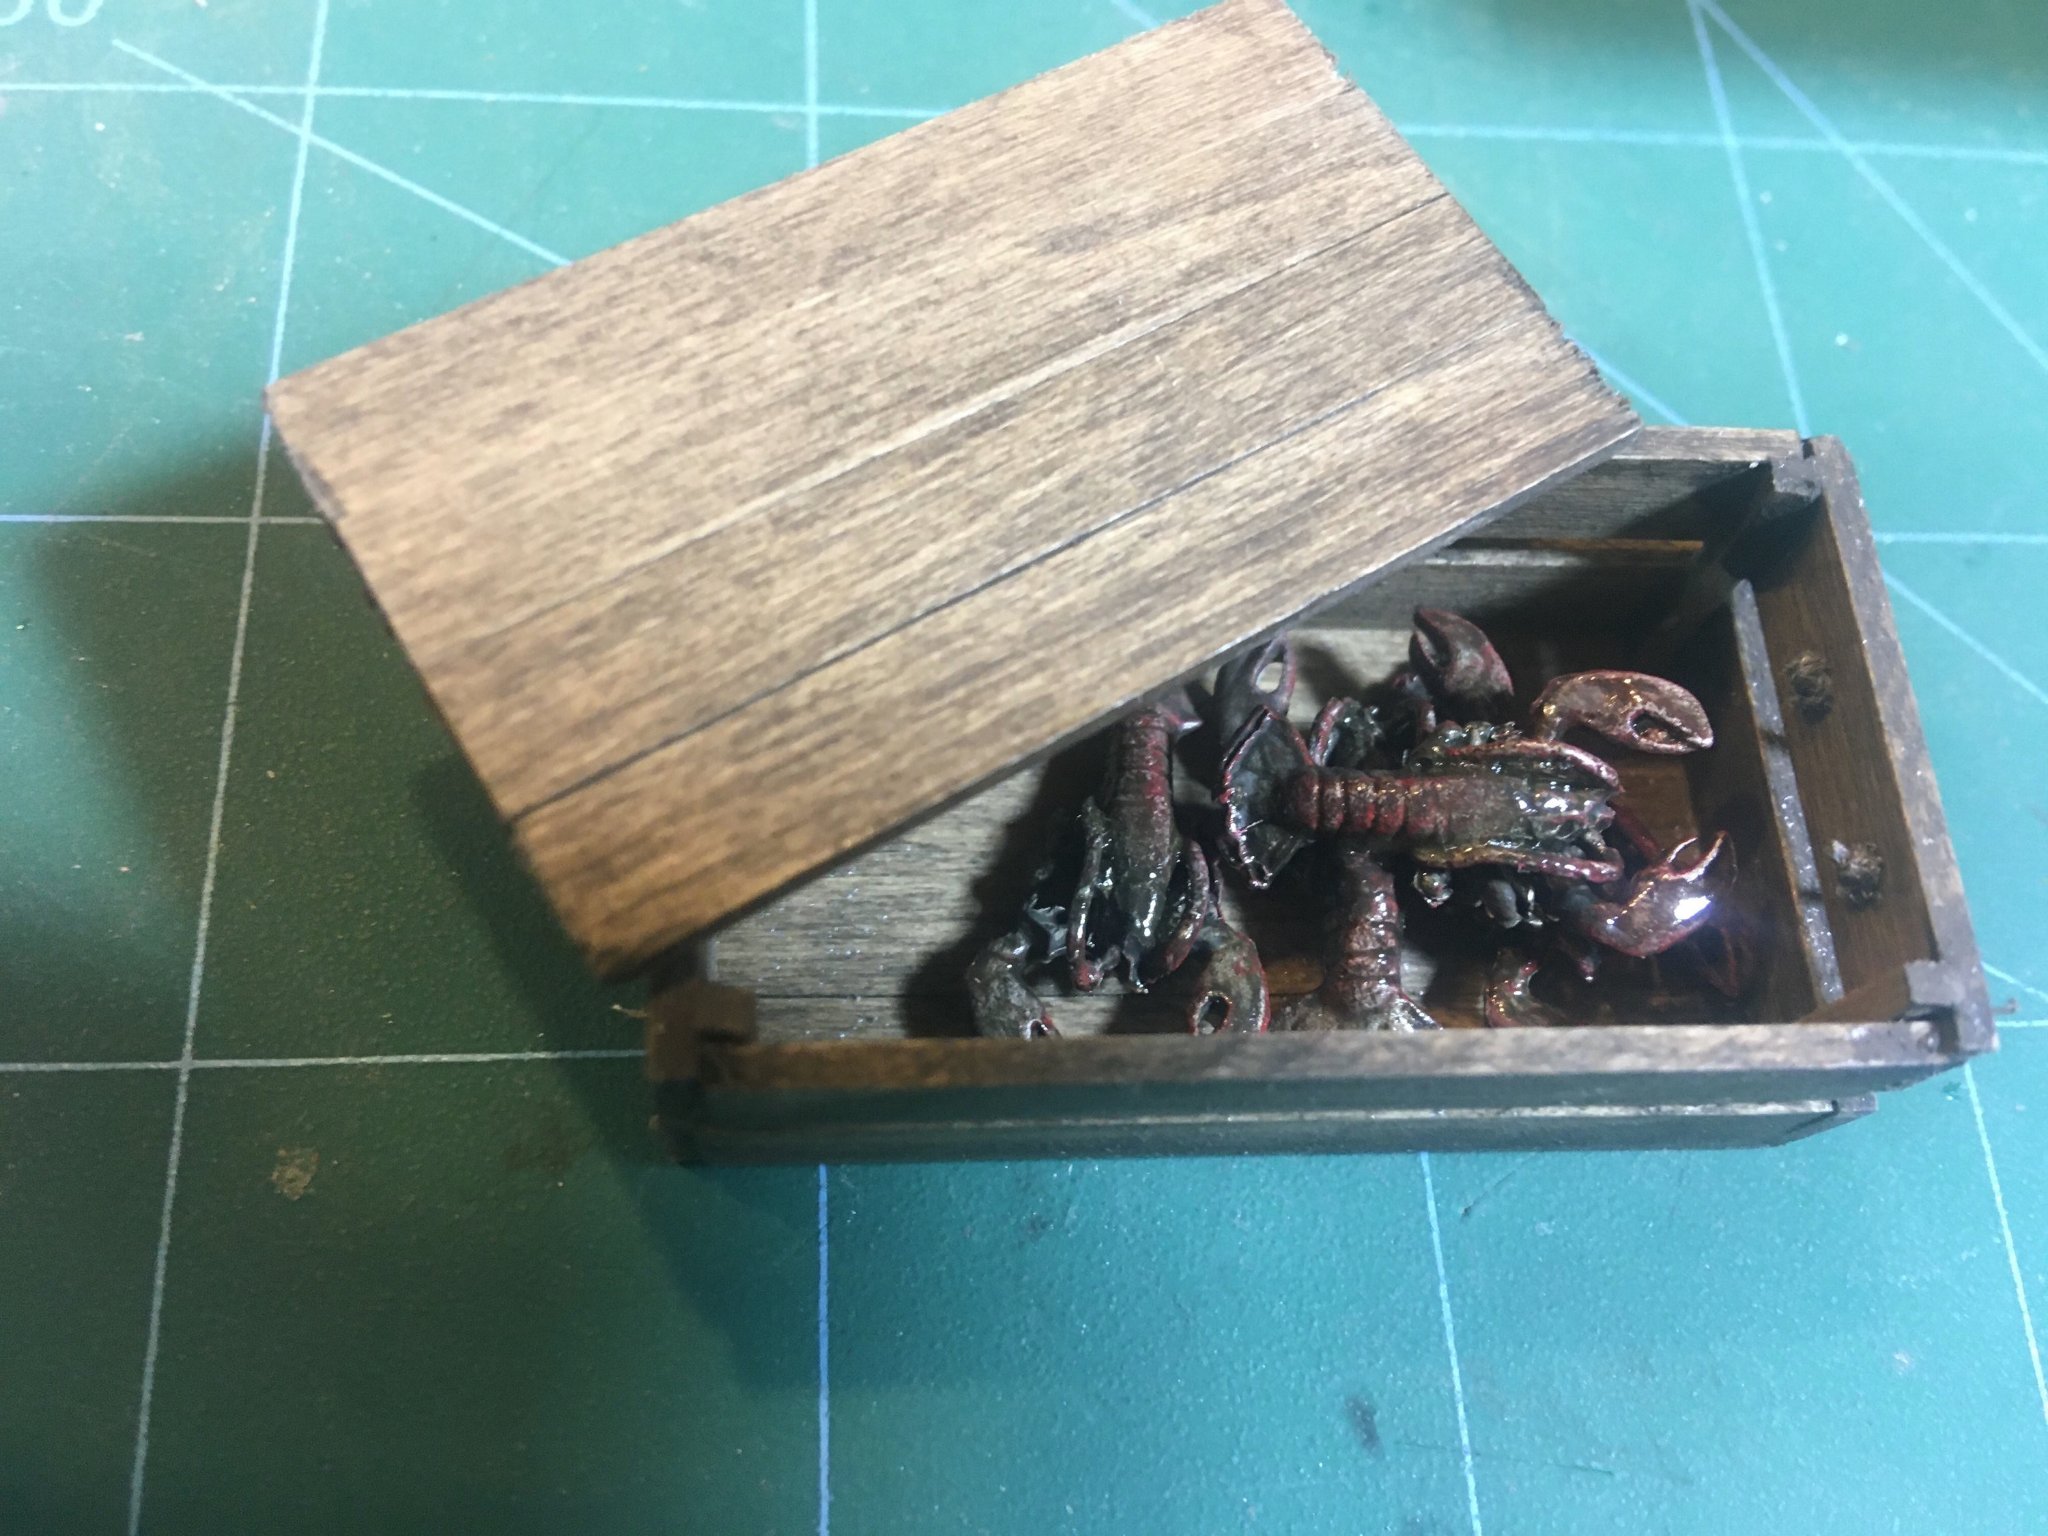
BlueJacket has the lobsters. They are Britannia castings, 1/2" scale. i painted them in Army Helo Drab, then dry-brushed flat red. Followed by gloss clear.
- 24 replies
-
- 4
-
-
- lobster trap
- red baron
- (and 2 more)
-
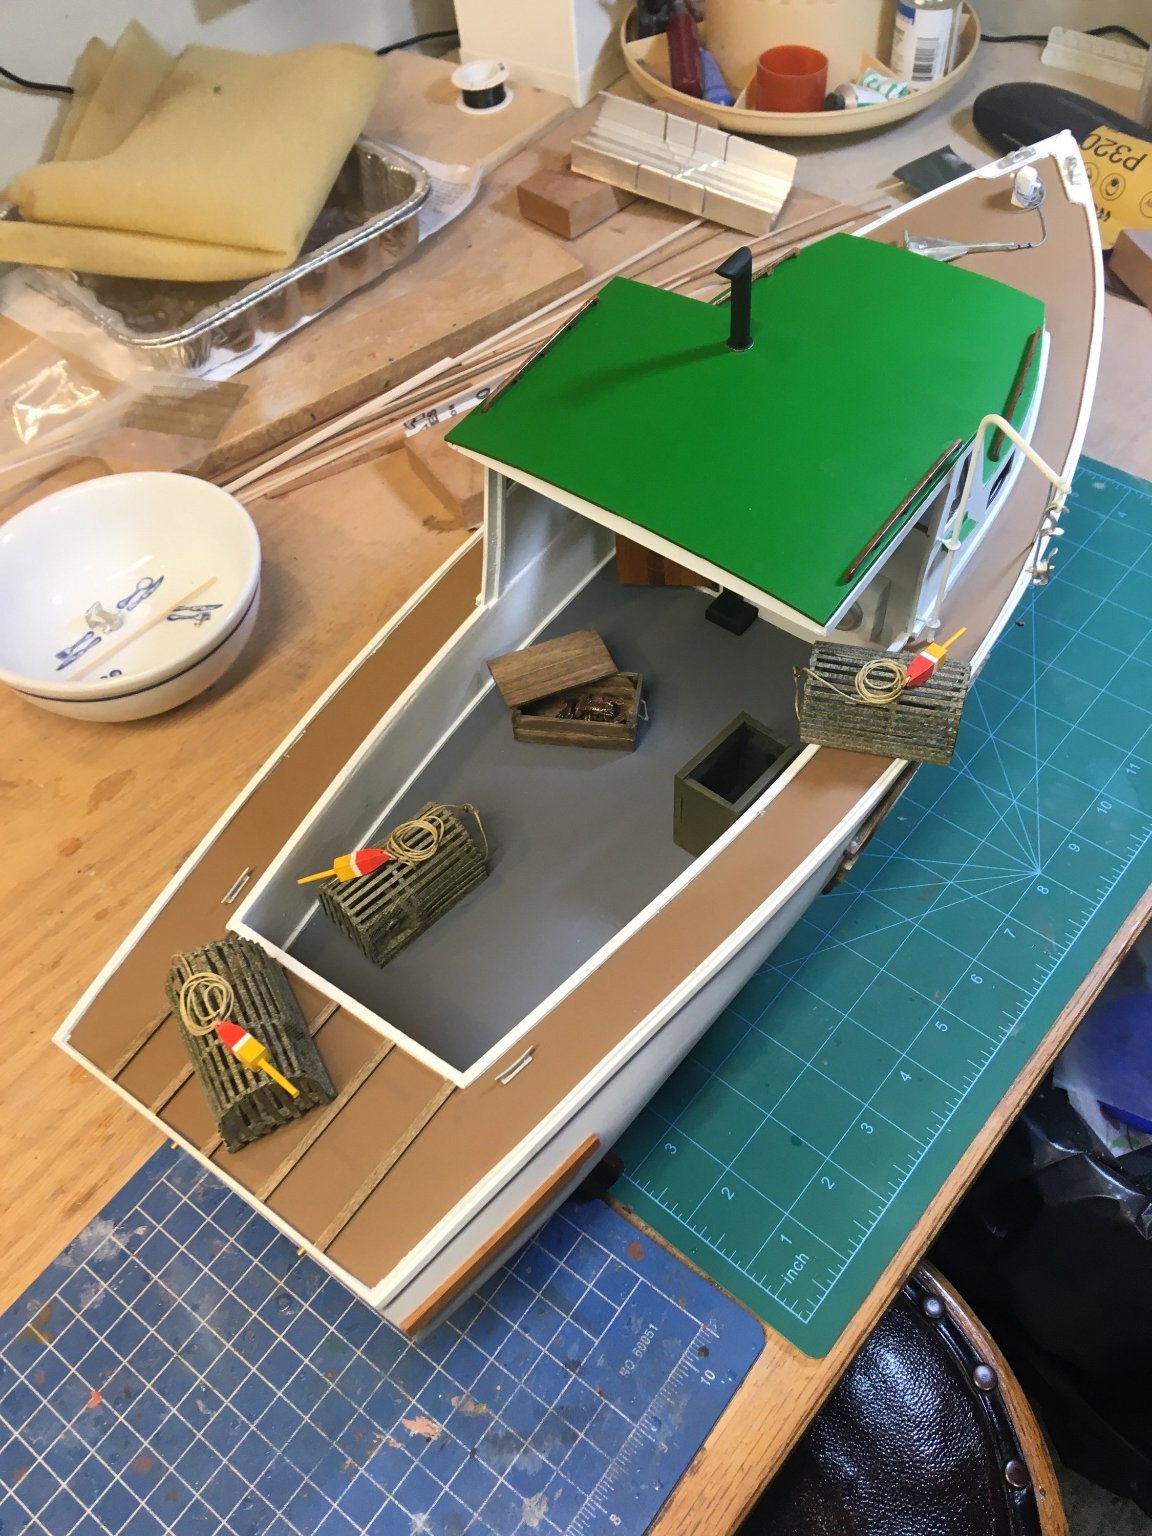
To go along with the traps, I made a lobster holding box and populated it.

- 24 replies
-
- 9
-
-

-
- lobster trap
- red baron
- (and 2 more)
-
Very credible job, Nathan. A little putty and you'll have a fine hull. I can recommend these fillers: Auto glazing putty Bondo Wall spackle plaster if Paris I would stay away from carpenter's fillers, they dry too hard to sane evenly with the softer basswood. Nic PS - nice to see you last week.
- 15 replies
-
- 1
-
-
- Friendship sloop
- BlueJacket Shipcrafters
- (and 1 more)
-
I have found that a rope coil can hide a multitude of sins.
-
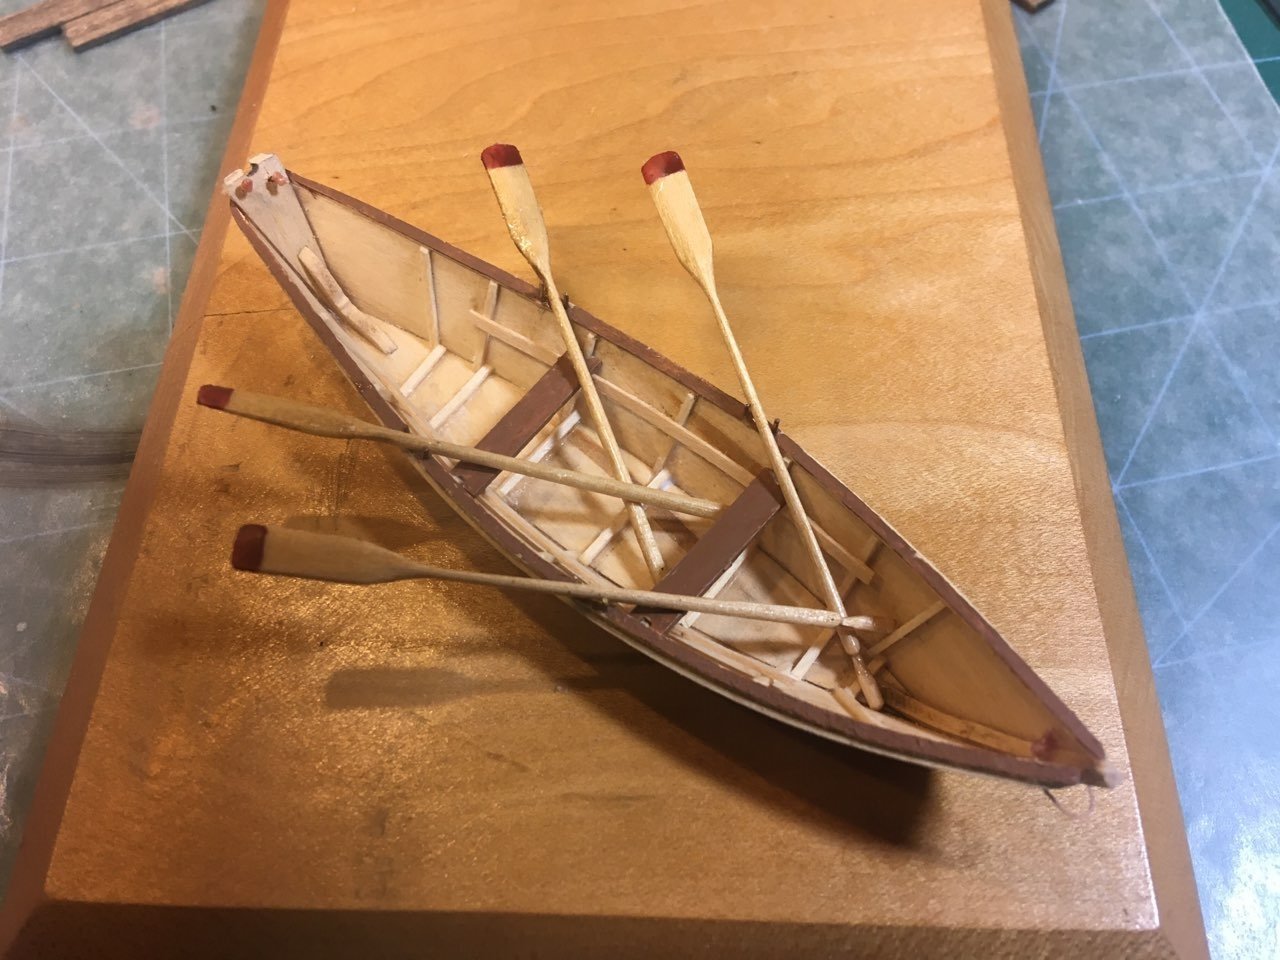
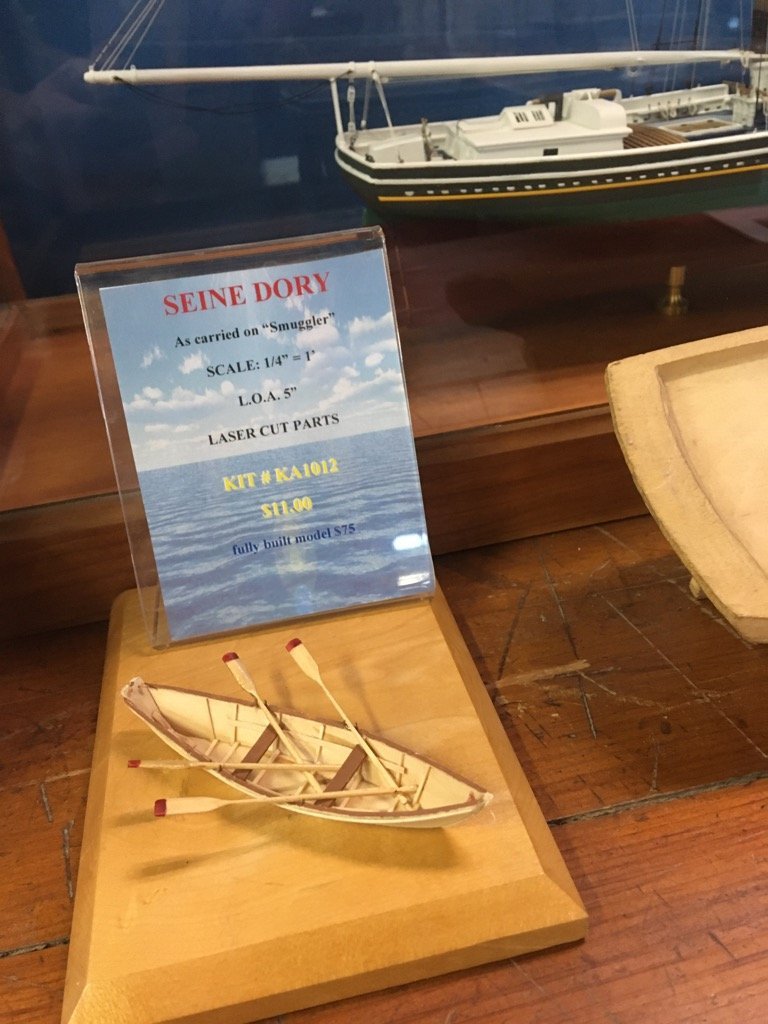
And here is the finished product, and another shot of it on display.
- 14 replies
-
- 5
-
-
- dory
- BlueJacket Shipcrafters
- (and 1 more)
-
Actually, there is a 4th option - re-cut the handles. But being so delicate, I didn't want to risk it. So my option #3 is to put the end of the oars somewhere where it is not easy to see that the handles are missing, like under a thwart.
- 14 replies
-
- 1
-

-
- dory
- BlueJacket Shipcrafters
- (and 1 more)
-
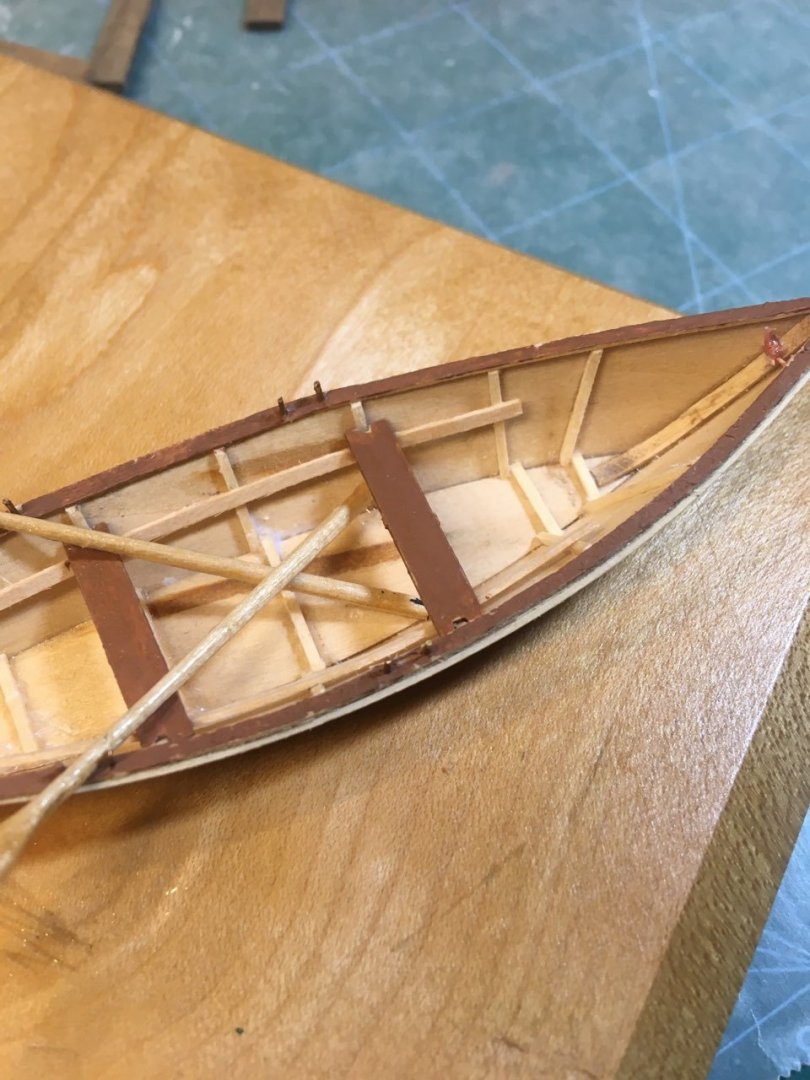
Here's the dory with thwarts and caprail painted.

- 14 replies
-
- 3
-
-
- dory
- BlueJacket Shipcrafters
- (and 1 more)
-
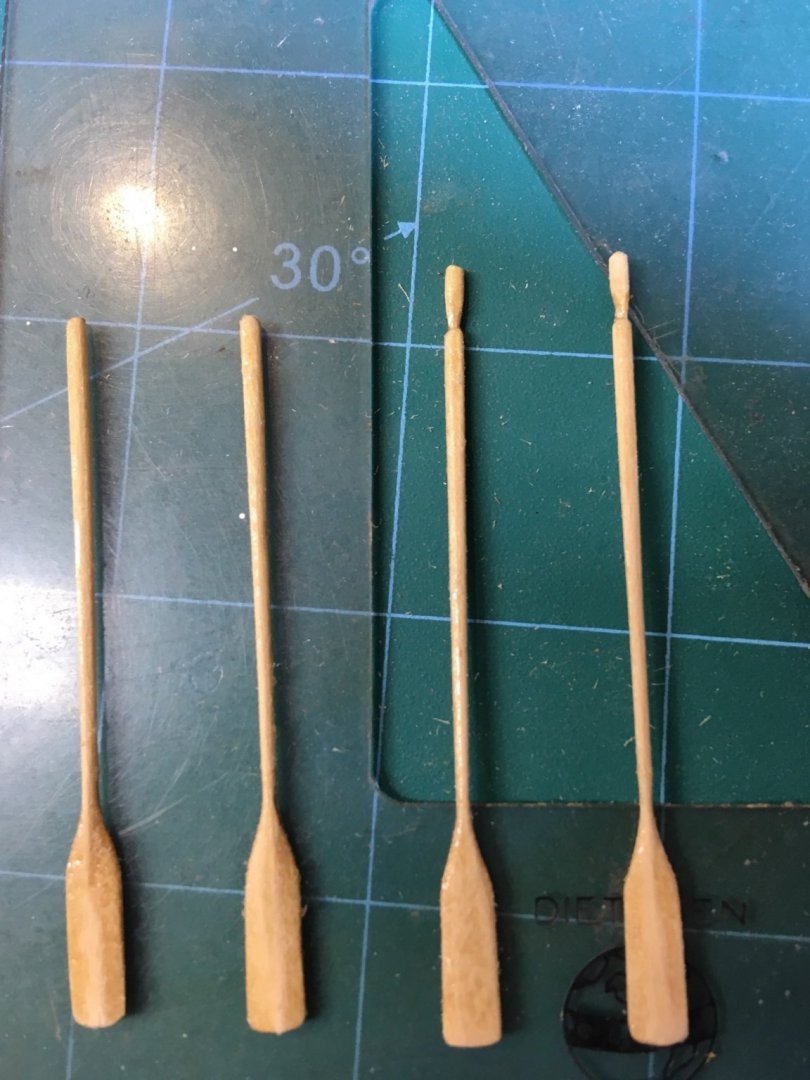
Did I say they are delicate? While sanding them, two handles broke off. This leads me to several choices: 1- get more lasered oars (advantage of working here) 2- only show 2 oars on the boat 3-get creative and find a way to hide the error I'm deciding on #3. I think it will work.
- 14 replies
-
- 3
-
-
- dory
- BlueJacket Shipcrafters
- (and 1 more)
-
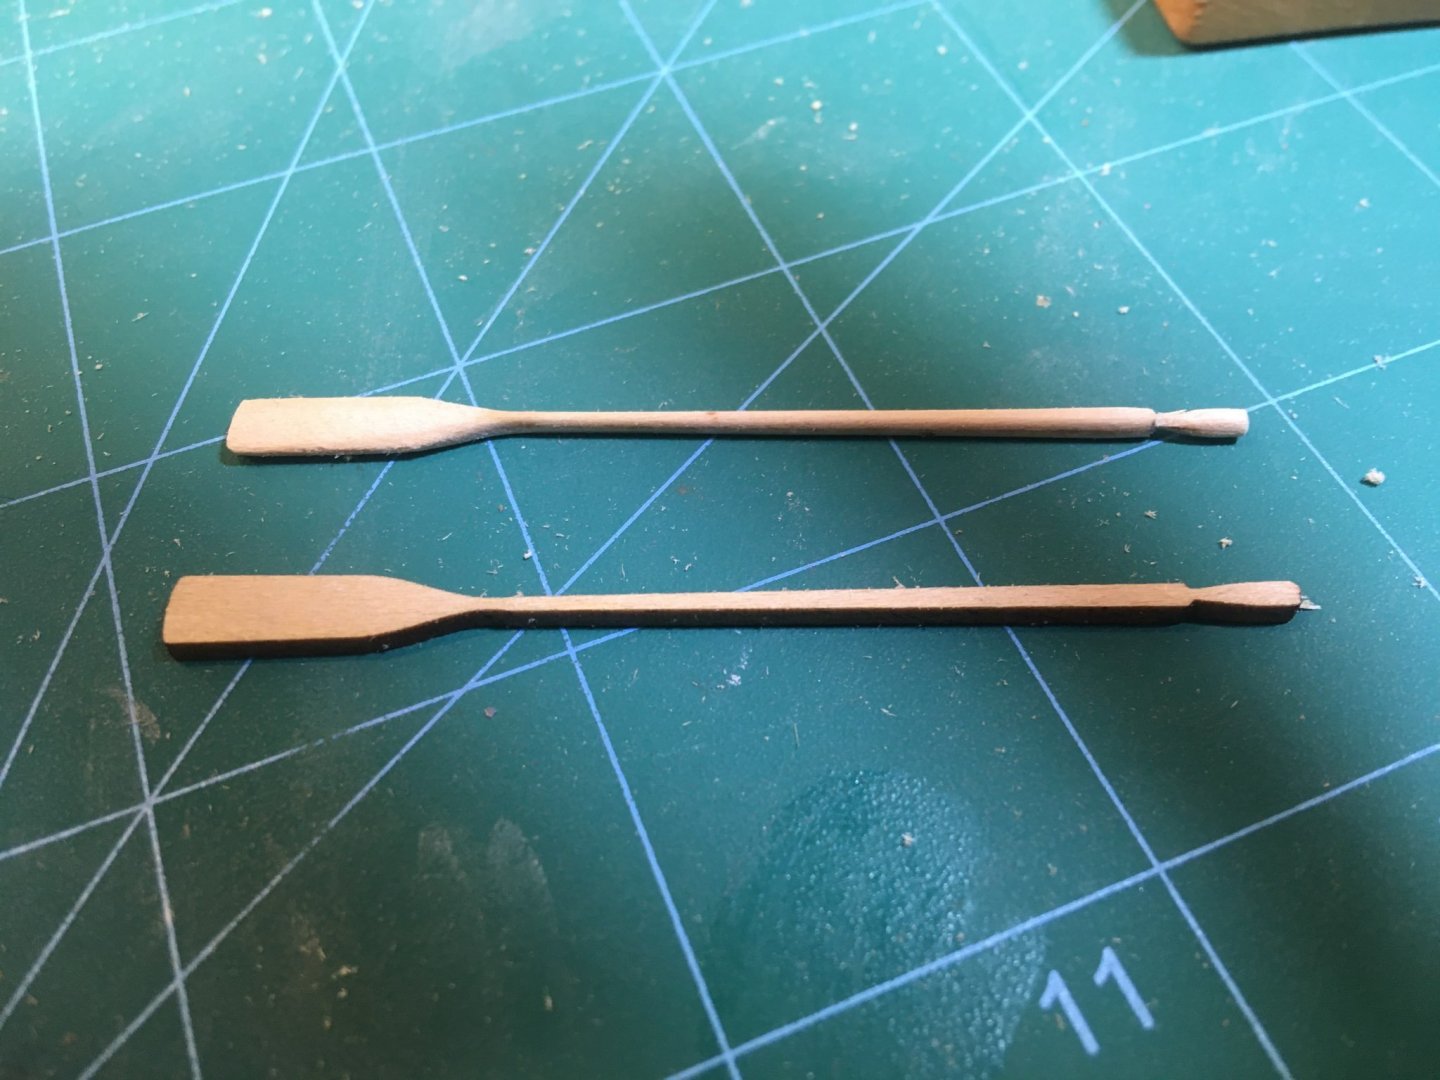
Next comes the oars. They are lasered in 1/16" basswood, and are very delicate. Raw piece and sanded piece.
- 14 replies
-
- 1
-
-
- dory
- BlueJacket Shipcrafters
- (and 1 more)
-
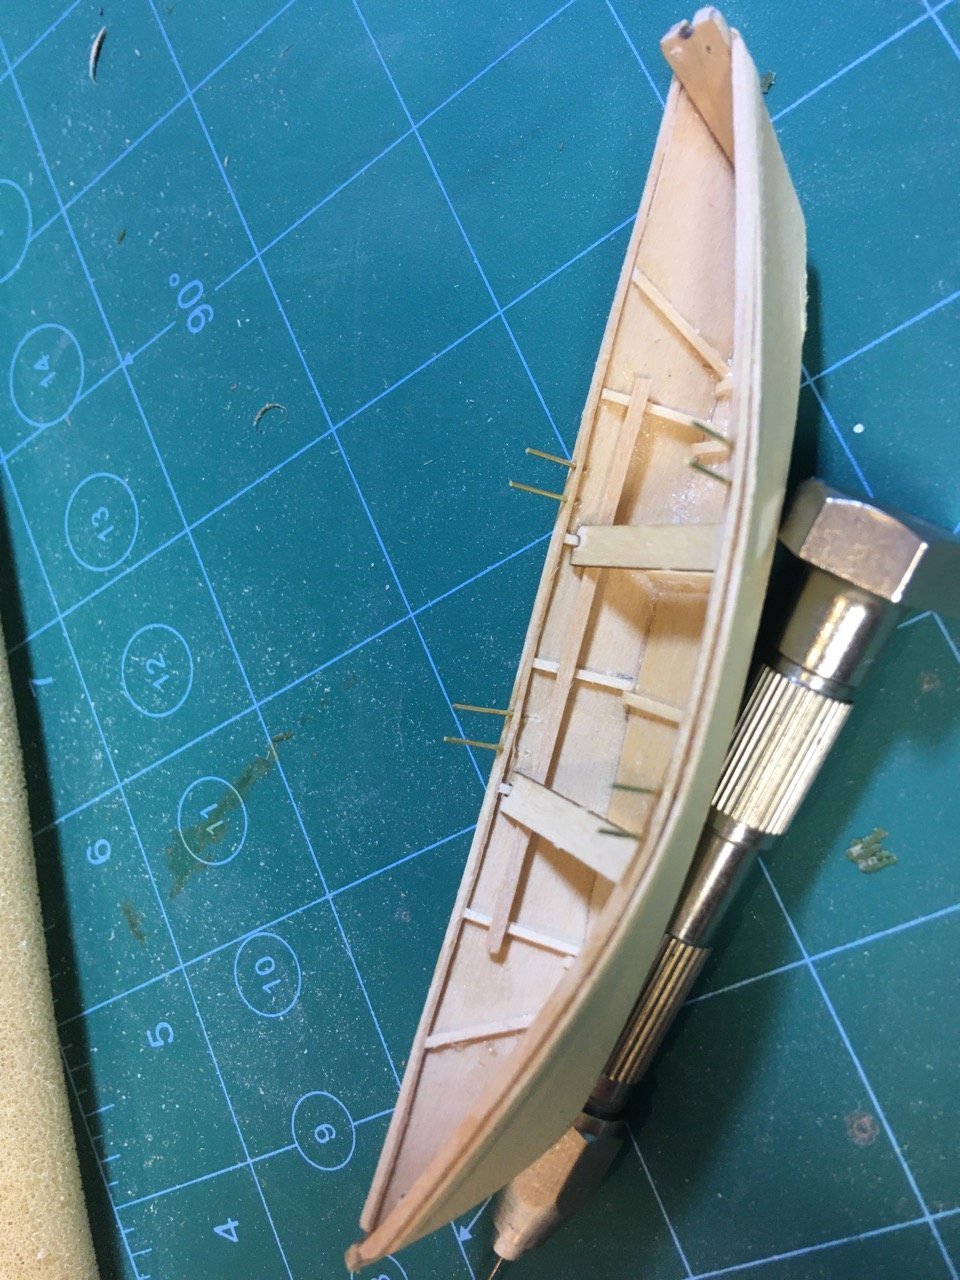
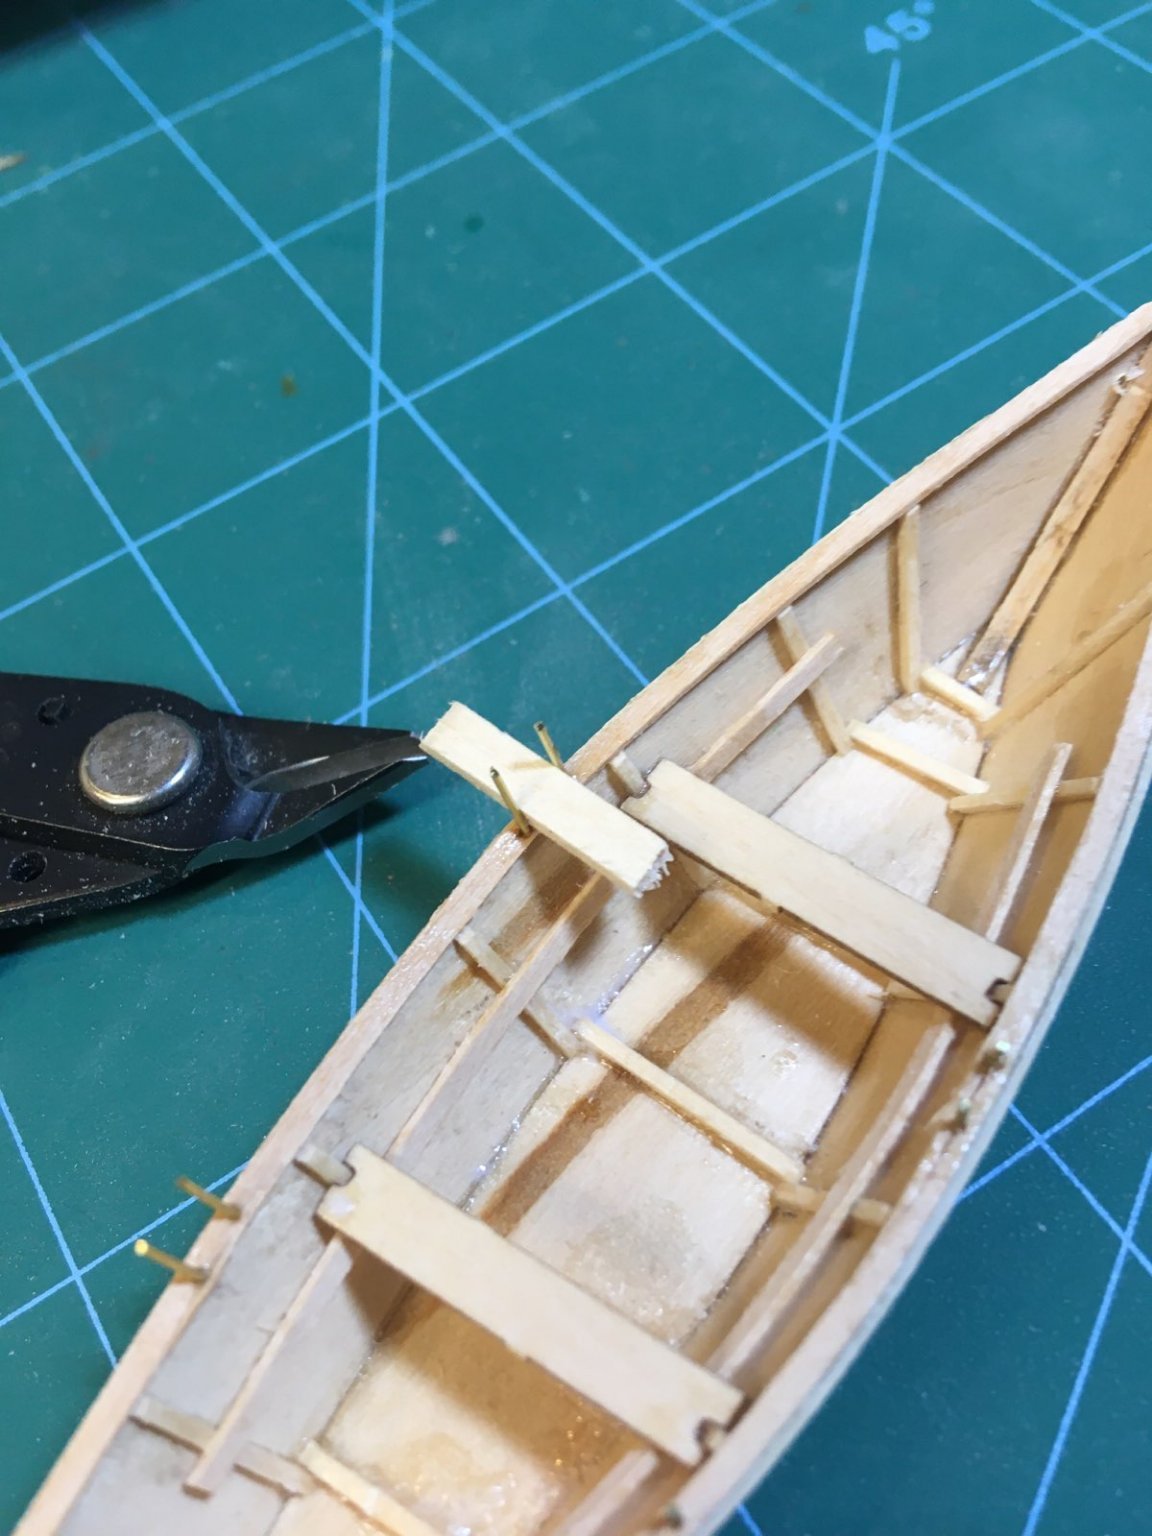
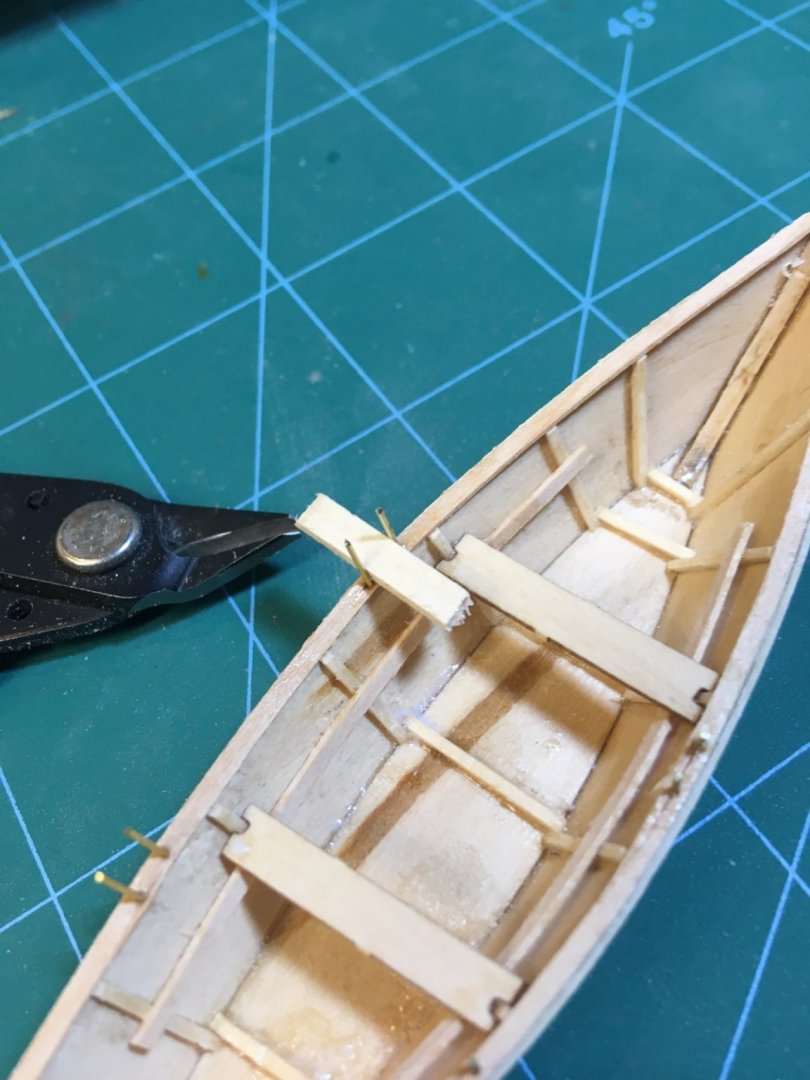
Now for the thole pins. I'm making them from .020 brass rod. First, I cut them long and install them through the caprail. Next step is to trim them to length. I'm using a 1/16" x 1/8" scrap of wood as the guide. And here's the trimmed thole pins.


- 14 replies
-
- 1
-
-
- dory
- BlueJacket Shipcrafters
- (and 1 more)

.jpg.c449eeb26e09082ca9e2df35499d1922.jpg)