MrBlueJacket
-
Posts
1,317 -
Joined
-
Last visited
Content Type
Profiles
Forums
Gallery
Events
Everything posted by MrBlueJacket
-
 I have found that a rope coil can hide a multitude of sins.
 -
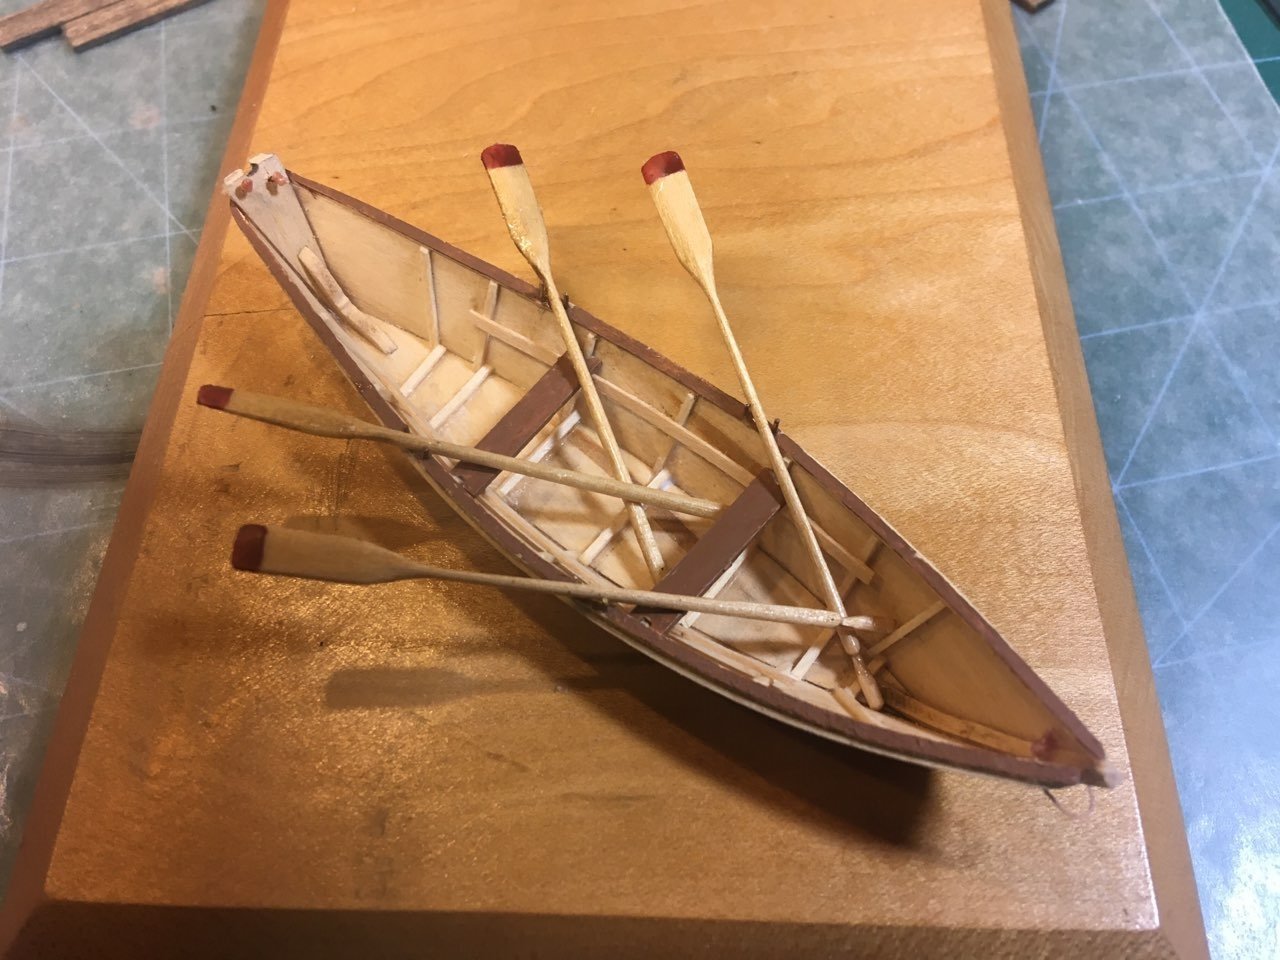
And here is the finished product, and another shot of it on display.
- 14 replies
-
- 5
-

-
- dory
- BlueJacket Shipcrafters
- (and 1 more)
-
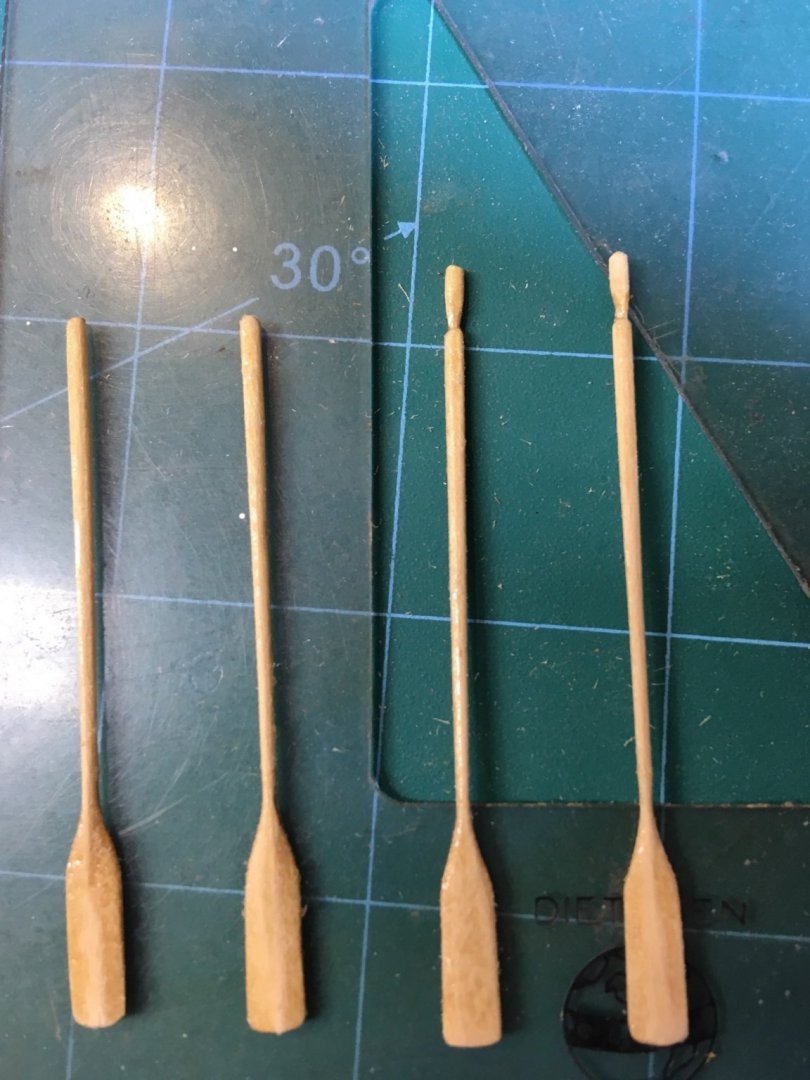
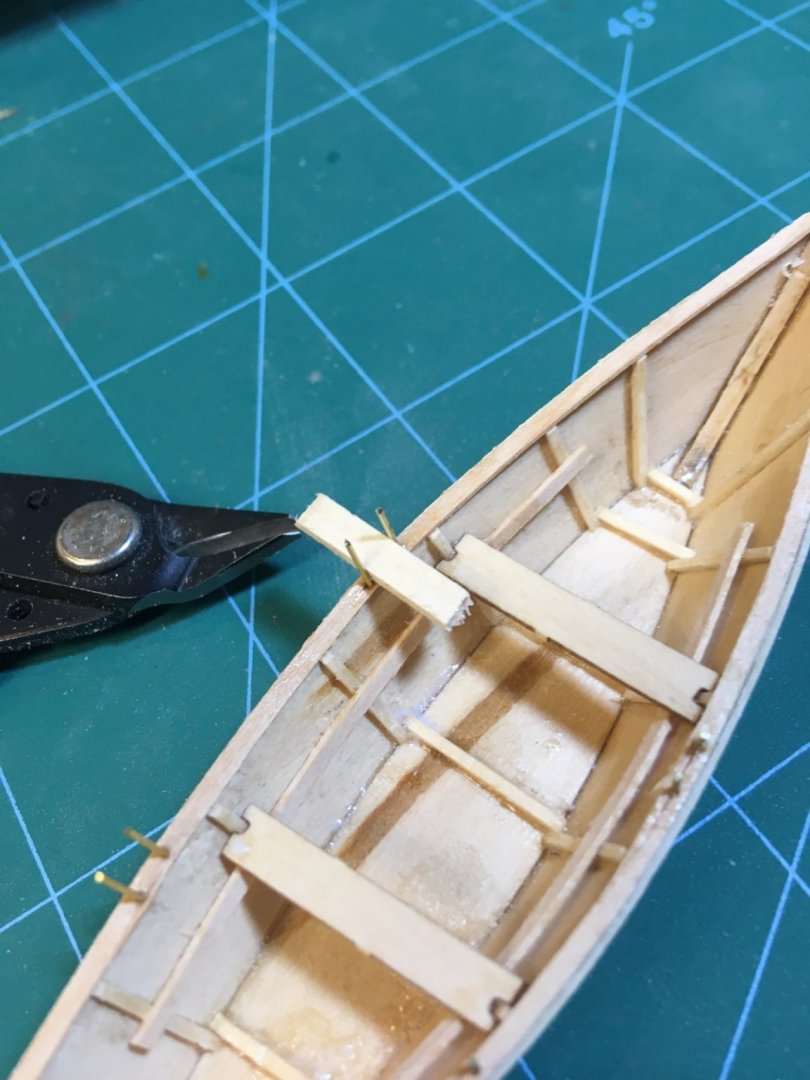
Actually, there is a 4th option - re-cut the handles. But being so delicate, I didn't want to risk it. So my option #3 is to put the end of the oars somewhere where it is not easy to see that the handles are missing, like under a thwart.
- 14 replies
-
- 1
-

-
- dory
- BlueJacket Shipcrafters
- (and 1 more)
-
Here's the dory with thwarts and caprail painted.

- 14 replies
-
- 3
-
-
- dory
- BlueJacket Shipcrafters
- (and 1 more)
-
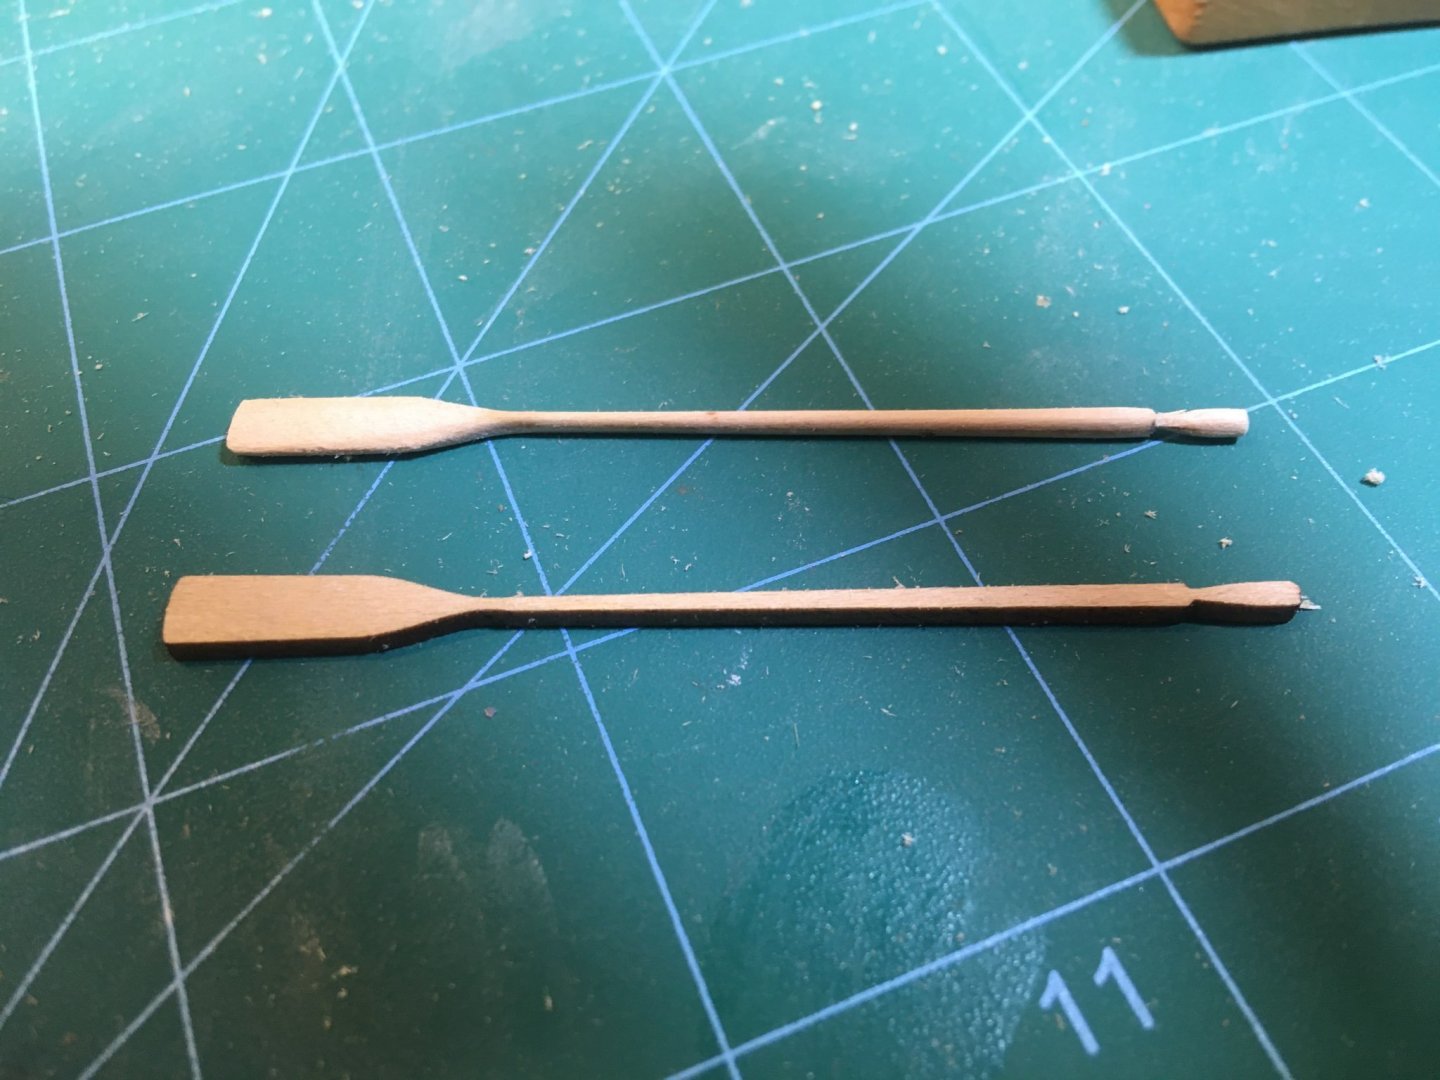
Did I say they are delicate? While sanding them, two handles broke off. This leads me to several choices: 1- get more lasered oars (advantage of working here) 2- only show 2 oars on the boat 3-get creative and find a way to hide the error I'm deciding on #3. I think it will work.
- 14 replies
-
- 3
-
-
- dory
- BlueJacket Shipcrafters
- (and 1 more)
-
Next comes the oars. They are lasered in 1/16" basswood, and are very delicate. Raw piece and sanded piece.
- 14 replies
-
- 1
-
-
- dory
- BlueJacket Shipcrafters
- (and 1 more)
-
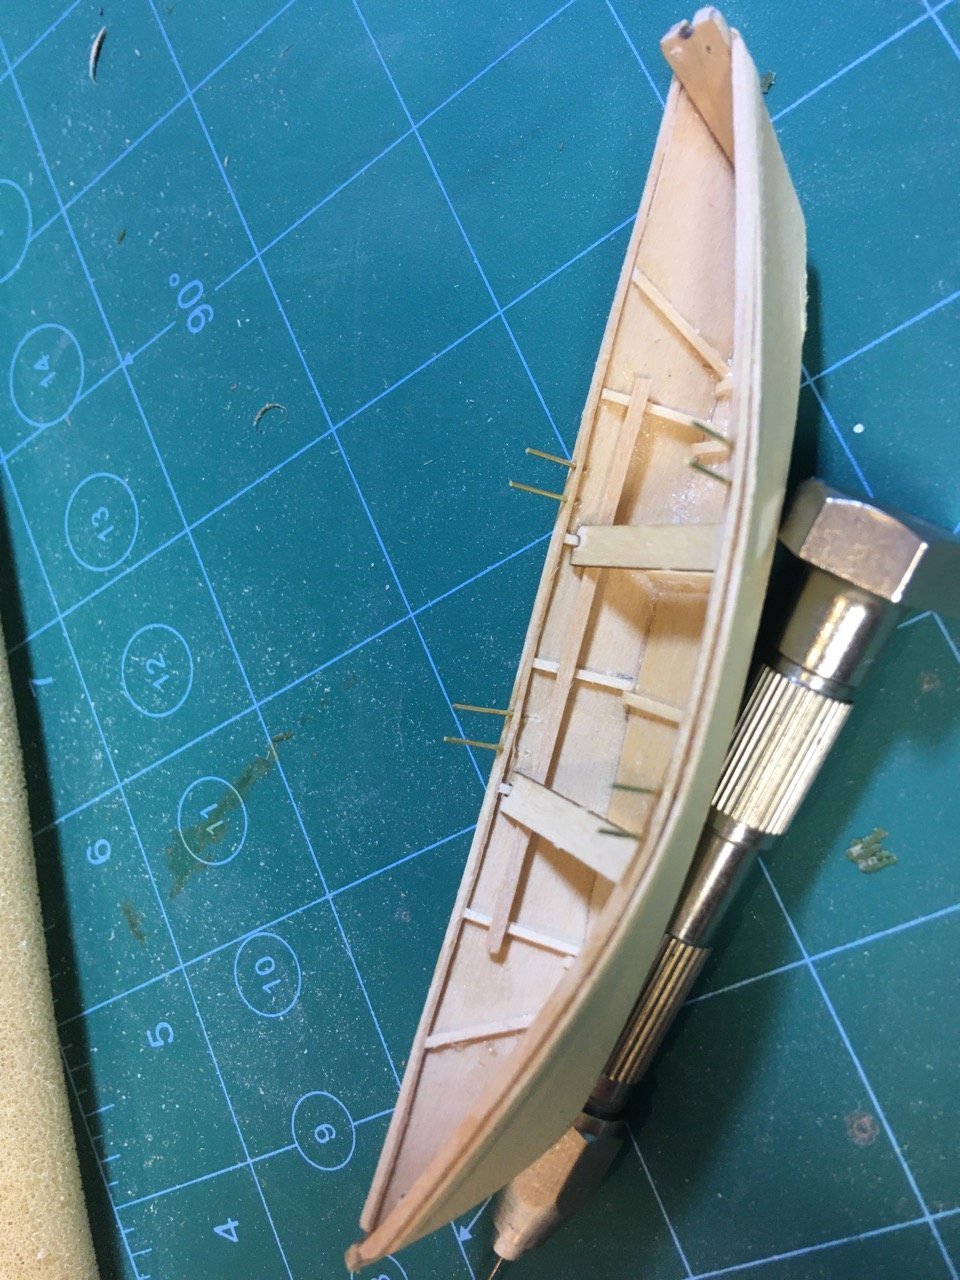
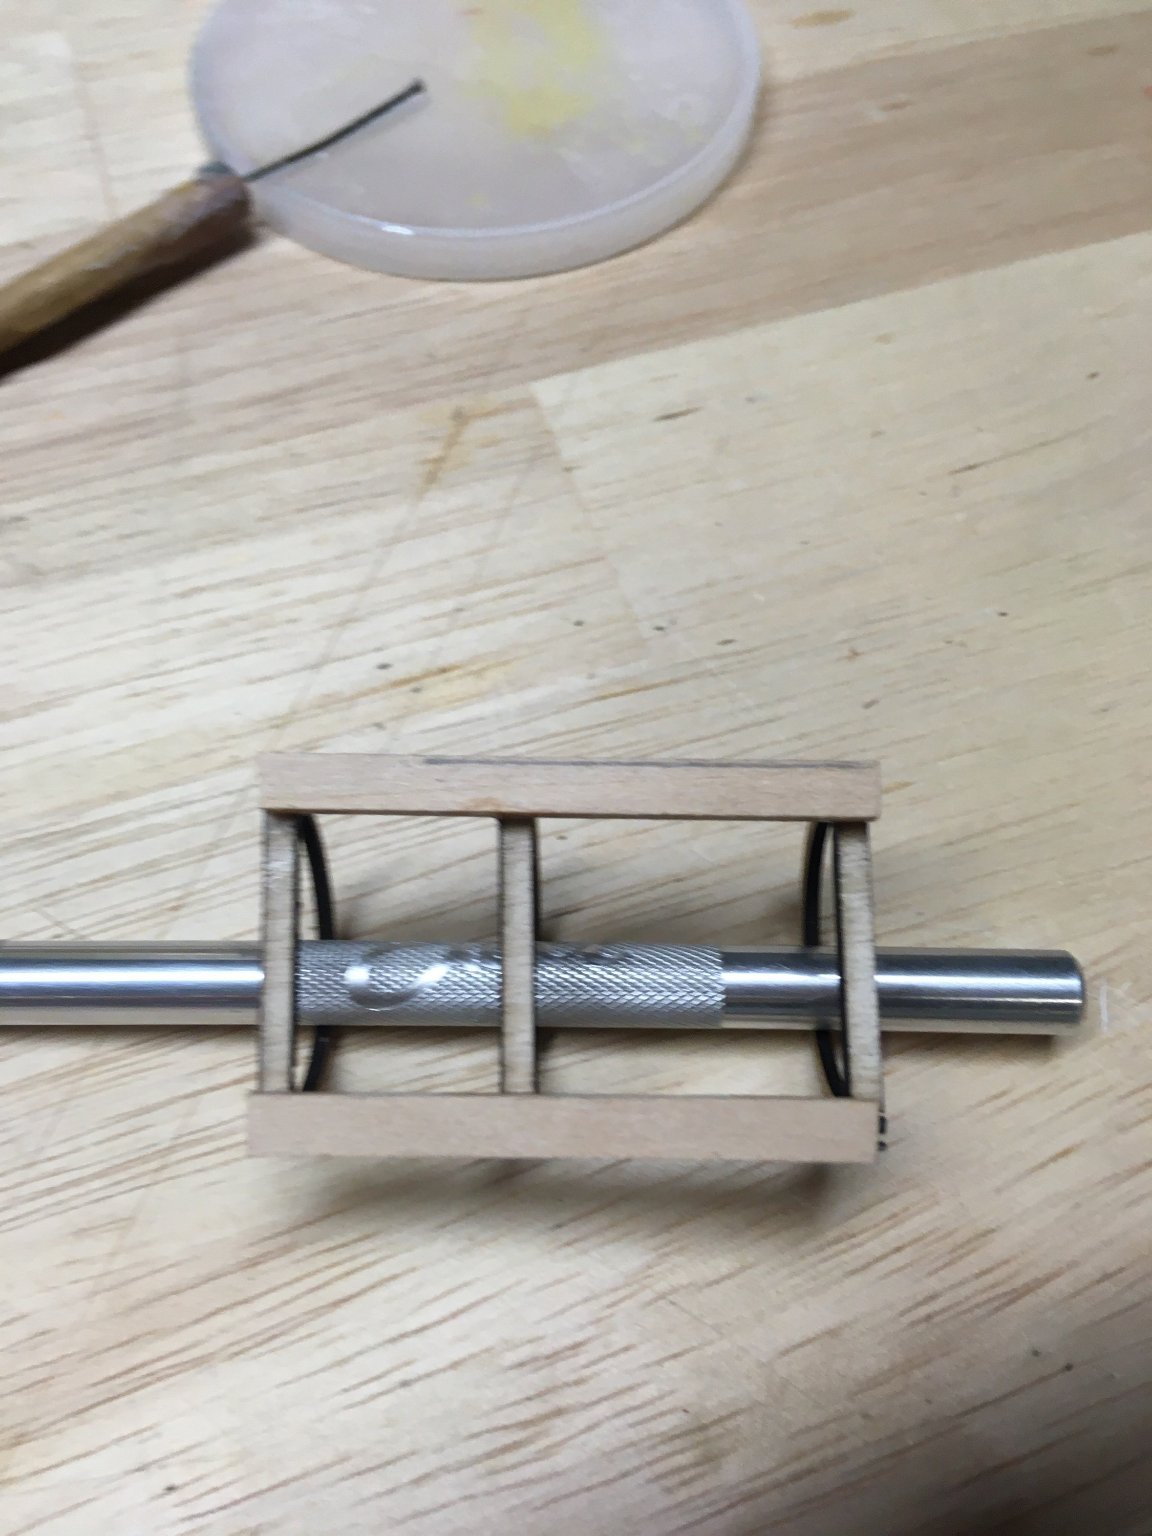
Now for the thole pins. I'm making them from .020 brass rod. First, I cut them long and install them through the caprail. Next step is to trim them to length. I'm using a 1/16" x 1/8" scrap of wood as the guide. And here's the trimmed thole pins.


- 14 replies
-
- 1
-
-
- dory
- BlueJacket Shipcrafters
- (and 1 more)
-
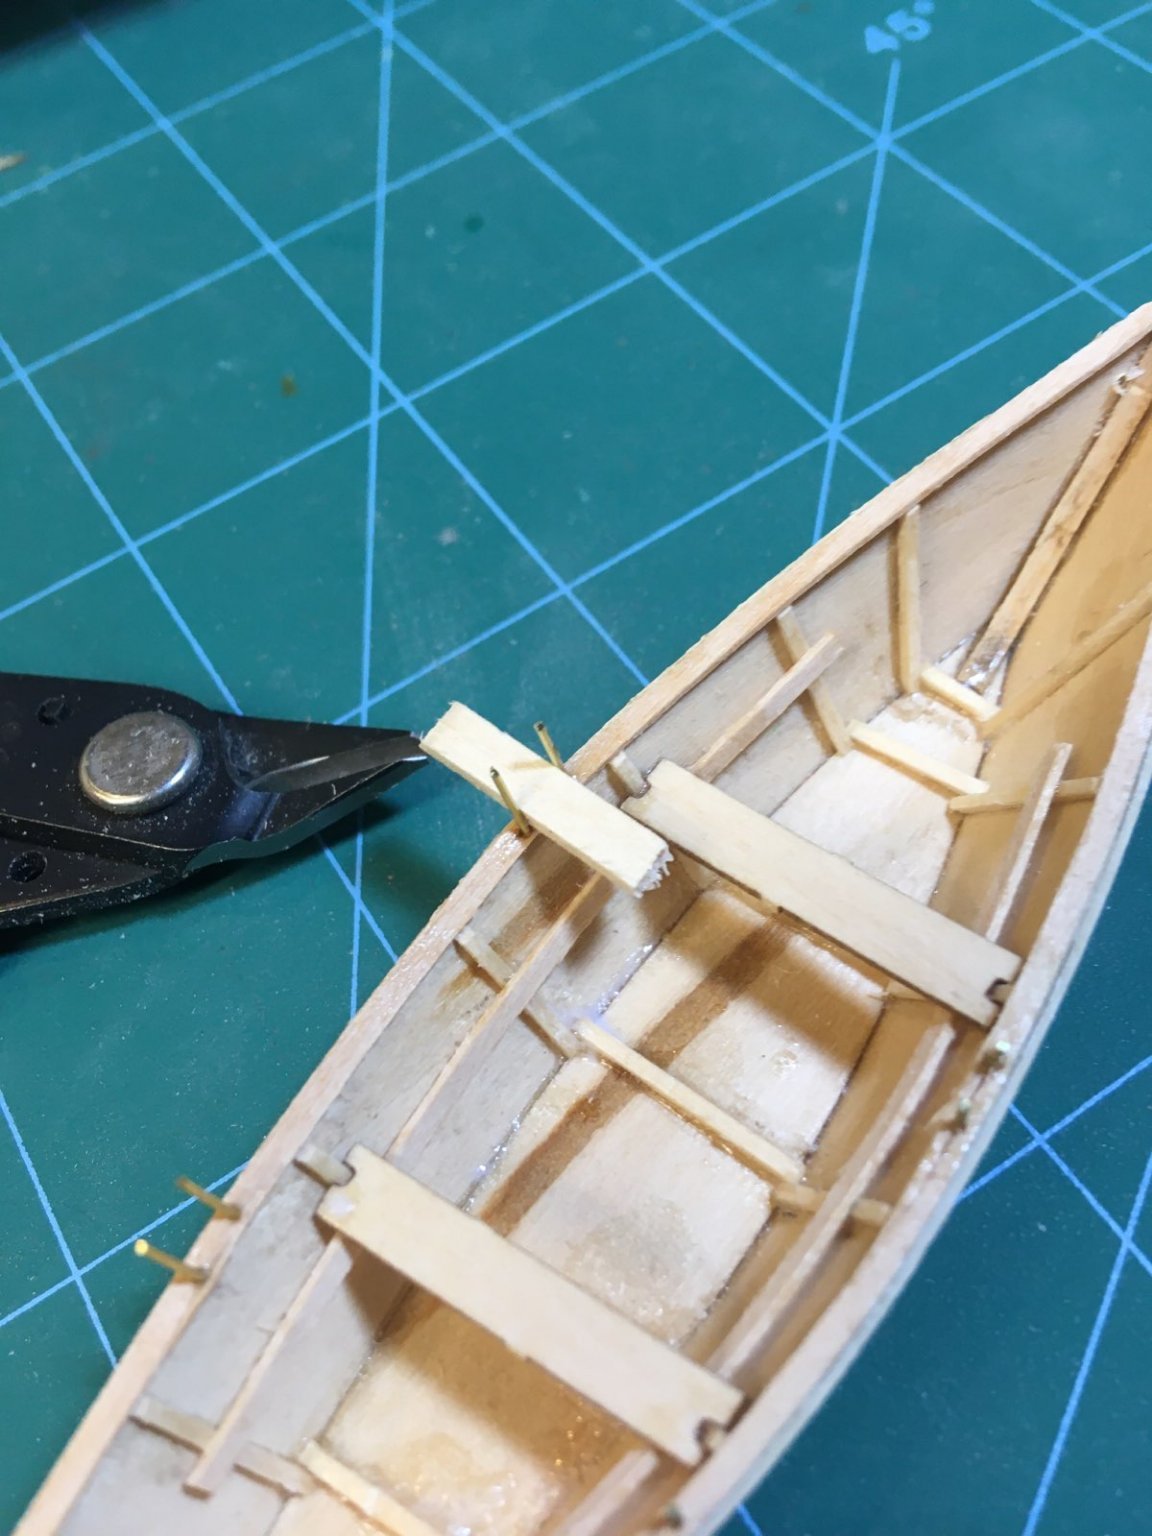
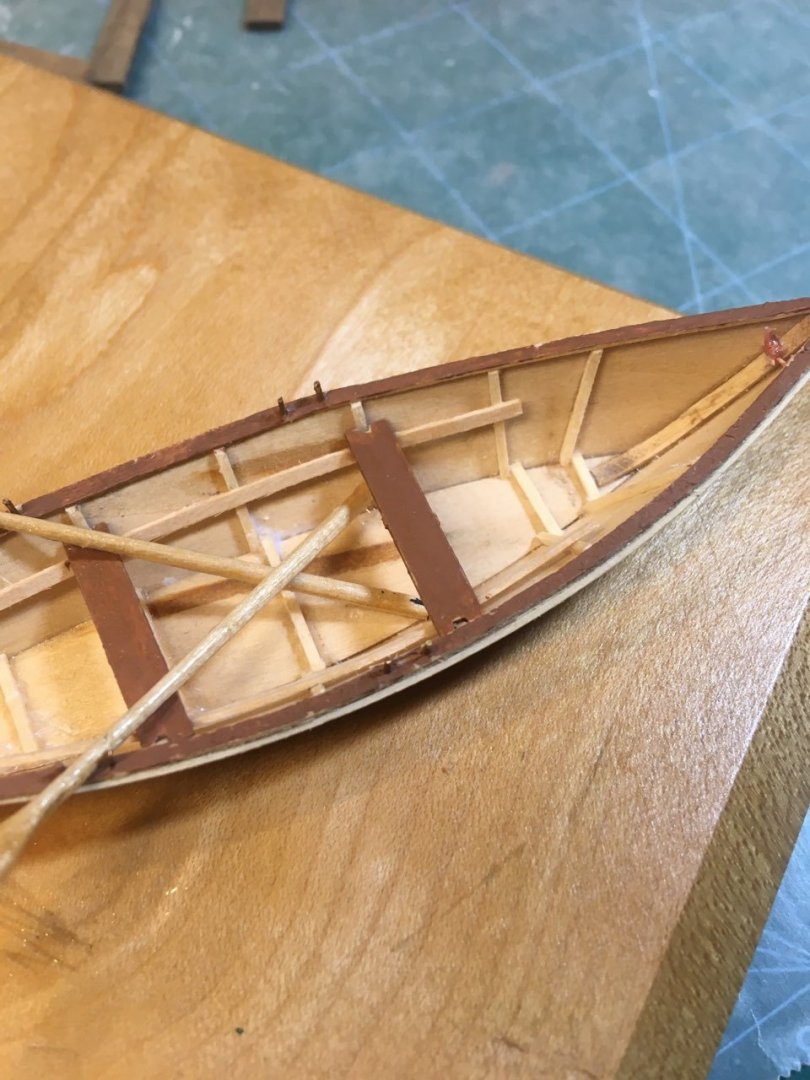
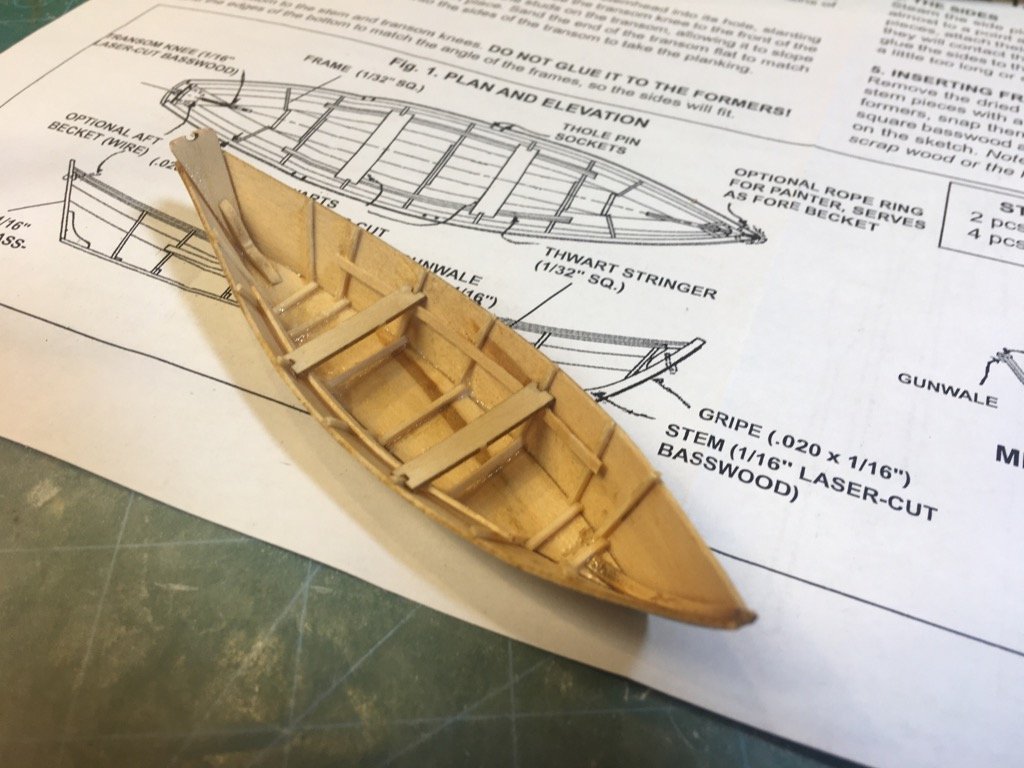
Start adding the frame pieces. All the frame pieces in and the thwarts.
- 14 replies
-
- 2
-
-
- dory
- BlueJacket Shipcrafters
- (and 1 more)
-
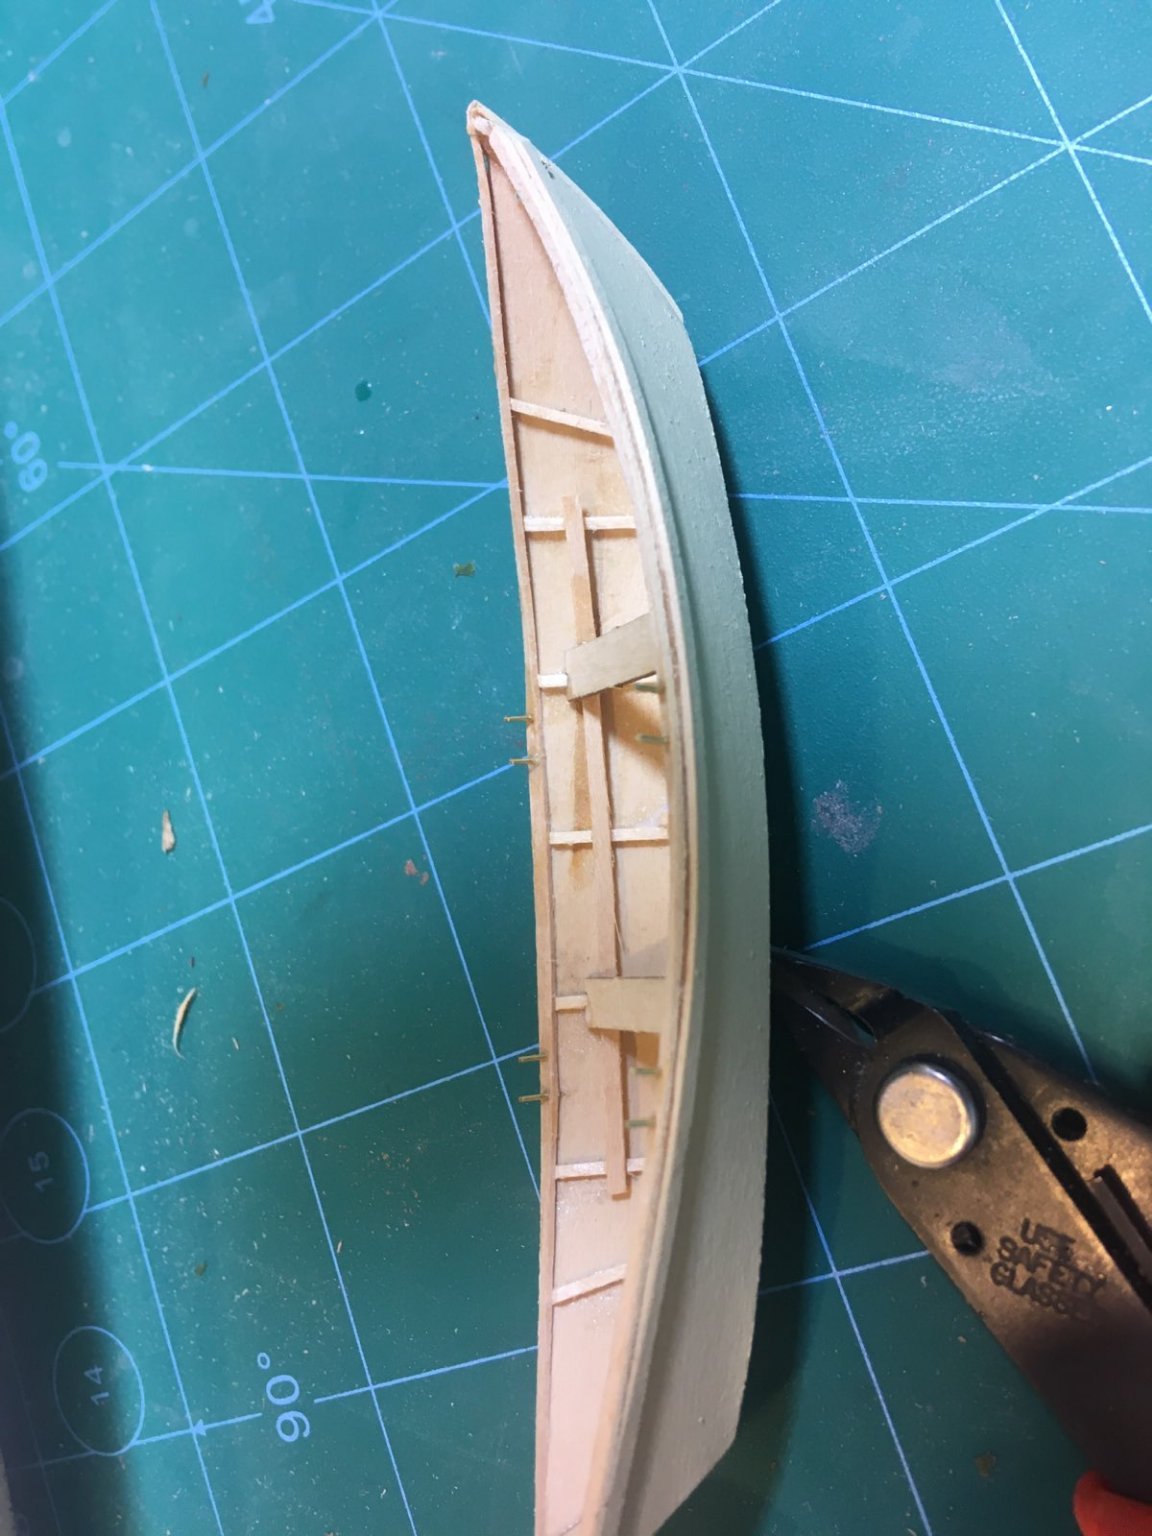
A little sanding to bevel the stem, transom, and bottom so the sides can lay on a flat surface. Trim the first side, and add the other side, remove from building jig and sand to final shape.
- 14 replies
-
- 1
-
-
- dory
- BlueJacket Shipcrafters
- (and 1 more)
-
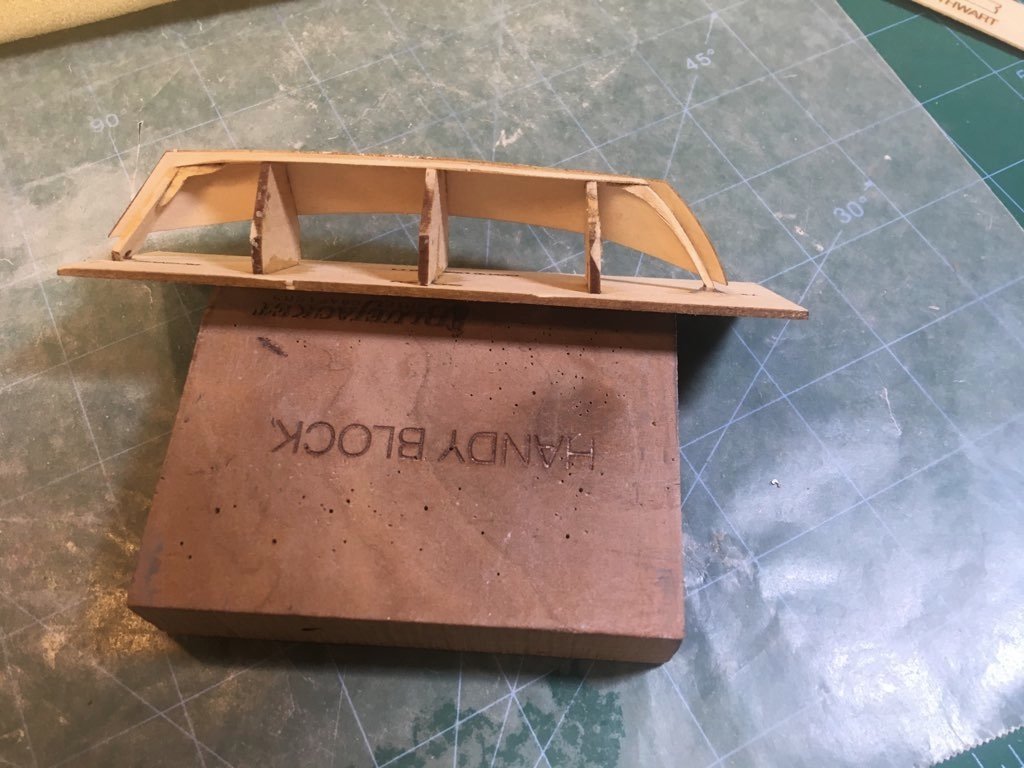
I attached the knee to the transom and then glued transom and stem to the bottom. Put it on the building board, and the stem came up a little short. No big deal.

- 14 replies
-
- 2
-
-
- dory
- BlueJacket Shipcrafters
- (and 1 more)
-
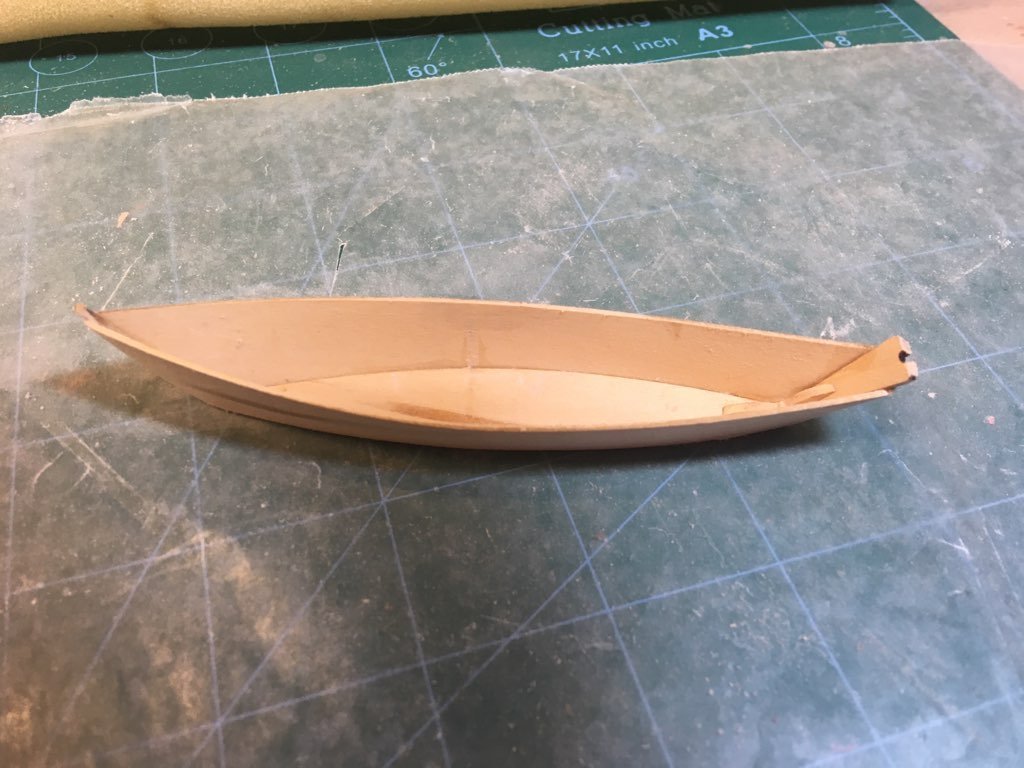
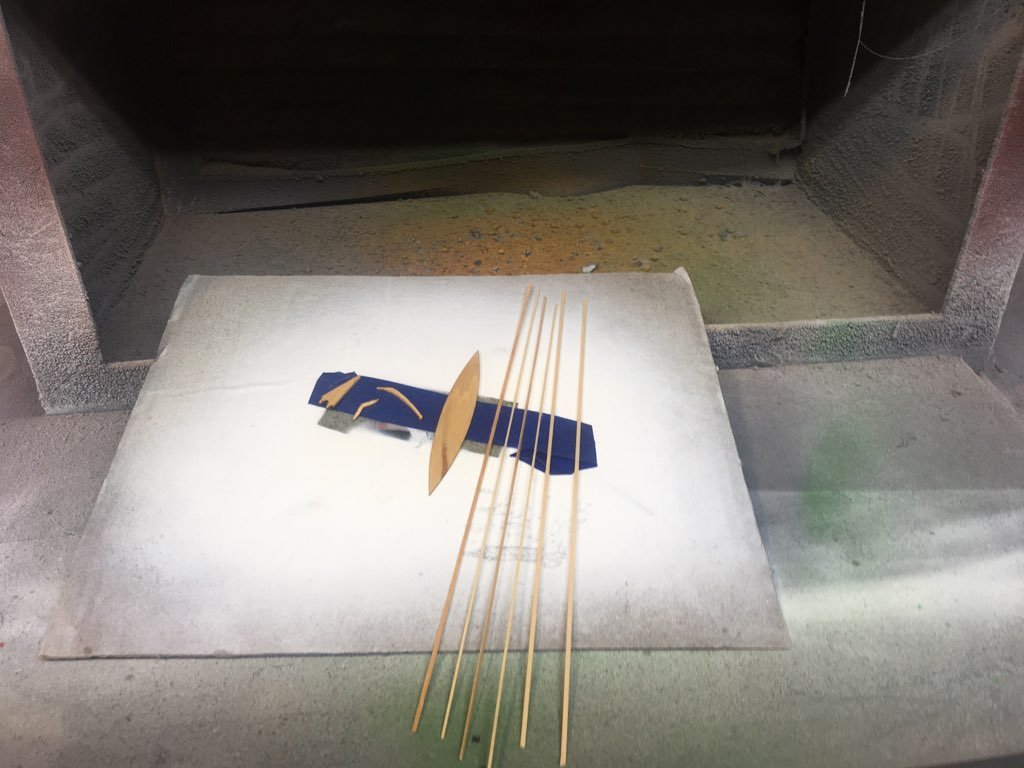
Plan ahead! Because I want to leave the inside natural wood, I sprayed the parts with flat clear (both sides.) That way, glue won't stain the wood. Once the paint dries, it's time to start assembling.
- 14 replies
-
- 2
-
-
- dory
- BlueJacket Shipcrafters
- (and 1 more)
-
Like all dories, it is built upside down. FIrst step is to wax the formers so the glue (hopefully) doesn't stick. Then they are glued to the building board.

- 14 replies
-
- 1
-
-
- dory
- BlueJacket Shipcrafters
- (and 1 more)
-
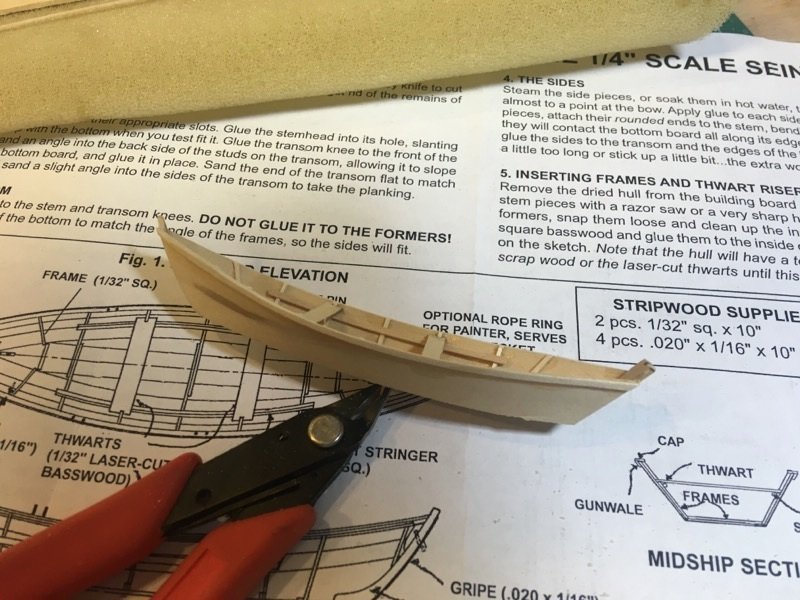
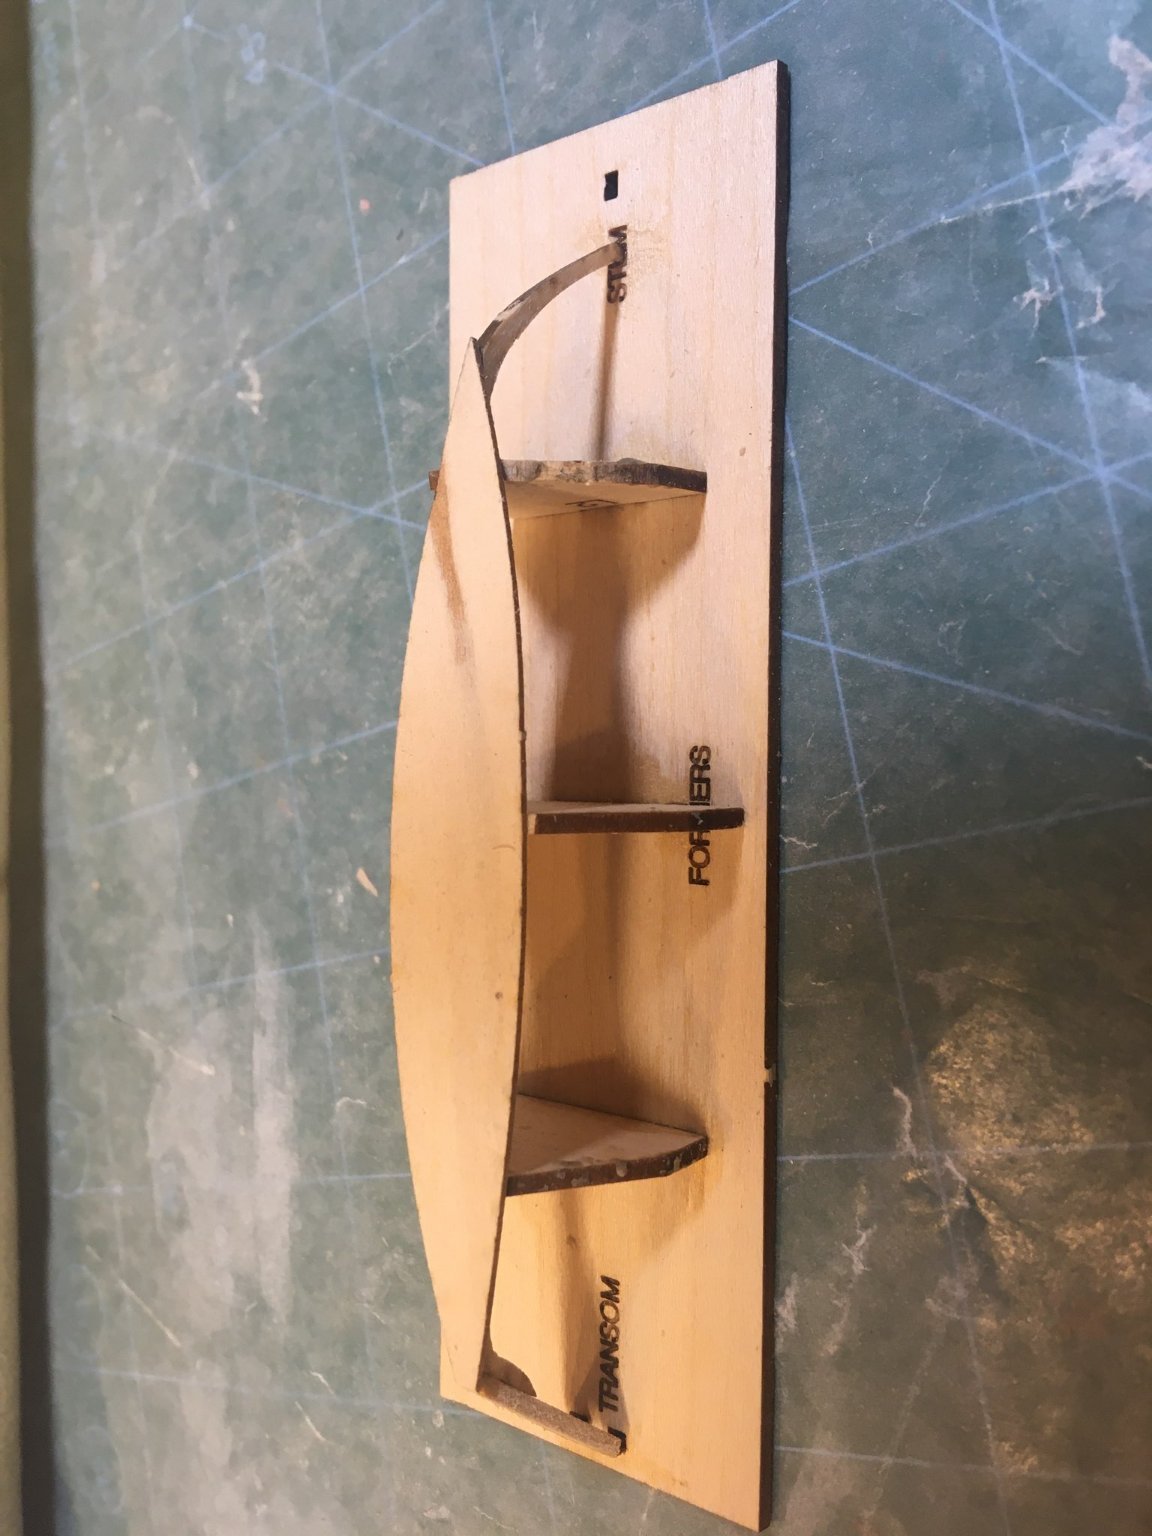
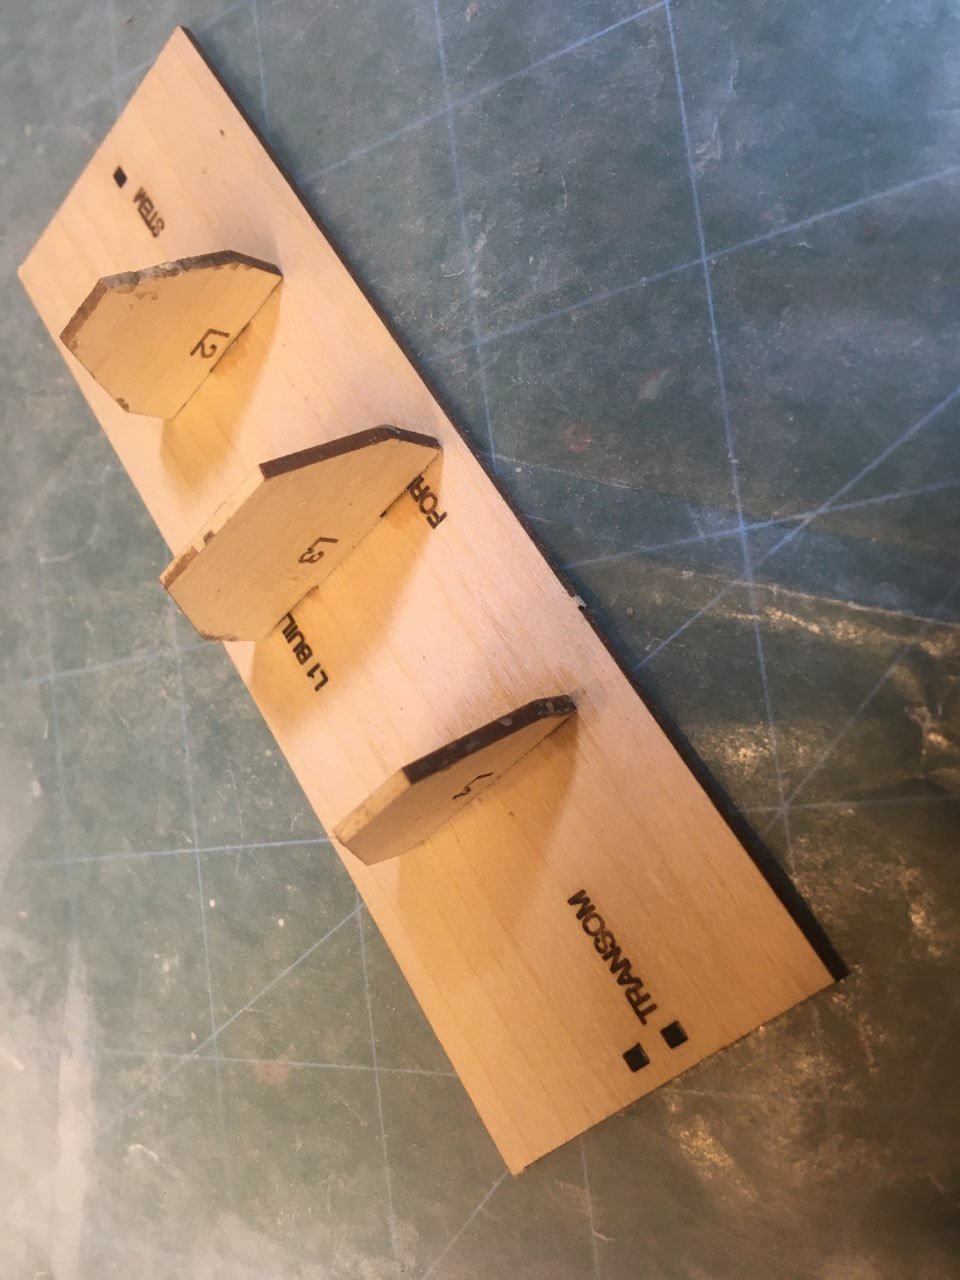
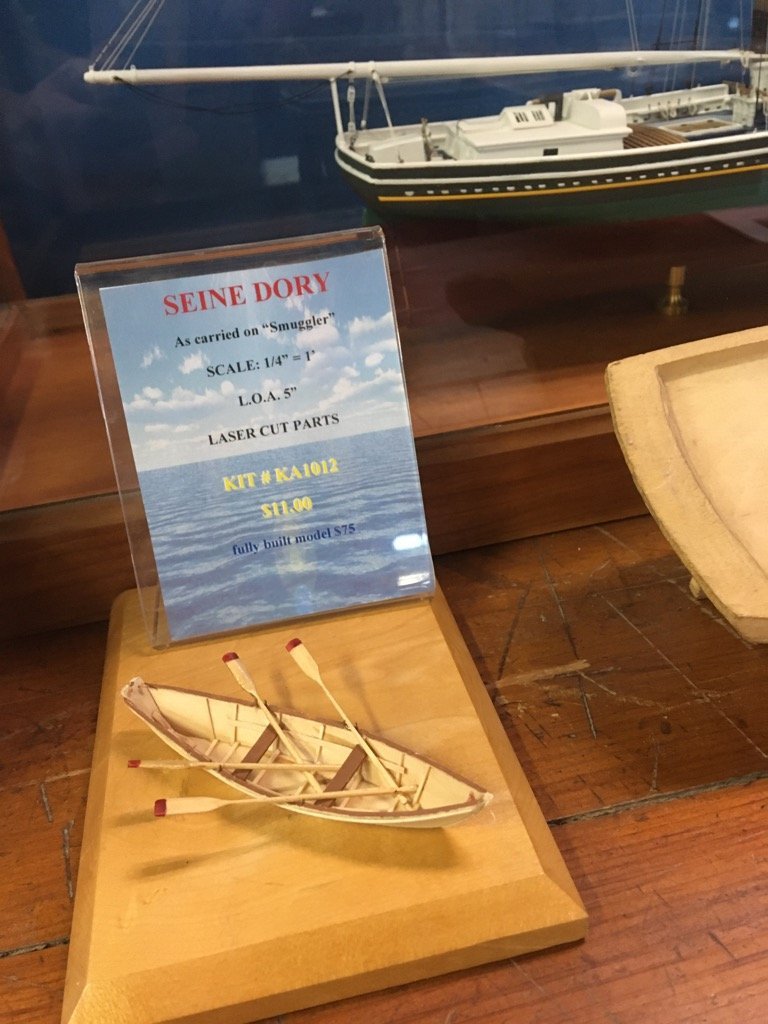
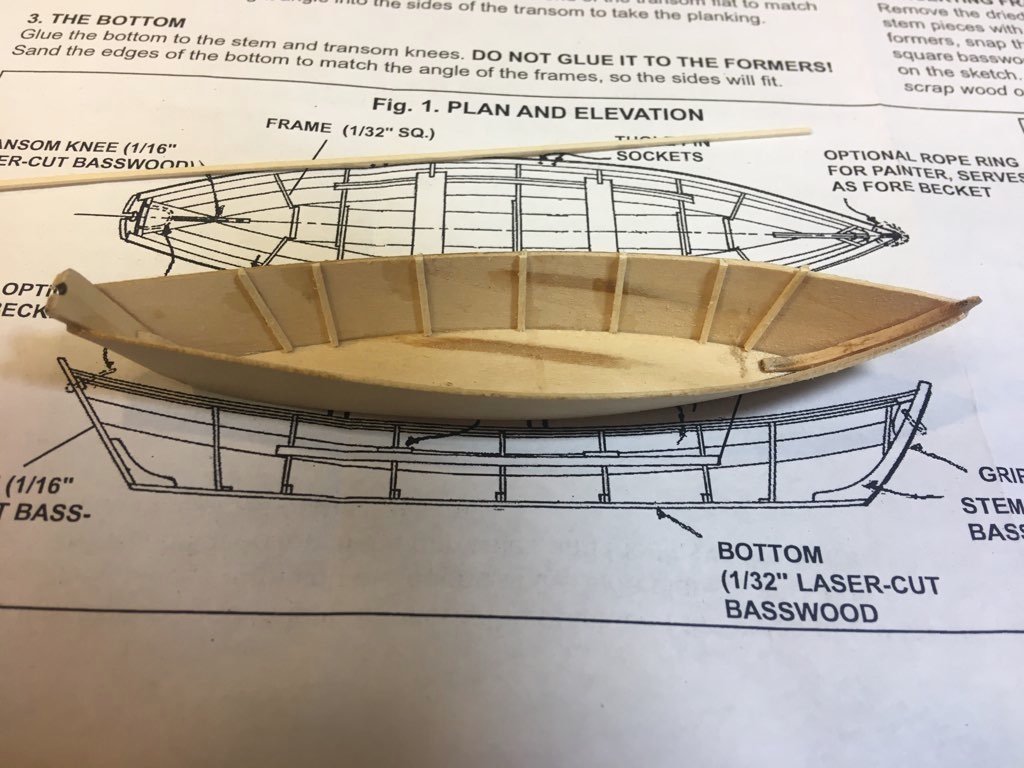
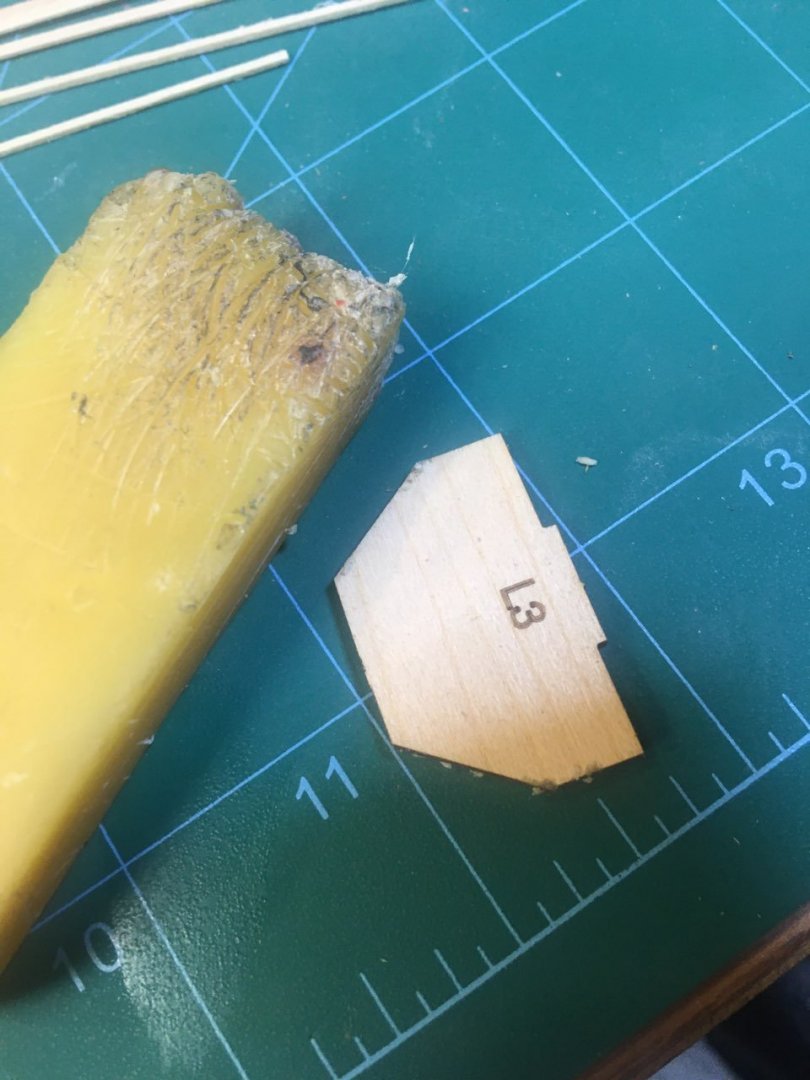
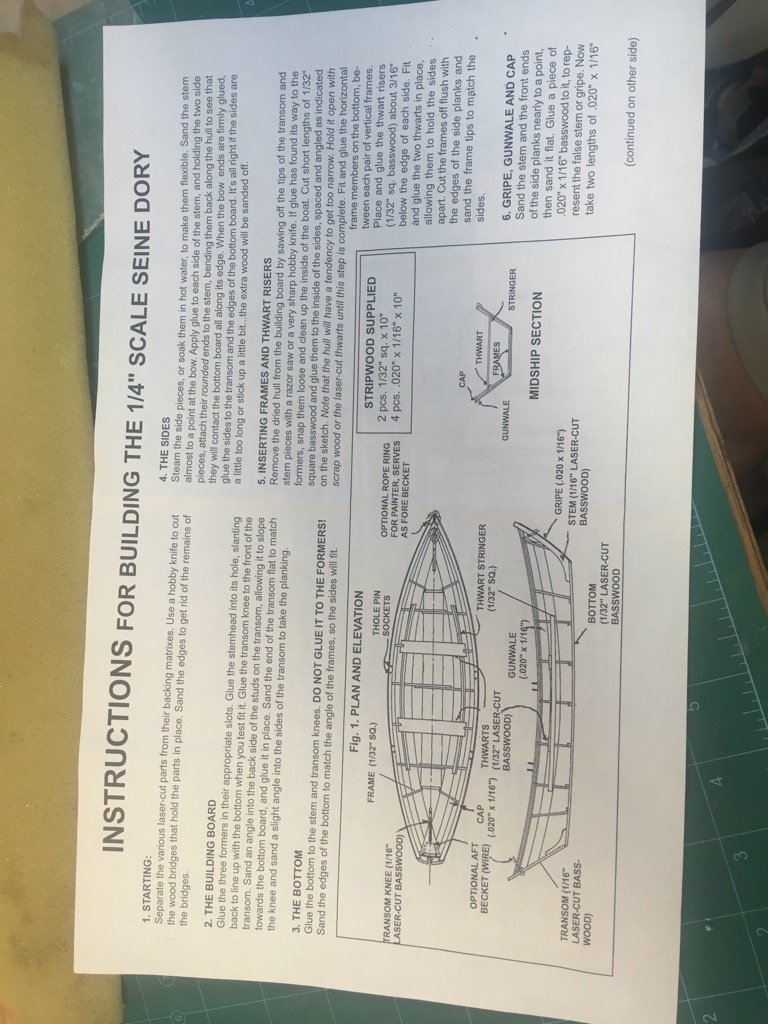
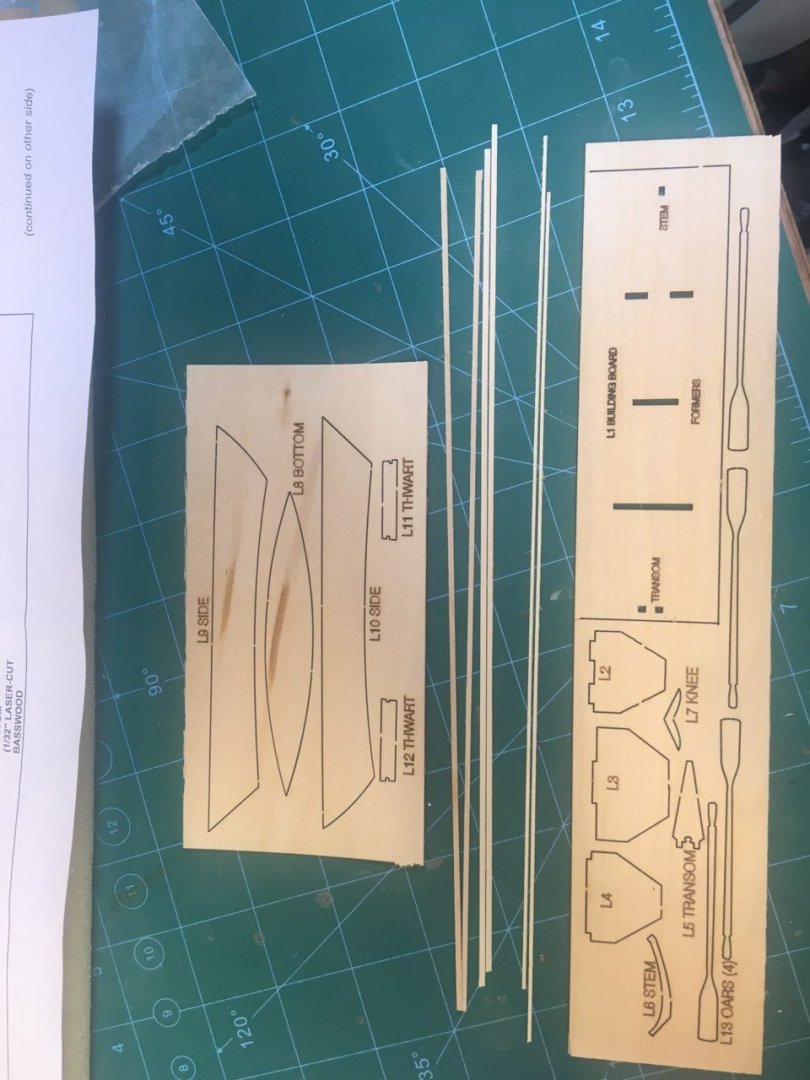
So I'm building the Smuggler dory for display. At 1/4" = 1', it's a small model. Here's the instruction sheet and kit parts.
- 14 replies
-
- 3
-
-
- dory
- BlueJacket Shipcrafters
- (and 1 more)
-
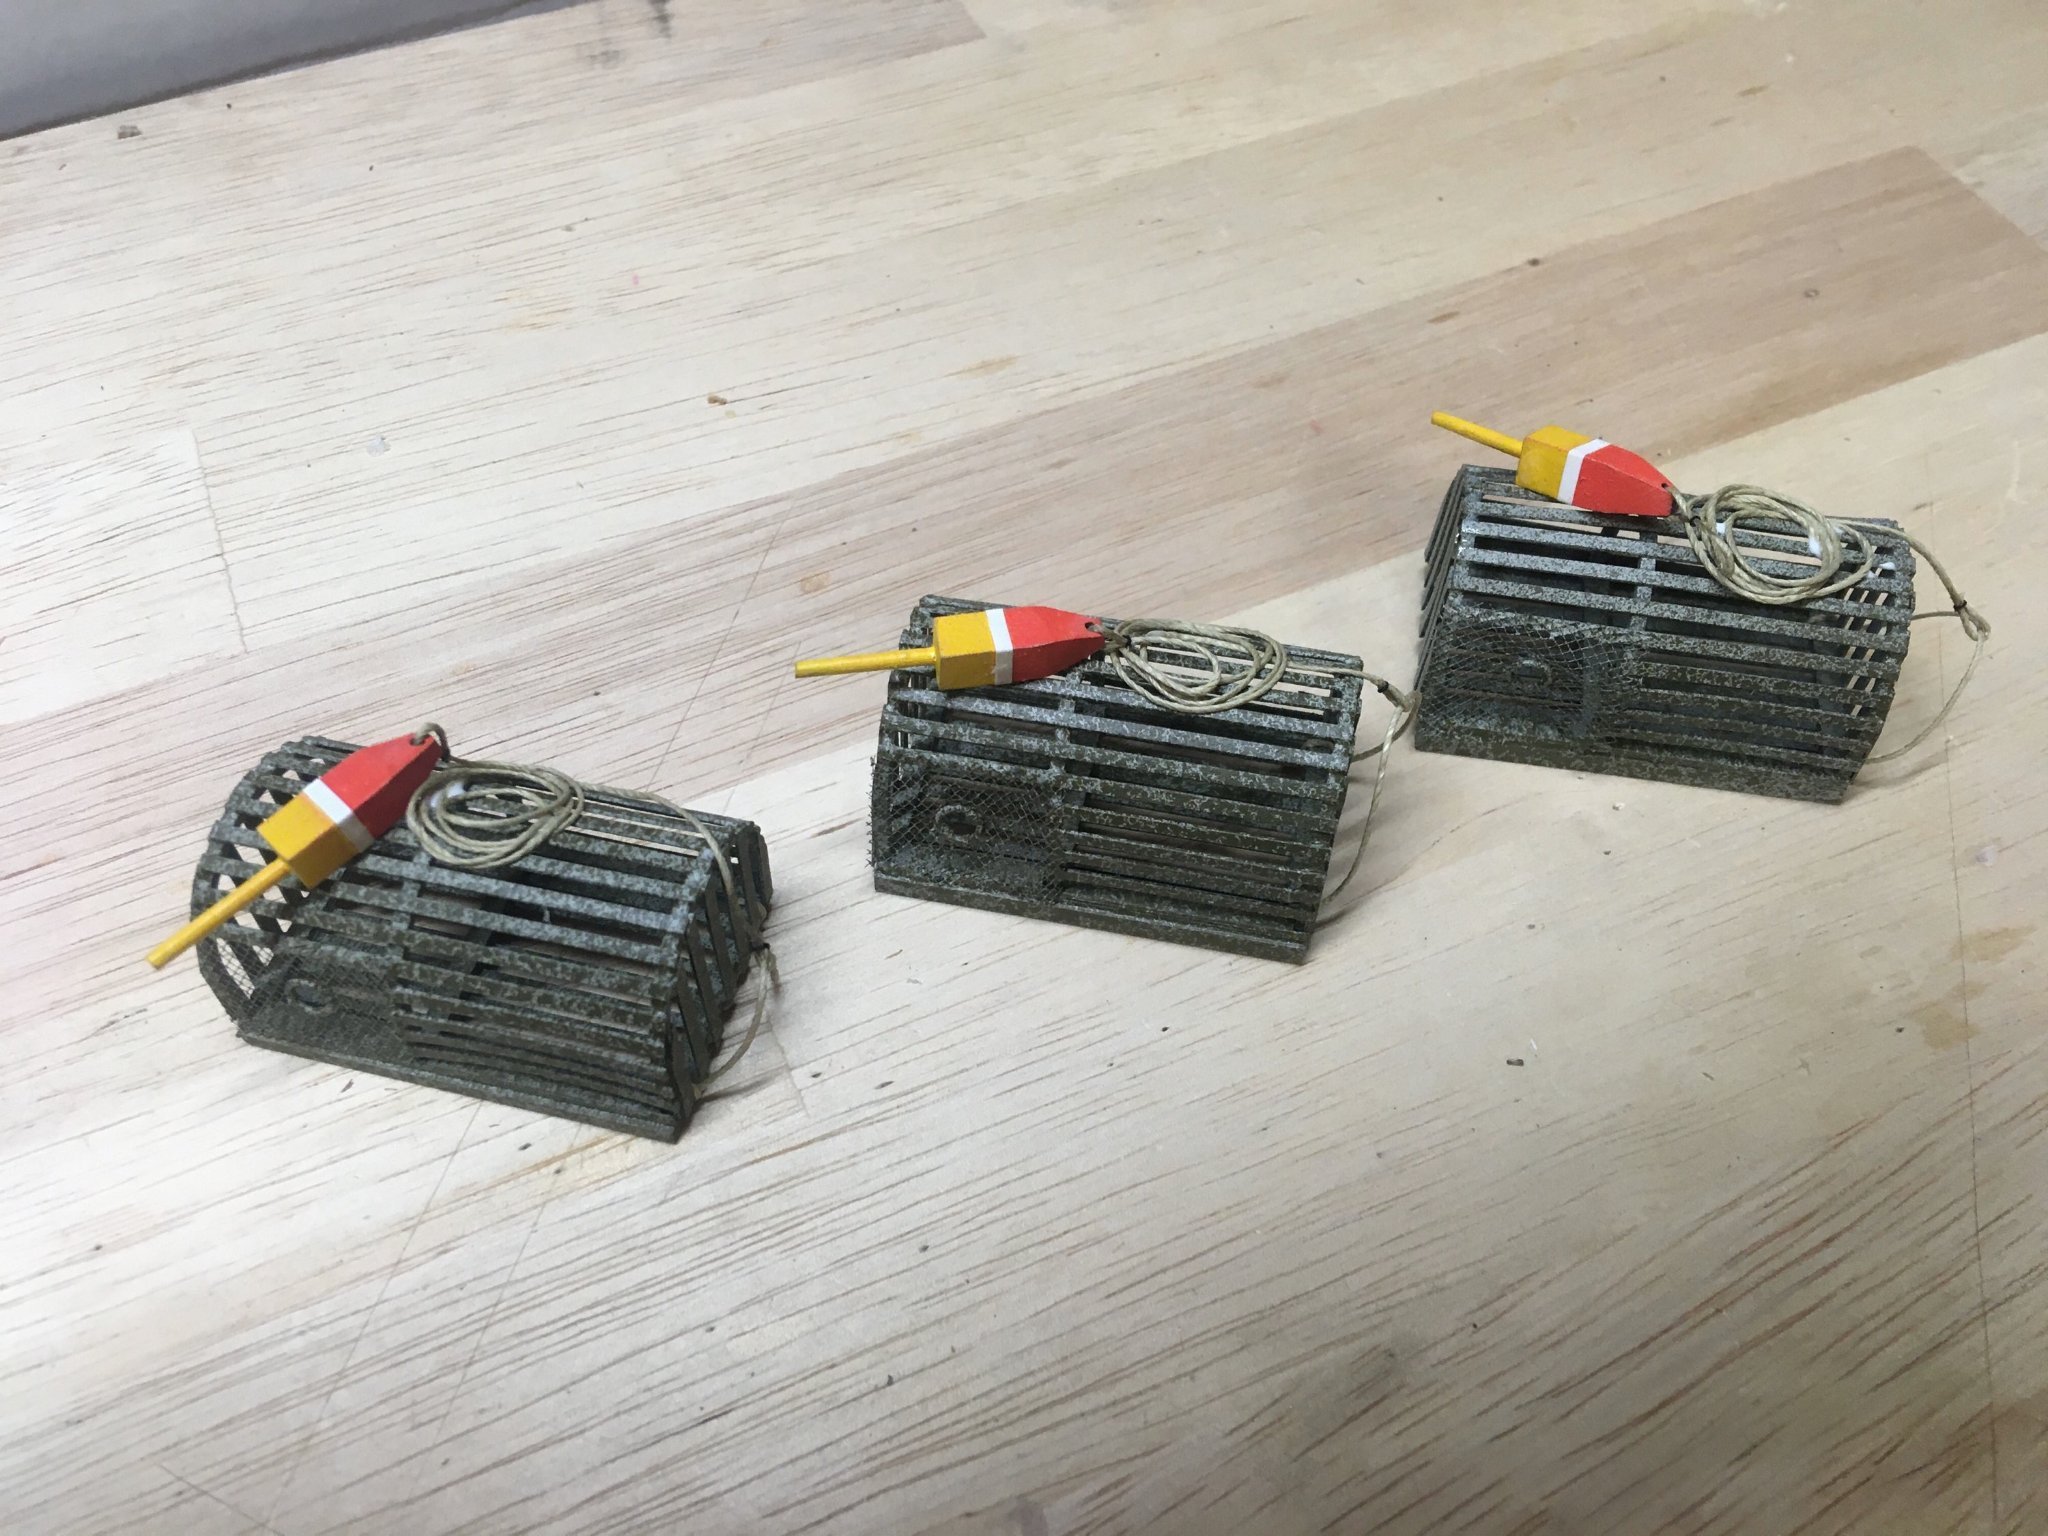
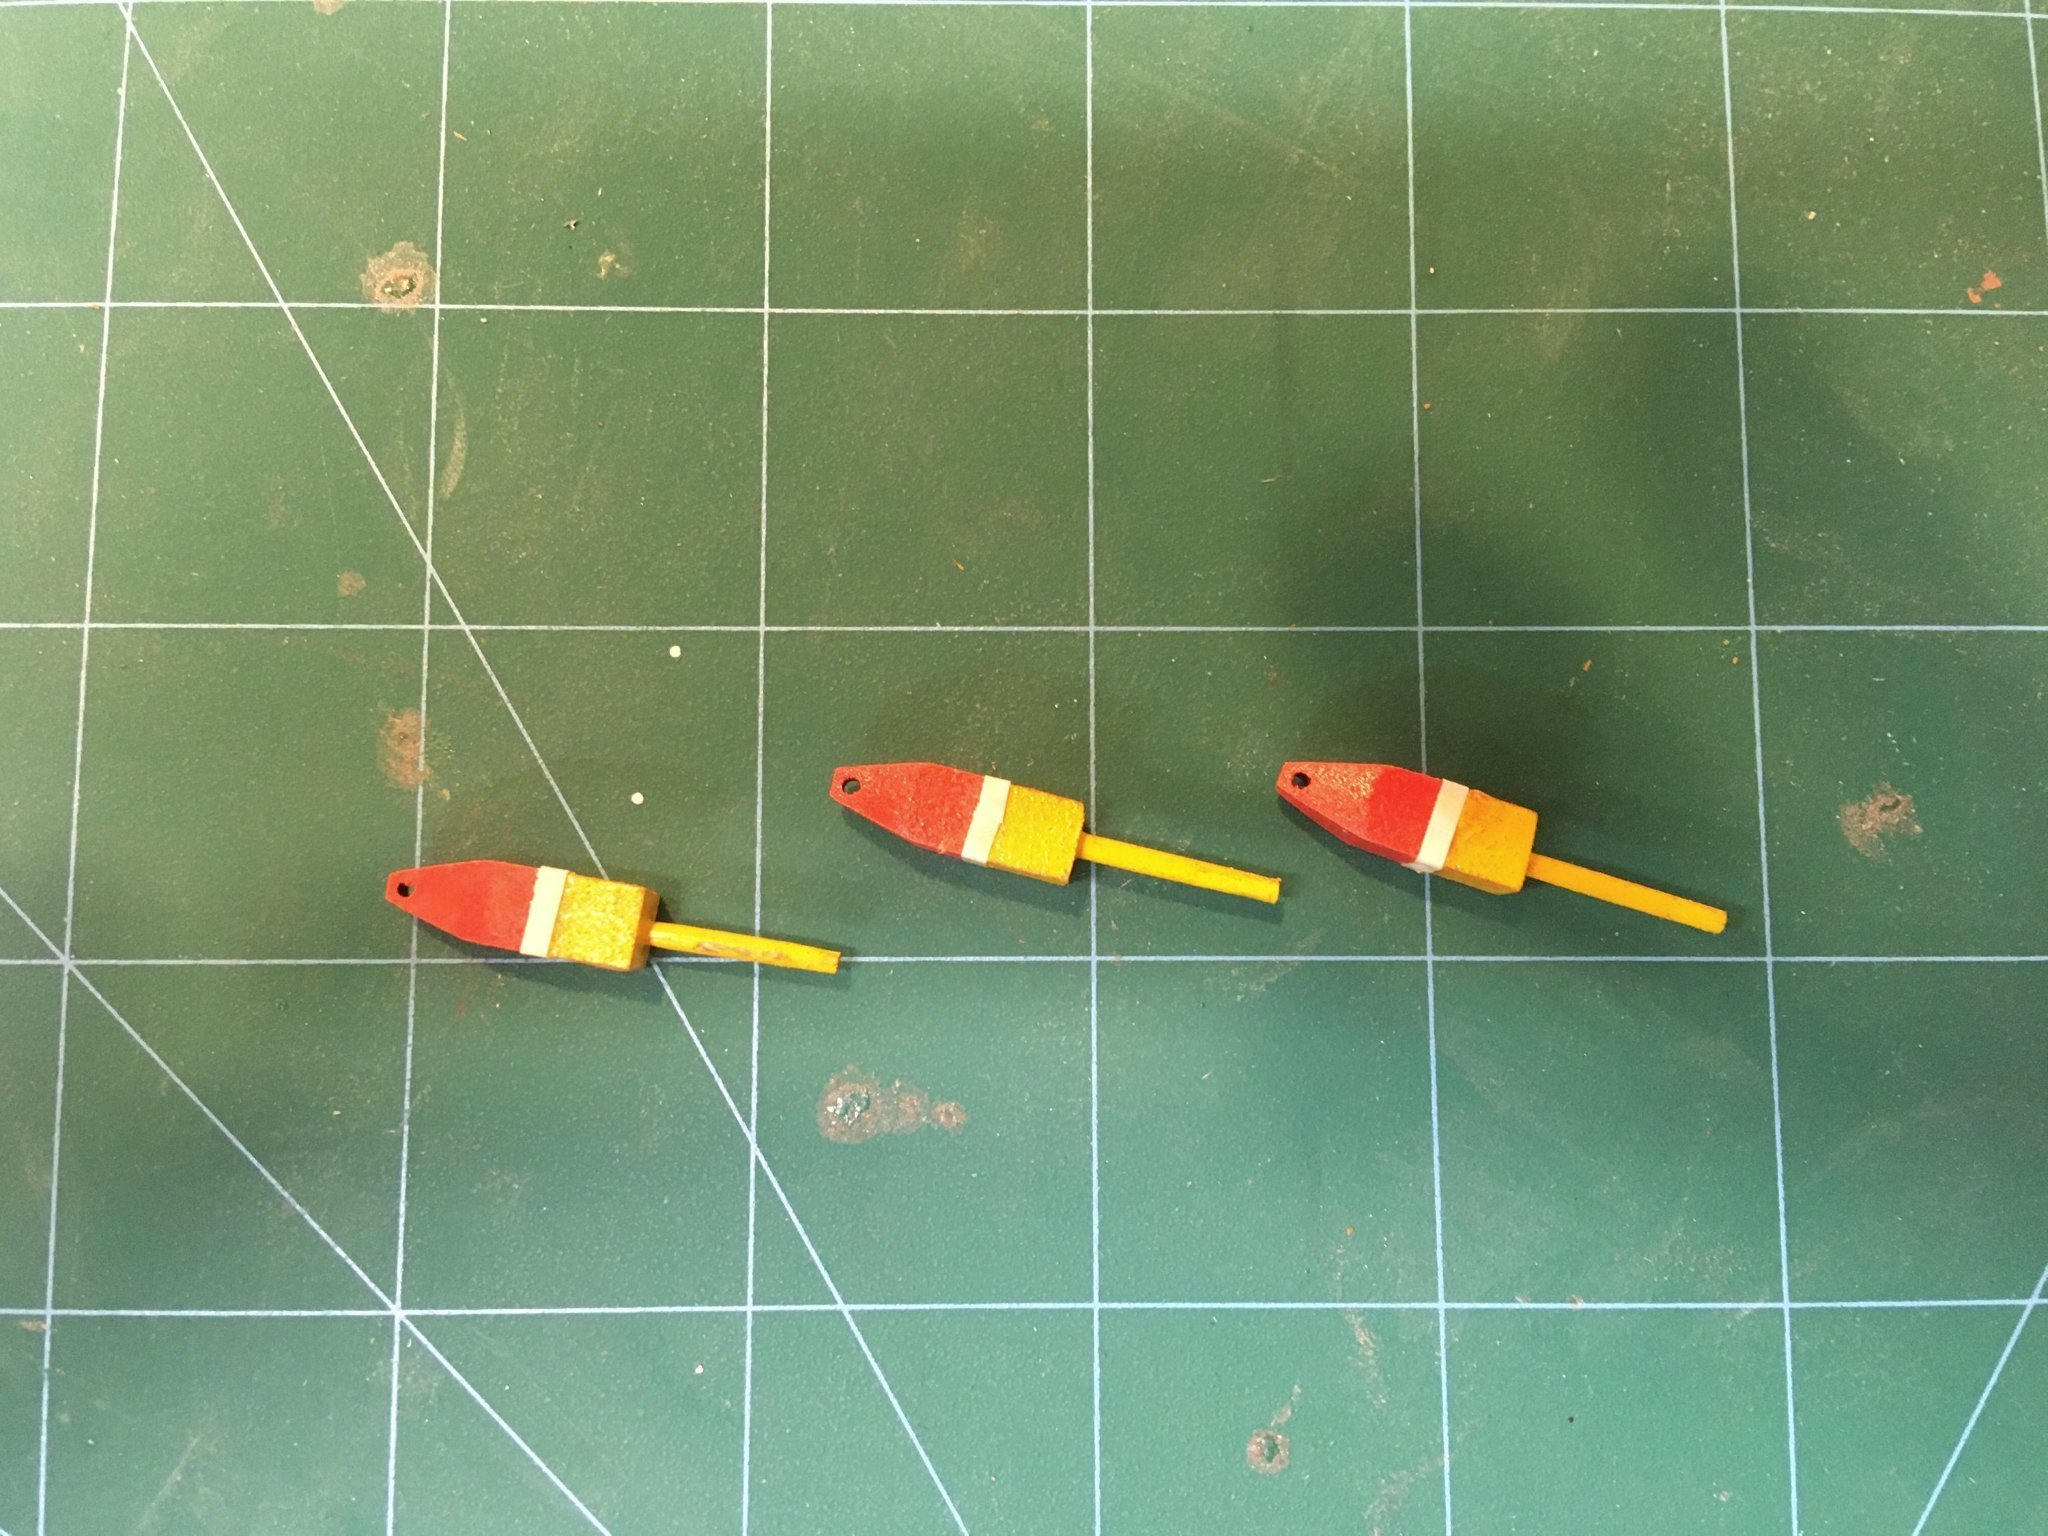
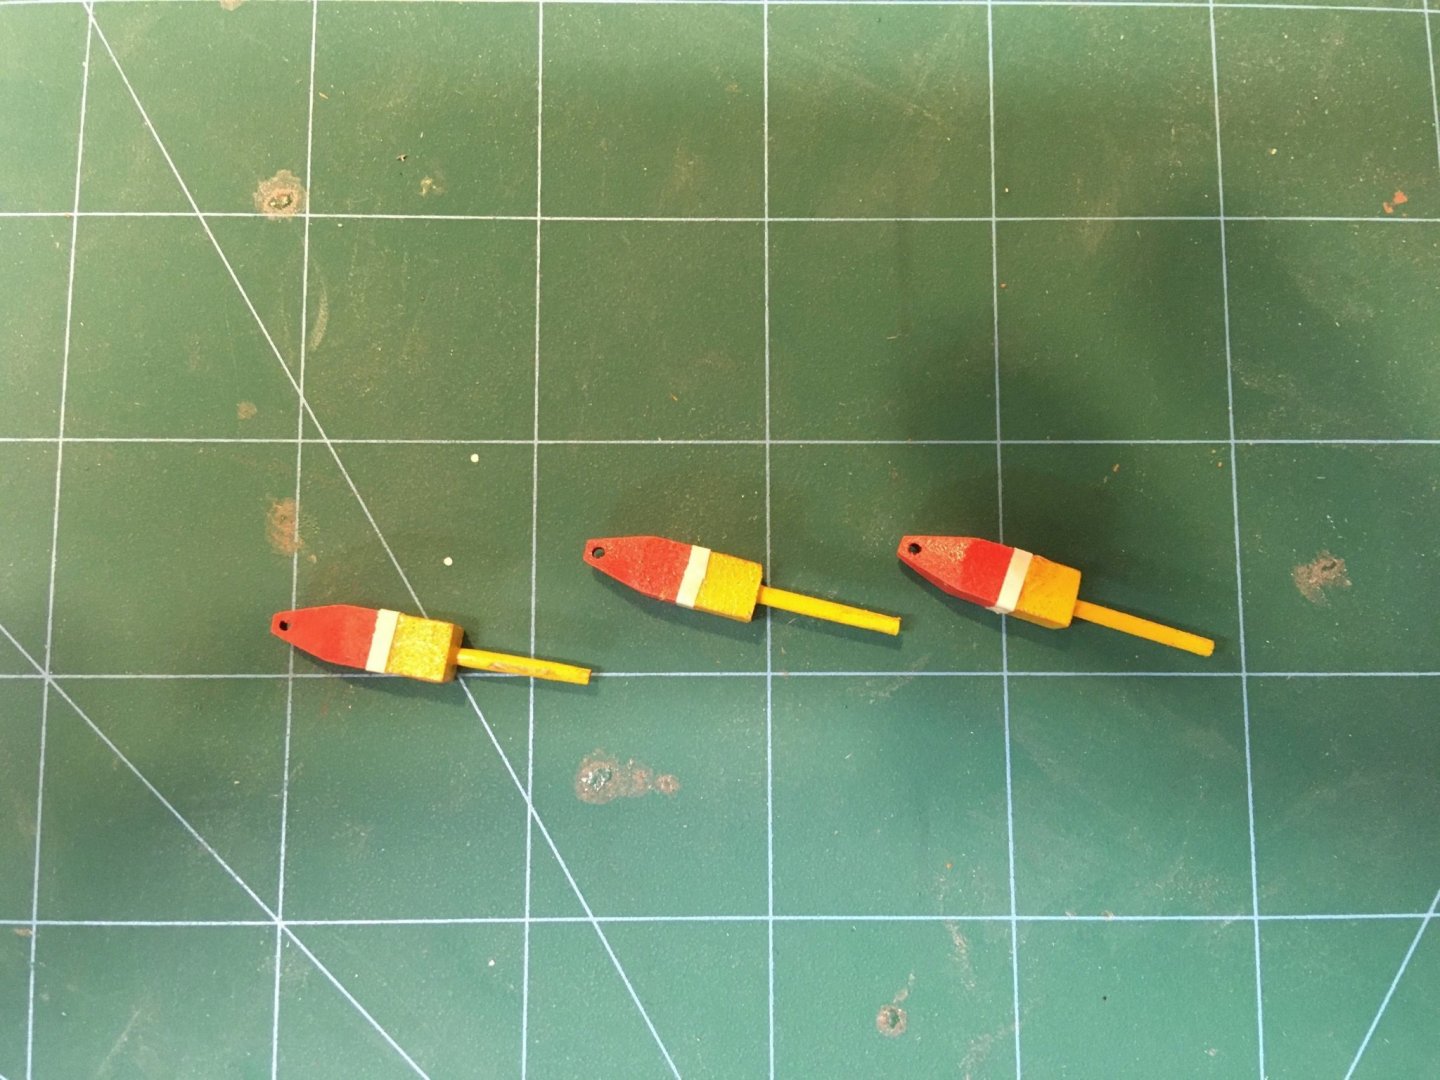
So while the traps are done, the package includes 3 buoy blanks (see post#2). Here's a photo of them finished.
- 24 replies
-
- 4
-
-
- lobster trap
- red baron
- (and 2 more)
-
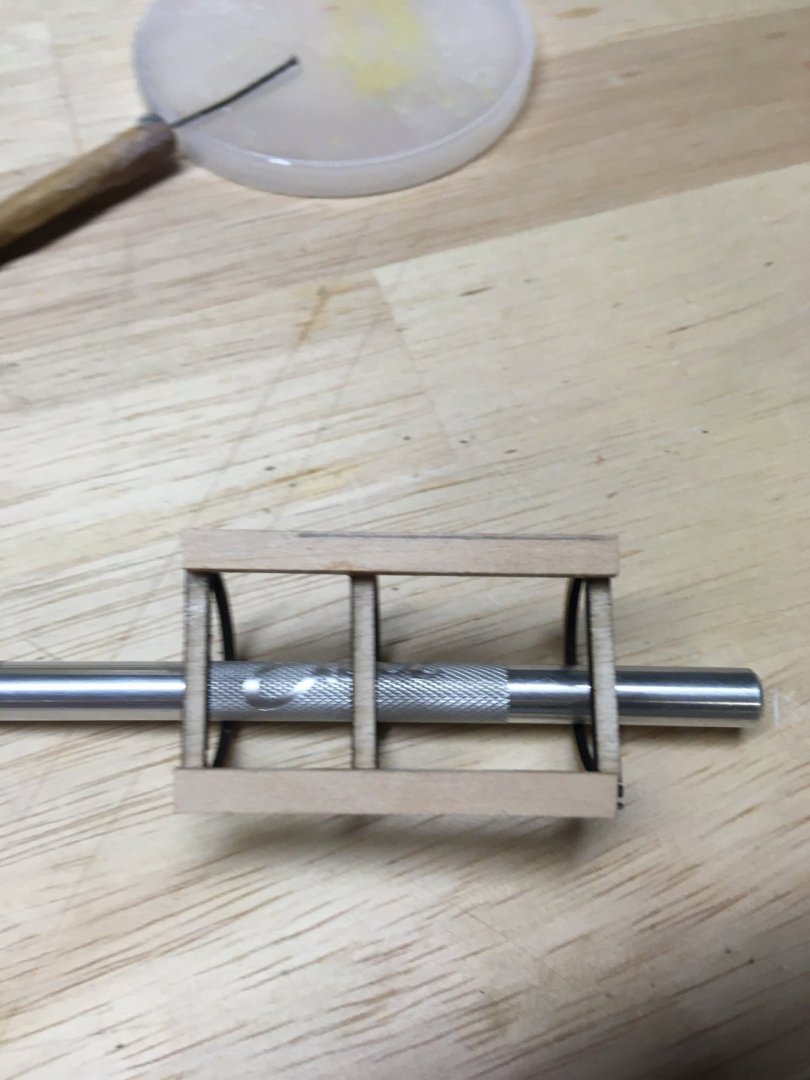
tease it with an Xacto blade
-
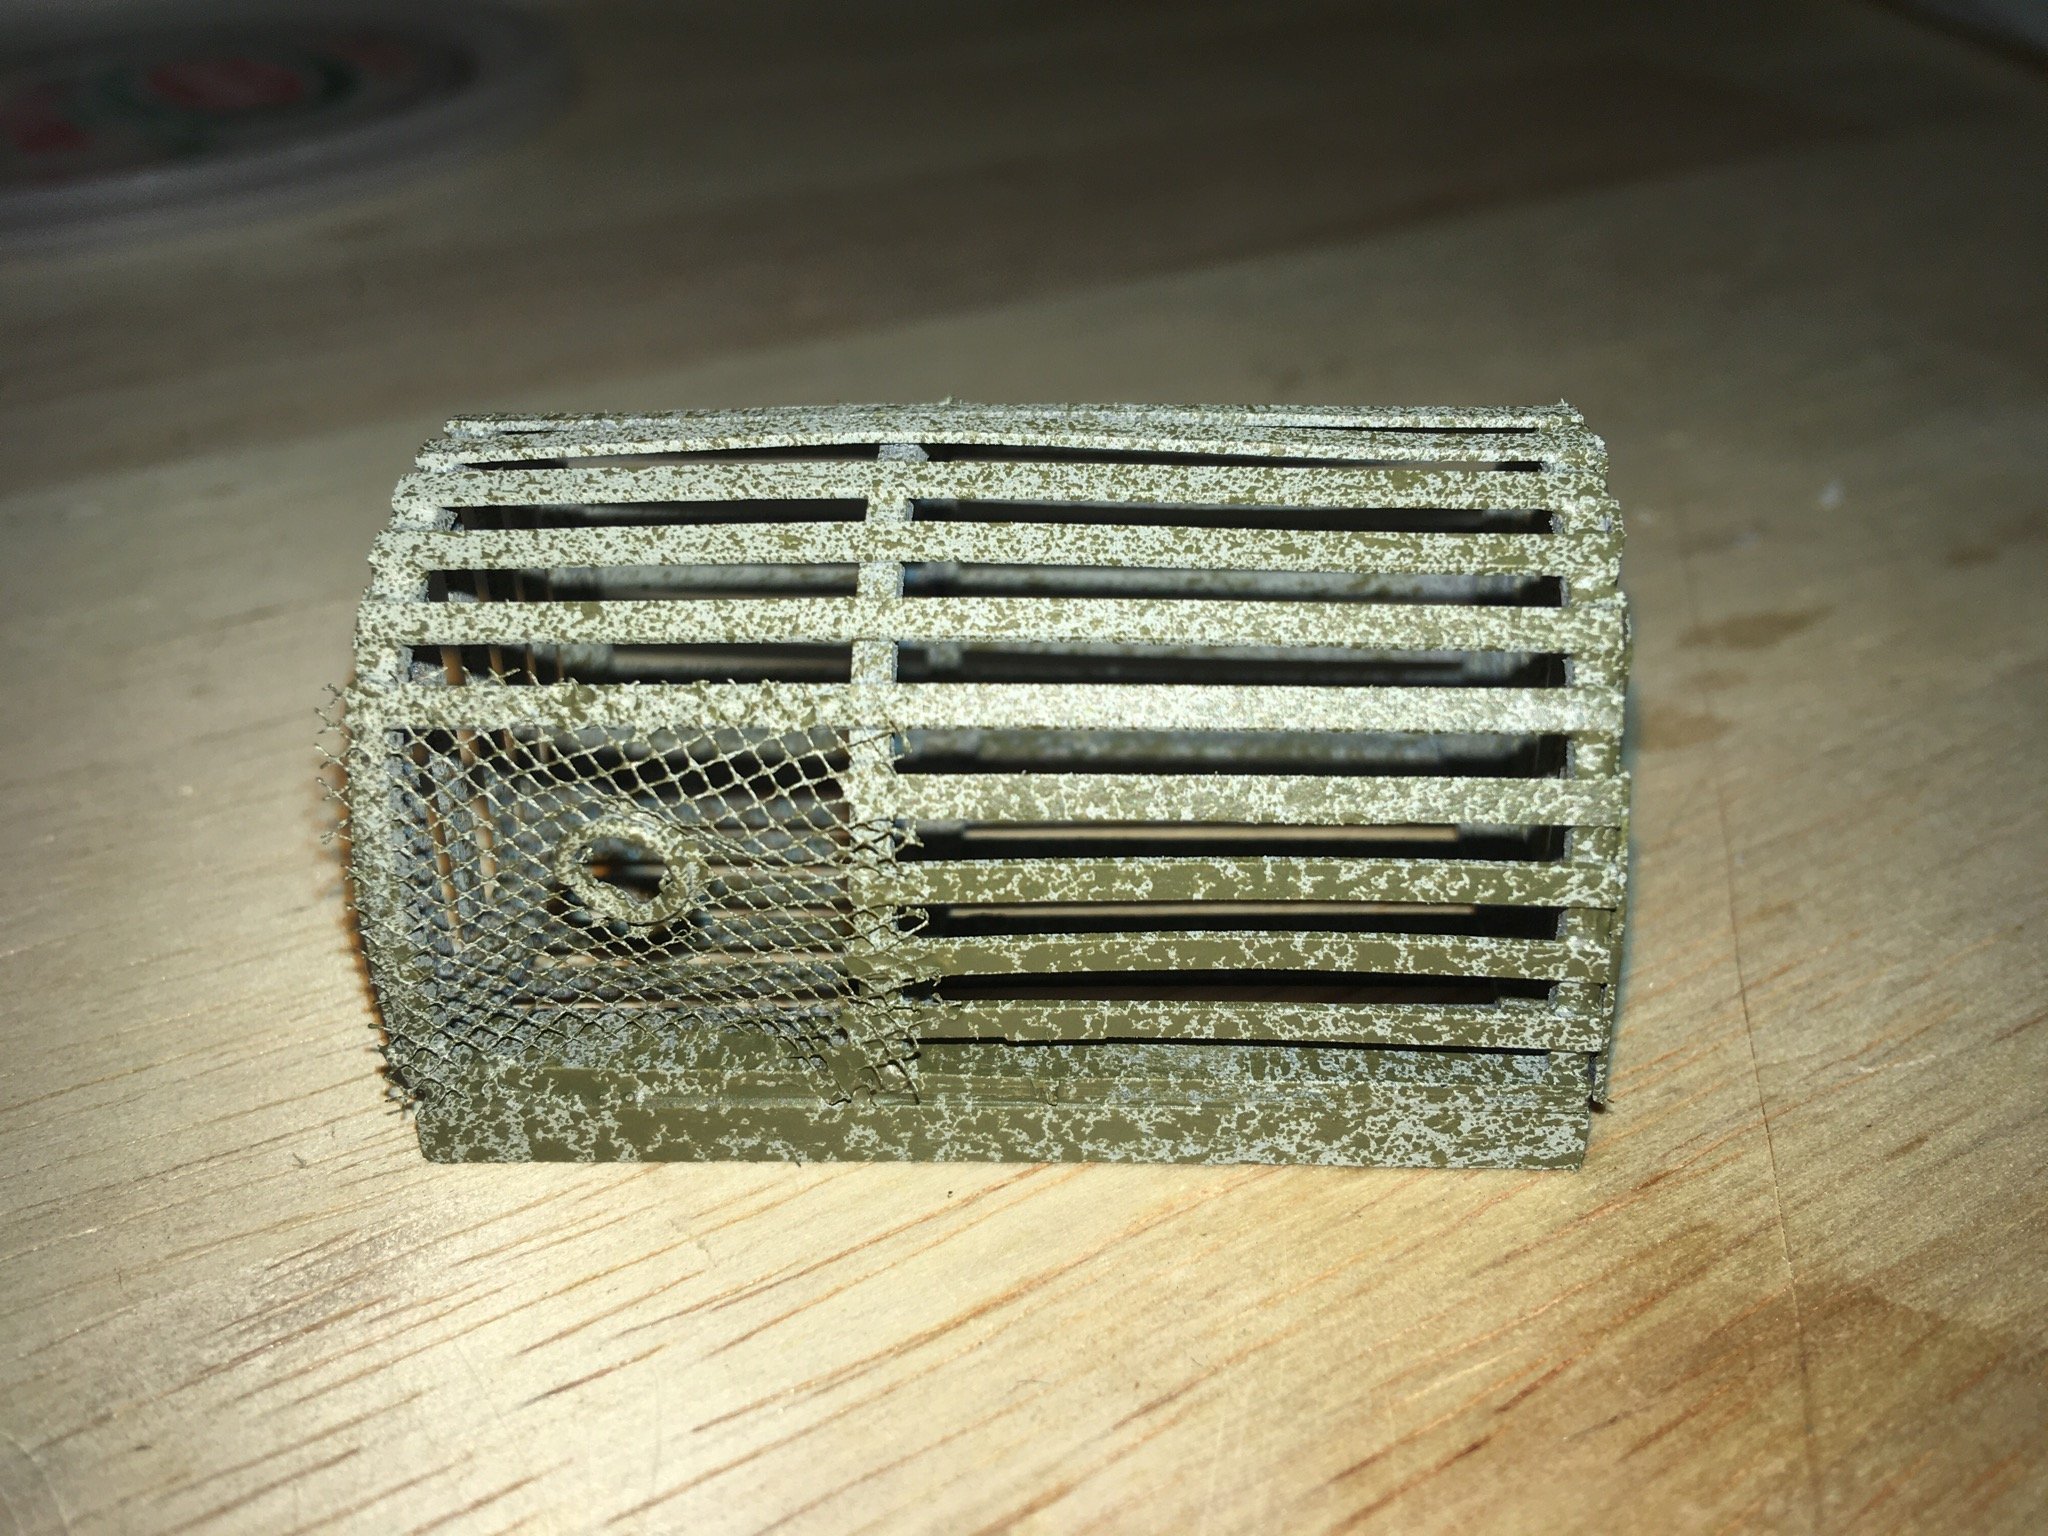
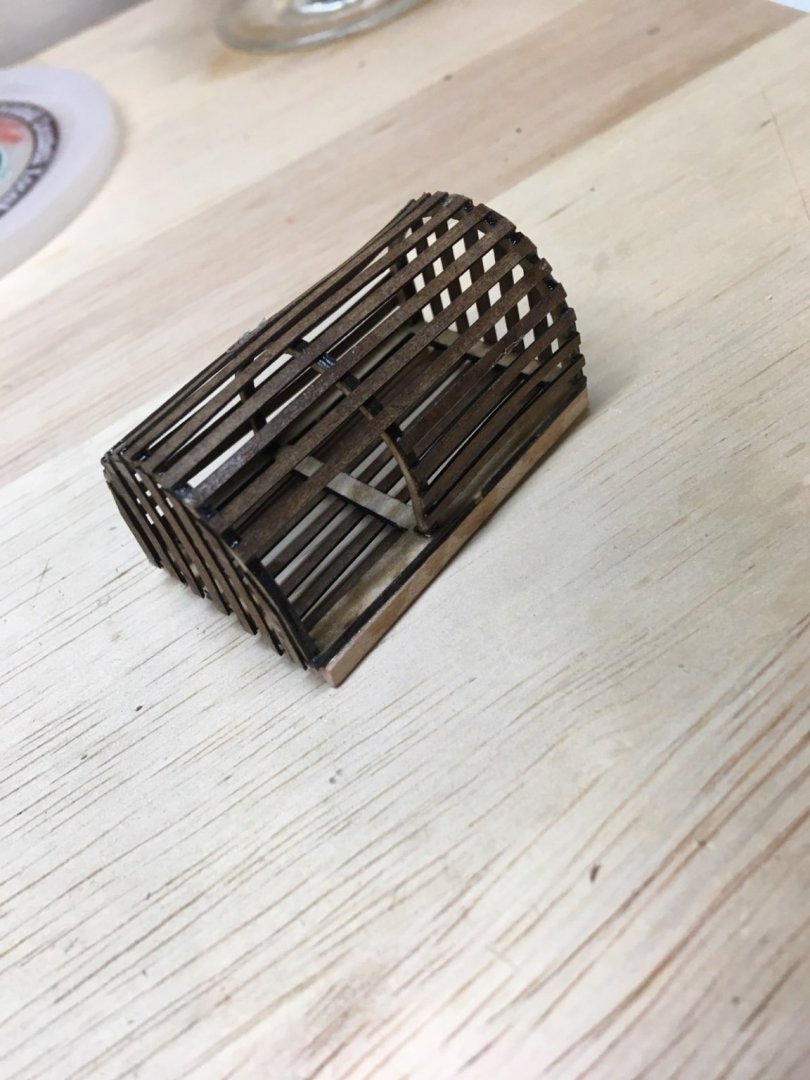
The final step is to paint the trap. I used some light gray, then dusted it with olive drab to make it look like algae scum. And with that, this comparison is over. We will be phasing this new way in over the next few months.

- 24 replies
-
- 9
-
-

-
- lobster trap
- red baron
- (and 2 more)
-
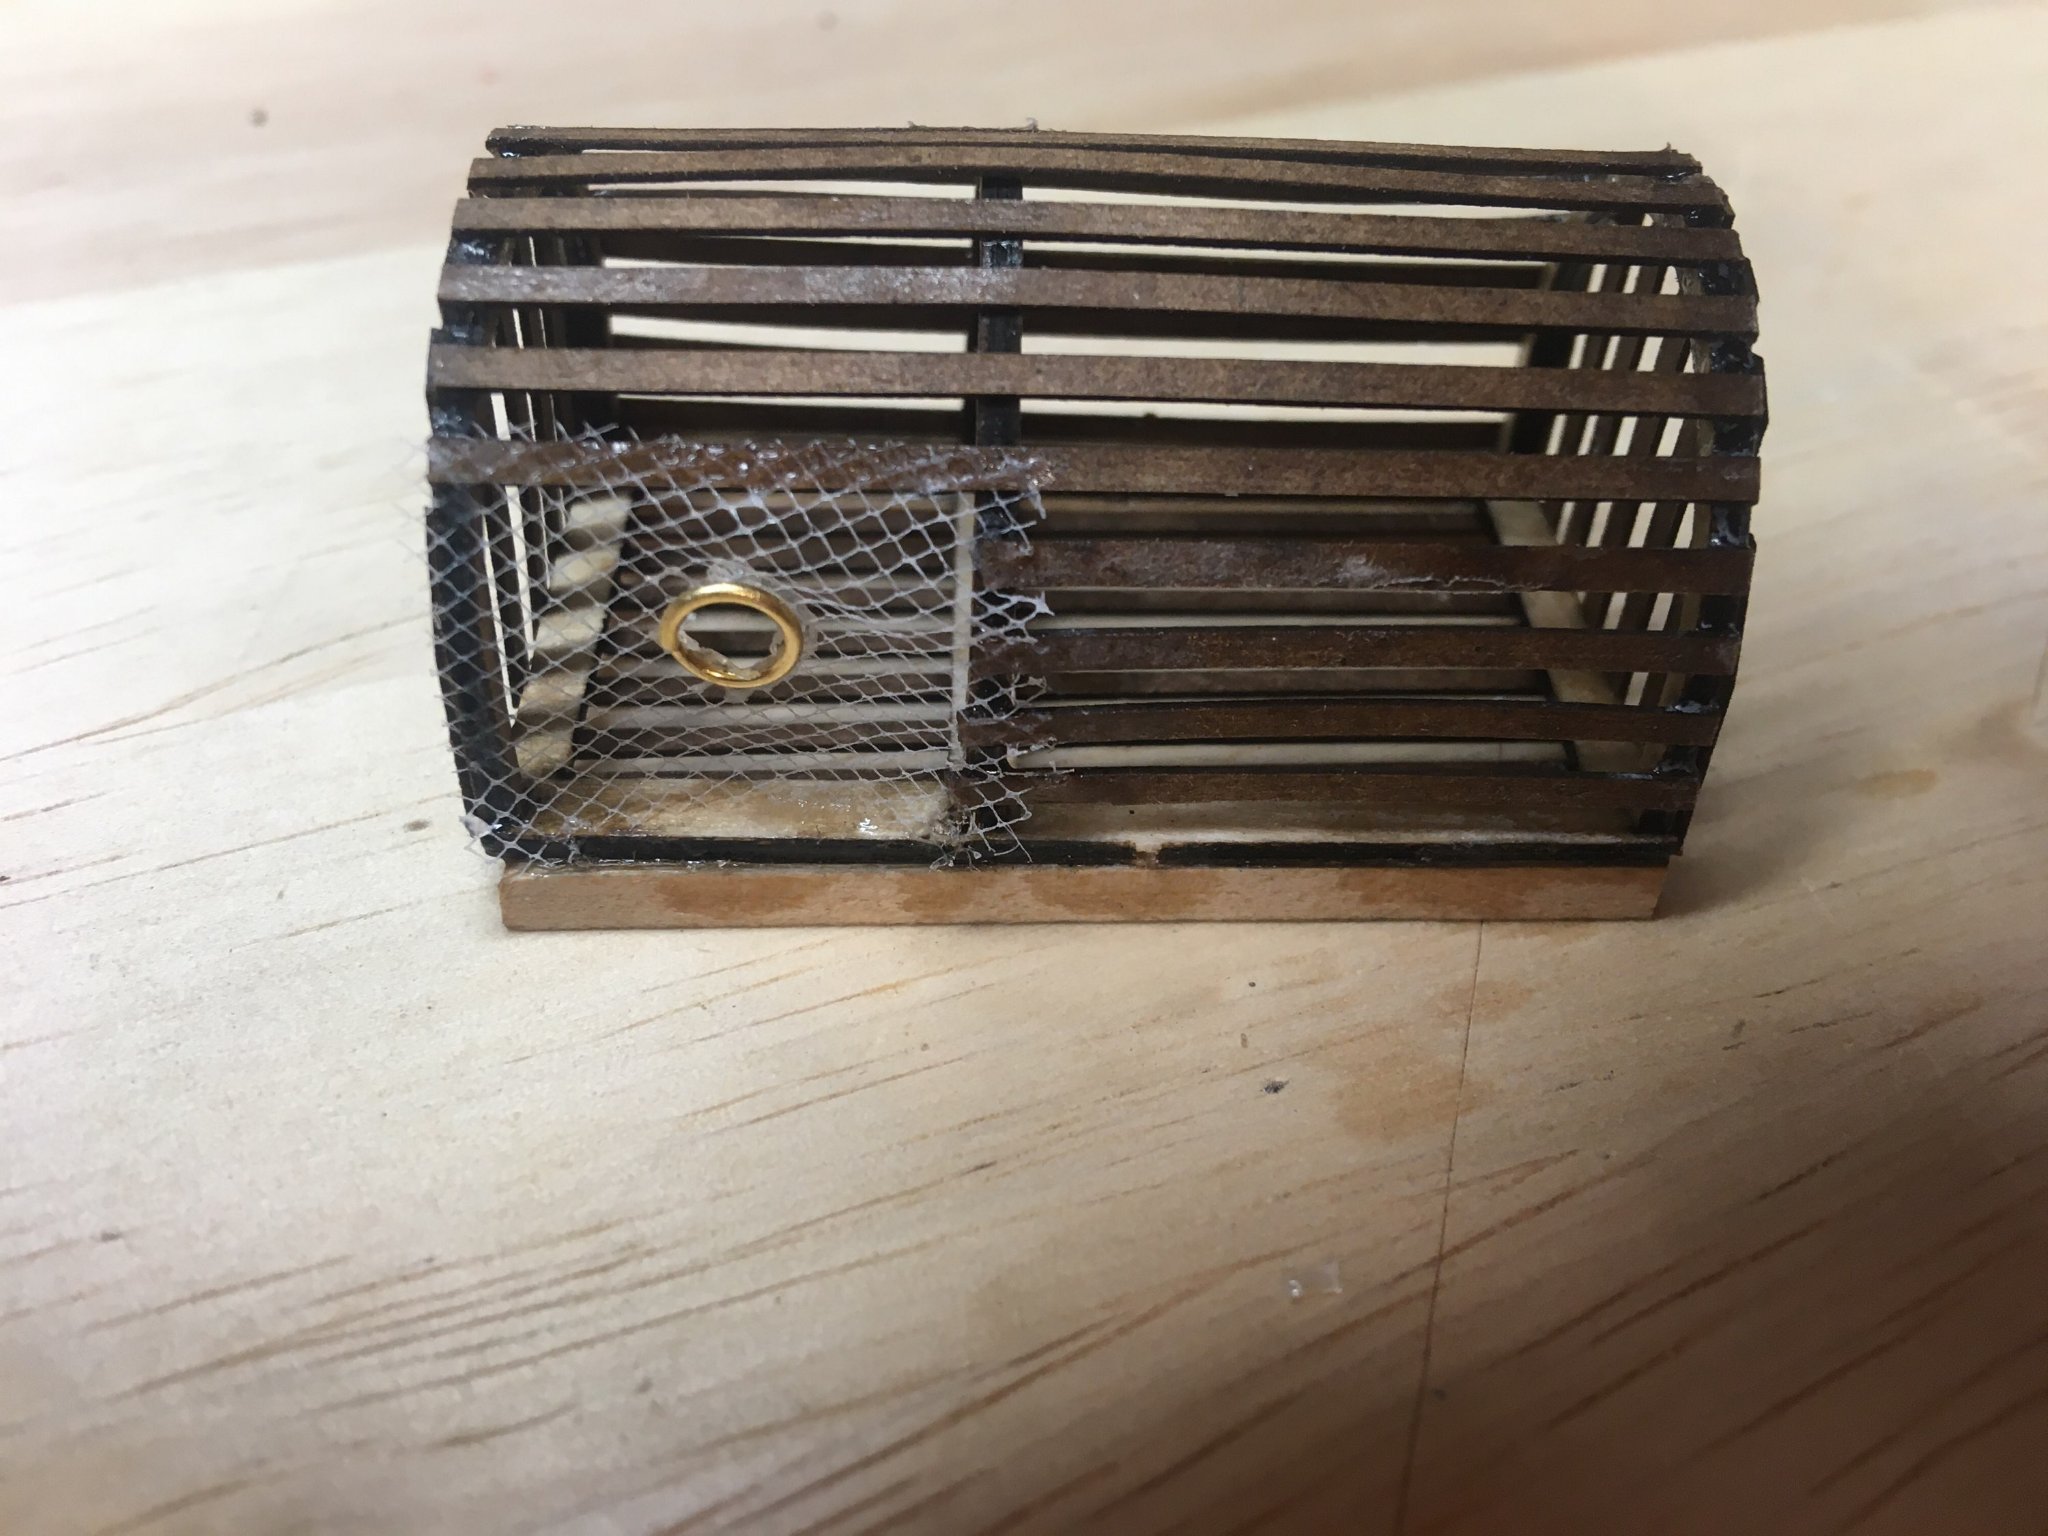
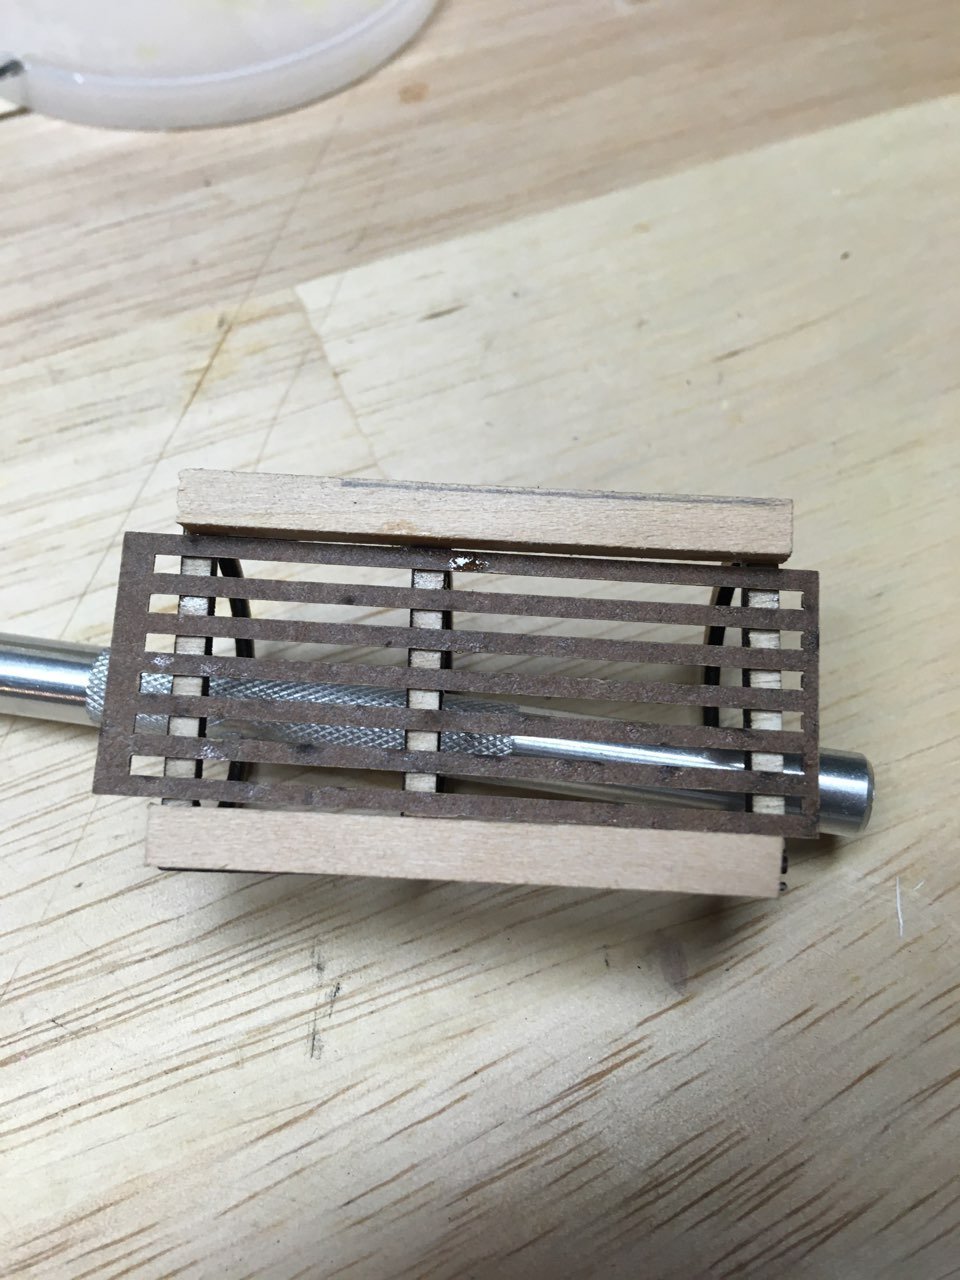
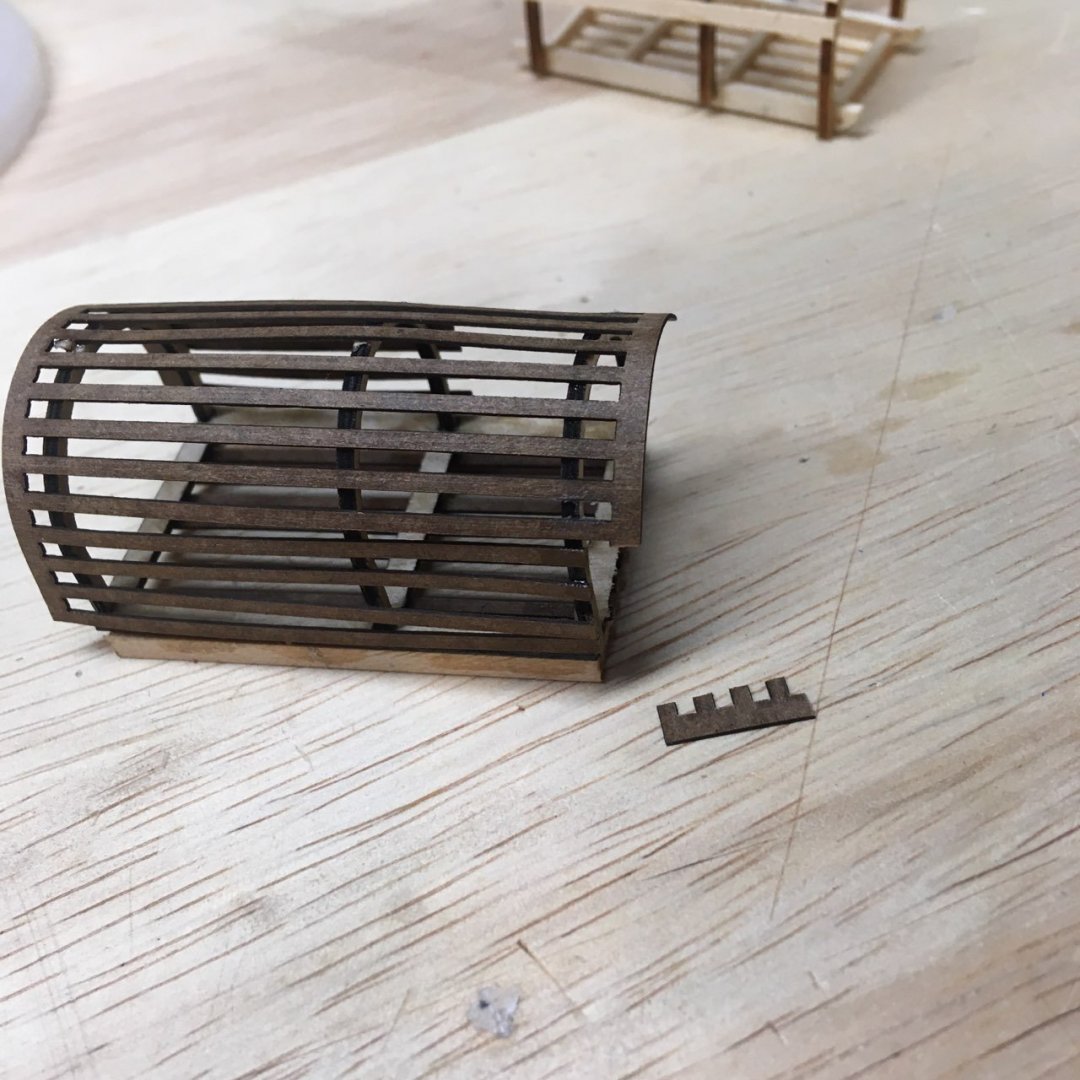
After all the slats are on, the remaining steps are the same for either way. Add the netting and opening

- 24 replies
-
- 5
-
-
- lobster trap
- red baron
- (and 2 more)
-
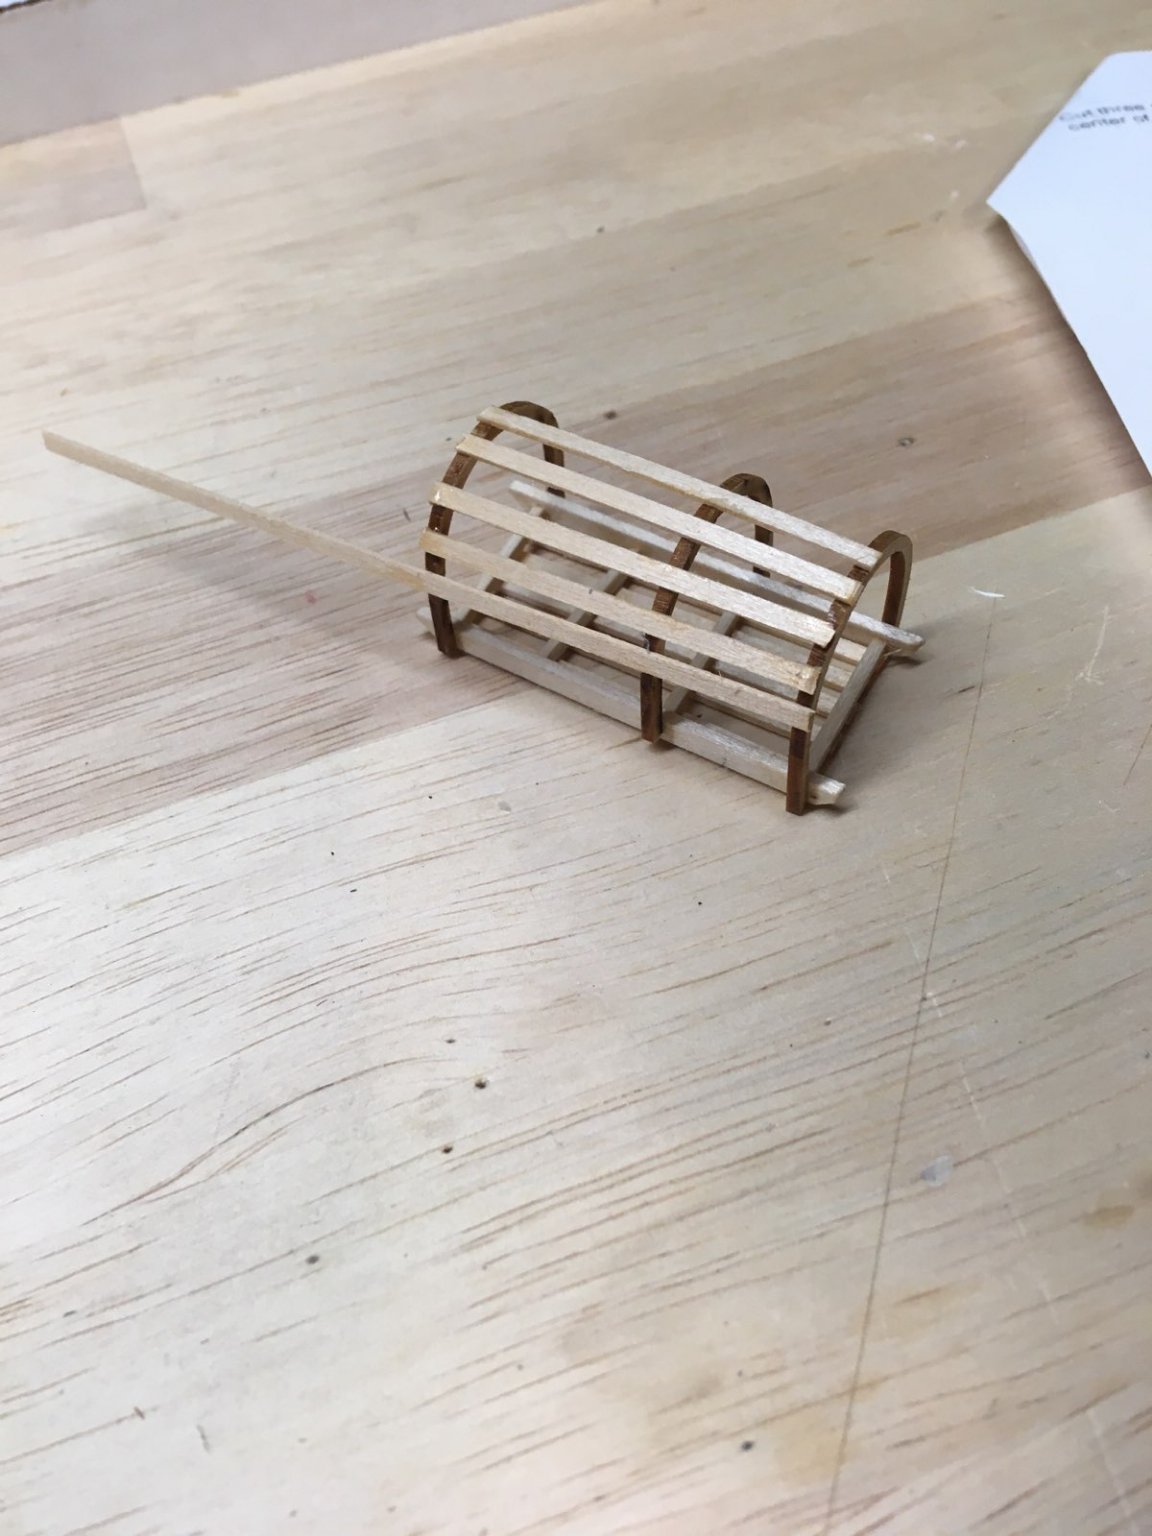
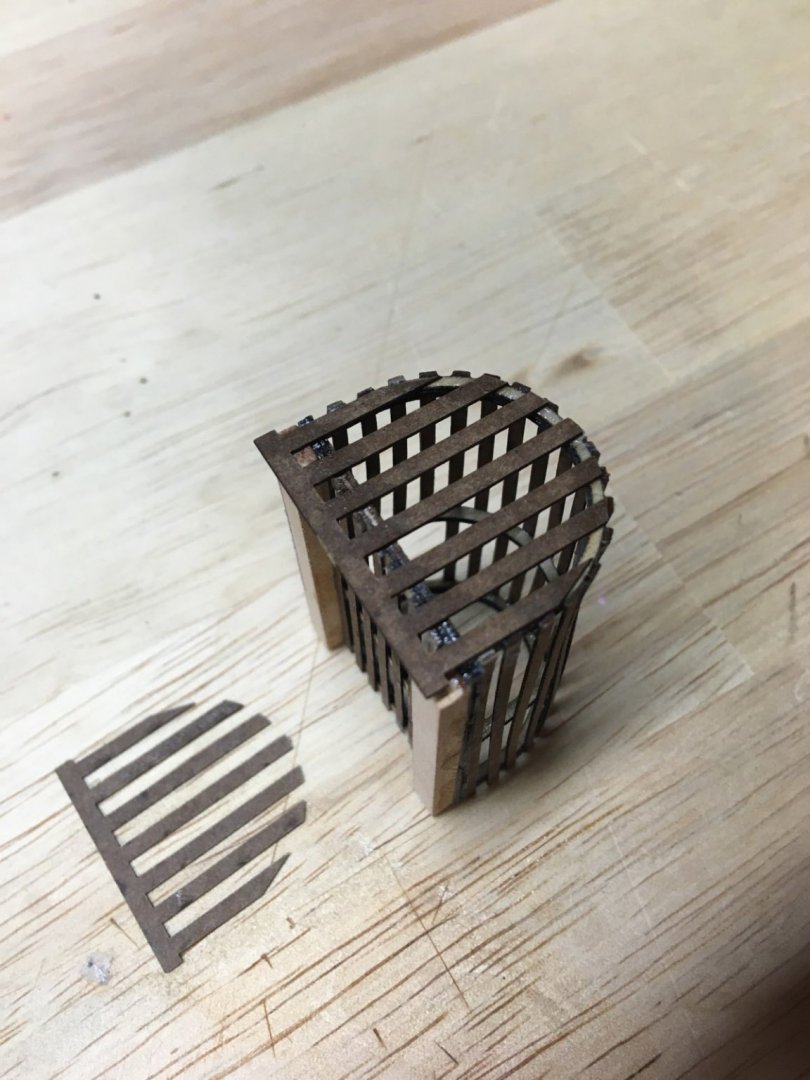
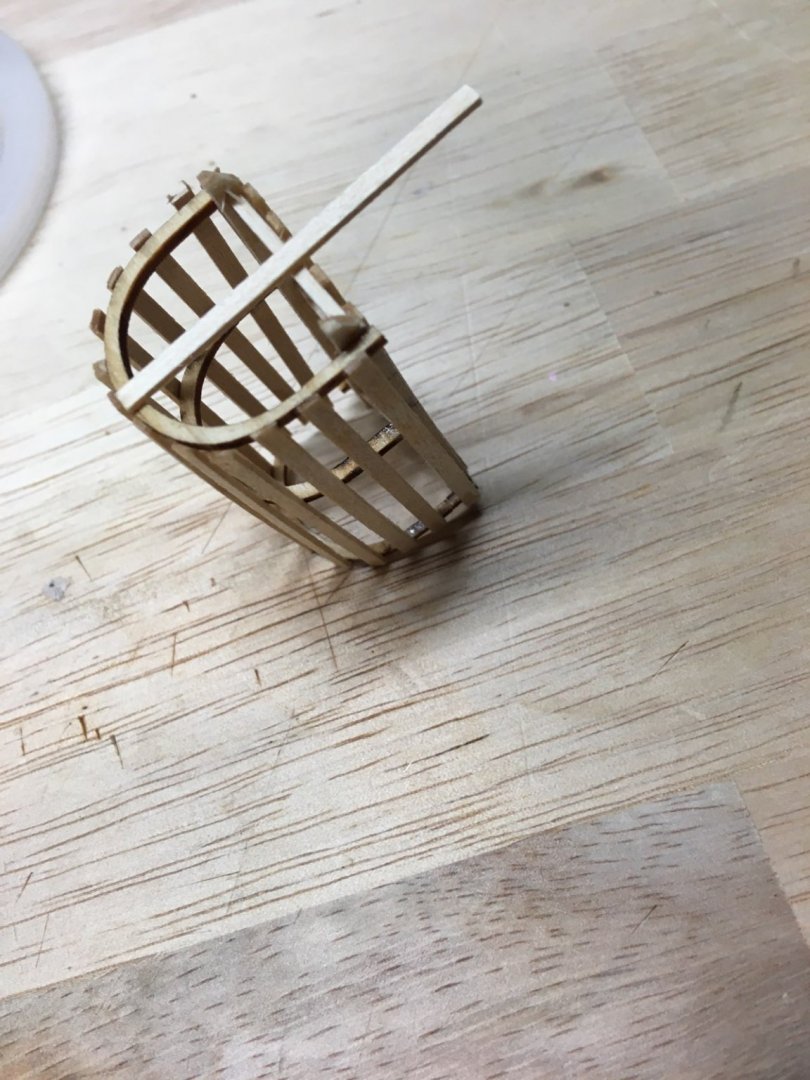
New way: glue the sheet of slats. Much easier. Of course, either way, the slats have to be trimmed.
- 24 replies
-
- 6
-
-
- lobster trap
- red baron
- (and 2 more)
-
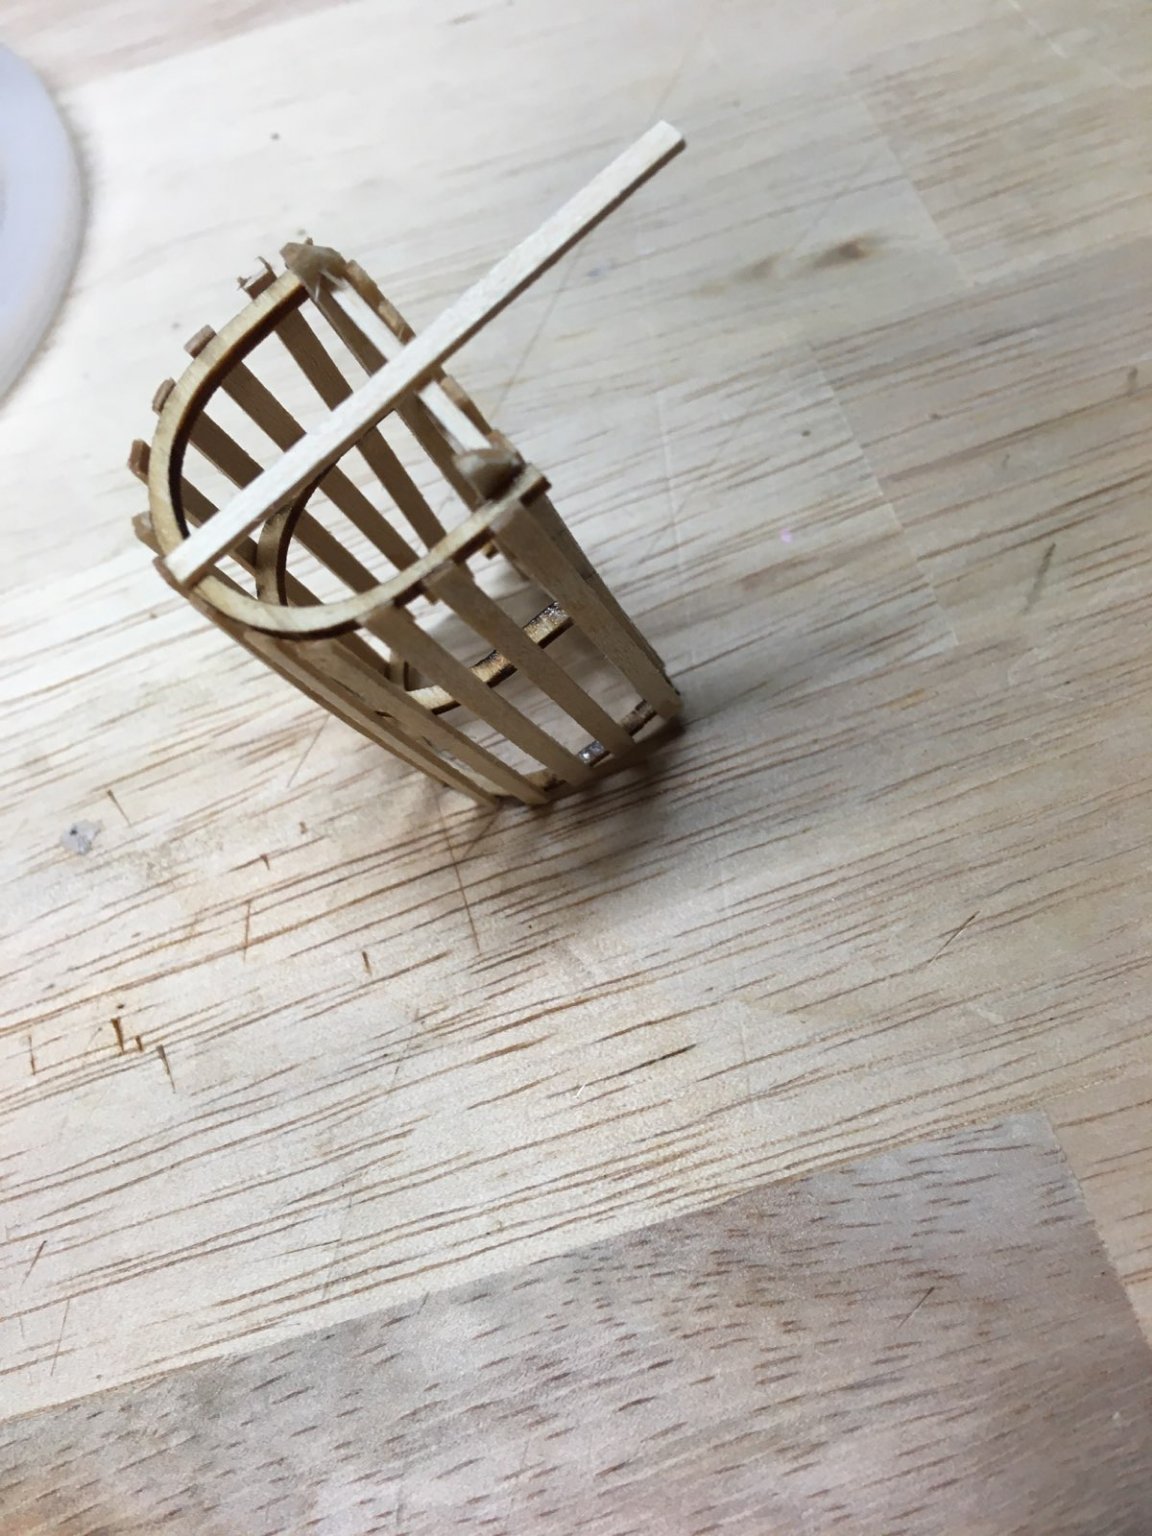
Next step is to add the end slats. Old way: glue them on individually
- 24 replies
-
- 2
-
-
- lobster trap
- red baron
- (and 2 more)
-
New way: Attach the sheet of slats. Much easier, all slats are evenly spaced. Once bent around the hoops and glued in place, it is a simple matter to trim off the edges.
- 24 replies
-
- 10
-
-
- lobster trap
- red baron
- (and 2 more)
-
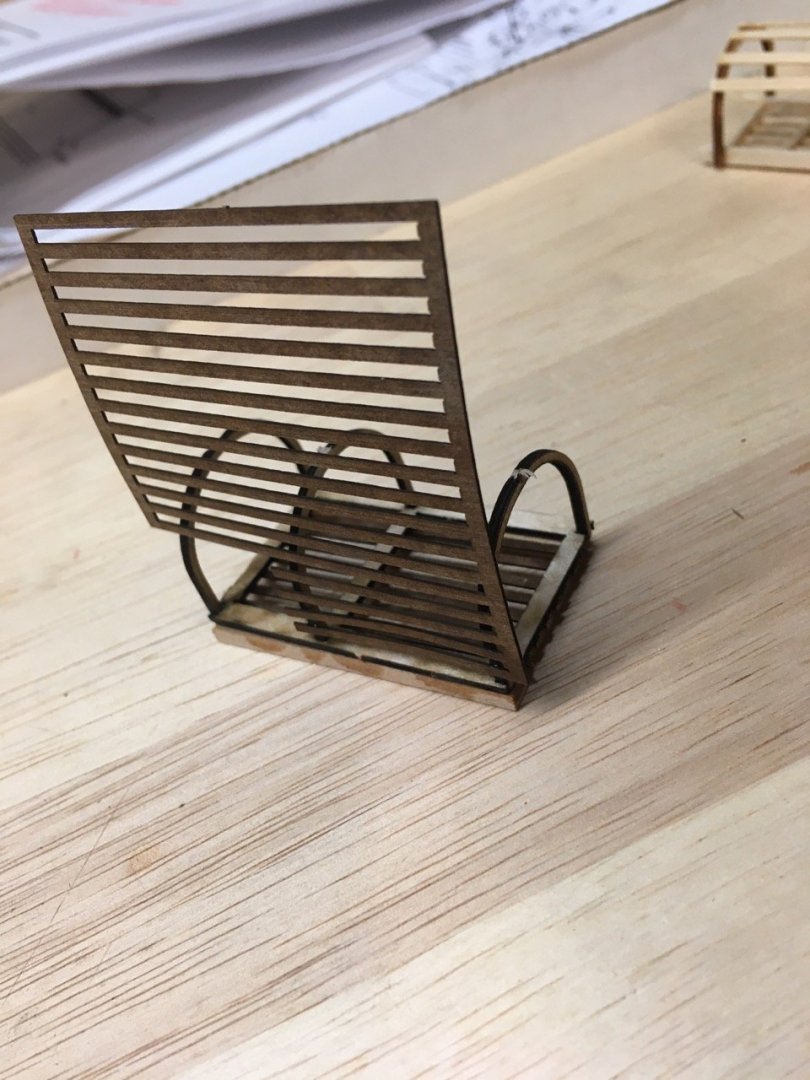
Next step - old way: individually attach the slats to the hoops. Tedious, and prone to misalignment.

- 24 replies
-
- 1
-
-
- lobster trap
- red baron
- (and 2 more)
-
How about the Charles P. Notman? Or maybe the large Friendship sloop and put a dollhouse figure or two in it. Picnic, maybe?
- 85 replies
-
- 1
-
-
- perry
- BlueJacket Shipcrafters
- (and 1 more)
-
New way, add 2 longitudinal pieces, then put down the sheet of strips. Nice and evenly spaced.

- 24 replies
-
- 6
-
-
- lobster trap
- red baron
- (and 2 more)