HOLIDAY DONATION DRIVE - SUPPORT MSW - DO YOUR PART TO KEEP THIS GREAT FORUM GOING!
×


MrBlueJacket
-
Posts
1,308 -
Joined
-
Last visited
Content Type
Profiles
Forums
Gallery
Events
Everything posted by MrBlueJacket
-
 Then there's the story of the lady in court, who killed her husband by beating him with his guitar collection. "First offender?" asked the judge. "No, first a Gibson, then a Fender" answered the lady.
- 82 replies
-
- 2
-

-

-
- spray
- BlueJacket Shipcrafters
- (and 1 more)
-
Here's a really good way to control the application of CA glue. Look at the tip of the month: http://campaign.r20.constantcontact.com/render?m=1105166336677&ca=64bf22da-704d-496c-8e70-95bc1220ea79
-
FYI - trust the pieces, not the drawing. Nic
-
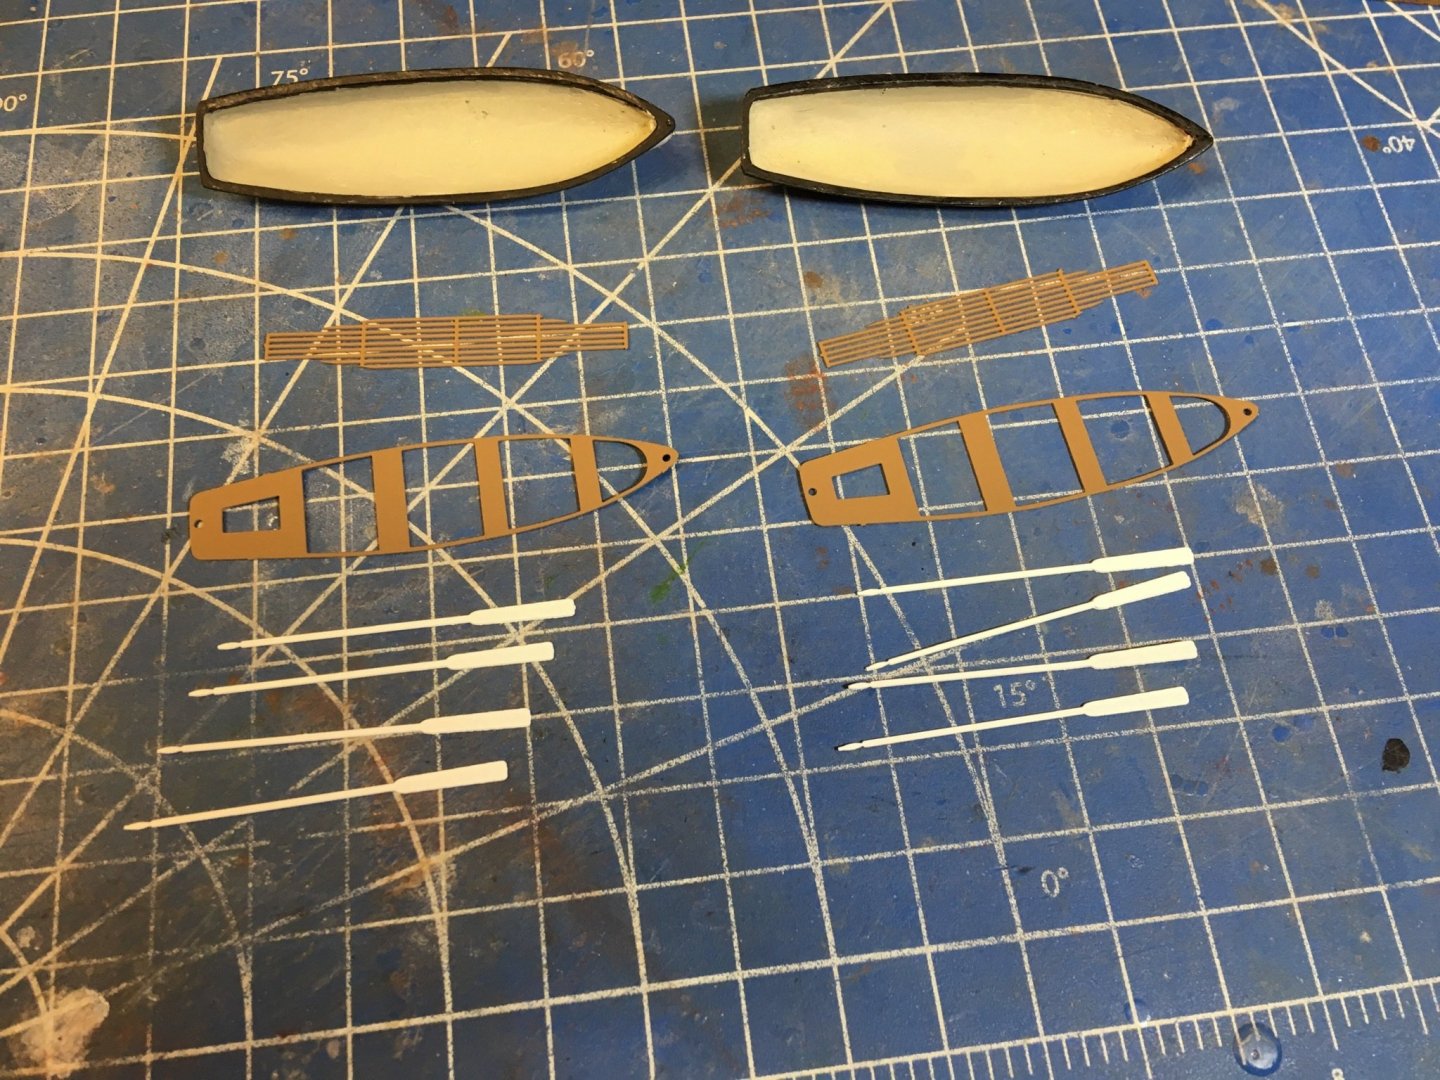
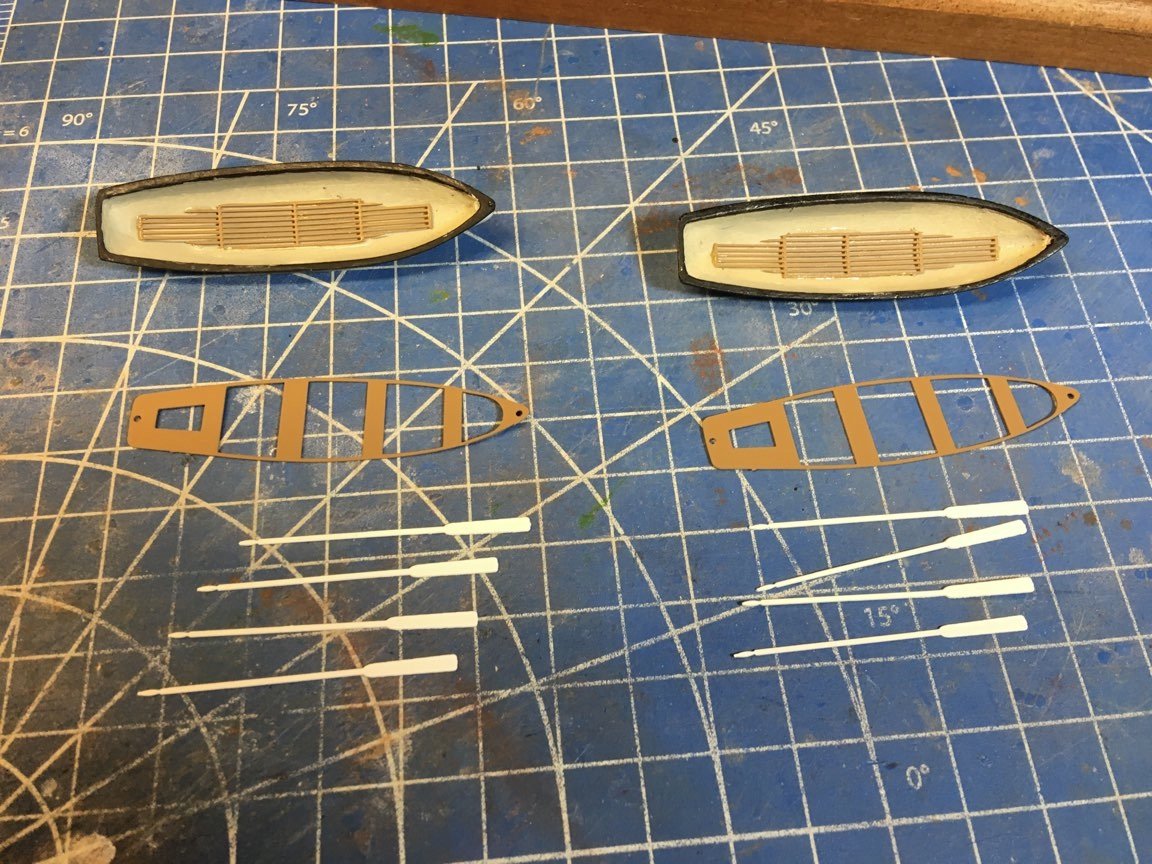
Getting so close to the end, so I started working on the lifeboats. Here's the pieces, all painted.The hull is white on the outside, gray inside, with black gunwales. Everything but the hulls are photo etched.
- 356 replies
-
- 4
-
-
- red jacket
- finished
- (and 1 more)
-
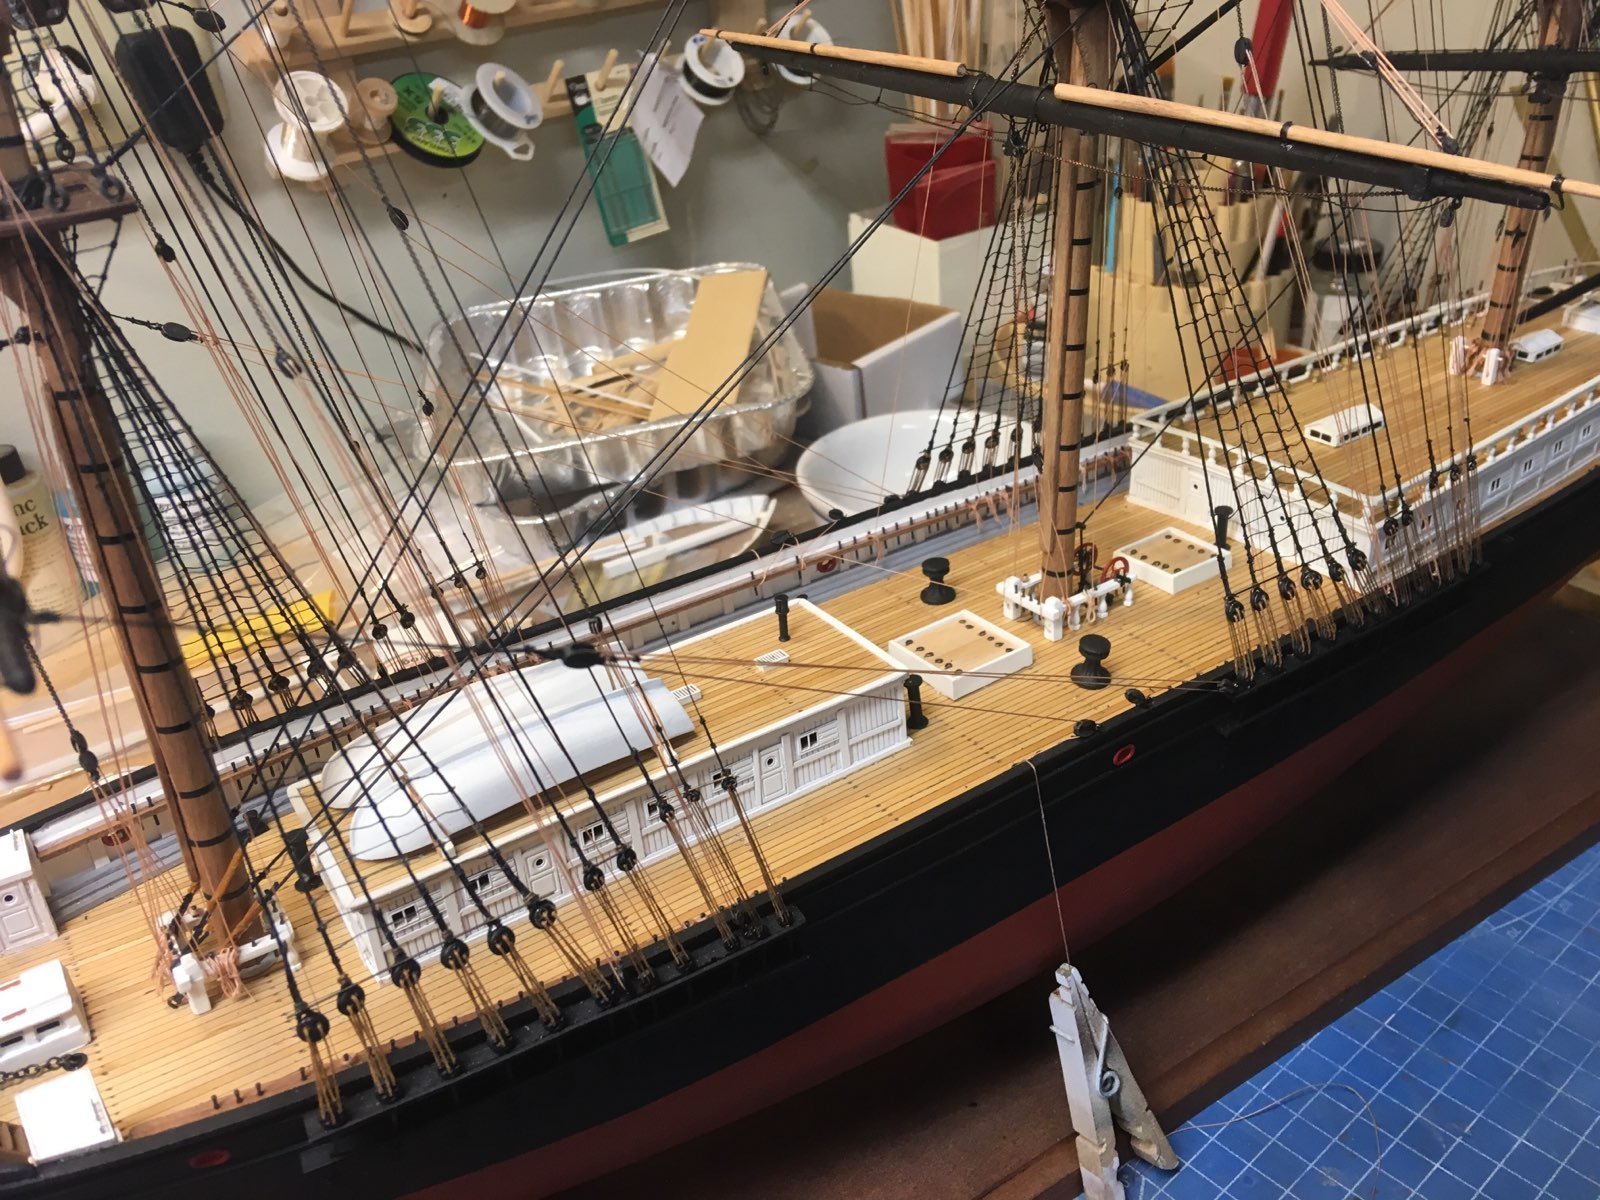
So tonight I finished all the fore mast braces. 10 down, 20 to go......
- 356 replies
-
- 5
-
-
- red jacket
- finished
- (and 1 more)
-
Nice job spiling. Are you aware that the NRG offers a "half hull" planking kit and instructions? You can see it here: https://thenrgstore.org/collections/plans-and-projects/products/half-hull-planking-project
-
Congratulations, very nicely done. I just made a note in your customer file for 10% off your next kit. Nic
- 70 replies
-
- 2
-
-
- Spray
- bluejacket shipcrafters
- (and 1 more)
-
So here's the port fore lower brace. You can see braces on the starboard side, too. There will be 30 of them altogether.
- 356 replies
-
- 7
-
-

-
- red jacket
- finished
- (and 1 more)
-
At a paint store, you can buy mildewcide to add to your gluey-water slurry.
- 70 replies
-
- 1
-
-
- Spray
- bluejacket shipcrafters
- (and 1 more)
-
For a waterline stripe, have you considered some vinyl striping tape?
-
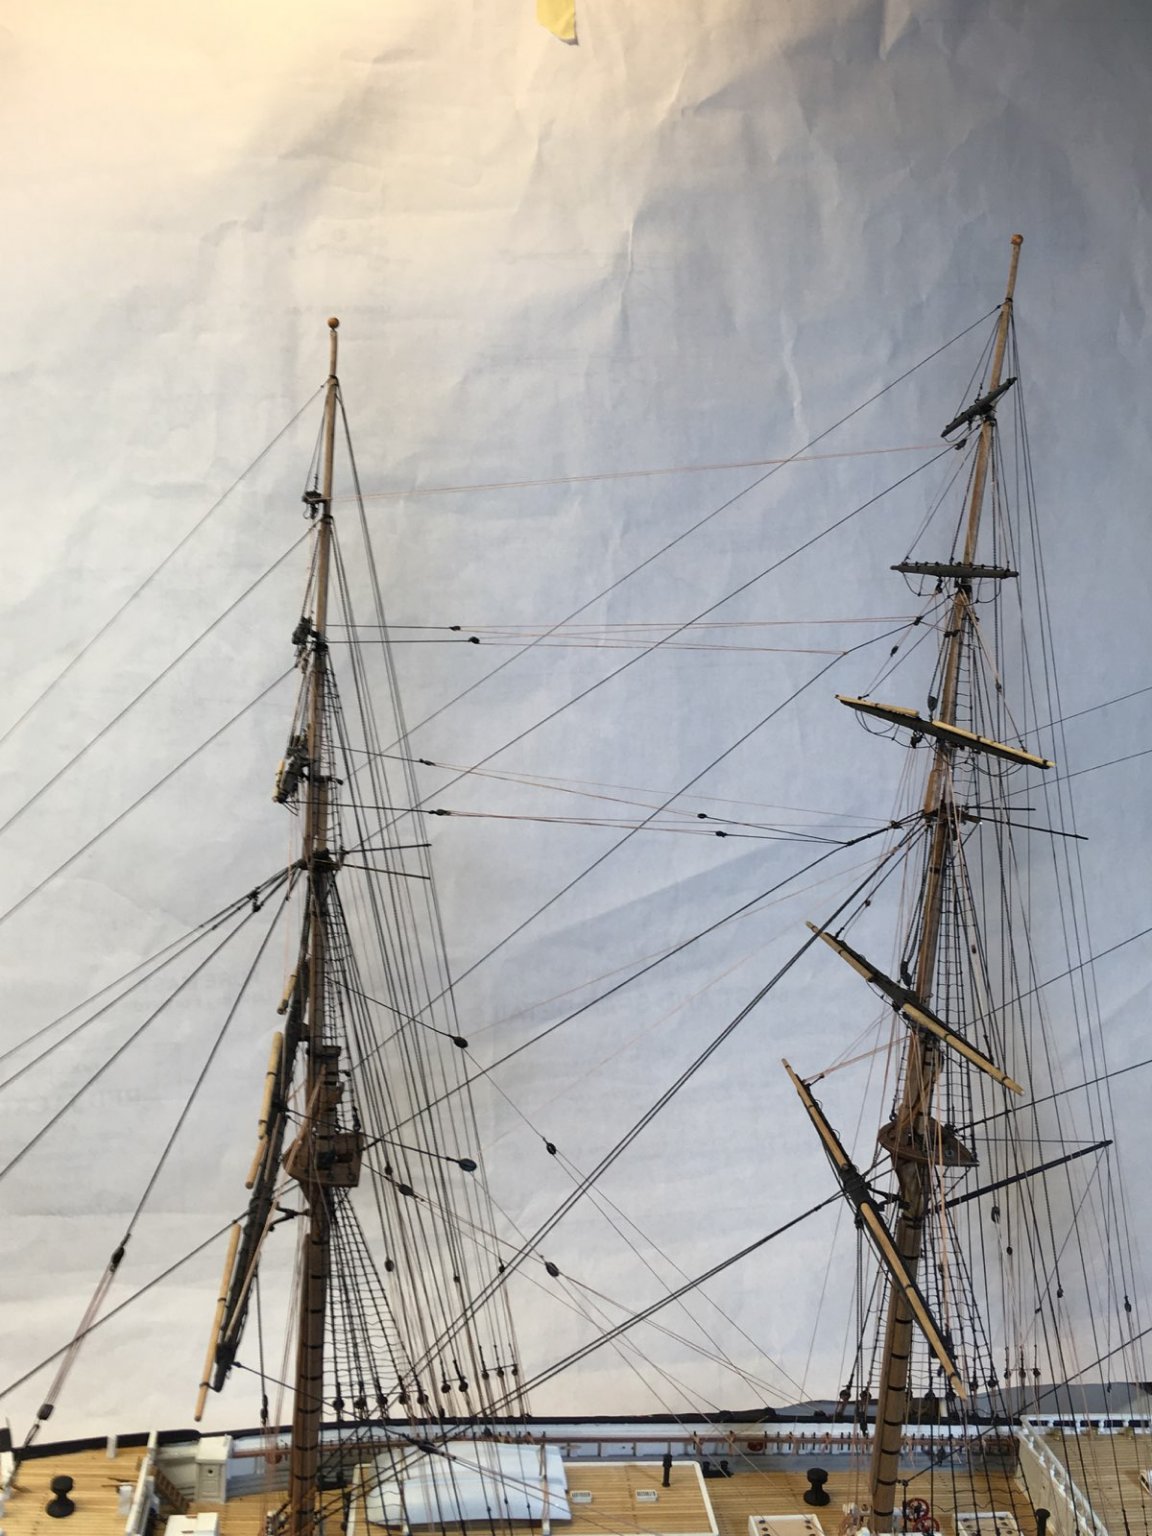
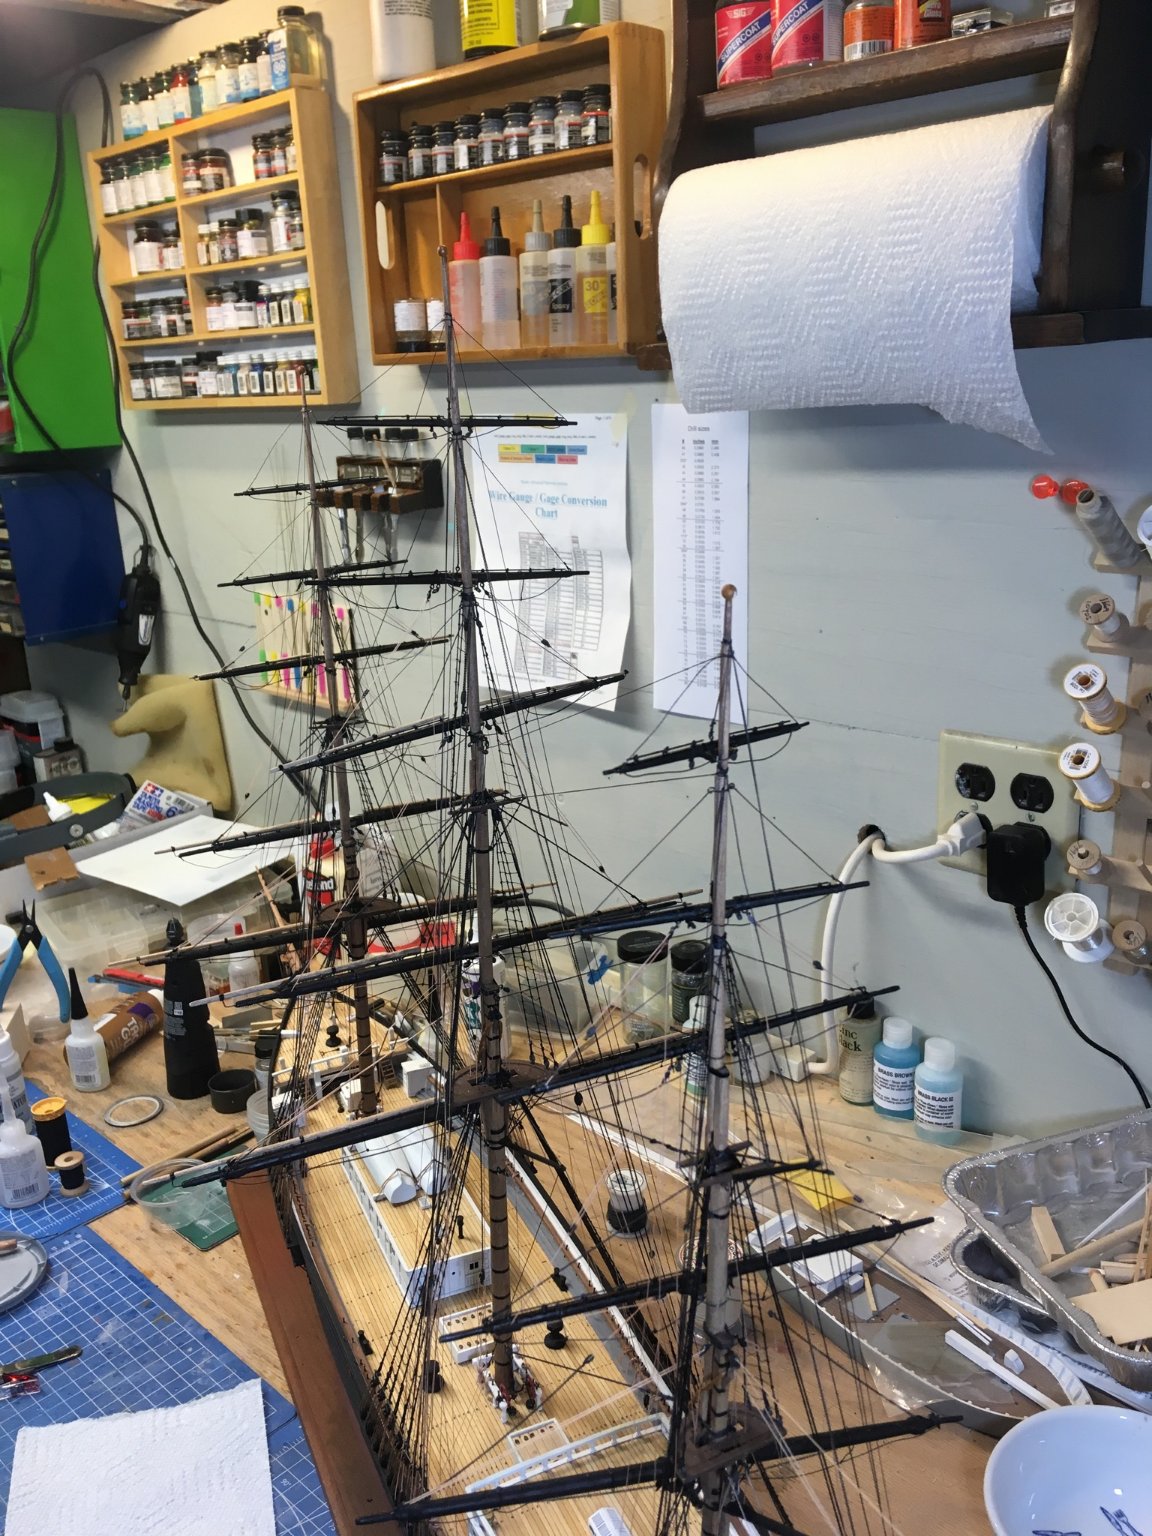
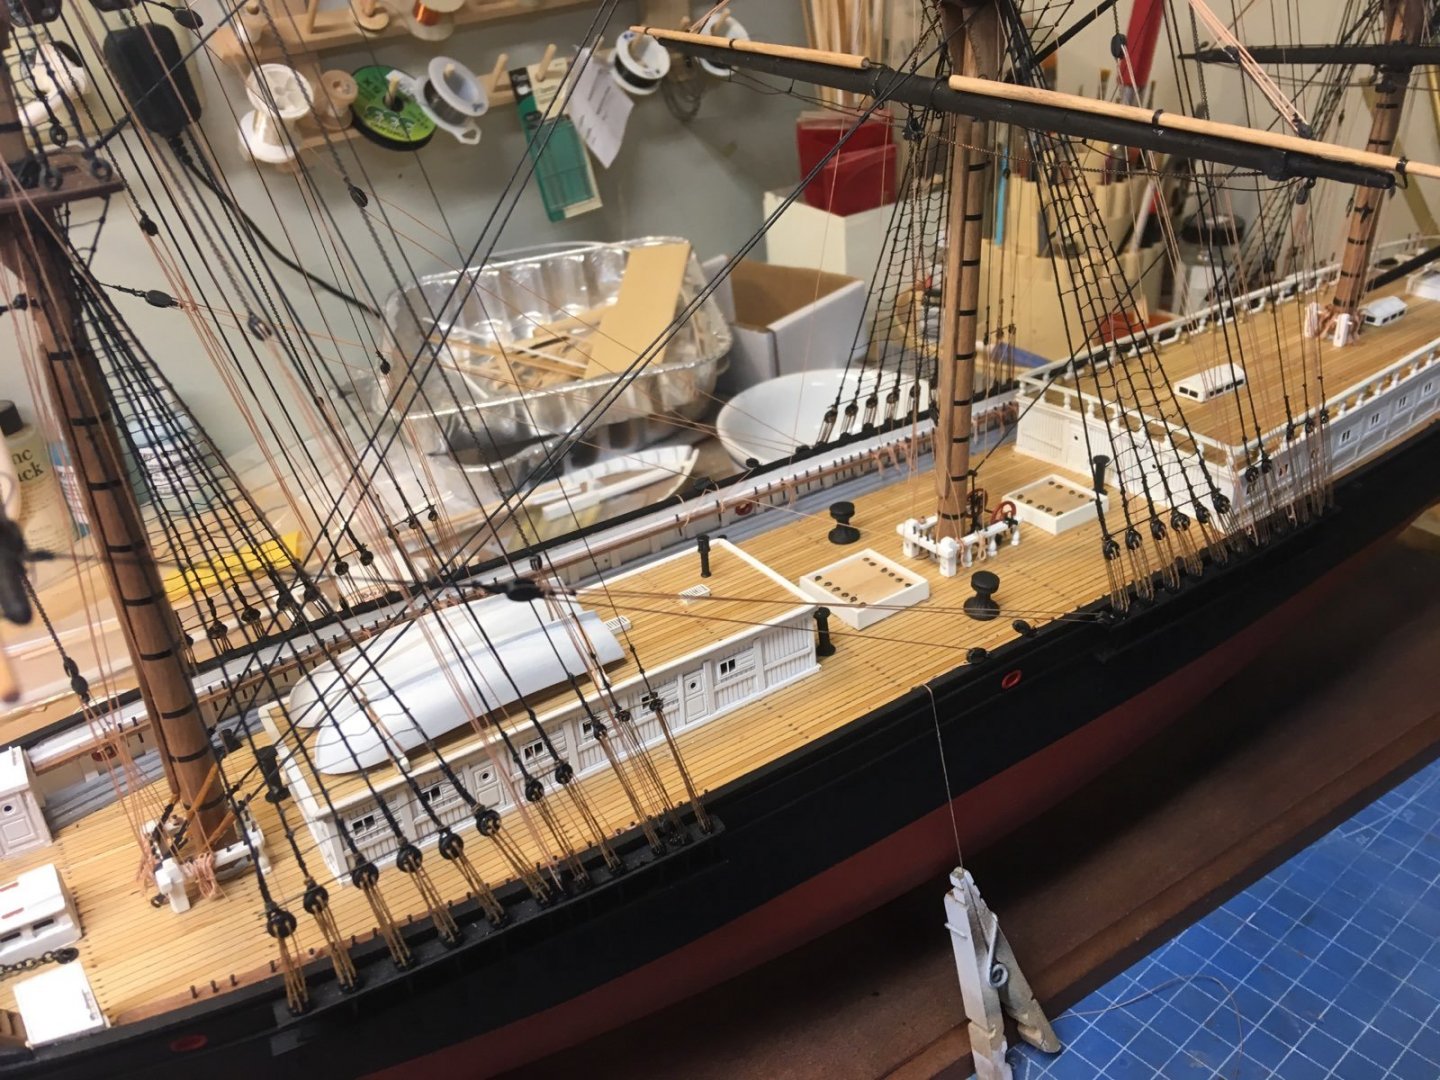
Now all the sky yards have their halyards and lifts. Next comes 6 sheets and 6 clew lines. Then its on to the braces. The end is in sight.

- 356 replies
-
- 11
-
-
- red jacket
- finished
- (and 1 more)
-
I've said this before: "Putty and paint- Makes it look like what it ain't"
-
Although it is speculation, I think Slocum was a minimalist. To keep the rig as simple as possible, if he had trouble with the jib sheet, I think he would have dropped the jib until he could manage it. Just a guess on my part.
- 70 replies
-
- 2
-
-
- Spray
- bluejacket shipcrafters
- (and 1 more)
-
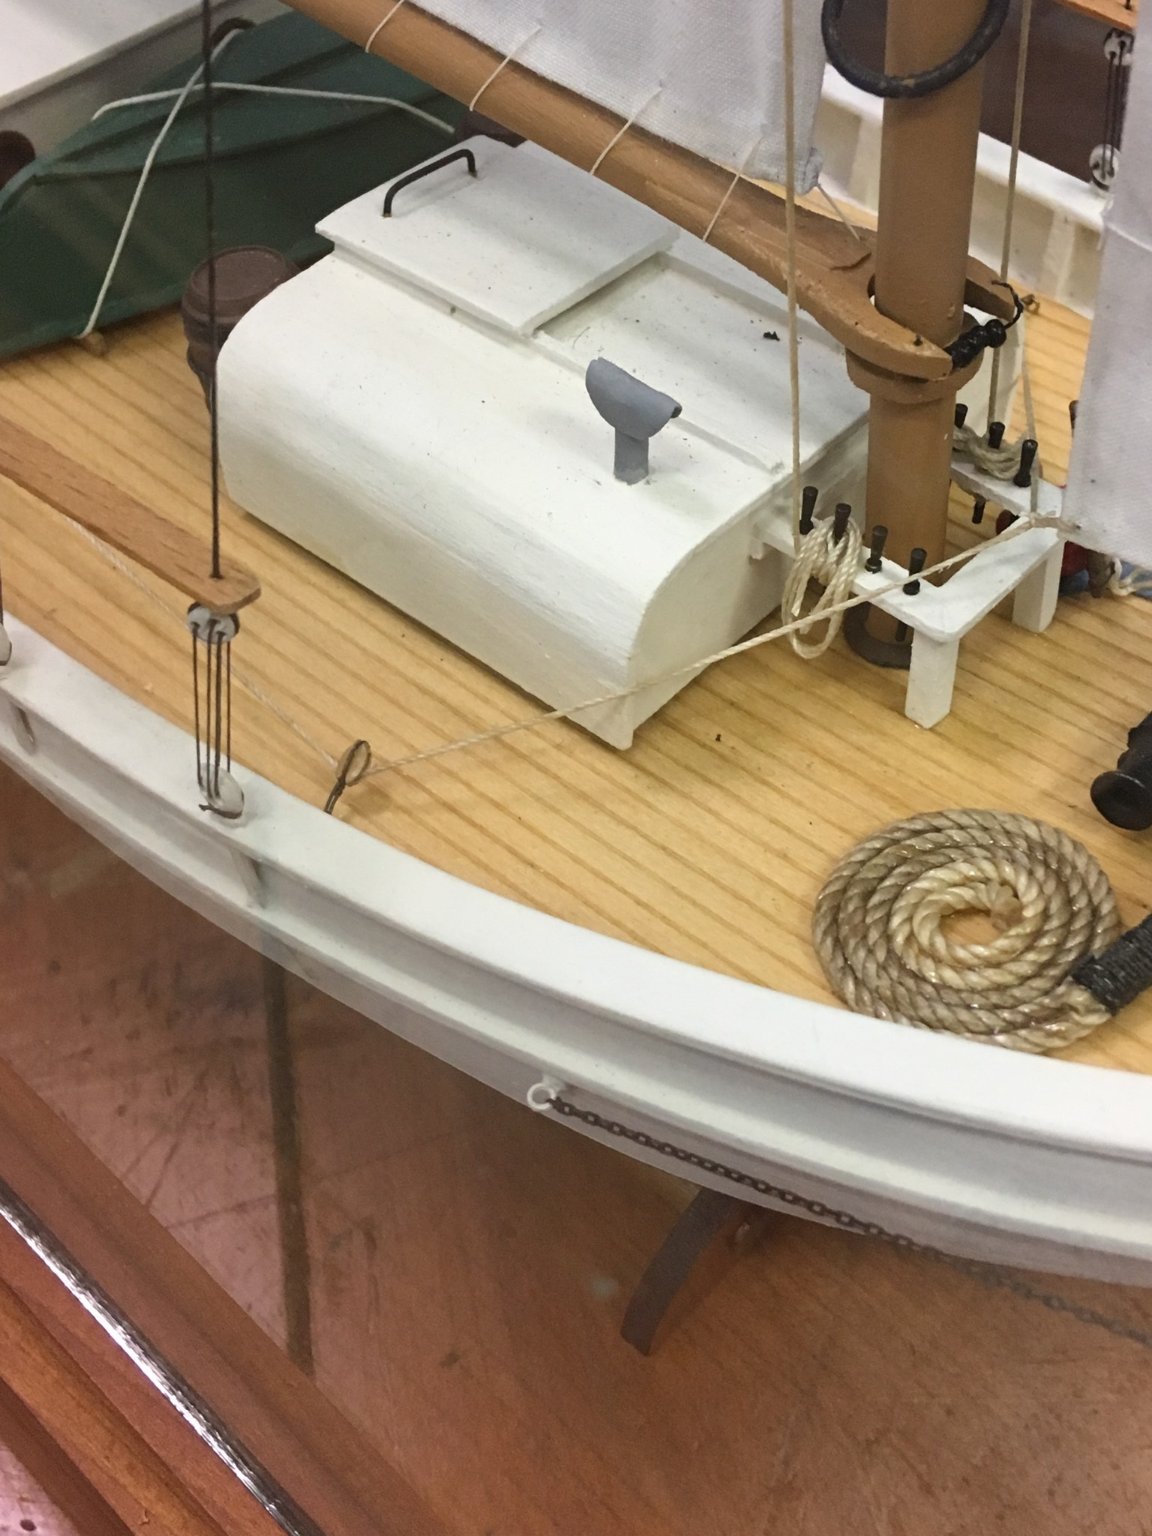
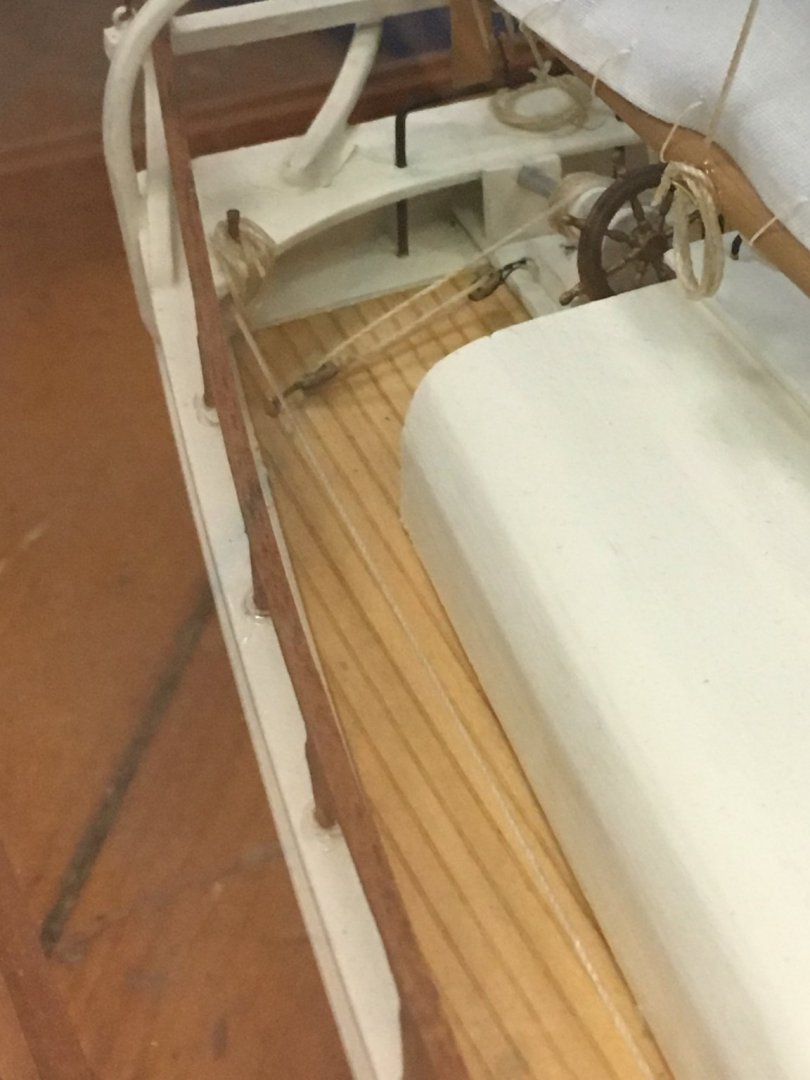
Hi josh, They go through a block just aft of the mast near the waterway, then back to the stern and terminate at a belaying pin in the taffrail. Nic

- 70 replies
-
- 2
-
-
- Spray
- bluejacket shipcrafters
- (and 1 more)
-
A general word of caution: Using tea or coffee to stain cloth is not good for longevity. The acids in them will very slowly degrade the cloth.
-
If you're looking for ideas for a reveal, here's what we did for our display model:

- 142 replies
-
- 6
-
-
- alfred
- solid hull
- (and 2 more)
-
Congratulations Jami! Your customer file now shows 10% off the next kit you buy from us. Nic
- 34 replies
-
- 3
-
-
- grand banks dory
- bluejacket shipcrafters
- (and 1 more)
-
Good timing - We're carving Pauline hulls on Monday, will have kits a couple of days after that.
- 87 replies
-
- 2
-
-
- bluejacket shipcrafters
- red baron
- (and 3 more)
-
Just curious - how many hours a day are working on this model? Nic
-
Excellent job! Your customer file now shows a 10% discount on your next kit from us. Nic
- 87 replies
-
- 3
-
-
- bluejacket shipcrafters
- red baron
- (and 3 more)
.jpg.d01d1589e3e6c9be1654ad502b69e535.jpg)

.jpg.05afdd42b92712424714b6b8cd2ee648.jpg)