
HOLIDAY DONATION DRIVE - SUPPORT MSW - DO YOUR PART TO KEEP THIS GREAT FORUM GOING! (Only 68 donations so far out of 49,000 members - Can we at least get 100? C'mon guys!)
×


MrBlueJacket
-
Posts
1,309 -
Joined
-
Last visited
Content Type
Profiles
Forums
Gallery
Events
Everything posted by MrBlueJacket
-
 As for HOBBY knifes having a tendency to "ahem" go where they shouldn't, in my 67 years of building models, I think I have left a bit of DNA on every one of them. Certainly the last 20 years that I can remember. NIC
 -
I agree. Flooring grit would be microscopic. Actual grit size 280 is only 52.5 microns in diameter (about .002 inches) Dividing by 32 gives you a size of 0.0000625 inches. Just use flat gray paint.
-
Well done! Your customer file has a note in it that you will get 10% off the next kit you buy from us.
-
Yes, by all means do a build log. When you finish, I will give you 10% off the next kit you get from us. That's a standing offer from BlueJacket as long as I own the business. Nic PS - see PM
-
Glad to see you are doing a build thread. When you have her finished, I will give you 10% off the next kit you buy from us. It's a standing offer I have for as long as I own blueJacket. Nic
- 30 replies
-
- 1
-

-
- Red Baron
- Bluejacket Shipcrafters
- (and 1 more)
-
Noted midwestern modeler Steve Wheeler said your best tool is the wastebasket!
-
Interesting. I will look into this. Meantime, I will send you two longer pieces of wood. Nic
- 81 replies
-
- 3
-
-
- Bluejacket Shipcrafters
- Yankee Hero
- (and 1 more)
-
Actually, I have several repairs to do, then a Jefferson Davis, I think. We sold the one in our gallery.
- 356 replies
-
- 2
-
-
- red jacket
- finished
- (and 1 more)
-
As a matter of practicality, you can just spray the red without masking, then just mask off for the green. Saves a step. Nic
- 81 replies
-
- 1
-
-
- Bluejacket Shipcrafters
- Yankee Hero
- (and 1 more)
-
If I may suggest - do not glue the belaying pins until after they are rigged. Sometimes it is easier to run the line through the belaying pin hole, then put in the pin.
- 142 replies
-
- 2
-
-
- alfred
- solid hull
- (and 2 more)
-
I really like "reveals" like the inside of the pilot house. Oh, did I tell Al to do that? Yes I did. And I think he did a great job of it.
- 100 replies
-
- 1
-
-
- pauline
- BlueJacket Shipcrafters
- (and 1 more)
-
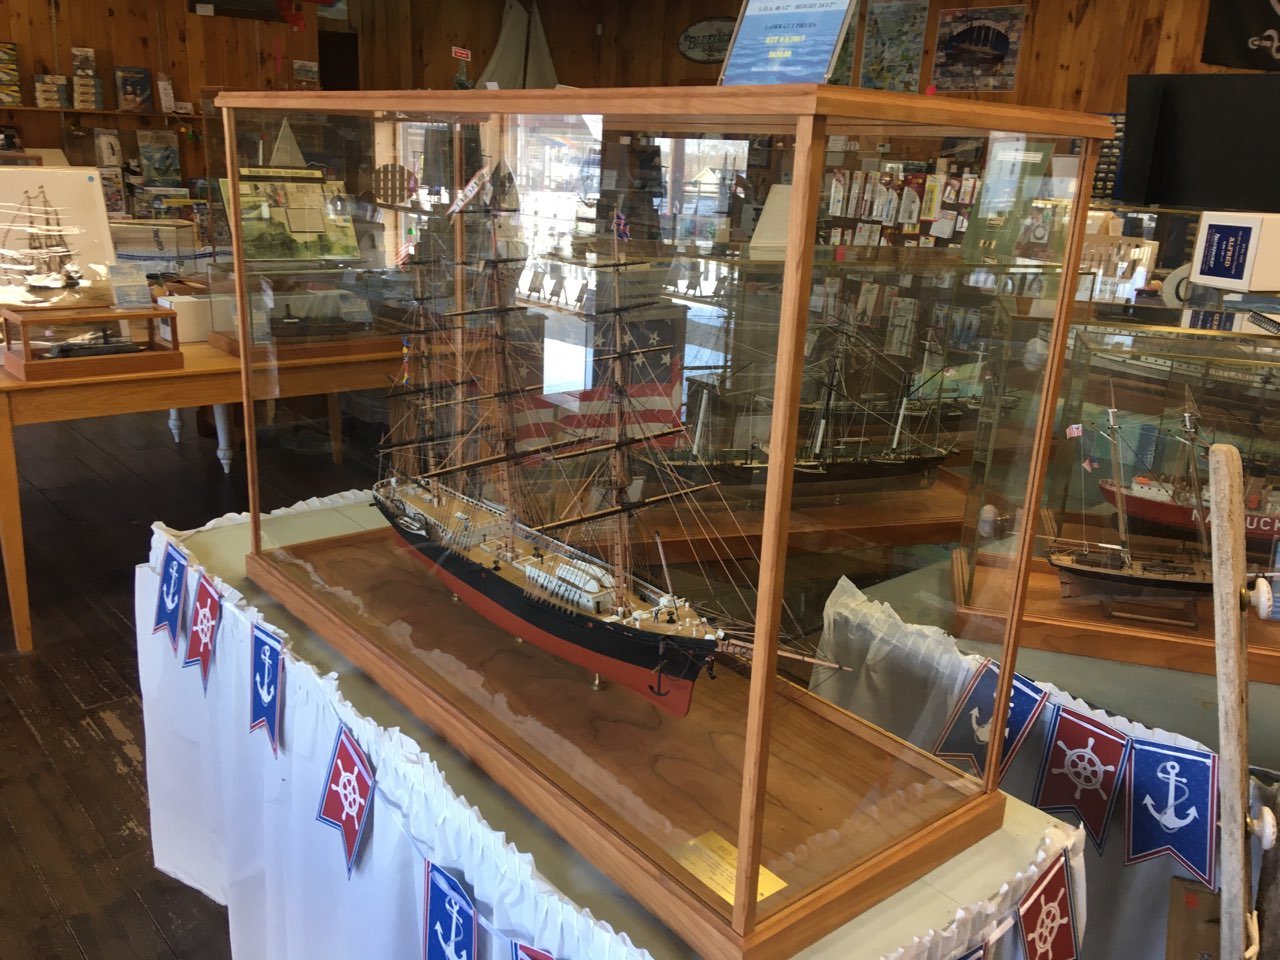
That's looking very good!
-
Thanks, Rob. Yes, she's going in a case and will be displayed in our model gallery. Should have photos next week.
- 356 replies
-
- 4
-
-
- red jacket
- finished
- (and 1 more)
-
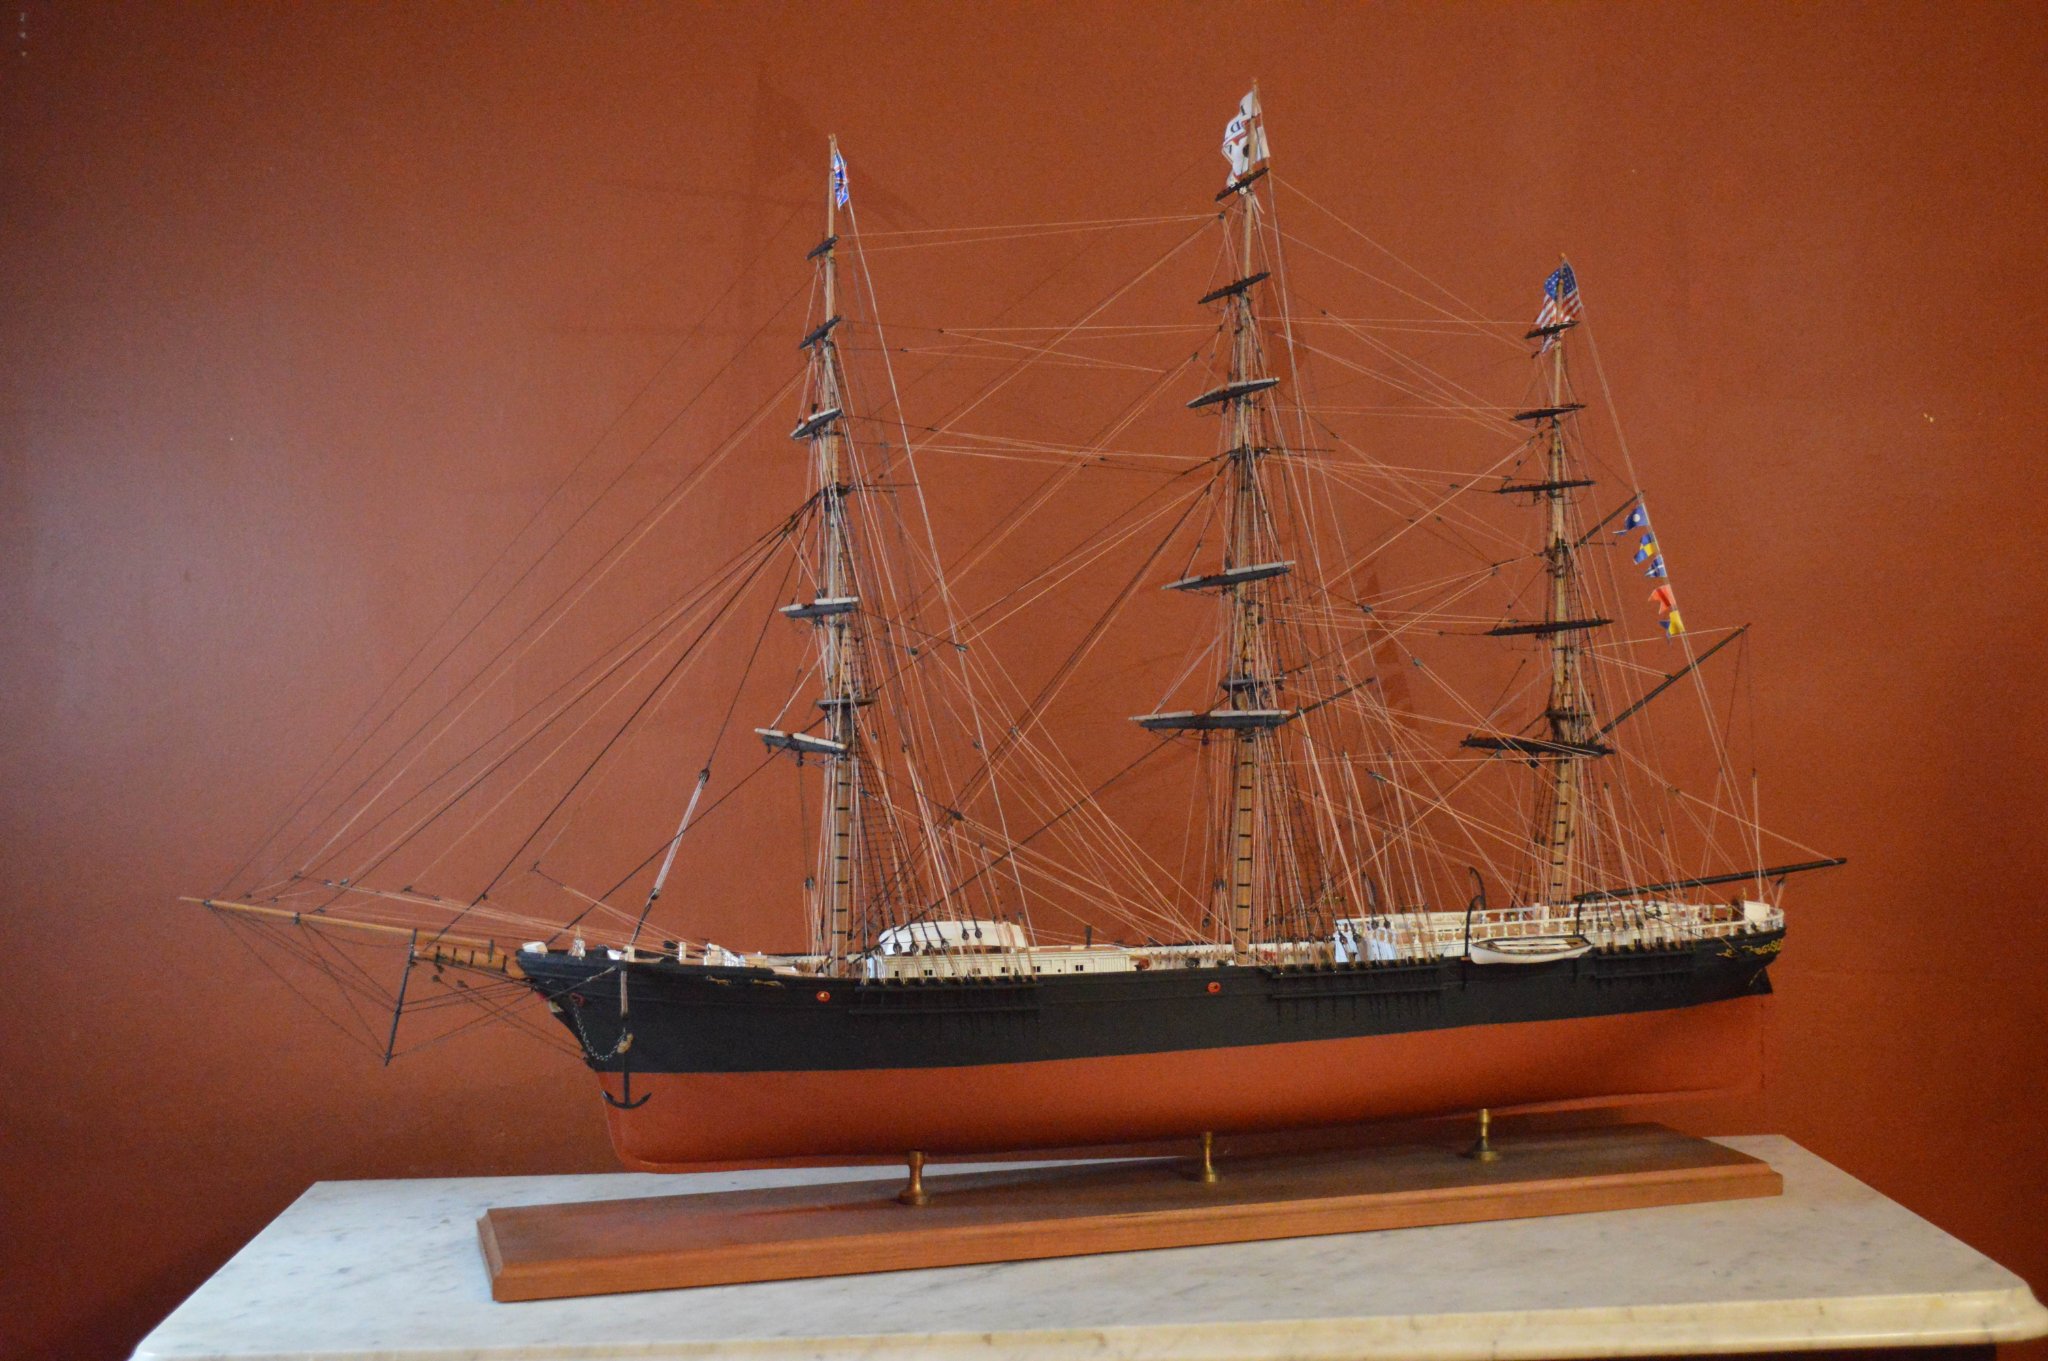
And with that, I declare her finished! 2 years, 2 months and 8 days. Of course, I took a couple of months to do a Fishing Trawler, and 4 months to do a whaleboat. But who's counting? I'll post some more photos soon.

- 356 replies
-
- 24
-
-

-
- red jacket
- finished
- (and 1 more)
-
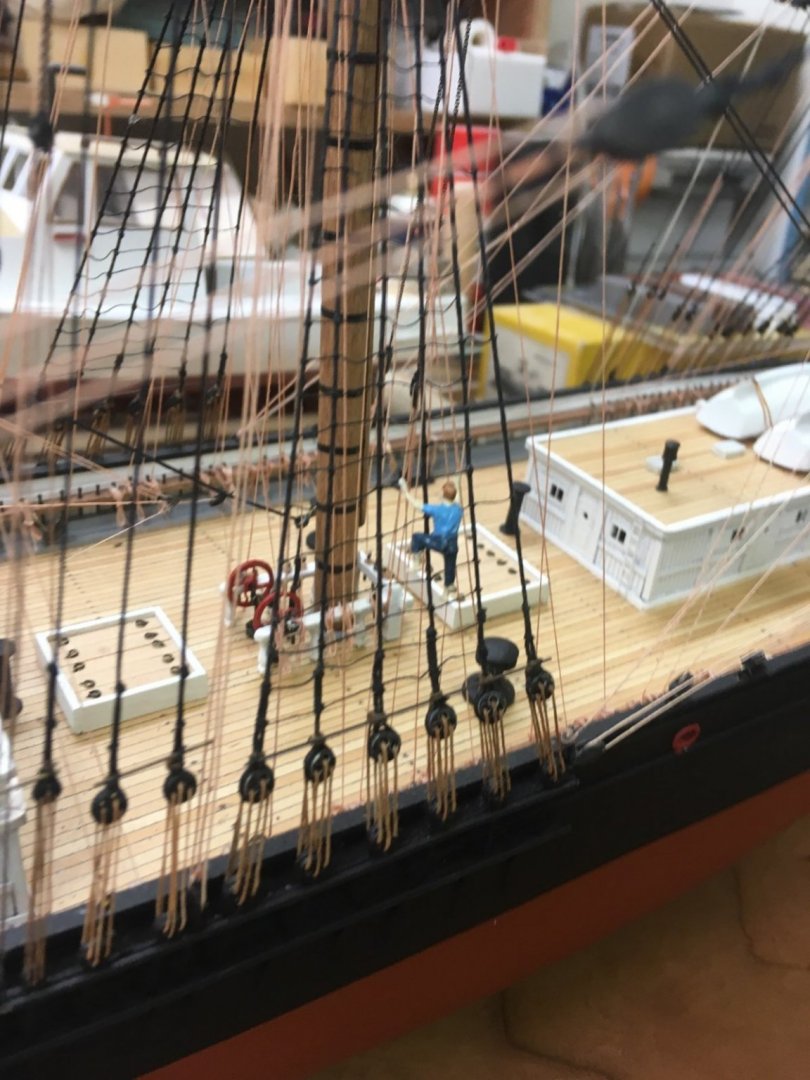
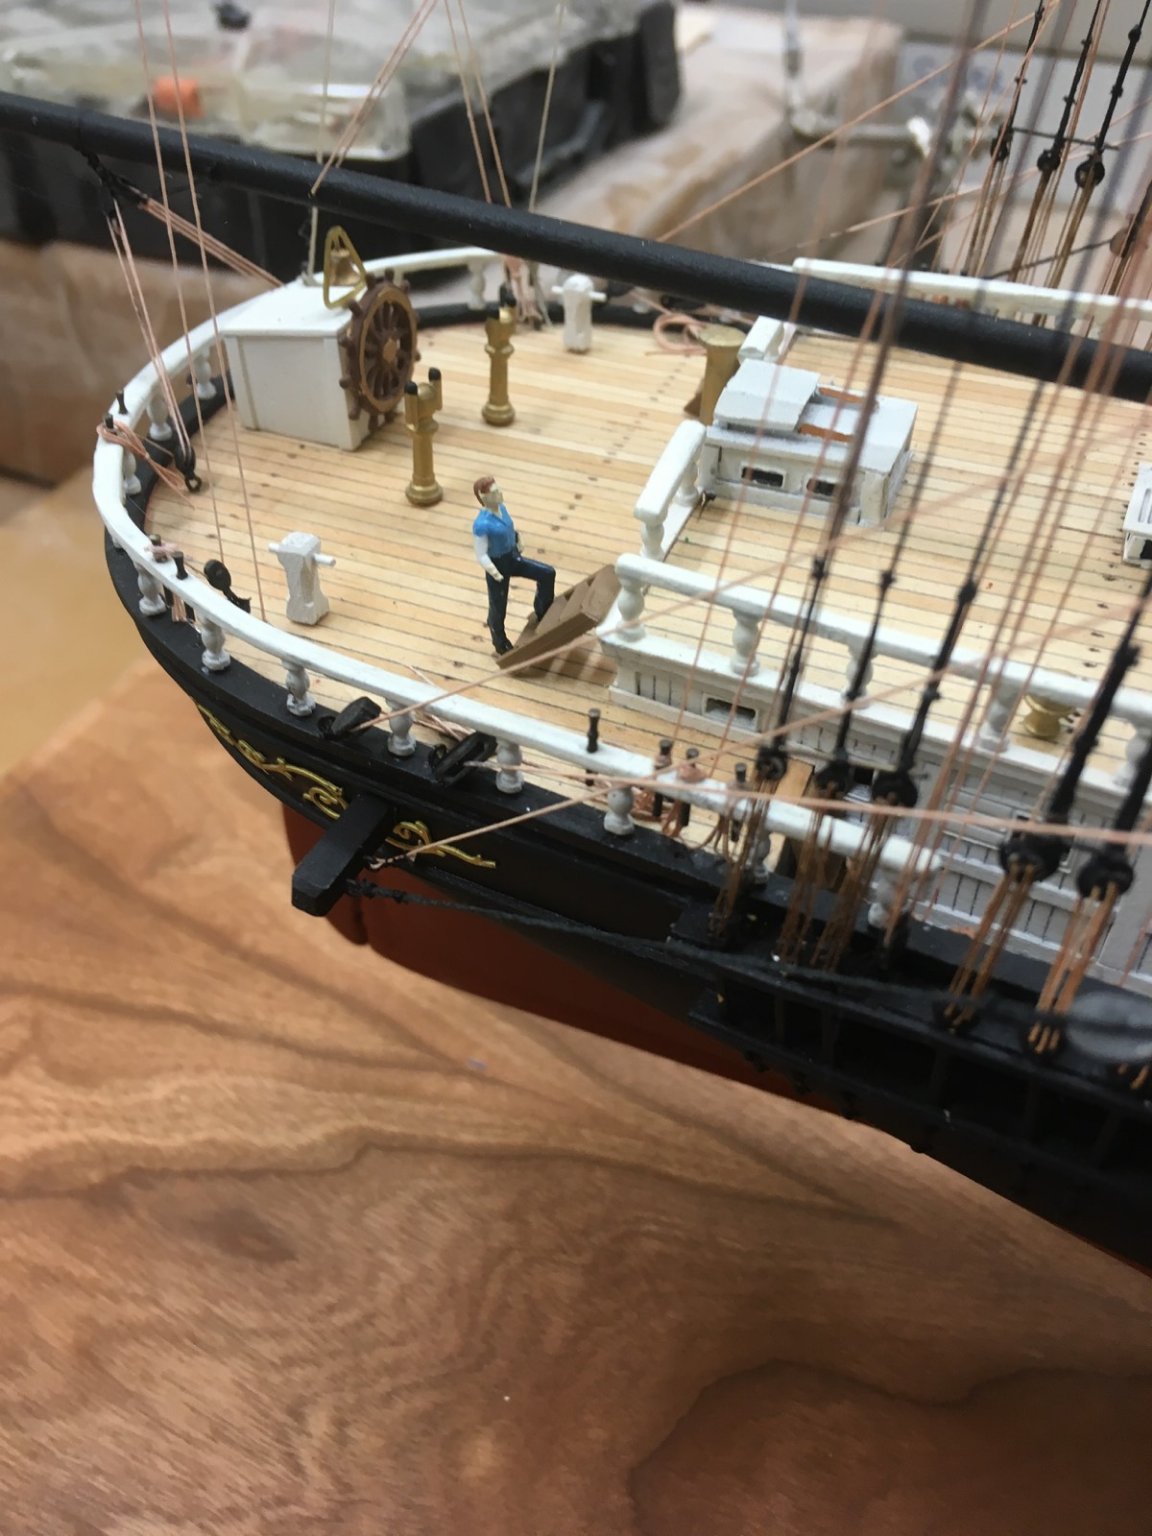
I also like to put a few figures on my models. It gives a sense of scale, I think.


- 356 replies
-
- 7
-
-
- red jacket
- finished
- (and 1 more)
-
Schooner is exactly correct.
-
Tonight I put the flags on their halyards. Tomorrow I will hang them and she's done!
.thumb.jpg.253f761720cf19c221ea8e3f8684c6ed.jpg)
- 356 replies
-
- 10
-
-
- red jacket
- finished
- (and 1 more)
-
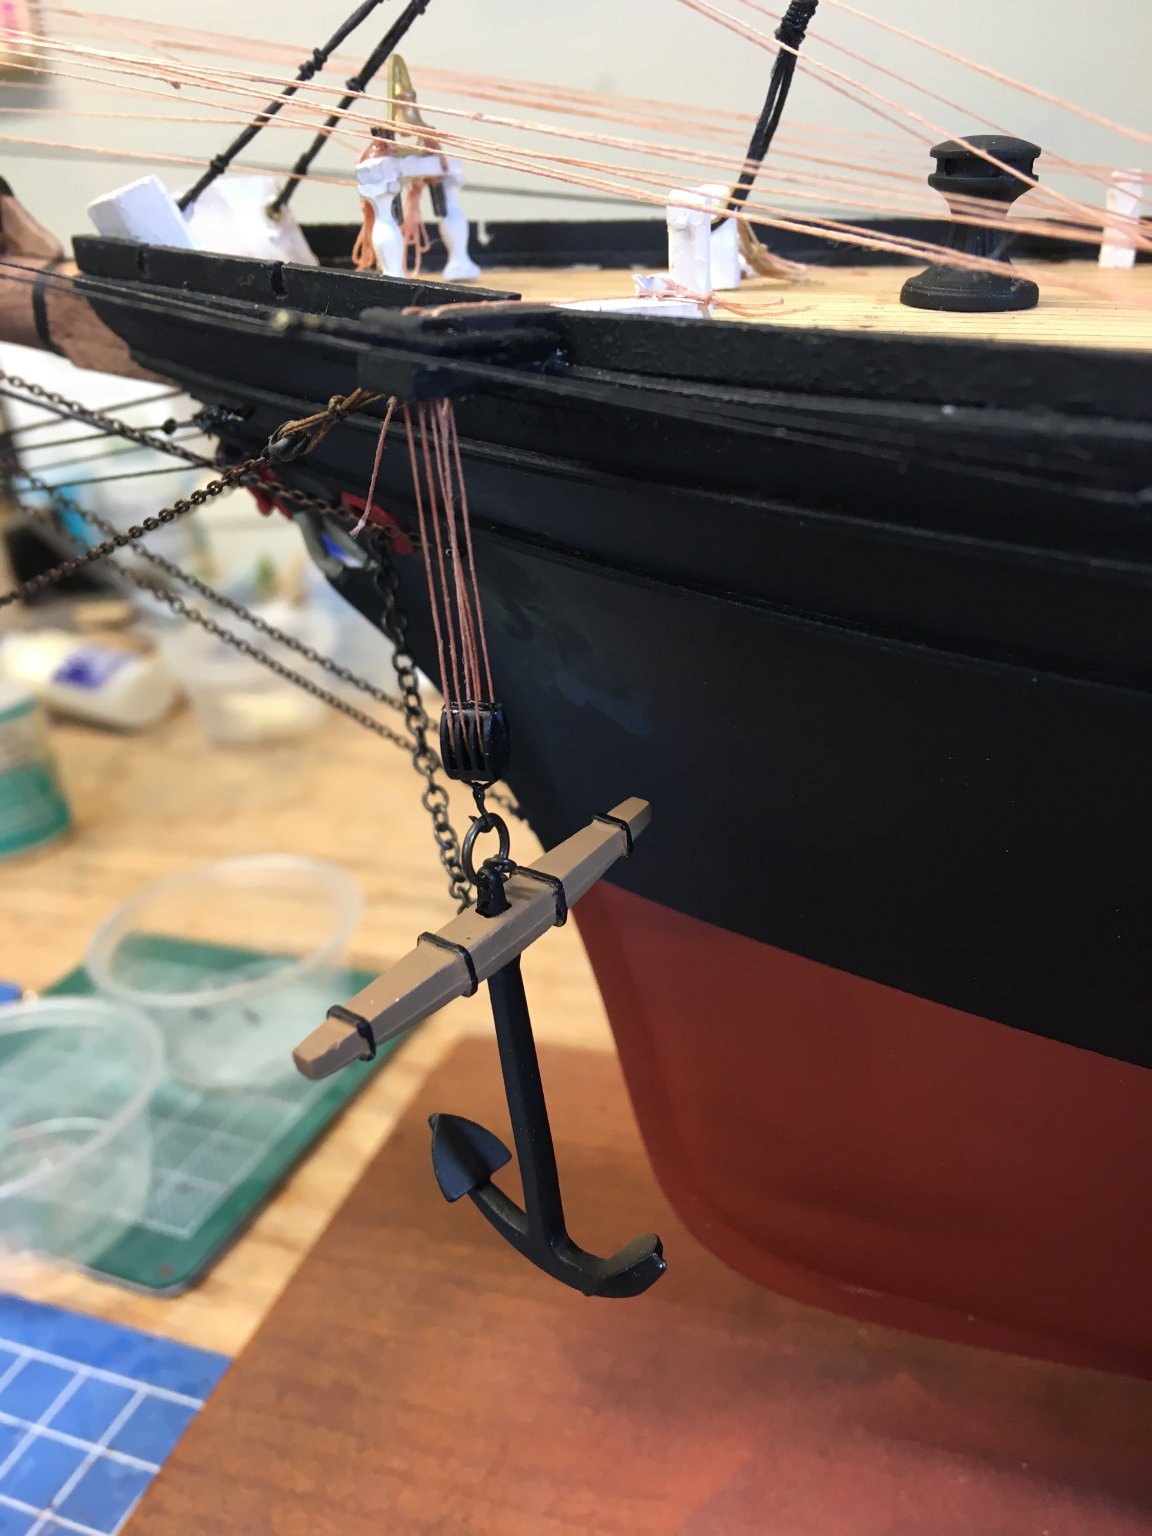
And now the anchors are hung. Lifeboats done as well. All that is left are the flags.

- 356 replies
-
- 6
-
-
- red jacket
- finished
- (and 1 more)
-
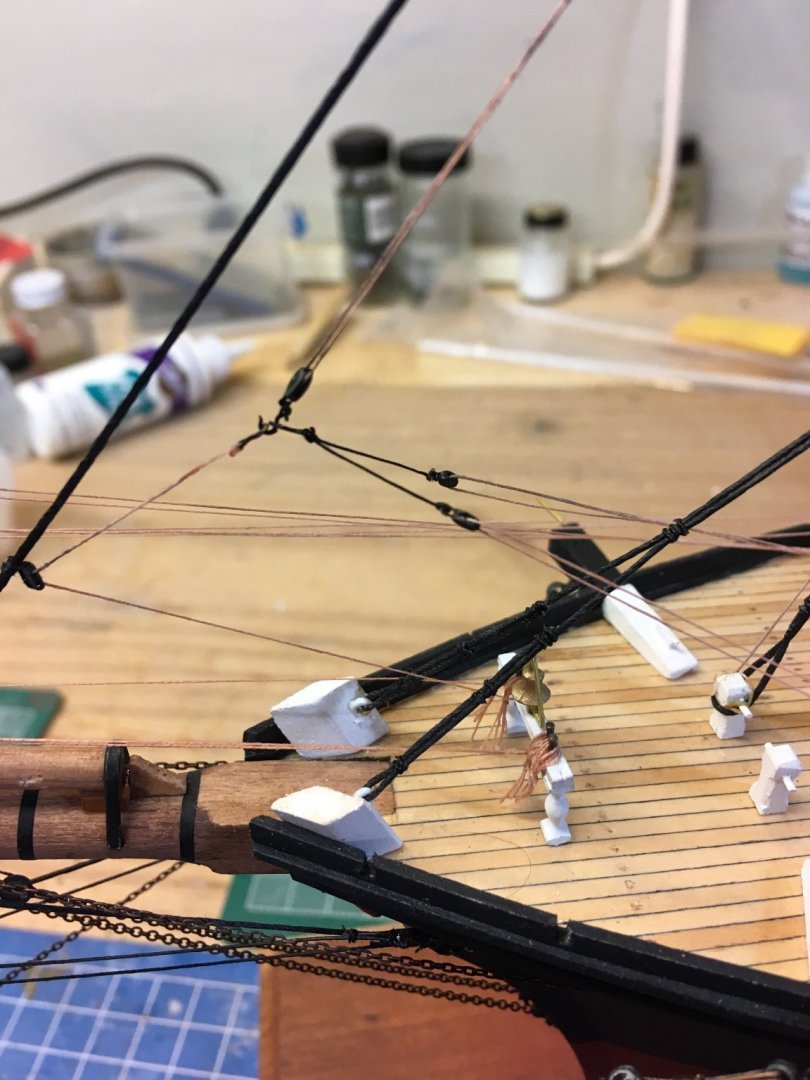
With the braces done, it is time to work on the jub sheets. Here's the first one done:
- 356 replies
-
- 7
-
-
- red jacket
- finished
- (and 1 more)


.jpg.a4e60e0ef299c2689615b779f2e71720.jpg)
.jpg.dd78c087c082f507af2f1f43ea72fcdc.jpg)
.jpg.a4997d1c844abb89b4beec28bcf0b070.jpg)
