MrBlueJacket
-
Posts
1,317 -
Joined
-
Last visited
Content Type
Profiles
Forums
Gallery
Events
Everything posted by MrBlueJacket
-
 Got a lot done last night. Time for more painting.
.thumb.jpg.278c9273bb7c001331407df8a3e33a06.jpg)
- 63 replies
-
- 7
-

-
- bluejacket shipcrafters
- new bedford whaleboat
- (and 1 more)
-
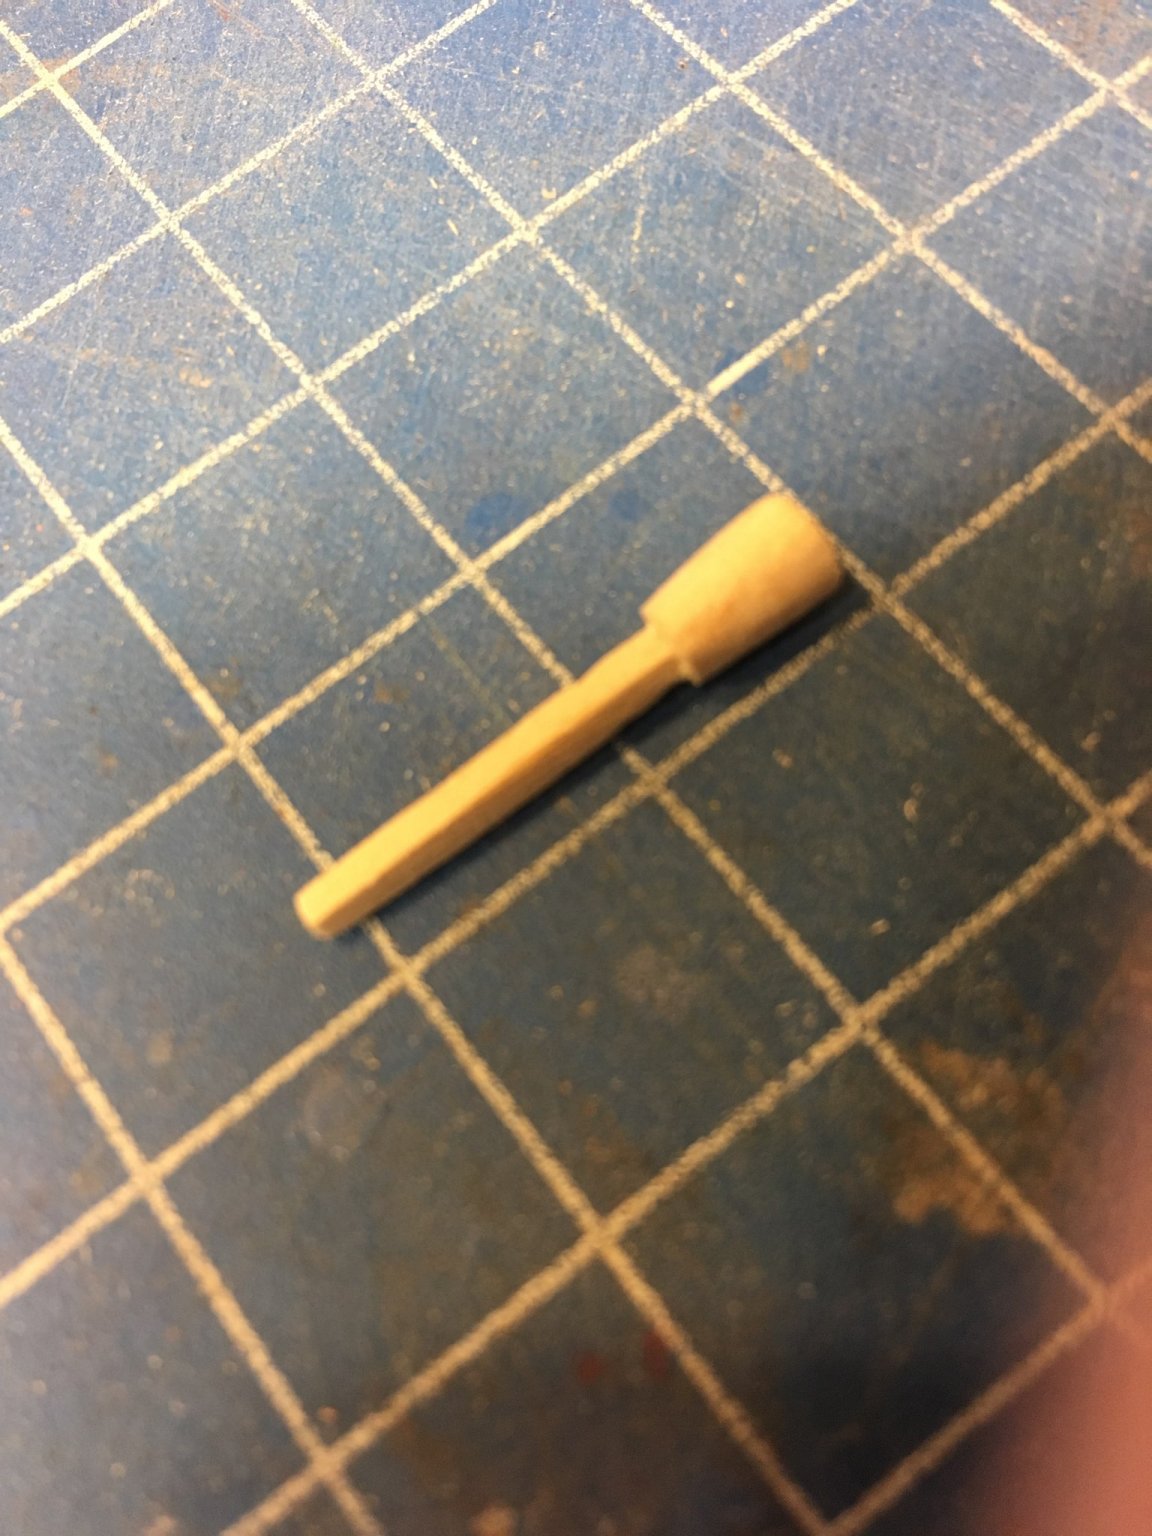
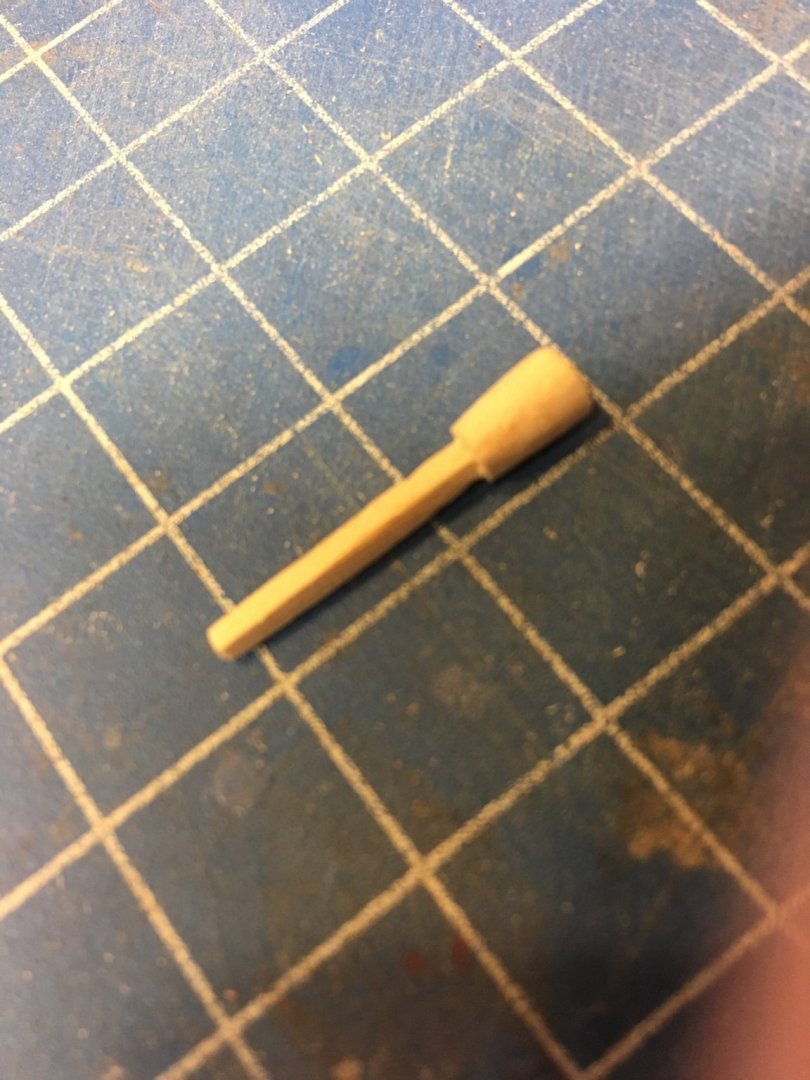
And after a half hour of whittling, here's my result:
- 63 replies
-
- 5
-
-
- bluejacket shipcrafters
- new bedford whaleboat
- (and 1 more)
-
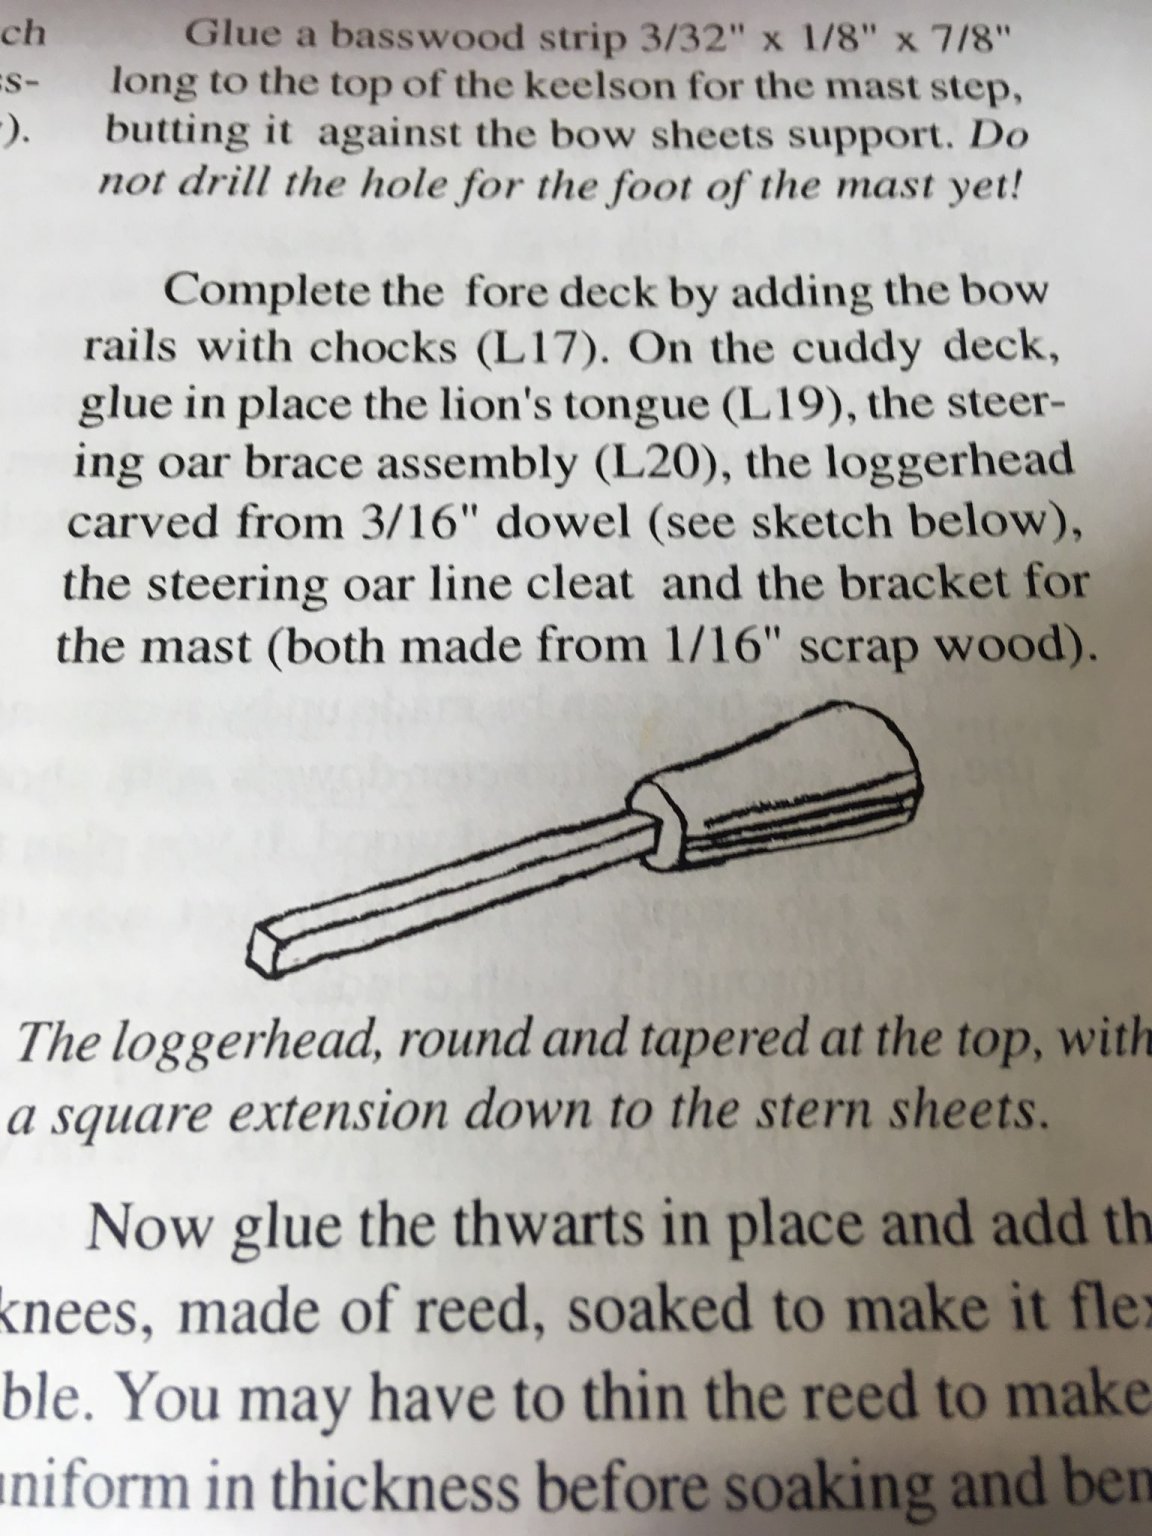
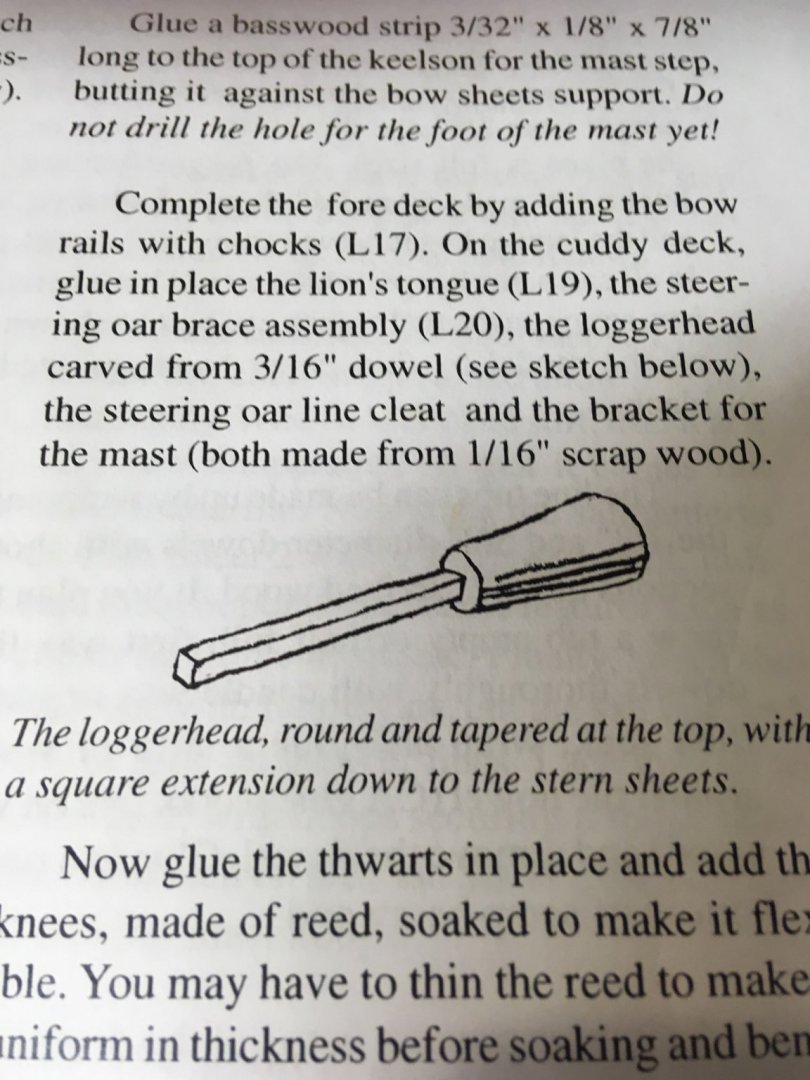
One of the items to fabricate is the loggerhead. Here's what the instructions tell you:
- 63 replies
-
- 1
-
-
- bluejacket shipcrafters
- new bedford whaleboat
- (and 1 more)
-
I see things there that you learned in the rigging class - good job!
-
It looks just fine. You got the idea correct! Nic
-
And after another hour, good progress..... Probably 13 hours of work so far.
- 63 replies
-
- 6
-
-
- bluejacket shipcrafters
- new bedford whaleboat
- (and 1 more)
-
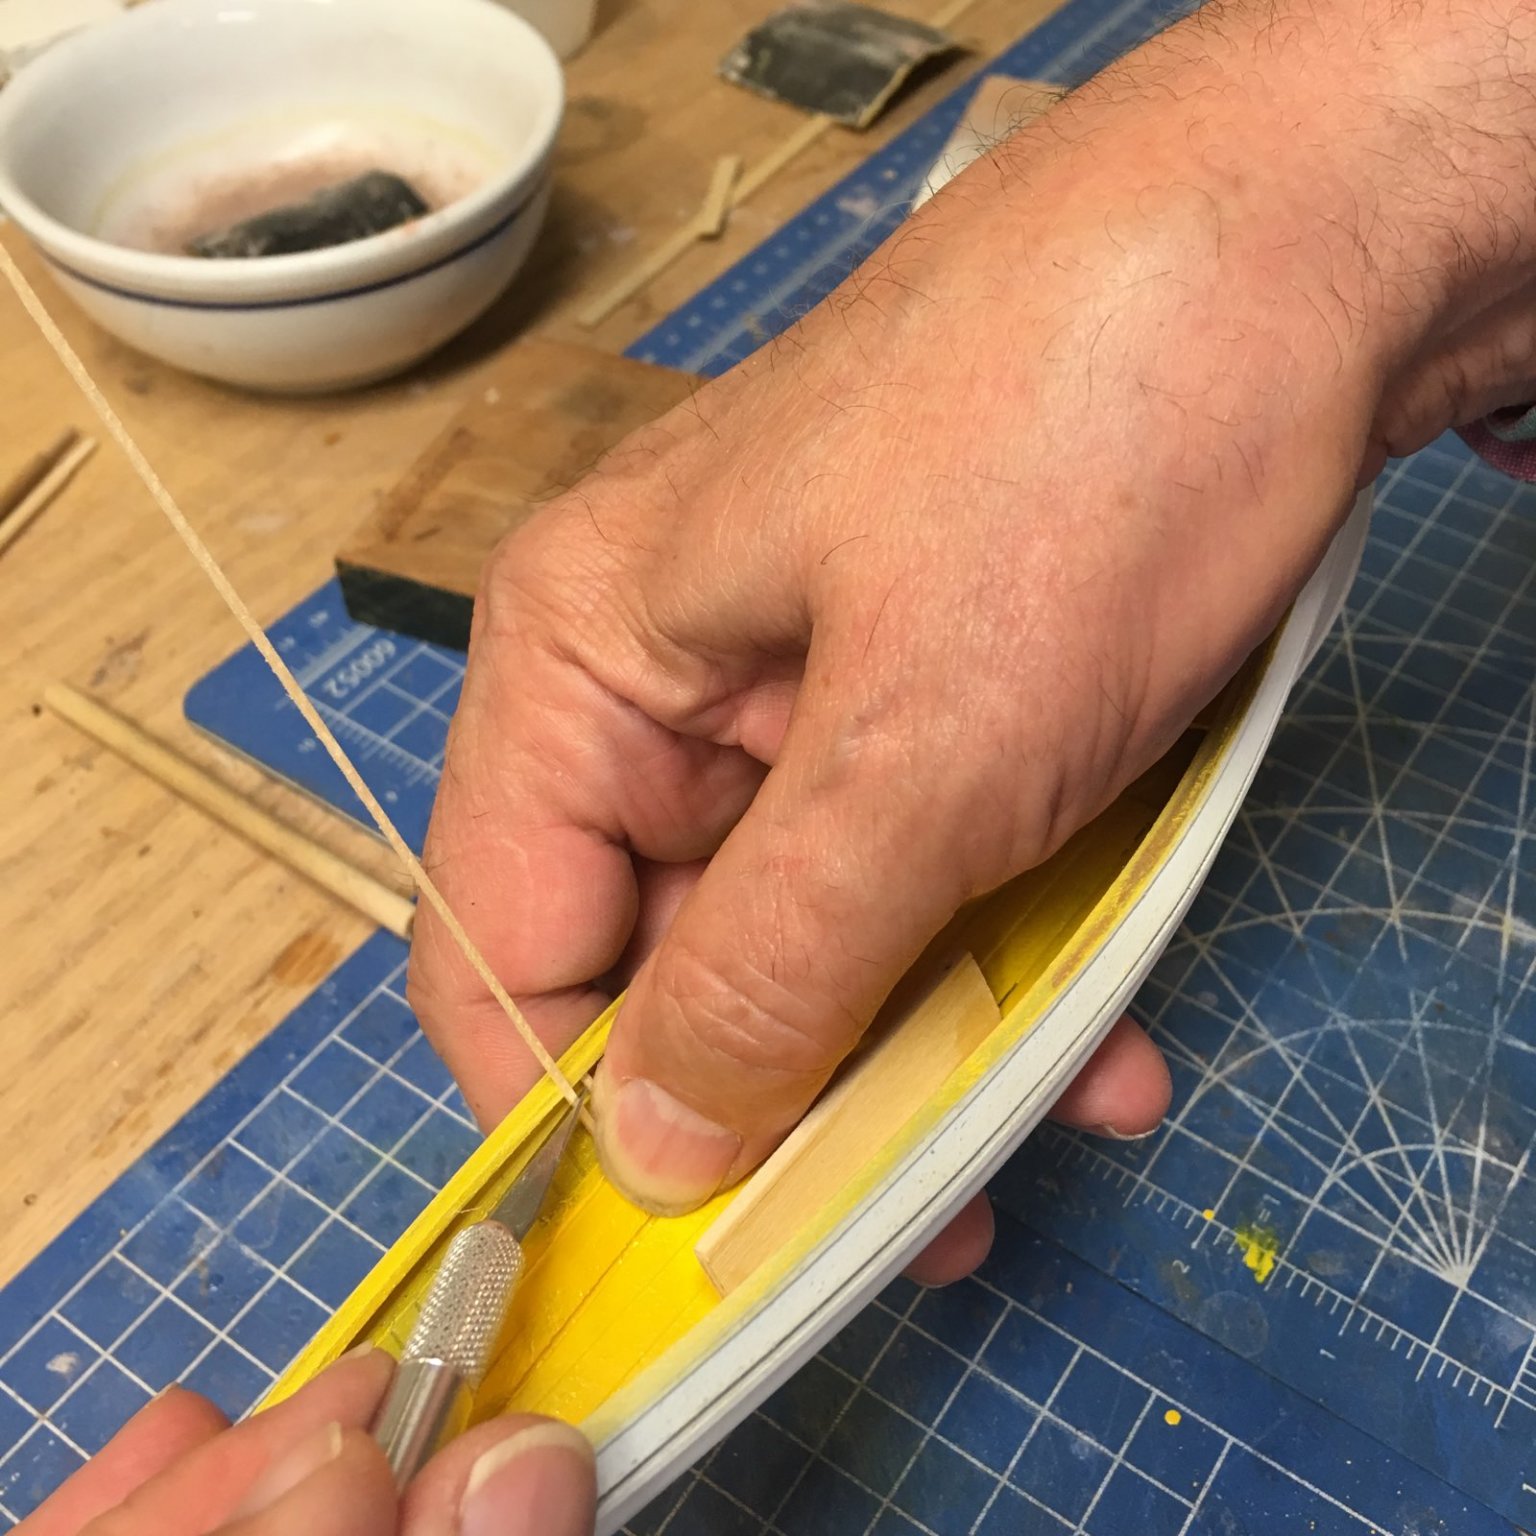
Here's how I cut the frameheads to size. Pretty easy, actually.

- 63 replies
-
- 3
-
-
- bluejacket shipcrafters
- new bedford whaleboat
- (and 1 more)
-
Another coat of yellow, looks good to me. Centerboard truck installed, and starting to install the frameheads.
- 63 replies
-
- 3
-
-
- bluejacket shipcrafters
- new bedford whaleboat
- (and 1 more)
-
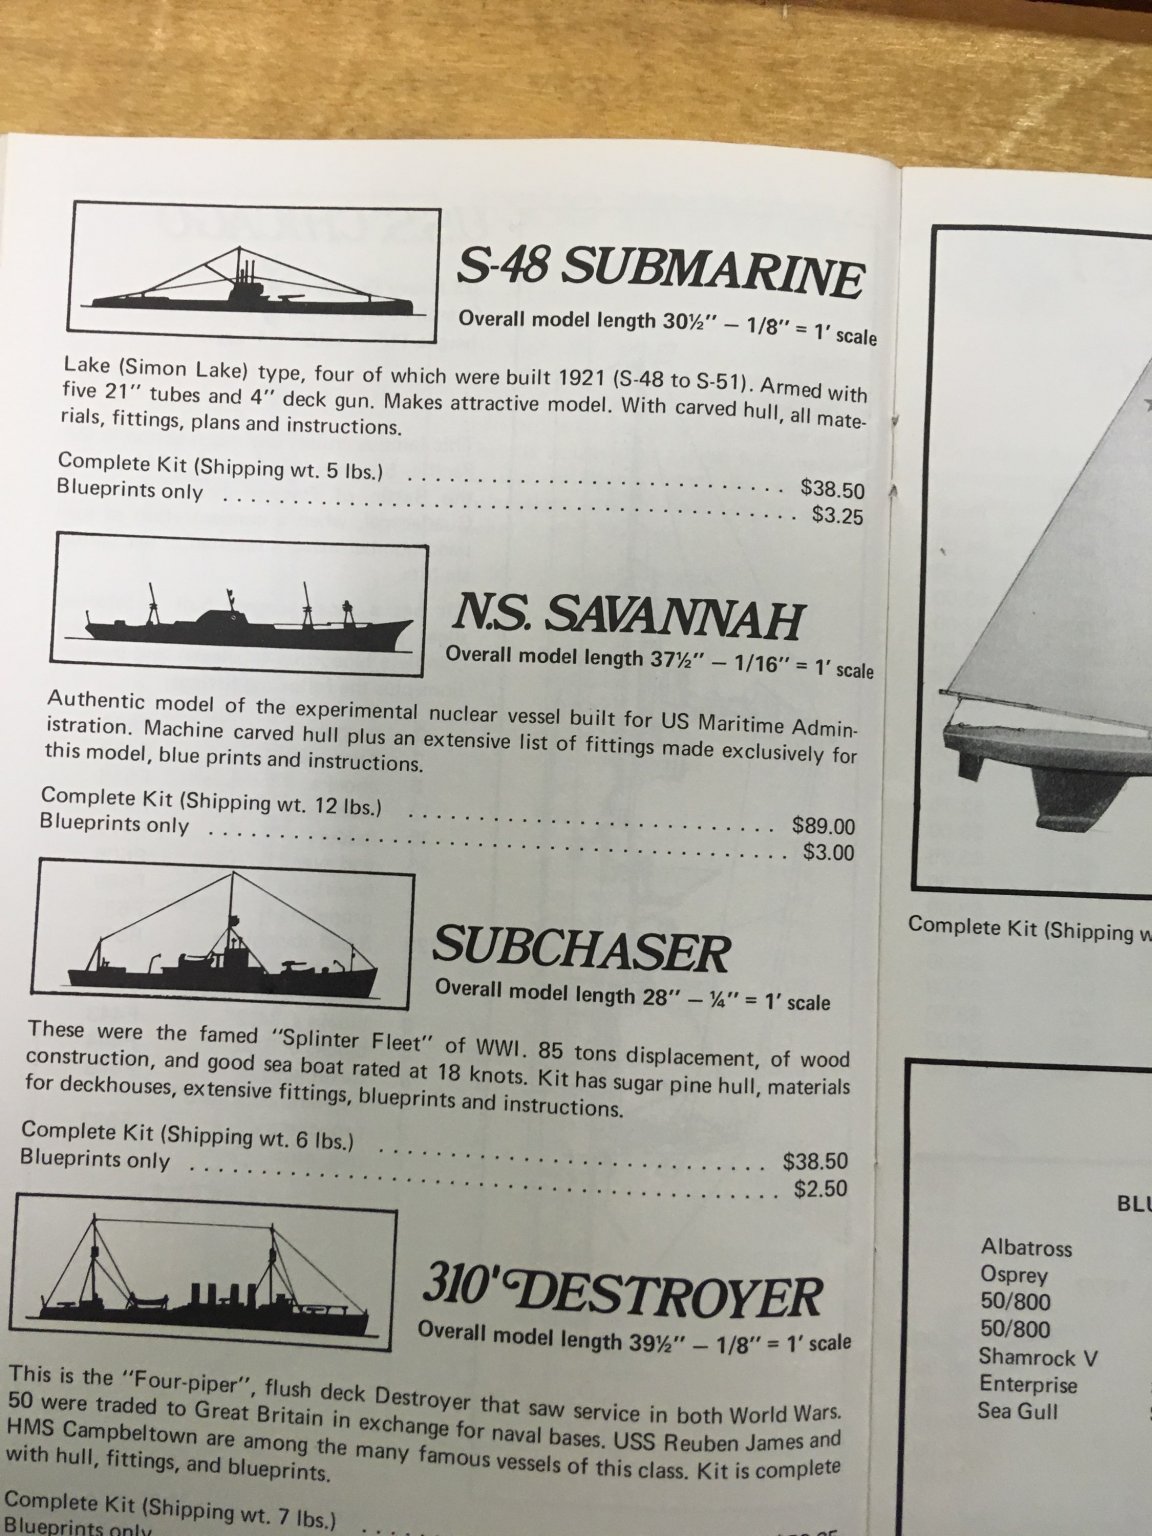
Personally, I love the Savannah, but it was not a good seller. Nic
- 10 replies
-
- 1
-
-
- s-class
- bluejacket shipcrafters
- (and 1 more)
-
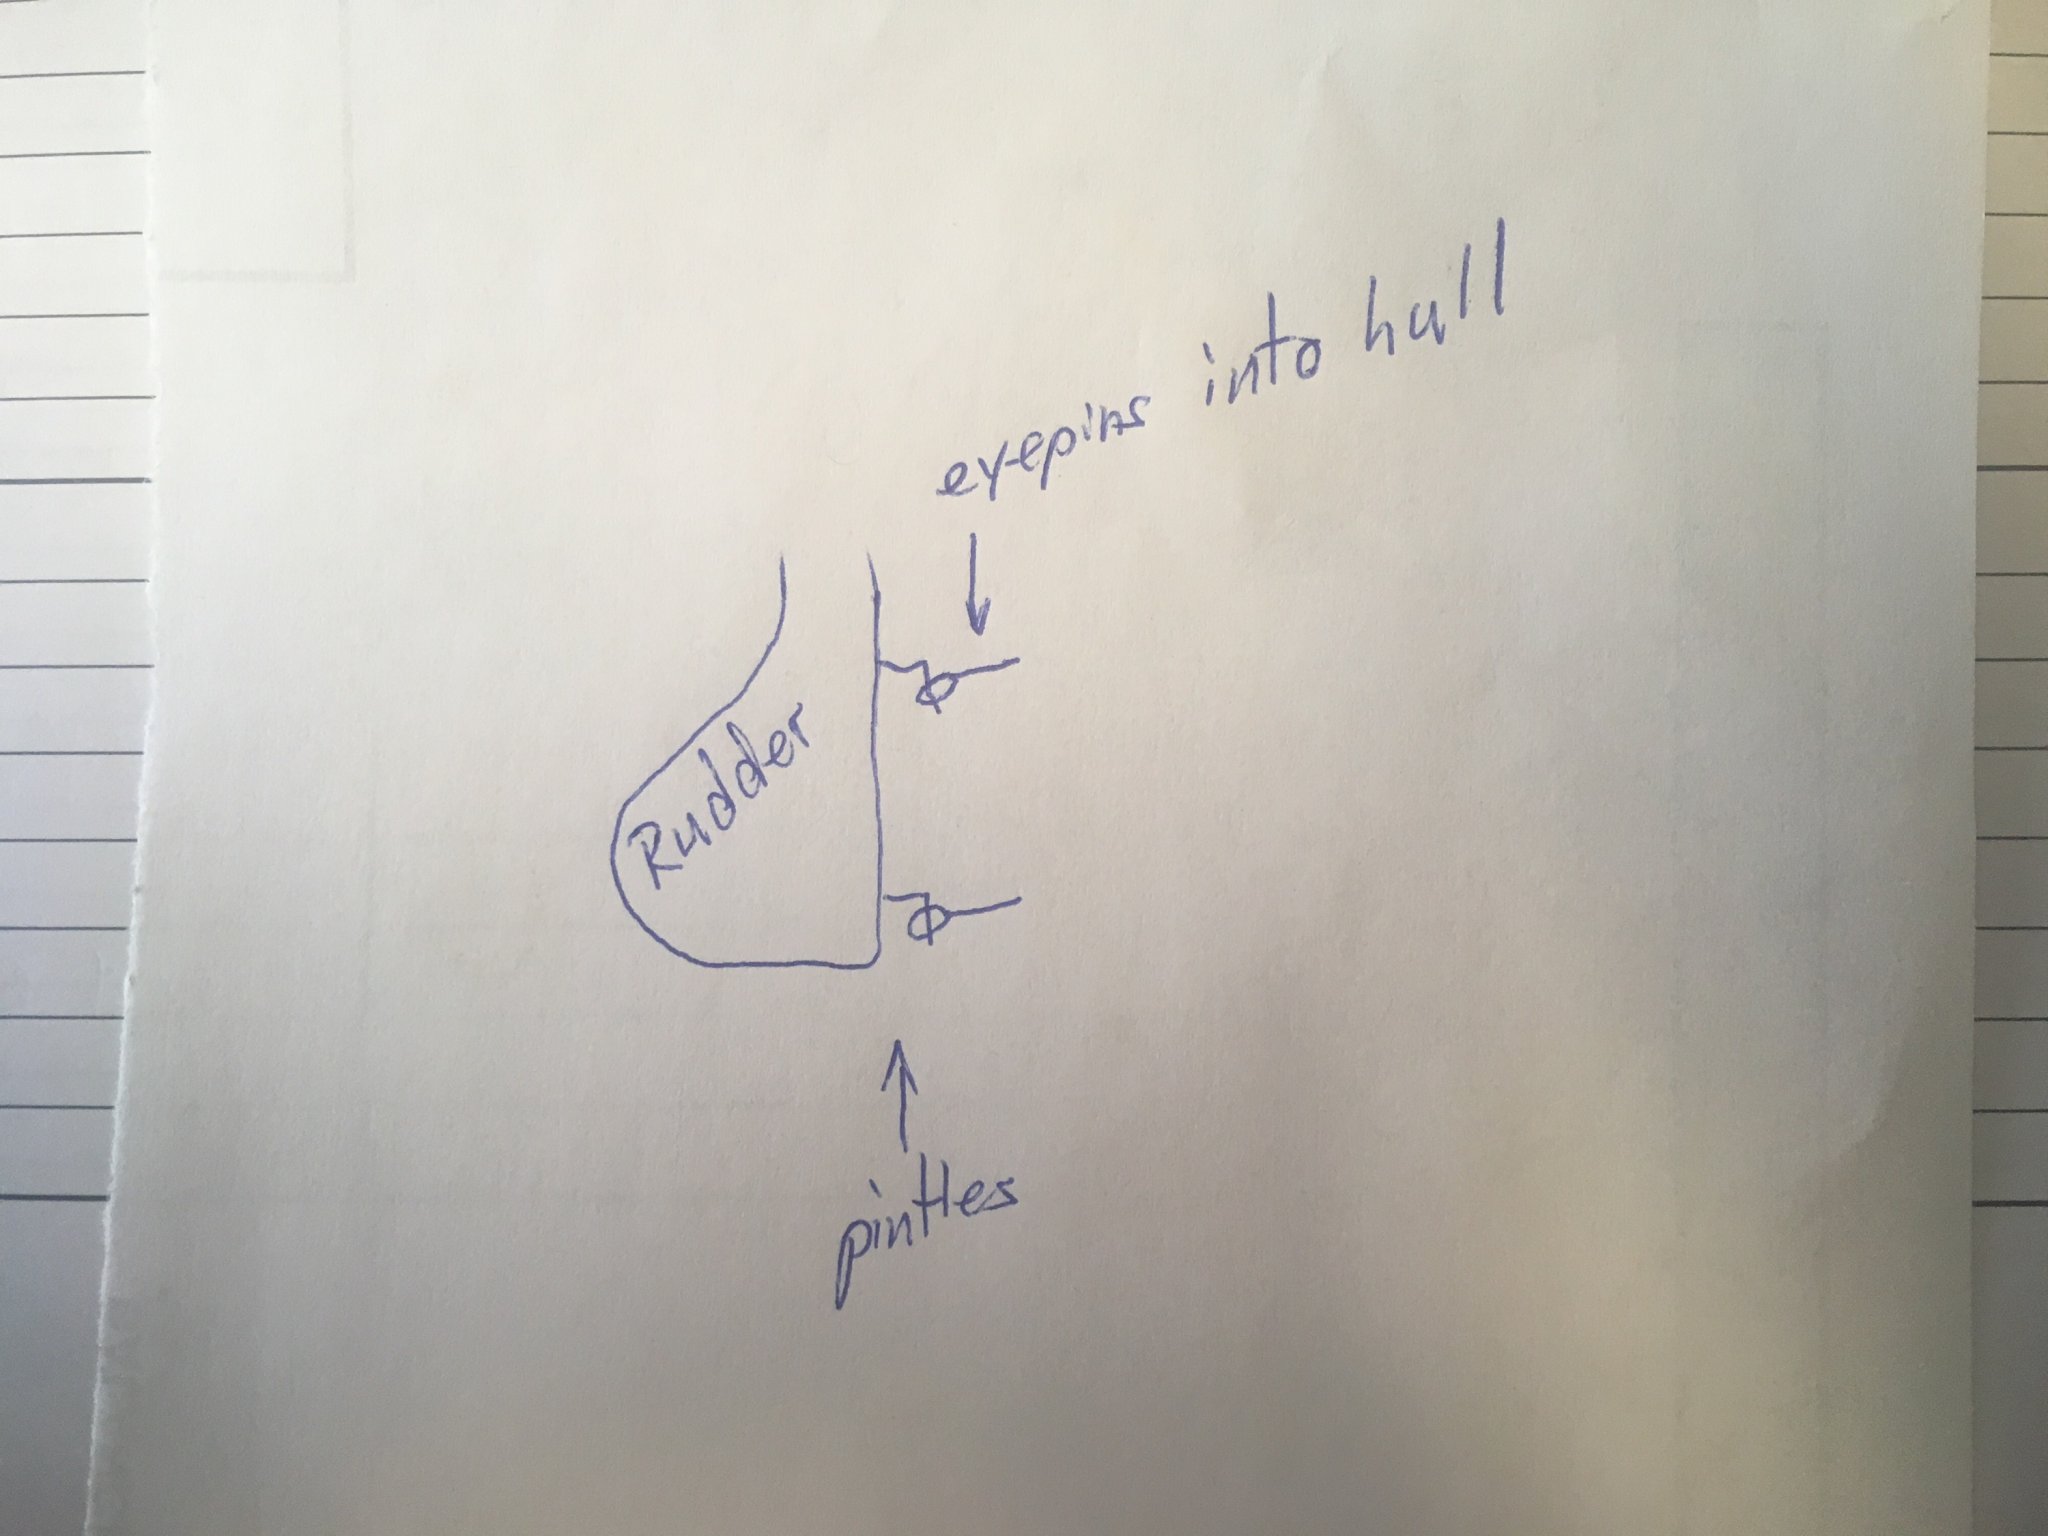
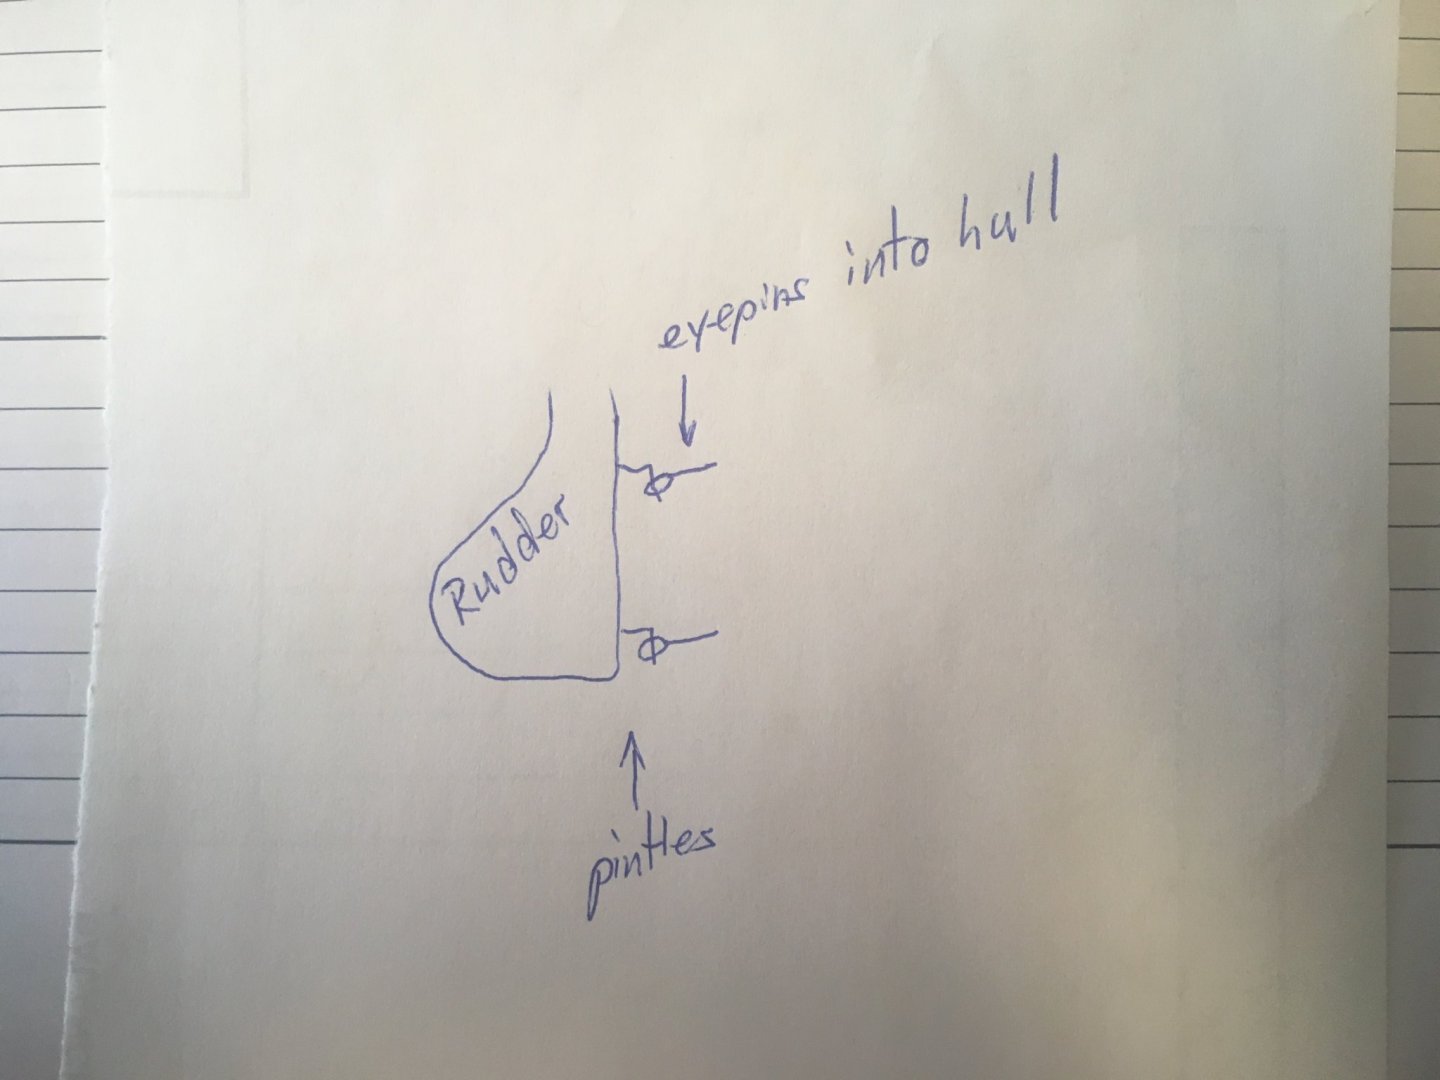
A pintle is a bent wire on the rudder that goes into an eyepin hole on the boat. It is shaped like a sideways "L" It forms the hinge for the rudder. I drew a diagram for you.
- 60 replies
-
- 1
-
-
- swampscott dory
- finished
- (and 1 more)
-
Here's the page from the 1972 BlueJacket catalog

- 10 replies
-
- 4
-
-
- s-class
- bluejacket shipcrafters
- (and 1 more)
-
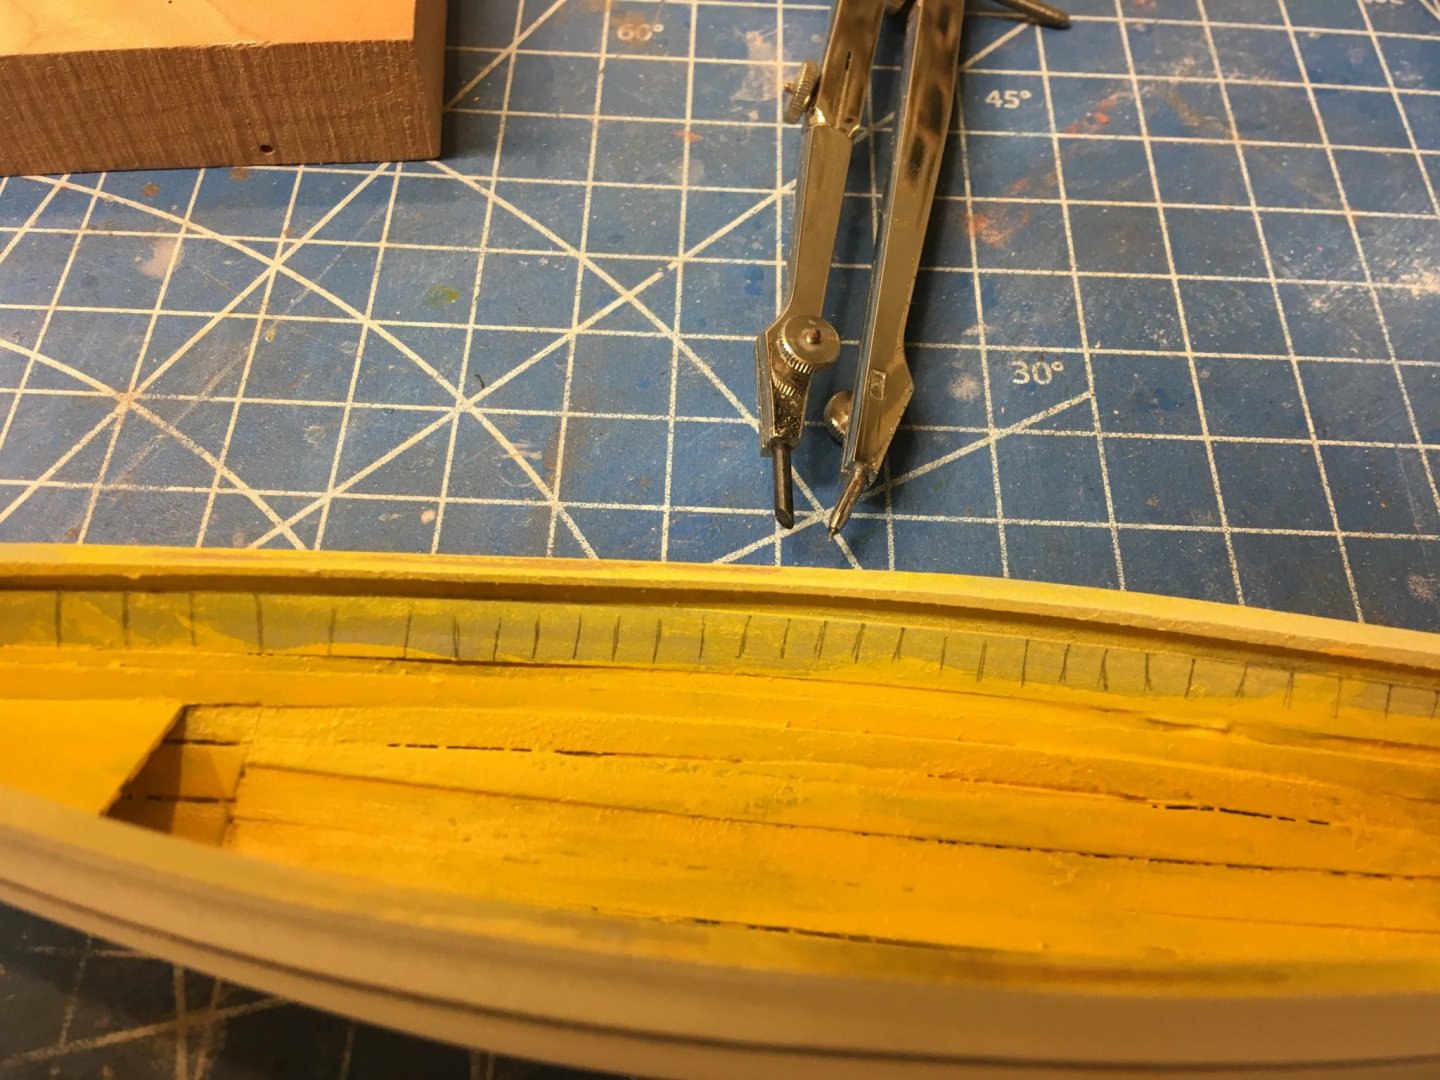
So I painted the inside yellow (spray) and didn't like it, so I wiped it off with thinner. Then I used a brush. Needs another coat, yellow is difficult to cover. Then I used a compass to mark off where the visible frame heads will go. 5/32" spacing amidships, and 1/4" near the ends.
- 63 replies
-
- 5
-
-
- bluejacket shipcrafters
- new bedford whaleboat
- (and 1 more)
-
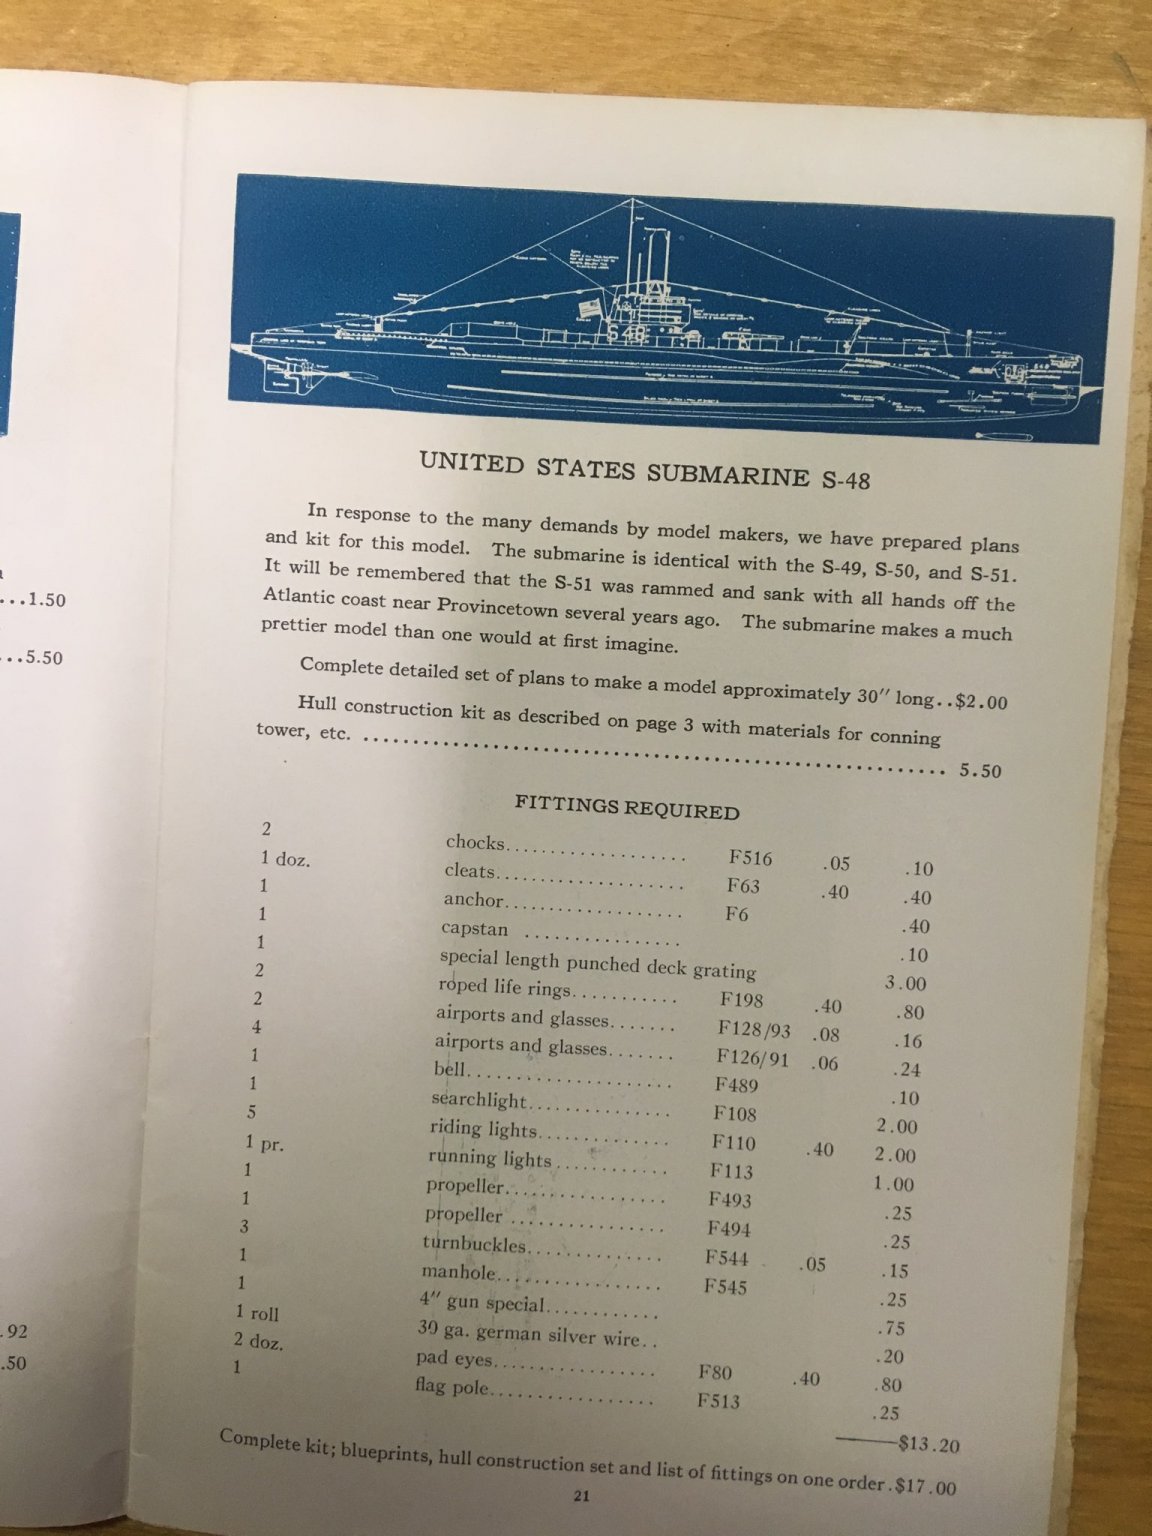
Hi, Your kit is not from 1938, since it has the BlueJacket label, it is after 1972. It shows that the kit design goes back that far.
- 10 replies
-
- 2
-
-
- s-class
- bluejacket shipcrafters
- (and 1 more)
-
I used Model Master spray can paint
- 63 replies
-
- 2
-
-
- bluejacket shipcrafters
- new bedford whaleboat
- (and 1 more)
-
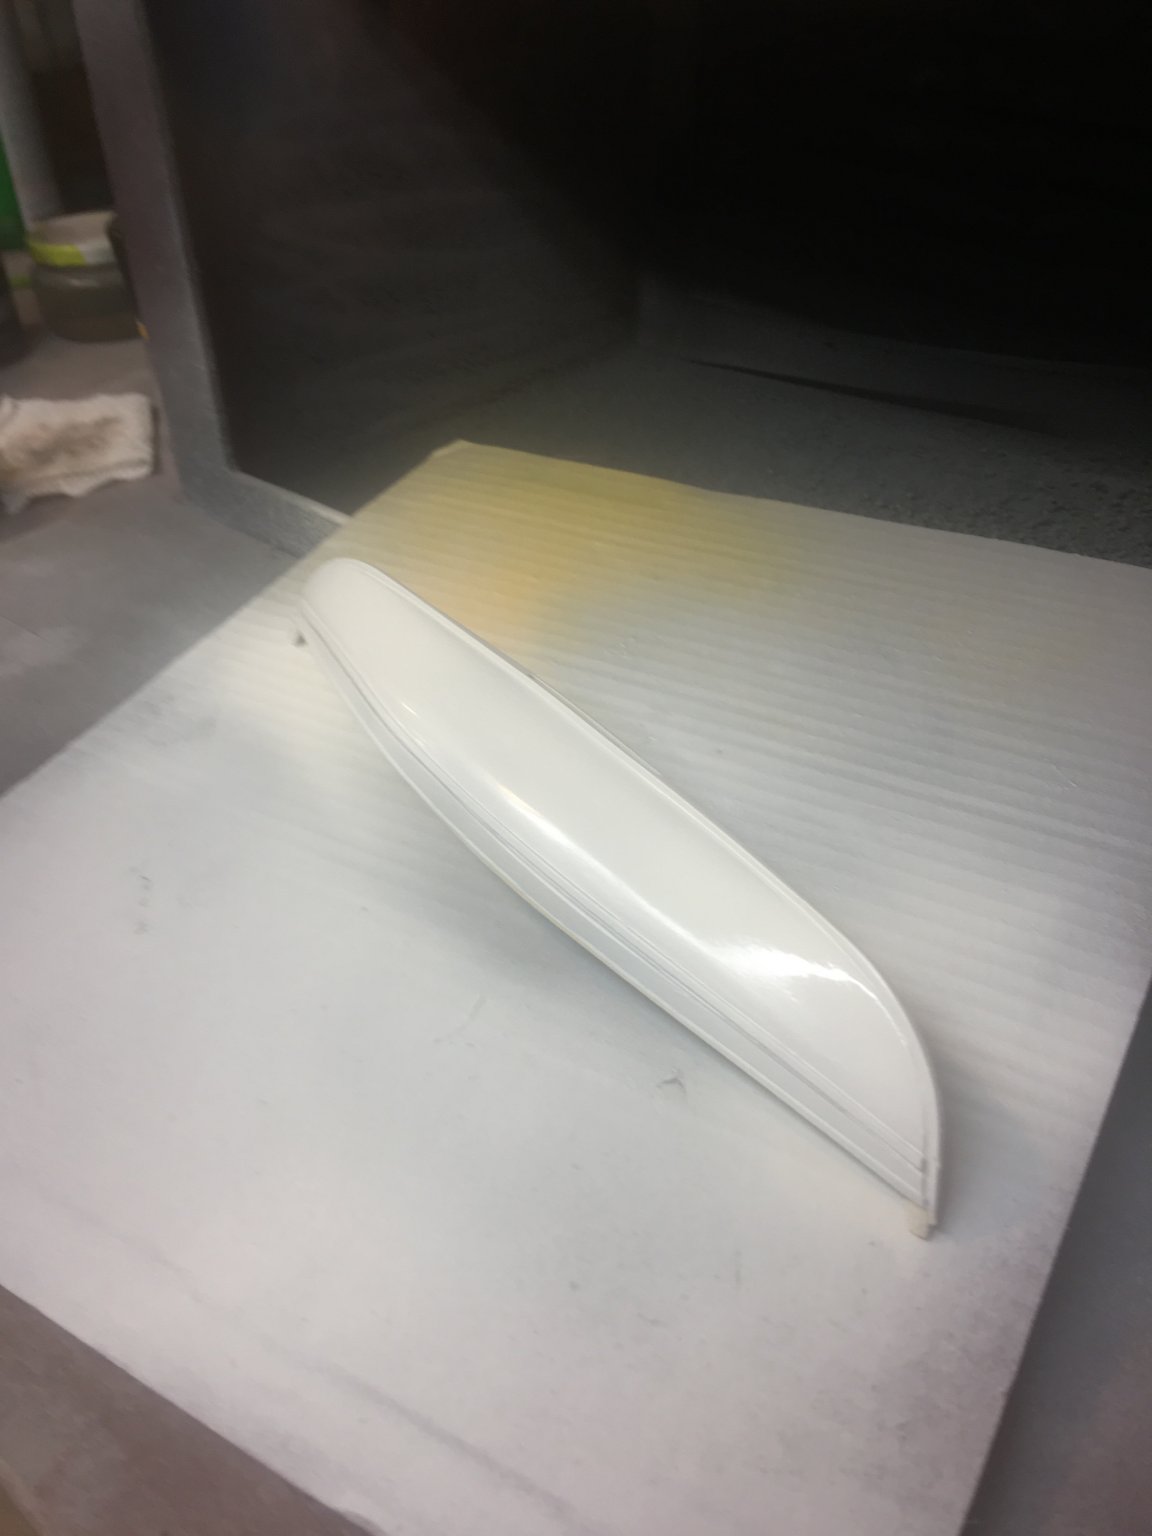
Painted. It's flat white, it looks glossy because I took the photo right after spraying.

- 63 replies
-
- 7
-
-
- bluejacket shipcrafters
- new bedford whaleboat
- (and 1 more)
-
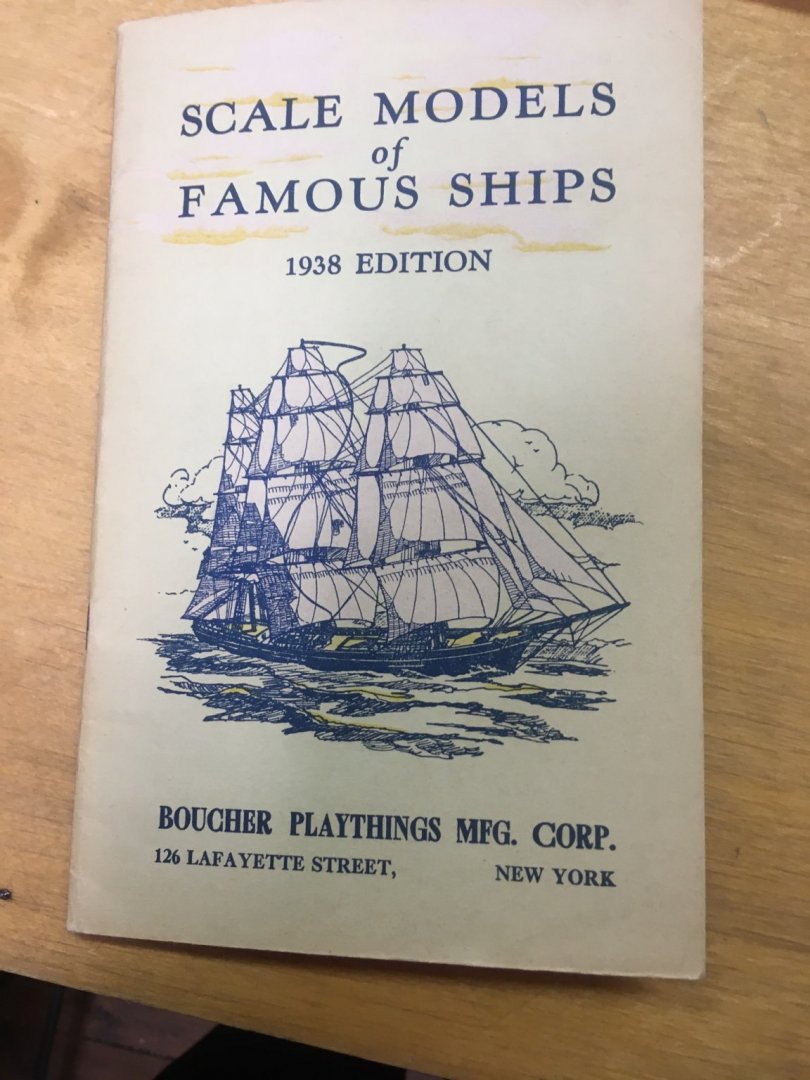
Had a chance to dig into some old catalogs and found this from 1938:

- 10 replies
-
- 5
-
-
- s-class
- bluejacket shipcrafters
- (and 1 more)
-
Hi Brian, Please do a build thread. When you finish, I will give you 10% off your next kit you get from us. Nic
-
Yes, as we run out of MM stock, we are switching over to True North. There are several reasons for this. First, of course is that it is good enamel paint. Second, they make it here in Maine, less than an hour away. Third, they are quick to remedy any problems that arise. Fourth, they are willing to make a new color just for us, and have done so 4 or 5 times. Colors like Depot Buff and Jade Green for example. Fifth, they are modelers themselves, and understand us.
- 125 replies
-
- 12
-
-
Try using 220 wet/dry sandpaper (the black stuff) and use it wet. The water helps to sluff off the sanding dust and the paper lasts a lot longer ( a lot lot longer)
- 144 replies
-
- 3
-
-
- charles p notman
- finished
- (and 1 more)
-
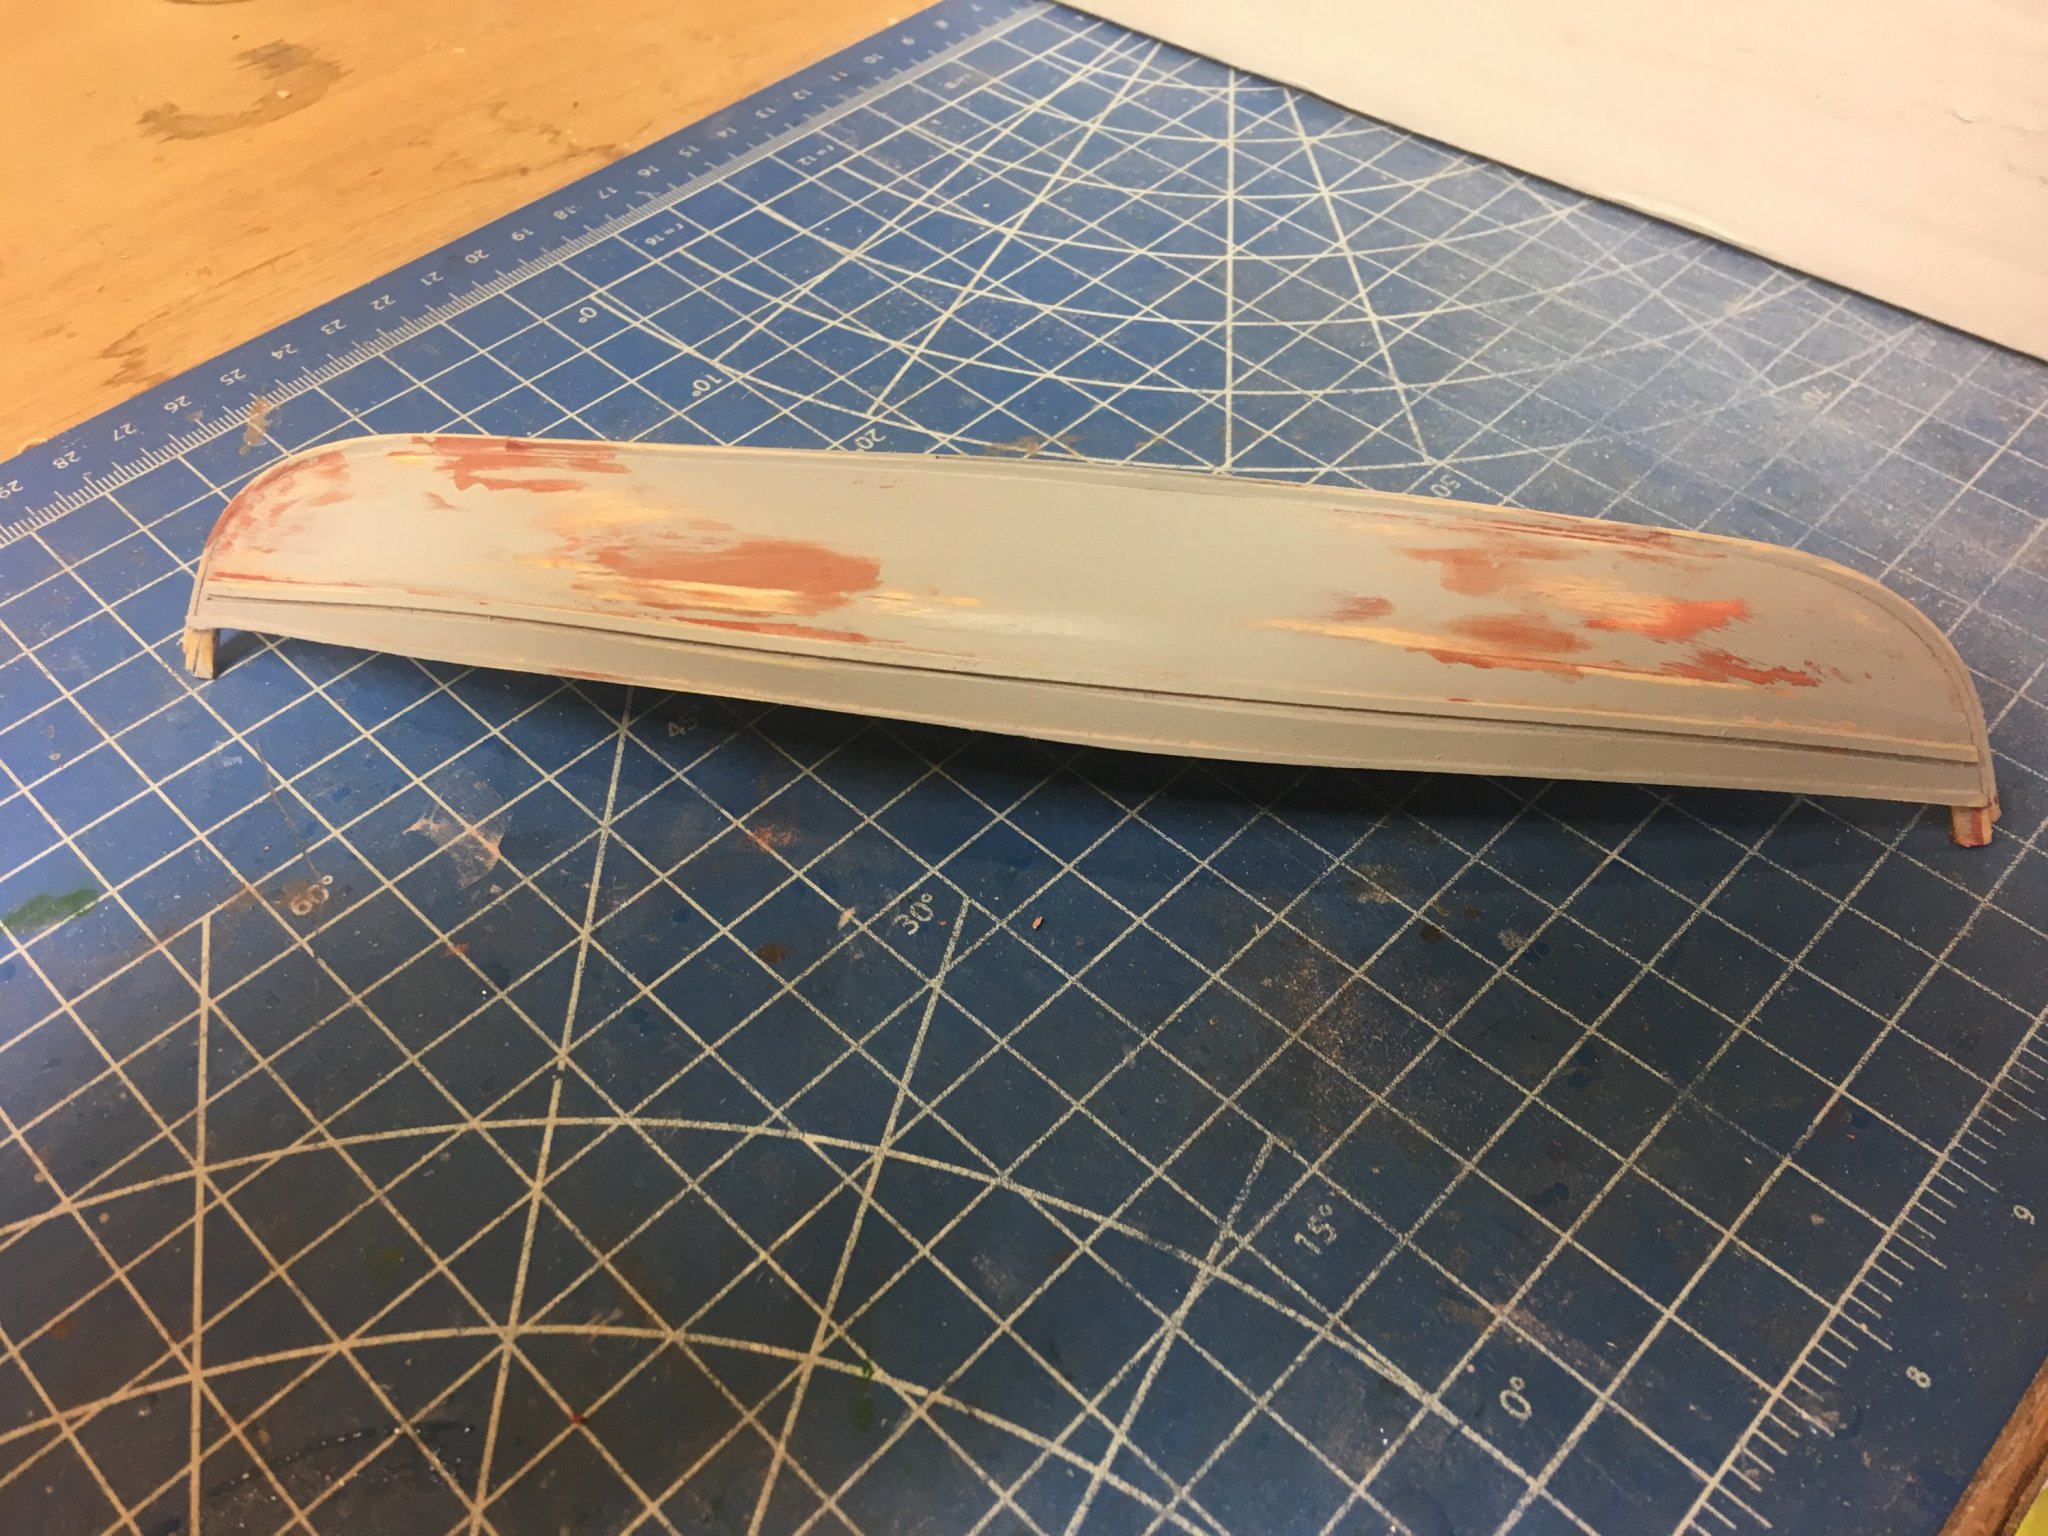
And after sanding, it will need one more coat of primer then paint.

- 63 replies
-
- 6
-
-
- bluejacket shipcrafters
- new bedford whaleboat
- (and 1 more)
-
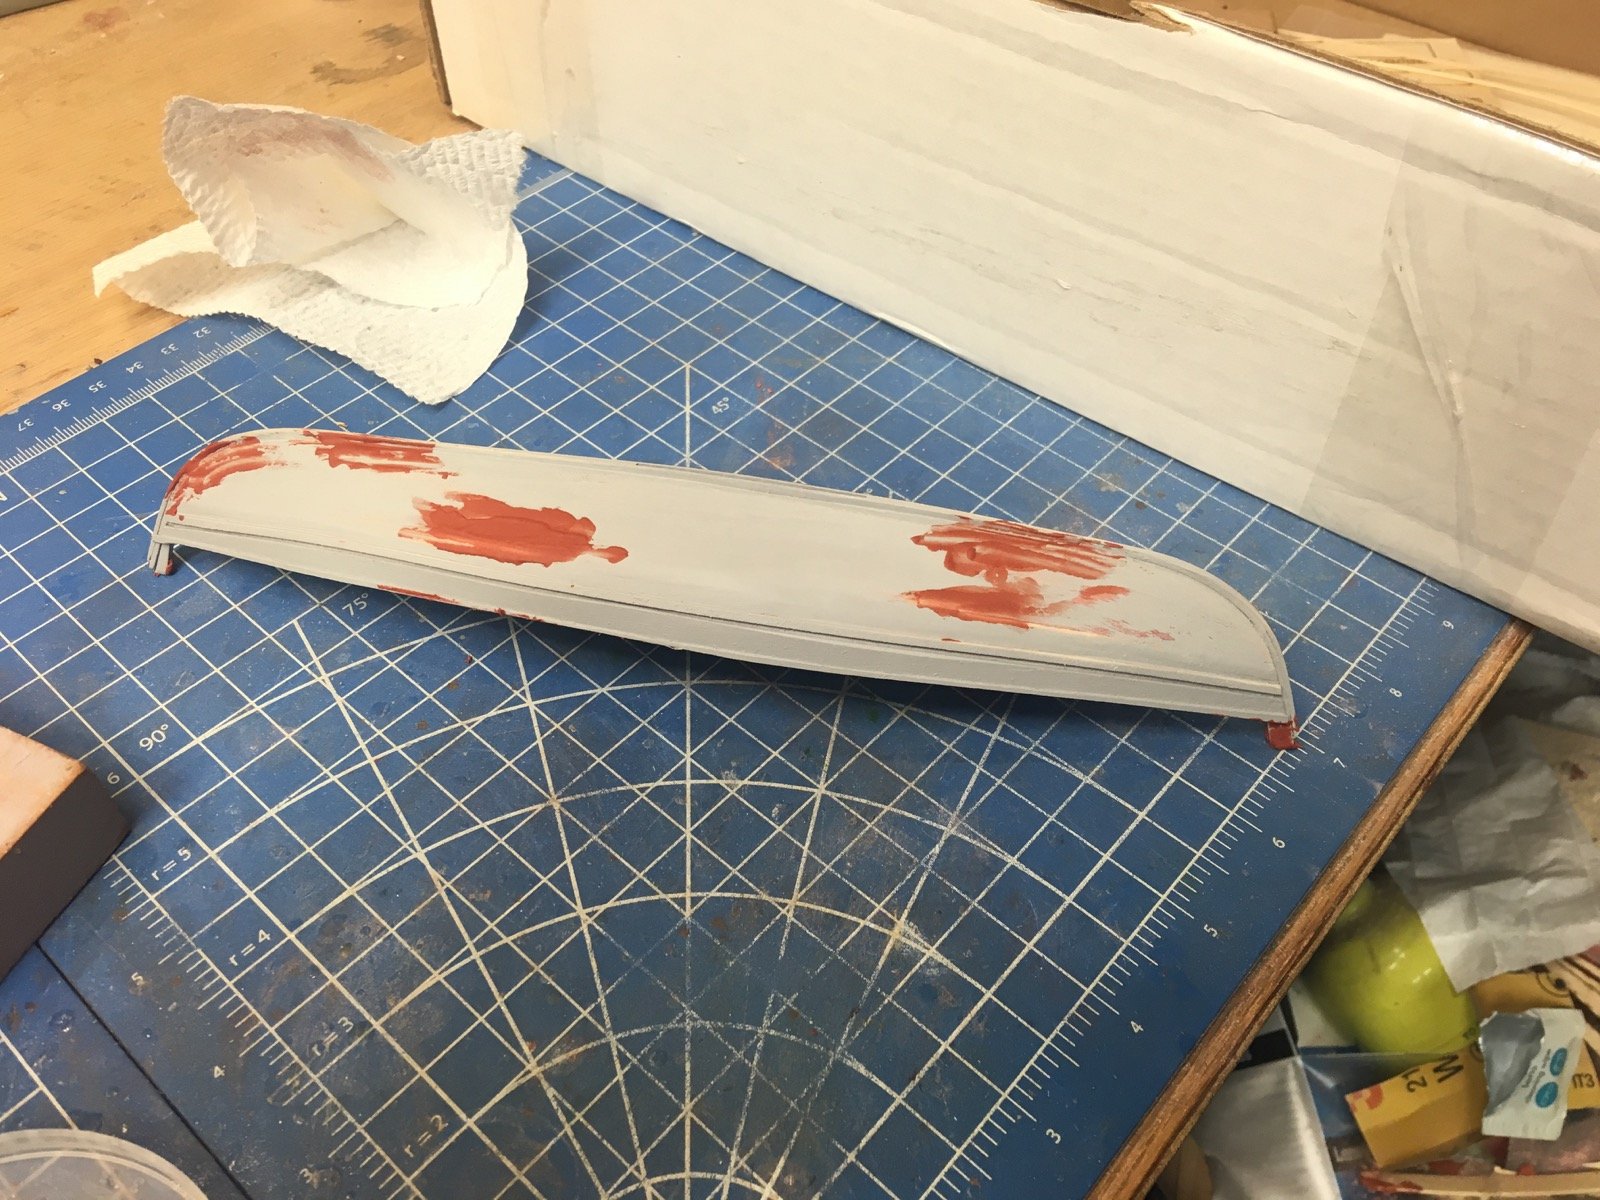
Here's the second coat of primer and a few spots needing putty.

- 63 replies
-
- 8
-
-
- bluejacket shipcrafters
- new bedford whaleboat
- (and 1 more)
-
I agree it needs some sanding. Personally I use automotive lacquer primer in a spray can. Usually 2 or 3 coats, sanding in between.If you go look at my thread on the New Bedford Whaleboat, that's the stage I'm at over there.
-
A model is never "finished" - we just decide to stop working on it.
- 57 replies
-
- 3
-
-
- finished
- yankee hero
- (and 1 more)
-
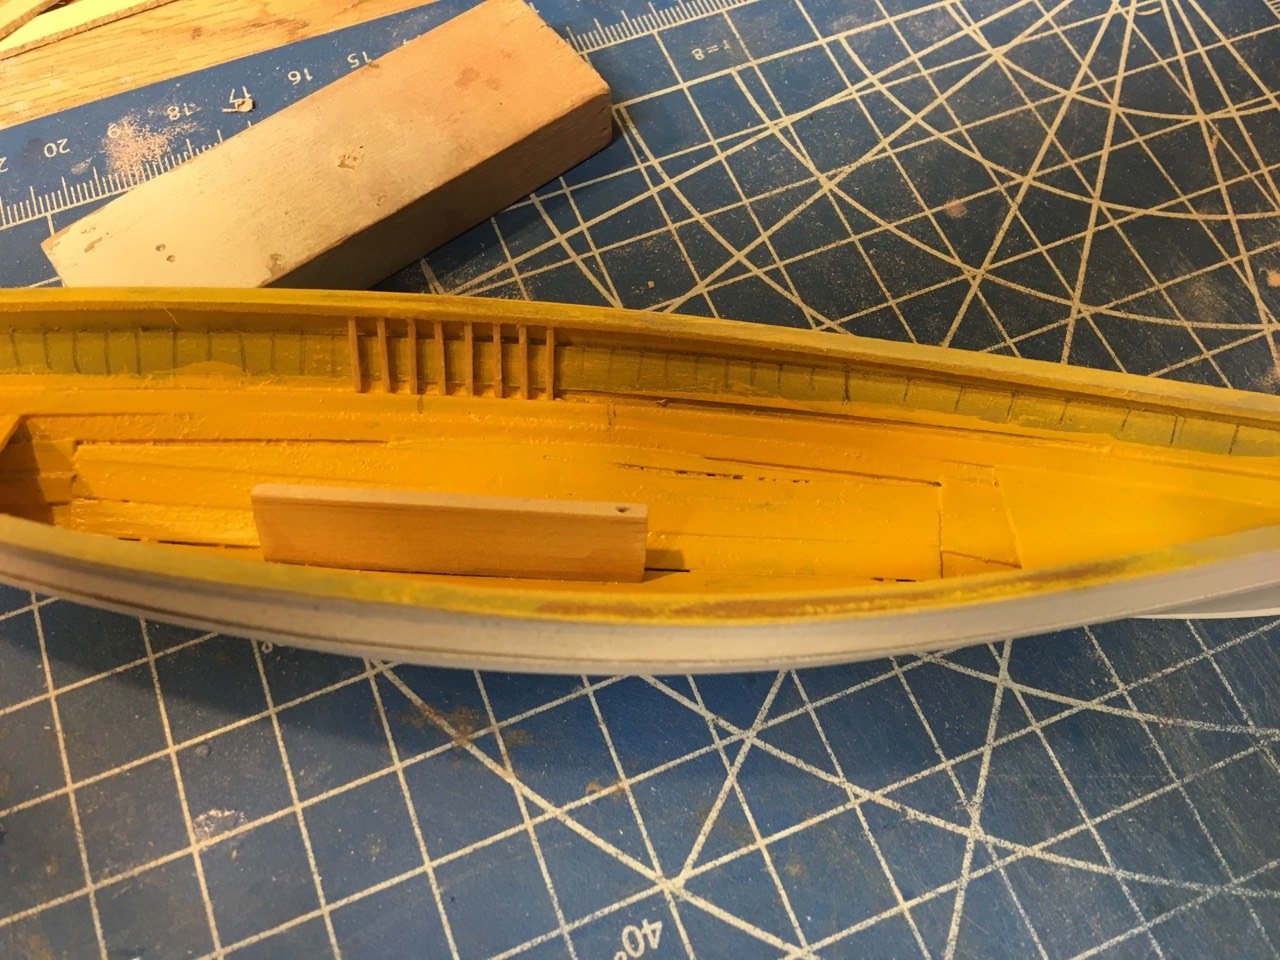
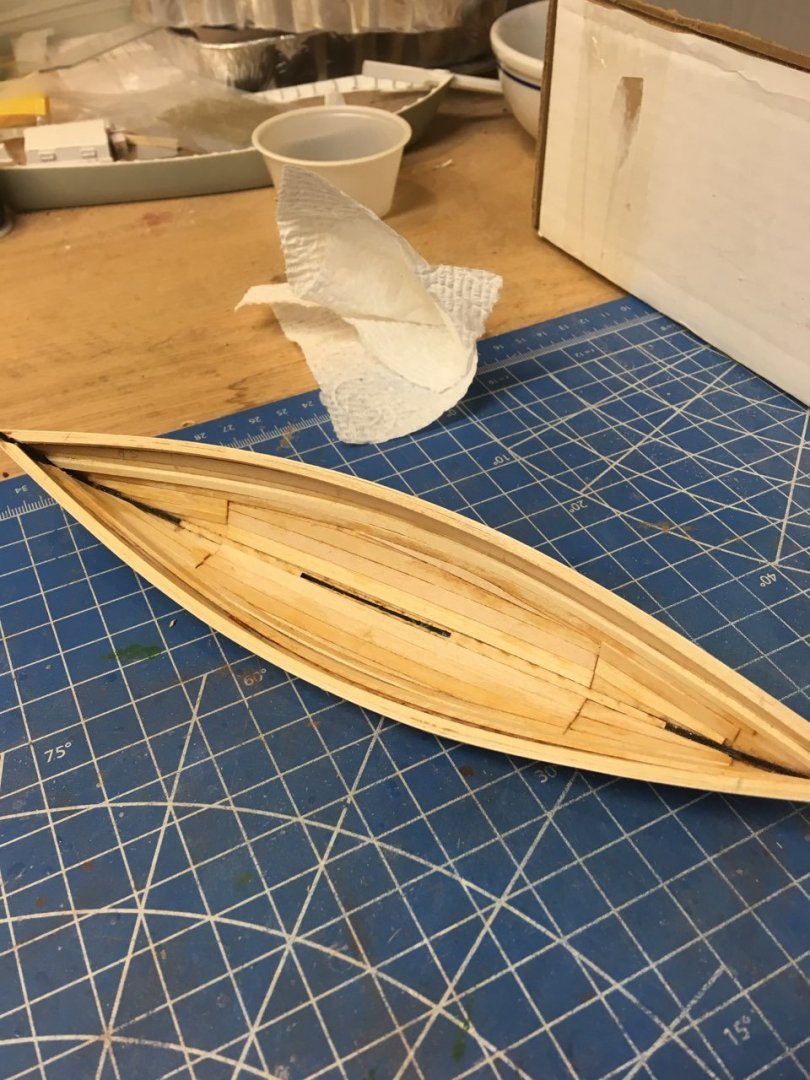
Here's the bow and stern sheets installed. Now up to about 7 hours. Time to think about painting the exterior.
- 63 replies
-
- 8
-
-
- bluejacket shipcrafters
- new bedford whaleboat
- (and 1 more)
-
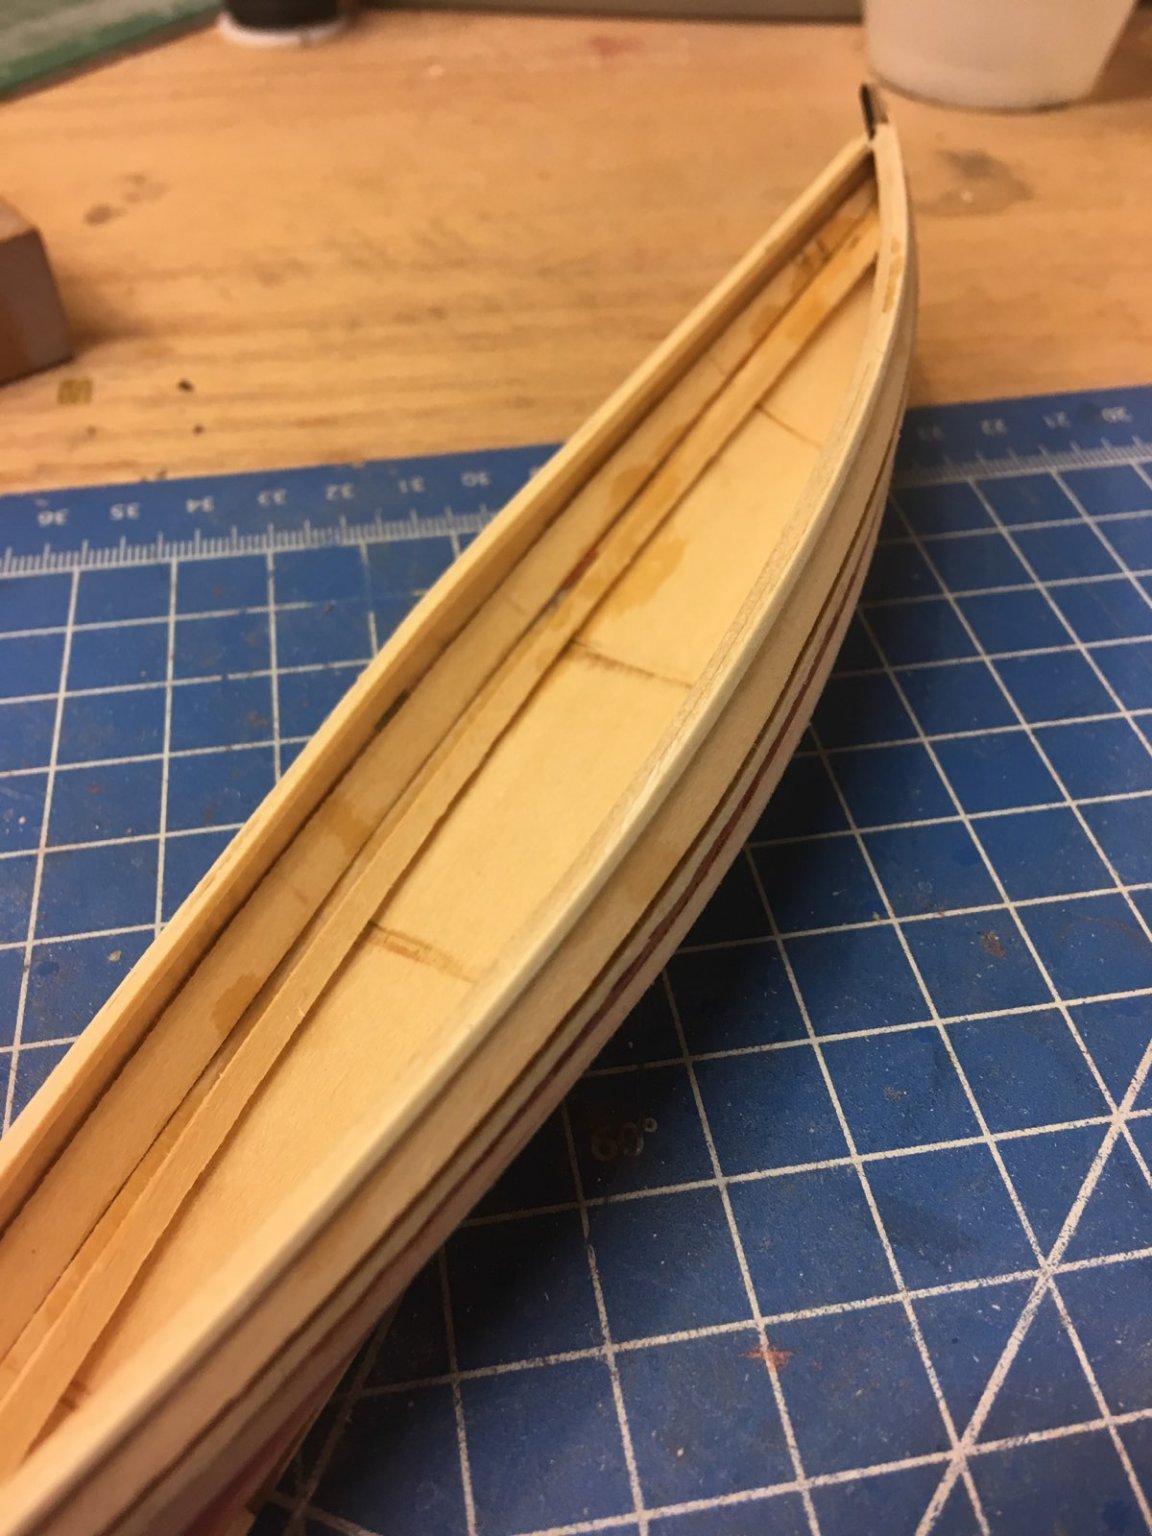
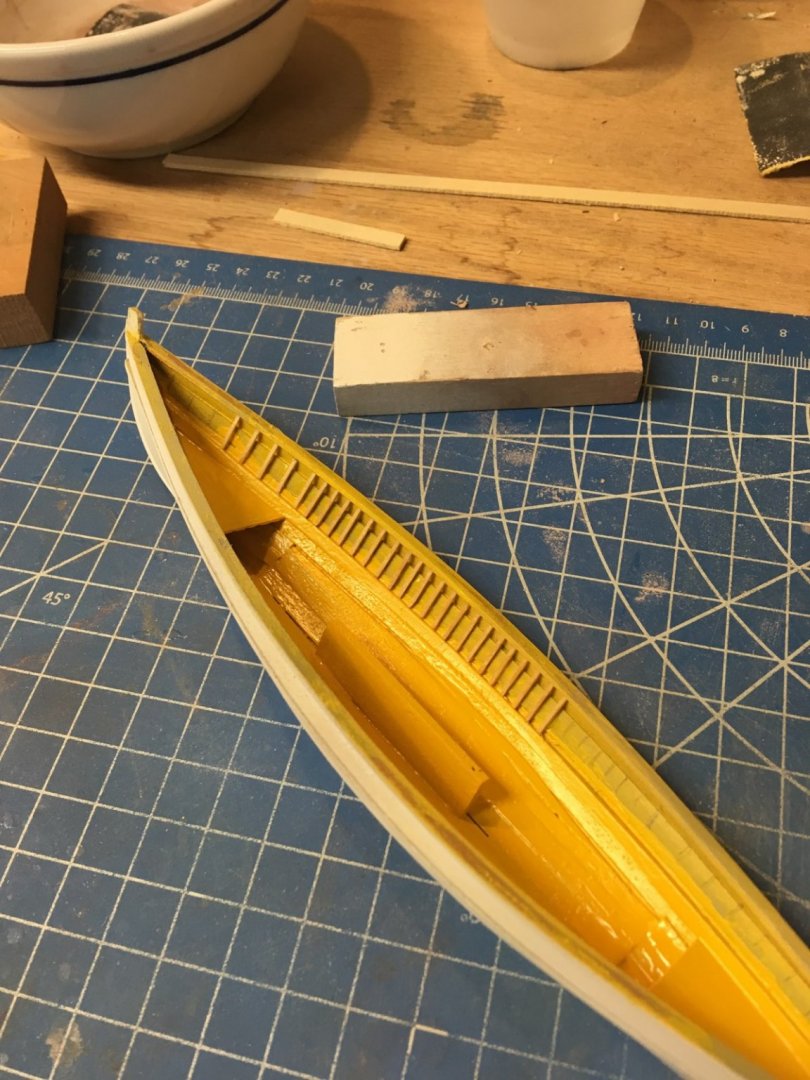
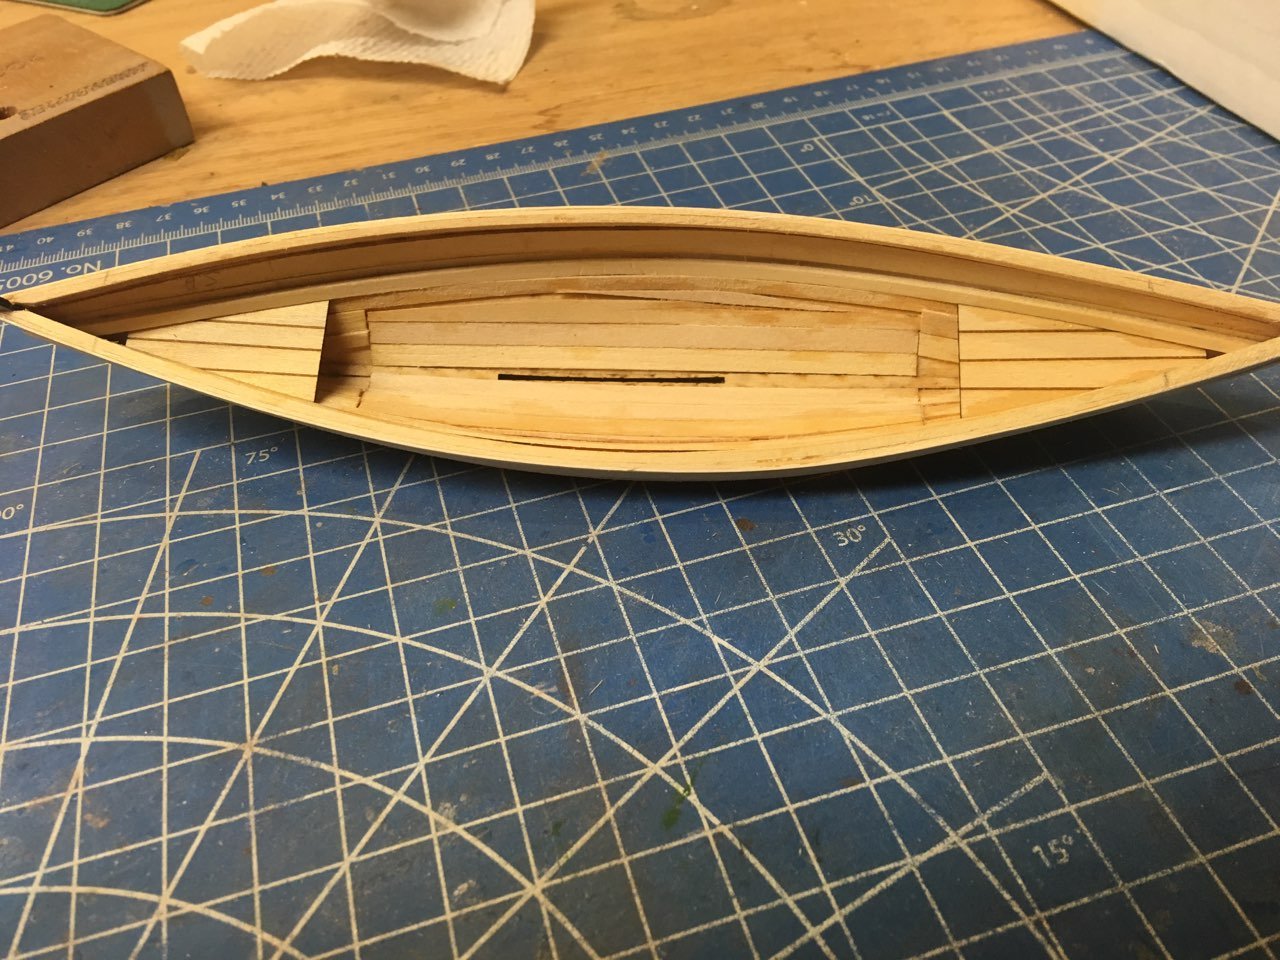
The hull came off the building jig without problems. Here's the risers installed. Followed by the ceiling planks.

- 63 replies
-
- 6
-
-
- bluejacket shipcrafters
- new bedford whaleboat
- (and 1 more)
.jpg.30f5ca397b5009f8eba31f68026d2253.jpg)