HOLIDAY DONATION DRIVE - SUPPORT MSW - DO YOUR PART TO KEEP THIS GREAT FORUM GOING!
×


MrBlueJacket
-
Posts
1,308 -
Joined
-
Last visited
Content Type
Profiles
Forums
Gallery
Events
Everything posted by MrBlueJacket
-
 Looks good to me. I'll be following this. When you're done, you will get a 10% discount on the next kit you get from us. Nic
 -
We tentatively scheduled the 2021 rigging class for May 24-28, I'm going to push it off until Sept 27 - Oct 1.
- 81 replies
-
- 2
-

-
- Bluejacket Shipcrafters
- Yankee Hero
- (and 1 more)
-
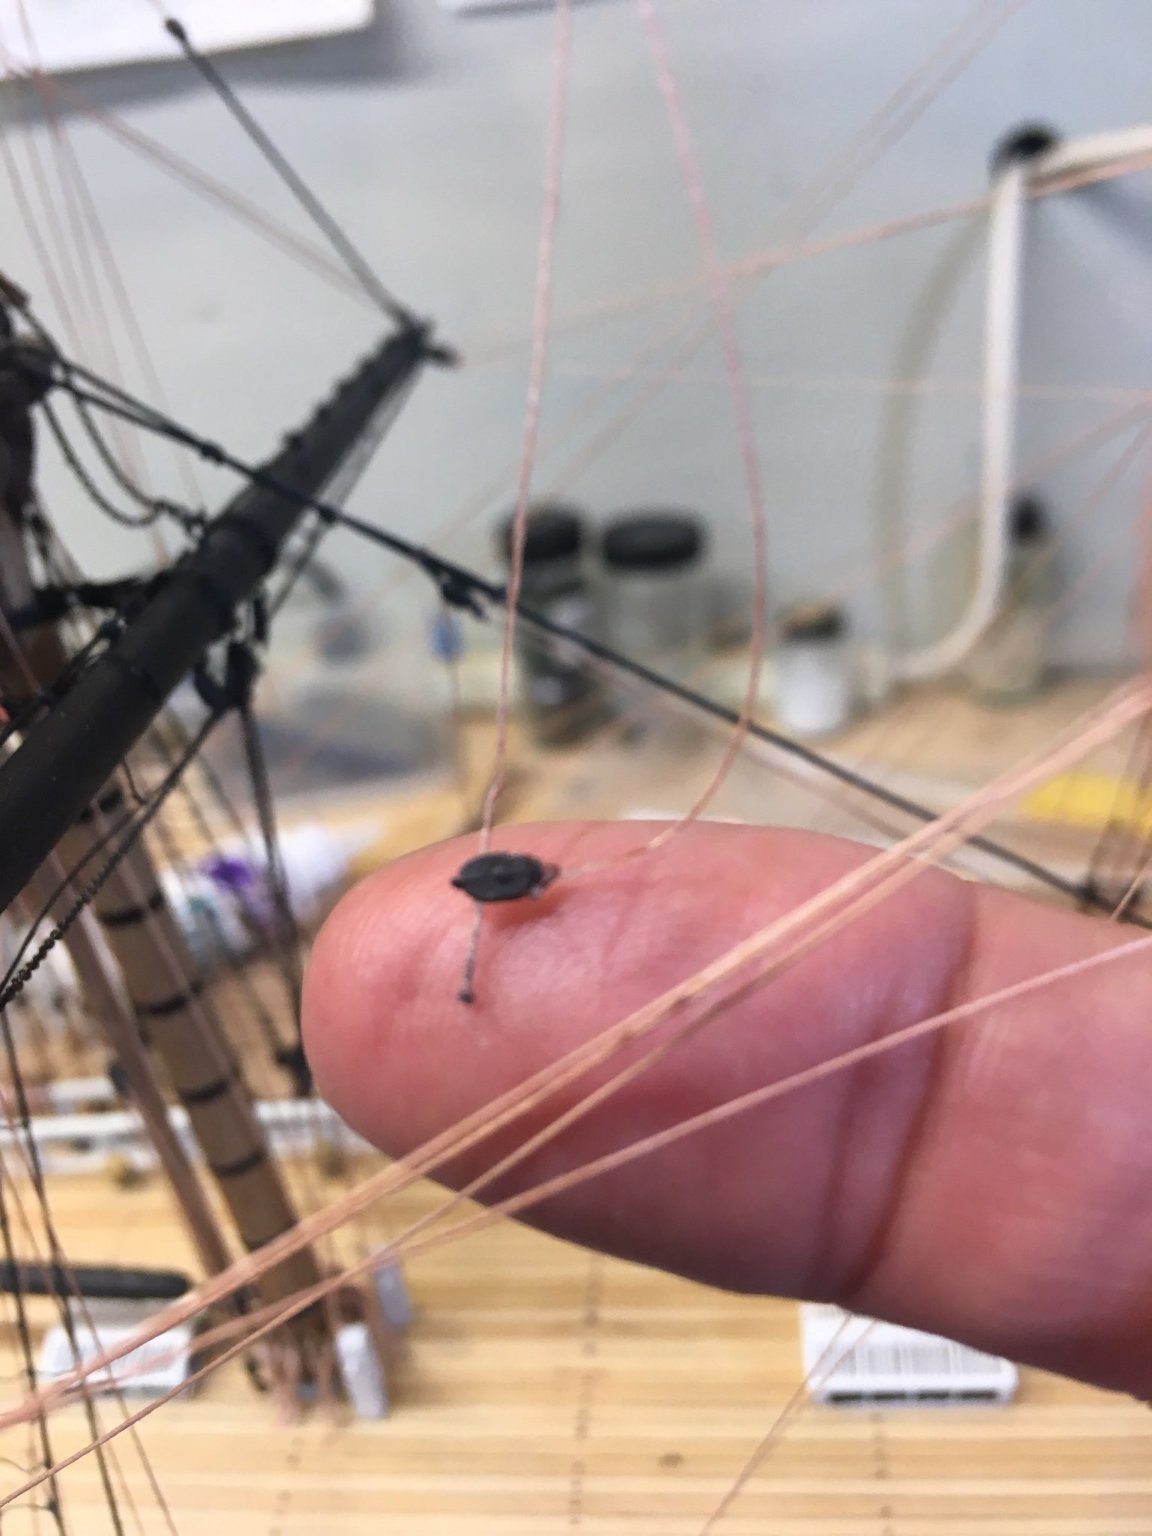
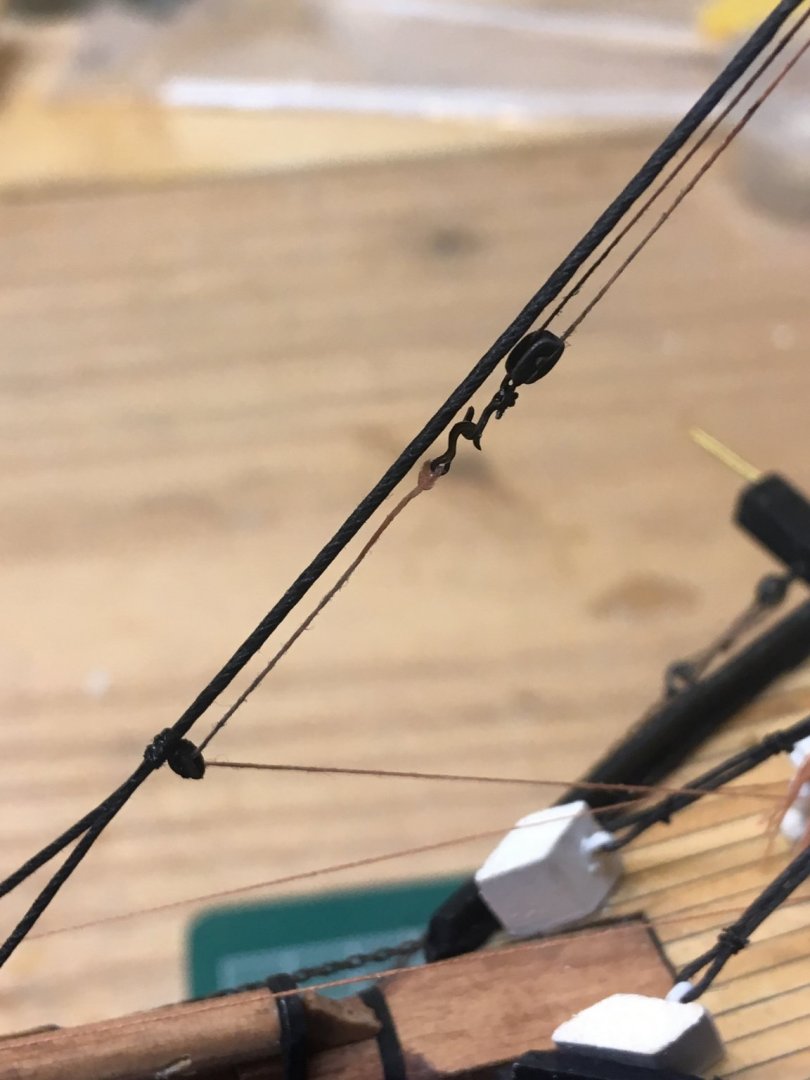
The problem is that the other end of the line is glued to a belaying pin and rope coil. So I had to find an inconspicuous spot to splice the new line to the remains of the old.
- 356 replies
-
- 2
-
-
- red jacket
- finished
- (and 1 more)
-
DISASTER! While using a battery Dremel to clear a hole, it accidentally caught one of the brace lines, ripping it asunder And here's the broken line and block that was ripped off


- 356 replies
-
- 2
-
-
- red jacket
- finished
- (and 1 more)
-
Looking good! For white paint touch-up you can just spray a little white onto a piece of wax paper and then paint with it. The gloss paint is for the bare wood, like the tiller, mahogany and stand. Nic
-
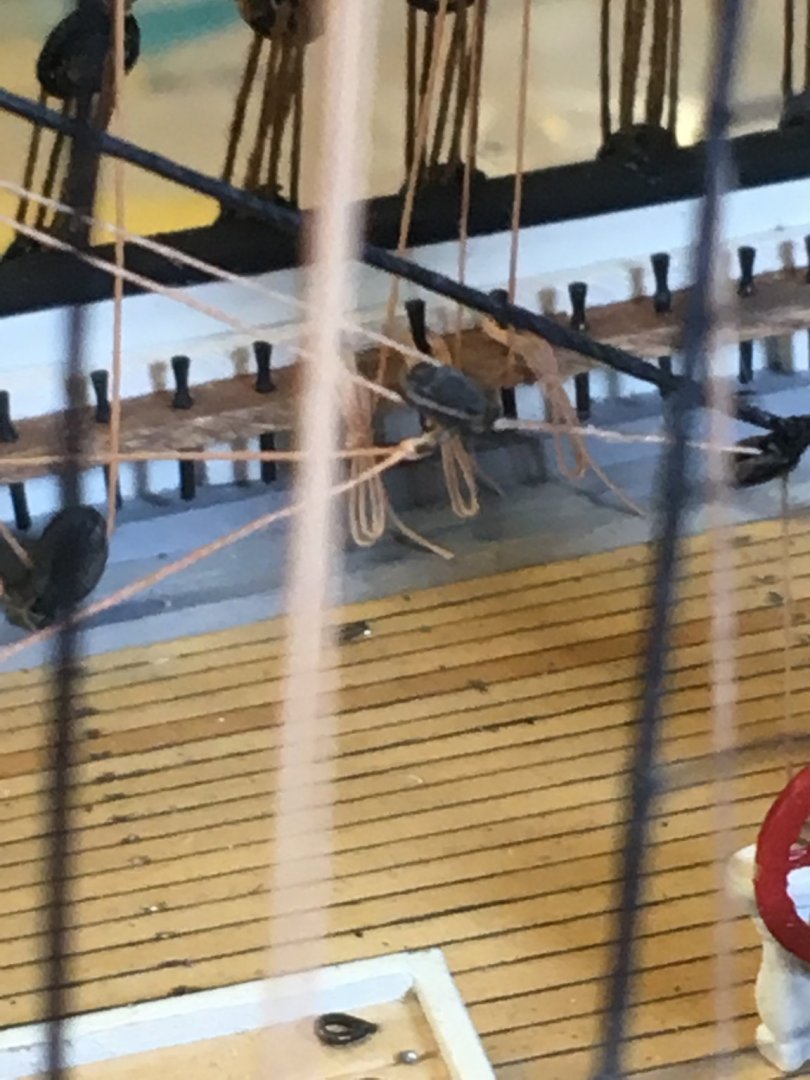
Deck looks good! A coil or two of rope will hide numerous irregularities. Nic
-
Glad I was able to help! Nic
-
I decided I'm tired of weaving through the rigging, so I diverted to the Jib staysail halyards and downhauls, which are out in the open. Call it a mental break....
- 356 replies
-
- 8
-
-
- red jacket
- finished
- (and 1 more)
-
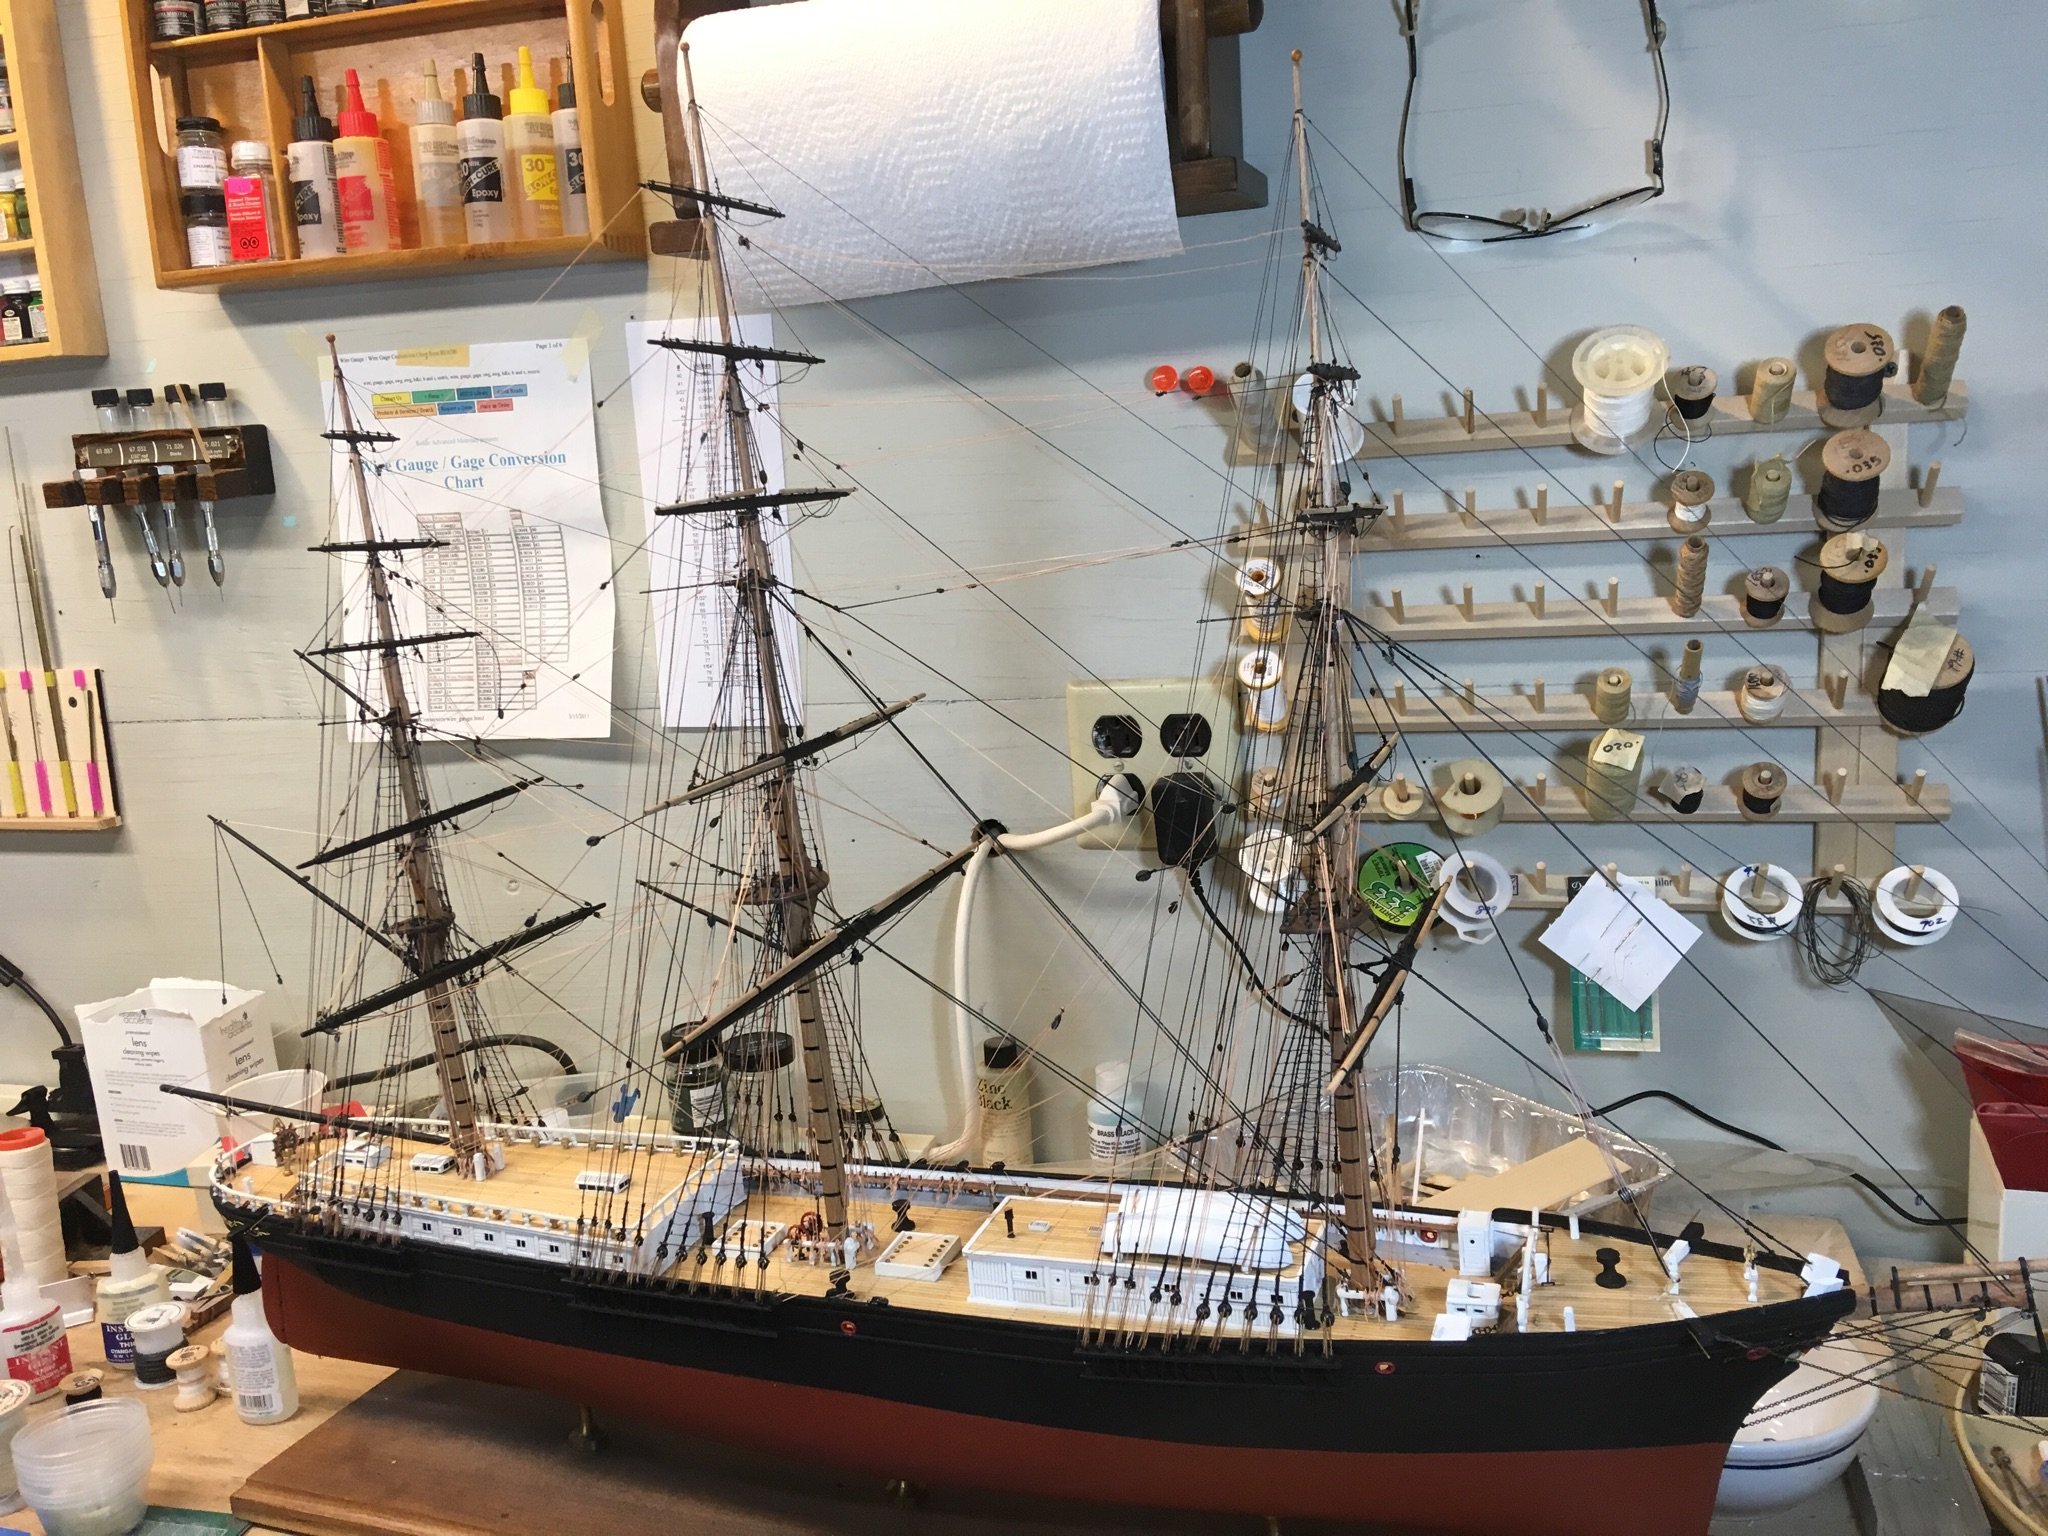
OK, staysail rigging done, back to braces. At this point, all that's left are the top 3 pairs on the mizzen.

- 356 replies
-
- 1
-
-
- red jacket
- finished
- (and 1 more)
-
"it would not keep anyone from going over the side it would just ensure that they went over head first." HA HA HA I can picture that
- 142 replies
-
- 2
-
-
- alfred
- solid hull
- (and 2 more)
-
Yes, your Swampscott shipped out yesterday, 12/23 by UPS. By all means do a build thread, when you are finished, I will give you 10% off the next kit you buy from us. Nic
-
Glad to see you back at it. Nice carrier, BTW Nic
-
Can I assume the beams are not glued in yet? Would be tough to rig the cannon if they were! Nic
- 142 replies
-
- 2
-
-
- alfred
- solid hull
- (and 2 more)
-
Nice to see you again, Jim. looking good! Nic
- 104 replies
-
- 2
-

-
-
- constitution
- BlueJacket Shipcrafters
- (and 1 more)
-
Yes, it's me. Nic
-
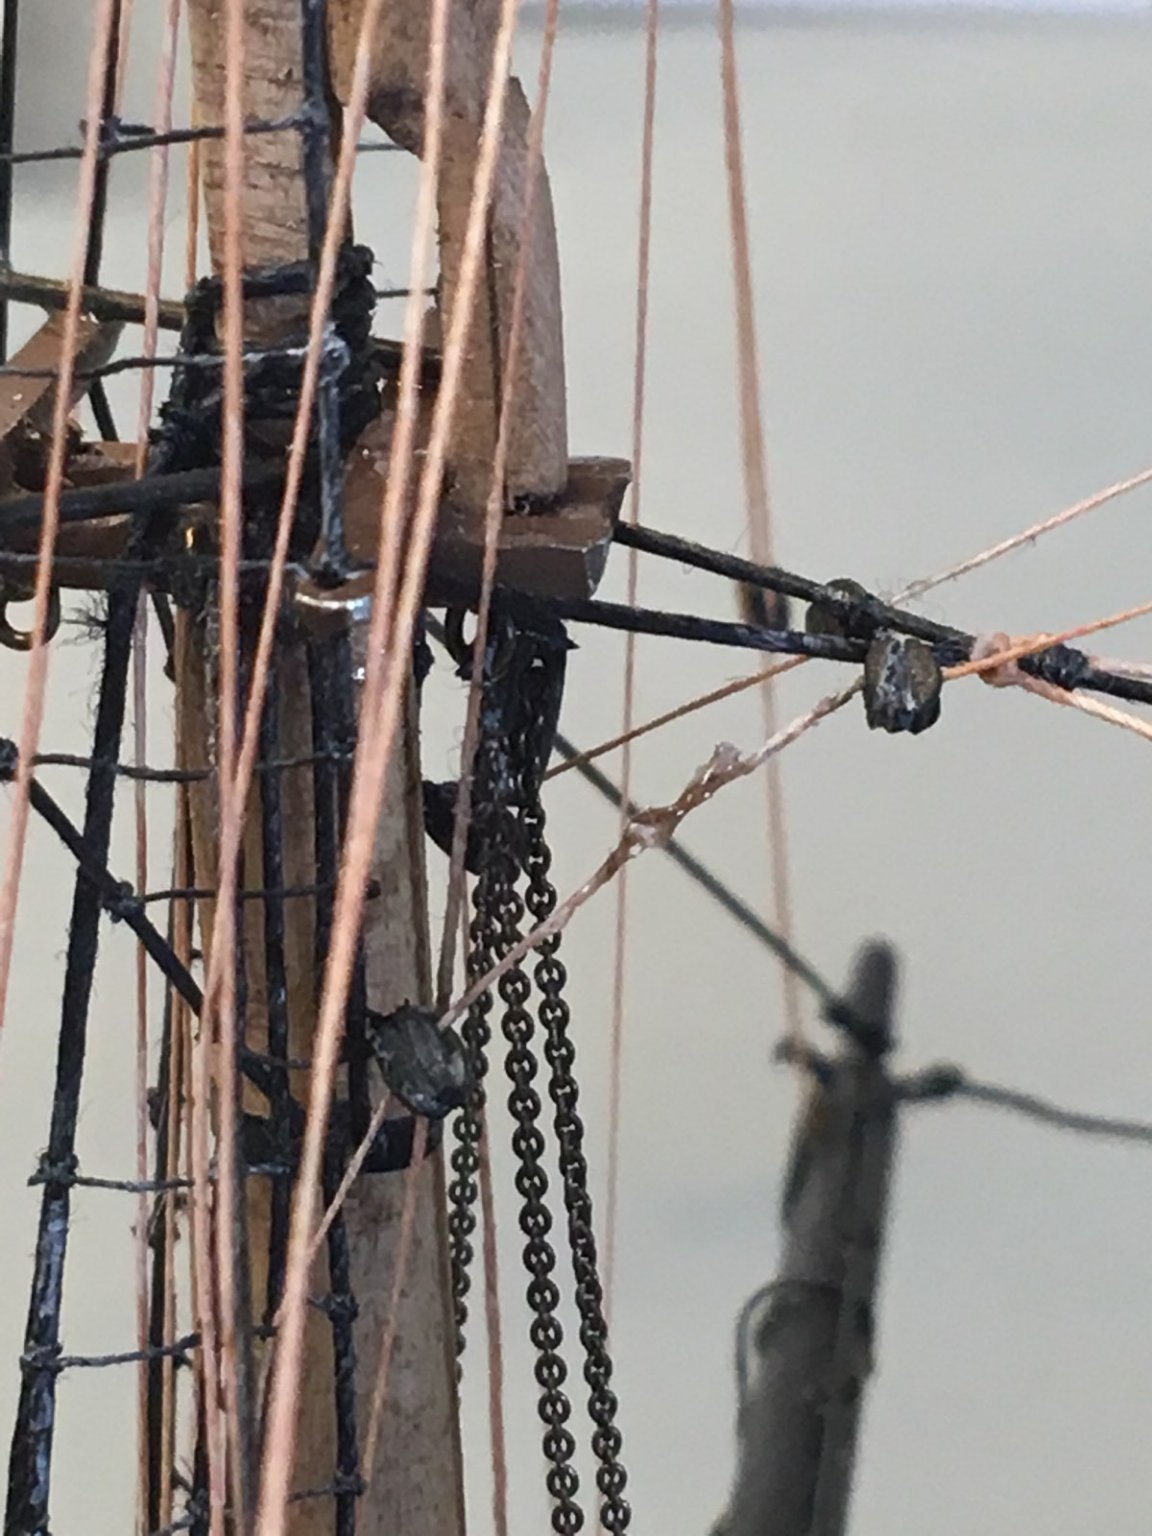
Hi Allan, I really don't know. The research on this kit was done in the early 1980's. What I mentioned is what is on the plans. The end of the halyard attaches to a single becket block, down to a single block on deck, back up to the block, then to a belaying point.
-
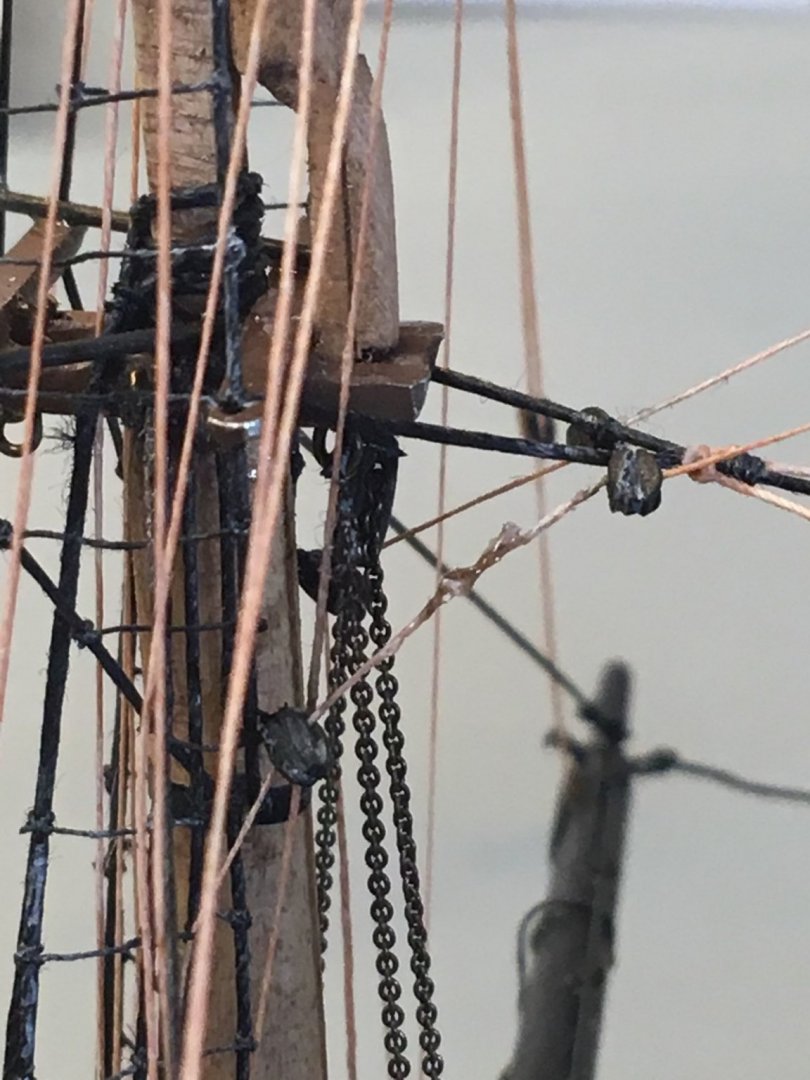
Lines 30 & 31 run through a sheave in the mast and are identified as yard halyards.
-
The lower yard is, indeed, held up by a chain sling. To get it there, a temporary block and tackle would have been fixed to the mast cap. For the top and topgallant yards, they were hauled up and held with halyards, labeled # 30 and 31 on the plans. Hope this helps. Nic
-
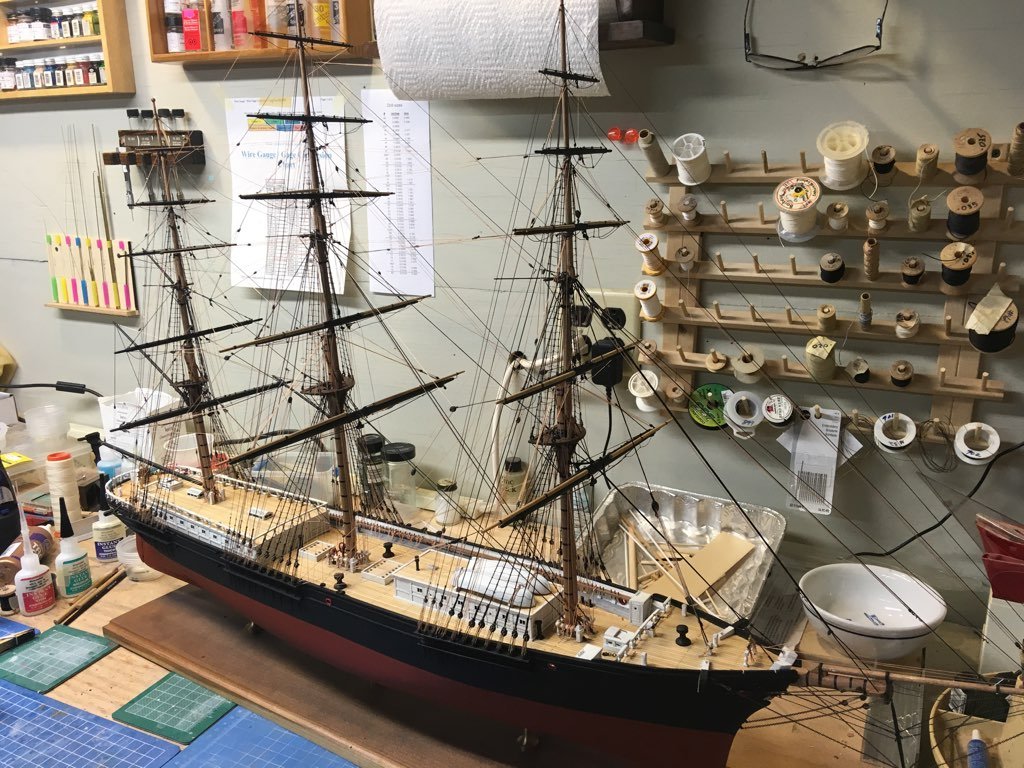
So I have finished the braces on the fore and main masts. Looking back on the rigging diagram, I realized I had forgot to do the staysail rigging before the braces. Now I have to weave through the braces, because the staysail rigging hangs on the stays, which of course are in the middle. Here's a picture of the first one, only 5 more to go. *sigh*
- 356 replies
-
- 3
-
-
- red jacket
- finished
- (and 1 more)
-
The knightheads are 1/8 x 3/8 and you make them out of the 1/8 x 4 sheet included in the kit. They are on the profile views as well. Nic