MrBlueJacket
-
Posts
1,314 -
Joined
-
Last visited
Content Type
Profiles
Forums
Gallery
Events
Everything posted by MrBlueJacket
-
 And, of course, what modeler cannot resist putting the sub-assemblies together to see what it will look like?
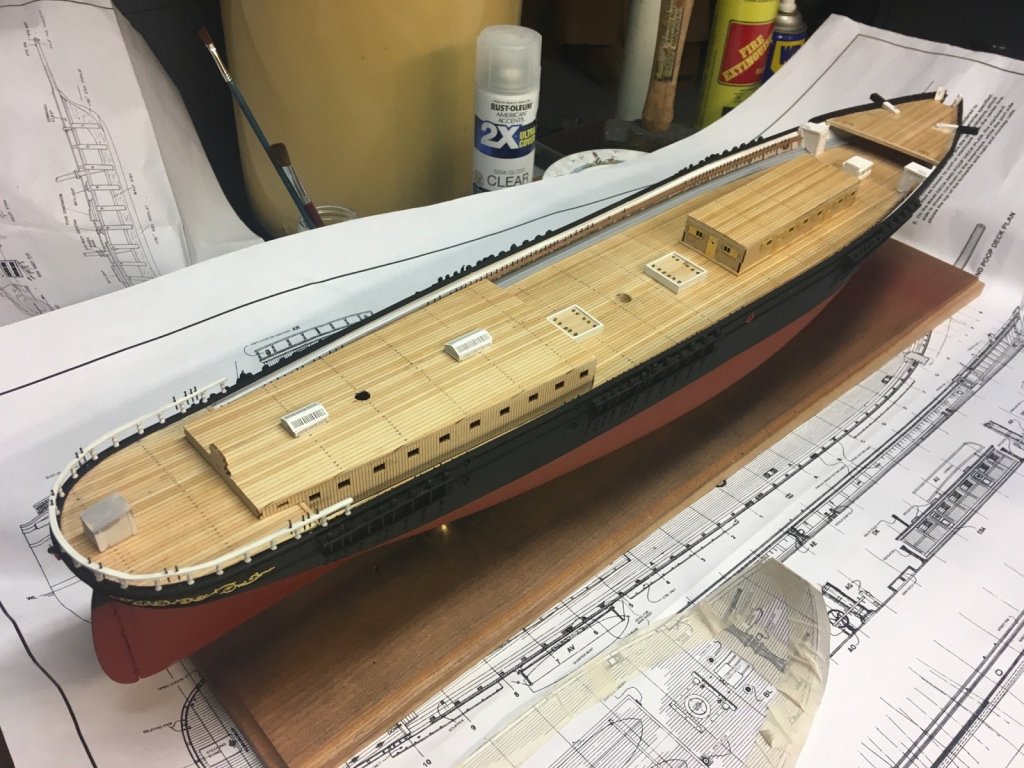
- 356 replies
-
- 12
-

-
- red jacket
- finished
- (and 1 more)
-
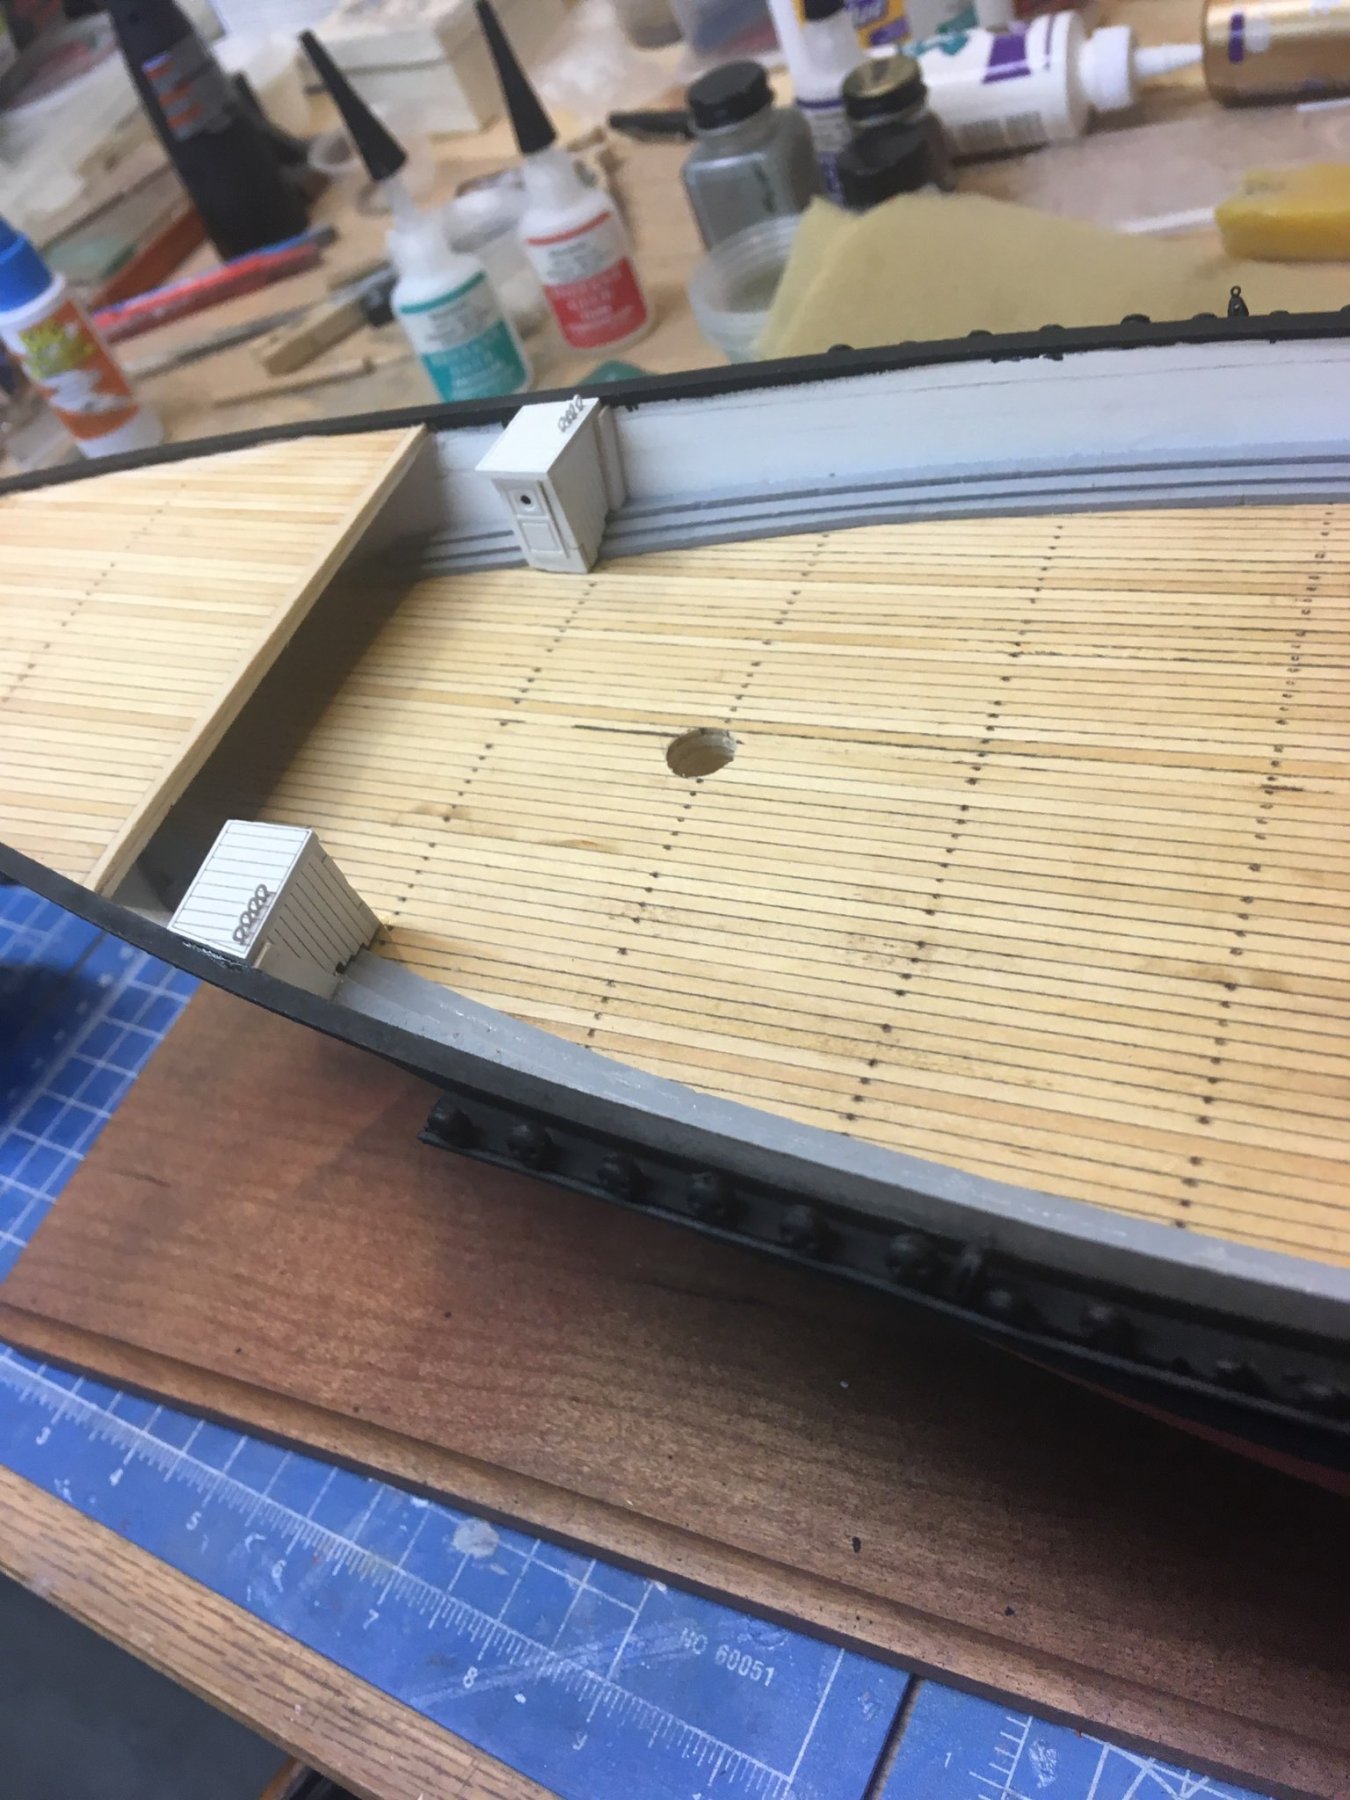
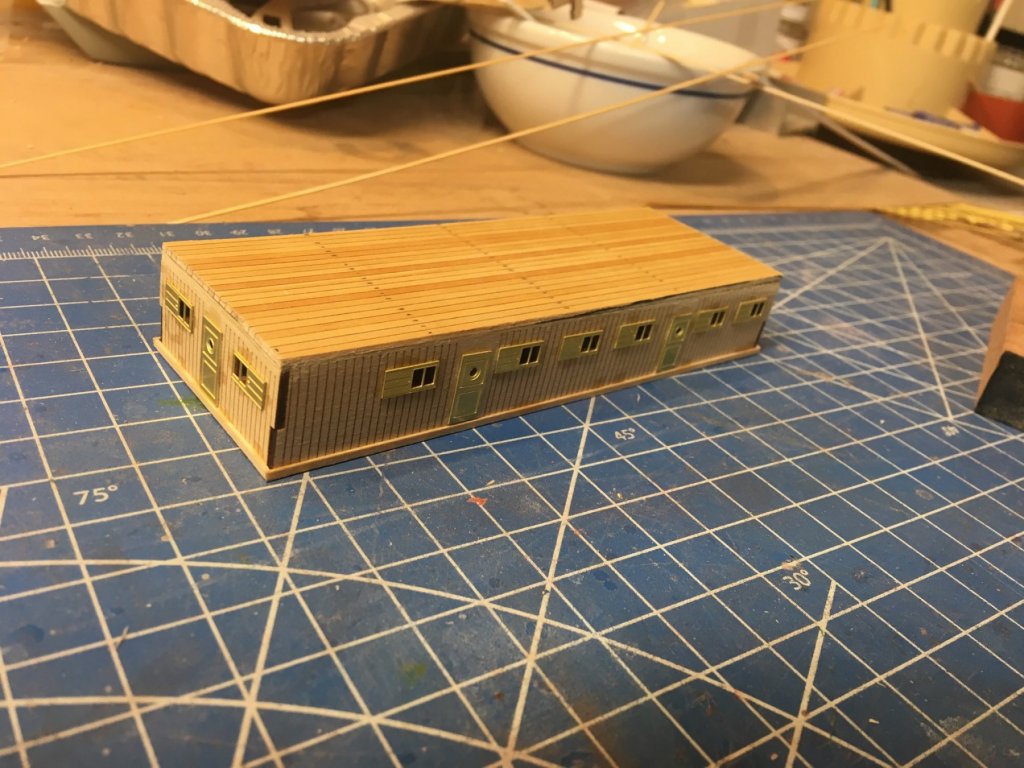
Started doing the deckhouses. Added the P-E brass doors and windows.
- 356 replies
-
- 9
-
-
- red jacket
- finished
- (and 1 more)
-
Legodude, when you finish this build, I will give you (or your designated buyer) 10% off your next BlueJacket kit. Thanks for posting! Nic
- 18 replies
-
- 1
-
-
- skiff
- BlueJacket Shipcrafters
- (and 1 more)
-
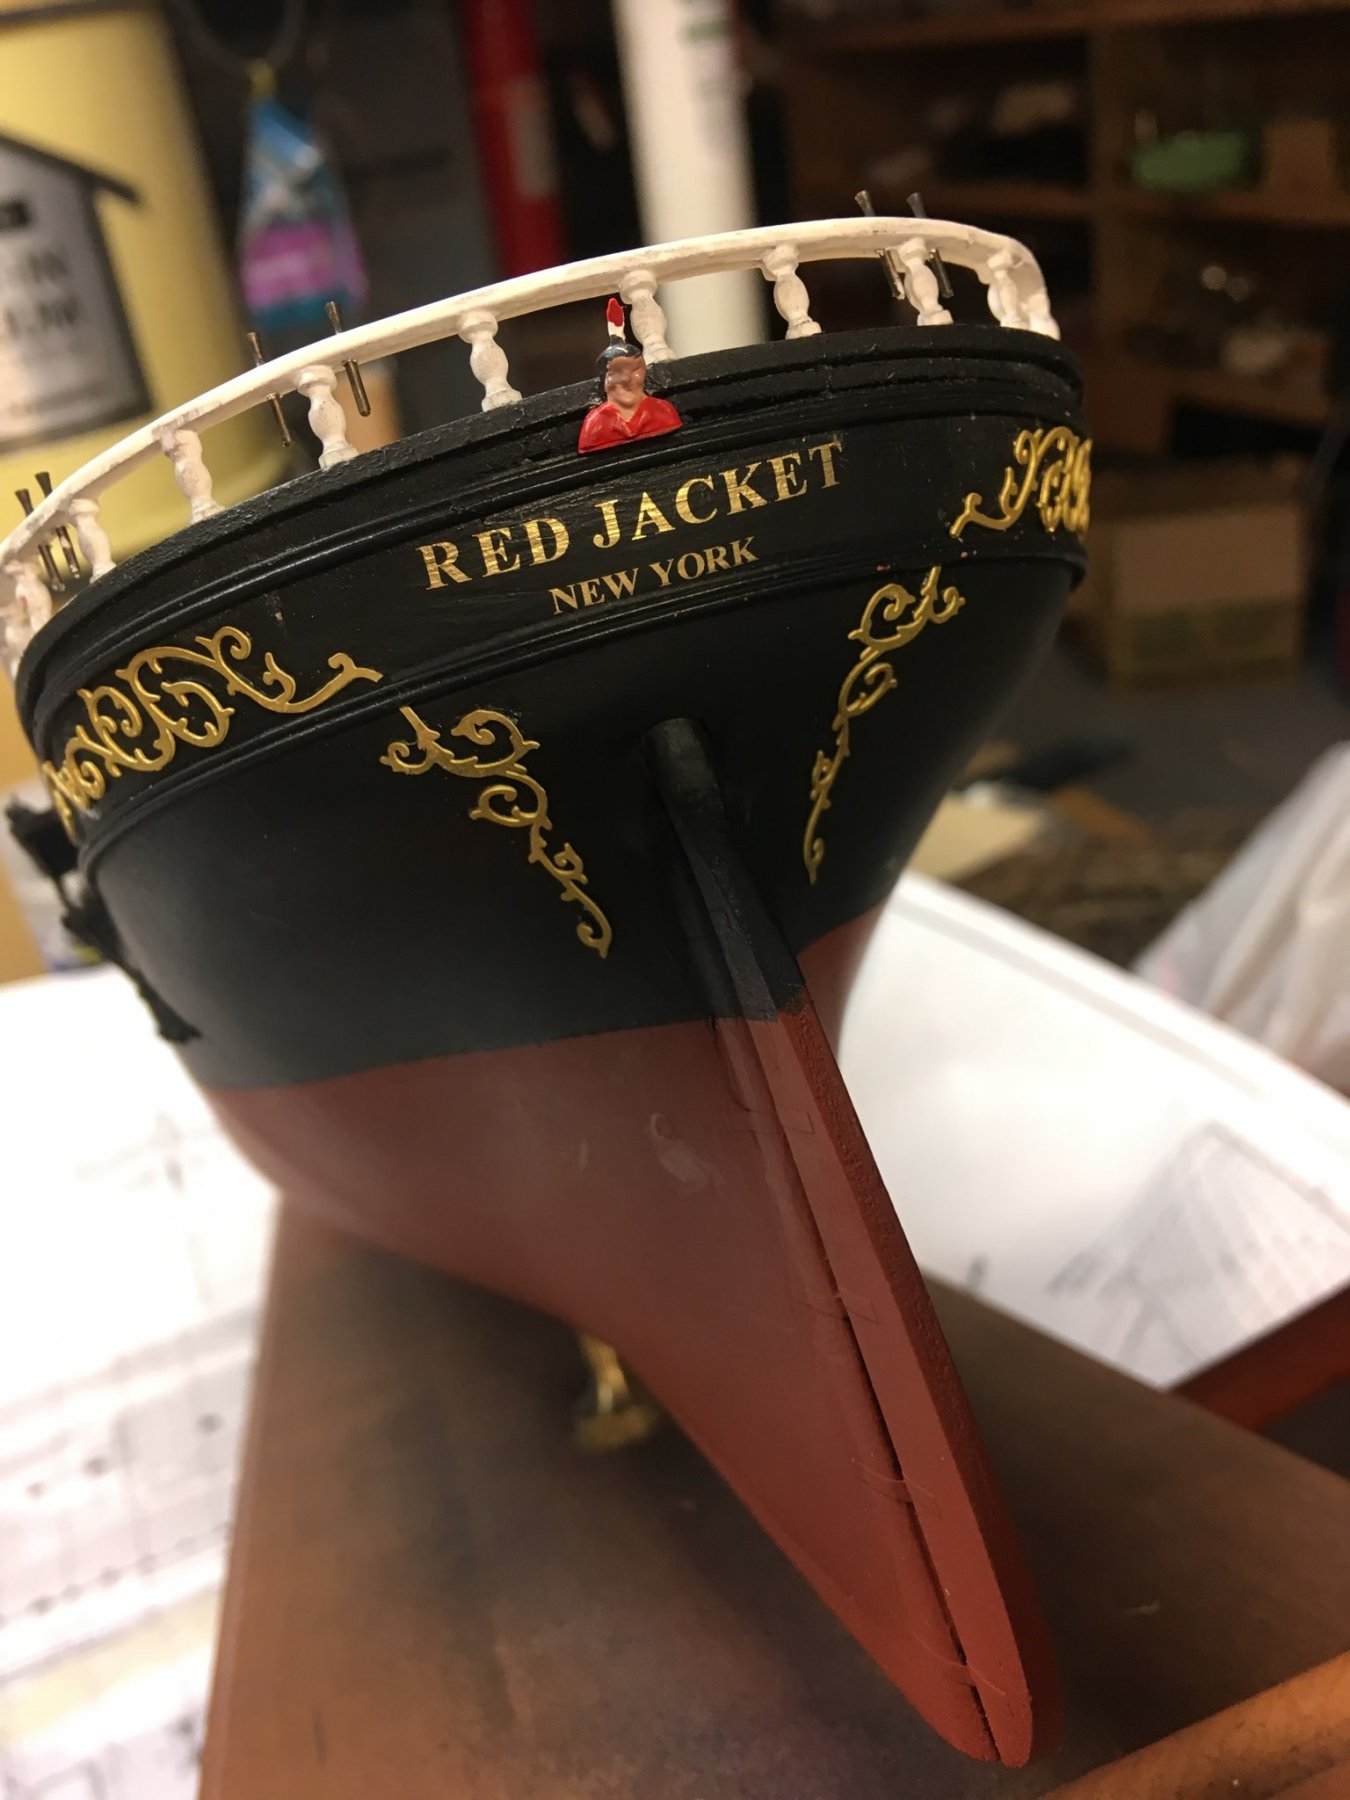
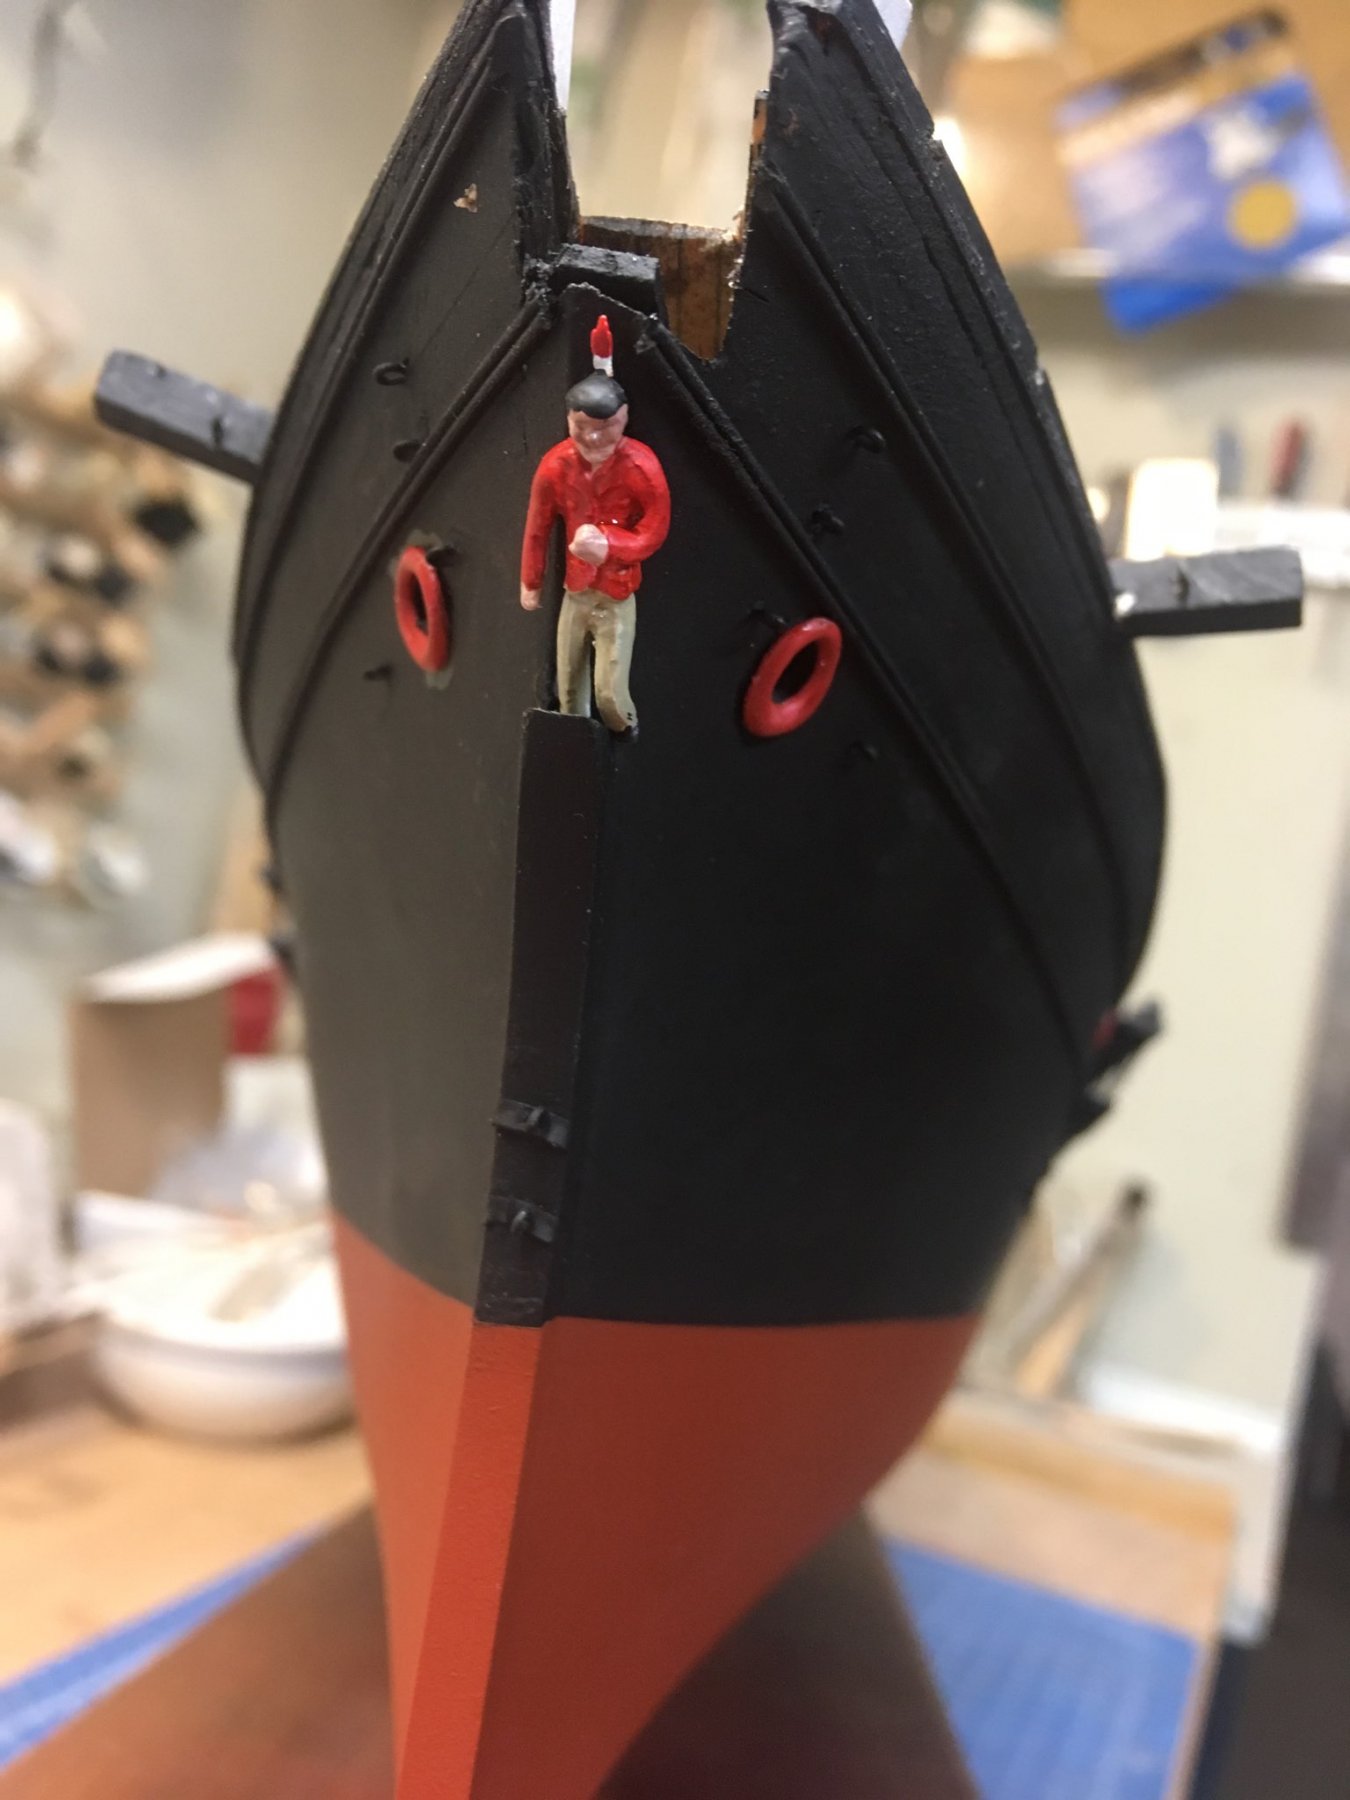
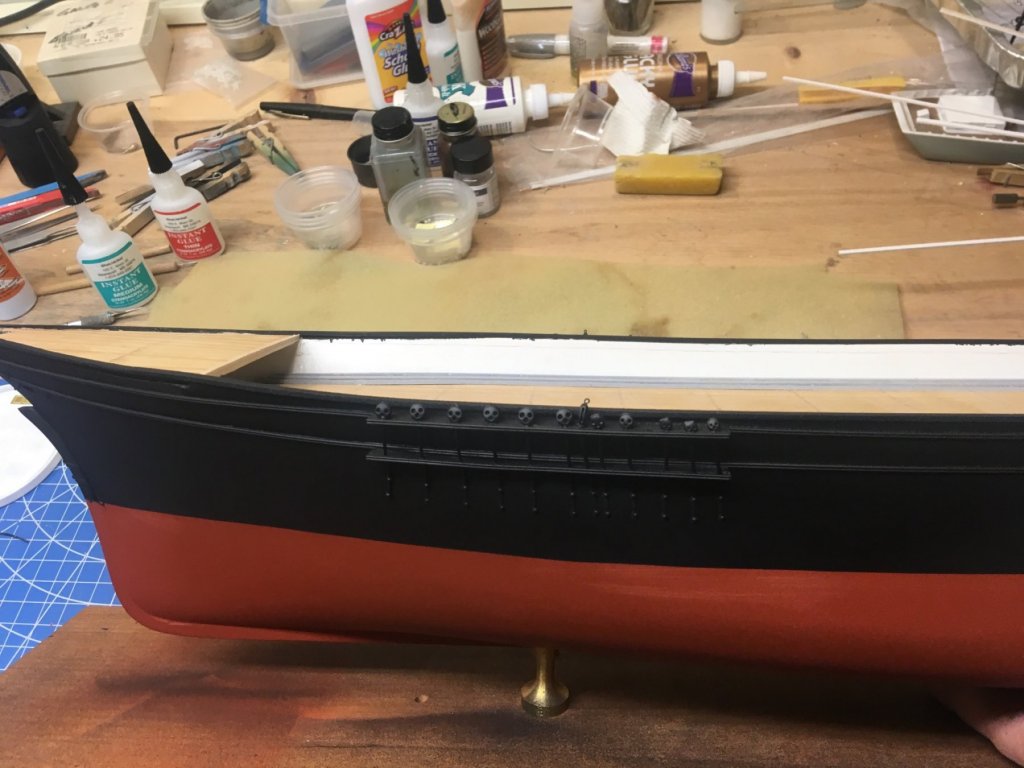
At the bow, the figurehead of "Red Jacket" (Sagoyewatha, Seneca Indian chief) was painted and mounted. His nickname is because a British soldier gave him a coat during the revolutionary war.

- 356 replies
-
- 7
-
-
- red jacket
- finished
- (and 1 more)
-
Today I put on the photo etched scrollwork at the stern. It took an hour of aligning and re-positioning and gluing to get it done. I am happy with the result!

- 356 replies
-
- 13
-
-
- red jacket
- finished
- (and 1 more)
-
Looking very good, Jim. Nic
-
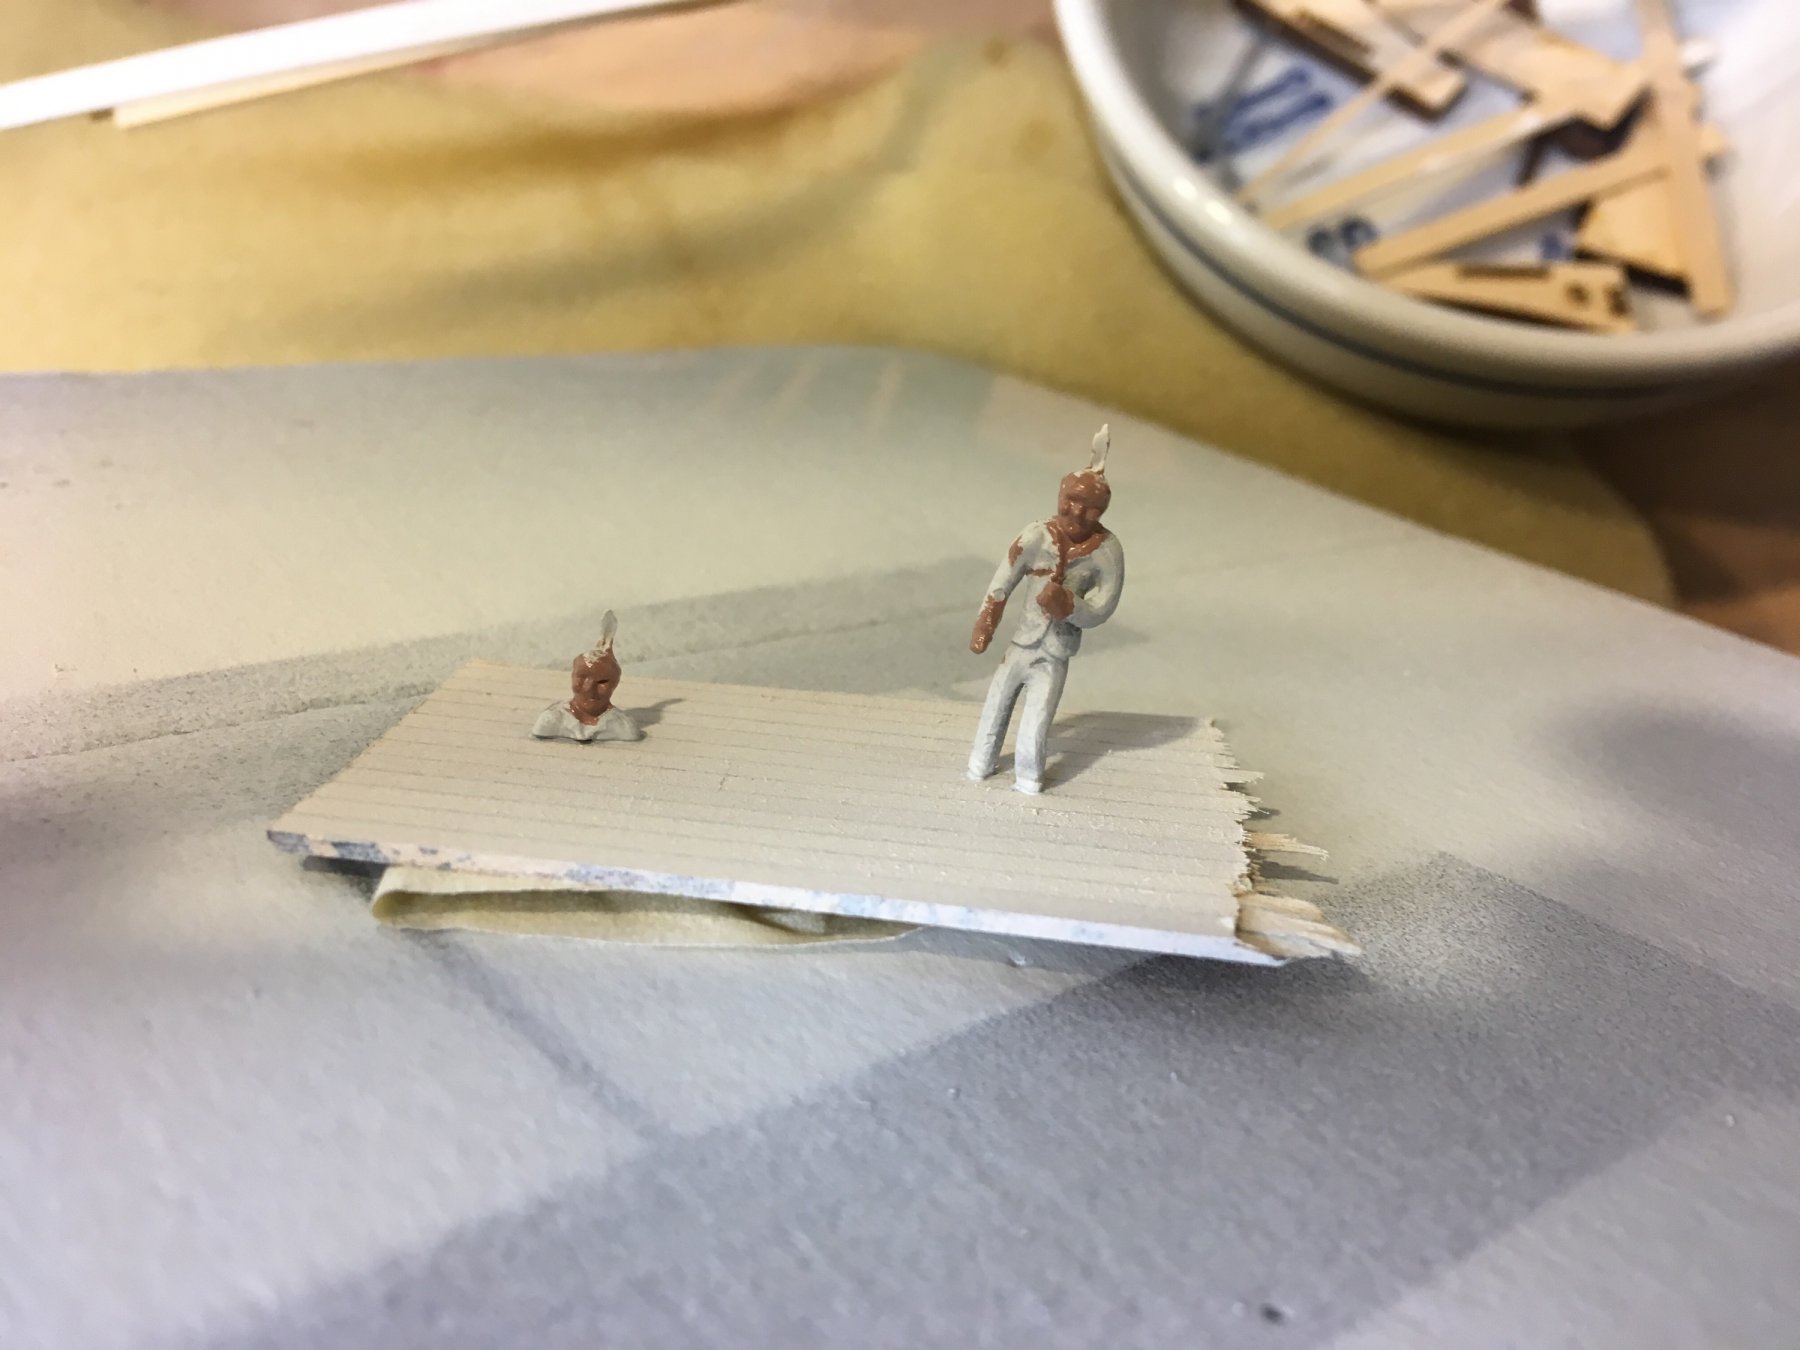
It's time to do the figurehead and stern carving. They are of Sagoyewatha, the Seneca chief of the Wolf clan. His nickname Red Jacket is because of the red coat a British army officer gave him during the American Revolution. One of the problems in painting is to mix the flesh color of an American Indian. A google search yielded plenty of advice from miniature figure painters, but they involved colors in acrylic and/or oil that I never head of. What I finally settled on is a mix of Burnt Sienna and cream. I think it came out OK.

- 356 replies
-
- 7
-
-
- red jacket
- finished
- (and 1 more)
-
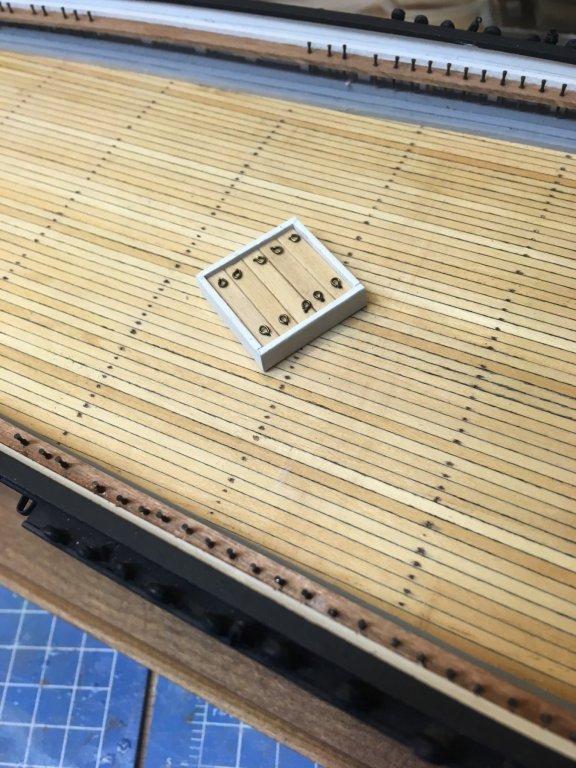
Last night I made one of the two hatches for the deck. I used eyebolts bent over for the hatch lifting rings.
- 356 replies
-
- 12
-
-
- red jacket
- finished
- (and 1 more)
-
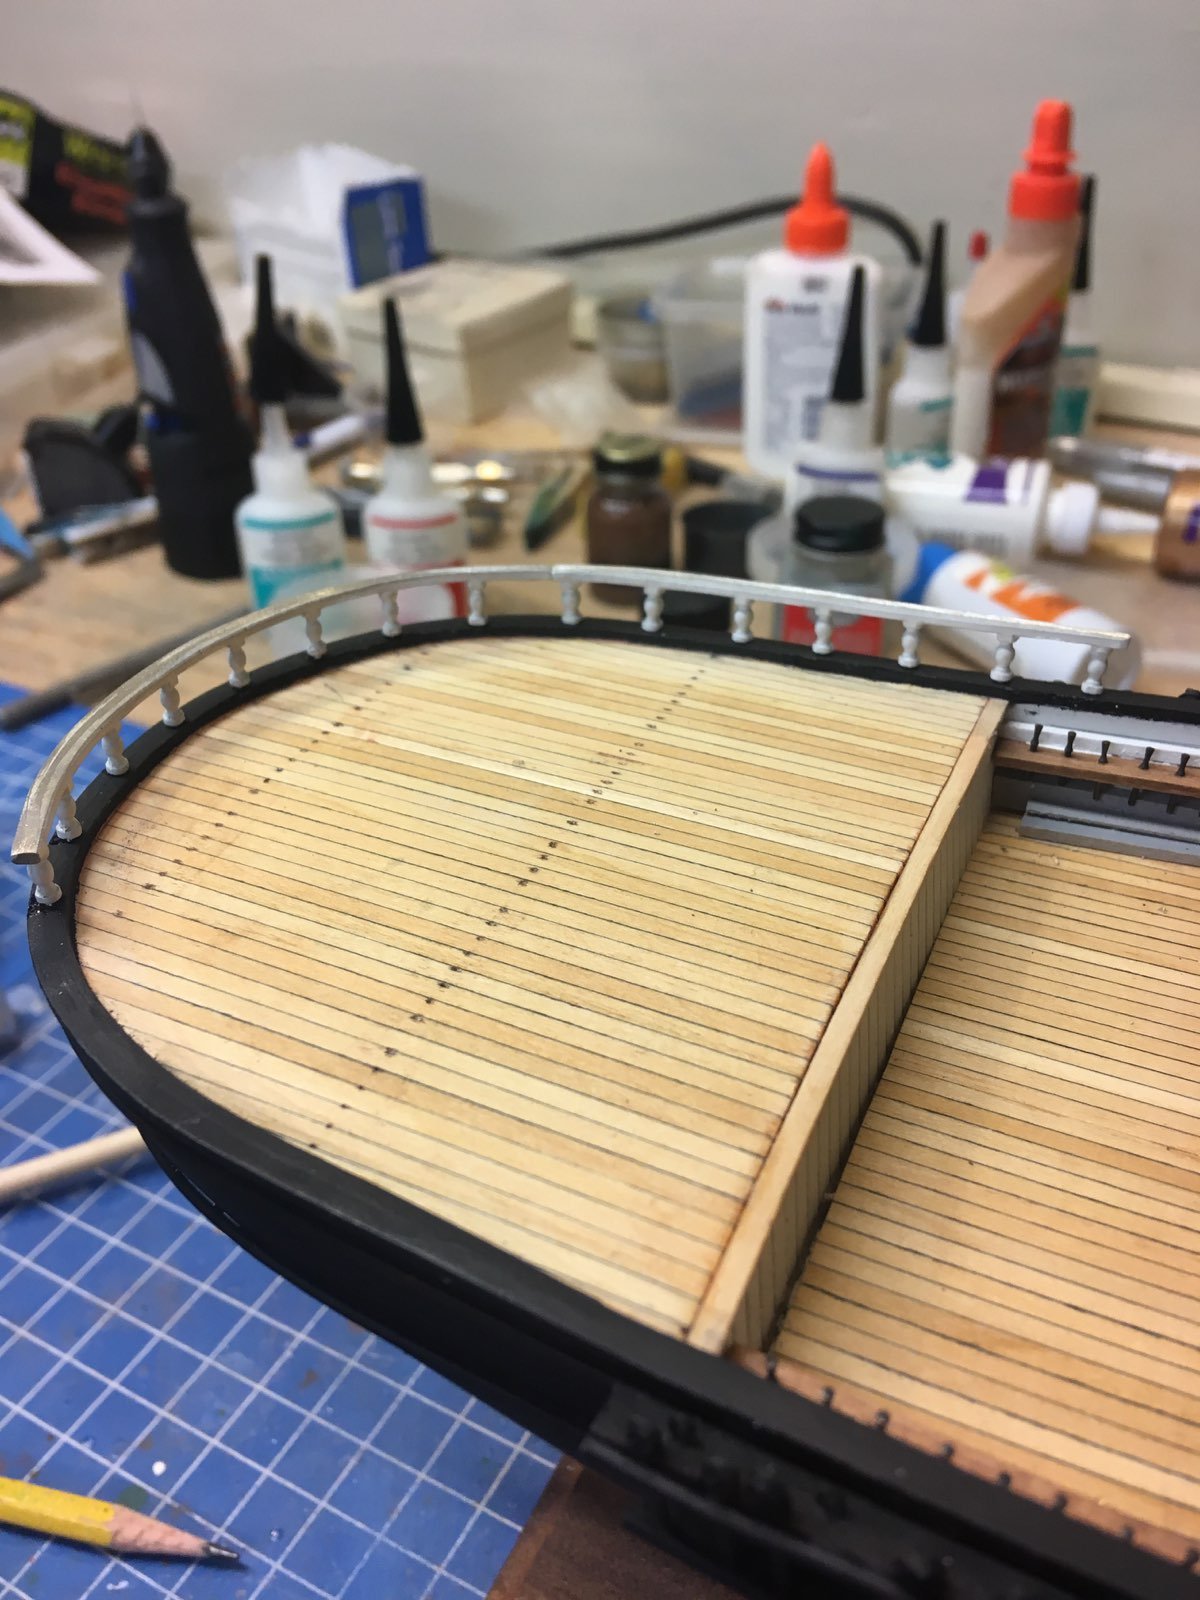
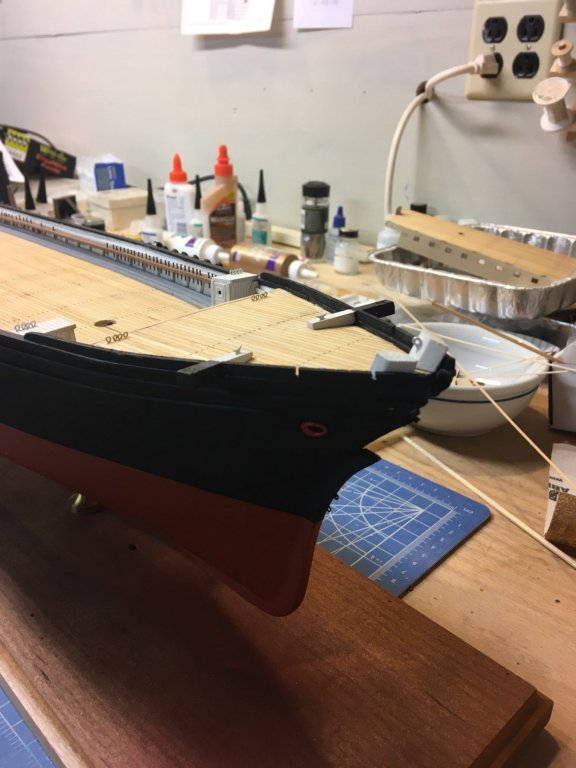
Meanwhile, back at the pointy end............... We have installed the knightheads, catheads, hawse lips, spray rail, and some eyebolts.
- 356 replies
-
- 13
-
-
- red jacket
- finished
- (and 1 more)
-
And here's two of the 3 pieces glued down into their many little holes. There will be puttying to do to get a smooth railing at the transition point.

- 356 replies
-
- 12
-
-
- red jacket
- finished
- (and 1 more)
-
Over the w/e I started the poop deck railings. The kit provides several lengths of cast stanchions/railings. These have to be bent to fit the curvature of the stern I decided to bend them upside down, to get a more accurate curve. Then they will get painted and installed.

- 356 replies
-
- 12
-
-
- red jacket
- finished
- (and 1 more)
-
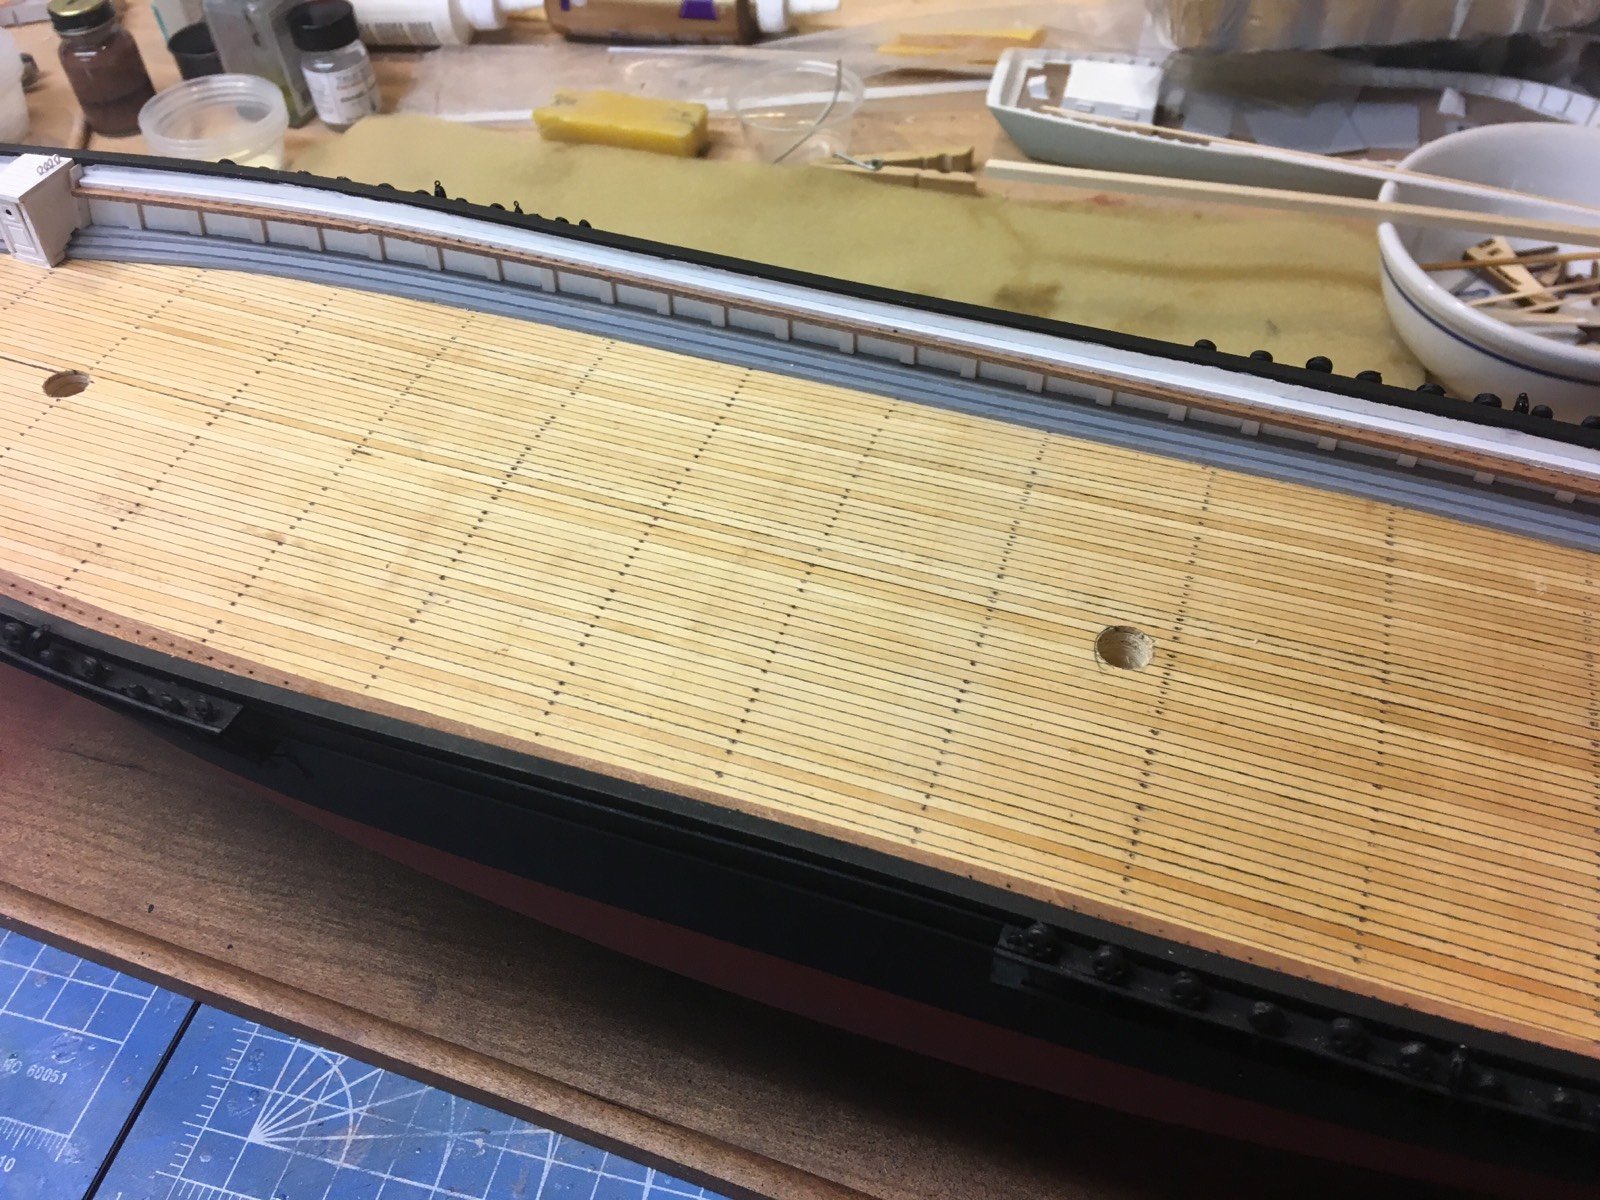
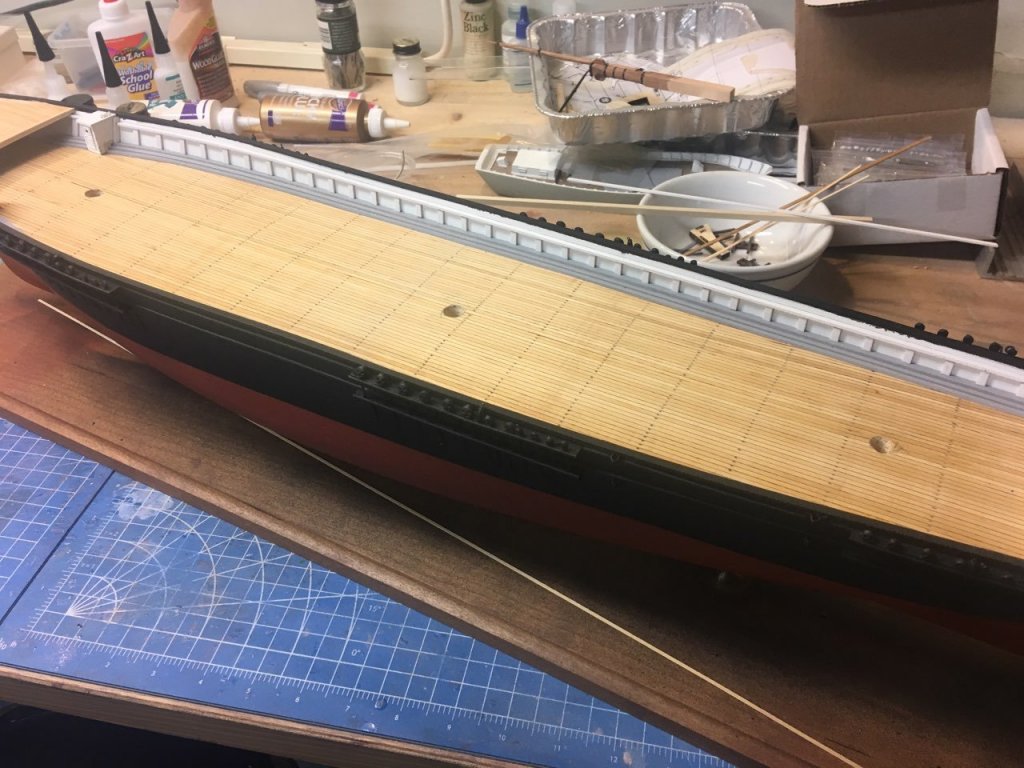
Pinrails - as promised. Now it occurs to me that I didn't have to be so precise about fitting the stanchions - the tops can't be seen!

- 356 replies
-
- 17
-
-
- red jacket
- finished
- (and 1 more)
-
And now the port side is done. Next up is the pinrails.
- 356 replies
-
- 15
-
-
- red jacket
- finished
- (and 1 more)
-
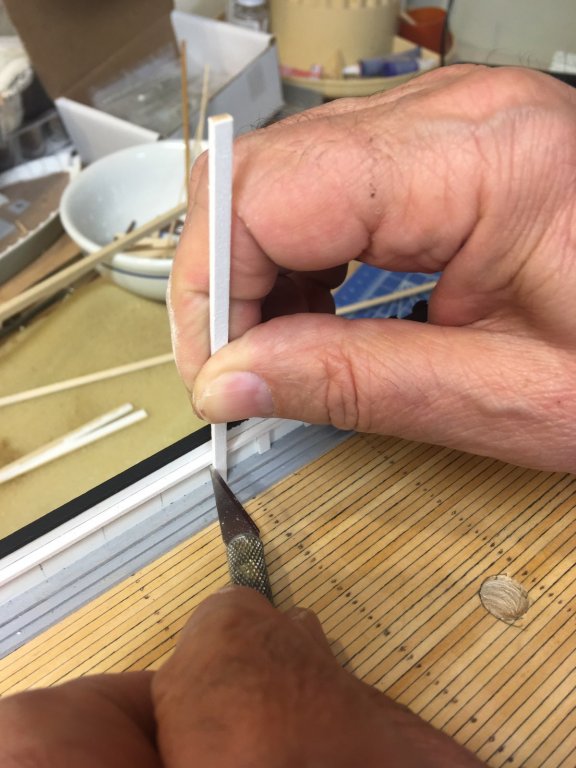
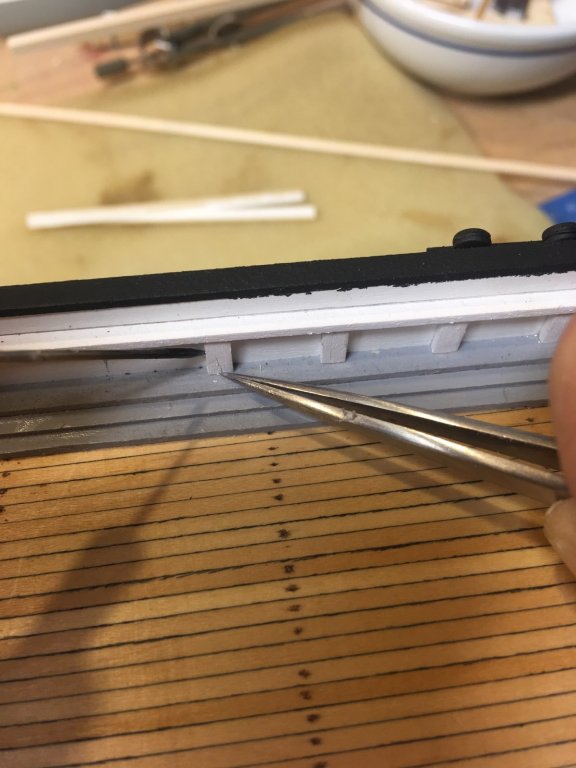
To get each stanchion the correct height, the best way is to mark it in place. I use the Xacto blade to make a cut in the edge. Sometimes it needs a touch of sandpaper to fit, but mostly it goes right in. Then hold it with tweezers while you apply a drop of thin CA glue.
- 356 replies
-
- 12
-
-
- red jacket
- finished
- (and 1 more)
-
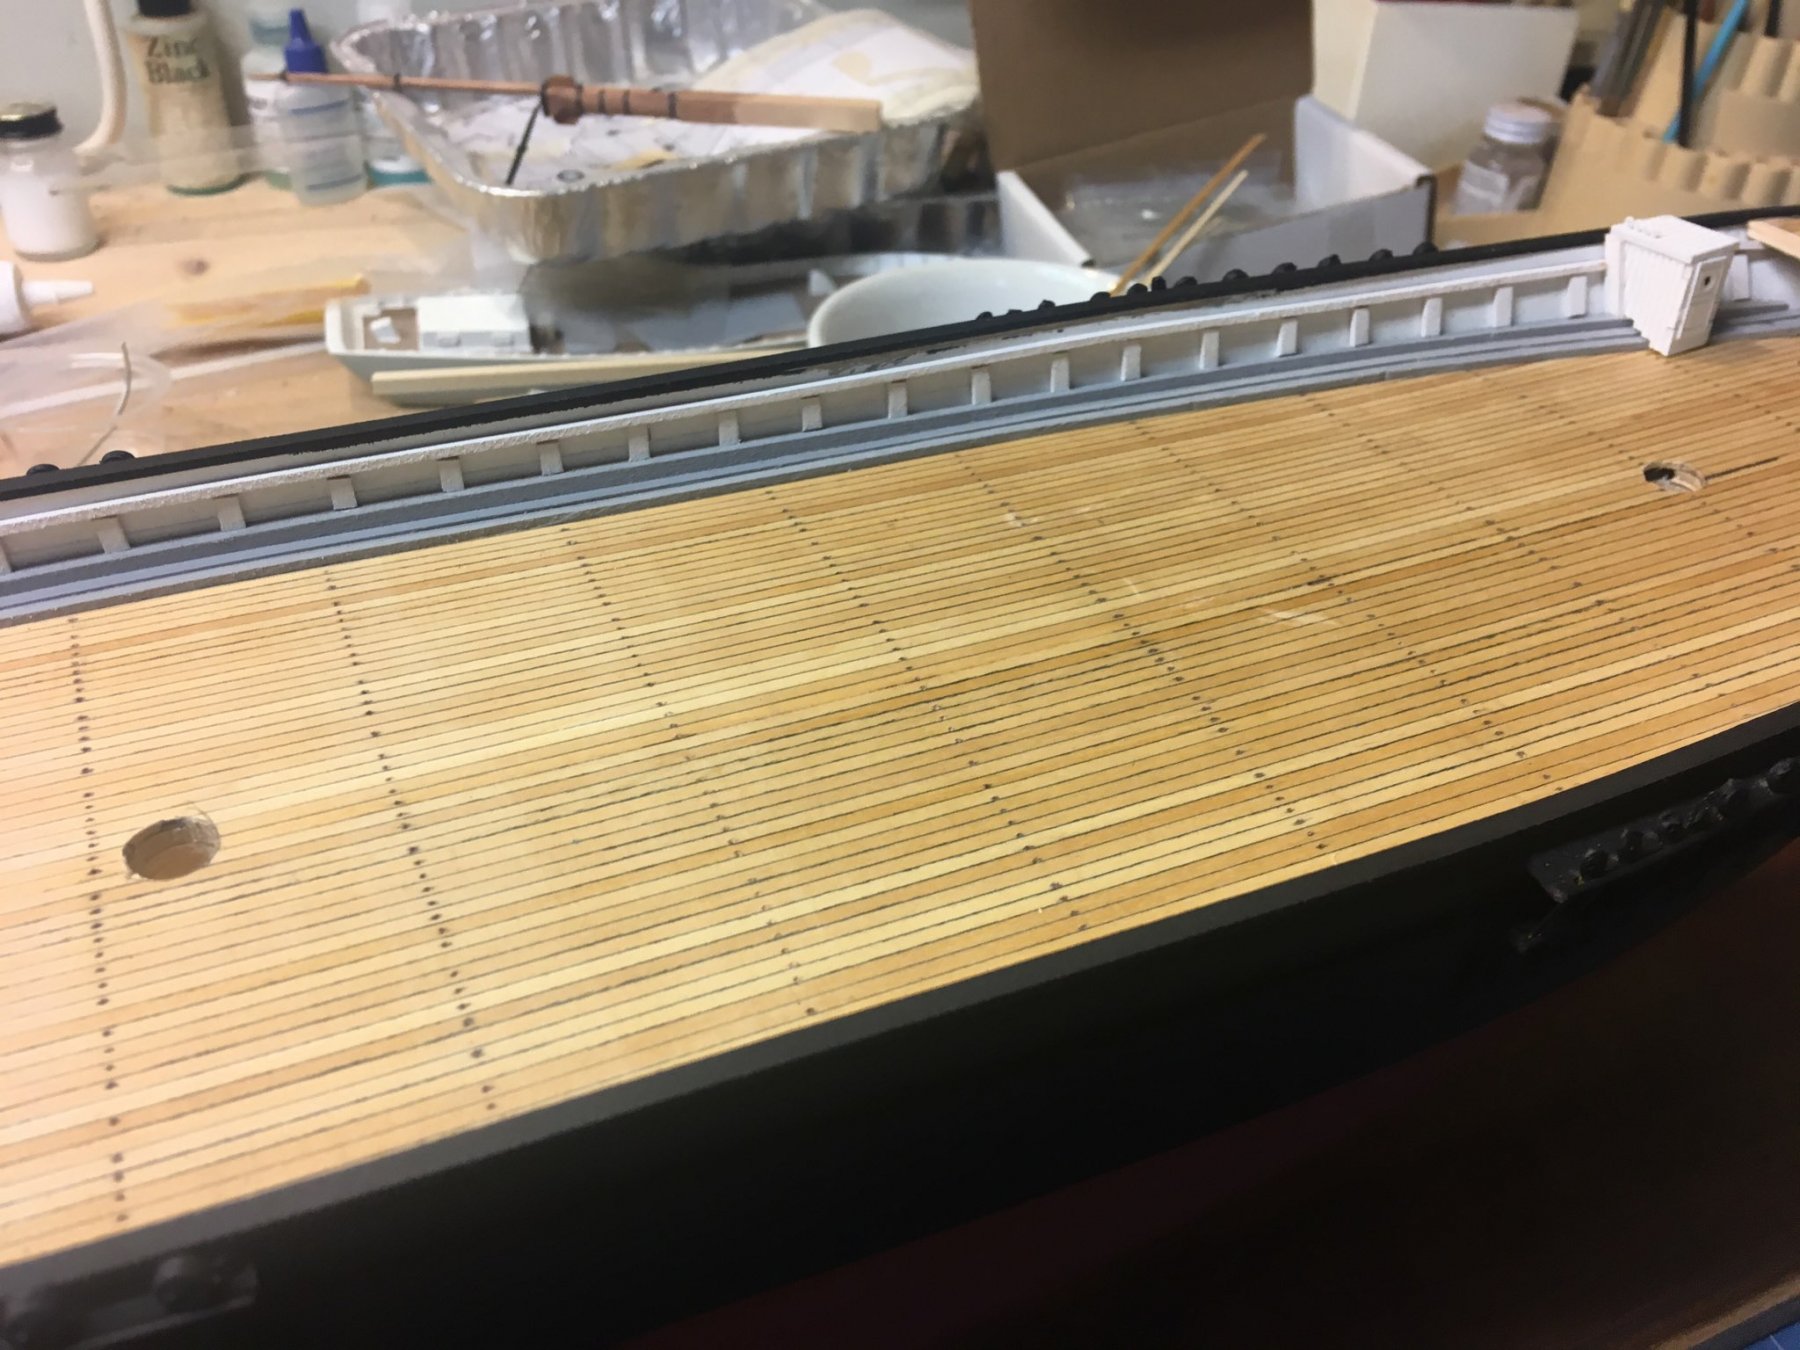
Last night I measured, trimmed and installed 34 stanchions on the port side. Each one is a slightly different length. It was a couple of hours of great fun.
- 356 replies
-
- 14
-
-
- red jacket
- finished
- (and 1 more)
-
Nice job finishing this, Jon. 10% off your next kit from BlueJacket has been added to your customer file. Thanks for the build thread. Nic
-
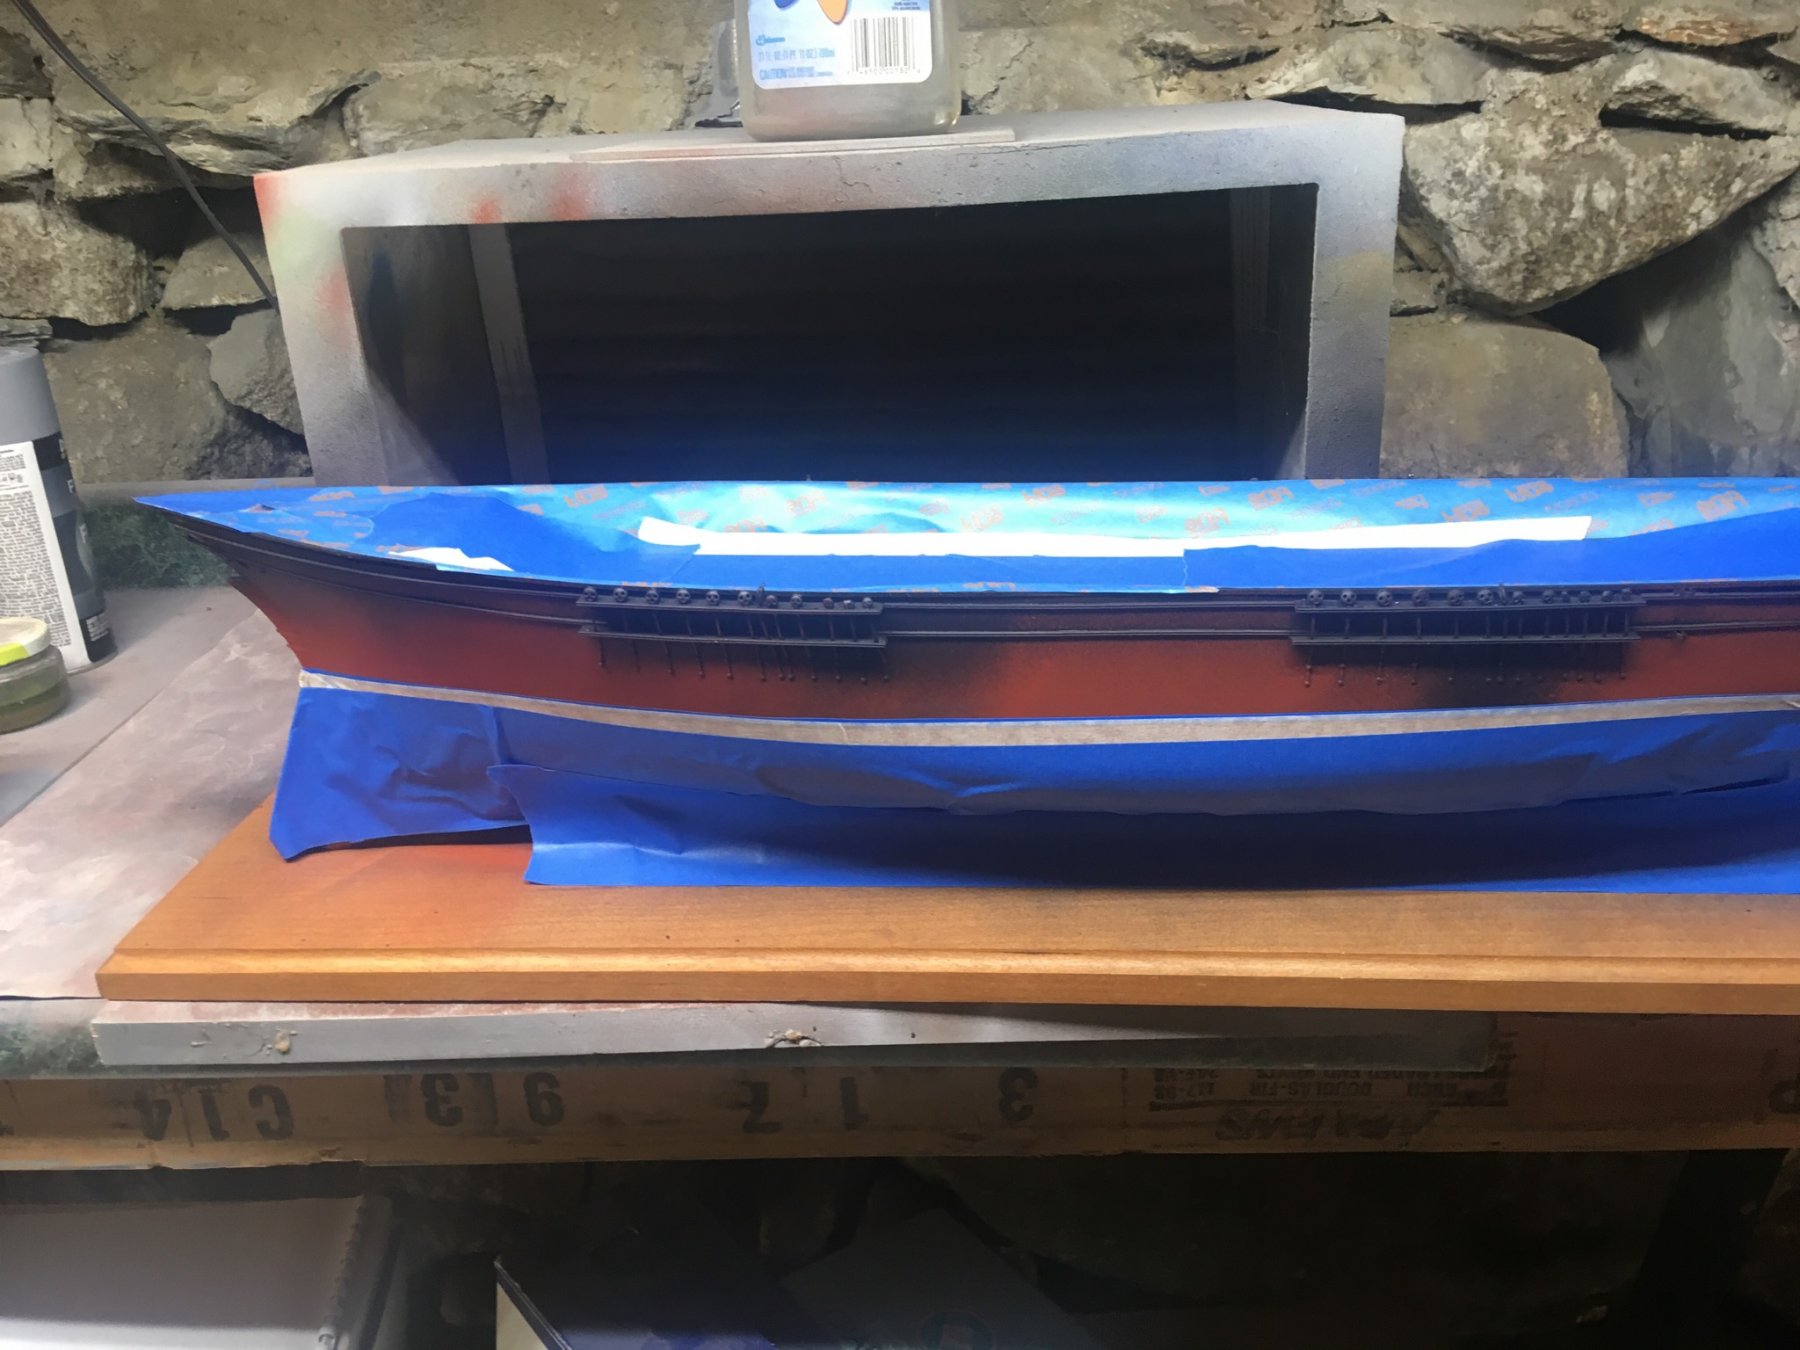
Take a deep breath, cross those fingers, and spray! OK it looks good, now the real test - pull off the masking tape........ HOORAY! Just a little touch-up needed on the inside of the bulwarks from the first spray job.
- 356 replies
-
- 17
-
-
- red jacket
- finished
- (and 1 more)
-
OK, here we are, all re-masked off and ready for paint.

- 356 replies
-
- 4
-
-
- red jacket
- finished
- (and 1 more)
-
Added Sjanicki - Revenue Cutter
-
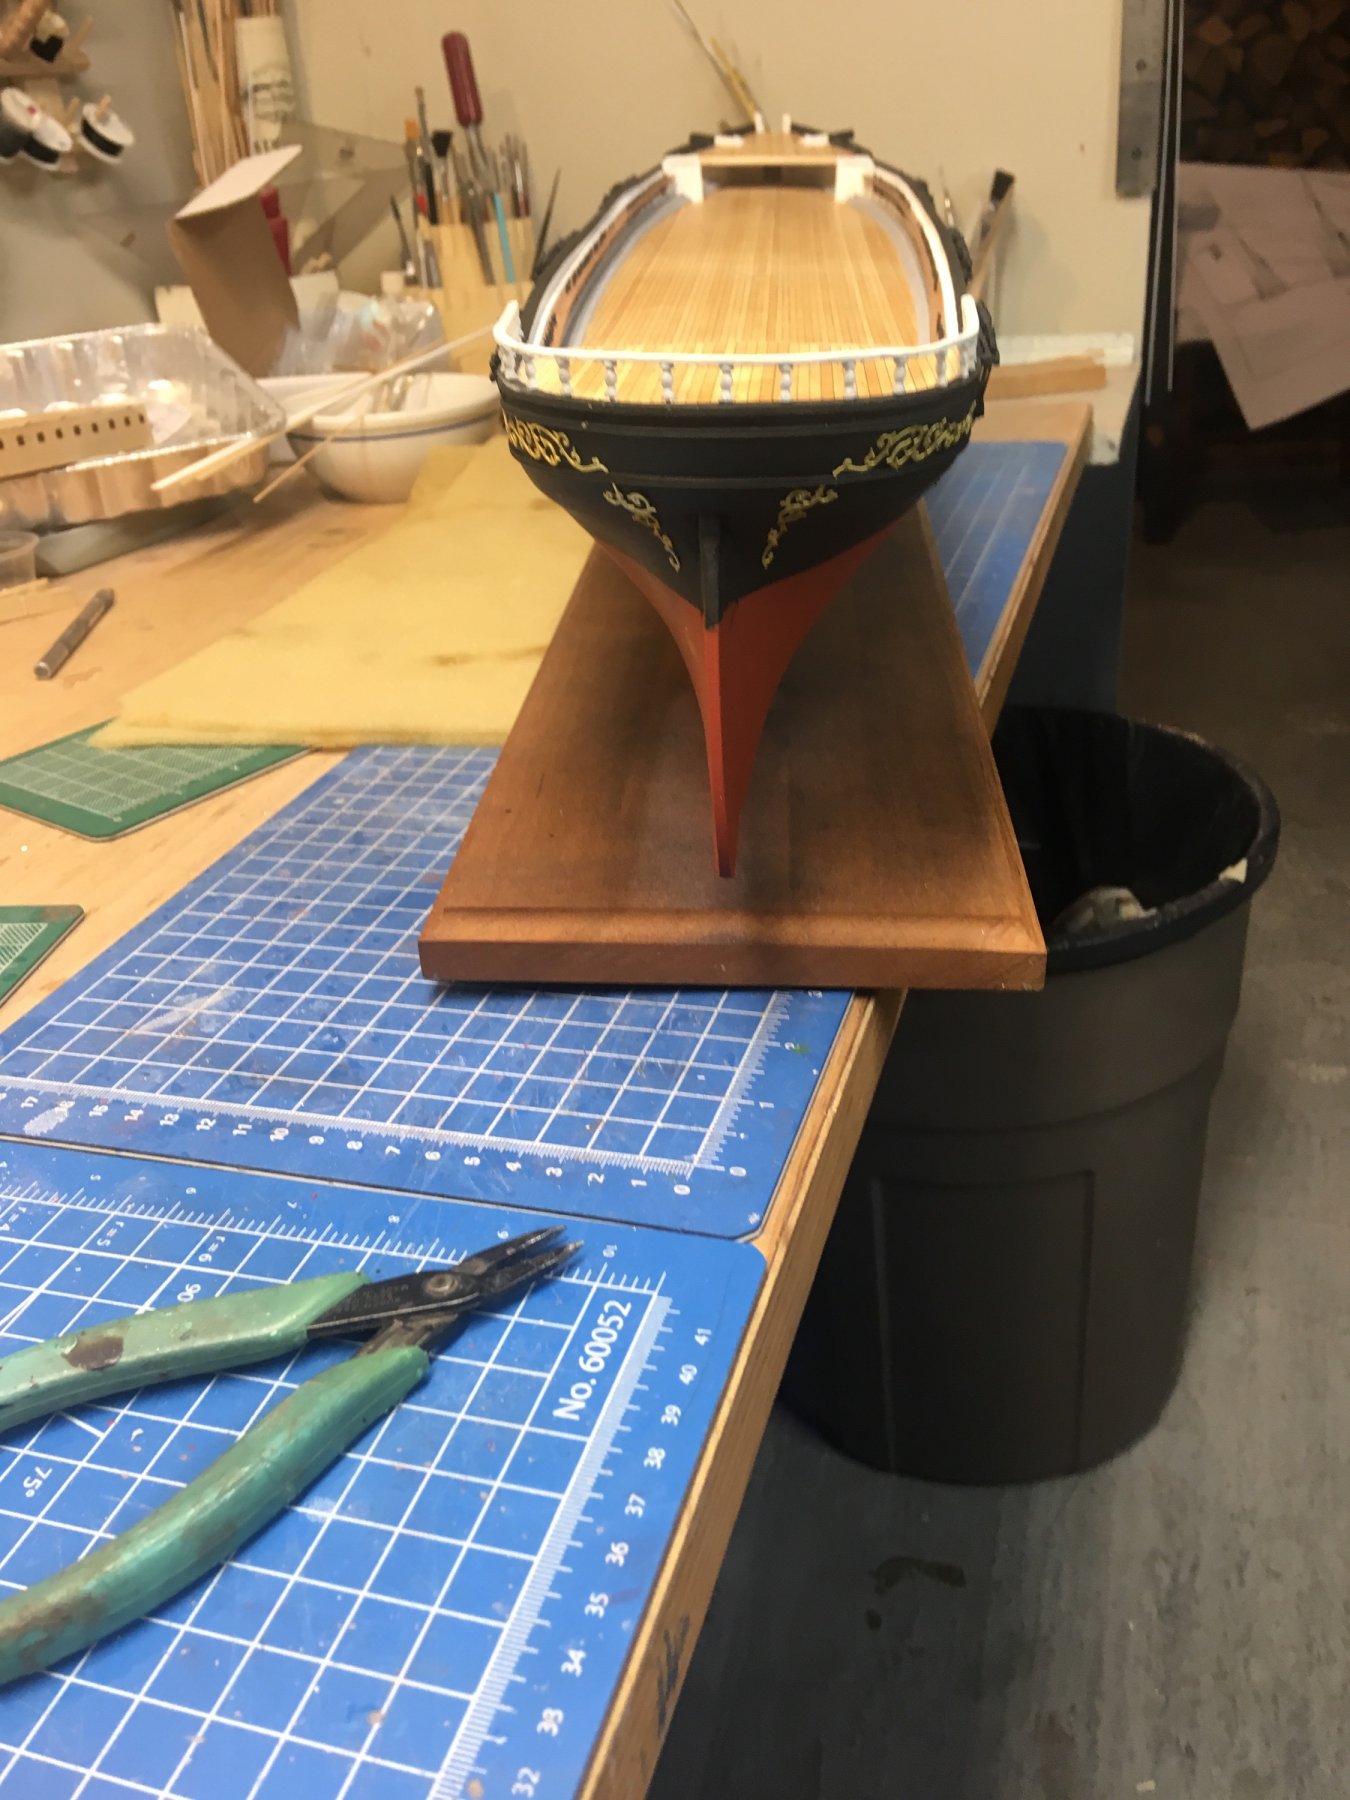
Further thought - where the stem separates from the hull, cut it at that point, then glue to the hull. The remaining wedge-shaped gap will be easier to fill, and the stem won't look elongated.