bear
-
Posts
362 -
Joined
-
Last visited
Content Type
Profiles
Forums
Gallery
Events
Everything posted by bear
-
Ahoy Mates Ending the build of my Cheerful,and what came to mind-where's the binnacle for it and what type did they use for a Royal Navy ship of this tonnage and era? Need help with where to find drawings or illustrations so that I can make one up this week. Have to finish up my build for the upcoming Model Show that it will be entered in on September 22nd . Thanks for the help. Keith and Pickels

-
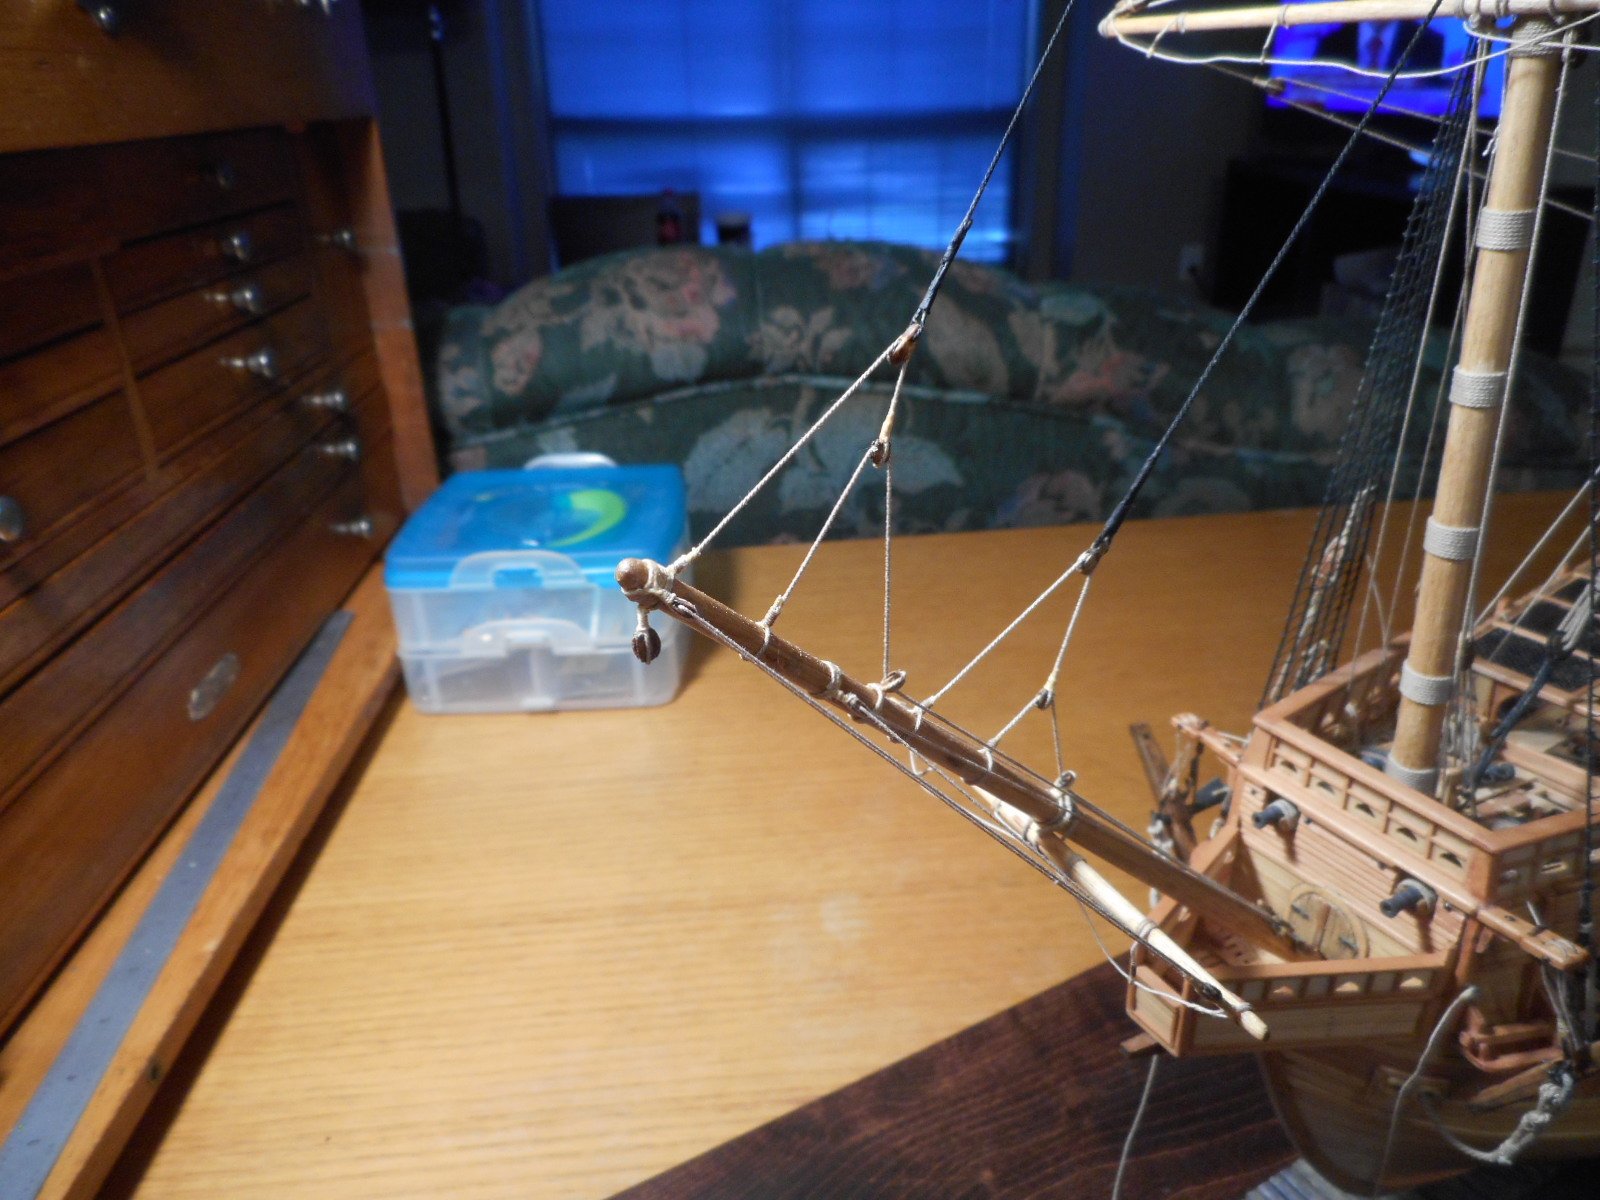
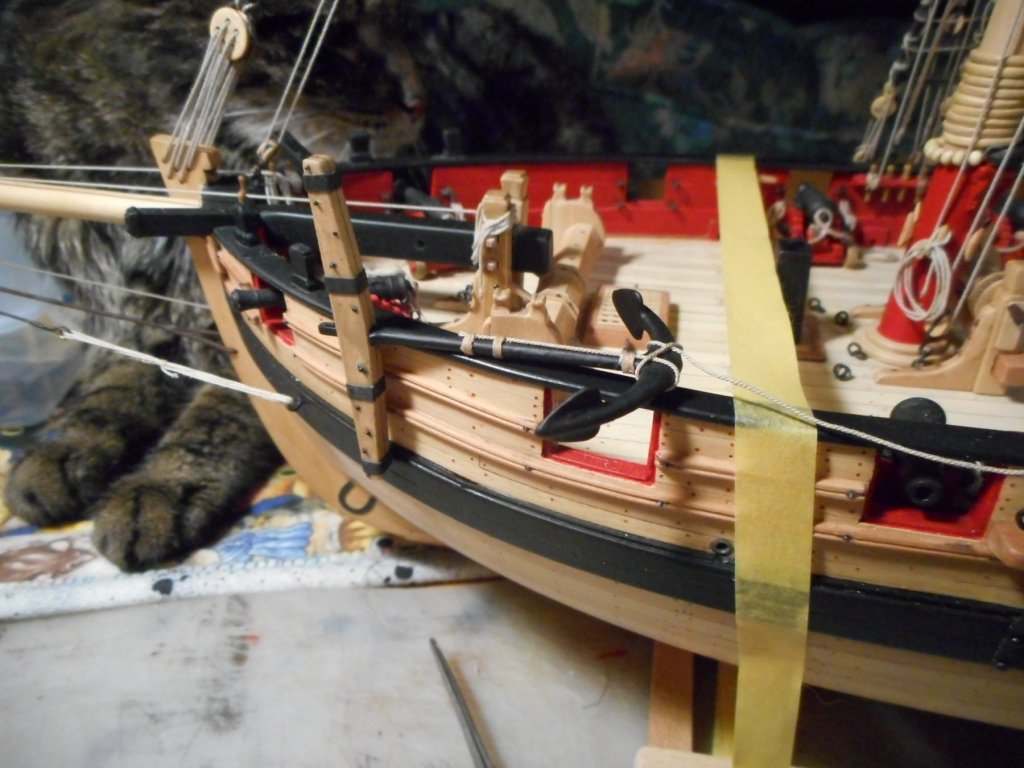
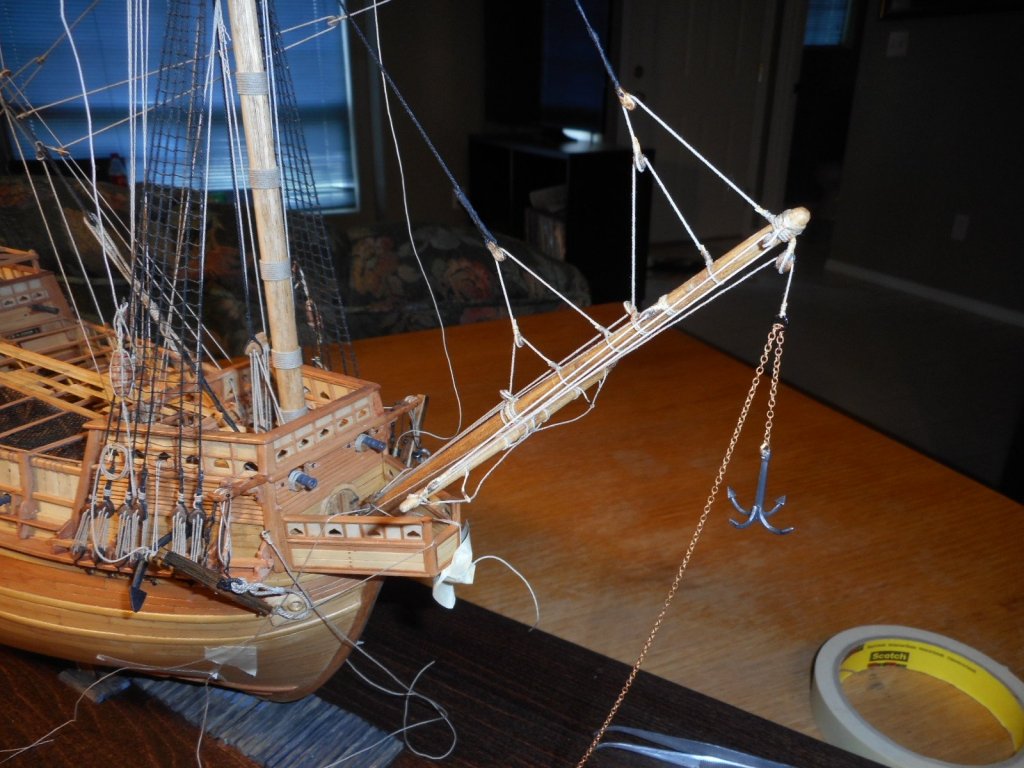
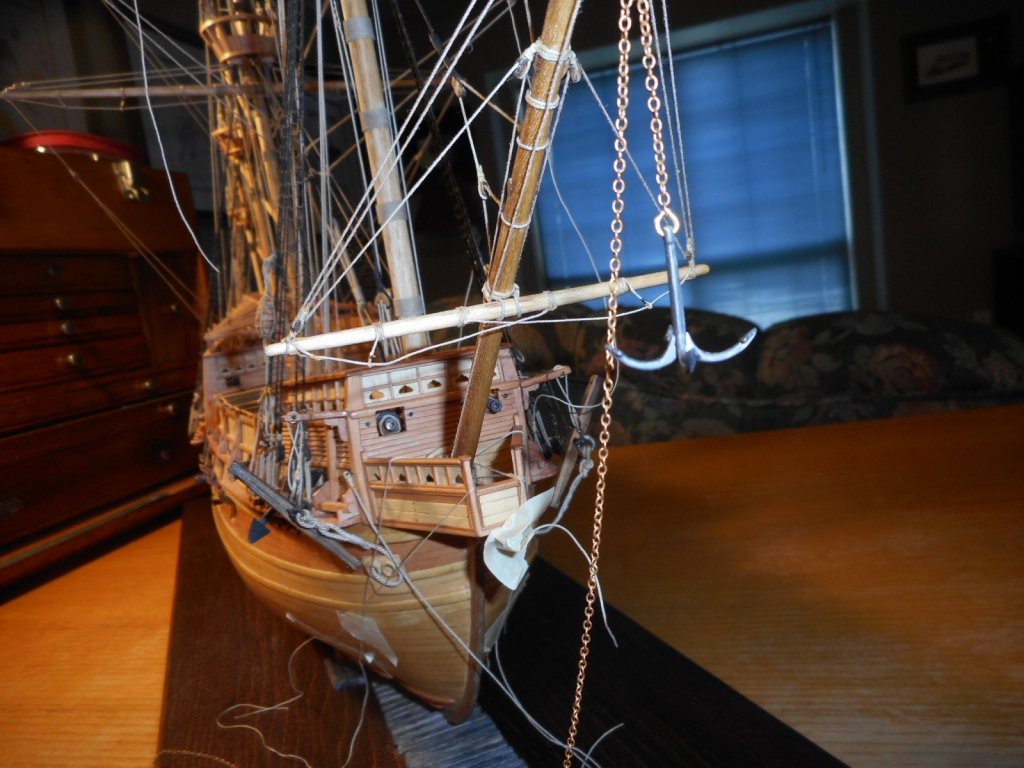
Ahoy Mates What knots or knots are used for the securing line that is used to lash the anchor to the hull or chain plate? No It's not the anchor bend knot to the anchor cable that I am looking for,but the knot used to lash the anchor on my Cheerful to the top rail. Here's my Cheerful and where the anchor is to be secured on the top rail. Is there a book that covers the knots used and where? Thanks Keith
-
Ahoy Chuck
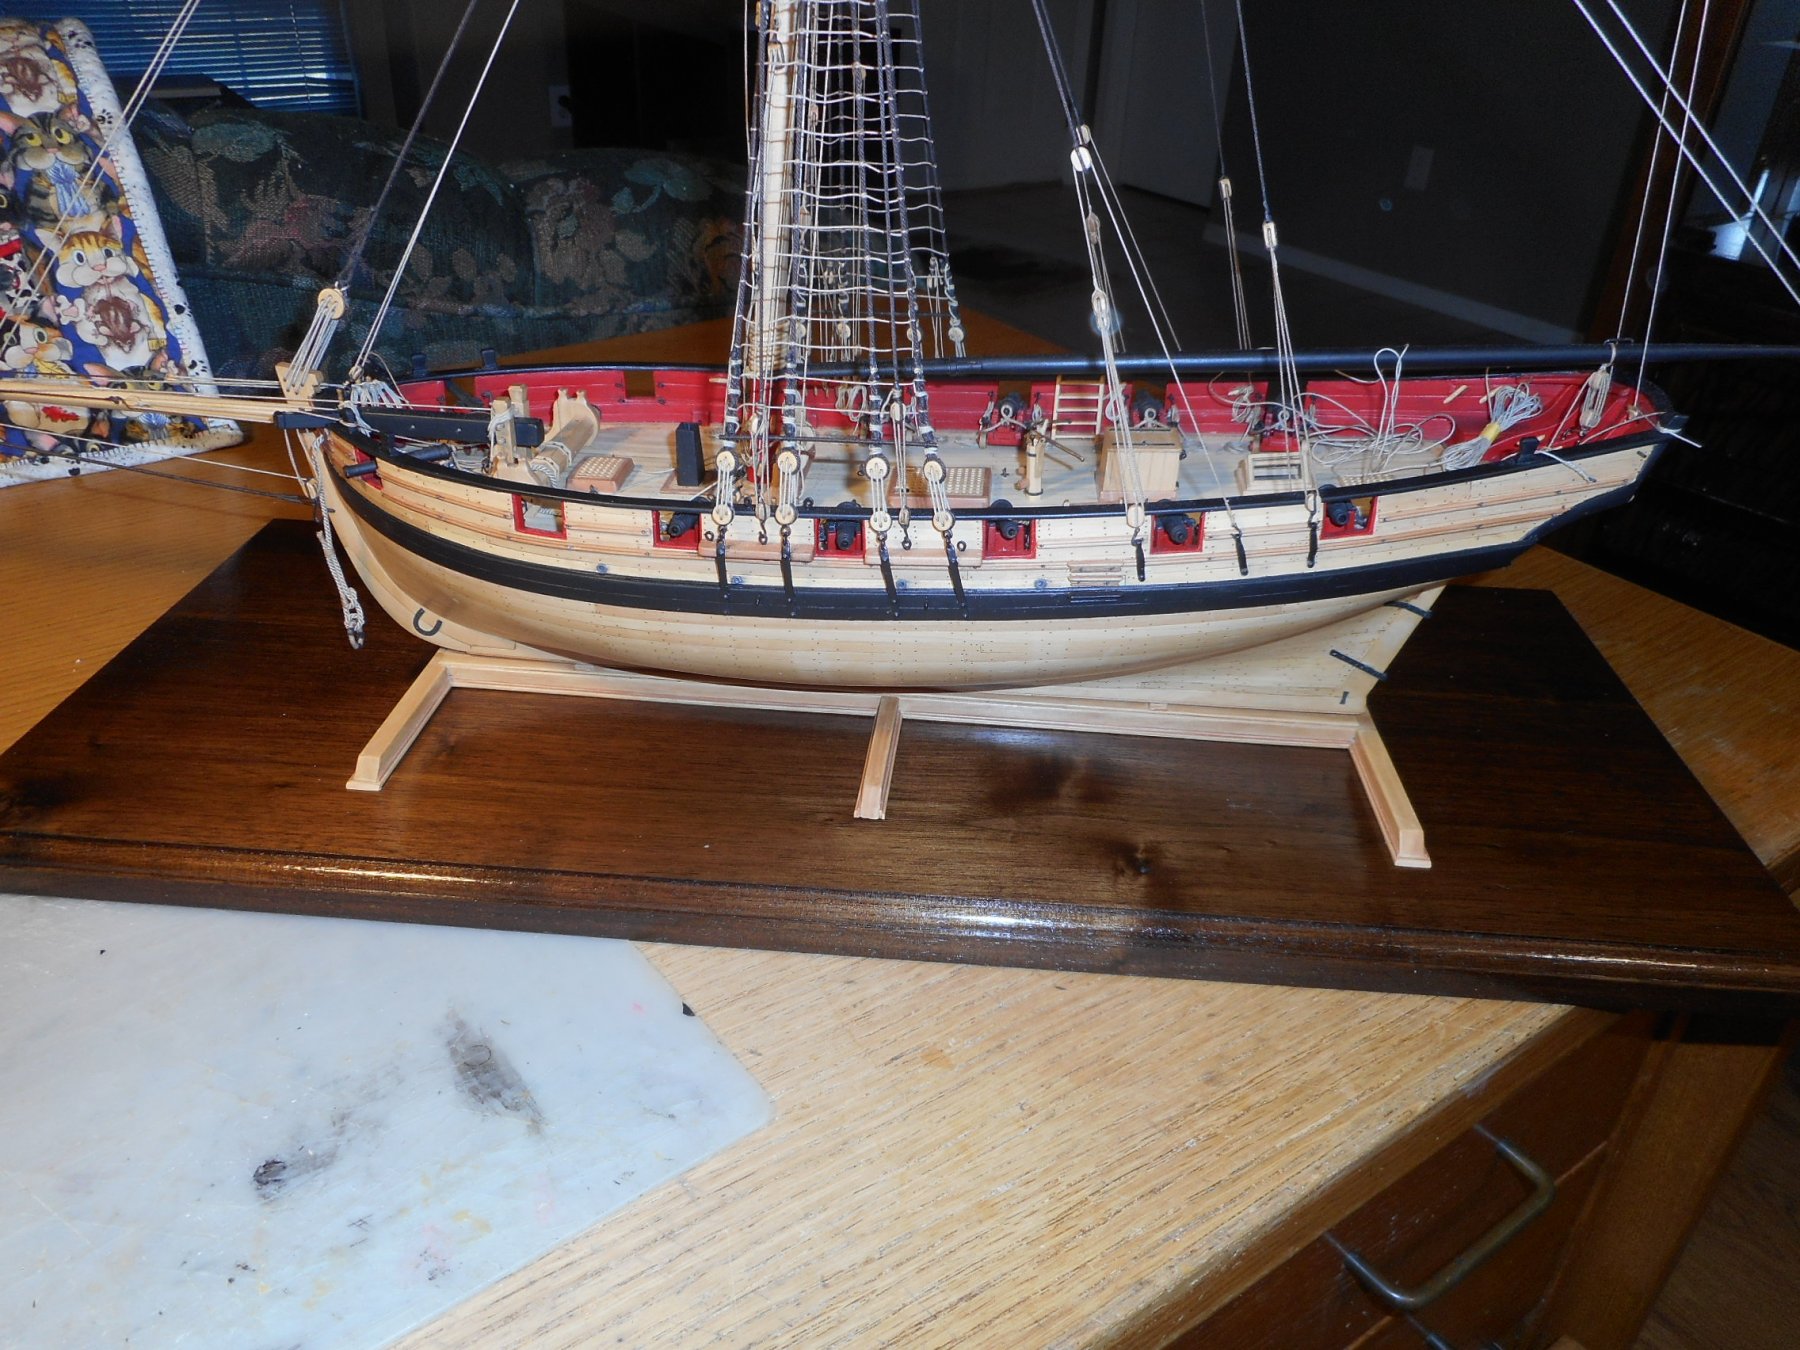
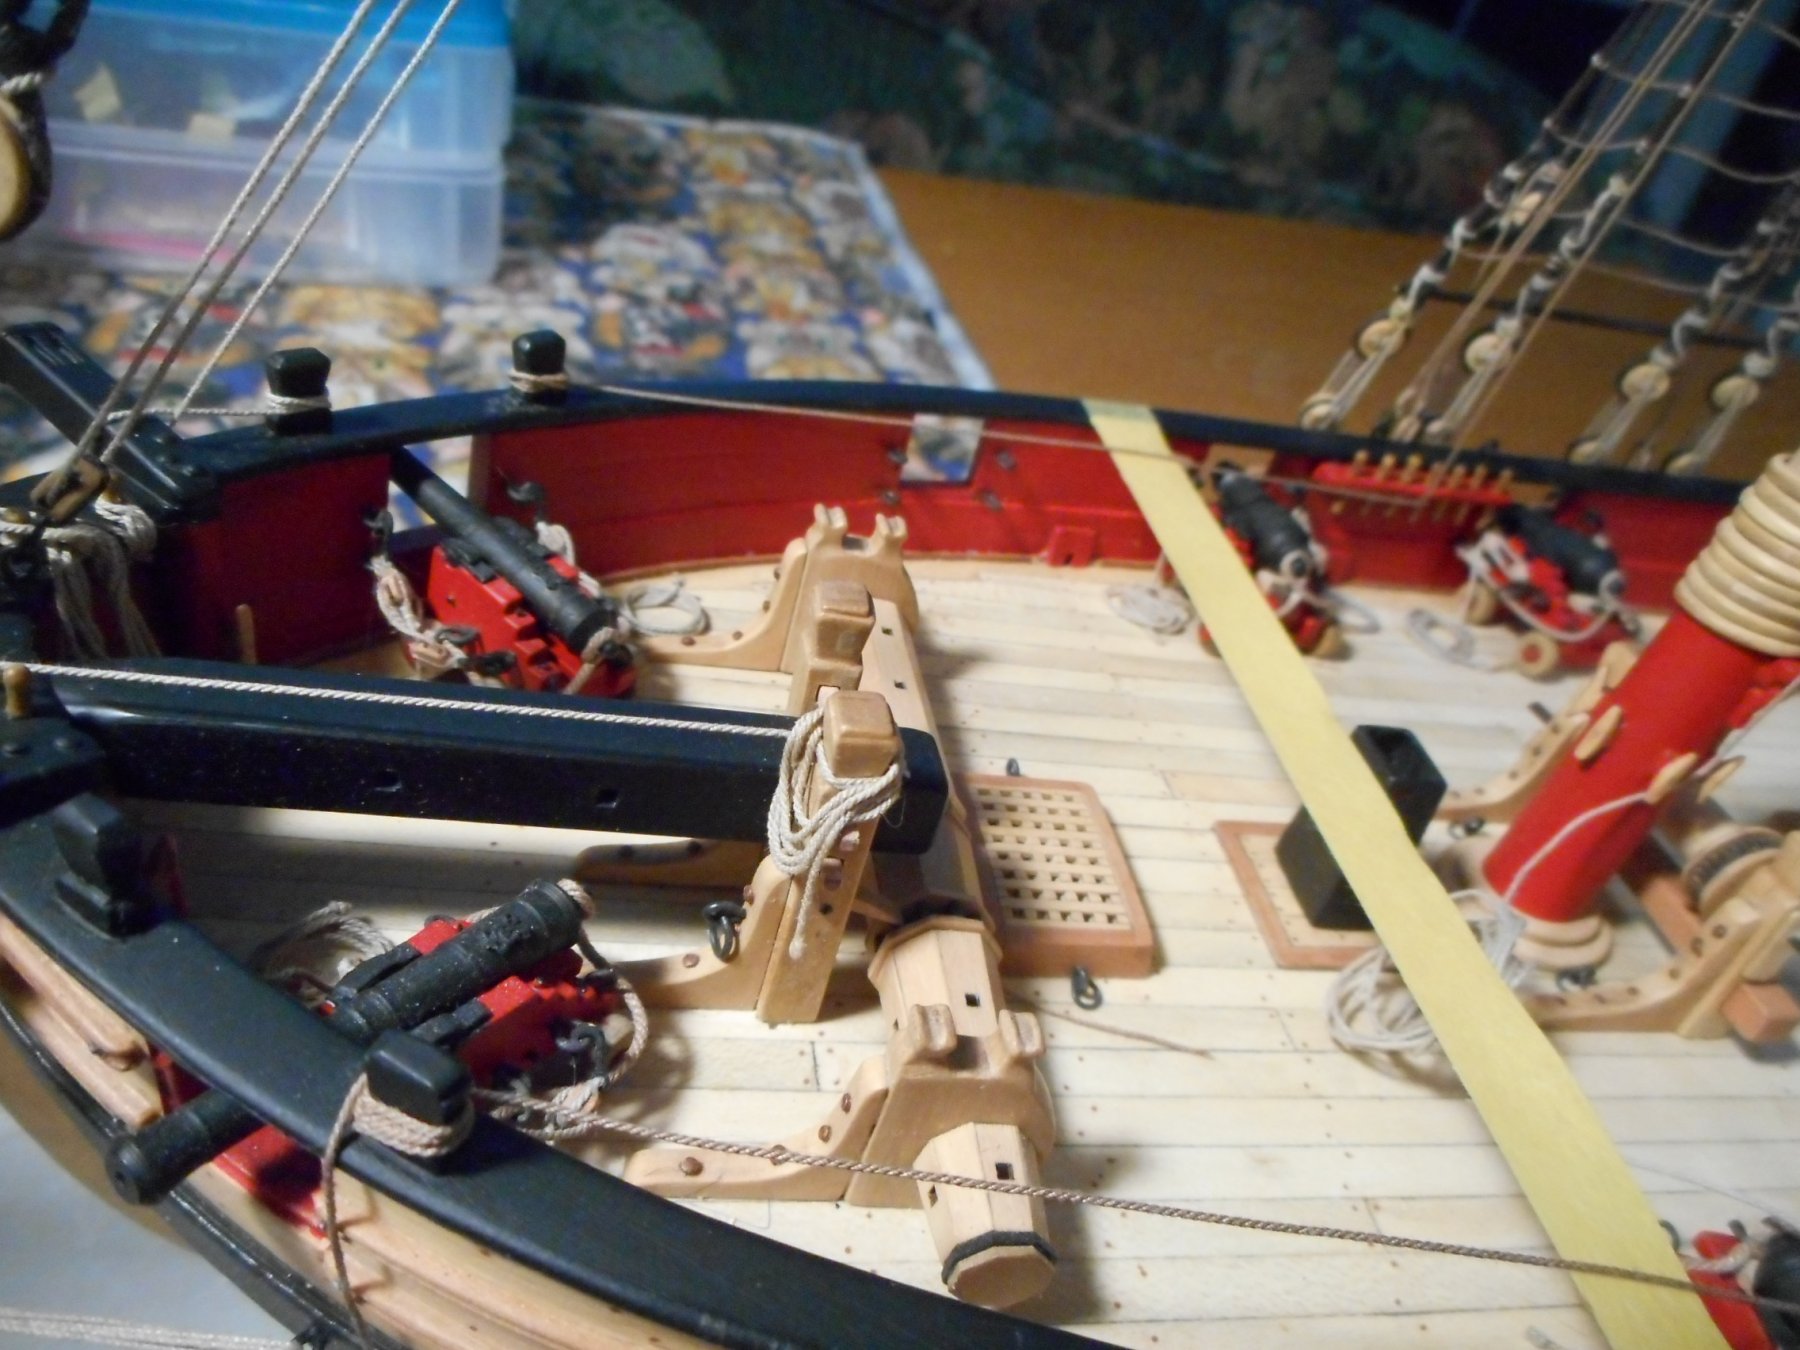
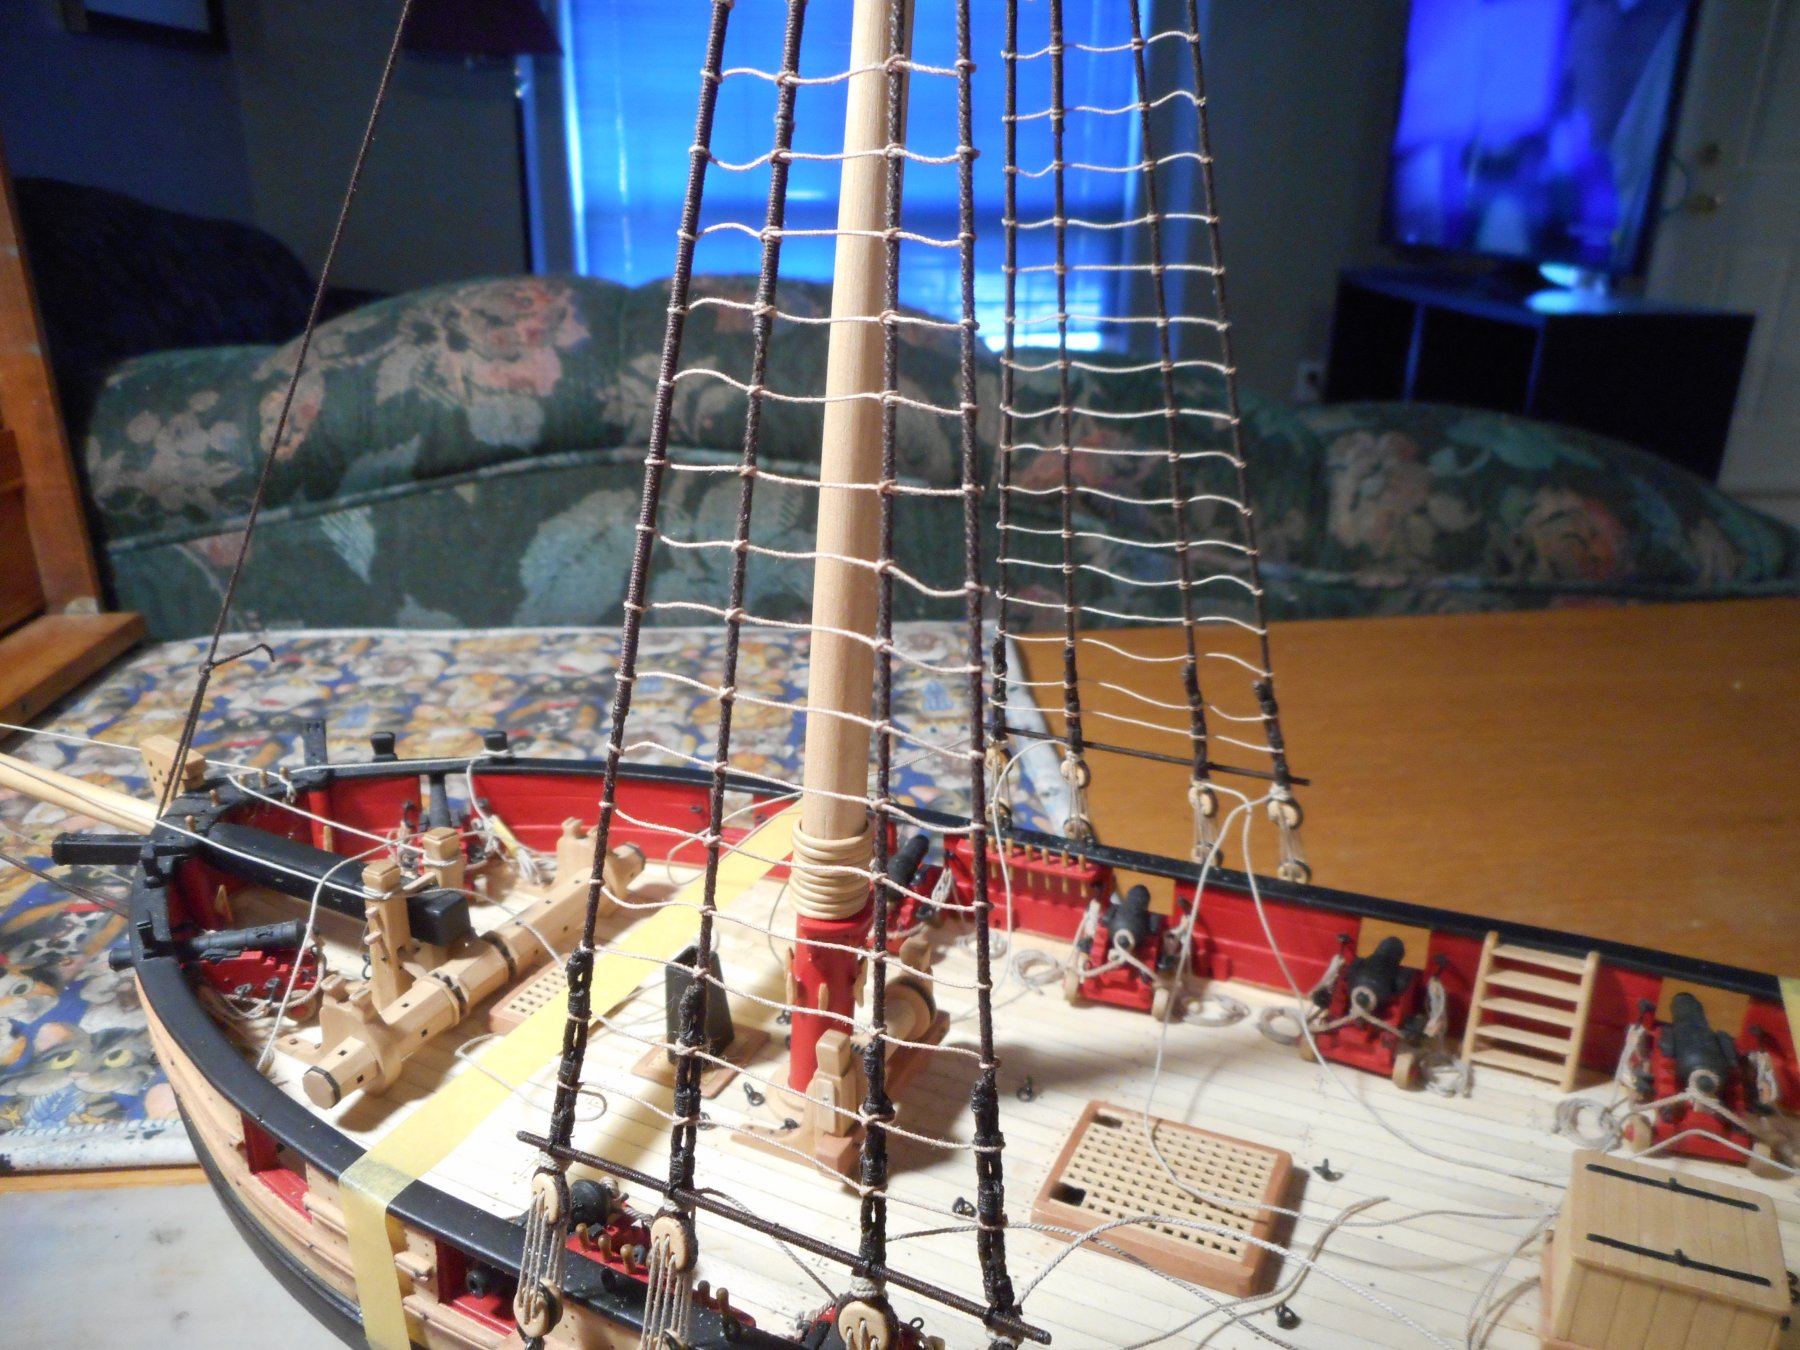
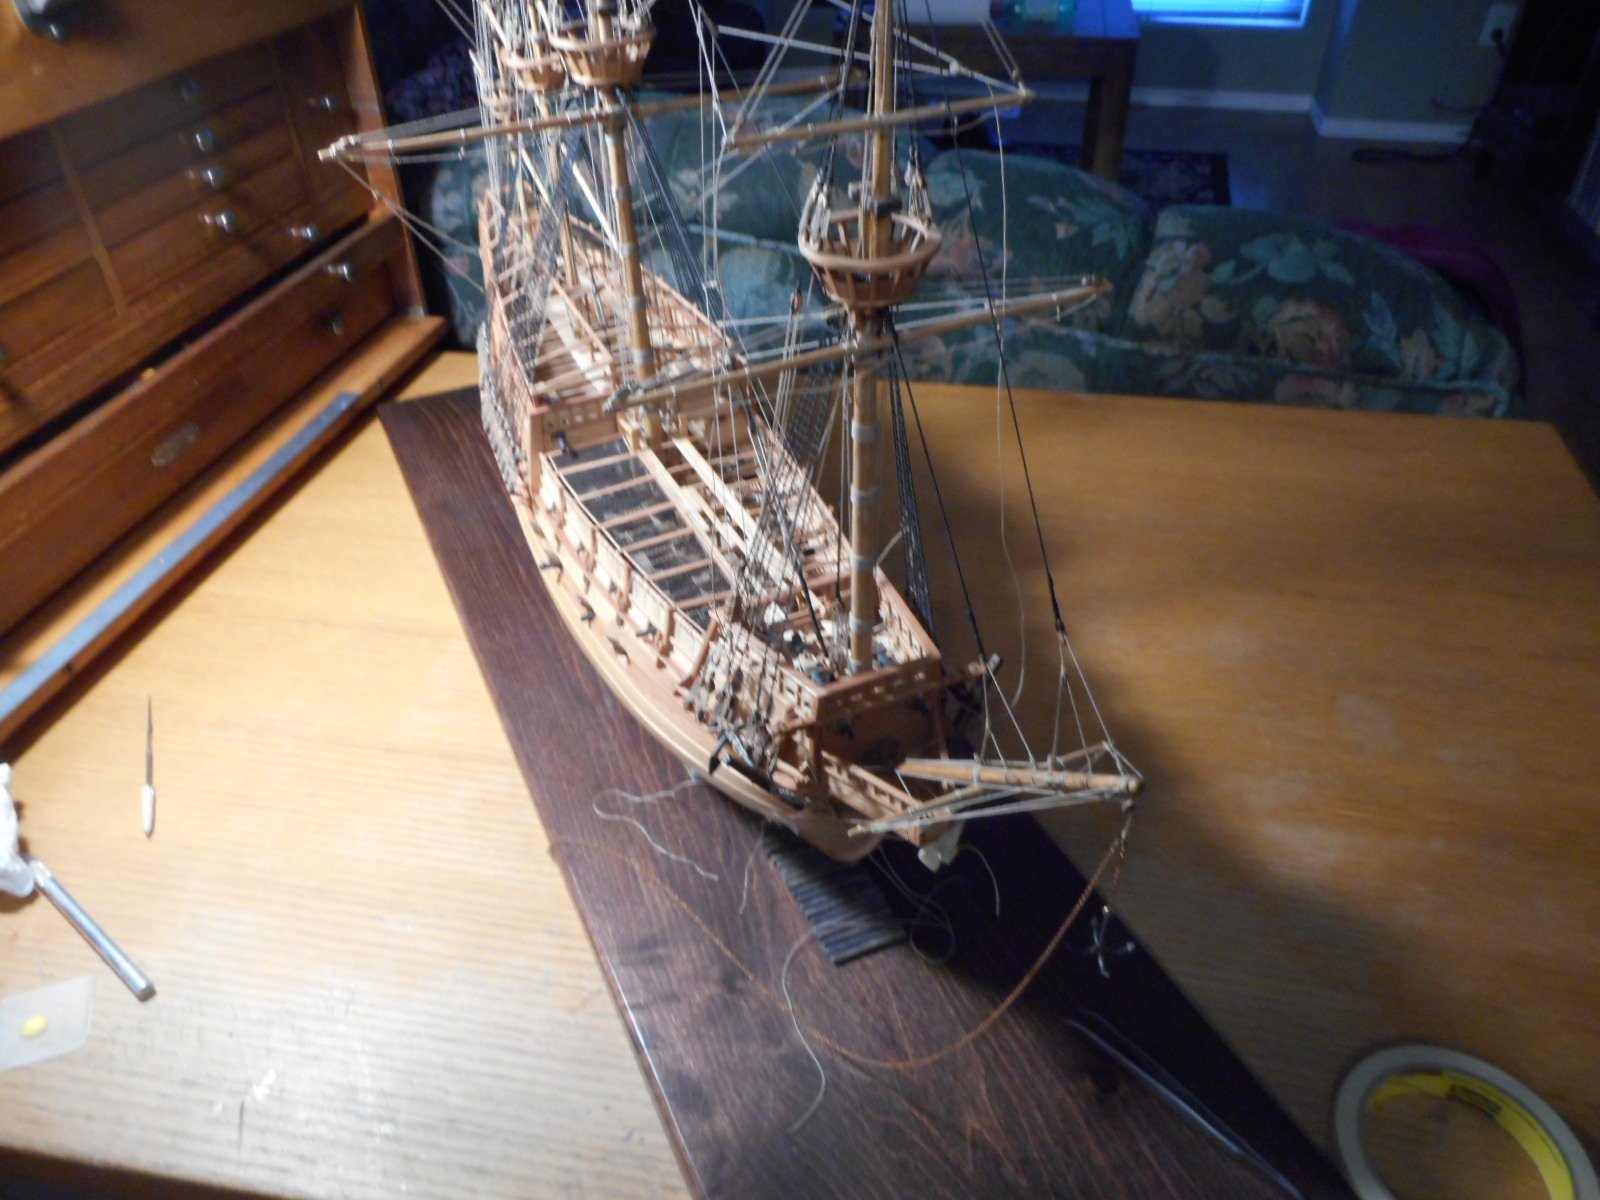
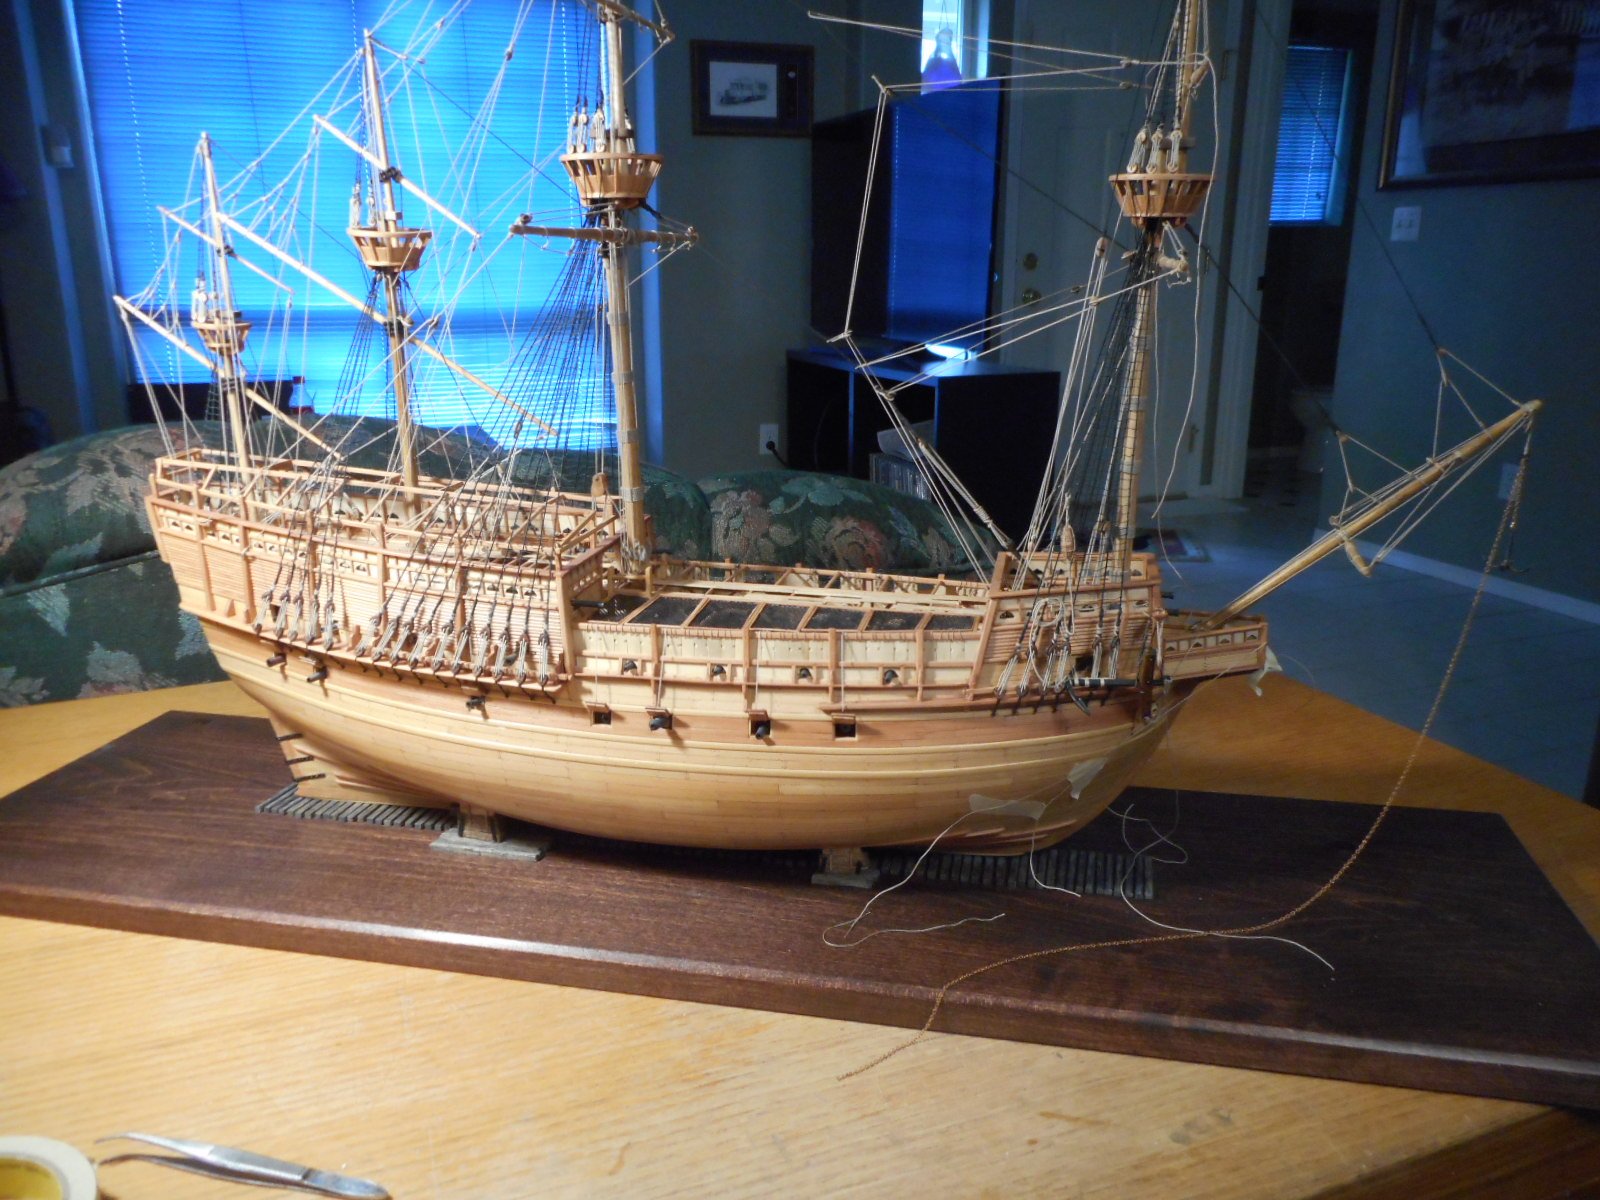
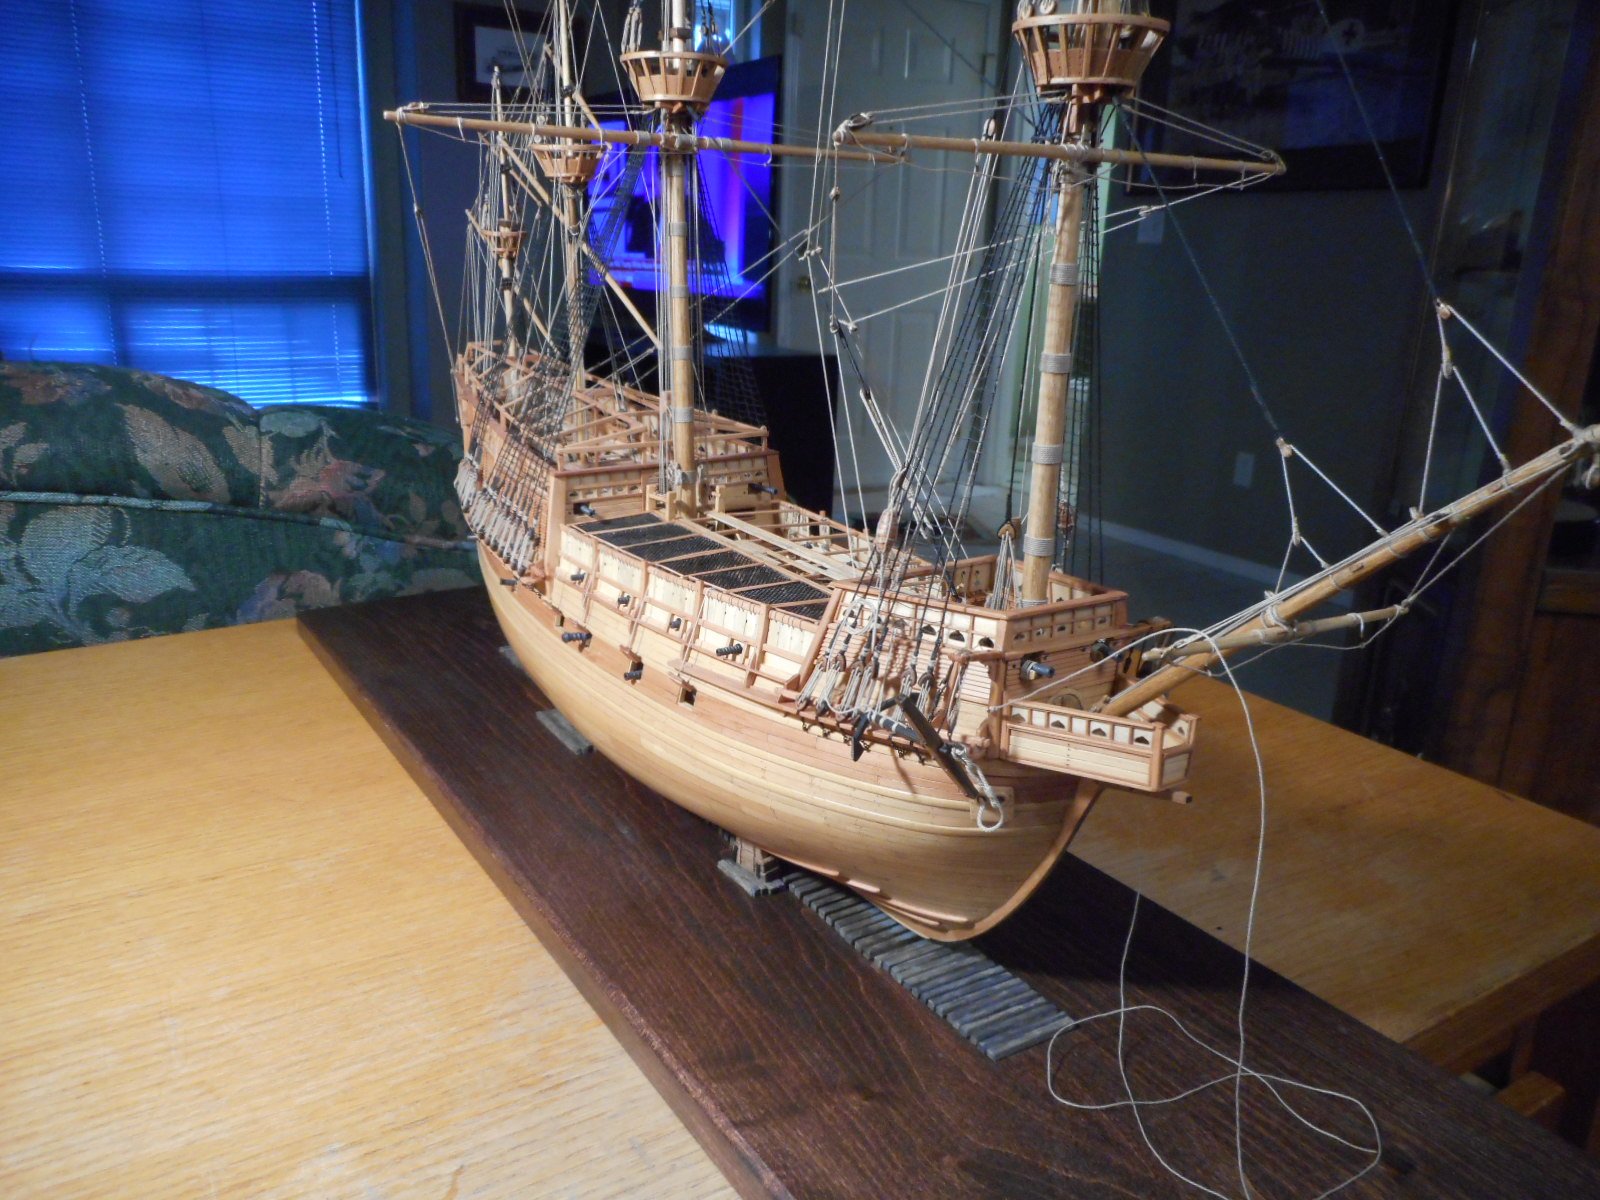
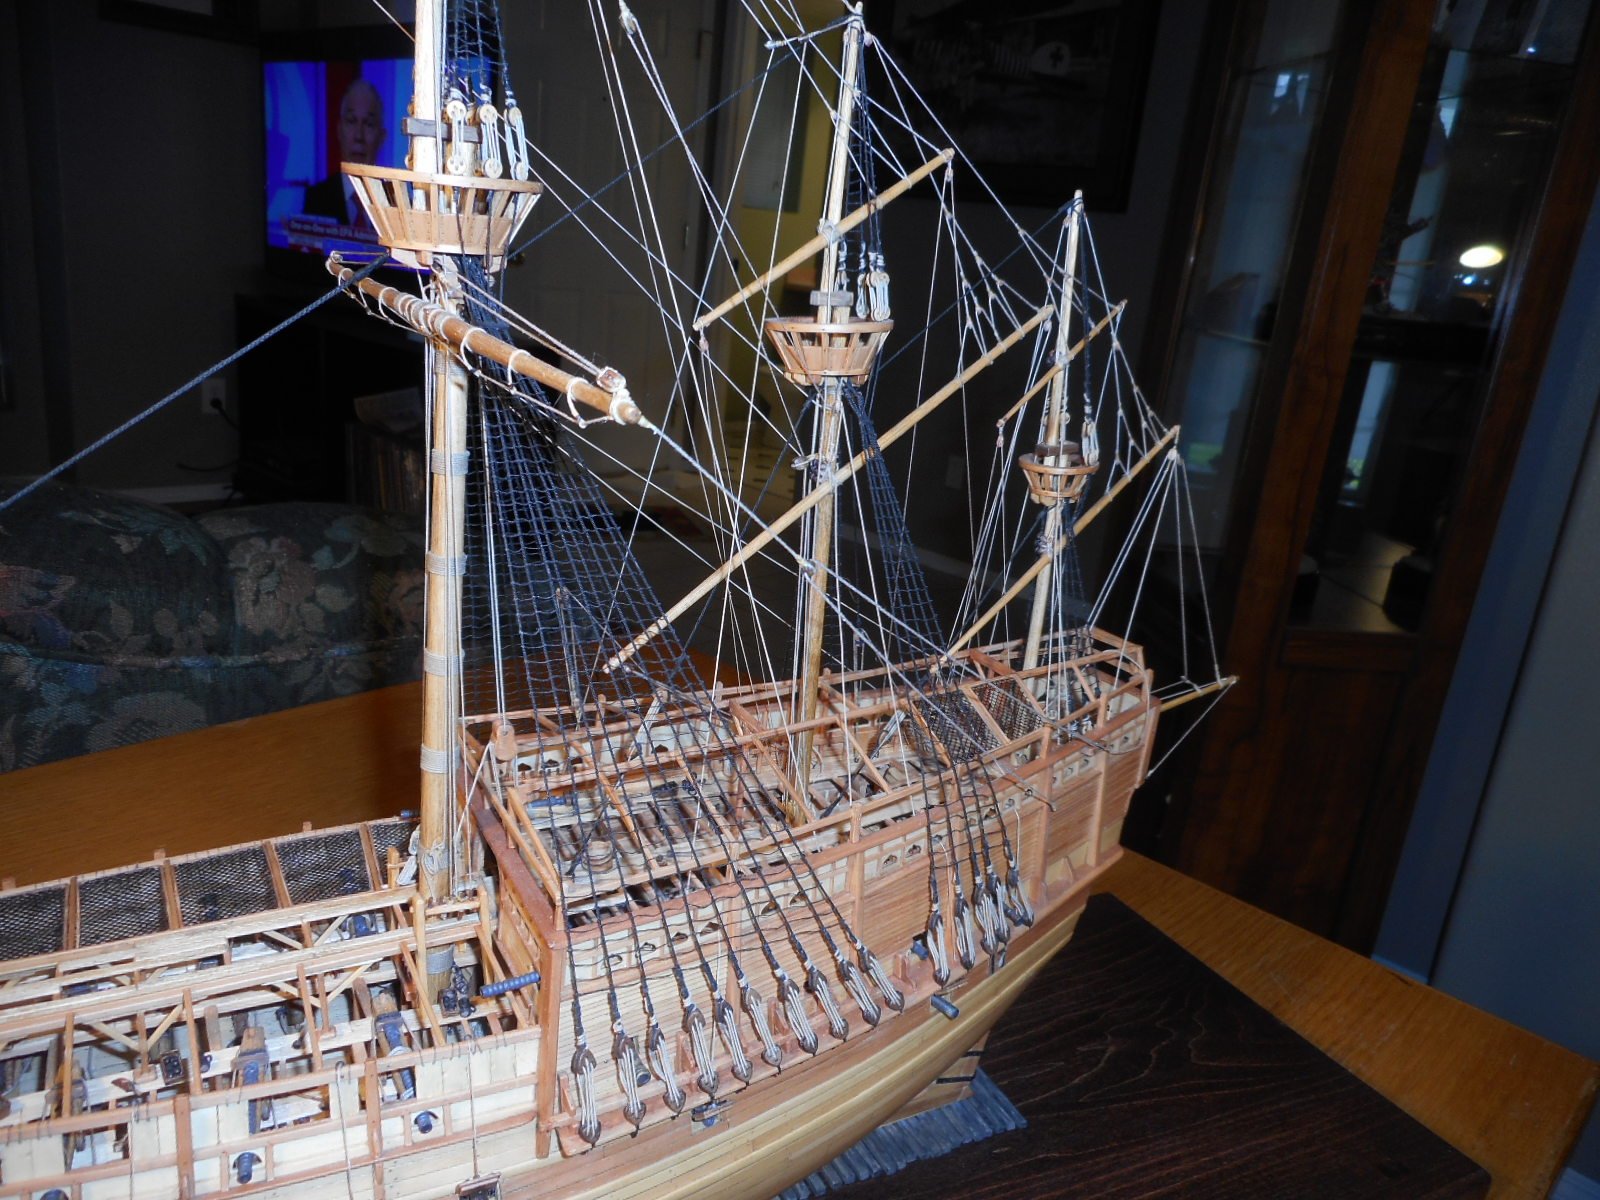
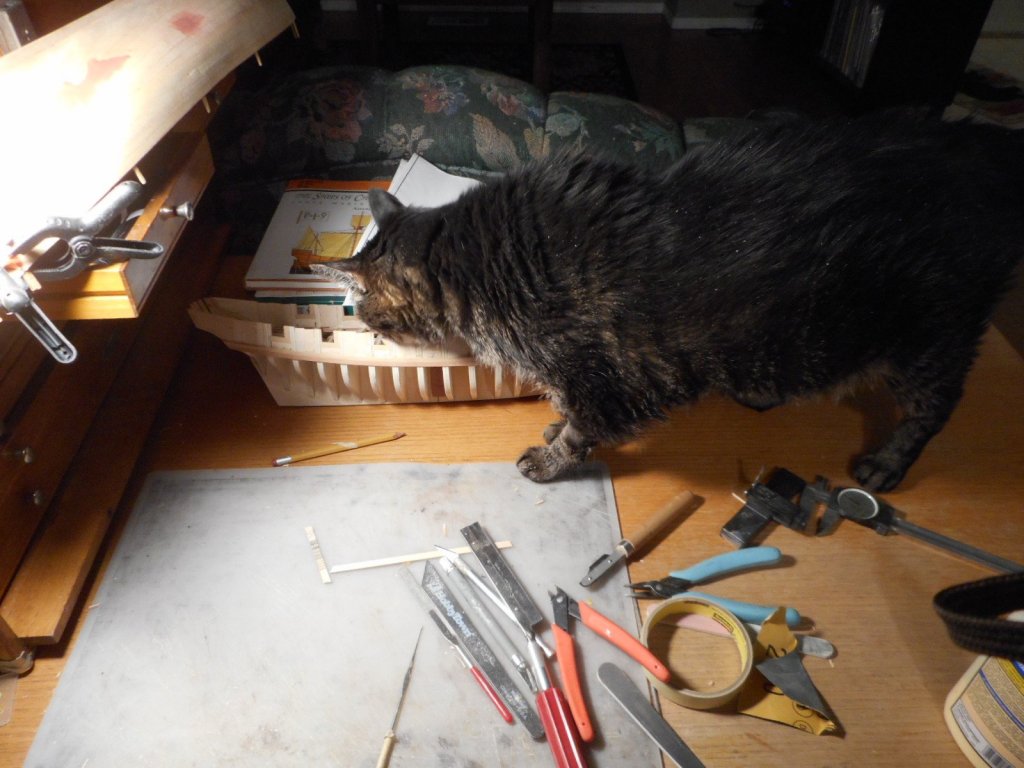
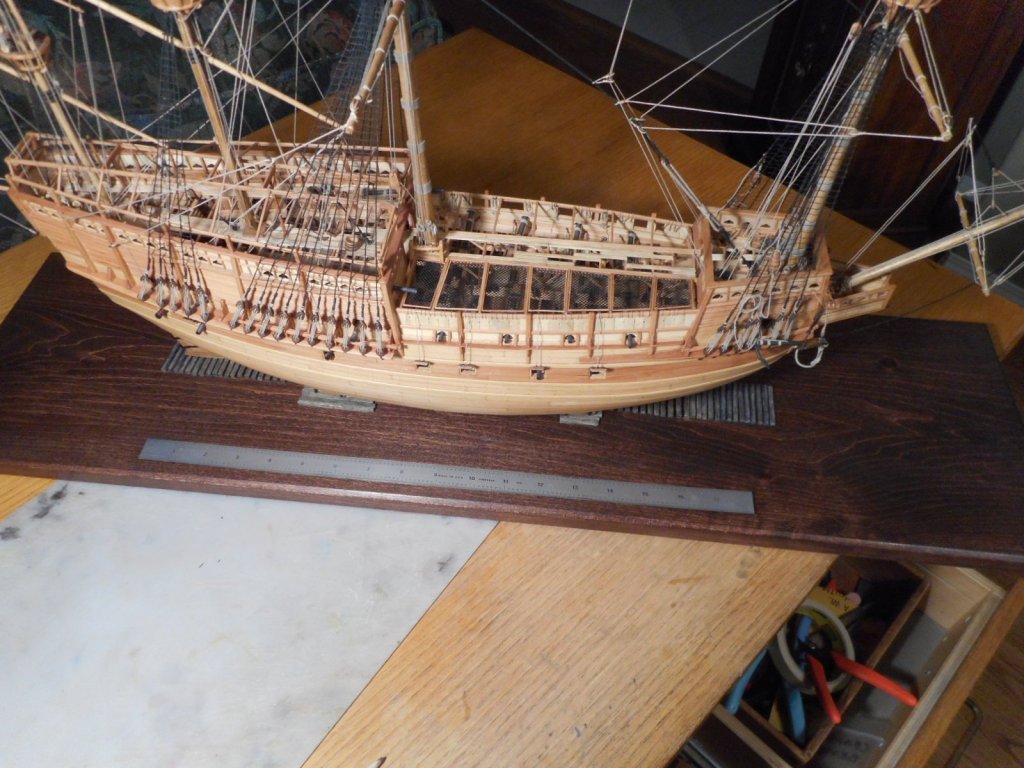
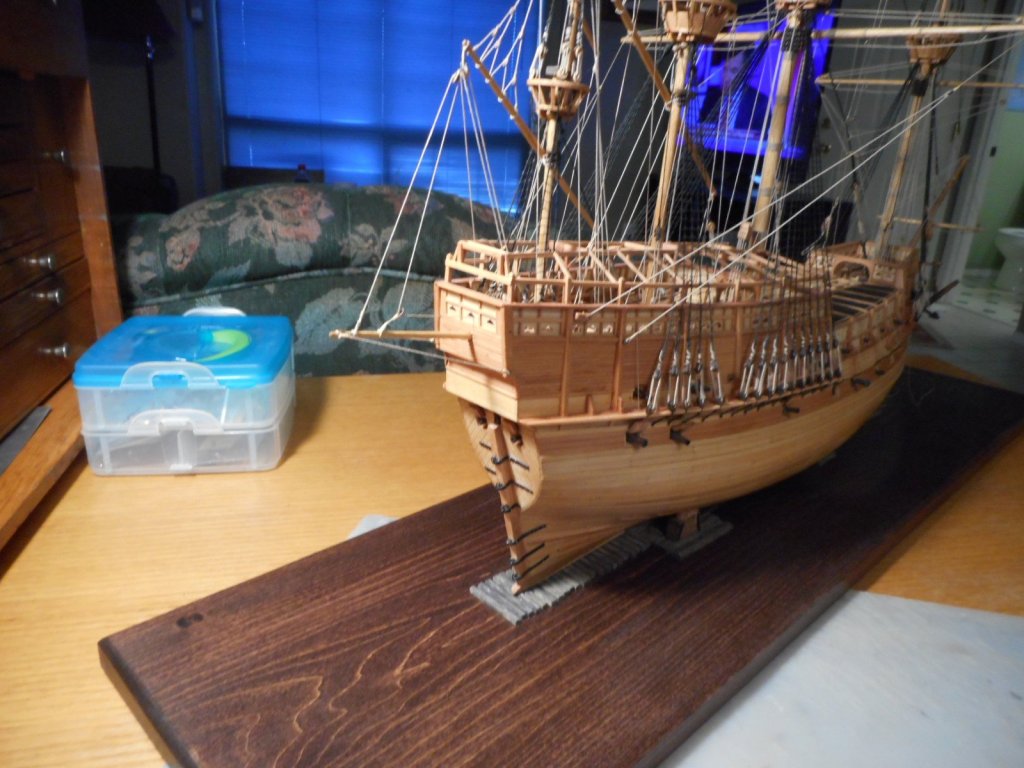
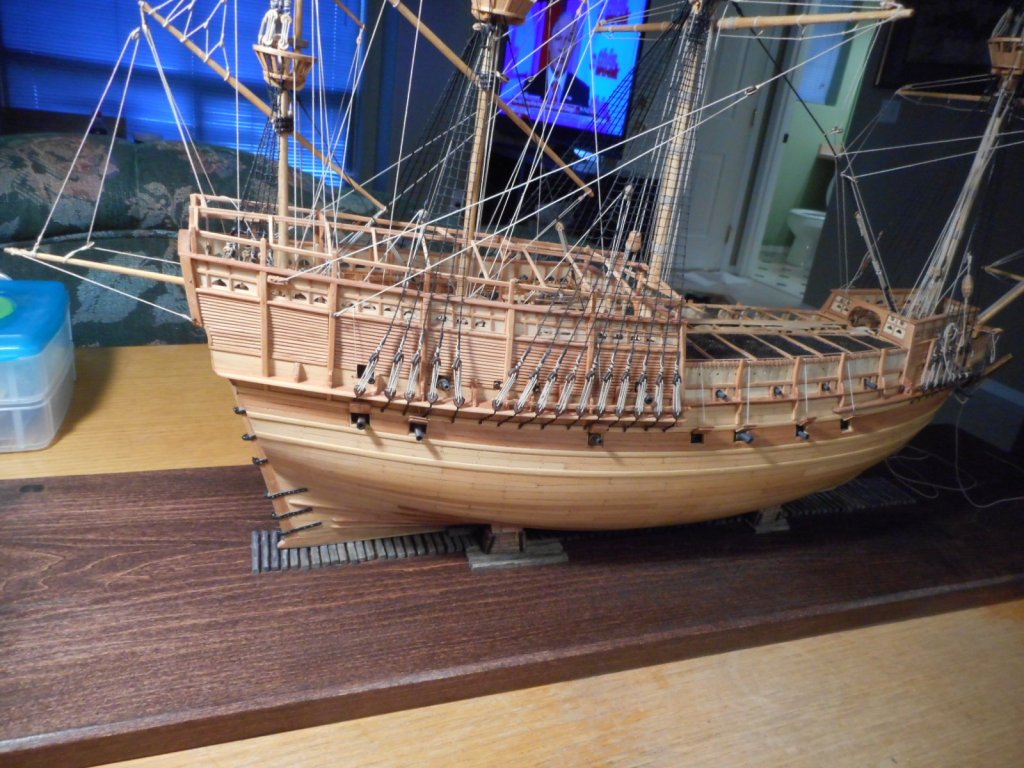
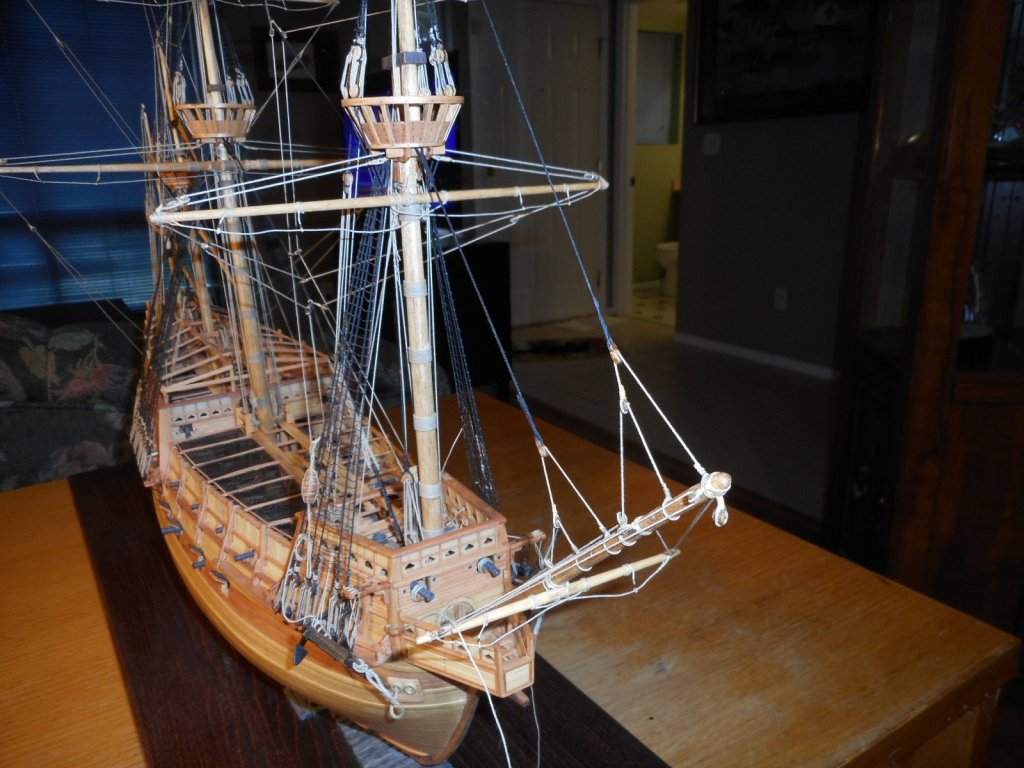
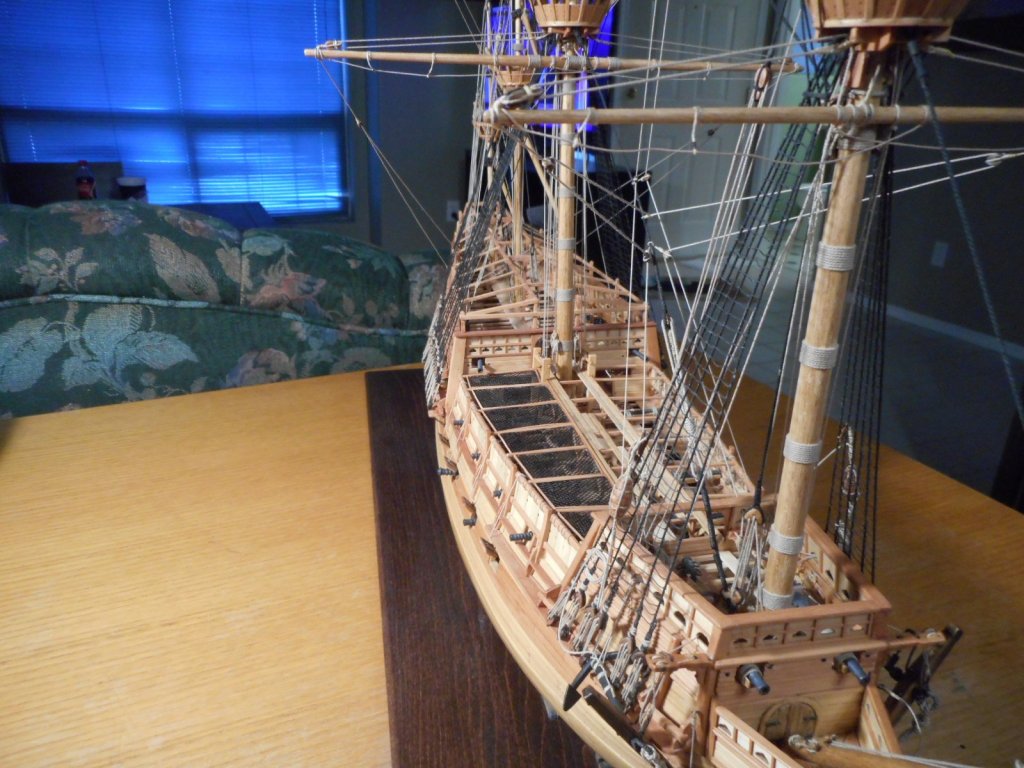
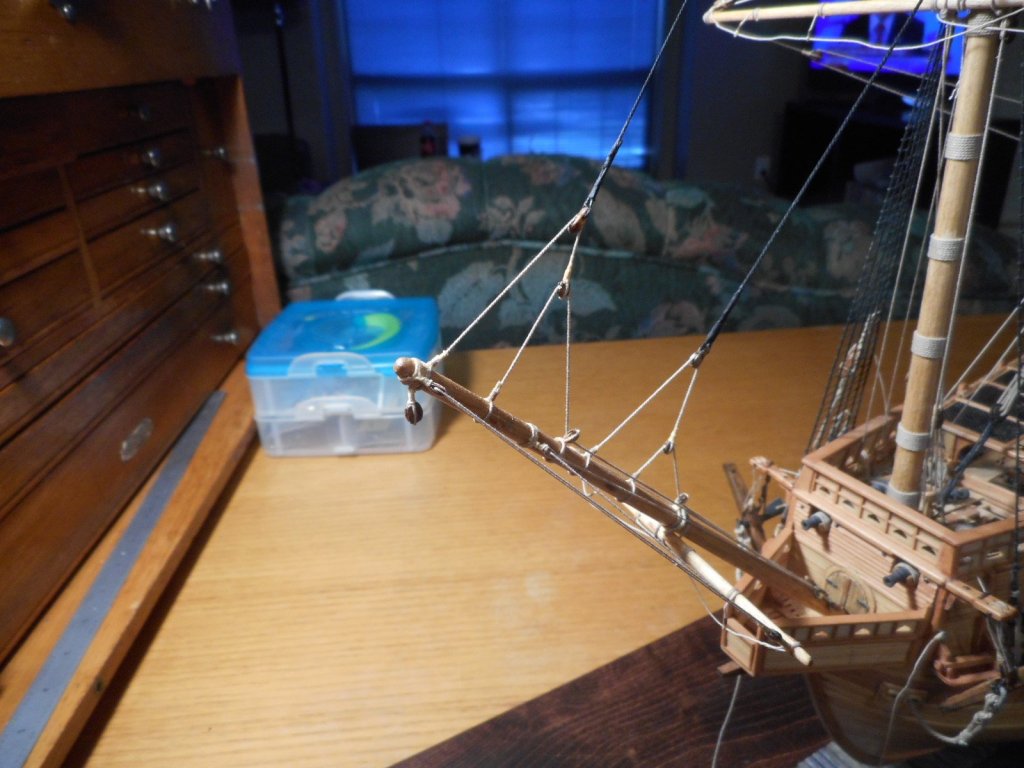
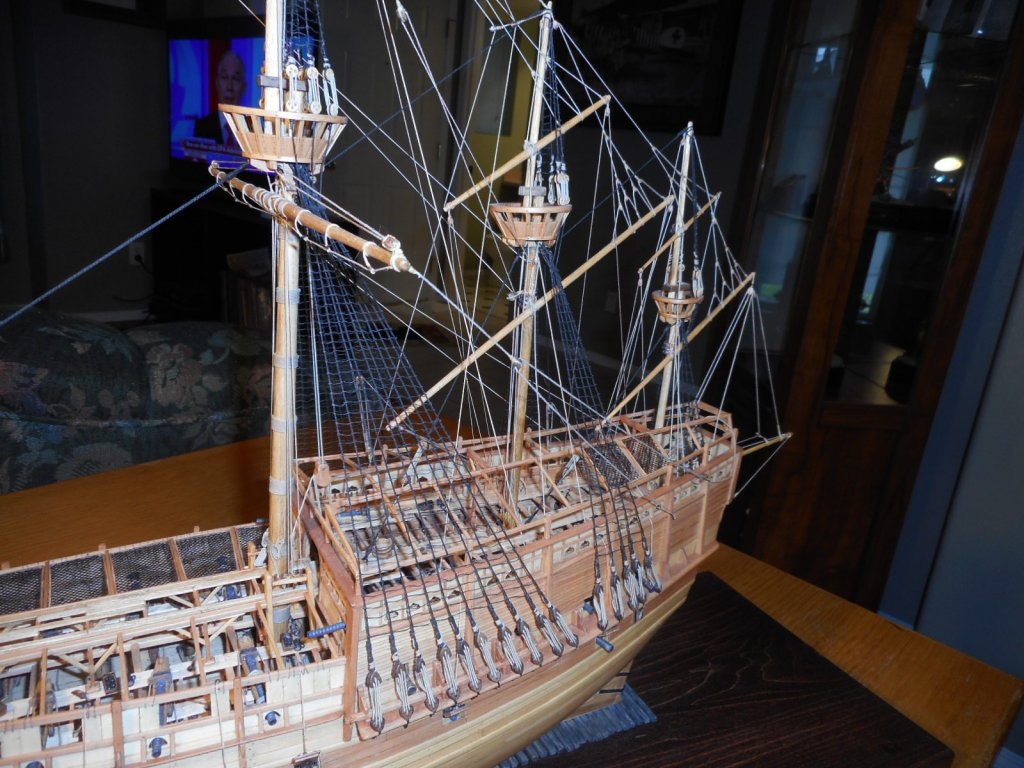
Just wanted to show you my progress on my Cheerful. Just over a year now since I started it with Pickels.
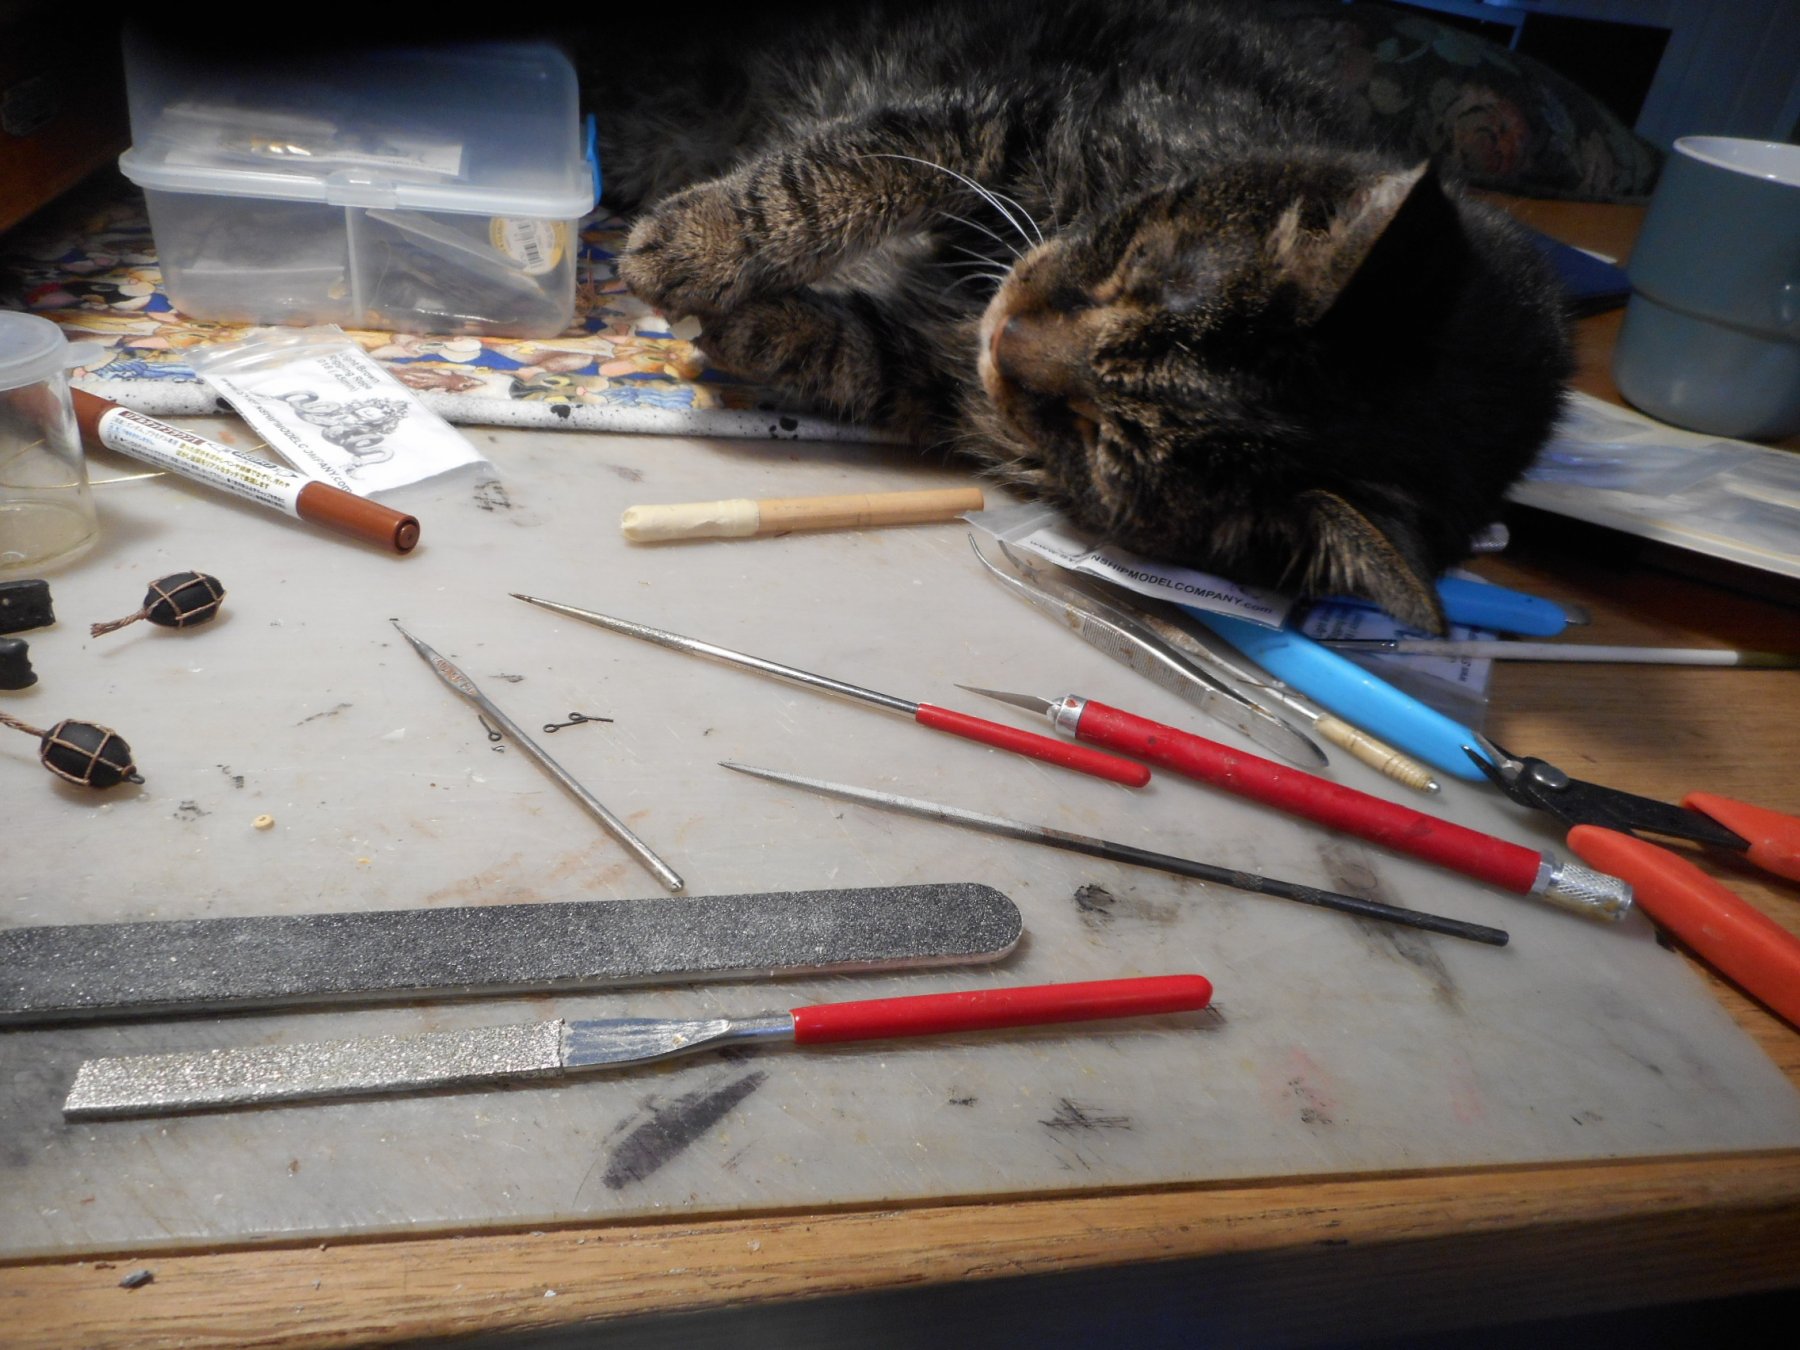
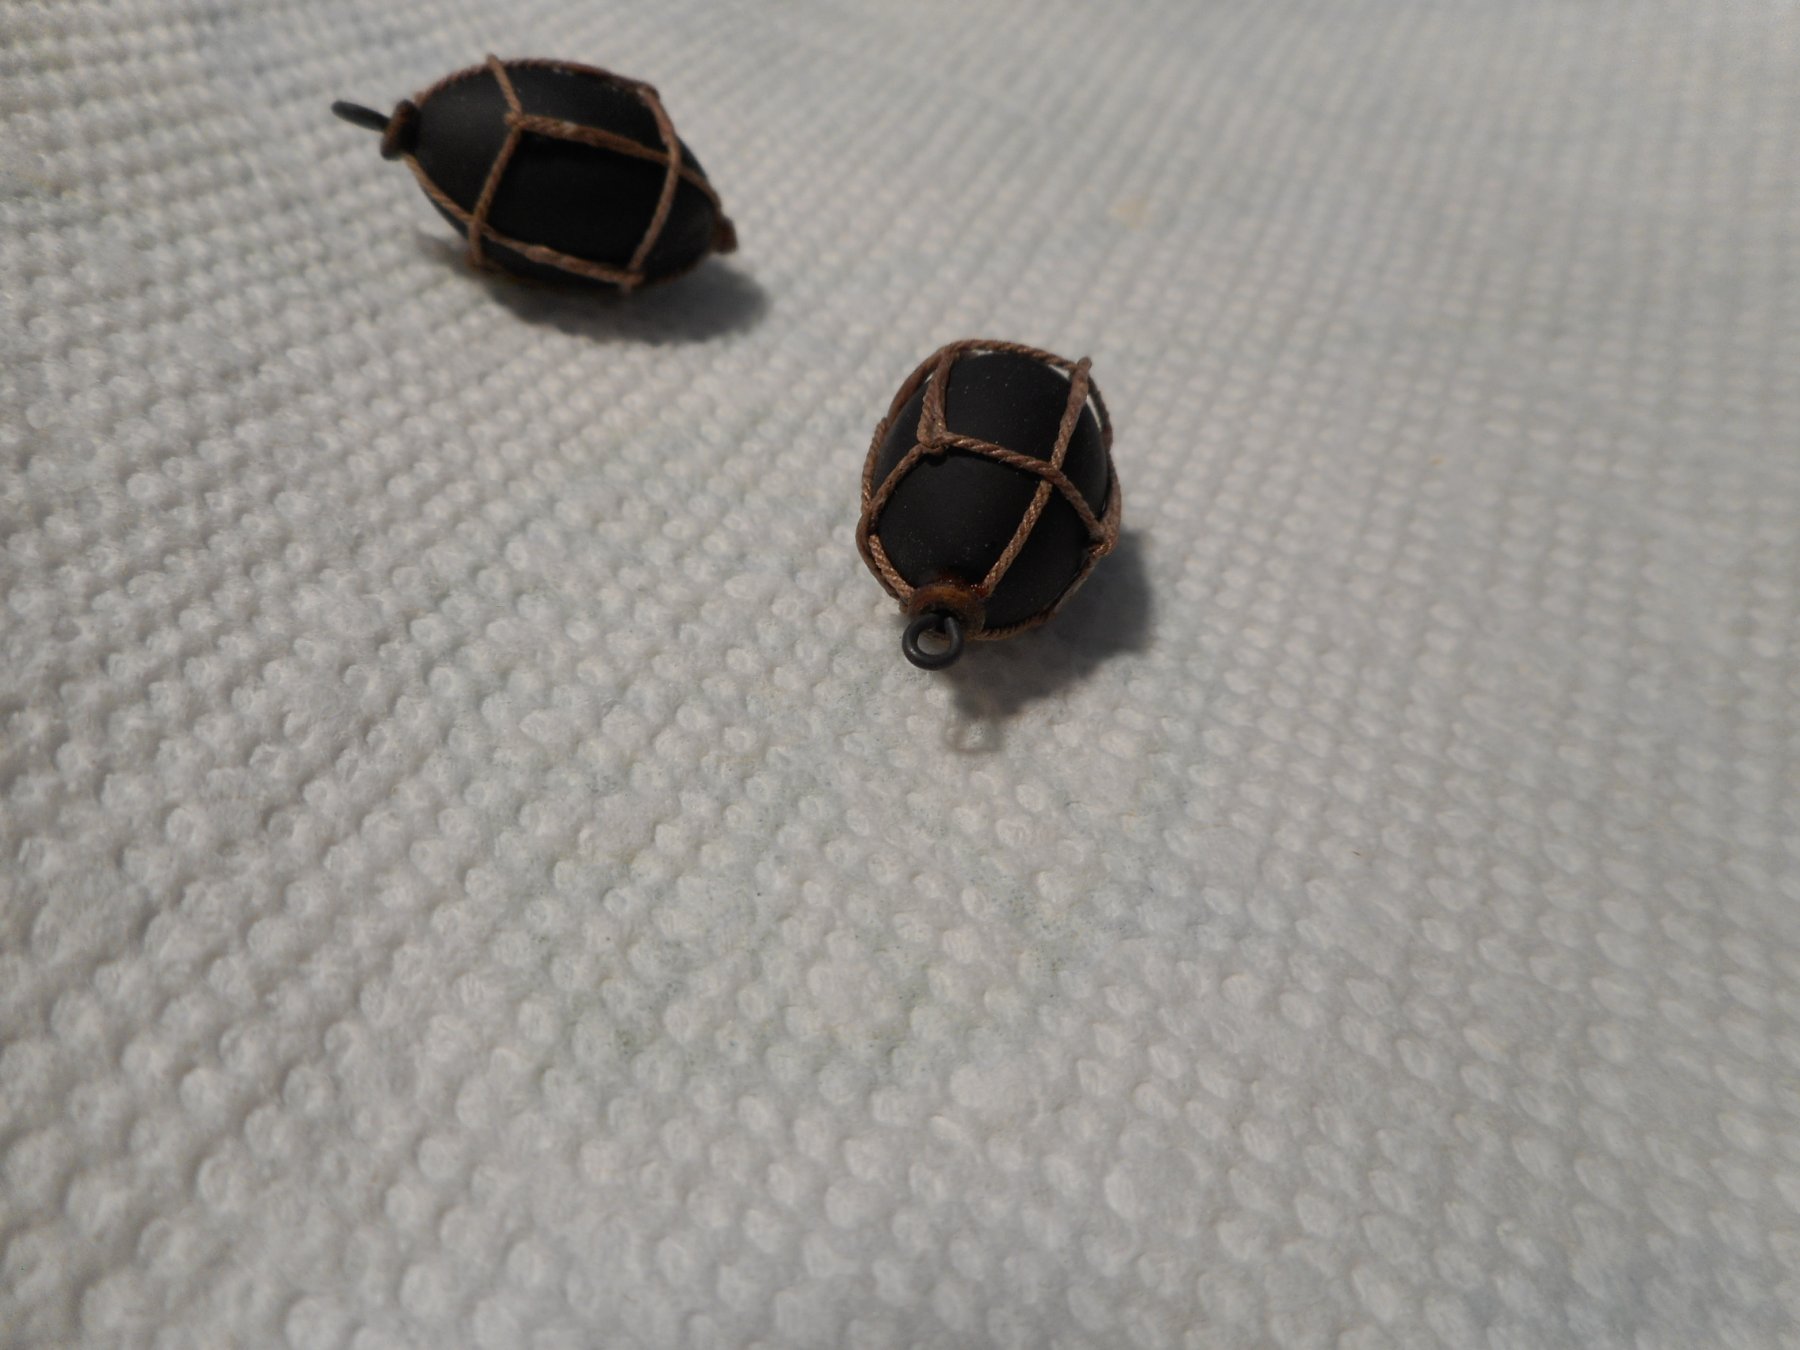
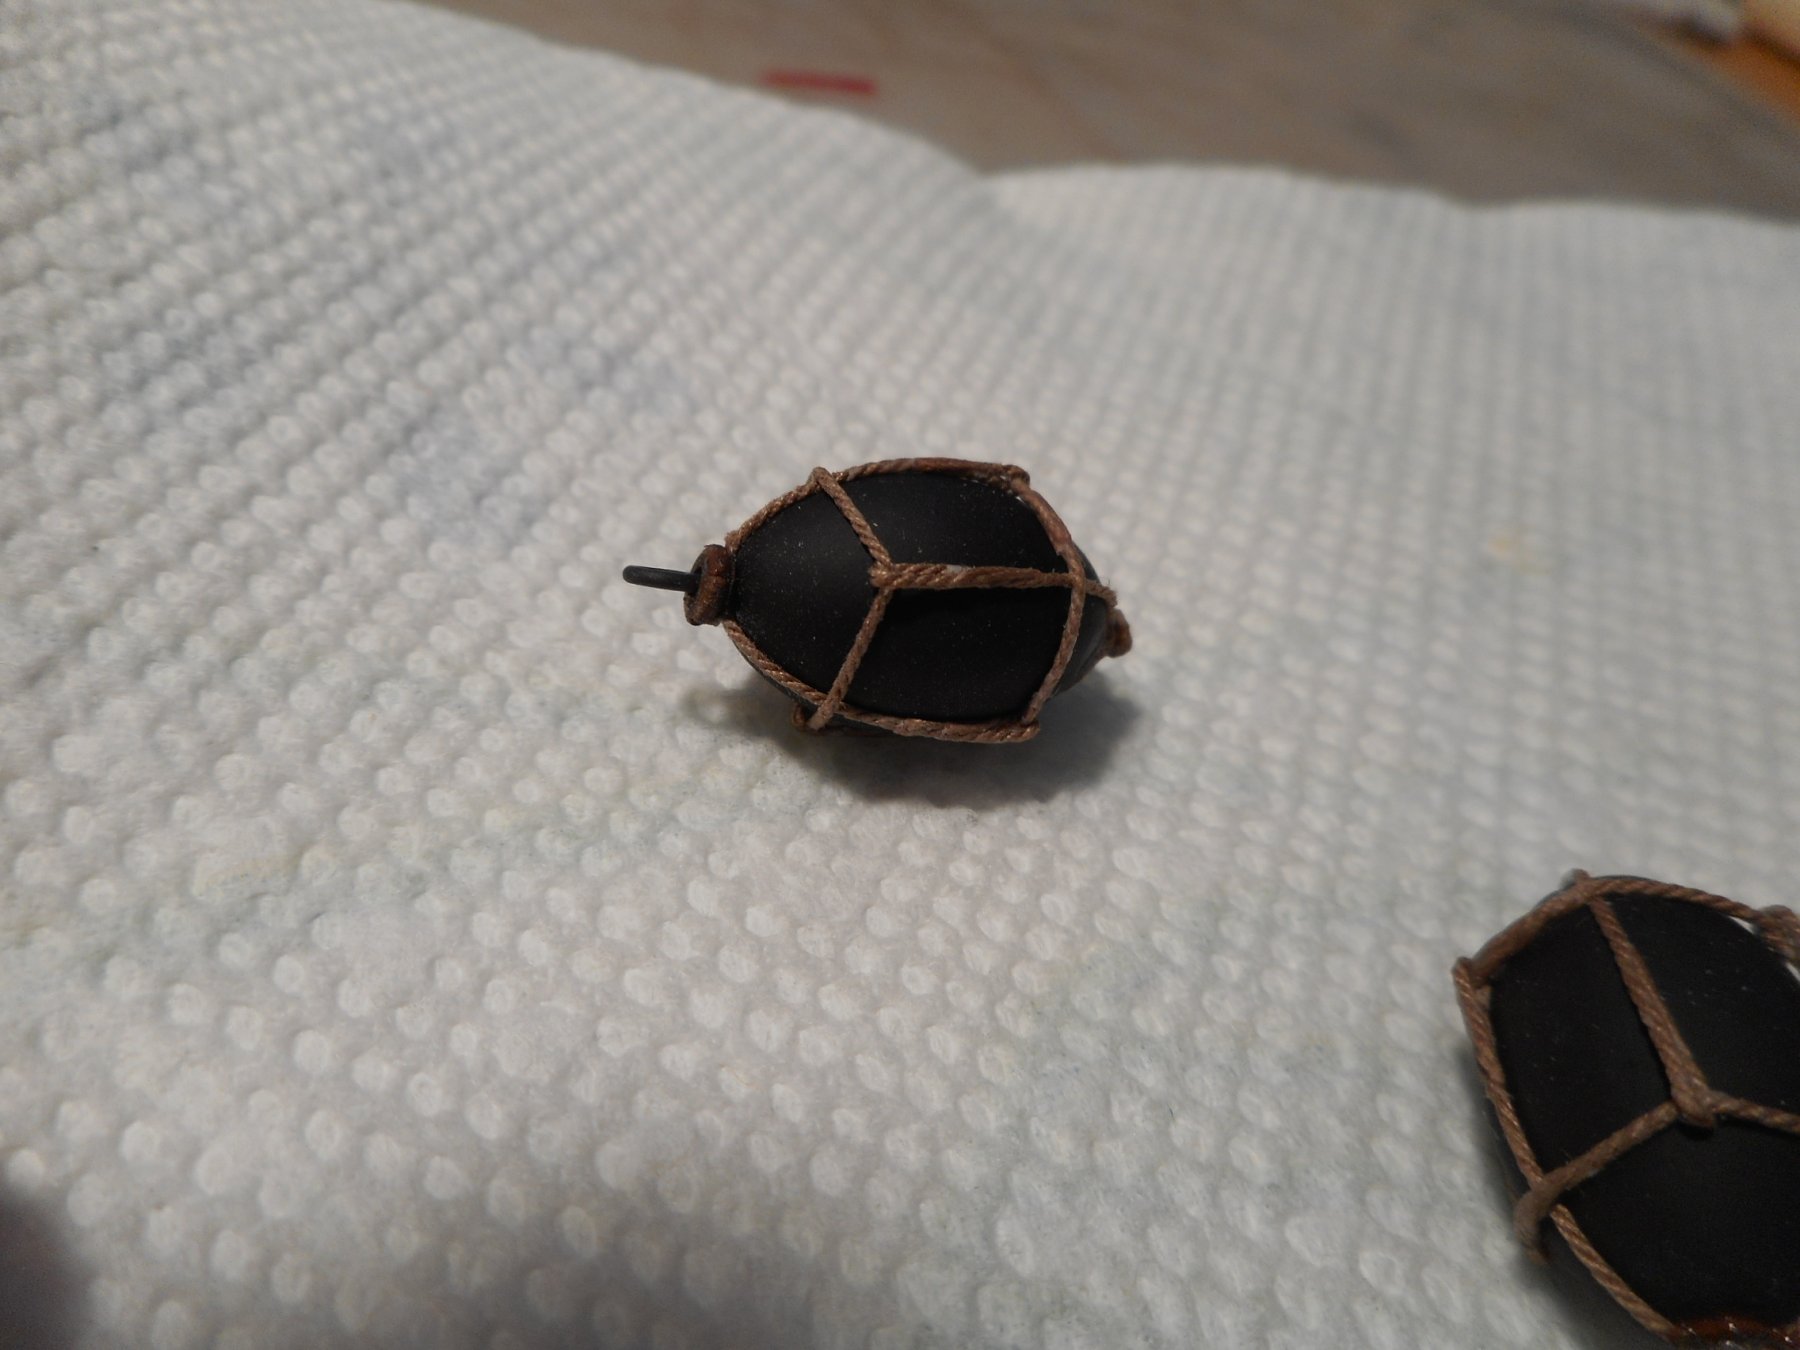
Today completed the anchor buoys. It wore out Pickels,so he had to cat nap right where he finished.
Here's what the rest of the ship looks like also.
Thanks for a great subject and kit. Let me know what you think.
Thanks Keith and Pickels


-
Ahoy Mates Dan in our building group will be on vacation around the London-Portsmouth area next week ,and wants to know if there are any wooden ship model shops he should go to. Please let me know what the name and location is so I can pass it along to him. He will be at the Mary Rose Museum and area. He's building the Jotika Mary Rose kit,went to the museum the last time he was there,but it was closed. Thanks for the help. Keith
- 1 reply
-
- 1
-

-
Ahoy I would build the MSW's Gunboat Philadelphia 1/24 kit. Simple hull shape-flat bottomed,easy curved bow and stern. Basswood used-can be replaced at most hobby shops when you screw up a plank for the hull or decks. And you will need extra wood. Cost is moderate. Simple rigging-no ratlines. 3 large cannons,easy to rig. Easy shape of hull to learn planking on for your first hull. And still learn a lot doing it. Best thing is that it can be completed by those who have little building experence . Our building group started out with this one as our group build. See it at www.woodenshipclass.blogspot.com . It has photos of all our groups model progress. Here's my Gunboat. Keith

-
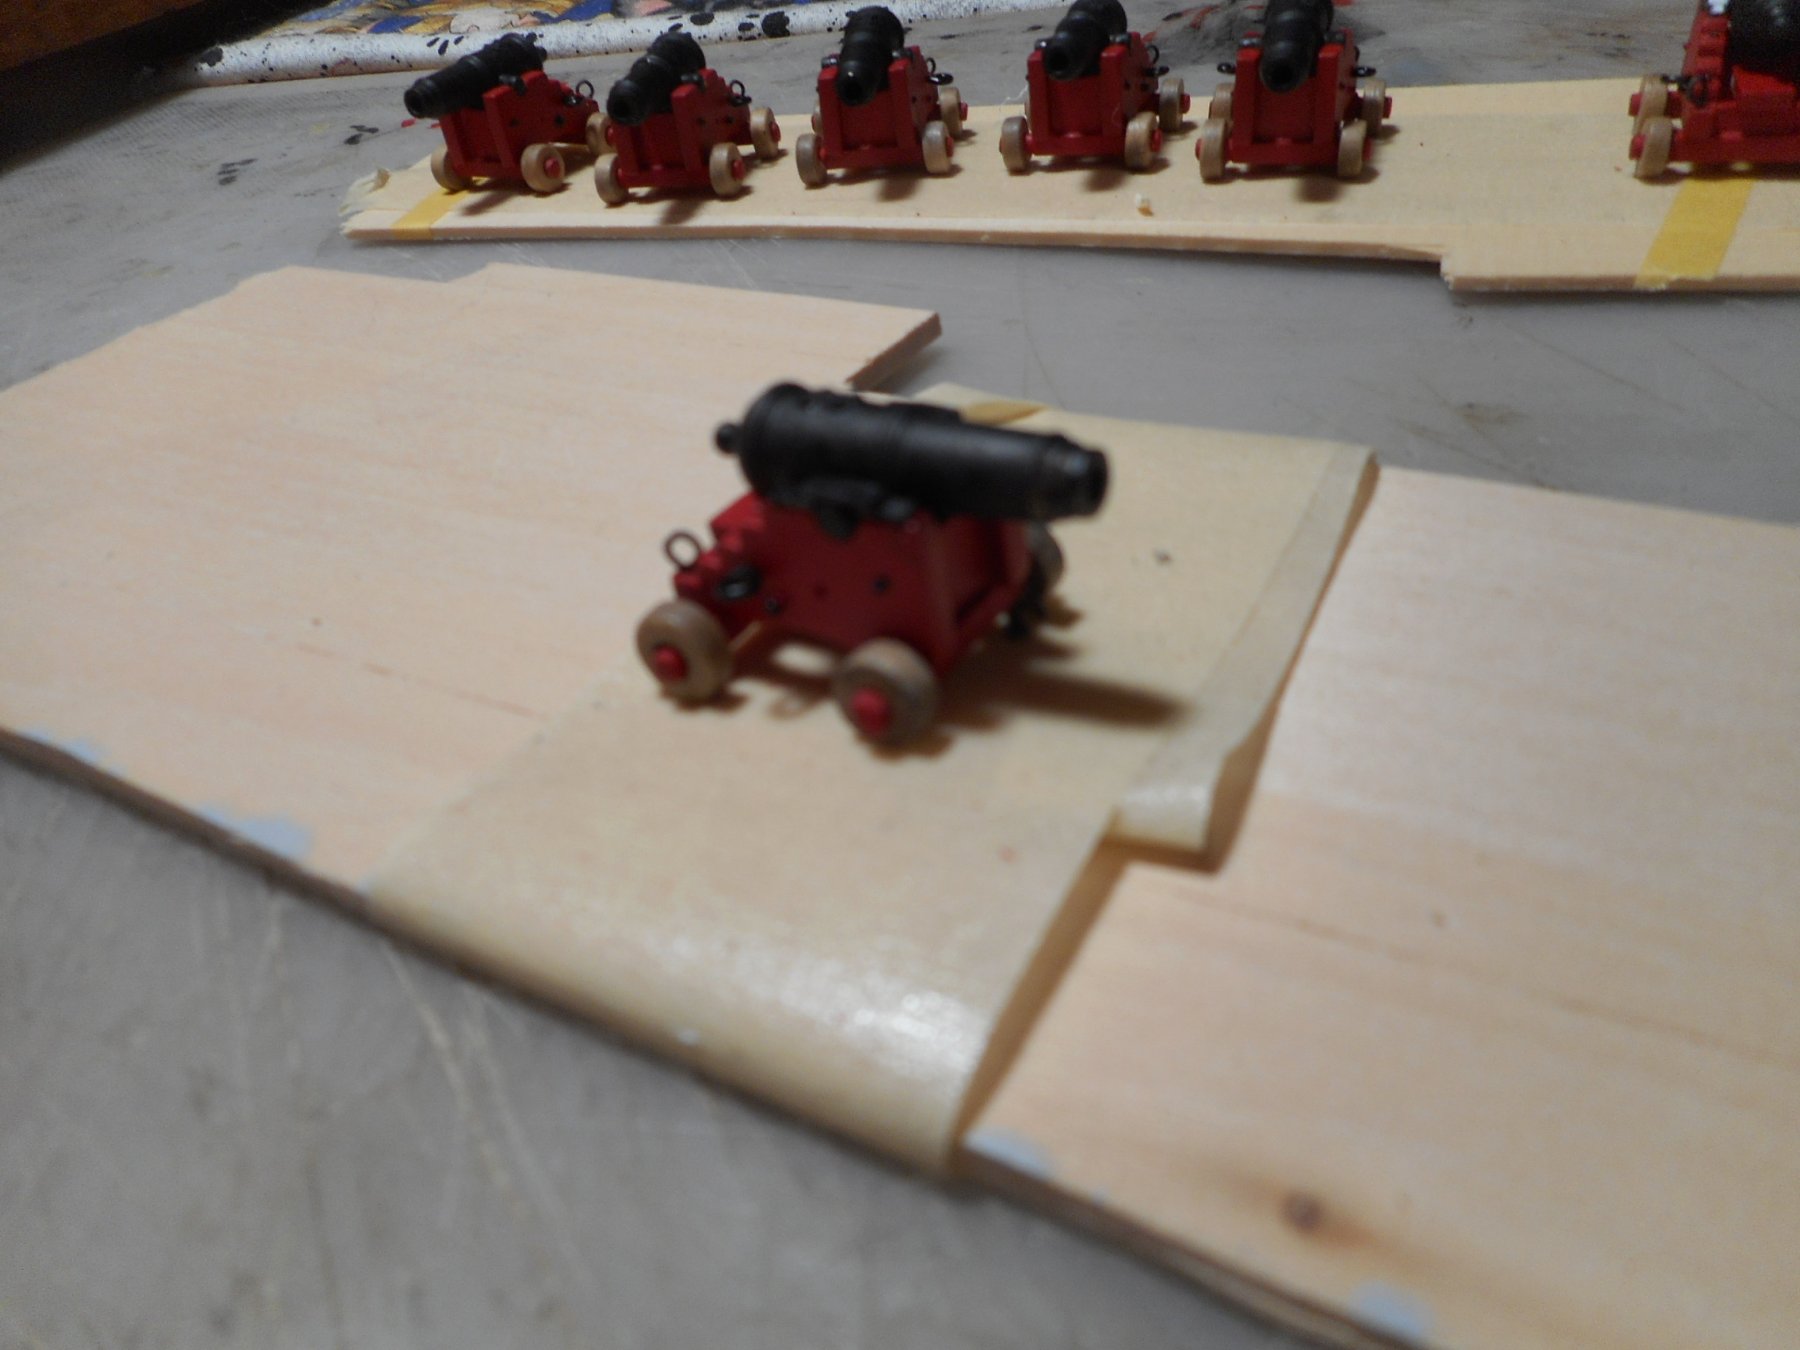
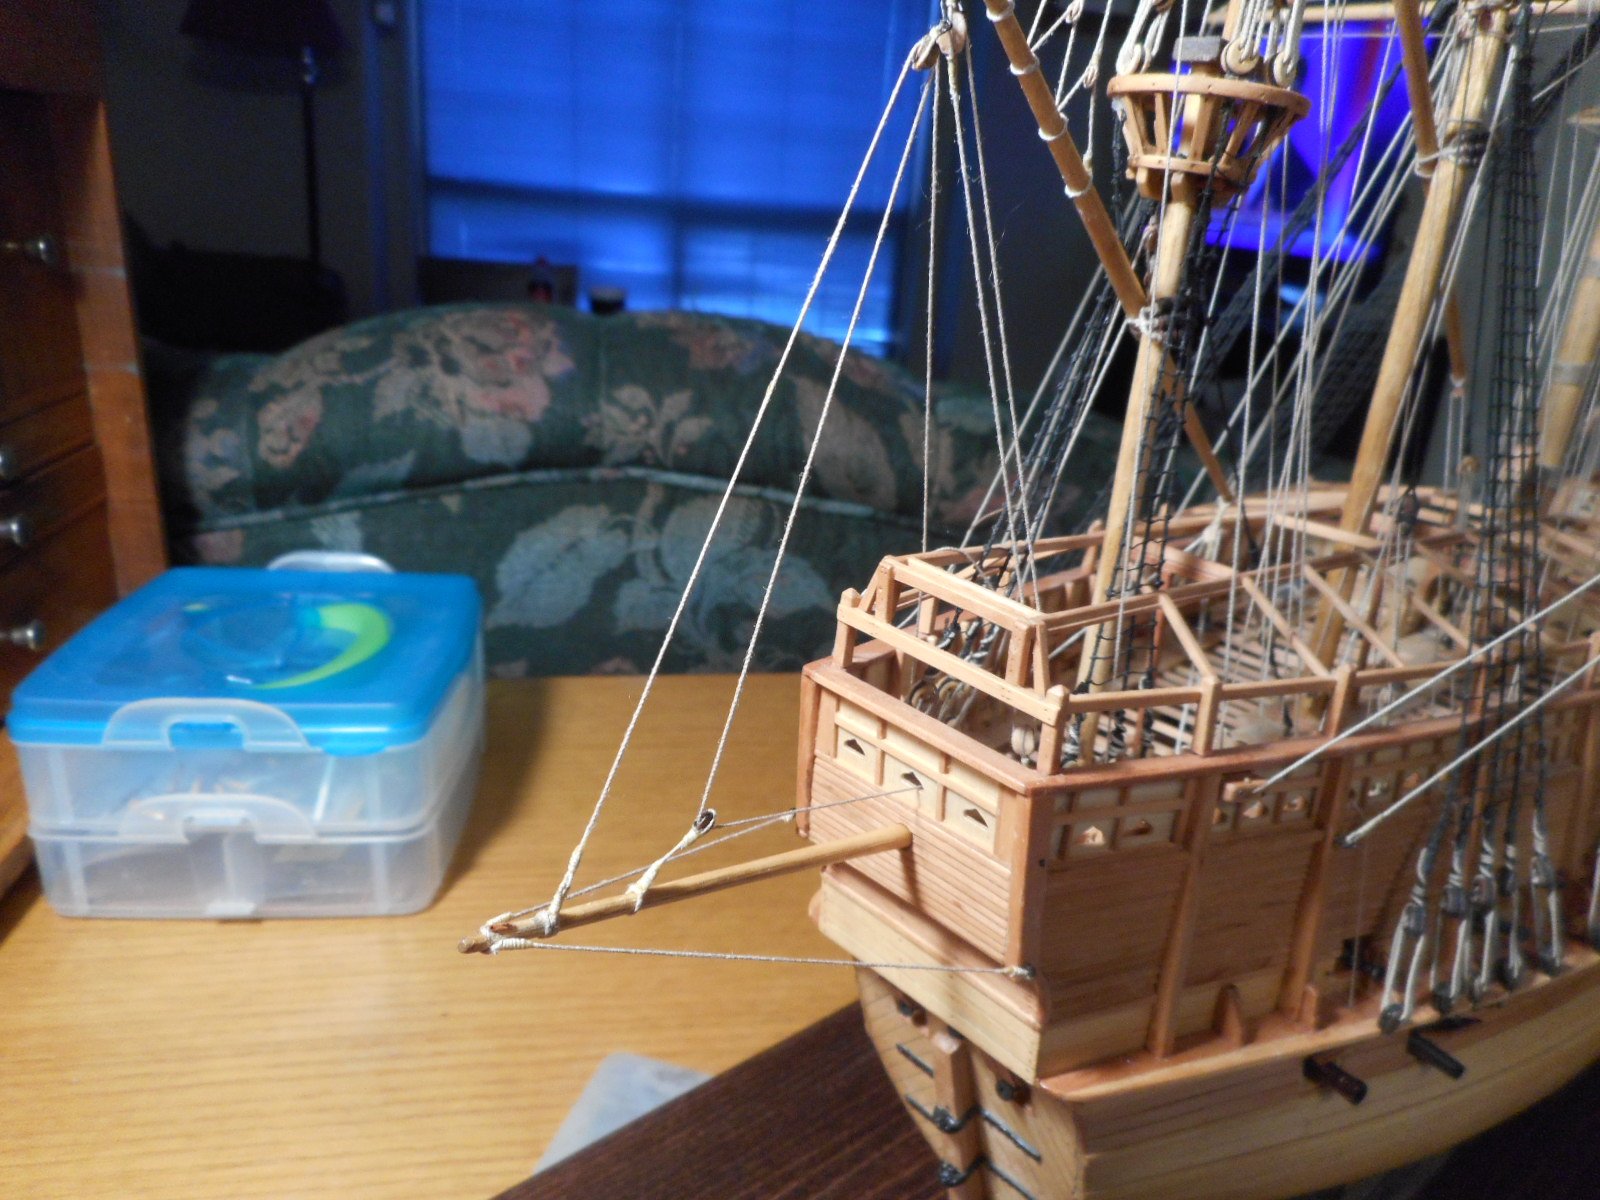
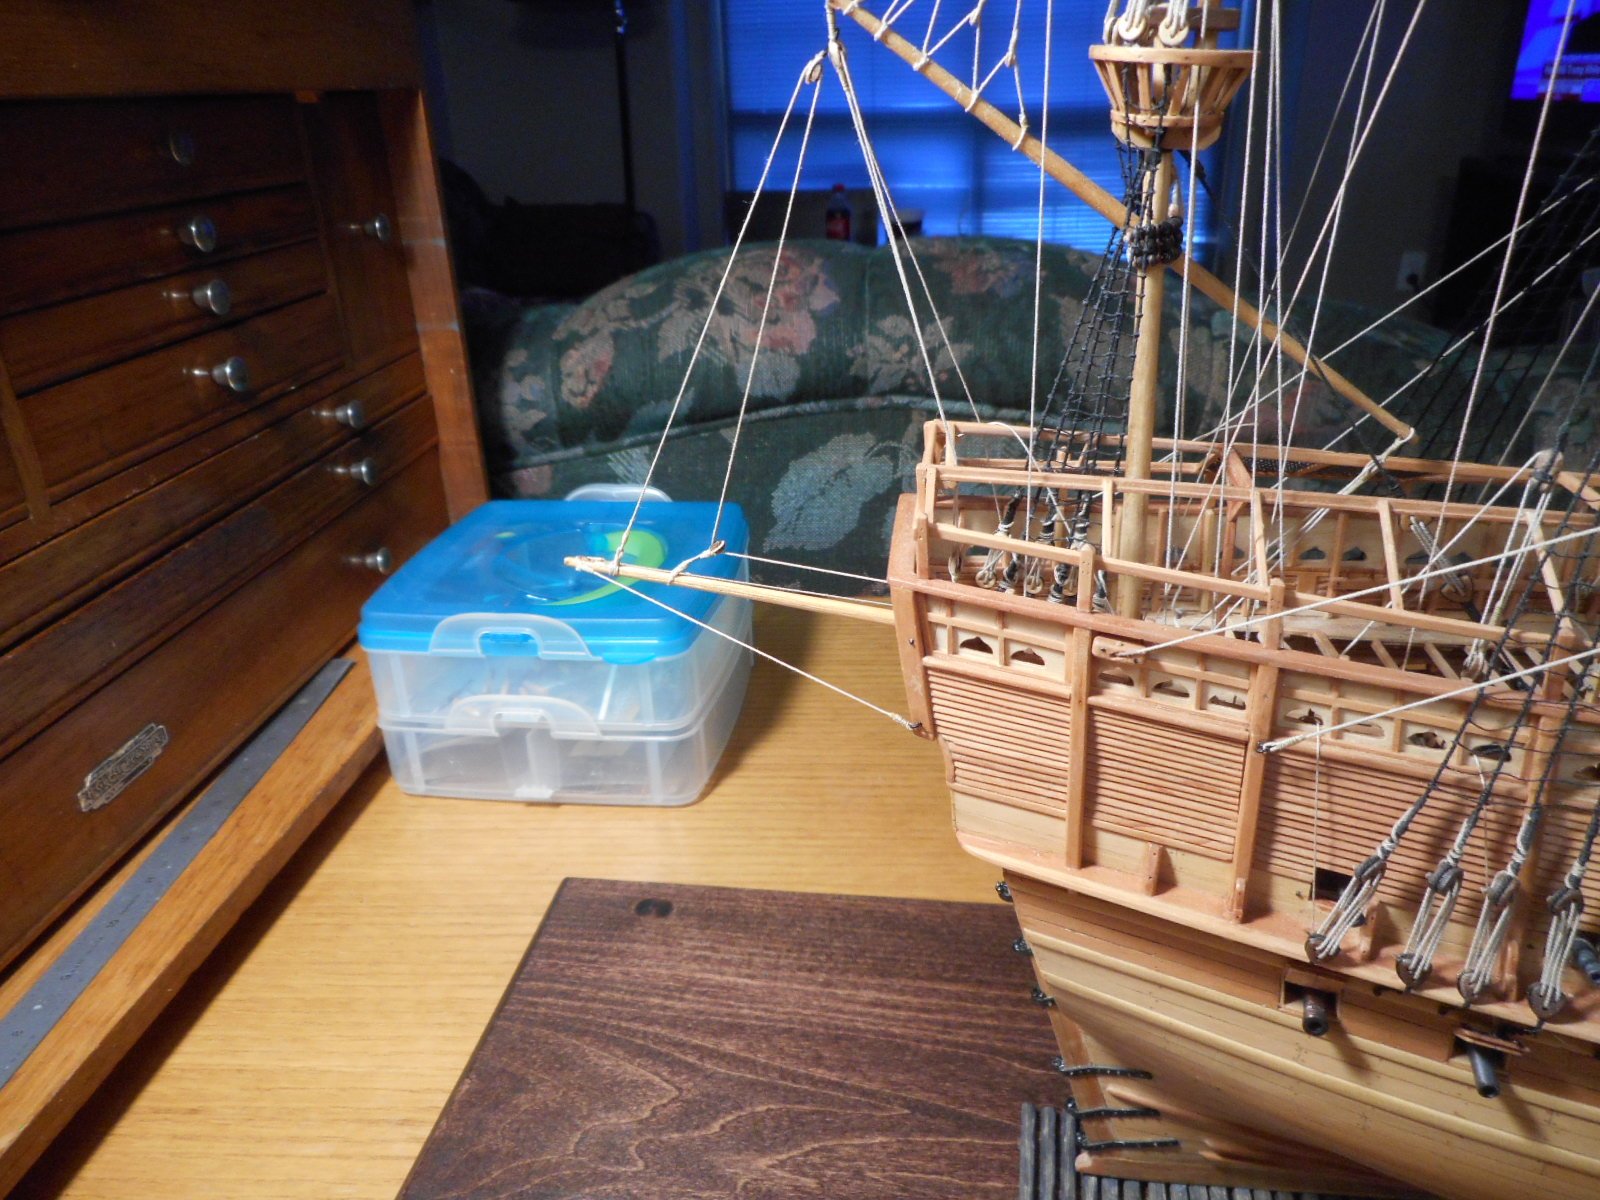
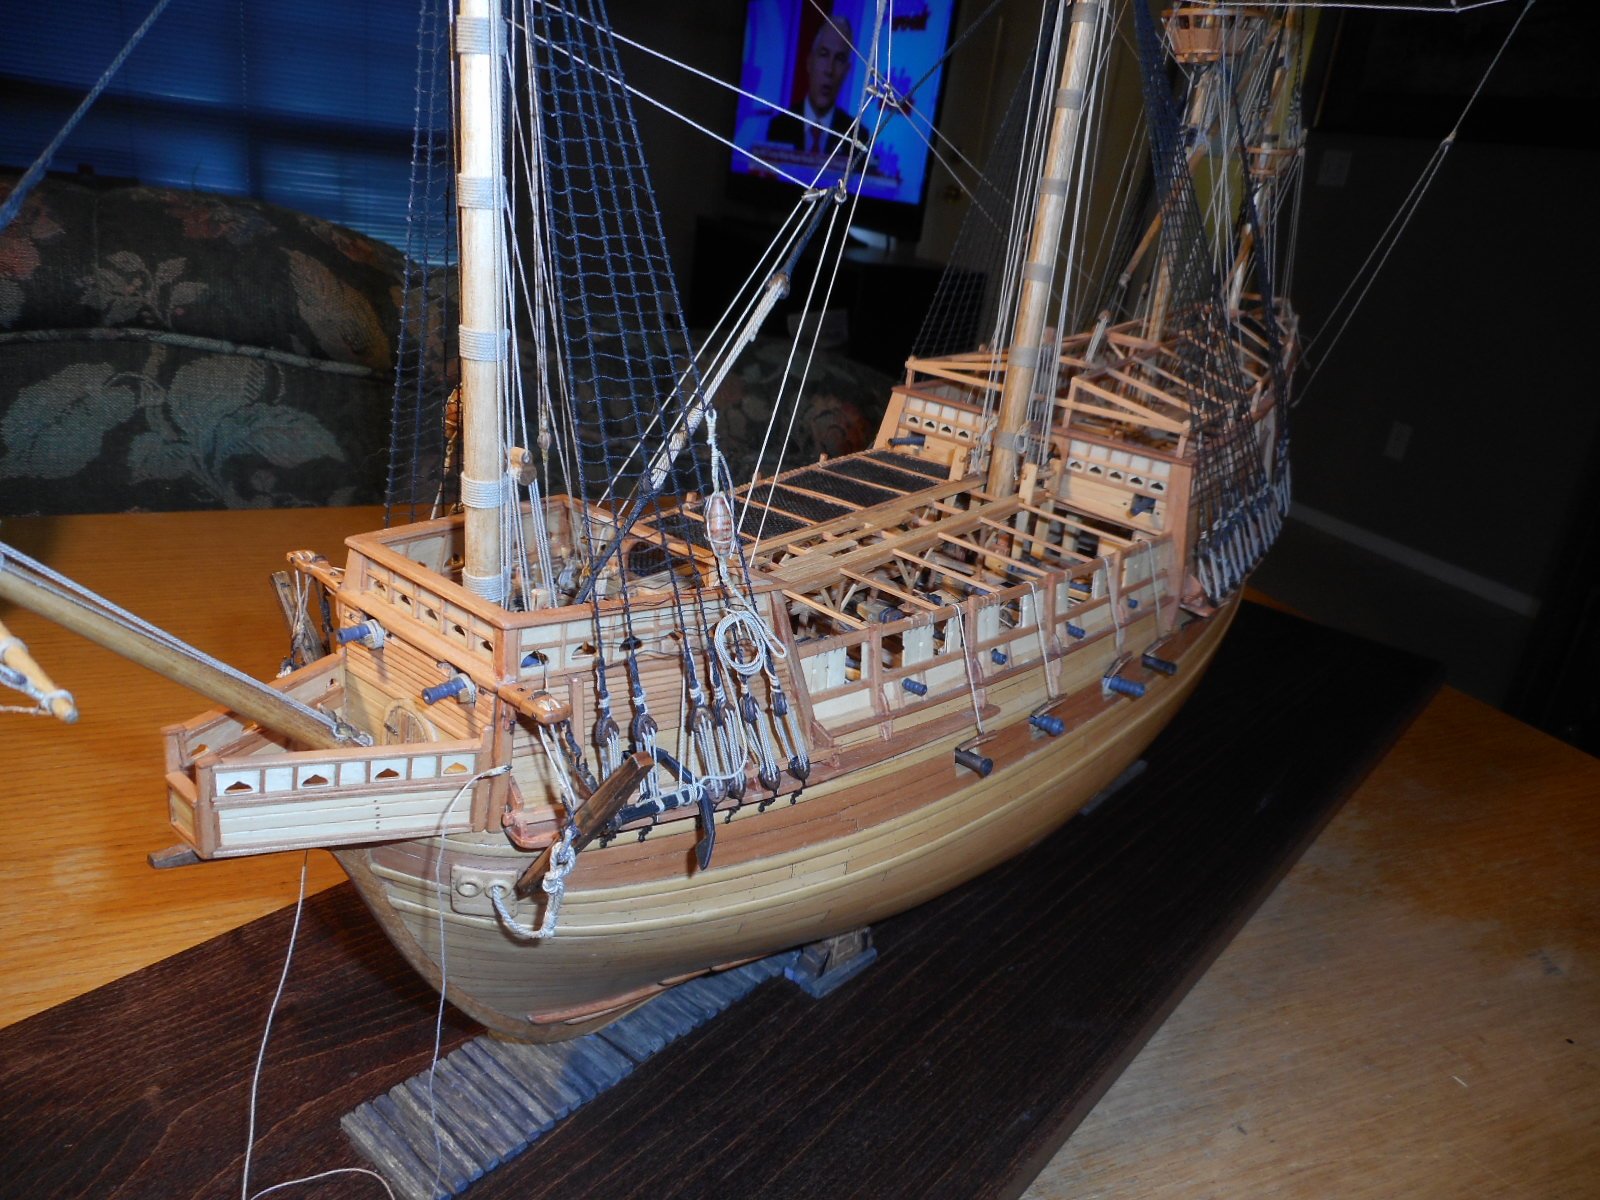
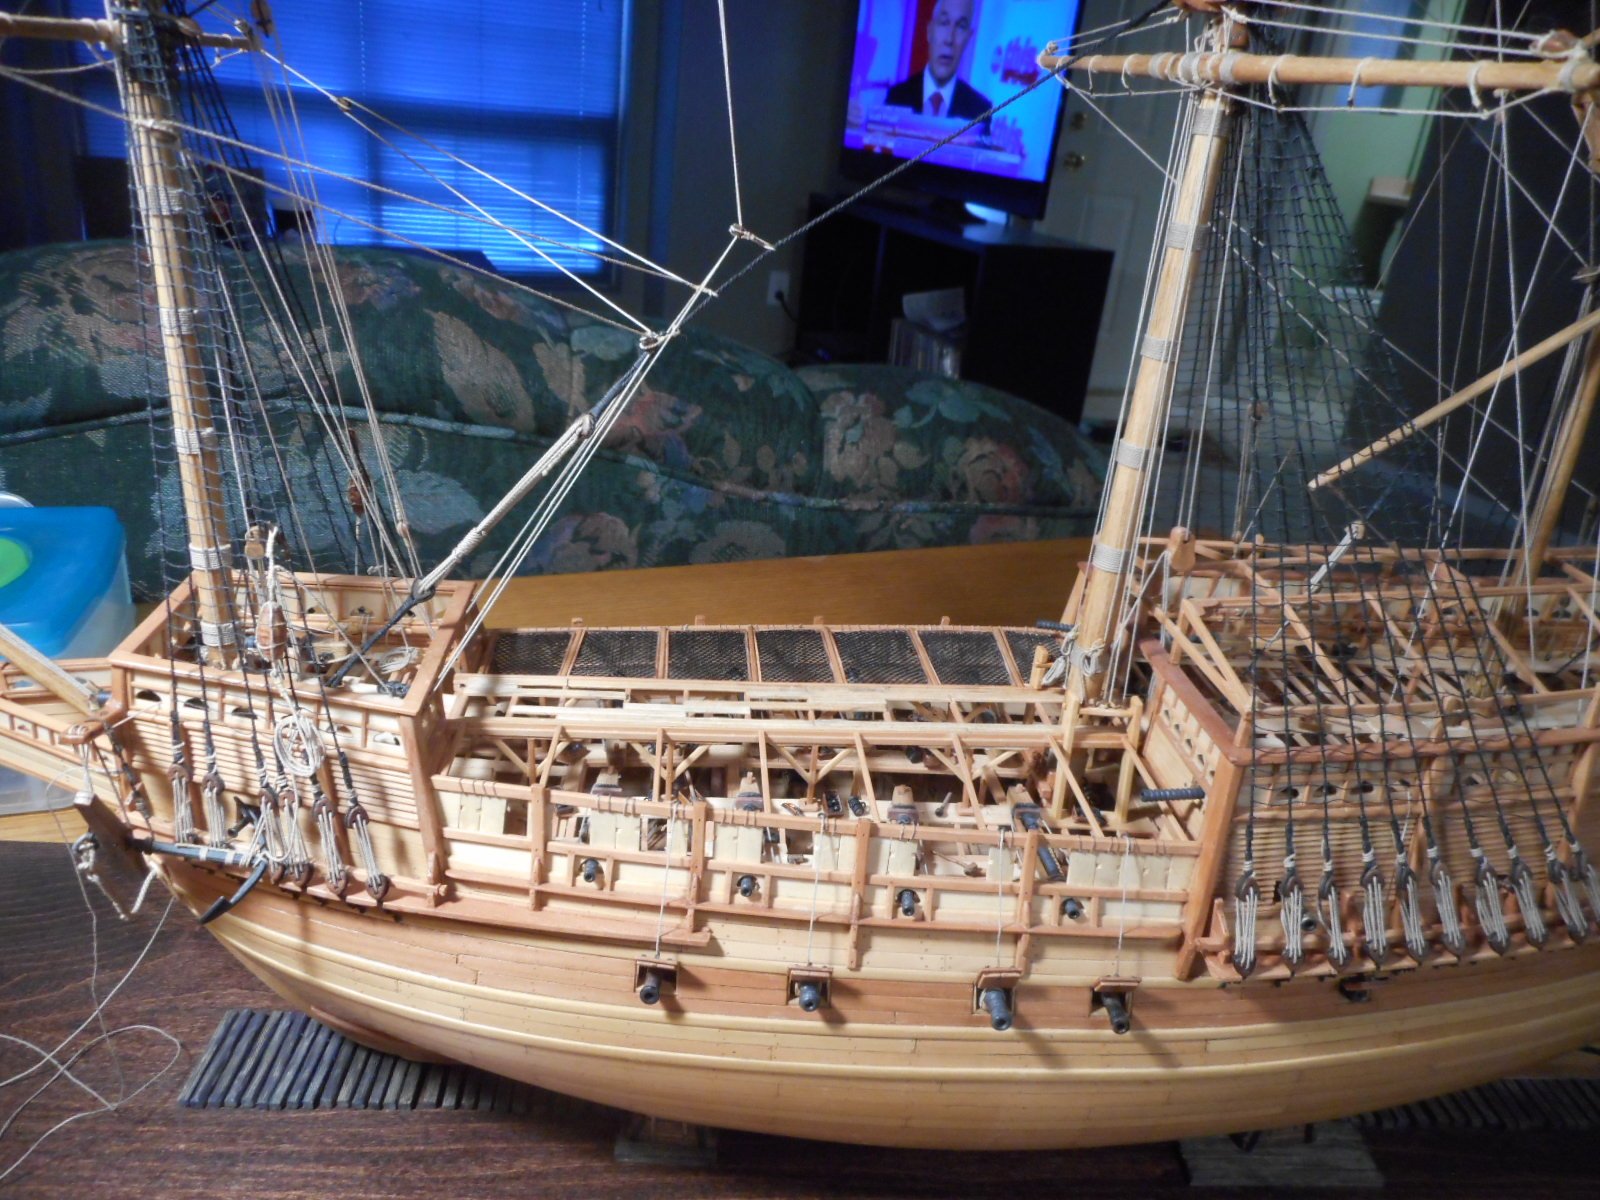
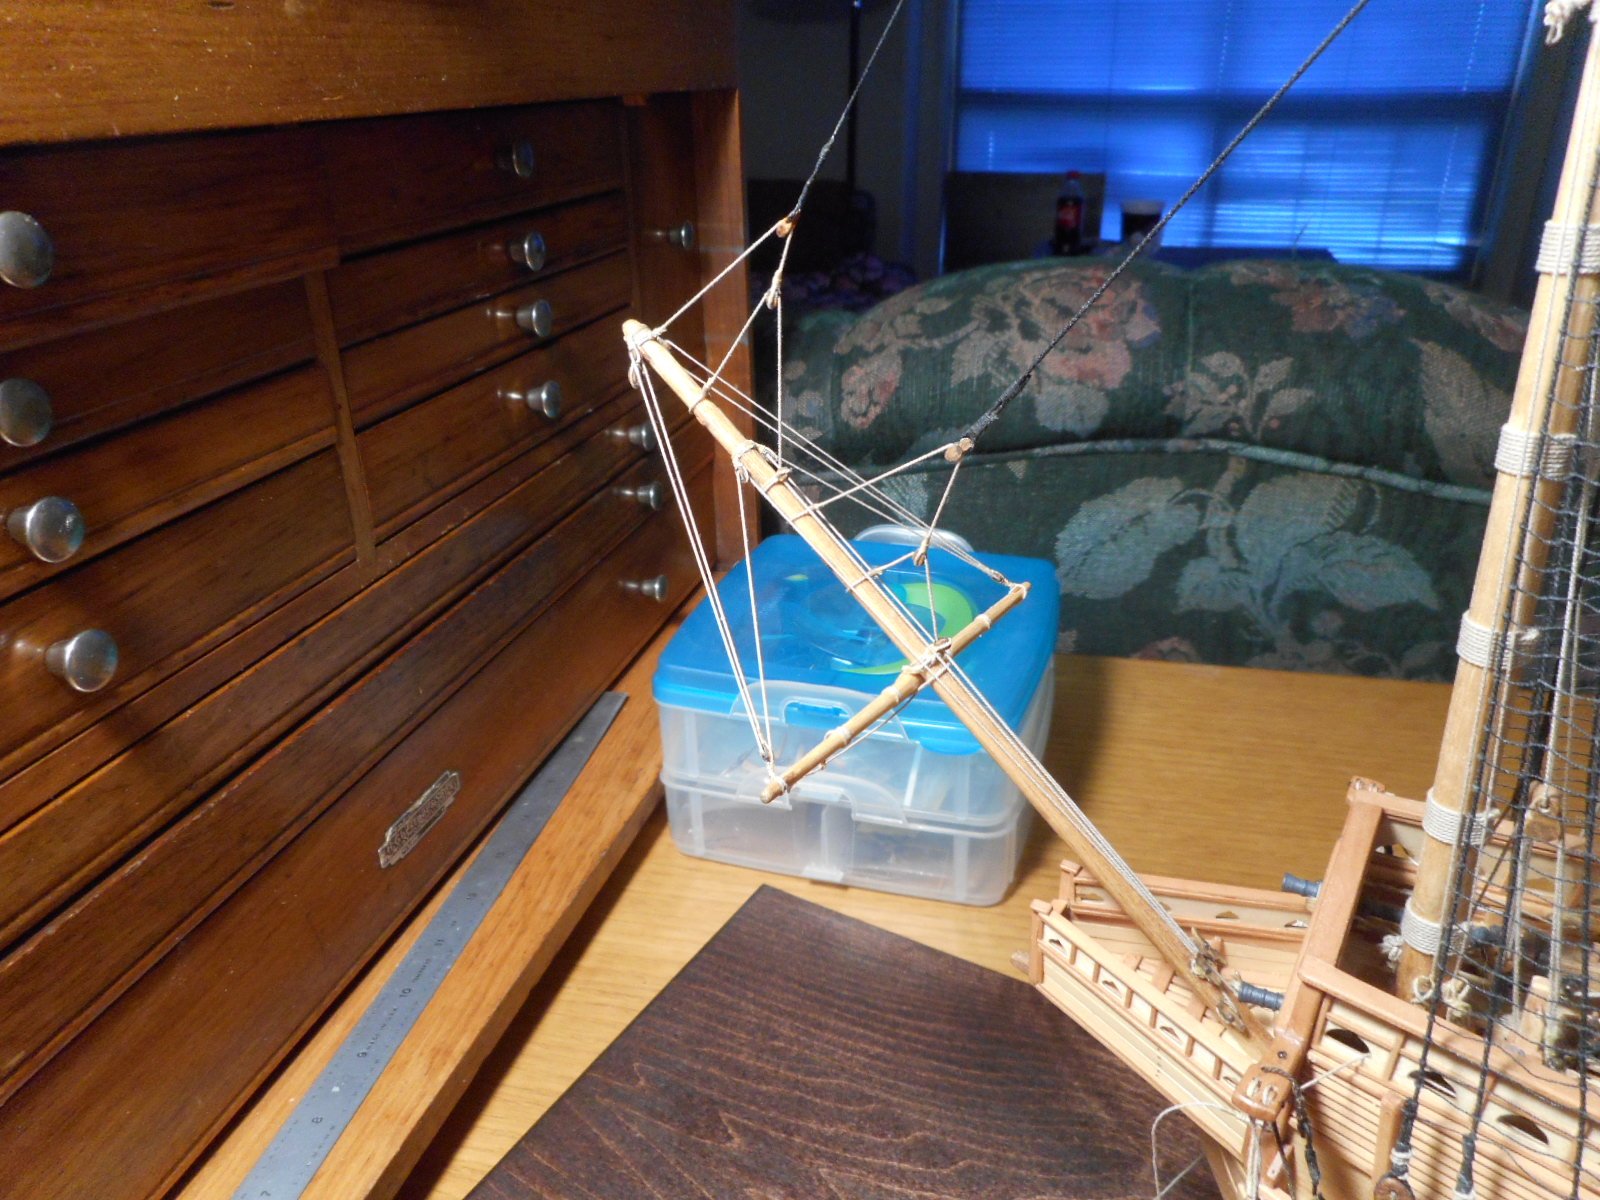
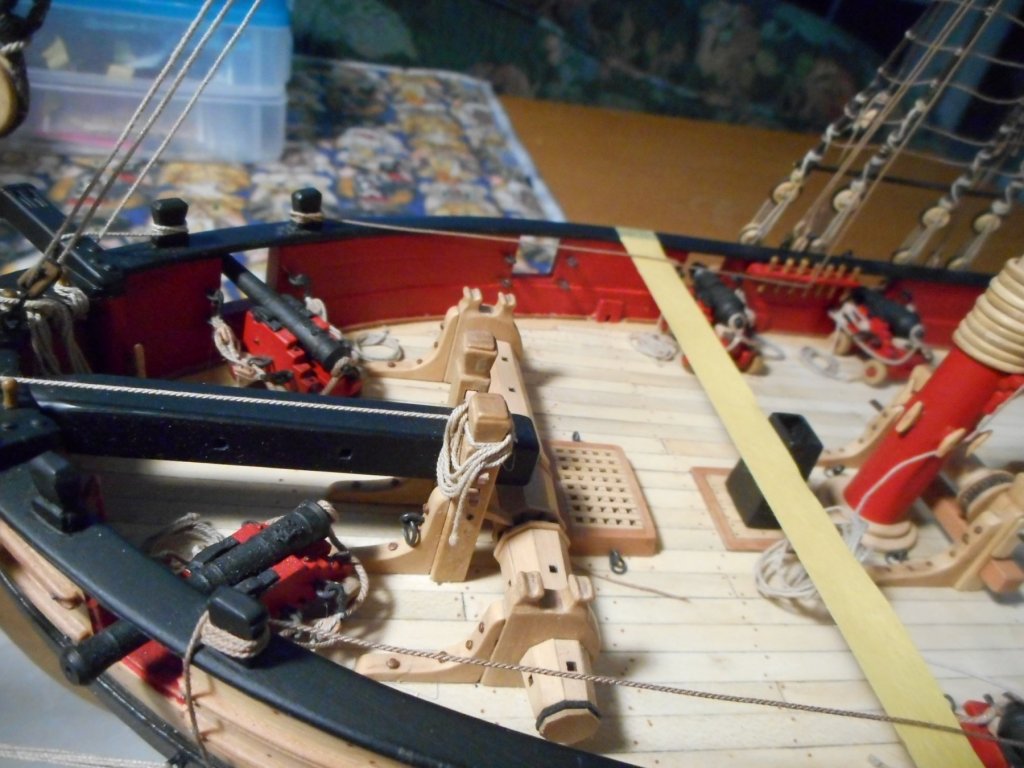
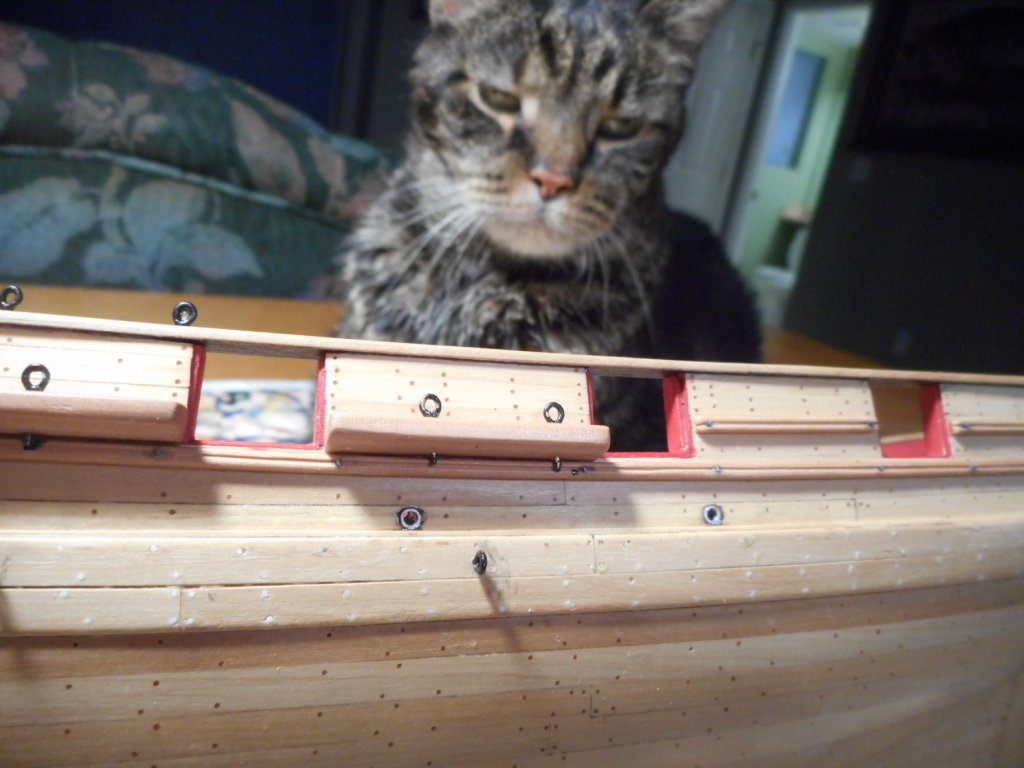
Ahoy Mates Getting near the point where I need to know how the cannon balls and powder was set up on the deck of the Cheerful of this date 1806 with caronnades? Just about finished with all the guns now. Ready to start rigging them. My shipyard supervisor is not feeling chipper today since yesterday he had dental work-cleaning and extractions . Pickels has 12 less teeth today. The cat tooth fairy will visit him with fresh cat nip when he feels better and can enjoy it. He's doing as well as can be expected,today he's sleeping under my feet while I am writing this. Well back to the Cheerful's gun tackle and breaching lines. Keith and Pickels


-
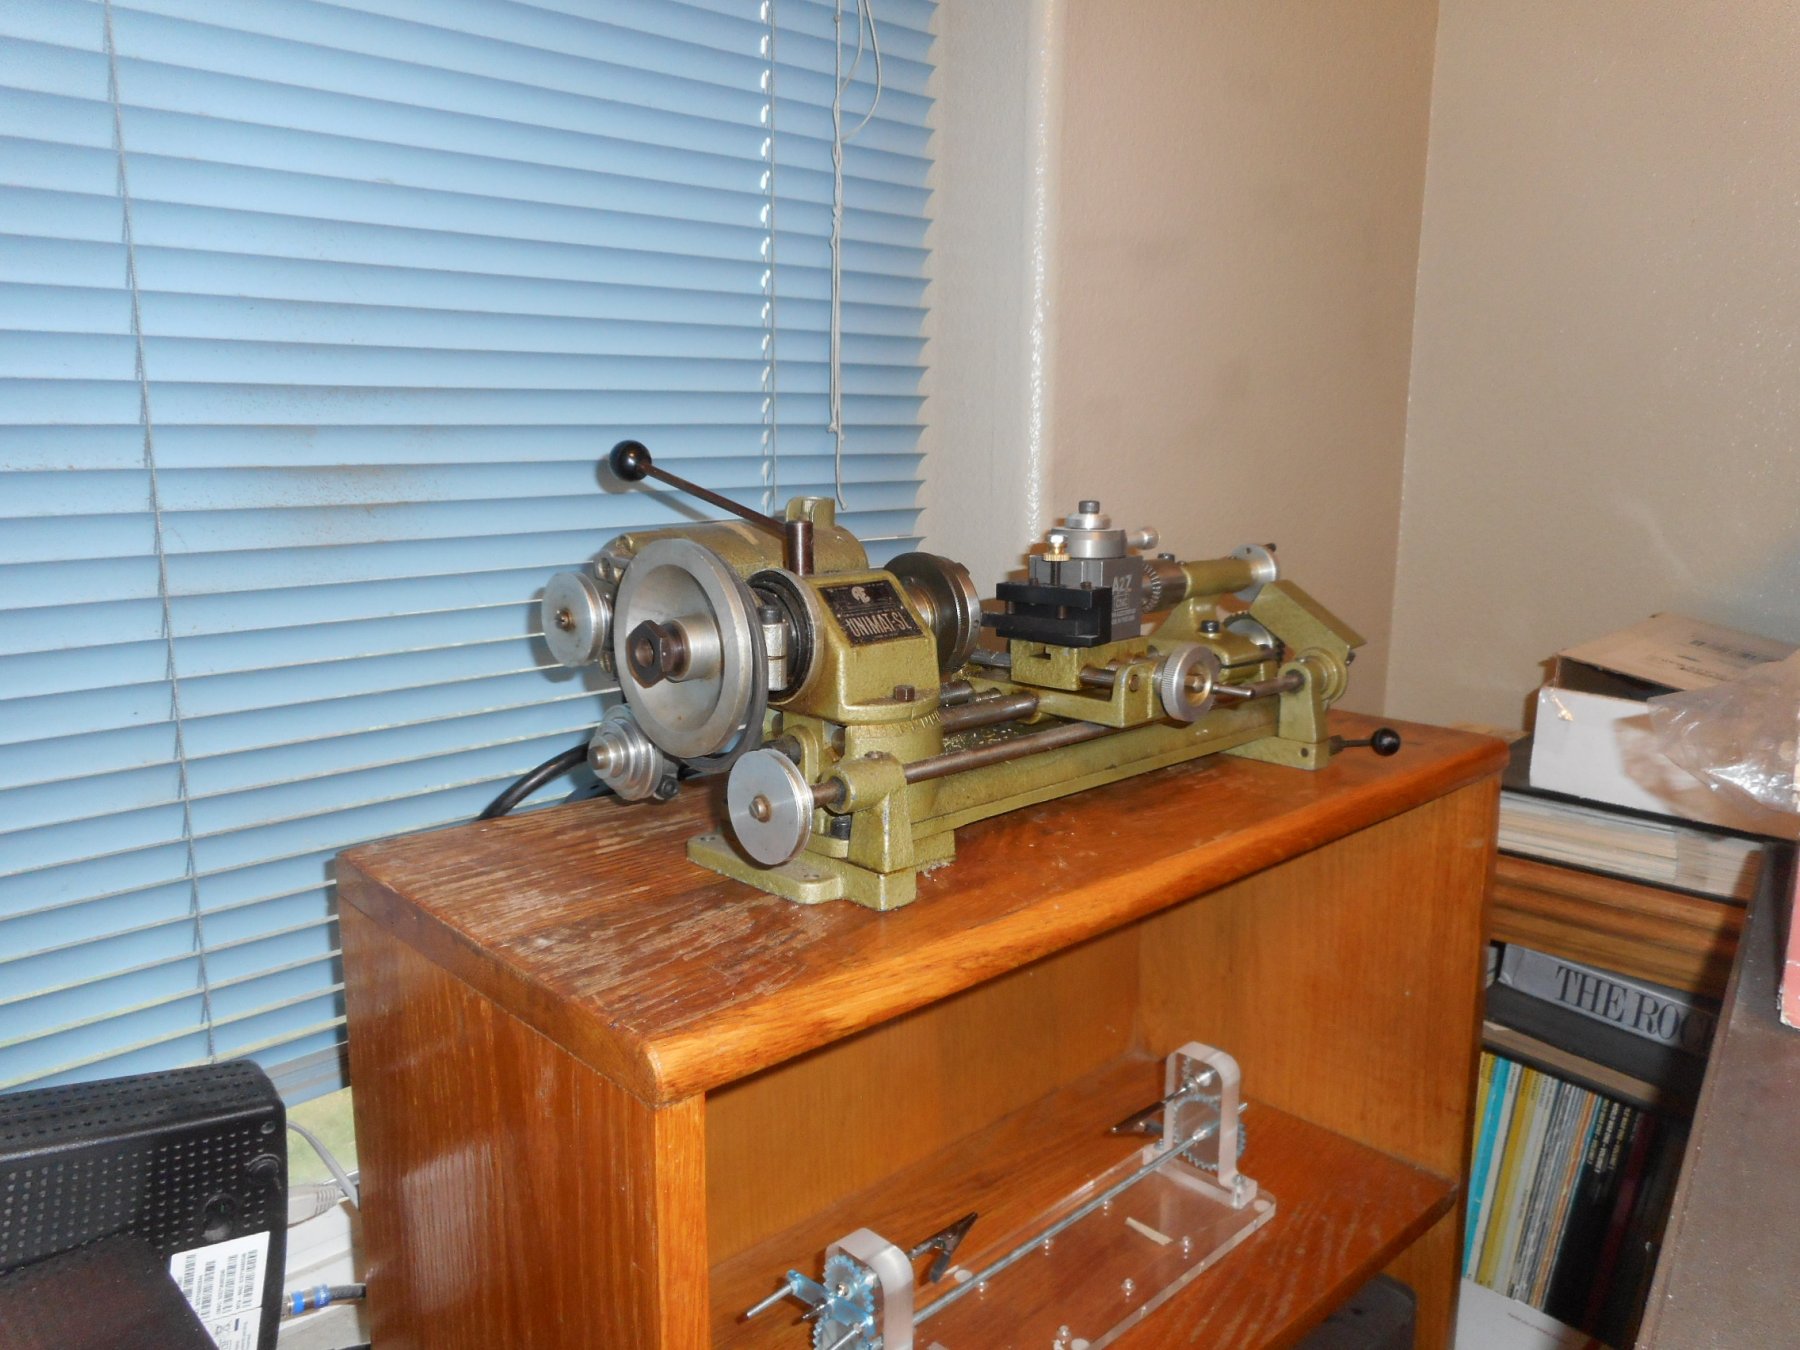
Ahoy Mates I have had my SL 1000 since 1971. I have used it very little since I had access to the machines in the die shop I worked in until I retired. Since then I have used it for some parts. I just bought new bearing for it along with belts. Here's what mine looks like with the quick change tool post and auto feed. I just ordered slide feed for the tail stock. So drilling a hole is easy,especially for small drill bits. I have full size Bridgeport J had mill and 12" logan lathe, but they are sometimes too big for the small jobs in modeling. This is the Unimat after I have removed it to out the new bearings into the spindel. I use it in a clear plastic booth that looks like a paint booth. That way I can use it in my work area without throwing chips and sanding dust all over. I have a shop vac conected hose in the back just behind the head stock to pull nything that's created by turning. Keith

- 4 replies
-
- 3
-
-
- flex drive
- table saw
- (and 2 more)
-
Ahoy Mates Working on the HMS Cheerful now. Wanted to know if the cleats on the bulwarks were painted the red of the bulwarks or left natural wood? I would think they were left natural because the paint would just wear off quickly. Thanks for your input and advice. Pickels is waiting to hear.
-
Ahoy Chuck See that your new kit of the English barge is "out of stock" . When will you have them back in stock to sell? I know there must be high demand for it. Sorry to have missed your posting or site that it was for sale. I need one for sure and maybe two. Thanks Keith Glueck Troutdale,Oregon-have sent you an email,but have yet to hear back from you,so here I am.
-
Ahoy Mates Trying to find what color the mascot of the 1884 Sequin Tug was. It's a large rooster that was on top of the Pilot House. Need to know what color or colors it was threw the long life of the tug. I am finishing up the Bluejacket kit of it,and am at the point of finishing it up,and the last thing to paint is the rooster. Thanks Keith
-
Ahoy Kurt What did the scientist say about using ammonia for bending? What are the negatives as to what it does to wood short term and long? Keith
-
Ahoy Kurt I just took two strips out of the ammonia bottle and clamped them on the pilot house to bend to shape. They are 1/32 X 1/16" boxwood. The only wood that I have had problems with is basswood. It has very open grain structure and turns grey throughout when ammonia is used. Works great. I soak mine from a couple of hours to 24 hours. The thinner strips around the Pilot House are 1/32 sq. swiss pear that ammonia was used on. Keith
-
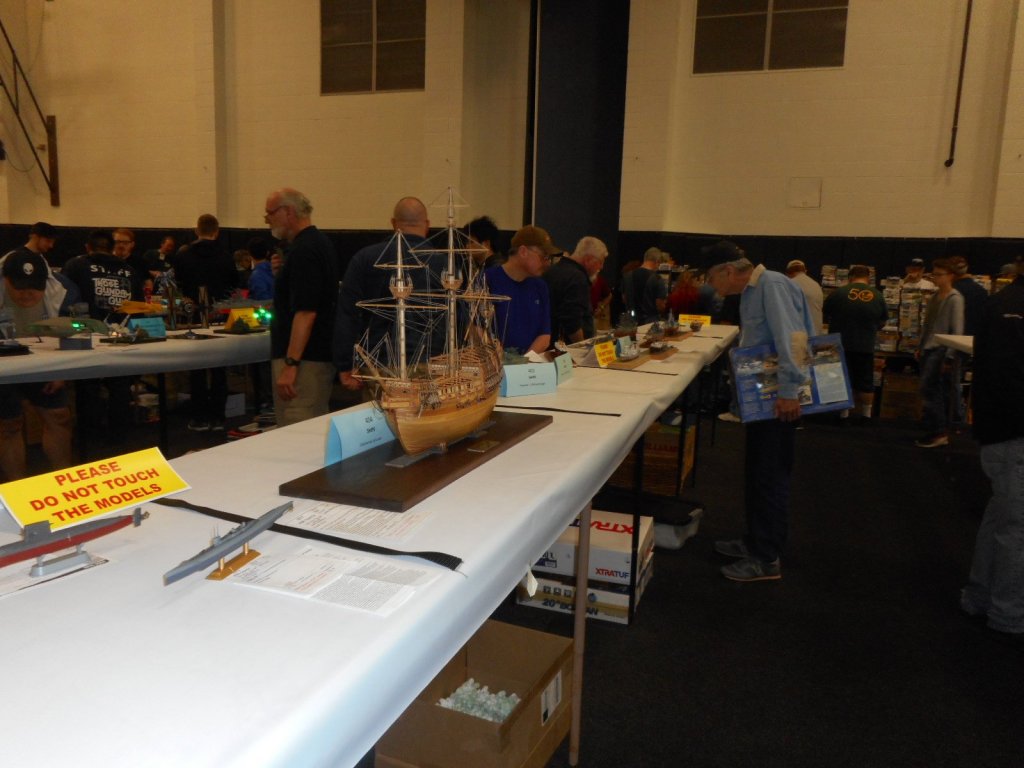
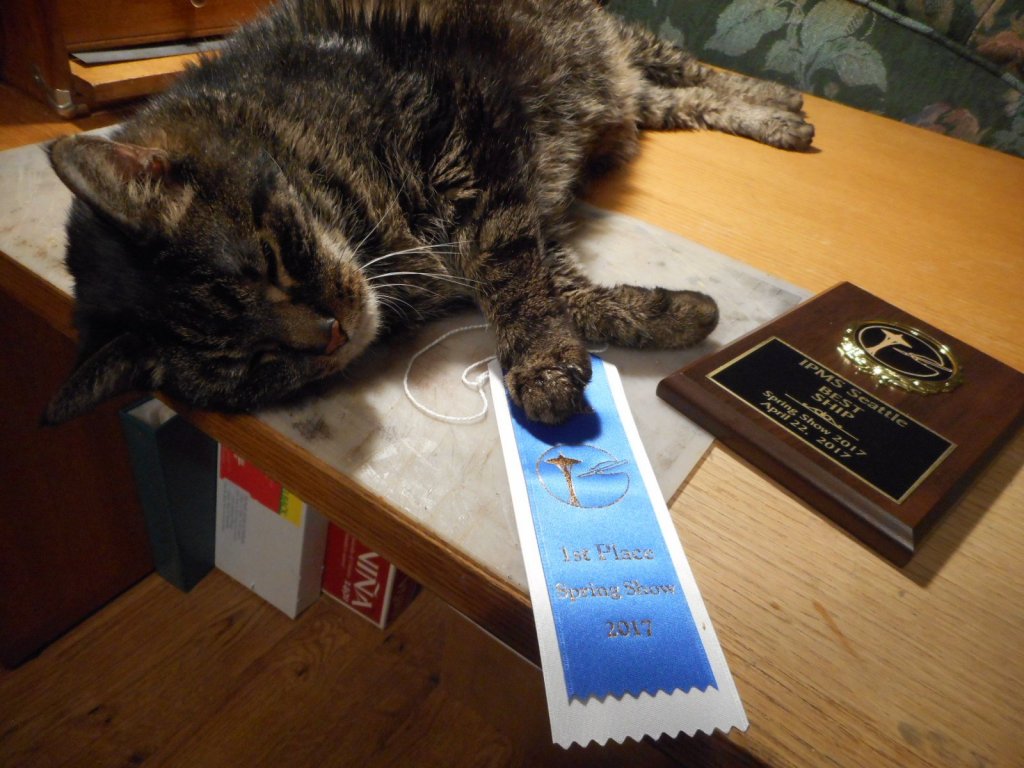
Hello Anja
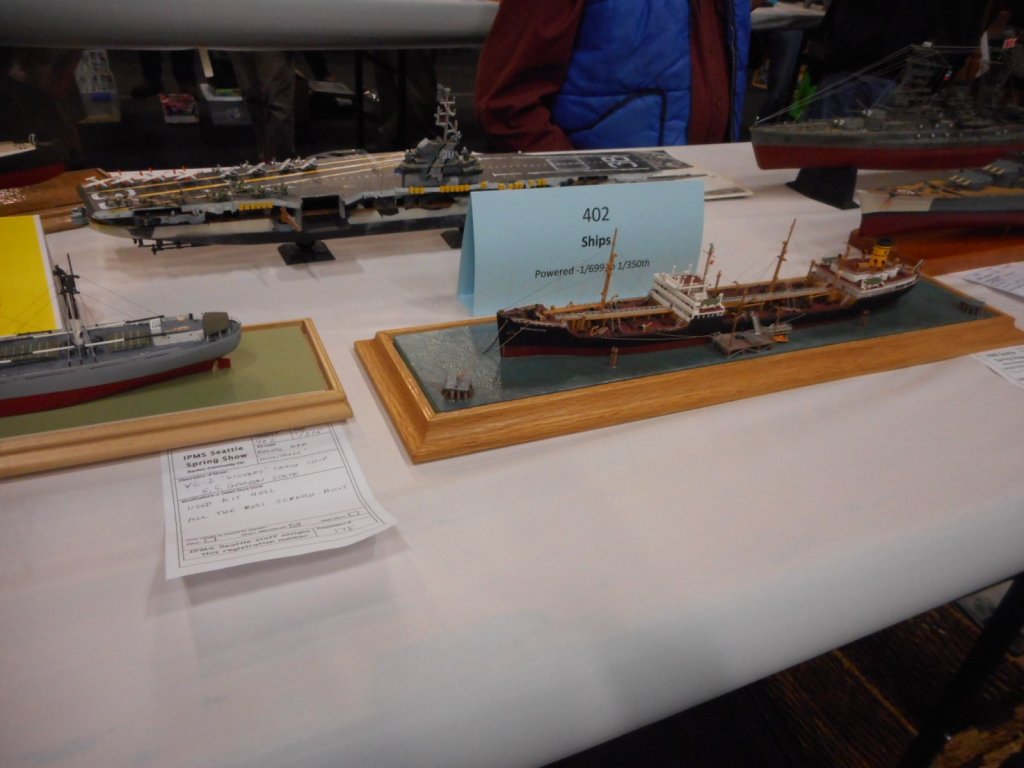
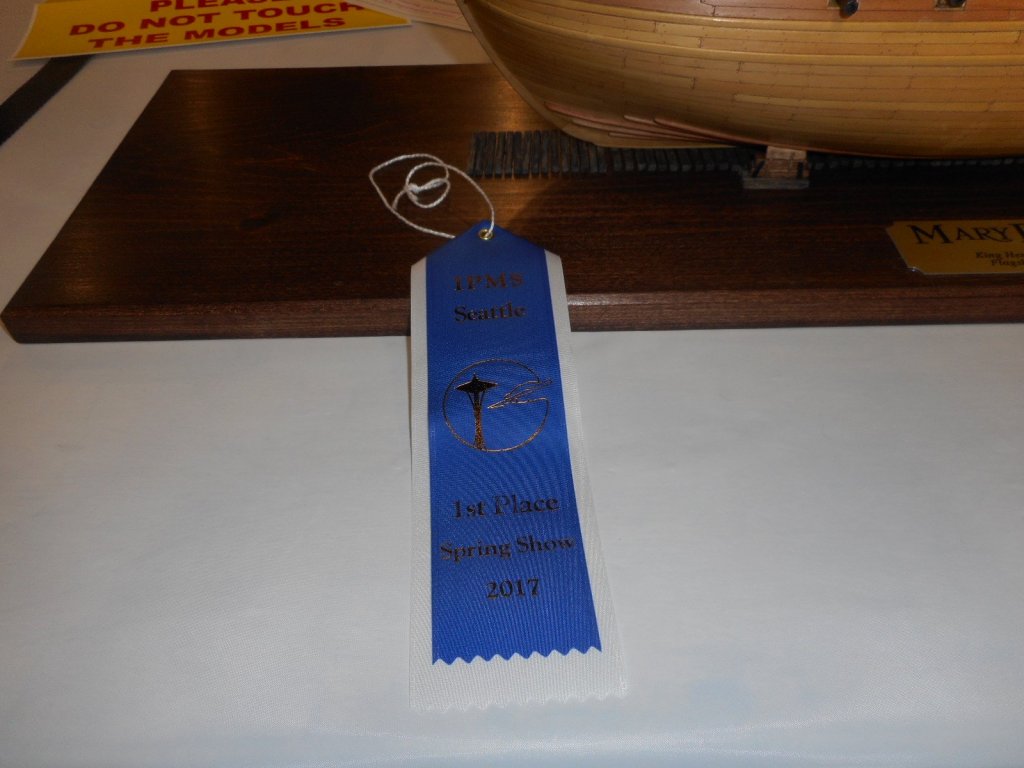
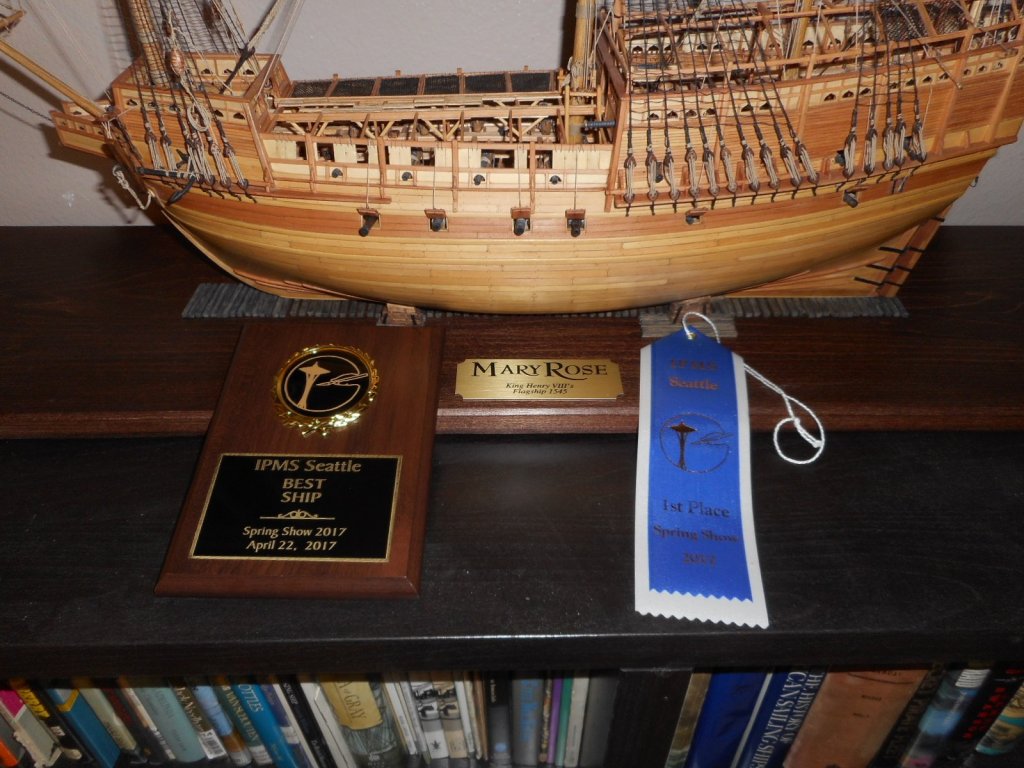
You can see photos on the IPMS Seattle web site. When you get on just pick the Spring Show 2017 gallery. You will see me talking and pointing out something in the photo of my Mary Rose.
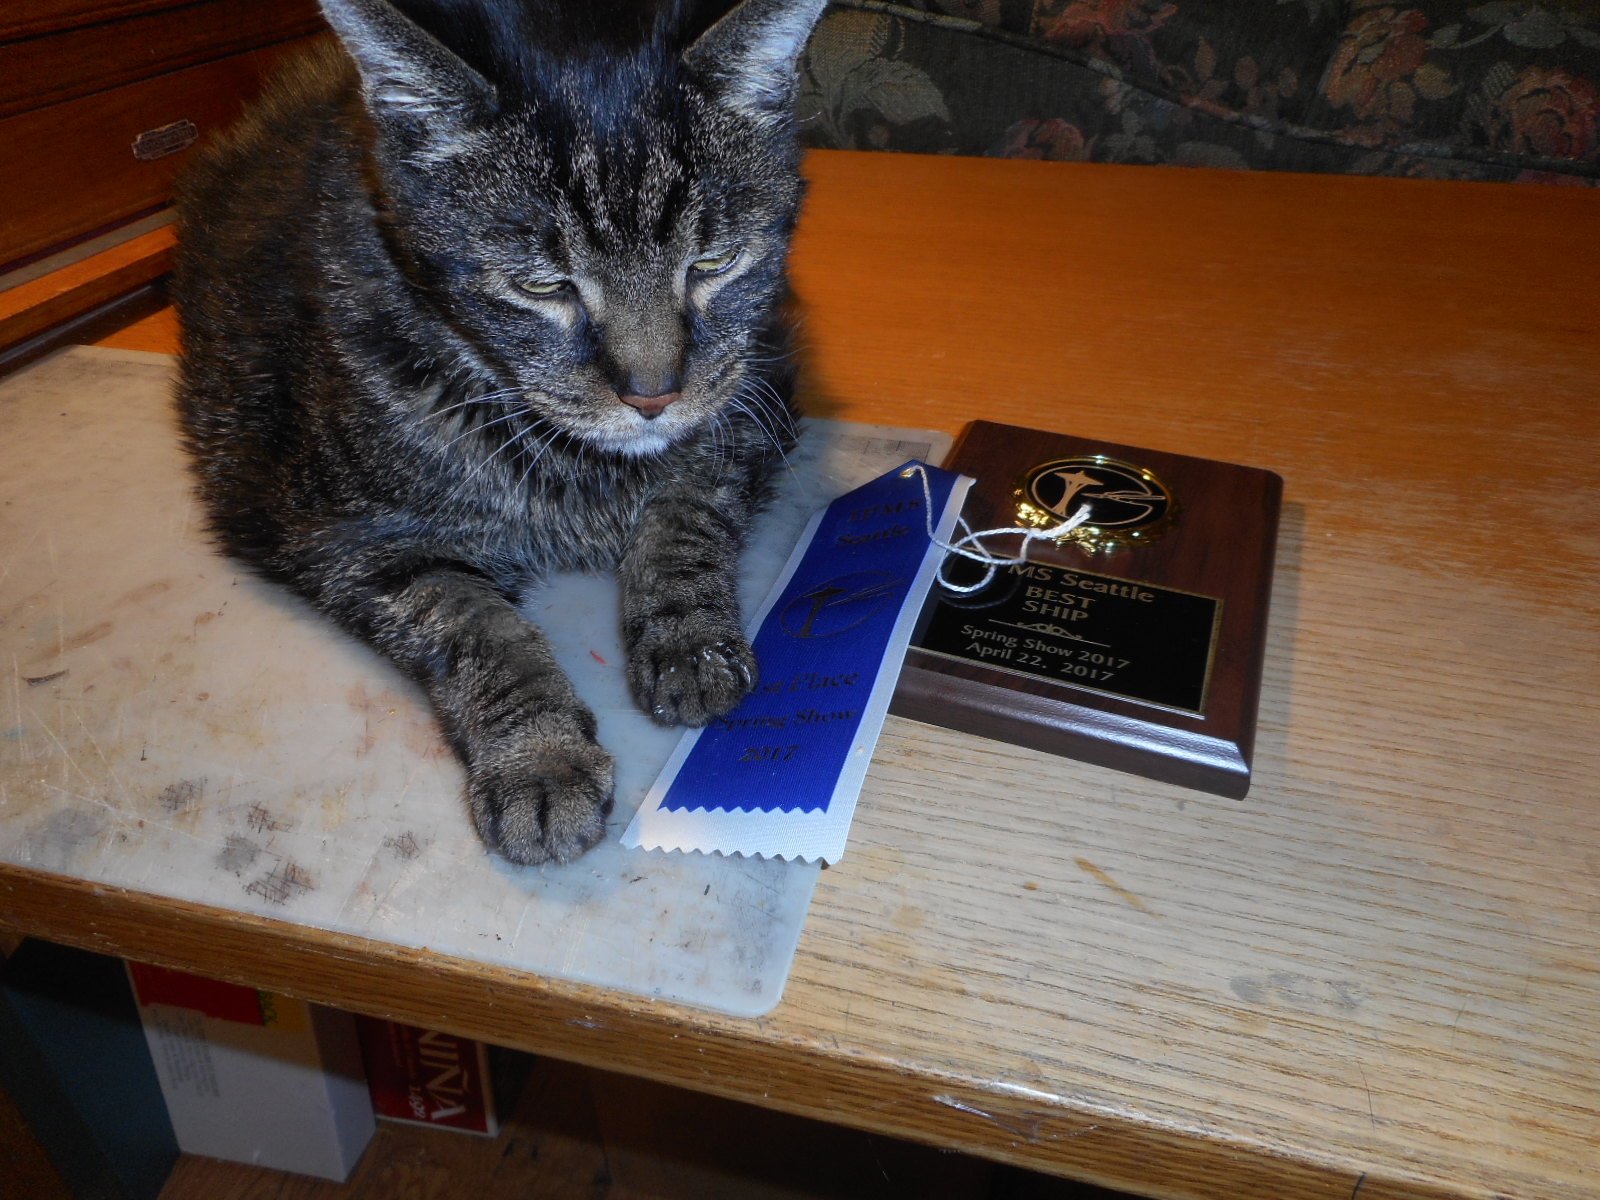
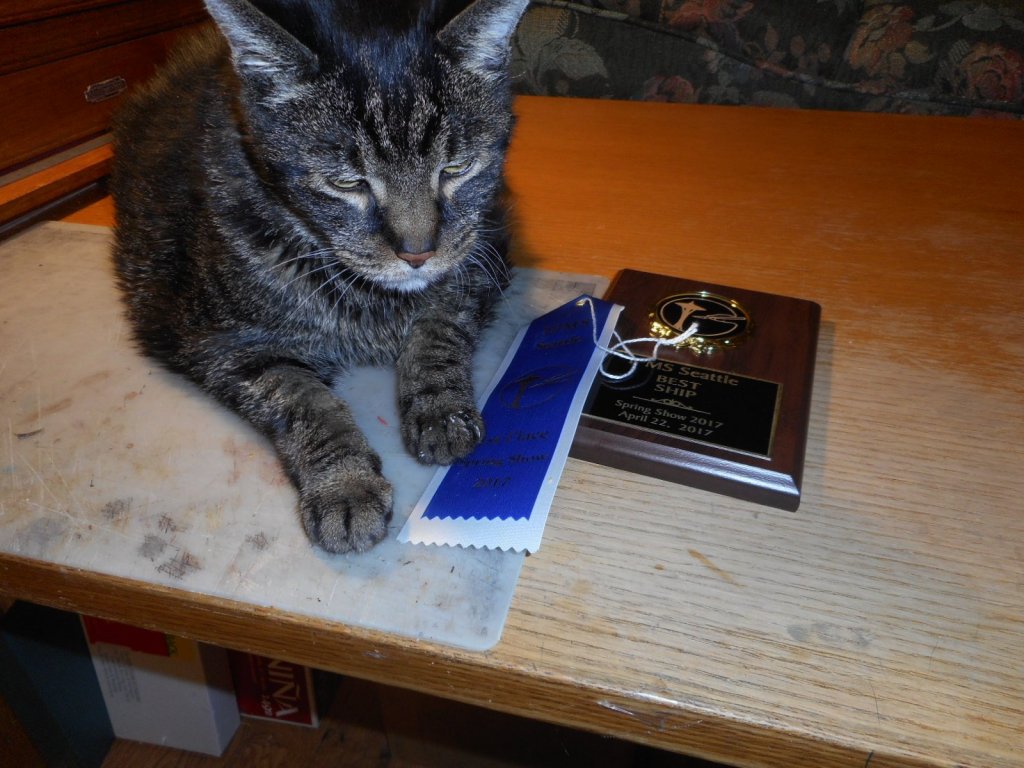
Here's what I came home with. And Pickels took over what he considered "His Awards"
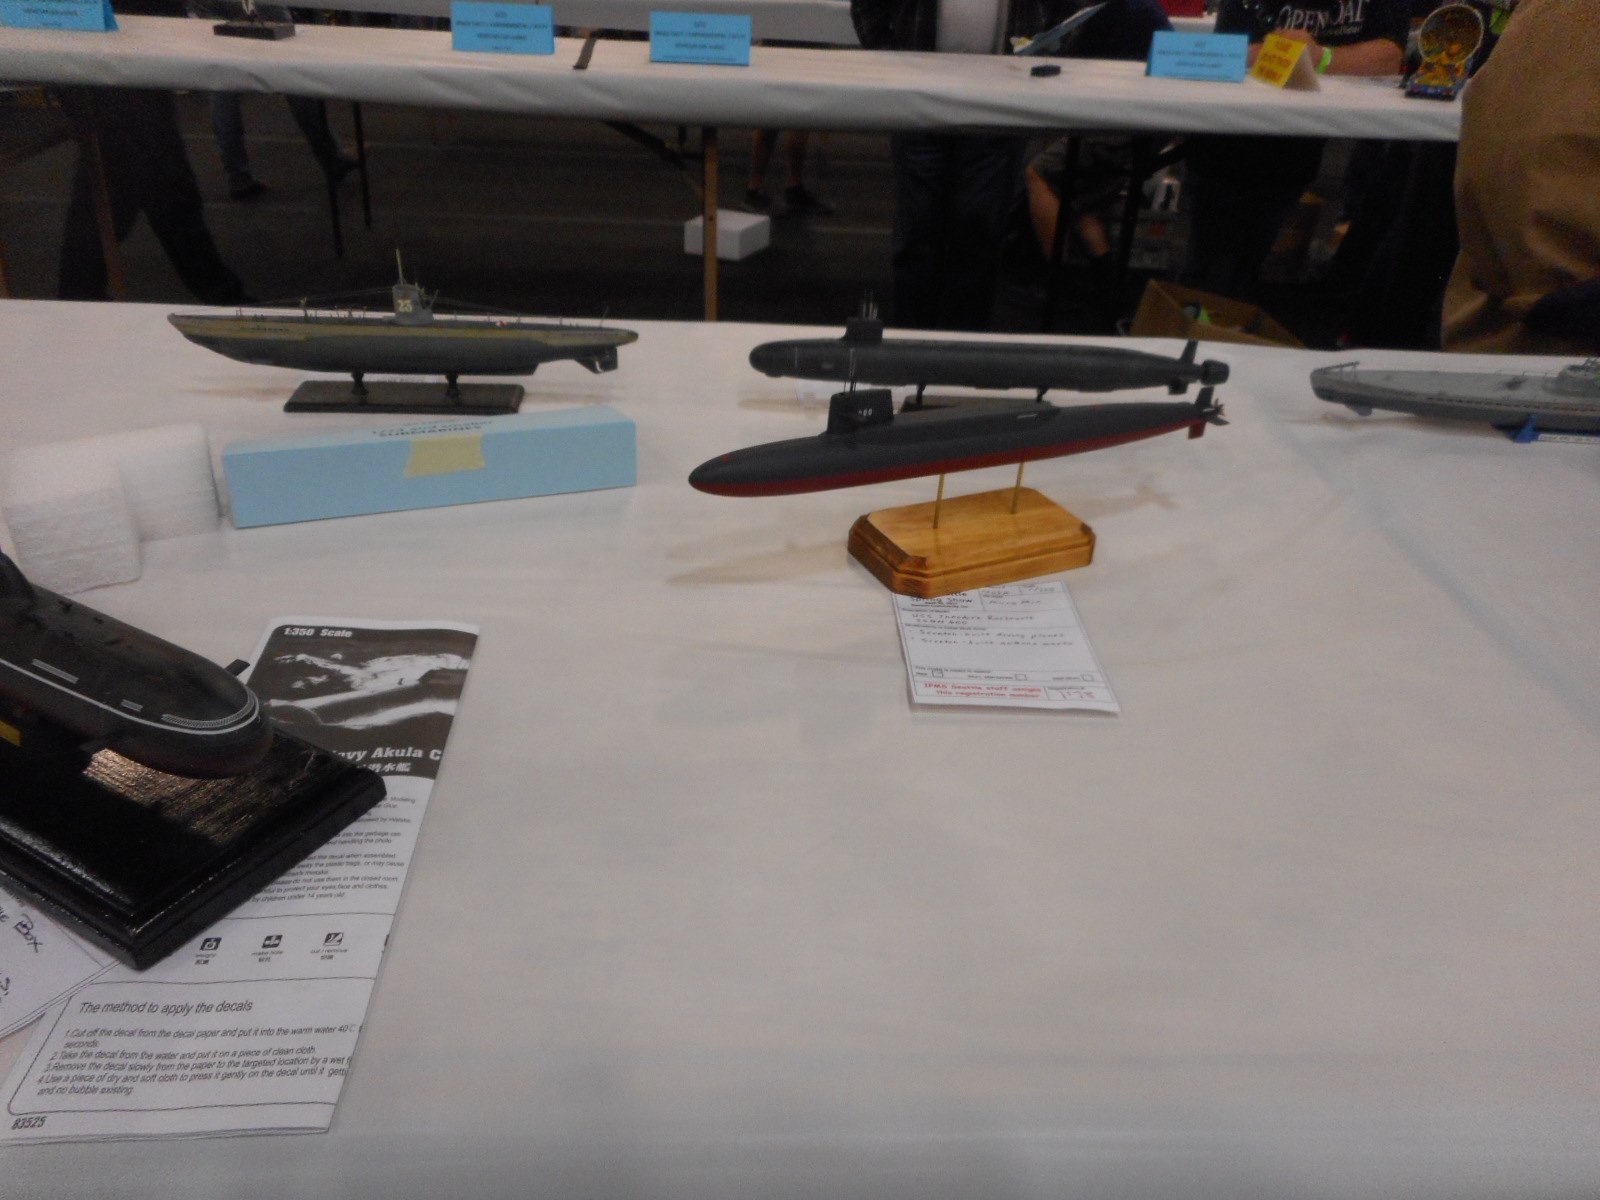
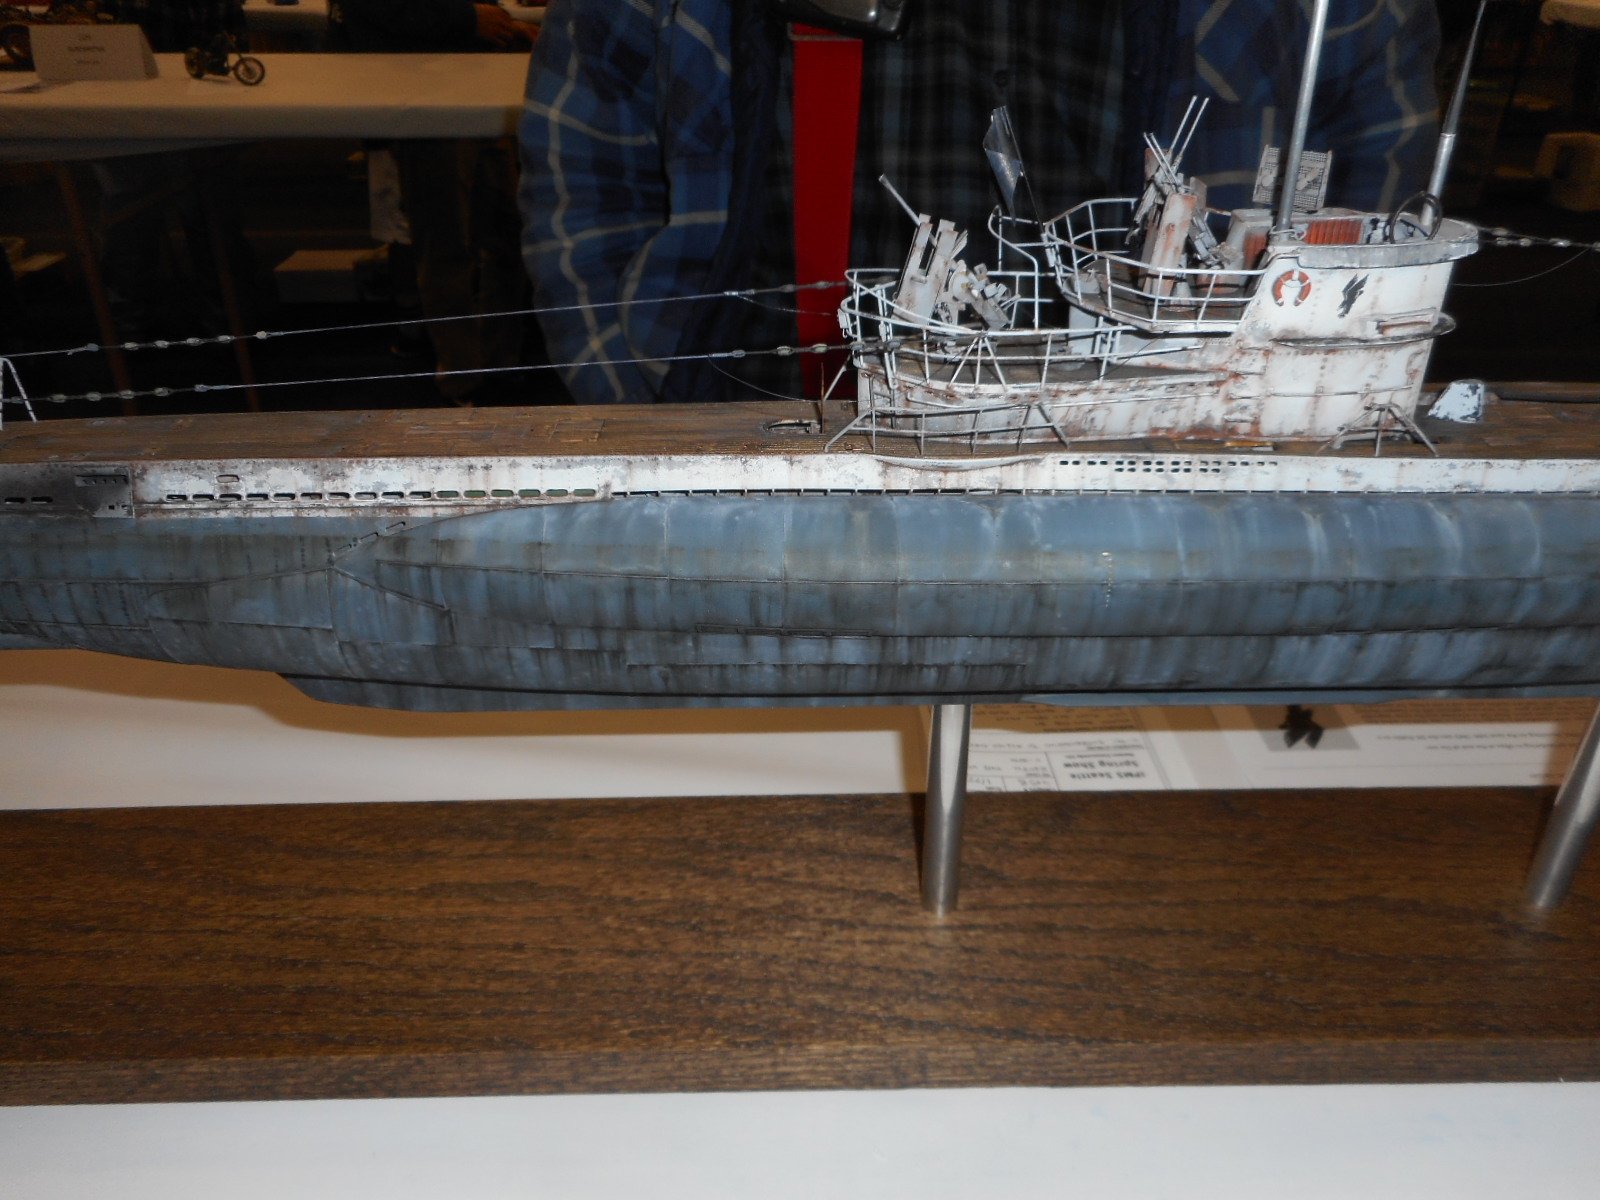
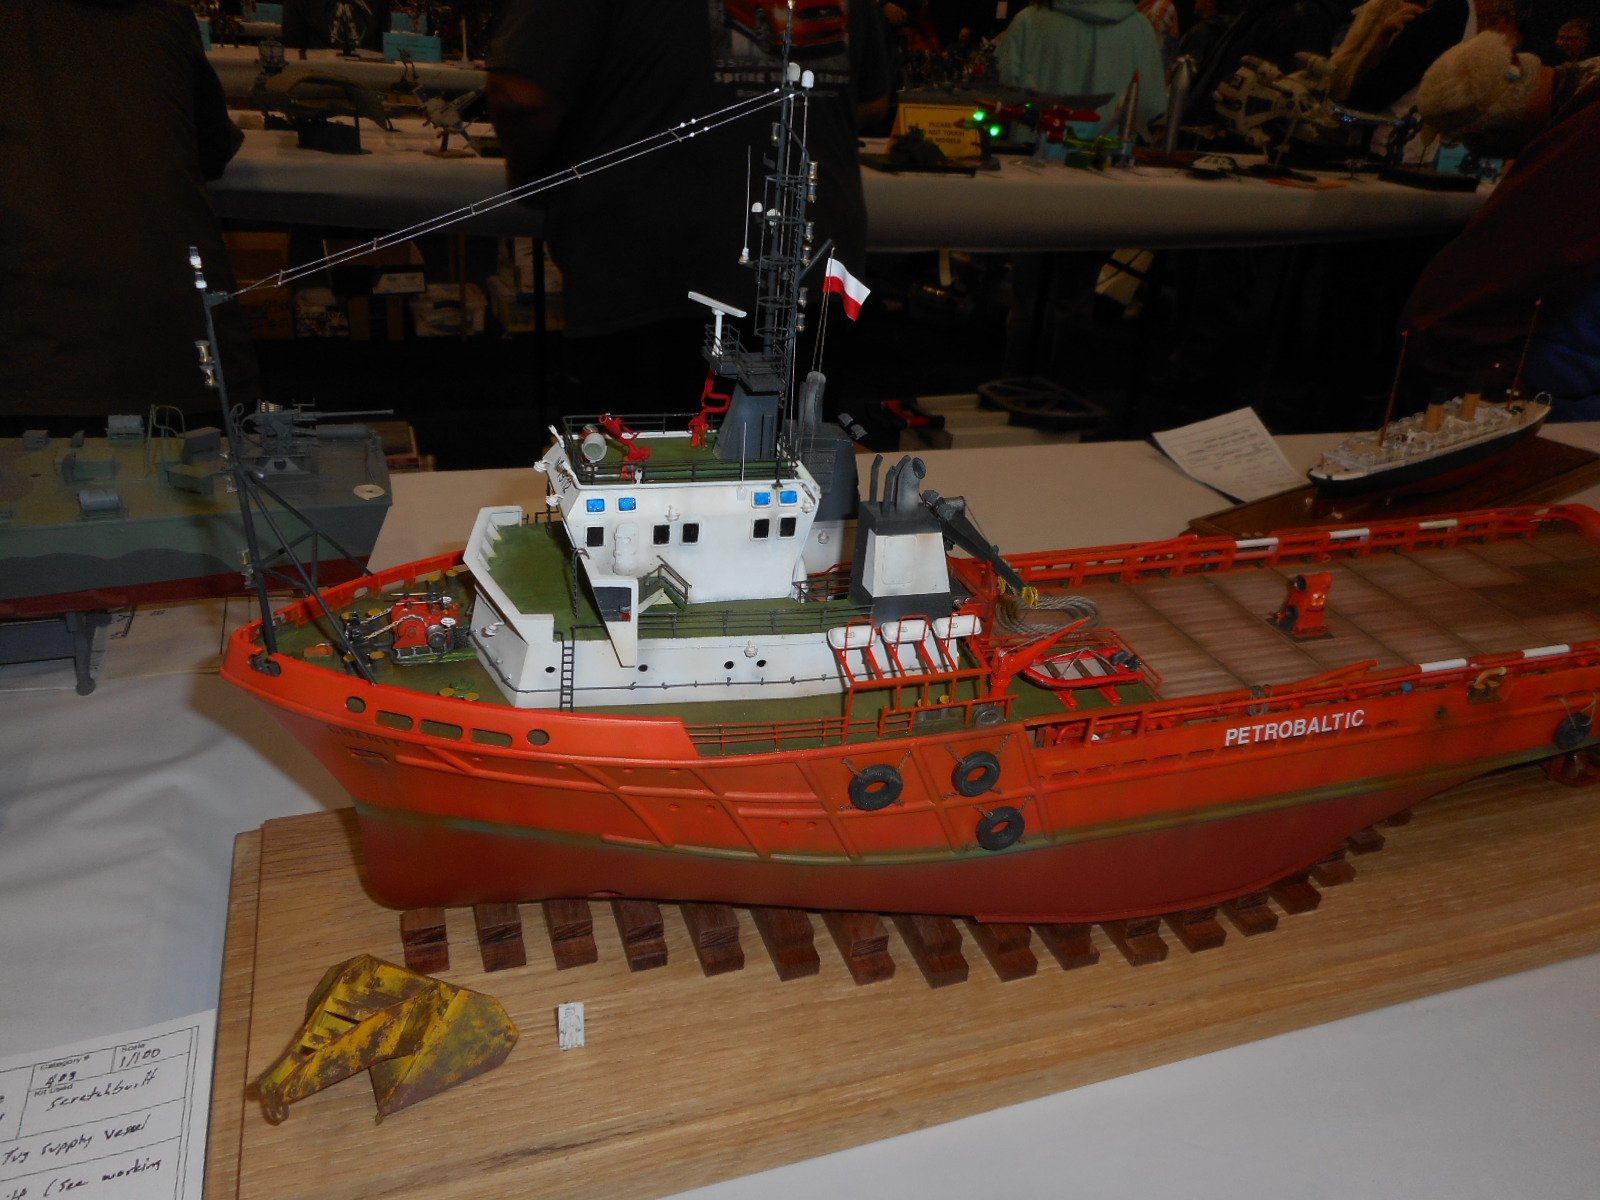
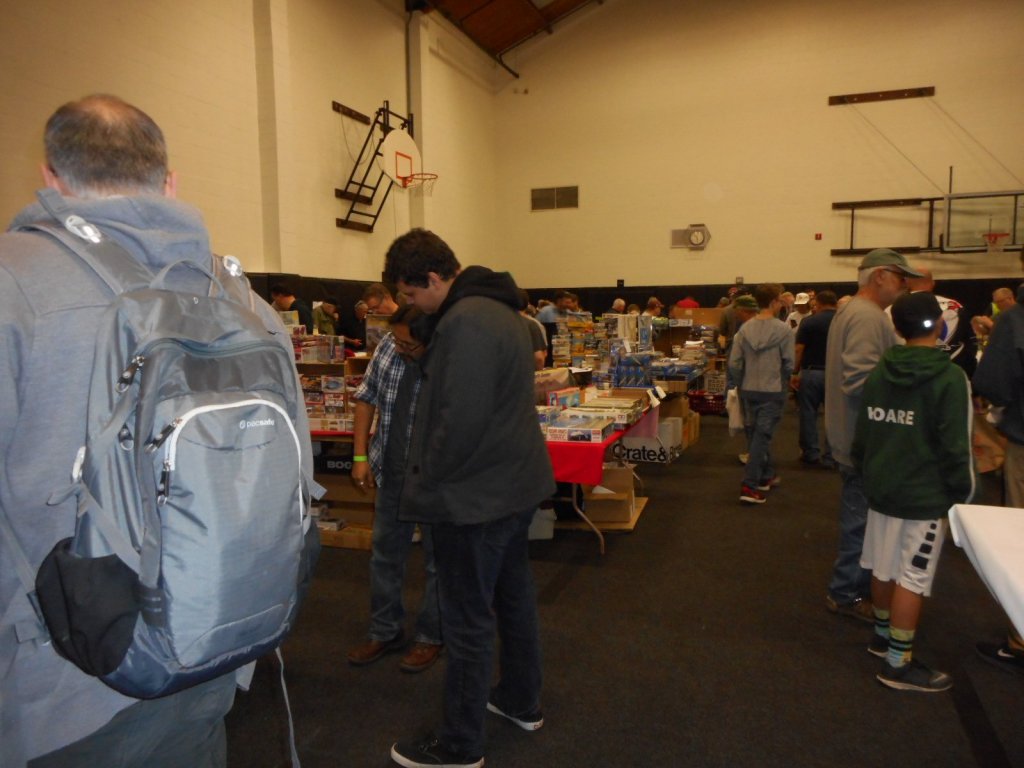
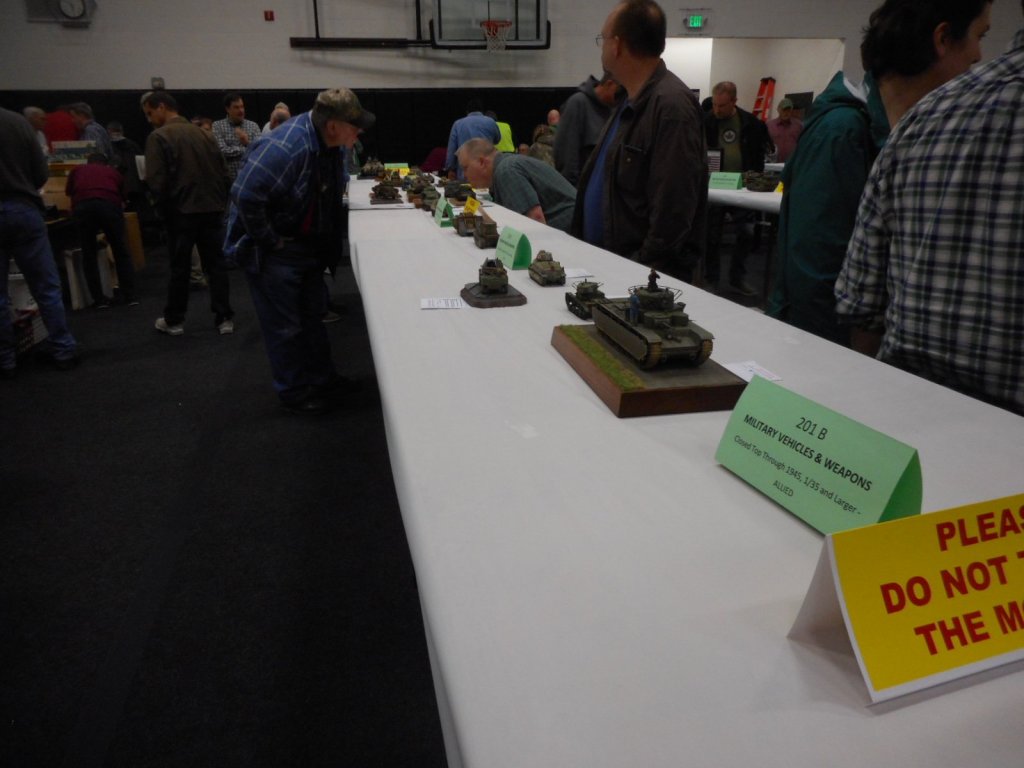
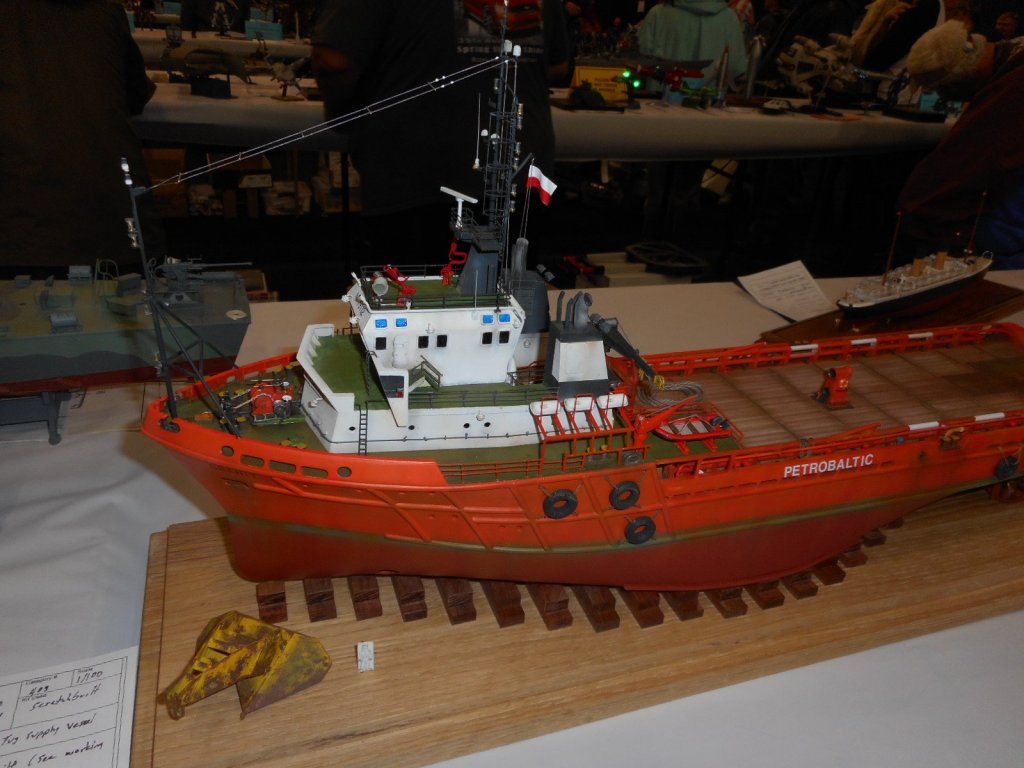
Had a great time at the show. Sorry,but I did not take but a few photos due to talking to people about my Mary Rose.And Joe from Seattle who had bested me last year with his sailing ship model,came in second to me this year with his North Sea Anchor Tug in 1/100 totally scratch built. He's a freind of mine who lives in Seattle. I live in Troutdale,Oregon just east of Portland 180 miles south of Seattle. Check out our building groups blog site at www.woodenshipclass.blogspot.com and you can see my progress on all my wooden ship builds and what Iam am and every member's work.
I use Radek's blocks,Syren Minature Rope,deadeyes,Wood Source and Crown Timberyard swiss pear and boxwwod.
Keith


-
Thanks Chuck I also have used tape for the iron straps. I use masking tape because it has some texture and is just the right thickness. One time in our building group I was asked how I got the brass strip around the stock so nicely? I then told Bill that I had used masking tape and painted it. He said that I was "cheating!" by not using brass strip material. I told him that if I had not told him what it was that he would have had thought that it was whatever he thought it was. And so it's just up to the builder as to what to use. If it looks great,who cares . For me I would rather make it look as good as it can be with whatever works best. I have plastic models where I have used tape for straps that are over 40 years old now. And they still look the same,so any questions on if it will last or not,has been answered for me. I do use some thin CA on the overlap area of the ends. Thanks Chuck for making such great little projects for the Cheerful. Will be watching for when they are for sale. A Grateful Customer and Happy One! Keith
- 1,051 replies
-
- 7
-
-
- cheerful
- Syren Ship Model Company
- (and 1 more)
-
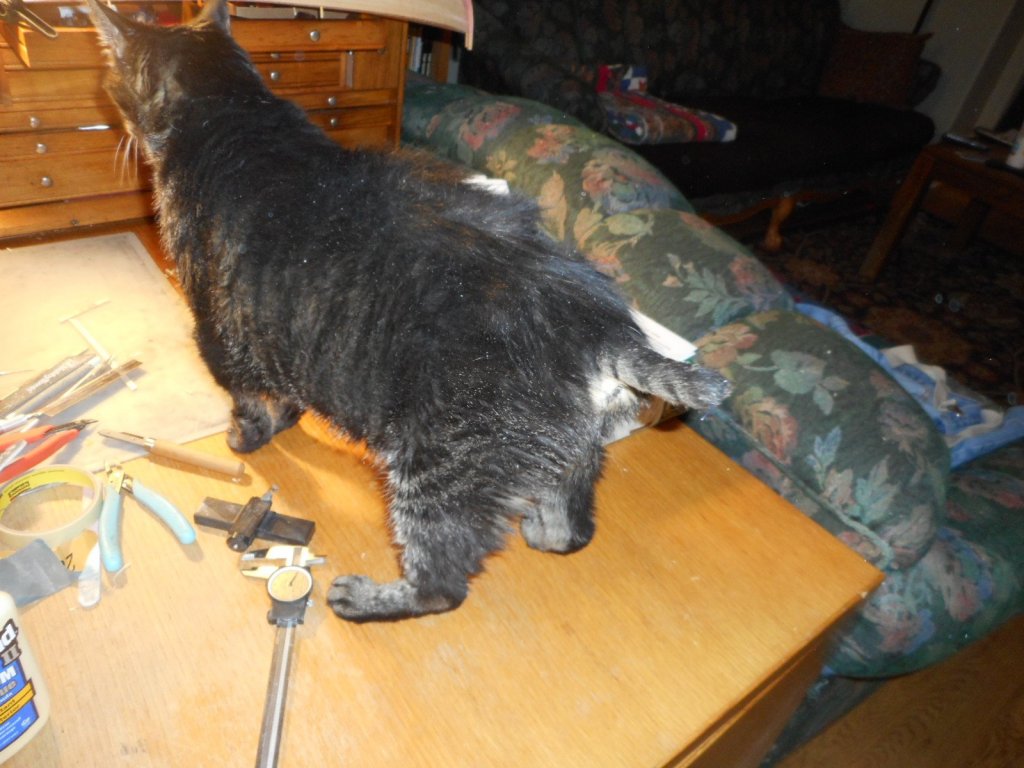
Ahoy Chuck When will they be for sale? Using wood is a lot better than having to deal with white metal castings for these type of parts. You end up painting the anchors anyway. And who needs problems with blackening white metal,or paint not sticking to it! Great work as usual Chuck. I have been working on my Cheerful since I finished the Mary Rose. Have you a date when your Barge short kit will be for sale ? Please let us know. I have to plan ahead for the funding since Pickels had to have his tail shortened about two weeks ago now. He's back to the same Pickels in the shipyard here helping me build,but doesn't take up as much space now with only a 2-1/2" long tail! Here he is checking out the Cheerful,and my wales and filler blocks between the gun ports. Thanks Chuck
- 1,051 replies
-
- 12
-
-
- cheerful
- Syren Ship Model Company
- (and 1 more)
-
Ahoy Mates I have used files that were "sharpened " with acid. They are fine for soft things like balsa,but the acid thins out the "teeth" and anything harder just dulls them very afst. Lesson learned-Buy good ones to begin with and treat them like I was told by a Master Tool Maker-my Dad when I was old enough to start using his files at home. Keep them clean-brush the teeth out with a BRASS BRUSH,and DO NOT PUT THEM AWAY IN CONTACT WITH METAL OBJECTS_LIKE OTHER FILES. He had drawers with wooden drawer with wood dividers that only one would go into each slot. O)r have a leather or canvas roll up with slots for each file,so that they are protected. Treat them as what would be the way a chef stores his expensive knives. In a roll up. That way when you buy an expensive file that could last you years if you use it as it should,it WILL. Cheap chinese or other low grade files are just what they are-cheap. But even those should be handles this way. And they too will last longer,but not like high grade ones. I now use diamond files for a lot of my model work. The thing I like about them is that they can be used in any direction,where as files cut in one direction,except ofr some types. High grade files are not easy to find these days except for quality tool stores. When you find the style and maker you like,stock up on them for future use. Because you never know when they might not be for sale any more due to closure of the maker or the place where you buy them quits carrying them due to lack of sales with competion of the crap cheap ones. There are many styles to chose from. Learn which ones will be best for you and write down what works best for you,and where to buy them. I have files that are over 60 years old,and still use them. Yes they do get dull,but making models is not like filing on D2 tool steel each day. One trcik you can use is that if you are filing aluminum or steel,take some stick of chalk,yes what you use on a black board to write with,and load up the file teeth with it before you use the file. This will prevent the teeth from loading up solid with the material you are filing,and make it easy to clean after use. It will also prevent chips from loading up and marking the metal you are filing. And NEVER OIL A FILE! or put WD40 on one. This will only make the file slide over what you want to cut. If you are worried about the file rusting,keep it in a temp controlled area,where there is not a lost of humidity where temp changes will cause moisture to condense on the metal surfaces. A unheated garage is not a good place to keep files. And do not wipe your hand over metal that you are filing on,your hand oils will be just like putting oil on it. But if you do,clean it off with a degreaser before filing again. After learning this from my Dad over 50 years ago now,it has been one thing of many that he was totally right about. The money you would spend on acid and neutralizer and gloves and containers to acid sharpen your cheap files will be better spent on good files to begin with. And you will not be in any danger from use of acid,and then you have to dispose of it safely. Just but good files to begin with. Keith
-
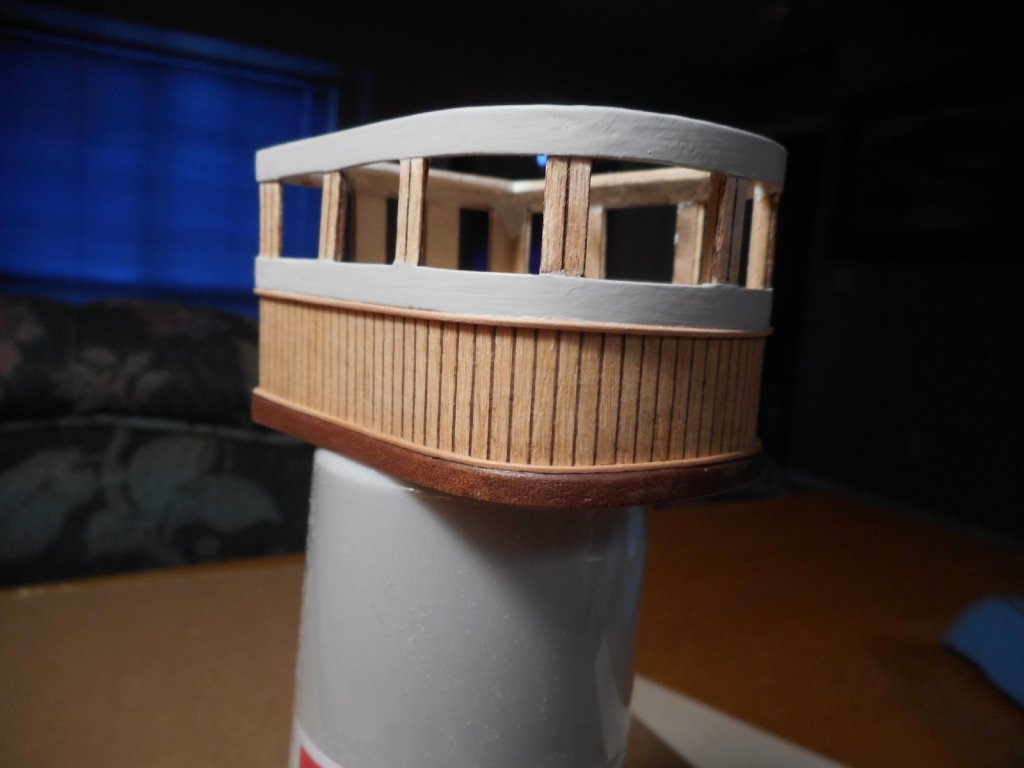
Ahoy Mates This is my "epic model" starting with the Caldercraft Jotika 1/80 Mary Rose 1545 kit. Using it as a starting point and under 4 years of off and on work and scratch building 90% of the final model.With a Mary Rose library section now on the shelves here at home. The kit was not epic for sure. I have yet to see an "EPIC KIT" as what I would call it. My standard would be: Good planking wood in the kit-boxwood,swiss pear,cherry. Not the standard crap that's in all kits now being sold up to now. Sorry,but true. Have wide enough strips for spieling of planks on the hull. Not just narrow ones that have to be bent and twisted like a pretzel for the hull shape. If not,just make a "short kit" in planking where the buyer buys his own planking wood,with a kit price reduced for not including this wood. Goes for deck planking also. PE parts that are of the quality that can now be made-more than just the flat shape with maybe just rivets details-PE like what is made for other modeling areas-3d cutting with multi level etched details,and brass that is thicker to scale and not of soft hardness. Up to date scale details- either resin cast or CNC made and 3d printed for carved details,or more than the cast brass blobs that kits have had for the past 50 years now. Or investment cast brass parts-stay away from white metal. NO High density MDF-use multi high quality plywood for frames and non showing keels,with boxwood or other hardwood for keel that shows. If MDF is proving to be great-Please show me how and why it is! Laser cut details like what Syren does now. For me no small scale models-1/64 or 1/72-must be 1/48. I have not seen the kits from Croatia yet,but they look great and are much closer to what could be an "Epic KIT" I am just tried of seeing other areas of modeling advance in using new ways to make kits and increase the quality and details ,and not in wooden ship models except for Syren and Chucks detail kits and "short kits". Sorry if I have been too blunt and opinionated IMHO. Keith
-
Ahoy Mates Looking for this Sergal kit of the Henri Grace a Dieu. Please contact me in a PM here about the kit if you have one,or where I can get one. Will reward you for being a finder of the kit. Just finished my Mary Rose and would like to have the Henry to go along with it.
- 1 reply
-
- 5
-
-
Hi John
Almost finished with the Mary Rose!!! Just two lines left to belay for the bowsprit yard. Then I have to make up a tiller for the rudder and mount it to the hull. Then it's complete. Yes that's right after over 3 years building it will be complete.
Monday I go to the engravers to design and then have them make up the name plate ofr the base.
After that I just have to look over the ship and touch up any missed paint or other things that I have missed.
Then I can relax until April 22nd. when I drive up to Seattle for their IPMS Annual Show. Looks like our group will not have our annual show due to the National Guard canceling our res. for their facility due to their using t year.
Here's what it looks like today.
Keith


-
Ahoy Mate Your work is that of the God's. I just wish that I could see your work in person.I just wish that you would shrink them down to 1/48 scale and make resin castings of them for sale. I have a 1/48 one that needs carvings like yours. I like others who have skills that do not include the outstanding carving skills of yours have to settle for the Pan Art brass castings that look like blob's and bad ones at that to decorate our hulls. I just wish someone like you would help us mortals out by selling resin cast copies of carvings for thsi ship model like those you have created. My hat's off to your mastery of carving and building. Keith
- 86 replies
-
- 2
-
-
- royal caroline
- yacht
- (and 1 more)
-
Ahoy Mate What I would recomend is the Model Shipways kit of the Gunboat Philadelphia or another flat sided boat kit with a flat bottom . It's a flat bottom hull with simple curved shape on bow and stern. !/24 scale,so it's not small,making it easier to work with. Basic building tasks can be learned on this ship without the problems of lots of hull planking. Covers the simple rigging. It has great instructions that go step by step. The Latina kits do this also,but their planking wood is crap and the hull shapes are not for a beginner. A beginner needs to have success in building,and a typical shaped hull is not the way to start out. I have seen too many hulls with just a couple planks on them where the beginner stopped out of frustration . most of the planking on this kit is flat,the hull framework is great because of it being a flat bottom.and the wood in the kit is right for the beginner. Basswood. This kit is a GREAT Starter kit,I would stay away from the other kits listed above,sorry guy's. Look at it from not knowing anything about building,then look at the wood type,hull shape,instructions,skills needed to make it. You need to crawl before you walk,and a flat bottomed kit in 1/24 scale meets this need. I had not worked on a wooden ship kit since 1974 when I joined this group at our local hobby shop. I joined them when I saw that they were building this kit. I am so happy that I could start again on this kit because it allowed me to get back into wooden ship building.Even with all my skills,I could not see starting on a hull that needs intermediate skills to start out with. But the kits listed there are more advanced than what a beginner should start with,and be able to complete without having problems. I have been building for 55 years now,a tool and diemaker and have passed on my building ways to our group. This kit was right for all of these guy's. This kit can be built at the level you want. Our building group had 8 guy's,most had little or no wooden ship model skills and little ship modeling experience and they all got them completed. Check out our group's blog site at www.woodenshipclass.blogspot.com You can go back and see all of our builds in progress over the last 4 plus years. Sorry if I have been blunt about this,but sometimes we tend to forget how basic a first build should be. Keith
-
Ahoy Mates Pickels is high on Cat Nip plus he was going around in circles trying to catch the damn red laser light that I tease him with. And mostly because he hates the damn Santa Hat!!!!!!!. But other than that he's a very happy cat and ruler of the house here in Troutdale. Merry Christmas and Happy New Year to ALL!!!!! And use CA only when you have to. PVA is better on your model and health than CA. My sisters horse Wyatt says to stay away from the hide glue also for reasons I do not have to explain here,and in memory of his parents. Ho Ho HO LOL Keith
-
Ahoy Mates Since I am now sensitive to CA-it causes me to have symtoms like I have hay fever,I also just use CA to stiffen the ends of thread and with material that PVA can not hold. It was a great change in my building quality of the rigging and how the thread looks after it has been glued. I also use flat varnish to hold knots. I use transparent Titebond and Titebond II. The transparent Titebond has a more flexible when it hardens,and is almost clear. Then only problem I have is with black thread and how the silvering shows if you do not water it down enough. It causes holding problems since there is not the same thick glue to start with. Sometimes I just use the regular thick glue and then touch up the silvered area with flat black ink or paint,and then cover with flat varnish. But it always beats the problems with brittle,stiff and glass like surfaces that CA can create on the thread and where you use it. With the PVA,it still shrinks down into the thread when it dries,which CA doesn't. It doesn't harden as fast as CA,so you do not build as fast,but that's a great thing since you end up looking and thinking about what you are doing and have done. Remeber you are doing this for enjoyment not a speed building race. Just try doing the same knots and rigging with CA and then PVA and really look at the end results. You decide- it's your build and you are the one who knows which one you like best. And PVA is easier to debond with just rubbing alcohol . Merry Christmas and Happy New Year form Pickels and Keith

-
Ahoy Jerry They can change the scale easy to 1/36,so what would you want? Keith
-
Ahoy Mates I have been getting some 3D printed parts for my builds and have been asked by the designer as to what modelers would want made in 1/48 scale. What would you want printed that you would buy? Thanks Keith