Old Collingwood
-
Posts
12,104 -
Joined
-
Last visited
Content Type
Profiles
Forums
Gallery
Events
Everything posted by Old Collingwood
-
 That is looking really smooth - you did really good with those intake joins. OC.
 -
Looking forward to more update bro - loving what you have done so far. OC.
-
Thanks Ken, just a bit of weathering on the bonnet then some flat coat to dull it down. OC.
-
Looking good Mark, congrats on finishing it. OC.
-
Thank you kindly Craig, hope your trip went ok? OC.
-
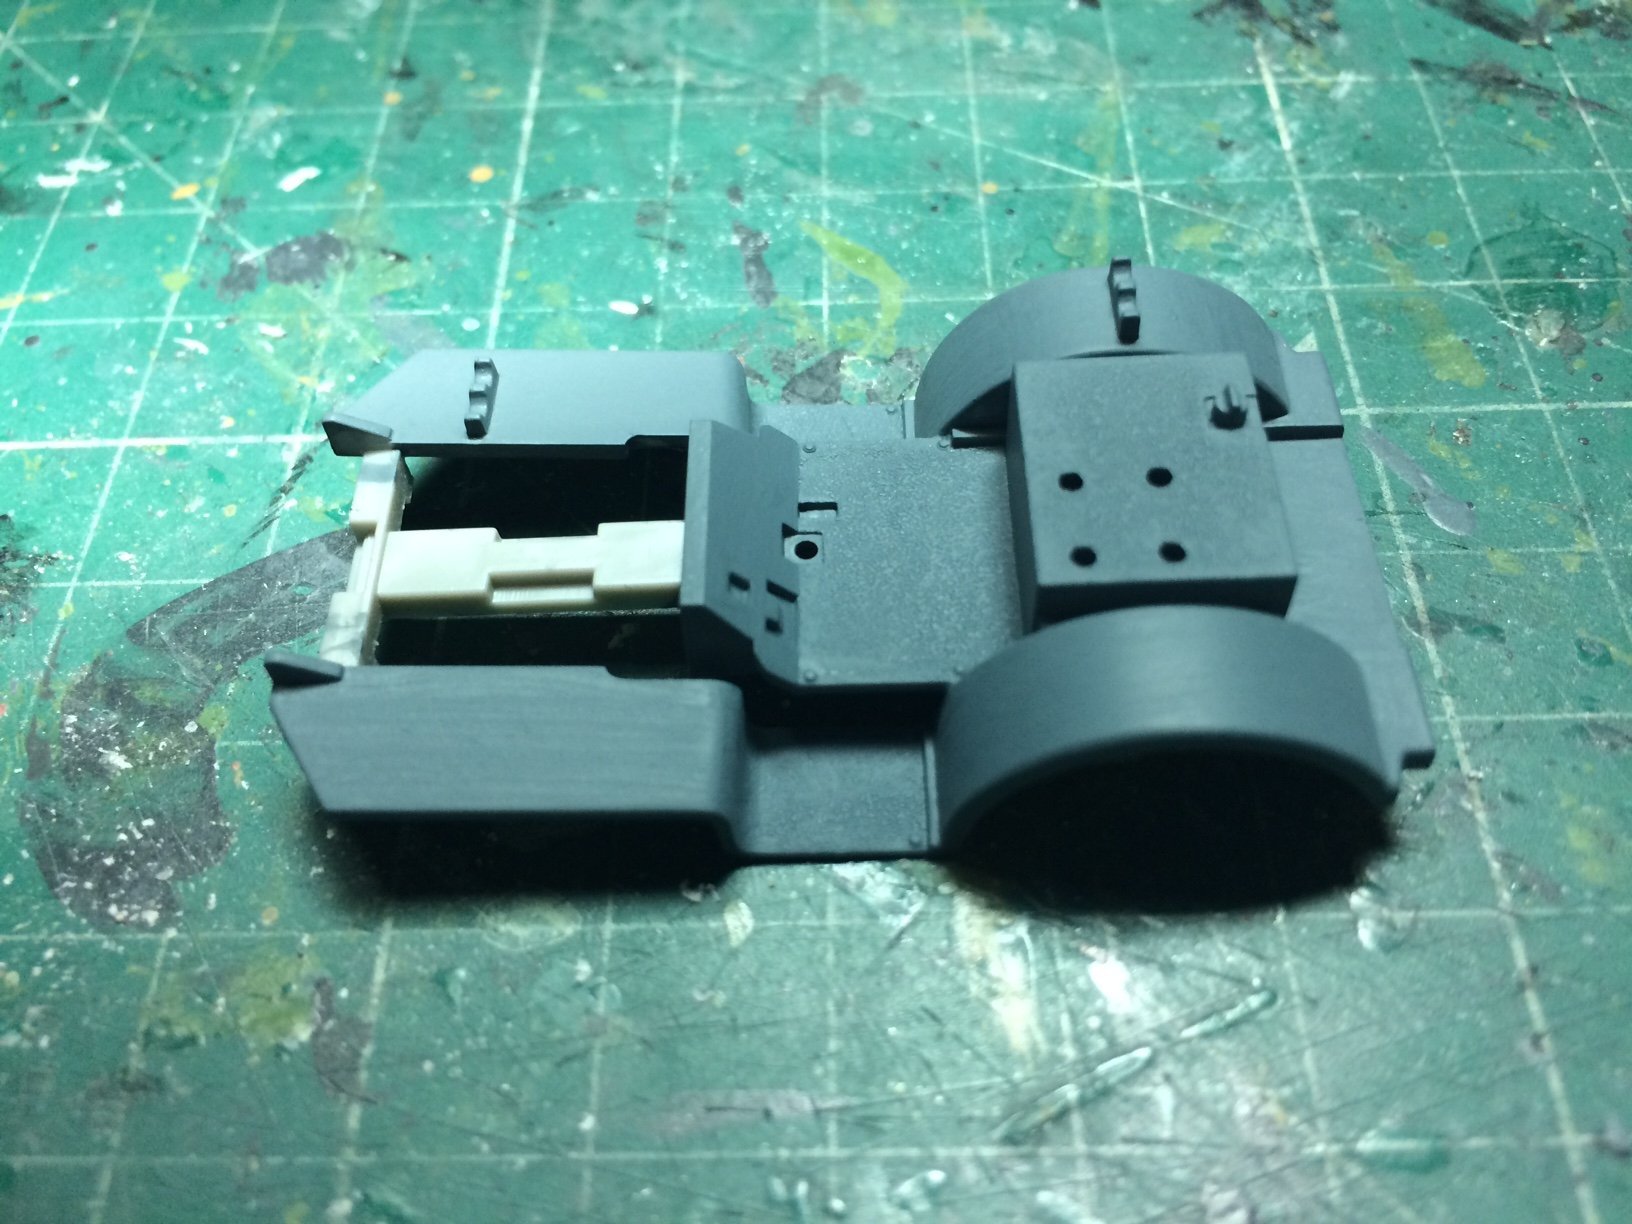
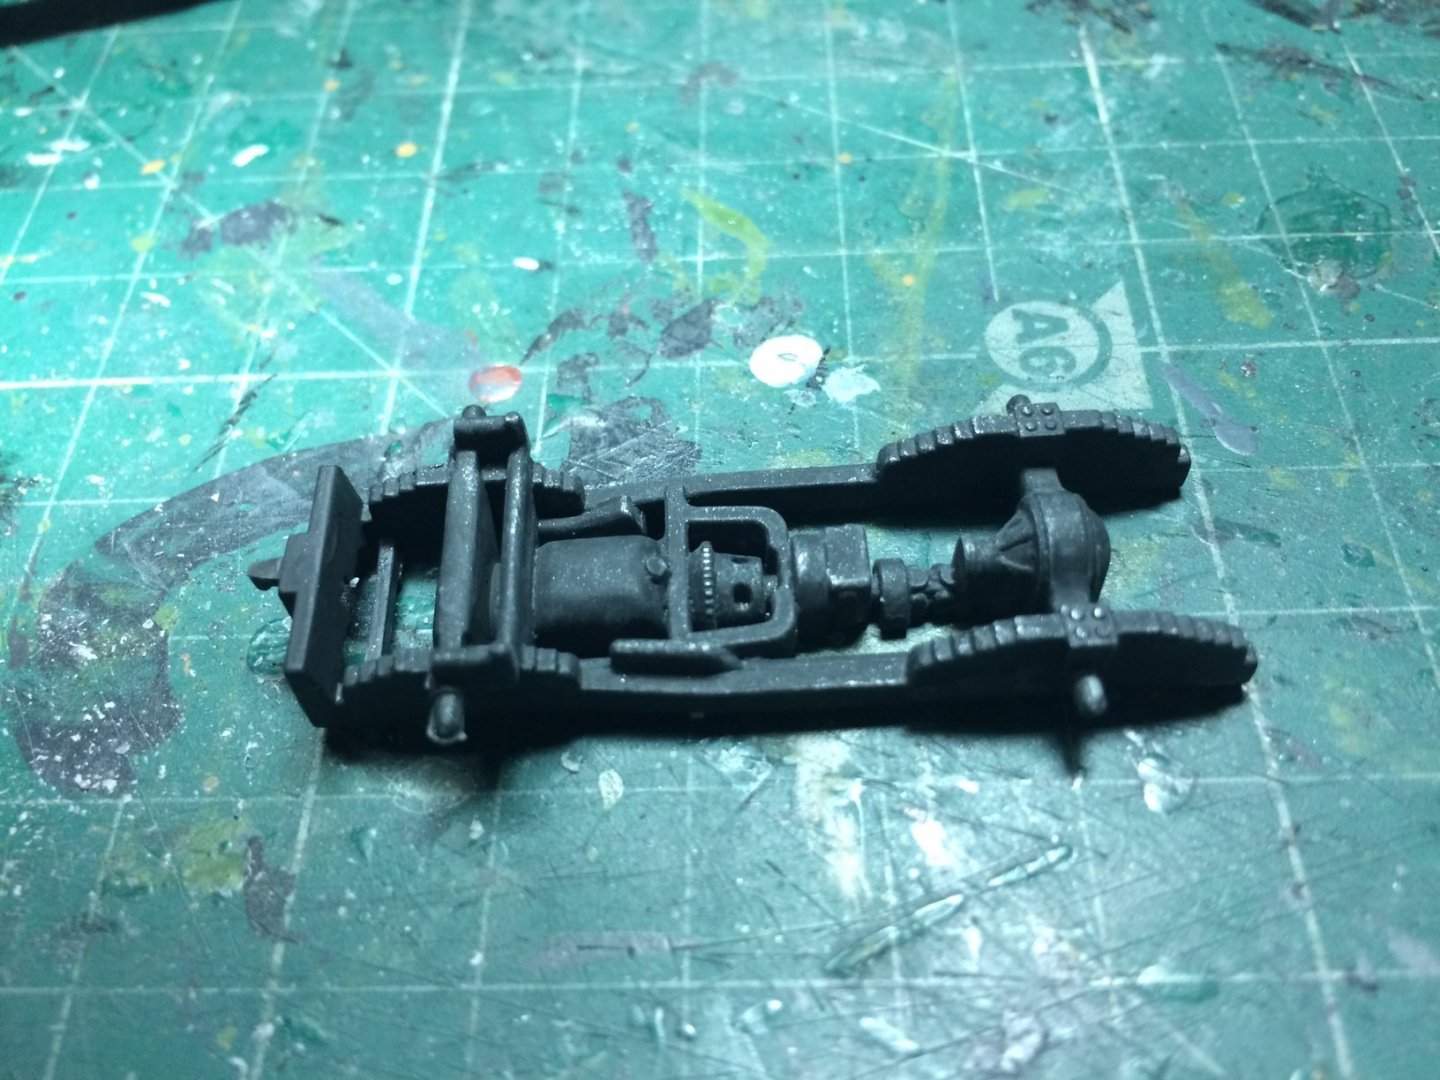
Also next on the agenda is a Tractor - this is a multi section build starting from the bottom up with the one piece chasis, then the body - engine - engine cover - rad unit, after giving the parts a light tidy up, I first gave the chasis a few coats of Nato Black, then when dry I brushed in some dark wash and finished off with a flat alum dry brush - this was then sealed with a flat coat (all brush painted even the bodywork) Then it was the bodywork this was painted with a few coats the RAF Grey same as the jeep, so still two separate assemblies waiting to be pu together. OC.

- 932 replies
-
- 10
-

-
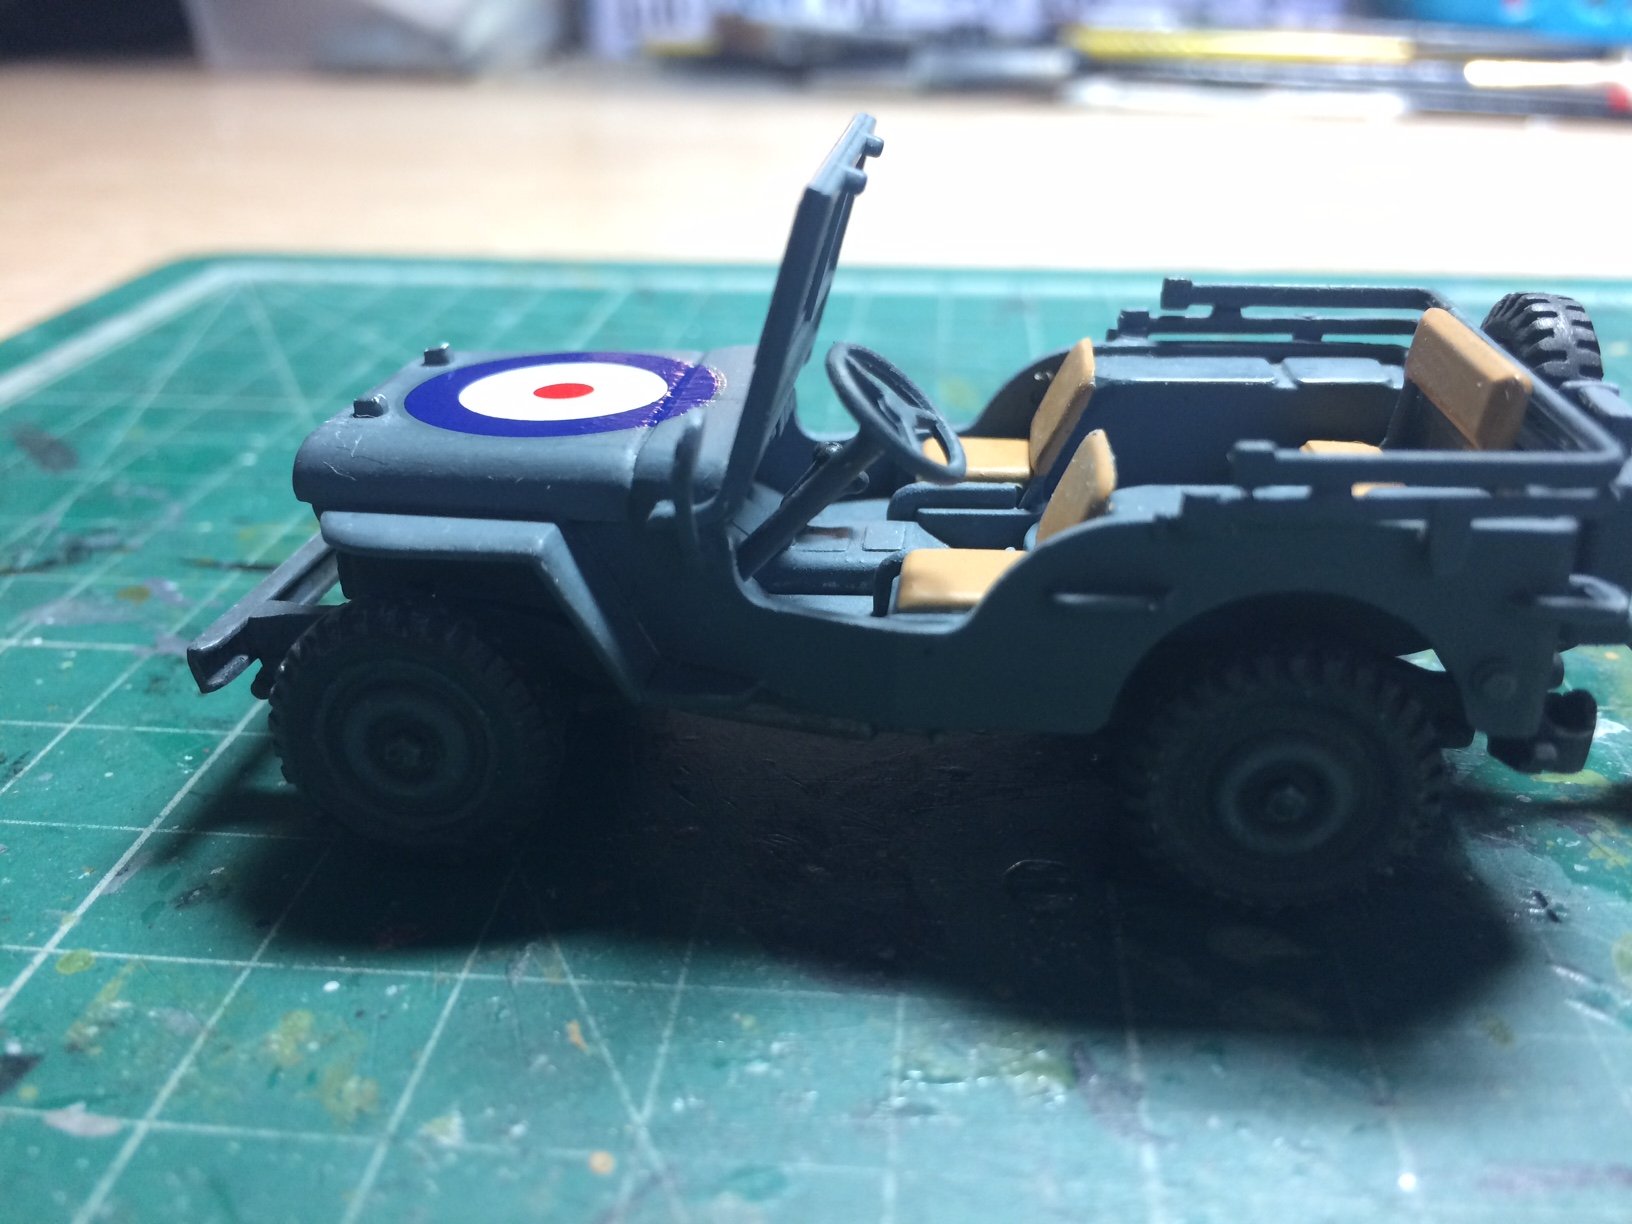
Hi all, I.m back as I promised - remember I told you all about that under size wheel columb (suitable just for a child) well I took it out removed the wheel from the columb, then I drilled a fresh hole under the wheel, and after finding the correct size piece of dowel (after sanding it down) I then glued the two together, then I kept offering up the wheel combo to the jeep till I found the right size - then it was glued in place. I then went through my decal stash and found the correct roundal this was then placed and A few applications of micro sol are being put over it. So this is the status of the jeep as she stands now - with a much better size wheel/columb hight. OC.


- 932 replies
-
- 11
-
-
I am coming - just enjoying so sunshine at the moment - will be with you all this eve - "dont dissapear" OC.
-
Yep, she is going/has gone in the display unit - just need to juggle the shelves around to make space. OC.
-
Thanks Mark, much appreciated. OC.
-
Think i'm going to build one and put it on the airfield on my dio. OC.
-
Thank you so much Jack, I like it as its a different scheme from the camo jobs. OC.
-
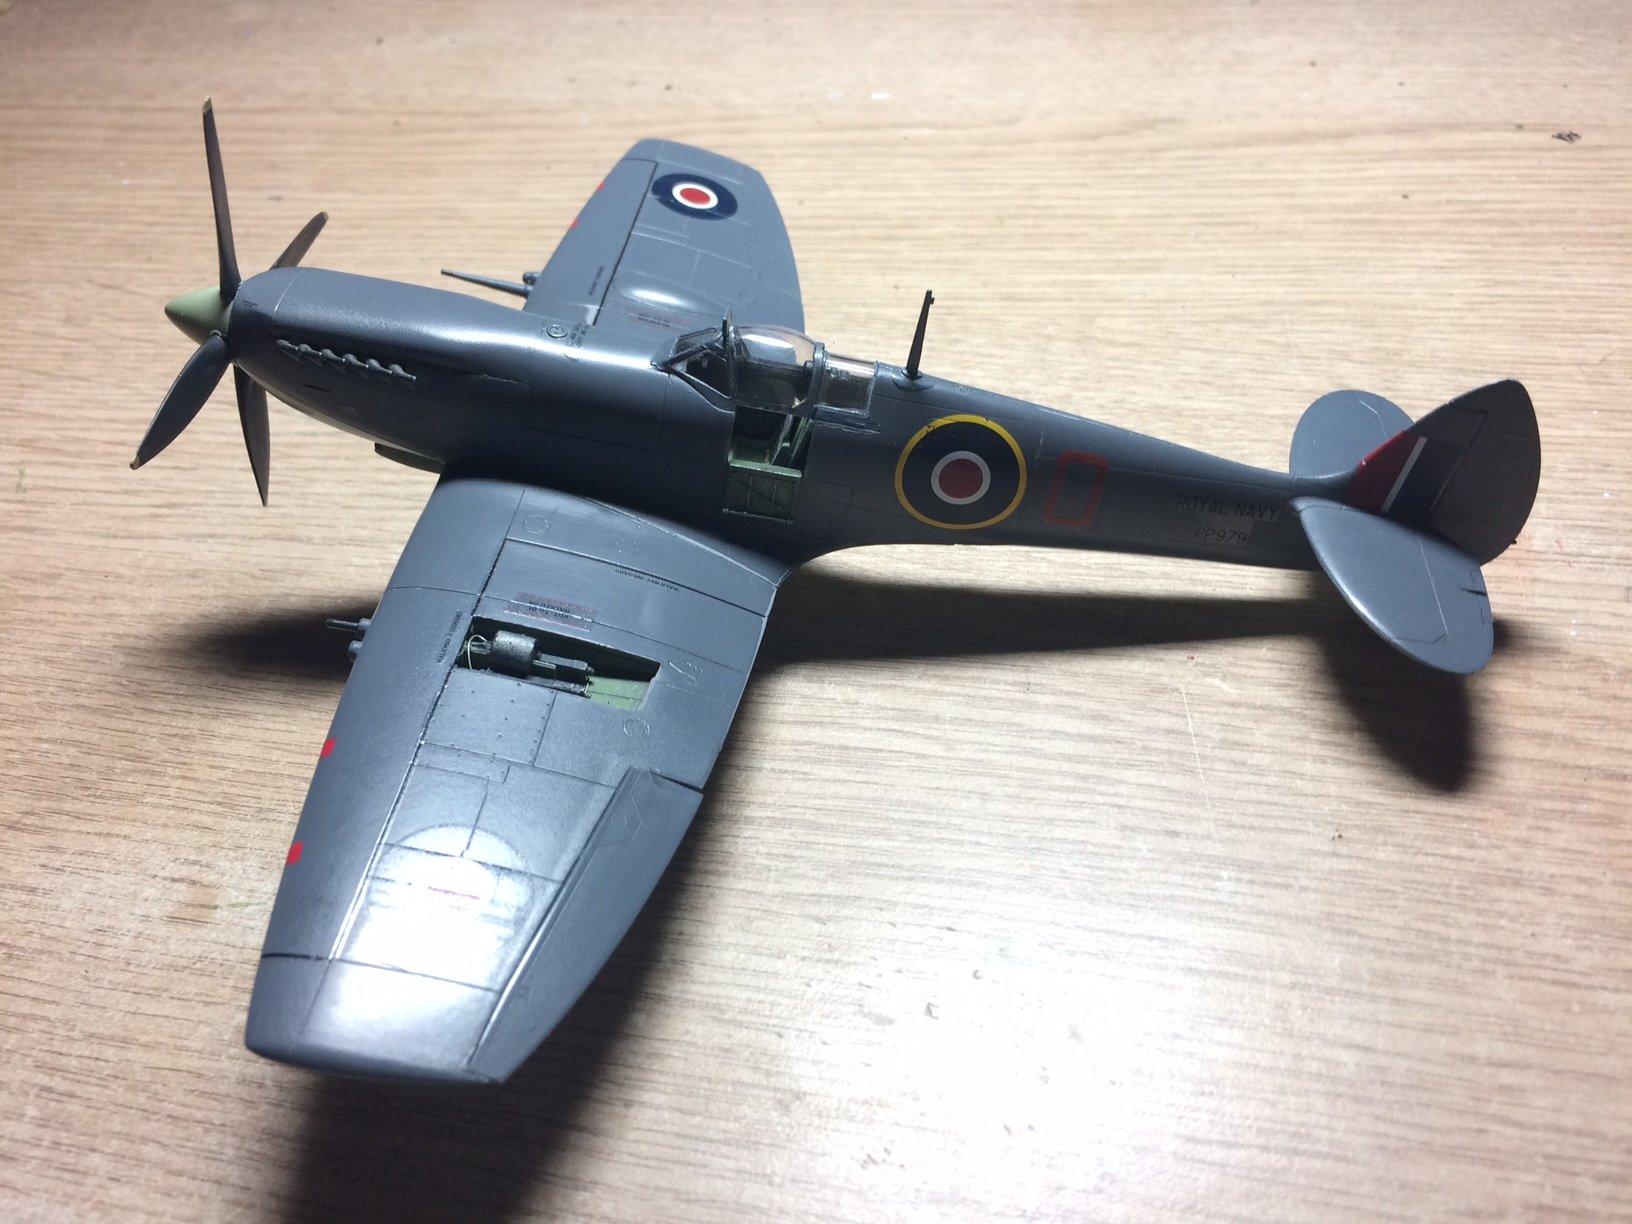
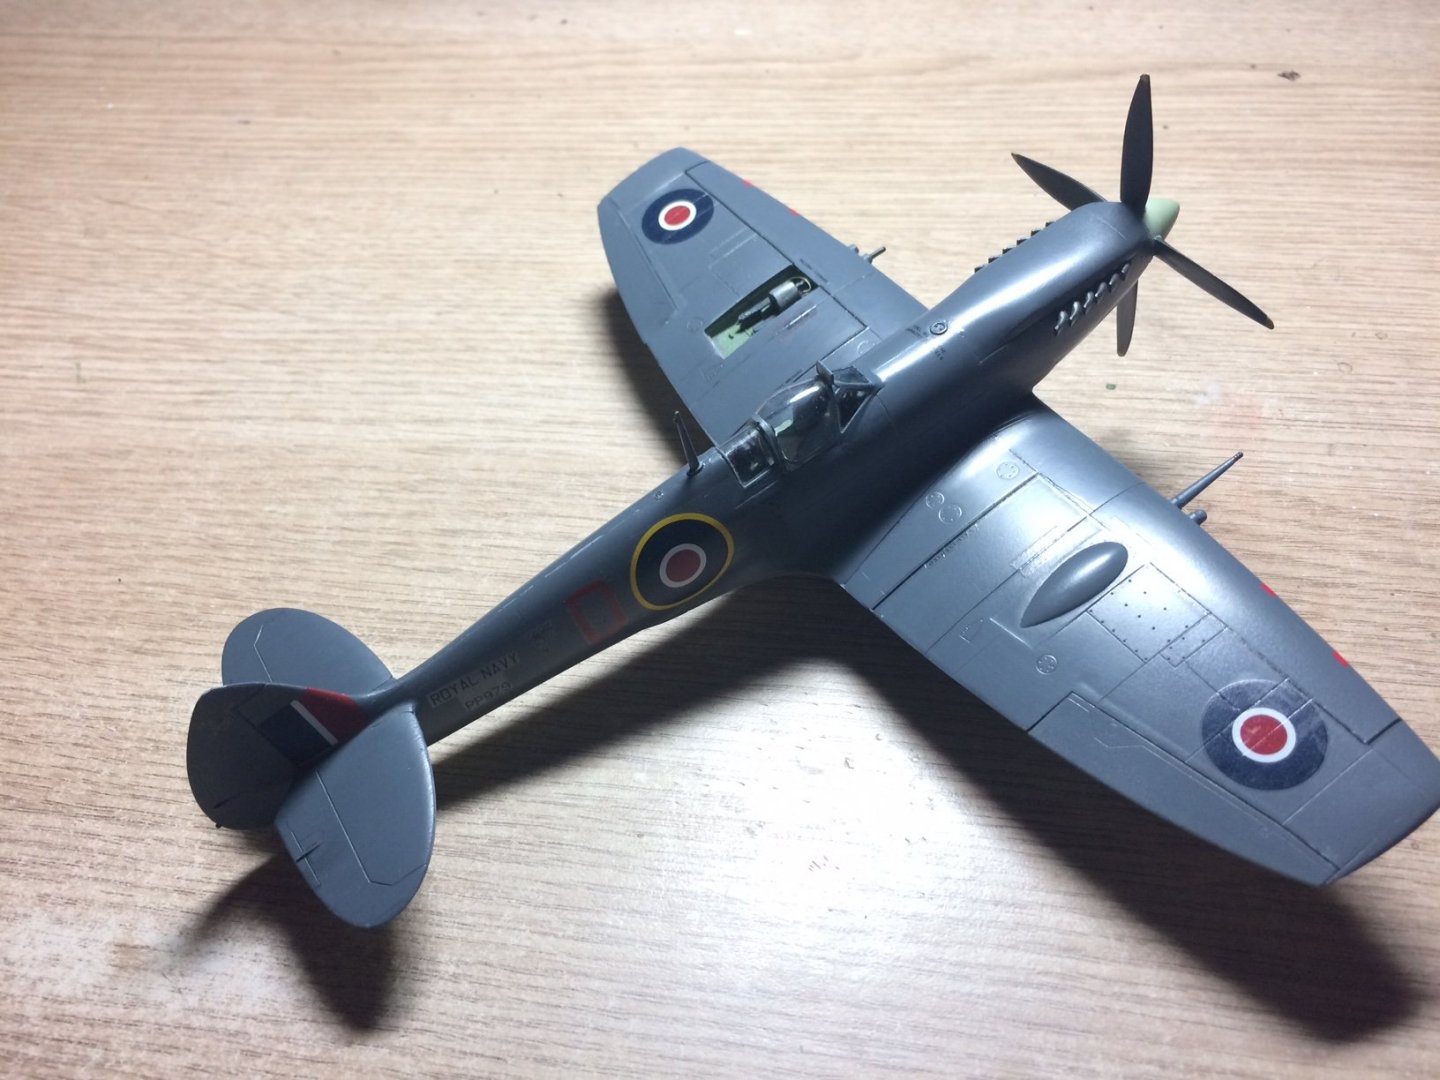
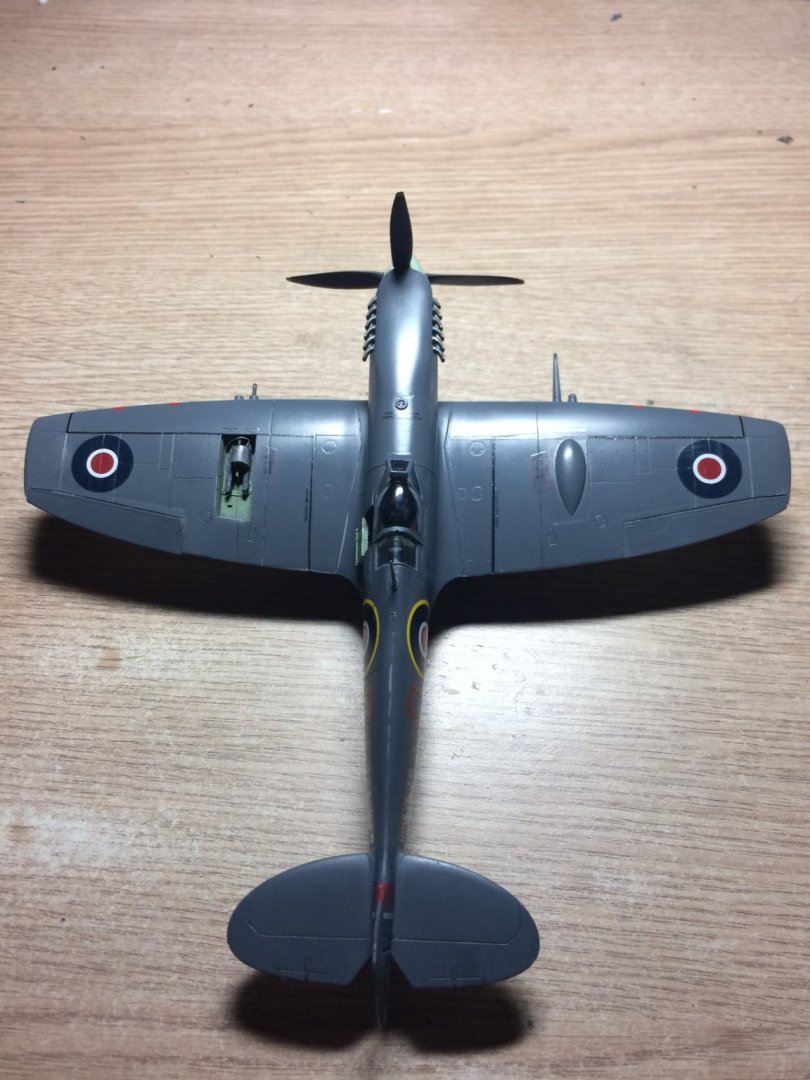
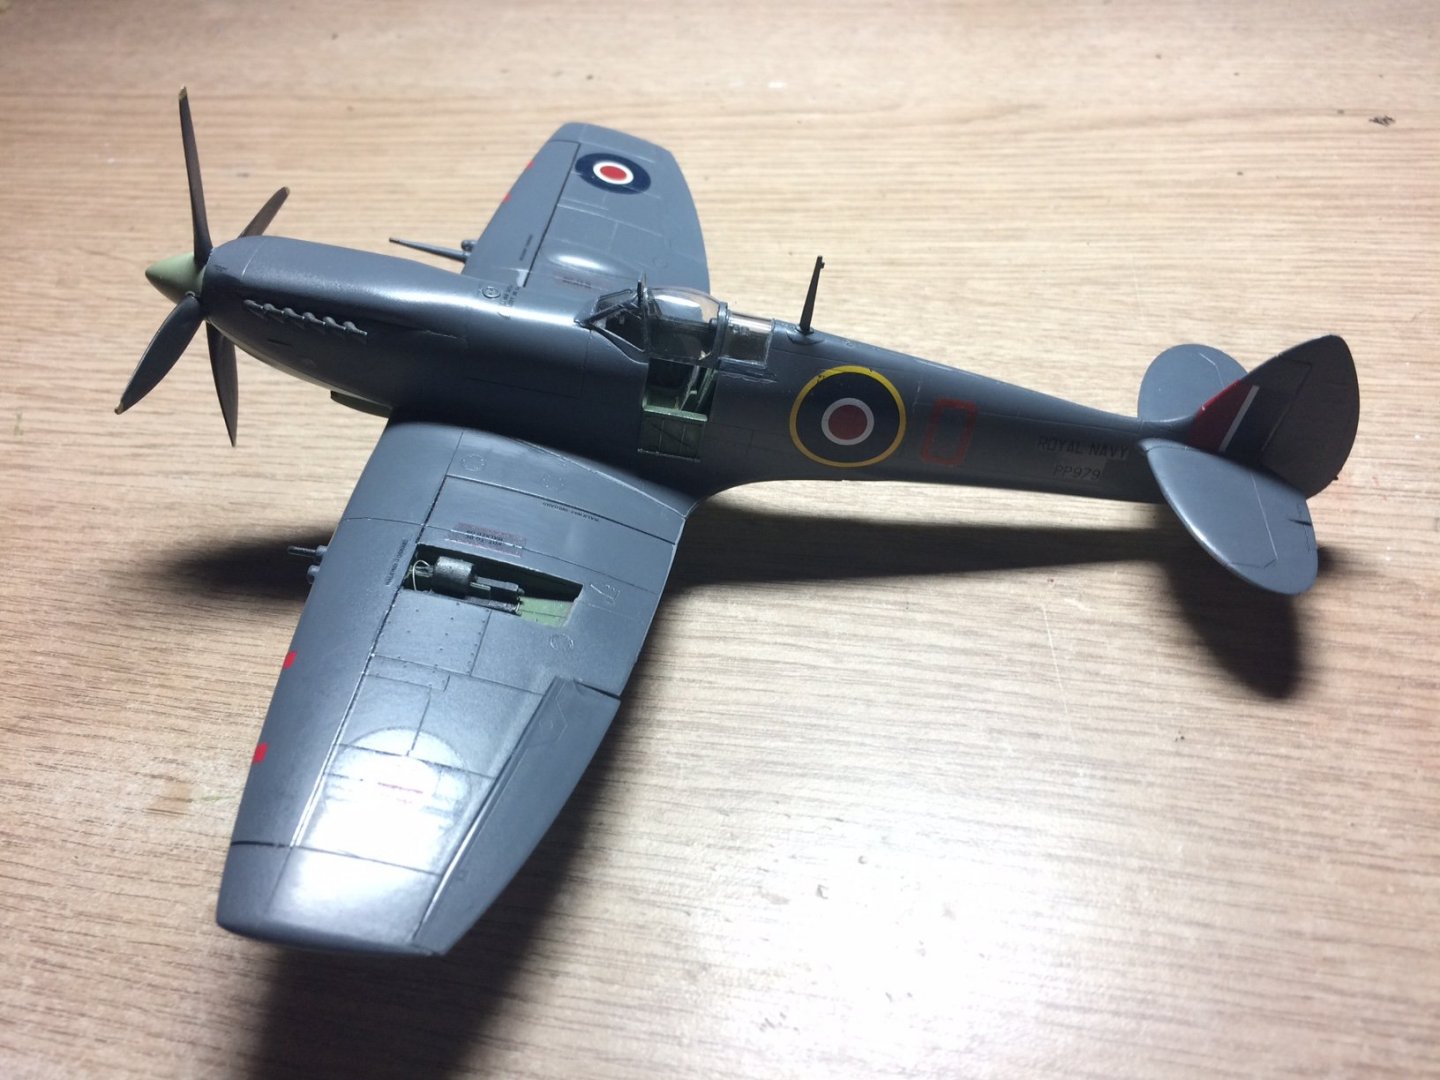
I think they were very popular because of thier great agility and turn of speed, the vesion I built had the same engine (with a few Naval mods) as the Spitfire IX and that was some machine able to out run and out fly a FW190 (and thats saying something) they carried the addional tank under the belly to extend the range as in fairness the Seafire and Spit did mot have a massive range on pure frame tanks, this did reduce there max speed a bit though but it was still very very good. OC.
-
Yep later Ken, just make sure you come back, Im tempted to hang some fury dice off the staring wheel or give the seats some fury coverings oh and some of those "nodding dogs"😀 OC.
-
What a Superb build well done finishing her. OC.
-
To add to what EG has said - I also find those pointed Q tips really useful (like the ones you get with photographic cleaning sets) OC.
-
No need to brother, I enjoy the convos we have - we all gain something from it and its very interesting. OC.
-
Very nicely done - I do feel your pain regarding decals - at best fiddly at worst a complete nightmare. OC.
-
No problem Edward, we do need to see if Mark has anymore popcorn though - can't build without popcorn. OC.
-
"So Friends, Romans, Countrymen, lend me your ears" next stage on this will be to re do the stearing wheel columb in the Jeep - as I made it too short and it would only be suitable for children to drive, then I will consider what to add/build/make next to go in my dio. OC.
-
Thank you sincerely brother, next stage .............Mossie. OC.
-
Thank you kindly Edward, she is a kind of "mk.III +" with a few mods prior to the Griffon engine replacement, another reason for the paint scheme as most mk.II and IIIs were still wearing camo schemes. OC.
-
Evening everyone, so I'm calling this "Part Finished" pending a top coat, I added the aerial and rear view mirror. Thank you for all the comments and looks - It didn't turn out to bad (not the best) but considering it was nearly a bin resident. OC.
- 122 replies
-
- 11
-
-
Thank you Edward. OC.
-
Thanks Mark, was so undignified having her sat on her bumb - just needed a bit of adjustment to get her hight correct both sides. OC.