Old Collingwood
-
Posts
12,104 -
Joined
-
Last visited
Content Type
Profiles
Forums
Gallery
Events
Everything posted by Old Collingwood
-
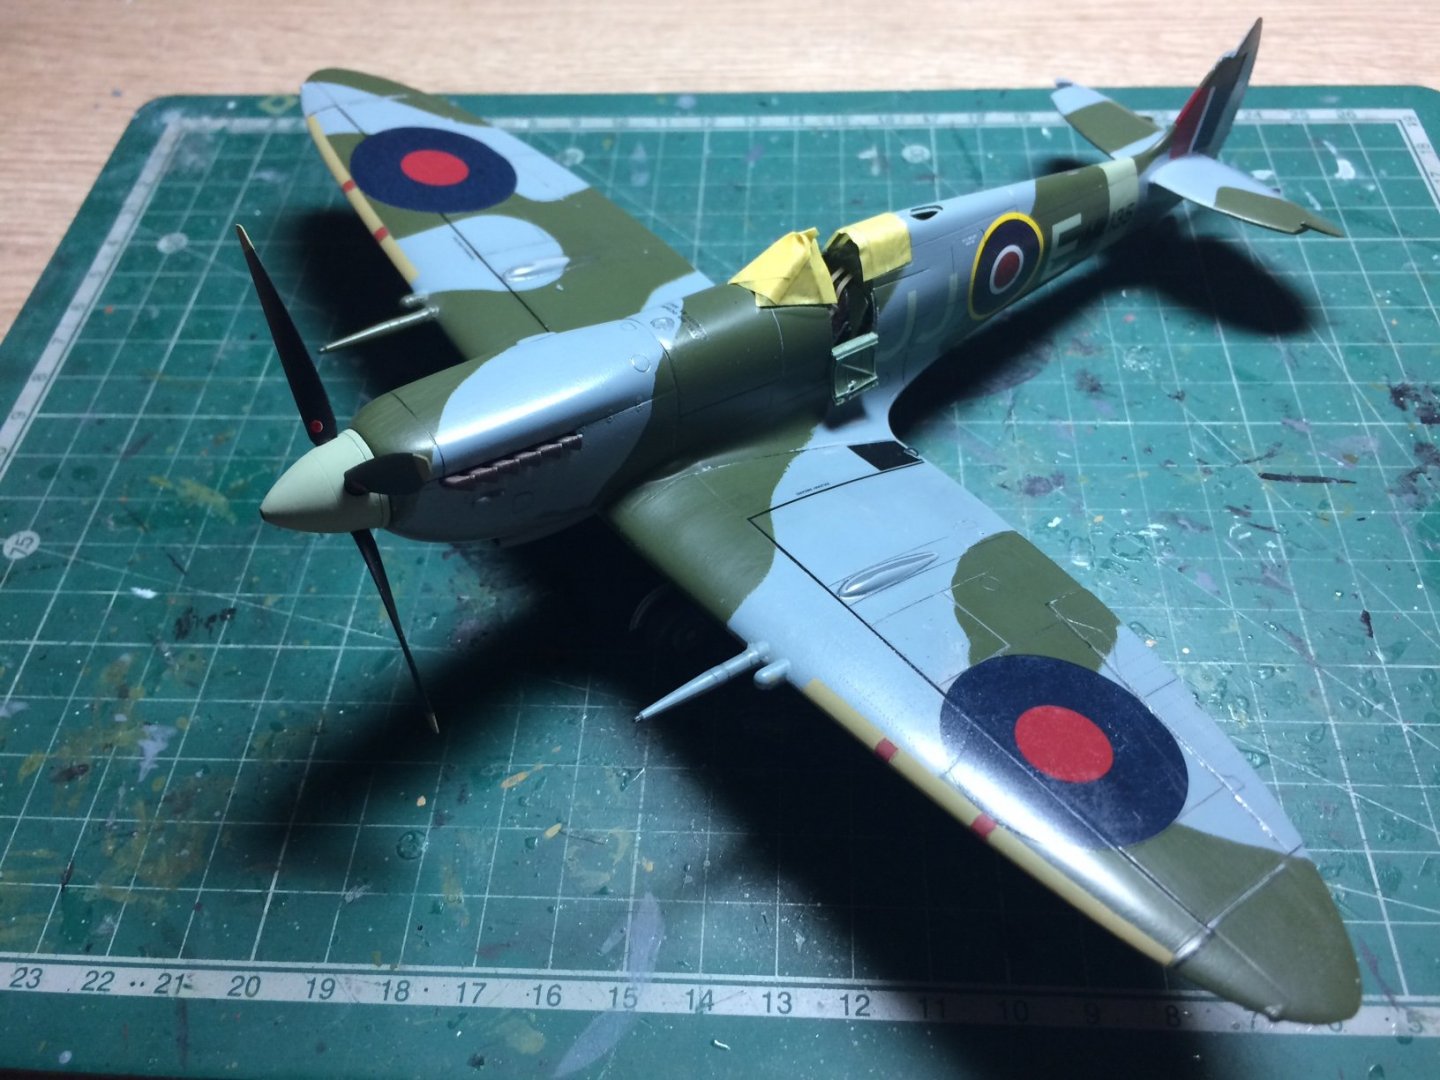
 Evening all, I did a bit more on this today just fitting the top arial and a lick of paint, so apart from spraying the flat top coat and then fitting the canopy and pilot, its finished. OC.
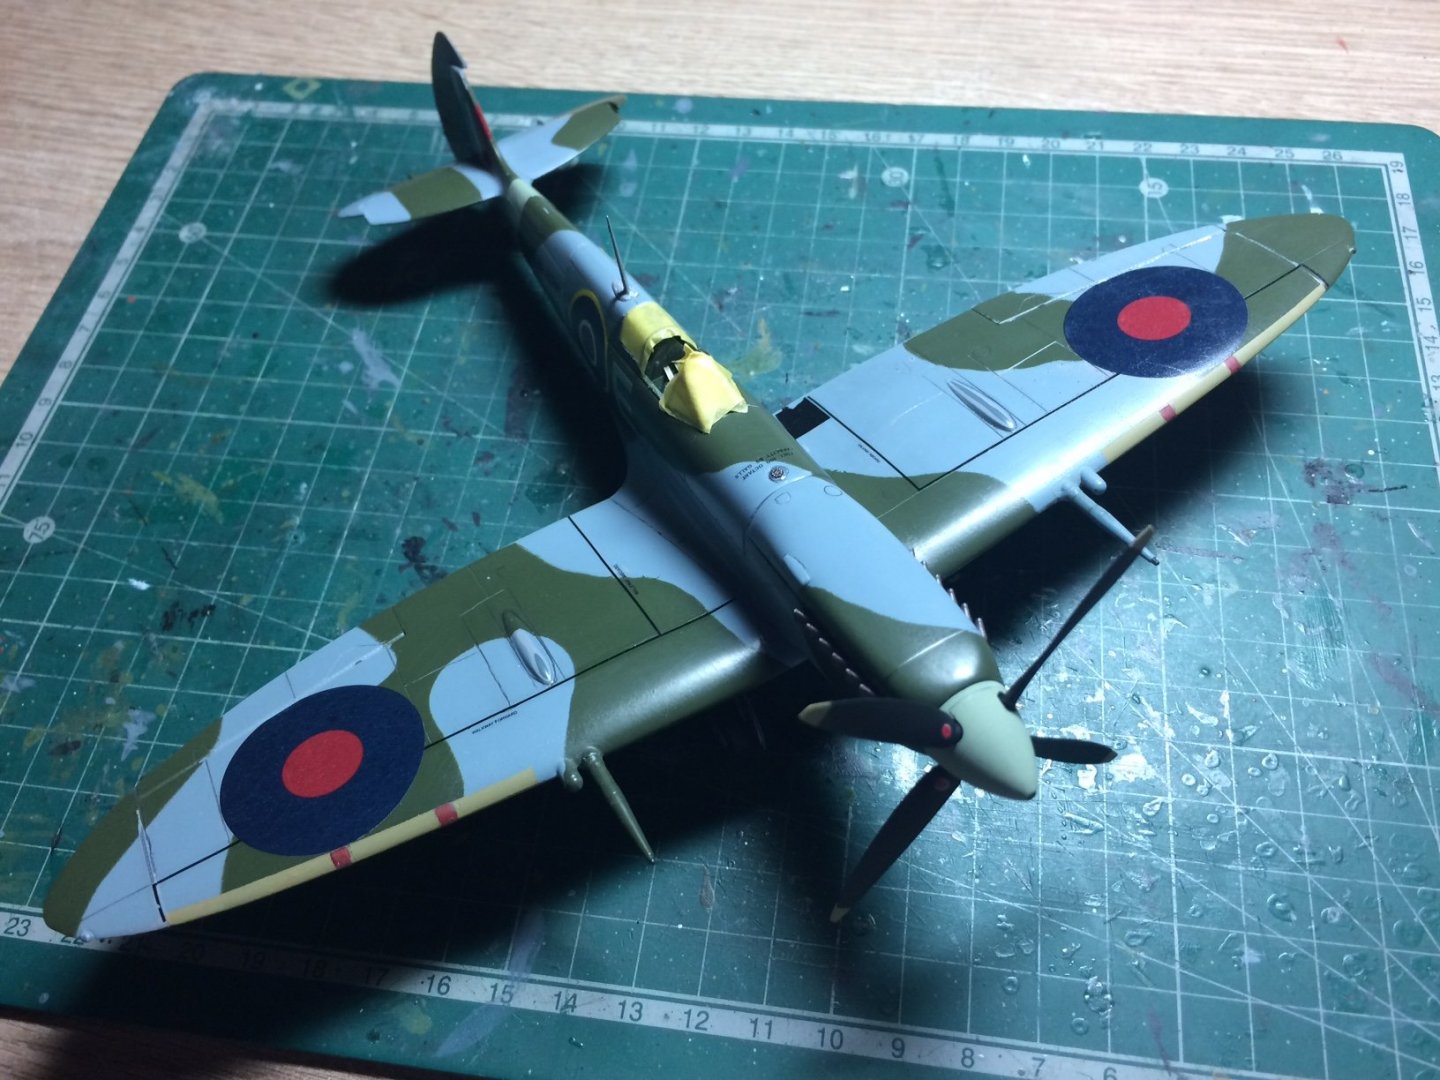

- 298 replies
-
- 12
-

-
Thanks Mark. OC.
-
Very nice work on the planking - always a worry for all of us getting it smooth for the second. OC.
-
Thank you Edward. OC.
-
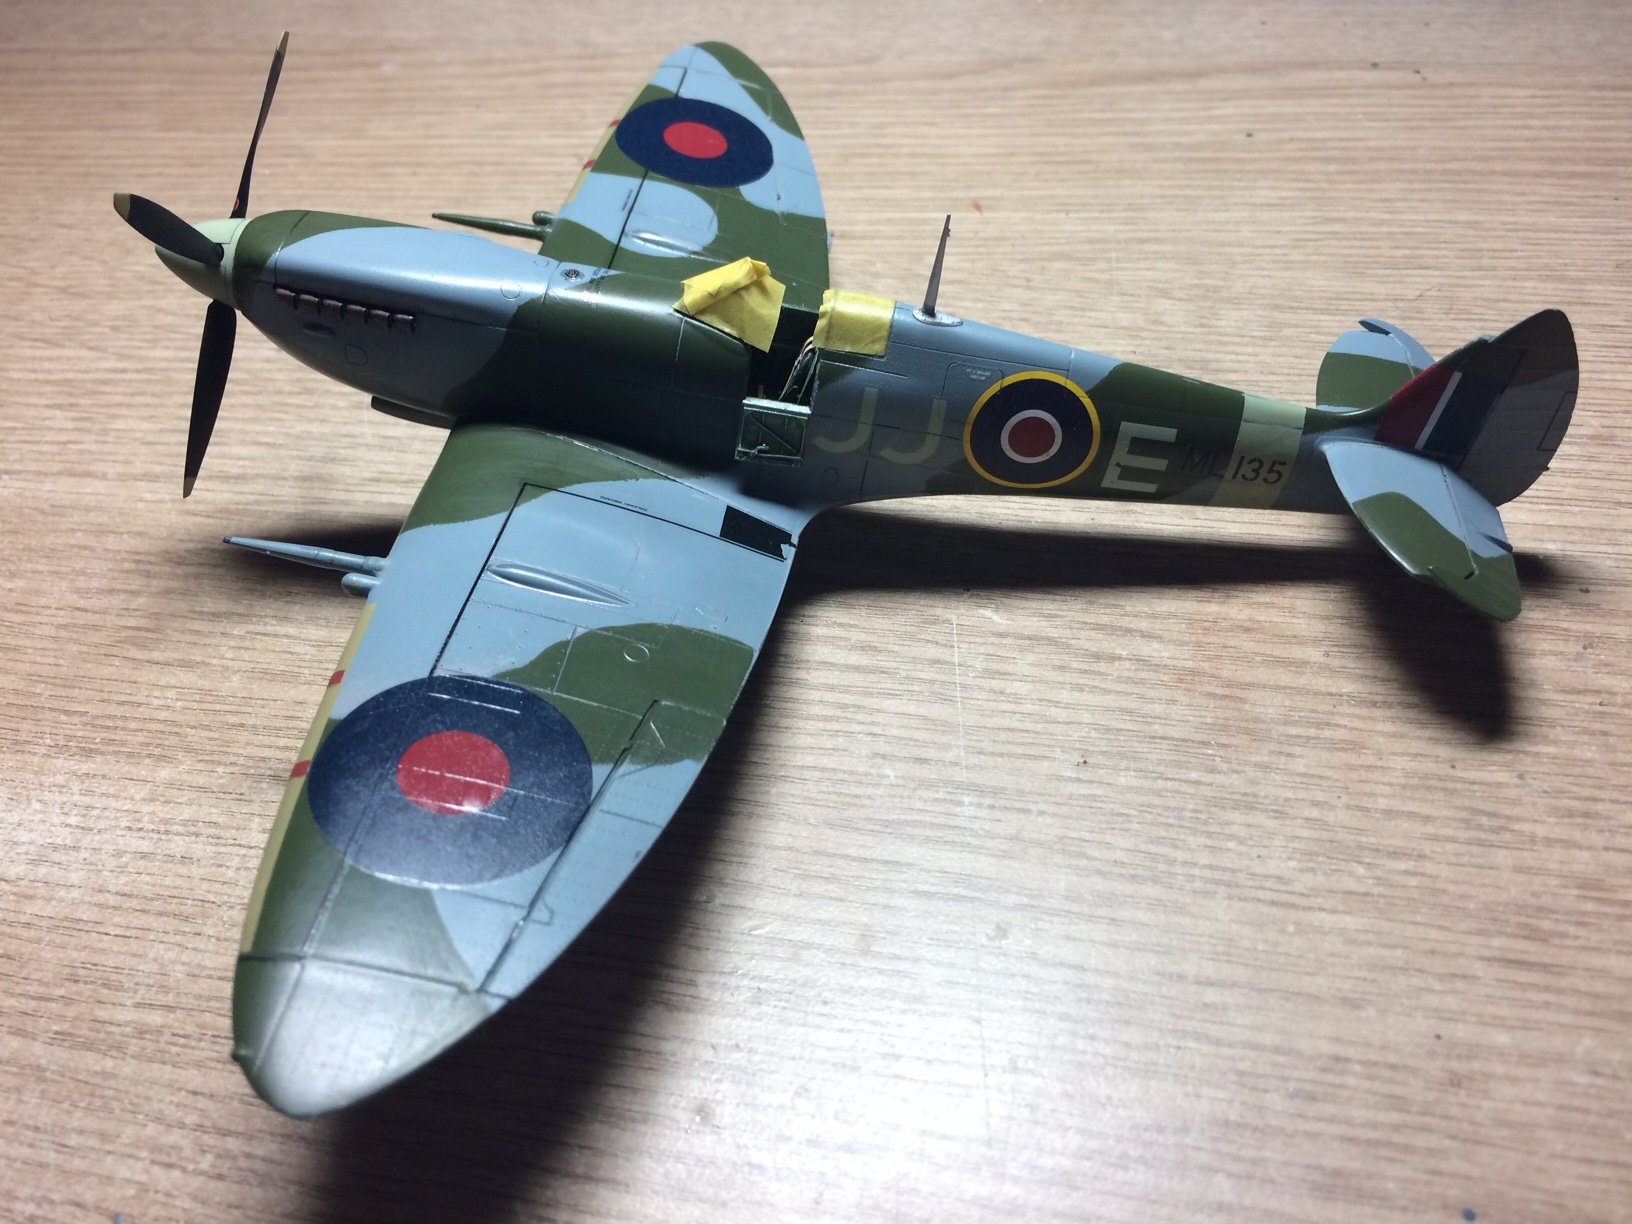
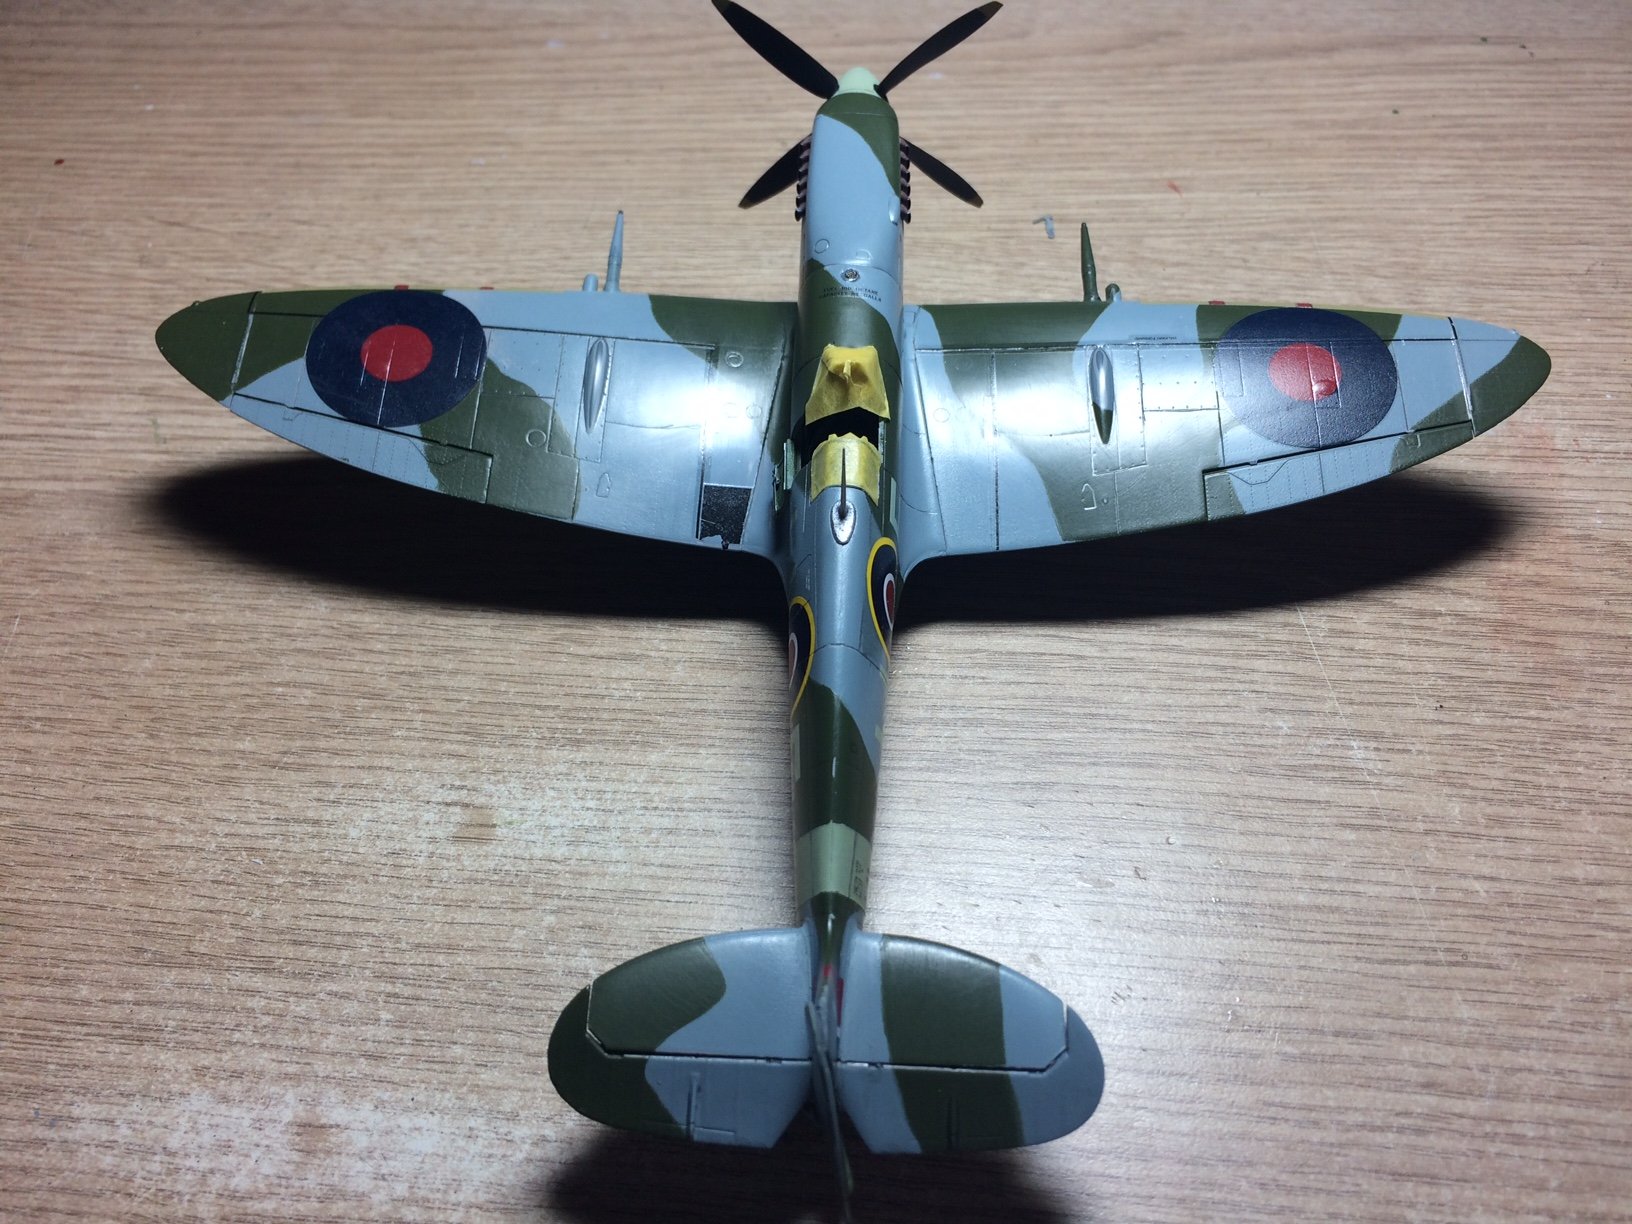
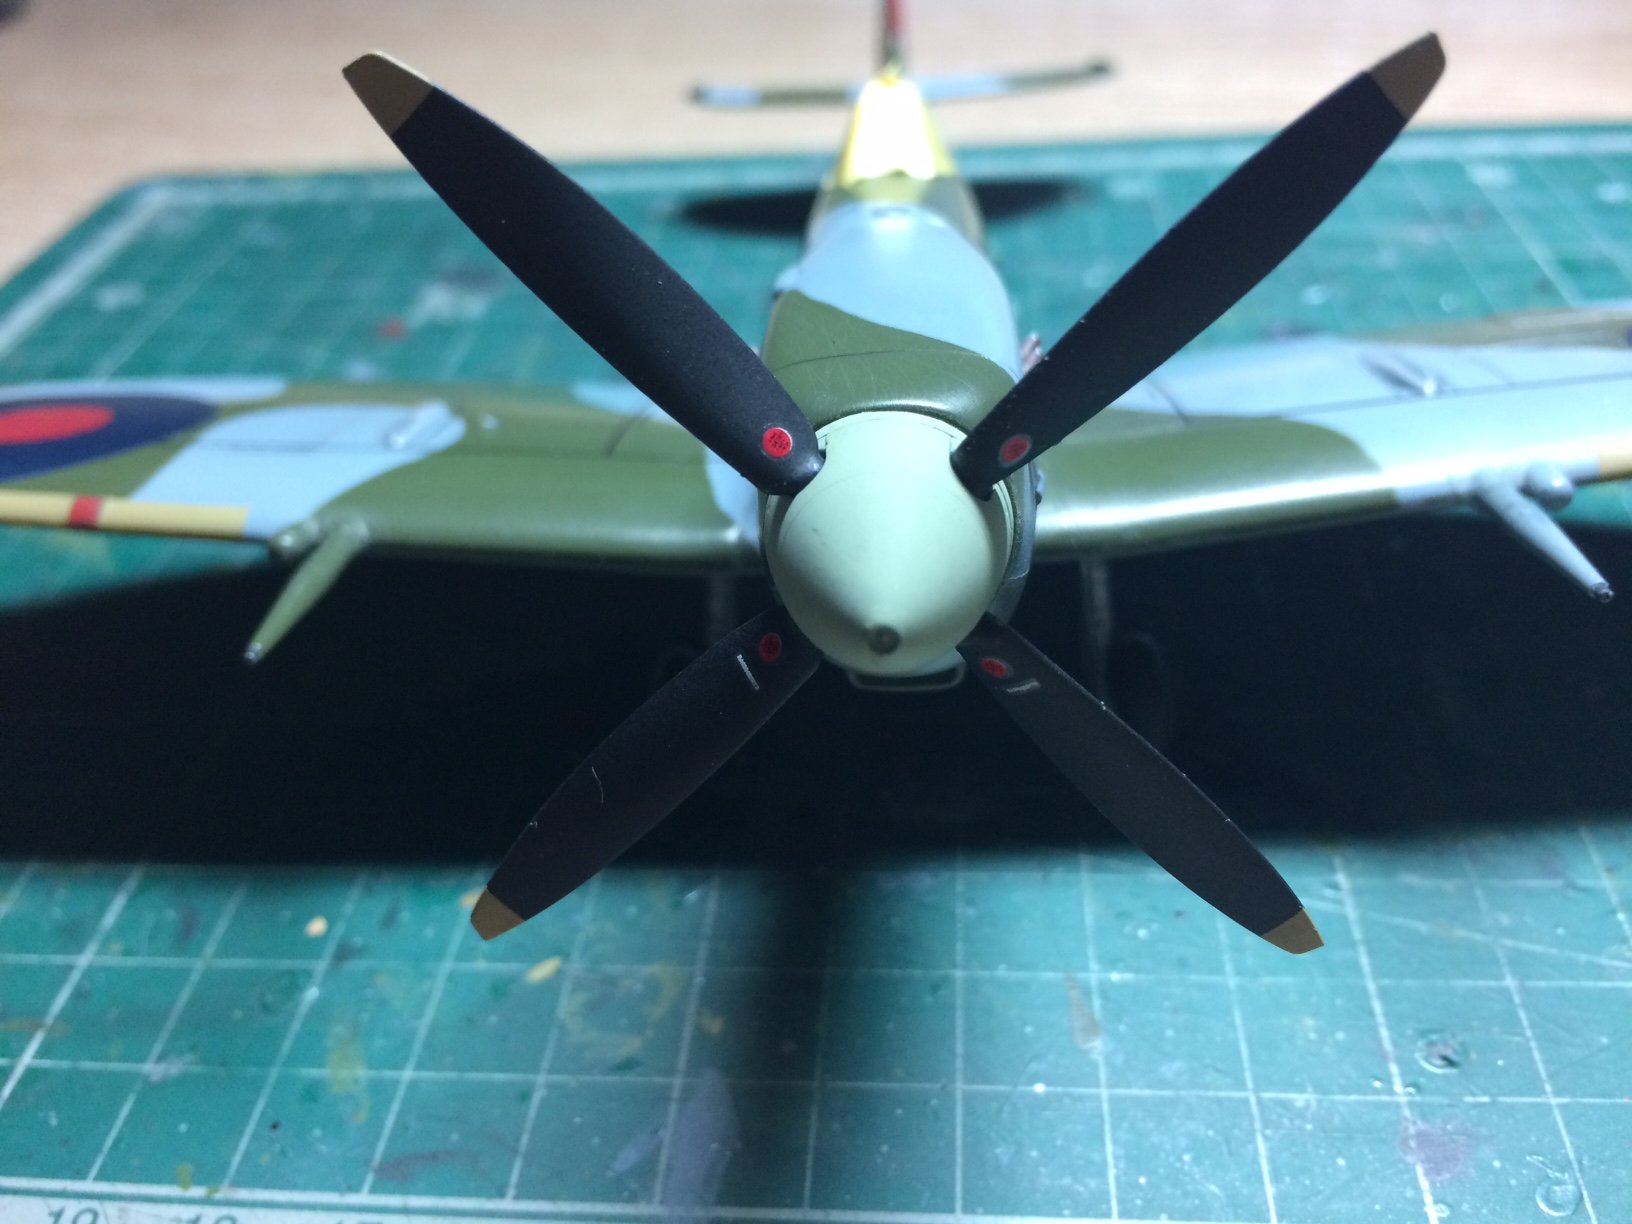
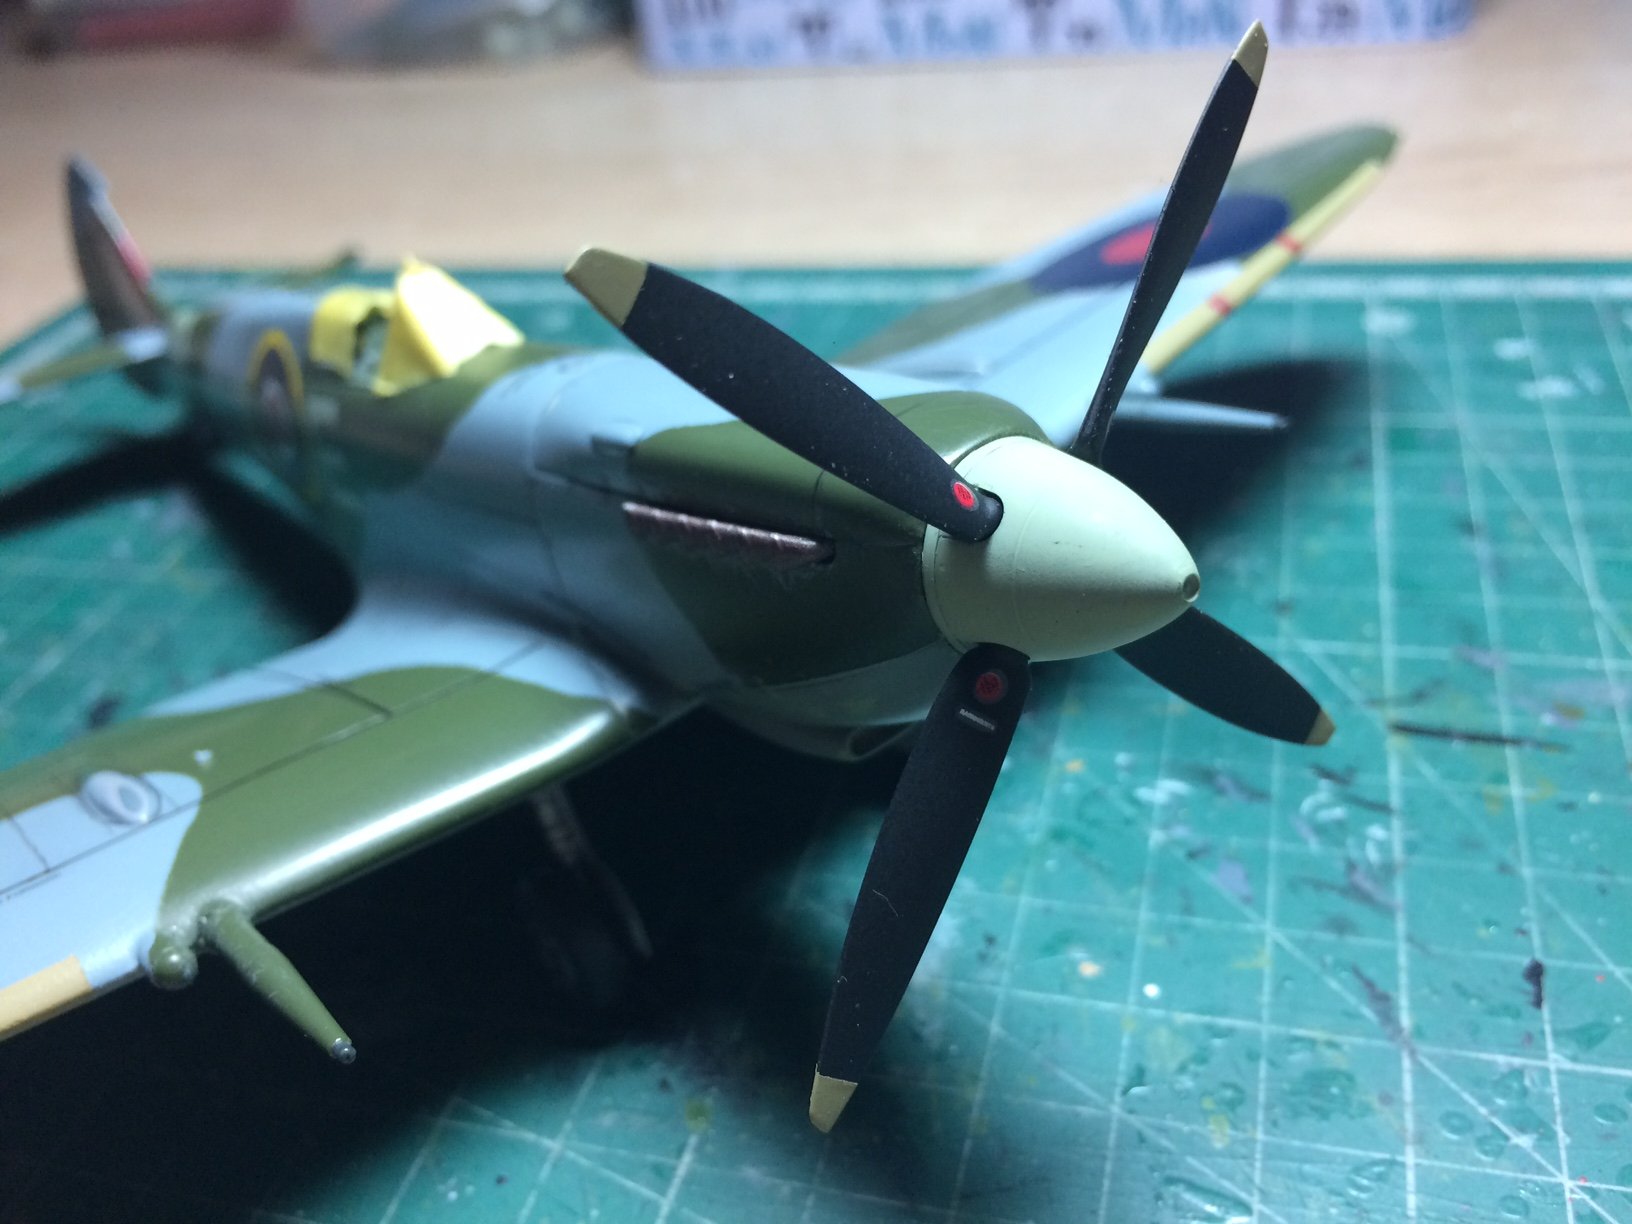
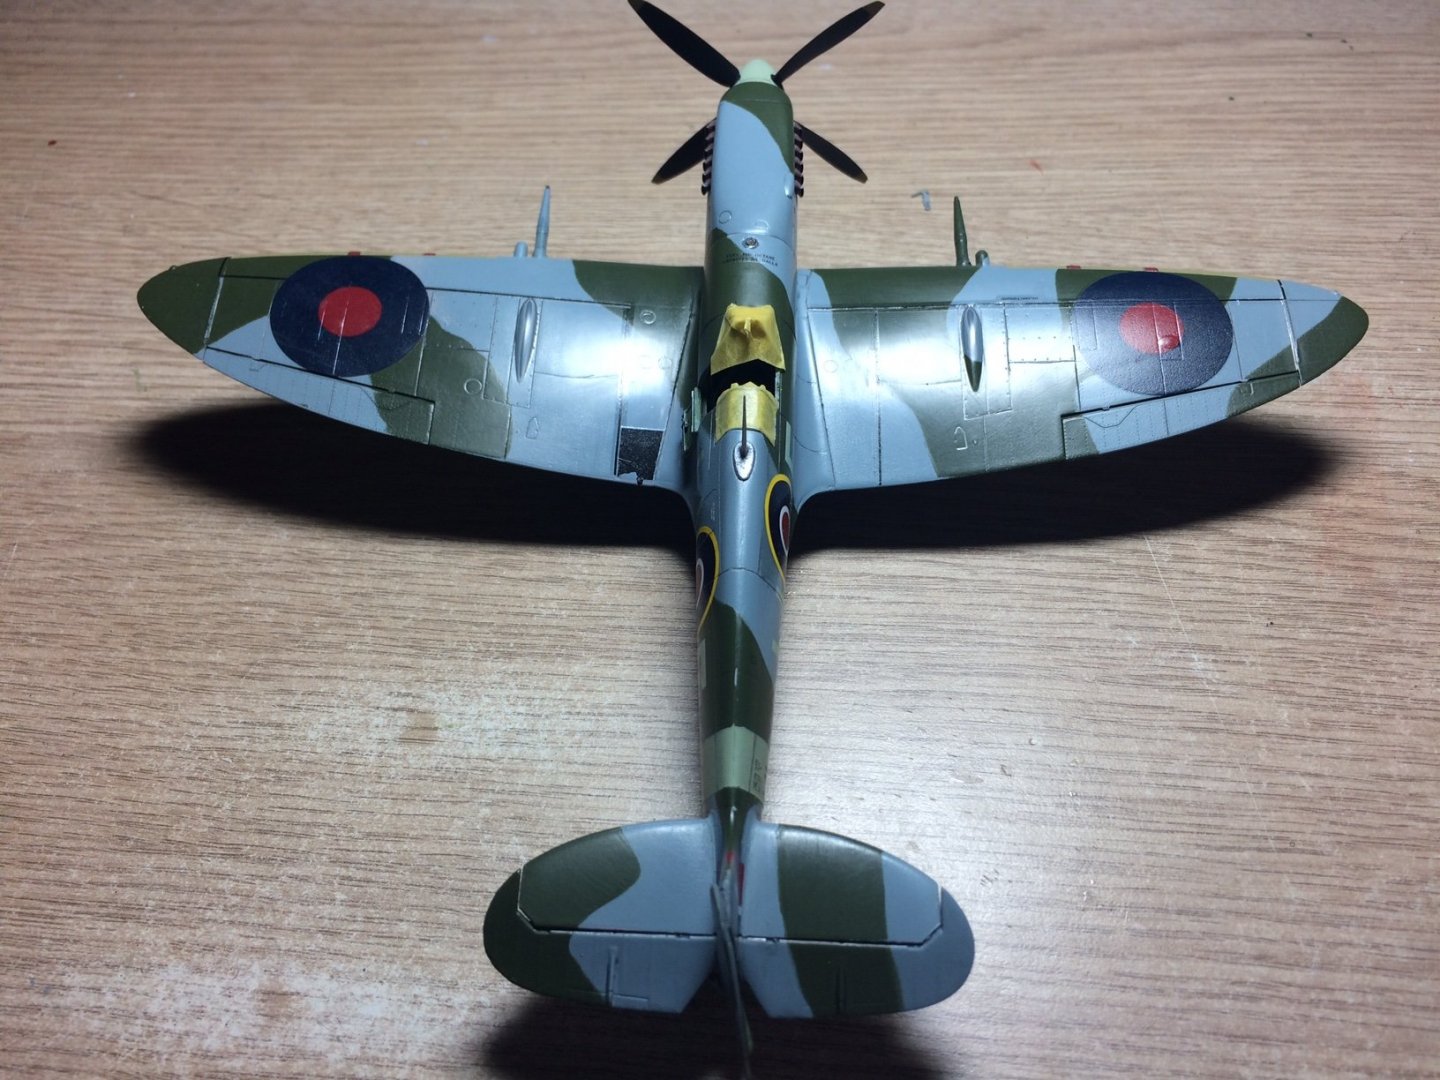
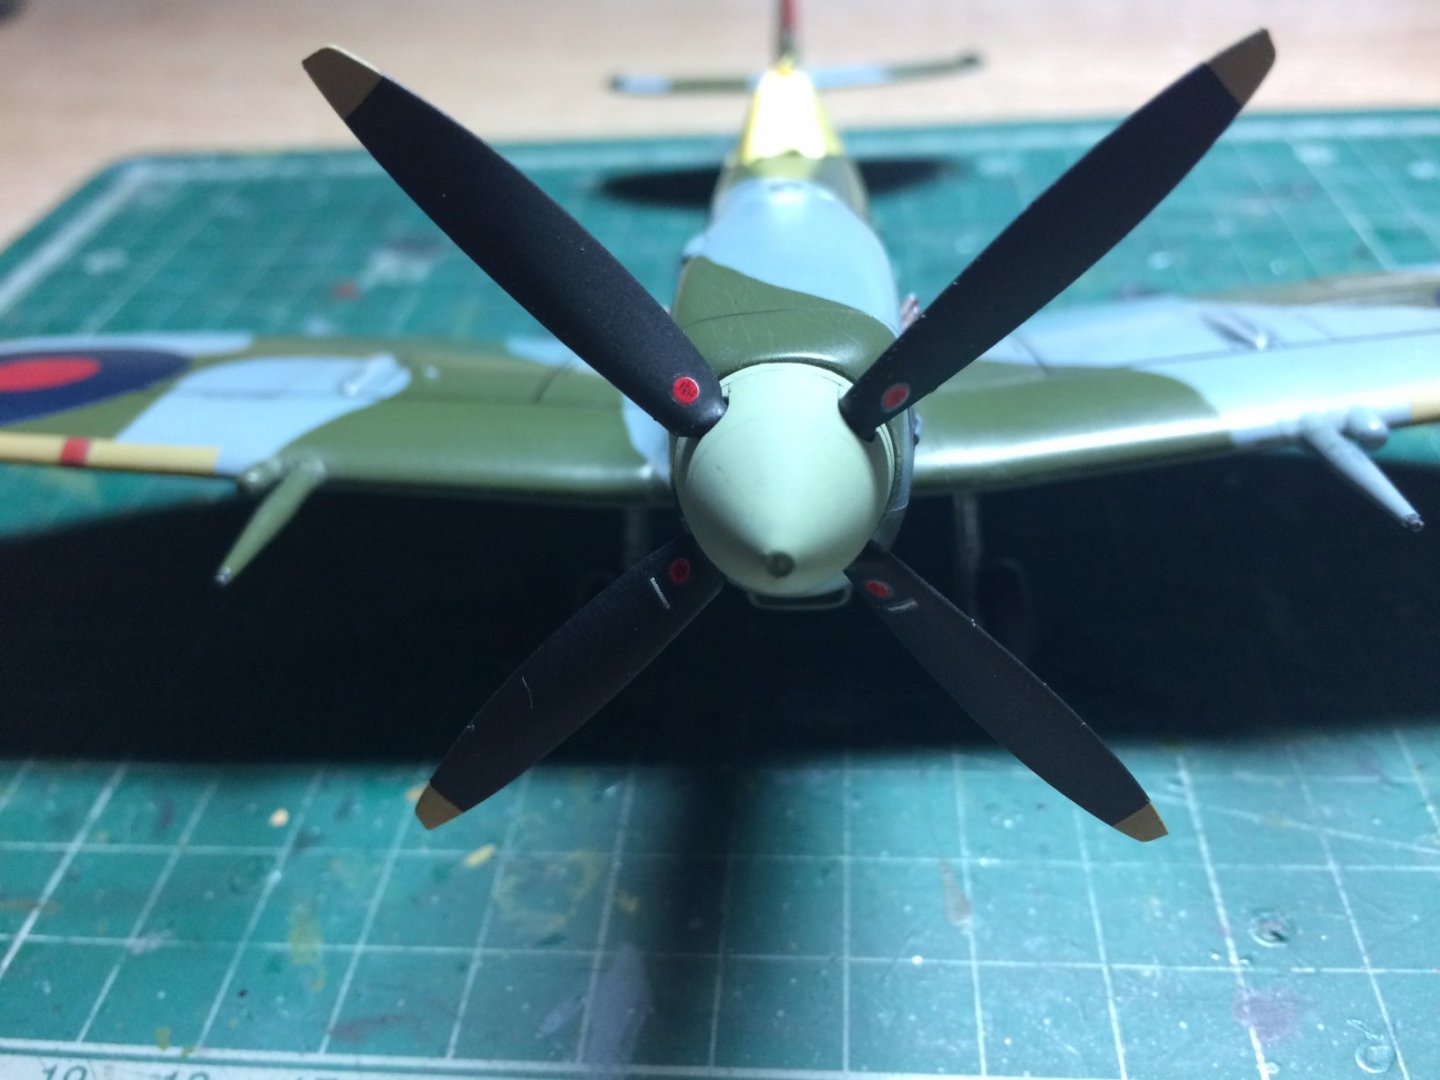
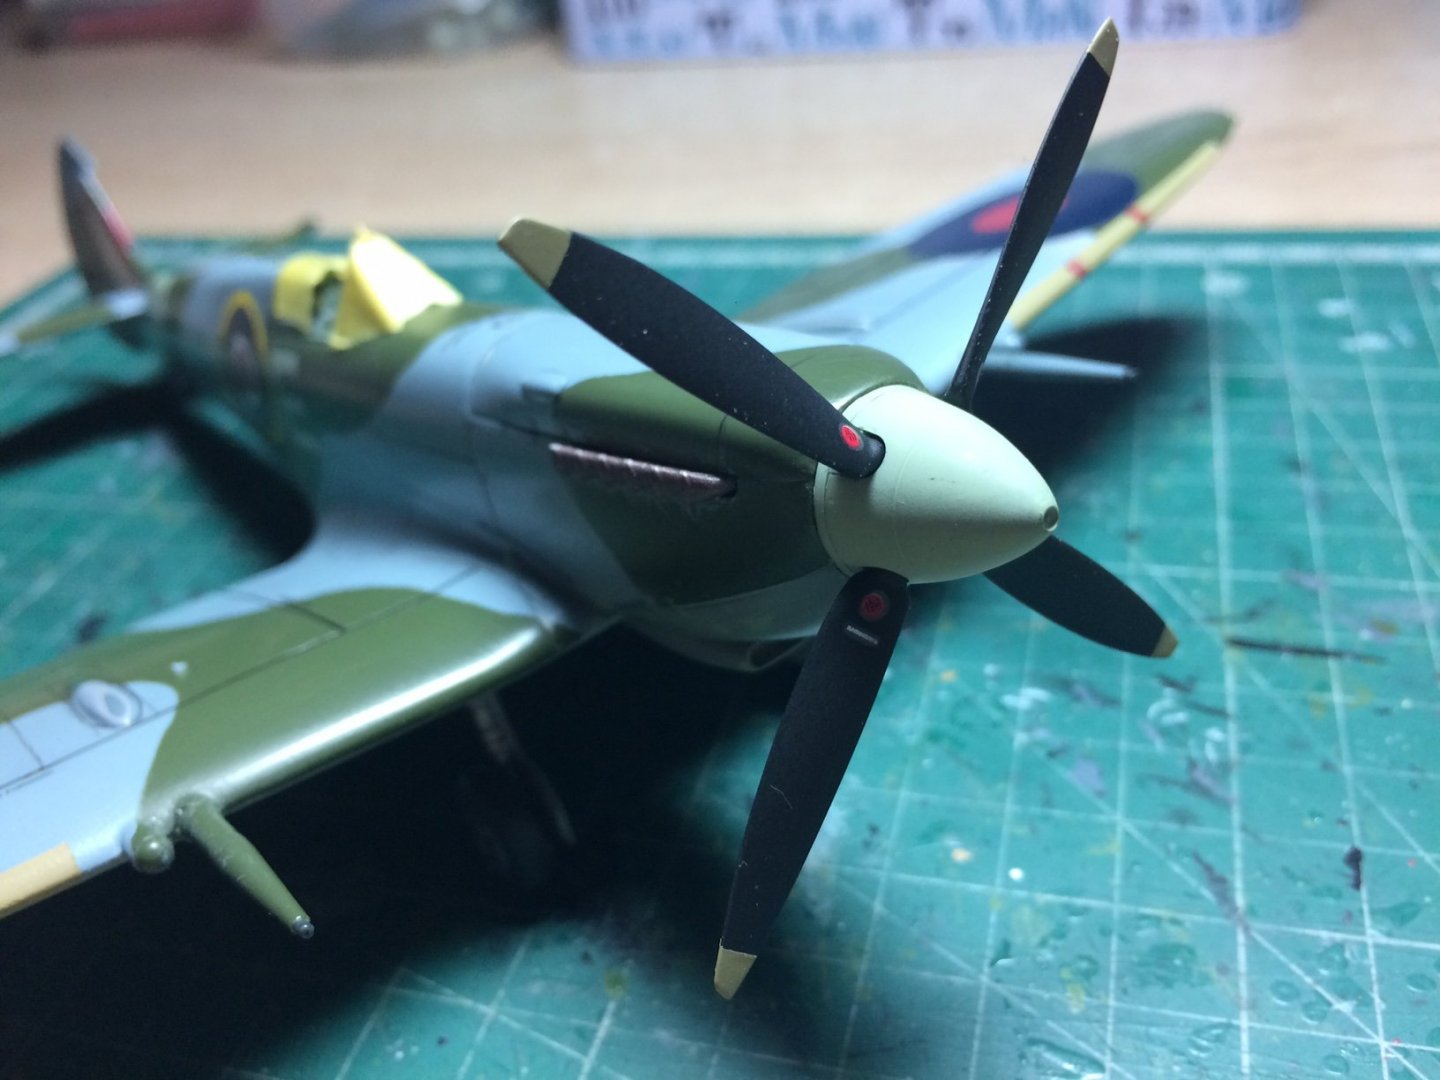
Evening all, hows the popcorn going? today was a milestone as she now sits on her wheels, I also worked on the prop/spinner assembly - it needed zero clean up just painted then when each part was dry I put it together, after I applied a few decals tipped the ends with yellow after masking, then glued it in place. Just noticed in the pics a couple of writting decals have come away on the props - must sort that. OC.
- 298 replies
-
- 10
-
-
Thank you Edward place yourself as close to Mark as poss to guarantee a good supply of popcorn - some "Hungry horaces" here. OC.
-
Your very welcome. OC.
-
And from me Bro, have a Great one OC.
-
Welcome Jack. OC.
-
Welcome Ken. OC.
-
Welcome bro. OC.
-
You could give it a try if you can find them. OC.
-
In the stables section of the farm - hope you dont mind fighting a few French guys for it last I heard they love your popcorn. OC.
-
Thank you Denis, good practice for my other project when I start it. OC.
-
I think (dont quote me) the main center frame was ok but not the leading edges or over the front radiator areas or the extreme wing tips. OC.
-
First in you get the pick of the seats - if you are too far back though I recommend binoculars or a telescope. OC.
-
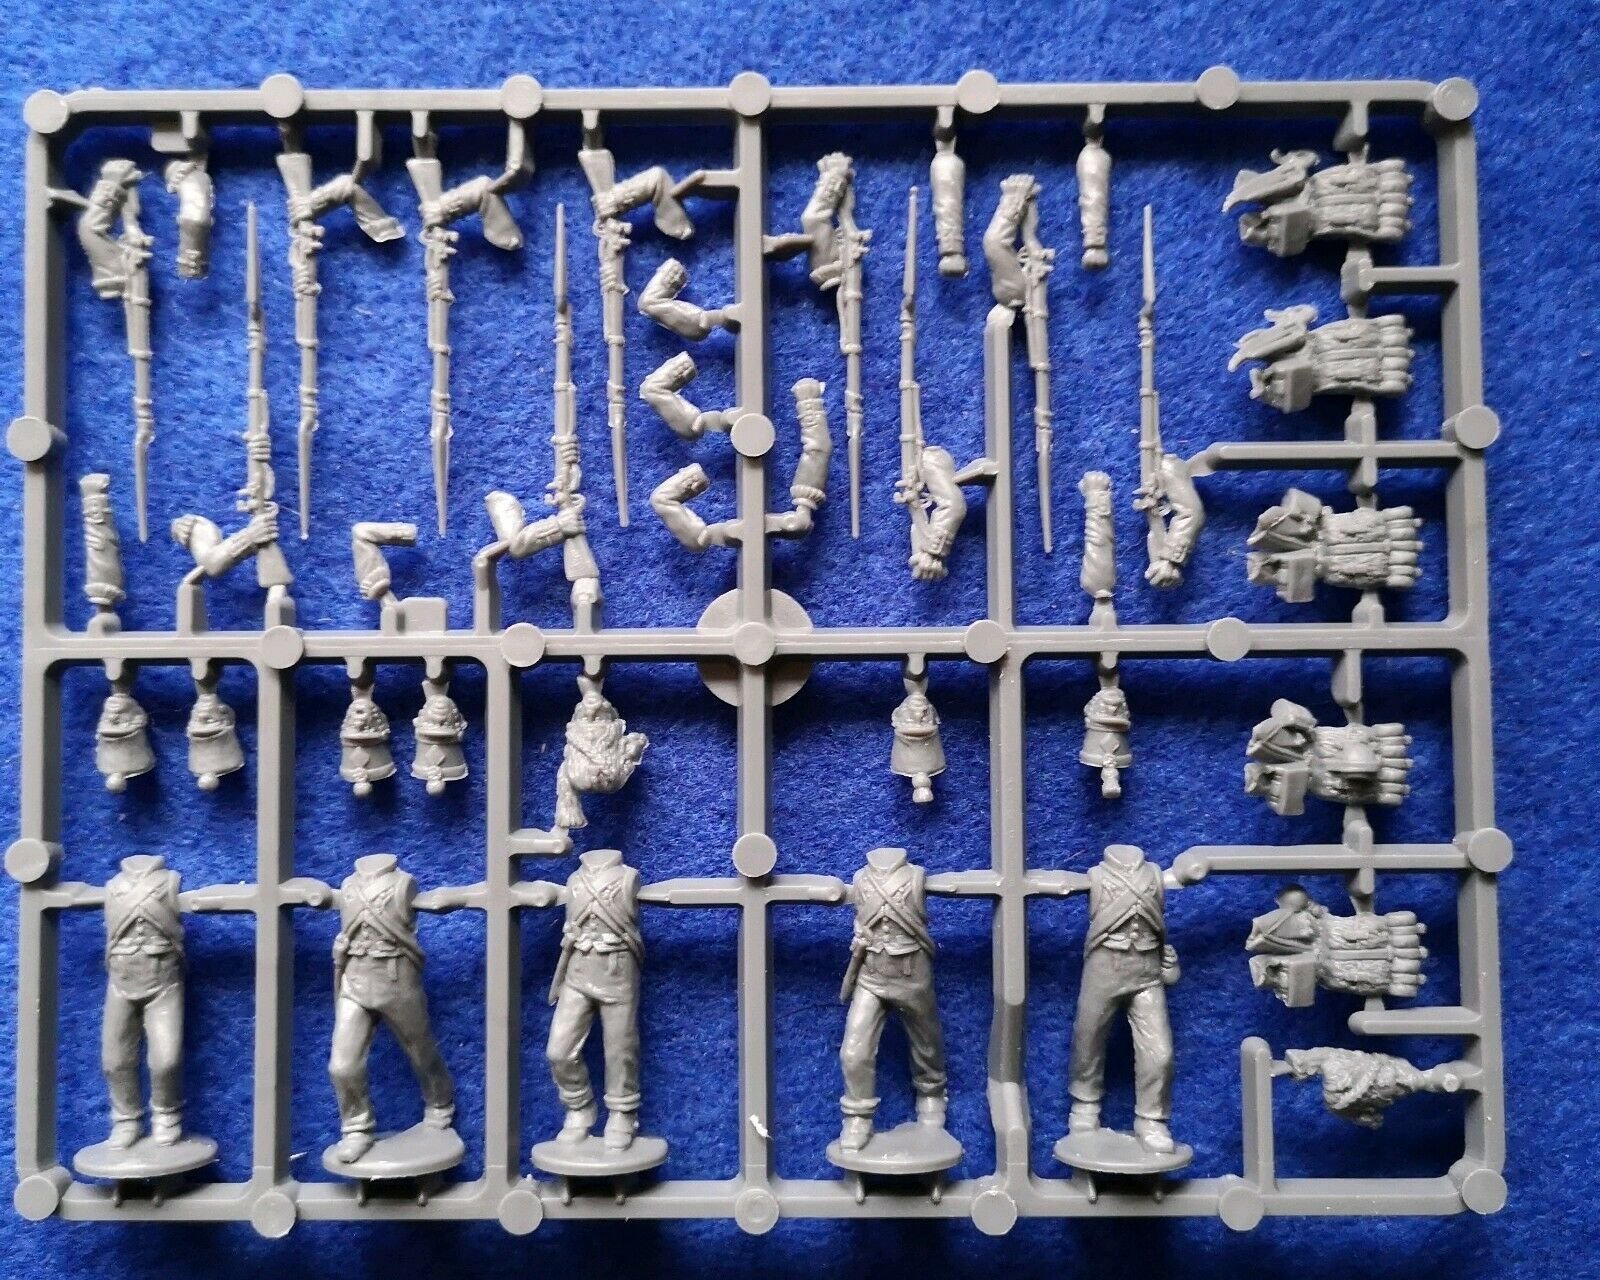
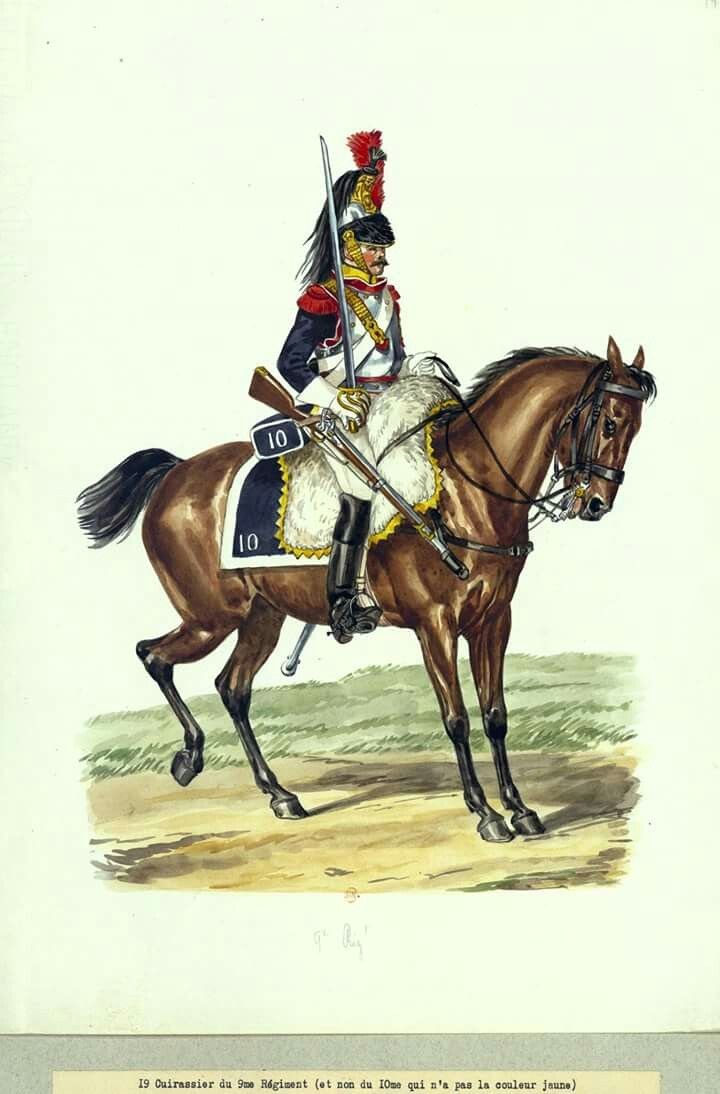
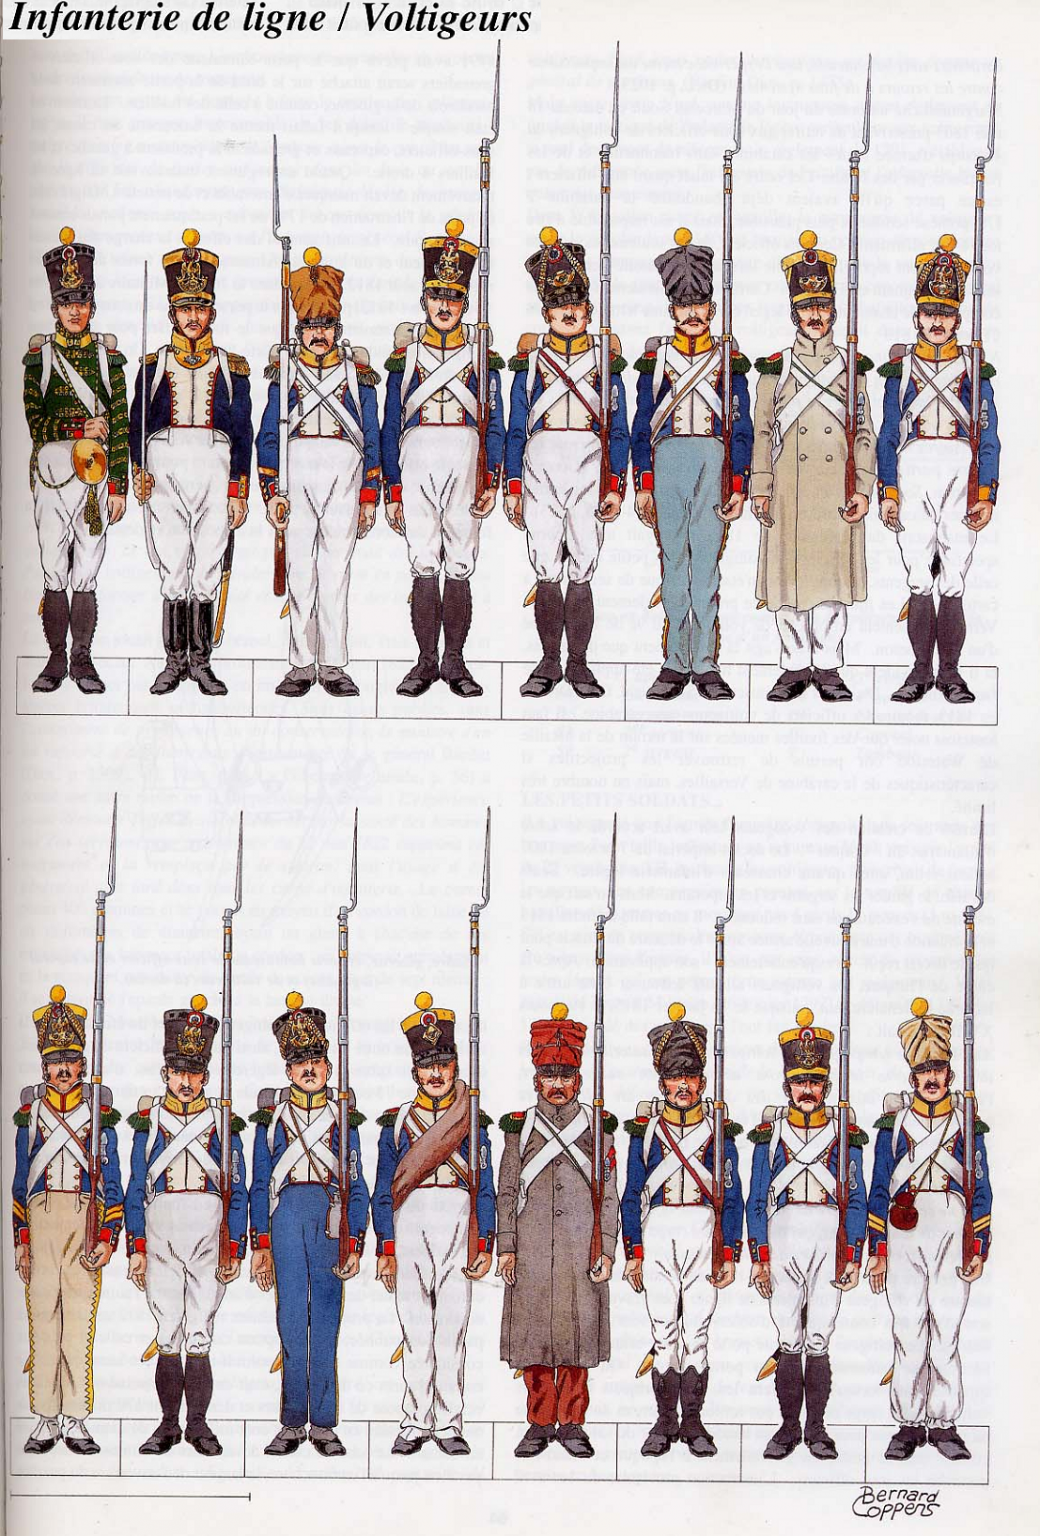
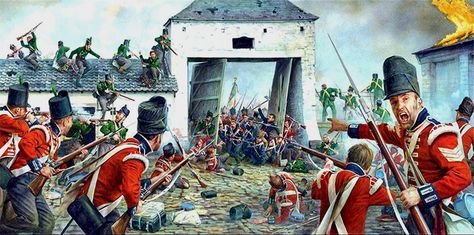
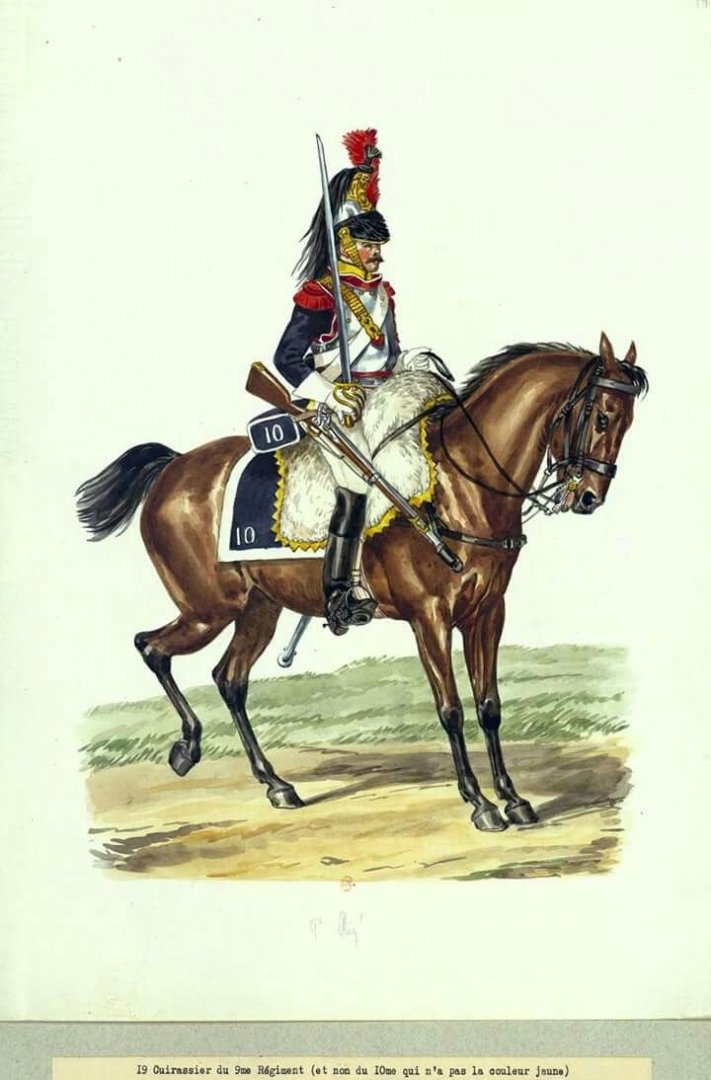
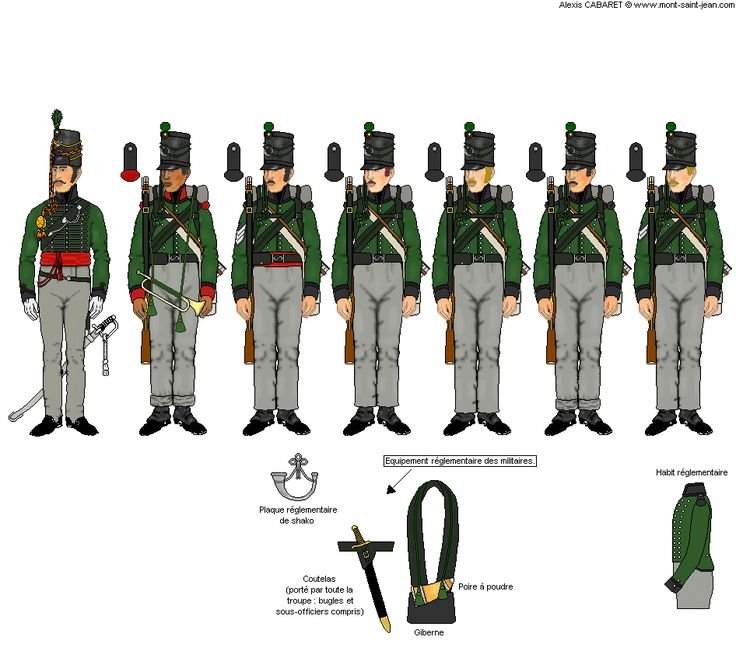
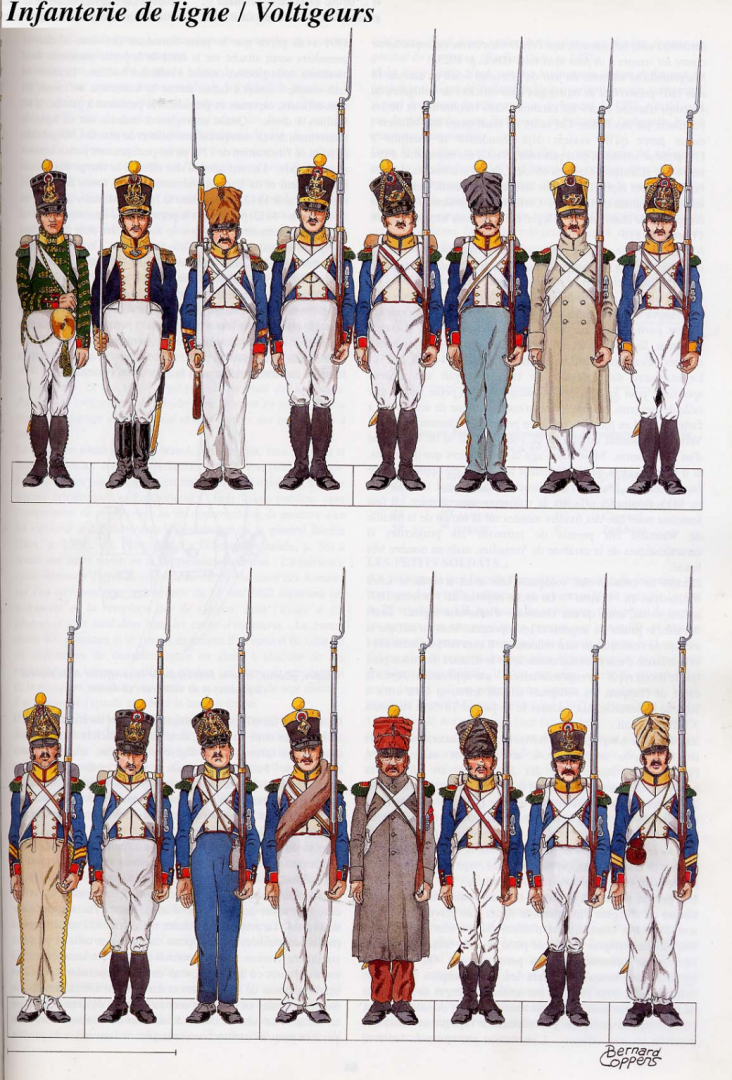
I started mentioning my passion for this subject in the other section of Shore leave, but I have decided to start a build thread for it in preperation for when I start it. When I was a kid I collected hundreads of the Airfix 1/72 soldiers but I did not have the skill or patience to paint them - so they stayed partialy or un painted and I just cluttered the living room carpet full of them while I played. This has ignited my desire to have a go but in the larger scale of 1/56 or 28mm, I am going to create a diorama of the defence and attack of the famous/infamous farm centered in the middle of the field of the battle. I will aim to gat a kit of the farm but due to room I will cut back the rear section, and focus on whats happening along the front facing wall and entrance. During the battle a cavalry charge occured right in front of the farm by the French Heavy Cavalry (Cuirassier) and at the same time continious attacks were made on the farm by different French troops from a few different French units, the farm was protected by about 400 KGL (German) troops from a couple of units, aswel as the Brittish 95th (Sharpe) unit just outside the farm. I have a few things to sort out before I can purchase things to start this (how long it will take to finish "who knows") I have however picked up for a couple of quid £3) a starter sprue with Five french troop fiigures from the Perry range - this will be a starter test for me to see how they look/go together. Just a couple of pics - one showing how I will construct the farm taken from the full kit, a pic of the sprue I have brought and a few internet pics. Hope this will be of interest to follow I am looking forward to starting it. OC.


-
Glad to see your still on track bro, she has so much potential . OC.
-
Thank you Grant. OC.
-
Evening all, a bit more progress - I have masked the rear quarter and front cockpit glass (ready for top coat - later) then I worked on the main u/c units, very nice jobbies by Eduard - lots of detail and nice construction, the wheels are sepaerate from the hubs and sepaerate oleo's / covers, after assembling and painting then fitting together, I then fitted Two pe outer covers and painted these. No pics (I foregot till I started writting this) OC.
-
Hi Per, thank you for looking in, yep its a "Sticking Flap" its happening when its "Trimed" indicated by the sergeant with his hand. OC.
-
Thank you Roger, yep thats my dad on the adder (ladder even 😄) he was an ERK (Airframes and Engines fitter) taking instruction from his sergeant. OC.
-
Thank you Denis. OC.
-
Looking mighty fine. OC.