Old Collingwood
-
Posts
12,106 -
Joined
-
Last visited
Content Type
Profiles
Forums
Gallery
Events
Everything posted by Old Collingwood
-
 Thank you Edward. OC.
 -
Thanks Jack. OC.
-
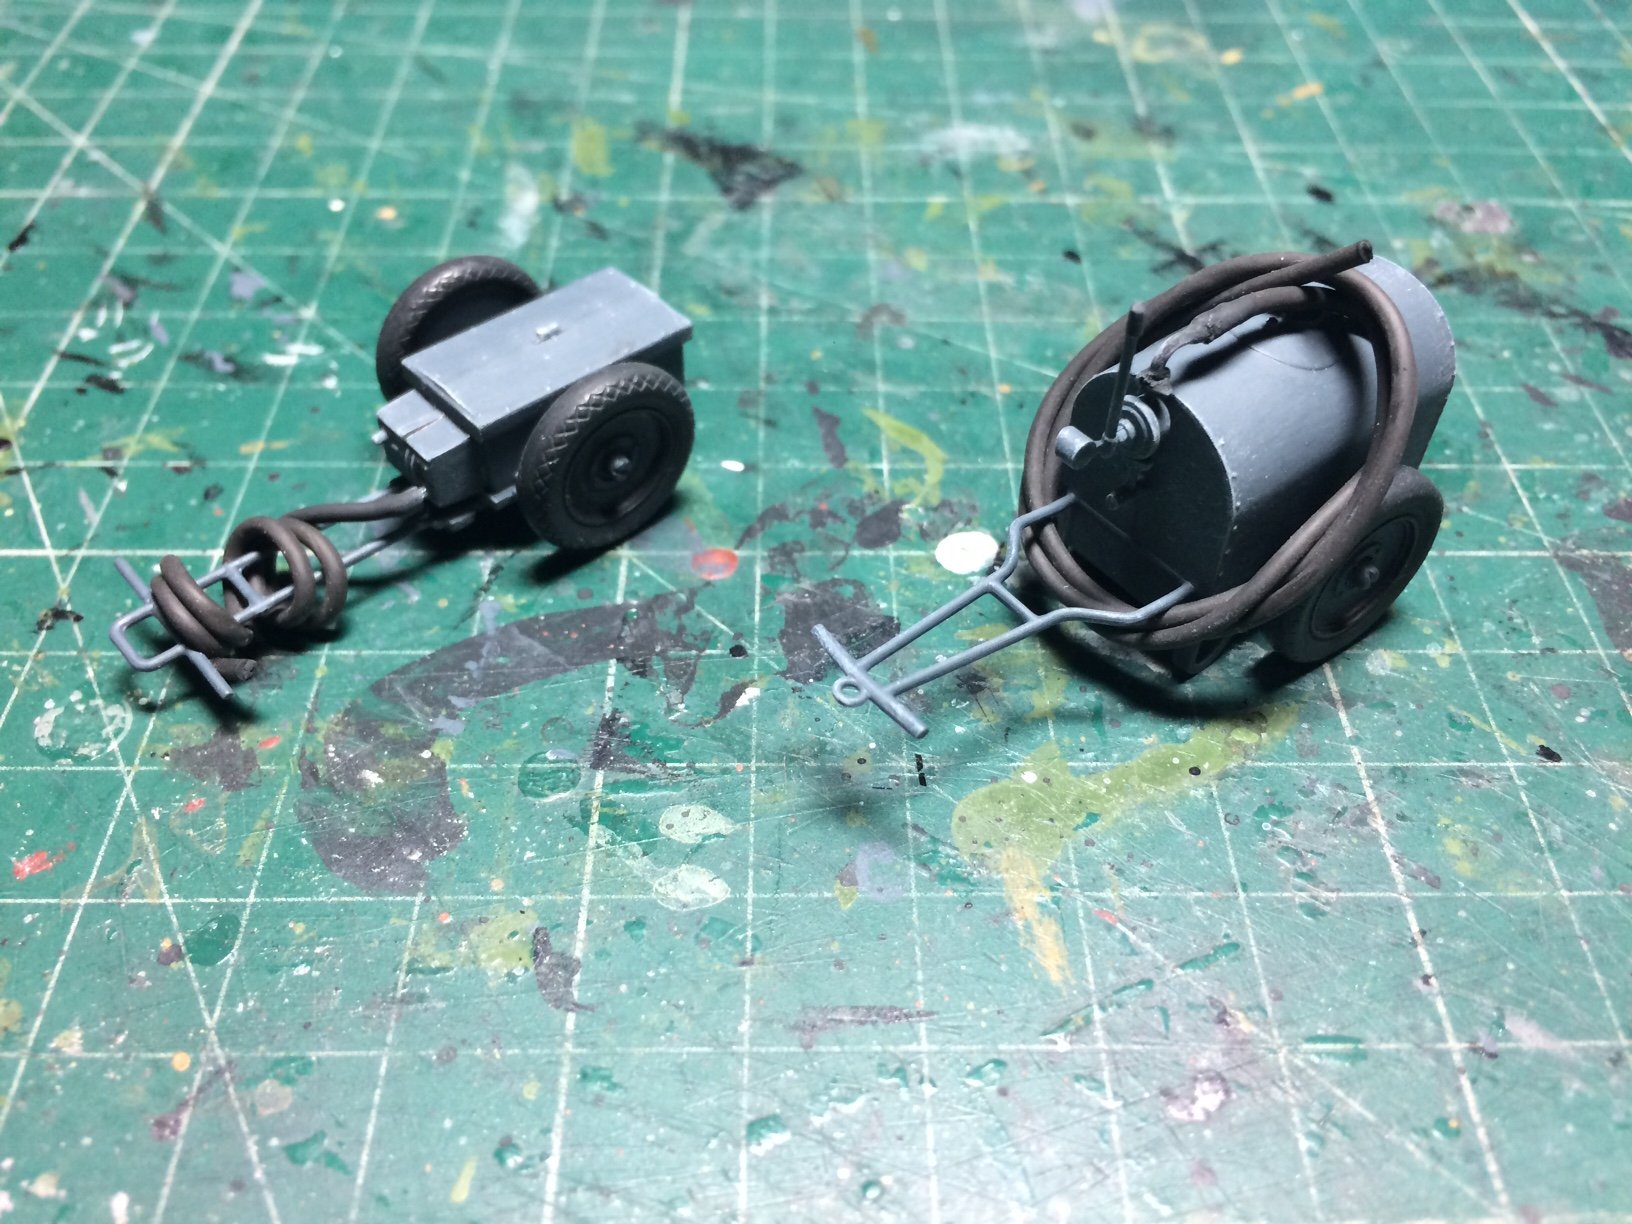
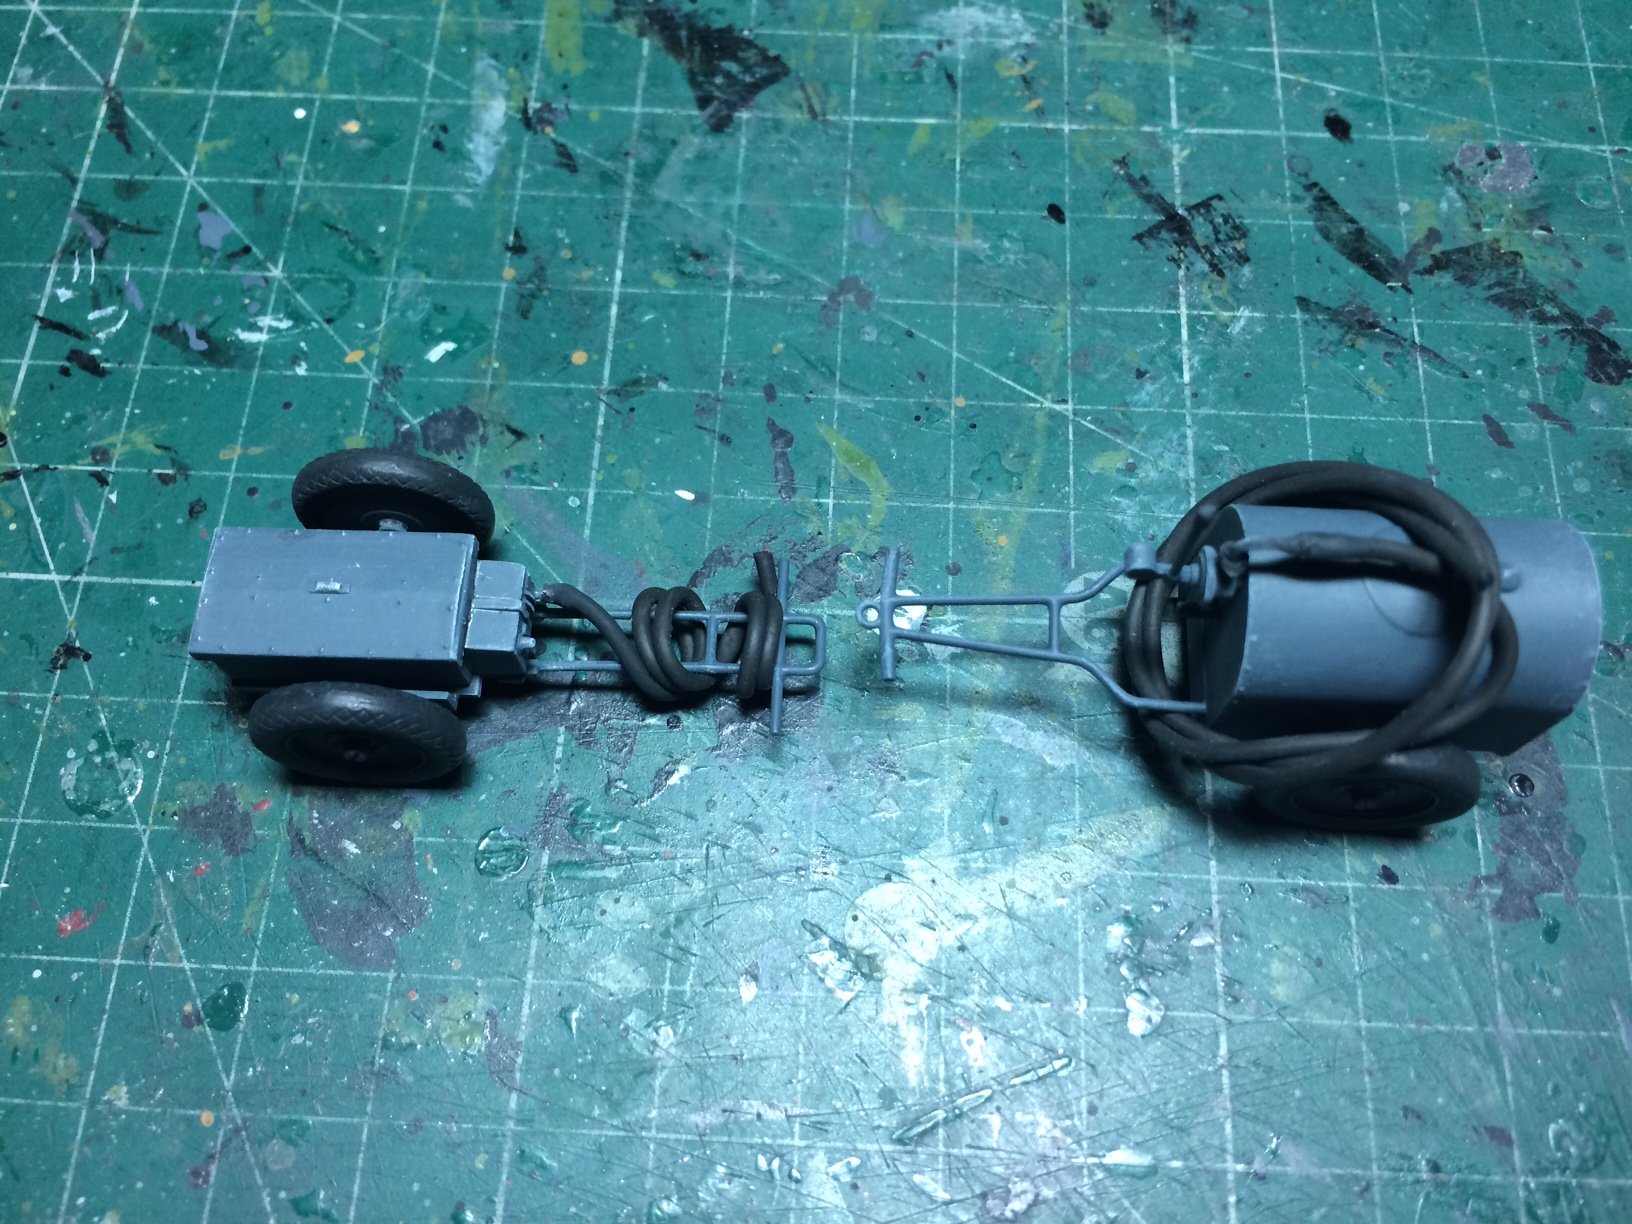
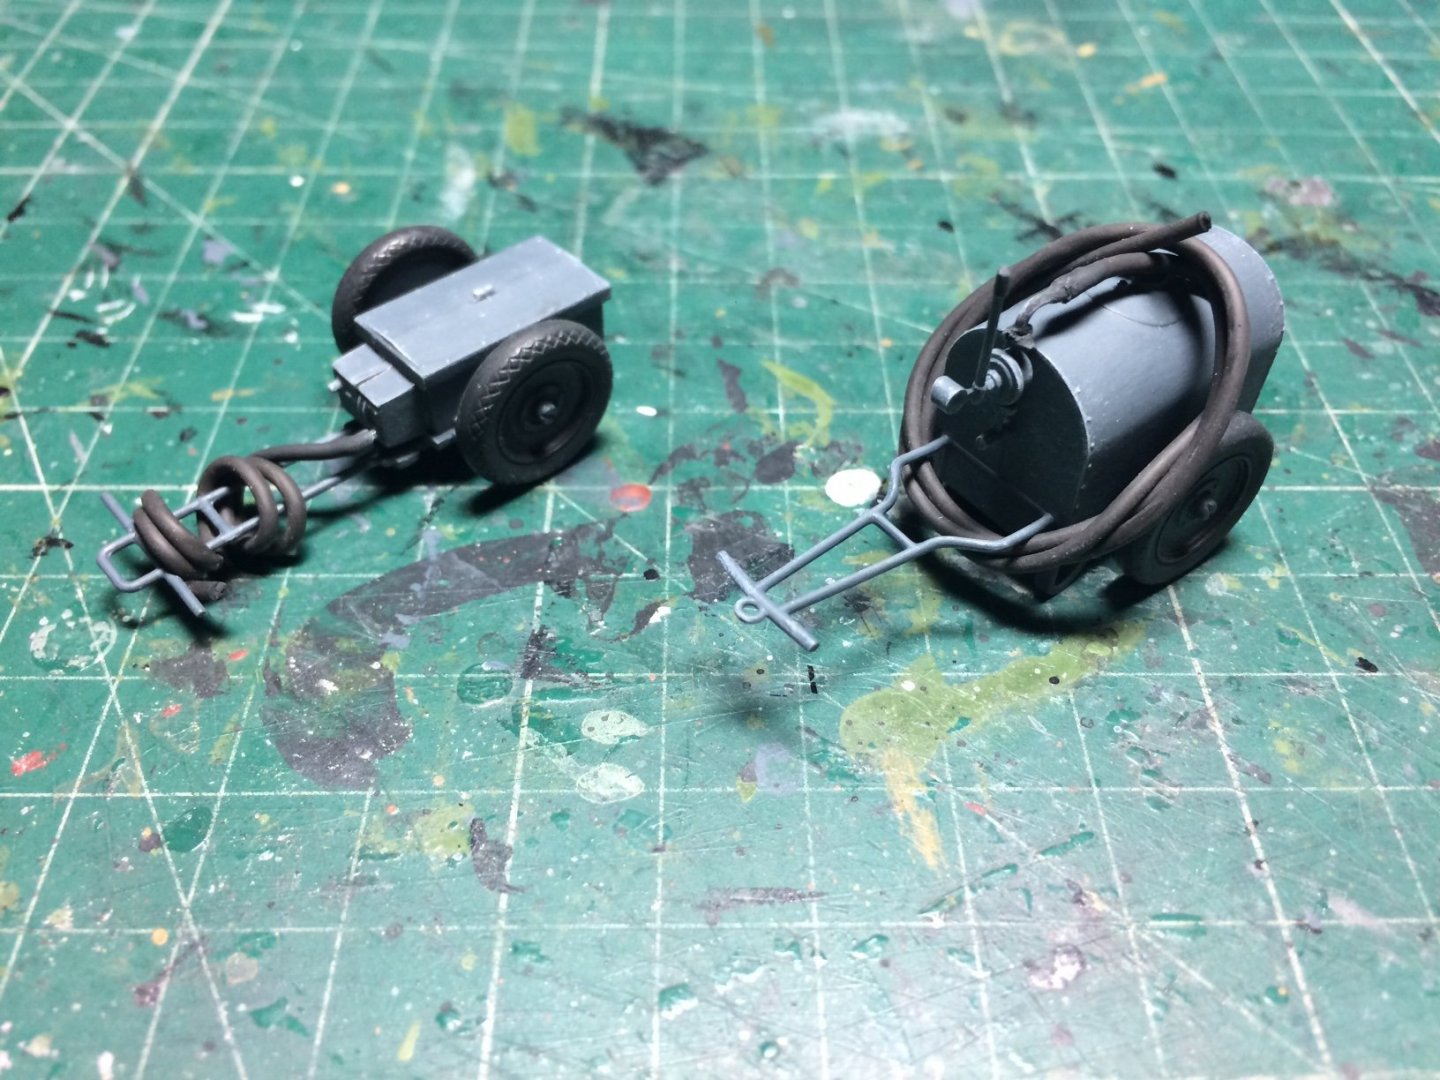
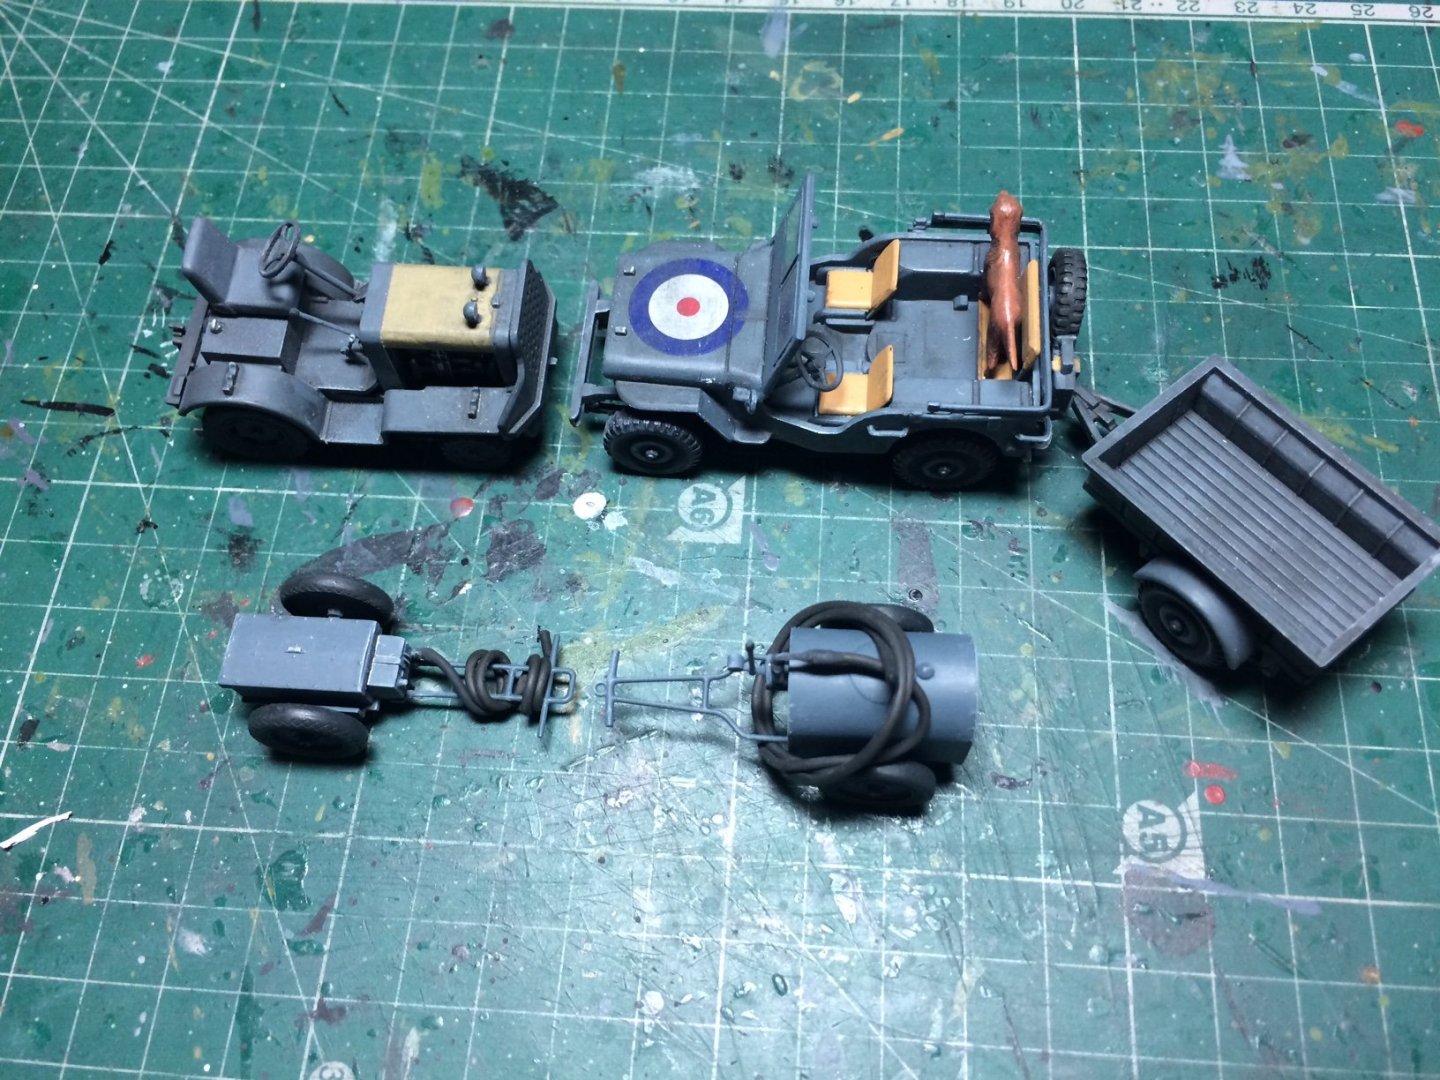
Evening all, more progress this eve, first I found some thin grey-ish wire I cut it into lengths that seemed about right, then I drilled a small hole in the end, then I pushed it over a plastic pole protruding from the front part of the starter, then I coiled it around the handle and added a touch of ca to hold it in place. Next I assembled the oil bowser tank, after painting I did the same with the hose as I did the wiring earlier, this time I coiled it round and looped it around the drum of the bowser and connected it to the feed assembly. So here is a family photo showing all the bits done so far. OC.

-
Really nice precision work. OC.
-
Hope all works out for you mate, fingers crossed it will. OC.
- 436 replies
-
- 3
-

-
- vanguard models
- alert
- (and 1 more)
-
Evening all, another item was made earlier in the shape of a ground power unit - basically a power transformer in a box with a handle on wheels, I still have to come up with the power lead - this I will make from some 5amp black wire. Next up will be a oil tank. OC.
-
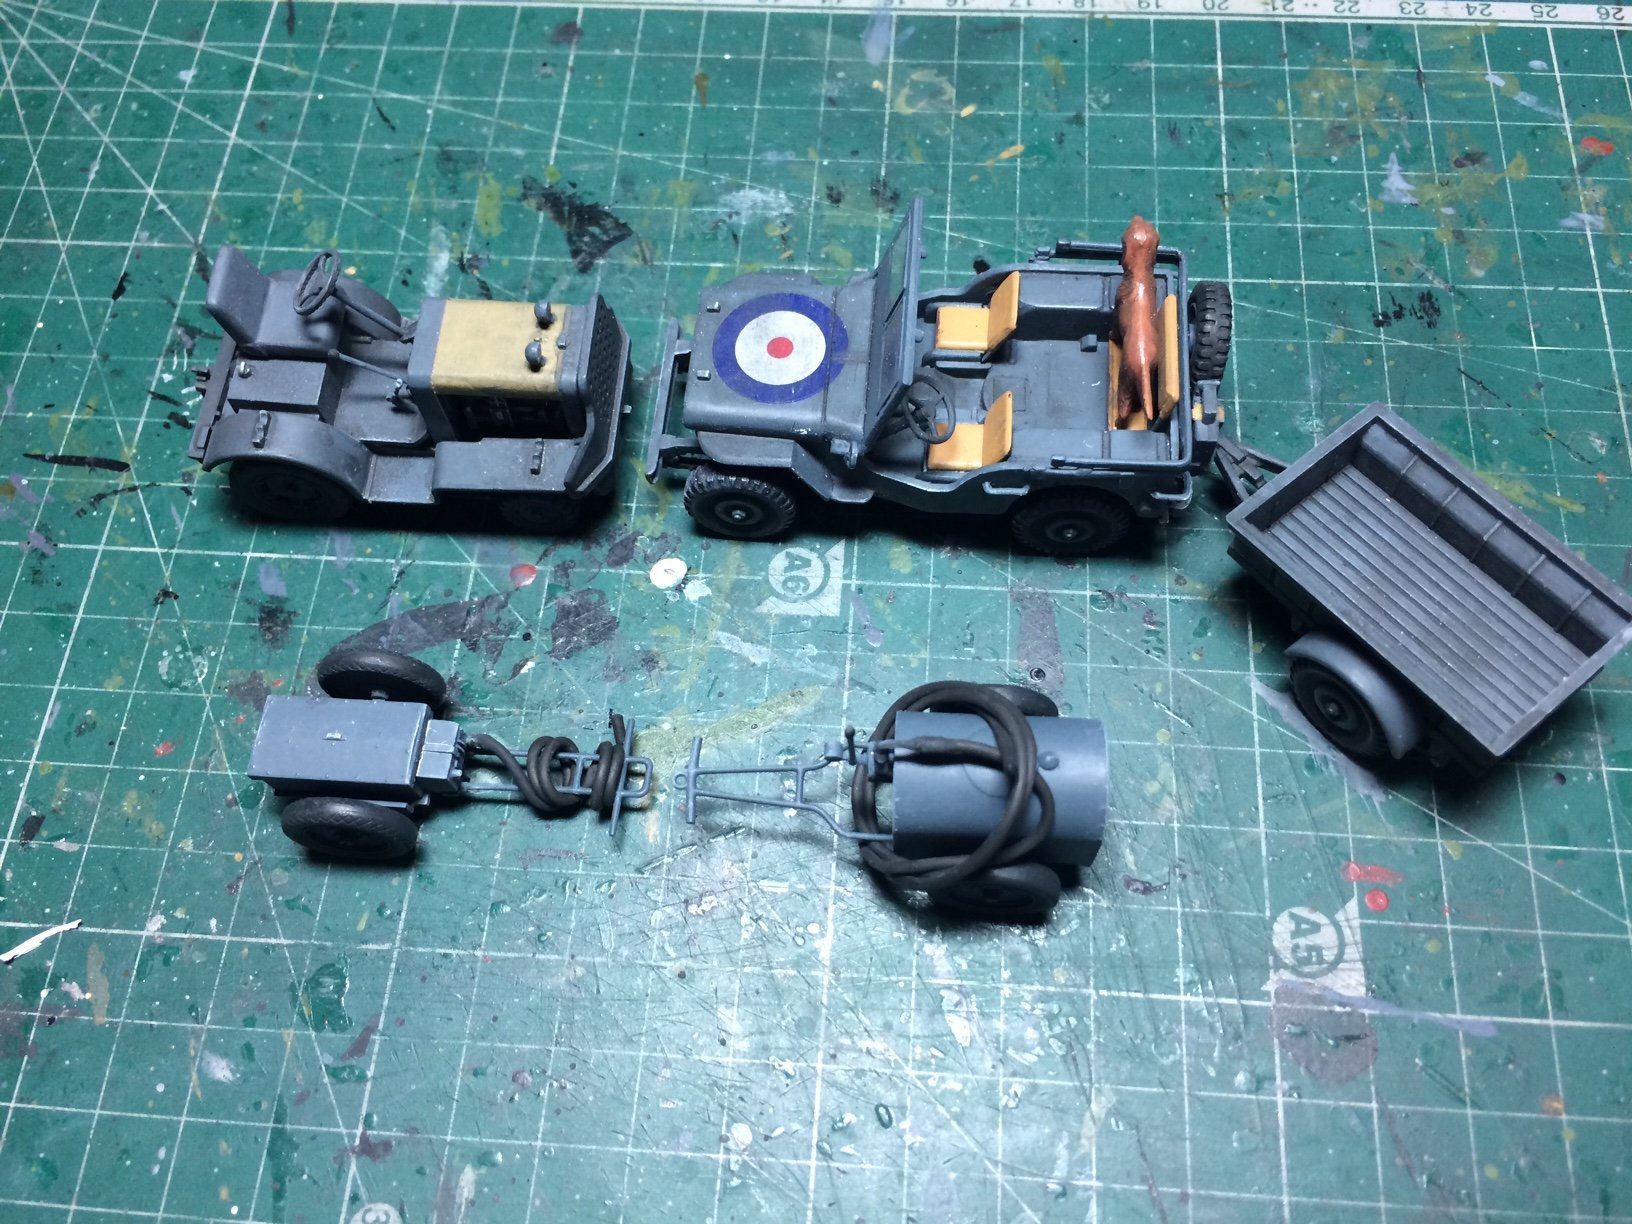
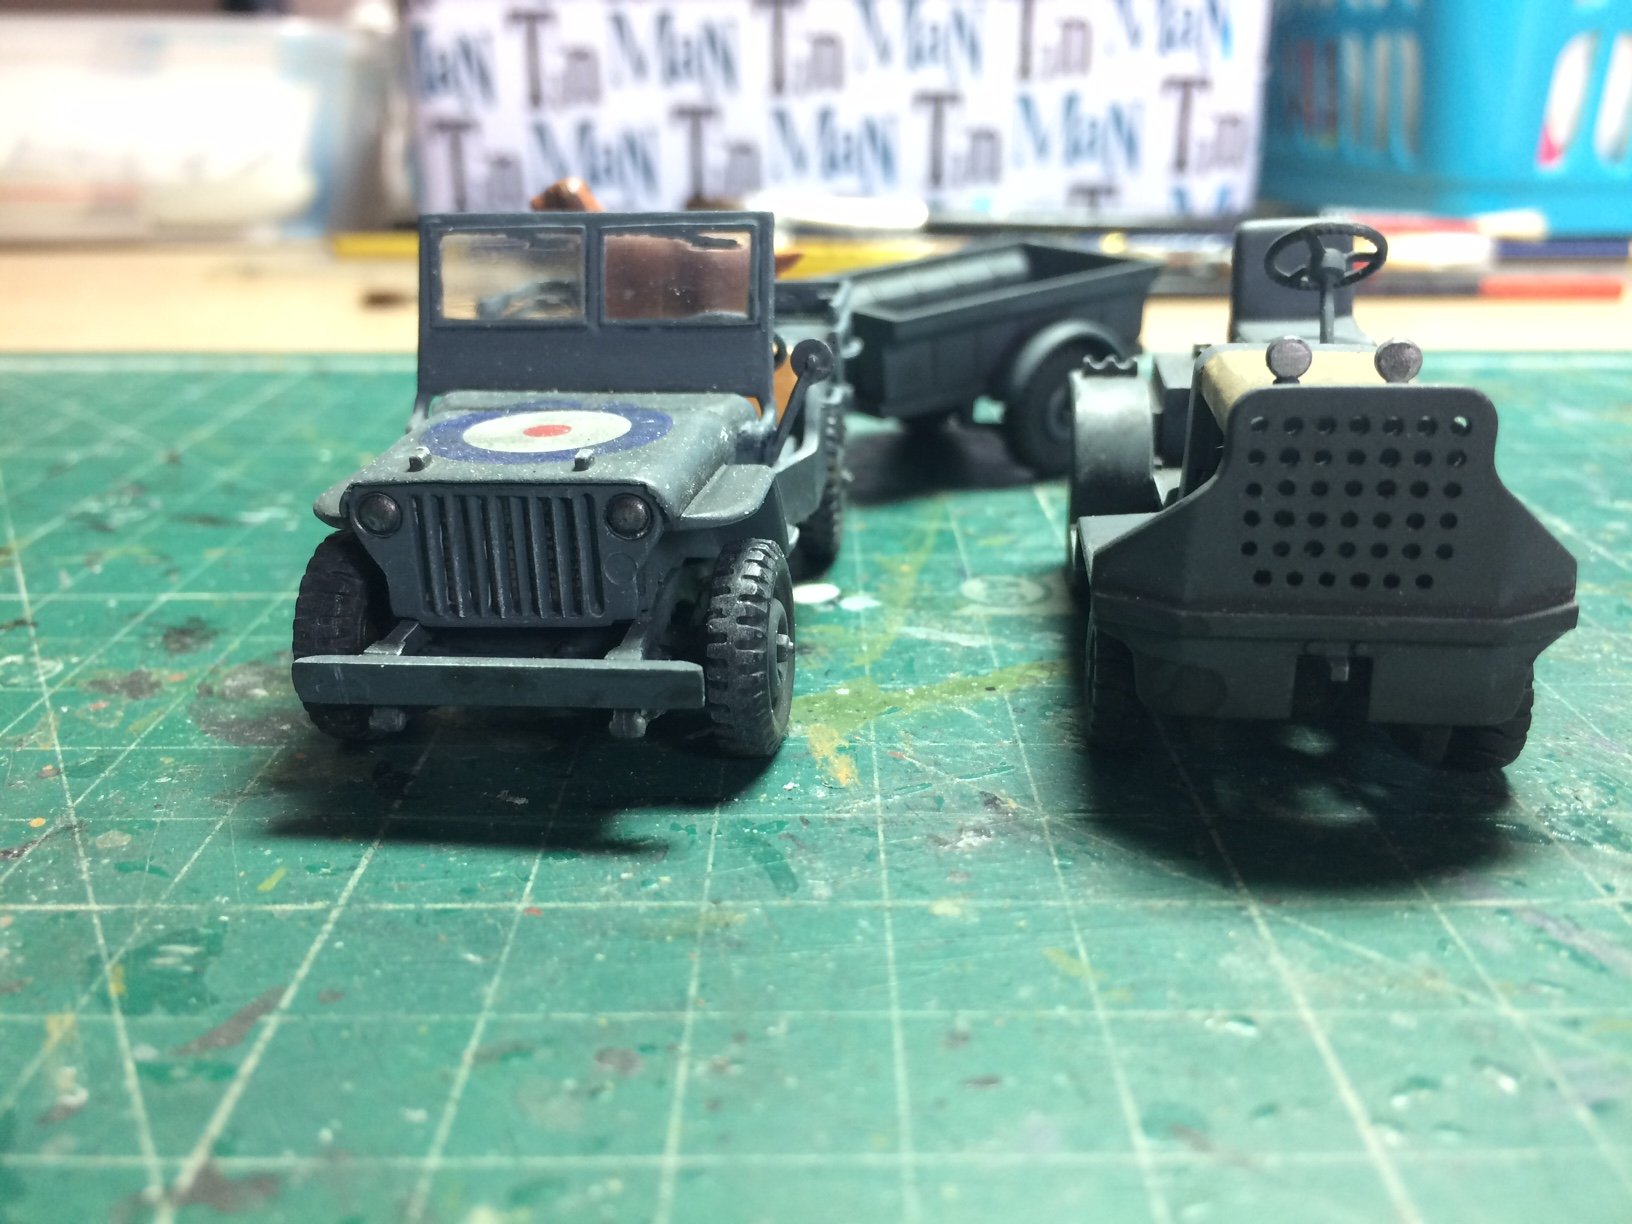
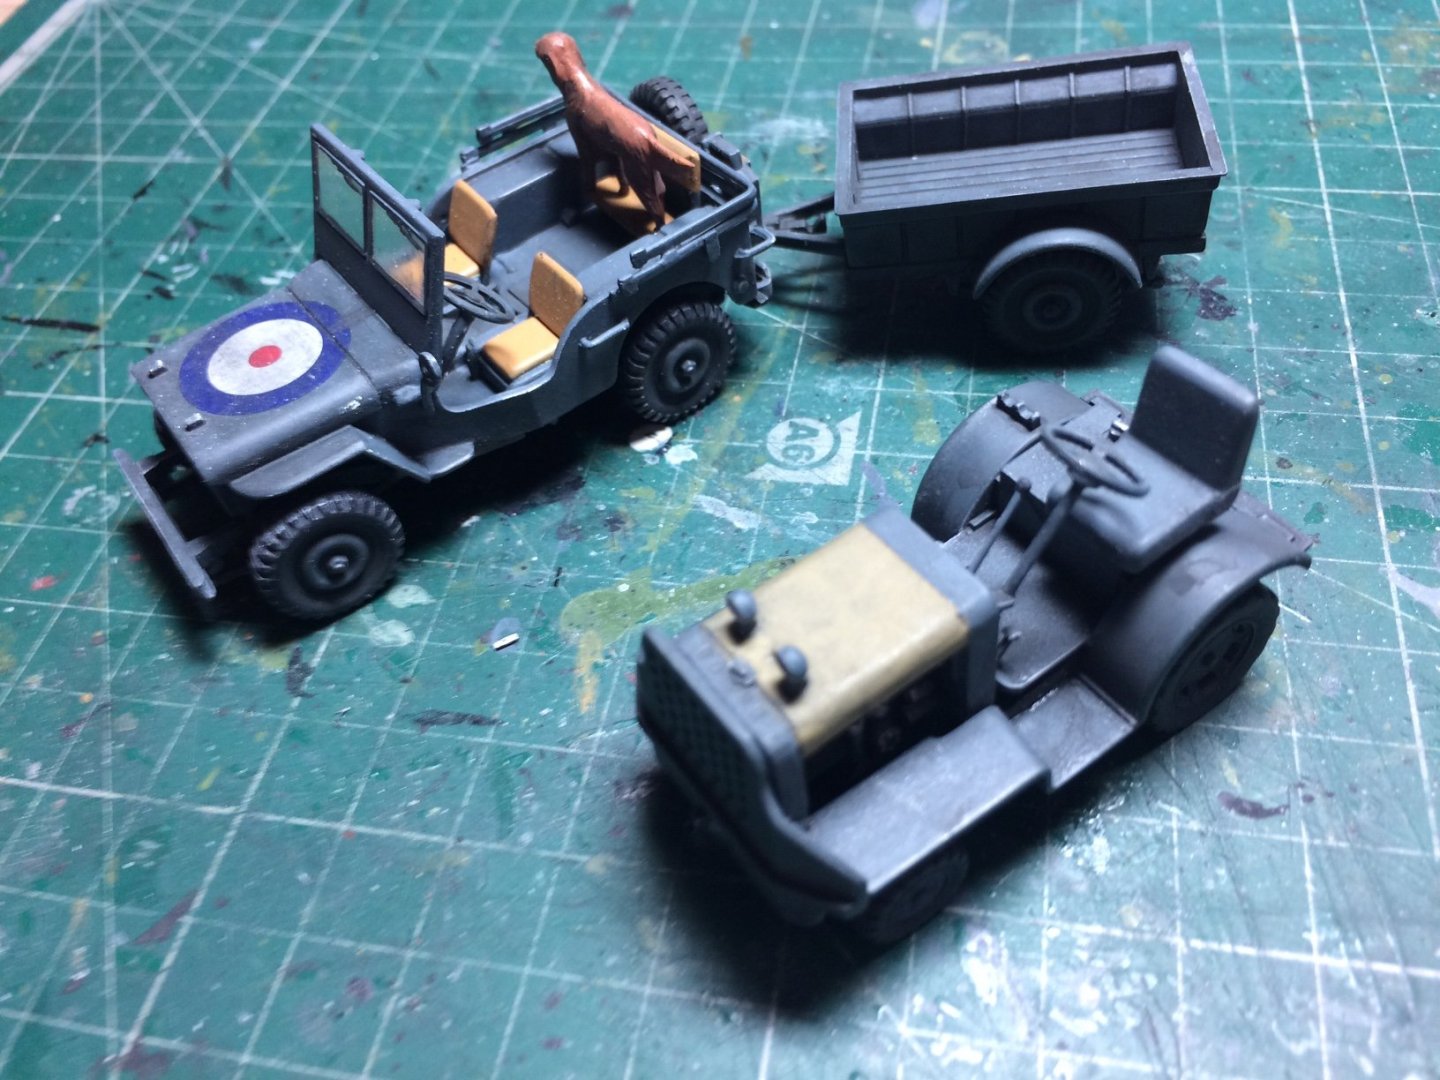
Afternoon all, after more progress with the tractor - now we have Two vehicles finished. OC.


- 932 replies
-
- 11
-
-
Better then to mask off the (Painted wings) and not have to mask the polished fuse. OC.
-
If you can - do the wings first in the paint finish you want - then concentrate on your magic on the fuselage after, will be easier to mask the wings to then do your metal work than the other way round - just my 10 pence worth. OC.
-
It reminds me of the old (80-90s) American Airlines polished metal scheme (used to love that scheme on MD11's. OC.
-
She looks great Denis - credit to you for keep going and overcoming some of the hick ups you had, she really looks the part now. OC.
-
Thank you denis. OC.
-
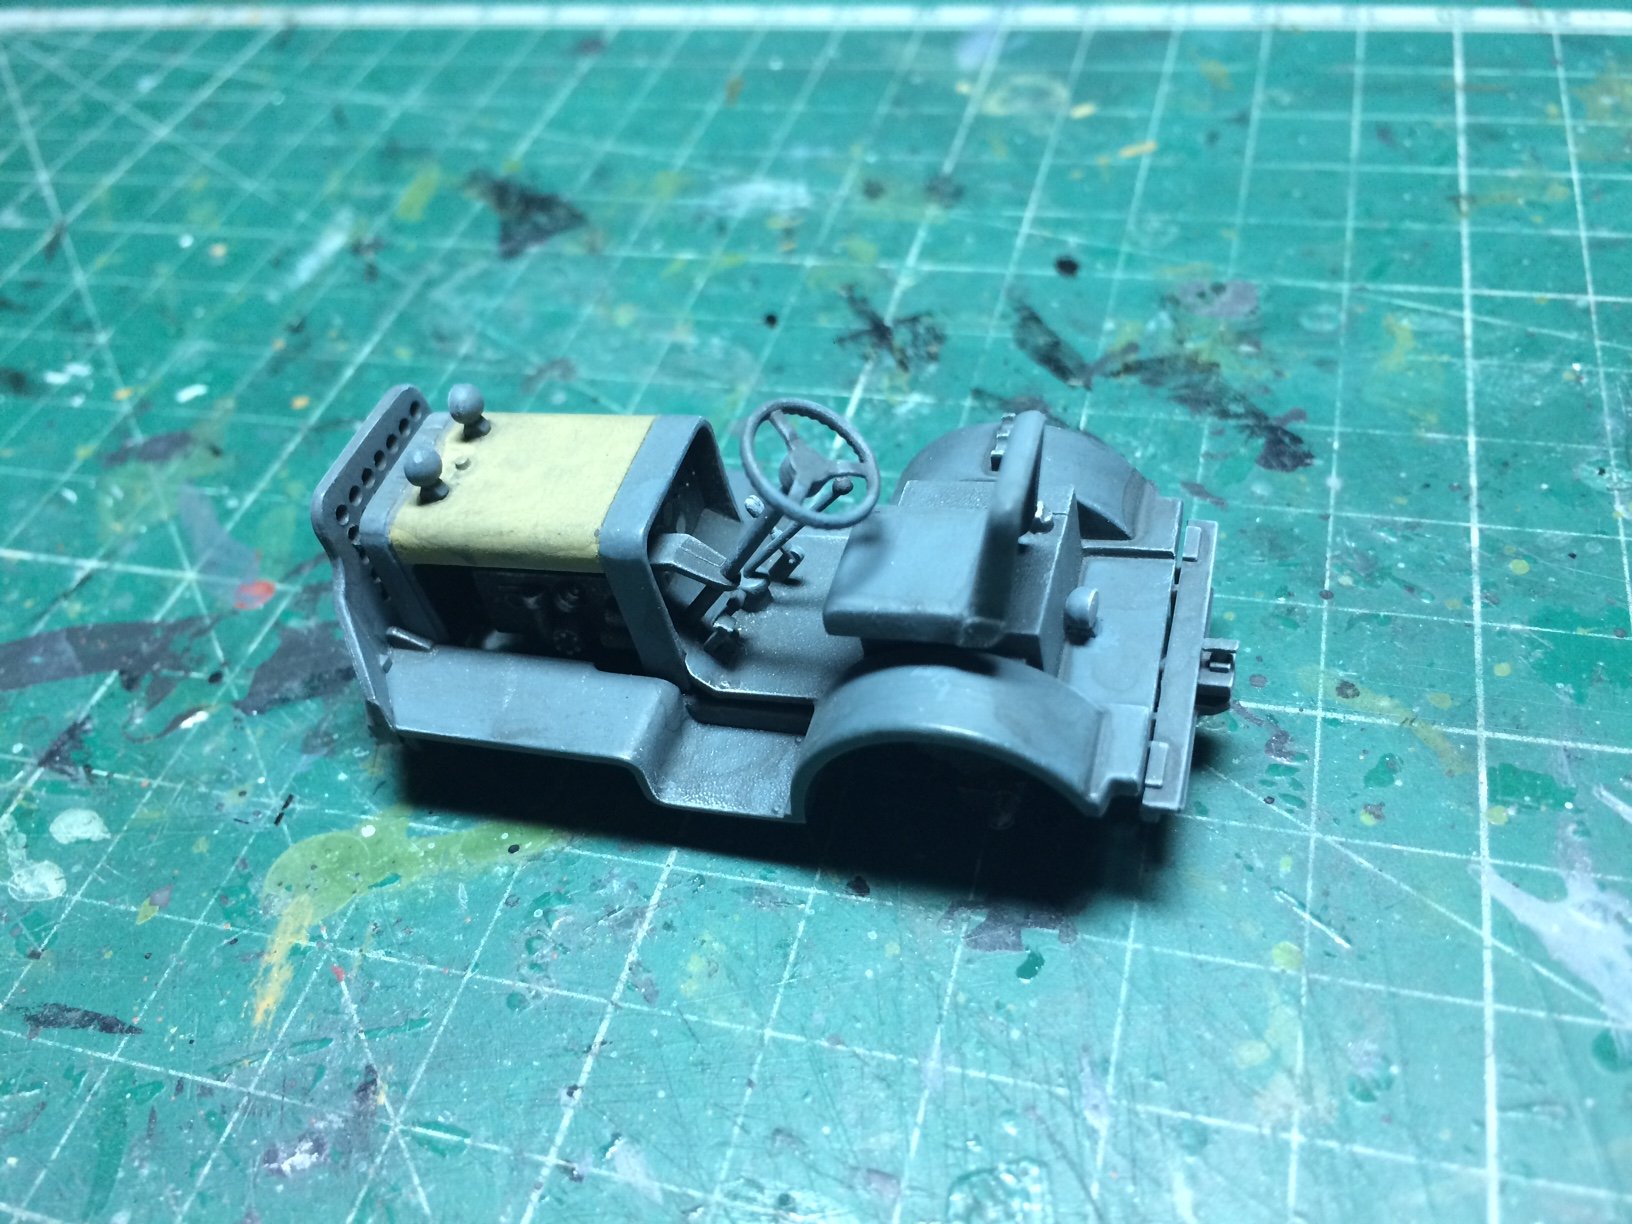
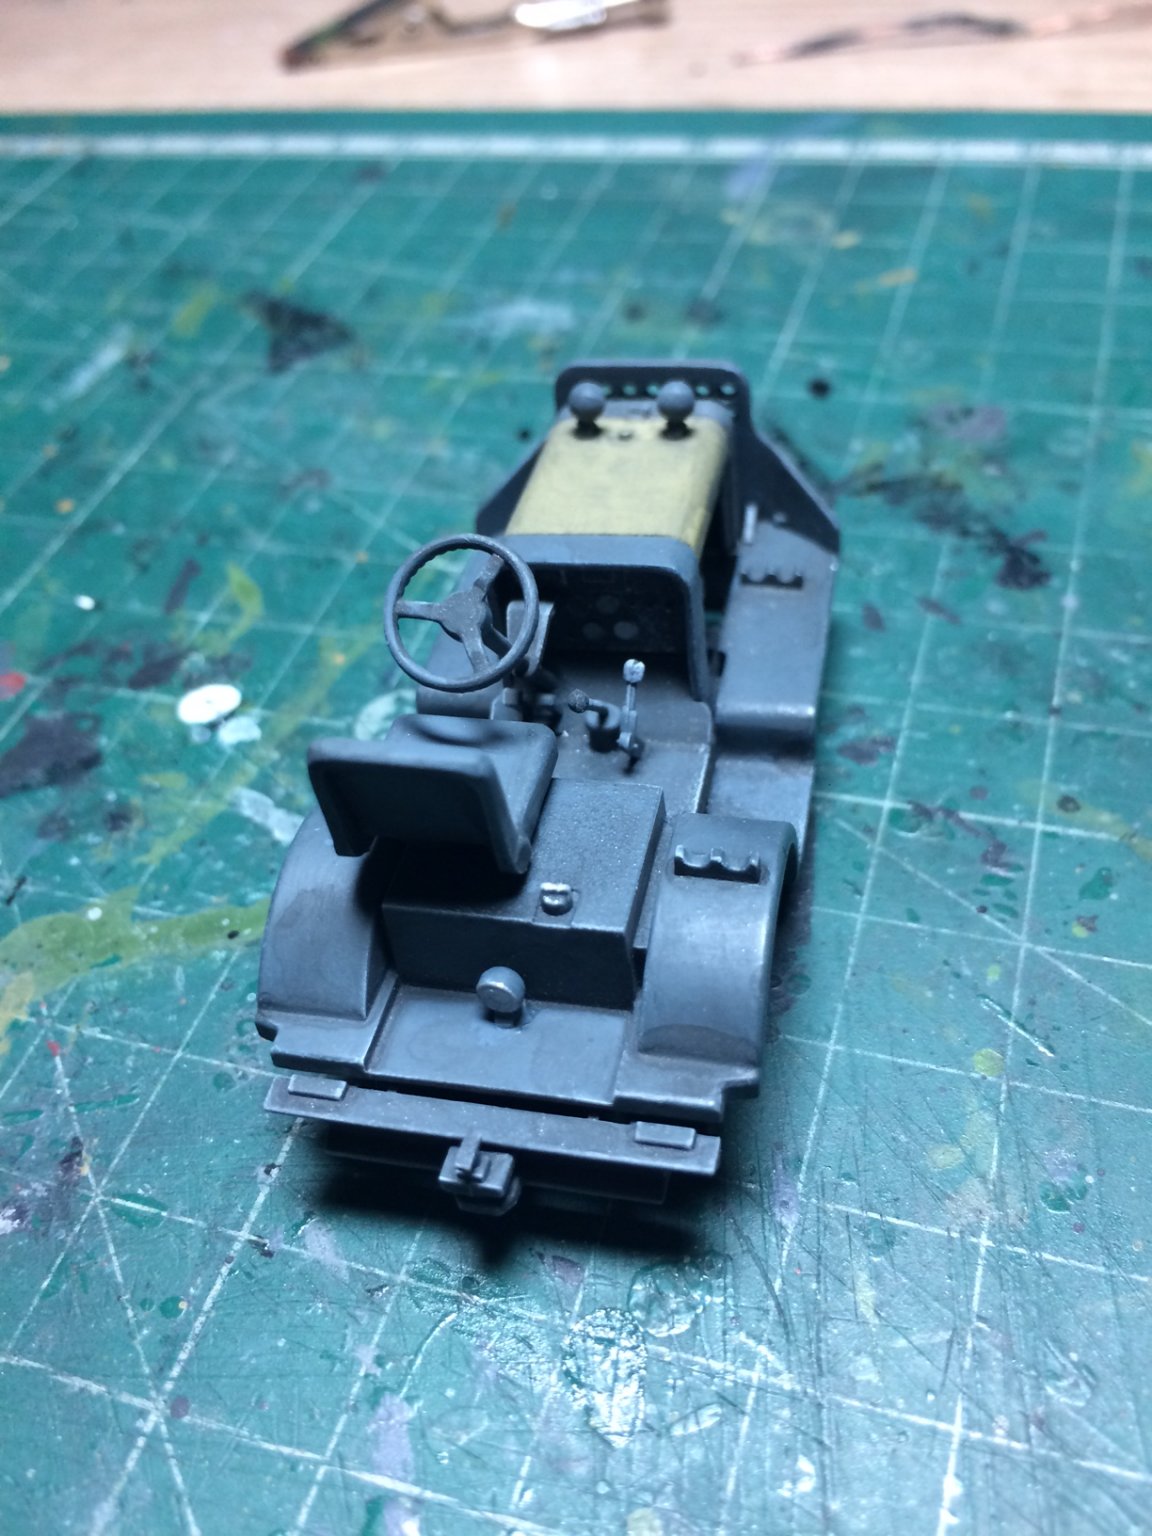
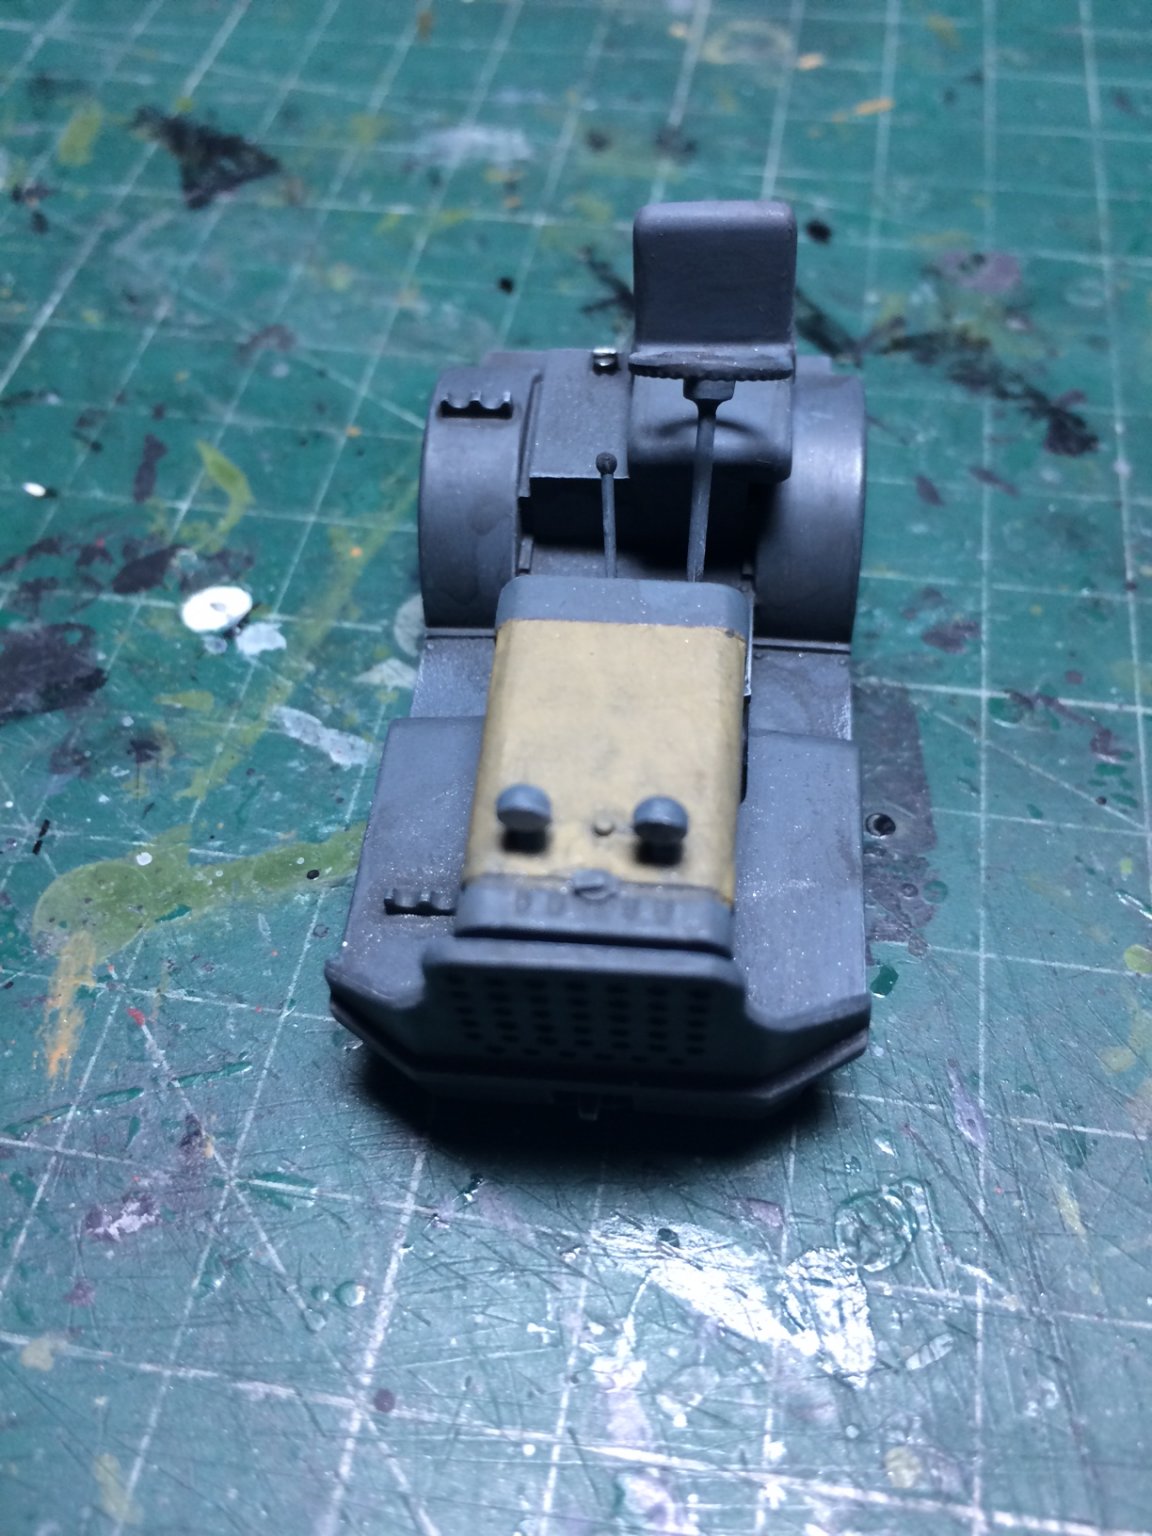
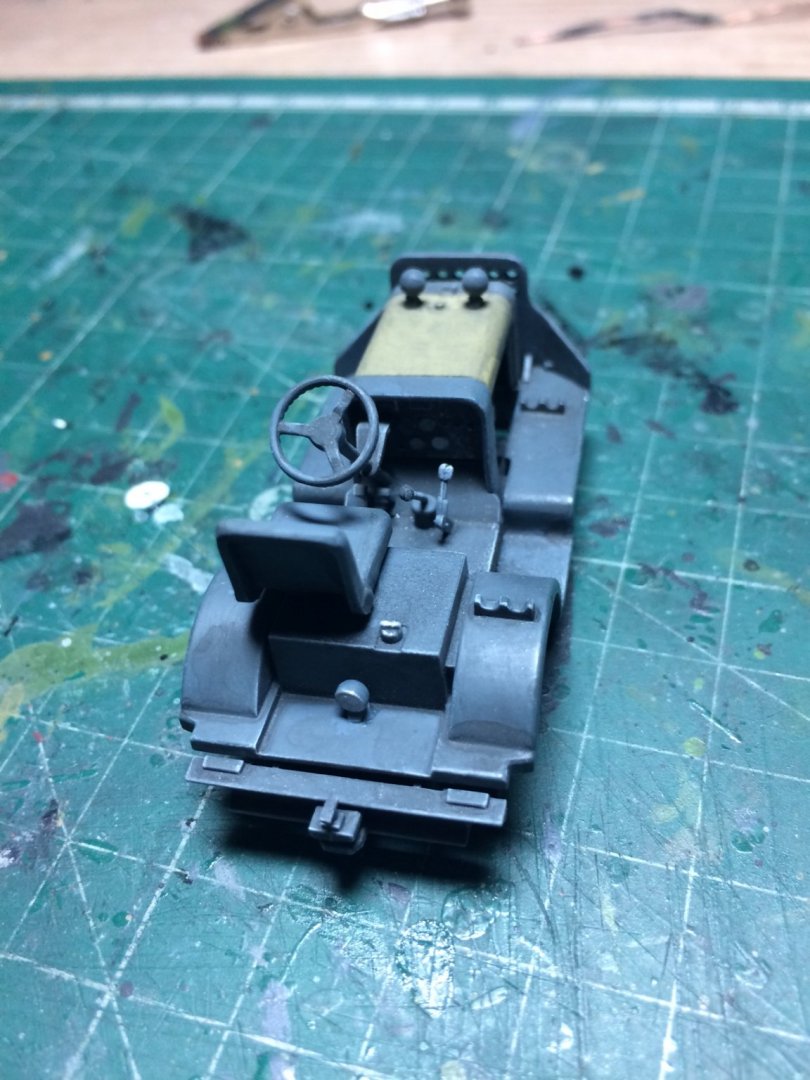
Evening all, I managed to get a bit more work done on the tractor, I am basically making it look quite bashed up dirty with lots of use, as I asume they would be. OC.


-
I agree also it looks really good, I think what might be distracting away from the fine finish is not having the rest of the plane completed - then it will really shine through and look mighty impressive. Your doing a fine job bro.👍 OC.
-
I have owned two french cars a Megane and a Citroen ZX, both quite decent cars. OC.
-
Like a how to tell what sex your snowman is - snow balls... OC.
-
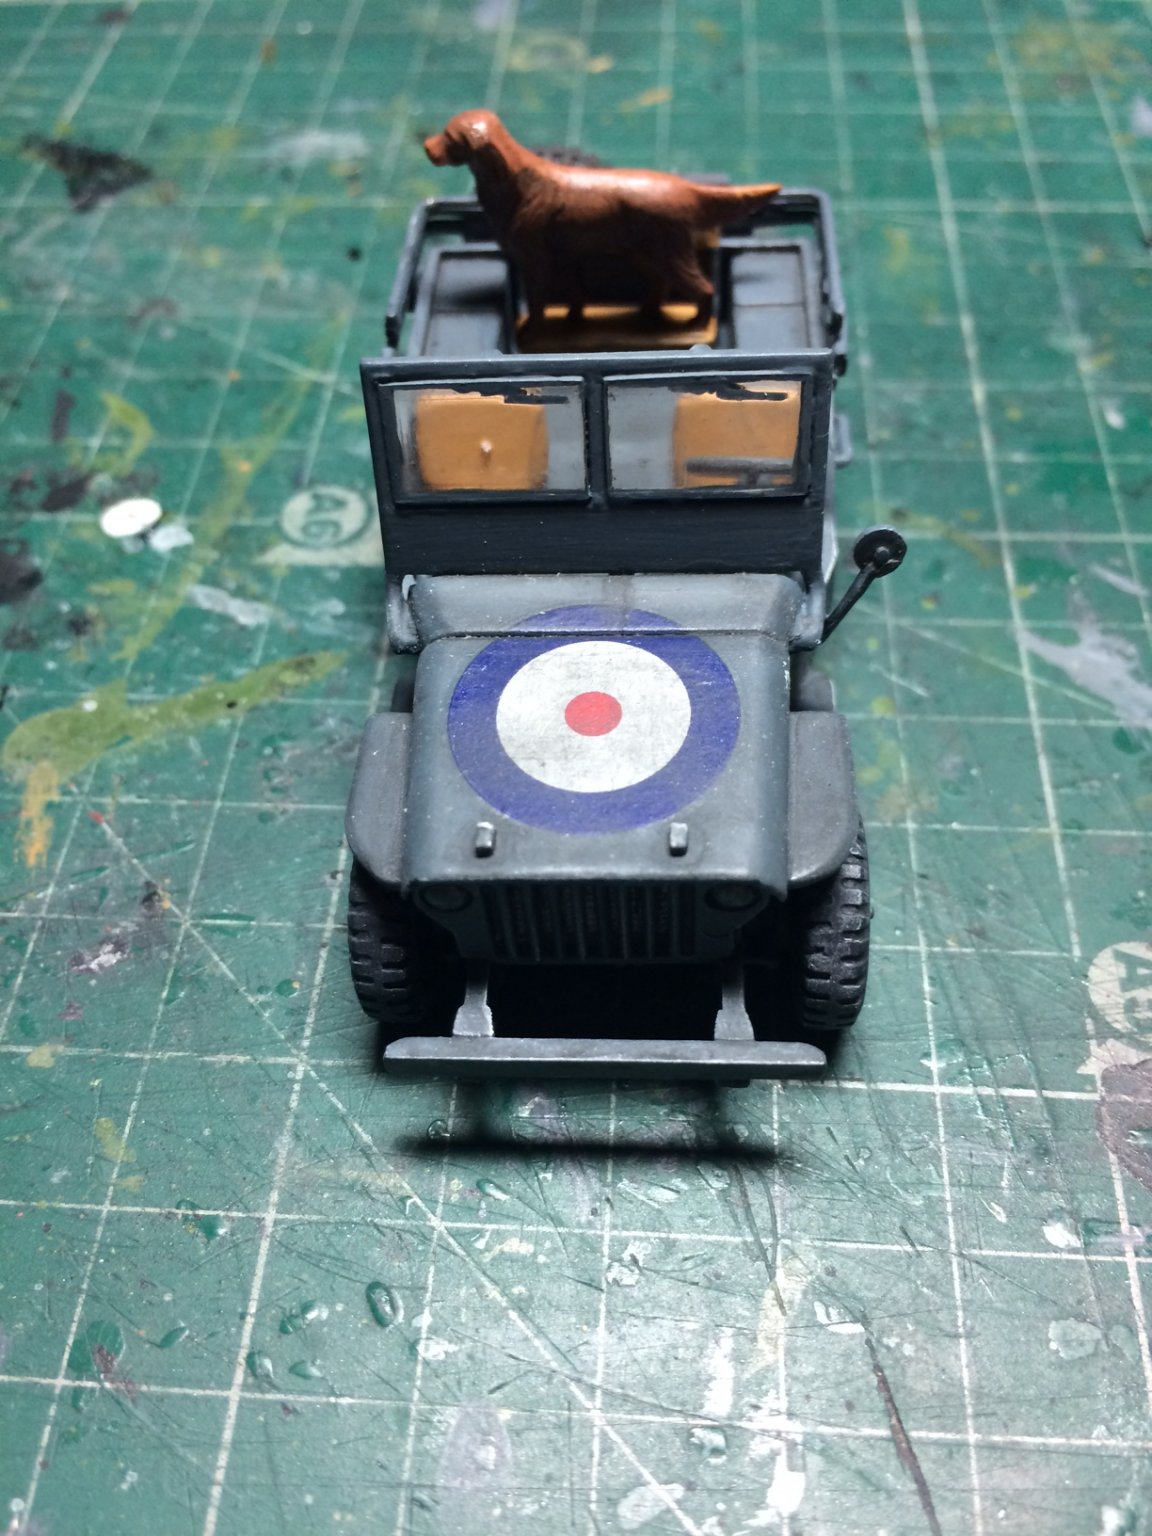
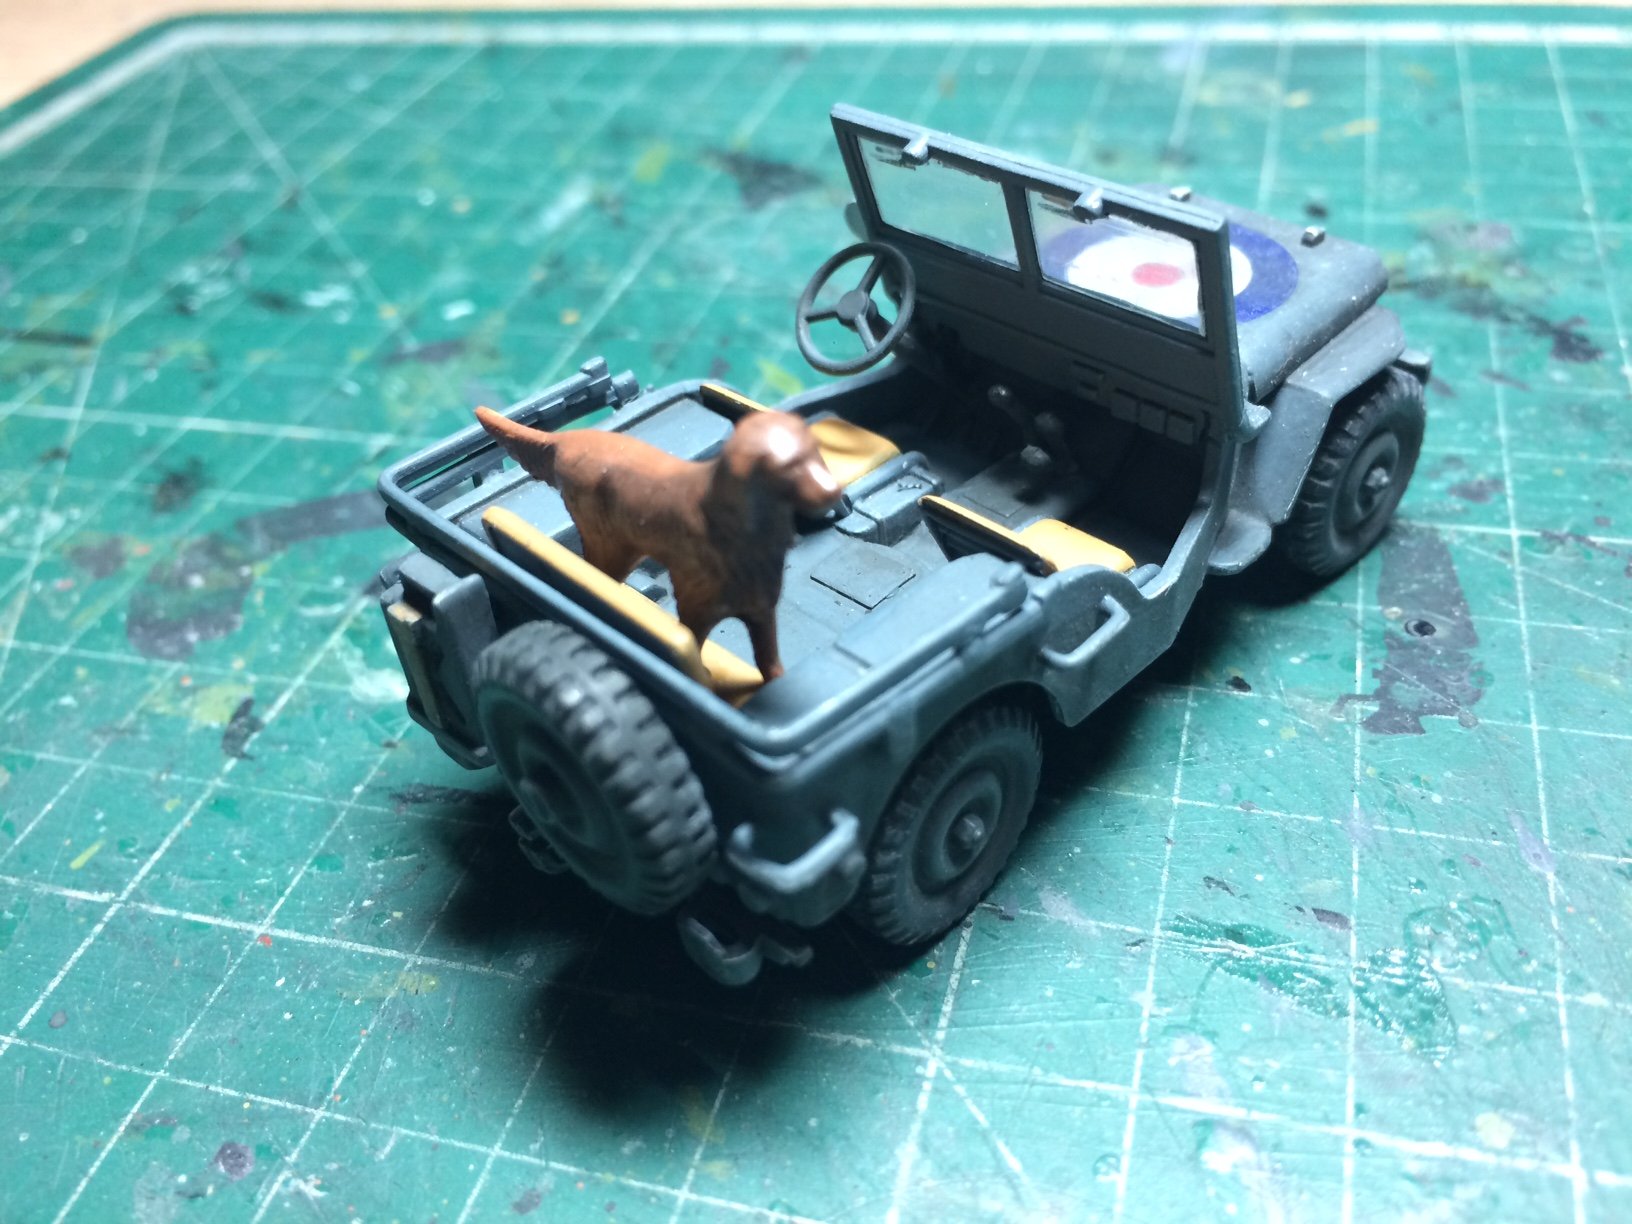
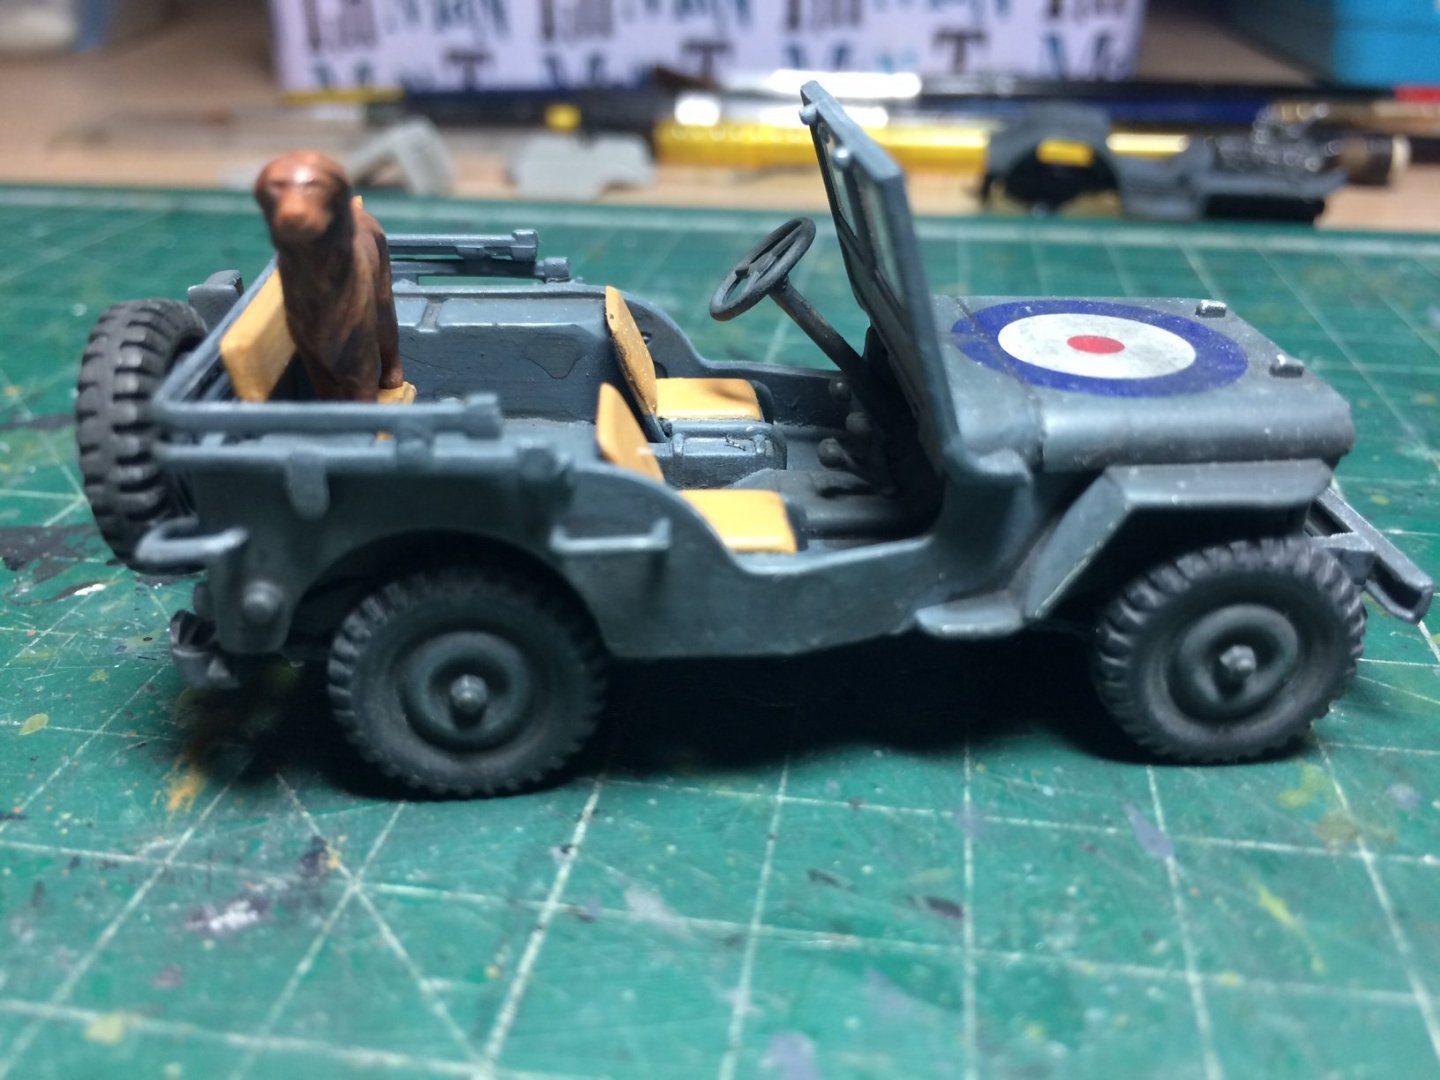
Thought I should mention that at 1/48 scale these things including the jeep are actually quite small, the jeep is about 2 - 3 inches long, and my pics are quite close up showing more than 1/1 scale. OC.
-
"Hey brother" - I'm liking that, I so get where you are going with this it will look Stunning. OC.
-
There a faded grey/black but deffinatley more towards a black side than the RAF Blue - the light (strong from above) probably didn't help. OC.
-
Very nicely done Denis - she came out just fine. OC.
-
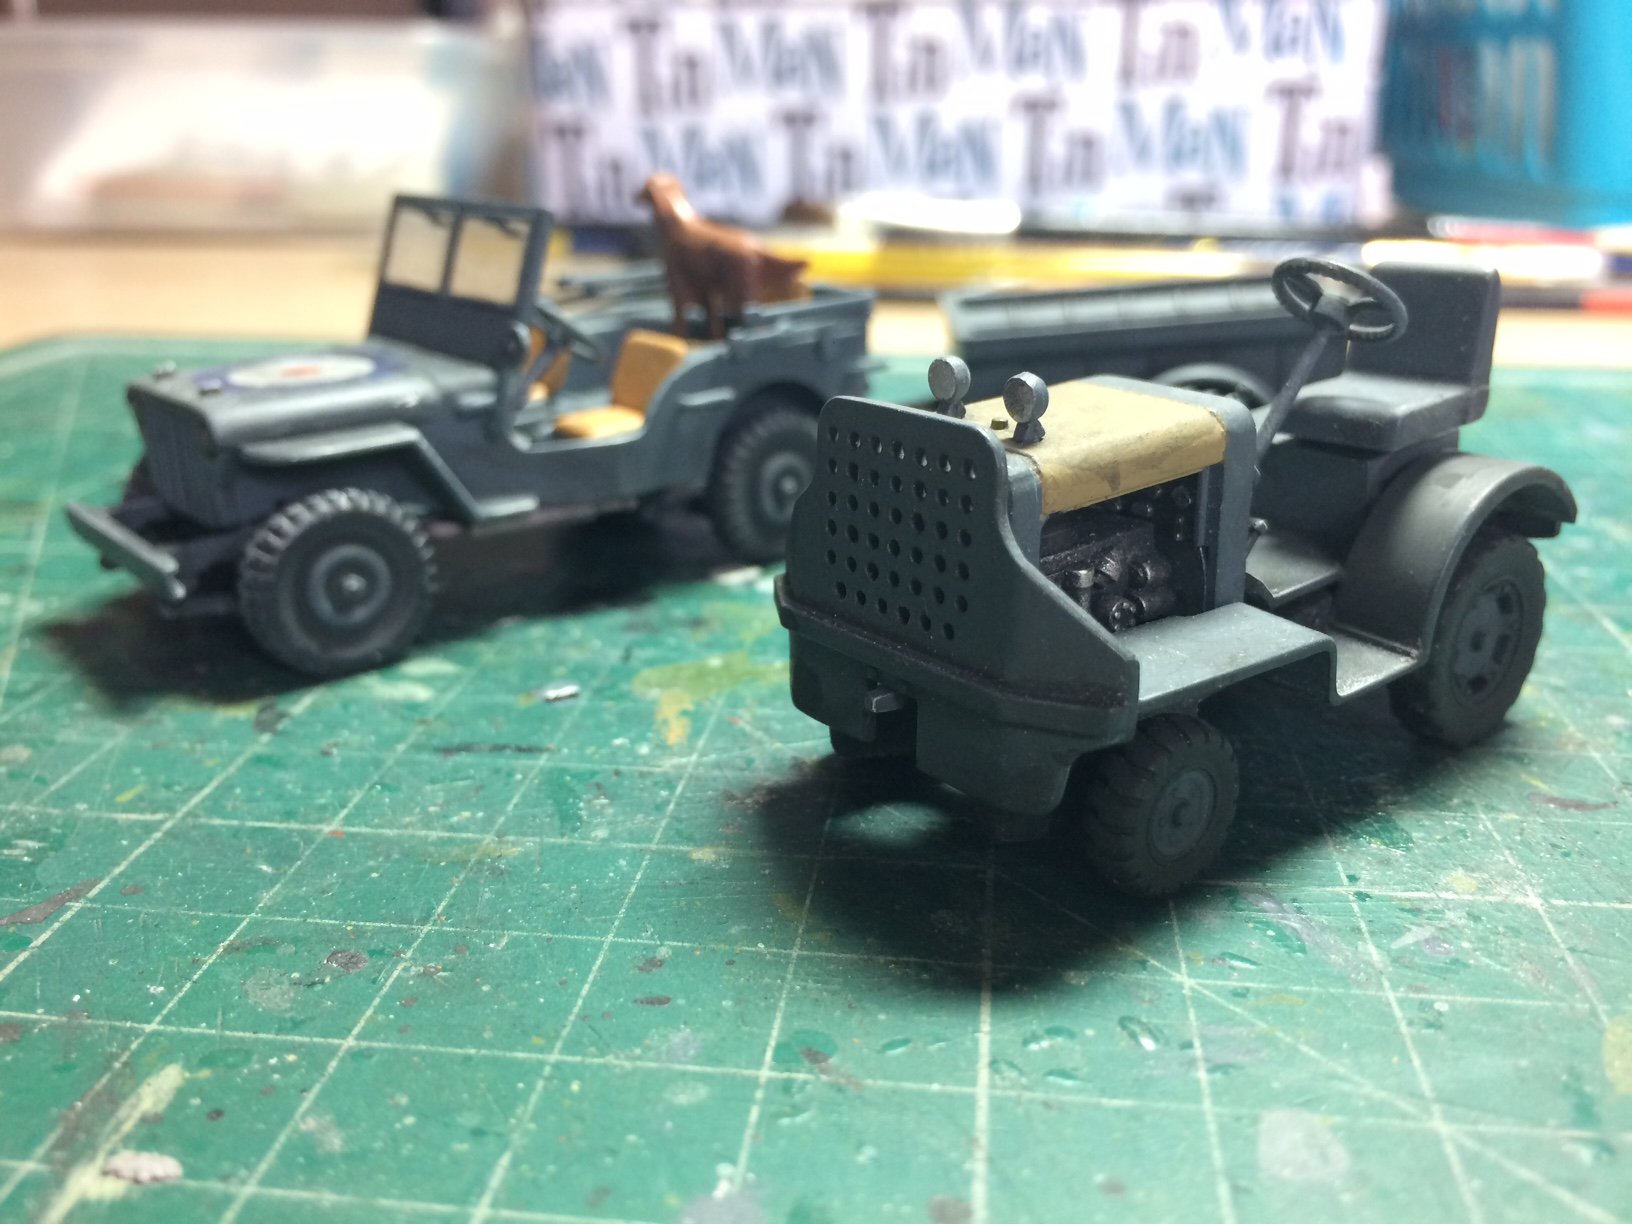
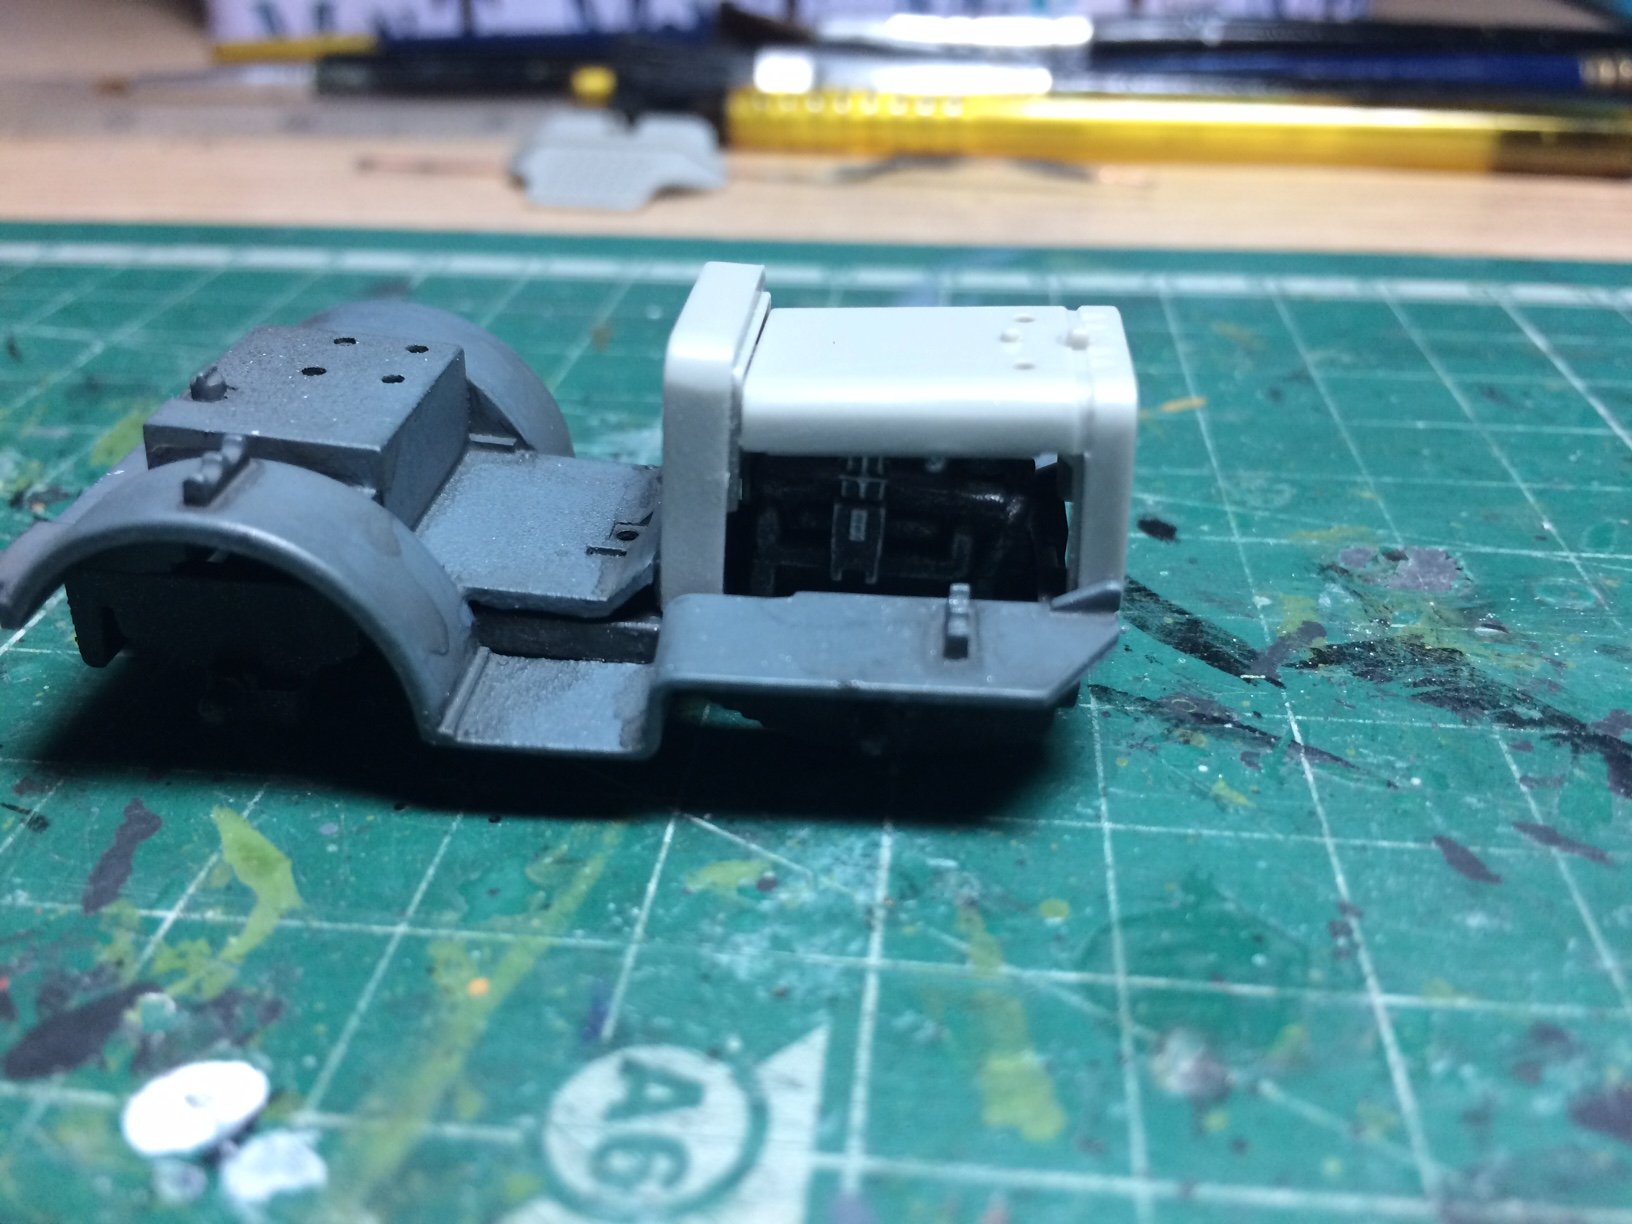
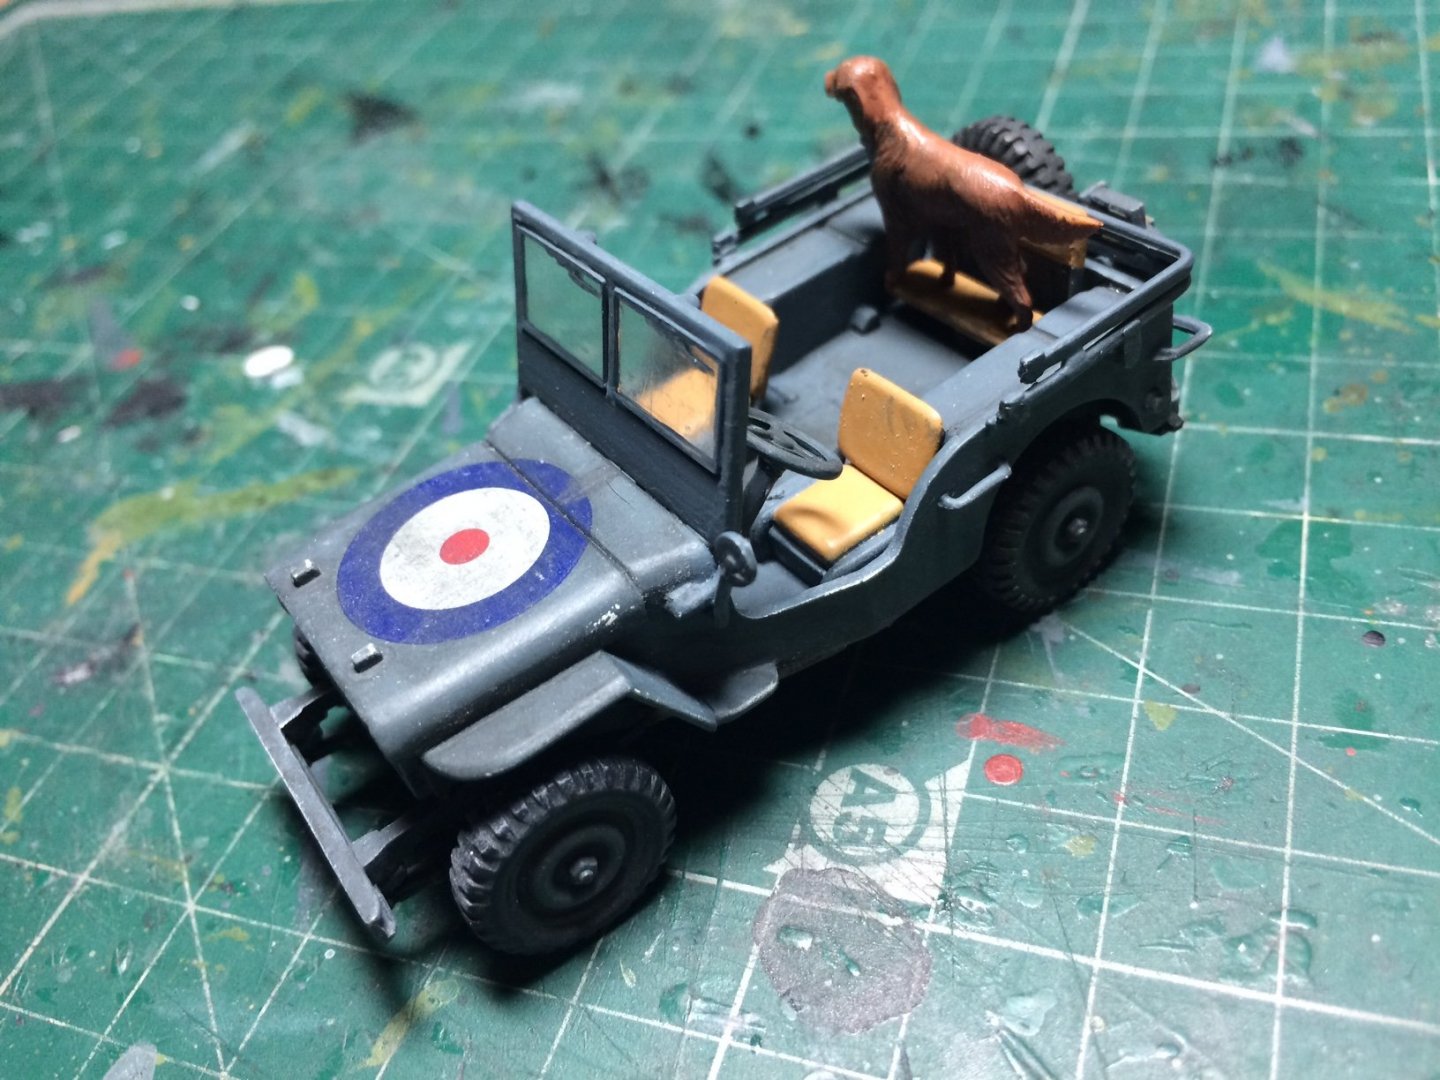
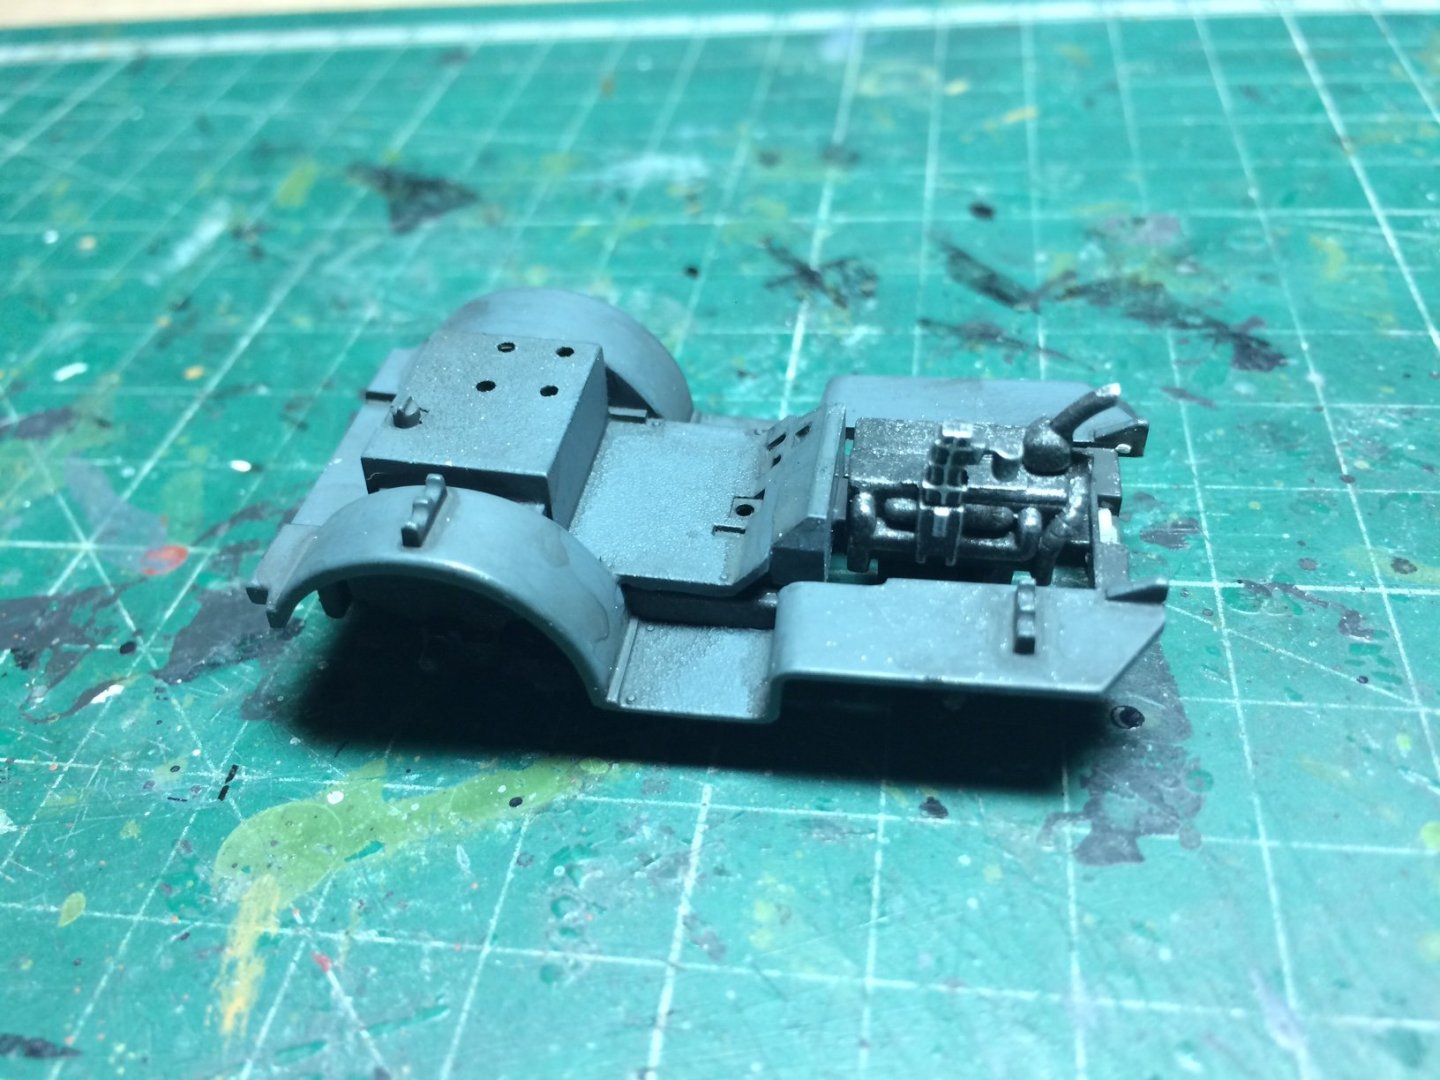
More progress this evening - first I bashed up the Jeep with washes and high lighting, then I painted and added "Red" the setter, she jumped up on the jeep and is sitting on the rear seat waging her tail, excited by all the activity. Next I continued with the tractor adding more washes and building the engine that was then fitted in place. Pic shows the dry fitting of the engine cover. OC.


- 932 replies
-
- 12
-
-
Looks fiddly all those windows - its always a sticky area. OC.
-
Fingers crossed bro. OC.
-
Hi mate, yep I have a bit more weathering to do to it yet - but not too much my dad used to tell me "if its still - paint it - if it moves still paint it". OC.