
HOLIDAY DONATION DRIVE - SUPPORT MSW - DO YOUR PART TO KEEP THIS GREAT FORUM GOING!
×


Old Collingwood
-
Posts
12,097 -
Joined
-
Last visited
Content Type
Profiles
Forums
Gallery
Events
Everything posted by Old Collingwood
-
 Can you lightly sand the blue a bit to smooth out the dried on glue, then re paint it? OC.
- 436 replies
-
- 2
-

-
- vanguard models
- alert
- (and 1 more)
-
Very fine work Kevein, those railings look like a real pain in the ...... OC.
- 337 replies
-
- 2
-
-
- finished
- mountfleet models
- (and 1 more)
-
"What - made" that was bad your workmanship deserves far more than that. OC.
-
Great work - love the paintwork. OC.
-
I have some fine fuse wire 3amp I think might try that, it attaches to the leading edge of the tail, what I might do is to drill a pilot hole in the edge of the tail then push the wire into it with a dab of ca, then attache the other end to the pe wireless pole on the fuselage. OC.
-
Quite an artform for lacing and tuning a wheel using a rig with center blocks you position each side with the wheel center centtered, then you turn the nipple on each spoke increasing or decreasing the tention pulling/releasing the rim till it dead center between the block, you do this all around the rim till its true. (I used to build repair bicyles for a living years ago) OC.
-
Thank you edward, some way to go yet, but atleast it shows the general finish, she still has to be re - decaled and to have her flat coat over her, then a few small bits and pieces like the bomb bay doors - 500lb bombs, entrance hatch door and ladder, and a radio wire. OC.
-
Thanks mate, took a bit of fiddling and masking and masking oh and masking, but I'm quite pleased with the finish. OC.
-
Yep its looking good from here Denis. OC.
-
I've laced and tuned cycle wheels but never a motorcycle. OC.
-
Cool cant beat a Suzi. OC.
-
Excellent work, is that a Gpz in the back of that other pic. OC.
-
That is great work Mark, coming a long mighty fine. OC.
-
Welcome to the club, thats a great kit to kick off with - lots of interesting style and big enough to show its self off, that is superb work with the pe mast (fiddly little fellas - aint they". OC,
- 211 replies
-
- 3
-
-
- prince of wales
- tamiya
- (and 2 more)
-
Thank you kindly. OC.
-
Thank You for taking an interest, it so builds one's confidence you know. OC.
-
Thank you kindly, yep I have been able to rescue that decal situation🙂 OC.
-
Yep, certainly has mate. OC.
-
Thank you Denis. OC.
-
Always a course of forward and backs with out model making, she is coming on lovely despite your little hick up. OC.
-
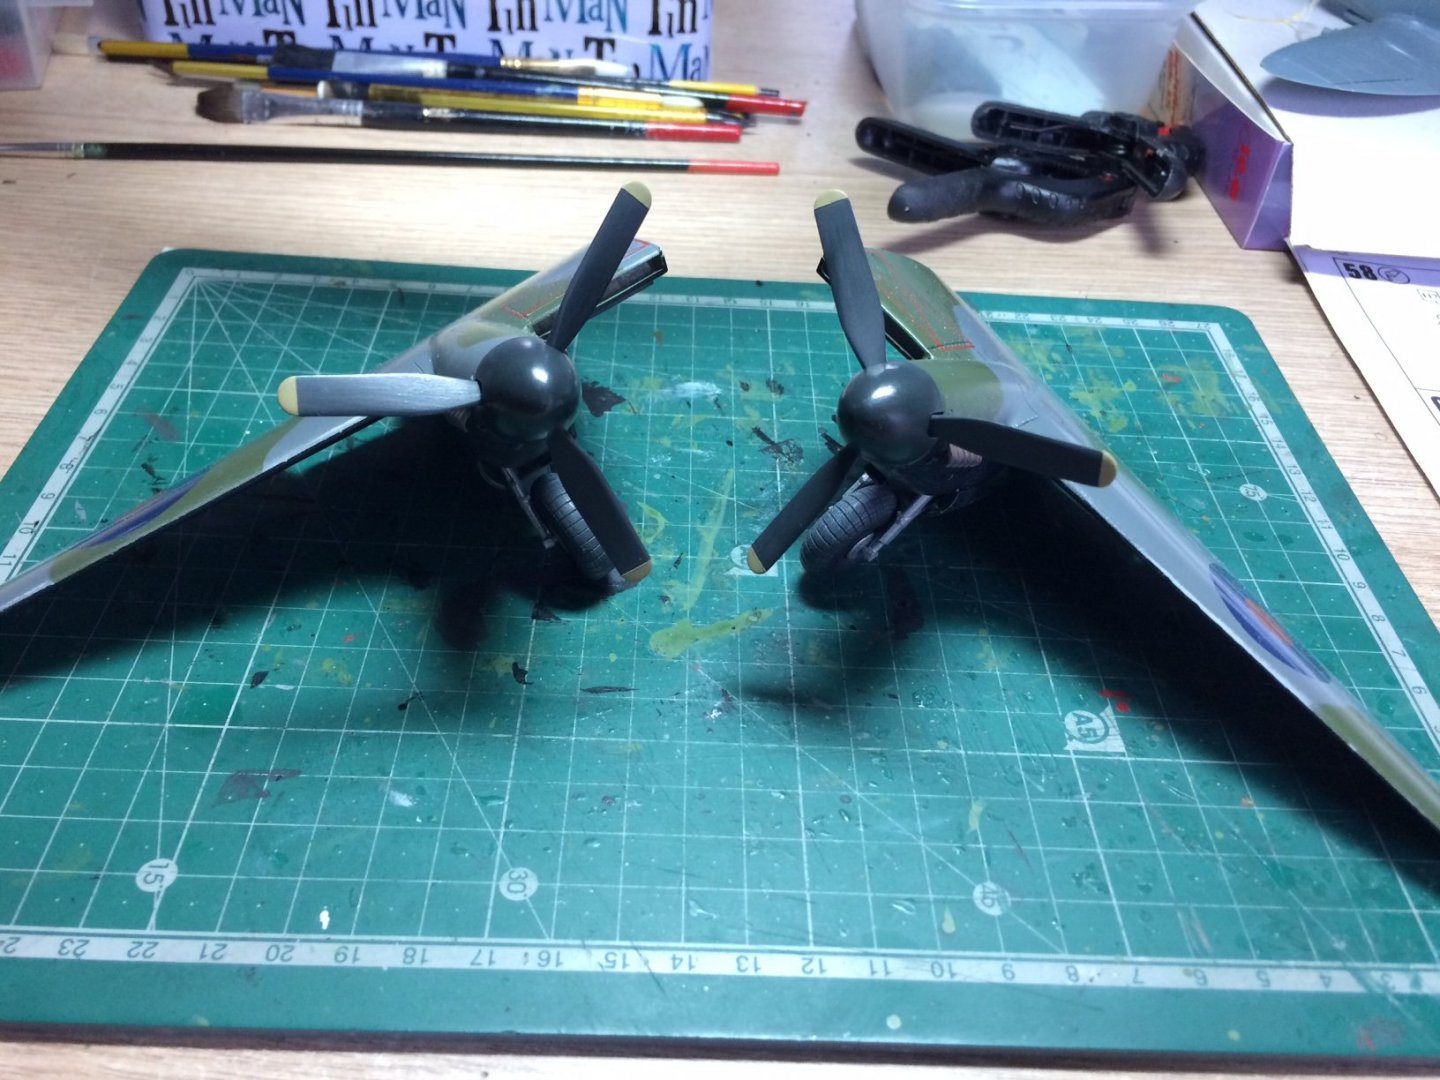
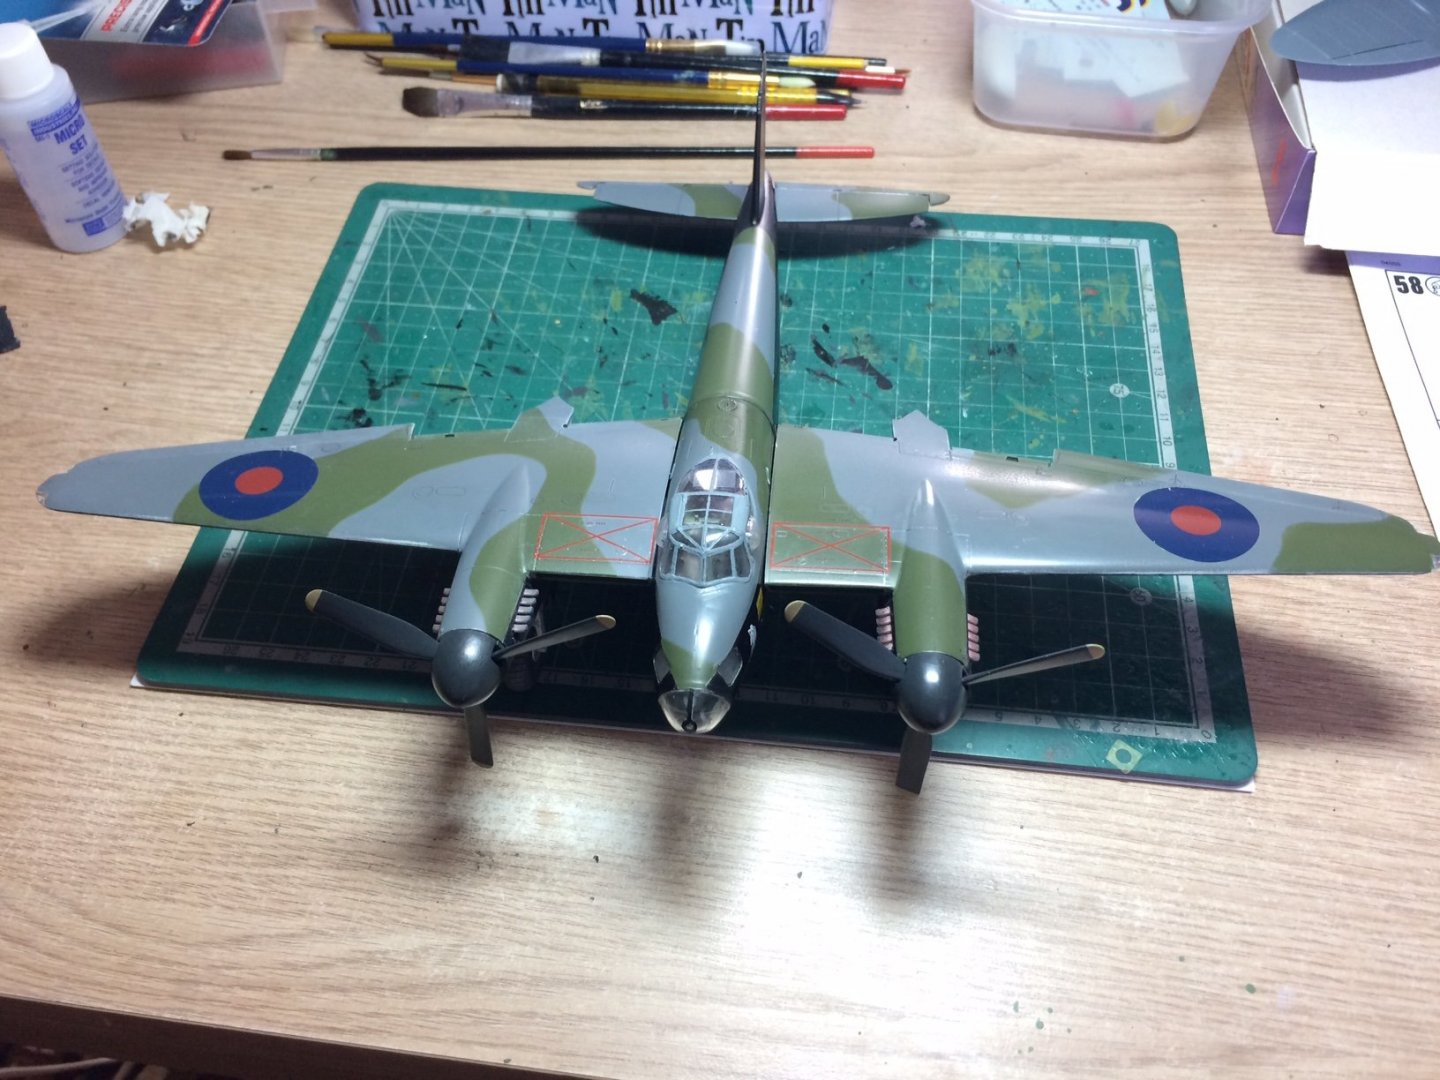
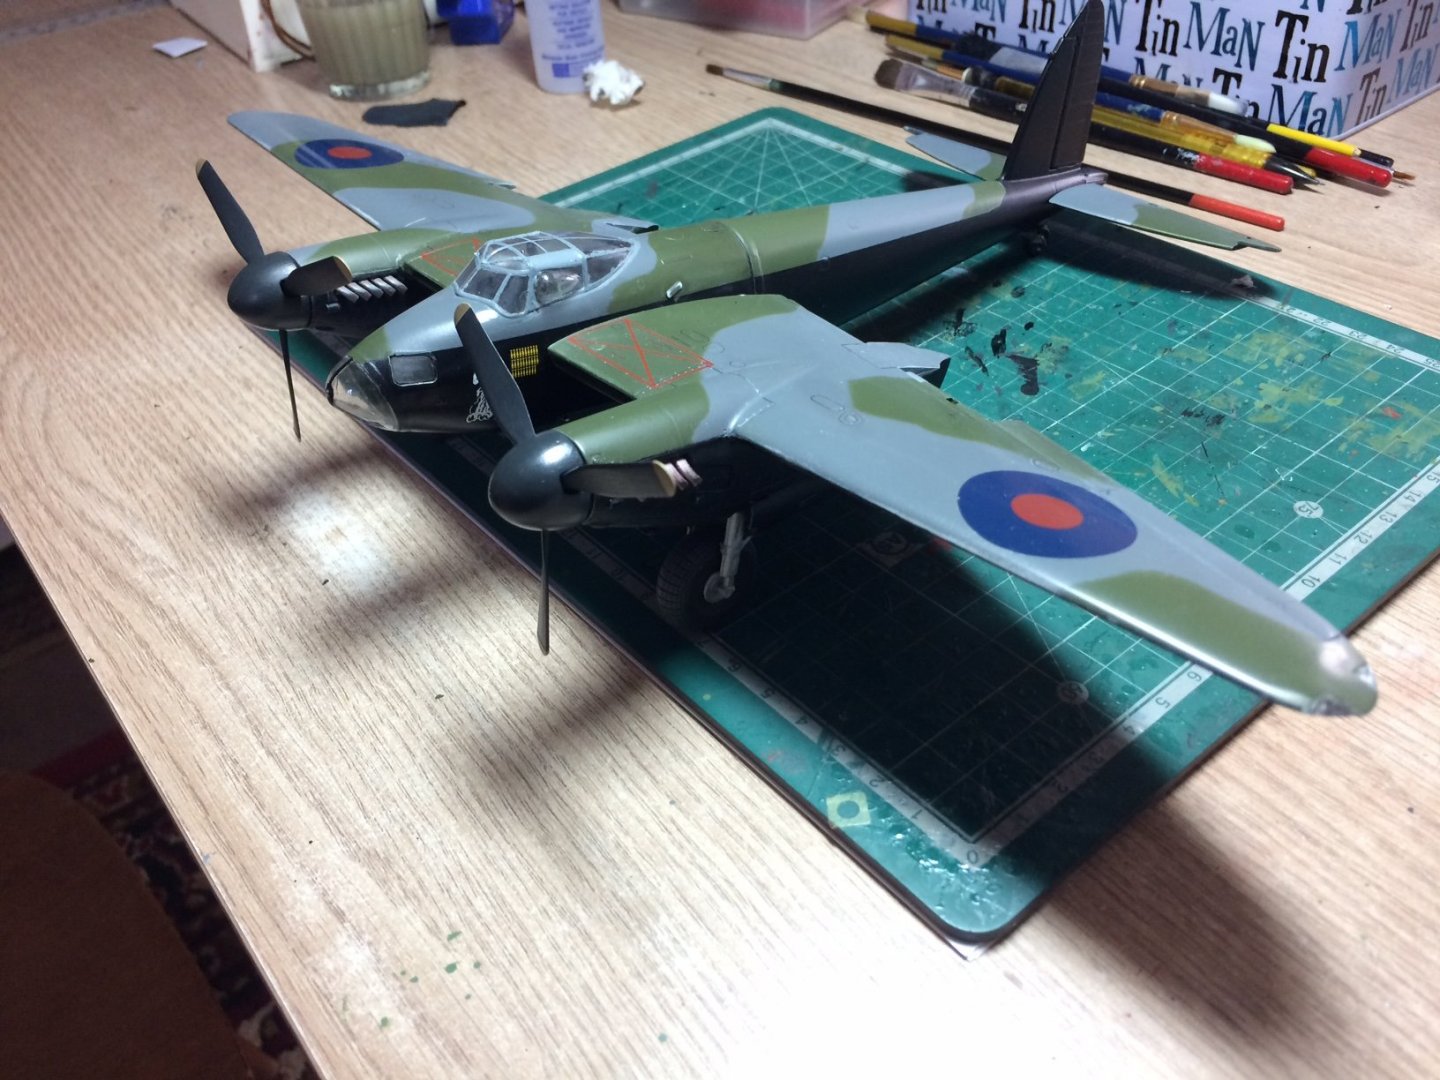
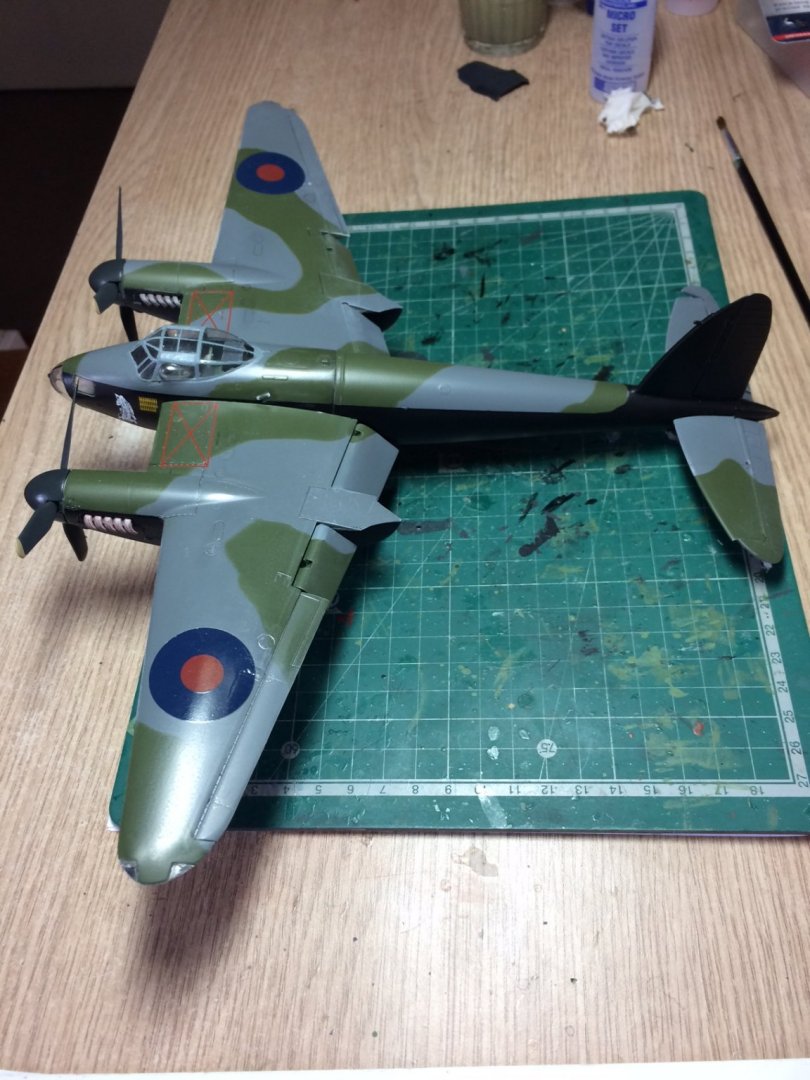
Good day all, so - paintwork done on the props and spinners then they were put togther, then "The Big Reveal" the fuslelage camo/Black paintwork came out ok I think. So I dry fitted them all together - here are a few dry fit possing pics. OC.
- 932 replies
-
- 15
-
-
Fokker Dr.I triplane by cog - multiple - 1:72 - PLASTIC
Old Collingwood replied to cog's topic in Non-ship/categorised builds
Time to build some display cabinets Carl. OC. -
Fokker Dr.I triplane by cog - multiple - 1:72 - PLASTIC
Old Collingwood replied to cog's topic in Non-ship/categorised builds
Thats an Airforce. OC.


