HOLIDAY DONATION DRIVE - SUPPORT MSW - DO YOUR PART TO KEEP THIS GREAT FORUM GOING! (Only 20 donations so far - C'mon guys!)
×


Old Collingwood
-
Posts
12,098 -
Joined
-
Last visited
Content Type
Profiles
Forums
Gallery
Events
Everything posted by Old Collingwood
-
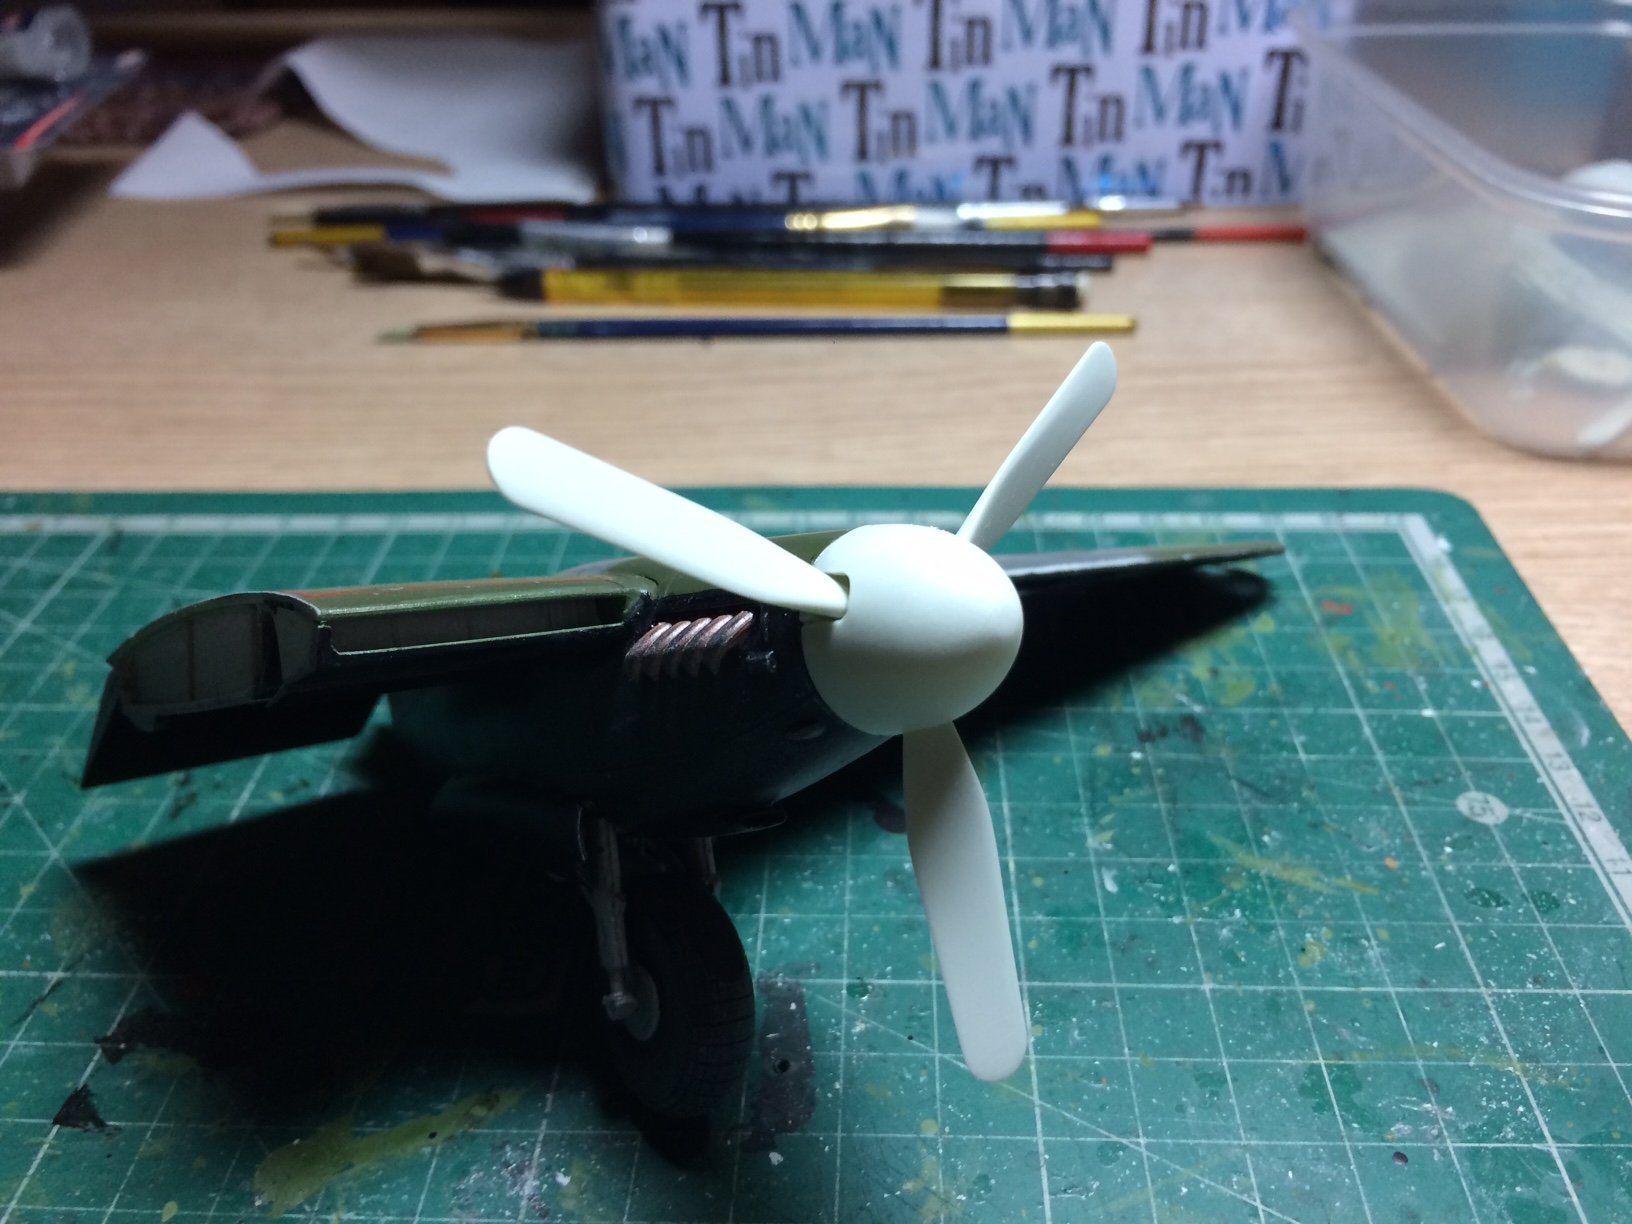
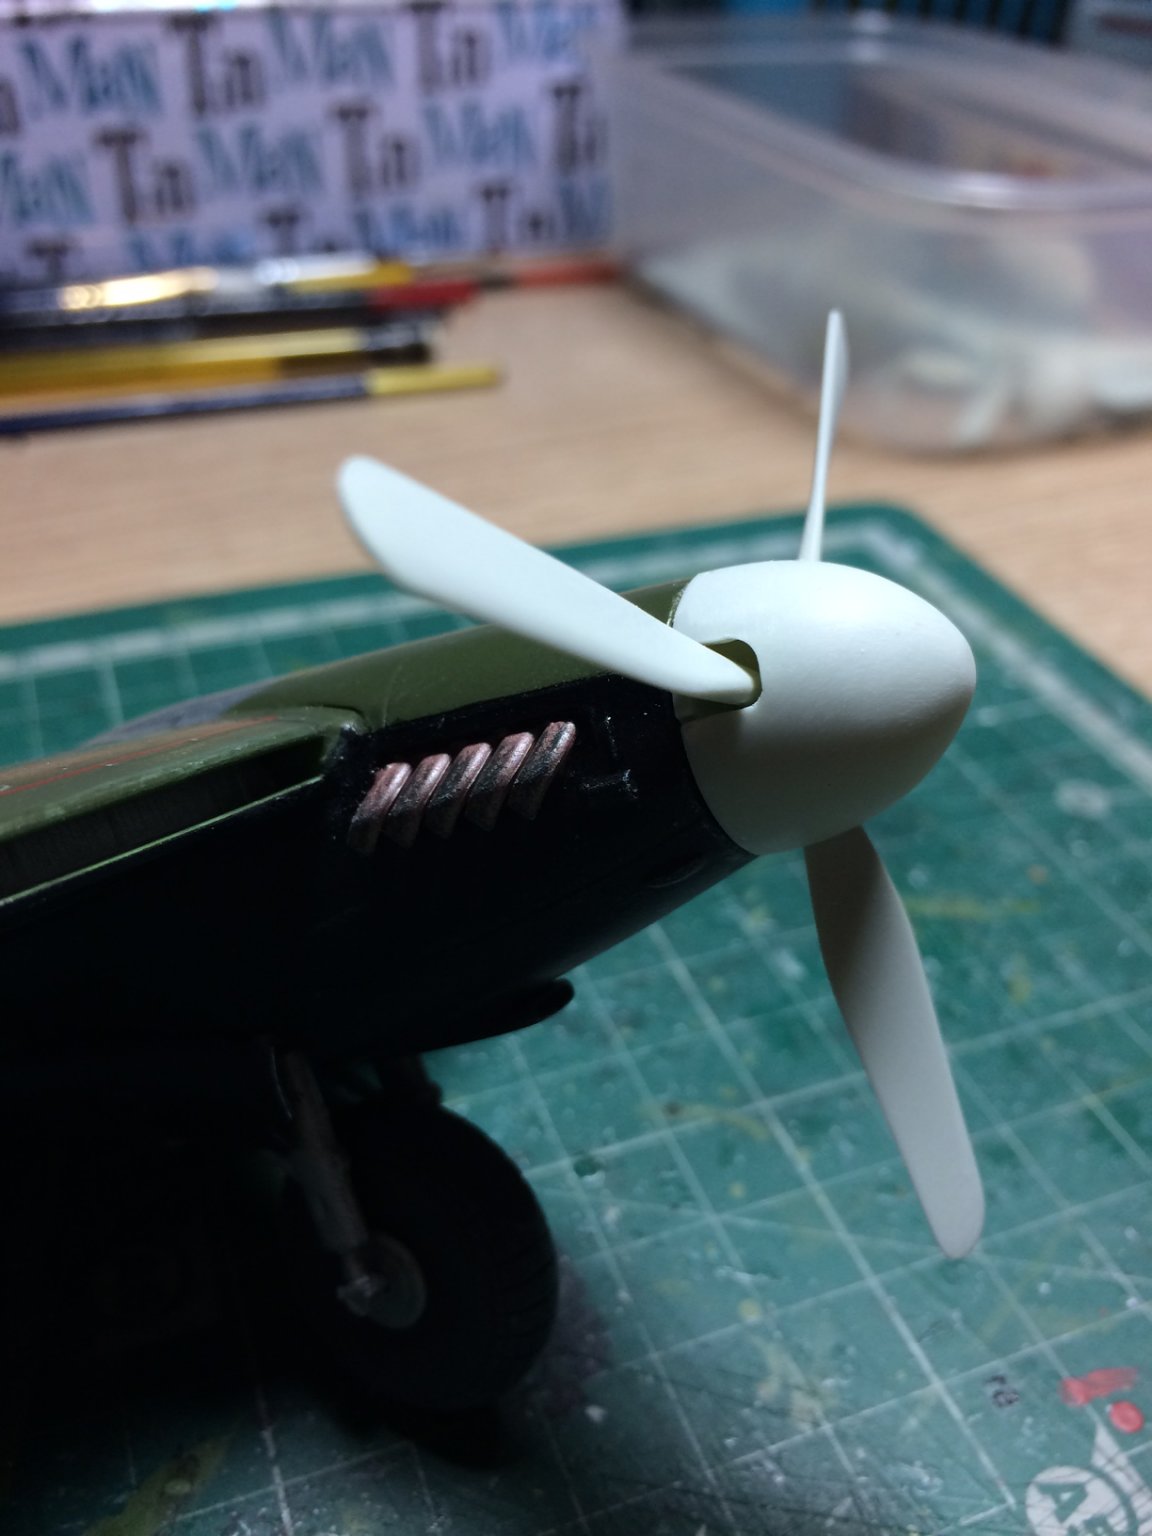
 Thank you Denis, I think the props are ok or could do with a bit more thining at the tips? OC.
 -
Thats a bute Joe. OC.
-
North American P-51D Mustang by Asat - Airfix - 1/48
Old Collingwood replied to ASAT's topic in Non-ship/categorised builds
"Do it do it do it now" as a certain character once said.😀 OC. -
B-25 Mitchell "Meet Miss Runyon" by Javlin-HK-1/32
Old Collingwood replied to Javlin's topic in Non-ship/categorised builds
Yep the Mig eater. OC. -
I decided to do a bit more on mossie as the tv was rubbish, so I thought I would have a go at the props and spinners, these are a Three piece unit considting of the prop a backing plate and the spinner cap, first I cleaned up the prop and discovered it was a bit to thick and lacking shape, simple adjustment by samding it to reduce its thickness while also giving it some shape. I then dry fitted it. OC.


- 932 replies
-
- 13
-

-
Really nice work Mark coming along fine. OC.
-
Thank you Kevin. OC.
-
Hope all is ok mate take care. OC.
-
Good progress Denis some very delicate work going on there. OC.
-
Looking very good mate, beyond my skills doing shading work like that. OC.
-
North American P-51D Mustang by Asat - Airfix - 1/48
Old Collingwood replied to ASAT's topic in Non-ship/categorised builds
Do a build here Jeff, I would be in. OC. -
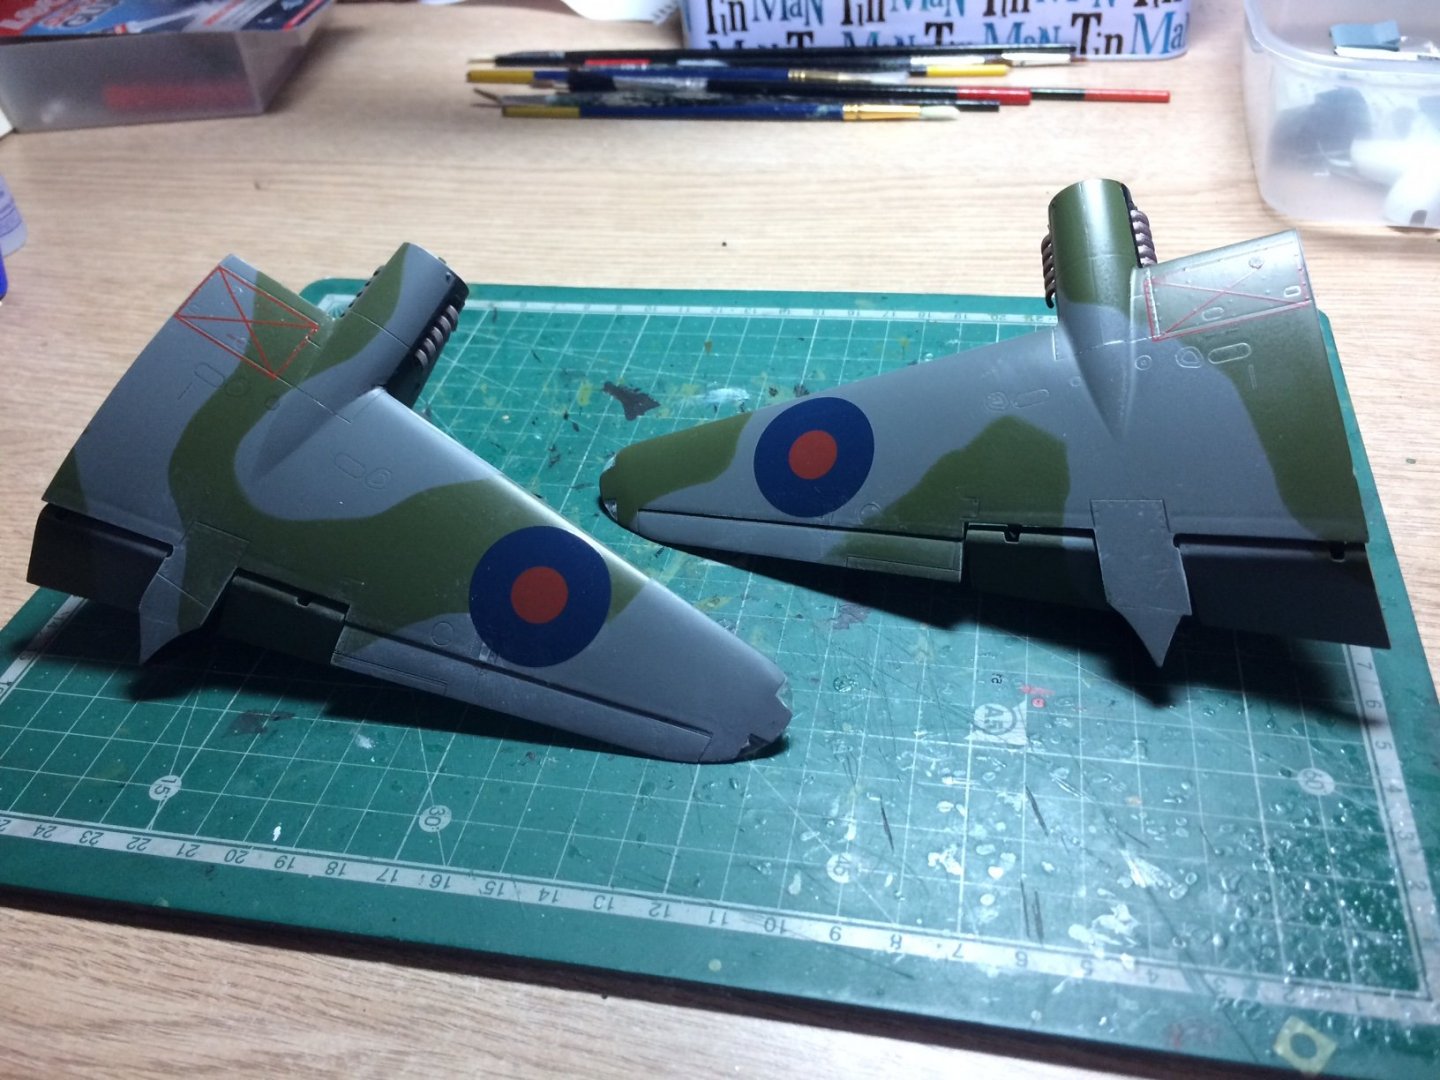
Hi all, thank you for all the likes and comments, so while waiting for the paint on the fuselage to harden, I decided to do a bit more detailing on the wings with shading and highlighting to give it a bit of realism. OC.
- 932 replies
-
- 12
-
-
"What - what"?????? OC.
-
Keep going mate too nice not to👍 OC.
-
It really stands out Carl different from the normal schmitts. OC.
-
J-705 looks superb German - Swiss perhaps (does that even make sense)? Deffinatley looking forward to this. Just answered my own question - Switzerland was neutral during the Second World War. OC.
-
We are the EMCS Essential Modeling Collection Service. OC.
-
Oh Ello another one Denis - count me in. OC.
-
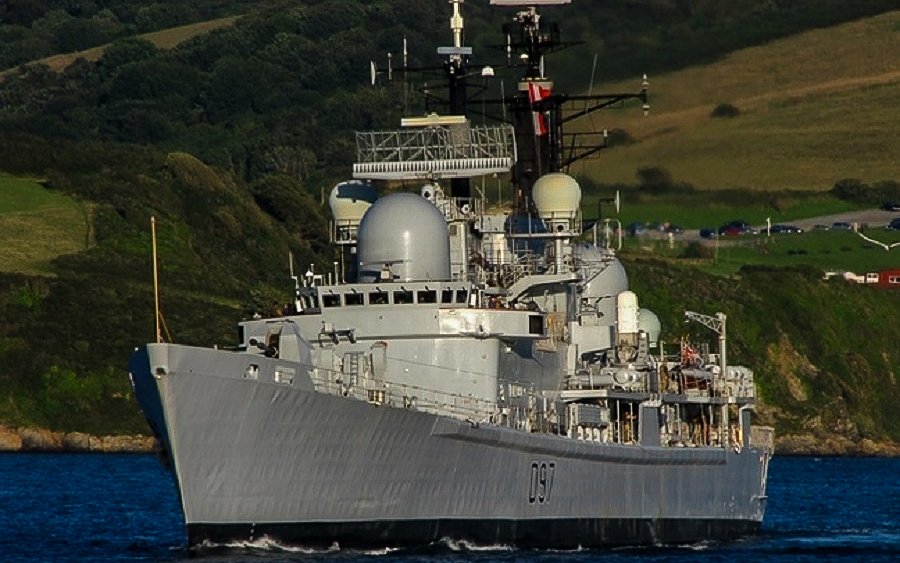
What I am keeping my eye on for the very very distant future when I become rich is this - Atlantic Models Resin 1/350 scale of HMS Edinburgh batch 3 type 42 RN Destroyer OC. Sorry to have de railed your build Craig. ATK 35020 HMS Edinburgh (Type 42 Destroyer (Batch 3)
-
I am still on this by the way, just havn't done anything else to it while concentrating on my other Two builds, I will continue dont you dare go away - wont be long. OC.
-
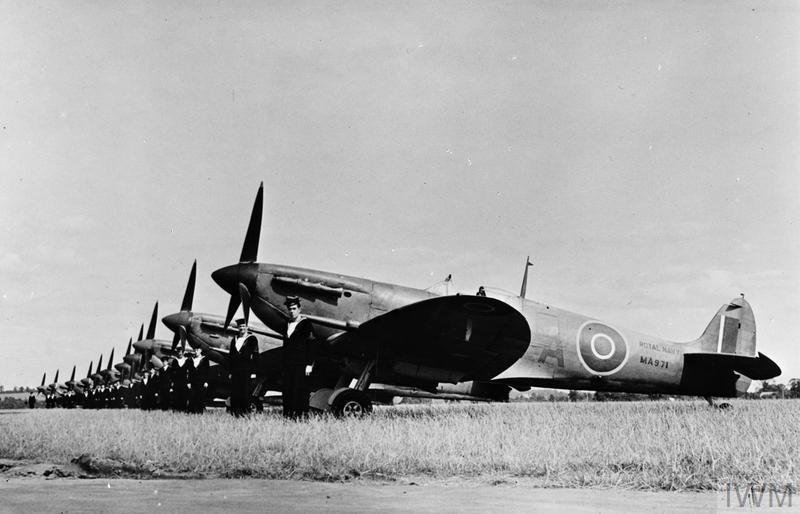
Here is a pic off the net showing a flight of new Seafires (Mk 11's I think) they were delivered to Lee on Solent where my dad did some of his service. OC.
-
Im sure my late farther told me something about this - it was quite a rare event as Lee on Solent airfield only had small runways so to get something B17 size land there was quite a thing. https://www.iwm.org.uk/collections/item/object/205147231 OC.
-
I had to have several looks to see it wasn't wood - very good job. OC.
-
Not much to report tonight just the fiiting of the other two u/c leg doors (fiddly little fellas) is it just me who feels like I have gone Ten rounds with Mike Tyson at the bench and need a rest afterwards. OC.
-
Yep good point - now come on Denis show us more progress on your B17. OC.