HOLIDAY DONATION DRIVE - SUPPORT MSW - DO YOUR PART TO KEEP THIS GREAT FORUM GOING!
×


Old Collingwood
-
Posts
12,097 -
Joined
-
Last visited
Content Type
Profiles
Forums
Gallery
Events
Everything posted by Old Collingwood
-
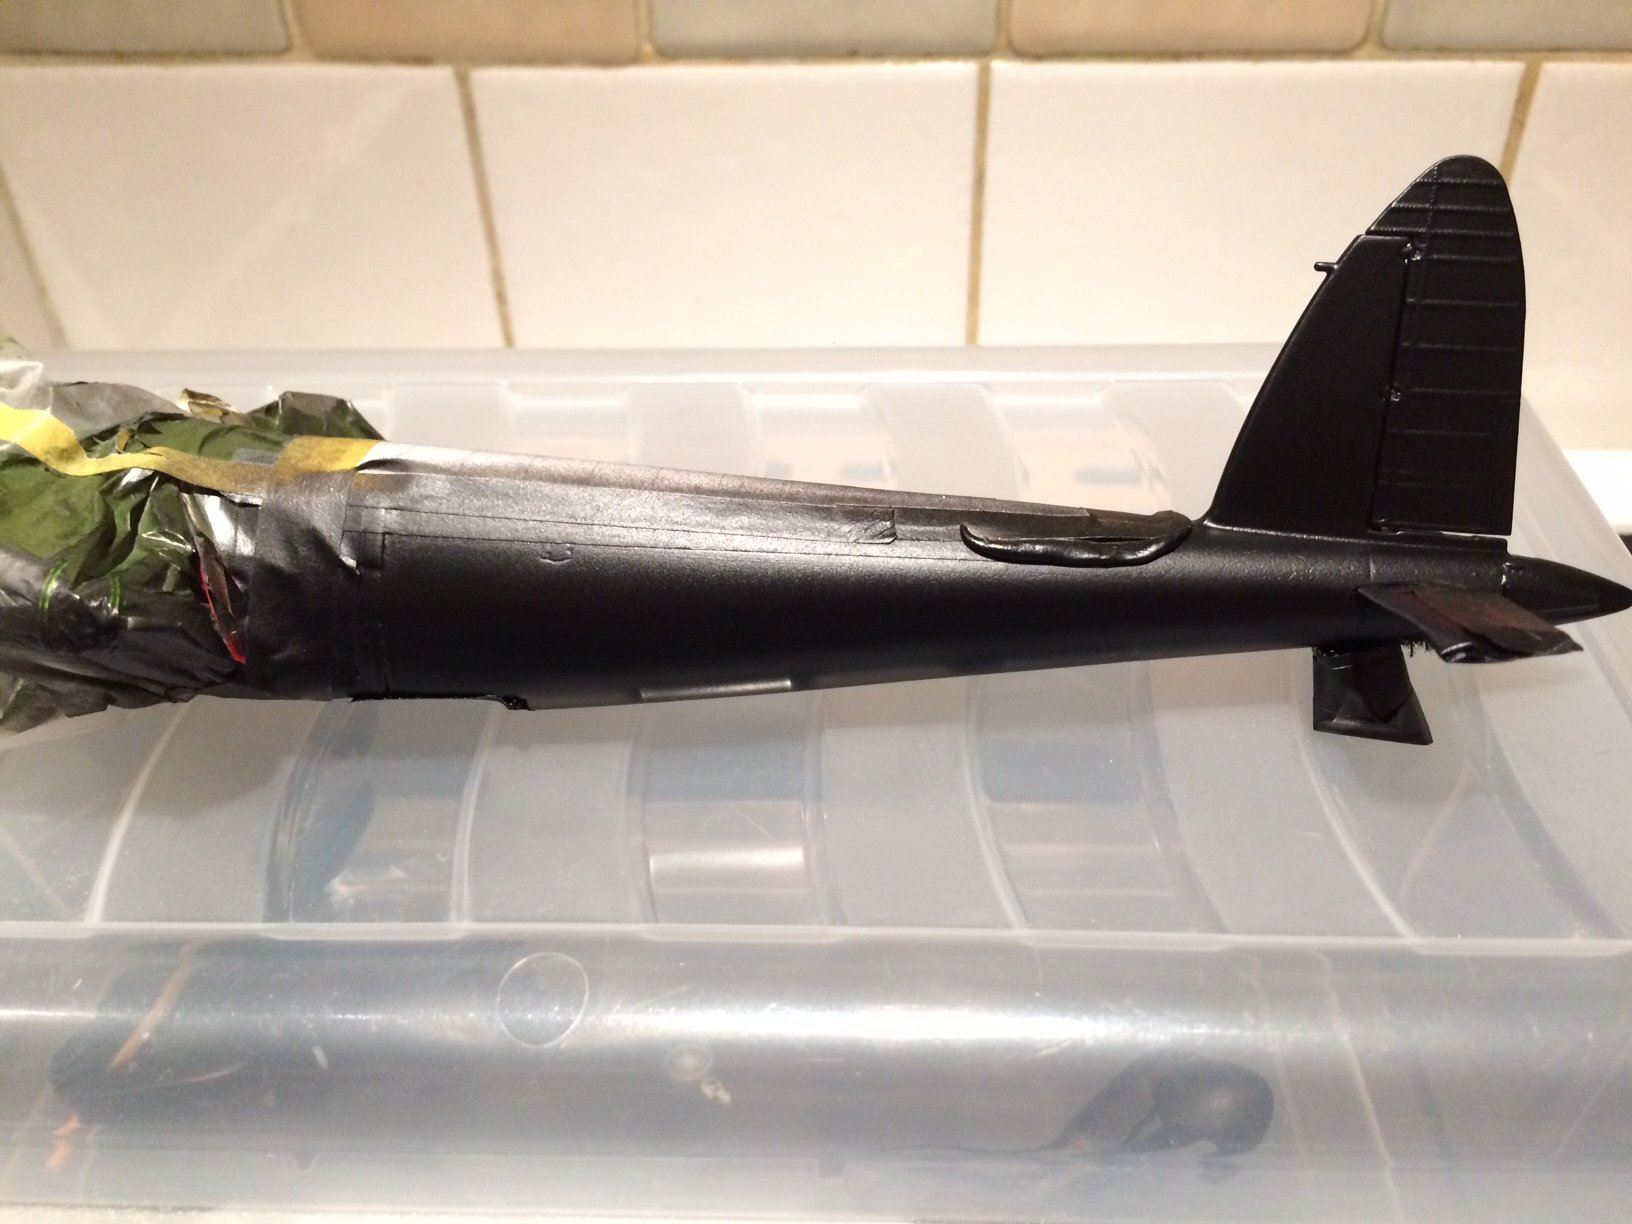
 After a day in the yard charging me Vit D cells I then de masked the fuselage - not too bad, demarcation line had a bit of a ridge so I attacked it with smooth wet and dry soon sorted, then I noticed a bit of camo that needed correcting - so back on went the masking using tape a bag and blu tac and a quick re spray over a tiny area, I then put it away to dry. I then turned my attention to the props and spinners - the spinners was a bit awkward getting a smooth sprayed finish as I kept getting some over spray, so plan number Two hand paint with Nato Black - so this was done, I put them aside and tipped the props yellow after masking. OC.
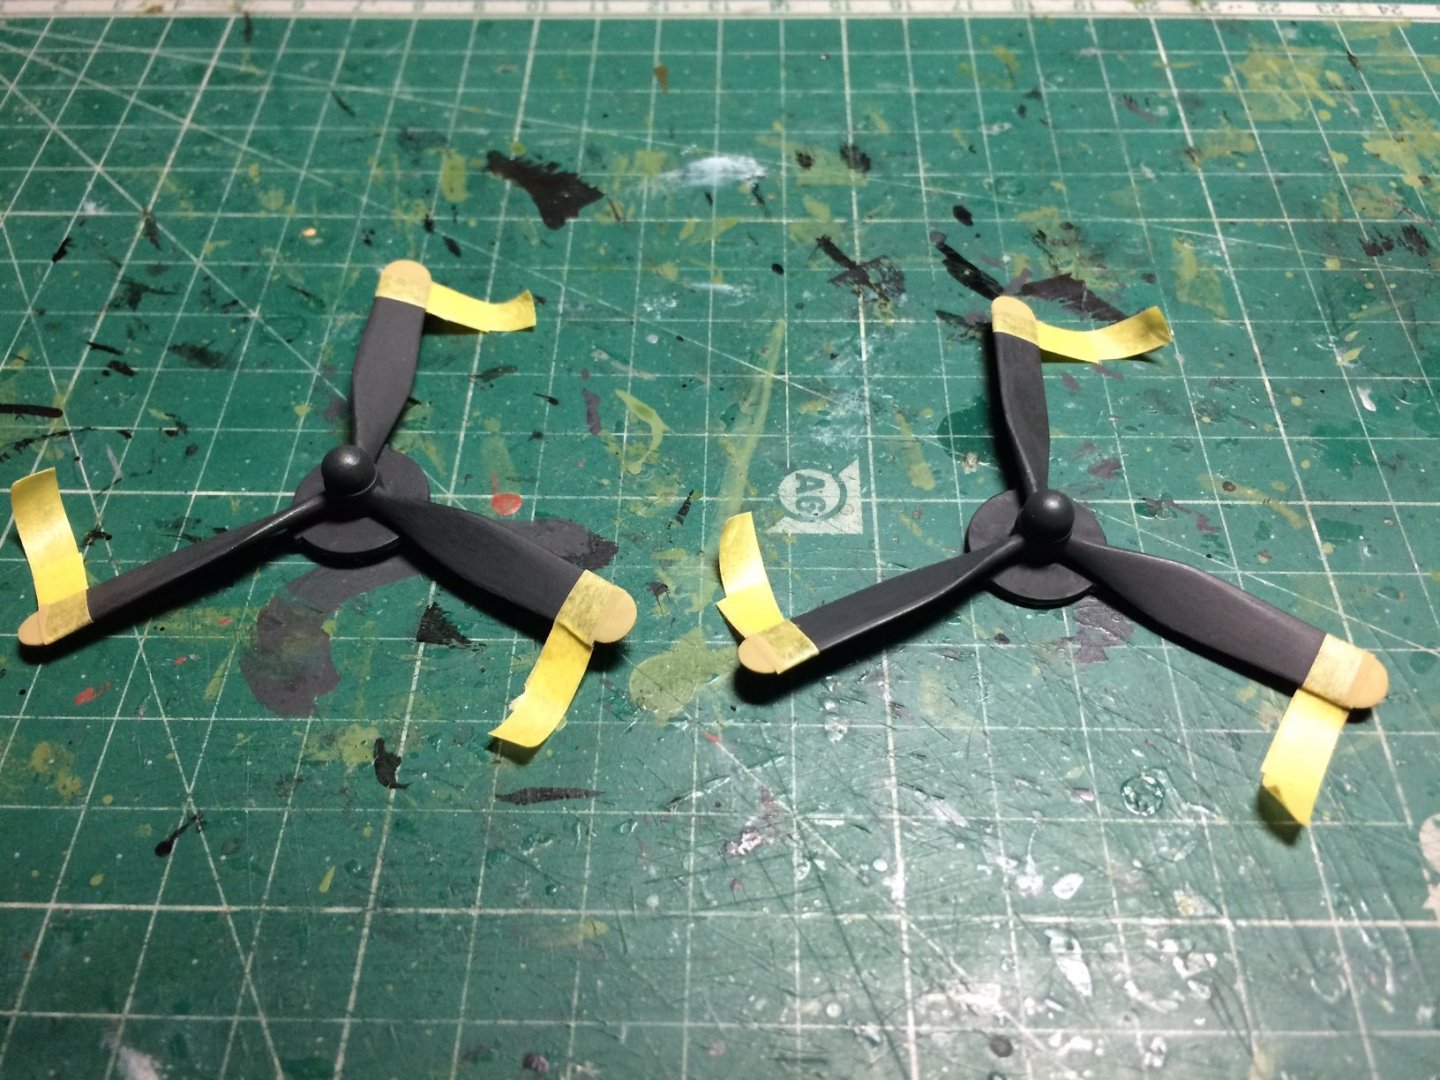
- 932 replies
-
- 11
-

-
Thank you kindly. OC.
-
Thanks Mike. OC.
-
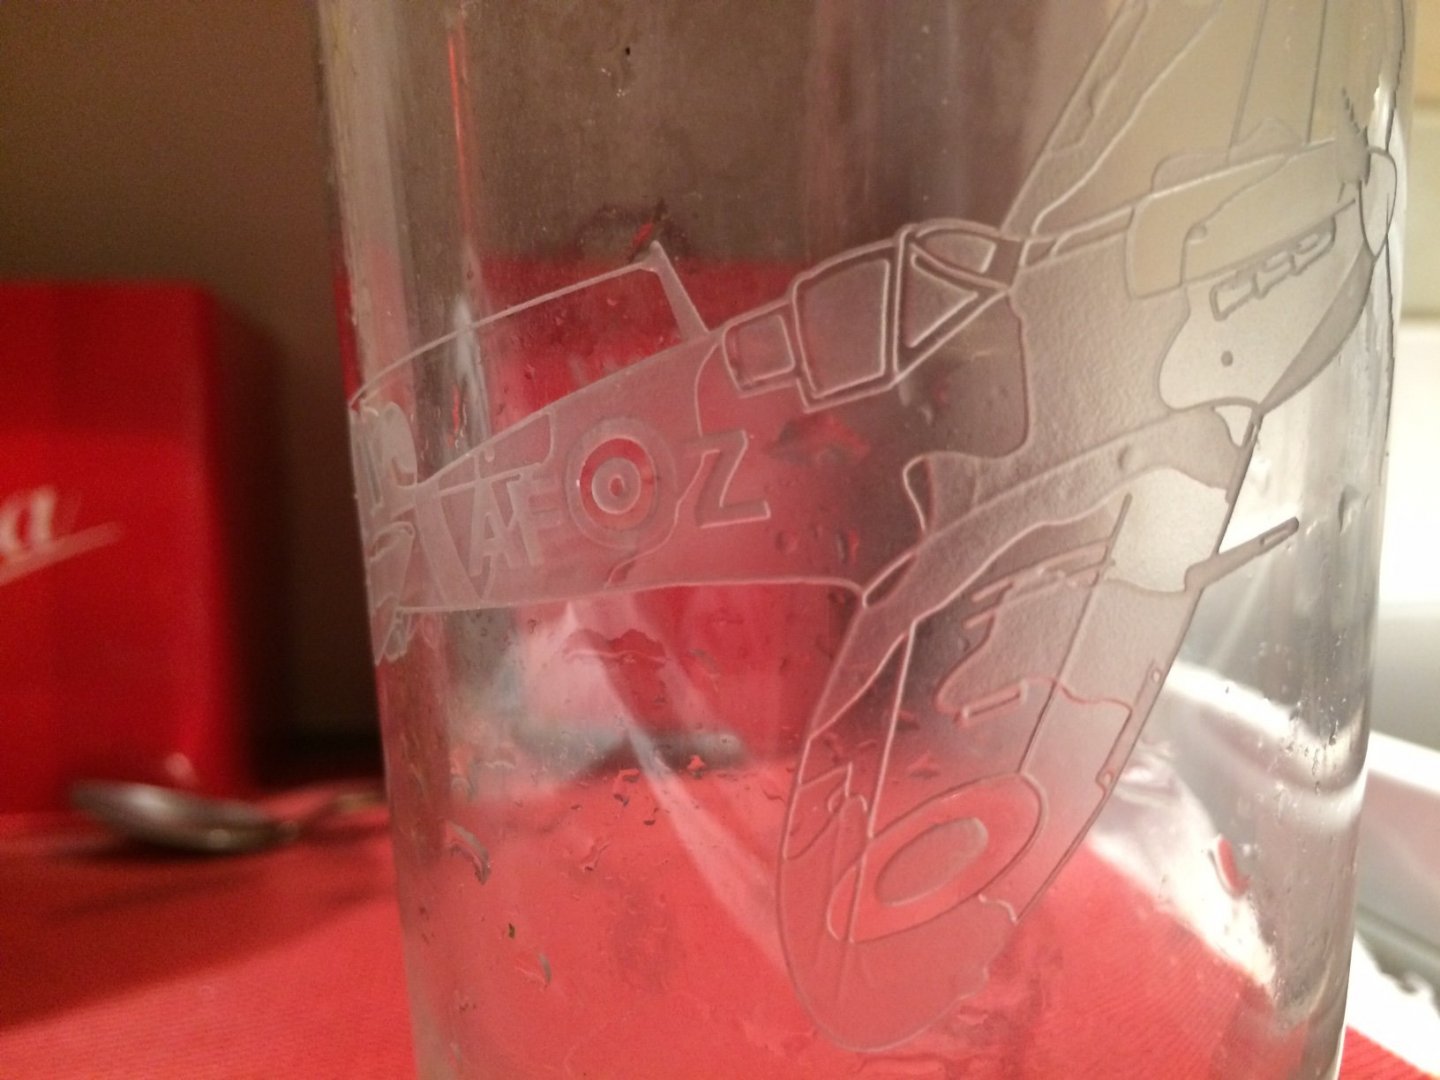
This keeps me company after I have done some building - usualy put shandy in it. OC.
-
Here you go - I know you couldn't wait😉 It looks worse because of the poor kitchen lighting, the rear section under the tail is blu tac, and I assure you the finish is smoother than the phone makes out (and will be with some cloth polishing - prior to spraying a flat coat) OC.

- 932 replies
-
- 14
-
-
Excellent work Mark, bet your so pleased getting the First planking done (hows your hands from the sanding - I remember getiing quite saw fingers with mine) I love the idea of you doing your own rear panel so many kit ones are lacking. OC.
-
Same as what Denis said welcome back. OC.
-
Just as Edward said your gun ports came out spot on, also I love the shaping of the hull and the smooth work on her, nothing wrong with that in any shape or form, really coming on my friend. OC.
- 436 replies
-
- 2
-
-
- vanguard models
- alert
- (and 1 more)
-
That is looking excellent mate coming togther nicely. OC.
-
Dont do my trick though😭 OC.
-
So, more work on her this eve, I put a few coats on the props - I decided to use Flat Nato Black as its actually like a dark flat Grey, I put a few coats on followed by a few watery coats to smooth out the finish, this was put aside then I put some blu tac inside the spinners attached a stick and went outside and sprayed then the same Black as the fuselage. They were then put inside the goody goody box to dry. OC.
-
Wonder what the answer is to stop the tape pulling the paint? it crossed my mind also. OC.
-
I had a peep "not telling you" lol, seriously needed a bit more spray on the one side - this was done then put back in the box, might leave it in there for a bout a year - everyone patient enough OC.
-
Thanks mate. OC.
-
Thank you Mike, thats very kind of you. OC.
-
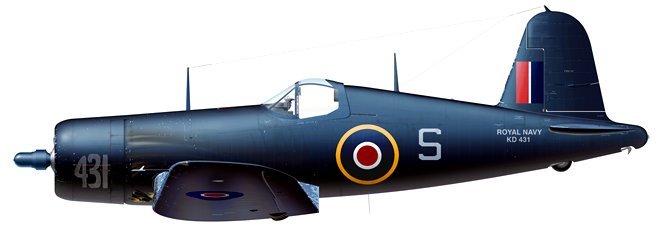
Another kit I have my eyes on doing when funds allow and after I have sorted out a few important financial things that are waying heavy on my mind, is to do another kit that falls quite close to this one as they were both FAA service and both based at the same Naval base were my late father worked - the unique one of a kind F4U-1A/-D Corsair, My farther used to chat to me about "the bent wing bird" and how they were like nothing else he had worked on, and how they had initial teething troubles with them that needed quite a bit of sorting out before they could go onto the British carriers. This type - (Off the Net) Will keep you posted. OC.
-
Some very fine nice work there, thank you for what you do. OC.
-
That lump loooks excellent, always loved full fairing machines myself, one bike I have nevr seen a model kit of is Suzuki RF660R. OC.
-
Good to see some of your bits are arriving mate. OC.
-
Yep, gonna give it a couple of days before I checks it out and remove the masking. OC.
-
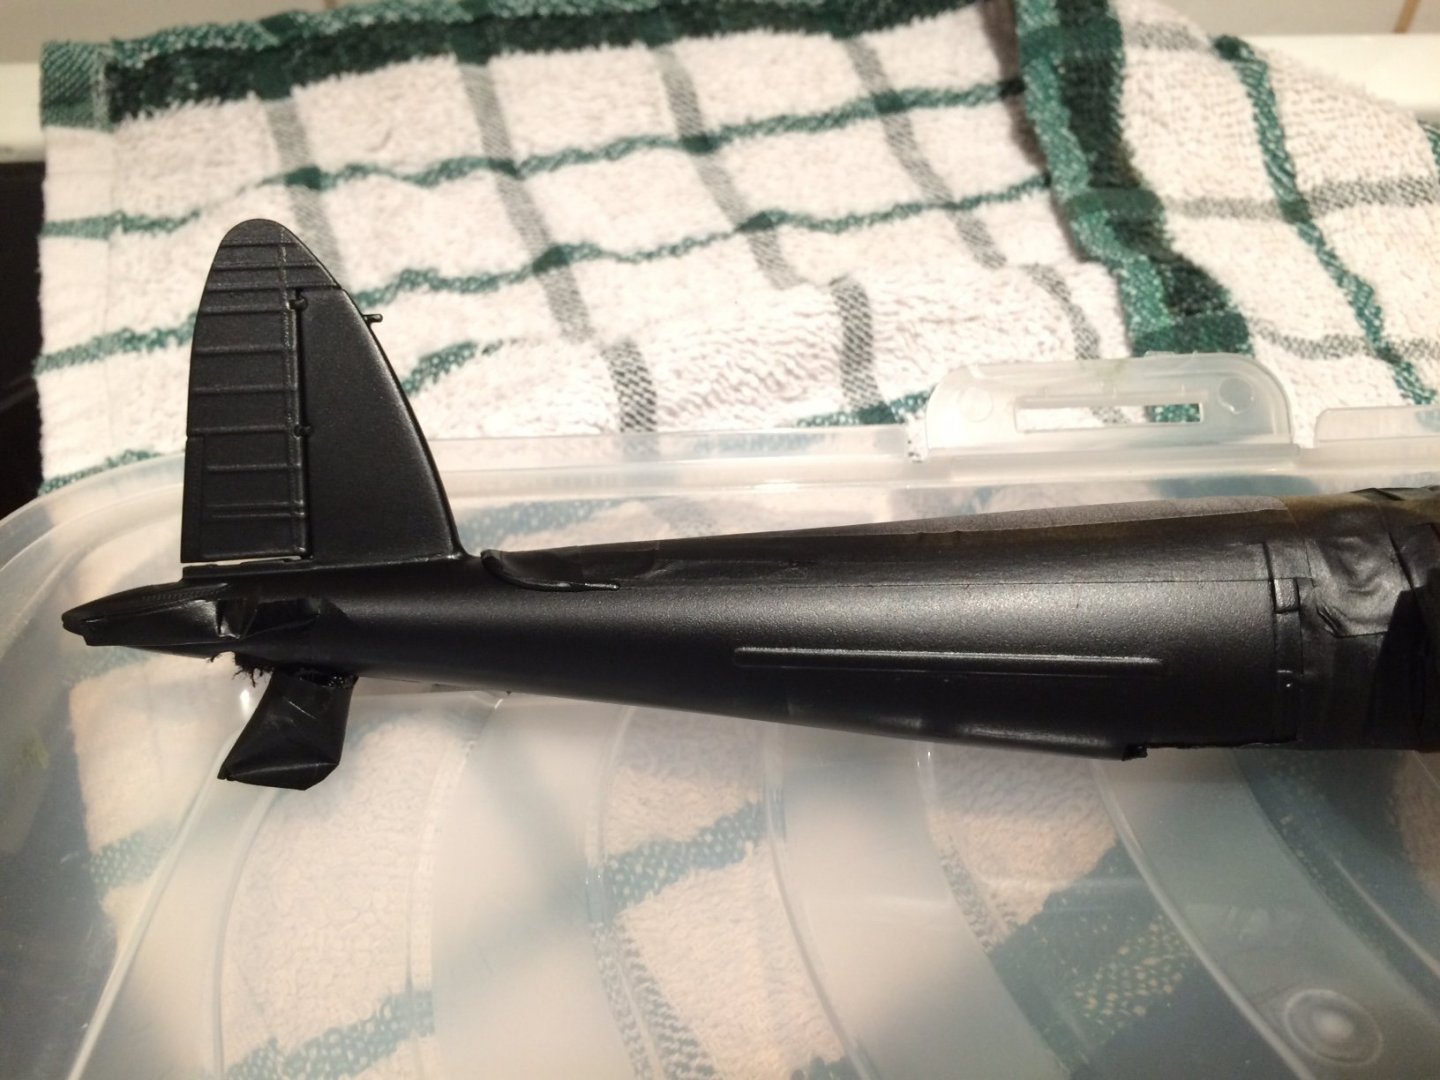
Evening all, I managed to get more done on the fuselage today - I started by taking off the camo mask and checked the finish, it turned out ok nice and smooth, next stage was to find the front demarcation line for the Black/camo split, I made a mark then ran a mask line towards the tail using Tamiya tape, I did the same both sides then made a curve in front of the tail using blu tack, then I filled in the top camo section with paper and went in the garden and sprayed with my Tamiya rattle can. It was then put inside my box to de gas and harden. OC.
-
Thank you Denis. OC.
-
Thanks mate, good to know will go with as they are now. OC.
-
Thank you Denis, I think the props are ok or could do with a bit more thining at the tips? OC.