HOLIDAY DONATION DRIVE - SUPPORT MSW - DO YOUR PART TO KEEP THIS GREAT FORUM GOING! (Only 20 donations so far - C'mon guys!)
×


Old Collingwood
-
Posts
12,098 -
Joined
-
Last visited
Content Type
Profiles
Forums
Gallery
Events
Everything posted by Old Collingwood
-
 Wowzer......Thats amazing work mate. OC.
 -
I once dabbled in R/C aircraft as a young kid (well my late farther did - I just sat at the table next to hime watching. OC.
-
Its a crazy situation - many years ago I fractured my femur (displaced fashion) and spent three months in hospital - they pinned my leg with a titanium nail and the same through my knee, all that treatment was Completely Free, but I cant get my local dentist to do the same. Guess they think teeth arn't important. OC.
-
Looking really really smart mate. OC.
-
I wish you would carry on with this build - dont let planes distract you like they do me especially MD11 freighters OC.
-
Hi all, just popped into this to say - its just on hold till I have finished othe projects, I will get around to carrying on - just not at the moment. OC.
- 455 replies
-
- 2
-

-
- slightly modified
- greyhound
- (and 1 more)
-
Realy nice job of the paitwork mate - that shading realy shows through and the highlighting on the ribs. OC.
-
Thank you kindly denis, yep dentist has always been my weak point - so suffering for it now, were we live there is just the one dentist within a ten mile radius and no transport (also I suffer from an axiety condition making public transport - not possible) I asked are local dentist to please help me under our welfare situation where work can be paid for under low money situations, but he has told me he only does private work - thats just wll beyond our means. I will just have to manage it the best I can that means keeping my mouth constantly sterilised with special mouth washes and I also use salt water a few times each day, the pain level is better at the moment gums are still very tender, have to watch what I eat - hard things are a no no. Still I have my modeling. OC.
-
I get ya mate - I have the same issue with my mobile phone camera - the light is either to harsh from the modeling light I need to use - or to dark, best light is outdoors. OC.
-
Loving the shading I will try to achieve a slightly similar job when I do my mossie. OC.
-
Sorry for the confusion - I went googling for plans or photos and found the one I posted as part of a pdf guide to building the ship think it was Syren. Once again sorry for any confusion. OC.
- 574 replies
-
- 2
-
-
- cheerful
- Syren Ship Model Company
- (and 1 more)
-
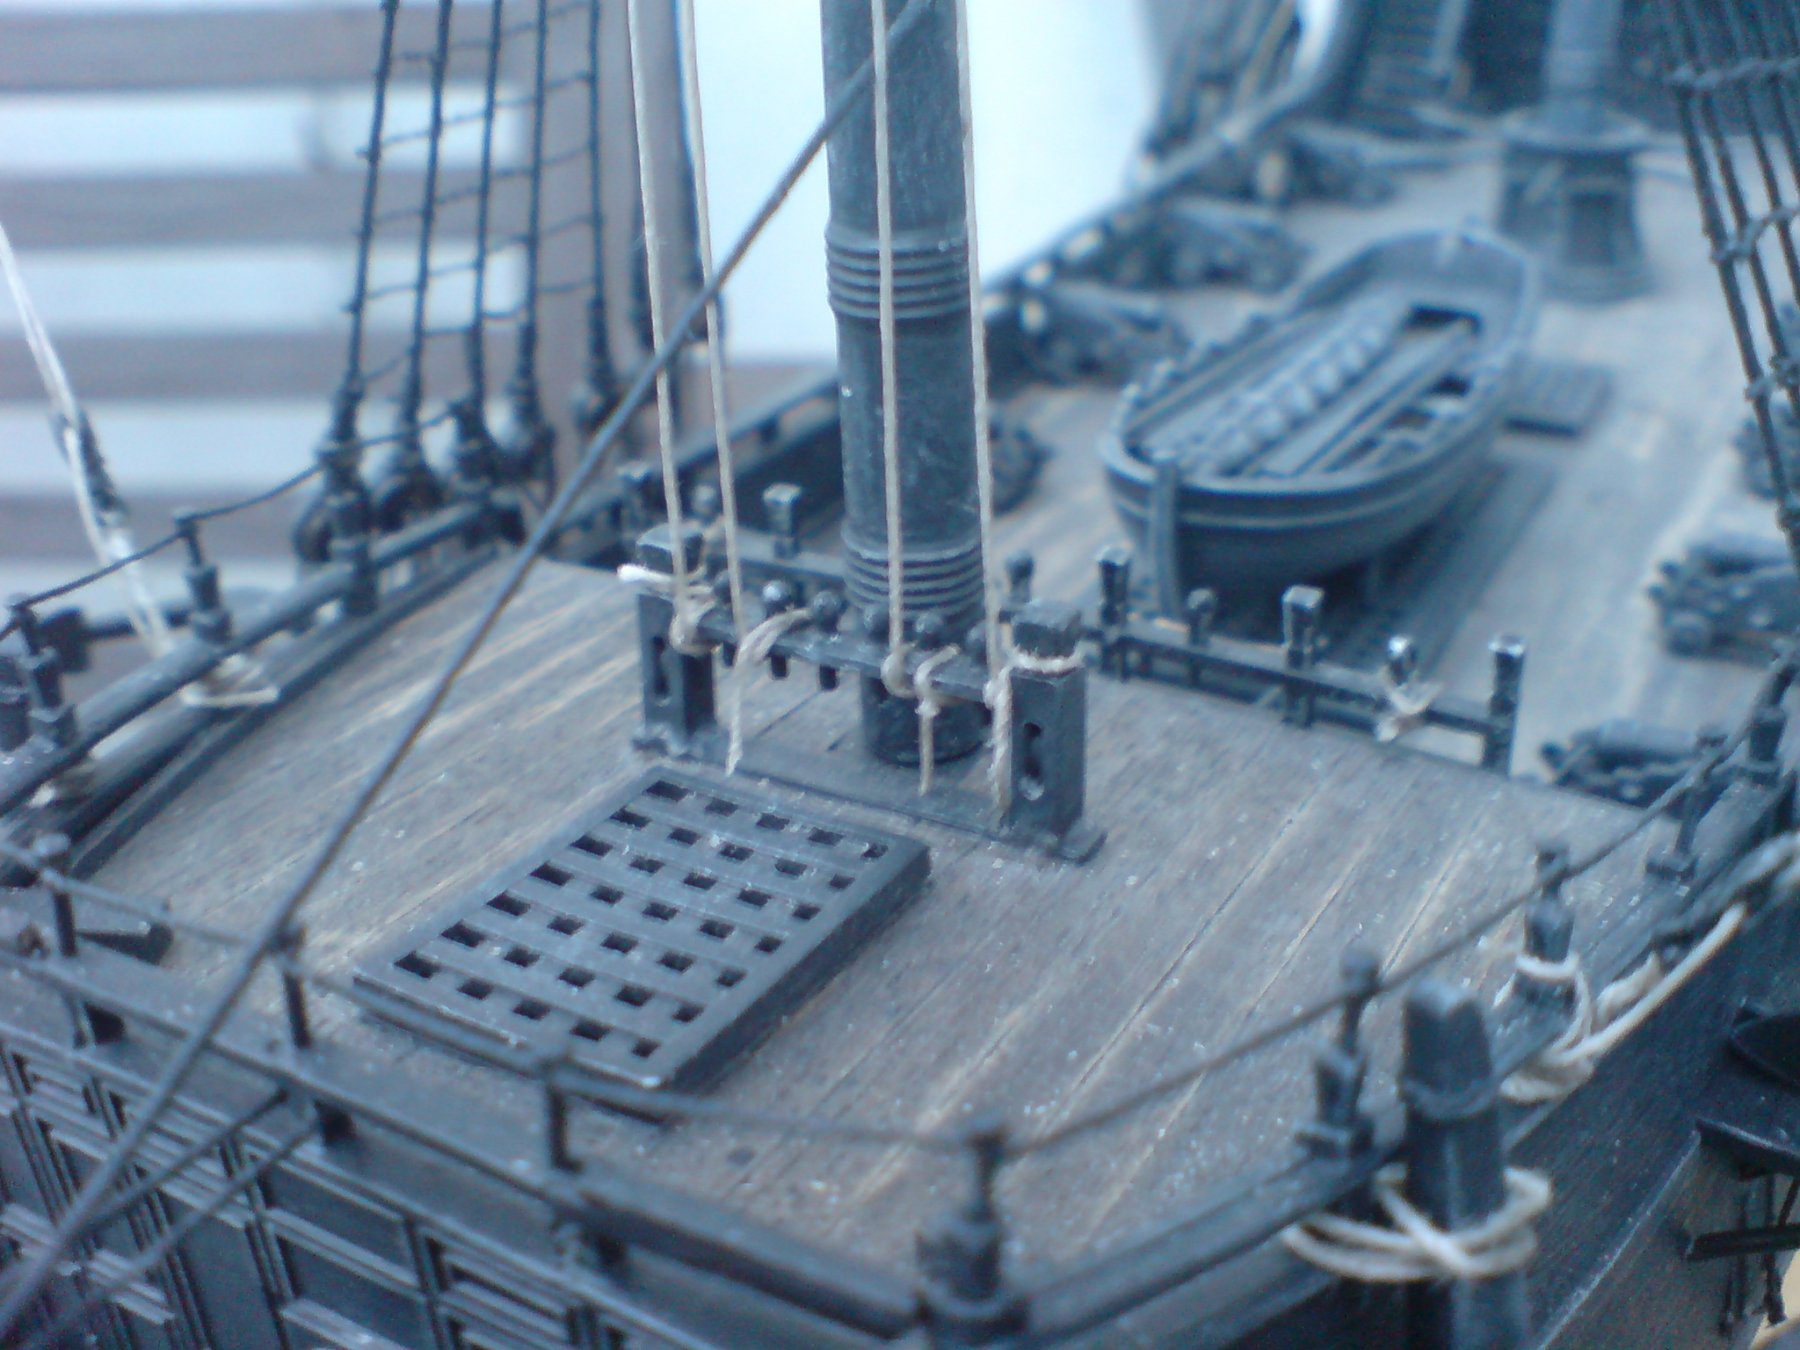
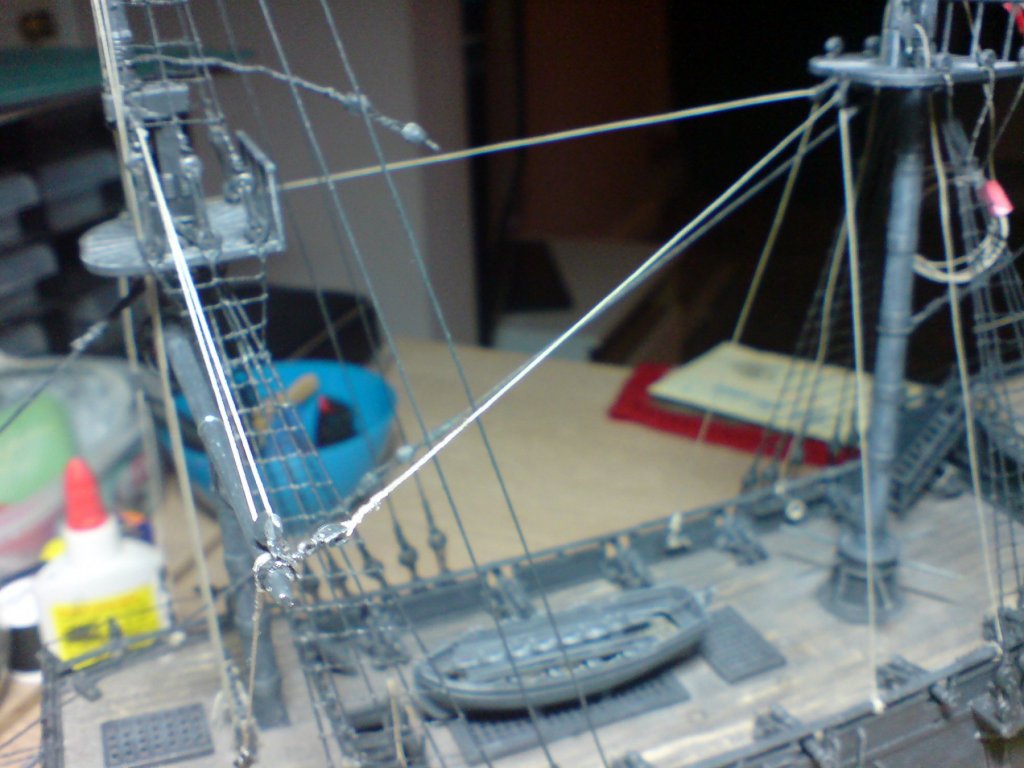
Abit more work done - I fitted some blocks at the ends of the mainformast yard, then made two sections of rope smoothing out the frays again using watery pva - then I ran the rope from a lashed end on the yard ends and through the blocks on the mainmast tops down to each bulwark handrail where they where looped then lashed around two inner bulwark fittings and then cut off with a dab of ca. OC.
-
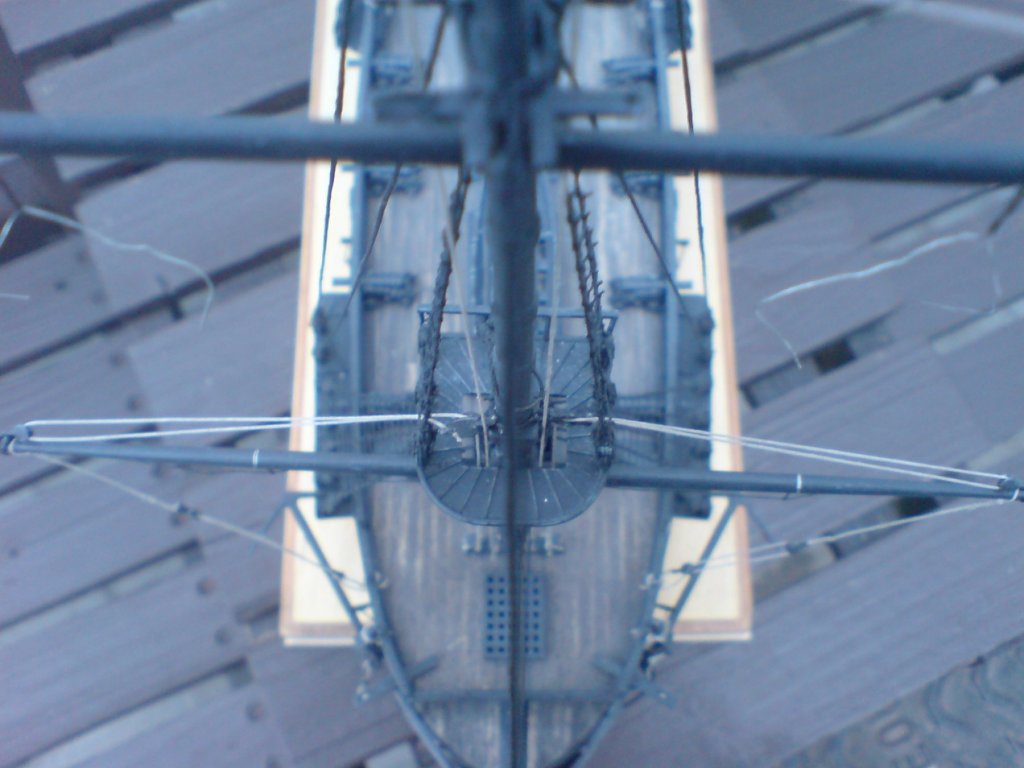
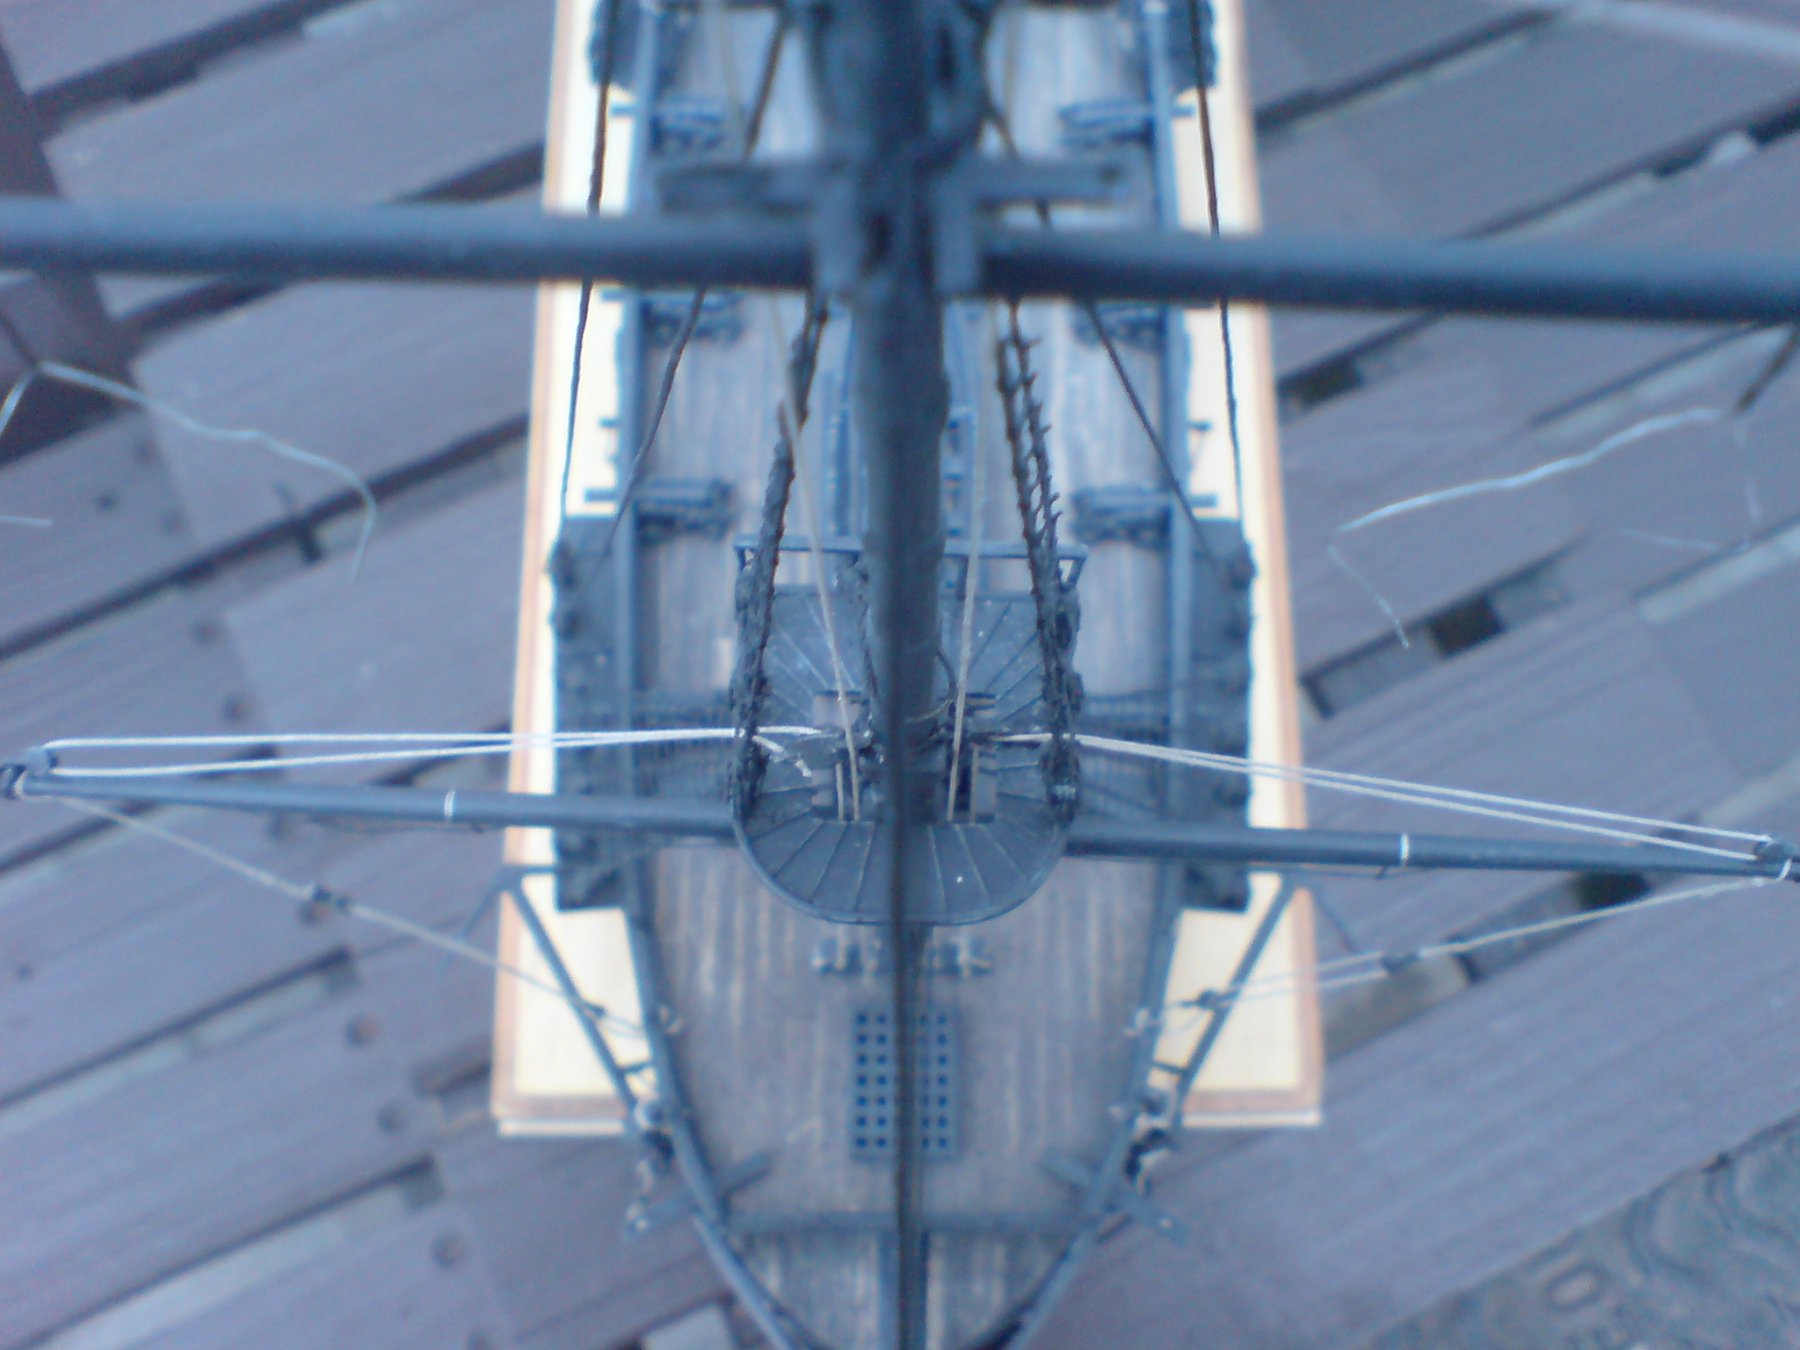
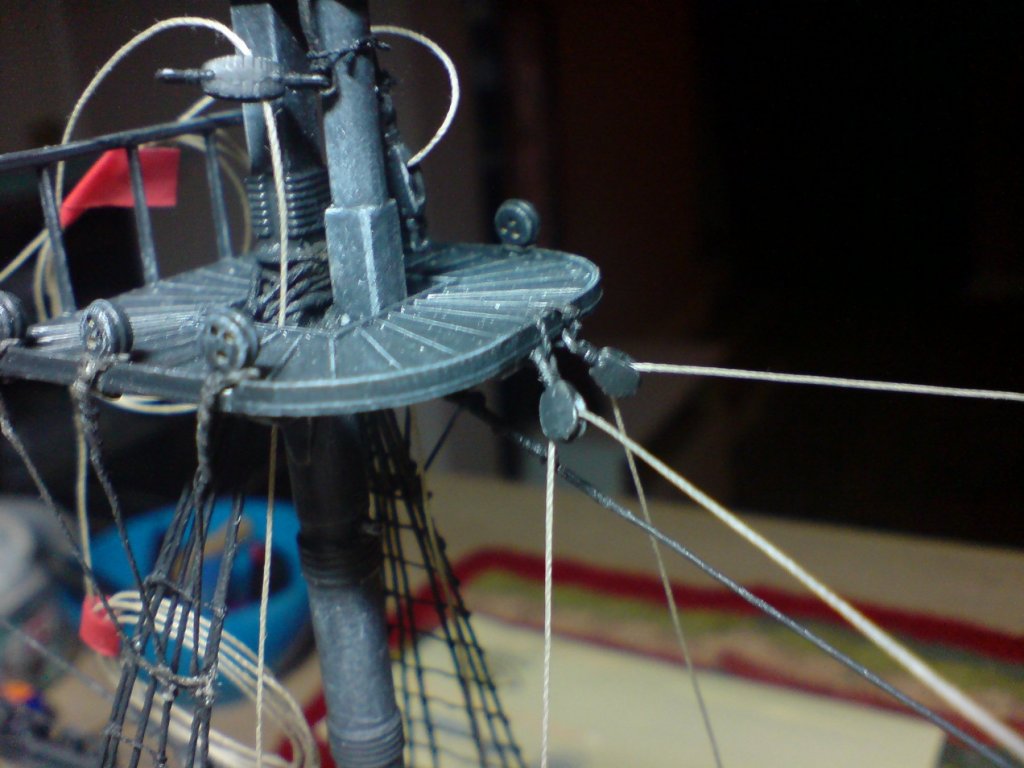
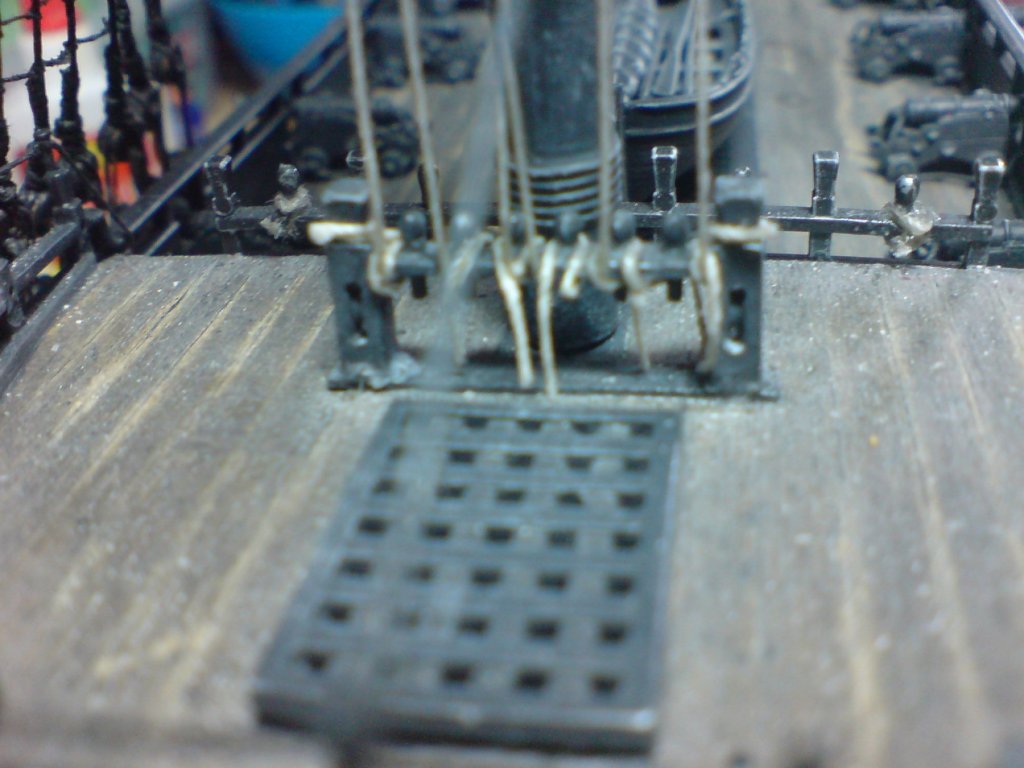
Good day all, many thanks for all the looks and follows, I picked up where I left off on the foremast top section - I fitted the top yard footrope then timmed the ends, next off I fitted the blocks to the topgallant yard then gave it a few coats of paint, then I attached it to the topgallant mast in the lowered position - it was than lashed and added a few dabs of ca to set it. I then made up somemore lift ropes - smoothed out the frays with watery pva, then I worked the rope from the top through the other ropes and down to the other tied off ropes on the bits, this was repeated both sides - then a footrope was fitted. A few pics folks - OC.

-
Your building skills far exceed your photo skills greg - she is looking stunning - you do need a better camera to show your best. OC.
-
Like them mate, its amazing how much difference pe and metal fittings make to a kit, kind of gives that extra reasurance of strength and not forgetting realism, please excuse the poor spelling i suffer from word blindness sometimes lol) OC.
-
I love that color contrast mate and the fit of the stab/elevators looks real good, are the wings going to be the same camo pattern as the stab units? OC.
-
Thats an interesting scenario say and F8 vs F16 just dog fighting using just thier guns - compairing agility. OC.
-
Looks like there might be a bit of wiggle room going from these plans from this build pic. OC.
- 574 replies
-
- 4
-
-
- cheerful
- Syren Ship Model Company
- (and 1 more)
-
Makes one wonder how it would get on in a dogfight situation with modern tech F16 type thing. OC.
-
Amazing work - so different with those super details sets. OC.
-
Im still about folks havn't left the country - just cant start this thing till I have finished the Pearl, I did get the box out for a sneaky look while the admiral wasn't looking - damn I cant wait to start it. But to give myself some me time I am going to try to do a one off airshow this year, just need to save some pennies to get me there being my number one passion - planes it would be a good break and put me in a good frame of mind to build my mossie later. OC.
-
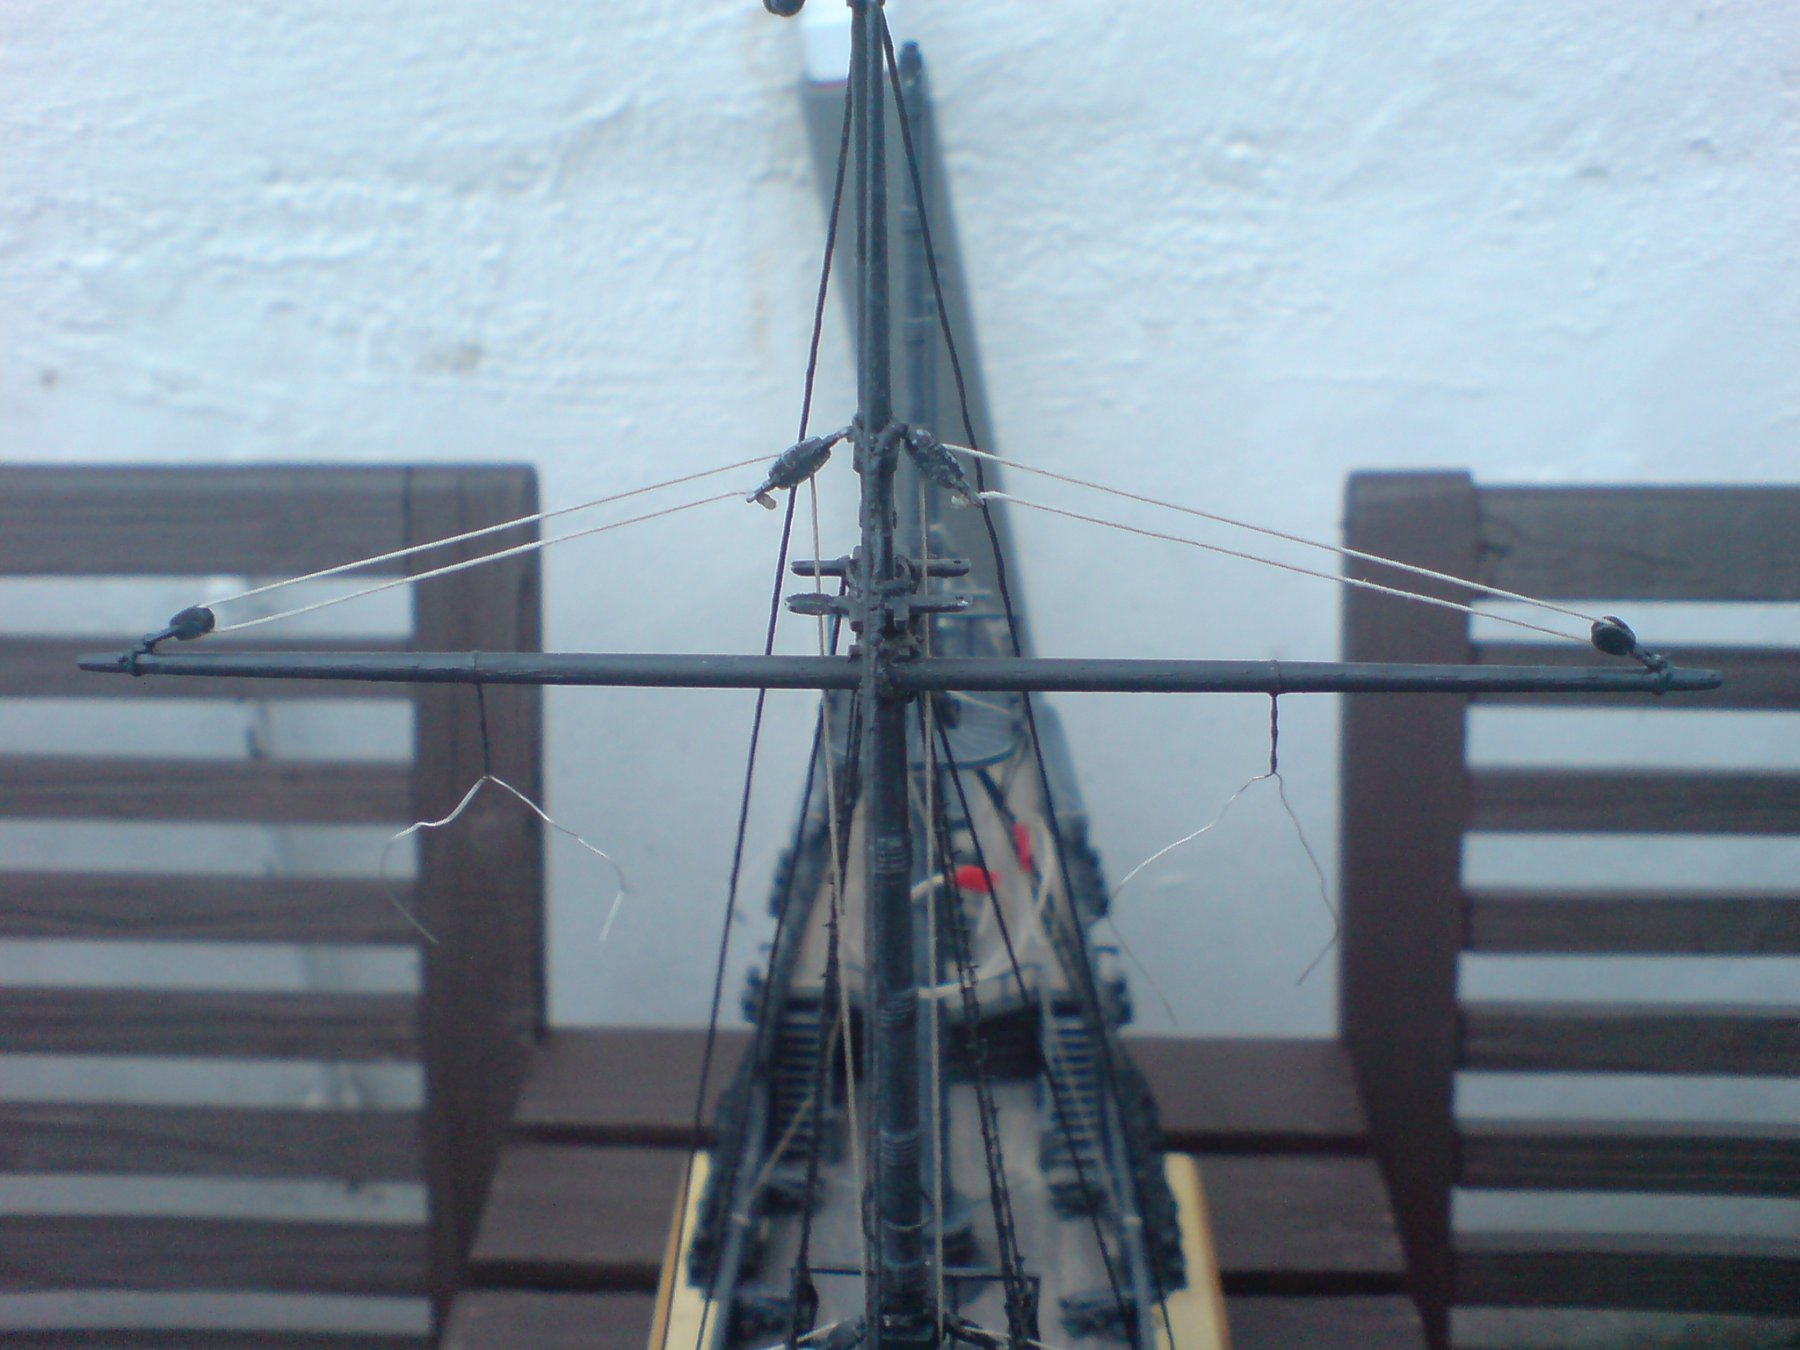
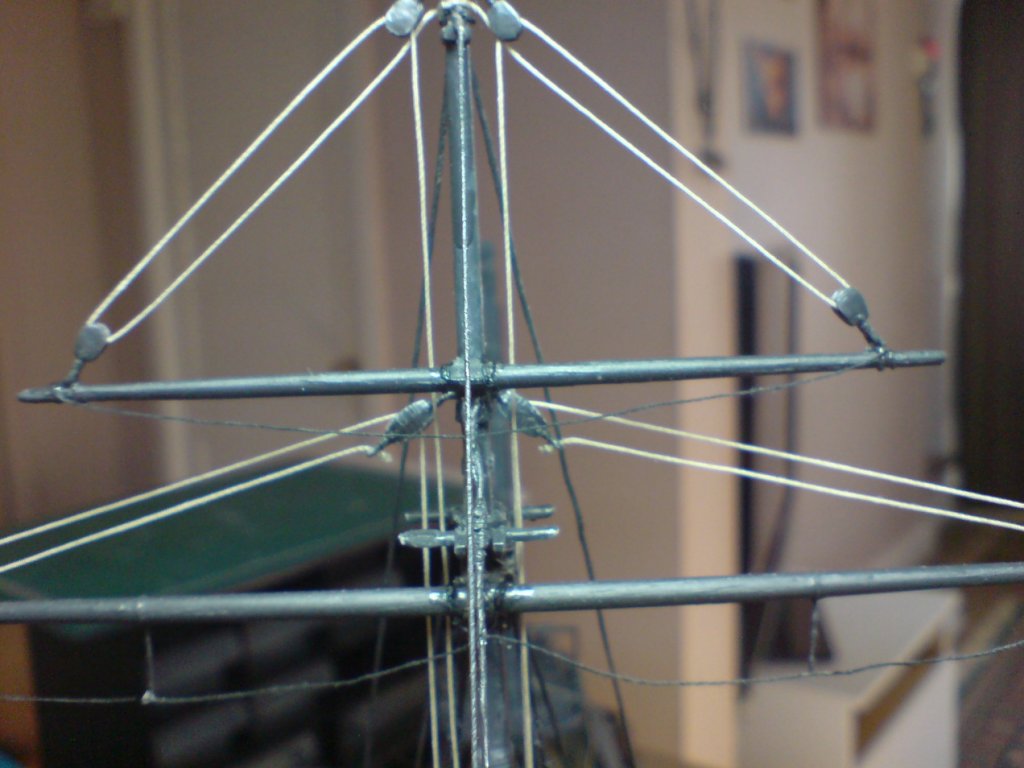
Evening all, a massive thanks to all the commens and likes and for all who follow my piraty adventure, I left you all with a top foreyard made on my mat, so next off I added a few coats of paint - then I glued and lashed it to the upper mast, after I connected up the lift ropes then fed them down and tied/glued them to the forecastle bits. OC.