Old Collingwood
-
Posts
12,106 -
Joined
-
Last visited
Content Type
Profiles
Forums
Gallery
Events
Everything posted by Old Collingwood
-
 Makes one wonder how it would get on in a dogfight situation with modern tech F16 type thing. OC.
 -
Amazing work - so different with those super details sets. OC.
-
Im still about folks havn't left the country - just cant start this thing till I have finished the Pearl, I did get the box out for a sneaky look while the admiral wasn't looking - damn I cant wait to start it. But to give myself some me time I am going to try to do a one off airshow this year, just need to save some pennies to get me there being my number one passion - planes it would be a good break and put me in a good frame of mind to build my mossie later. OC.
-
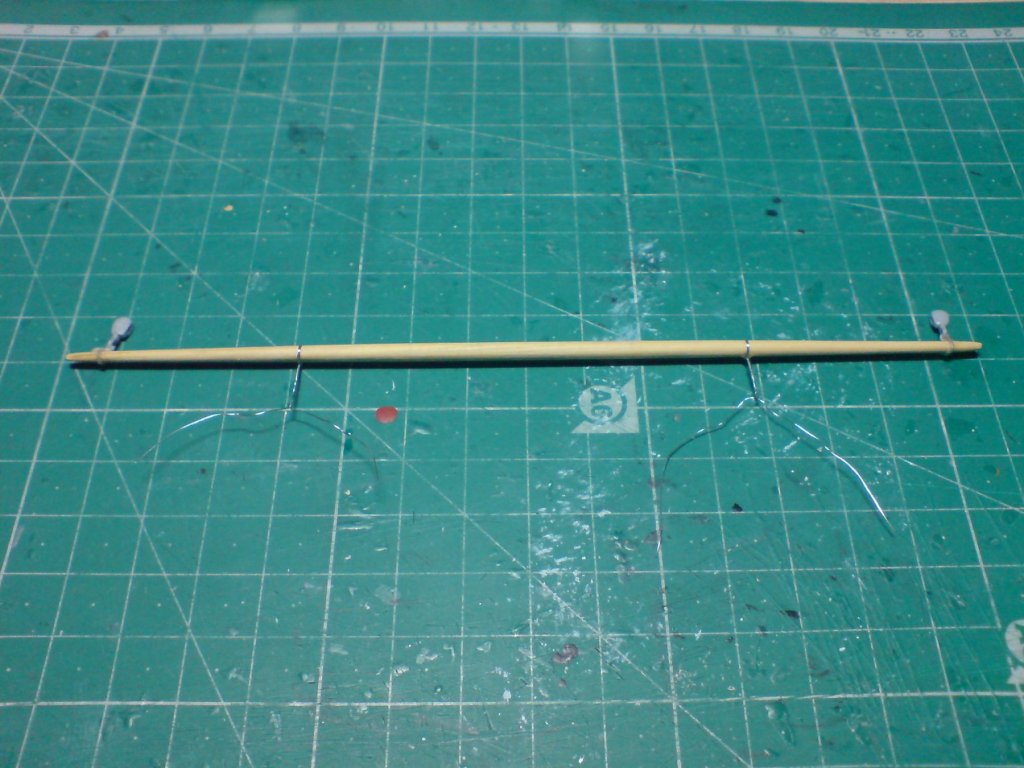
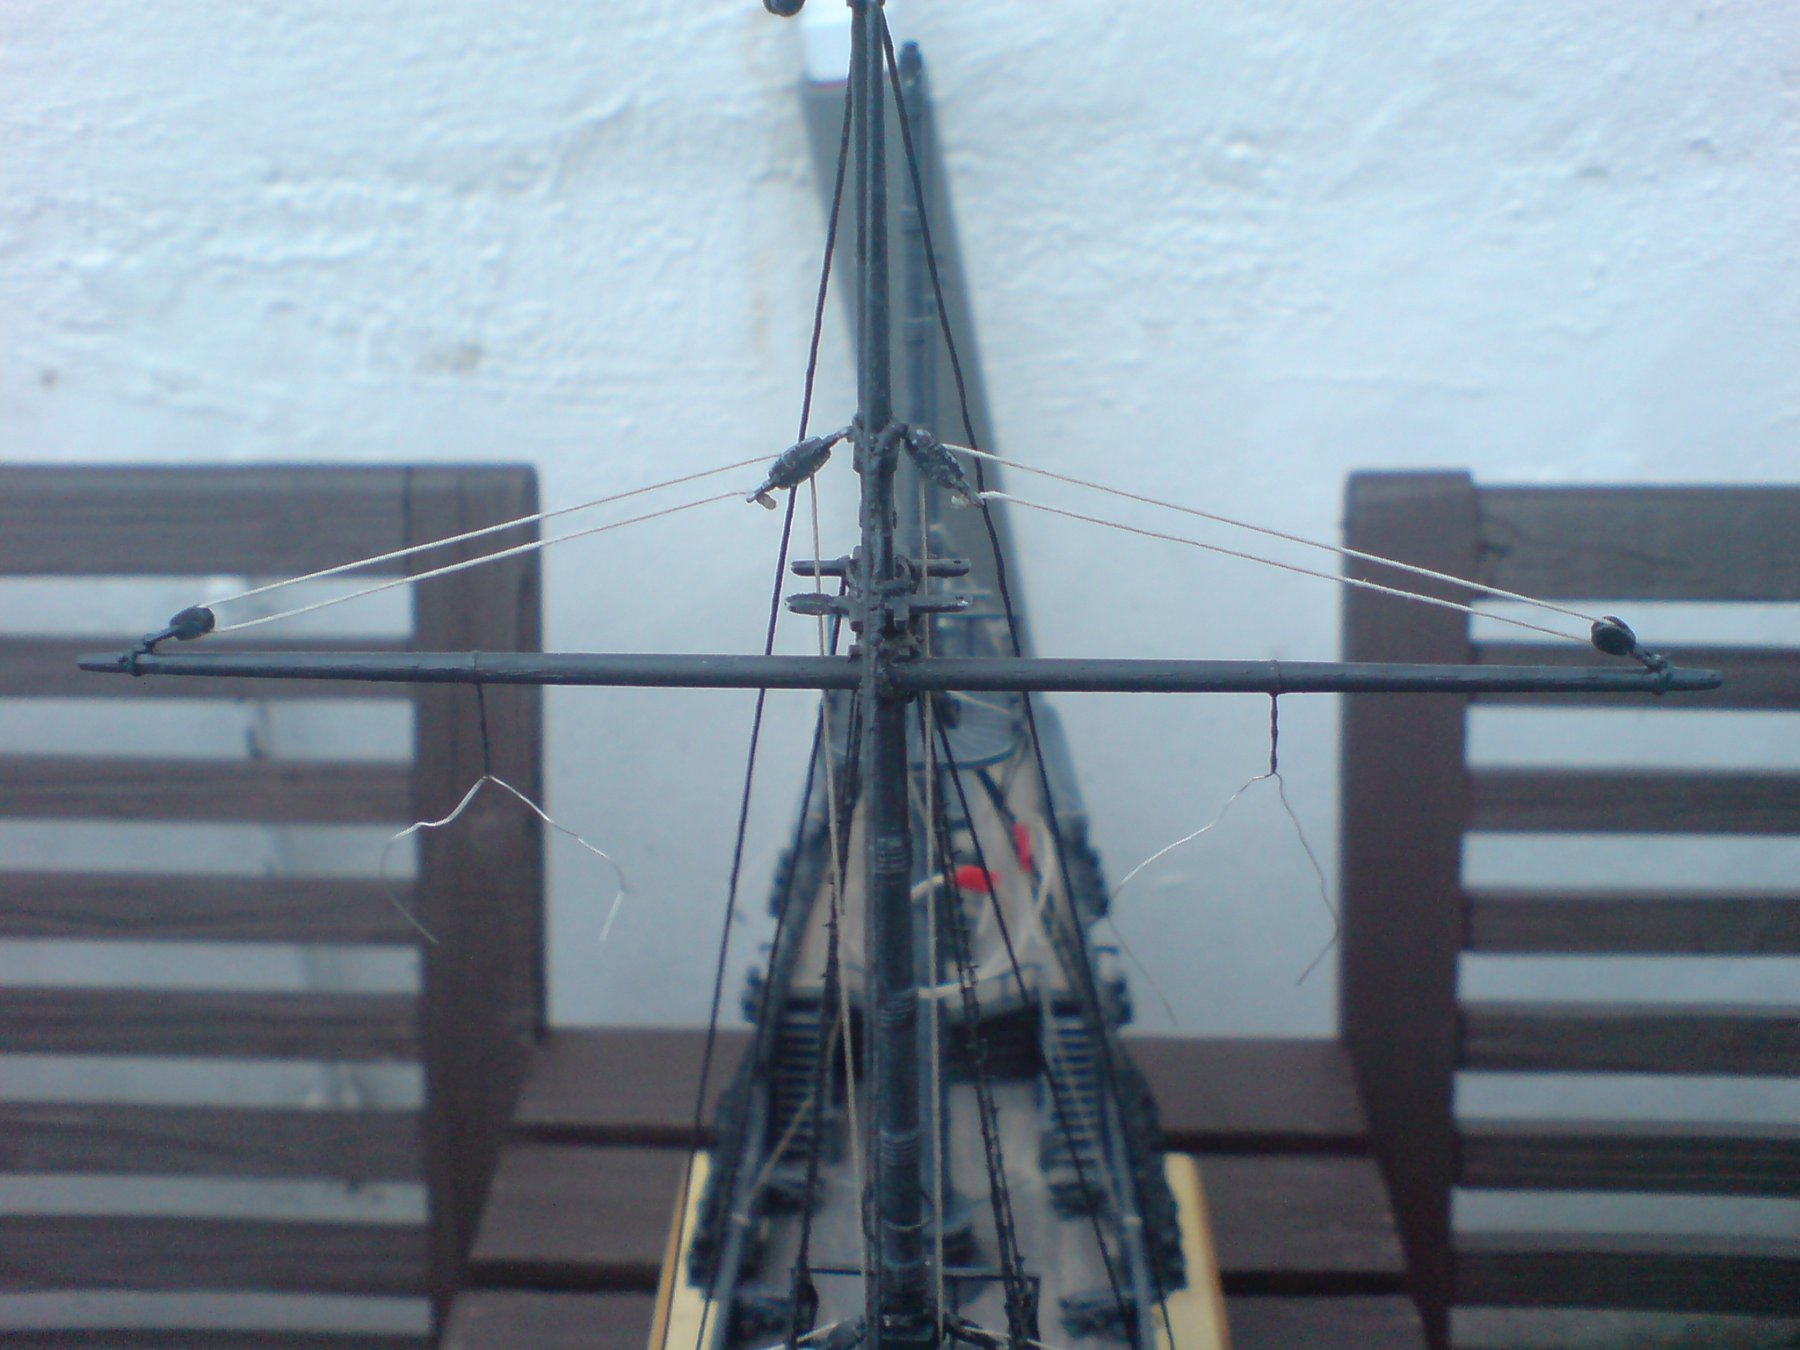
Evening all, a massive thanks to all the commens and likes and for all who follow my piraty adventure, I left you all with a top foreyard made on my mat, so next off I added a few coats of paint - then I glued and lashed it to the upper mast, after I connected up the lift ropes then fed them down and tied/glued them to the forecastle bits. OC.


-
Do you have any home decorating stores? that sell D.I.Y. tools and materials paints/paper etc, they should sell fuse wire pack or even Ebay. OC.
-
We have a household store over here called Wilko down the tool section they have plugs - extention leeds and little cards of fuse wire that comes in three ratings, I use the thinest think its 3amp. OC.
-
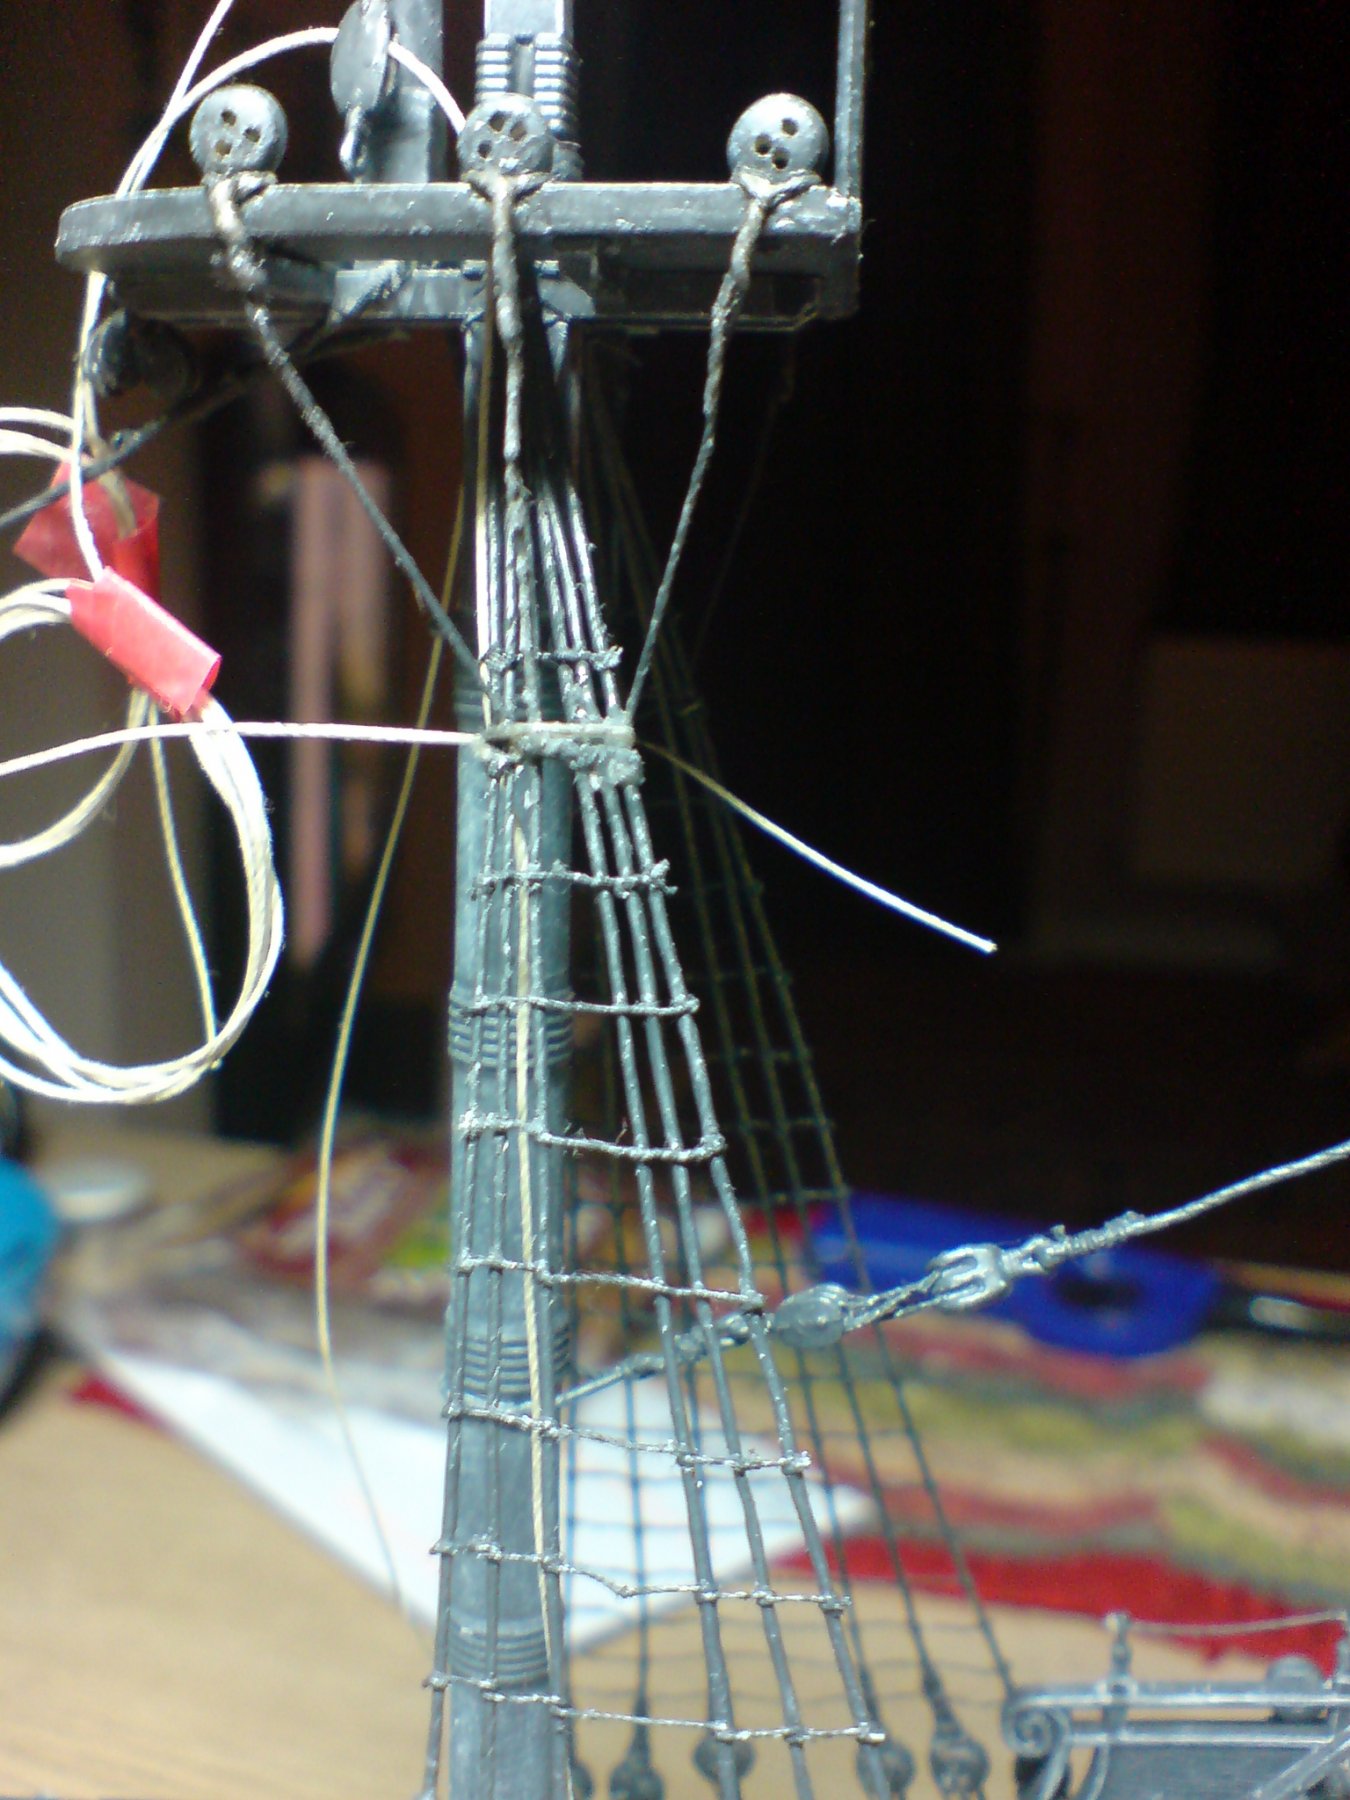
Nothing much really - just making another yard including the lift blocks and foot rope supports made form fuse wire. OC.
-
Thanks mate, I thought the foot ropes was going to be a right pain, but the fuse wire came to the rescue. OC.
-
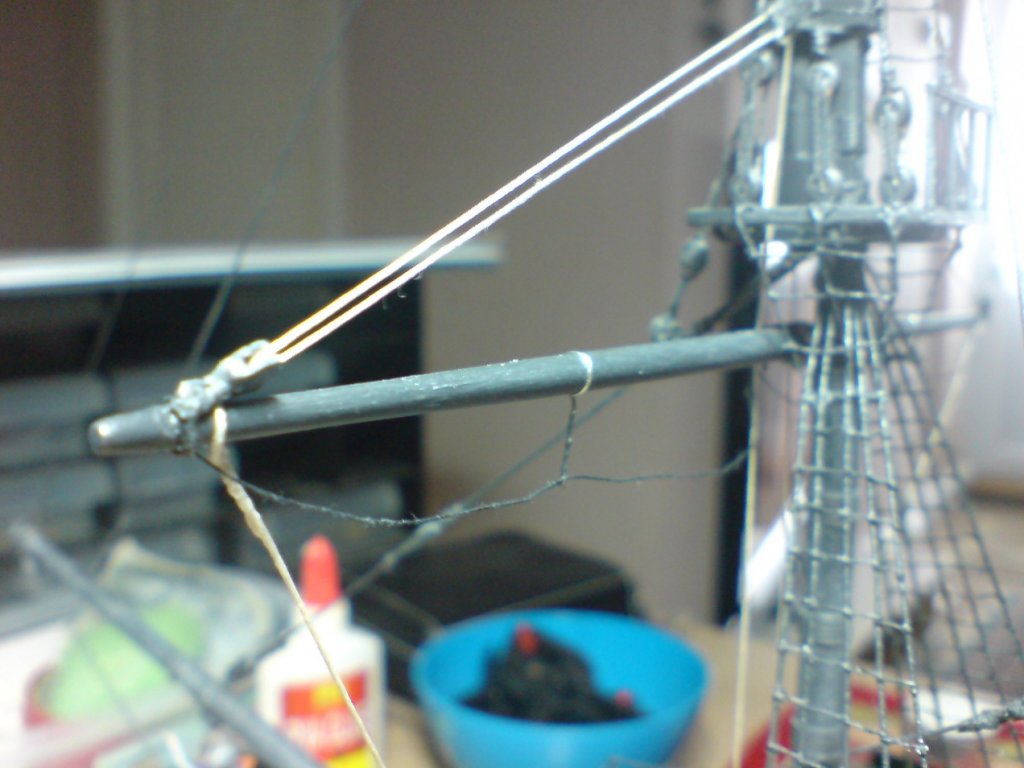
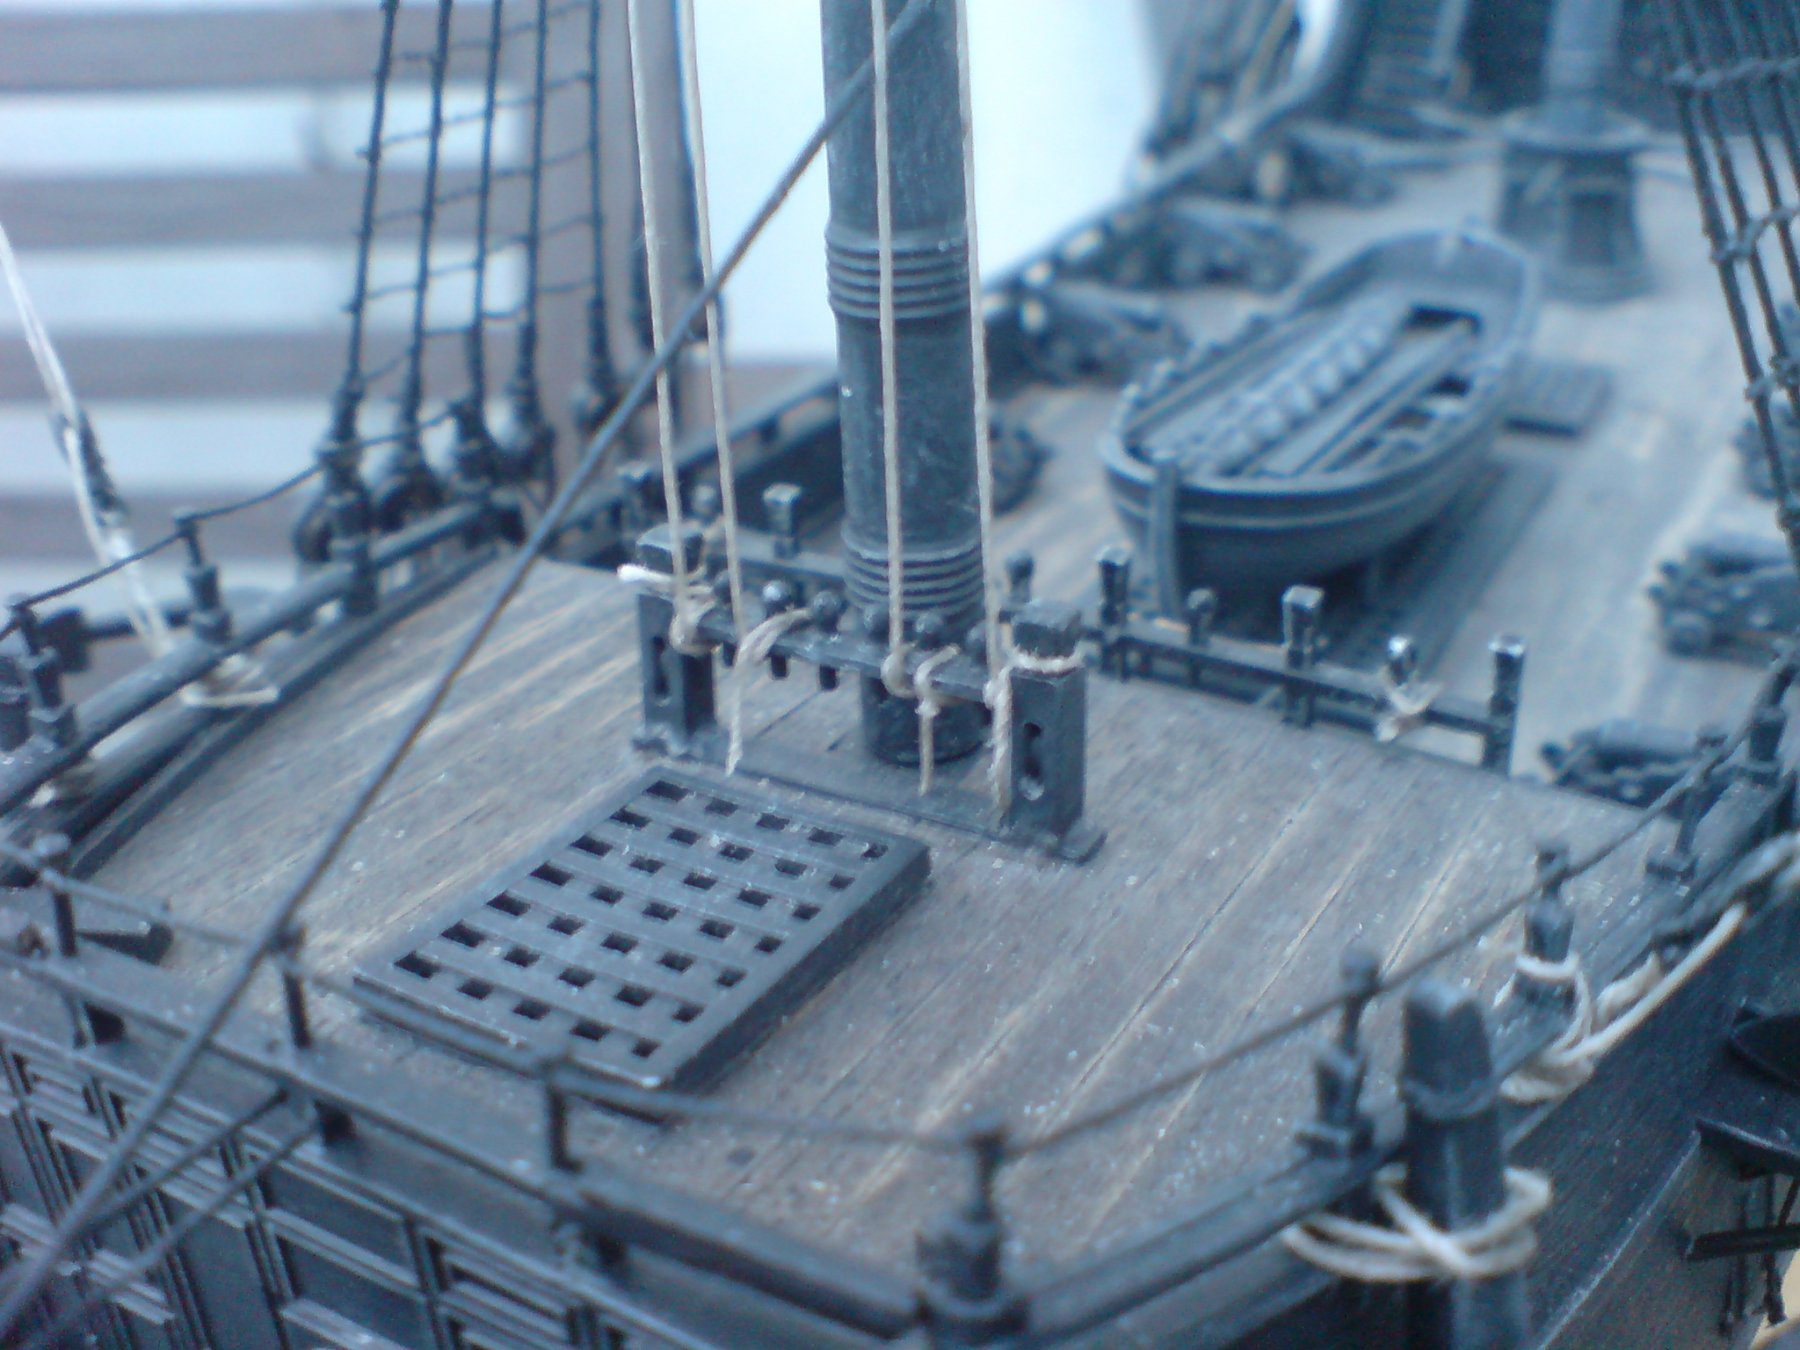
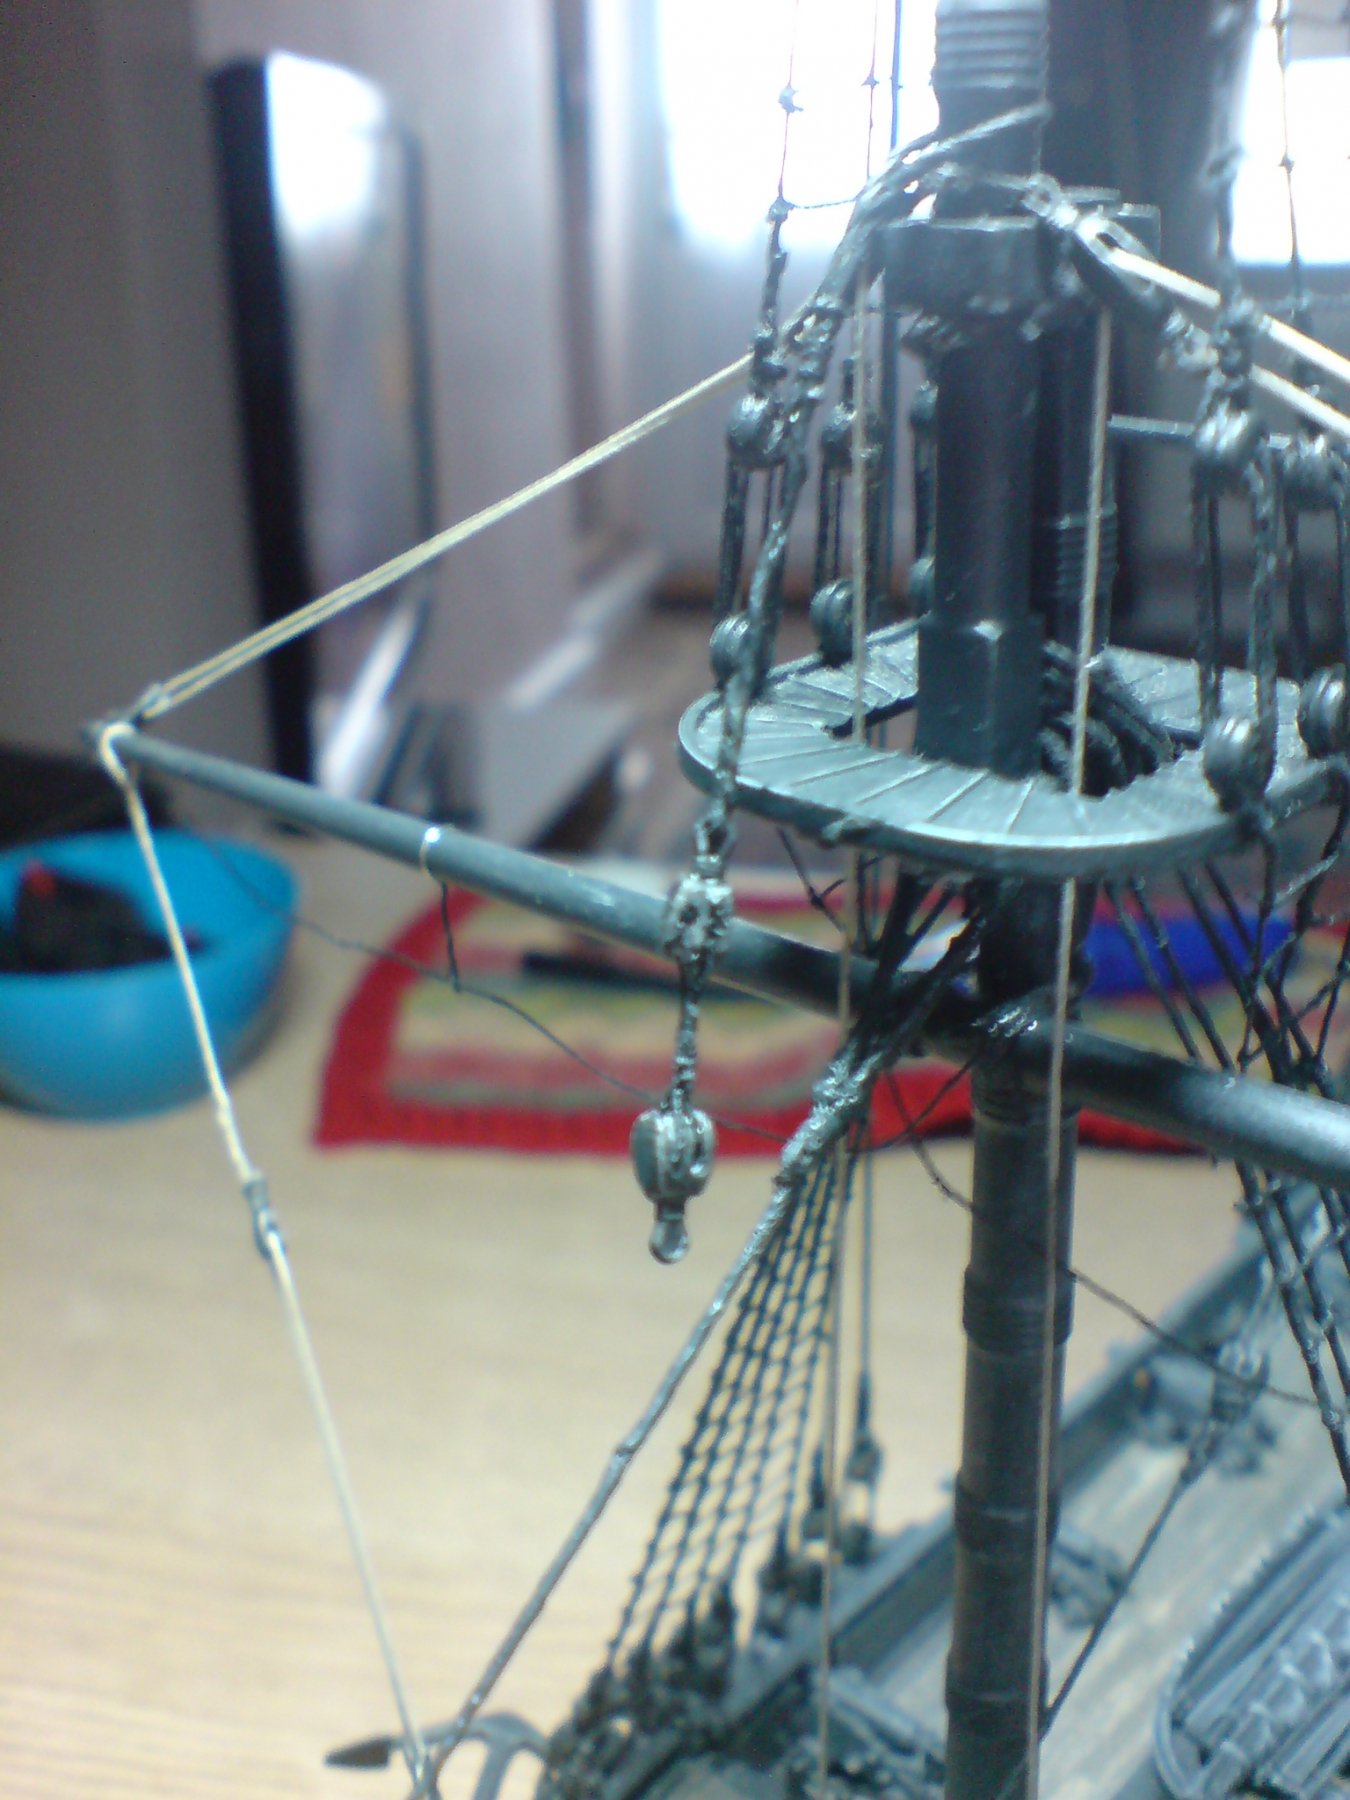
I have also been working on the main - foremast upper stay, I constructed the two double blocks and lashed them in the center - then I lashed the stay around the foremast tops and fitted the blocks, It will be swung around and attached to the rest of the stay when the mainmast upper section is made and fitted. OC.

-
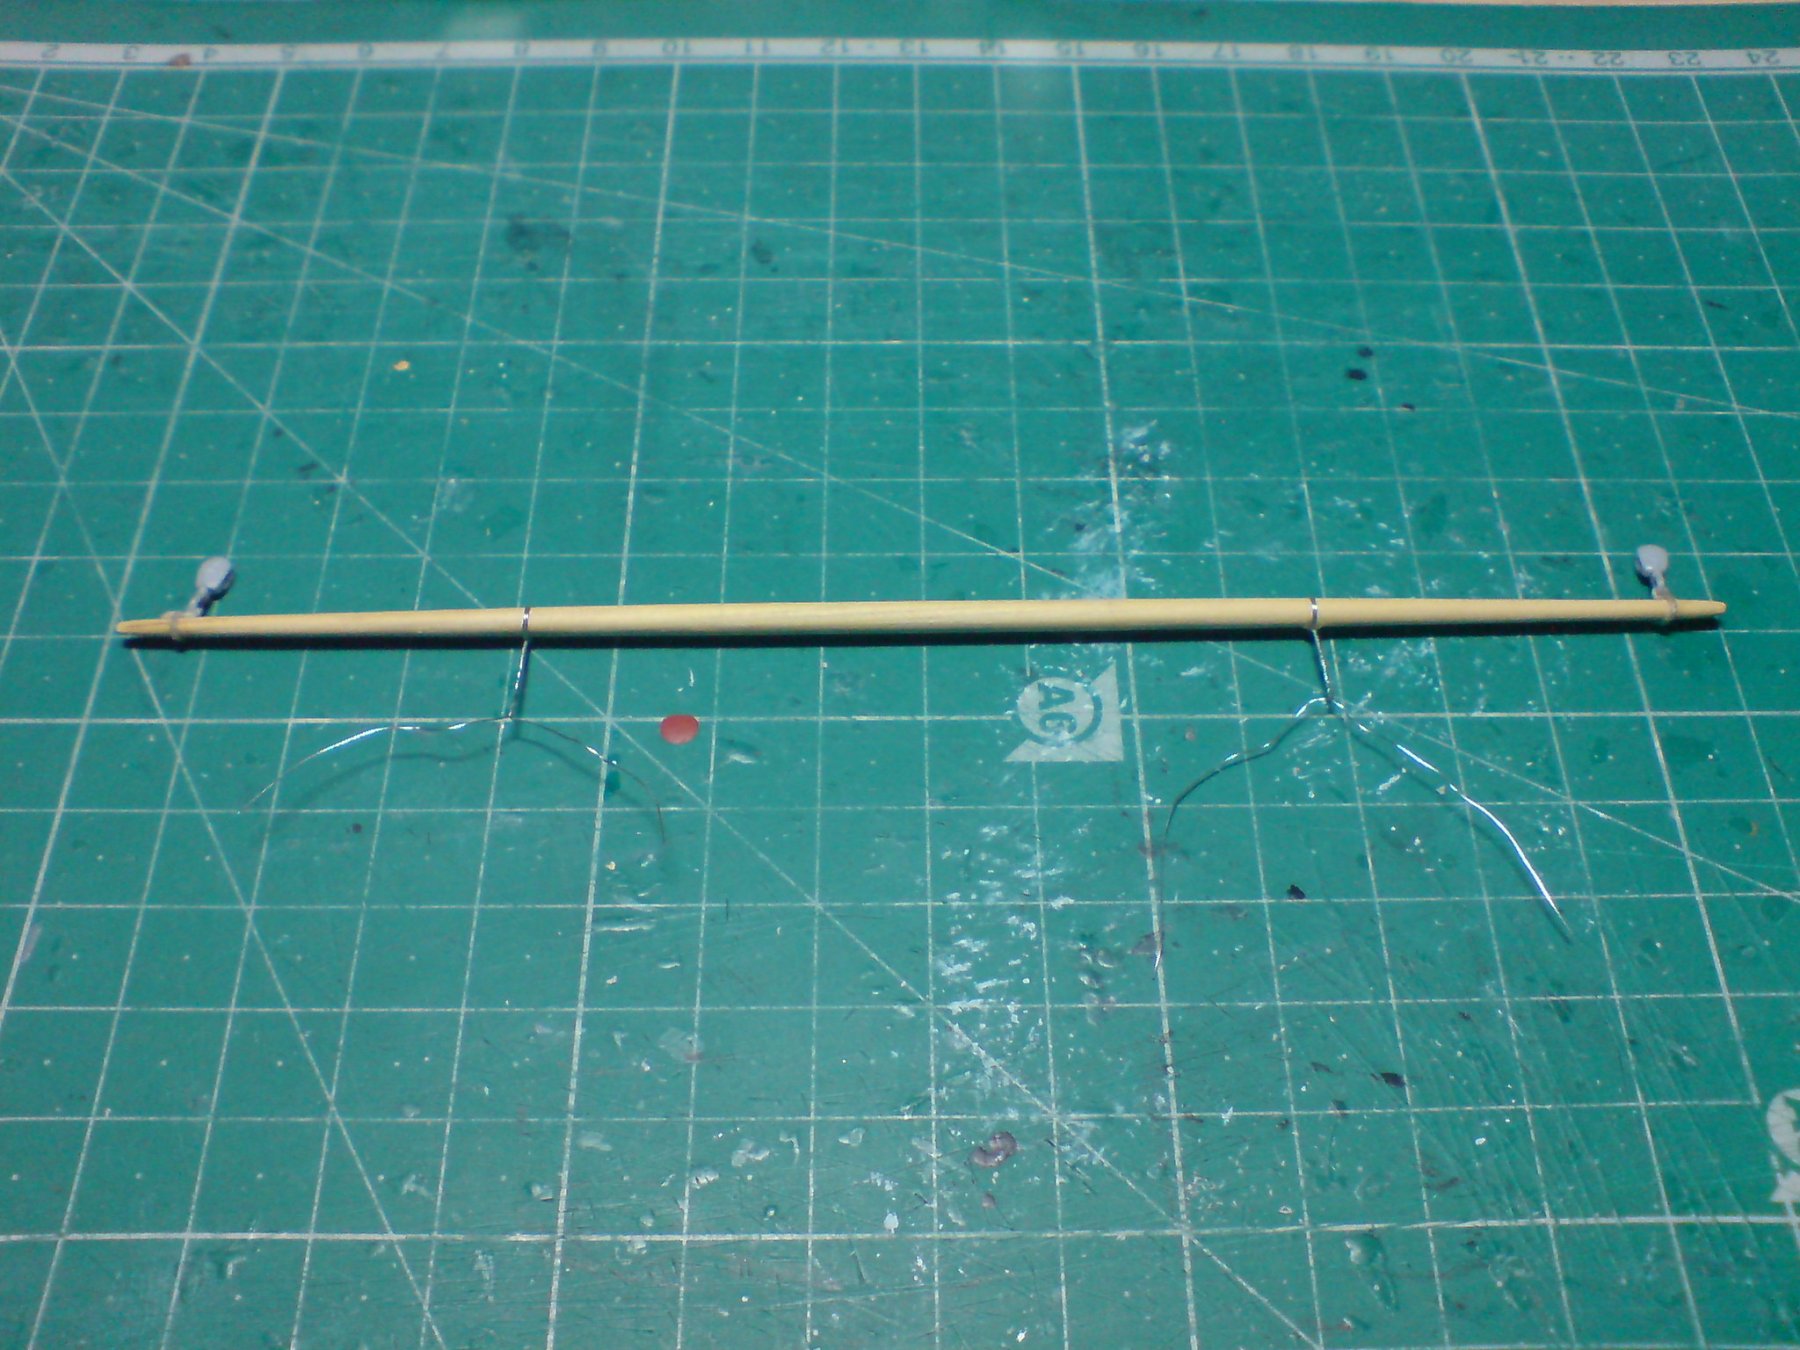
Good day all another good day - I decided to make the footropes on the lower foreyard, I know they have one support in the middle each side, and as I wanted this to be straight and hang down correctly, so I tried some fine fuse wire - I wrapped this arround the yard then twisted it together in tight twists and left the two end loose, I then attached som fine thread around the opposing side of the yard, then twisted the ends of the fuse wire around the thread and tied the ends and dabbed some ca to lock it. I made sure it had some sag and touched up the fuse wire - I think it looks ok. OC.
.thumb.JPG.7d56f535f06e79ba037cbe3ee0f4a48c.JPG)

-
Glad to see you back - hope all is well for you with your health, looking forward to more updates when you can. OC.
-
I'm liking it mate - you have done a fab job on that paintwork. OC.
-
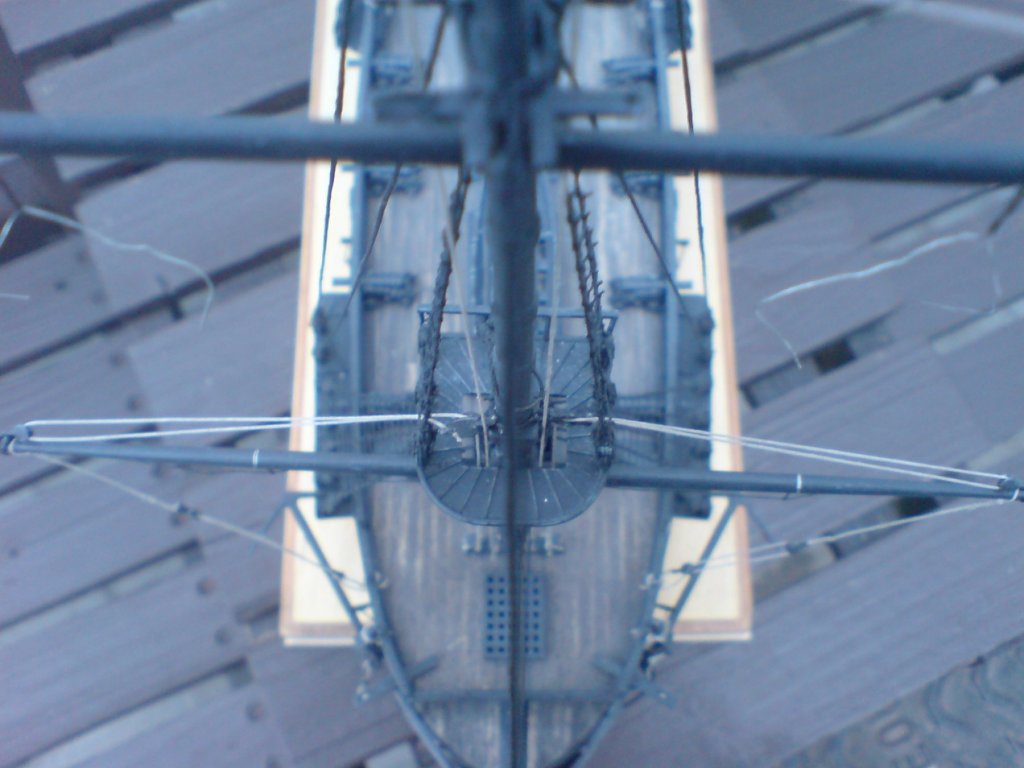
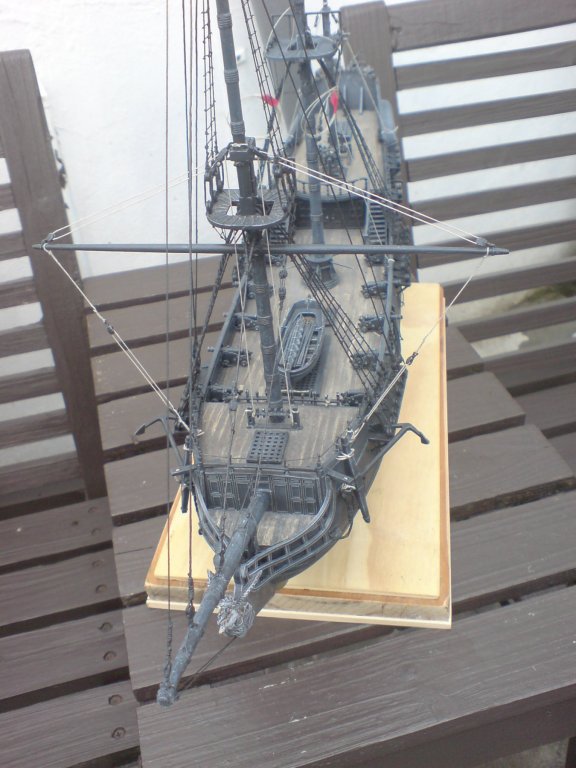
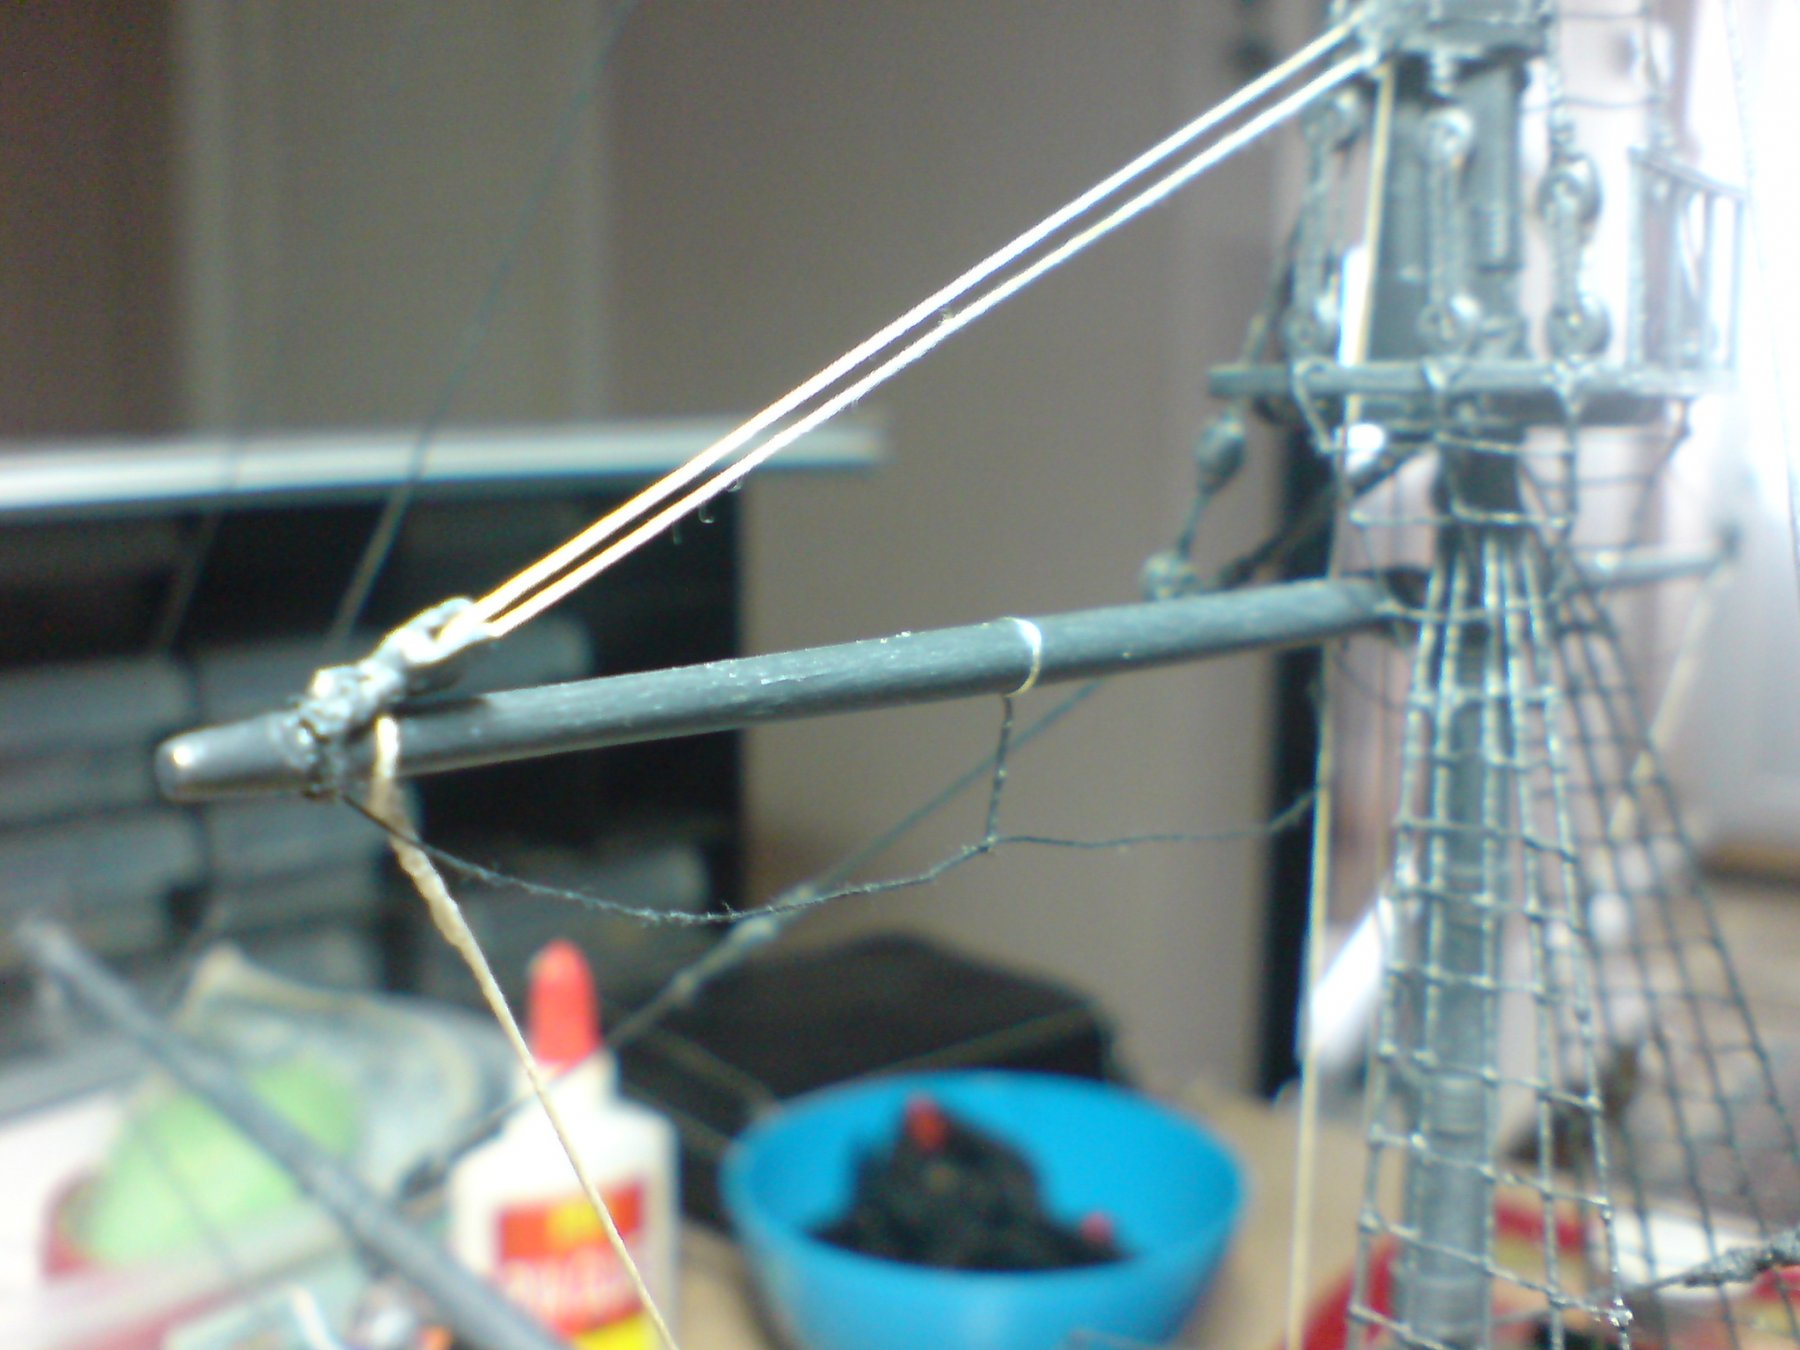
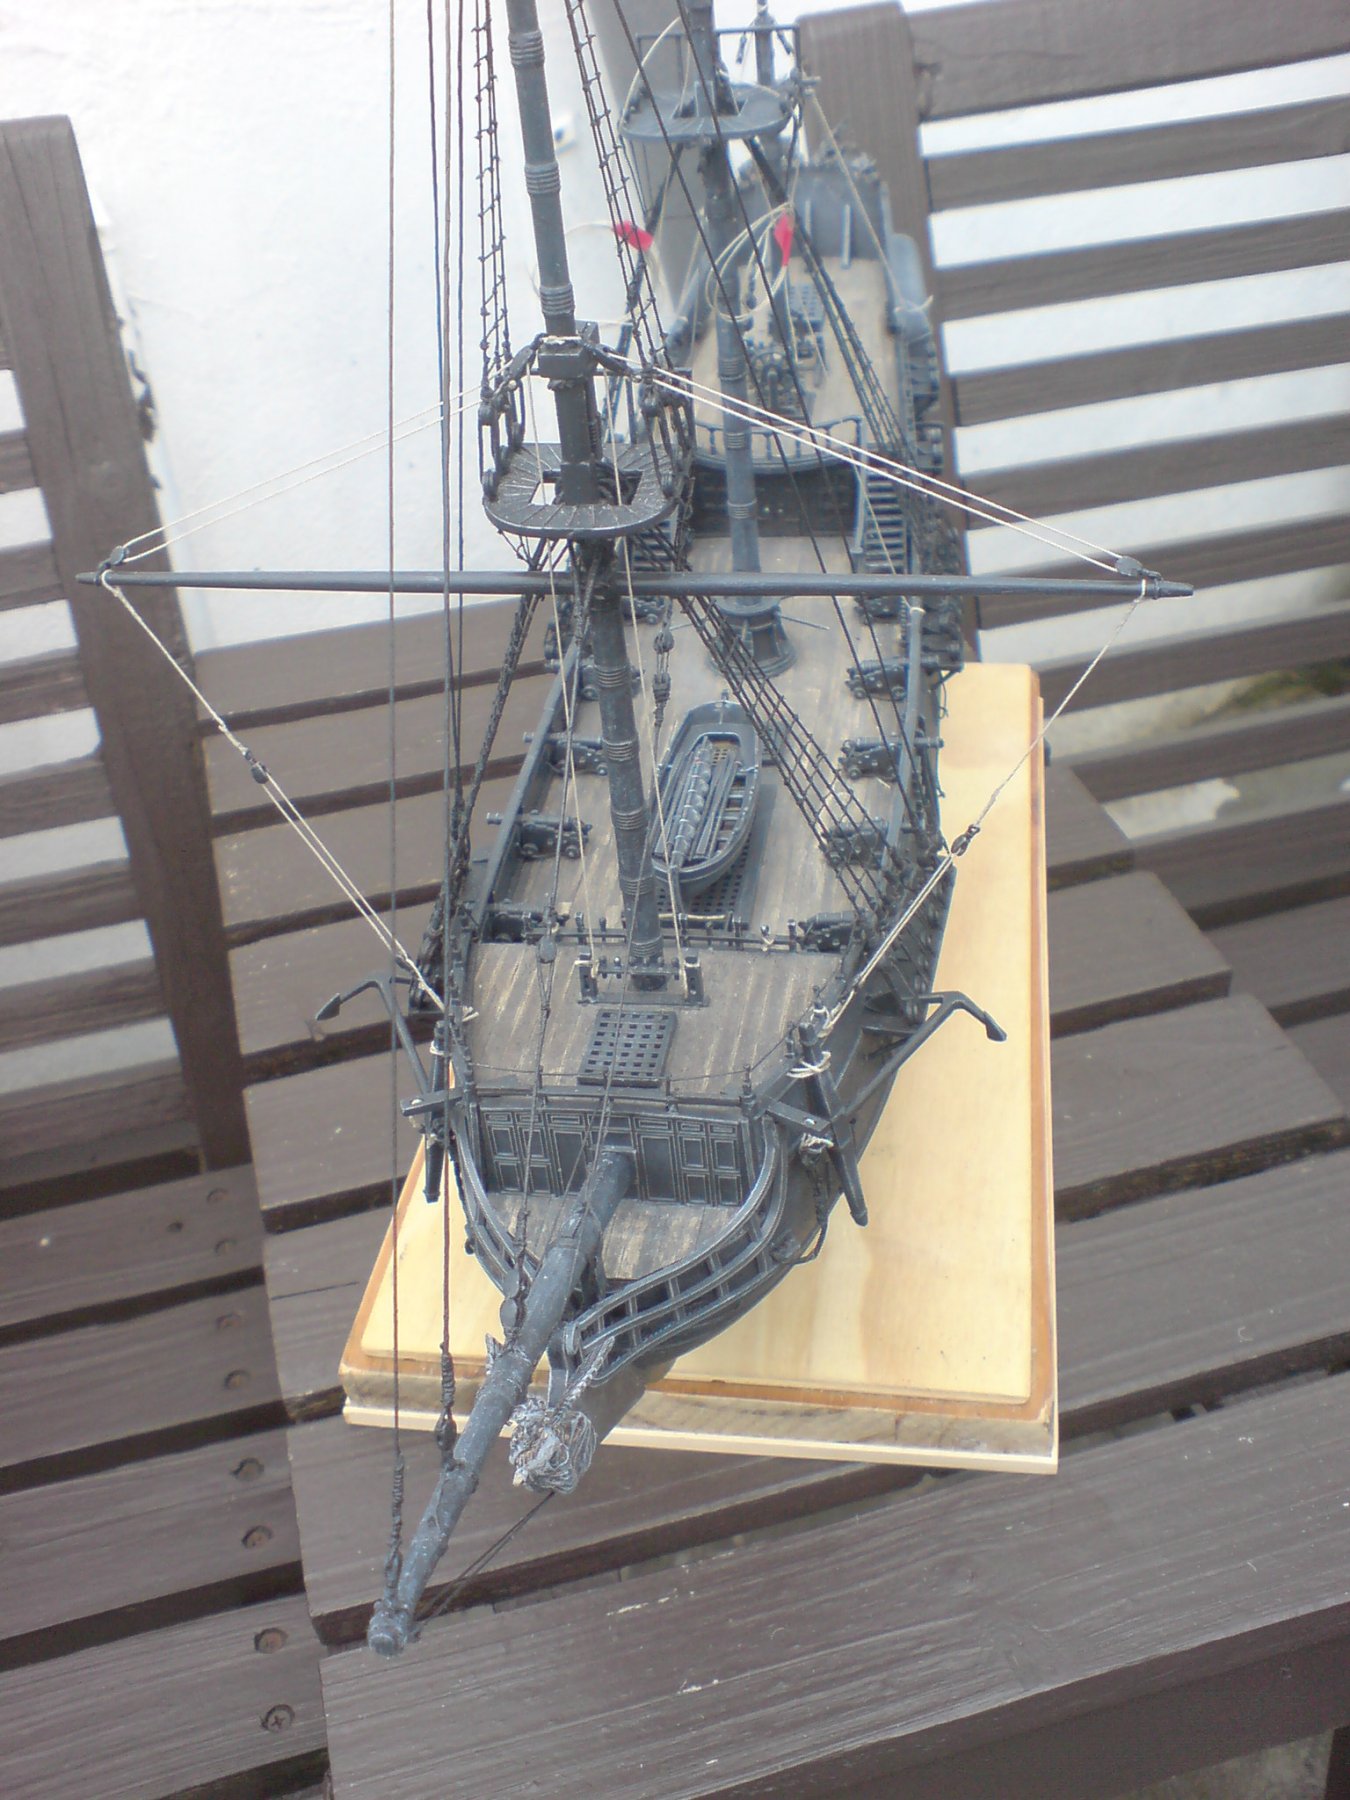
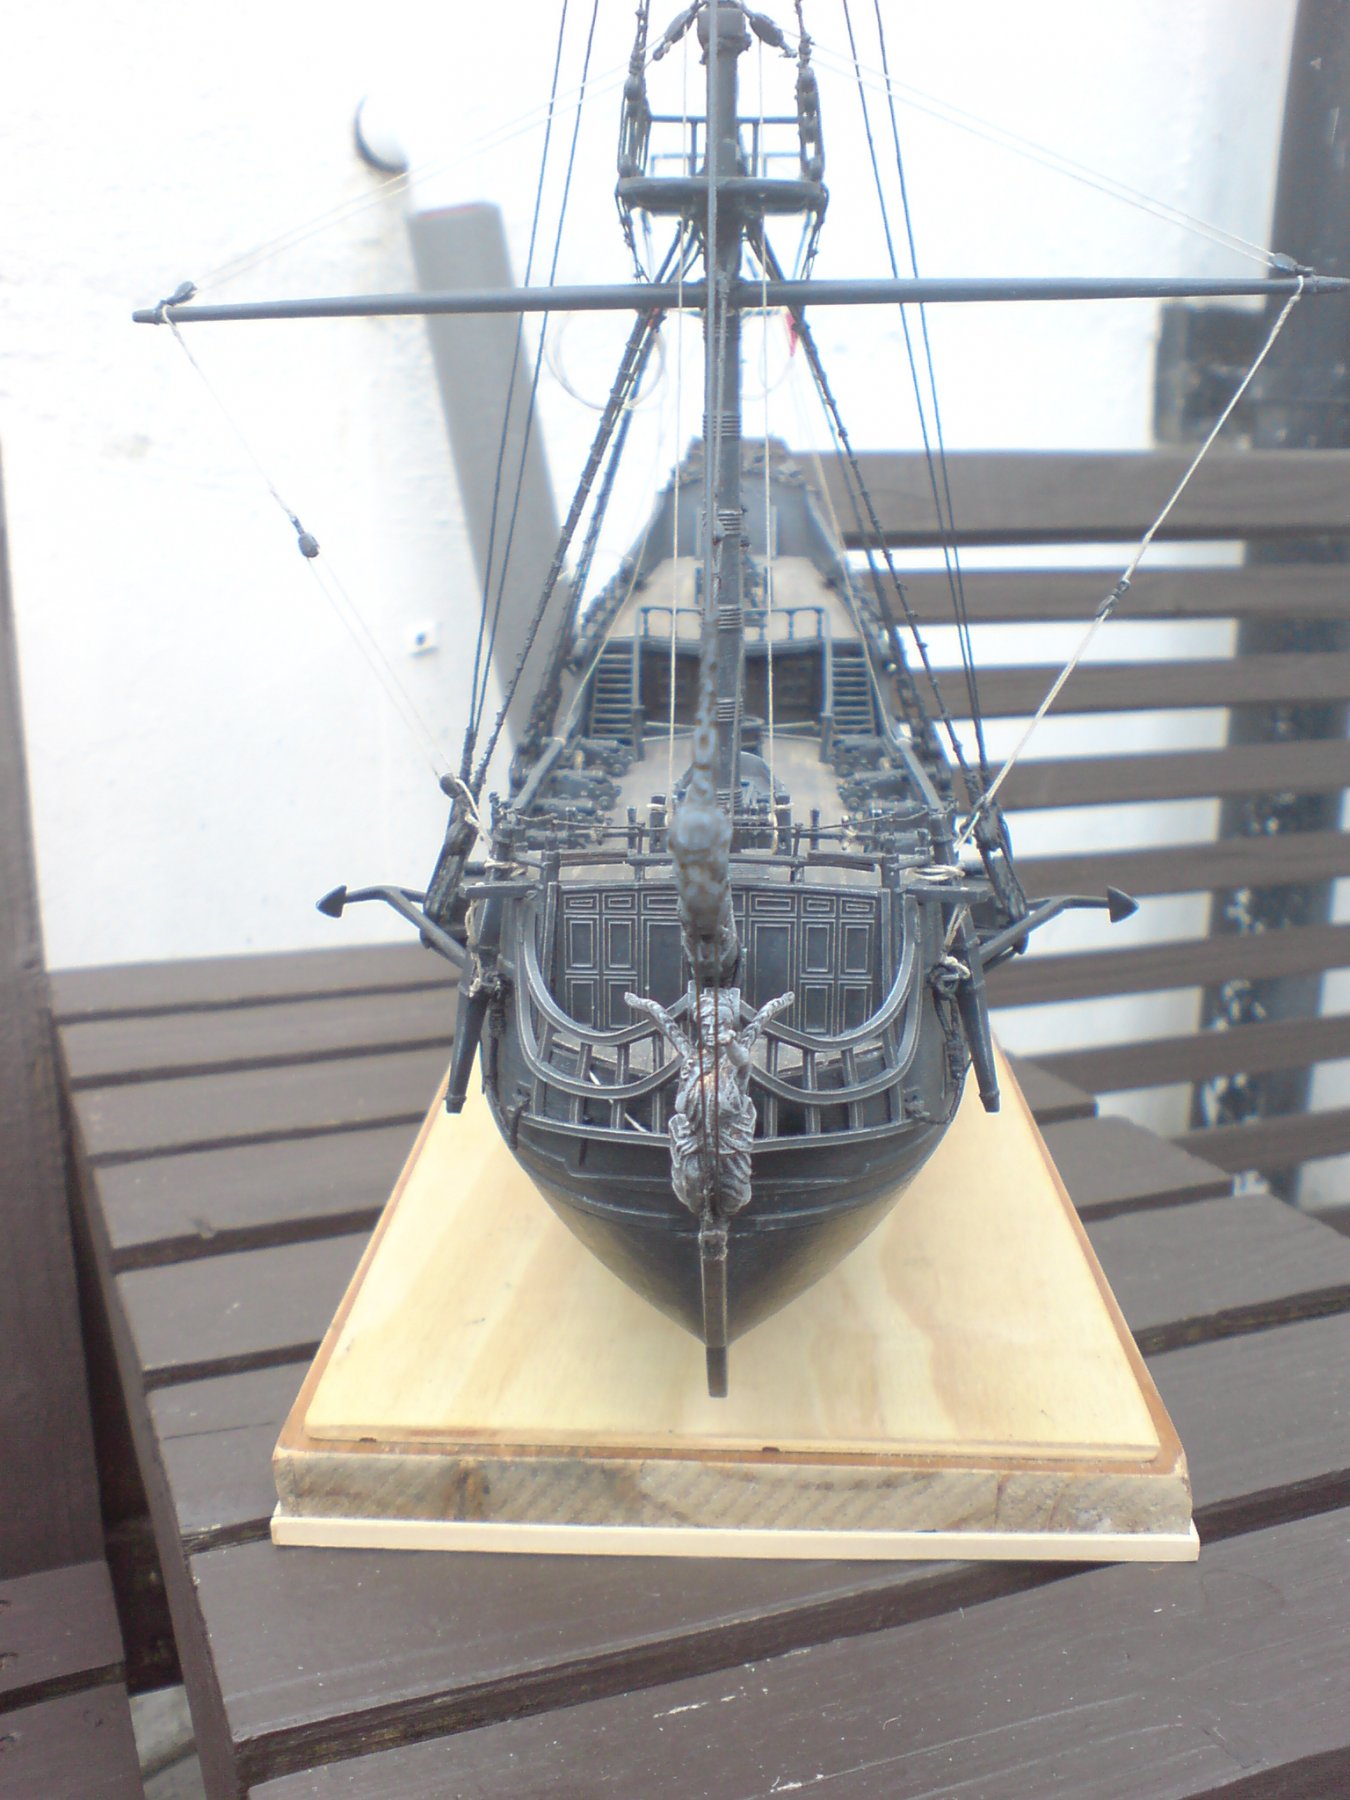
Good day all, some more good progress on the pearl - I worked on the foremast yard placement ropes/blocks, these were lashed to the forecastle bulwarks - then connected to the yard blocks and tied/glued back down to the bulwarks. I took her outside for a few pics - OC.
.thumb.JPG.d1f22180b8c8efb3d656833e2ff2c48b.JPG)

.thumb.JPG.0cfe9919a07d07a0131b4865cb643c3f.JPG)
-
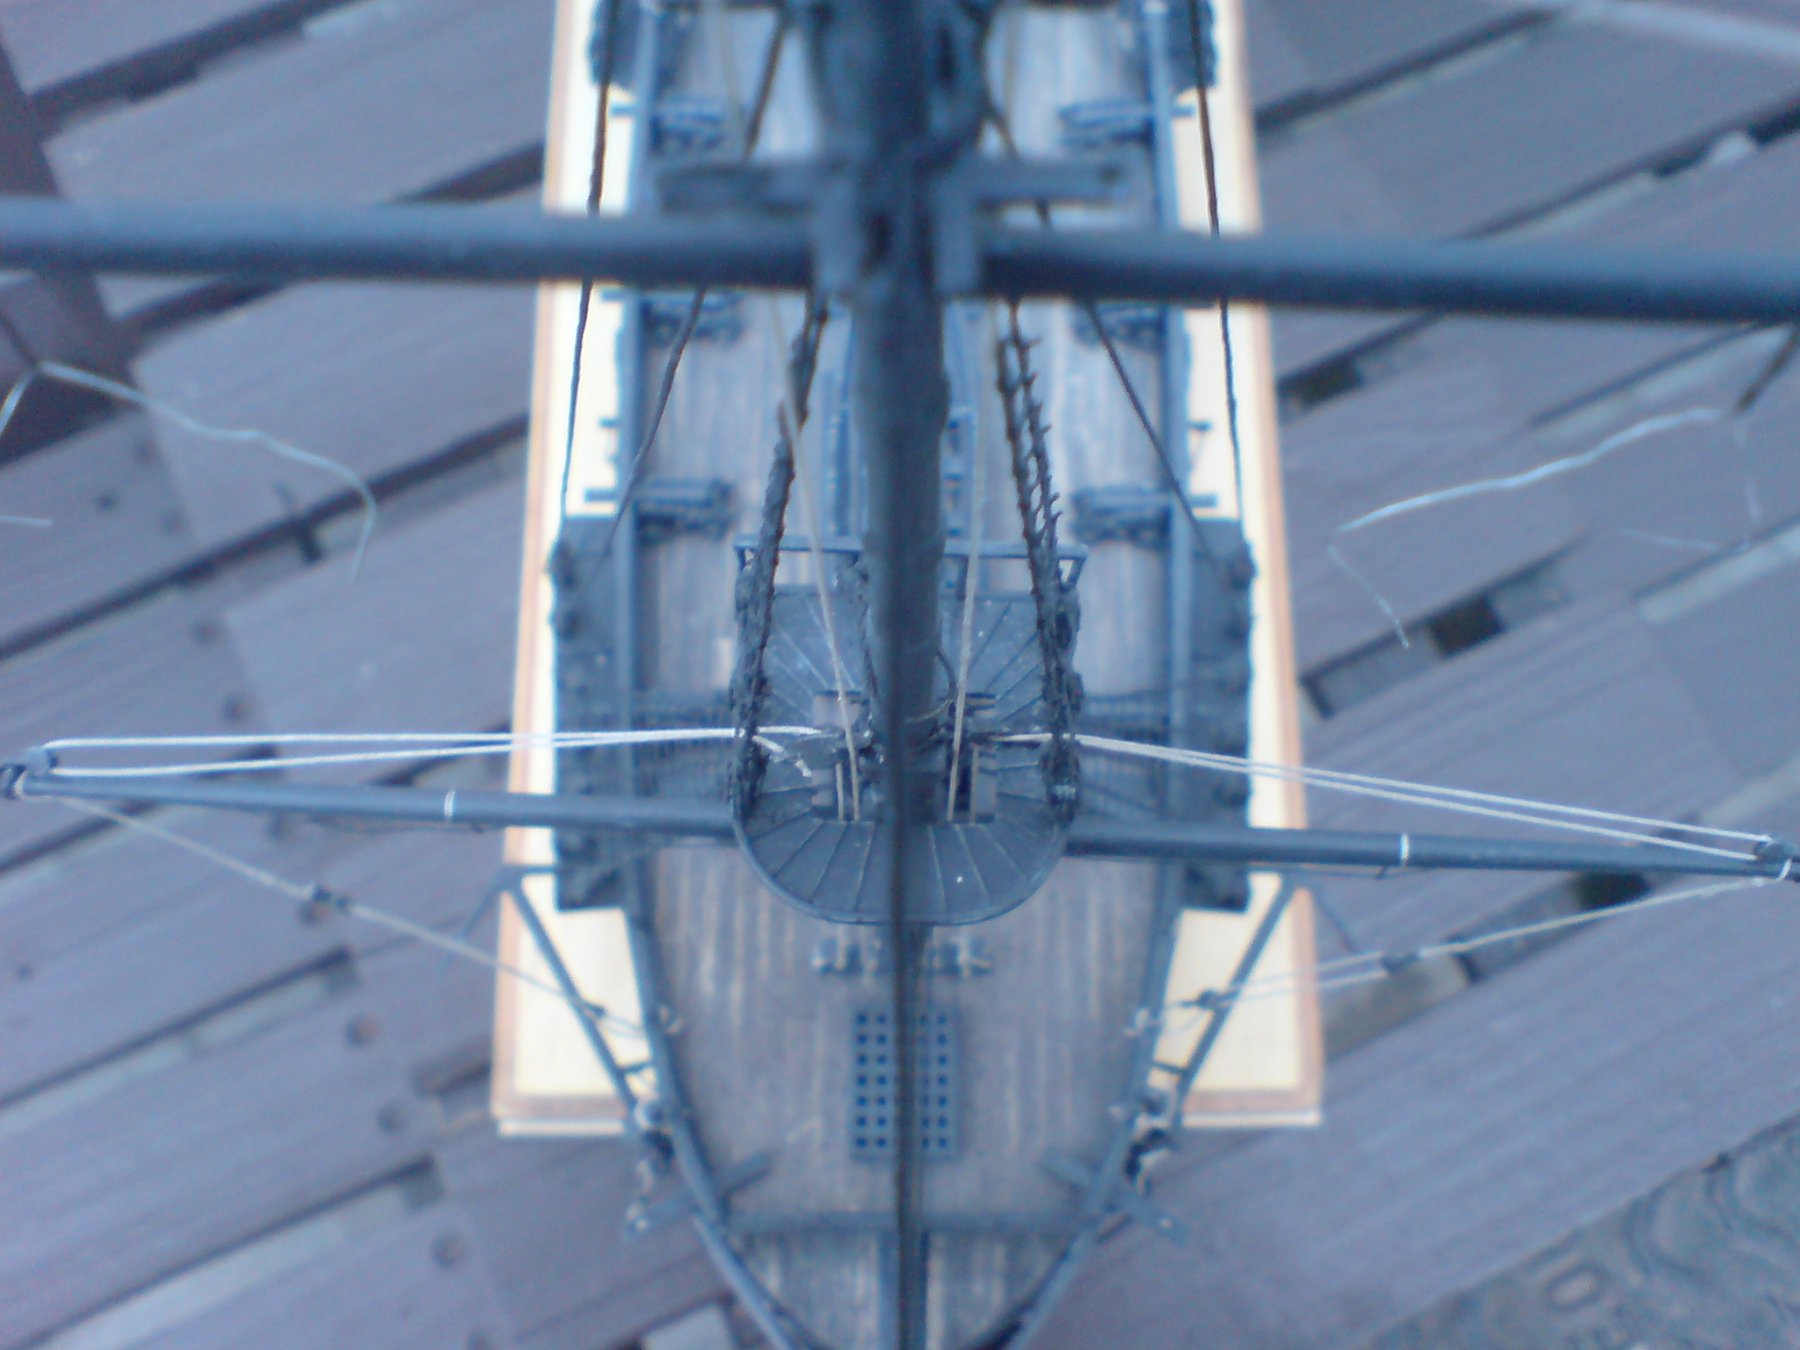
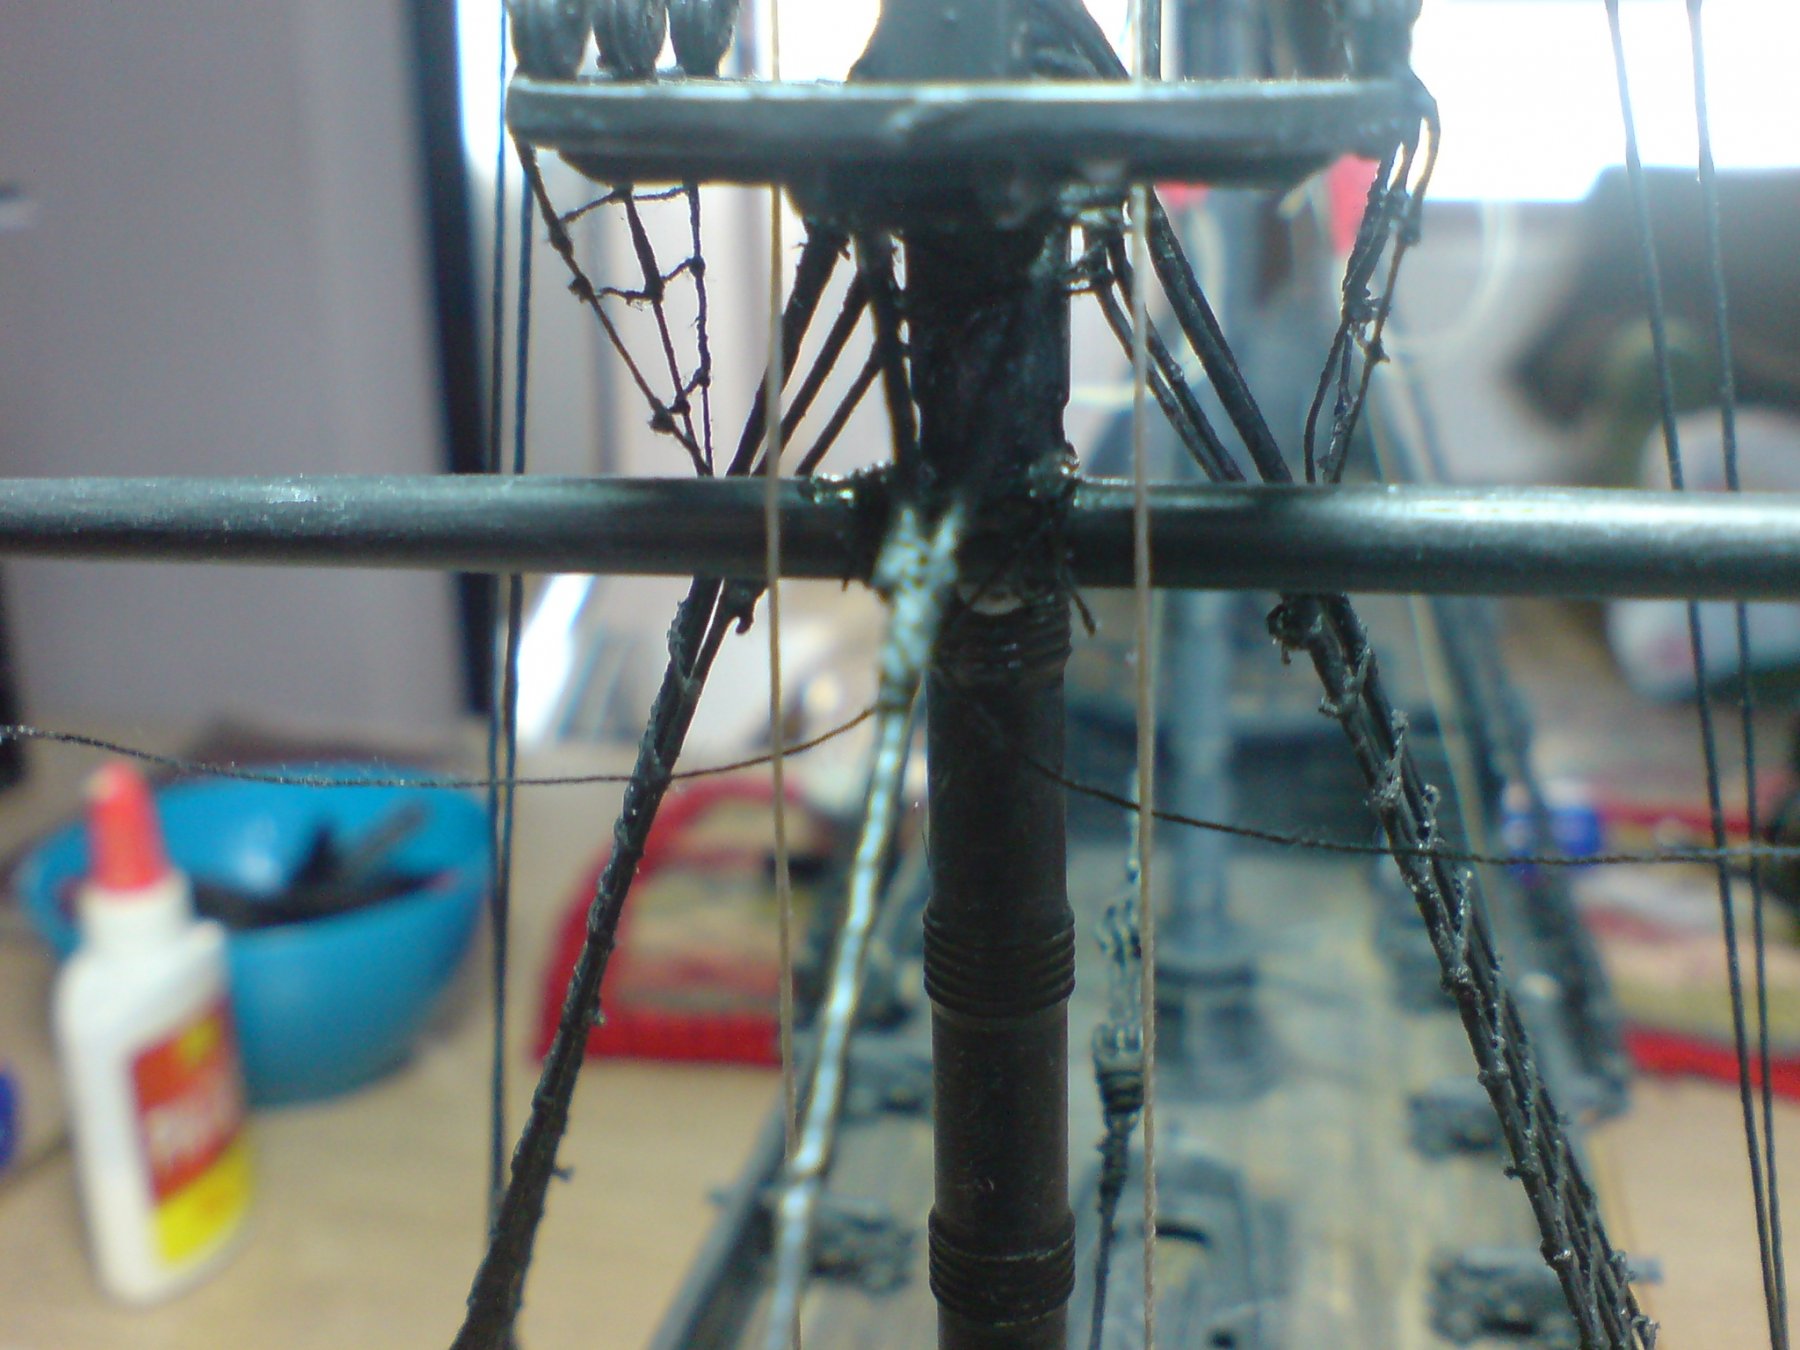
Evening all, so I decided to to have a go at the rest of the ratlines on the mainmast - I completed them and also attached the futtock shrouds to the masttop deadeyes, I then fixed the masttop inlpace and tied the futtock shrouds to the shrouds. Just the one pic. OC.

-
Nope never smoked carl, just spent to much time in my past with a sweet tooth and paying for it now. OC.
-
Honestly that engine just looks so good - reminds me of my dads car and when we took the engine out on a hoist to do some work to it, new cams I think. OC.

.JPG.7d2ac1836769c08cb44fd142a97f2826.JPG)
.JPG.828a0a5482666483dc09f266313ab4f2.JPG)
.JPG.fe624351c5667e2e6917f9e936028d5b.JPG)