HOLIDAY DONATION DRIVE - SUPPORT MSW - DO YOUR PART TO KEEP THIS GREAT FORUM GOING!
×


Old Collingwood
-
Posts
12,097 -
Joined
-
Last visited
Content Type
Profiles
Forums
Gallery
Events
Everything posted by Old Collingwood
-
 This looks good - I have my chair and goodies at the ready. OC.
 -
Thank you sincerely J. OC.
-
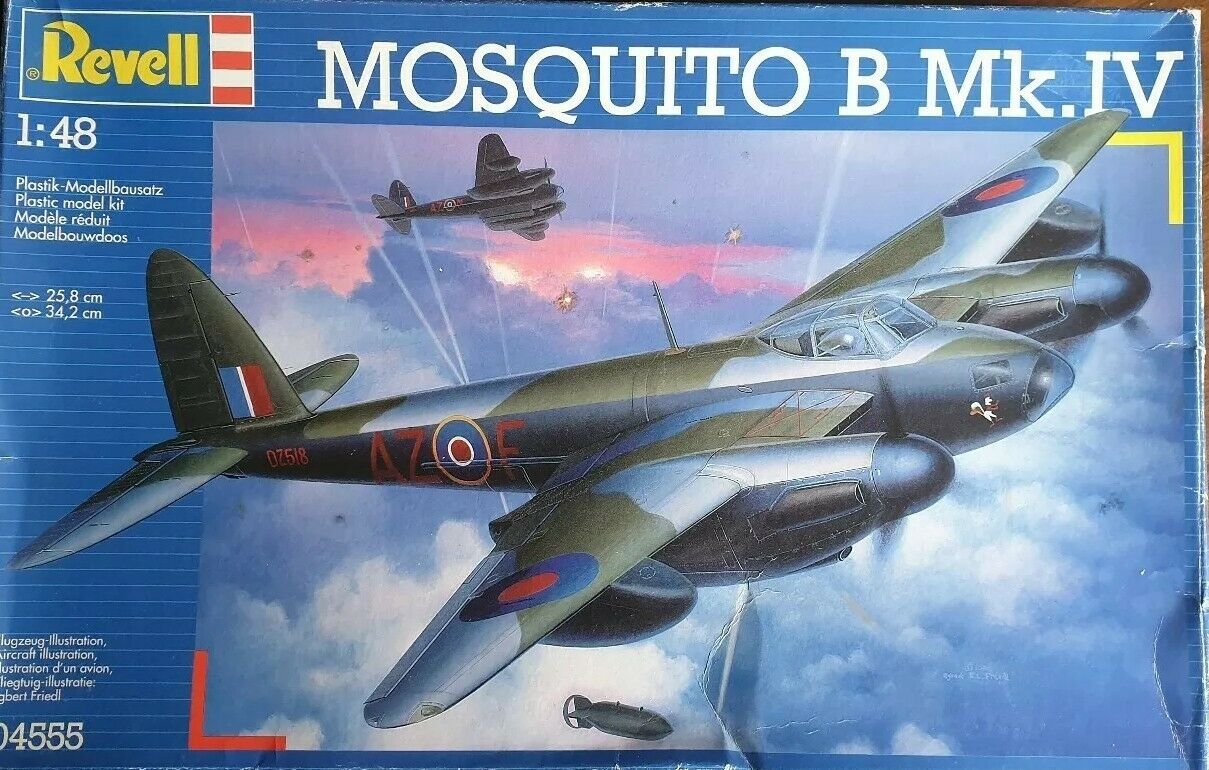
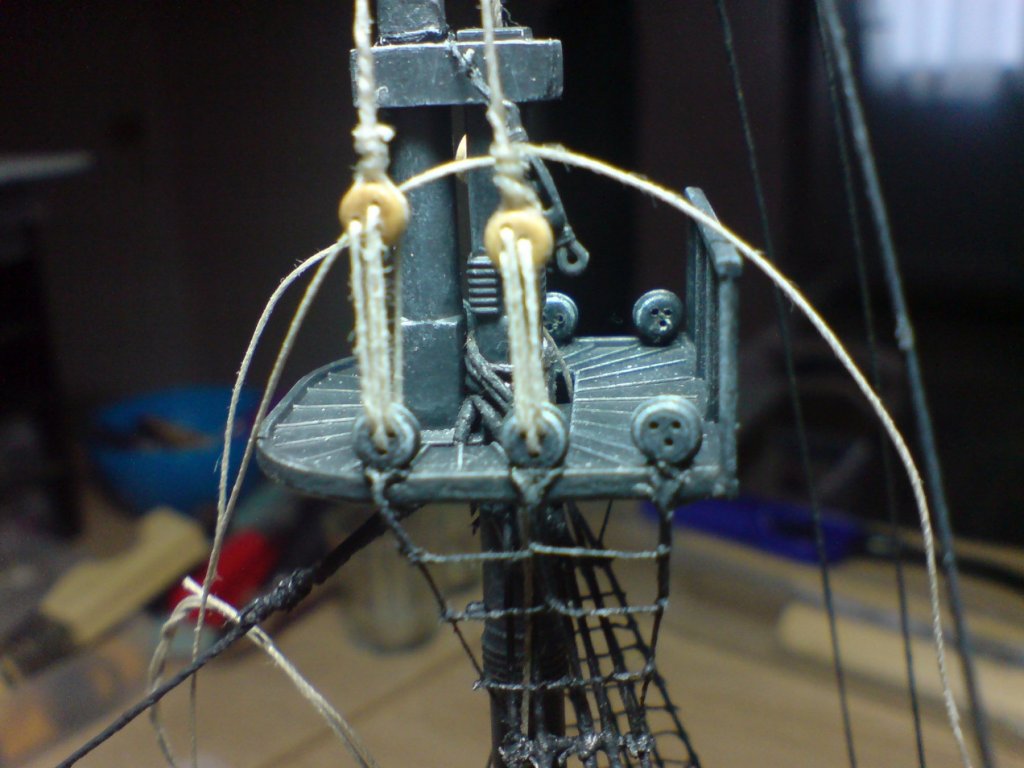
Evening all back on with the pearl today, I finished off fitting the top foremast shrouds., then I lashed them around the top to secure them - they still need thier ratlines. I then decided to make the foremast lower spar - this is going to be wood made from dowel (the same with all the spars) first I used the pre-molded spar/sail as a template and cut the dowel to the correct length, then I marked each side of the dead center where the taper will start - I then used a combination of my curved scraping tool and sanding stick to shape each end - slighty time consuming and tedious, but I think I achieved the result - then I drilled the linking hole in the dead center and then fitted the two lift blocks at each end. It will be painted/weathered then glued in place and lashed around the foremast. Just the one pic showing he spar/blocks. OC.

-
Thank you wallace more than welcome. OC.
-
Im not sure about the bulge but I will certainly flatten off the weight spot under both wheels and the tail unit. OC.
-
Thank you mark. OC.
-
Most welcome mark. OC.
-
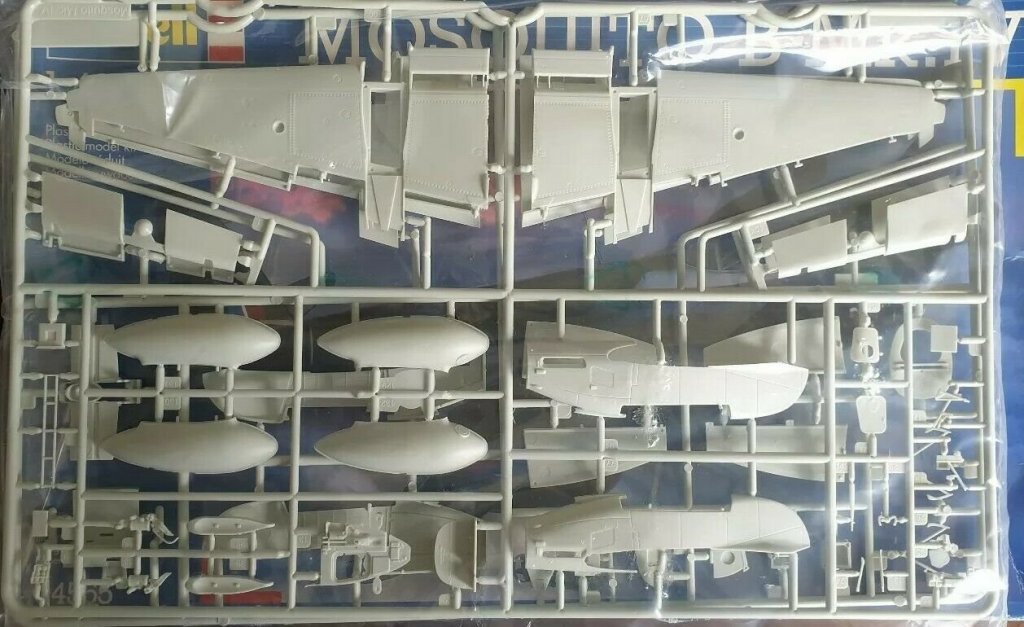
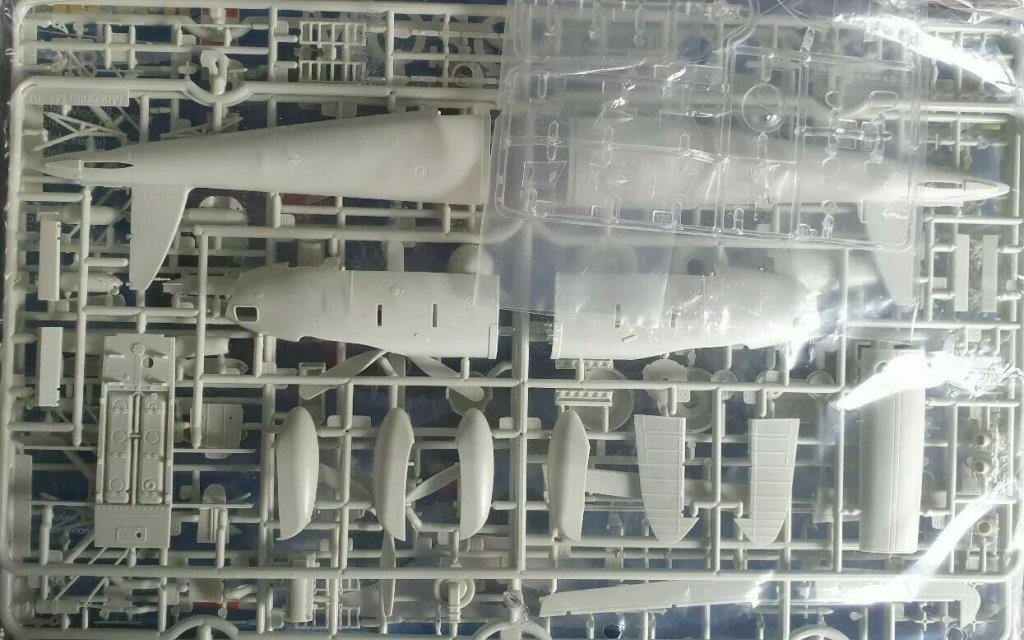
Without even having the kit infront of me I know of one fairly major mod I will need to do - higher the two main undercarriage wheel frame heights as the kit ones are a little bit short and the whole kit sits a little to "nose down" - how I dont know yet but Im sure I will think of something. OC.
-
Thanks Ken. OC.
-
Very nice project. OC.
-
Very nice job - looks a propper solid workman like plane. OC.
-
Some fine methodical work going into this denis - very nicely done, I once built a card version of a steam train - many many years ago as a Kid (well he did I just watched mainly) OC.
-
Evening/morning all, thought I better sign in I havn't left the country - just been a wee bit distracted elswhere, I will be back on the pearl faster than you can say - Supercalifragilisticexpialodocious. OC.
-
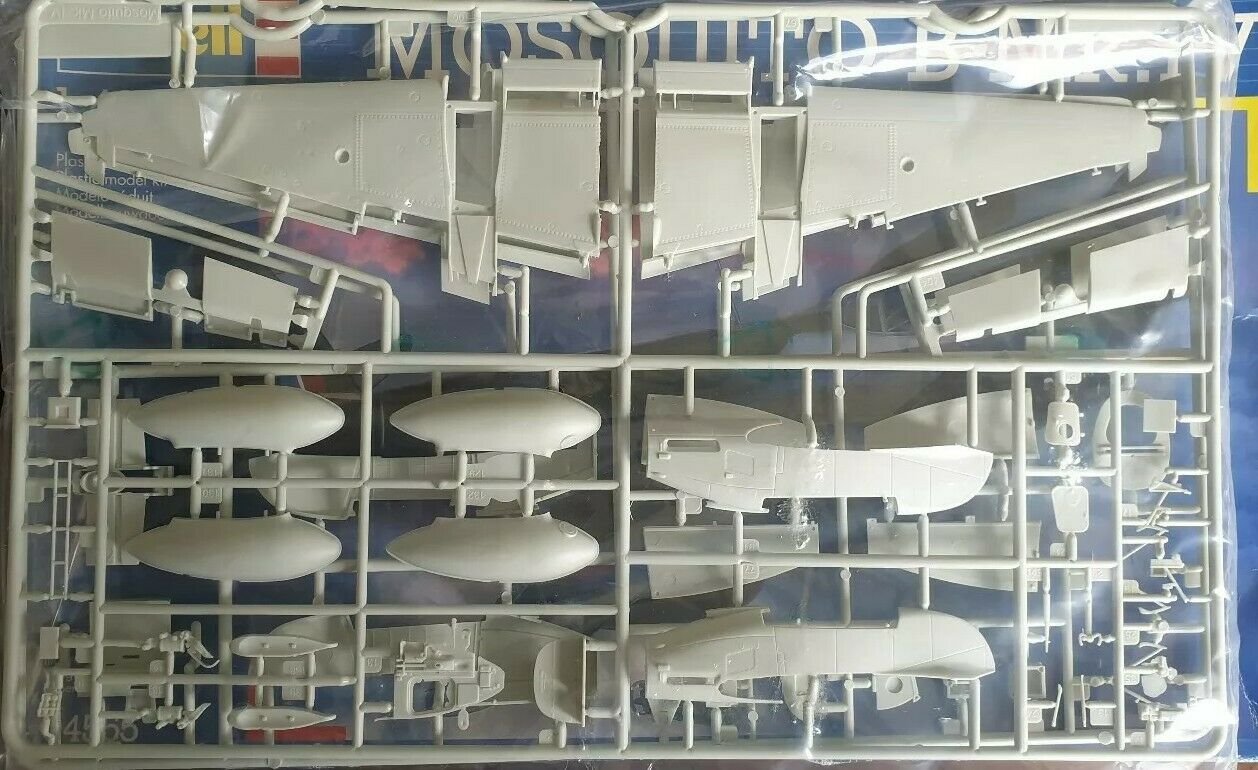
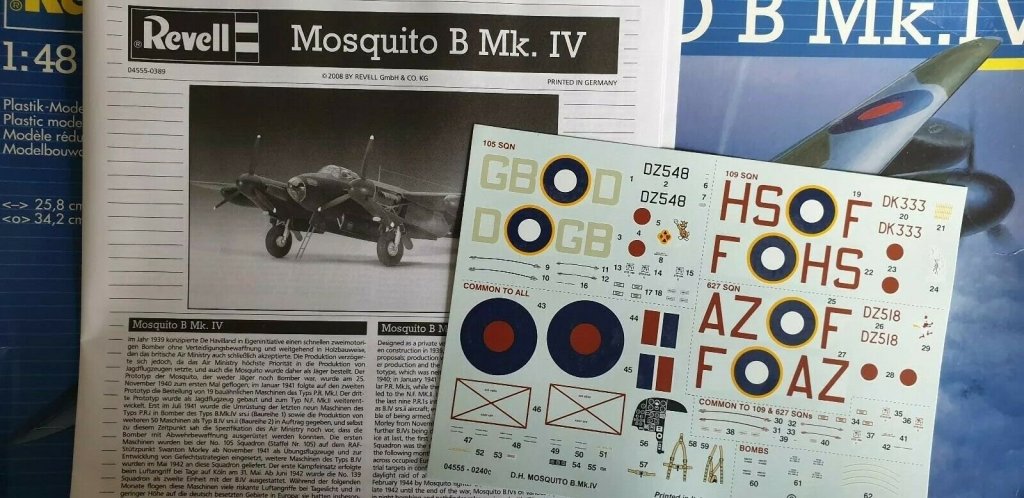
Thank you kindly denis, I have to finish the pearl first but after that - I will make a start, I will deffo spray paint it though with rattle cans as I dont think hand painting with a furry stick will do the fine detail justice - there are some very fine panel lines and rivet detail on the kit, I have read up on a few reviews and its a very fine kit. OC.
-
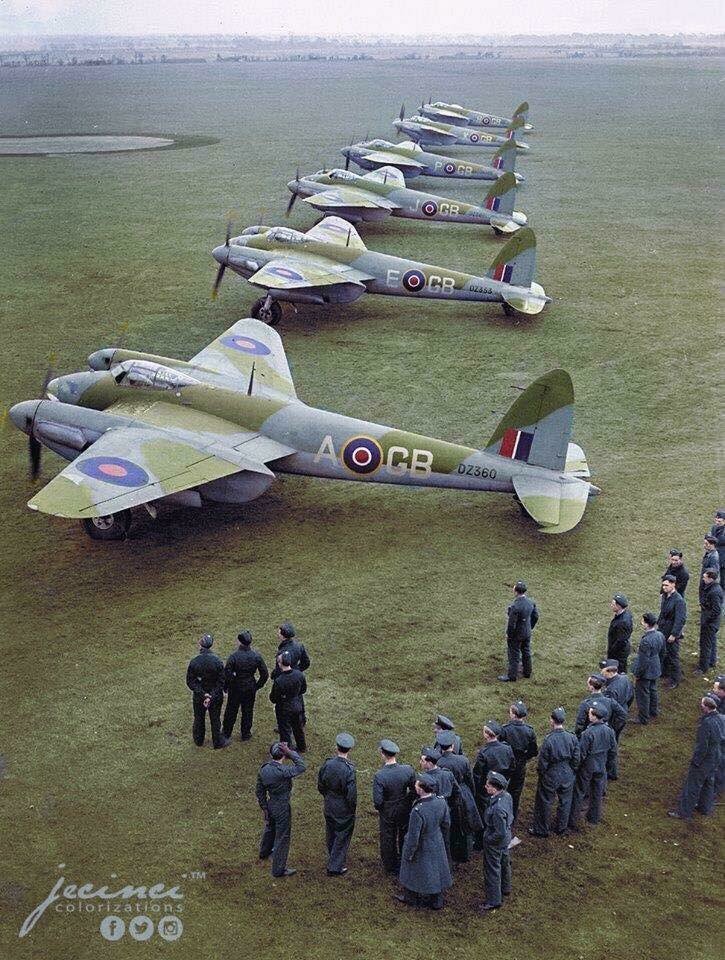
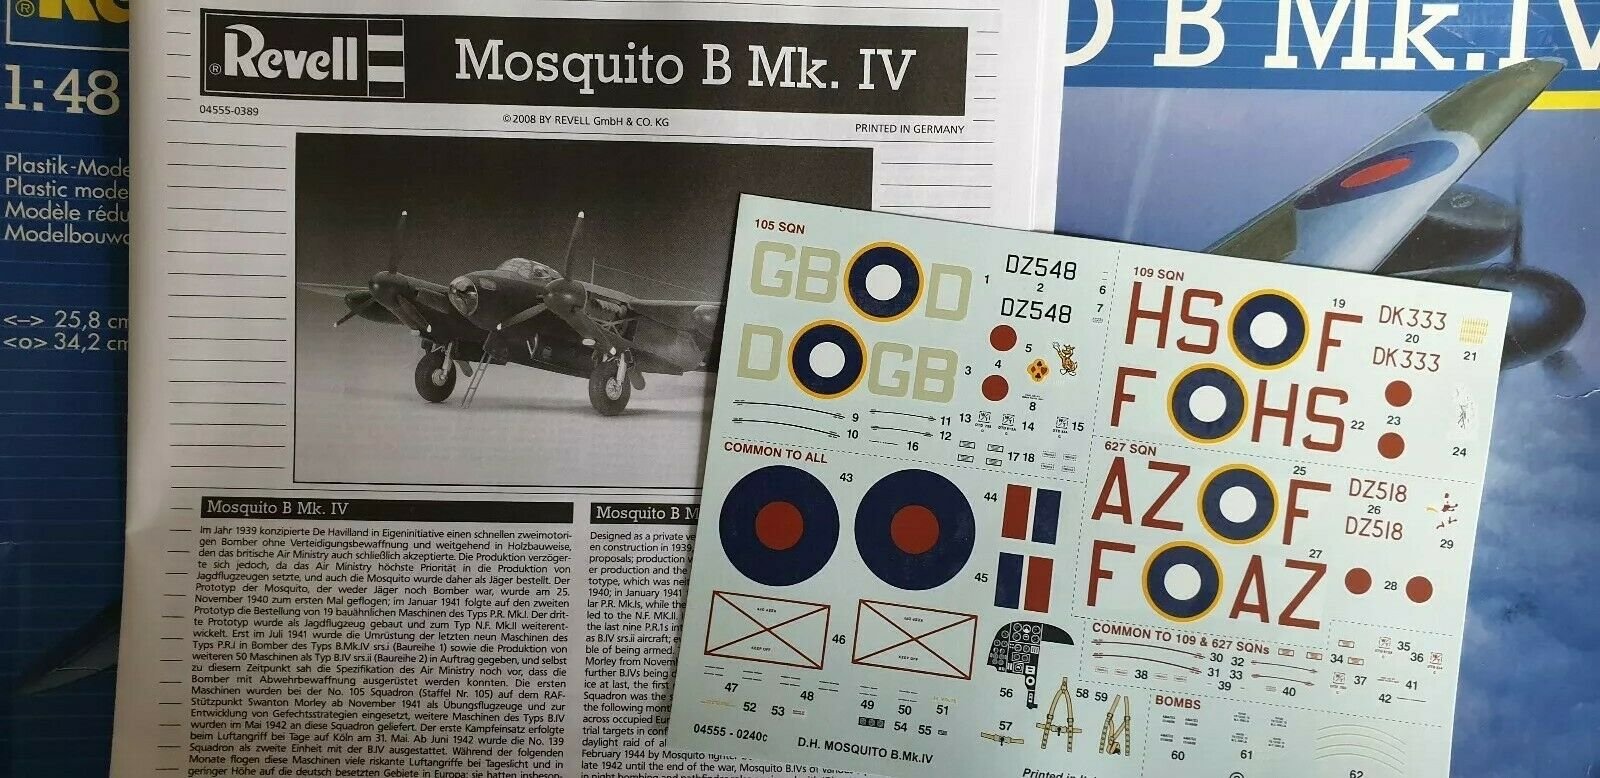
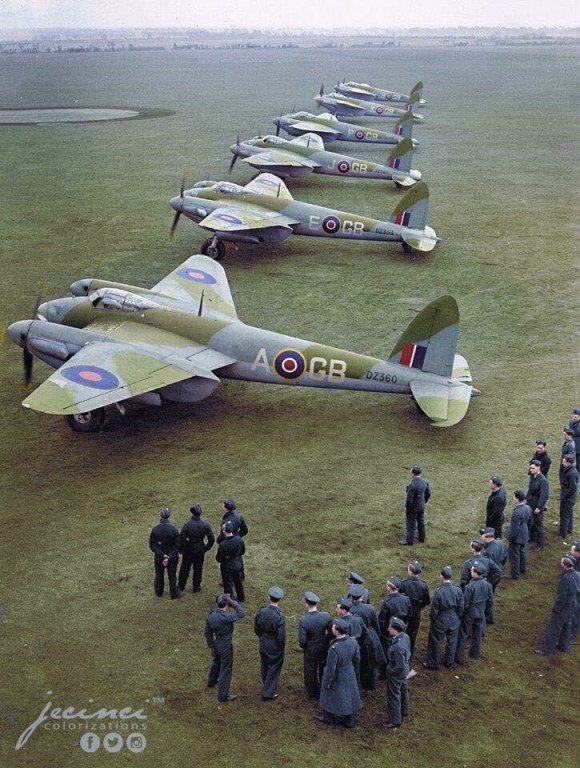
I have been given this (waiting for it to arrive) as thanks for some online help with an associate, just a little bit of background - in the period of 1942 - 1945 my late farther worked on many aircraft types - Spitfire/Hurricane/Seafire/Mosquito/Wellington/Lancaster and Short Stirling as an airframes fitter. So you can imagine my utter delight when I was told about being given this that I will be able to build in memory of my farther. OC.


- 932 replies
-
- 17
-

-
Why not wrap it around some thin wood dowel the right thickness - but then leave the dowel inplace but not all the way to the ends, would be stronger and keep its shape. OC.
-
Amazing work - Just amazing - words escape me, you must feel proud. OC.
- 41 replies
-
- 2
-
-
- artesania latina
- hms victory
- (and 1 more)
-
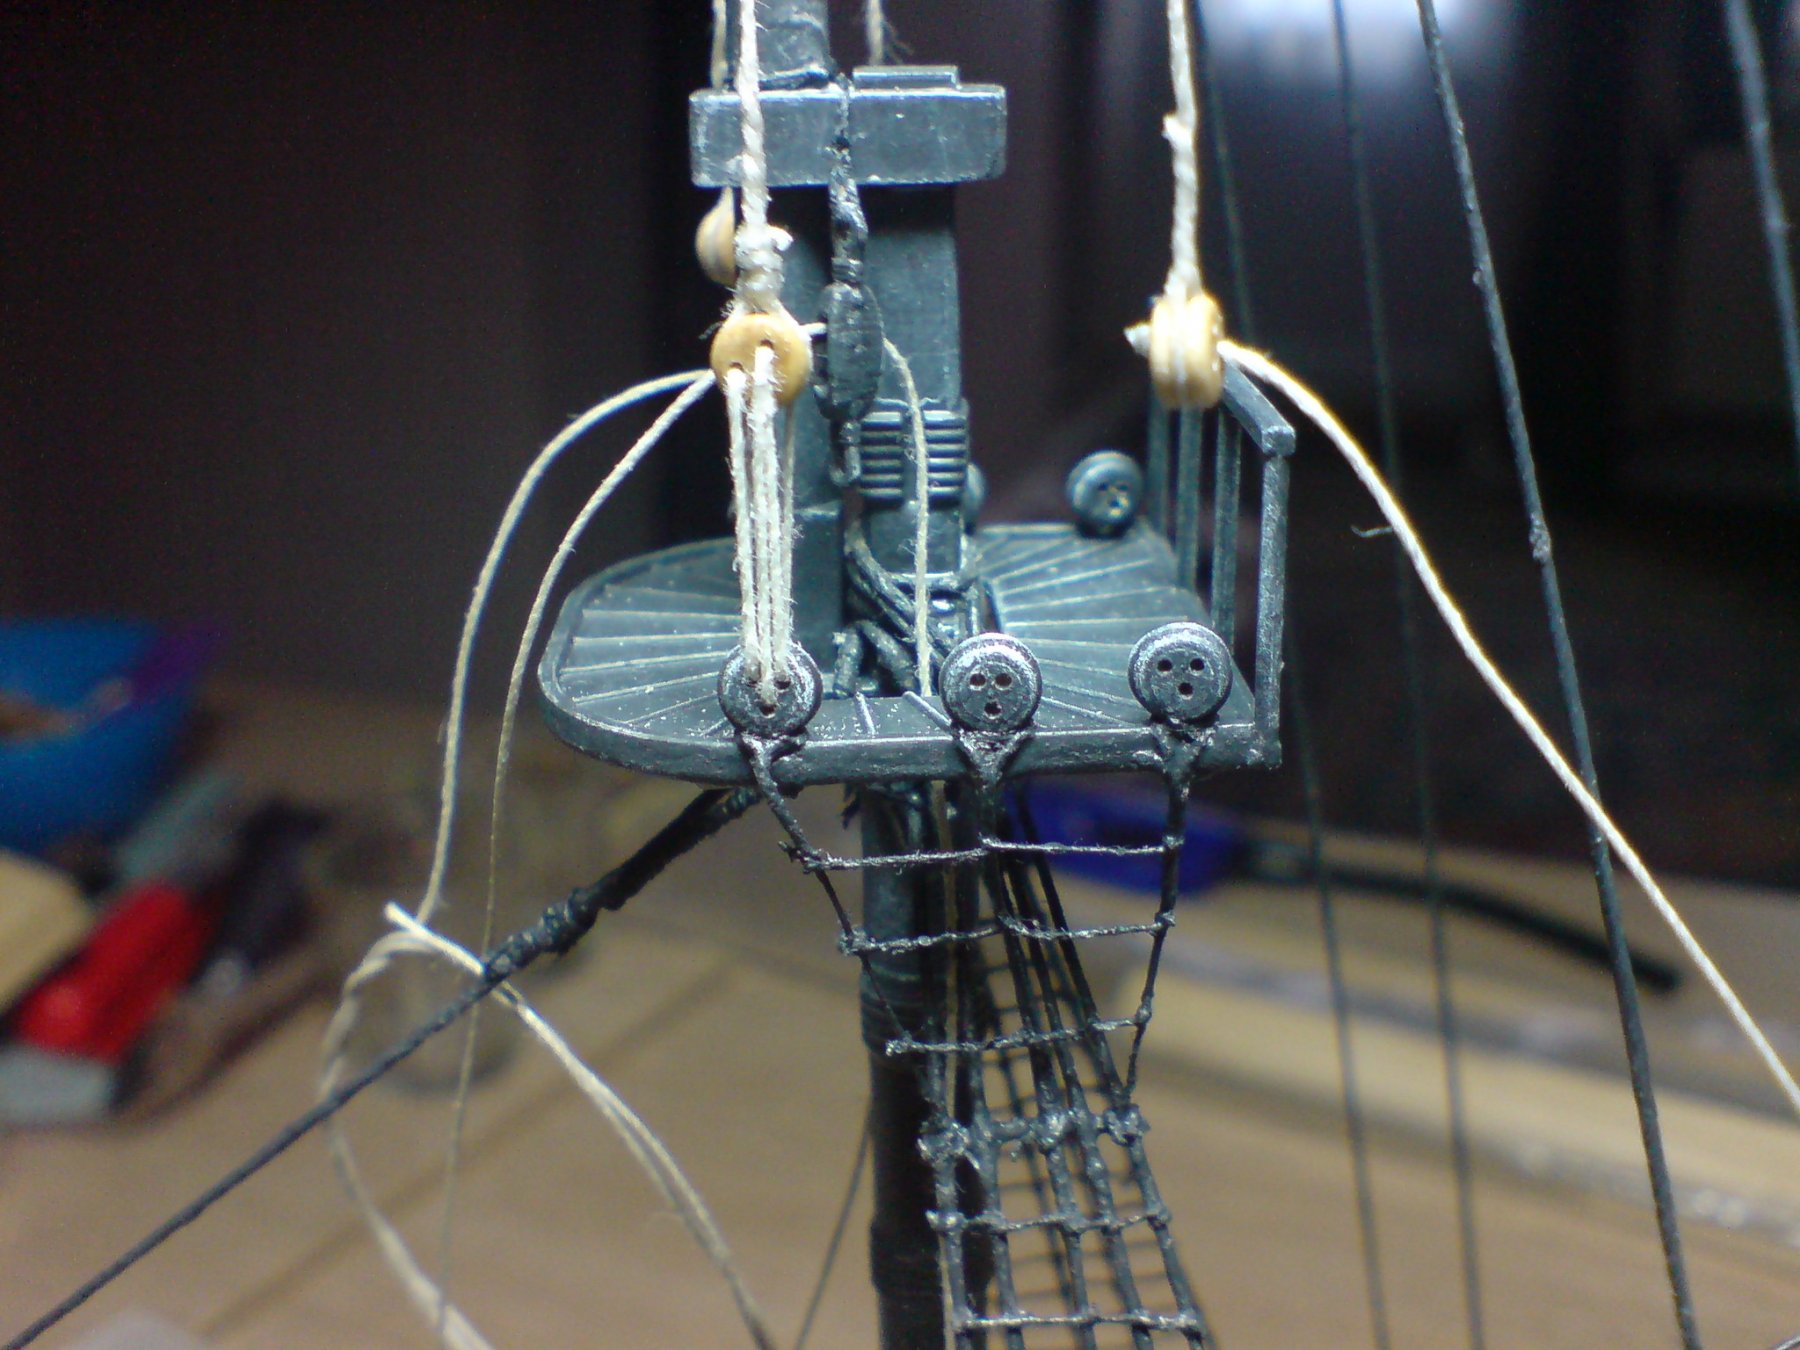
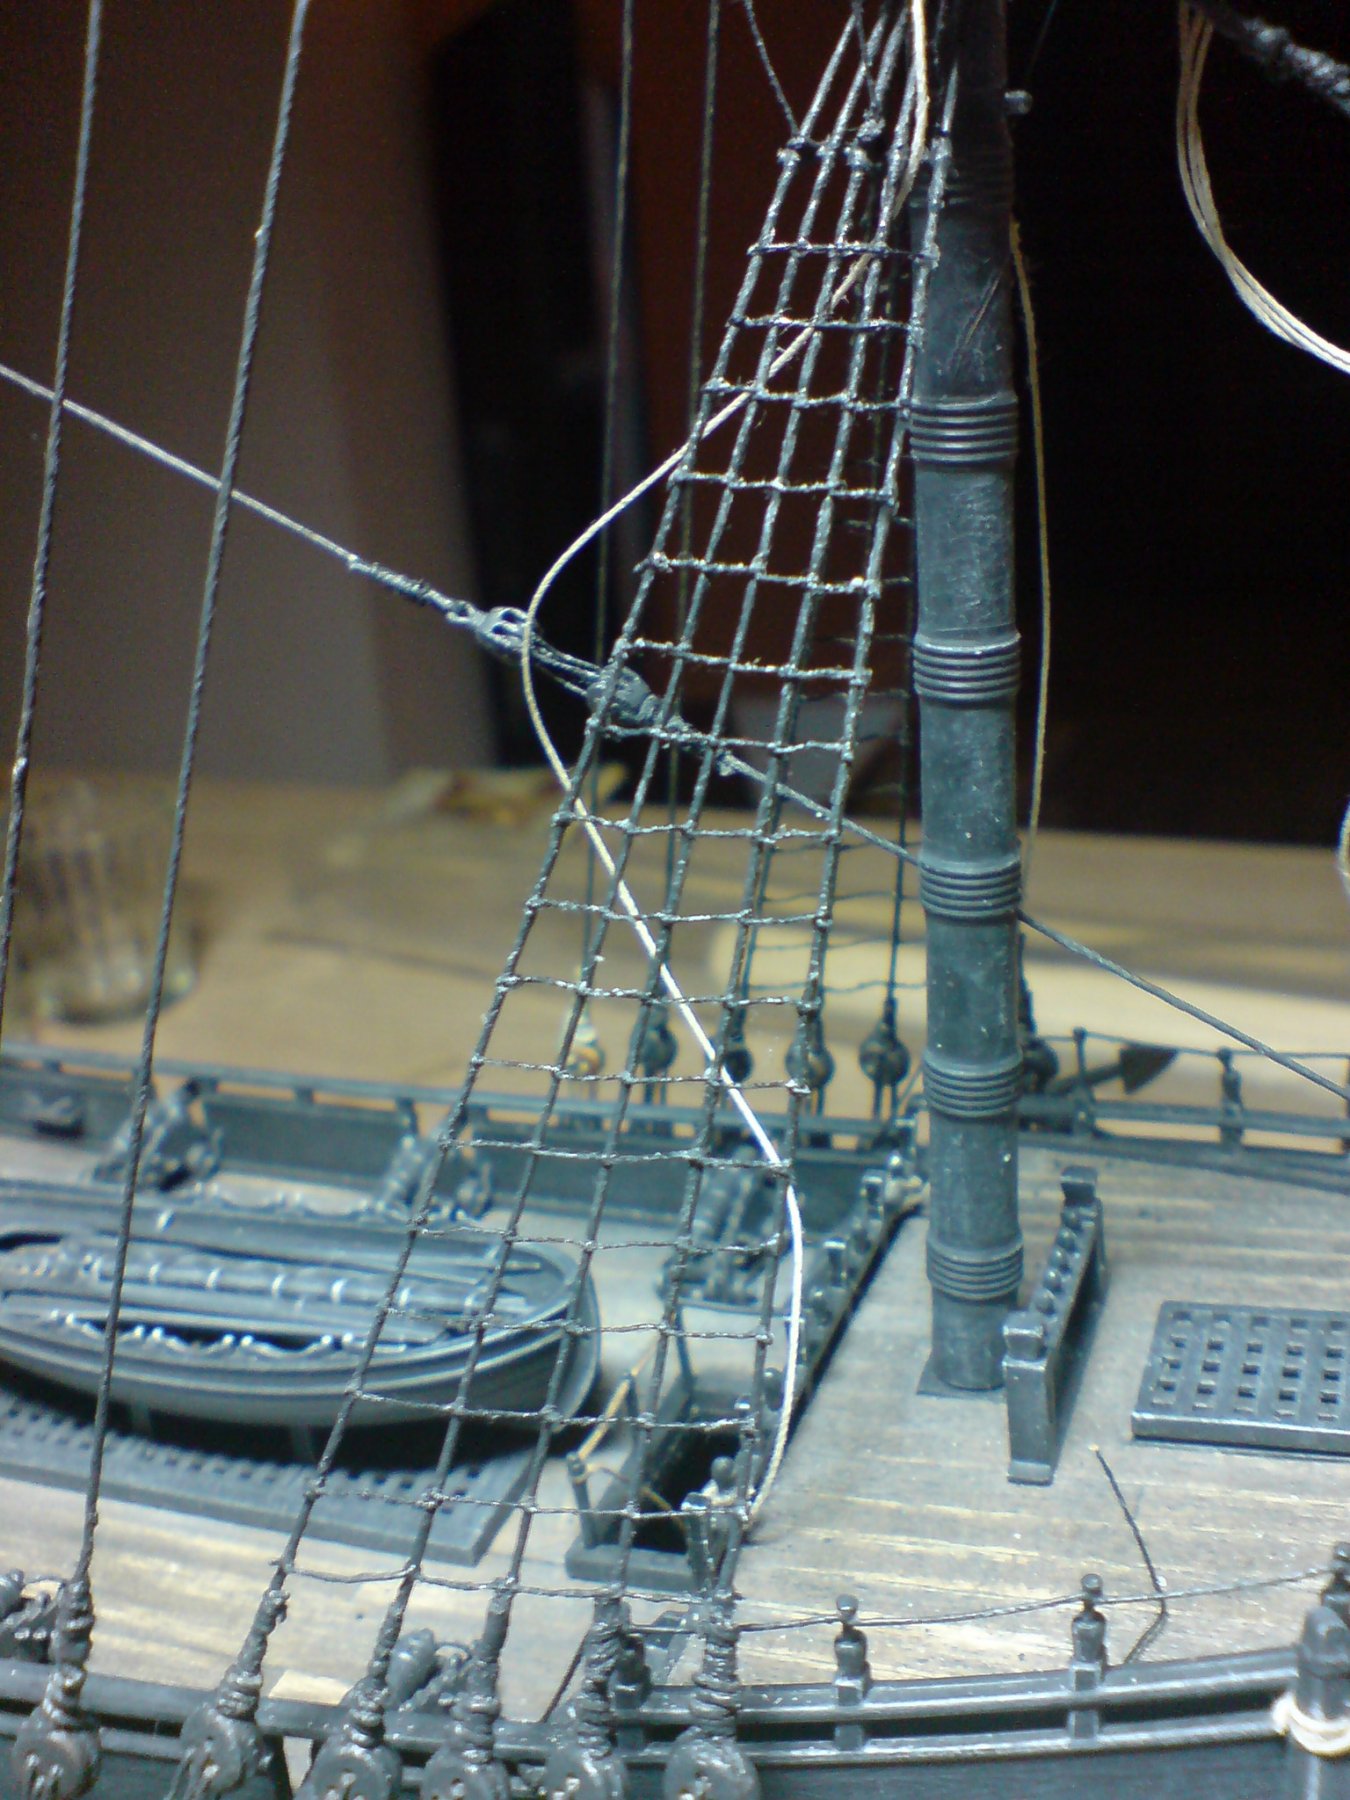
Evenng all, more work on the foremast - I completed the futtock shrouds, then started work on the upper mast shrouds - so far two completed on the one side. OC.

-
Right then folks - I have finished the ratlines on the lower foremast shrouds "Phewwwwww OC.