Old Collingwood
-
Posts
12,104 -
Joined
-
Last visited
Content Type
Profiles
Forums
Gallery
Events
Everything posted by Old Collingwood
-
 Excellent dio building. OC.
 -
Seen other builds of the New Tool Bucc - it looks an excellent kit you should have an easy enjoyable build. OC.
-
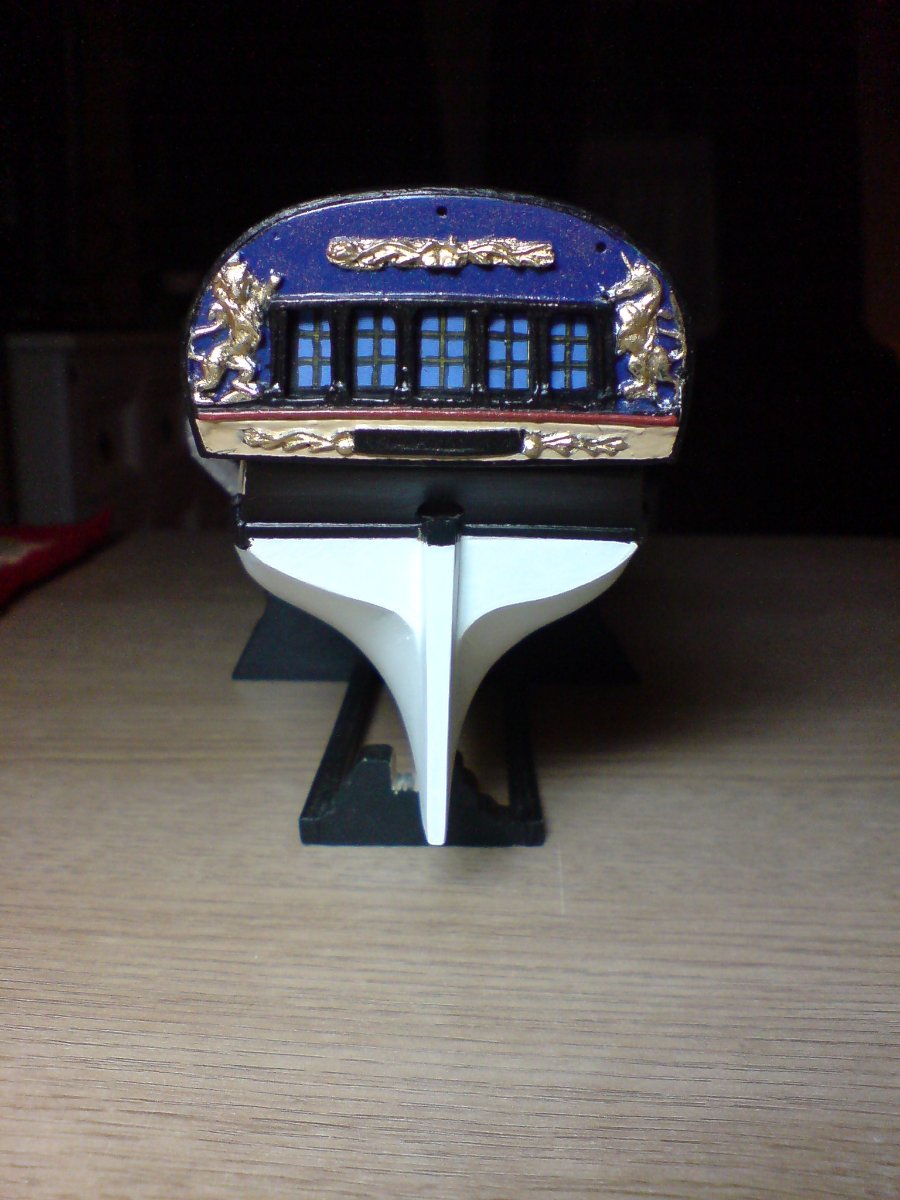
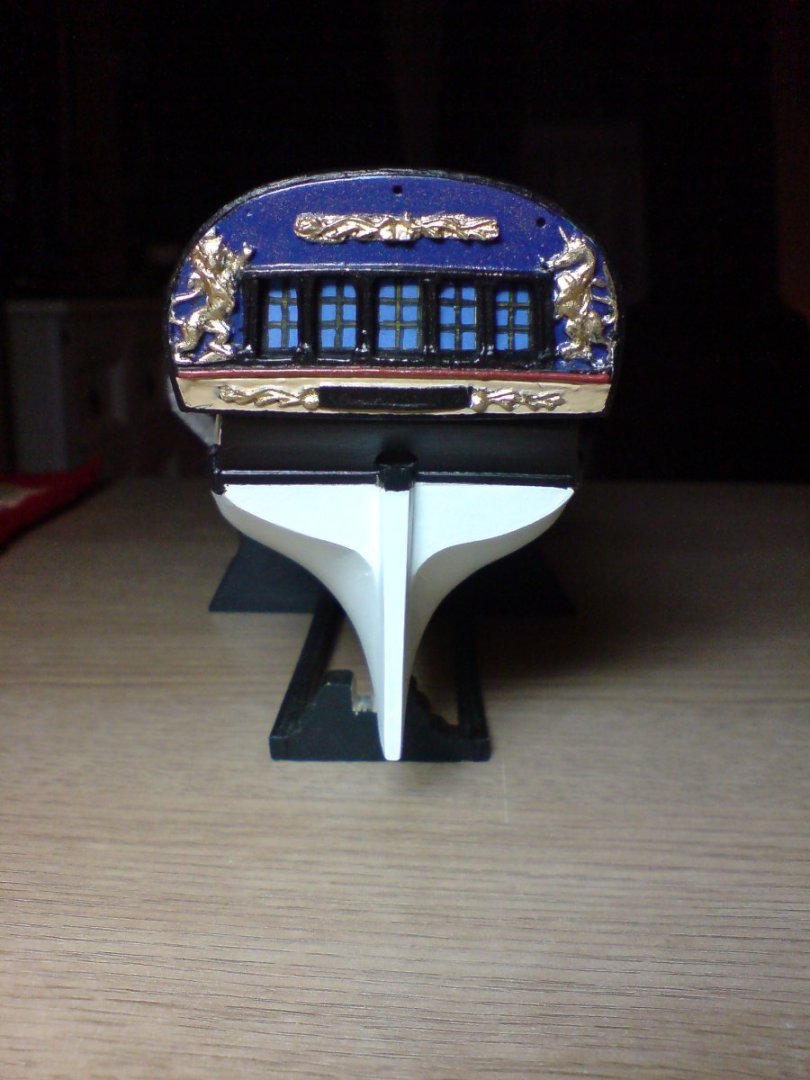
This is what I did with my stern - OC.
-
It would be great mate. OC.
-
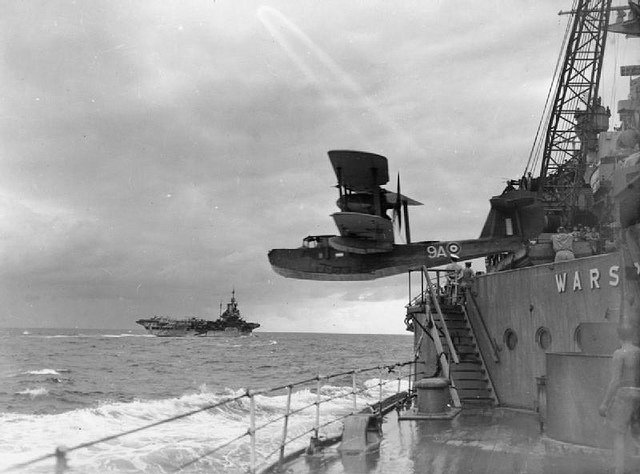
I agree with the others - what a fine kit, I came close to building one in 1/350 scale with my old Warspite build, but never did due to me dispalying her at DD time when she had done away with her Walrus's. Here is a pic of the Old Lady launching her Walrus. OC.
- 75 replies
-
- 10
-

-

-
Thank you so much Mike. OC.
-
Thats looking really nice - certainly taking shape now. OC.
-
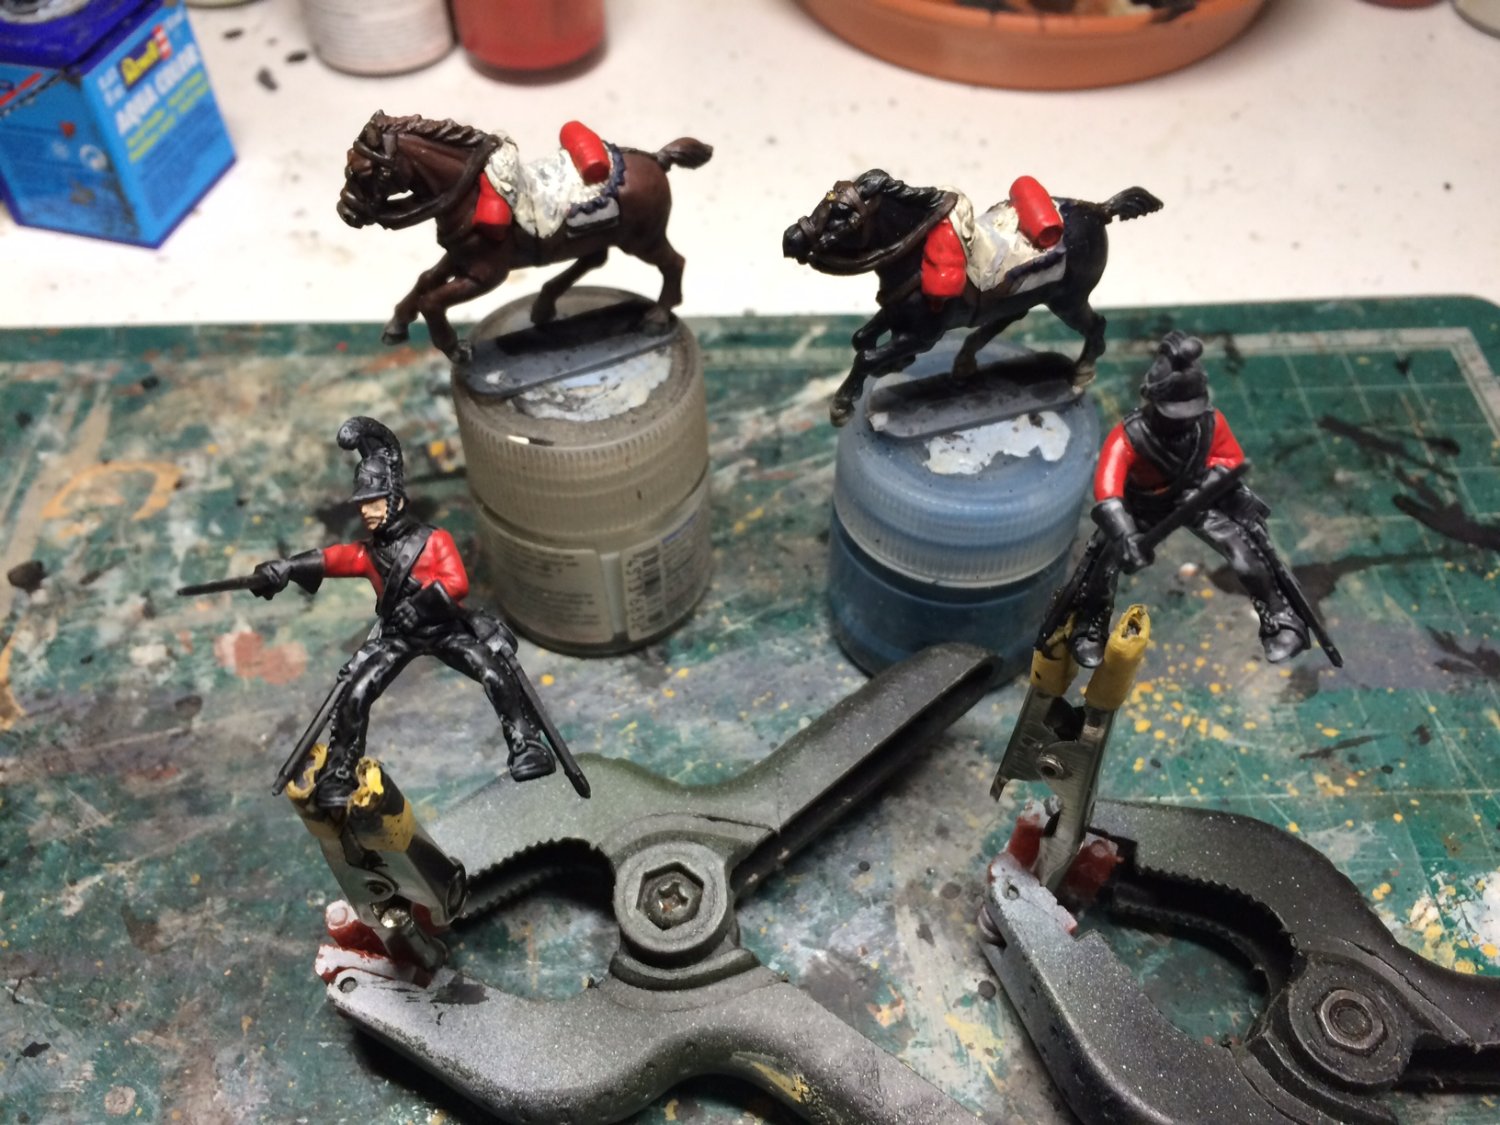
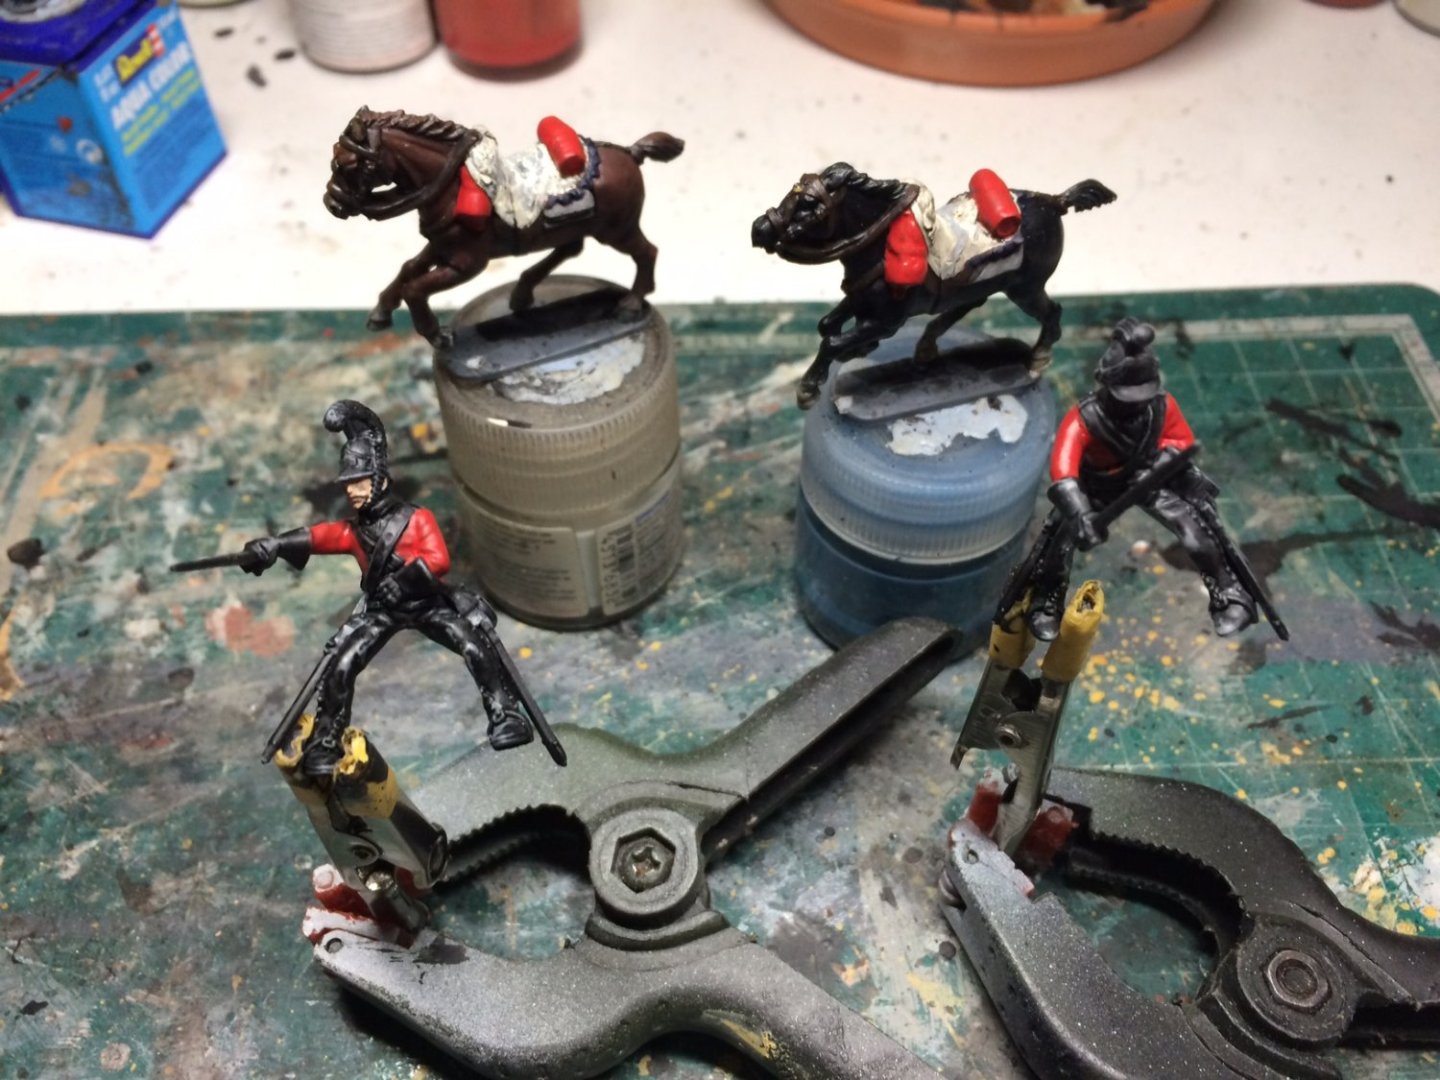
Evening all, decided to pull my finger out and do a bit, life has dictated my attention of late (doesn't it always) anyways - I have turned my attention to my Kings Dragoon Guard and Life Guard and a bit of colour adjustment to the horses saddle cloths and rolls. OC.
-
Really nicely done. OC.
-
Harry you really are doing a fine job of her, your patience and desire to do the best out of the kit is deffo working my friend P.S cant wait to see how the flags go. OC.
-
Thanks Ken. OC.
-
Superb work Greg - its like watching an actual scene not just mdel building. OC.
- 200 replies
-
- 6
-
-
- Transport No. 103
- Hasegawa
- (and 4 more)
-
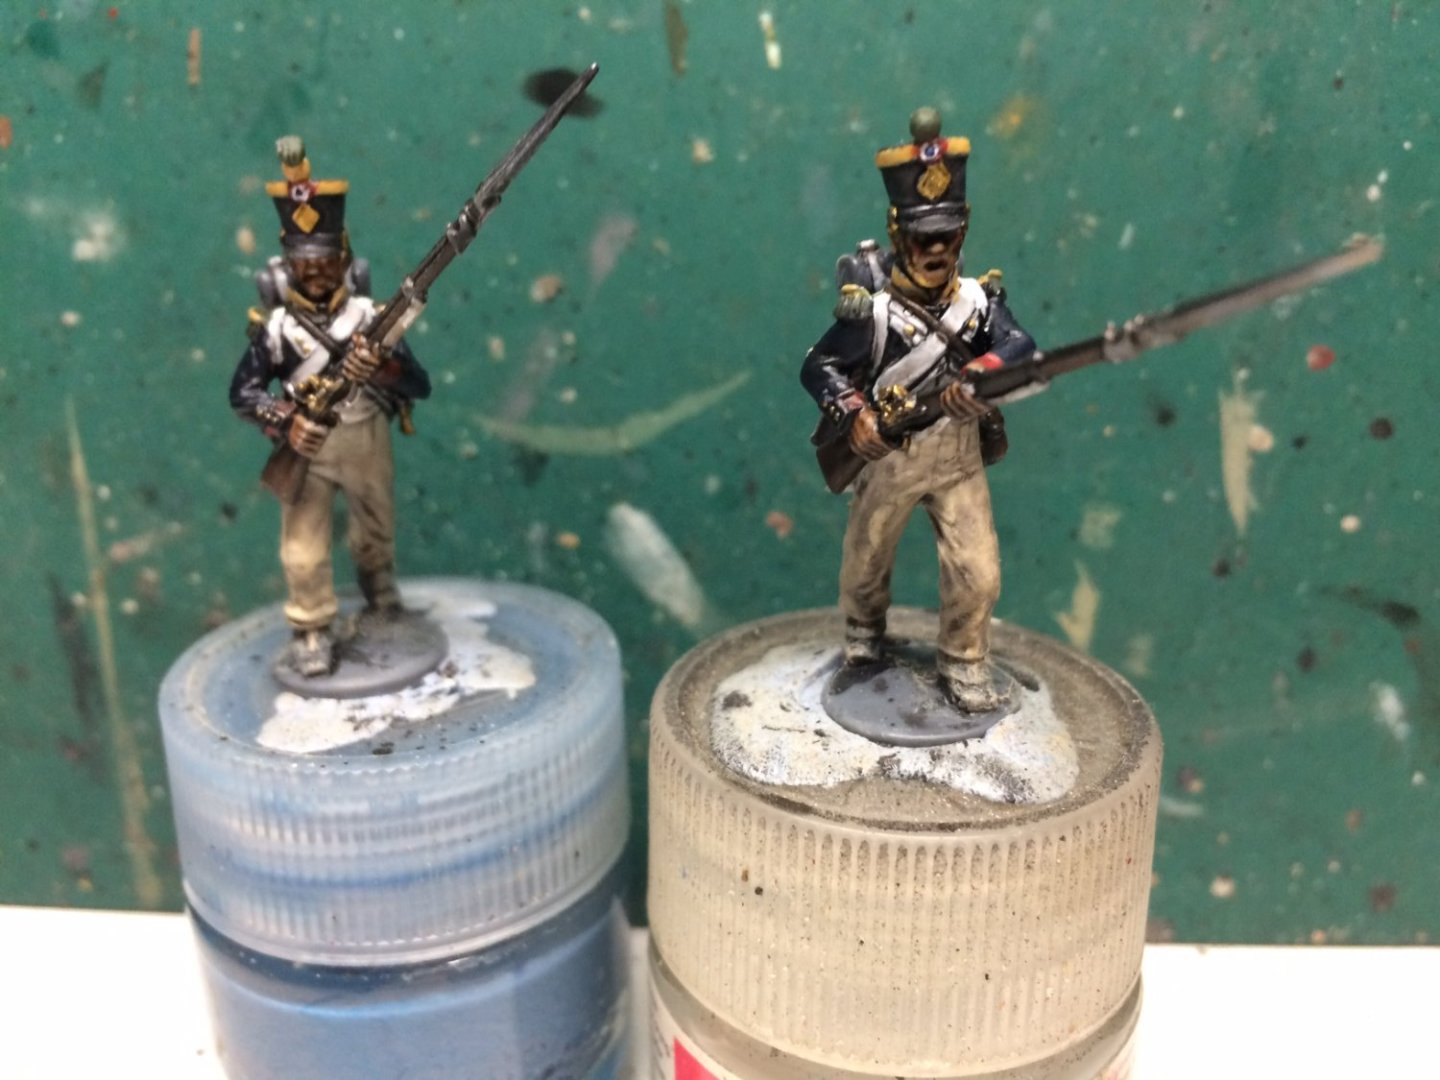
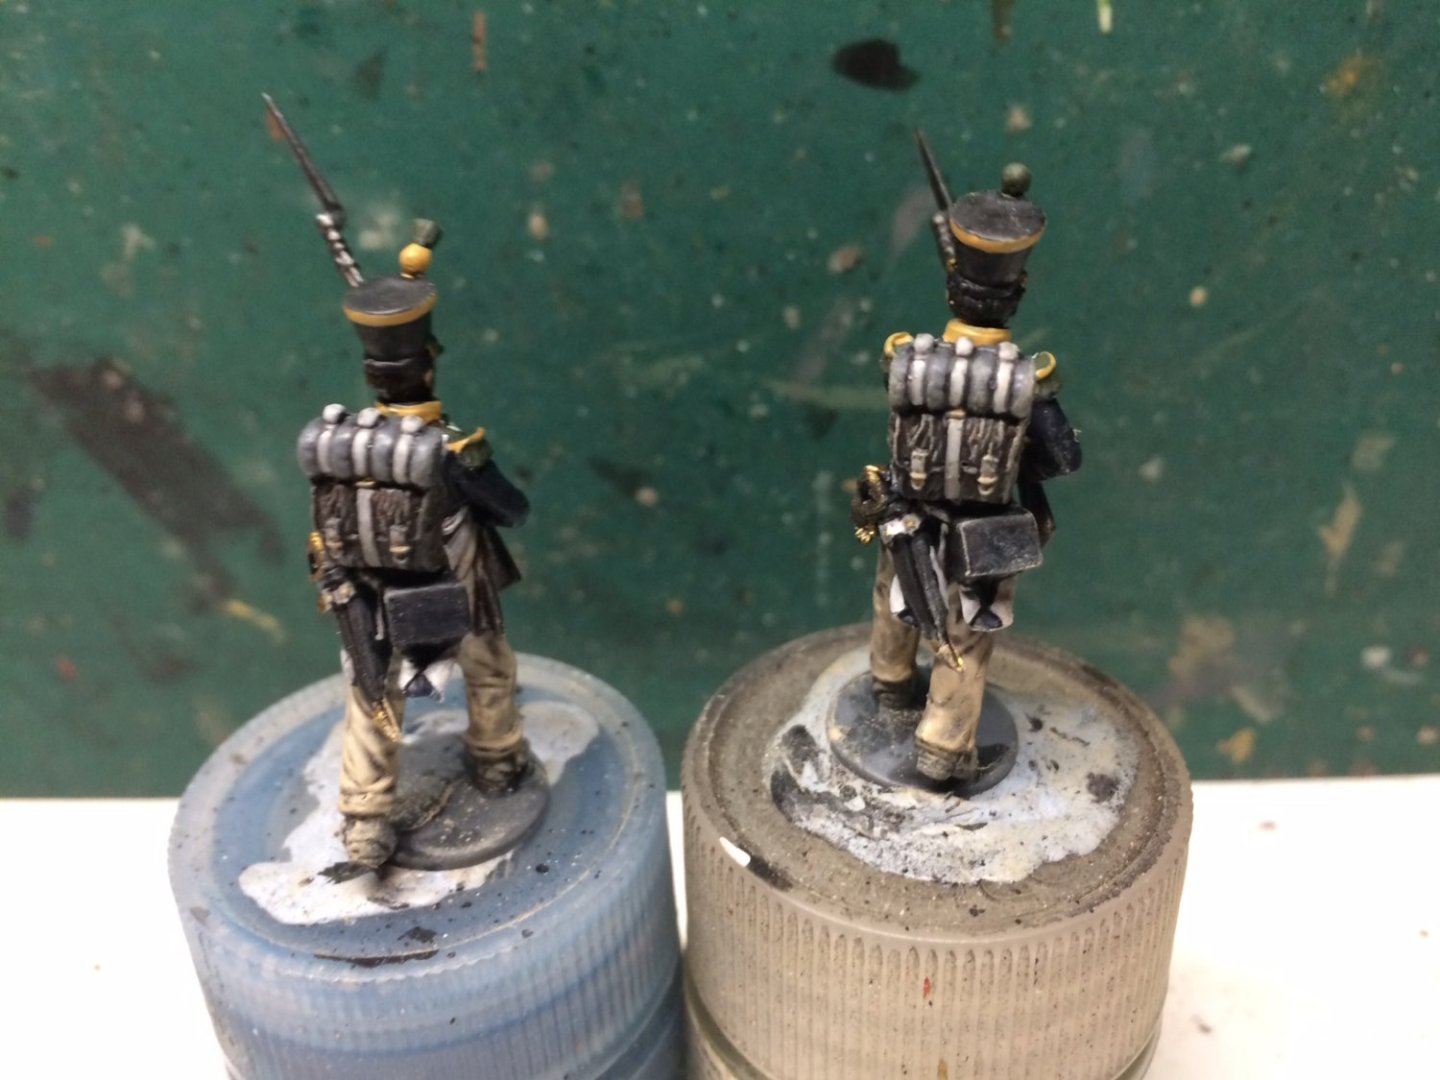
I am quite proud of myself for eventually getting the Shako cockade paint details better, its the circle plate under the plume and on my figures its about a 0.75mm circle to be painted in bands Red White and Blue. OC.
-
It opens up some different routes you could take with this Craig, all depends on your imagination, OC.
-
Thank you Mark. OC.
-
Thank you Andrew, I think I have about 80 waiting in my box for a clear flat top coat prior to cutting them away from their bases. OC.
-
Thank you Gary. OC.
-
Thank you kindly Alan. OC.
-
Loving the detail in that bomb bay. OC.
-
That is looking Fantastic. OC.
-
Evening all, Voltiguers completed, when dry they will be put away in my box ready for top coating. OC.
-
US 6” gun by RGL - FINISHED - Panzer Concepts
Old Collingwood replied to RGL's topic in Non-ship/categorised builds
Oh Hello, good to see you away from wet related objects - good to see you in the alternative section - following with interest Greg. OC. -
Excellently finished mate. OC.
-
Excellent progress Alan, and so like the look of your new figures - metal figures do paint up nice as they can have sharper details than plastic ones, with regards to primers for metal figures, I would advise to make sure they get a good soapy wash first to remove and release agants - with the primer, it sunds like your Mr Metal Primer would be OK but I'm not sure 100%. OC.
- 462 replies
-
- 10
-
-
A friend of mine is really into UFO stuff and he was sent a photo that some had done a screen shot off a video still, would so make an excellent scratch build - OC.