HOLIDAY DONATION DRIVE - SUPPORT MSW - DO YOUR PART TO KEEP THIS GREAT FORUM GOING! (Only 27 donations so far out of 49,000 members - C'mon guys!)
×


husky1943
-
Posts
100 -
Joined
-
Last visited
Content Type
Profiles
Forums
Gallery
Events
Everything posted by husky1943
-
 Hey Snoepert, Love the beauty of this boat. What a feat of engineering to have put such a beautiful ship in the water, and your rendering of it is very impressive. Great job! Ciao for now Rob
 -
Thanks Fright! Again, I really appreciate the tip AND I do agree that I am standing on the shoulders of giants around here. I have learned a lot. Indeed, I went onto the Hobby Lobby website, and they had a pack of 70 eyepins for $1.50!!! I think they were already black, too. And thanks for the illustration. I actually use a sharpie! Ciao for now Rob
- 30 replies
-
- 1
-

-
- constitution
- revell
- (and 1 more)
-
Fright, you are a flippin genius! I had no idea that "eye pins" even existed. I have been making myself, and this would be a great time-saver! Oh, you just made my modeling day! Ciao for now Rob
- 30 replies
-
- 1
-
-
- constitution
- revell
- (and 1 more)
-
Oh, I thought they looked like mounting points for pedestals.
-
Wow, beautiful boat, Tim! Imagine...someone is going to inherit that some day! Ciao for now Rob
-
Hey Peter, Love your build. It is beautiful. Wow, what a view you have! Ciao for now Rob
-
Hey Racer, I'm with Healey. If you don't paint them, well....he said it best. Just spit-ballin' here, but wouldn't the wooden pieces be right about the holes in the hull, so that you can run screws up into them for metal pedestals instead of the cheapy plastic mounts that come with the kit? Ciao for now Rob
-
Rob, it's looking good so far. Great job and look forward to learning from your build! Ciao for now Rob
-
New to the site! some pics of HMS Victory, Caldercraft
husky1943 replied to JJacobi's topic in New member Introductions
Welcome aboard JJacobi! I too look forward to your build. It looks like I am going to be learning a lot from you! Ciao for now Rob -
Ciao Daniele! Benvenuto! You will really like it here, and I want to see how your Constitution comes out (love that ship!) Ciao for now Rob
-
Howdy Dan L, Welcome to a wonderful website and welcome back to the hobby. It is a very friendly, supportive, smart and TALENTED crowd around here. Ciao for now Rob
-
Gaetan, I, along with everyone else on this website, look forward to another masterpiece. Bon Chance, mon ami! Ciao for now Rob
-
Russ, Thanks Russ. And I would have listened to your sage advice about attaching the sails first. What a great idea! I could have done the ratlines first, and then attached the sails and extra blocks to the yards before installing the whole thing! Ah, I wish that I had done it in that order! Lesson learned. Ciao for now Rob
-
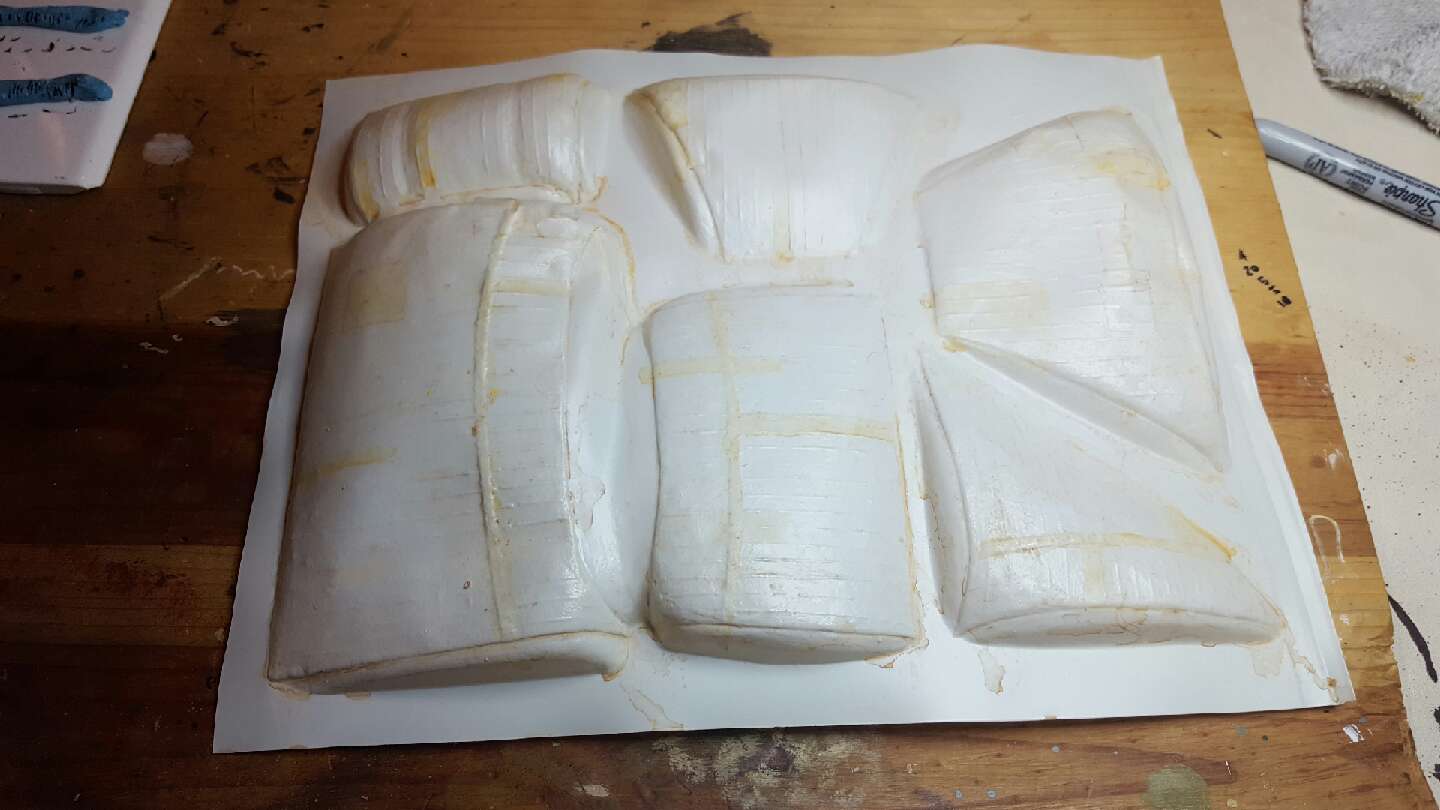
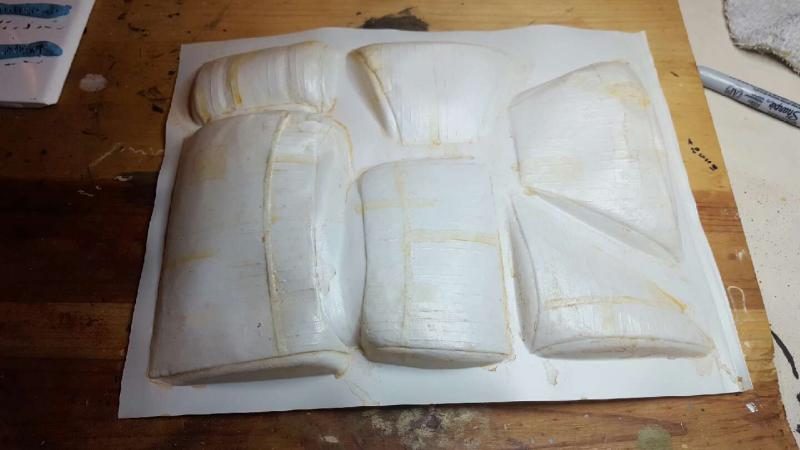
The sails.... Ah, they did not "weather" the years well. Anyhoo, some of them have some cracks in them. I just put clear tape on them, and figured that they were patched canvas. Then I colored them. The instructions suggested that I use a green wash. Green wash? I didn't really get that, so I used shades of tan to give them some subtle color. Then I painted some areas a little darker to show patched canvas. Thoughts? However, my intention is to install as many blocks as possible ahead of time so that I will save me from having to reach too deep inside the rigging. Plus, I read on here somewhere (hat tip to the person that wrote it) that I should rig from bottom to top and from inside to out. So, I am looking at the plans and trying to figure out how I am going to accomplish the rigging. As a closing thought - I have realized that keeping the rigging uniformly taught is a real REAL pain at times. I think on my next build (which will be an improvement on this one hopefully) I will try and use dowels for the masts. Again, I saw how a person even showed the difference by hanging weights on a plastic mast and a dowel, and the difference was amazing. But, I must finish this one first. Finally, seriously thanks to everyone who posts on this site. I have learned so much from so many. I am really glad to be back doing something that I really loved doing. This hobby makes me happy
-
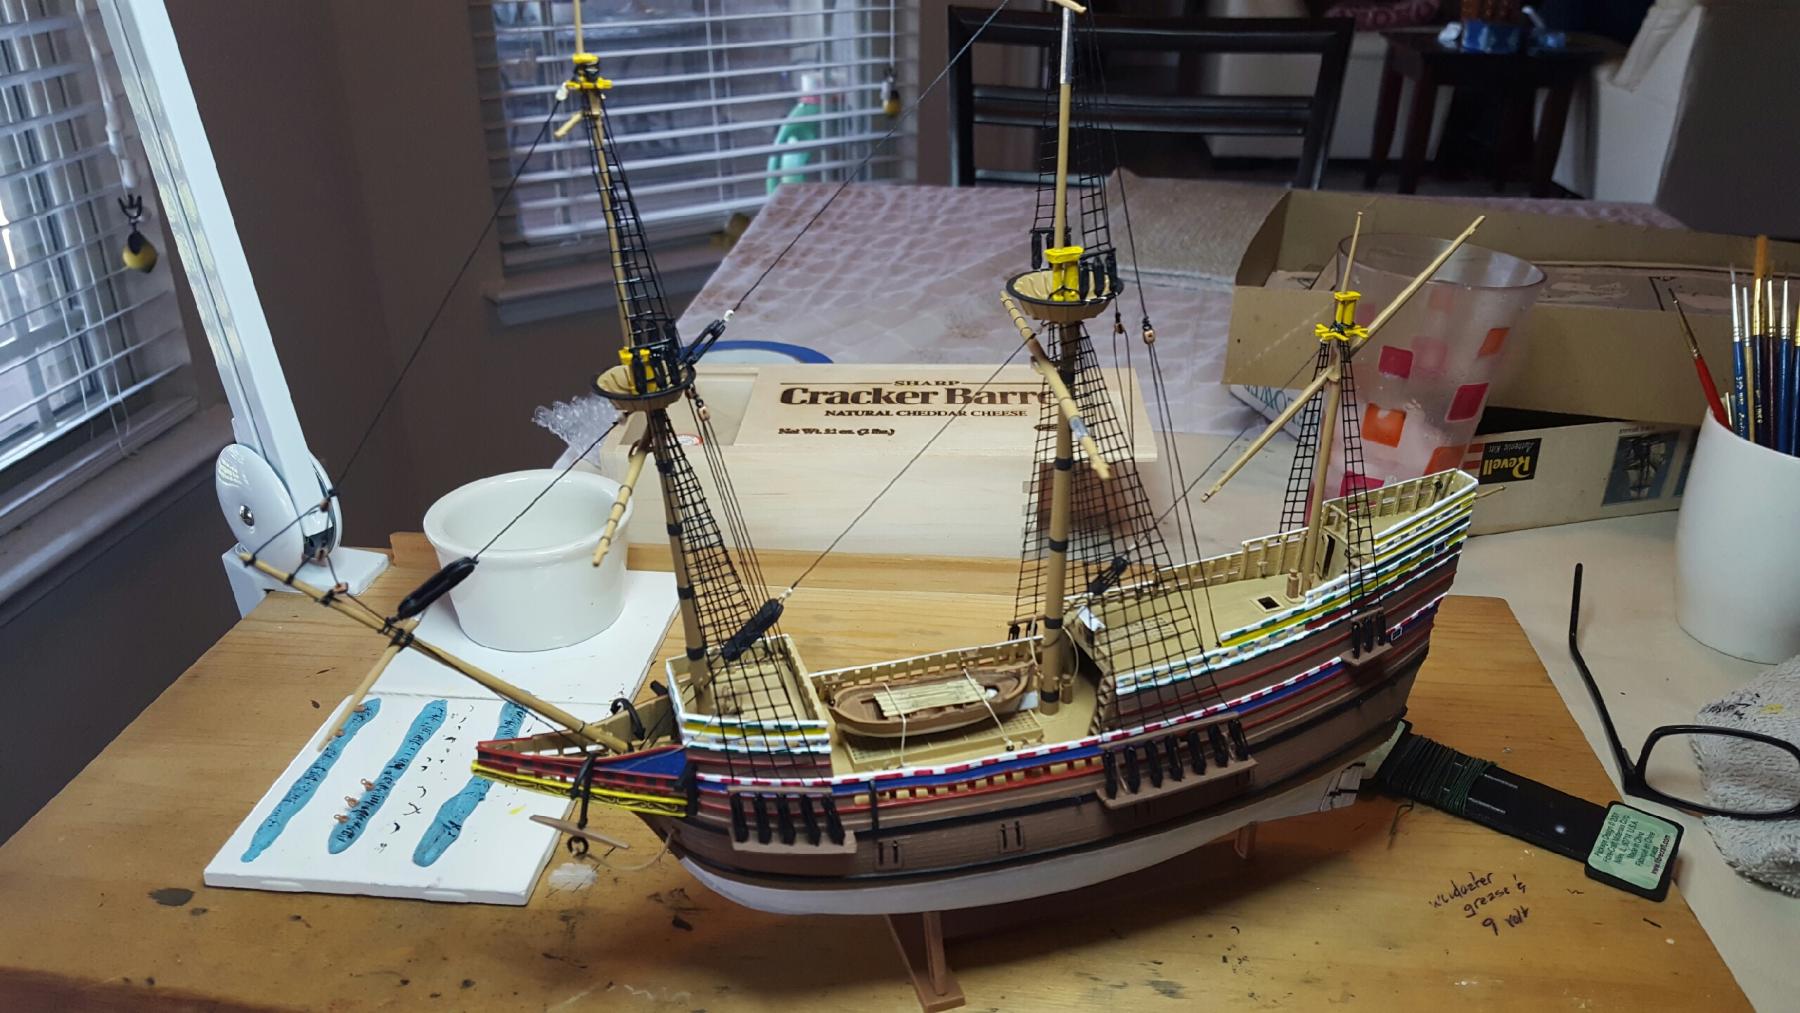
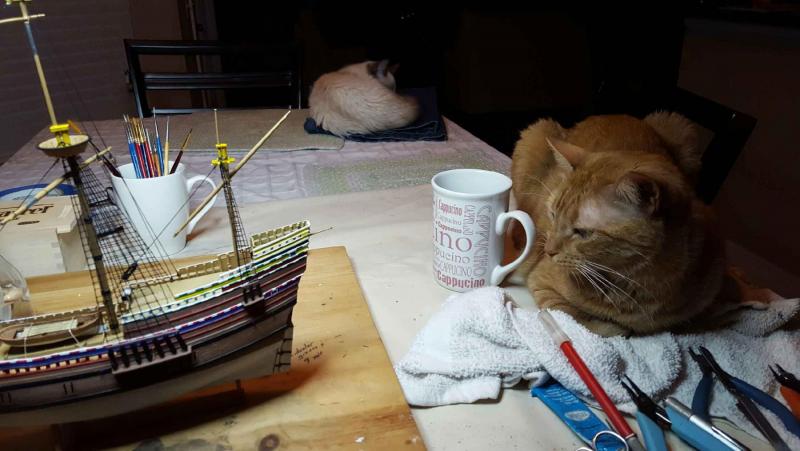
Now, I'm up to installing the blocks and the sails. However, I want to install as many blocks as I can BEFORE I install any sails. I am afraid that once the sails are in place, then I am going to have a problem seeing and reaching everything. We'll see. While this is just an introduction, I am learning, and I can tell you several things. 1) Cleaning blocks and other very tiny parts is a chore. Especially when they are steeped in flash! Good grief, was there no "QA" in 1966? 2) Thank God for Superglue. 3) I am going to have to create some tools for "reaching" inside the boat to get this rigging done! And, 4) Perfection is NOT something that I am going to be able to achieve. While plenty of others on this site have the talent to achieve it, I am not one of them. Makes me appreciate their skill all that much more. 5) I retired from the Navy, but am not really versed in square-rigged ship anatomy. Never too old to learn! It's good to have helpers, even if all they do is nap while I do stuff. They keep me company, though!

-
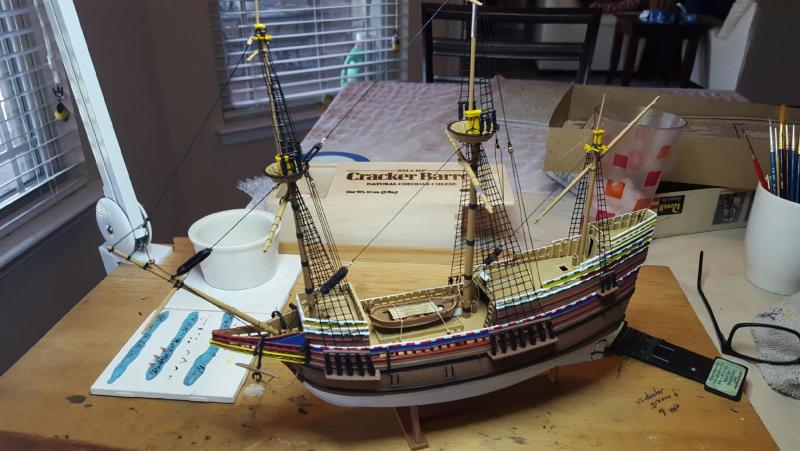
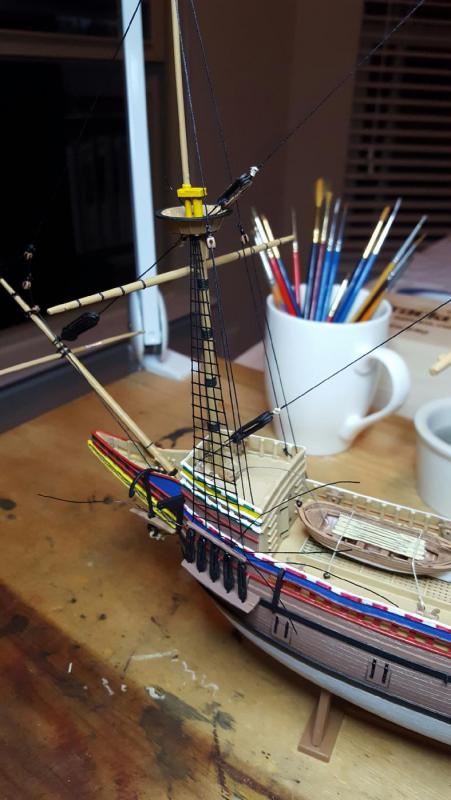
Howdy Yall, an update on my modest effort at the Mayflower. Got the ratlines (didn't know they were pronounced "rat-lins.") Although they are better than the hard plastic, I really didn't care for them. Plus the fact that my fingers get really huge up in them tight spaces!!
-
Tom, I have really enjoyed looking at your work on her. I'm not sure which I admire more; your masterful wood working skill or your mastery of organization. Ciao for now Rob
- 1,350 replies
-
- 1
-
-
- constitution
- model shipways
- (and 1 more)
-
Howdy Gaetan, I do believe that every positive adjective in the English language has been used to describe your masterpiece. It is stunning what you have done, Sir. Truly an inspiration. Rob
- 728 replies
-
- 2
-
-
- le fleuron
- 64 gun
- (and 1 more)
-
Hey Derek, Sorry about that...what I meant is to use a "loom" to make the ratlines. Someone gave me a Heller model one time, and although it had more lost parts than parts present in the box, the one thing that I did see was a loom, or pattern, that could be used to make the ratlines off the model, and then they would be installed after being pretty much pre-fabricated. I wanted to do my next model with actual ratlines, and I was thinking about trying to build them off the model and then trying to install them afterwards. I hope that makes sense... Ciao for now, Rob
-
Wow, I thought of another question; do the ratlines actually support the masts or are they simply for access aloft?
-
Thanks Joel! That makes sense. On my next model, I was thinking about "looming" the rigging myself. I did it once before, and man, it was TEDIOUS!!
-
Thanks Russ. I would go even faster if I wasn't spritzing the cat with a water bottle every three minutes. She likes to "get up in my business" when I'm working on the boat.
-
Okay, here goes - I apologize in advance for probably using the wrong nomenclature. I don't know enough to call everything by it's actual name. Question: I was looking at the ratlines, and I noticed that a lot of ya'll use rope-colored (lighter-colored) rope on the deadeyes / blocks at the bottom of the shrouds. I thought that standing rigging was usually black because it had been tarred to protect it from the elements. Wouldn't the rope in the deadeyes / blocks be black? Does it depend on the era? Just curious, and thanks for the education. Rob
-
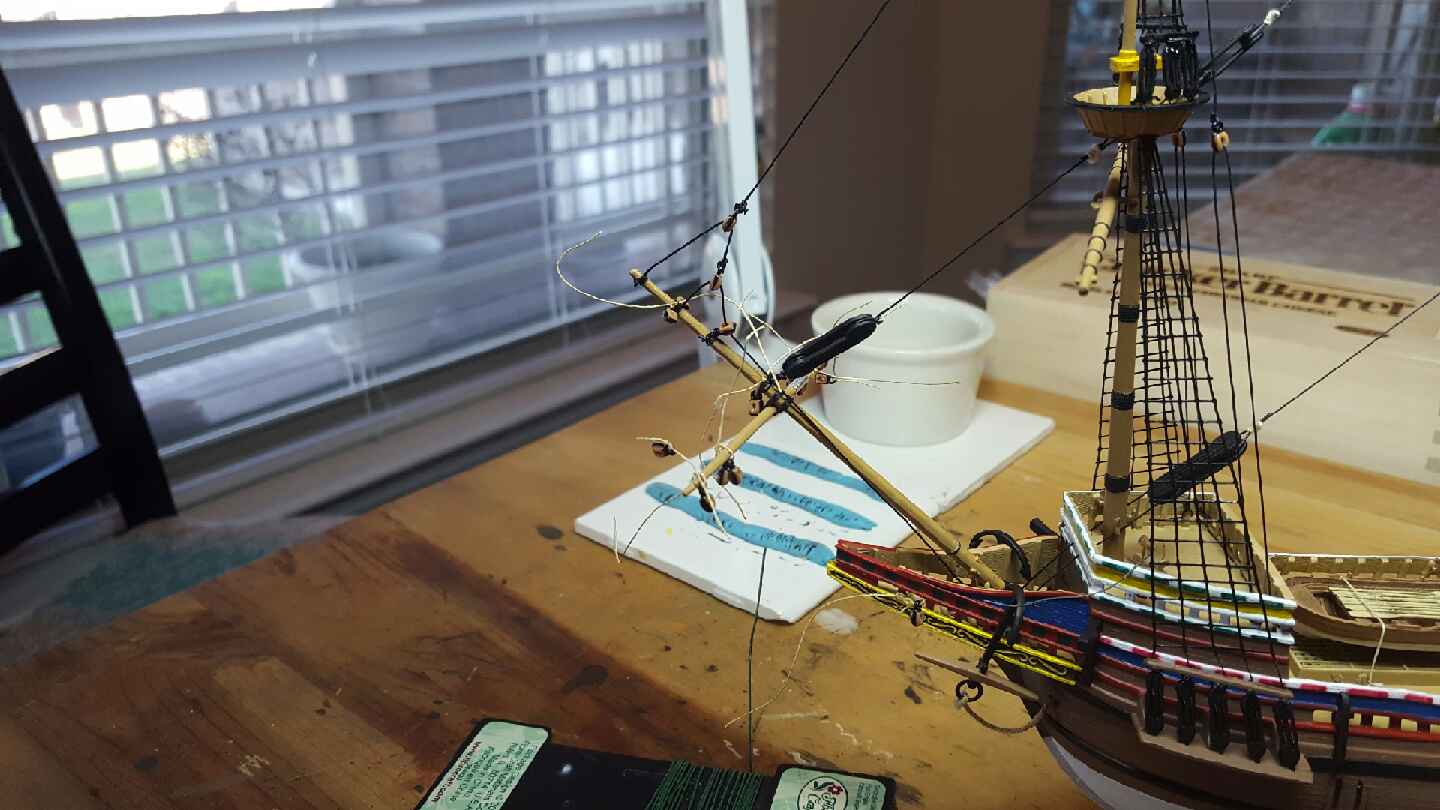
Started the rigging on this bad boy, and it took me well over two hours just to get this done. Working on something this delicate makes me feel like I have pillows for hands! This model, because of its age (I guess) actually has soft plastic ratlines, instead of the clunky hard plastic ones. They don't really look all that great, but once I got the knack of installing them, they are going a bit faster. If you notice in one of the pictures, the bulkhead is warped slightly (the handrail on the top deck). I was painting, and I learned a long time ago to speed up drying times by using my wife's hair dryer. Well, plastic melts from heat (Yes, I felt really stupid, but not stupid enough to try and melt it back to being straight). And yup, this model is nearly as old as I am!


-
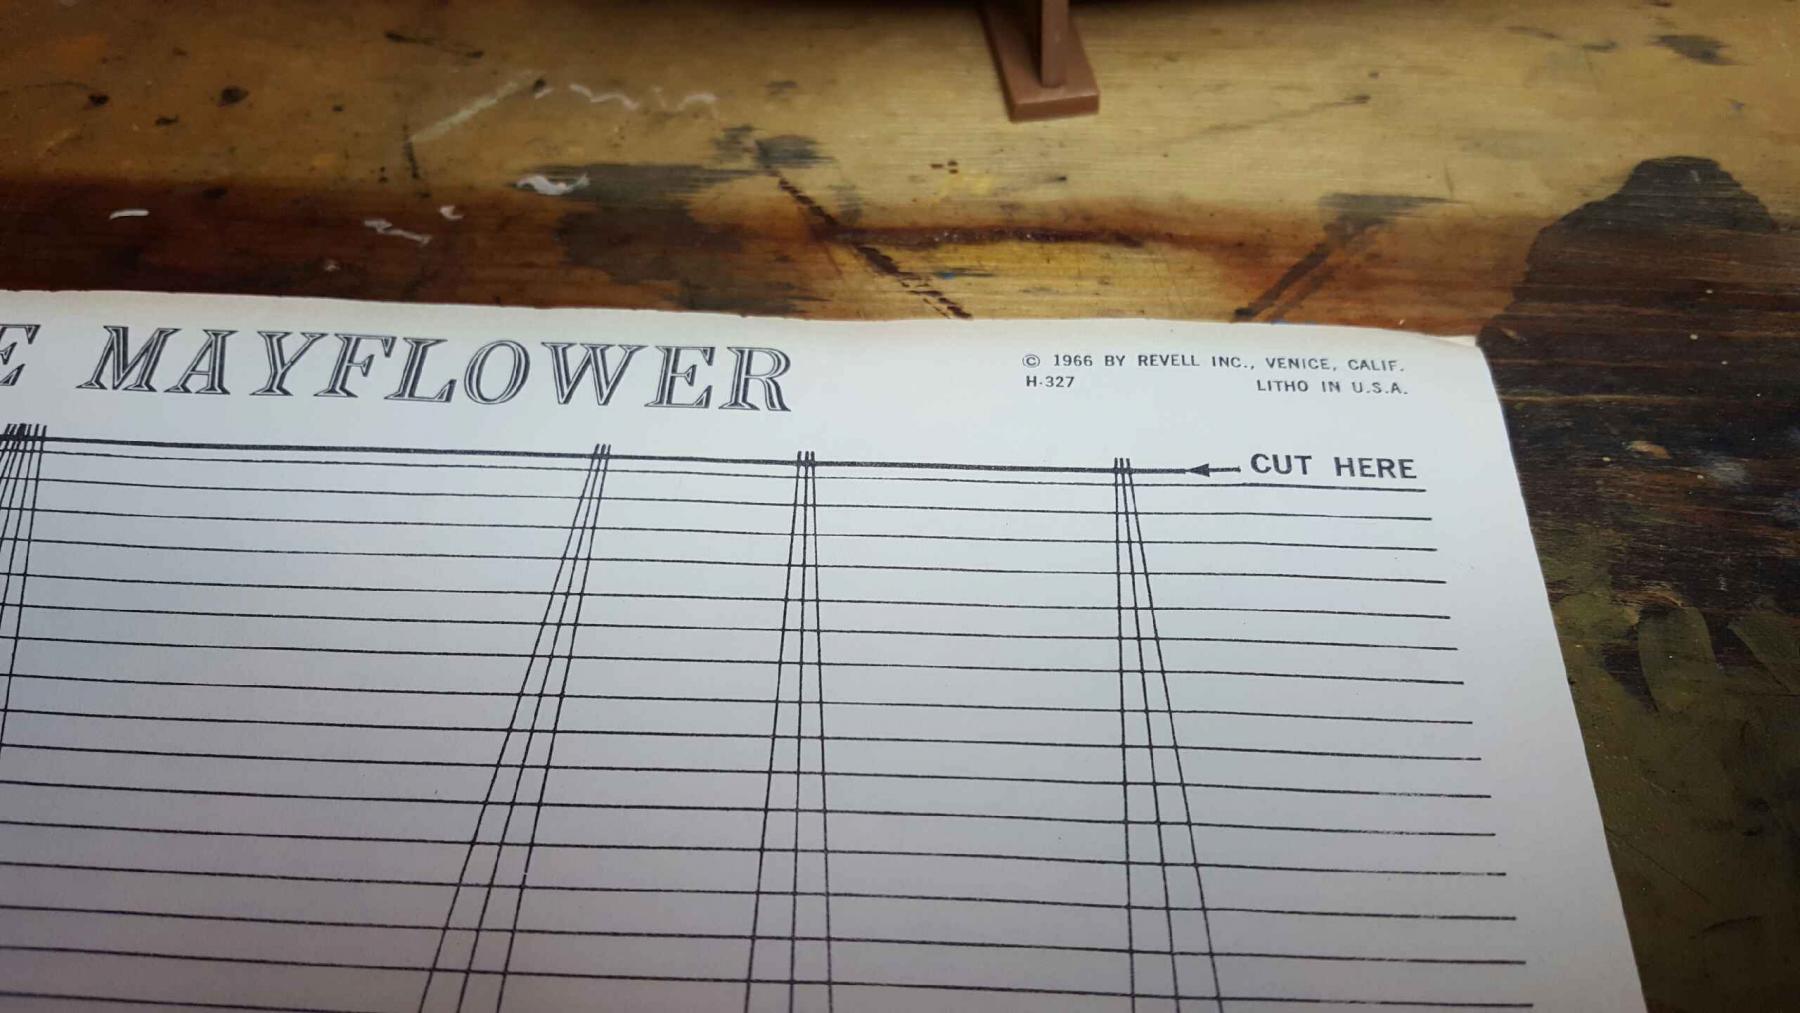
Geez, thanks everyone! I am already feeling at home here. Anja - the model is plastic, made in 1966. It was on sale on ebay years ago, and I just bought it (I think for less than $20). Yeah, slow is how I am moving these days. Again, thanks everyone for such a warm welcome. Rob