-
Posts
712 -
Joined
-
Last visited
Content Type
Profiles
Forums
Gallery
Events
Everything posted by rvchima
-
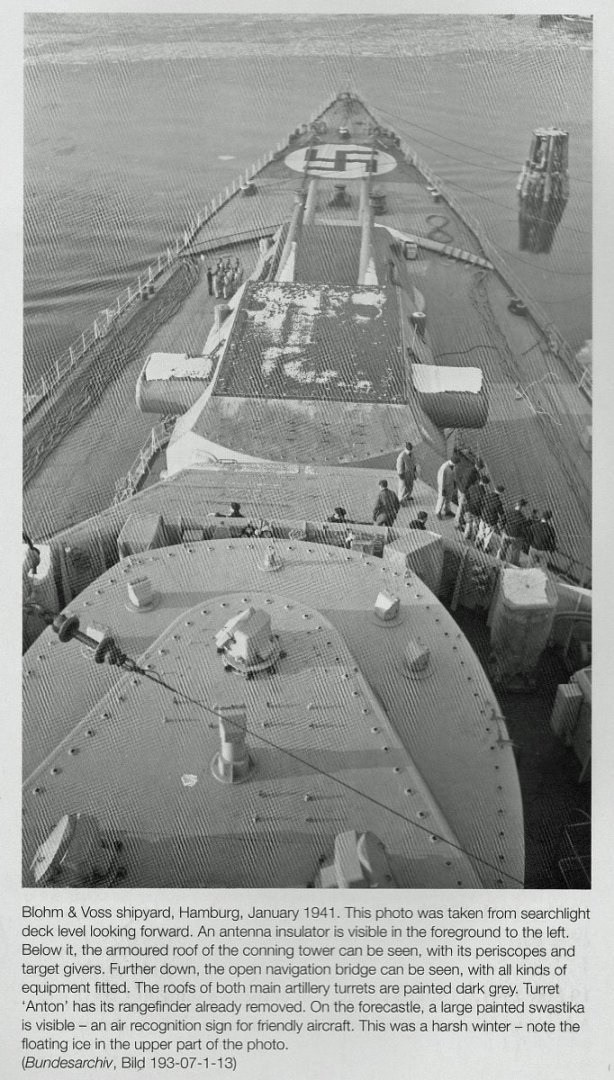
Harry, My instructions say that "The shapes of the planks must be slightly smaller than the decks leaving a border all around it which will later be used for the assembly of the handrail stanchions." It does not say how big the gap should be. Here's a photo of the Bismarck fore deck from "Anatomy of the Ship The Battleship Bismarck" by Stefan Draminski. It pretty clearly shows a gap between the planks and the edge of the deck, with handrails in the gap. My guess that the gap is 9 inches wide, or about 1.1 mm at our scale. So I'd say to shave a tad off your decks. That said, my gap varies from 1-3 mm around the edge. I haven't looked at the stanchions yet and don't know how deep I'll have to drill, so I hope that they don't poke through if they're too close to the edge.
-
I hate it when that happens! It's usually not as bad as you expect. Take a deep breath, and an hour or two later it's almost as good as new.
-
Thanks for the warning. Looks like your page numbers should be Pages 131 and 133 of Volume 2.
-
Harry, There is a slight space between the printed deck and the sides of the hull. It is not too uniform - it ranges from 1 - 3 mm around the perimeter. I had to remove a little from parts of the printed deck amidships to get a gap. I have not drilled holes for 170 stanchions yet (ugh), but I photocopied the printed pieces to make sure that I didn't lose the locations. Rod
-
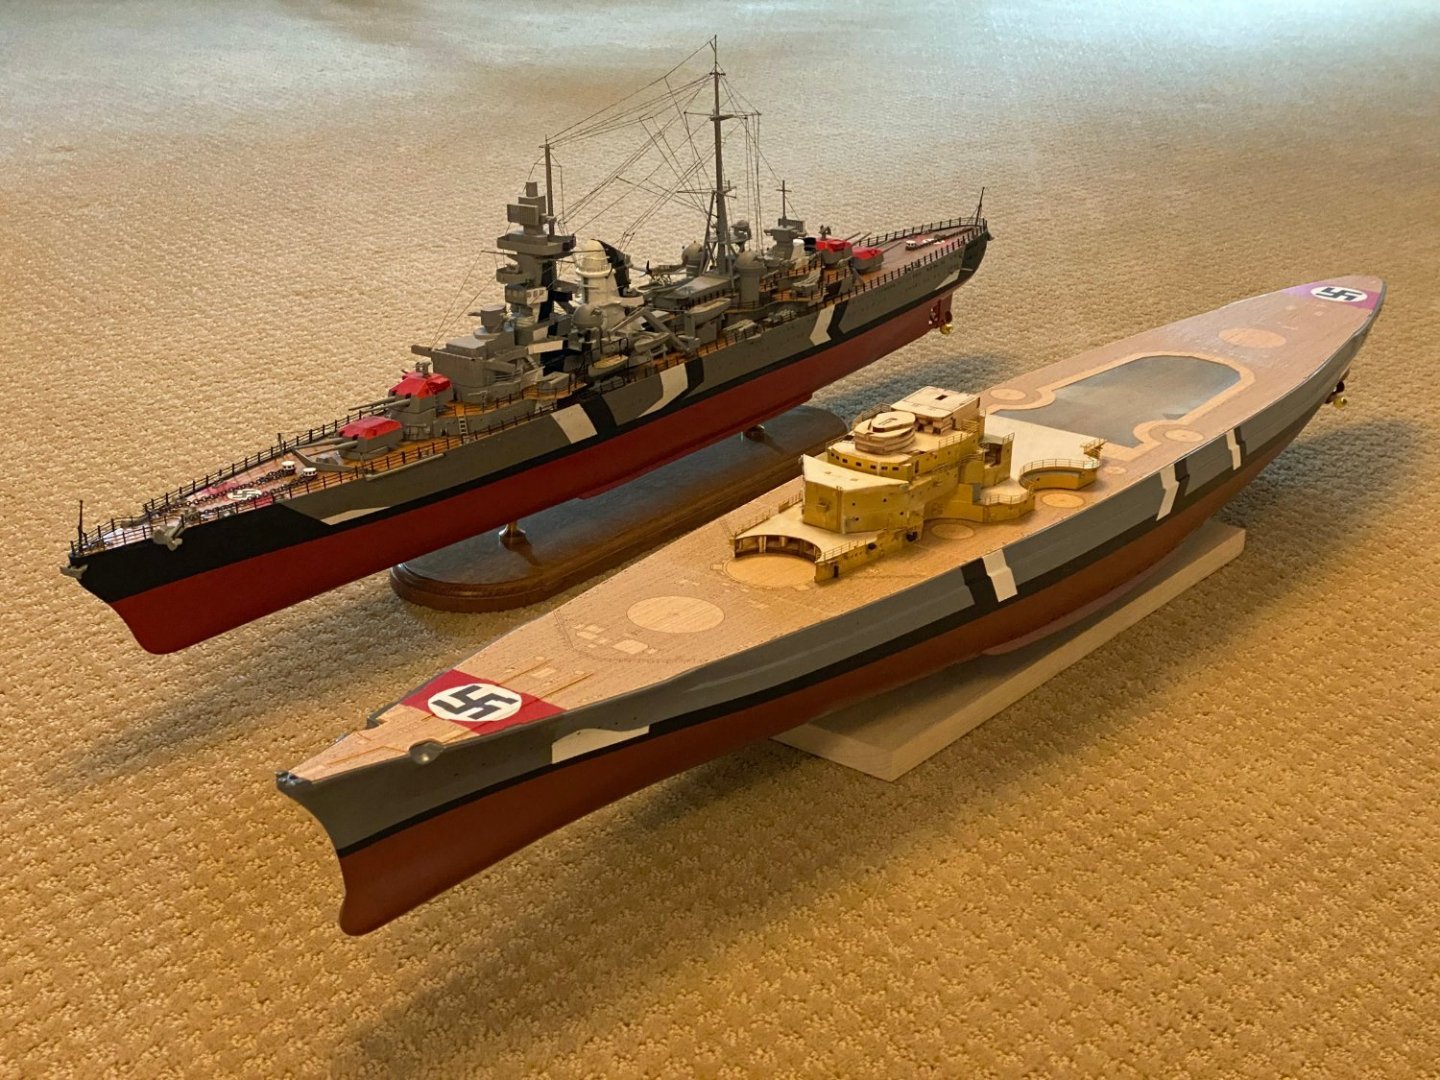
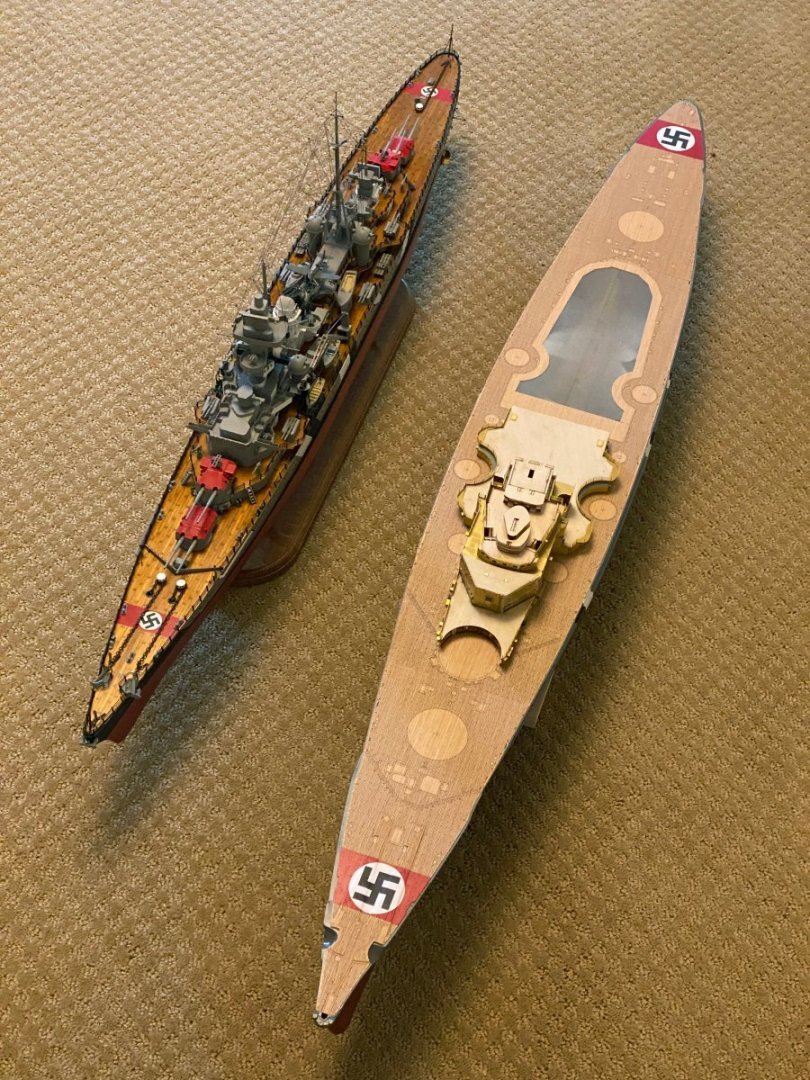
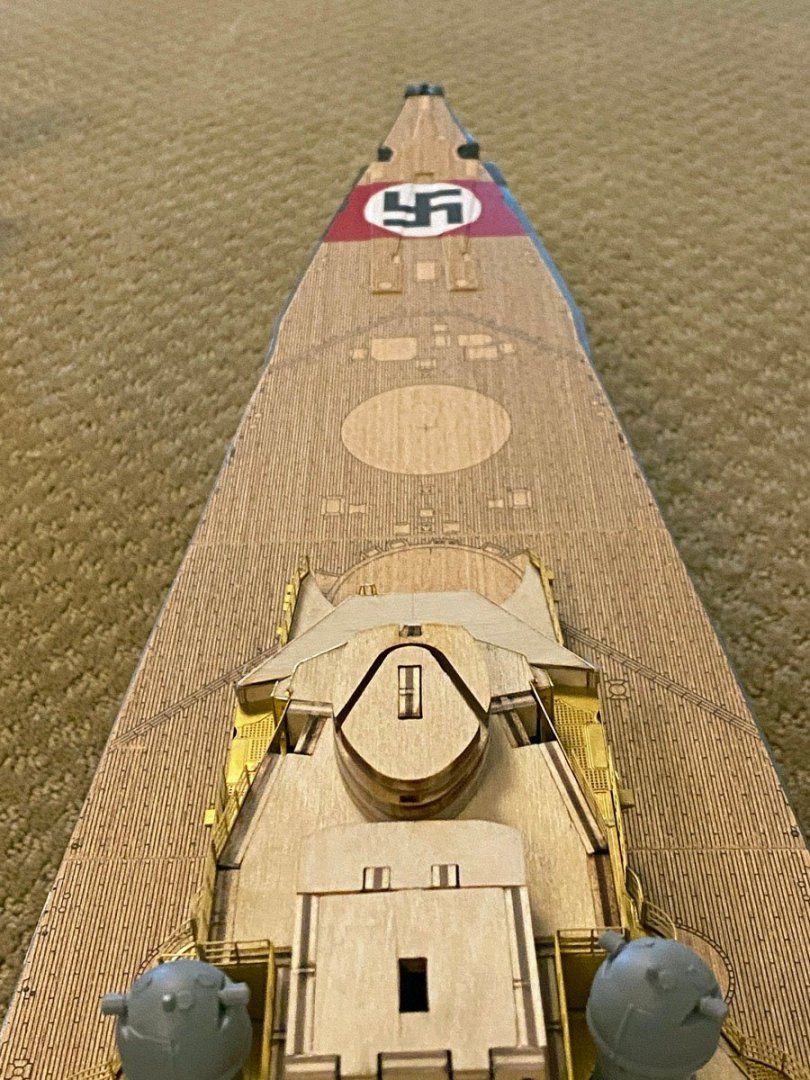
Prinz Eugen + Bismarck (in progress) My Prinz Eugen and the Bismarck are the same 1/200 scale and I've been dying to see them side-by-side. Here they are. I had forgotten how much STUFF there is on the Prinz Eugen. The Bismarck will be worse. On the Bismarck I finished the printed decks with several coats of Minwax satin Polycrylic spray. I taped and sprayed the red stripes before installing the decks. I had made swastikas in Photoshop for the Prinz Eugen, so I scaled them up for the Bismarck, printed them on self-adhesive mailing labels, cut out the white circles and stuck them on, then sprayed everything with Minwax again. I attached the decks with 3M Super 77 spray adhesive. You only get one chance with that glue but I've used it for many projects and got it right again. The Prinz Eugen came with a terrible printed deck so I planked my own with 5 mm basswood and finished it with orange shellac. It looks nice but the actual planks would be a meter across at 1/200 scale. That was the first of many deviations from scale on that model. The Prinz Eugen is what's known as "drive-by scale." It looks good from a car driving by slowly.
-
Ted, You've got the hang of the PE work - it looks great! I am a big fan of Proxxon tools. I use their pen sander with 80 grit paper to even up wooden frameworks, and with 400 grit paper to clean the nubs off all the PE parts. I keep a tip loaded with each. Their self-adhesive sand paper is terrible so I make my own with 3M double-sided tape and high-quality sand paper. Cleaning nubs off PE eats up the 400 grit paper and I go through several squares every day, so I make up several strips about 6" long and cut off a square as needed. Proxxon's 5" disk sander with 120 grit disks is good for removing a line of brass from PE cladding that is just a hair too big. Rod
-
Ives, I just received my October, 2021 issue of Model Boats magazine. Isn't the postal system great? Anyway there is an article entitled "3D-Printed Flower Class Corvette" by Benjamin Eng, owner of bensworx and designer of your model. He gives an excellent overview of the design process, but the photos of his unpainted model are not nearly as nice as yours. The same issue has another article entitled "3D CAD for Modellers" by John Parker that gives some tips on CAD software. That article is followed by one explaining the different ways in which water and smoke tube boilers work. I love that juxtaposition of old and new. Now get back to work on the Corvette! Rod
- 321 replies
-
- Finished
- Flower-class
-
(and 1 more)
Tagged with:
-
Harry, Thanks for the links. Coincidentally I just finished that section a couple of days ago. I did look ahead to see what deck areas get brass, print wood, or left as plywood. I thought that I might need to seal the plywood areas, but the wood is already very smooth and it gets painted a dark gray. I think it will look fine without the plastic card. Rod
-
Harry, Thanks for the "heads up" but I'm not sure what area you're referring to. Would it be possible for you to post a photo of that area? Rod
-
Ted, I am using the 10mm Tamiya tape that you had problems with. My only "trick" is to burnish the edge A LOT with the round barrel of a Sharpie pen. I used 3/4" Scotch masking tape for the false bow & stern waves. I didn't bother with the templates supplied with the kit. To be honest, my stripes required 2 iterations. I did the white first, then tried to selectively remove tape and paper, and re-tape the black areas. When I was done painting black I removed the masks and discovered 3 black stripes over top of white. I had to re-tape all the white and re-paint. In technical terms, it takes a ZILLION coats of white to cover over black.
-
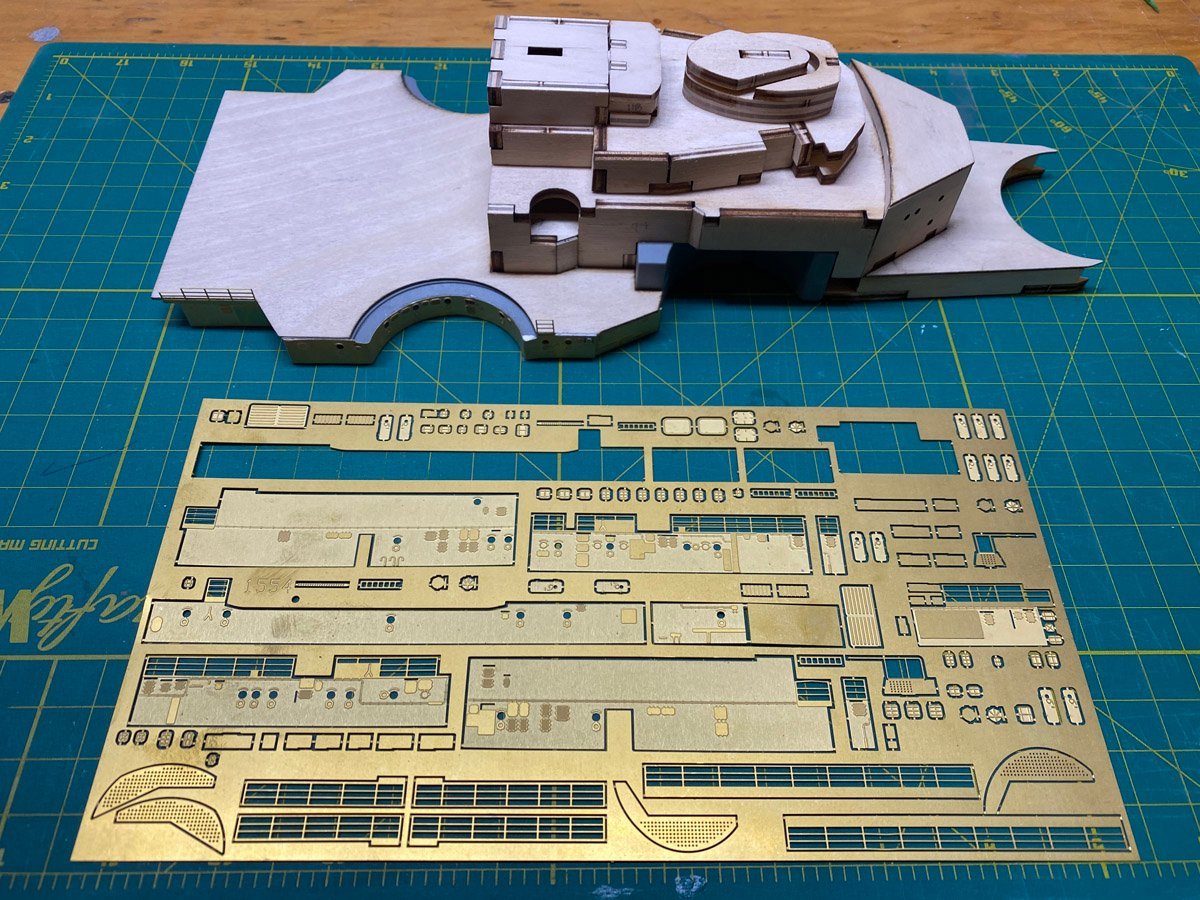
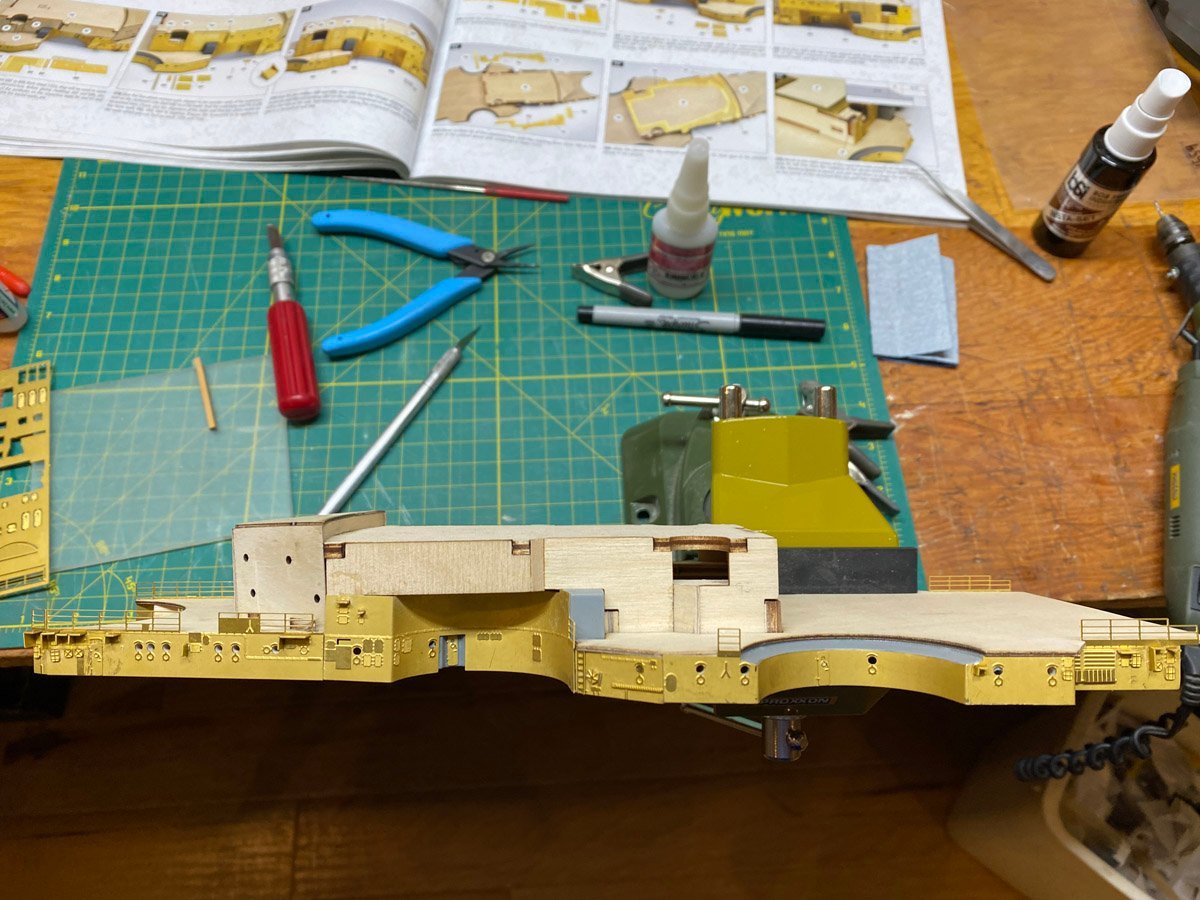
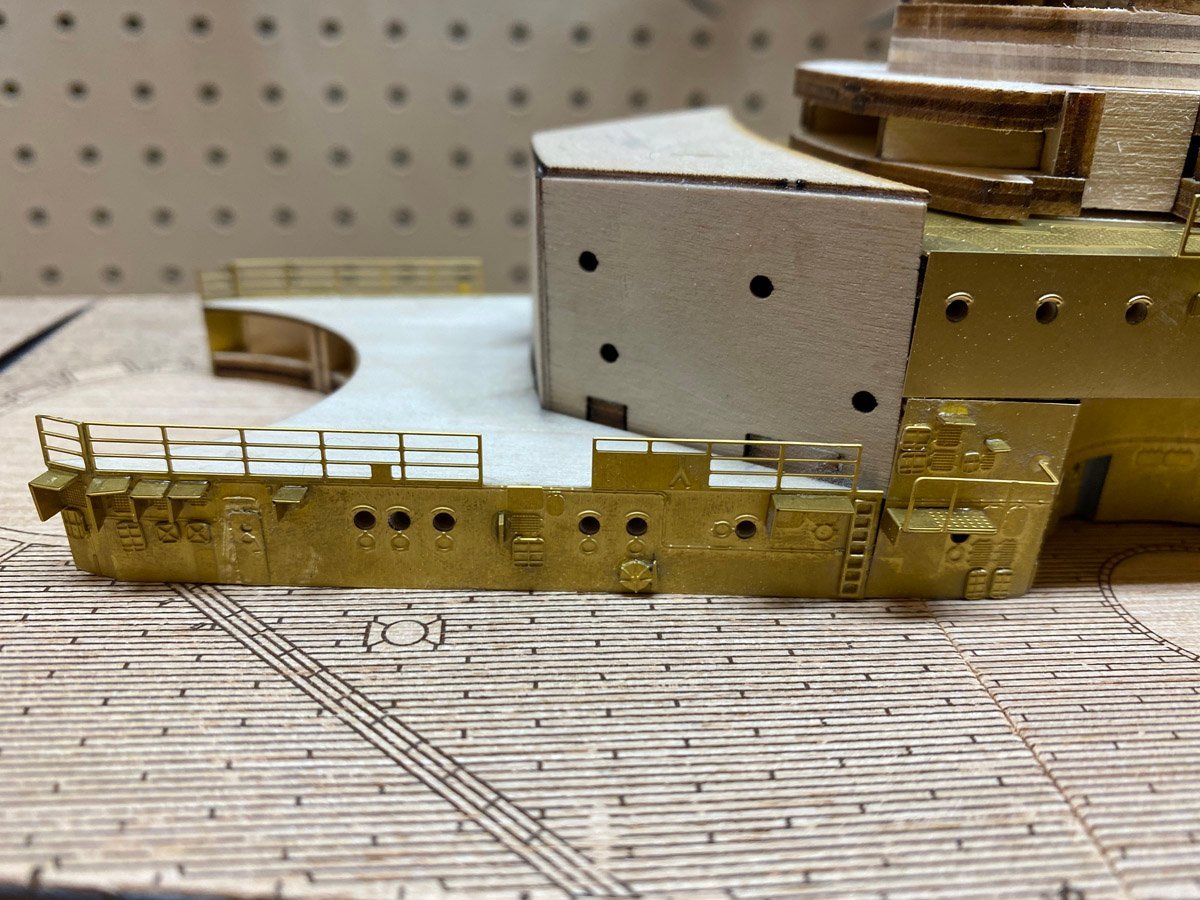
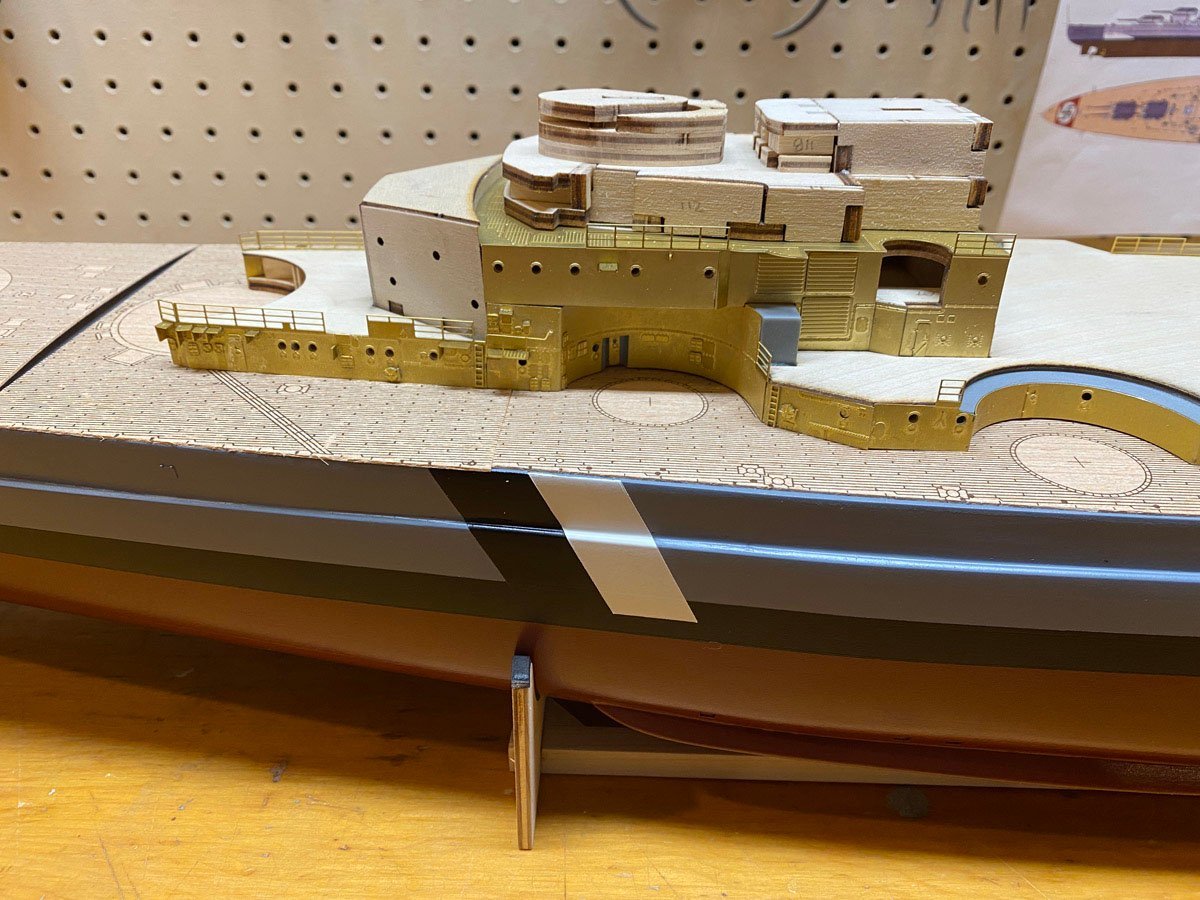
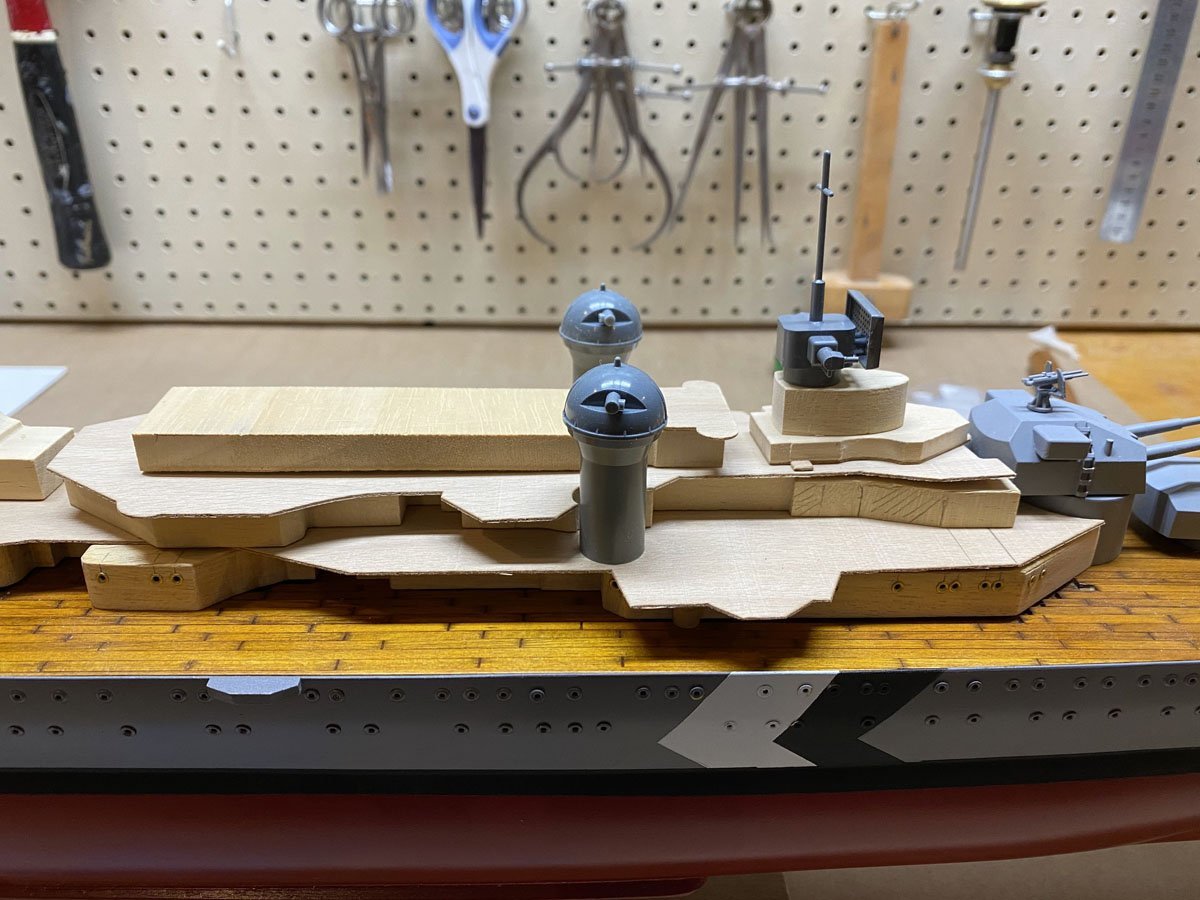
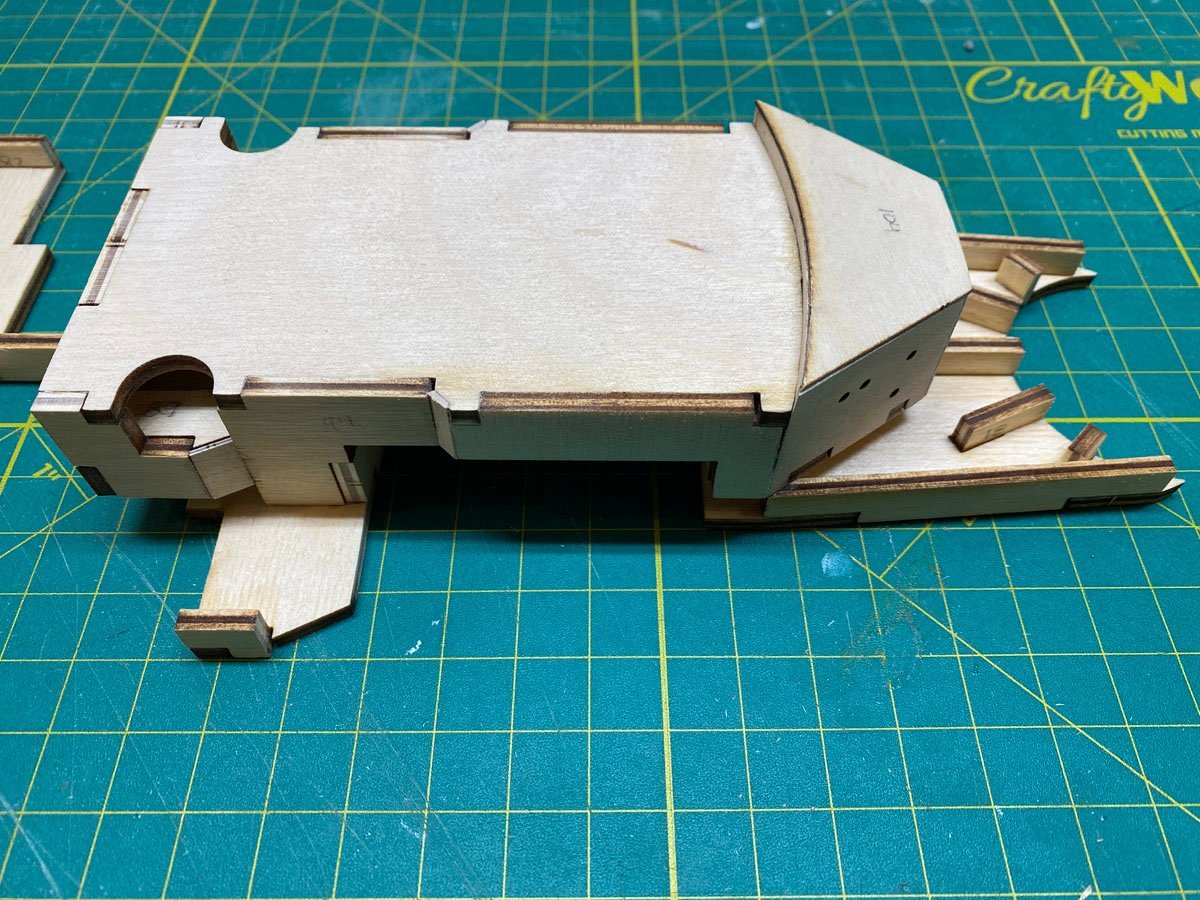
Superstructure -- 150 hours, 76 days While waiting for paint to dry I've been building parts of the superstructure. The construction technique is all new to me - complicated plywood frame and some plastic components, all skinned with photo-etched brass. The instructions are excellent and the brass parts are numbered almost sequentially on the sheets, making them easy to find. It helps to secure the structure in a vise to keep from breaking off the delicate details. You can only bend a PE piece 3 times before it snaps. (Don't ask how I know.) Amazing how the shiny brass is covered with fingerprints after just a few days.
-
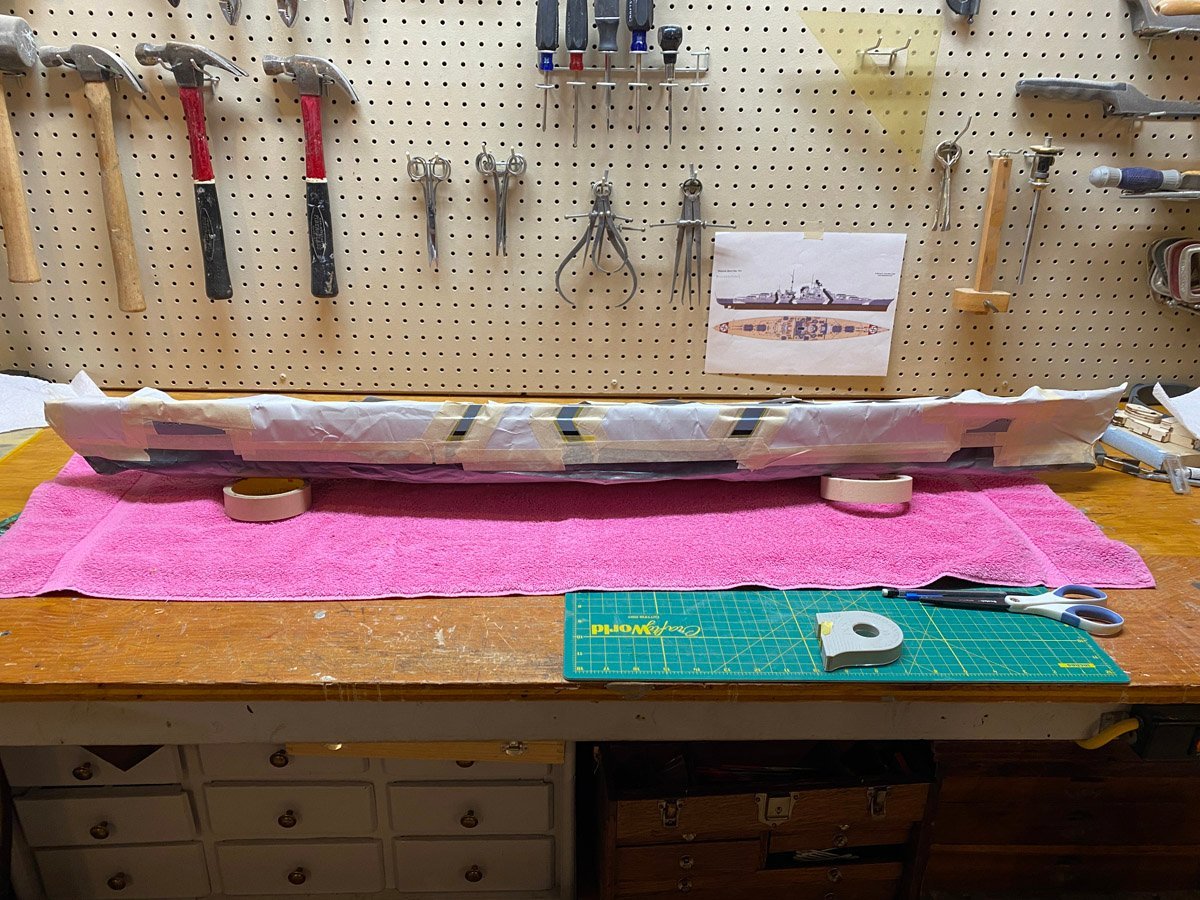
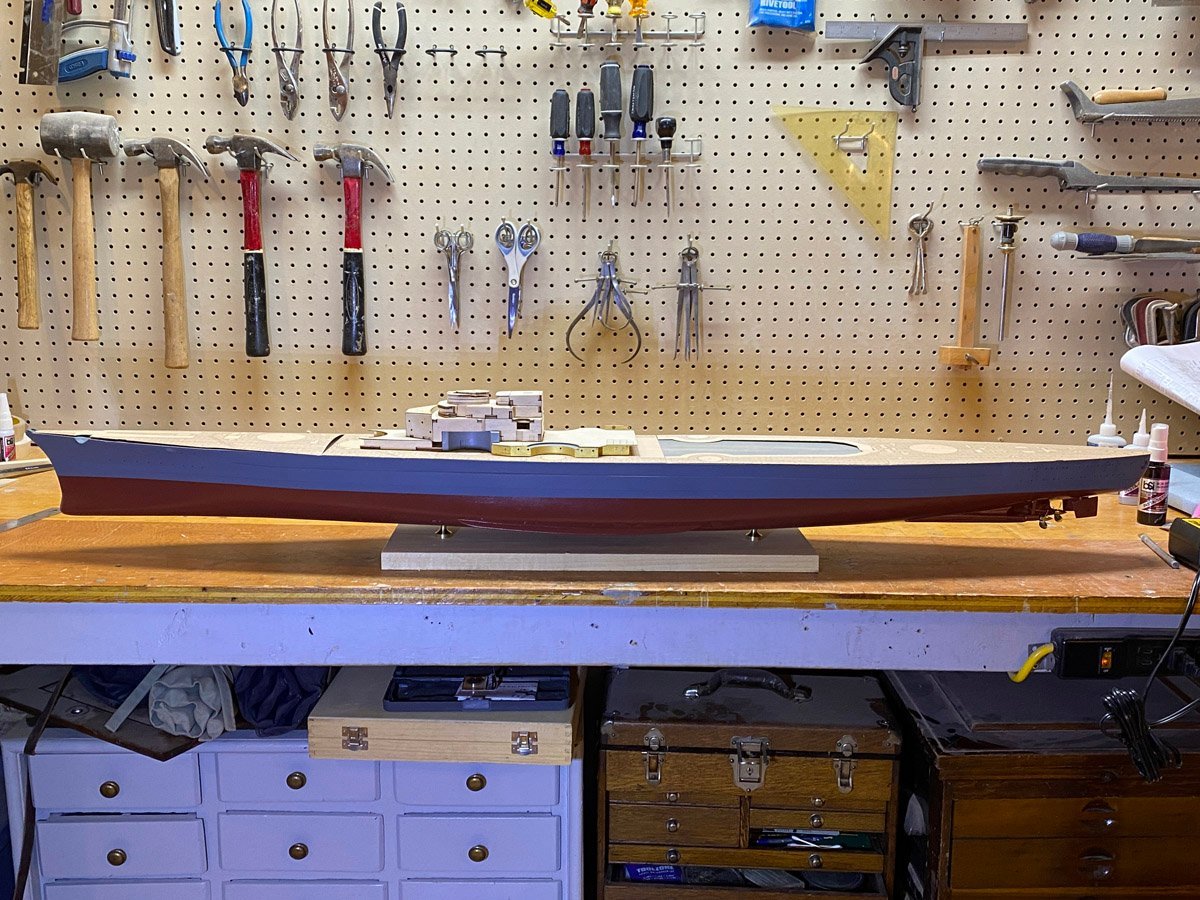
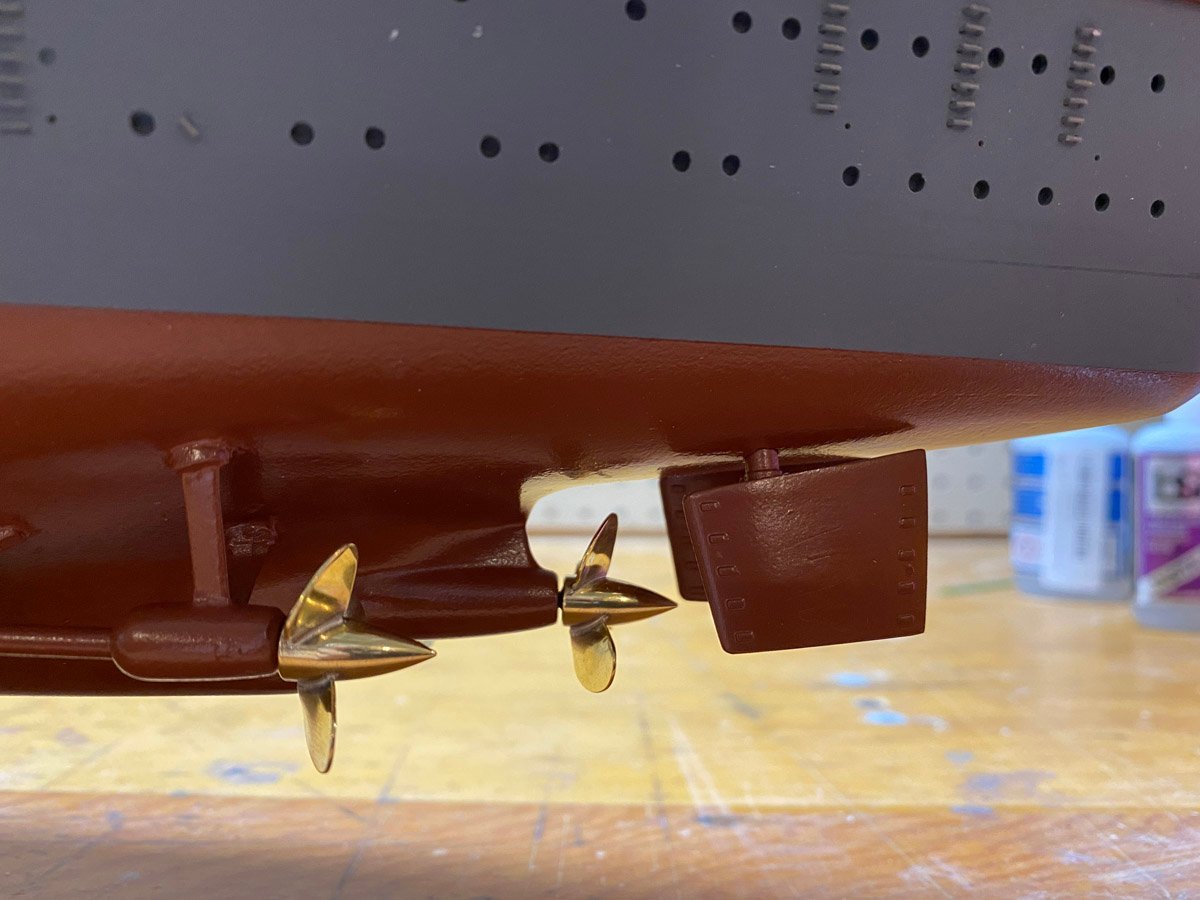
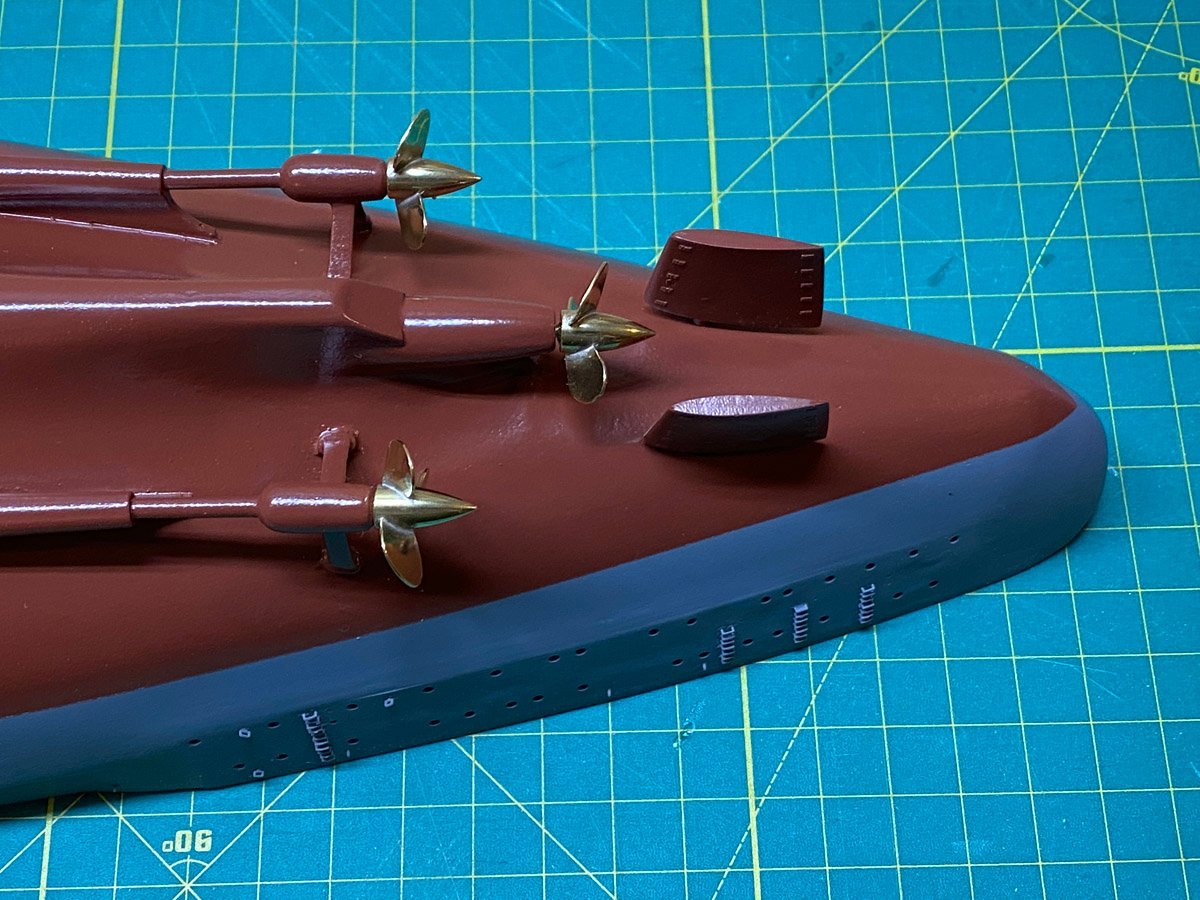
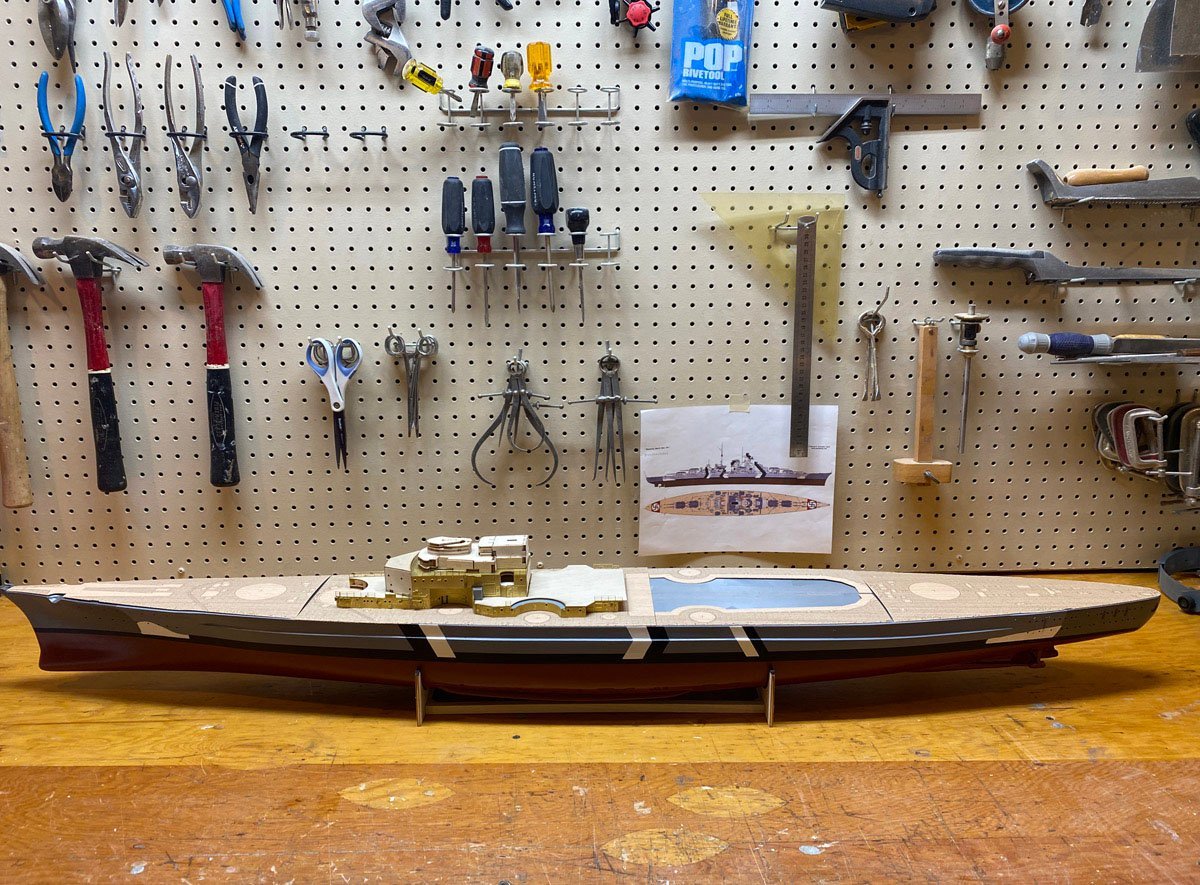
Color Schemes I've never built a model where the colors were given exactly. The Amati instructions specify RAL colors, a German color-matching system. I made up color charts for the hull using paints that I have used. For the grays I painted some samples, scanned them, then averaged the pixels and got the RGB colors using Photoshop. For the reds I used color swatches from the Krylon and Rustoleum web sites. Here's what I found. Upper hull, RAL 7000. I had 4 kinds of gray paint and thought that surely one would work. Wrong. RAL 7000 is fairly light but has a lot of blue in it. Lower hull, RAL 8012, almost a brick color. I used Rustoleum Colonial Red on my Arleigh Burke, my Prinz Eugen, and even on a couple of stationary steam engines. I used Krylon Satin Brick on my Marie Felling. Ted99 is is using Rustoleum Claret Wine on his Bismarck. It is actually pretty close to RAL 8012. I ended up ordering cans of acrylic spray RAL 7000 and RAL 8012 from LVP Paints. It was fairly expensive and the postage cost more than the paints, but it arrived quickly, sprays perfectly, and looks great. Partially painted with temporary pedestal base. I couldn't tolerate plastic props on a $700 model so I ordered brass Raboesch props from agesofsail.com, two left and one right. The props and rudders are not attached yet. Masking for the white dazzle camouflage. Good thing I just had all that practice wrapping Christmas presents. Hull painting completed save for some minor touch up. Back in its cradle for now.
-
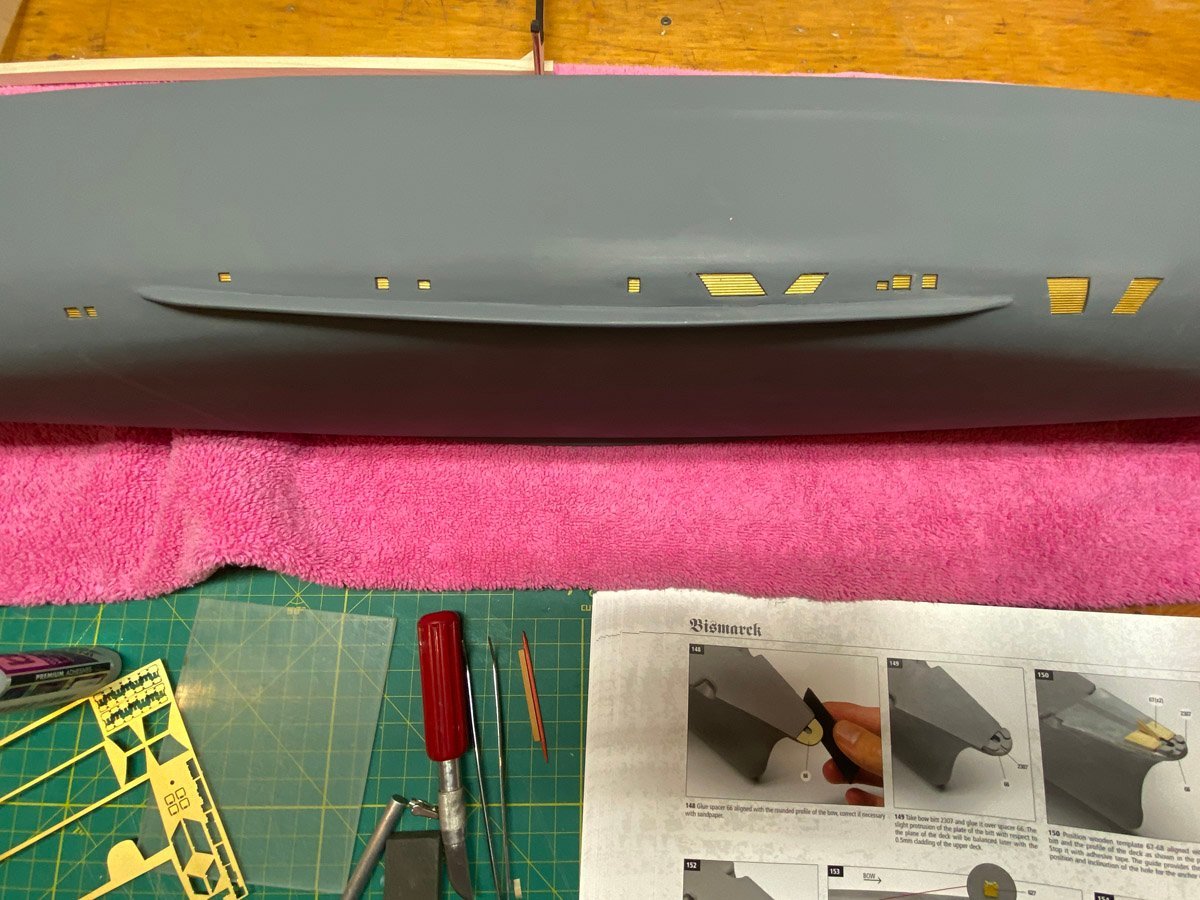
Harry, It seems that the Hachette model has plywood pieces at the bow and stern drilled for Rivet porthole thingies. You omitted the plywood but installed the rivets. Is that correct? The Amati model has PE brass pieces that fit over the plywood, but no rivets. I got the PE pieces reversed so the tiny raised detail for the portholes doesn't show. I am getting ready to paint the hull, saw your rivets, and wondered if I missed something. Rod
-
Beautiful work Ted! Too bad about the matte white. It's always the paint that causes trouble. Rod
-
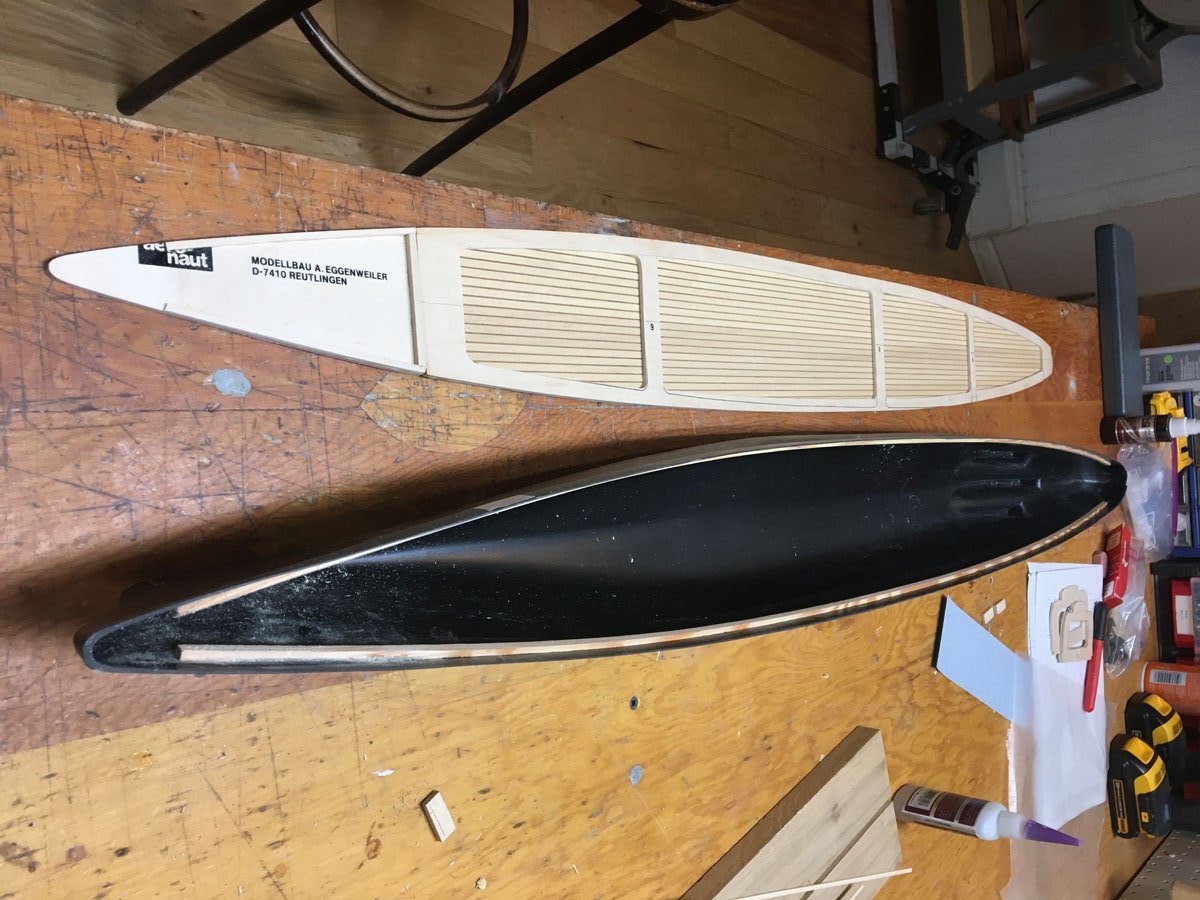
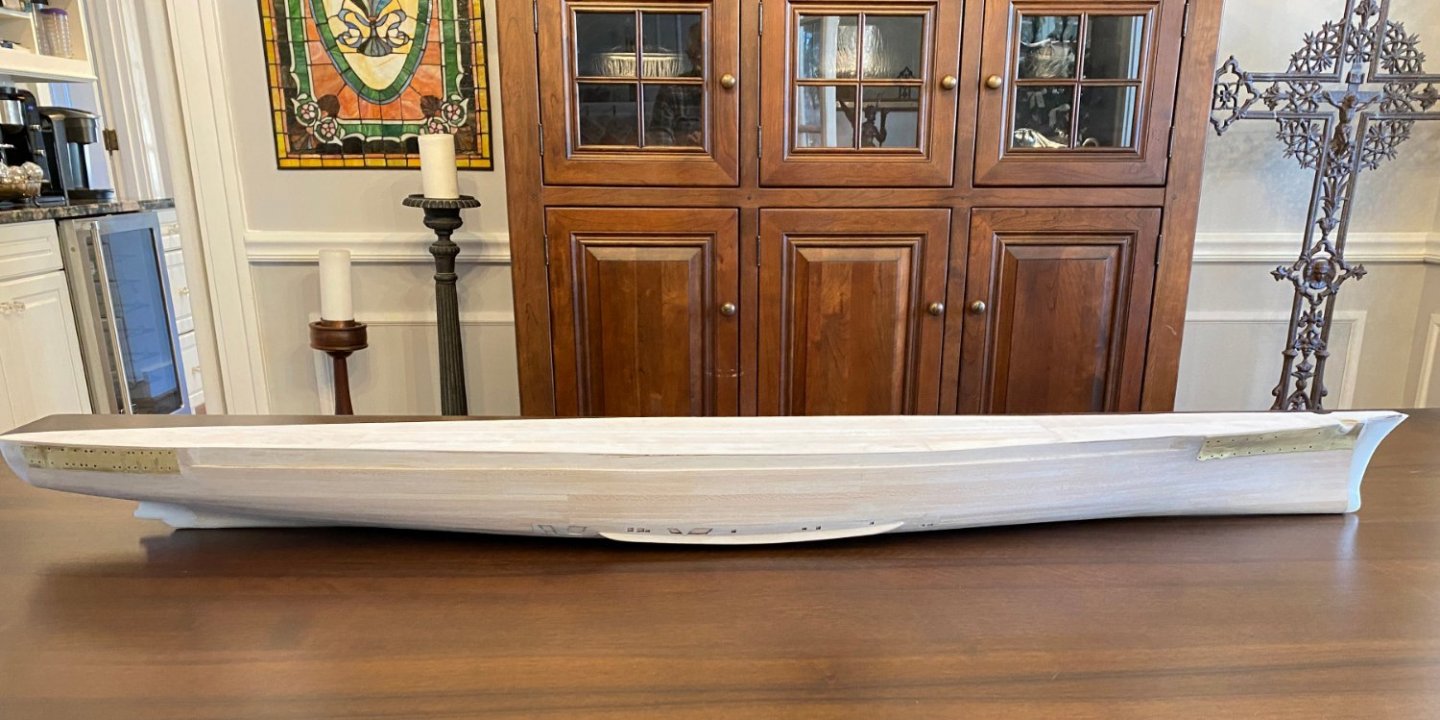
Aeronaut vs. Amati About a year and a half ago I completed a 1/200 scale model of the Prinz Eugen light cruiser by Aeronaut. They also make a 1/200 model of the Bismarck and several other German WWII ships. Now I am working on Amati's 1/200 model of the Bismarck and I thought it might be interesting to make a quick comparison between the manufacturers. The Amati hull is built up plank on bulkhead, with some photo-etched (PE) brass pieces. It took over 100 hours to get to this much done. It would be challenging to install RC. The Aeronaut hull is molded plastic. It took a few hours to get this much done and would be perfect for RC. I have seen the Aeronaut Bismarck kit for sale without all the accessories relatively cheap. I wonder if the Amati model would fit on the Aeronaut hull? The Aeronaut Prinz Eugen superstructure is made of thick blocks with thin decks. Some eyelet portholes get added later. There is no PE included with the kit but I bought a PE kit made by Pontos for a 1/200 plastic Bismarck kit and used a lot of doors and other details on my model. I am just getting started on the Amati Bismarck superstructure. This little section has about 30 pieces in it. It will get wrapped in PE later. I feel like it is unnecessarily complicated. Thick blocks would work just fine. The Amati kit costs about 1.5 times what the Aeronaut kit did, but it will make up into a much nicer model.
-
Harry, It's exciting to see what lays ahead for me! In late Nov. & early Dec. of 2019 my wife and I took a cruise down the east coast of New Zealand. Such a beautiful country - we just loved everything about it. The closest we got to you in Manaia was Wellington. The cruise continued around the south island to Tasmania, Melbourne, and Sydney. I really wanted to see the Endeavour replica in Sydney Harbor, but it was on a cruise around New Zealand for the 250th anniversary of Cook's voyage. I think we missed it by a couple of days in two different ports. Did you get to see it then? Rod
-
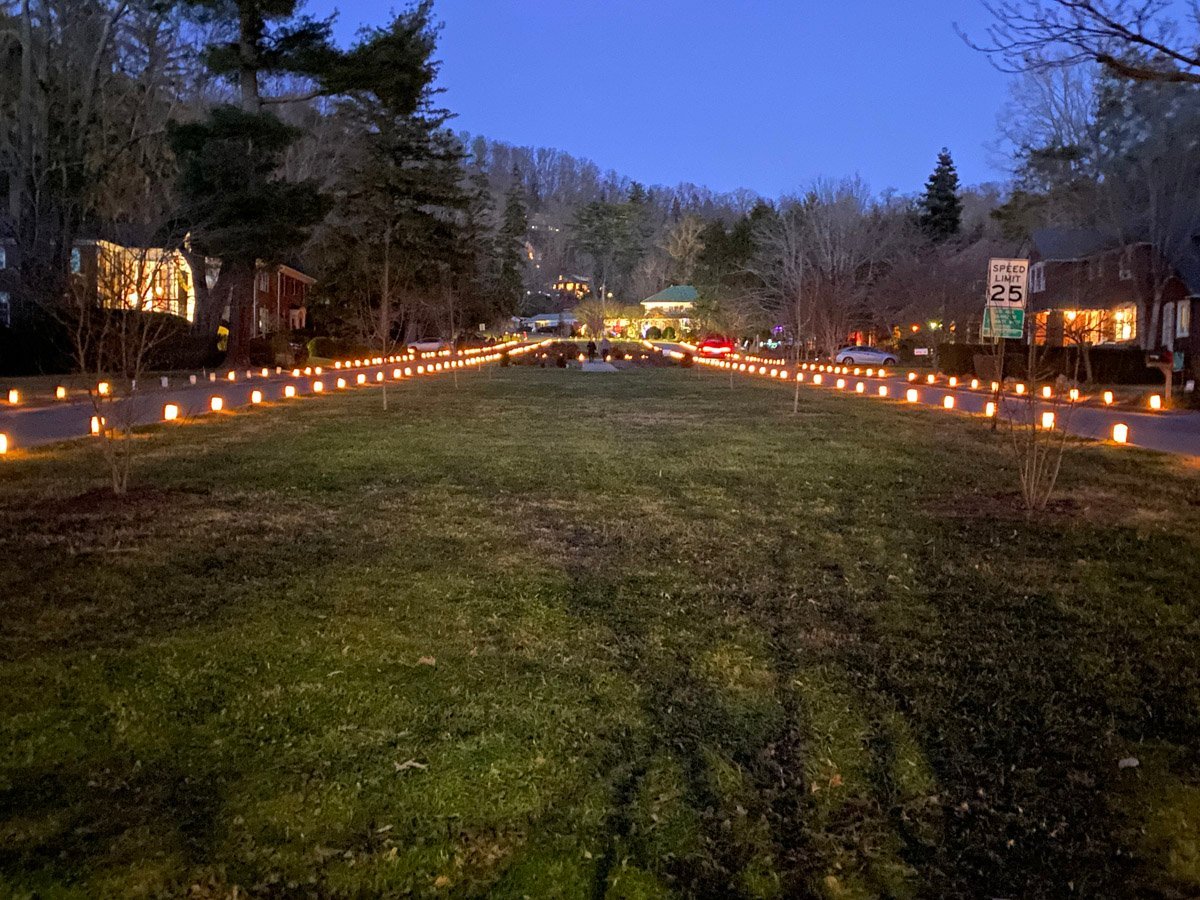
My neighborhood here in Asheville, NC puts out about 900 luminaria on the three nights leading up to Christmas. The display is quite beautiful. Happy Holidays to you all!
-
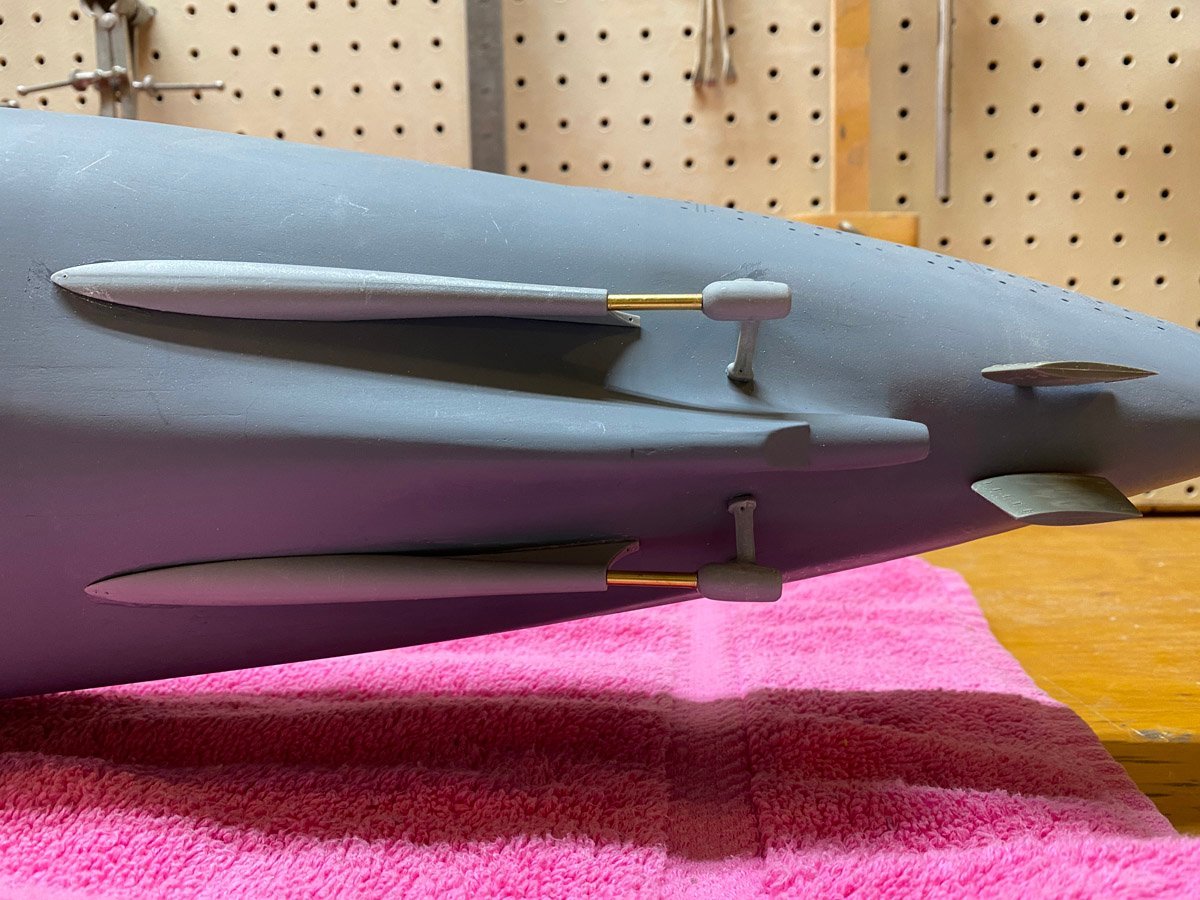
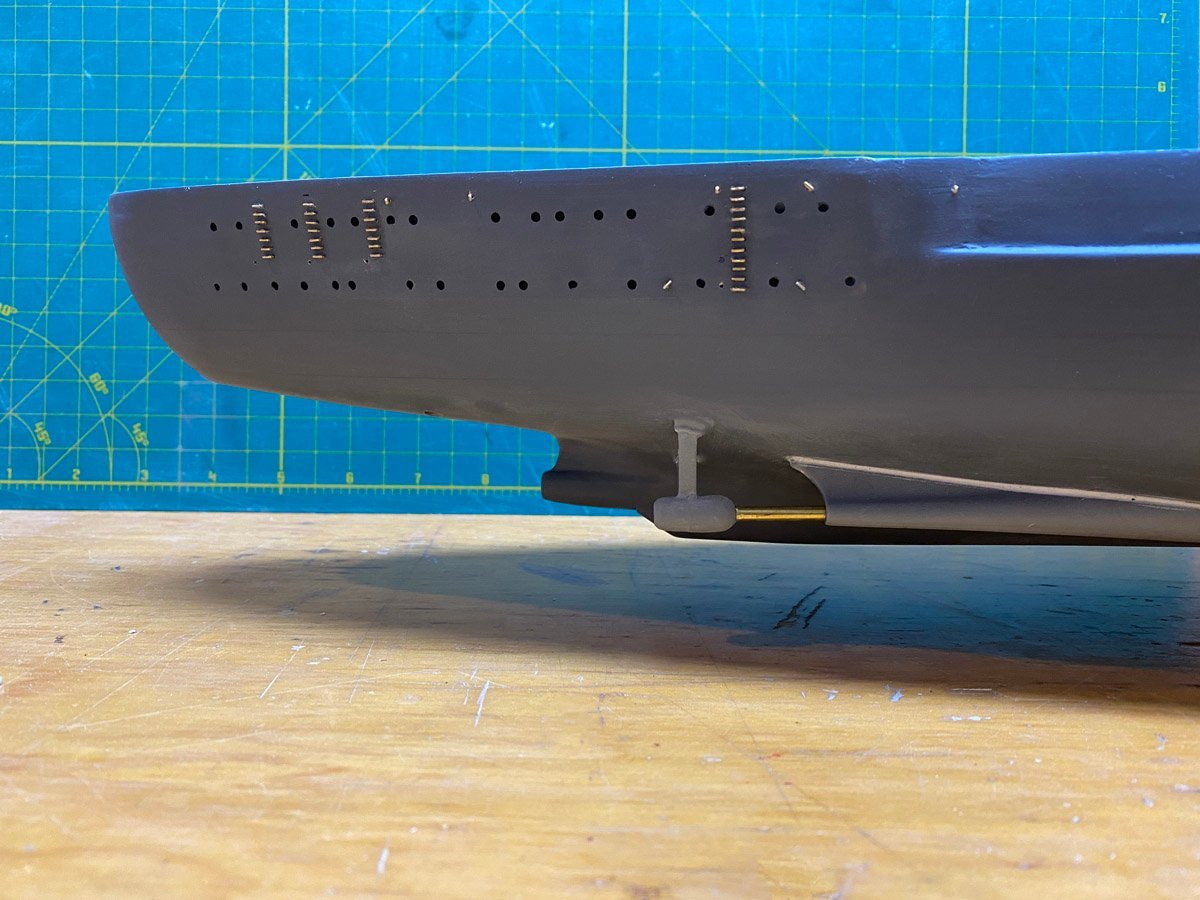
Harry, The patient survived and is doing fine 😷. I've since attached the prop shafts, ladders, and hull gratings. I wanted to get some primer on them before posting but my spray booth, AKA garage, is blocked by my son's car here for the holidays. Rod The ladder rungs were not fun to attach. Since my port and starboard pieces got swapped I had to drill a few new holes for miscellaneous eyelets that were in the wrong places. Note to RC builders -- The shaft supports are flimsy plastic and are not drilled. You would probably have to drill the long support and remake the short support from stronger material. The plastic rudder shafts are long but there is no bearing for them. The gratings popped in easily.
-
Ted, Thank you for posting your experiences with the Rustoleum products. They do have a good range of colors and are working well for you, so stick with them. I have used successfully them in the past, but have had enough bad experiences that I just don't want to mess with them again. It was the 2X primer that I had trouble with on the Bismarck and the earlier tug. I am using Krylon paints now. They contain a long list of hazardous solvents so you probably shouldn't use them indoors. They are dry to the touch in 20 minutes and completely dry in an hour. Krylon does not have as wide a range of colors as Rustoleum, but I will be airbrushing most parts above deck with acrylics anyway.
-
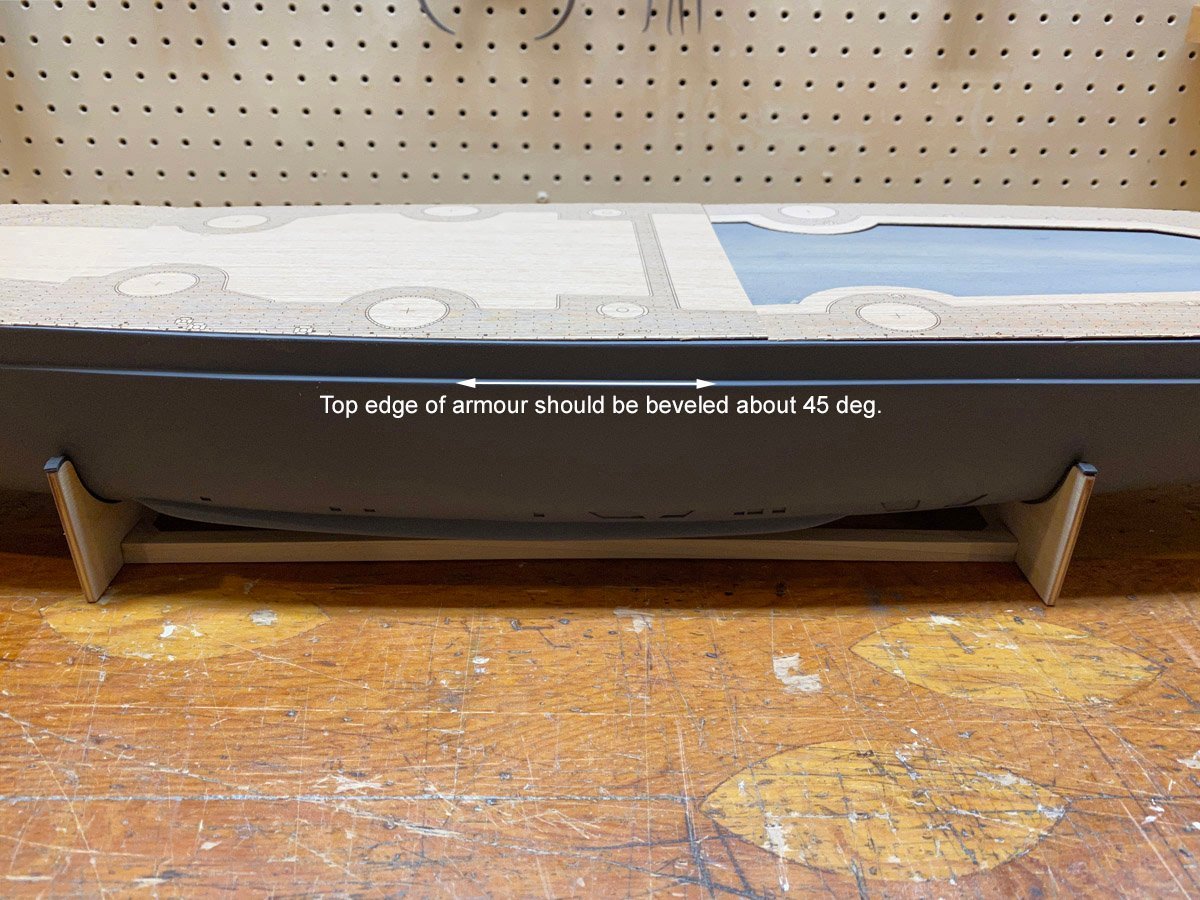
I did not bevel the top of the armor belt at first. There is a cross section in Anatomy of the Ship that that clearly shows a bevel, so as long as I was refinishing the hull I sanded it in. You probably can't tell from this photo but it's there. It's probably to keep cigarettes from landing on the flat step :^/
-
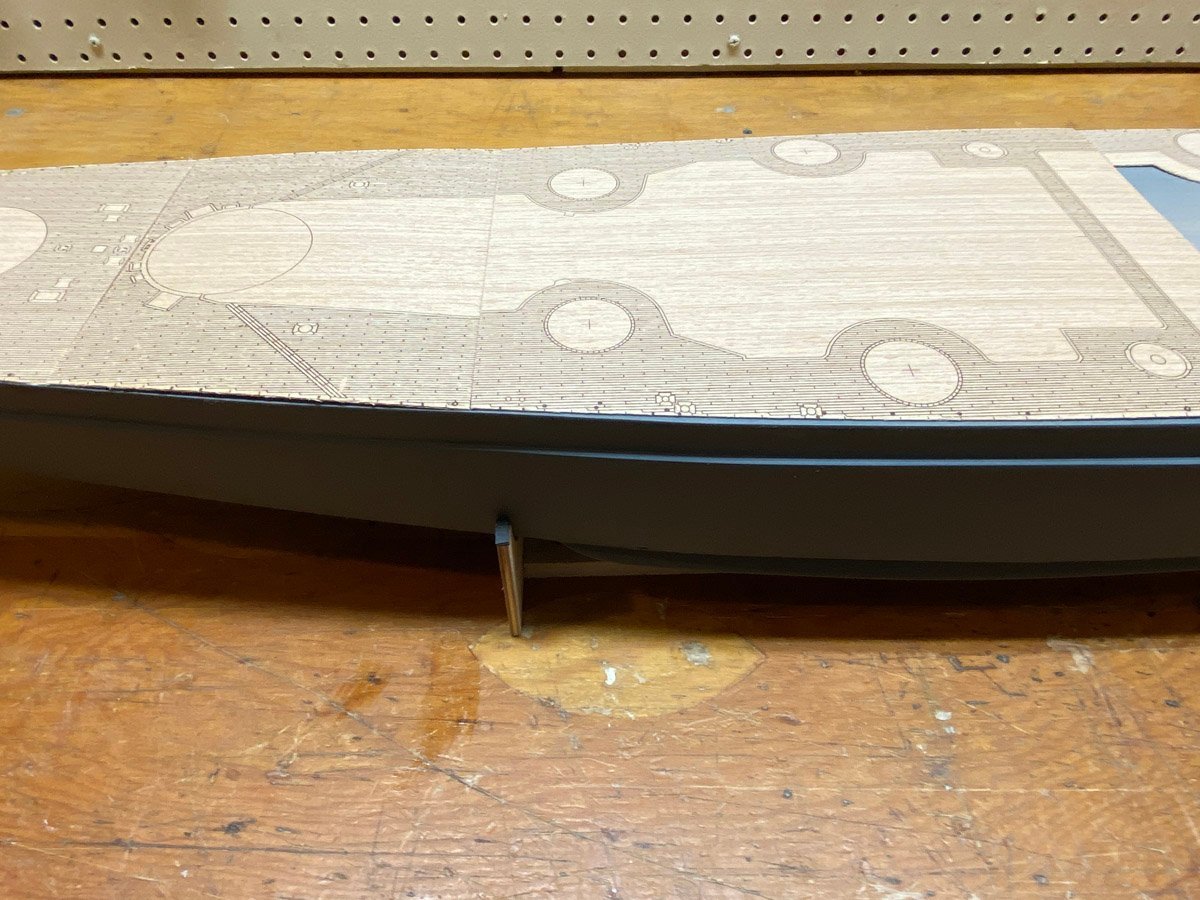
I haven't unwrapped the deck veneers until now. The answer to your question is yes and no. In some places there is a space at the edge of the veneer as intended, but elsewhere the veneer is pretty close to the deck. I may have to trim it back a little, but not enough to lose the holes for the rail stanchions.
-
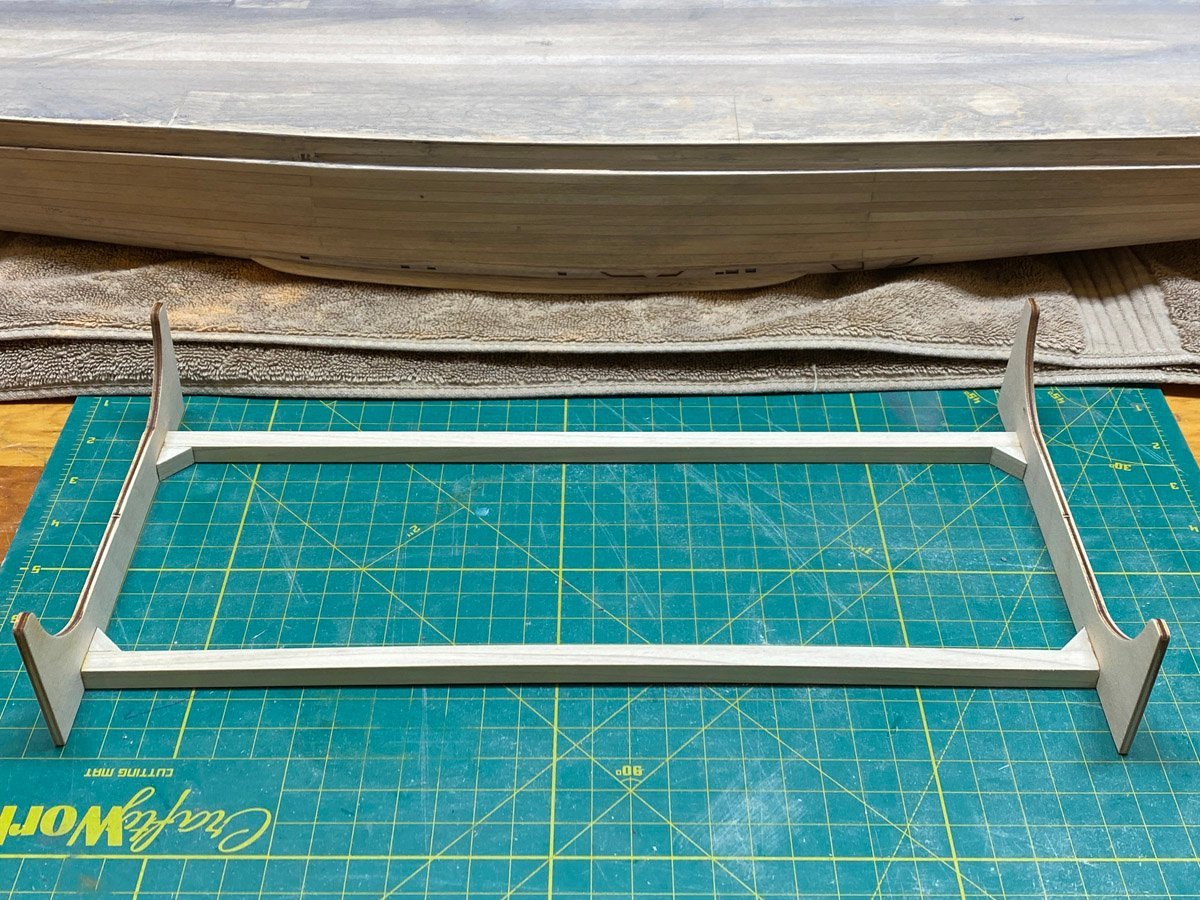
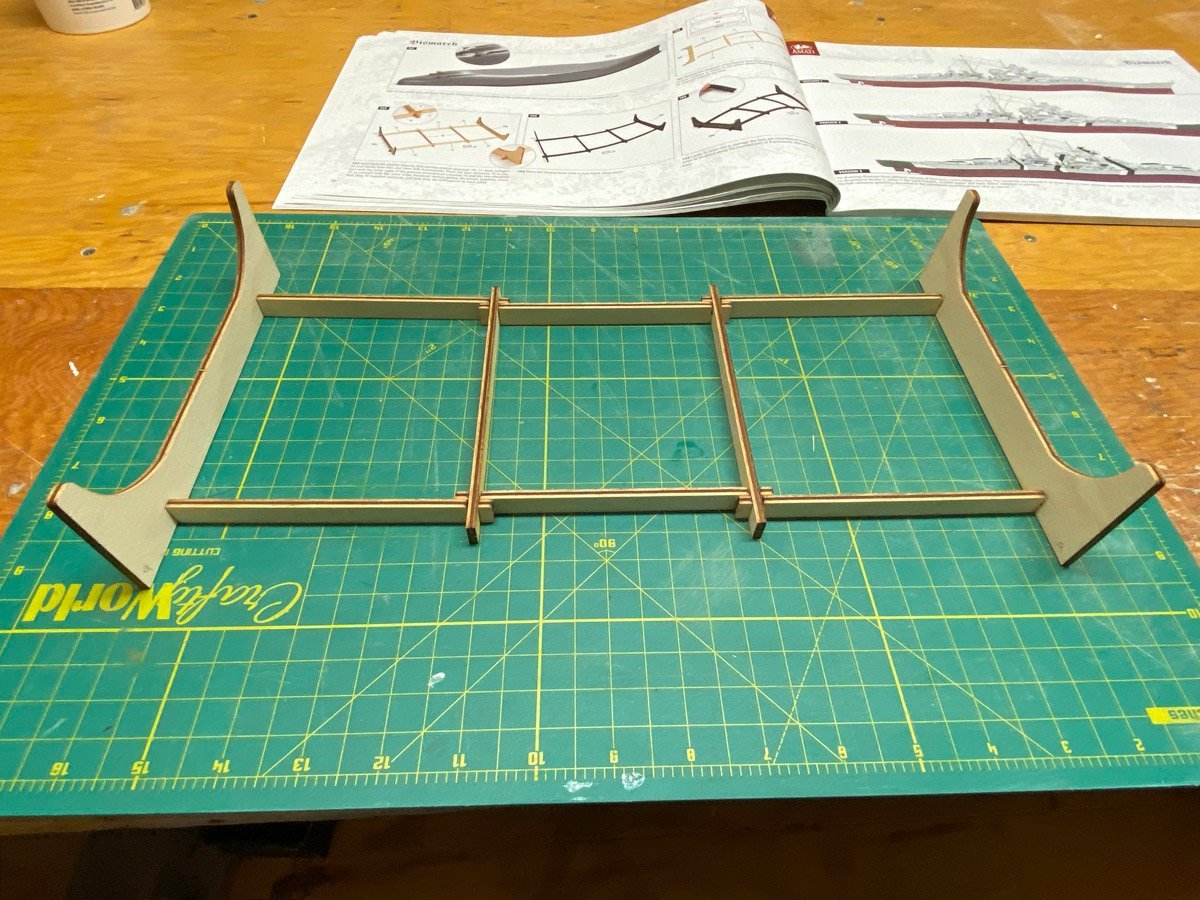
I Can't Stand It I decided to build the cradle while waiting for primer to dry. Amati's cradle is made of two end pieces joined by 8 small pieces stacked together like Lincoln Logs. The notches are cut a little large so everything is quite flimsy. I suppose this is another consequence of the original model being designed to fit inside a magazine. I replaced the Lincoln Logs with two pieces of basswood, and put gussets in the corners just for fun. More elegant now. However, I don't plan to use the cradle for the finished model. I have noticed that it is awkward to move a finished model on a cradle, so I have mounted most of my recent models on brass pedestals screwed through a wooden base into the hull. I've already placed an order for the pedestals.
-
Do your Models Rattle? After I closed up the Bismarck hull for good I flipped it around on the bench and something rattled inside. It seems like that has happened on every model I've ever made. Now I know that no one will ever shake my models (they had better not!), but It bothers me to know that there is something unintended inside. Well, after removing the upside-down back corner of the Bismarck I gave the hull a good shake and out fell a glob of wood filler that had squeezed through the cracks. I feel much better now. Ever happen to you?
-
Ted, that would have been Larry Ross. I never interacted with him directly until after he retired. Someone brought in a group of "old timers" to talk about lessons learned on the Centaur upper stage program. Not really my area but I attended and found his comments very interesting. It's great to see some superstructure coming together on your model. I'm dying to get past the hull but still have some major painting to do. And with the holidays coming up I'm getting less free time to work on the Bismarck.
About us
Modelshipworld - Advancing Ship Modeling through Research
SSL Secured
Your security is important for us so this Website is SSL-Secured
NRG Mailing Address
Nautical Research Guild
237 South Lincoln Street
Westmont IL, 60559-1917
Model Ship World ® and the MSW logo are Registered Trademarks, and belong to the Nautical Research Guild (United States Patent and Trademark Office: No. 6,929,264 & No. 6,929,274, registered Dec. 20, 2022)
Helpful Links
About the NRG
If you enjoy building ship models that are historically accurate as well as beautiful, then The Nautical Research Guild (NRG) is just right for you.
The Guild is a non-profit educational organization whose mission is to “Advance Ship Modeling Through Research”. We provide support to our members in their efforts to raise the quality of their model ships.
The Nautical Research Guild has published our world-renowned quarterly magazine, The Nautical Research Journal, since 1955. The pages of the Journal are full of articles by accomplished ship modelers who show you how they create those exquisite details on their models, and by maritime historians who show you the correct details to build. The Journal is available in both print and digital editions. Go to the NRG web site (www.thenrg.org) to download a complimentary digital copy of the Journal. The NRG also publishes plan sets, books and compilations of back issues of the Journal and the former Ships in Scale and Model Ship Builder magazines.


