HOLIDAY DONATION DRIVE - SUPPORT MSW - DO YOUR PART TO KEEP THIS GREAT FORUM GOING! (83 donations so far out of 49,000 members - C'mon guys!)
×


scrubbyj427
-
Posts
1,690 -
Joined
-
Last visited
Content Type
Profiles
Forums
Gallery
Events
Everything posted by scrubbyj427
-
 Excellent work Ben!
 -
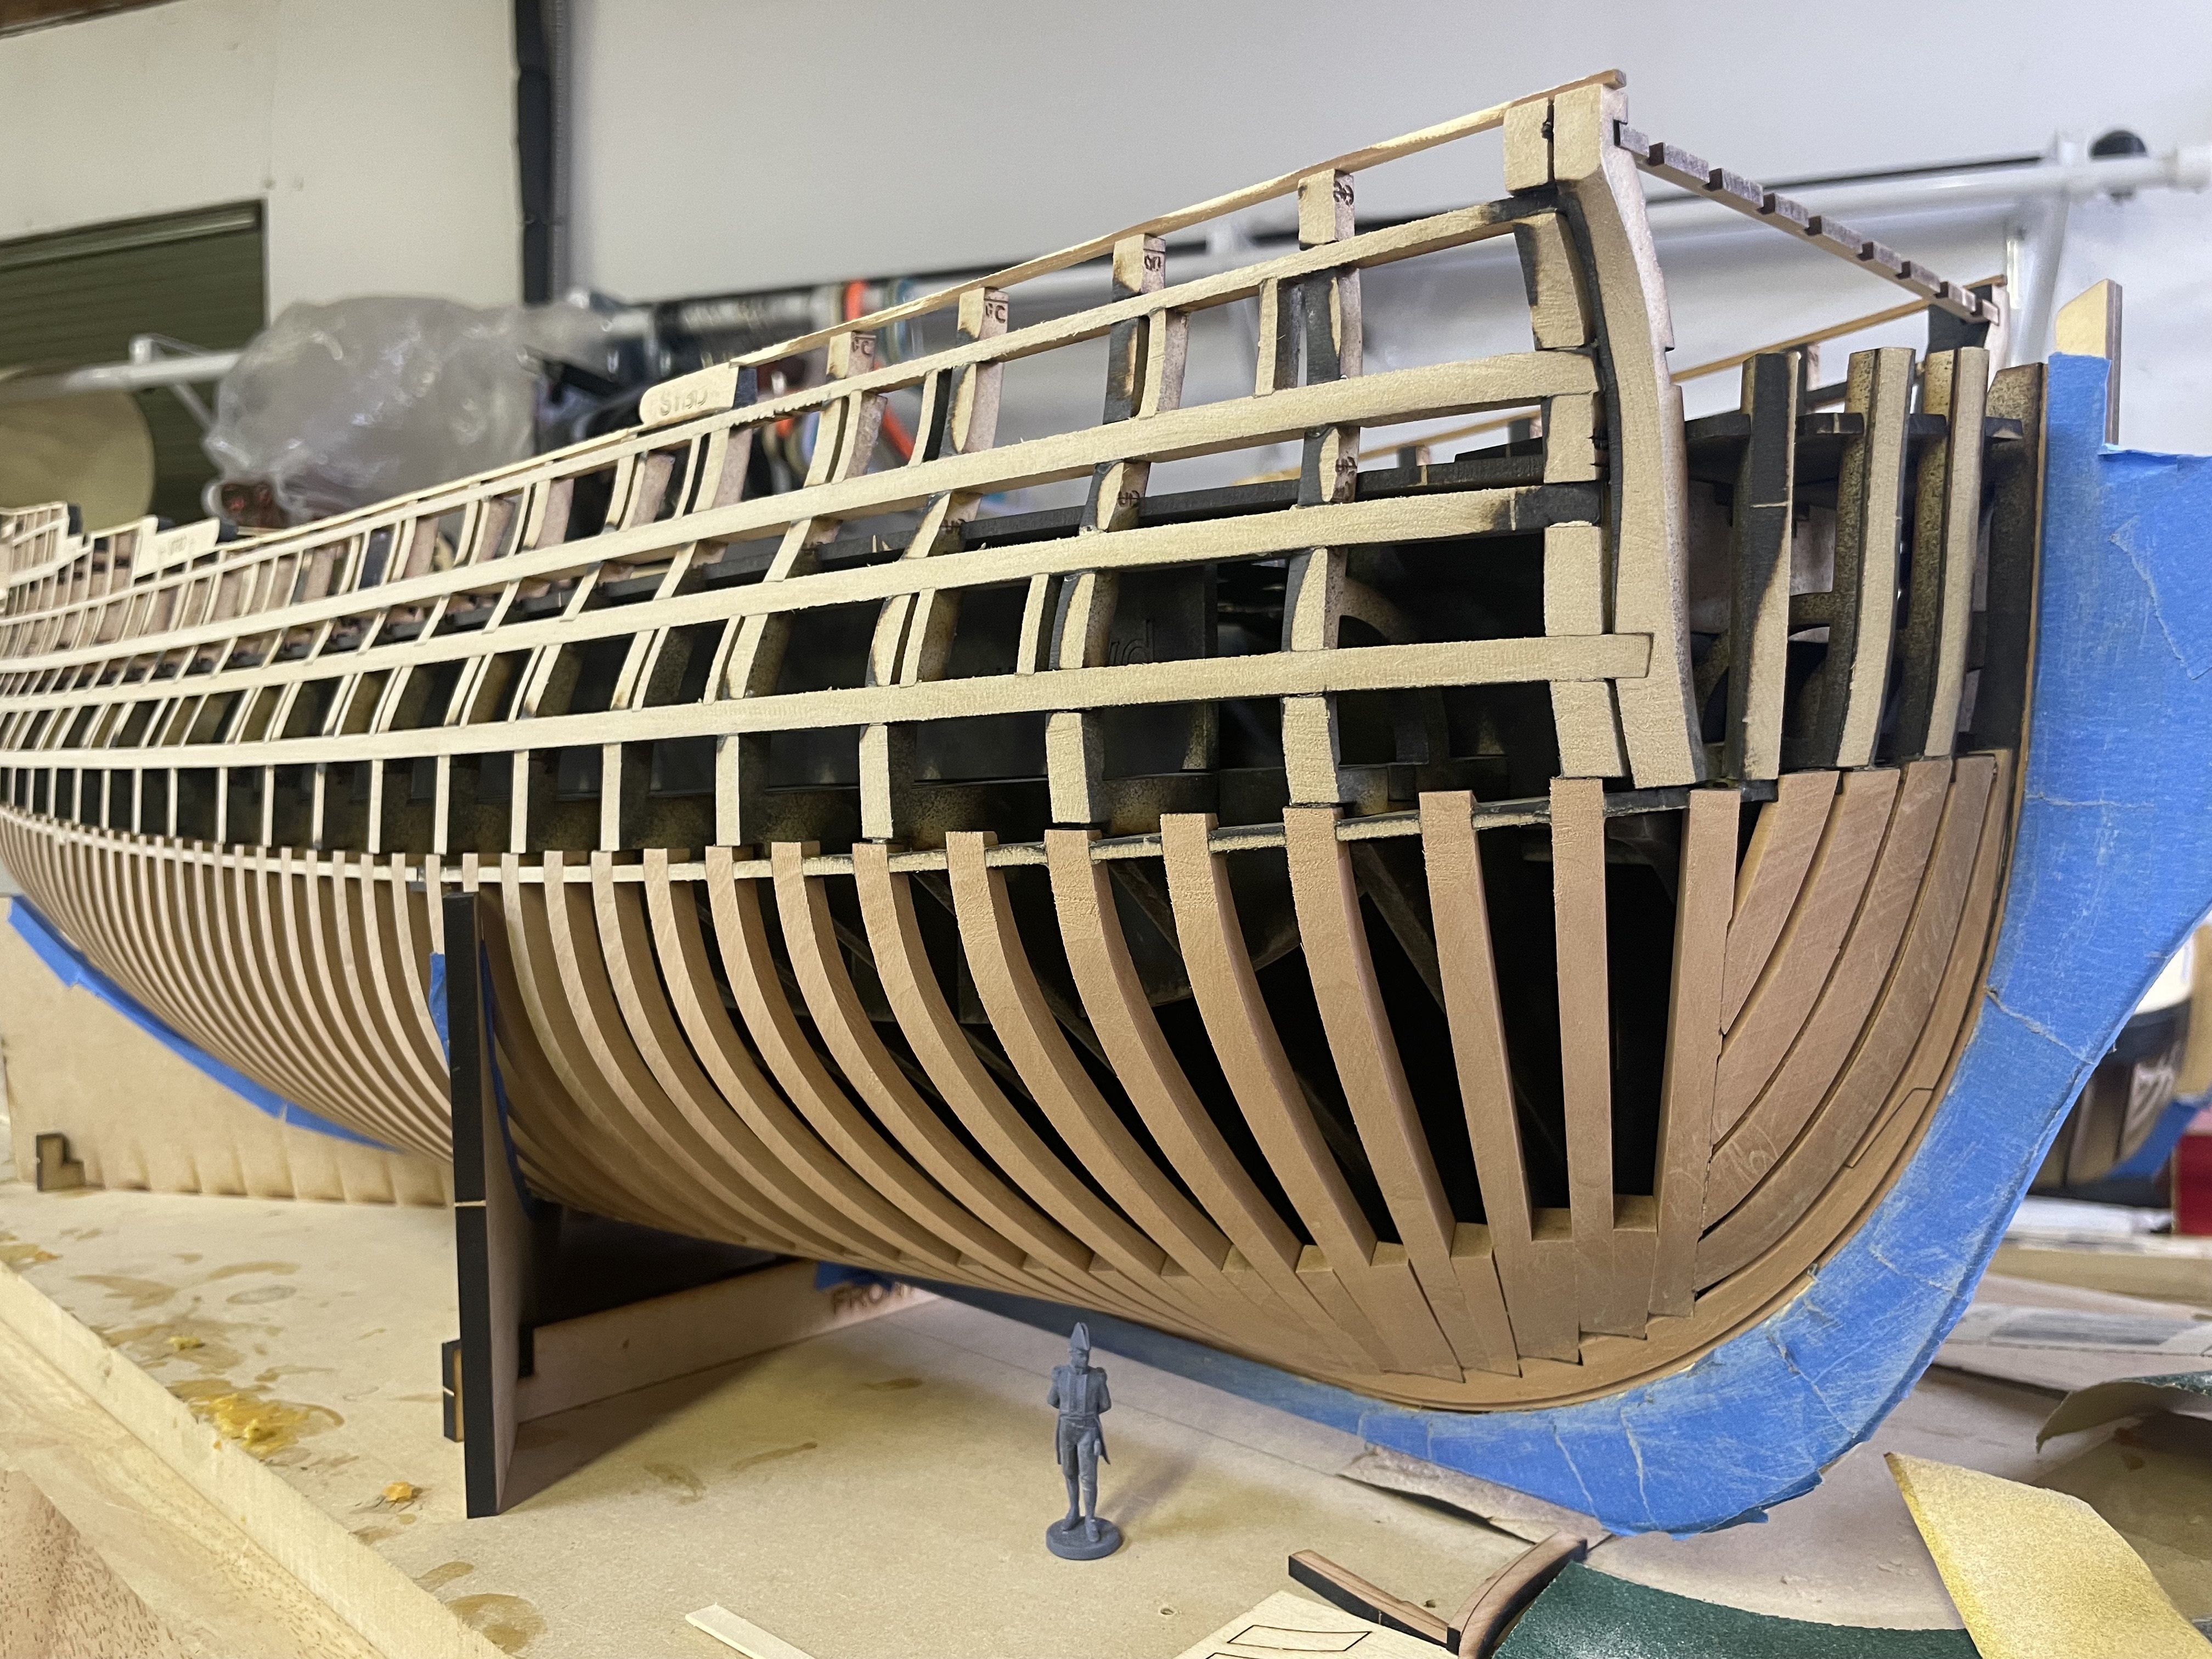
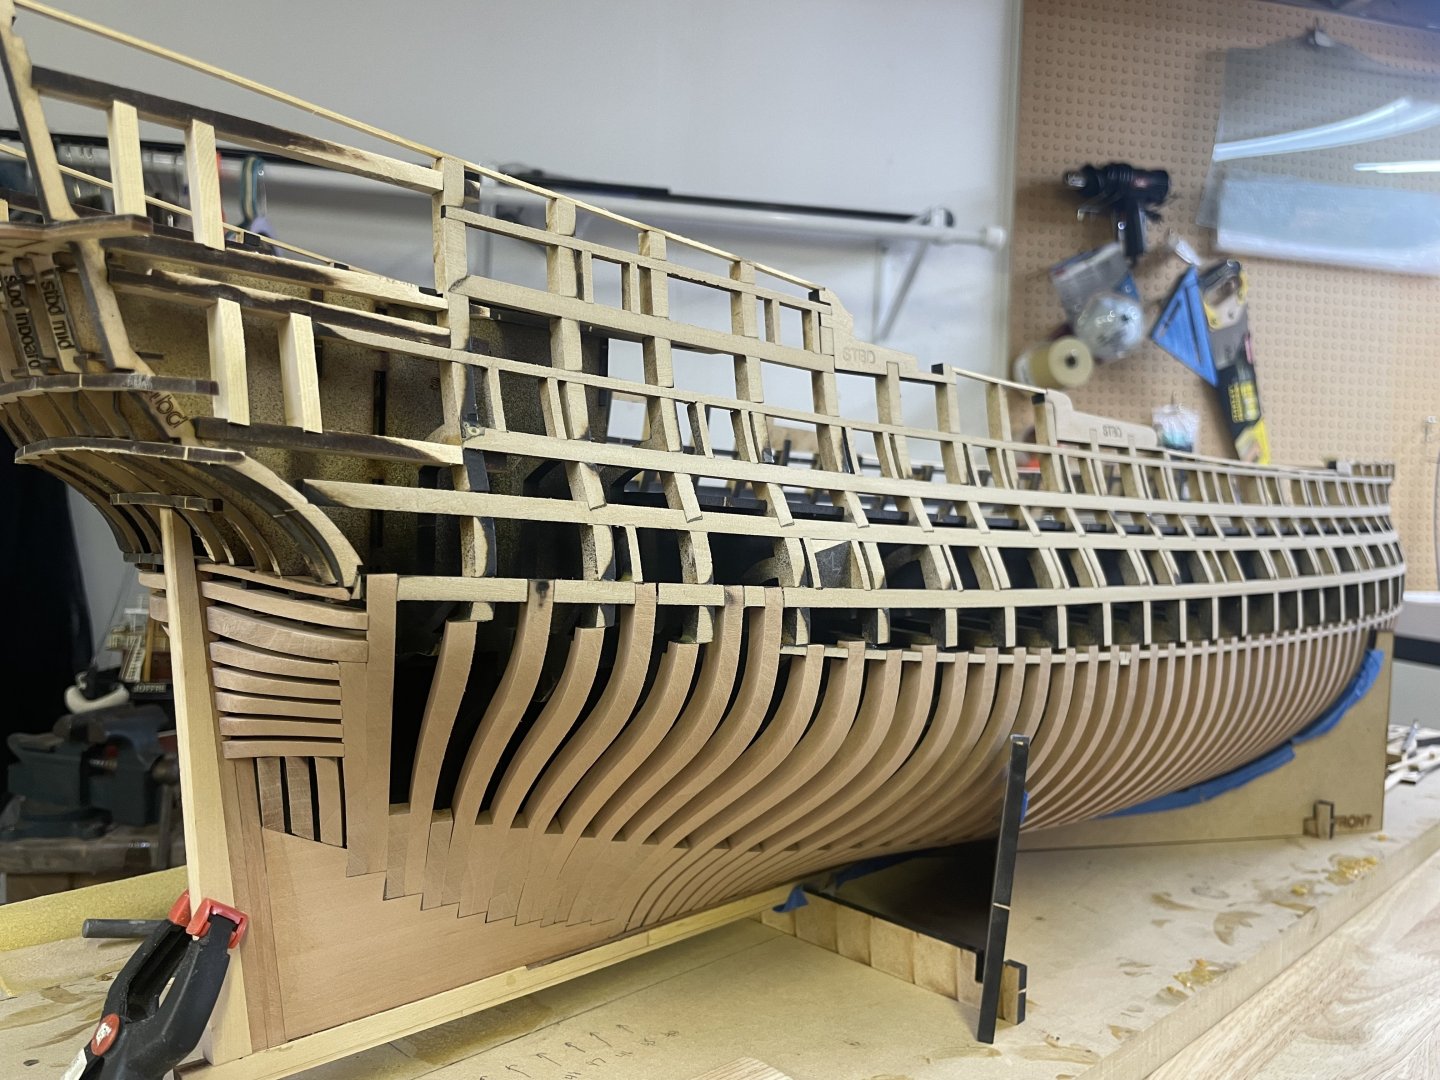
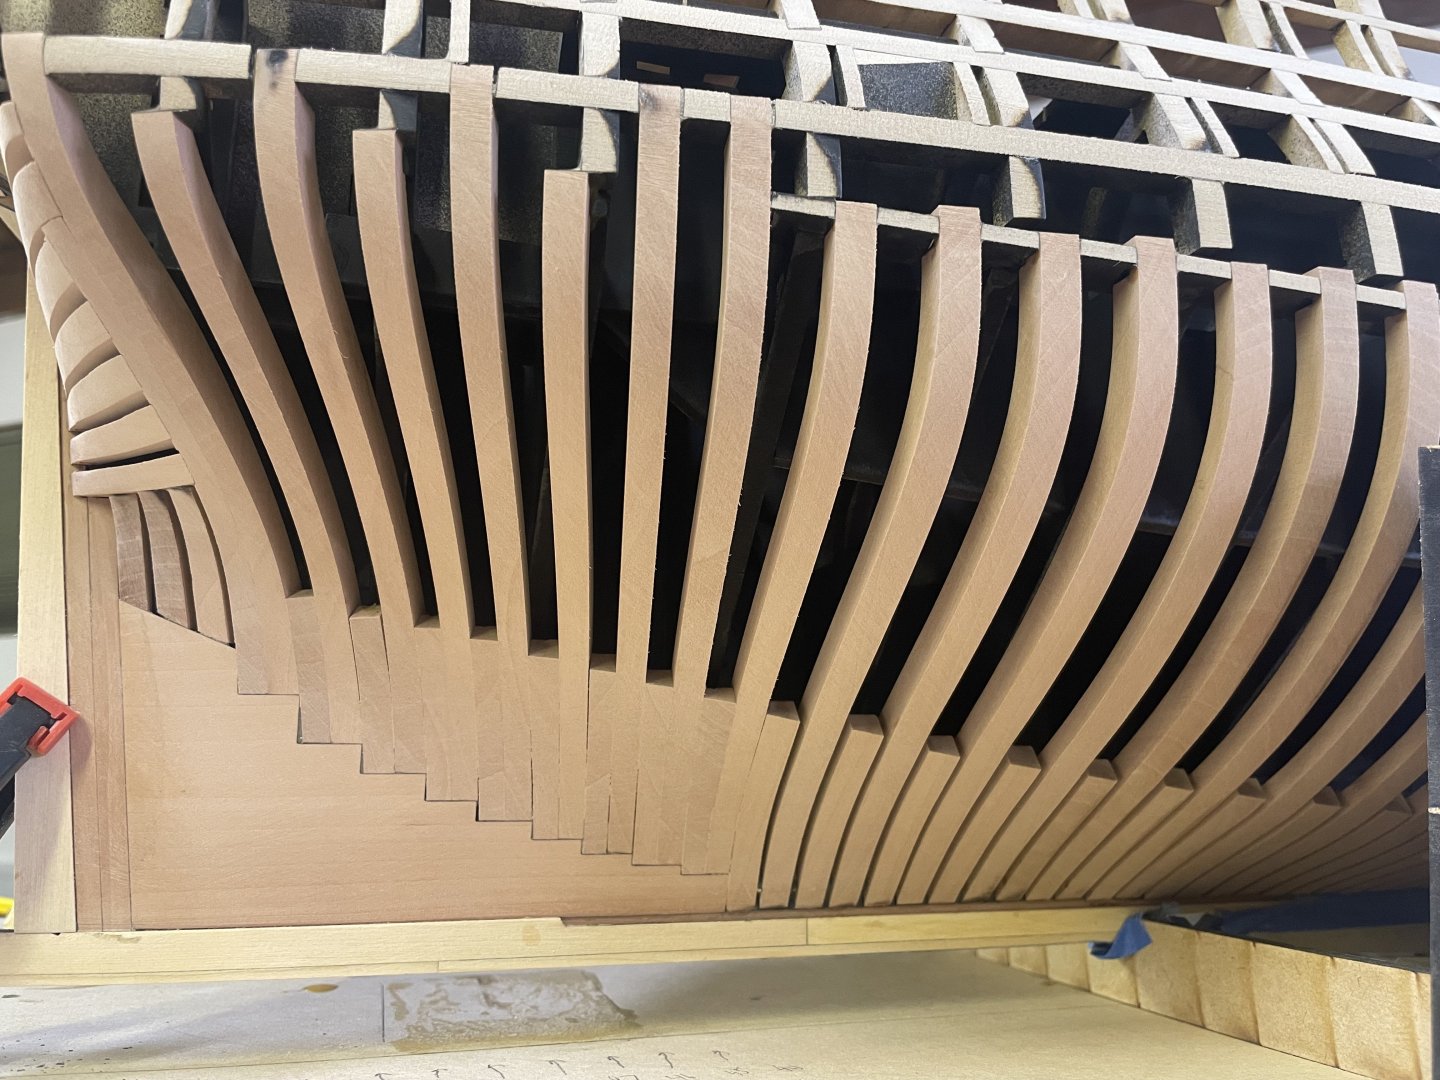
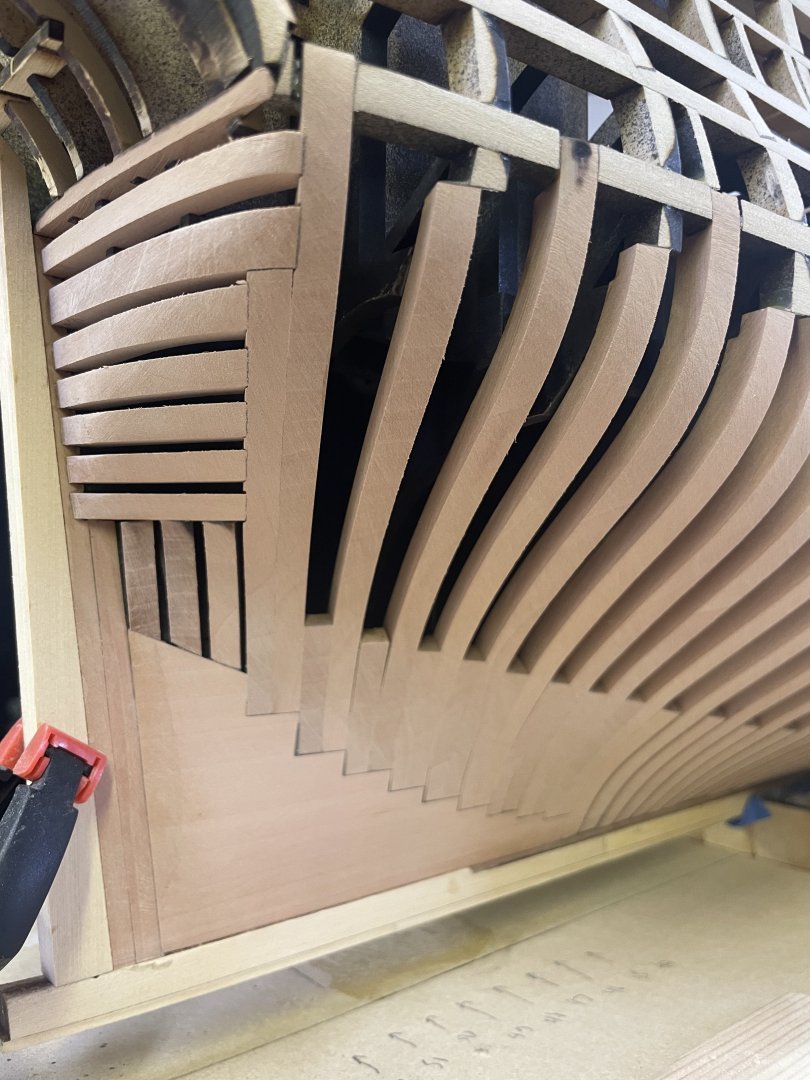
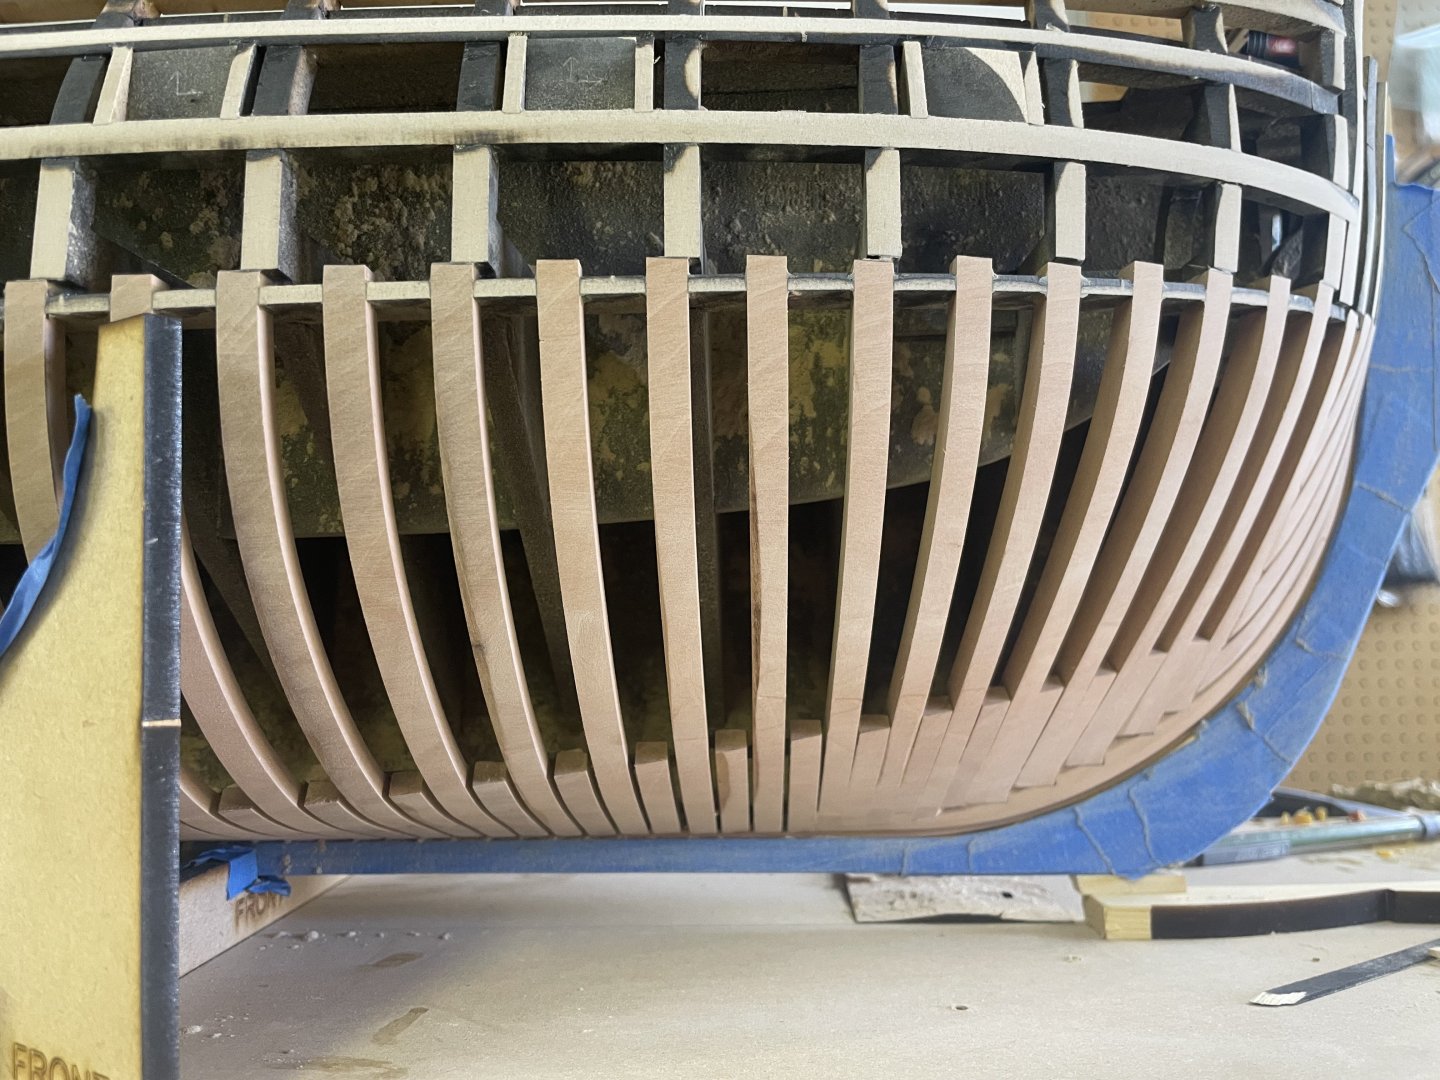
Getting closer on the stbd side. The oscillating dremal is a life saver! Should have the stbd side finished tomorrow and be well into the port side.


- 396 replies
-
- 26
-

-

-
That looks wonderful Edward! Great work you’re doing! JJ
-
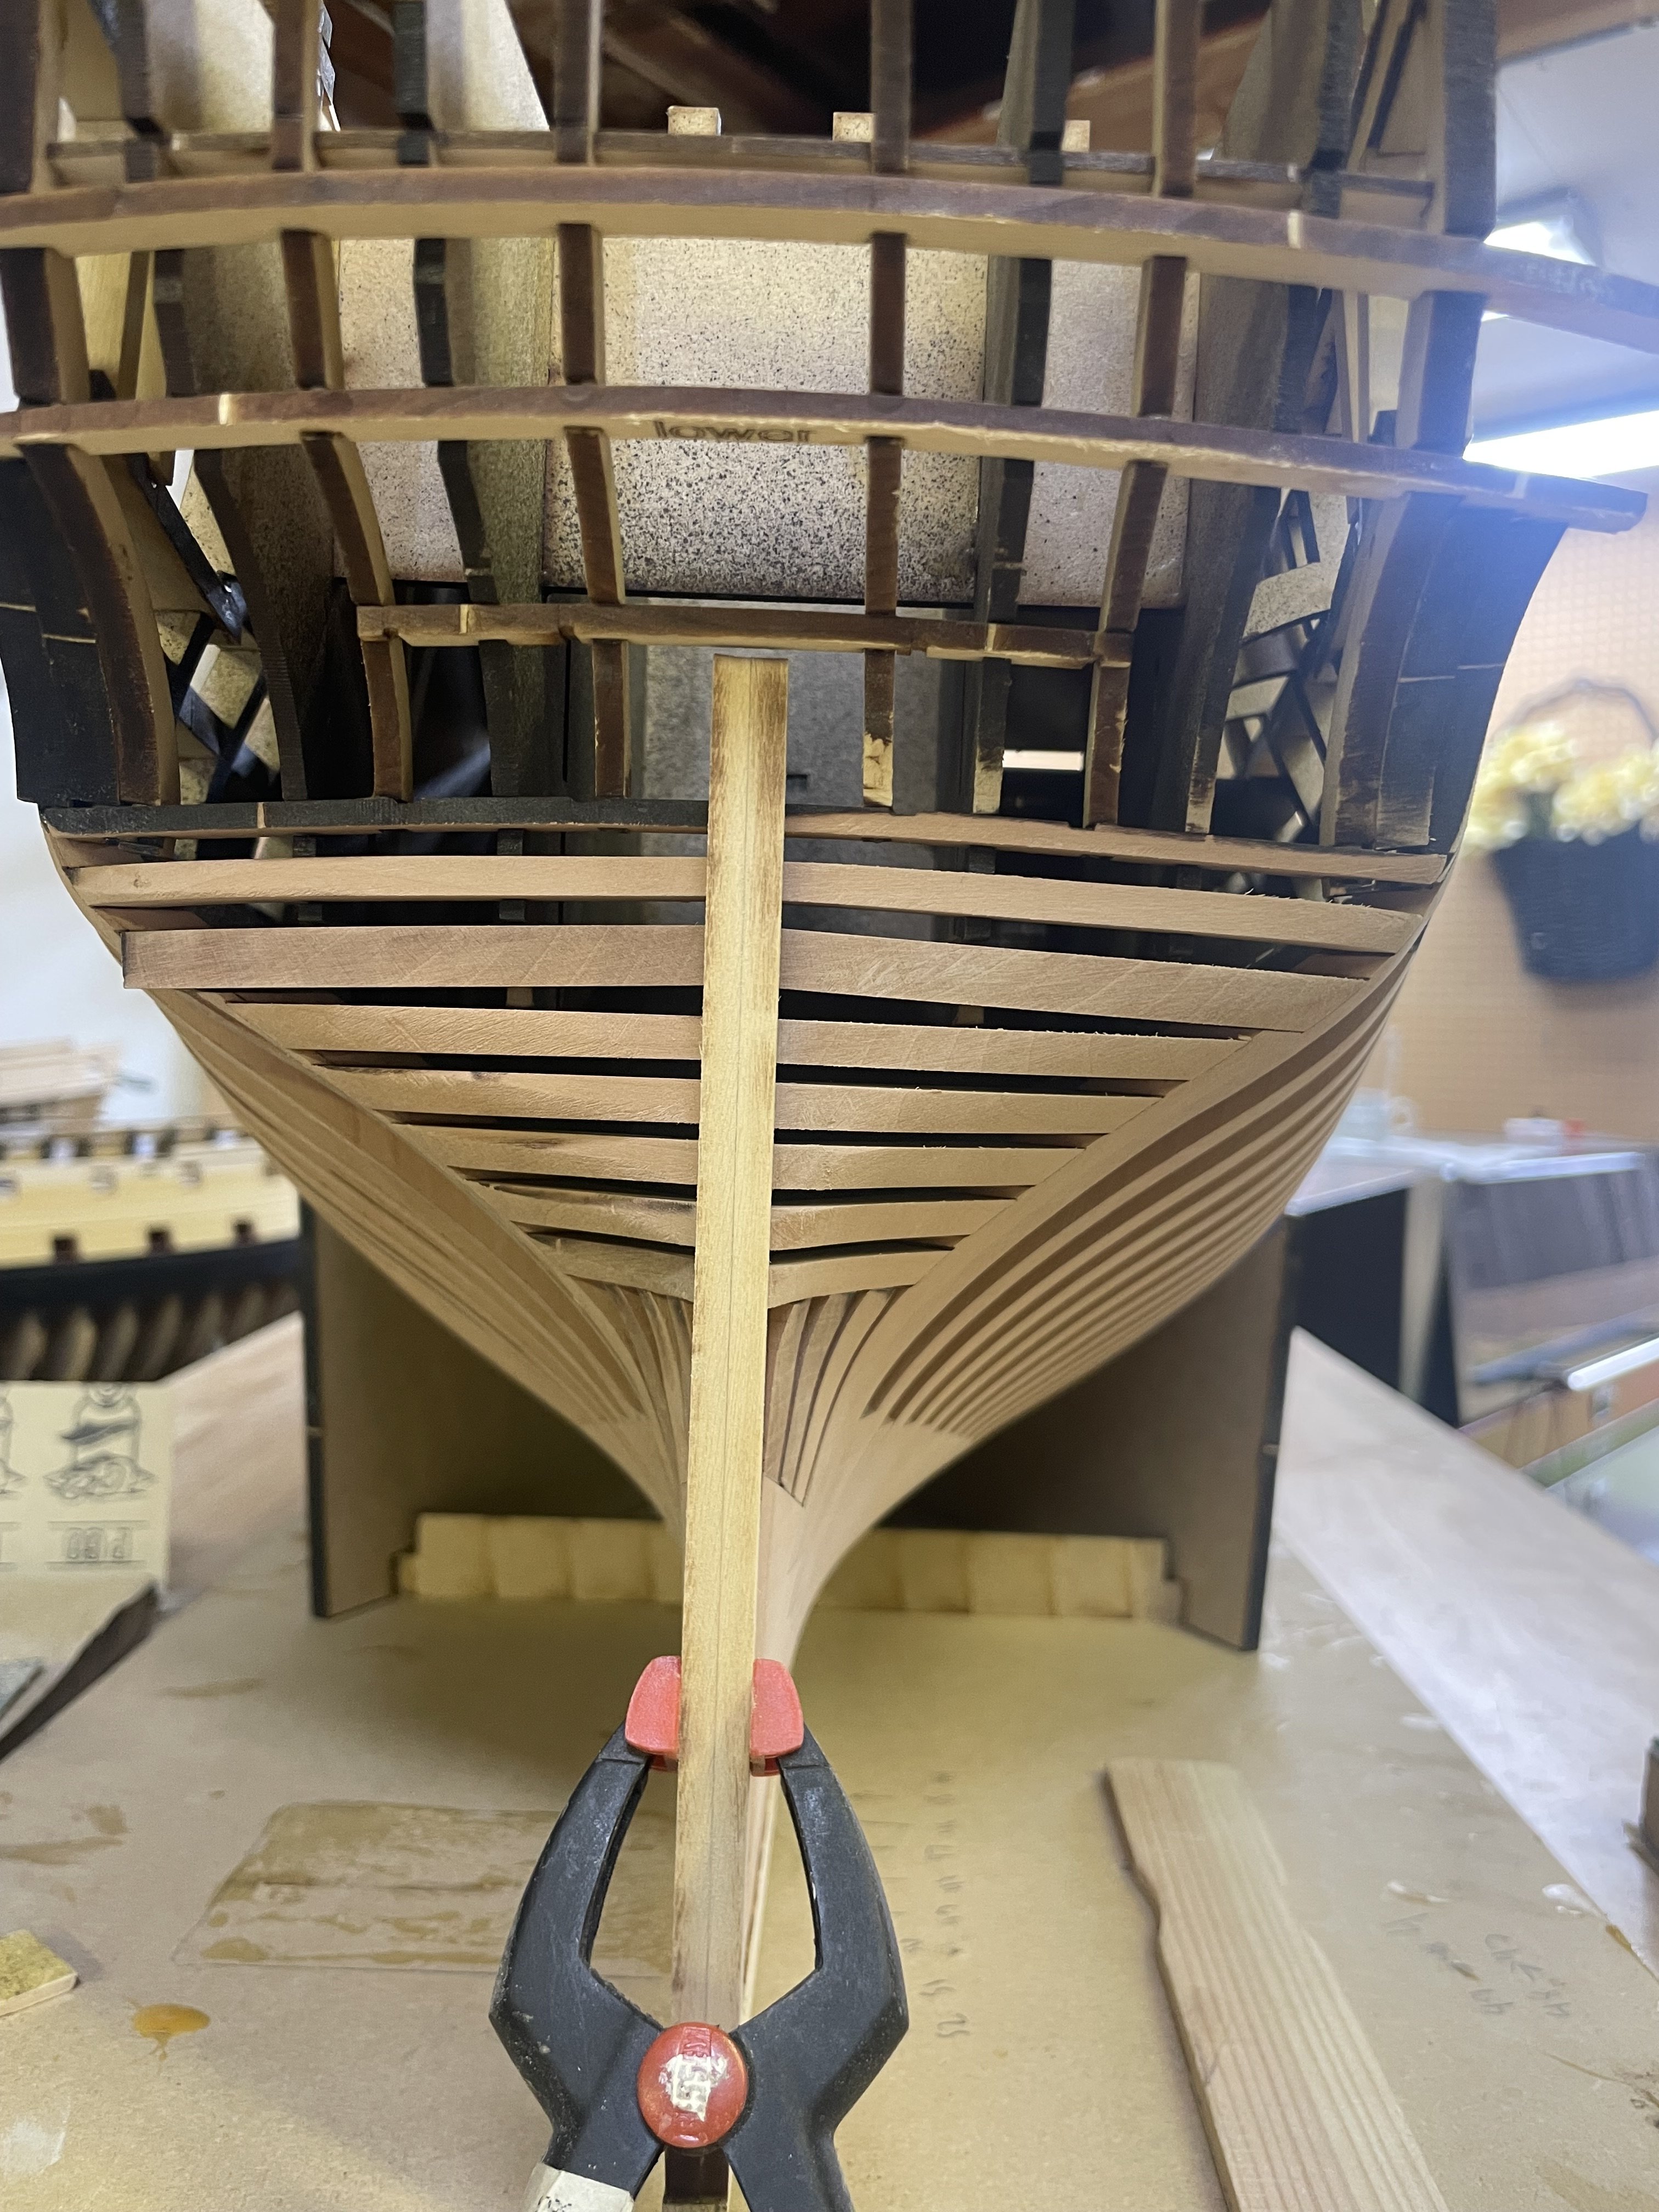
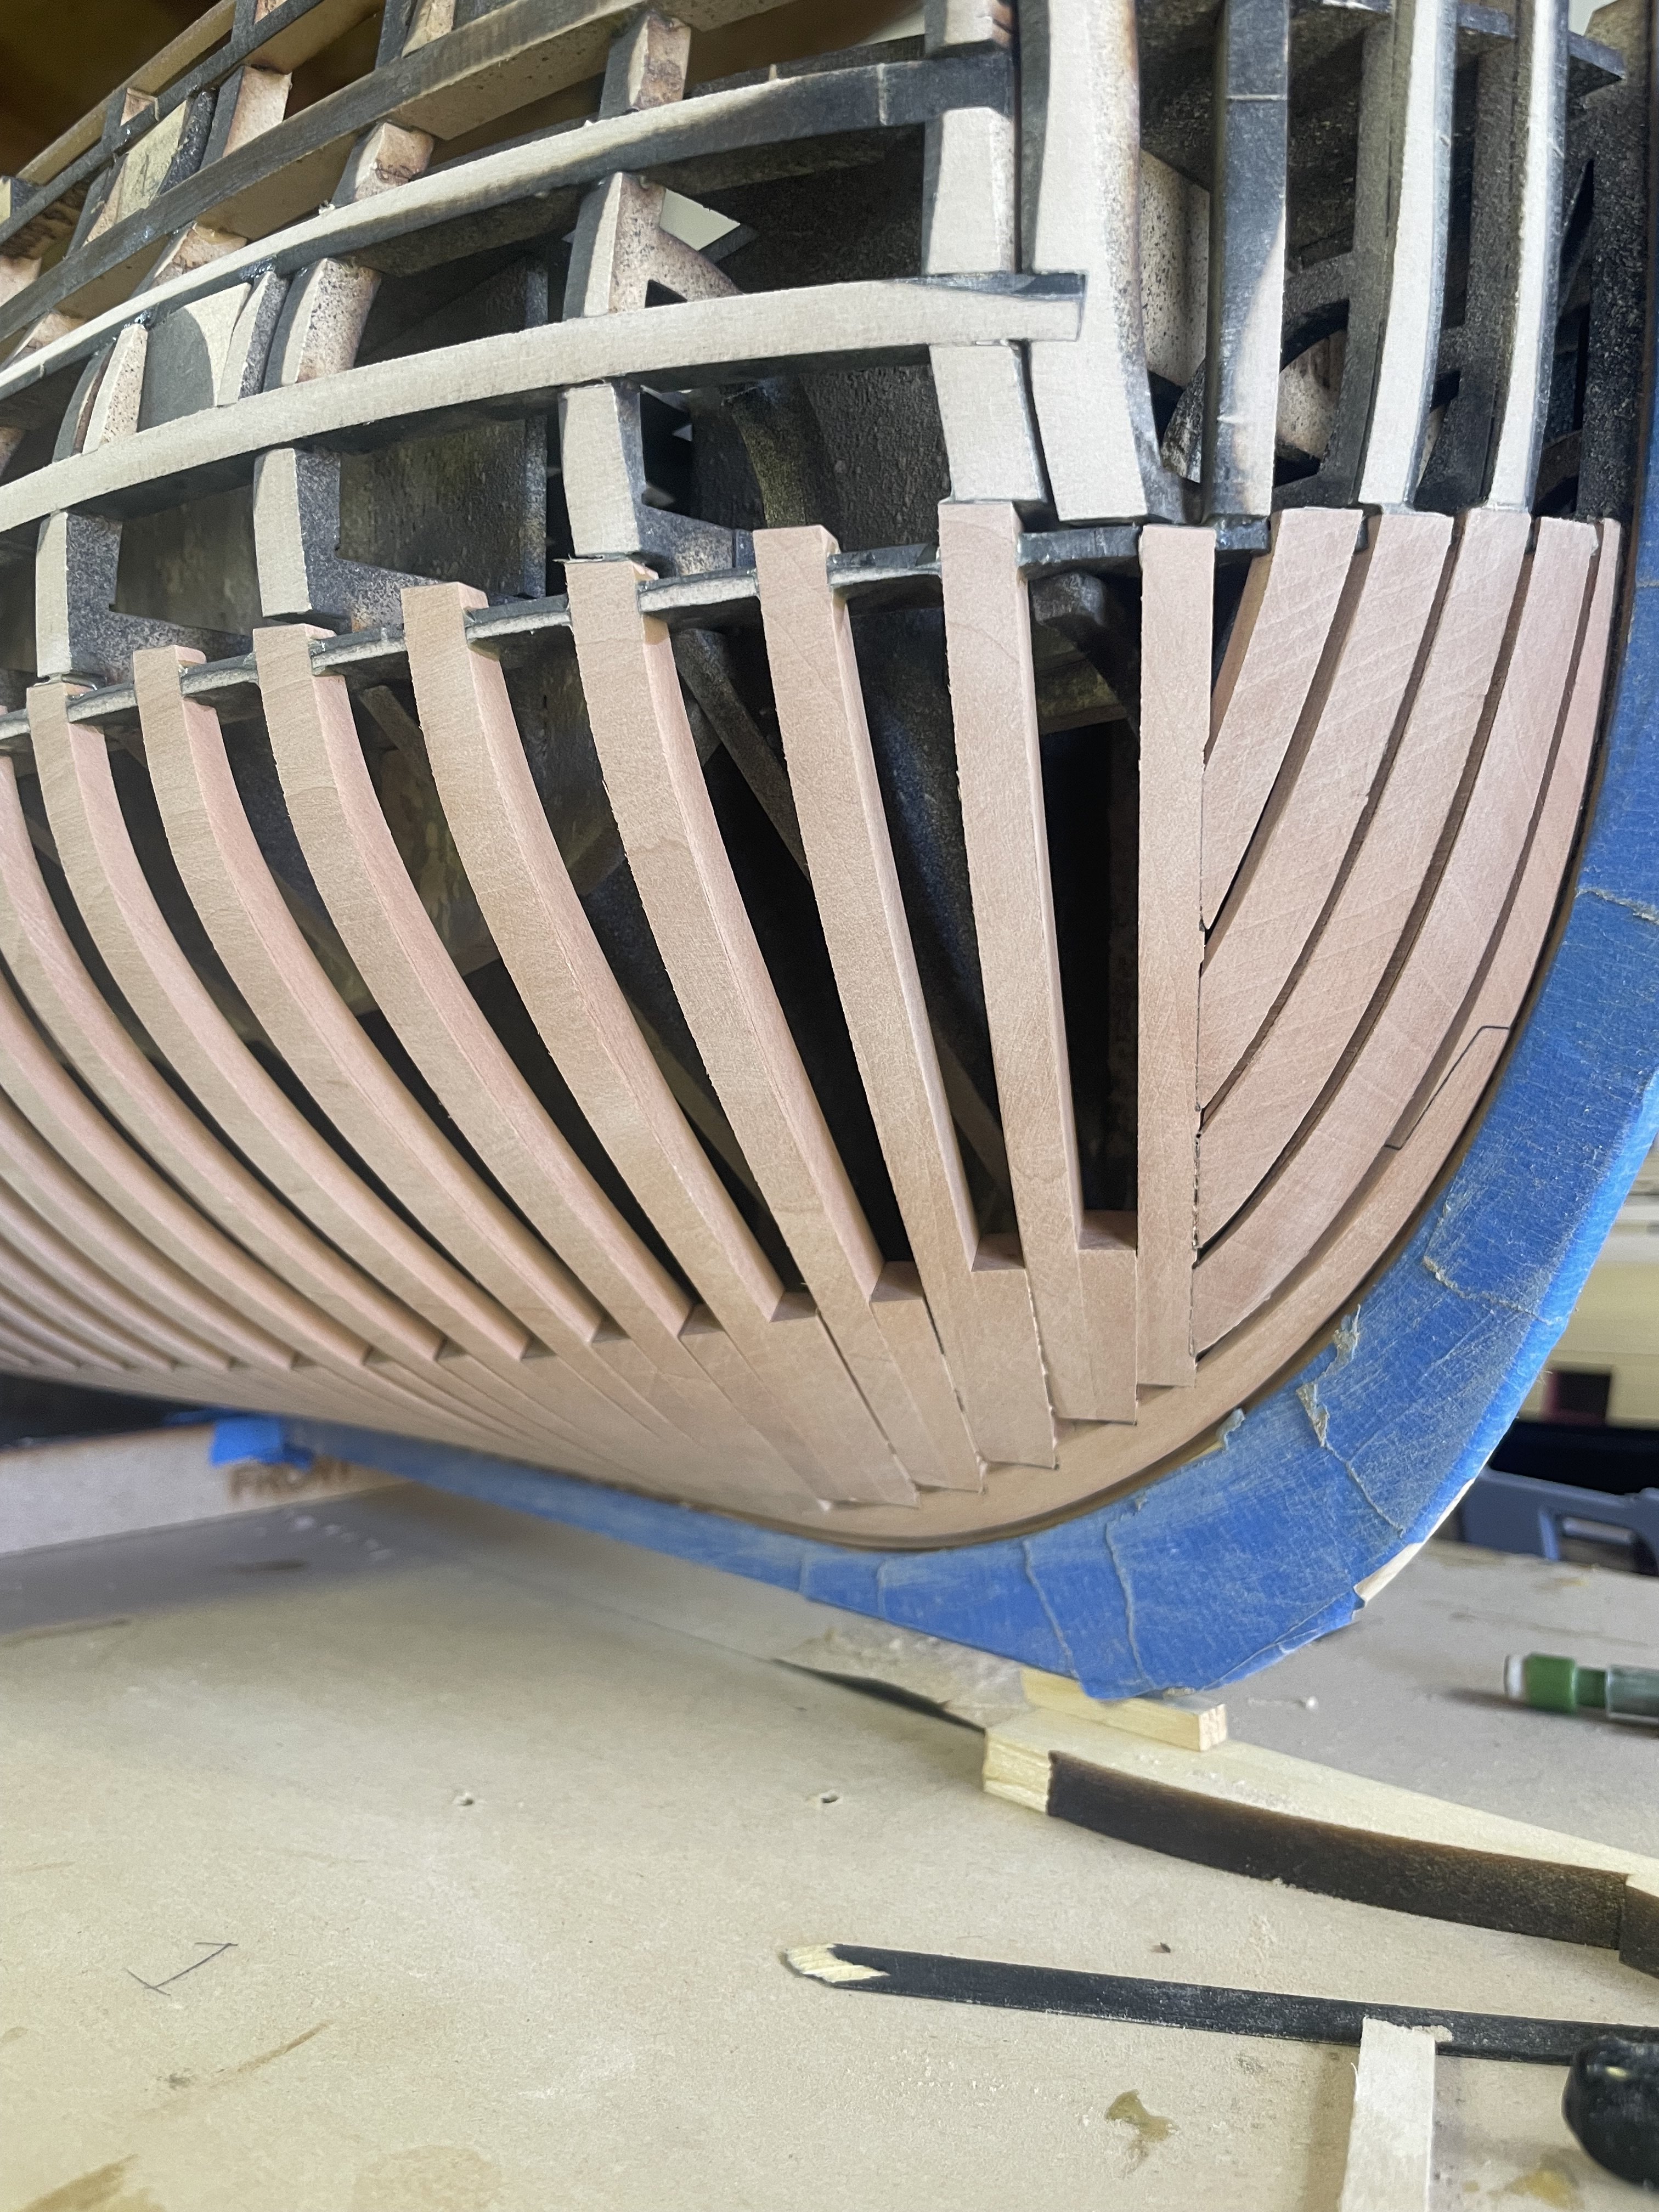
I’ve started fairing the hull, still a long way to go and Pear sands like cement but slow and steady wins the race. Hoping to have it completed within a week or so.

- 396 replies
-
- 23
-
-
-
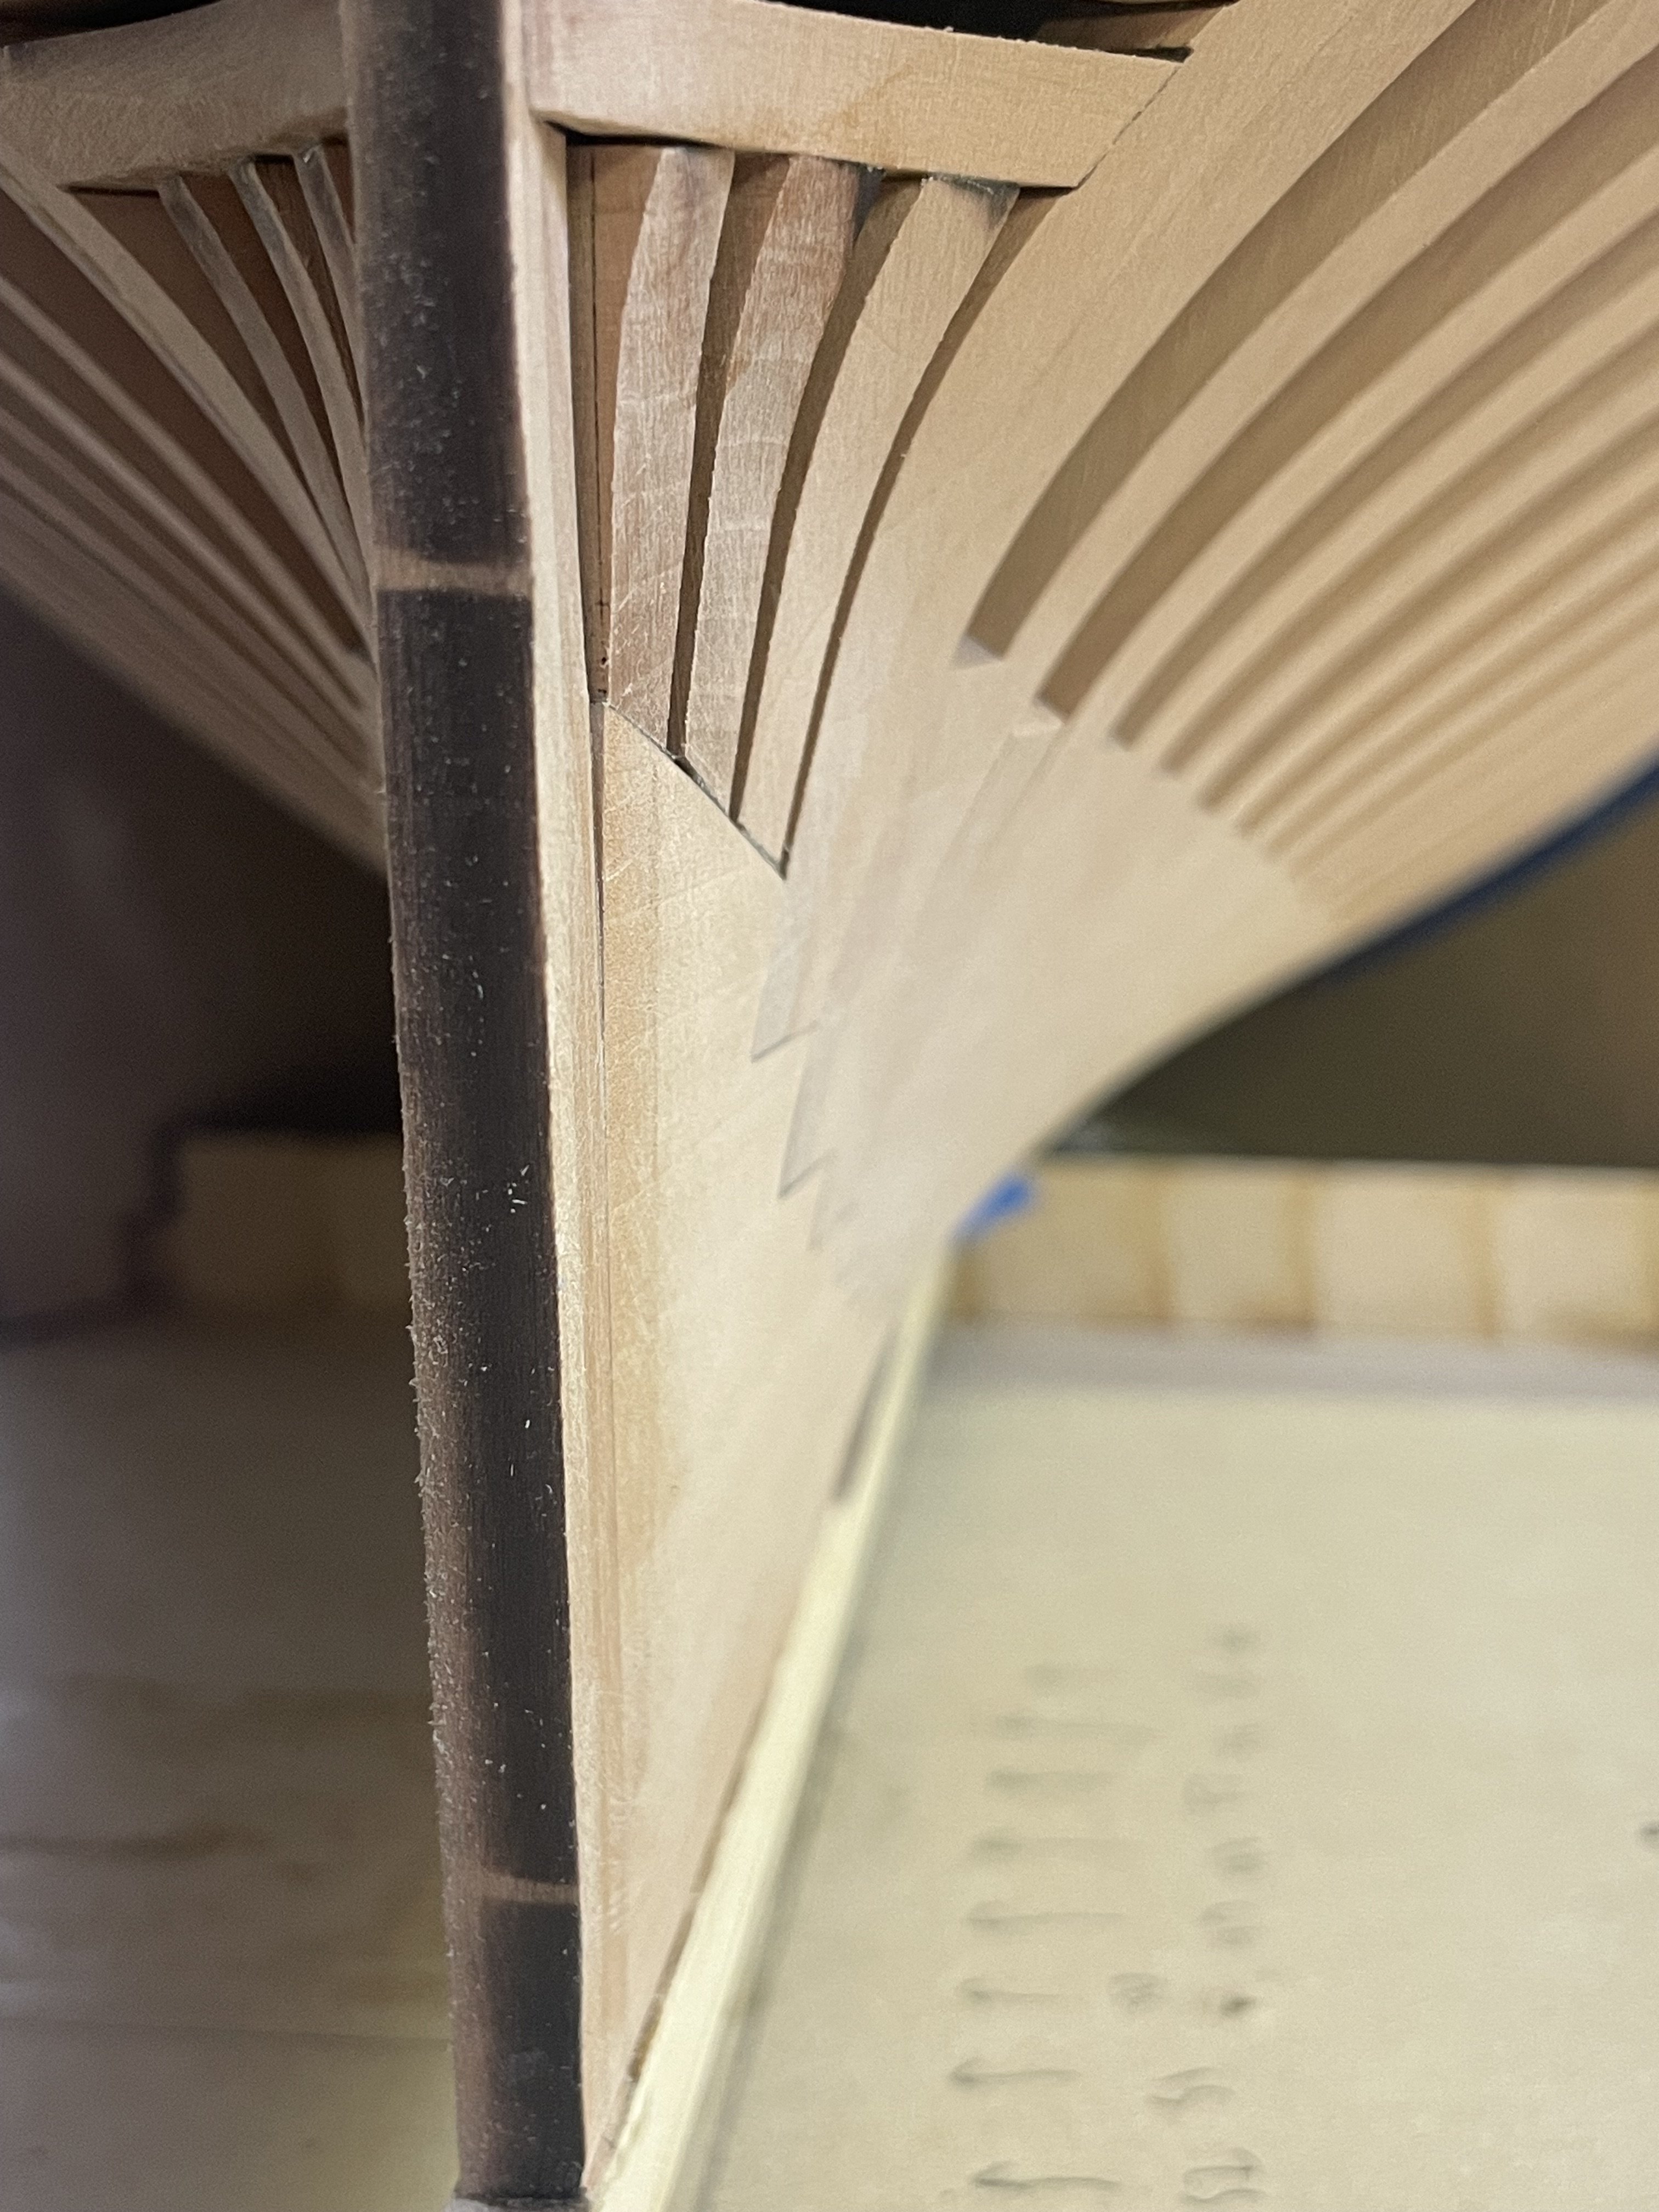
Nice work Dusan. Framing looks good. Almost to the fun parts
-
Finally back to work on the model, I finished the last remaining Hawes pieces and now I’m moving onto finishing up the gunports and fairing caps. Chapter one is almost finished and then I can move on to fairing the hull.


- 396 replies
-
- 19
-
-
-
Looking good Dusan. Laying out the gunport templates in advance is a great idea.
-
Great start on the frames Ben. Those perpendicular ones go pretty quick once the char is off.
-
That looks really good Ben, those ports turned out very well. Looking forward to seeing some frames now!
-
Looking good Ben.
-
Nicely done Dusan!
-
L'Amarante by marsalv - 1:36 - POF
scrubbyj427 replied to marsalv's topic in - Build logs for subjects built 1501 - 1750
Increíble work Marsalv! -
Nice work Dusan! Everything looks really straight. It’s Ready for all the extension jigs.
-
Nice job on the stern frames, everything looks really good.
-
Lovely work Siggi! Looking forward to some updates on Tiger! JJ
-
USS Constitution by mtbediz - 1:76
scrubbyj427 replied to mtbediz's topic in - Build logs for subjects built 1751 - 1800
Incredible model of the constitution! Beautiful work! -
Great work Yves, it’s really looking good.
-
Coming along nicely Dusan! I see gunport framing going on.
-
Nice work Ben, looks like that wing transom fit well. Mine doesn’t have that same wing transom design. Good to see it worked.
-
Incredible work Mark! That looks awesome! JJ
-
Looks really good. Getting close to frame time!
-
Looking good Steve. That was a tricky spot. I Beveled my planks on the inside slightly to keep the joints tight. I also started the strake in the Front, then moved to the tuck at the back by the counter and then completed the strake in the middle so I avoided having to worry about trimming to fit the counter. JJ