
HOLIDAY DONATION DRIVE - SUPPORT MSW - DO YOUR PART TO KEEP THIS GREAT FORUM GOING! (Only 66 donations so far out of 49,000 members - Can we at least get100? C'mon guys!)
×


Kevin
-
Posts
7,009 -
Joined
-
Last visited
Content Type
Profiles
Forums
Gallery
Events
Everything posted by Kevin
-
 Brilliant work, lol i have stopped crying now after the last hull that you discarded
 -
absolutely brilliant work,
-
hope it recovers soon OC, i love what you are doing with your build
- 455 replies
-
- 4
-

-
- slightly modified
- greyhound
- (and 1 more)
-
good god its its time for another update the bridge the last big module and i messed up the lower middle windows dont need to be there, but being a fool i put them in as they are on the plans, it appears they were moved at the time the B turret was replaced by the Exocet missile system, as a result the two outer ones were bang on top of the supports forming the shape and there is a notch missing where the knife slipped, oh hum the blast deflectors will cover the two lower windows so i added two more
-
yes they may be a little on the thick side, but the strips are 0,25mm by 1.0mm anything any thinner would have been difficult to add using styrene glue, maybe a light sanding will not make it so ovious, lol just so that i can weather them and make them stand out again
-
lovely work, you making the fish from fimo? (lol other air drying makes are available)
- 378 replies
-
- 3
-
-
- t78 norden
- billing boats
- (and 1 more)
-
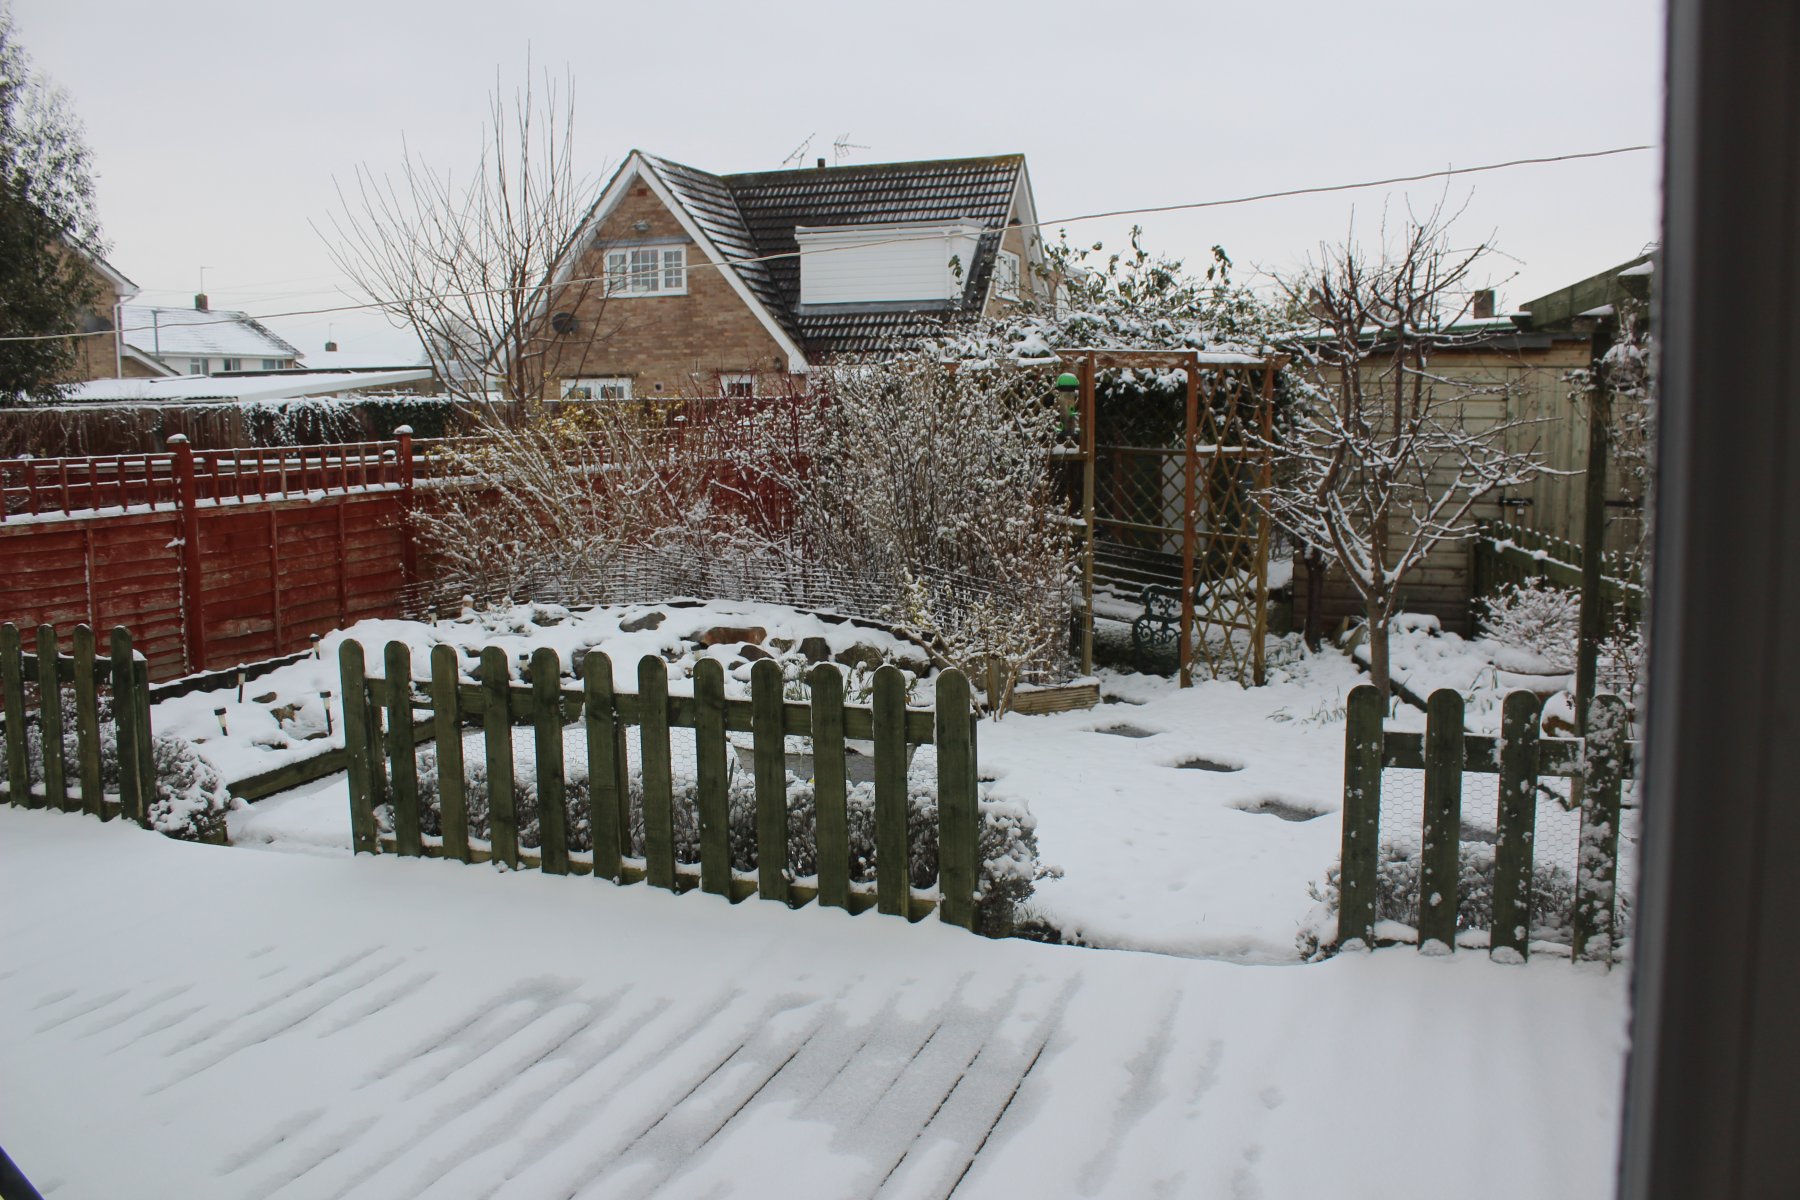
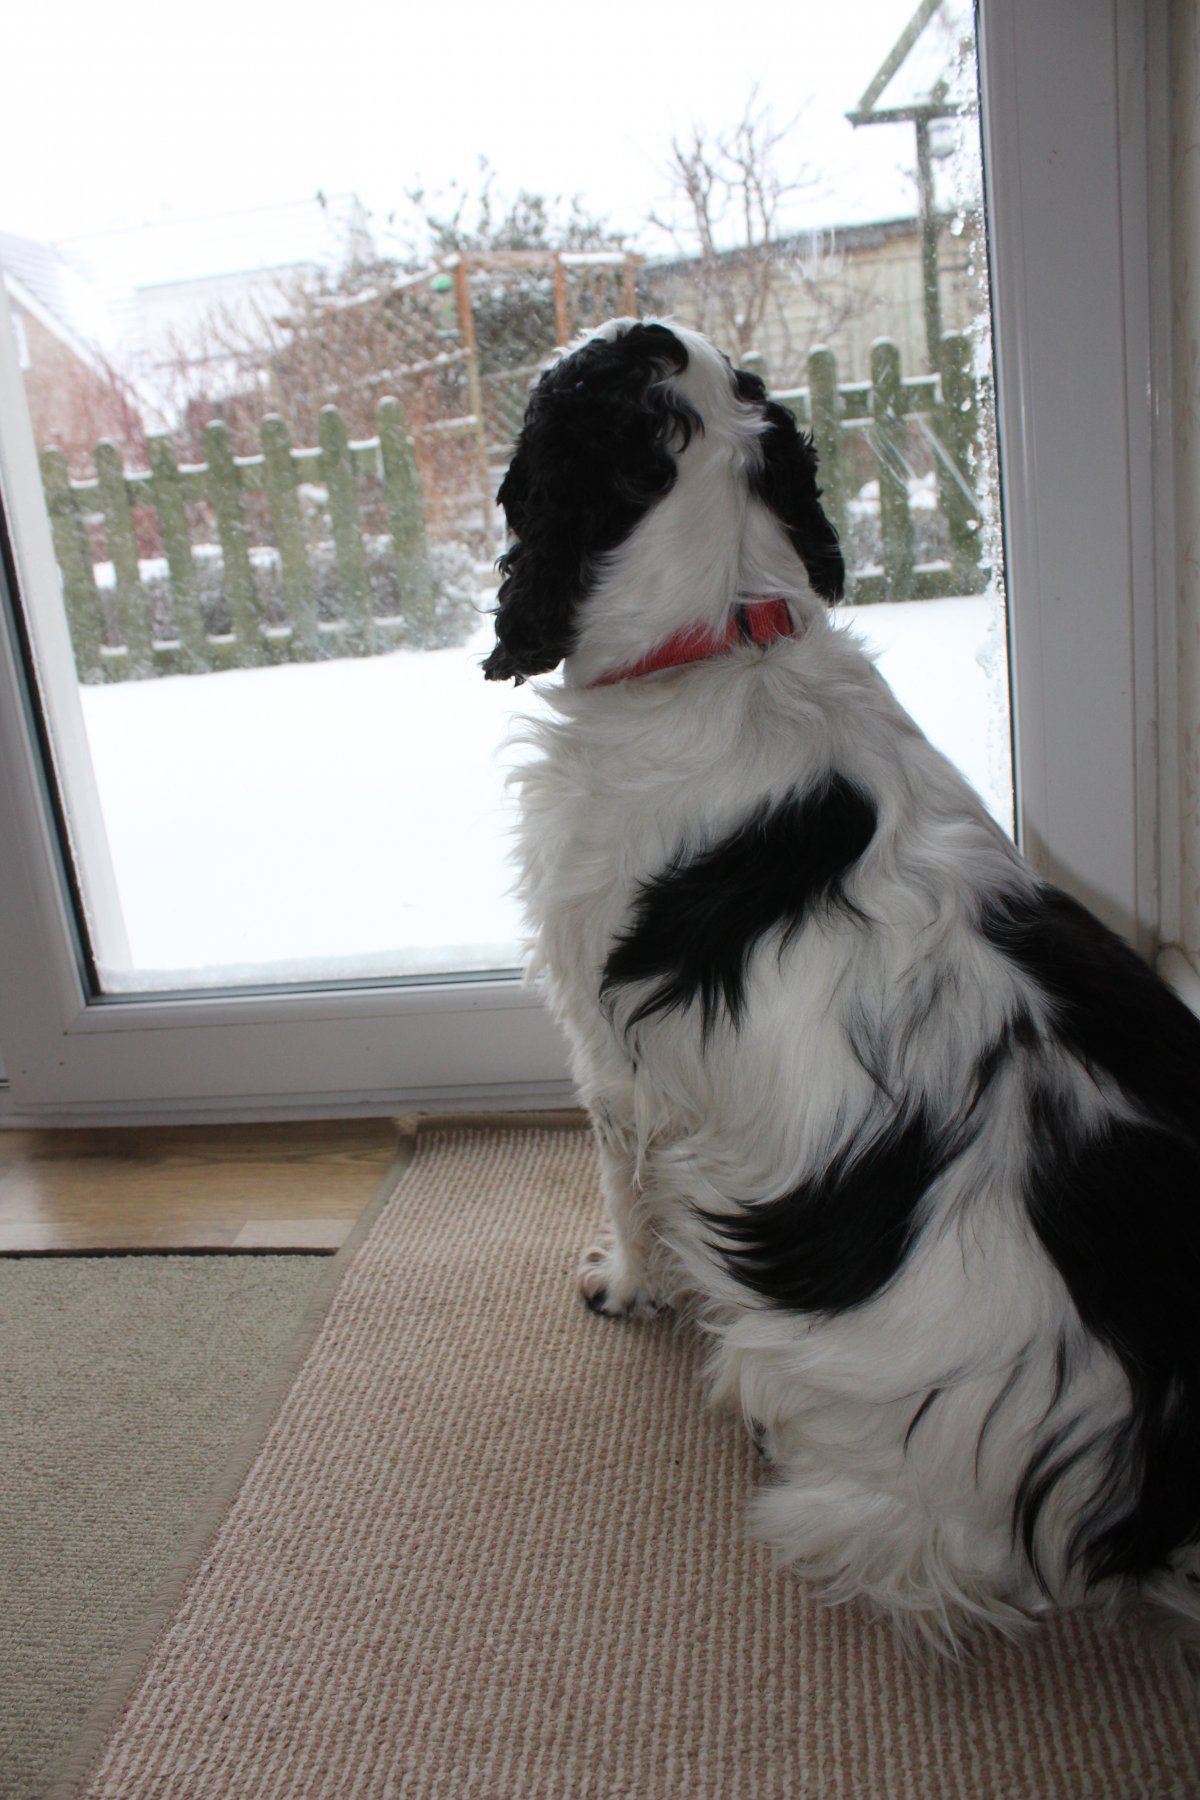
Good morning Piet LOL a few months time and everyone will be moaning it is 25 C
-
no where as much as last week but makes taking his lorship out for walkies a pain


-
lovely work thank you for you efforts in producing it for us
-
Good afternoon from a snowy Bridgwater in Somerset I wanted to do some work on the 1/4 deck this weekend, but the only way ahead was to decide how to do the non slip pattern on deck, the plans differed from photos, and the same ship pre and post refits showed changes, so I went a did my own thing this is a museum exhibit and totally different to the palns the area was marked to the shape i wanted the pattern to follow 350 strips later and a rattle can grey primer to show what touching up is needed, im quite pleased how it turned out
-
so whats is your next project then, because at this rate she will be finished by Easter lol, fancy a 1/72
-
I have had the pleasure of watching this fantastic build grow since your first post CONGRATULATIONS
-
Lovely work, coming on a dream, the wood tones do set her off
-
possibly my last update until next weekend, today i sat the main deck into the hull properly, and put a sheet of pasticard over the top, this also cover the hull edge, and now allows me to remove the whole deck off in one go so a few photo's of how she looks at present the Exocet, dont look right. they are not staggered on the plans,
-
i could not make a decision of the diorama that i had in my mind, and LOL i question of space
.thumb.JPG.a59fb21074a74c8e1403081a5d893fc6.JPG)
- 378 replies
-
- 5
-
-
- t78 norden
- billing boats
- (and 1 more)
-
i keep looking at my Victory build, lol she longs for me to make my mind up on what to do with her
- 378 replies
-
- 5
-
-
- t78 norden
- billing boats
- (and 1 more)
-
Lovely work, and will look great with all of your other builds, do you have anything planned as a next build
- 378 replies
-
- 5
-
-
- t78 norden
- billing boats
- (and 1 more)
-
thank you for the comments leaving the scratch side of things for a while, i want to try and sort the main deck out, and find my self in the chicken or the egg dilemma i dont want to spent anything on the hull at this time like running gear, but want to get the superstructure attached but once that is done i cannot access the hull so well to put in shafts rudders motor and battery packs so this evening i have started to join the big 3 main deck panels together with epoxy, with the intention of having the build with one very large deck removable, then place a sheet of plasticard over the top so when the deck is placed onto the hull the lip will cover the the edge of the hull no doubt by tomorrow morning i will have changed my mind taken a few months agp
-
Well apart from purchasing a few wheel/handles, i am calling this one, sorry it is not brilliant, but i tried my best, oh and but the way im pleased with it
-
still very much WIP but trying to get the towed array module to look feasible again just brass rod some plasticard and some old spares, and lol some imagination
-
the rig will have to stay like that for now, until i can get some decent photos of it, so it might drastically change in the future Towed Array Winch fitted on the 1/4 deck offset to the stbd side i think i made a smaal control box out of 0.5 plasticard a few brass pipe inserts and a couple of amerigo vespucci Porthole
-
Good evening was not happy with the rig so re did it again to make it look more like the plans, Blue Peter never had this problem with Tracey Island
-
one of the best hints i read was to forget about the templates that cover the portholes , and paint spray on the white stripes instead
.JPG.61b8a4ff1901bbe502bbcfb3e91bdb3e.JPG)